


Commissioning
Once both the power cable and the network have been connected via cable or WLAN, the printer can be switched on for the first time using the toggle switch on the rear right-hand side. The first step is to ensure that the print head and bed carriage are firmly seated.
To do this, tighten the eccentric nuts on the rubber rollers until nothing wobbles. The next step is to adjust the belt tension for the X and Y axes using the rotating handles. If you press your hand on the belt, it should bend a little. Extremely tight is too much of a good thing, however, and a little sensitivity is needed to find the right center.
I won’t describe the various other small steps again here, as they can all be found in the article on the Neptune 4 and are identical for this printer. So let’s concentrate on the differences, starting with the firmware.
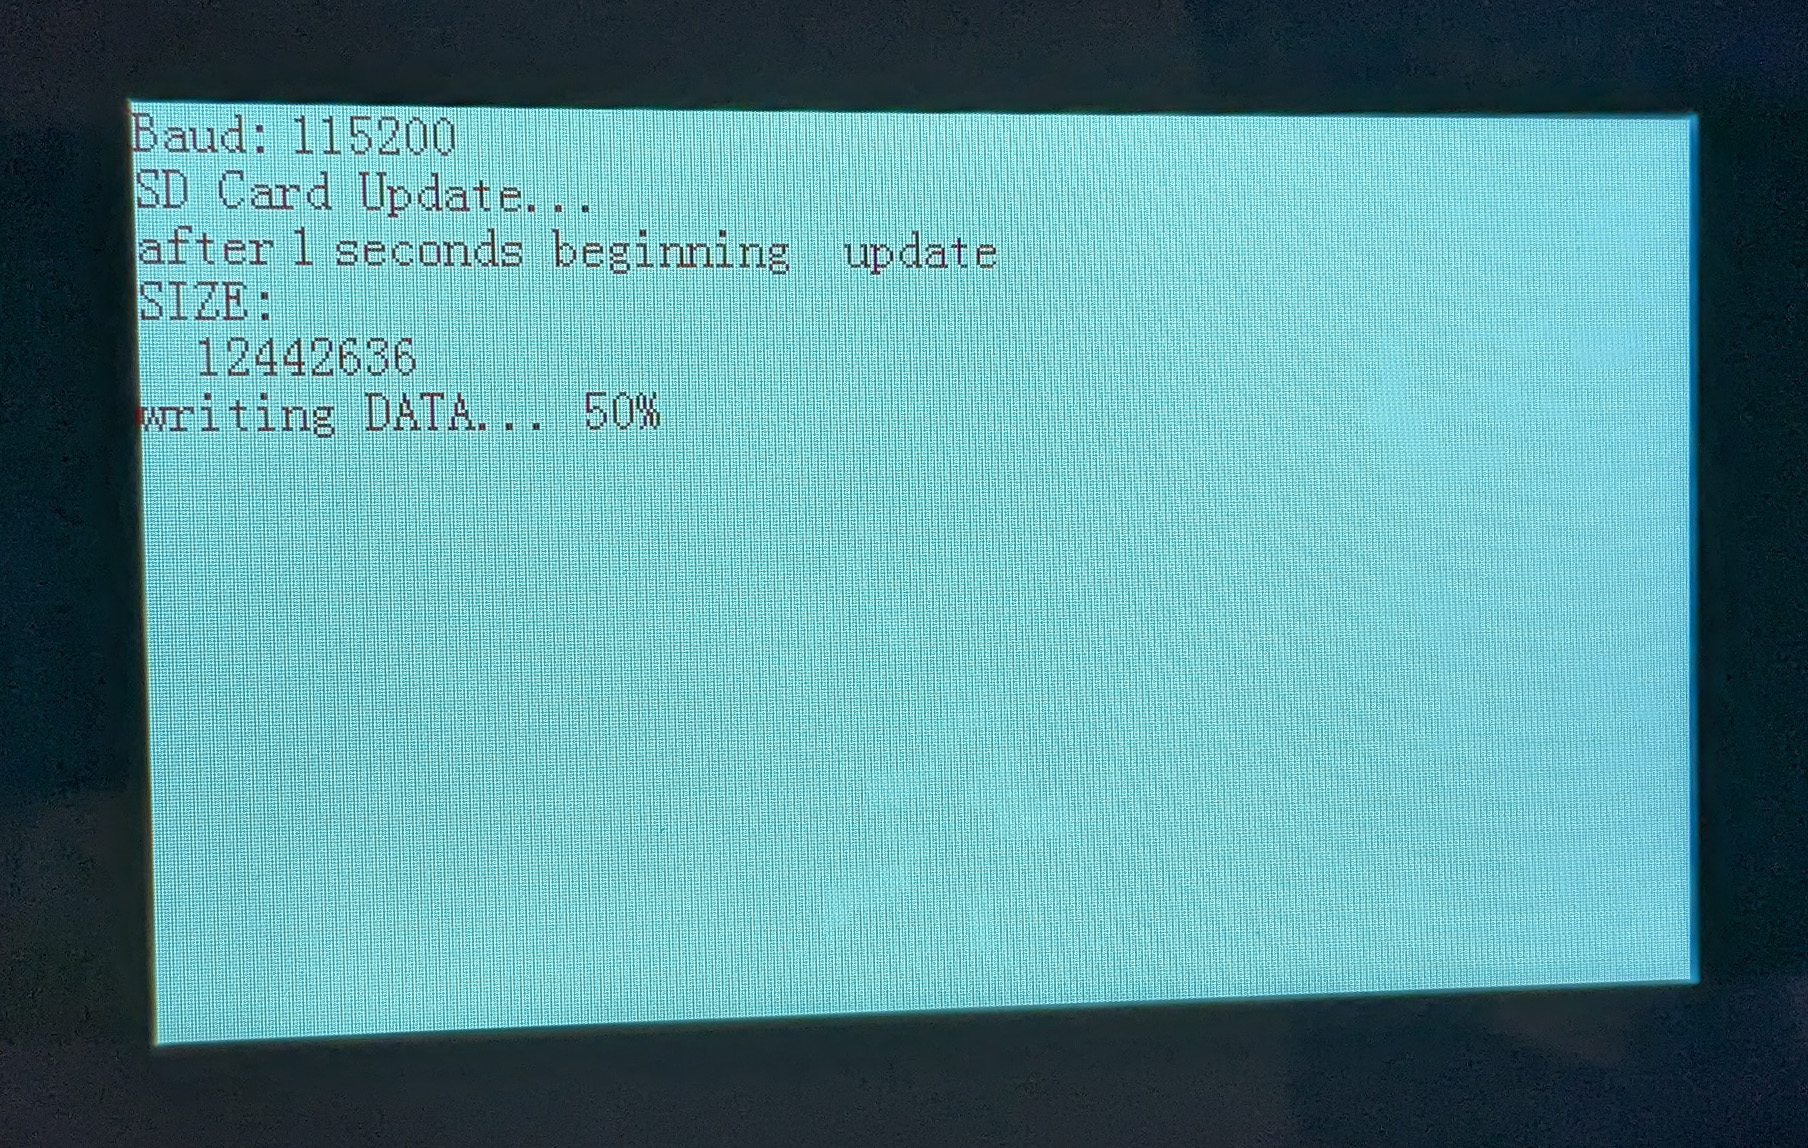
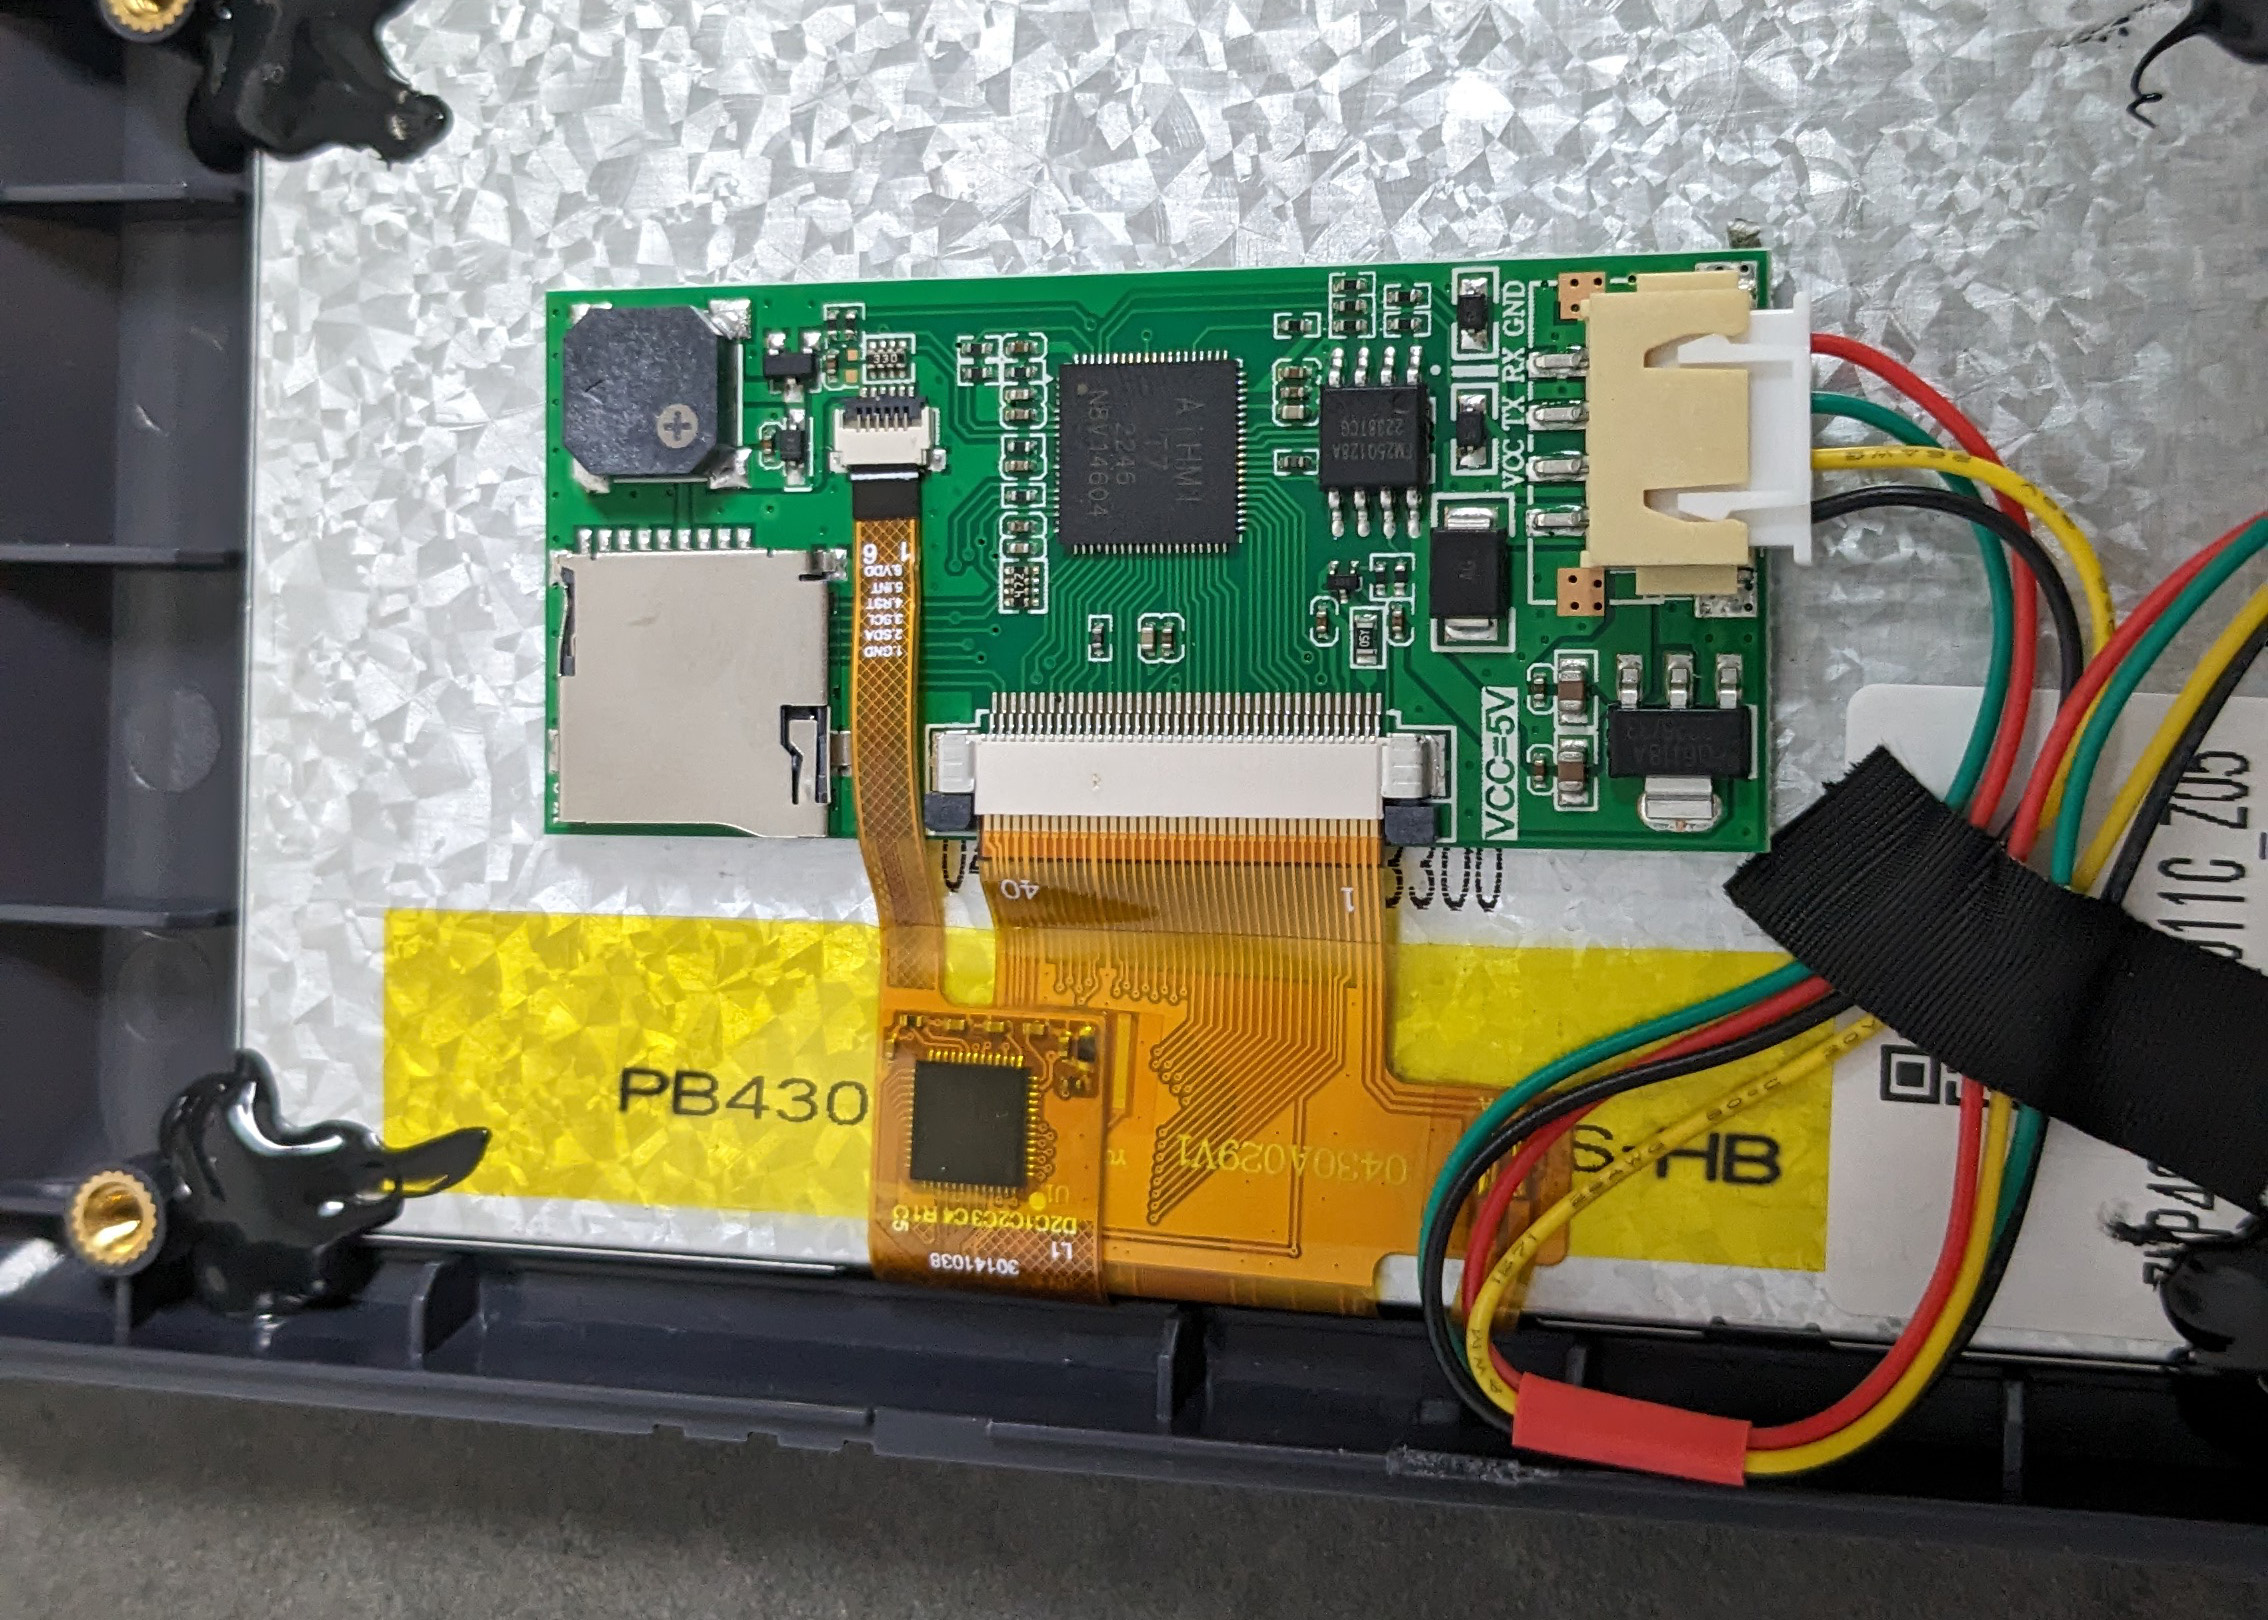
As this model has been on the market for a while, you should update to the latest version right at the start. Files and instructions are available from Elegoo itself. To update the touch display, it must be unscrewed and fitted with an SD card.


21 Antworten
Kommentar
Lade neue Kommentare
Mitglied
Moderator
Urgestein
Veteran
Moderator
Veteran
Moderator
Veteran
Neuling
Urgestein
Moderator
Urgestein
Urgestein
Urgestein
Moderator
Urgestein
Moderator
Urgestein
Urgestein
Alle Kommentare lesen unter igor´sLAB Community →