


Electronics and features
It really isn’t easy to get to the innards of this printer. So let’s first take a look at the extruder, which is practically identical to that of the normal Neptune 4.
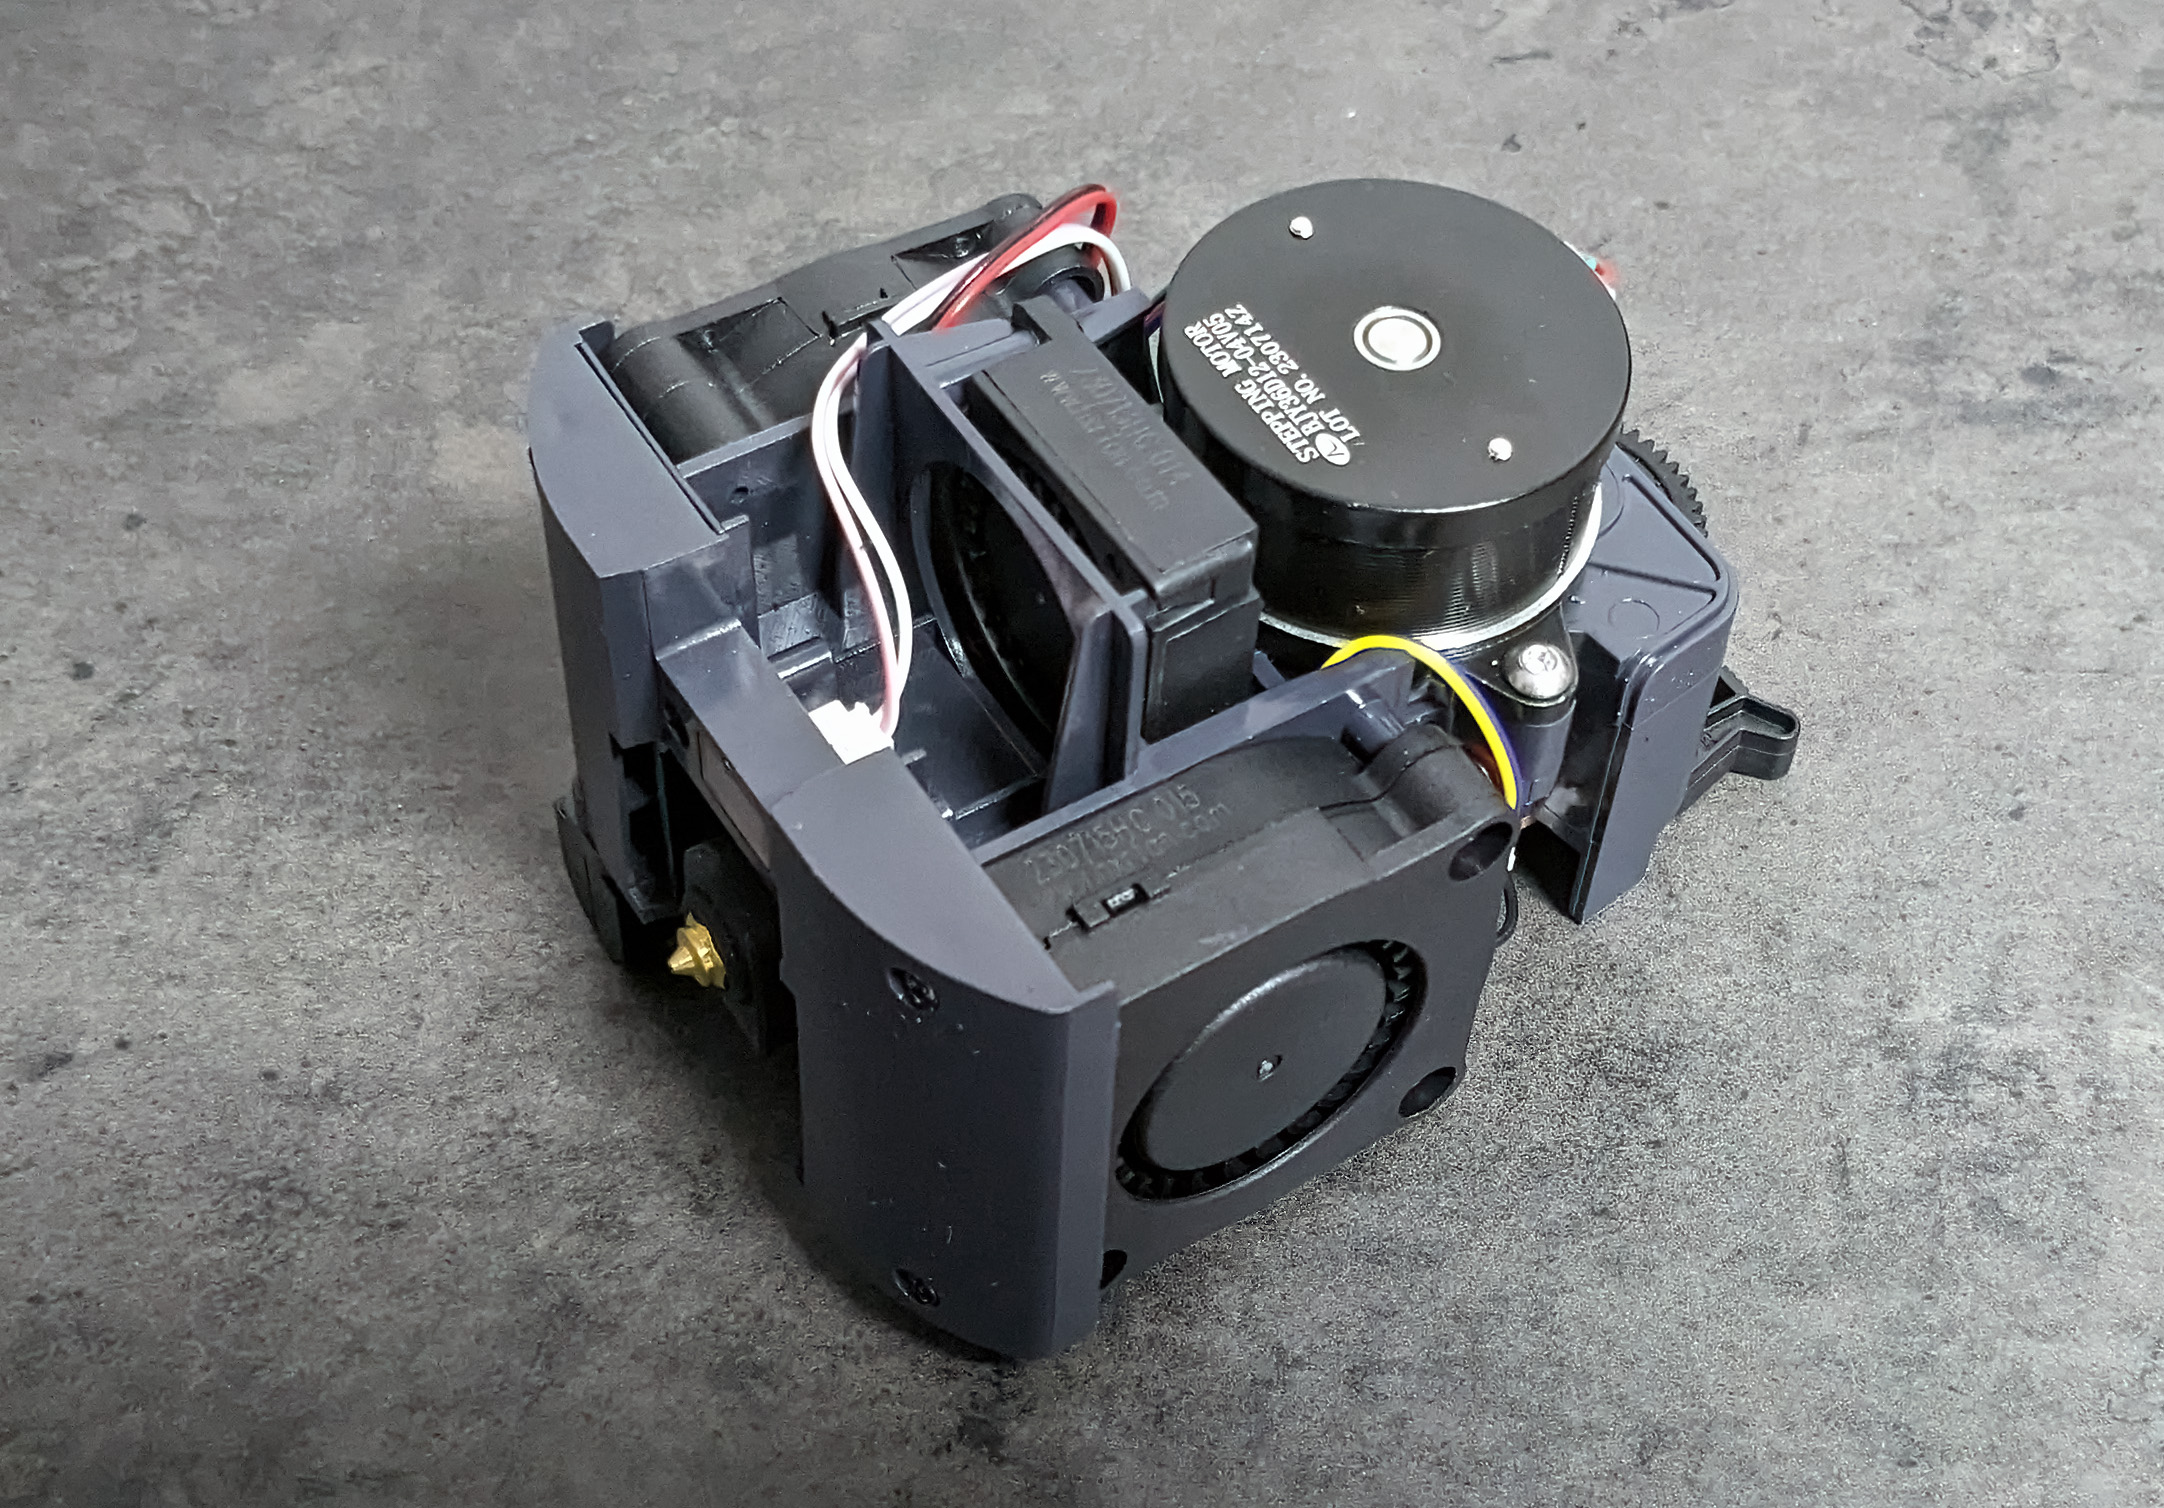
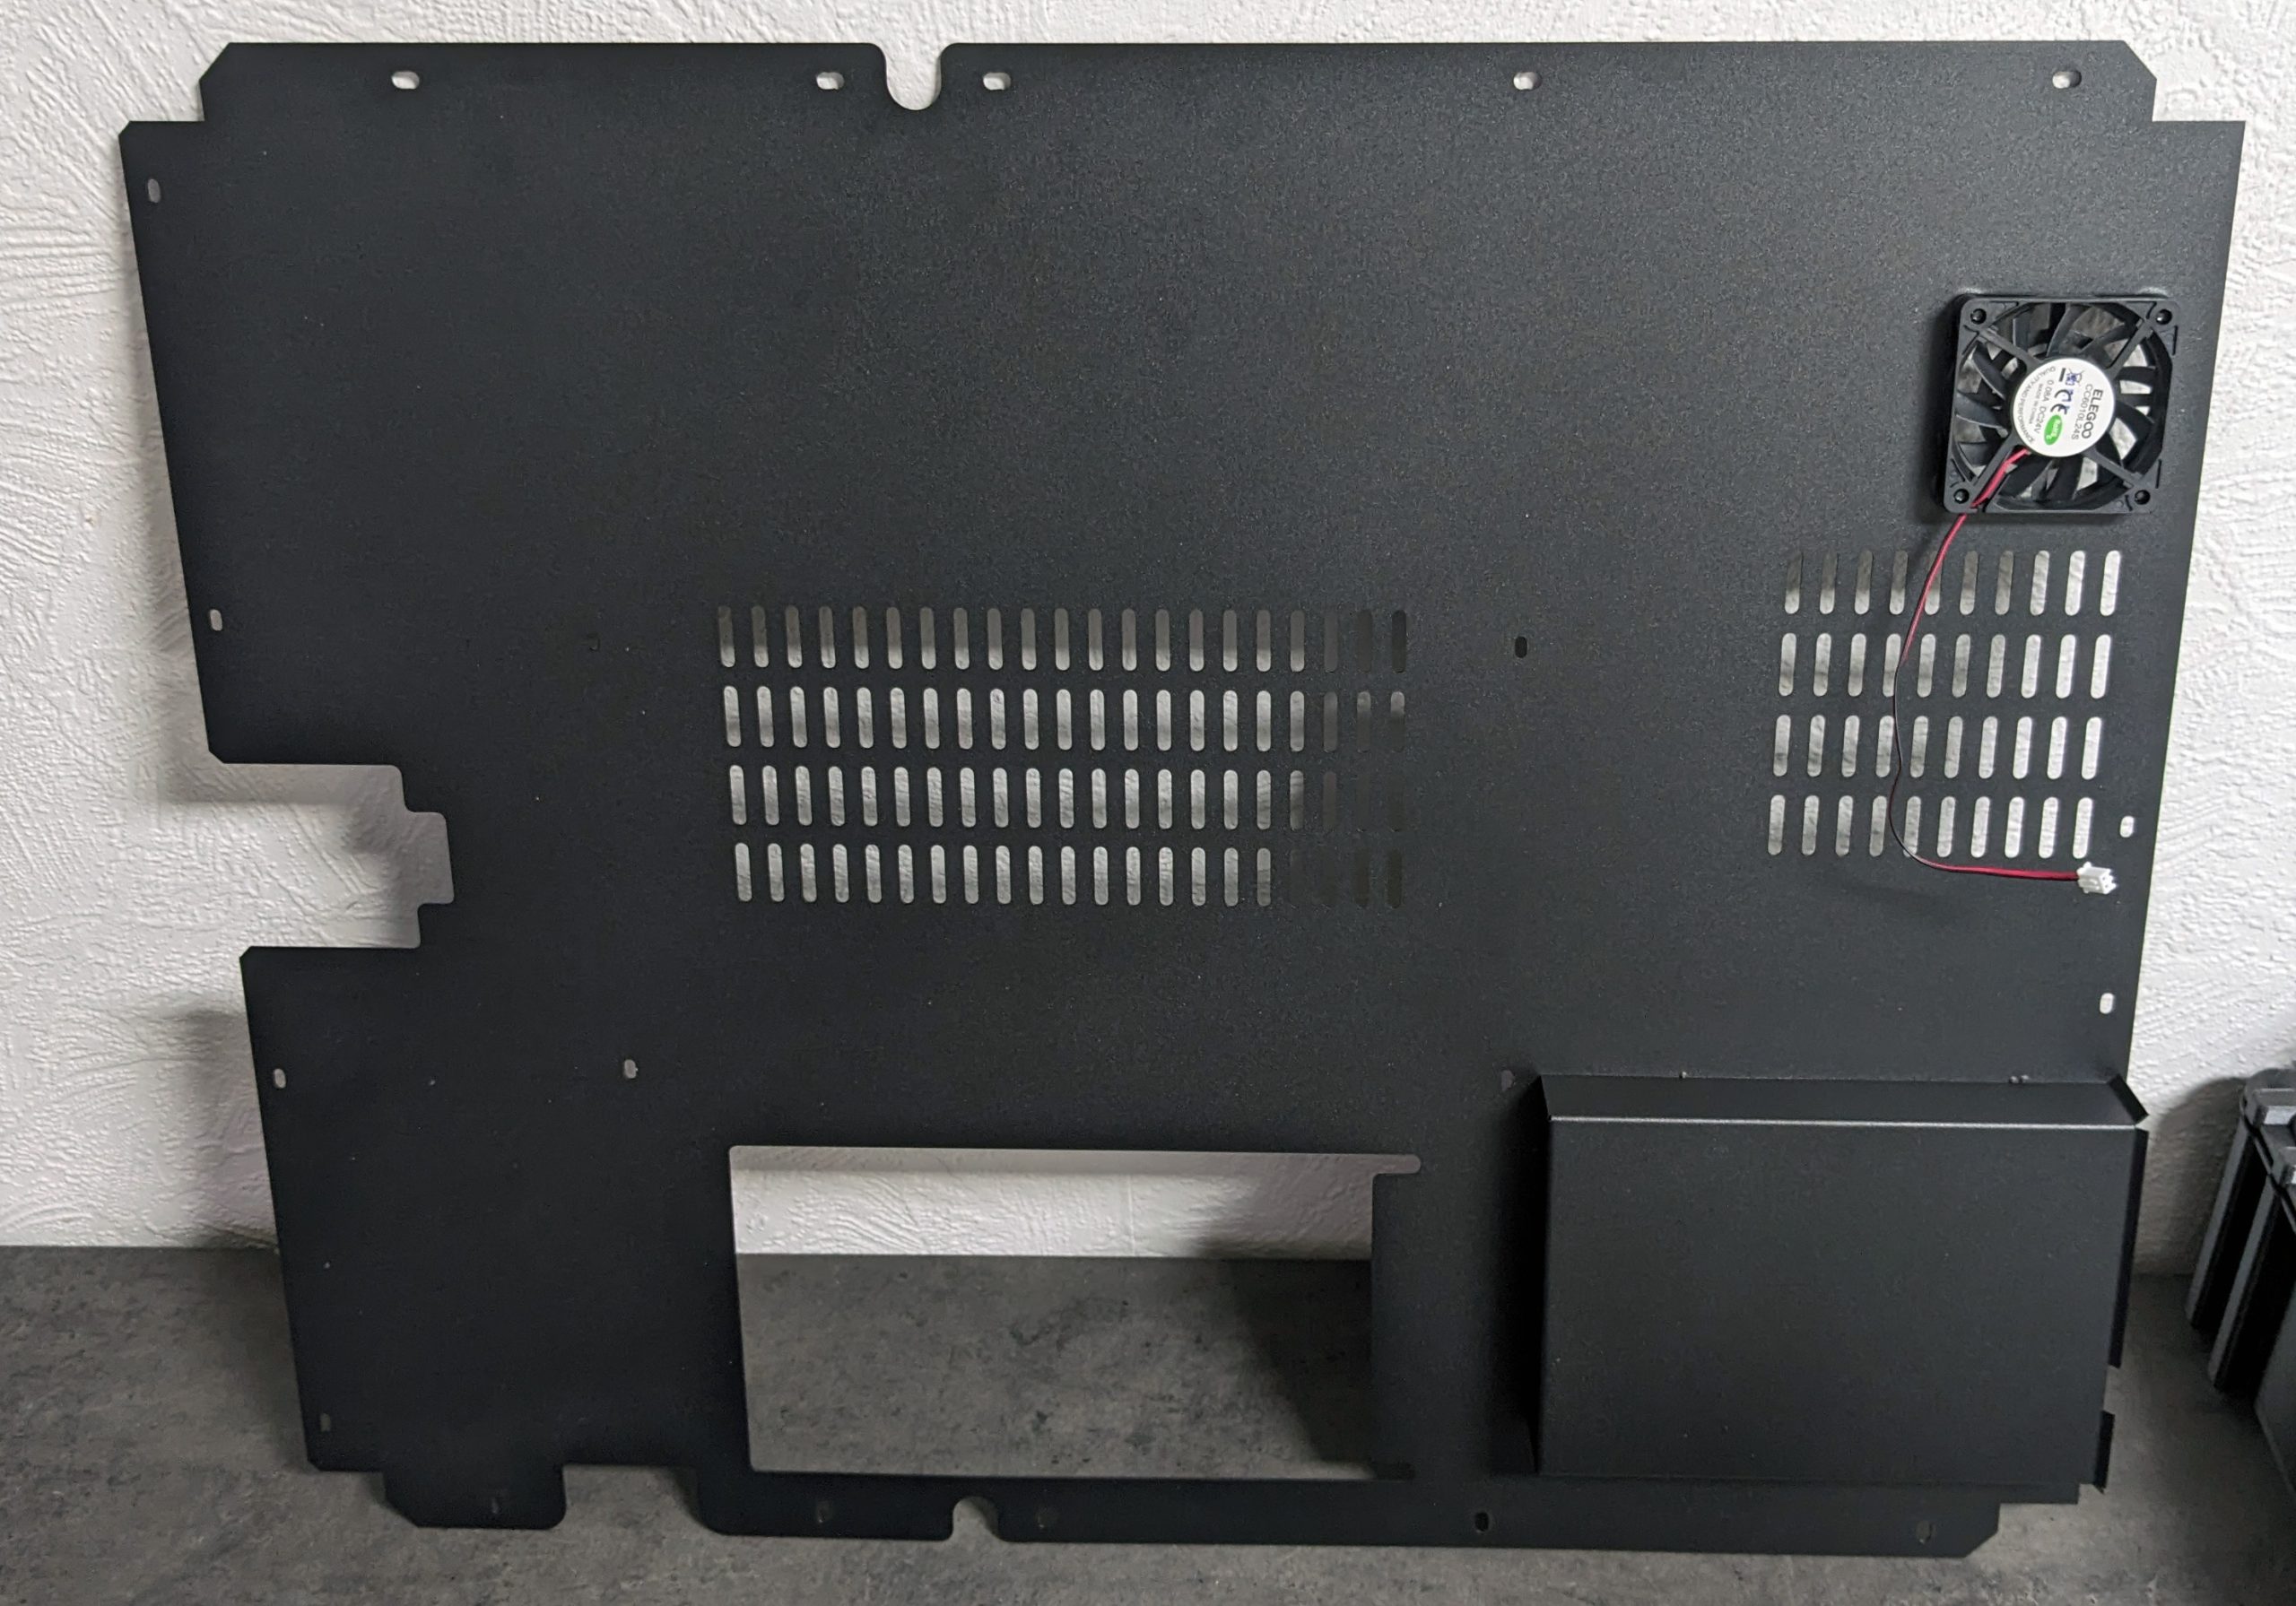
However, there have been some upgrades in the details, such as a ceramic heating element with 60 watts and a brass heating block. A total of 3 fans and a pancake stepper motor are hidden behind the front cover.

If you turn the whole thing over, the toolhead PCB becomes visible. I had my problems with this, more on that later.
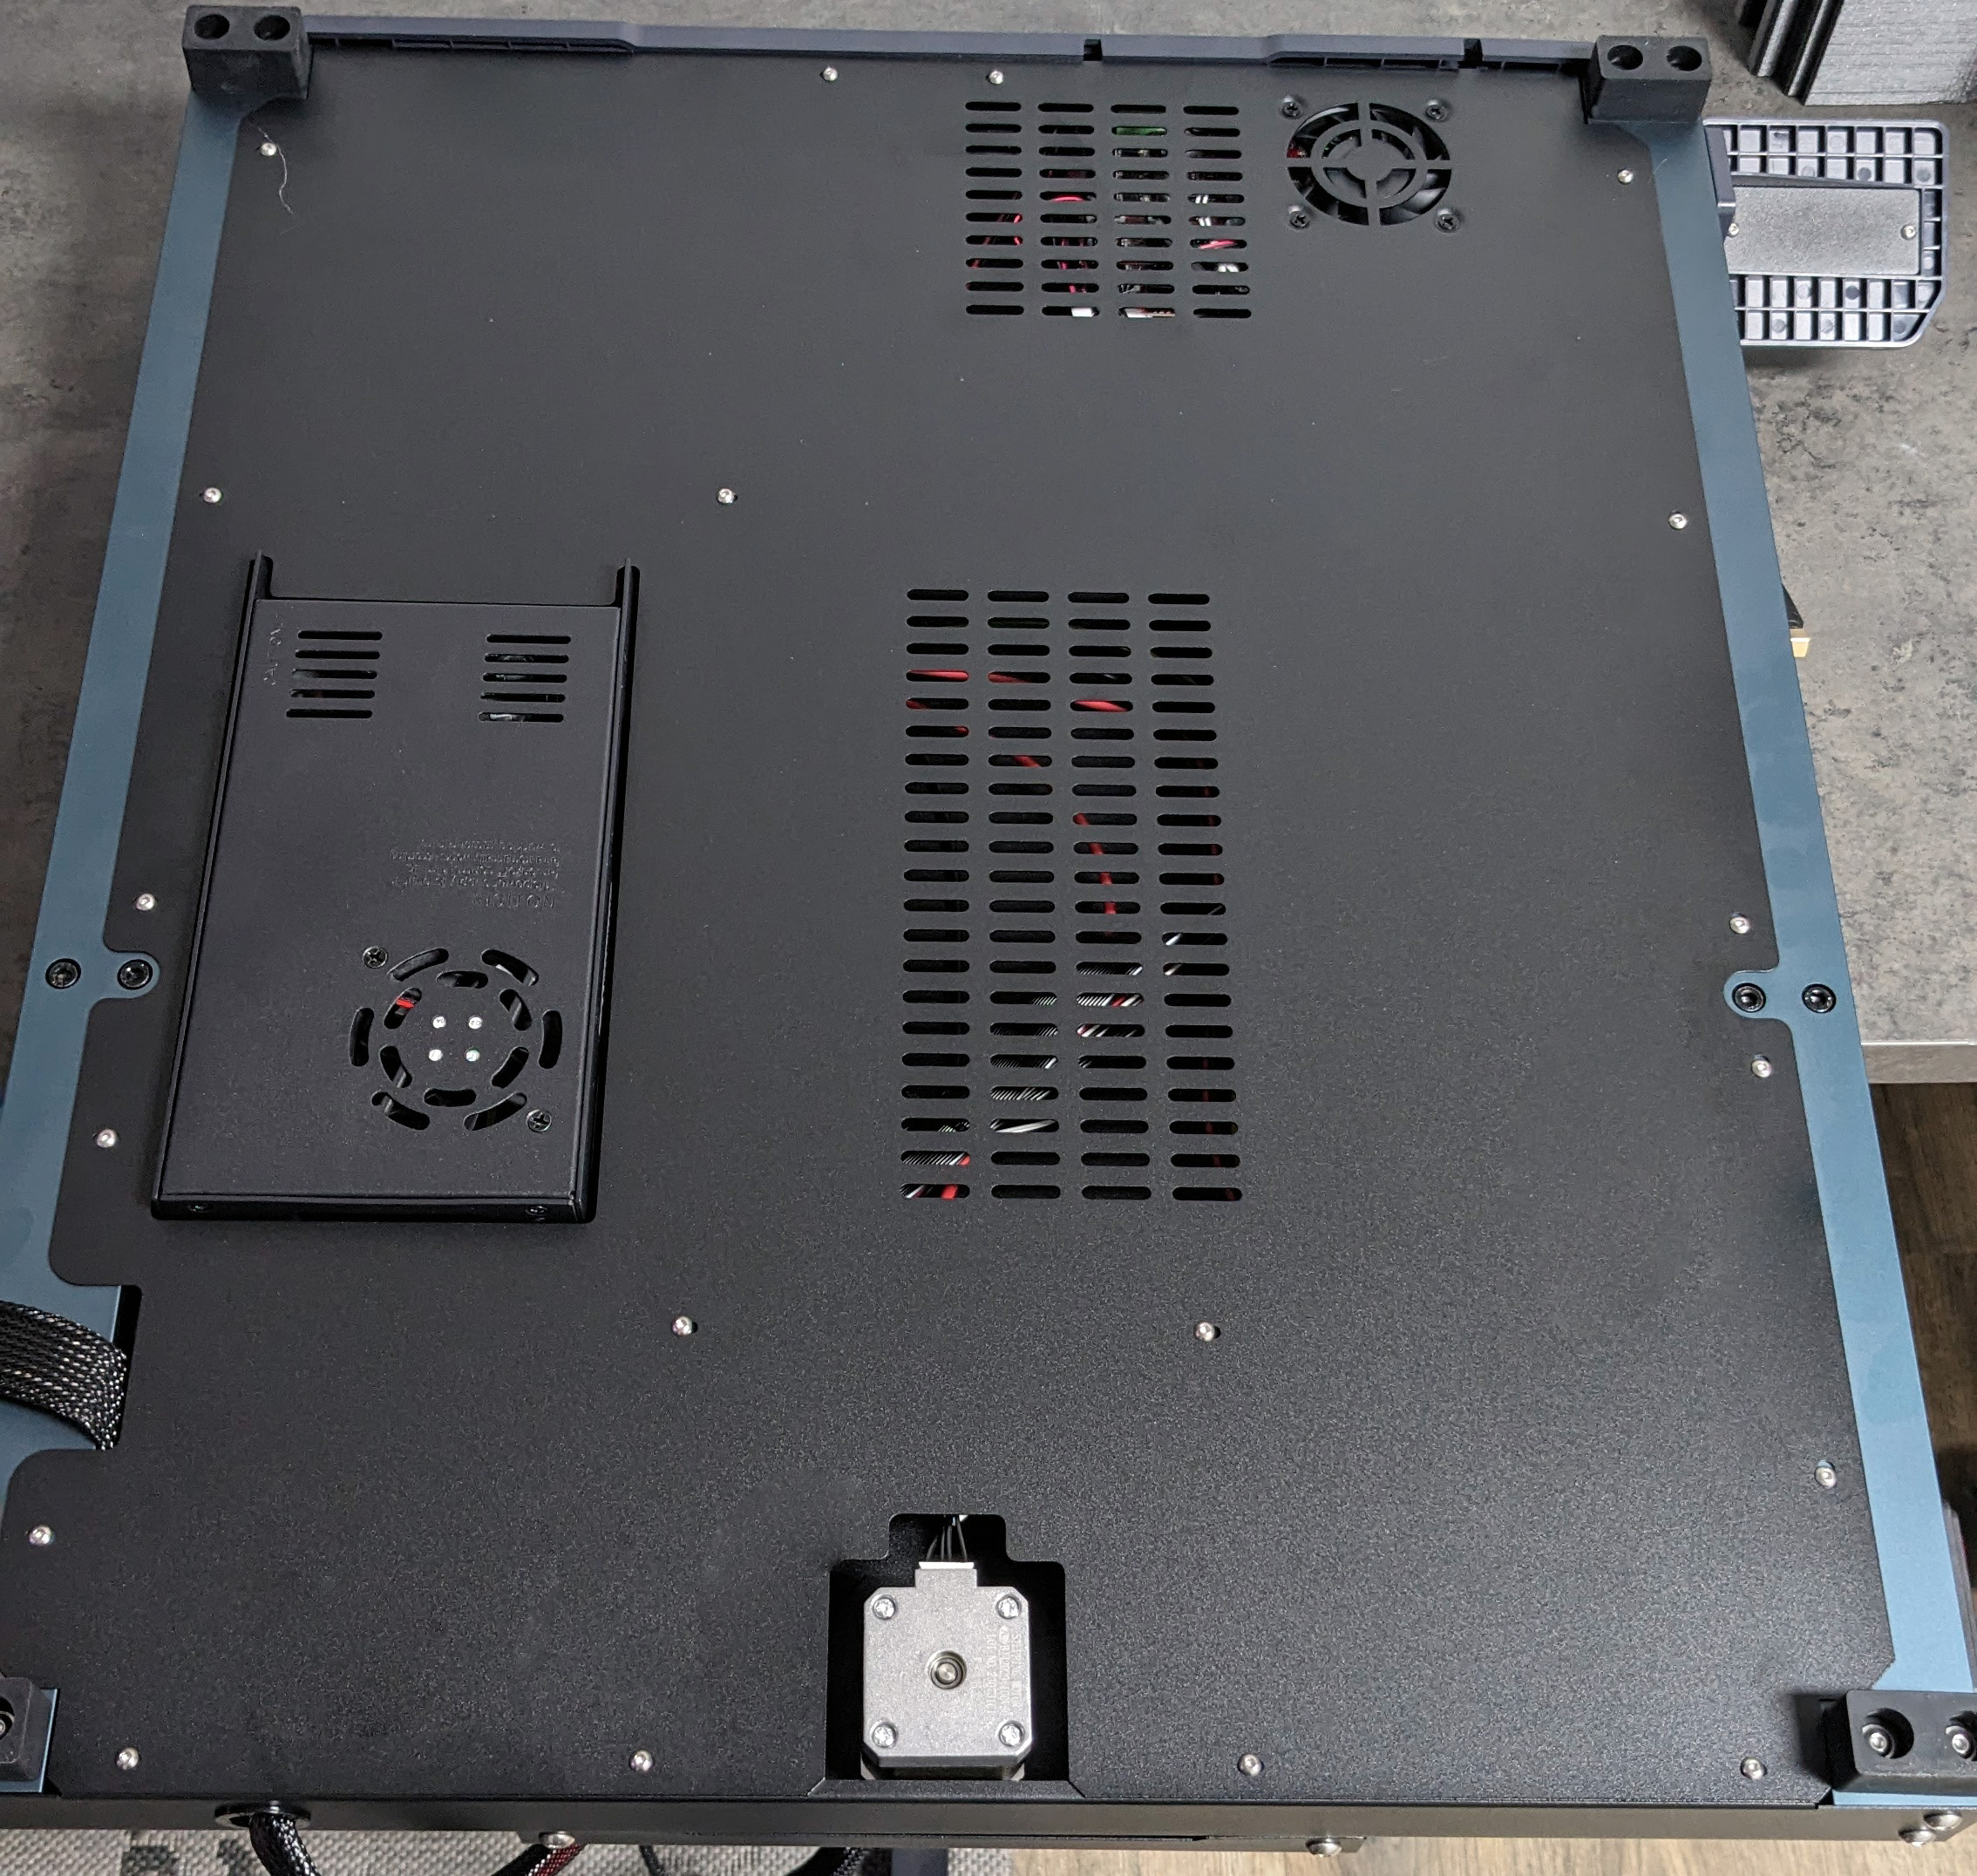
A total of 19 screws hold the large plate on the underside and have to be removed.
I’ve already had 3D printers that would have fit completely on here without any problems.
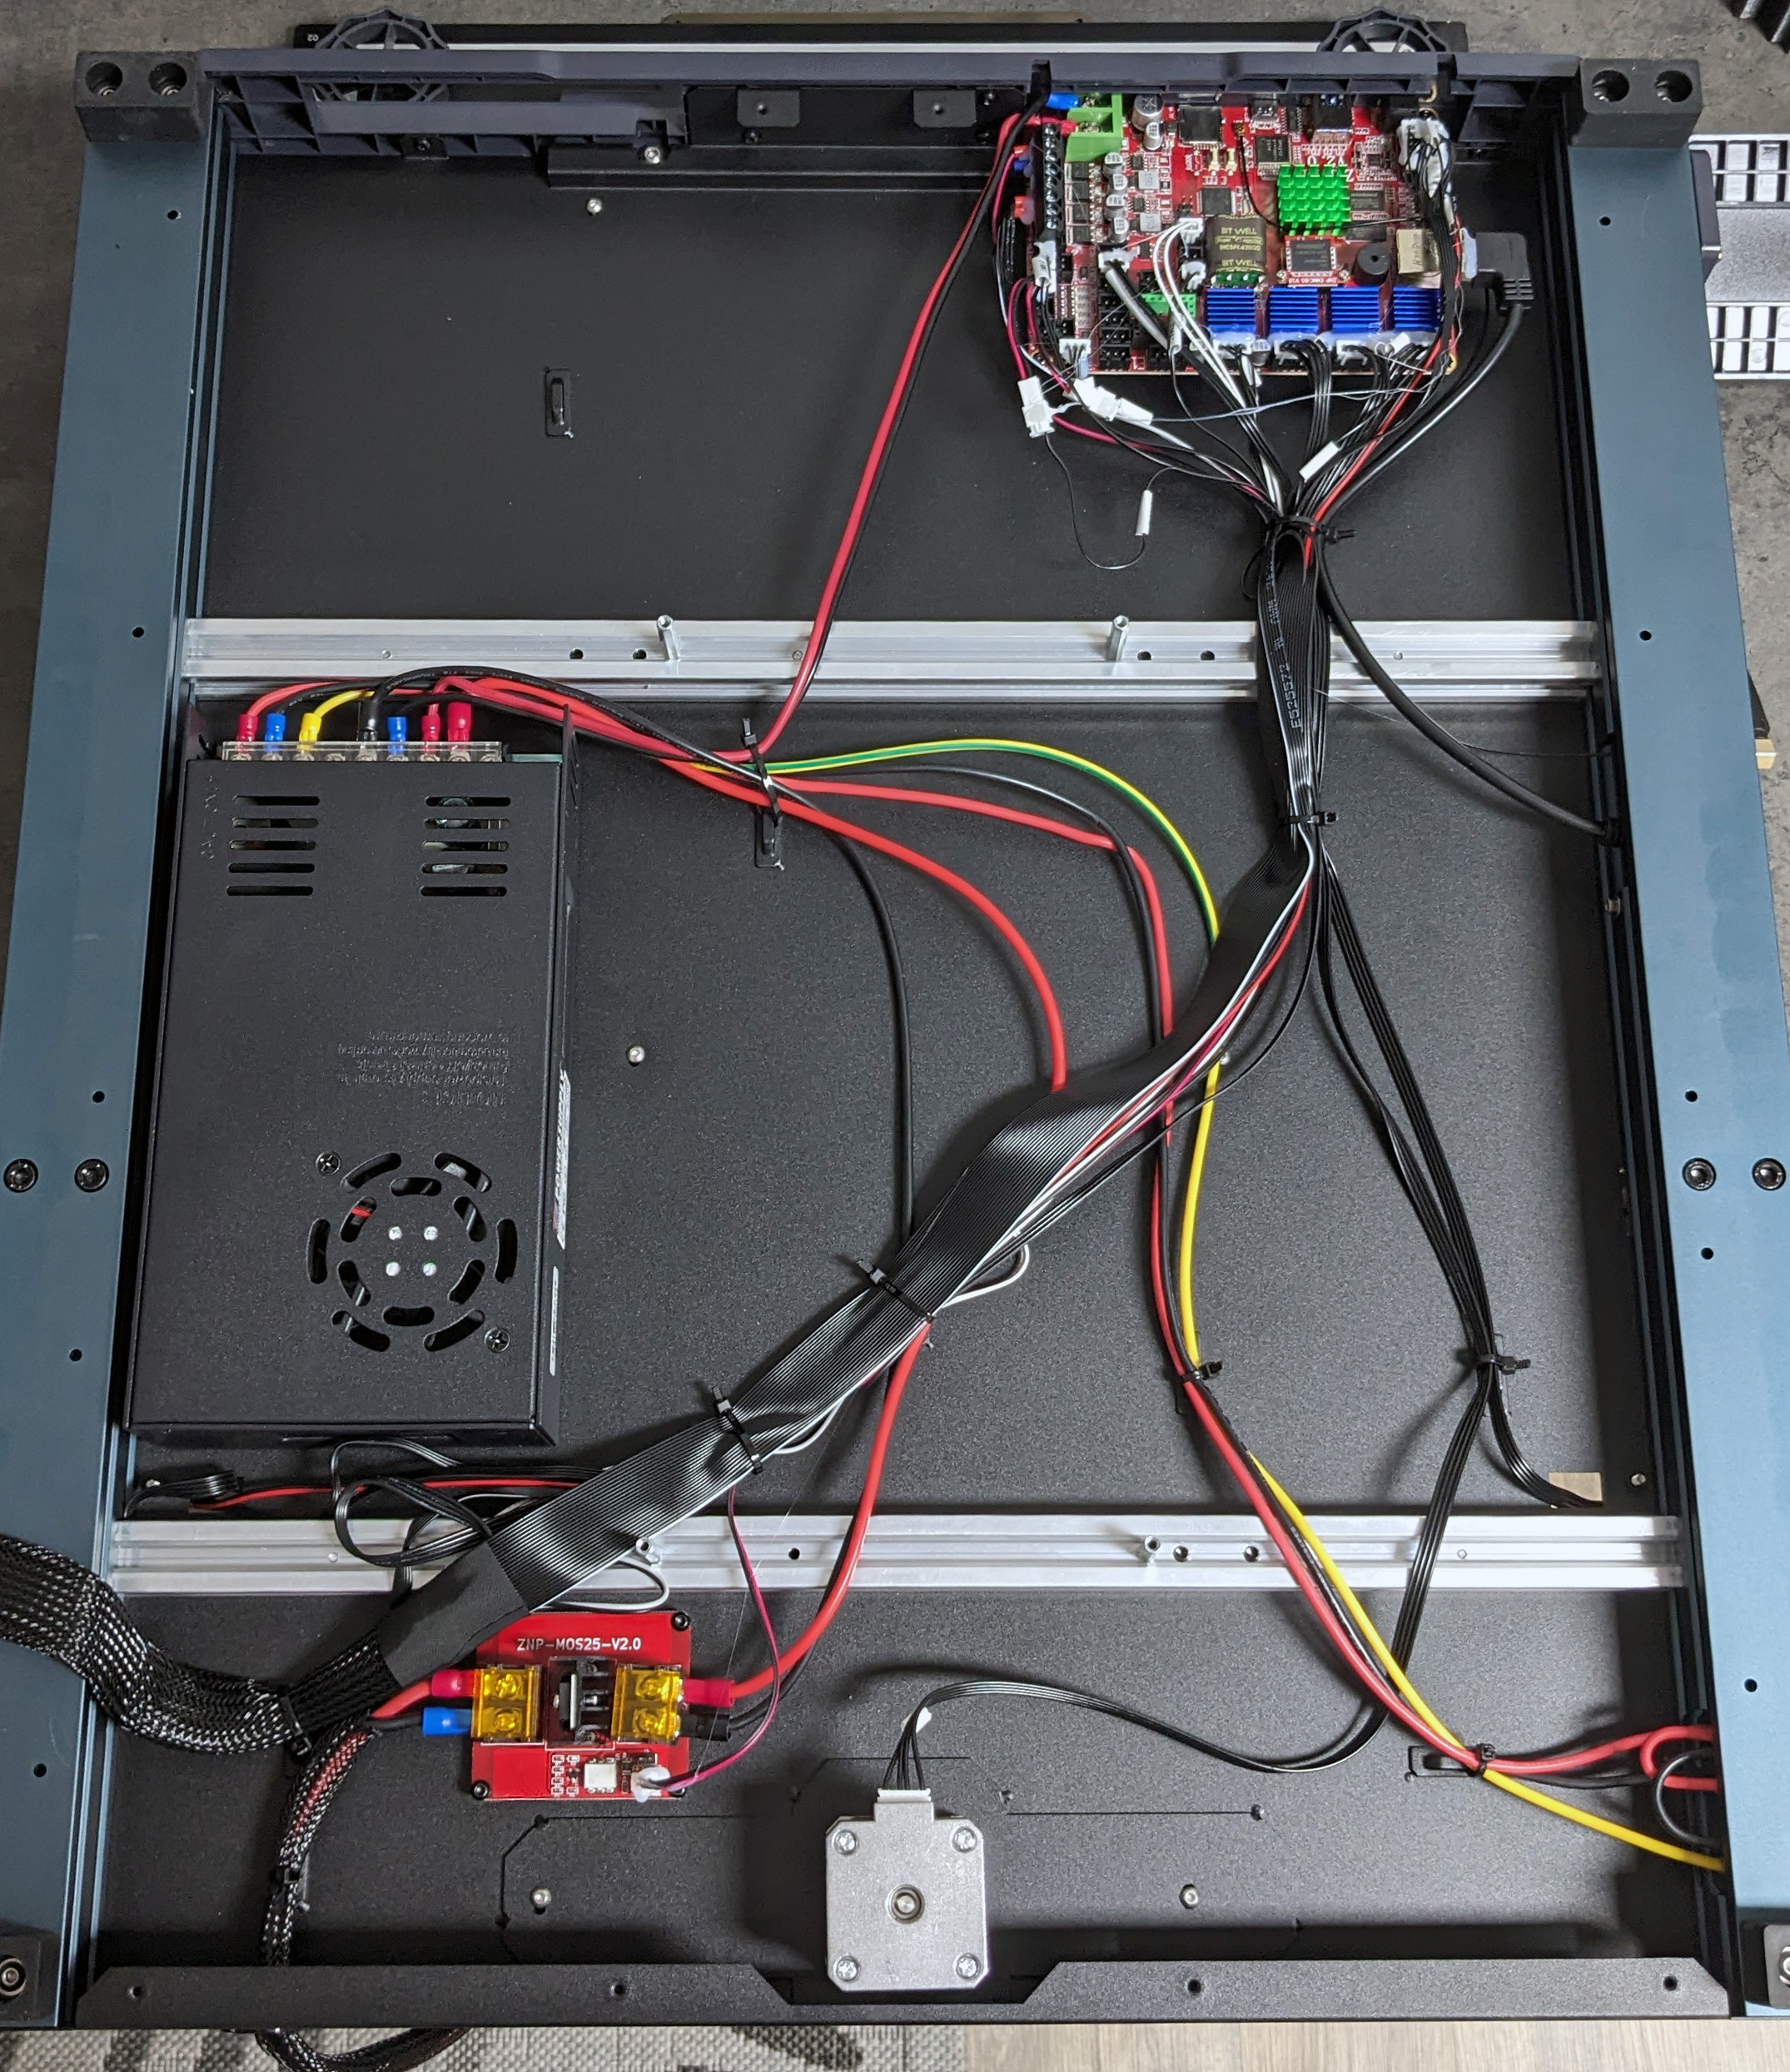
This is also a good keyword, because there is still a lot of unused space inside for free development. I don’t think there’s anything wrong with the cable management.
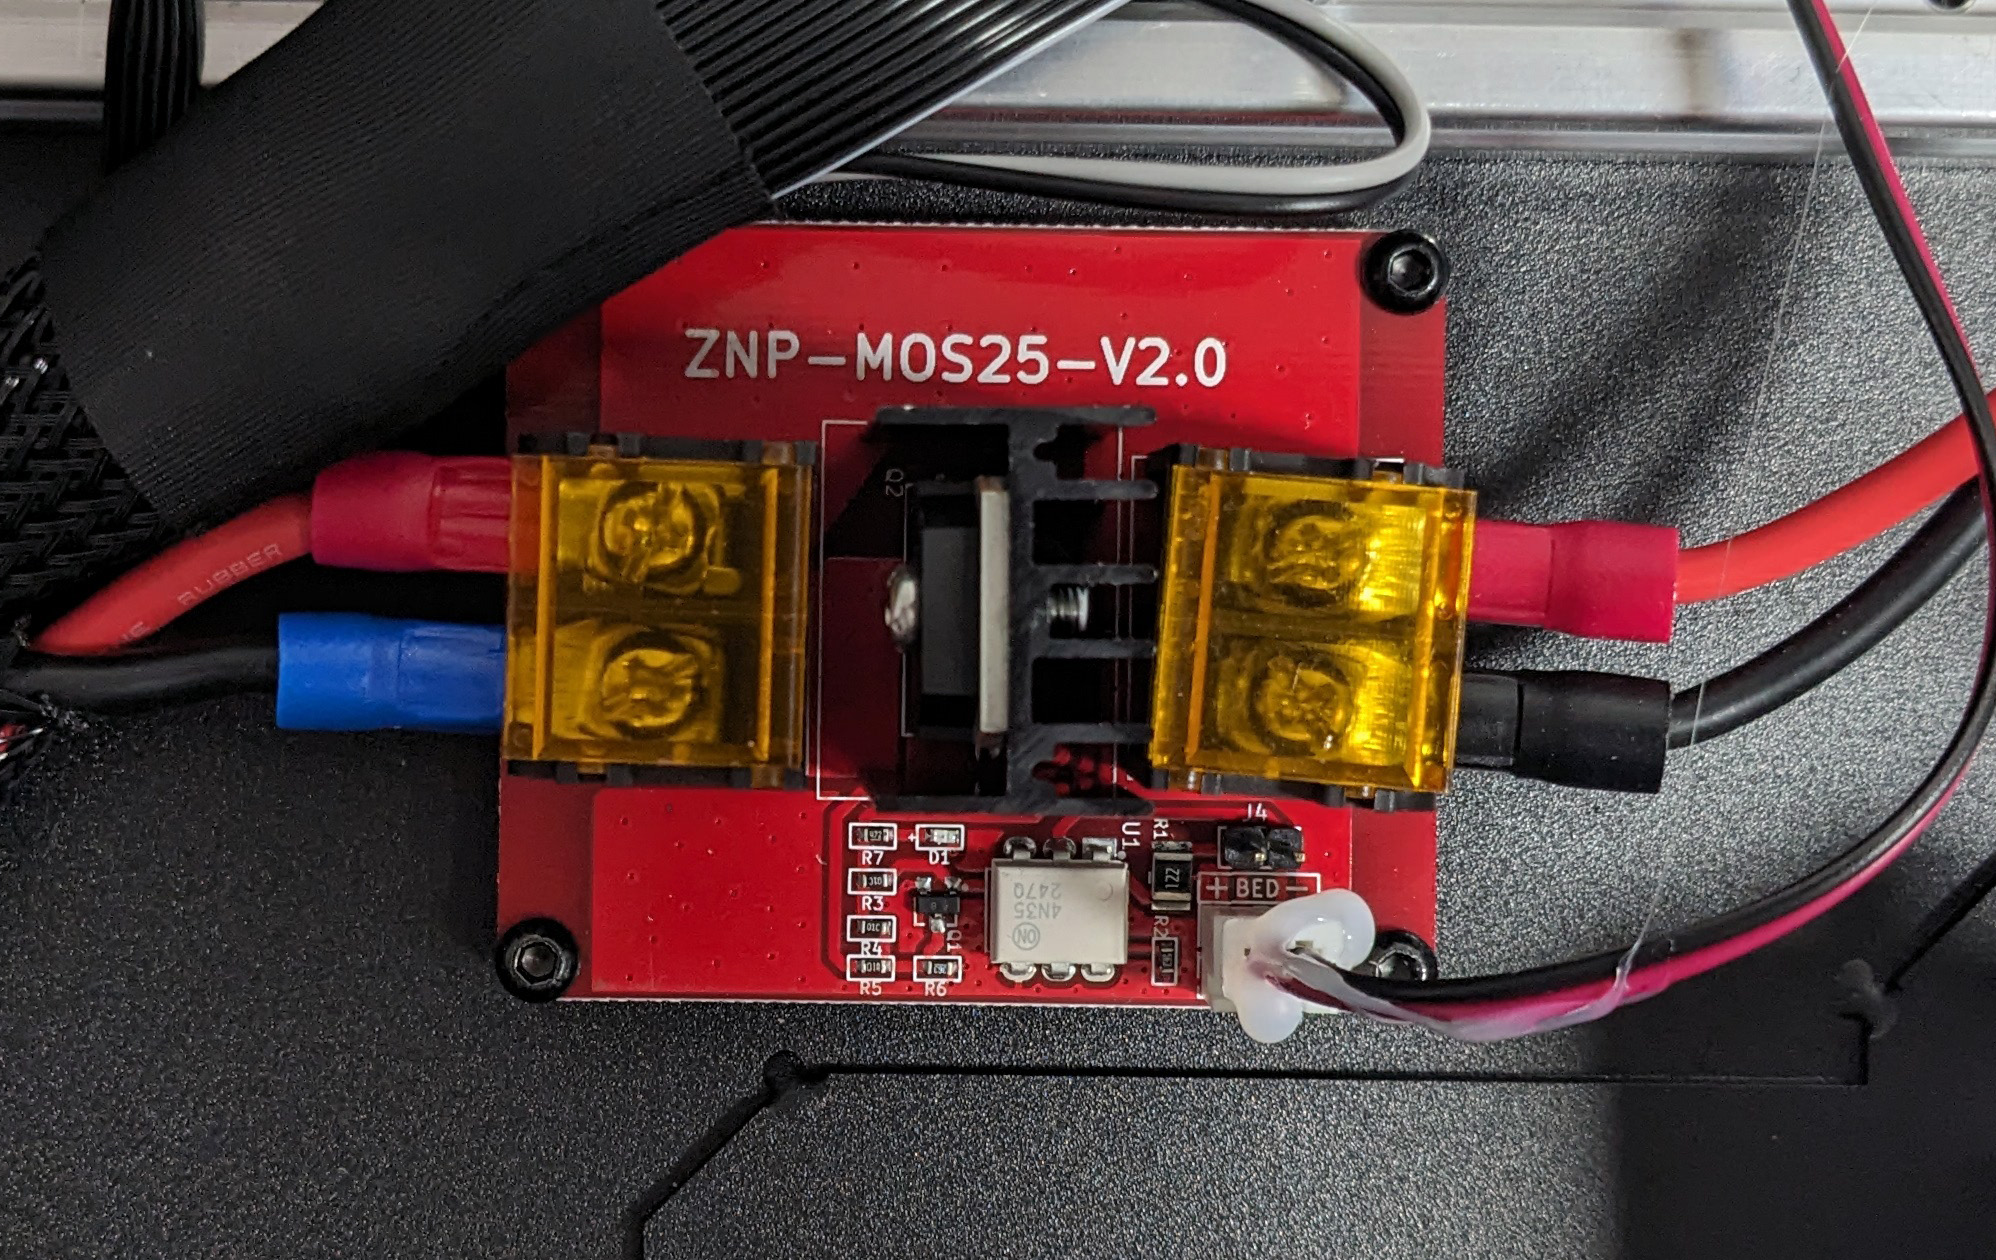
A ZNP-MOS25-V2.0 mosfet has been interposed so that the mainboard is not overloaded when the bed heats up. This means that up to 25 amps are available.
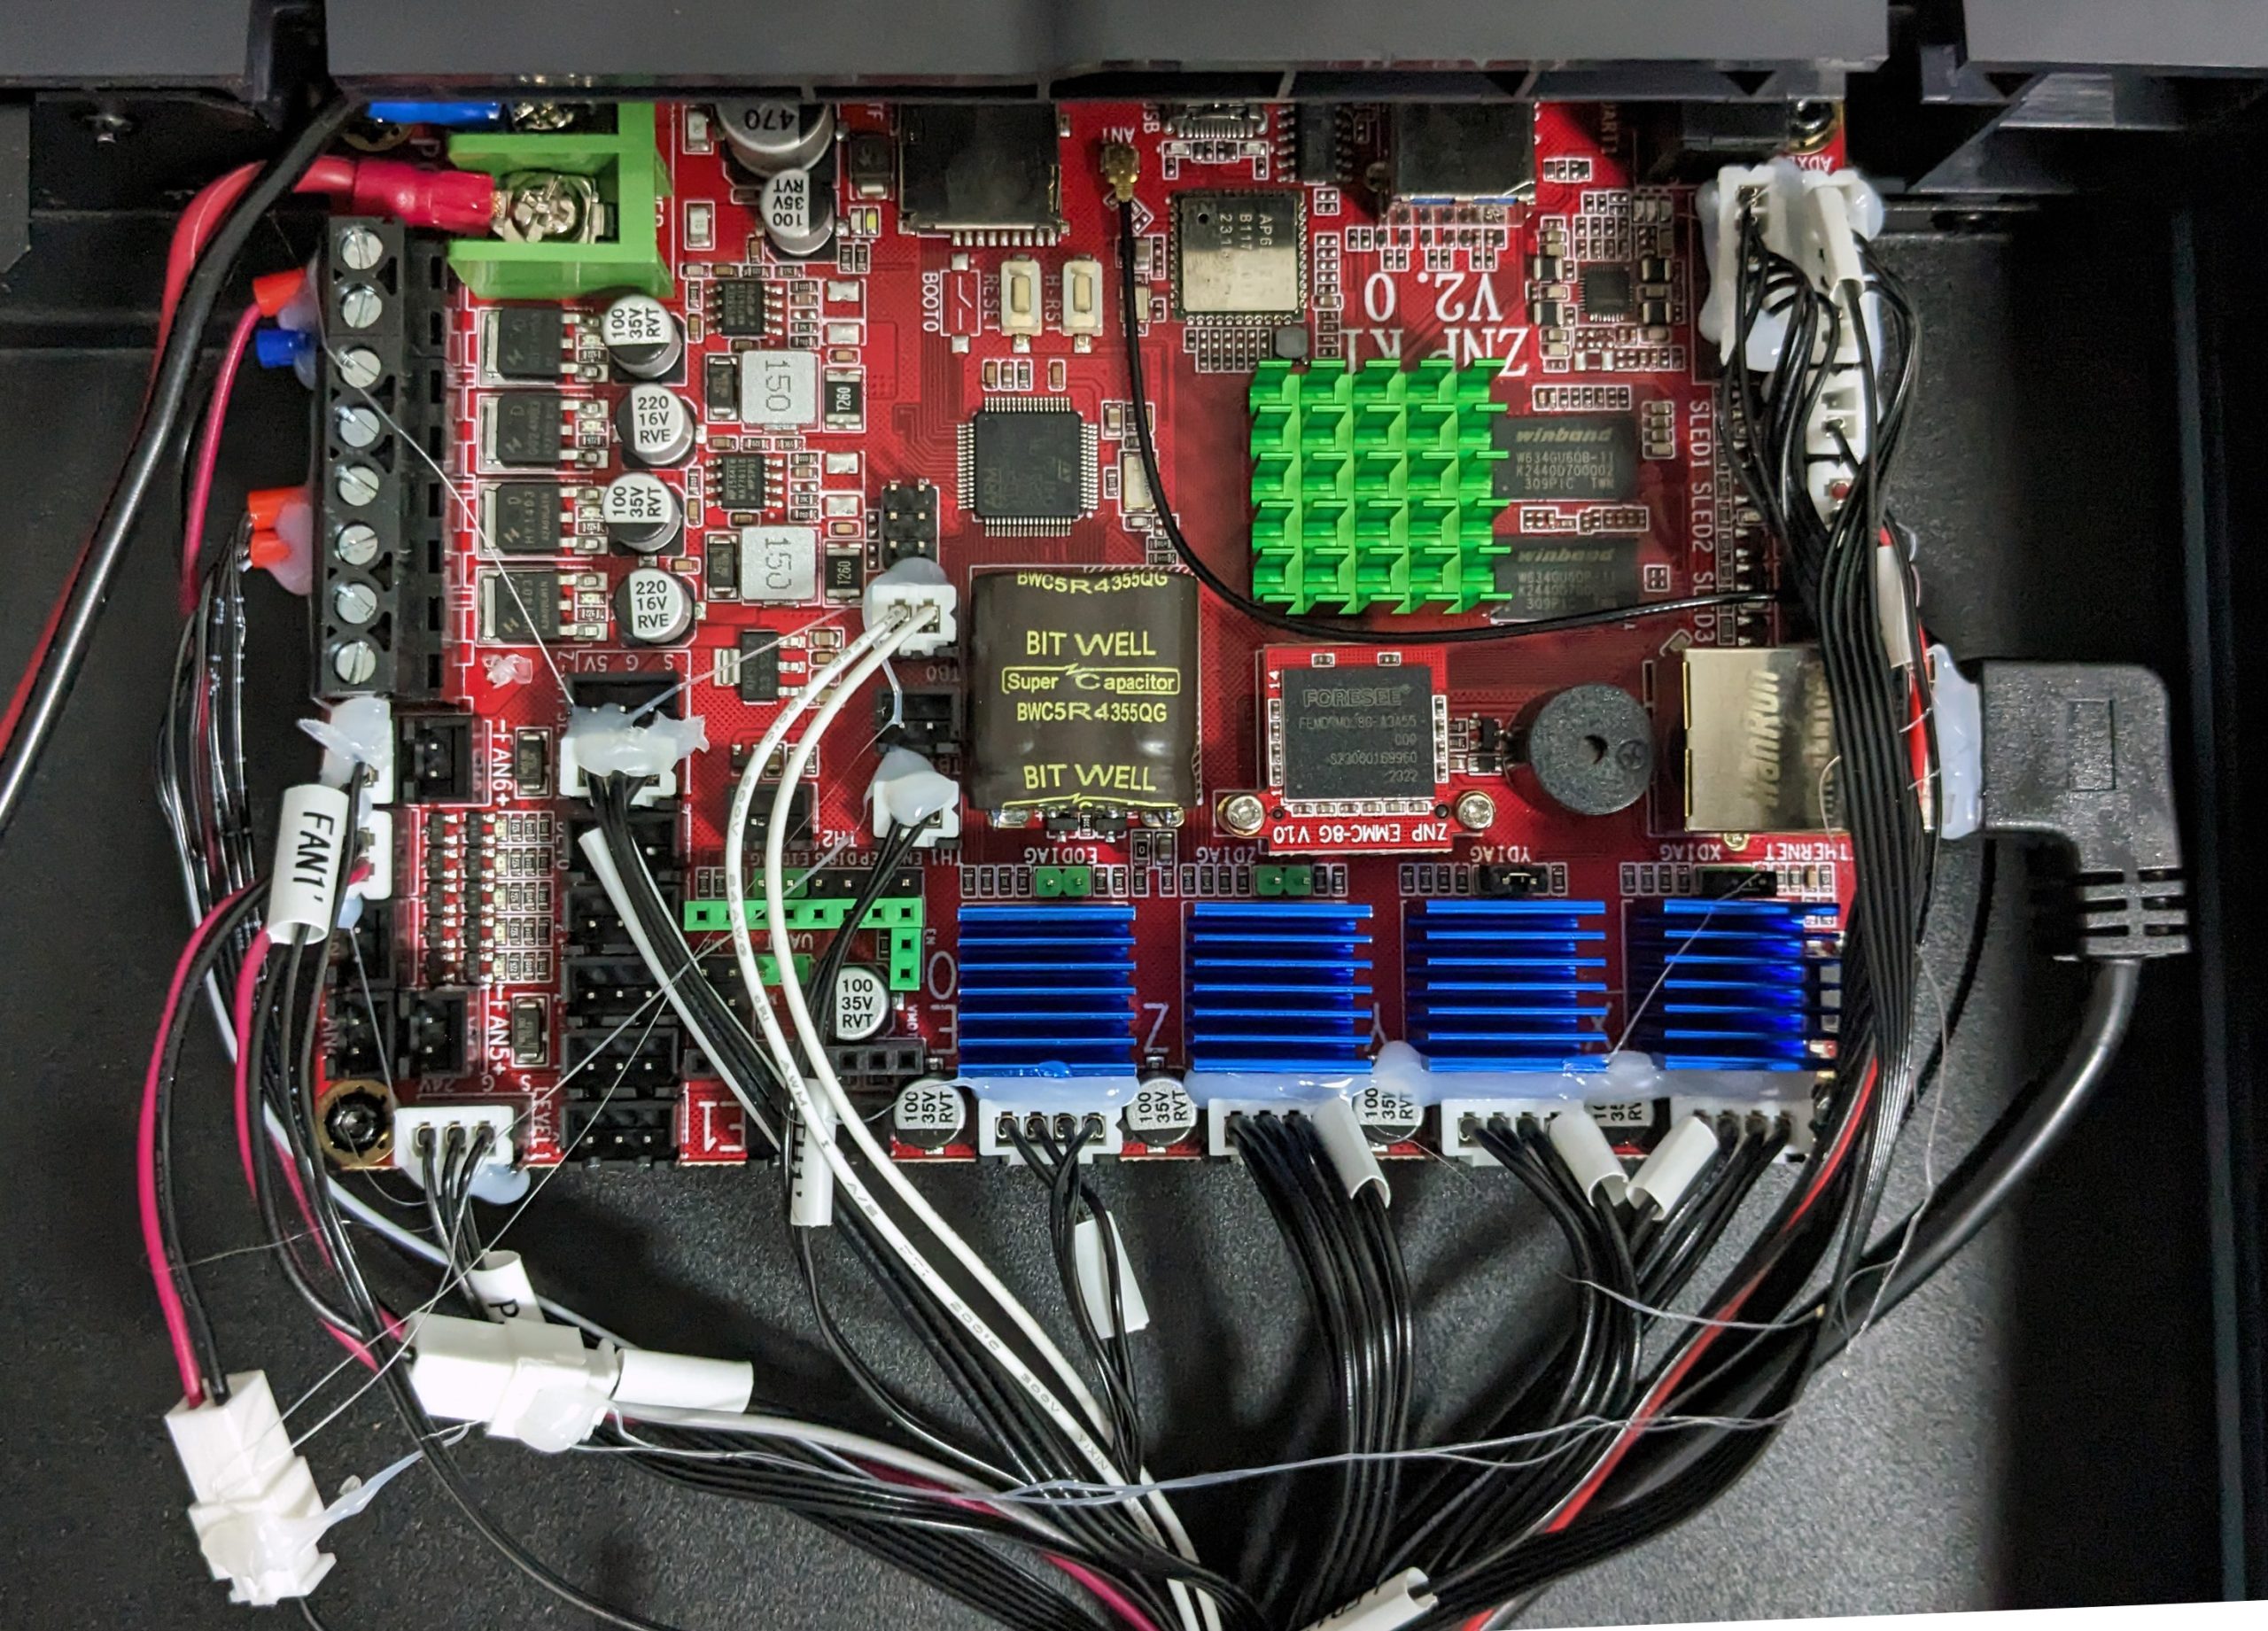
And here is the mainboard itself, model ZNP K1 V2.0. All connections, apart from the one for the fan in the removable panel, were secured with hot glue.
8GB eMMC memory and a presumably cloned MKS-PI are responsible for the operation and the web interface, the built-in TMC2209 stepper drivers for the movements.
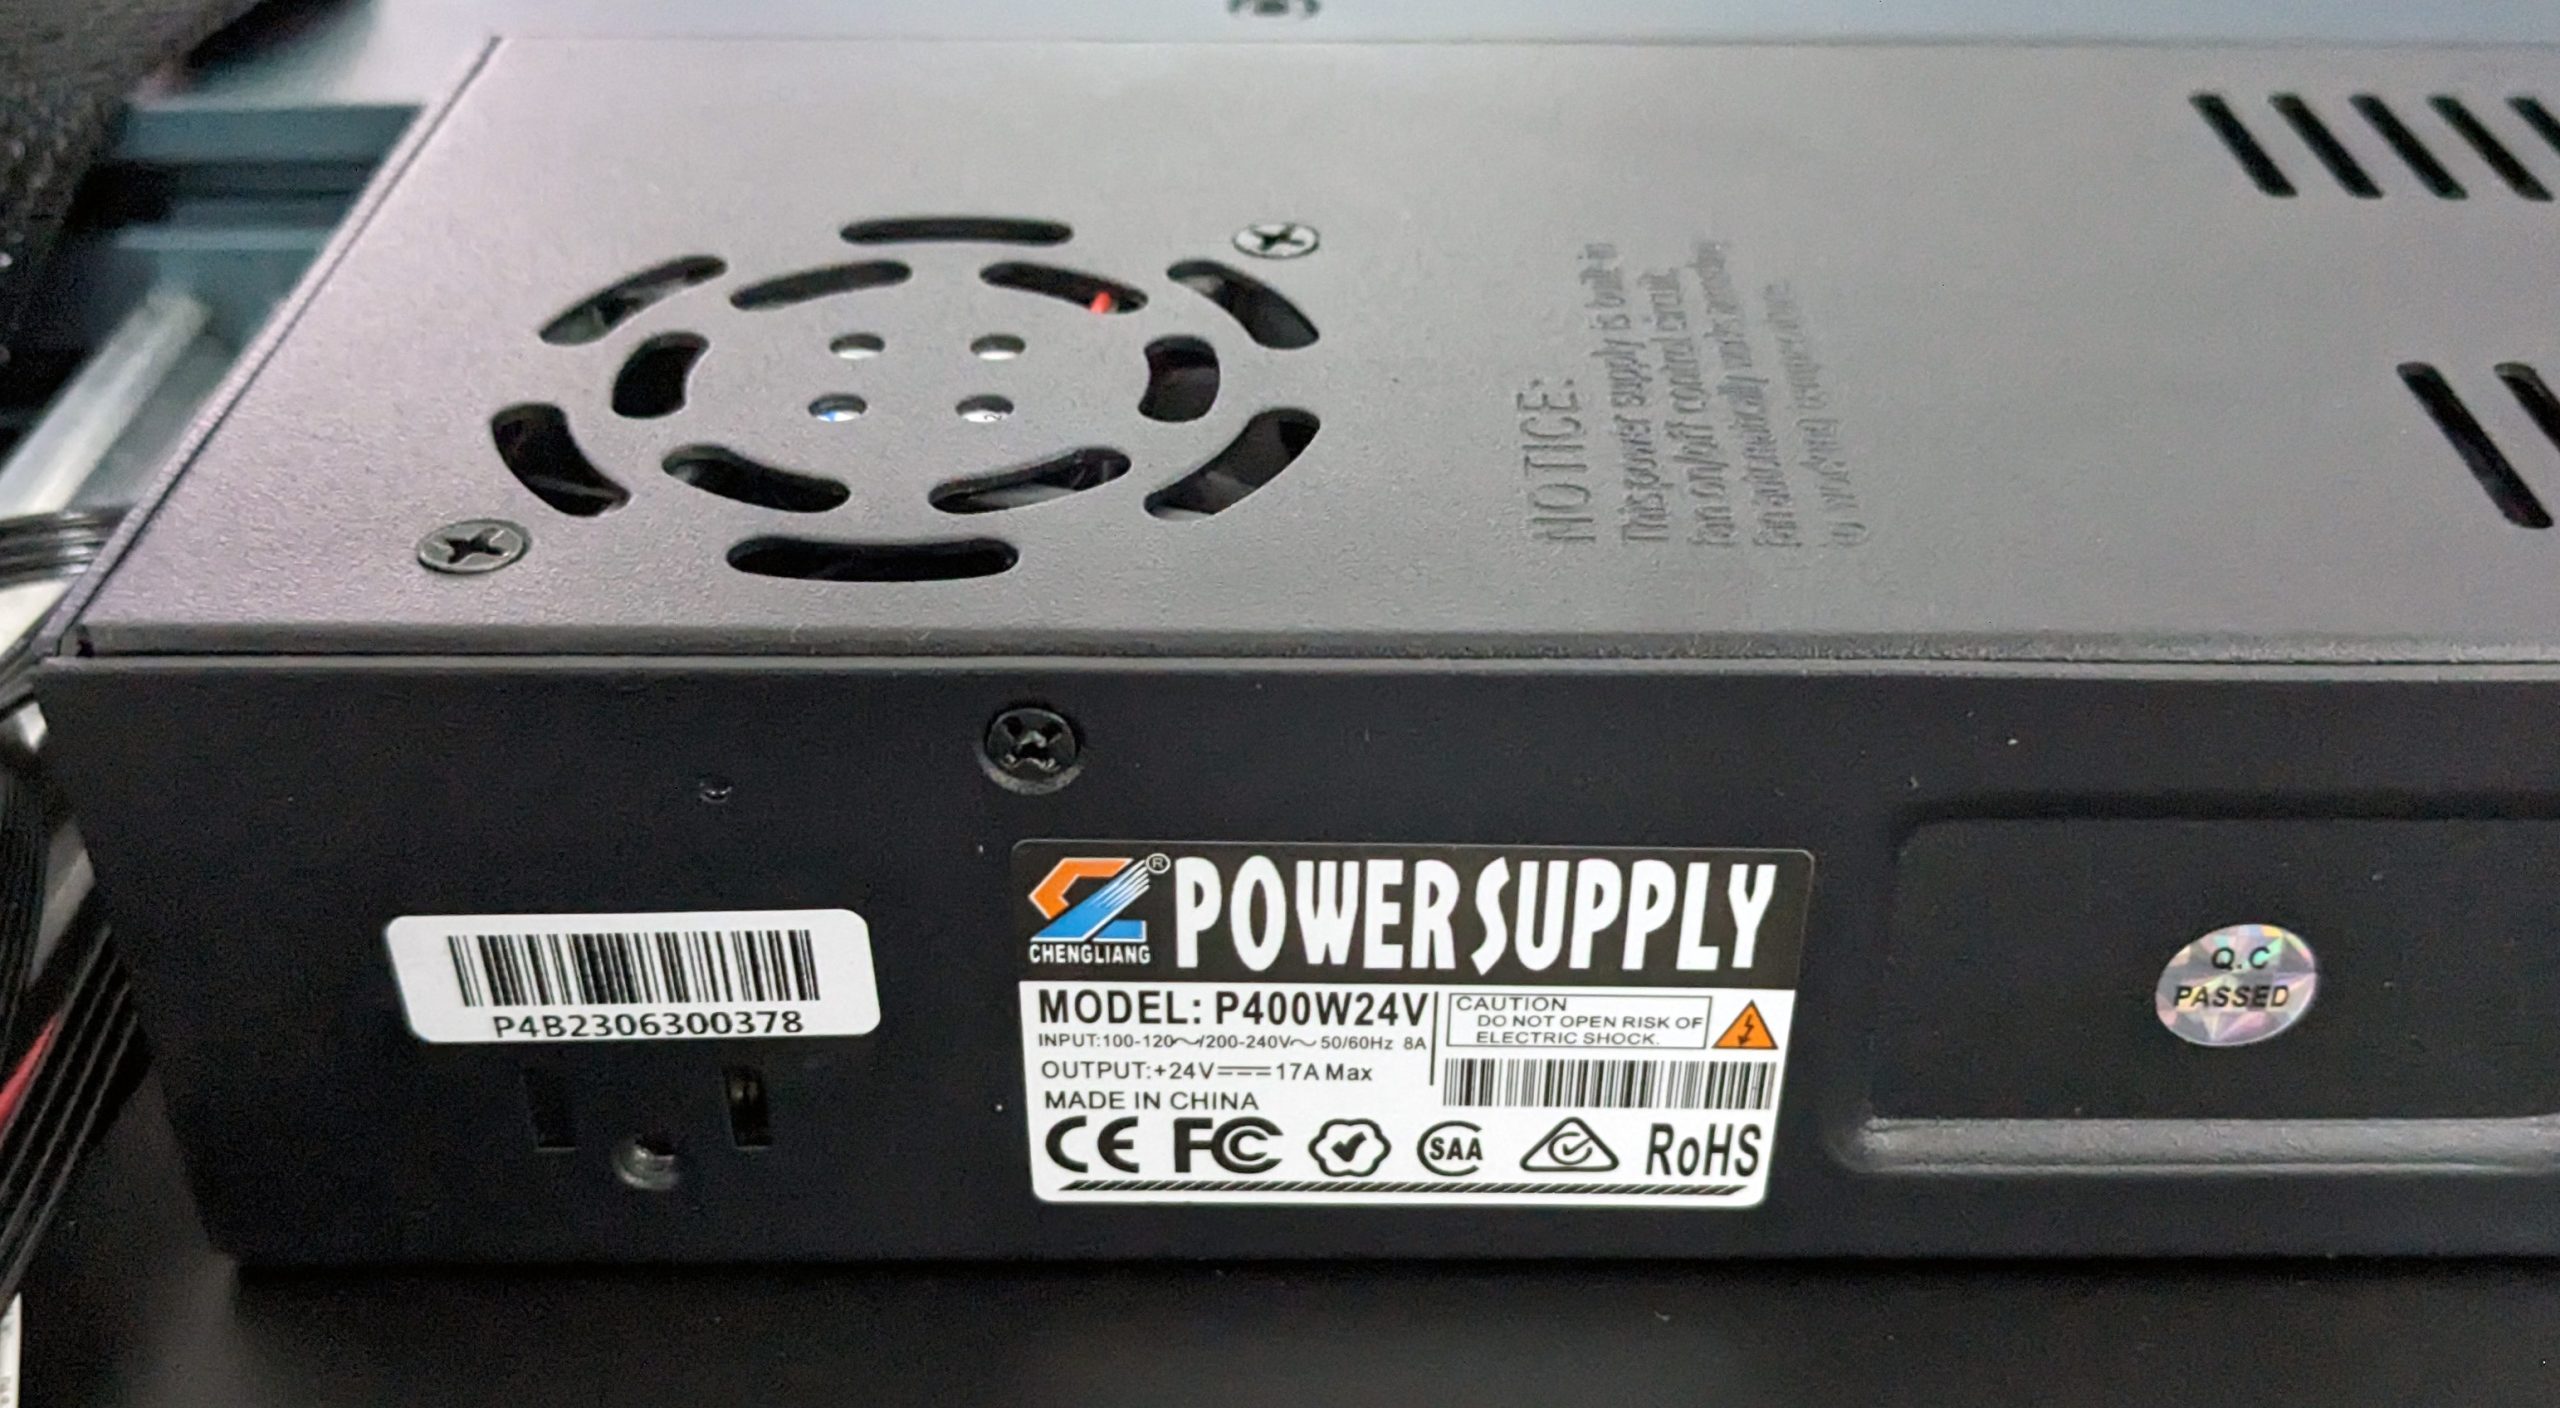
A Chengliang P400W24V power supply unit has been installed to ensure that sufficient power can be supplied.
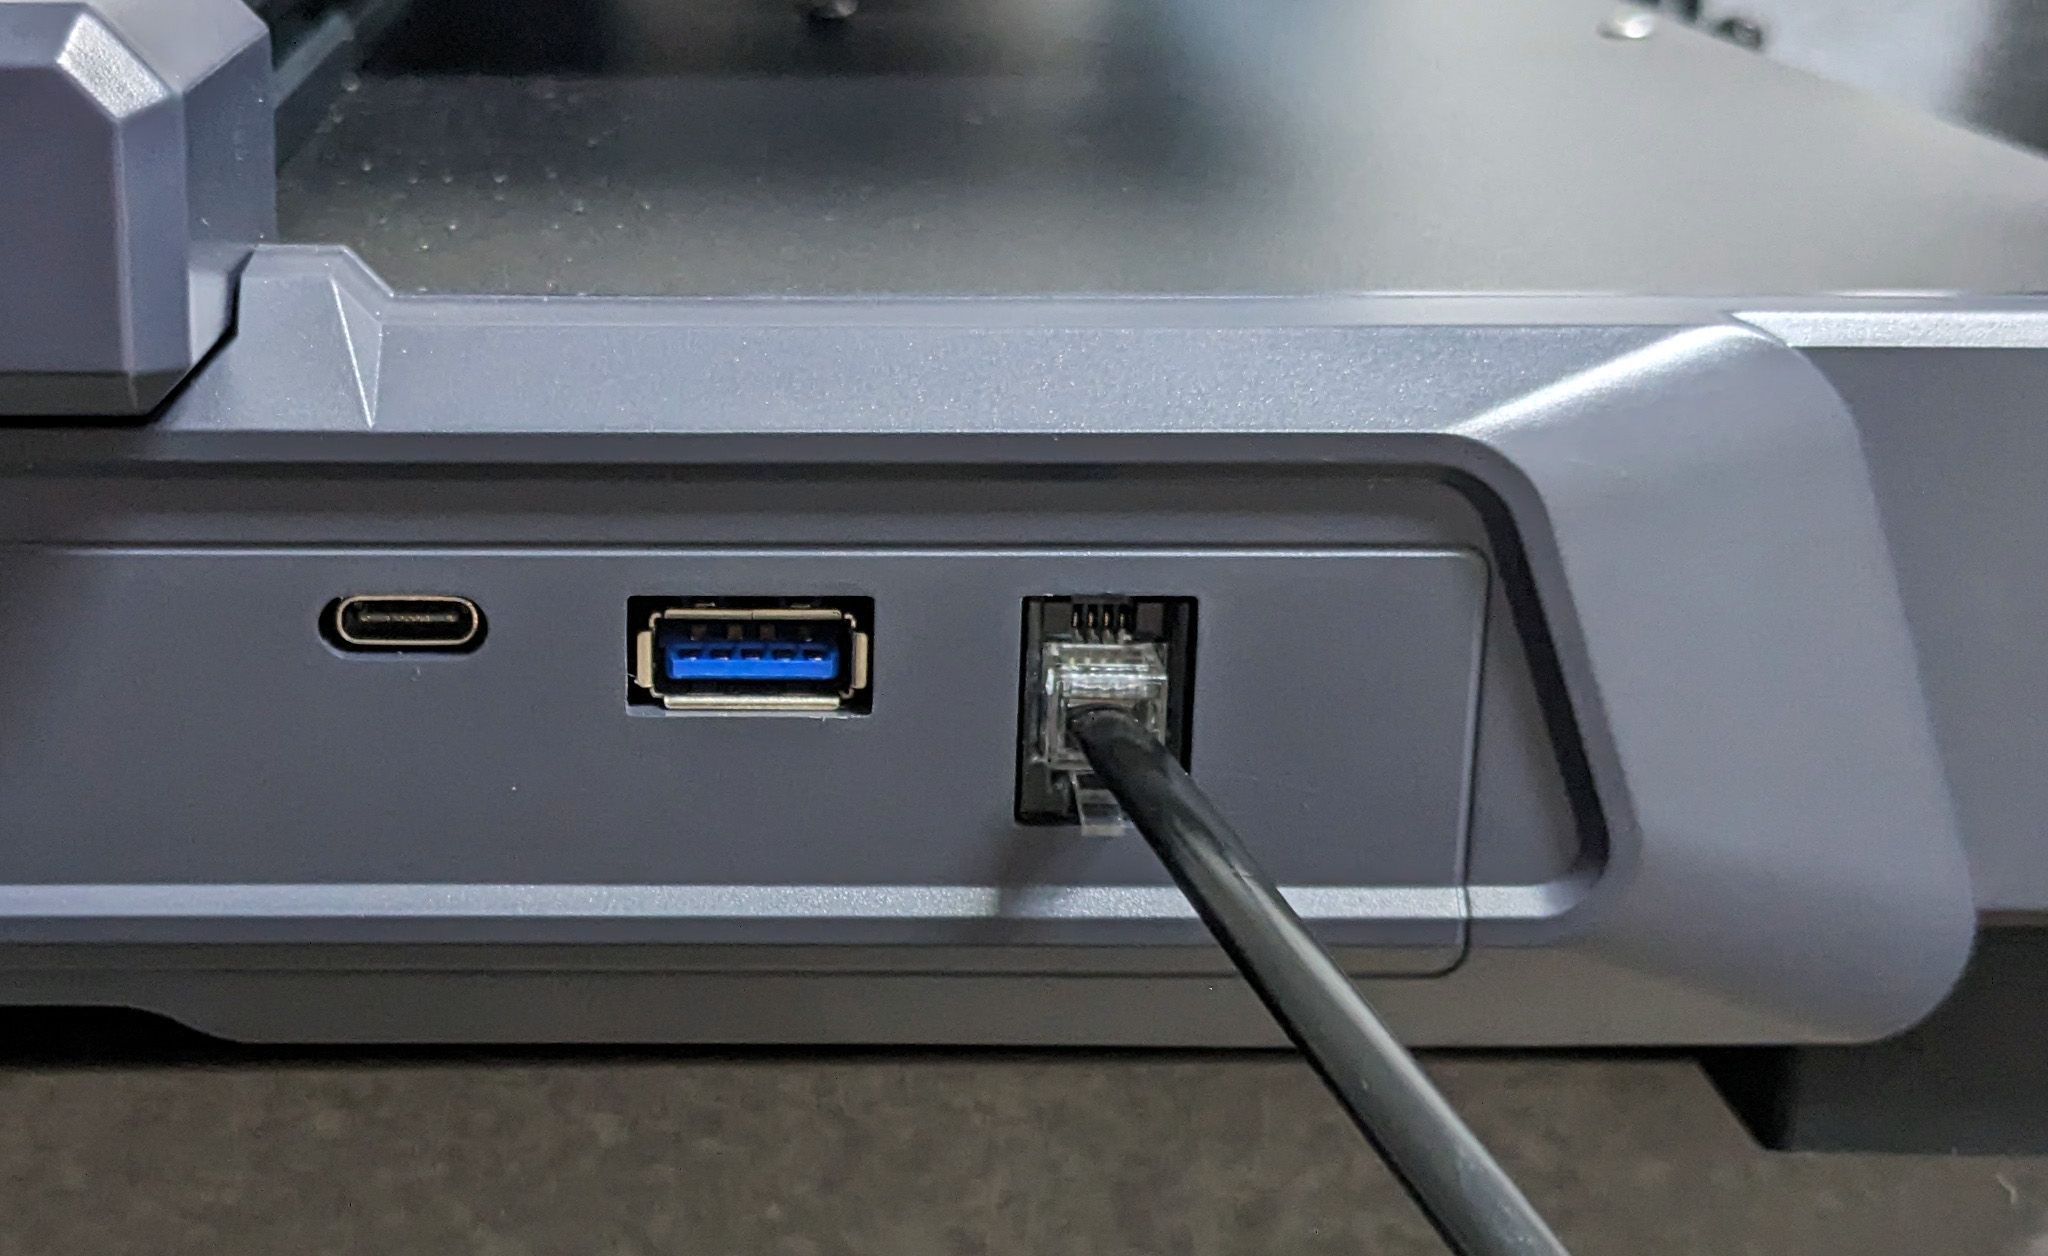
A USB-A 3.0 port is available on the front, to which either a USB stick or webcam can be connected. Only debugging is possible via USB-C, no data traffic.


21 Antworten
Kommentar
Lade neue Kommentare
Mitglied
Moderator
Urgestein
Veteran
Moderator
Veteran
Moderator
Veteran
Neuling
Urgestein
Moderator
Urgestein
Urgestein
Urgestein
Moderator
Urgestein
Moderator
Urgestein
Urgestein
Alle Kommentare lesen unter igor´sLAB Community →