


Today we look at a Ripjaws V variant, consisting of two 8 GB modules and with XMP profile of DDR4-5066 20-30-30-50 at 1.6 V. If you cringe now, I can calm you down, because Hynix DJR can handle these relatively high voltages for DDR4 without problems and manufacturers always specify their kits with some headroom anyway. The product number of the kit is F4-5066C20D-16GVK.
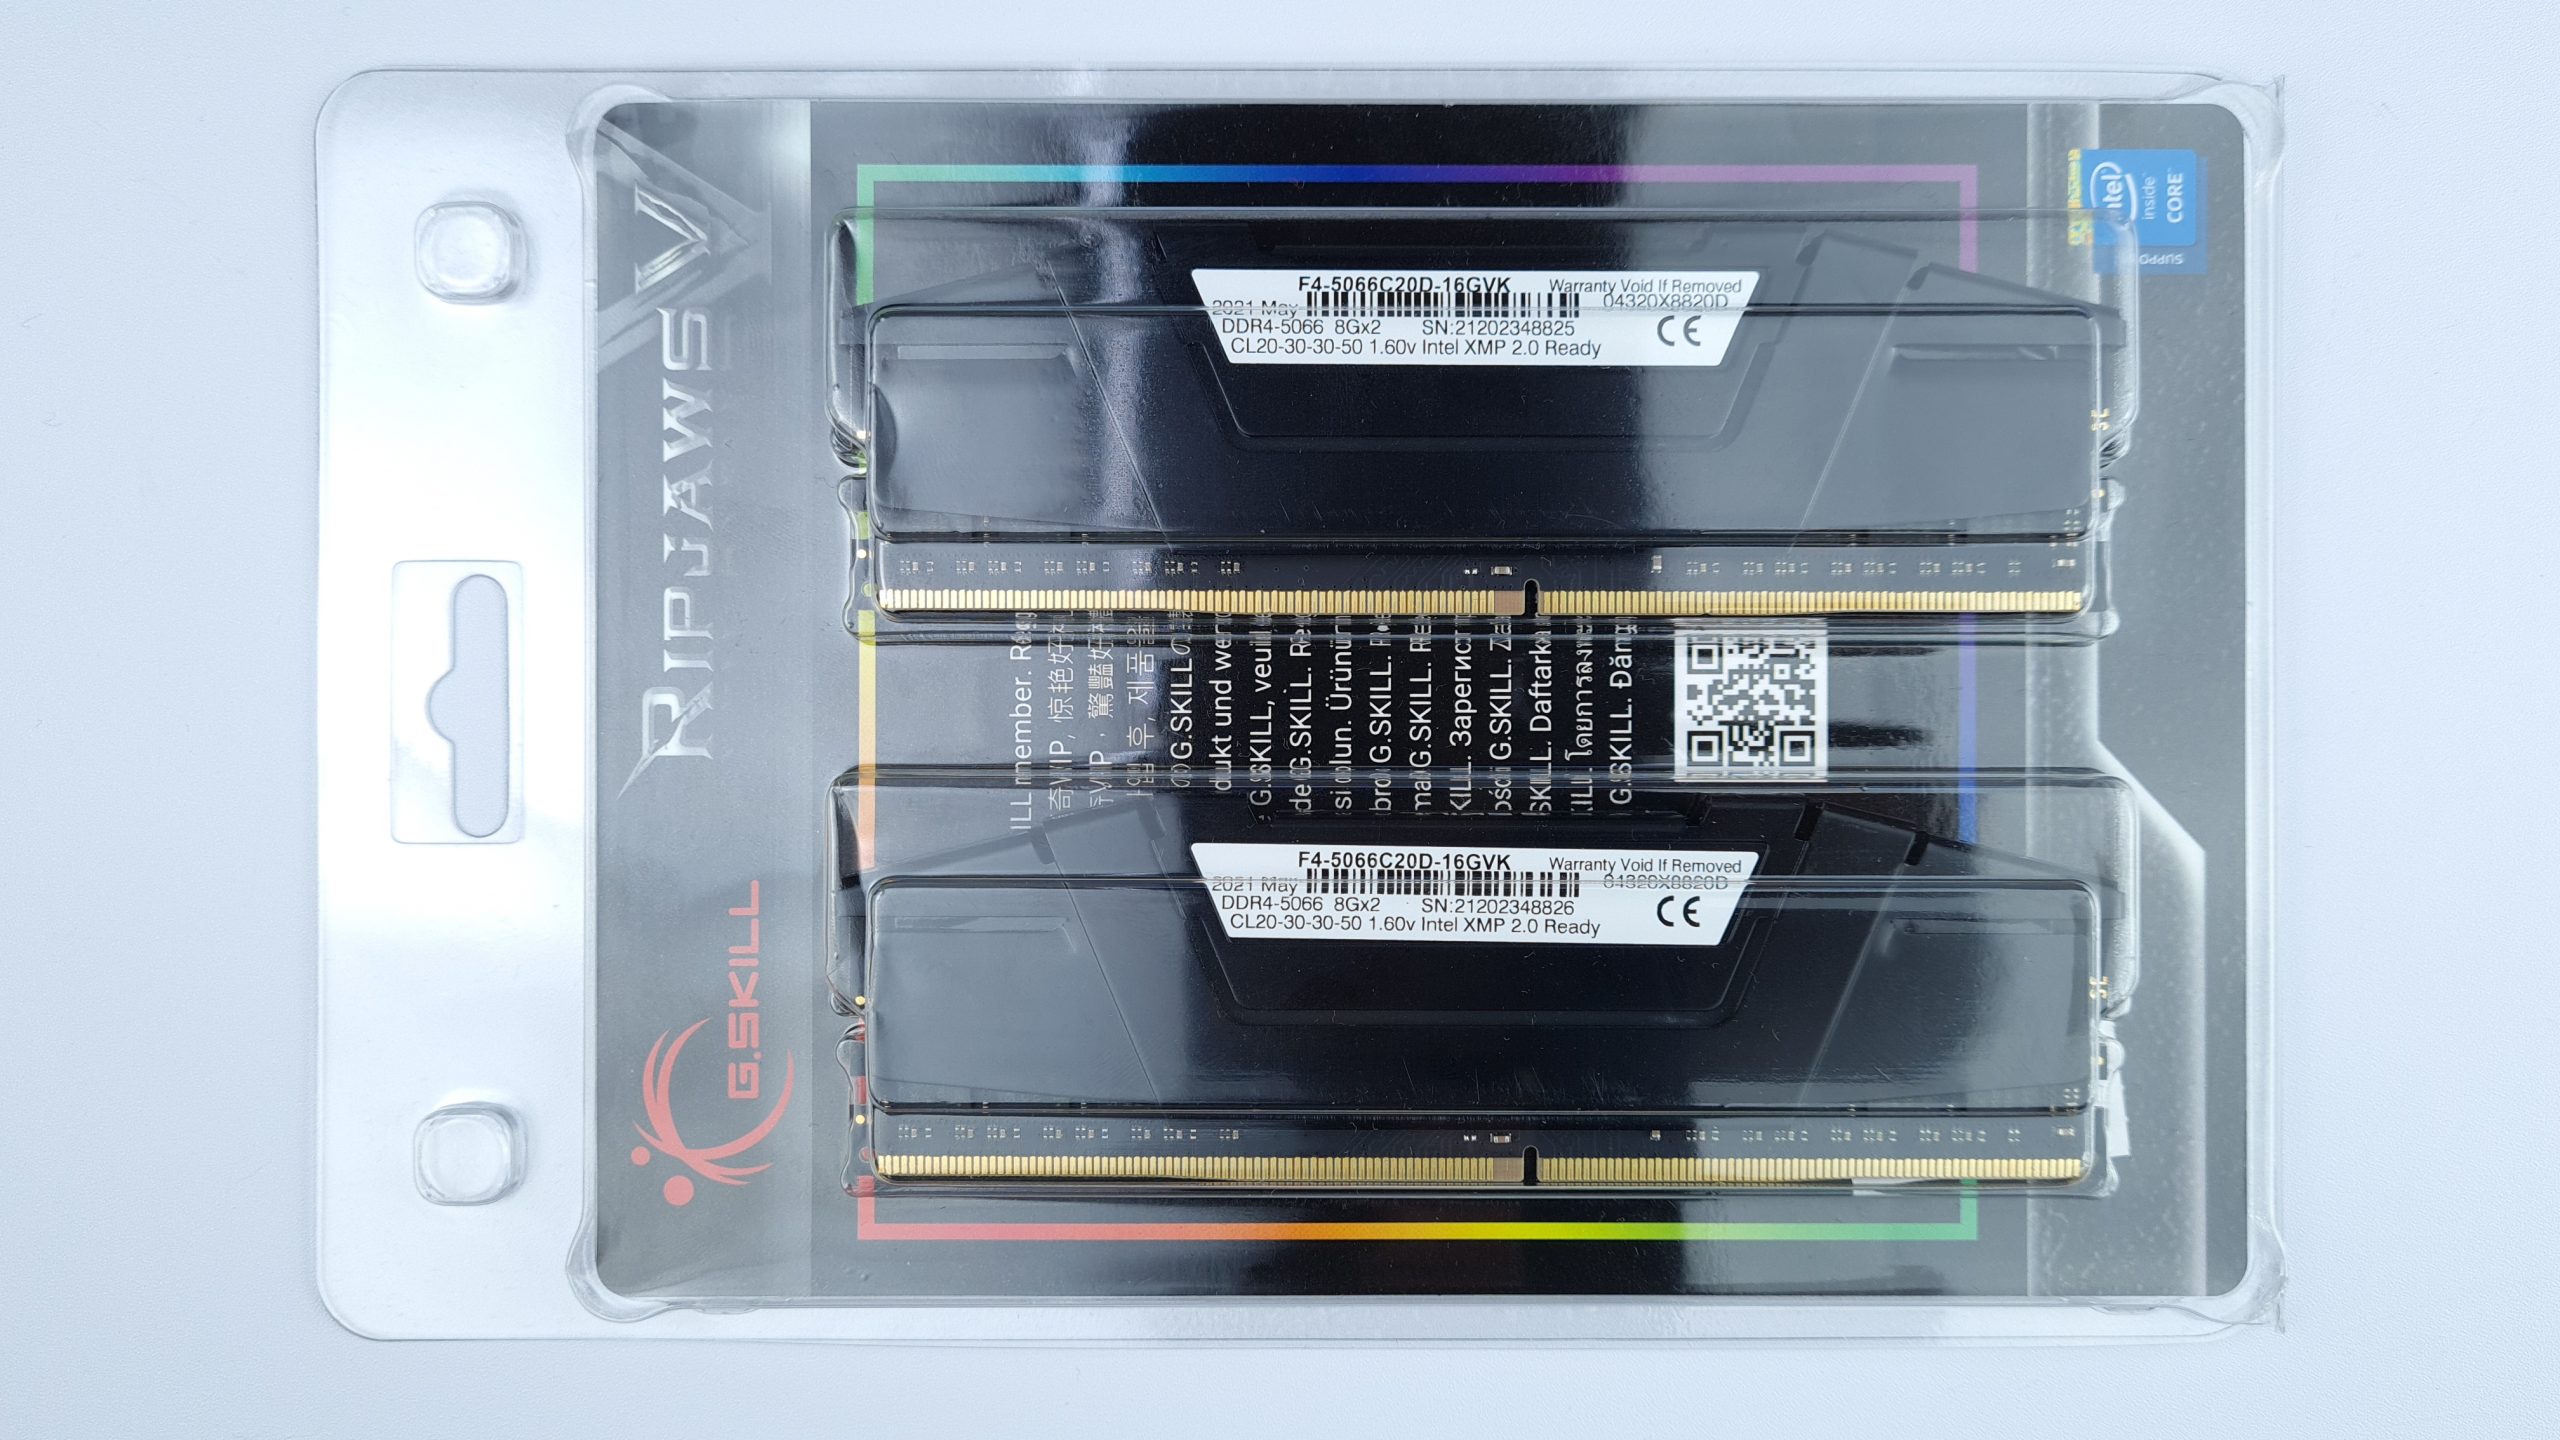
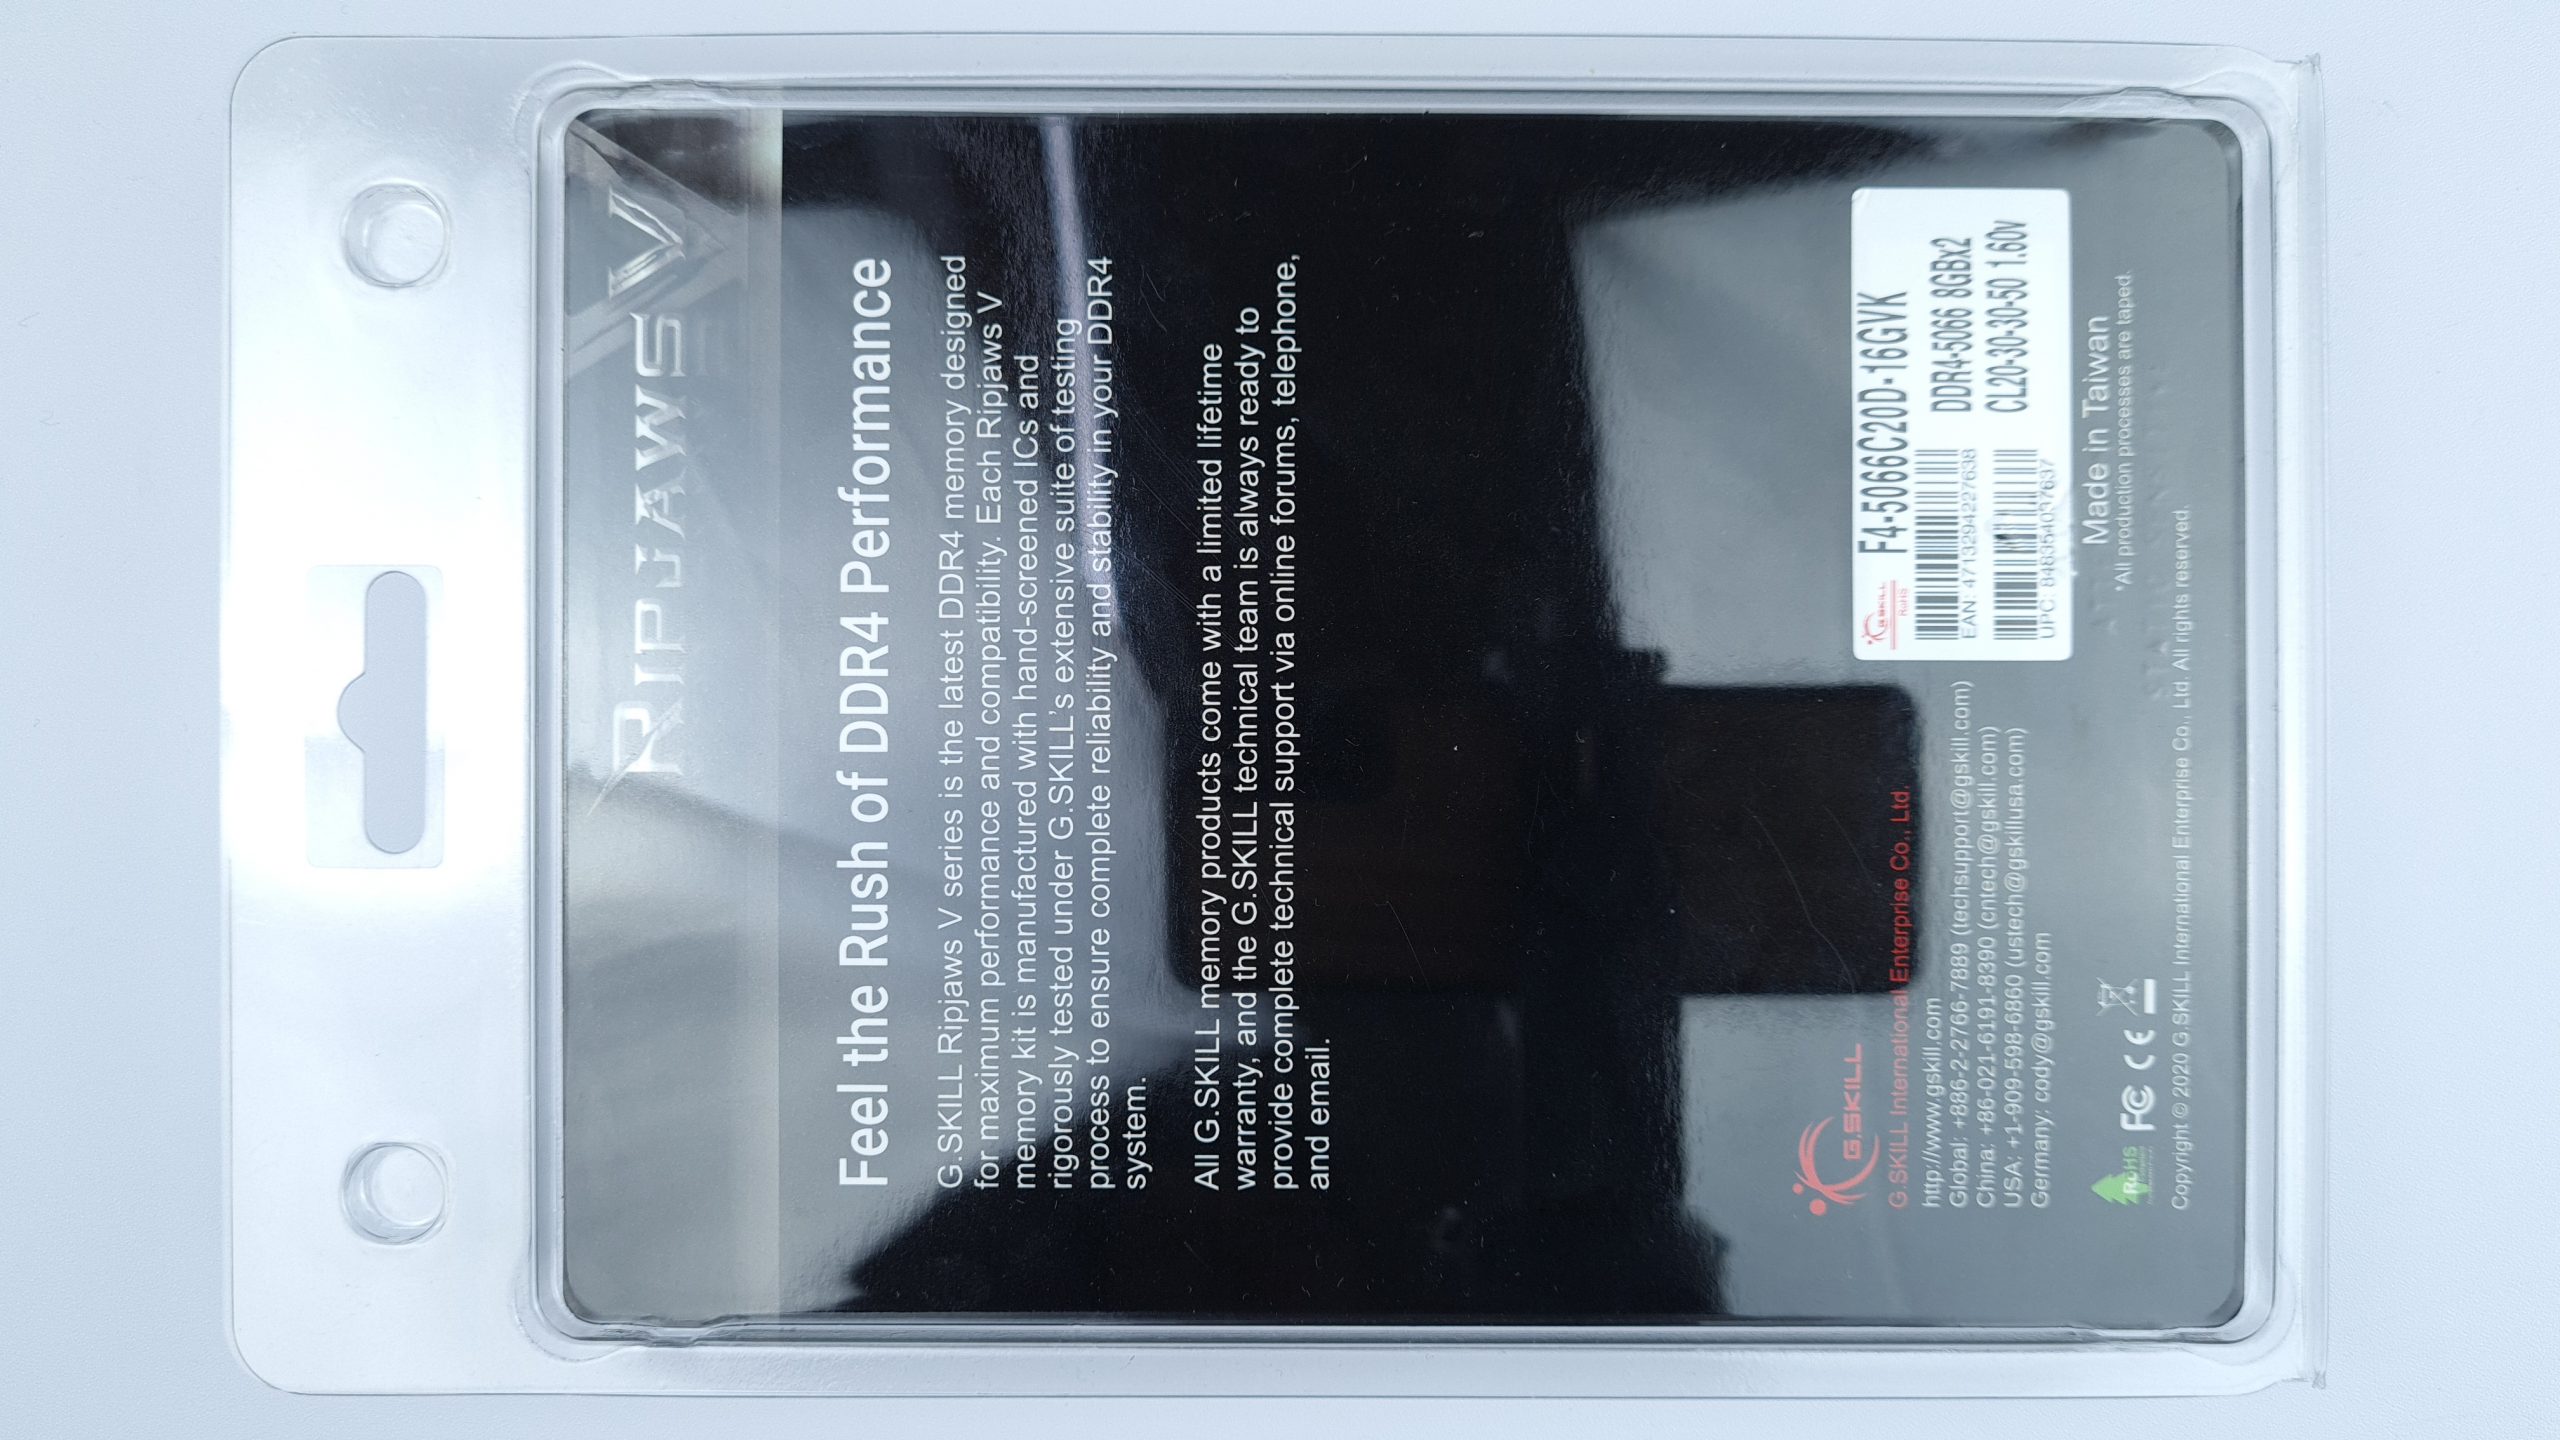
Typical of the Ripjaws series, you just get RAM without a lot of fuss around it. The packaging is correspondingly spartan, consisting of a transparent plastic frame in which modules with their XMP profile are placed directly in the foreground. Besides the cardboard with information about the product and the warranty conditions, there is only a sticker in the scope of delivery, that’s it. But that’s all you really need anyway.
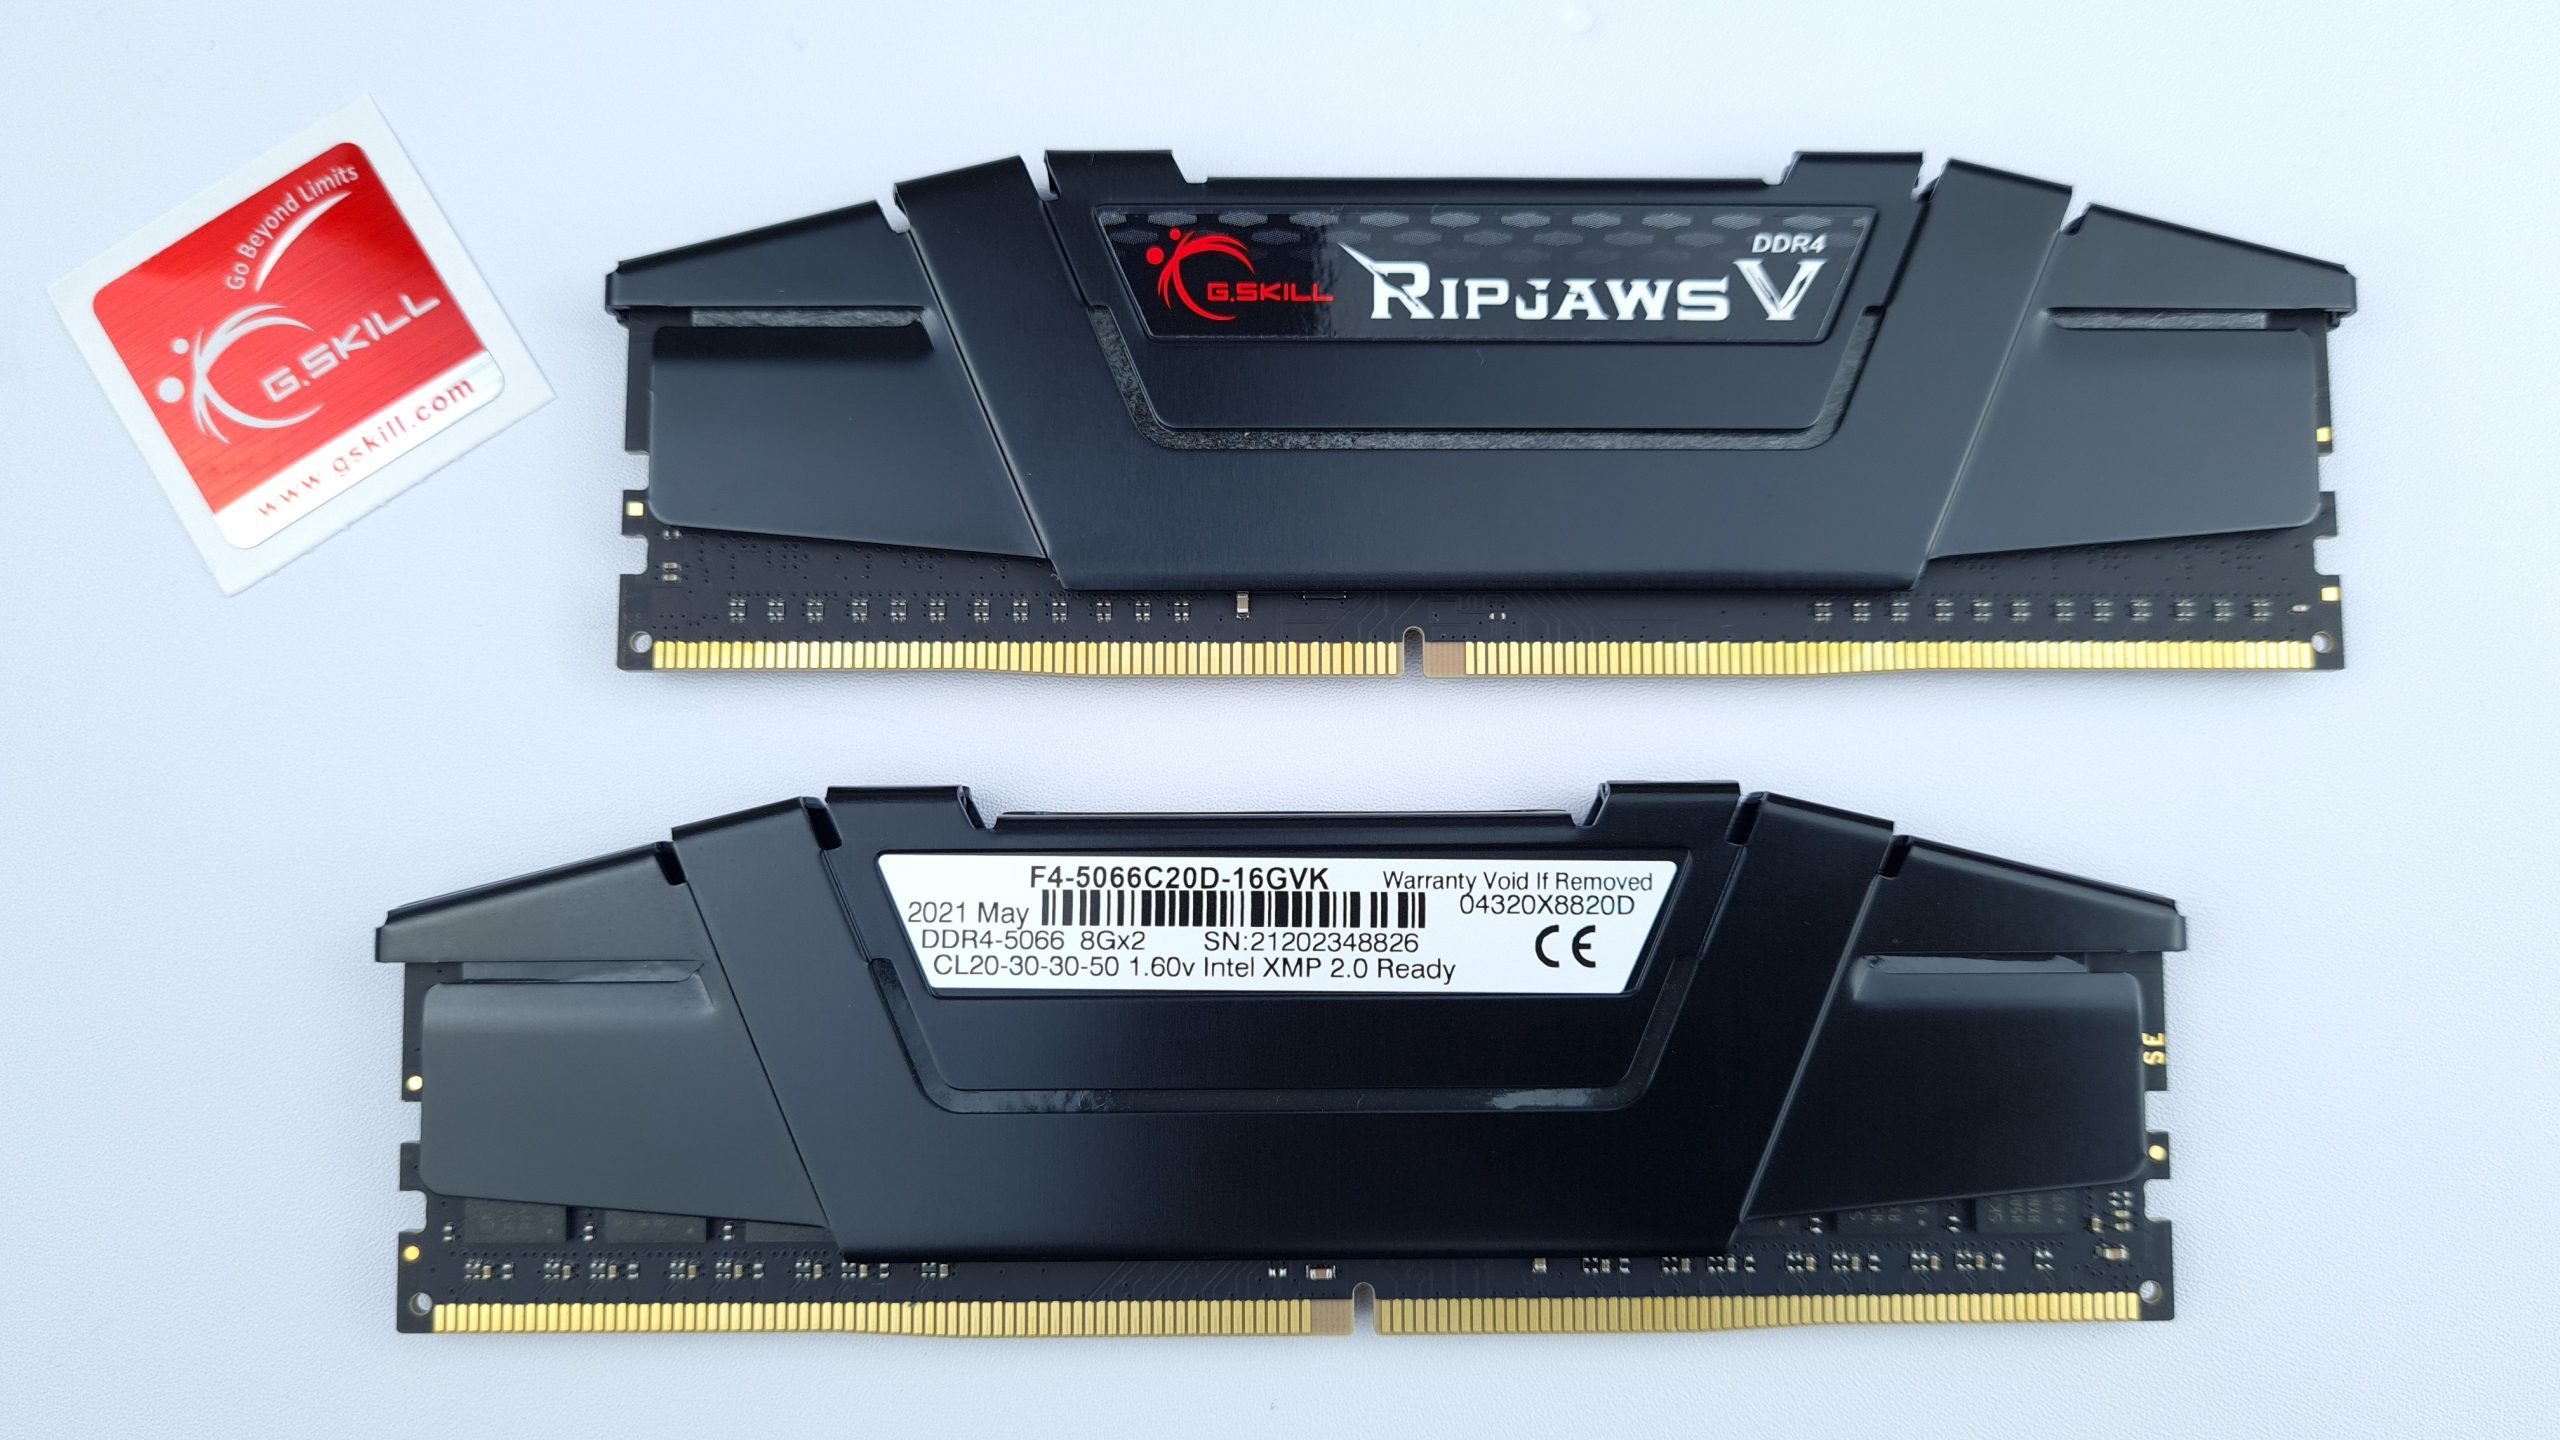
The minimalism continues with the heatspreaders, which are composed of two halves of aluminum sheet painted black. Attached to the center of each half is a sticker, one side with the product name, the other with serial number and XMP specifications.
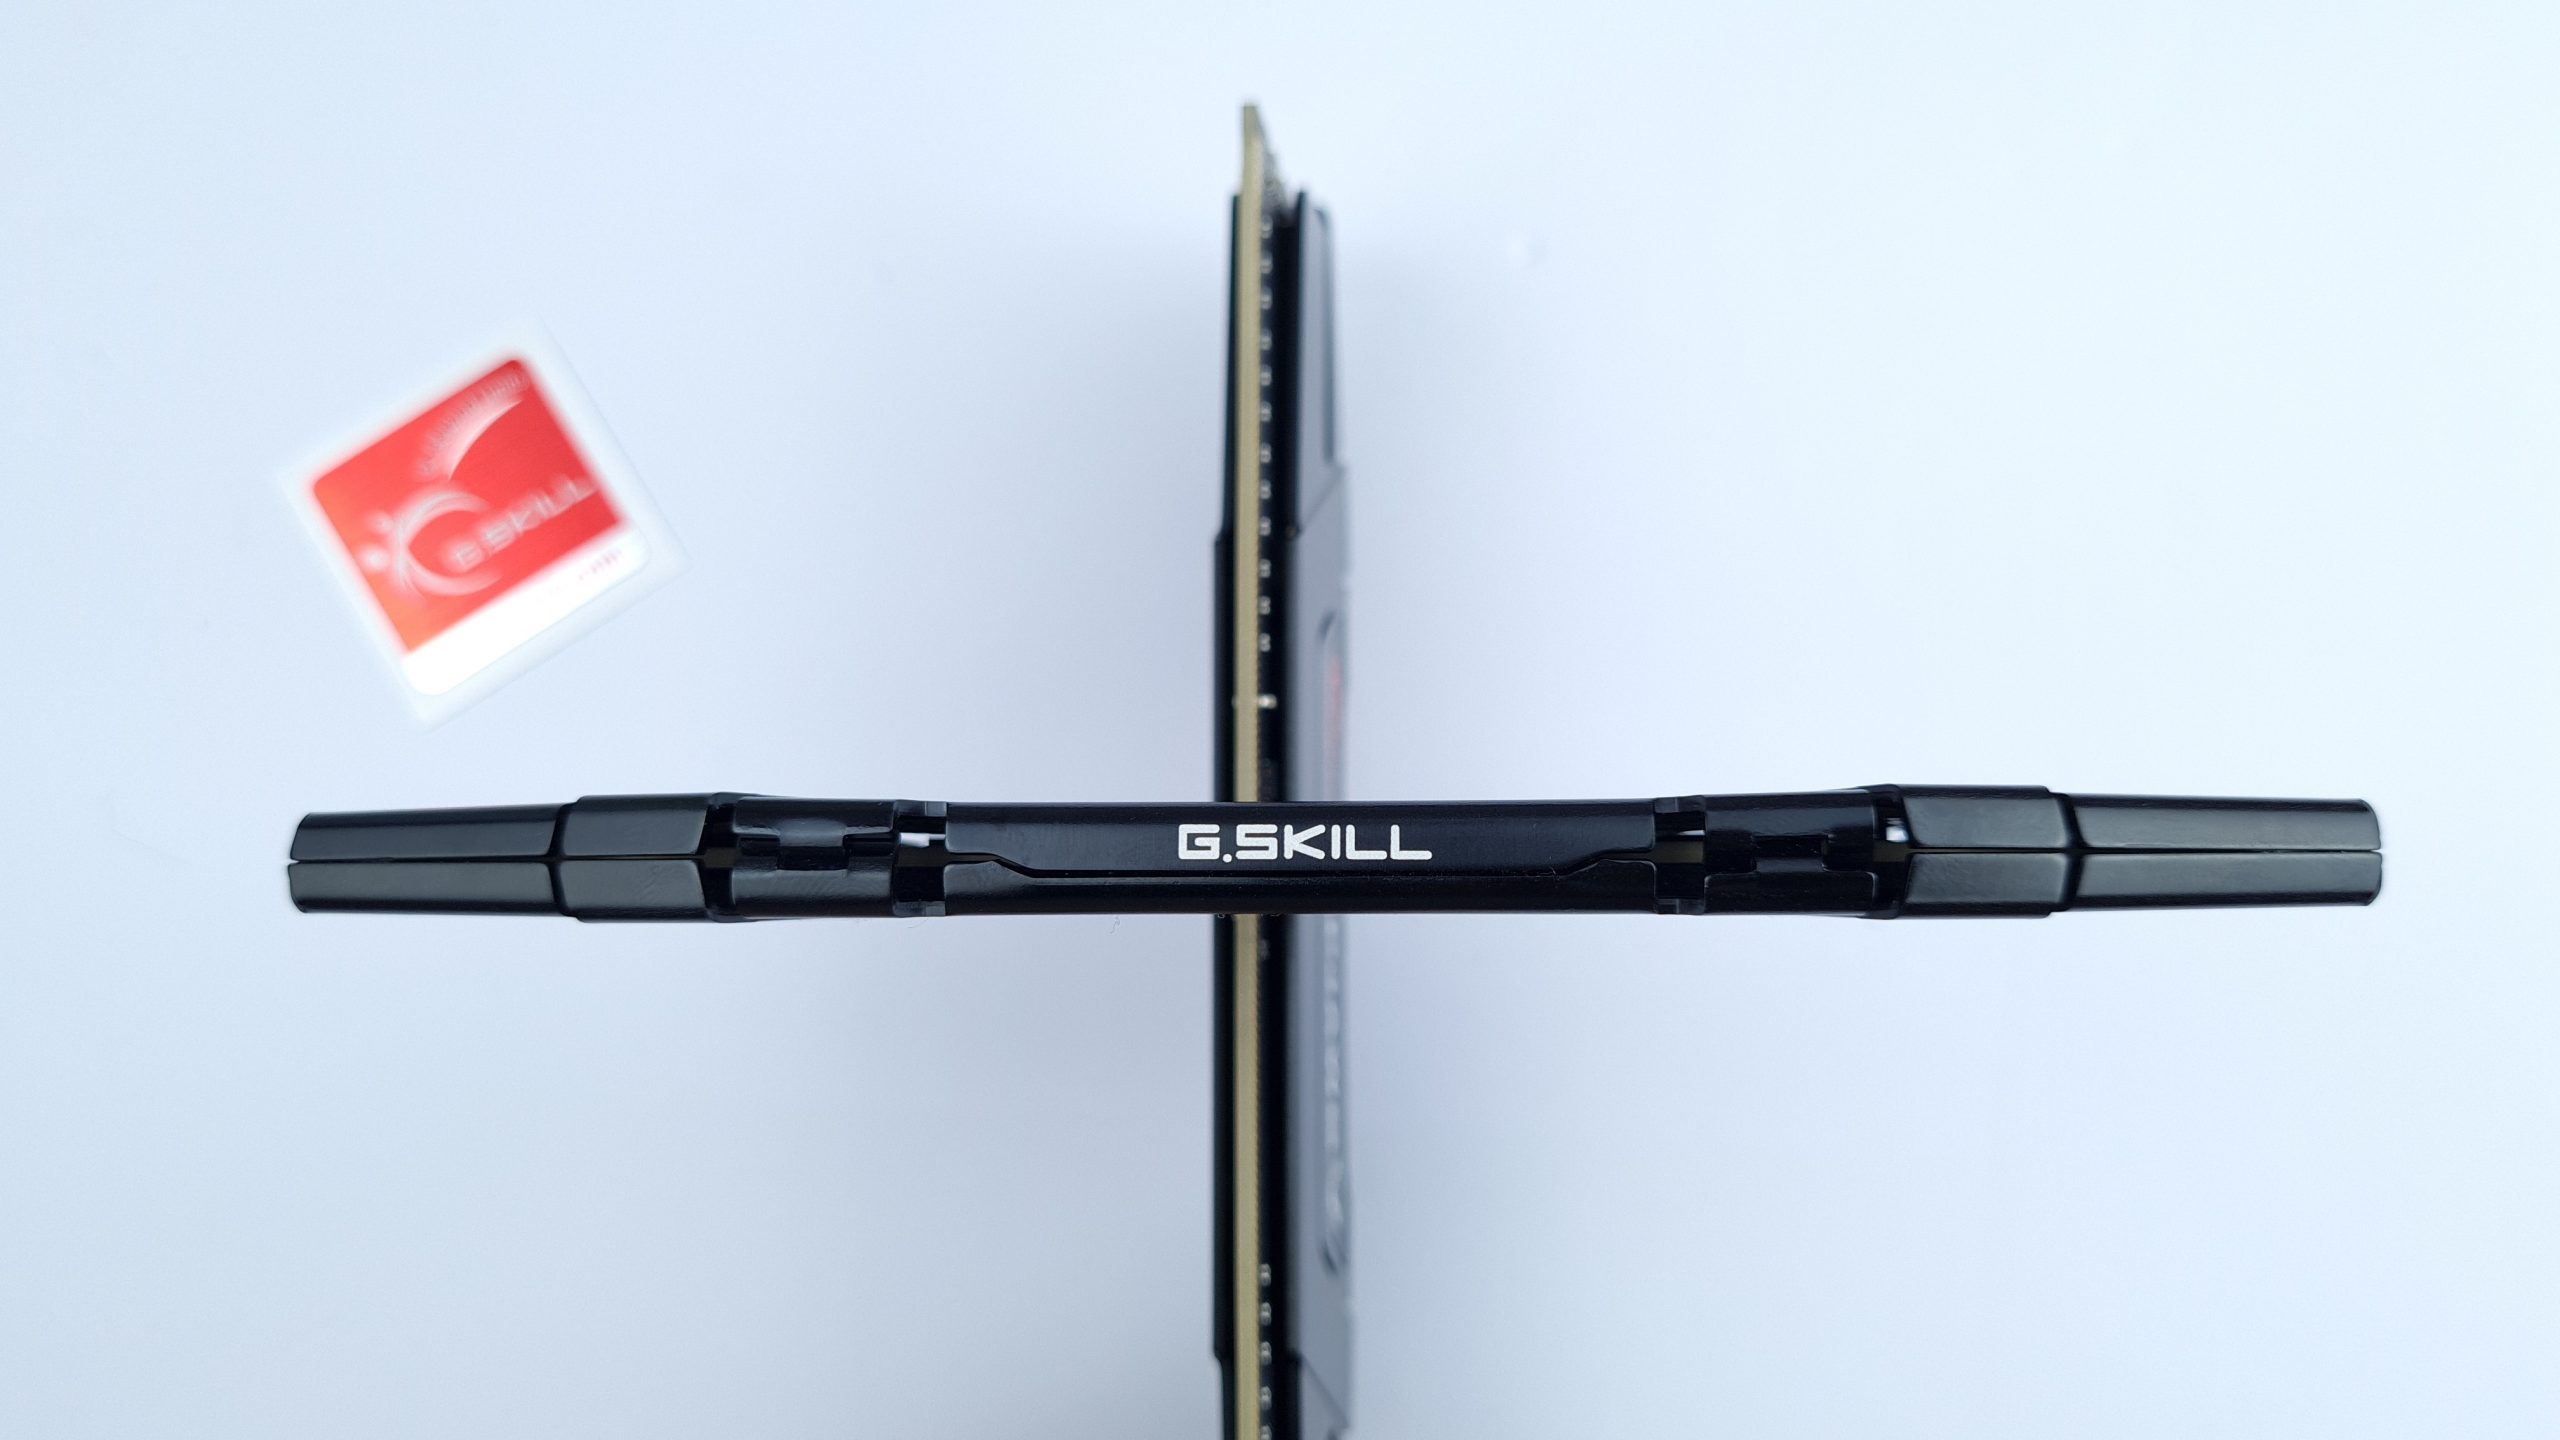
The only other conspicuous feature, which should also catch the eye more often when the modules are installed, is the white G.Skill lettering on the upper side of the heatspreader. Apart from that there really is nothing more to say about the design.

For the teardown, the modules only need to be heated to slightly weaken the adhesive. Afterwards, the two halves can simply be lifted off the board. The construction is as minimalistic as it is functional, because at the top the two halves are hooked into each other at two points to give each other stability.

The strength of the glue used is weaker than in many other RAM kits and thus very reasonably chosen. Within a few minutes the halves can be disassembled and if you are a little more patient than me, even with the adhesive strips completely intact. Any residues on the PCB can be removed completely, so that nothing would stand in the way of mounting aftermarket coolers. But also the reassembly of the heatspreader is no problem once, twice or three times, as often as you would realistically disassemble a RAM stick. So it fits.
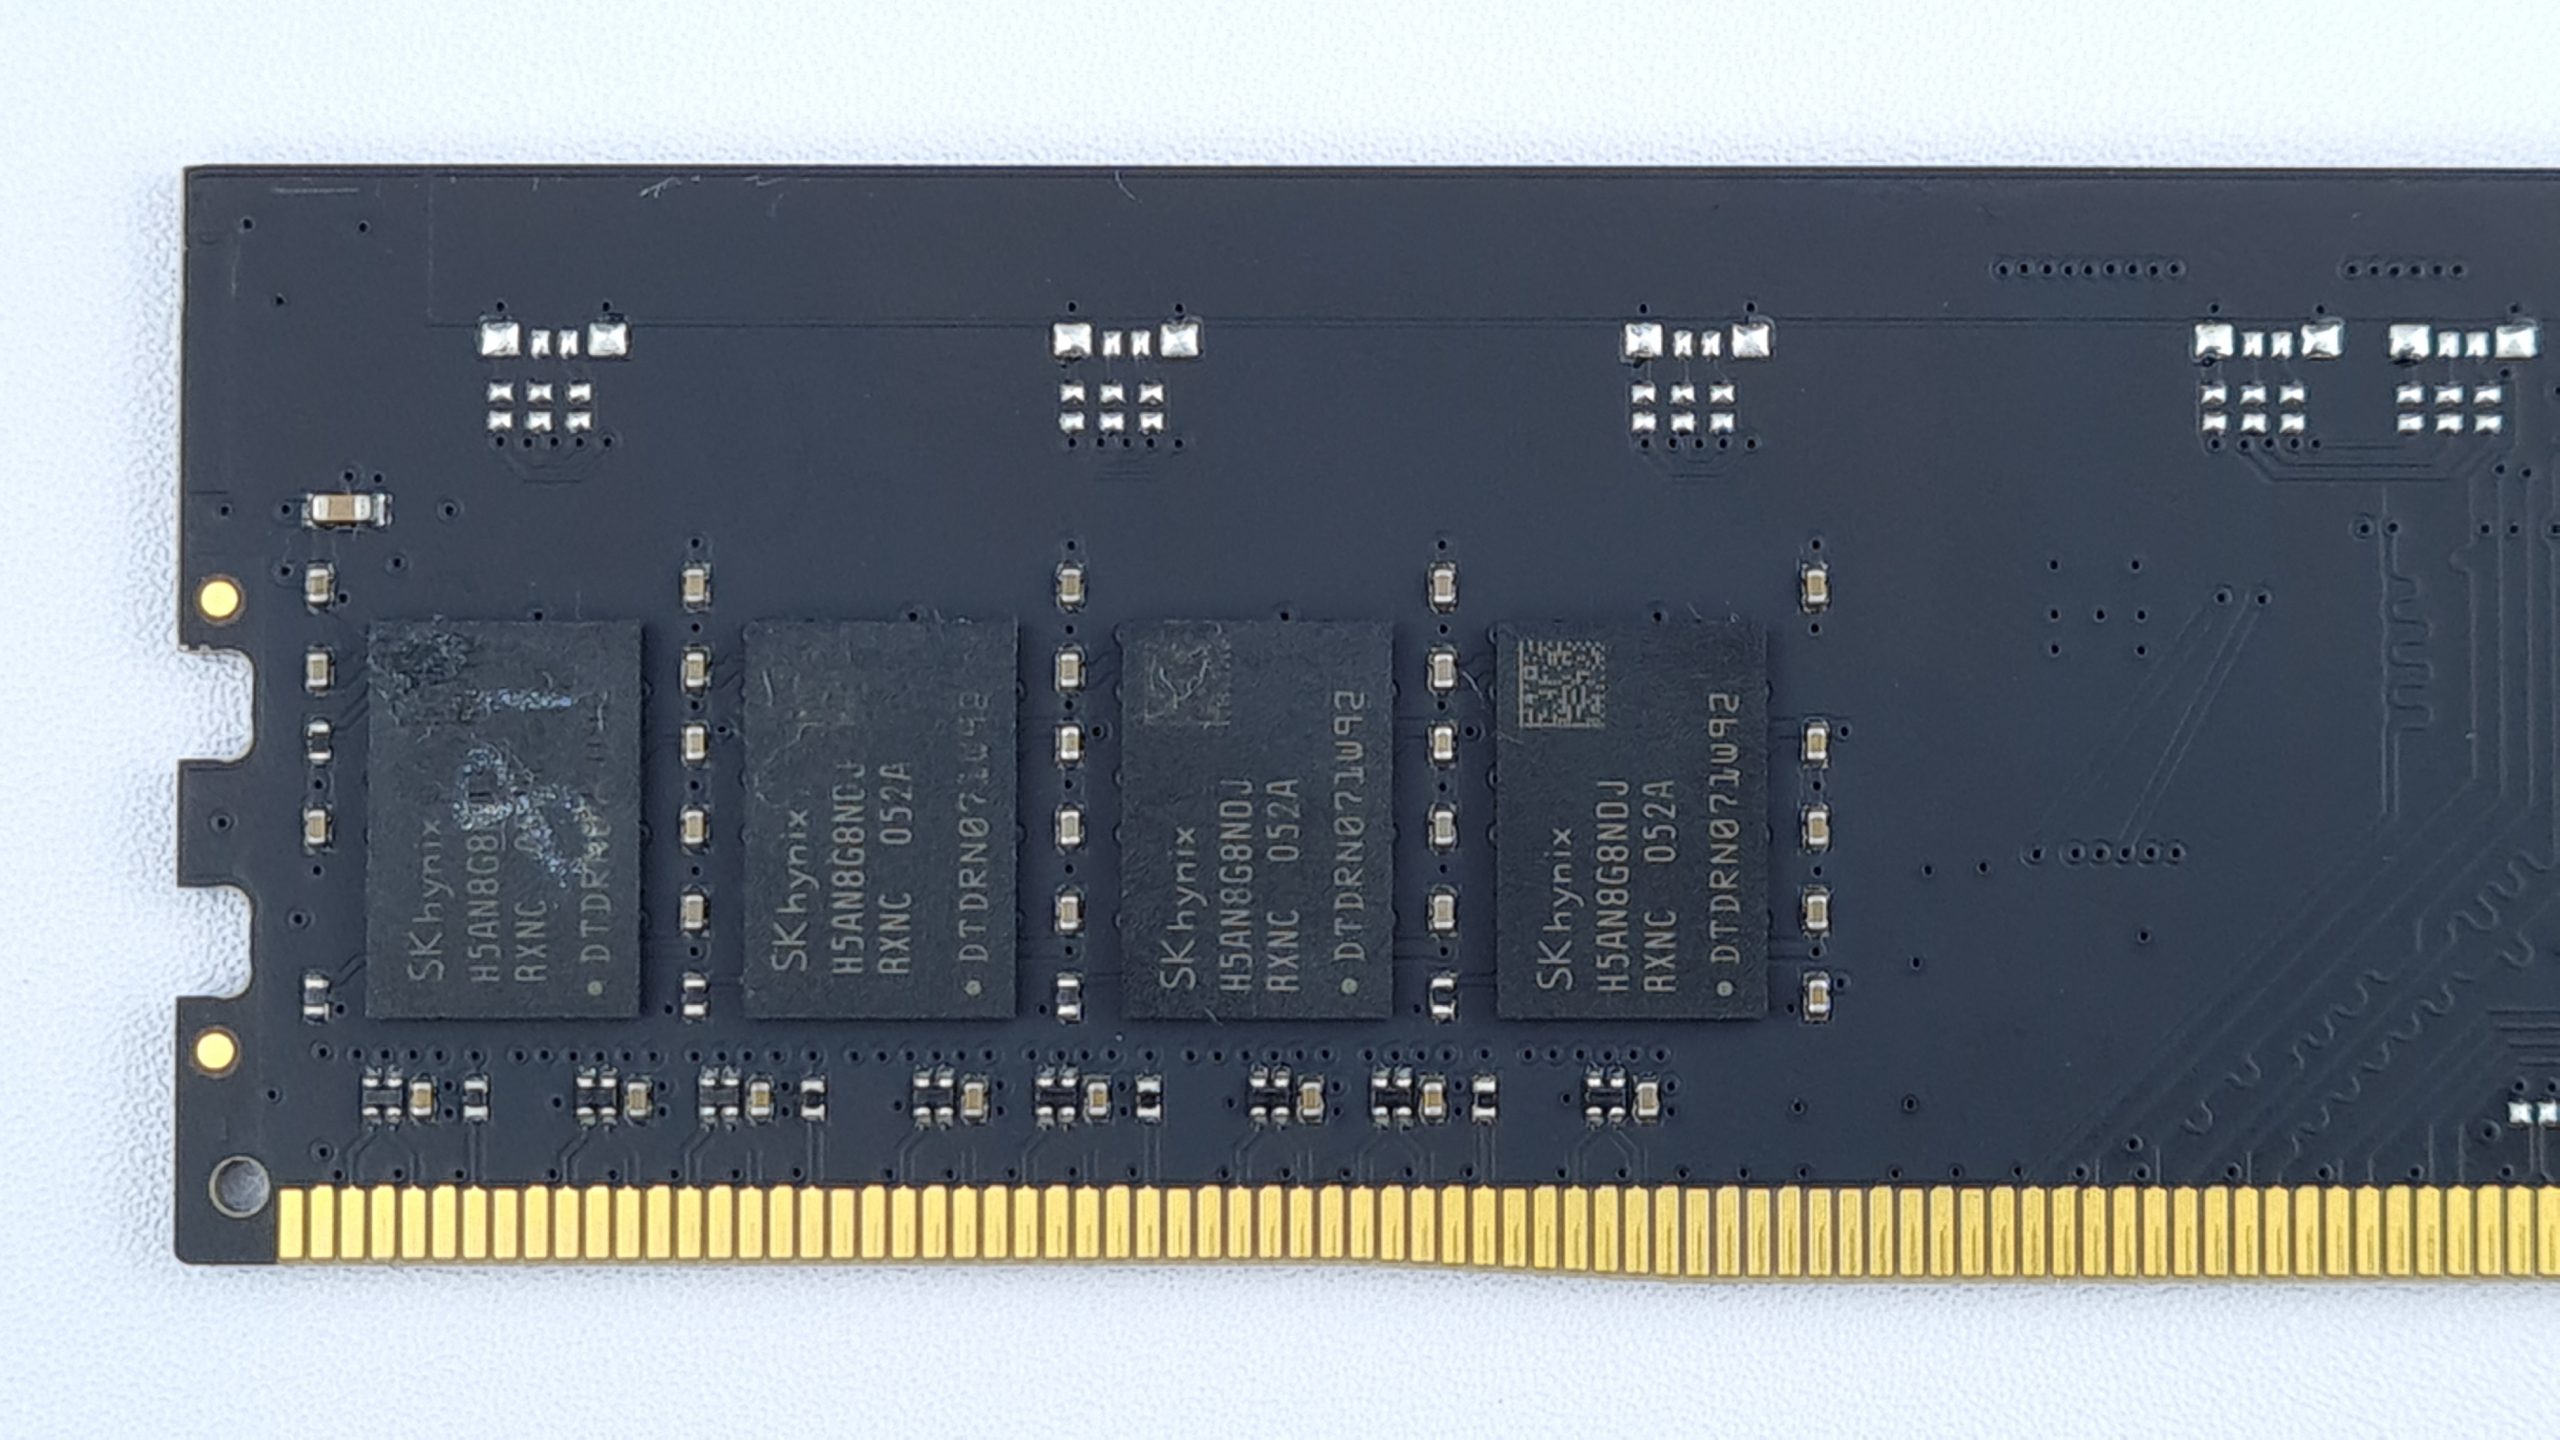

Interestingly, the board uses a DDR4 A1 reference design, whereas A2 is usually the standard for B-Die based kits. G.Skill did some tweaks based on the reference layout, like preparing for RGB LEDs or upgrading the used capacitors, which results in the PCB version “SE” – recognizable on the top right of the side with the memory ICs. Speaking of which, the ones used here bear an inscription from SK Hynix and the part number H5AN8GB8NDJRXNC, better known short as DJR.
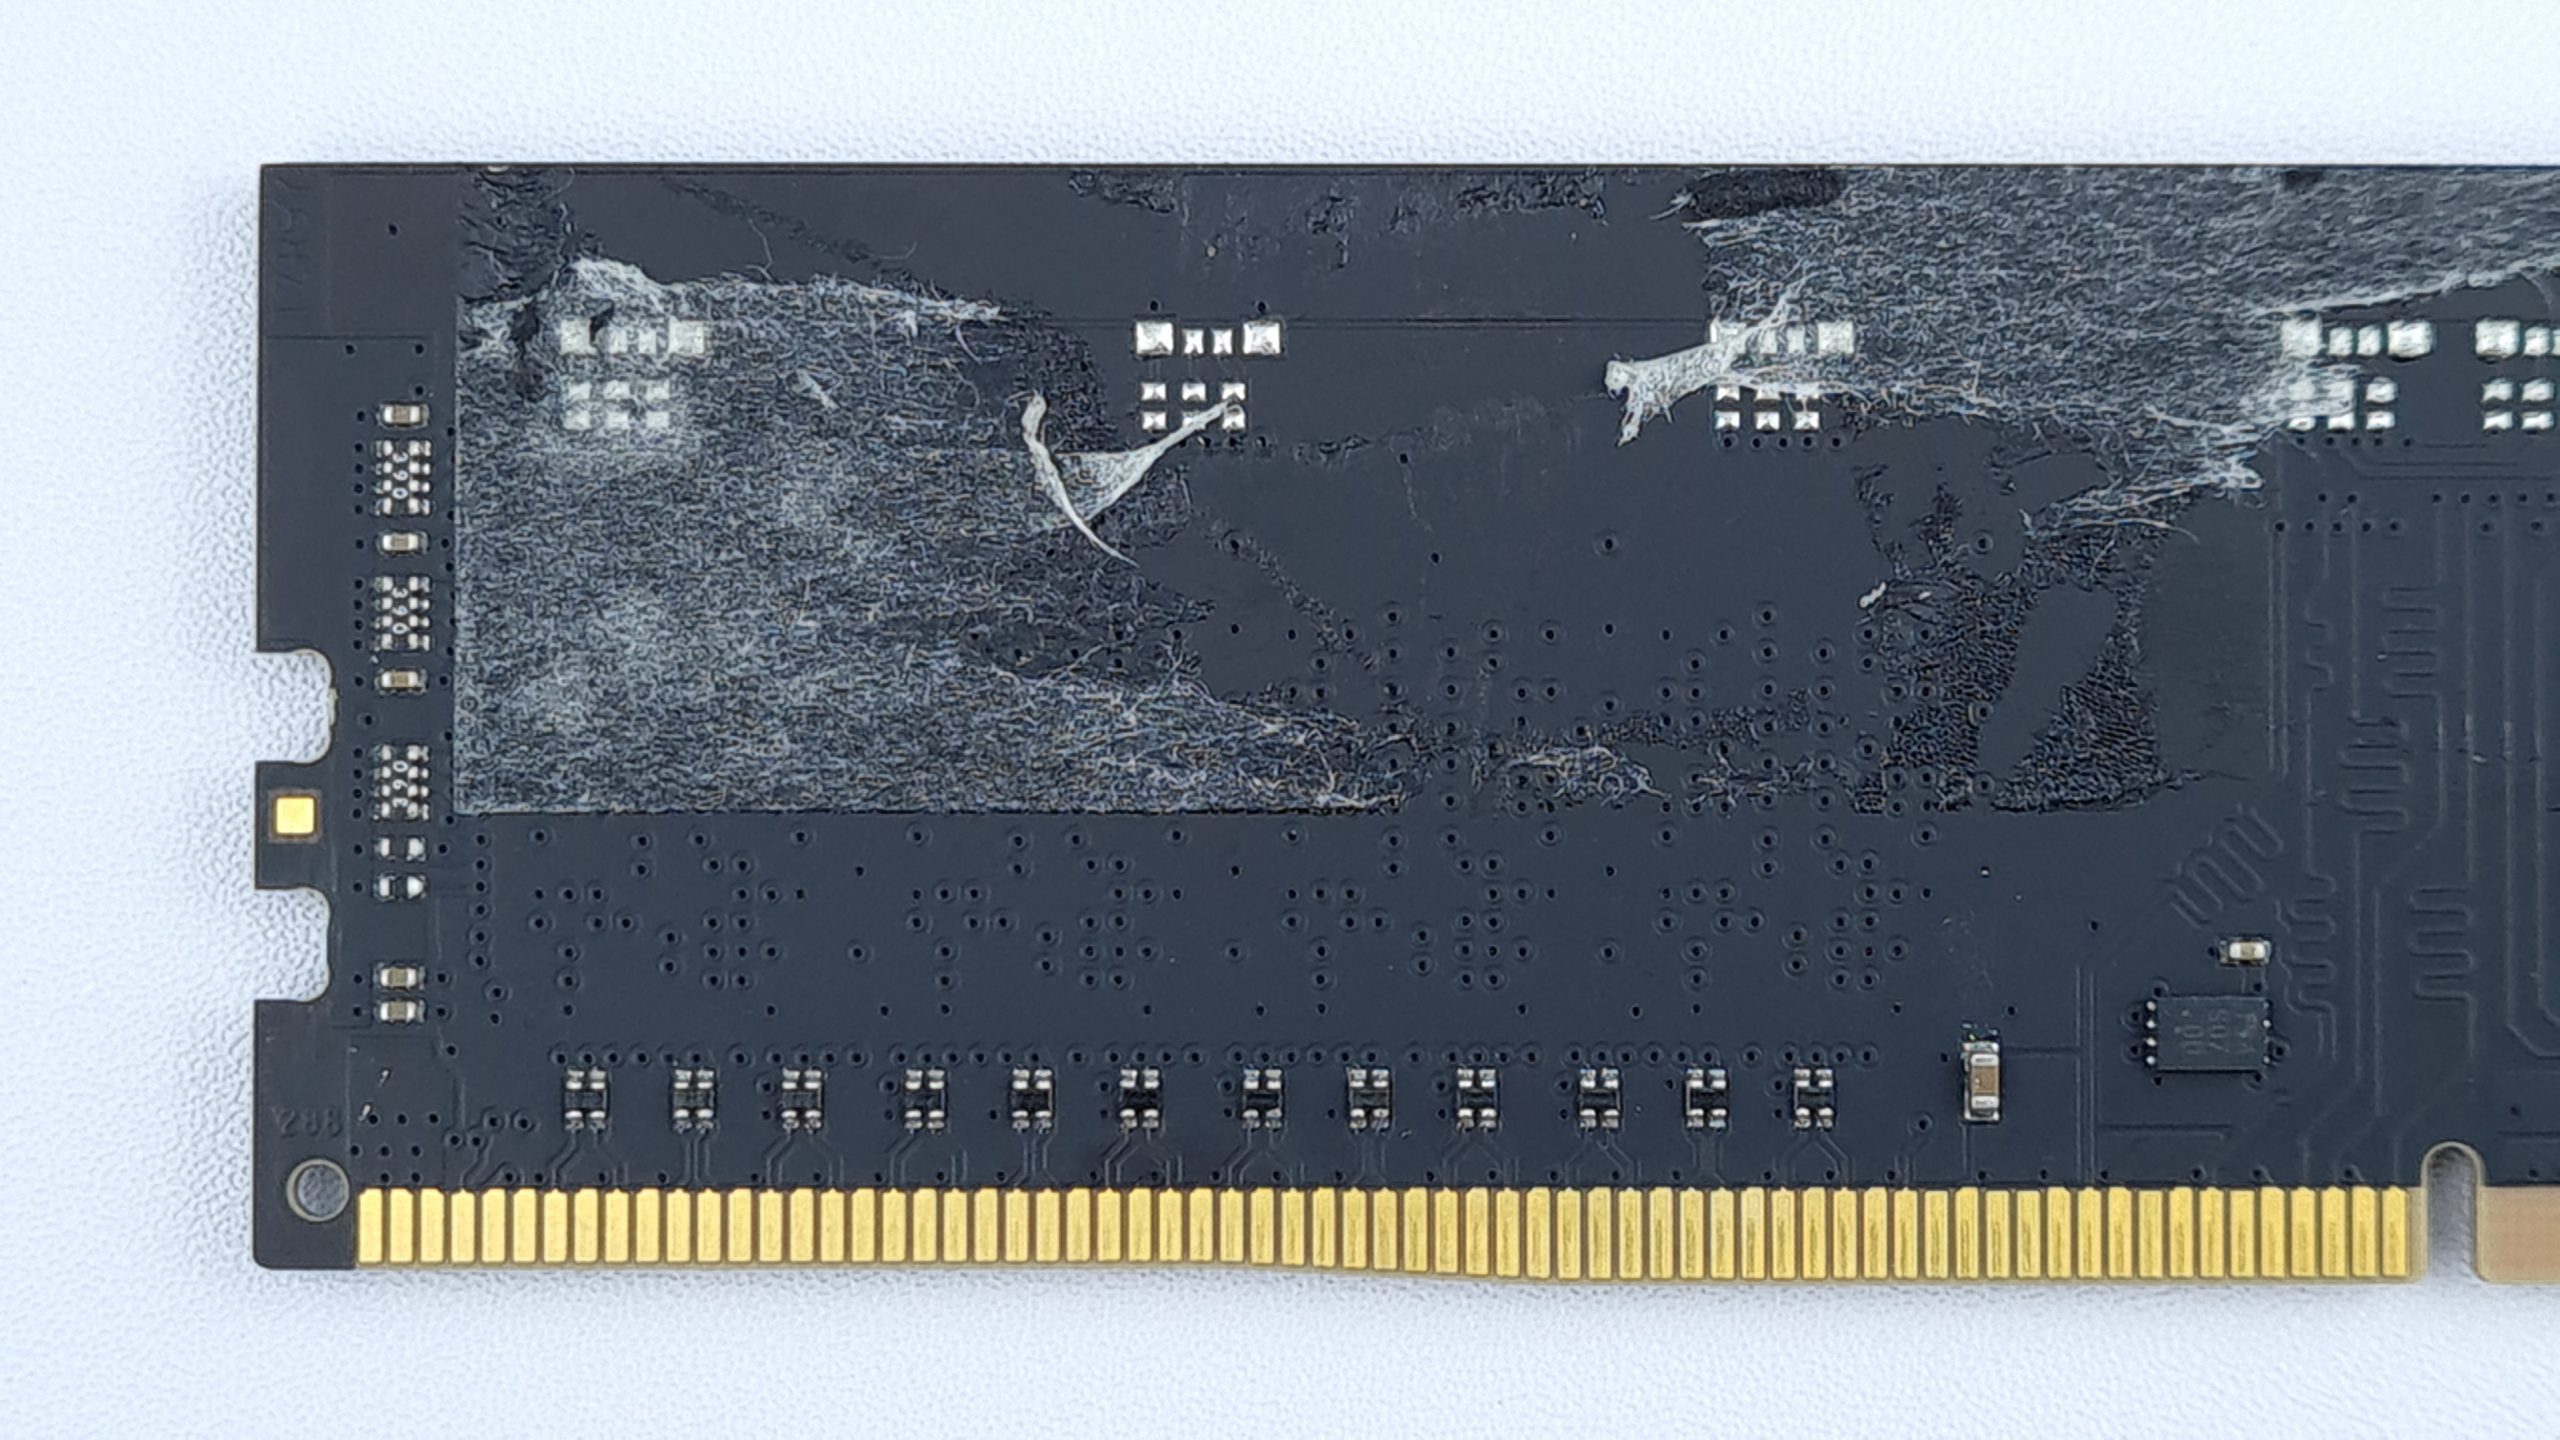
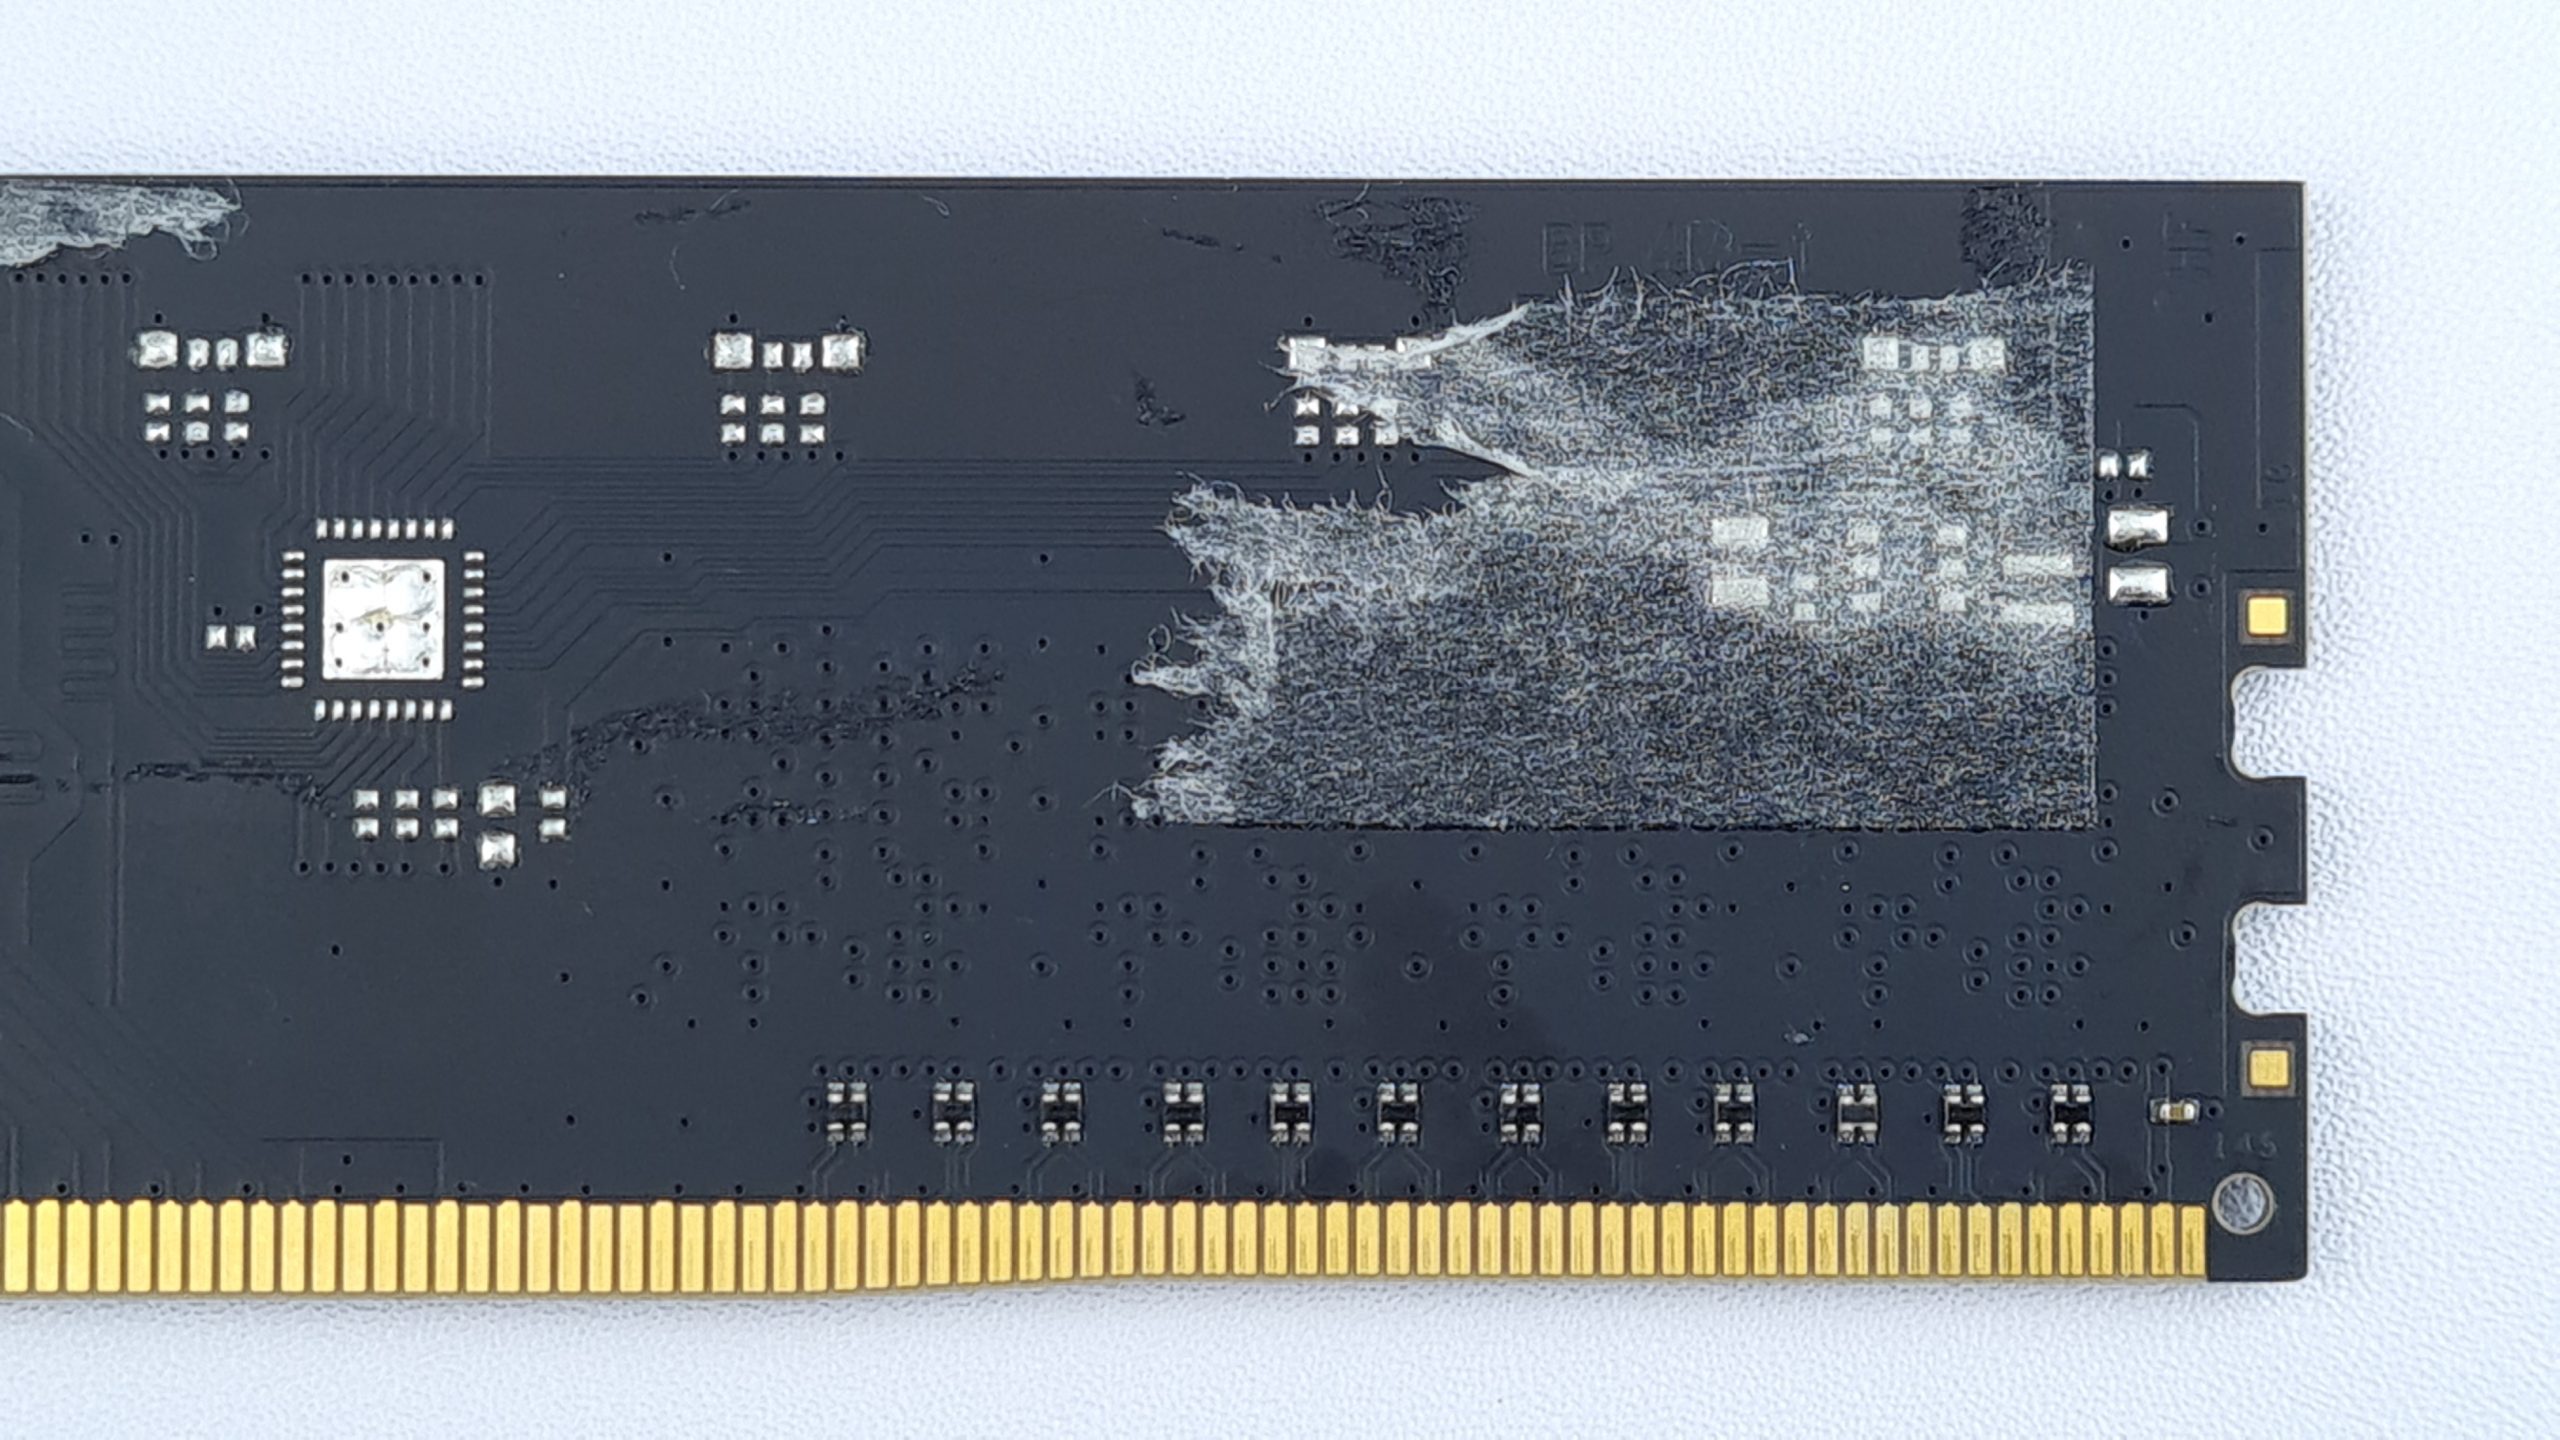
On the back, only the prepared solder pad for an RGB controller and the SPD-Eprom are noteworthy components. Among many other laser-engraved inscriptions on the PCB, the PCB’s layer number, 10, is also found in the upper right corner. If you’ve ever seen the PCB of a G.Skill DDR4 RAM kit, most of this should look familiar. But as we all know, if the design stands the test of time, there’s no need to reinvent the wheel.


10 Antworten
Kommentar
Lade neue Kommentare
Mitglied
Mitglied
Urgestein
Veteran
Urgestein
Mitglied
Mitglied
Veteran
Alle Kommentare lesen unter igor´sLAB Community →