Installation report
Now we come to the most beautiful part of the case test, the installation of the hardware. Because the case made me so curious when I unpacked it that I actively started looking for drawbacks of my current case, there was only one solution: I have to subject the case to a long-term test and for that only the hardware of my private productive and gaming system comes into question.
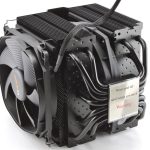
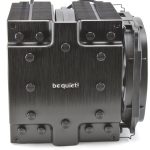
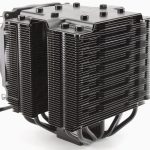
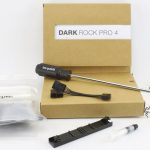
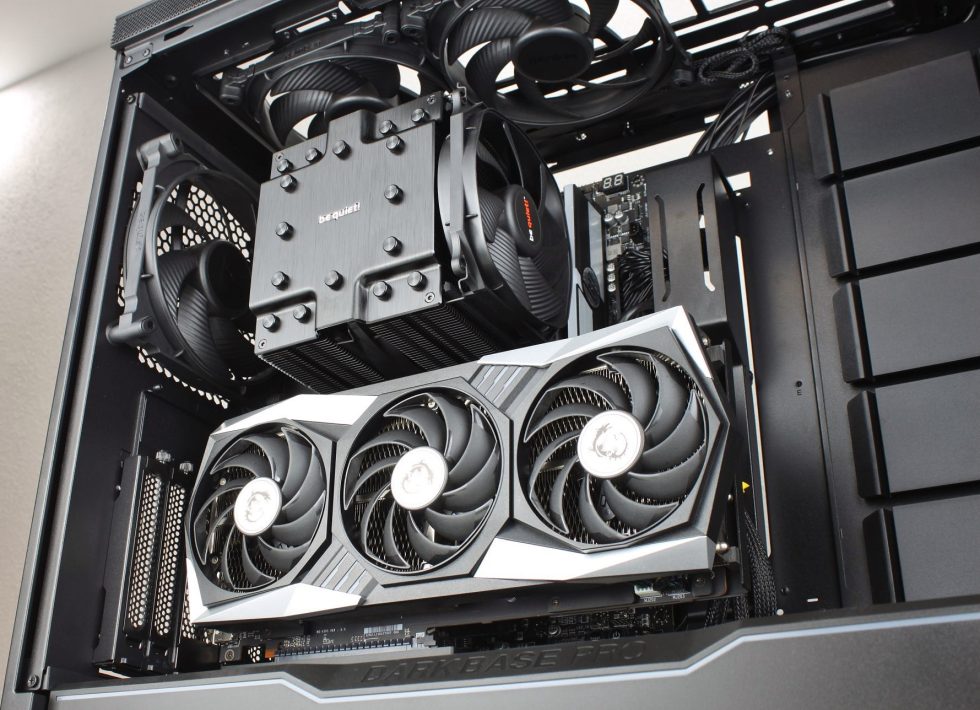
Because I have a rebuild of the entire cooling system on the agenda for a later date and it is not yet sure whether this case will remain in use beyond that, I did not take over the custom loop and instead installed a massive air cooler as a transitional measure.
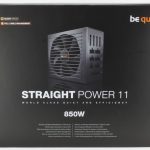
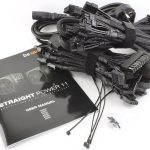
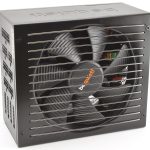
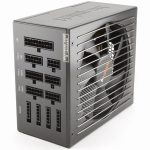
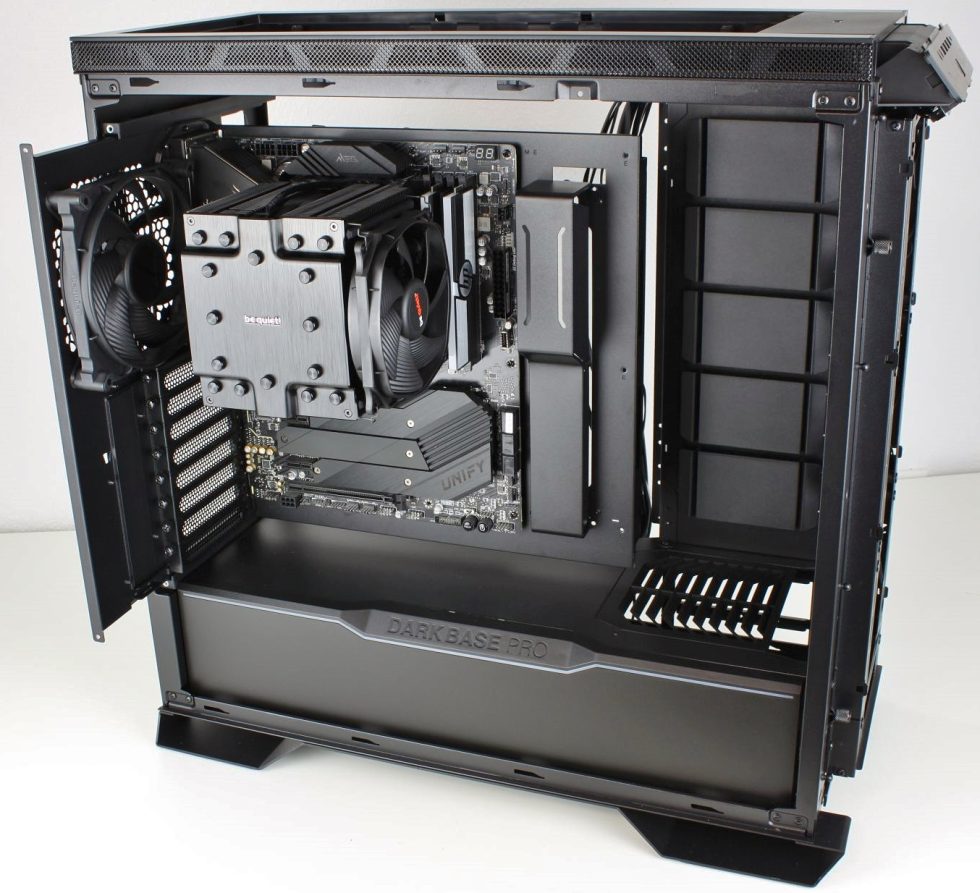
As power supply a Straight Power 11 is used. So I only had to disconnect the cables from the existing system, remove the graphics card and the board including the mounted “small parts” (CPU/RAM/SSD) and was immediately ready for the move without removing even a single cable tie.
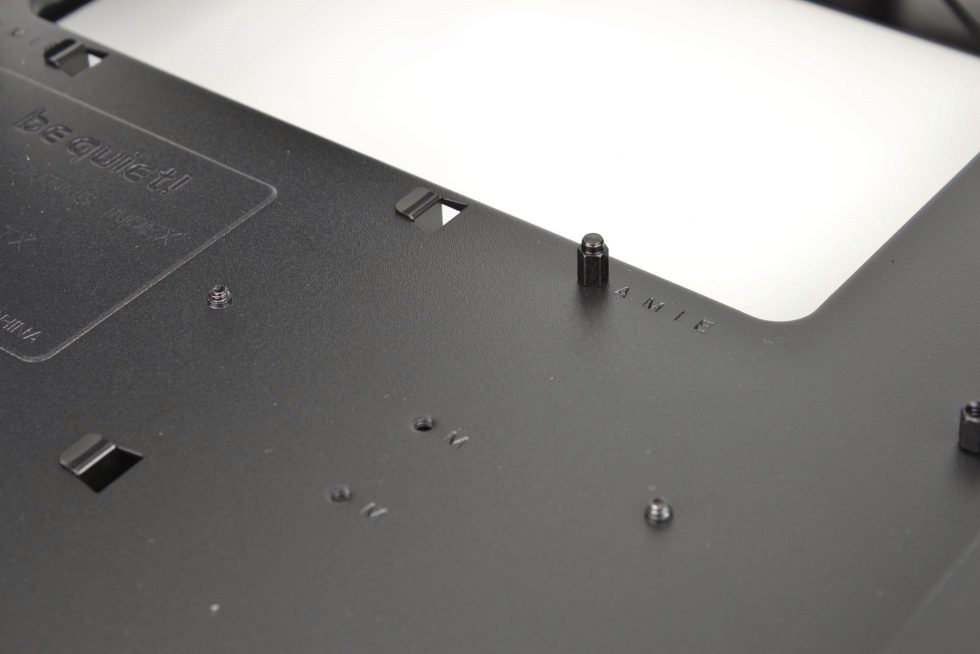
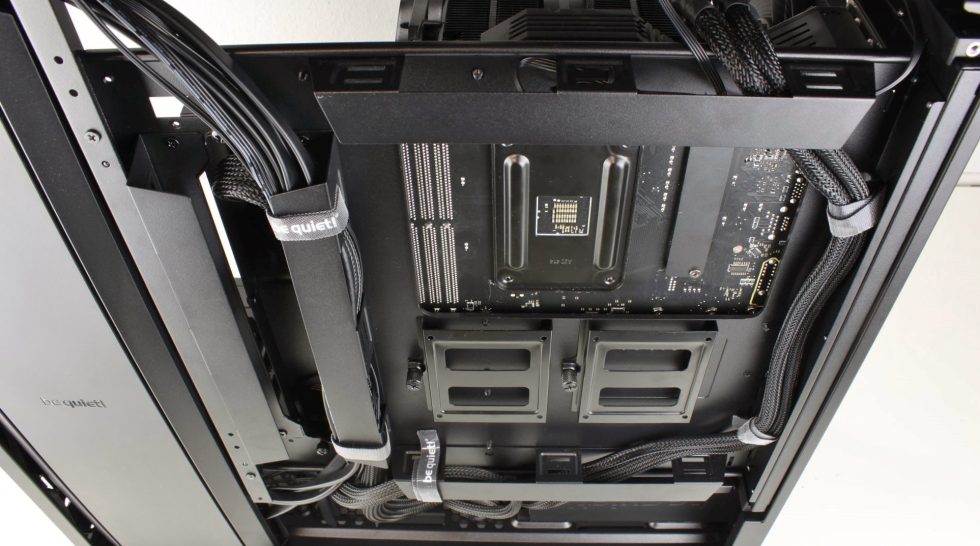
As you would expect, BeQuiet! has of course equipped its flagship with a centering spacer.
It wouldn’t have been a disaster for the removable mainboard tray if the centering had been missing, but this way it’s simply even more comfortable.
The assembled mainboard is simply pushed into the case – pure luxury!
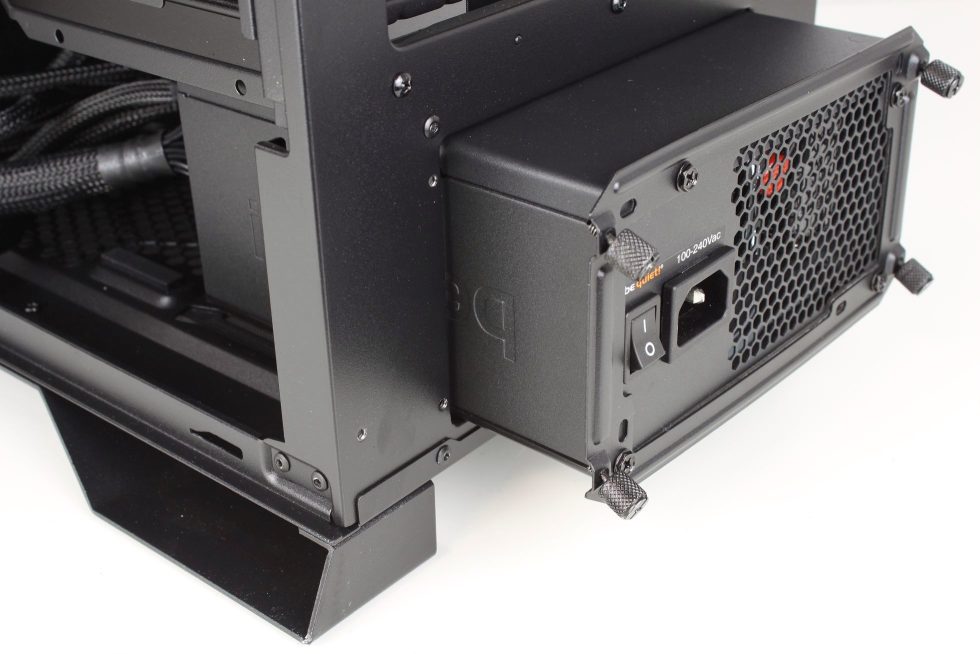
Next, the power supply was allowed to take its place.
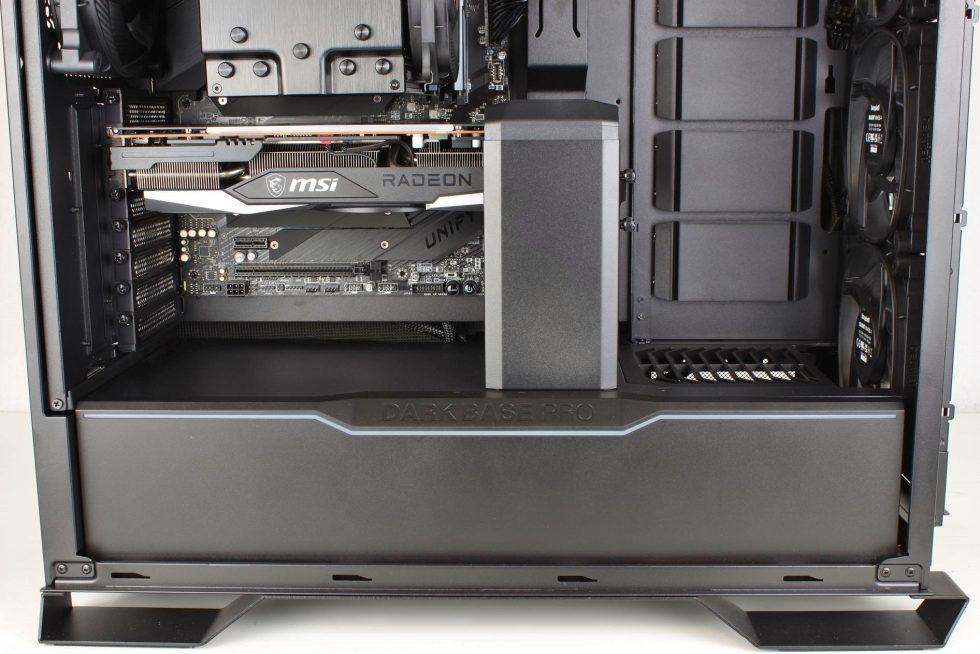
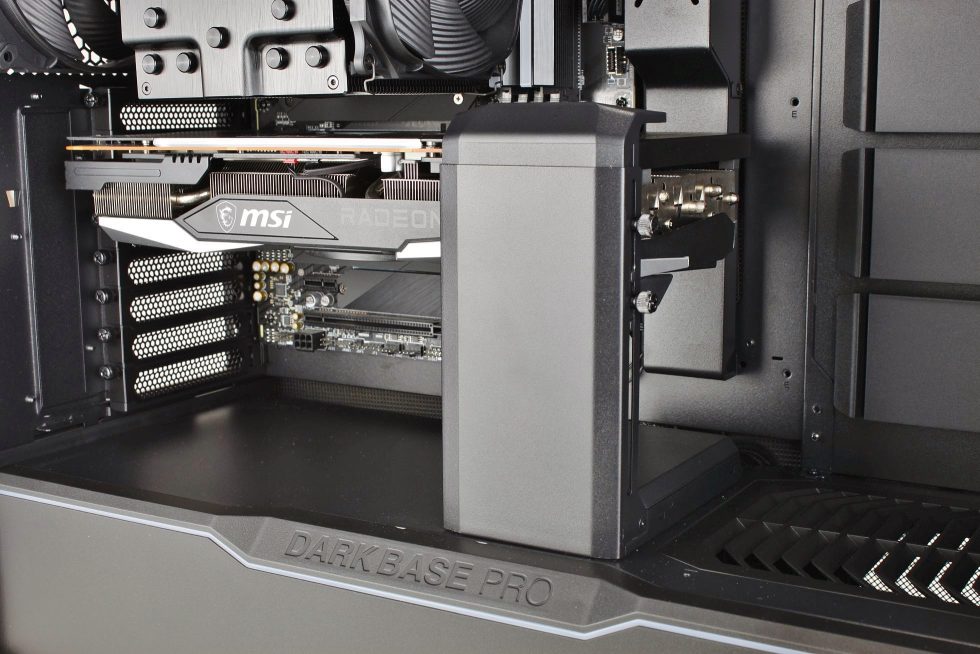
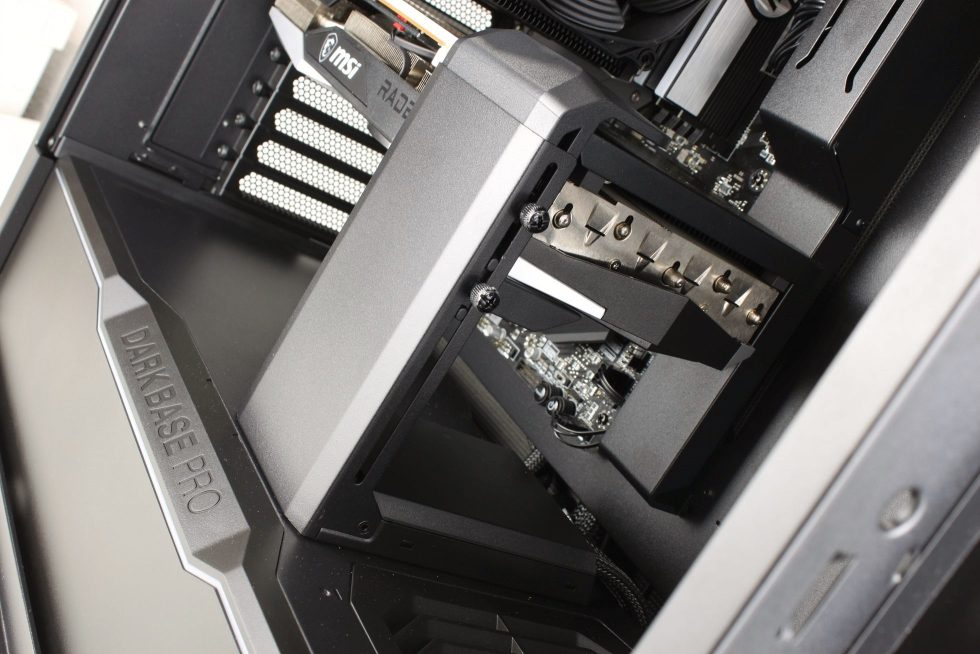
After all relevant cables were plugged in, the graphics card was allowed to move in. First, it was installed regularly and equipped with the included GPU support:
Definitely a neat solution! I don’t even mind that it obscures the view of the graphics card a bit.
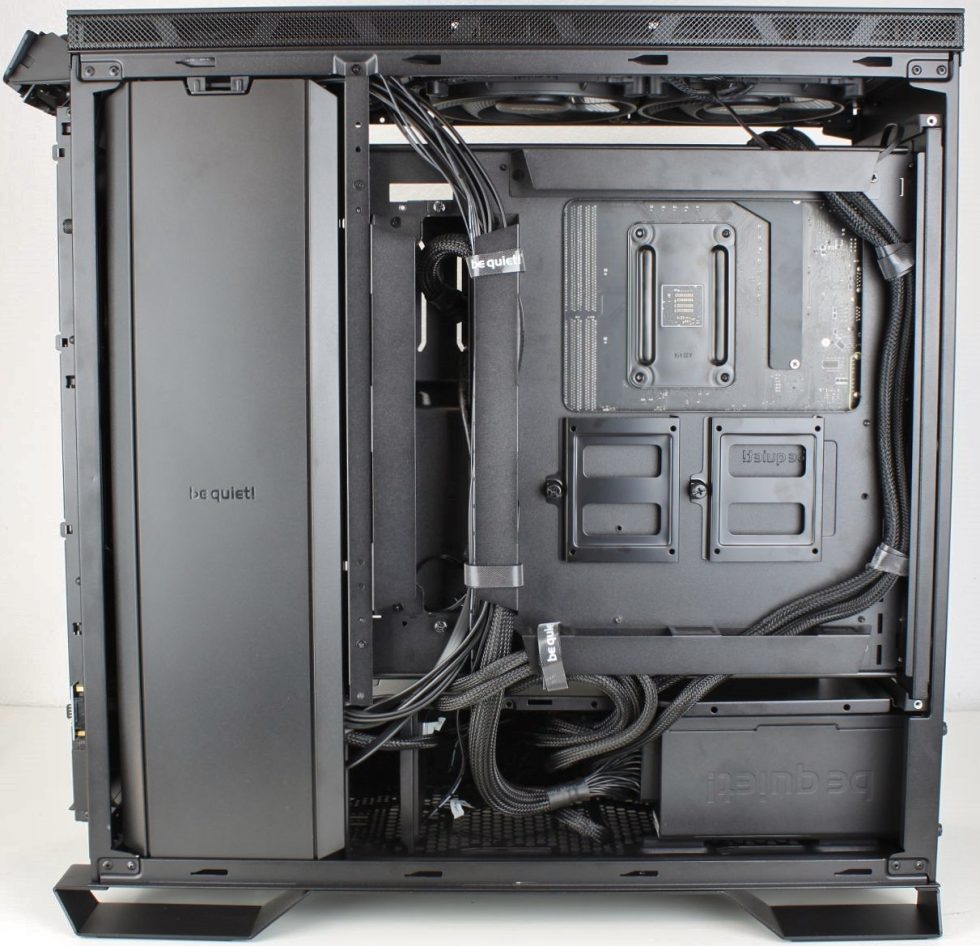
After all, it also makes the cables absolutely invisible and neatly routed.
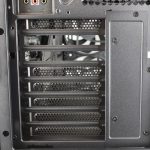
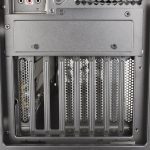
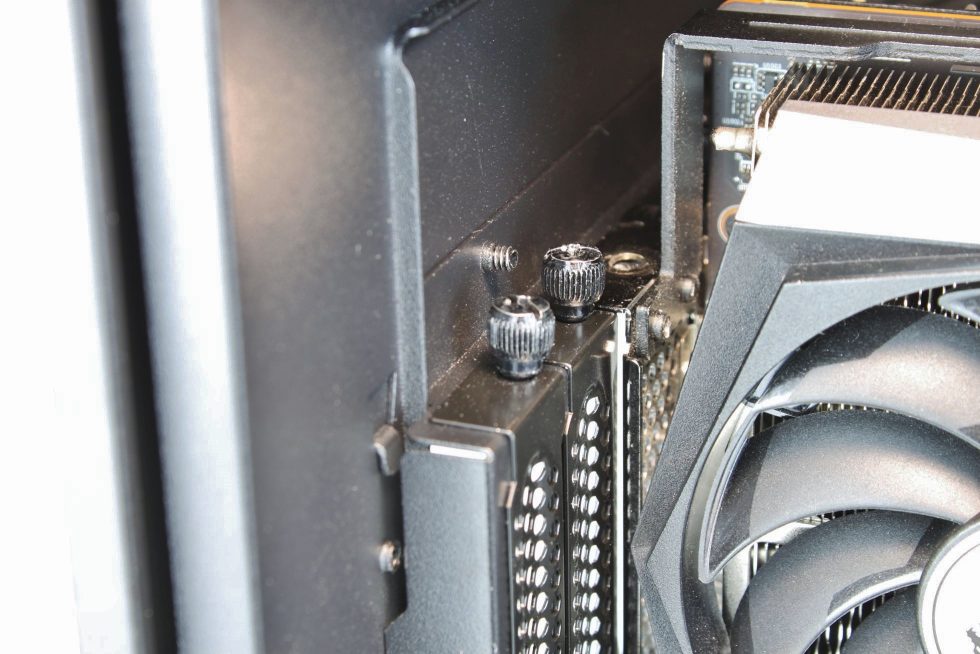
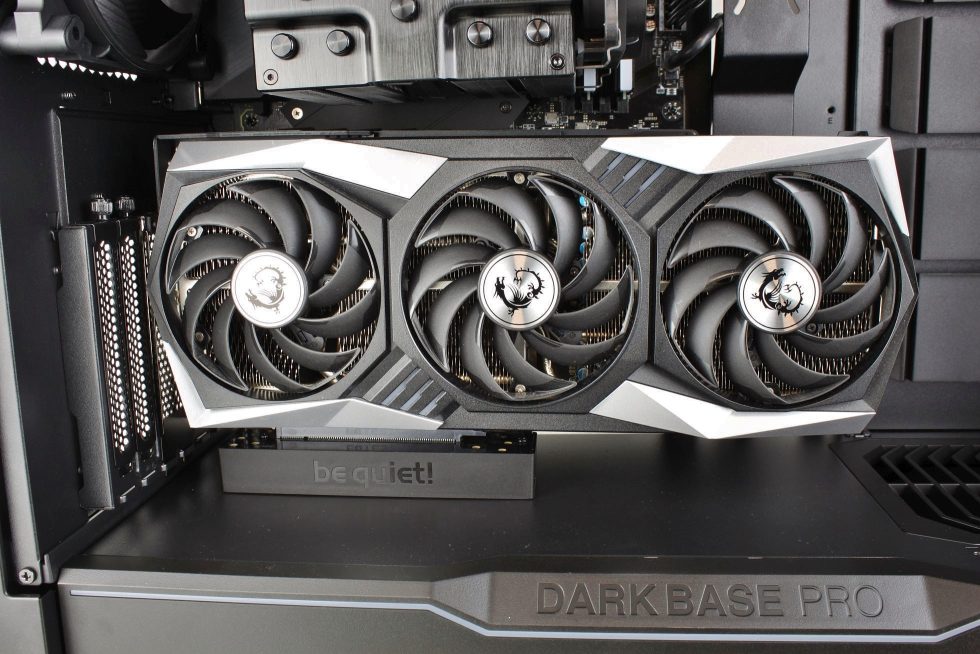
However, since BeQuiet sent along a PCIE riser cable as part of the review, I got carried away and installed it as well. Unfortunately, turning the PCI slots is not as easy as it looks, because the motherboard has to be removed.
And also then there is a little problem: The screws of the graphics card can only be reached very awkwardly and even require the disassembly of the case fan in the rear.
But the result looks great and I was curious about the temperatures of the vertically installed graphics card! For the record: the crooked CPU fan I have of course straightened after viewing the photos!
On the subject of cable management: 5-10 minutes without breaking your head. Practically everywhere where a cable can come out, there is also a channel or mounting point where you can lay it.
Only the cable length can be a problem if you want to lay it very cleanly. The cables for the CPU power supply were not long enough to run all the way out.
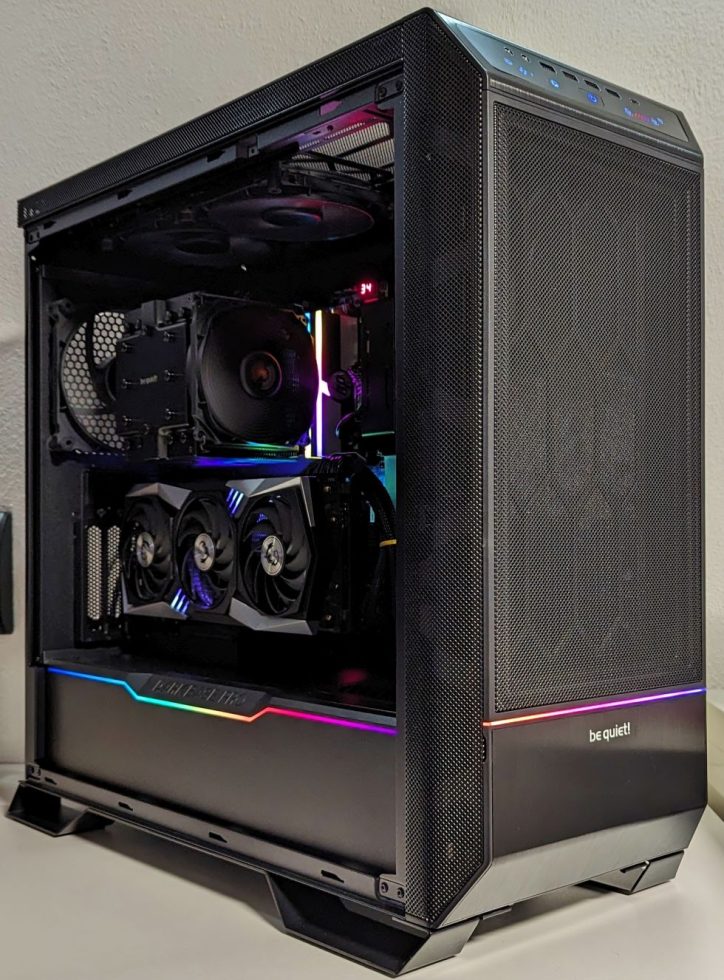
Everything inside and ready for the startup process. Can definitely be seen!
Time to test!









85 Antworten
Kommentar
Lade neue Kommentare
Urgestein
Moderator
Urgestein
Urgestein
Urgestein
Urgestein
Urgestein
Veteran
Urgestein
Mitglied
Urgestein
Urgestein
Moderator
Urgestein
Veteran
Mitglied
Veteran
Urgestein
Mitglied
Alle Kommentare lesen unter igor´sLAB Community →