


Construction diary
Now we come to the practical test and thus also to the most interesting part of the review. Here it becomes clear why I spoke of a roller coaster of emotions in the introduction, because while euphoria prevailed during the unboxing, some question marks arose in practice. In the end, a (in my opinion) very pretty (and also cool) system emerged, but nicely one after the other.
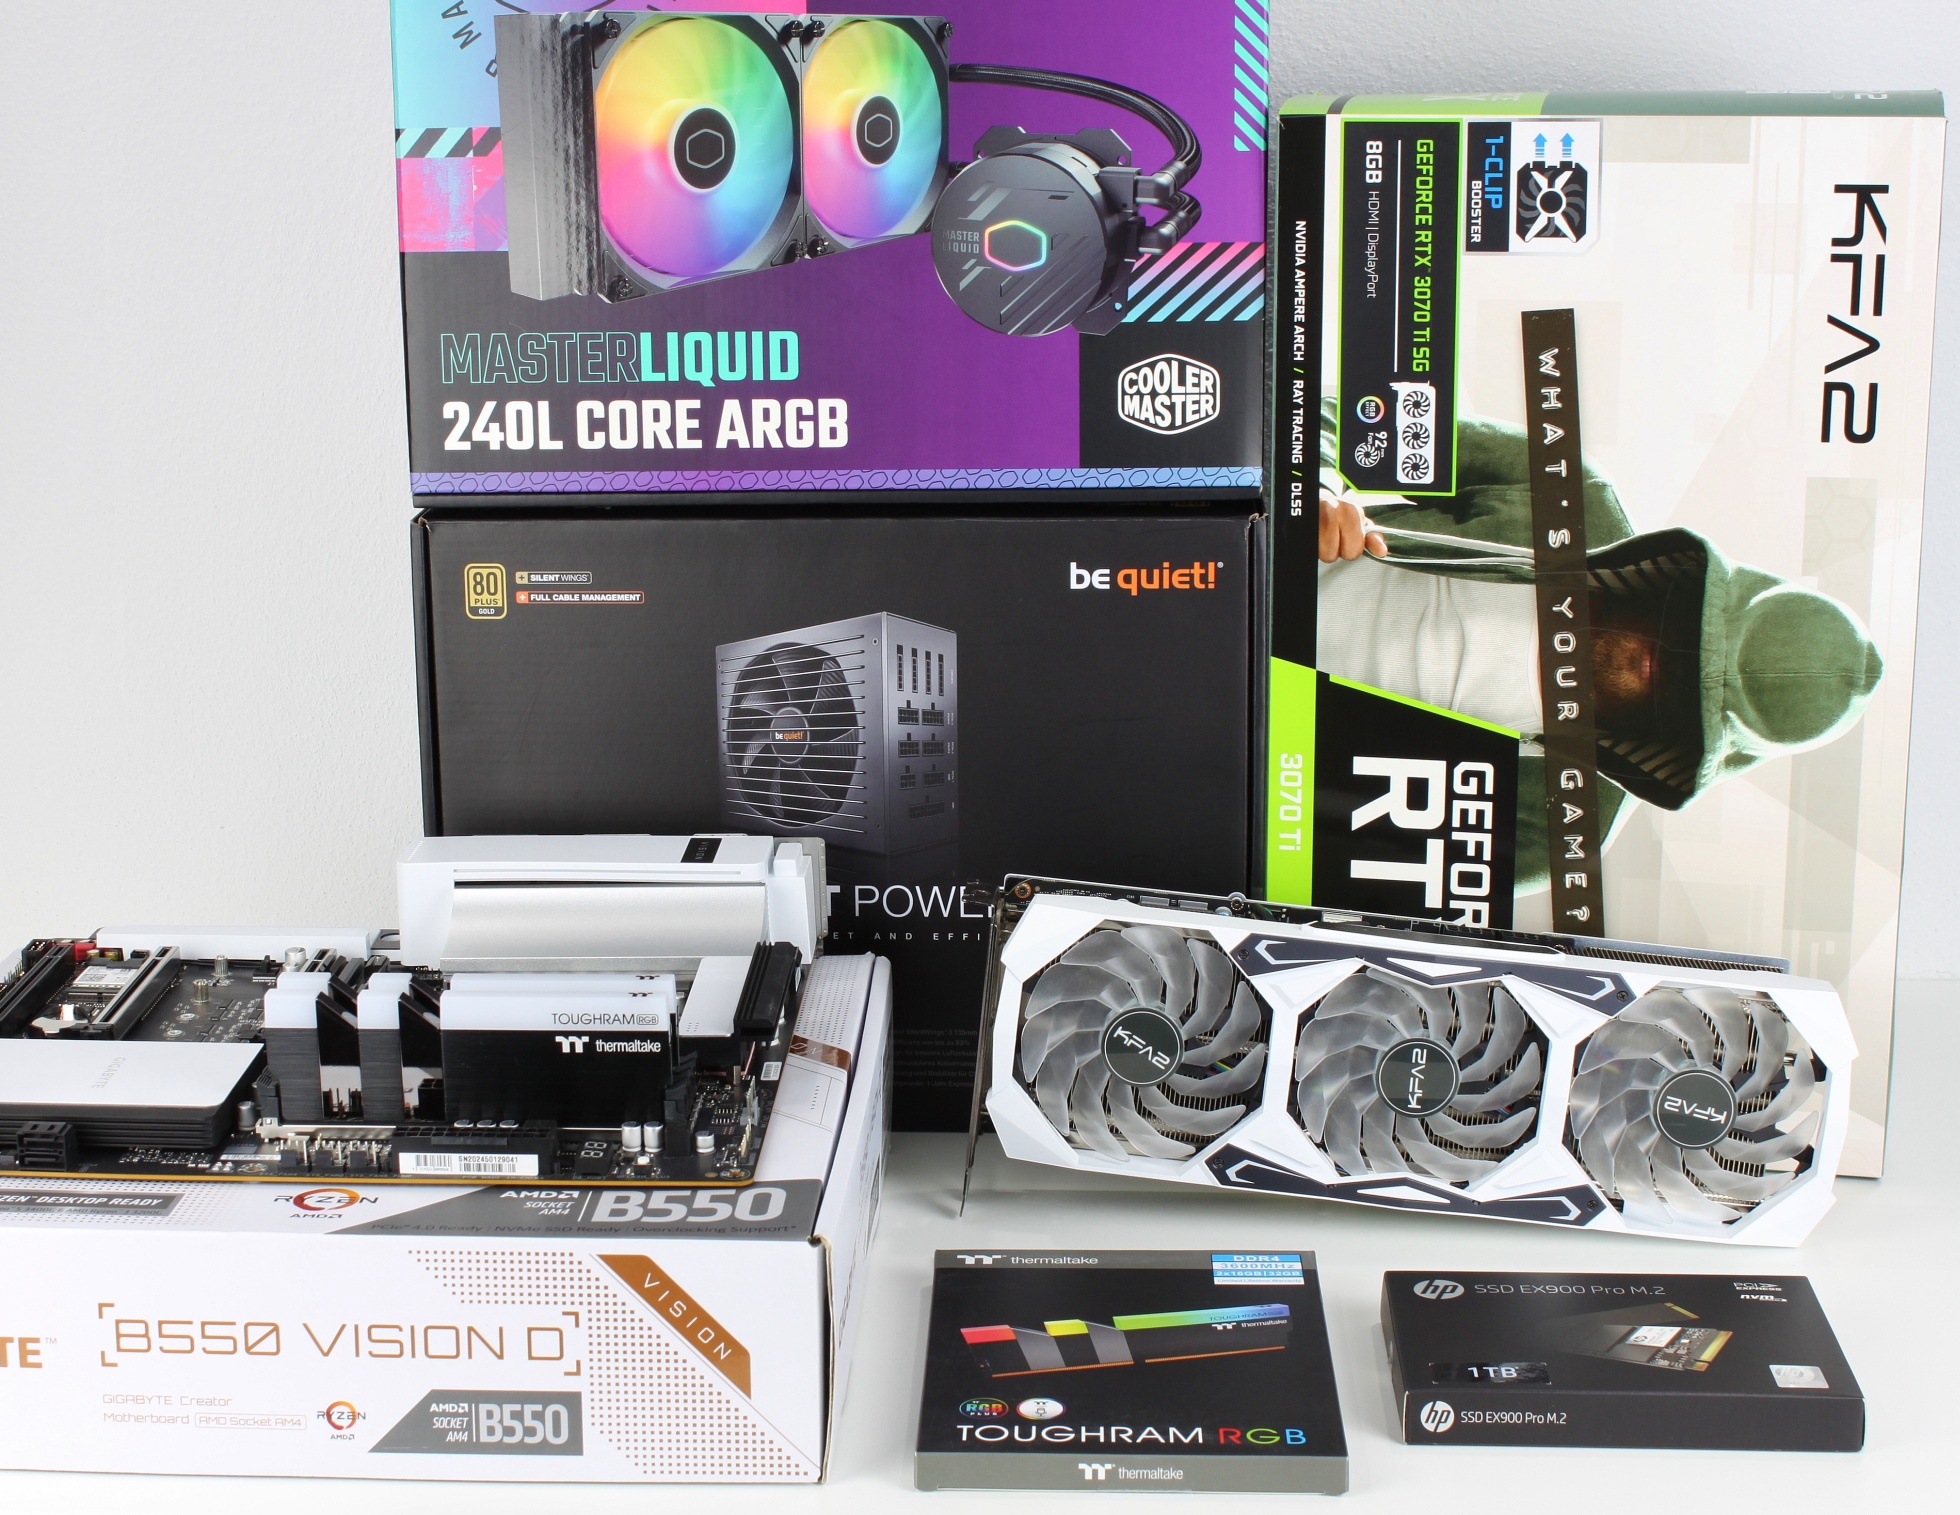
As in the last case tests, we used the proven AM4 platform with Ryzen 9 3900X and GeForce RTX 3070 Ti. The exact specs can be found on the following page.
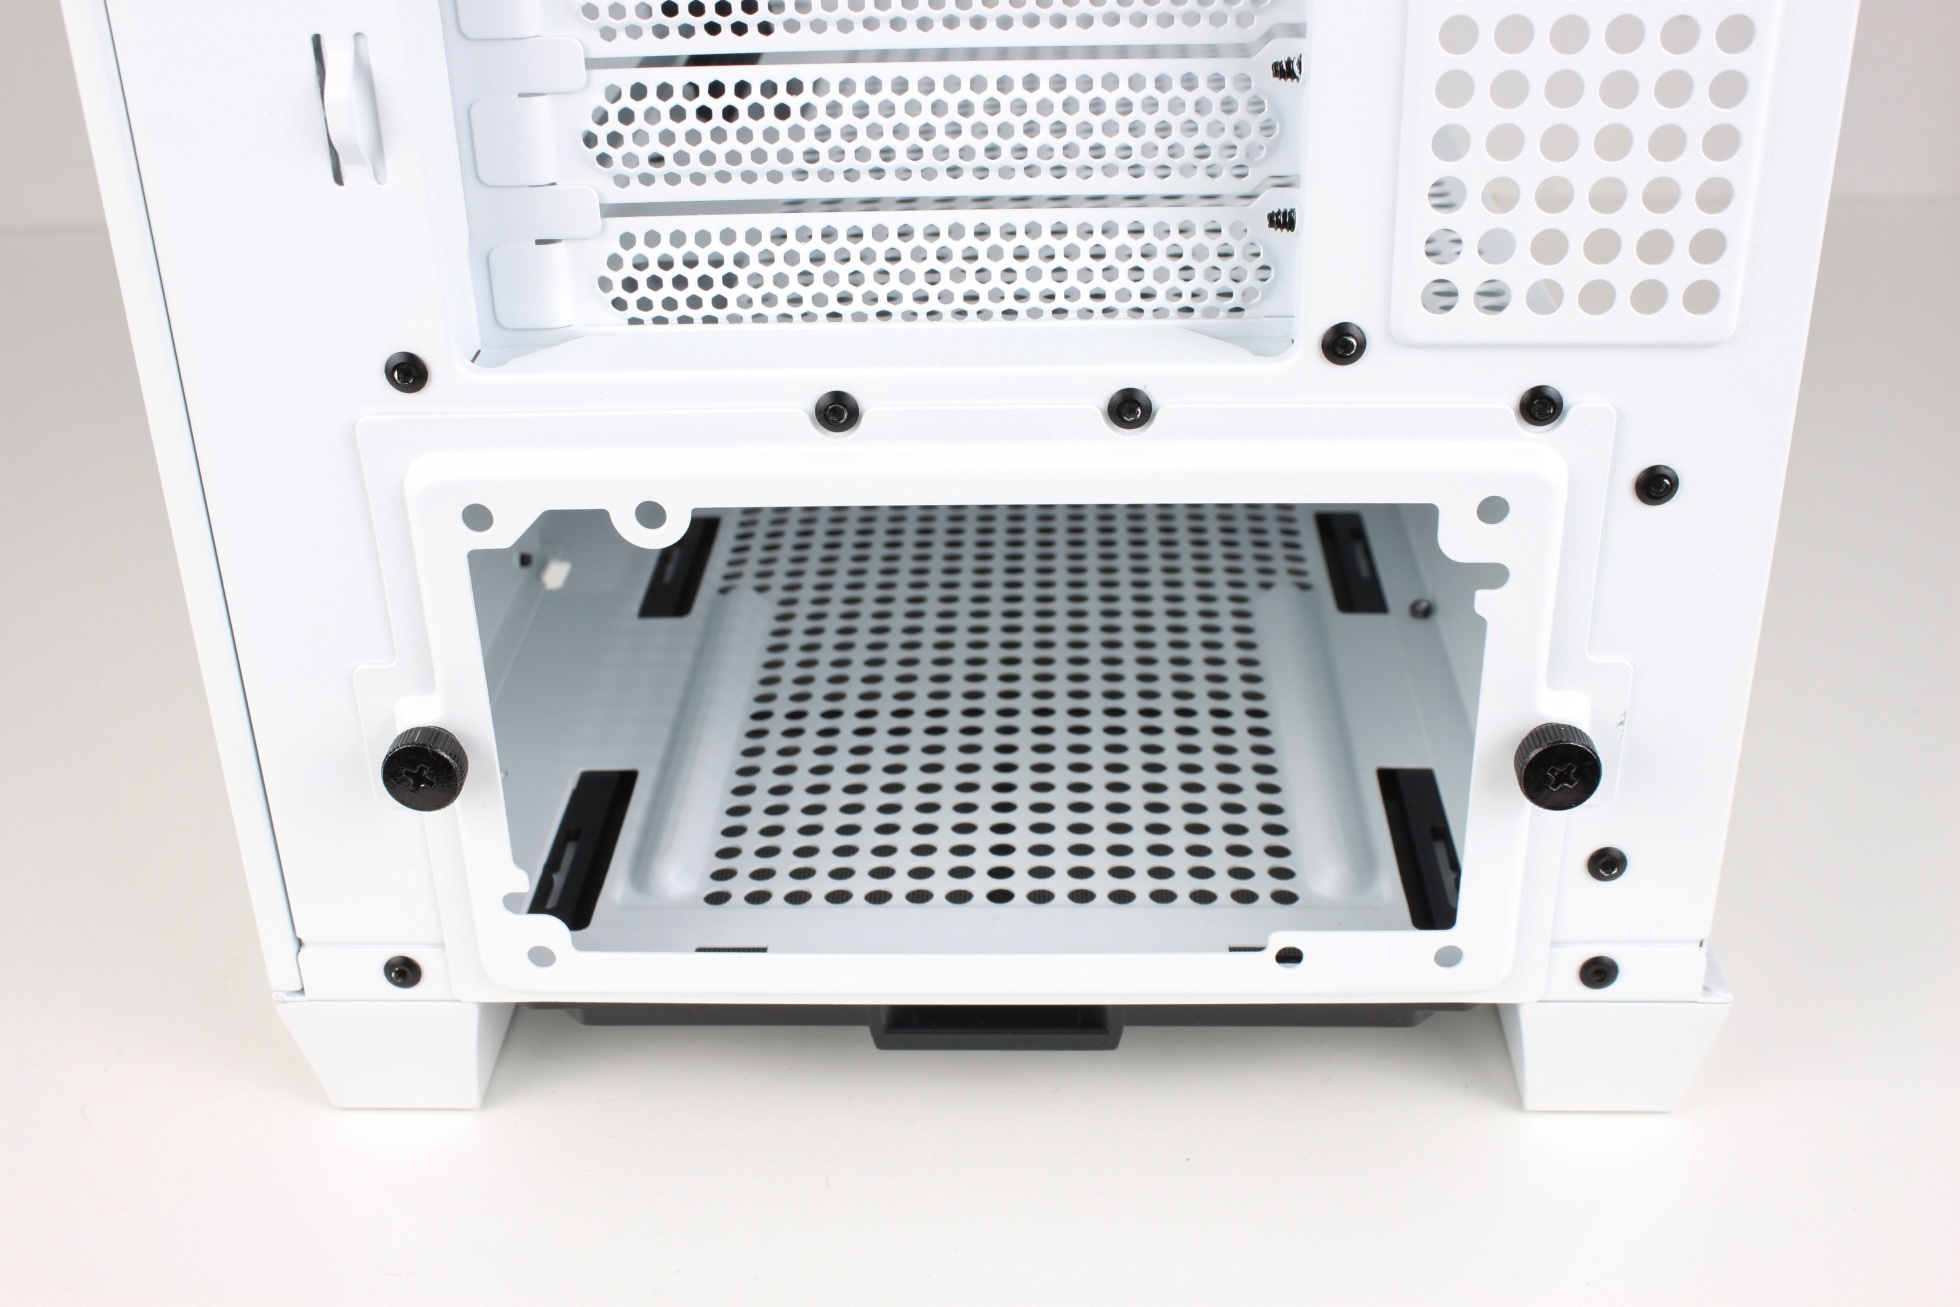
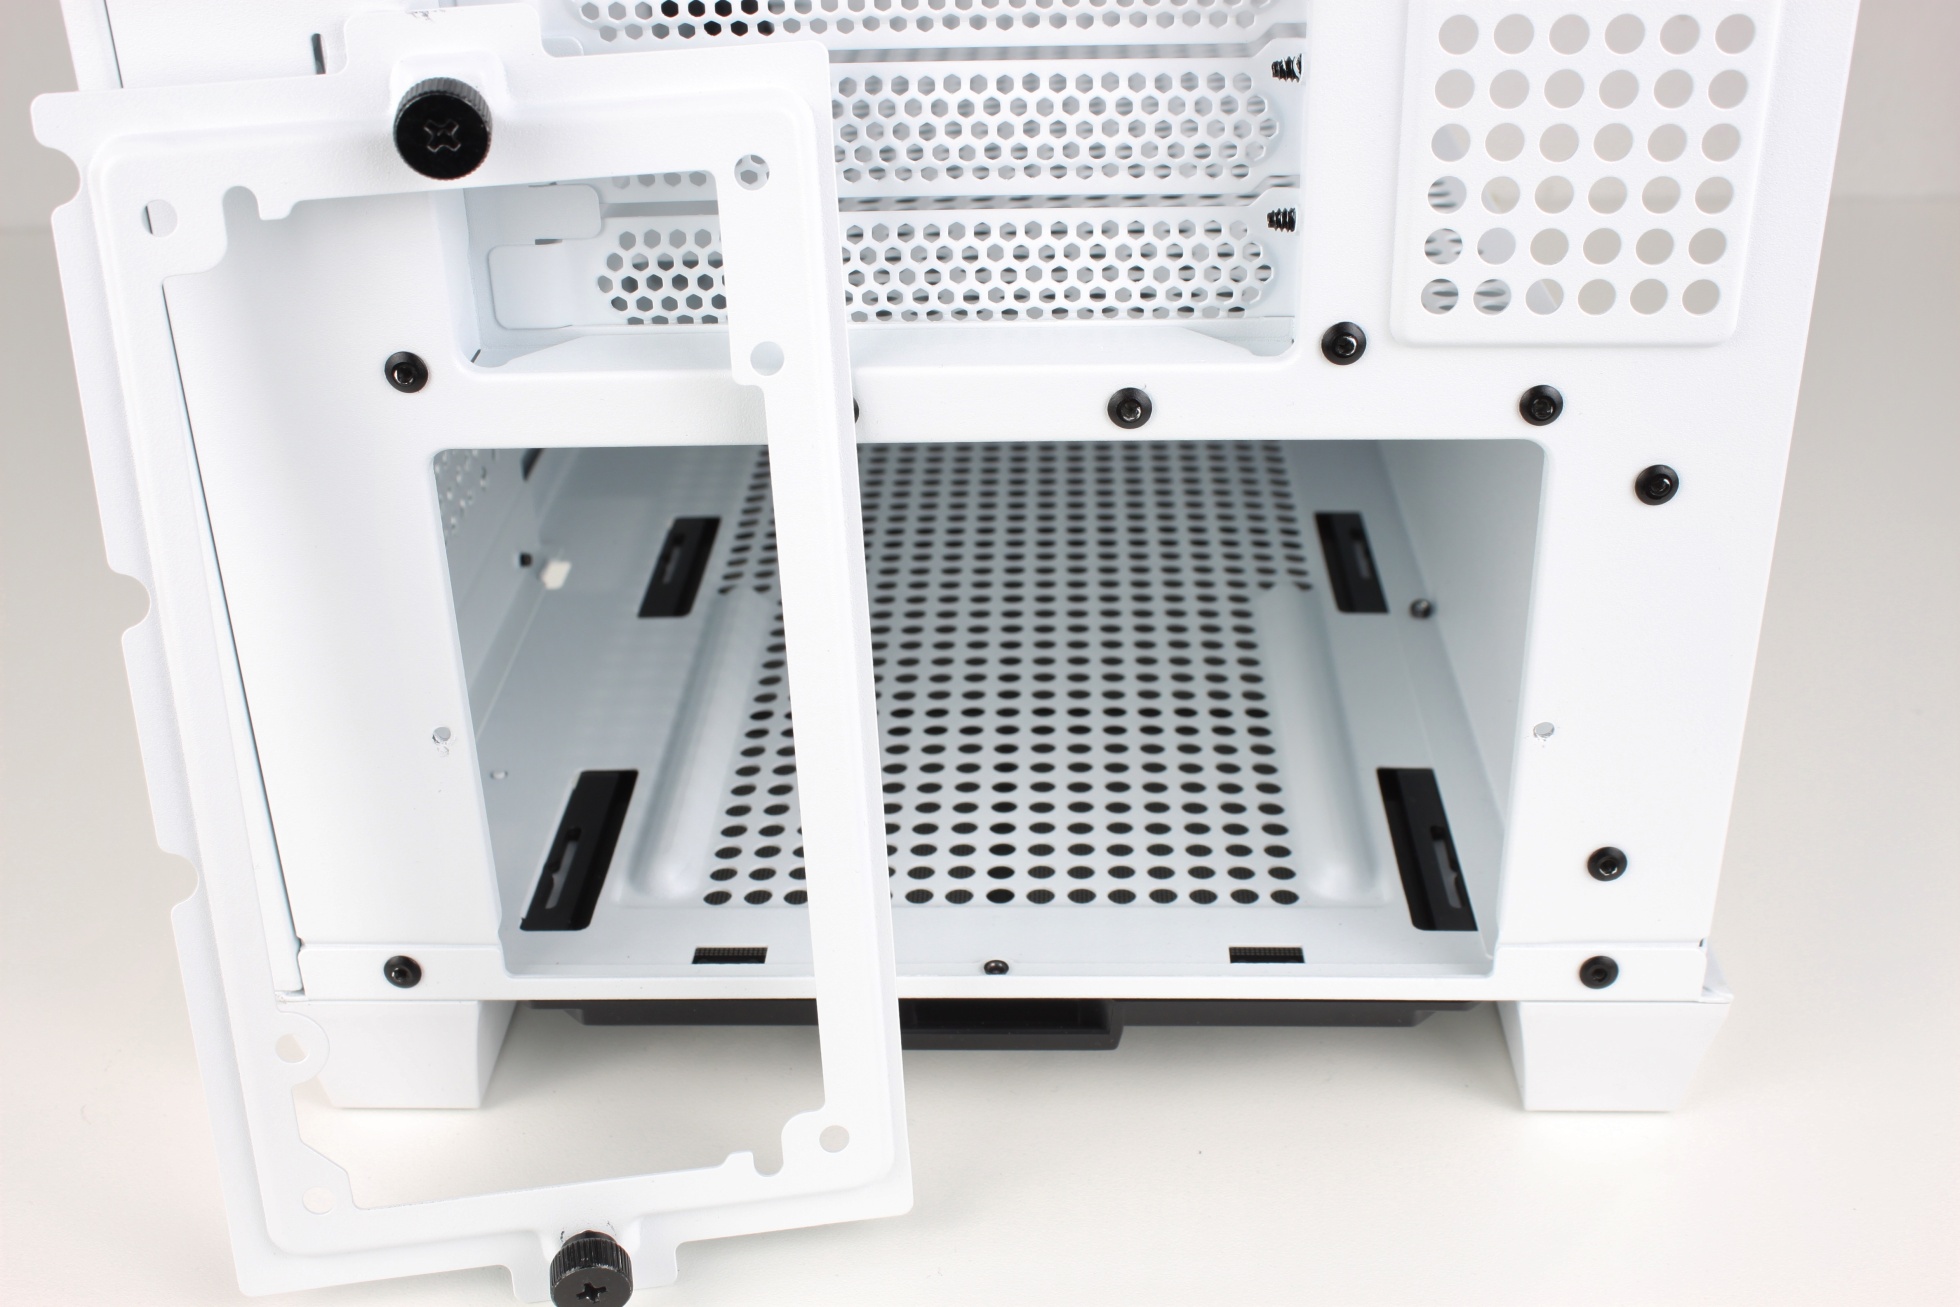
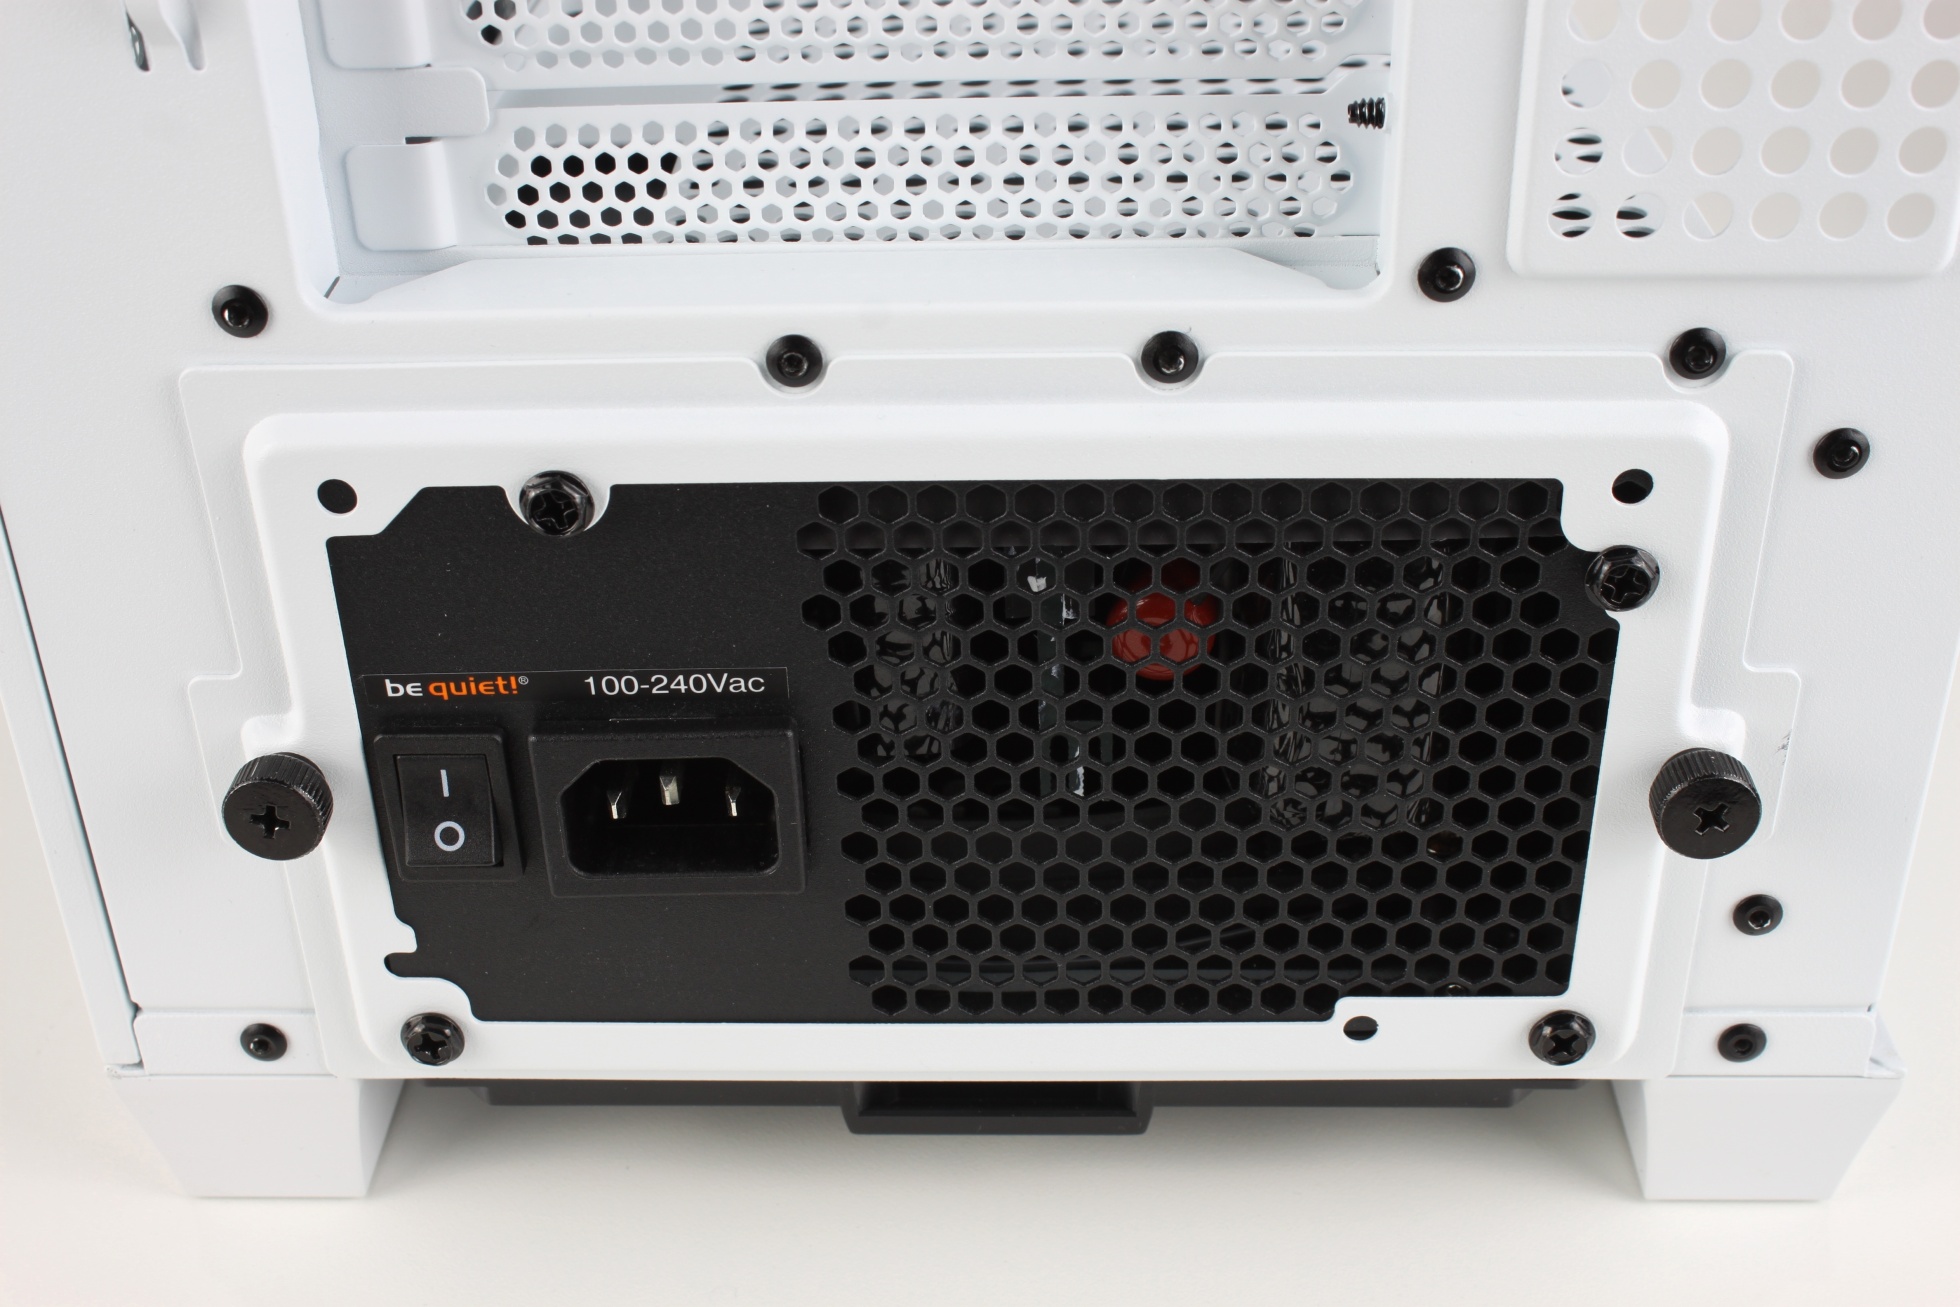
The first step was to install the power supply. As it is almost common nowadays, a panel on the back of the C1 has to be removed to get the PSU under the cover.
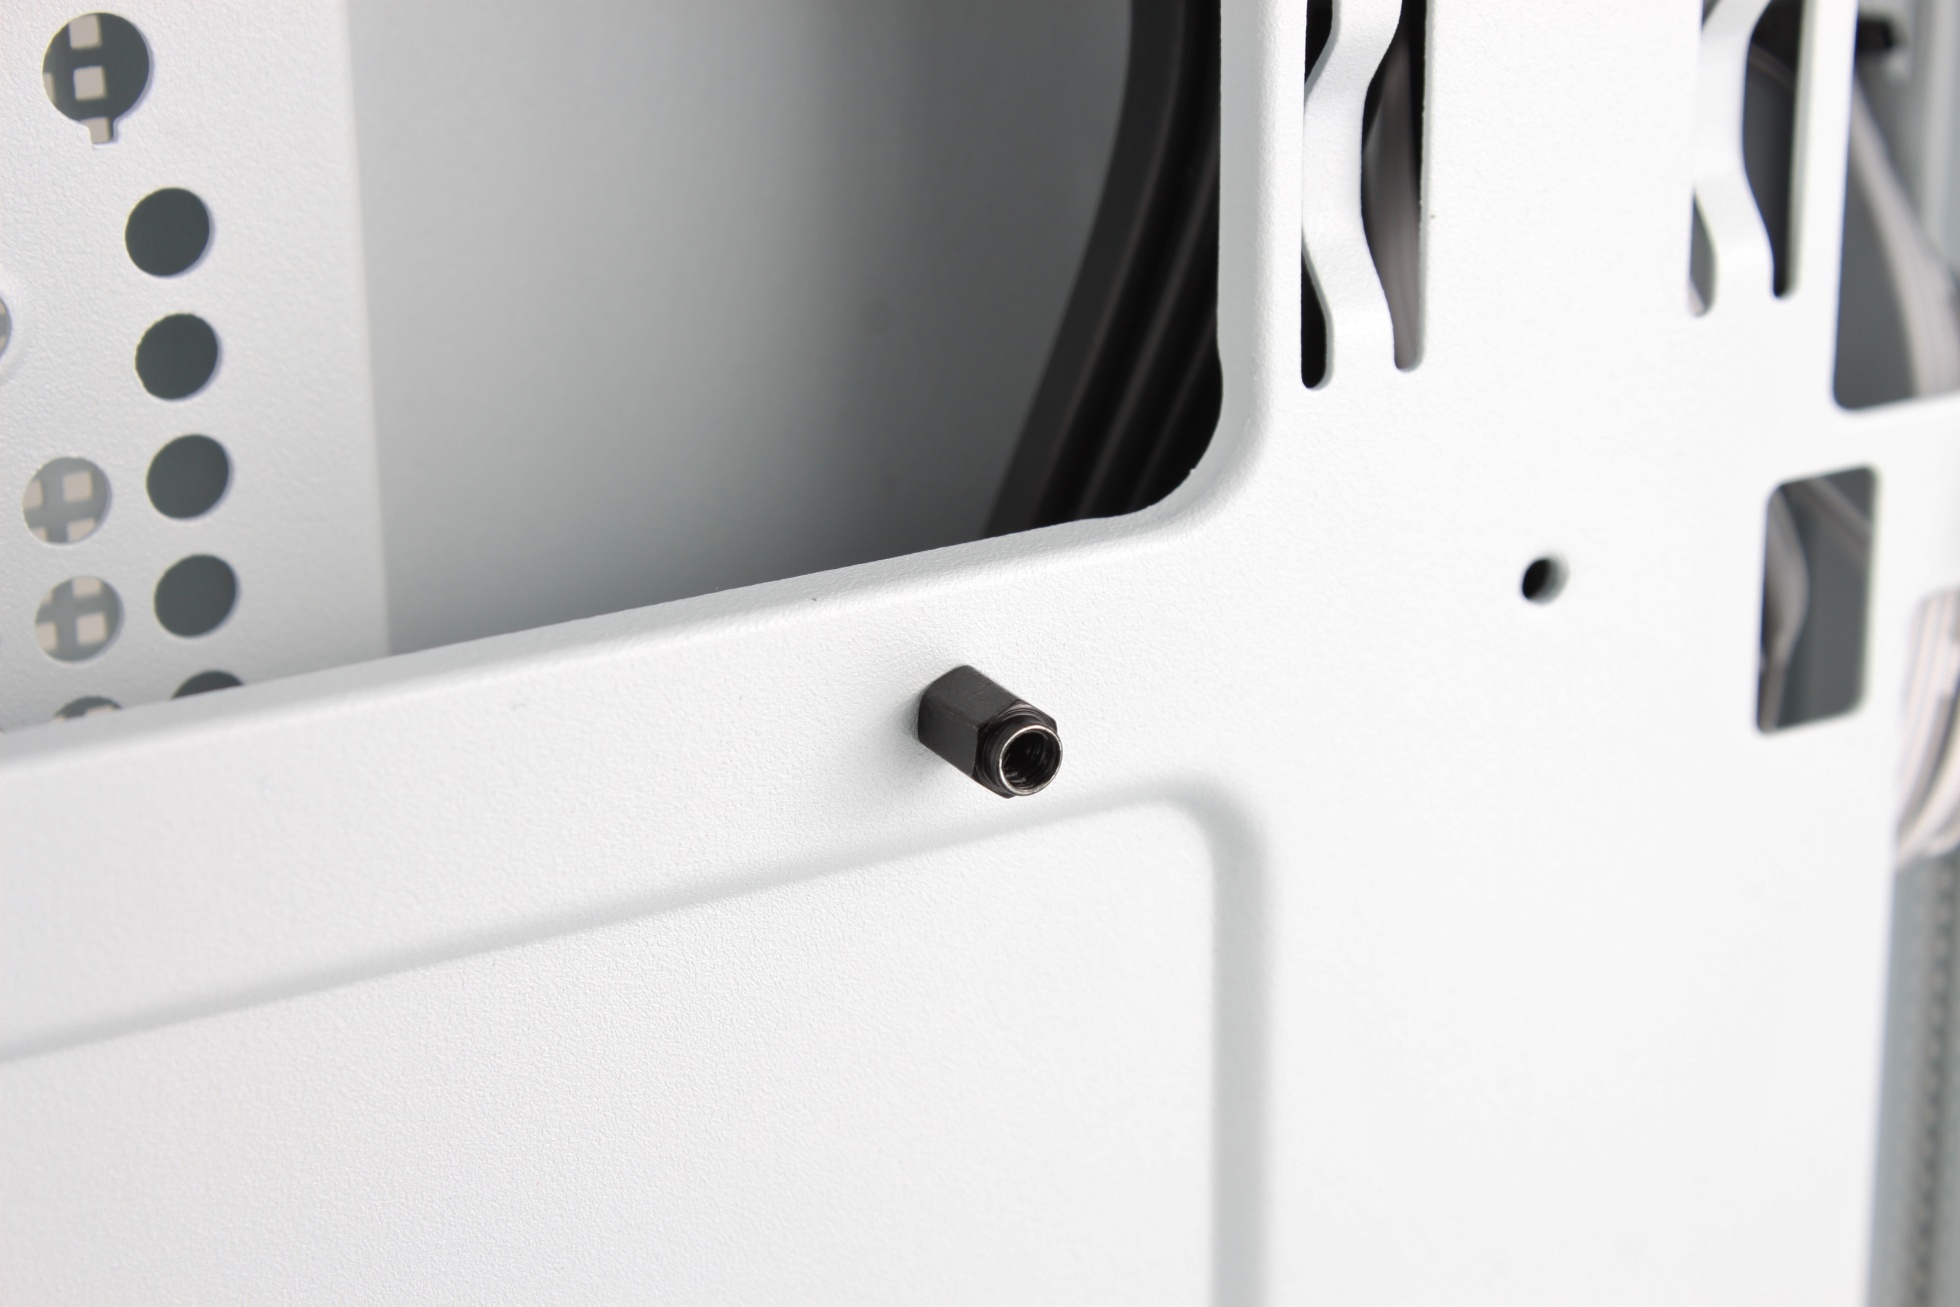
The next step is the installation of the mainboard. For this, APNX has pre-installed a spacer with centering. A tiny detail, which has a big effect!
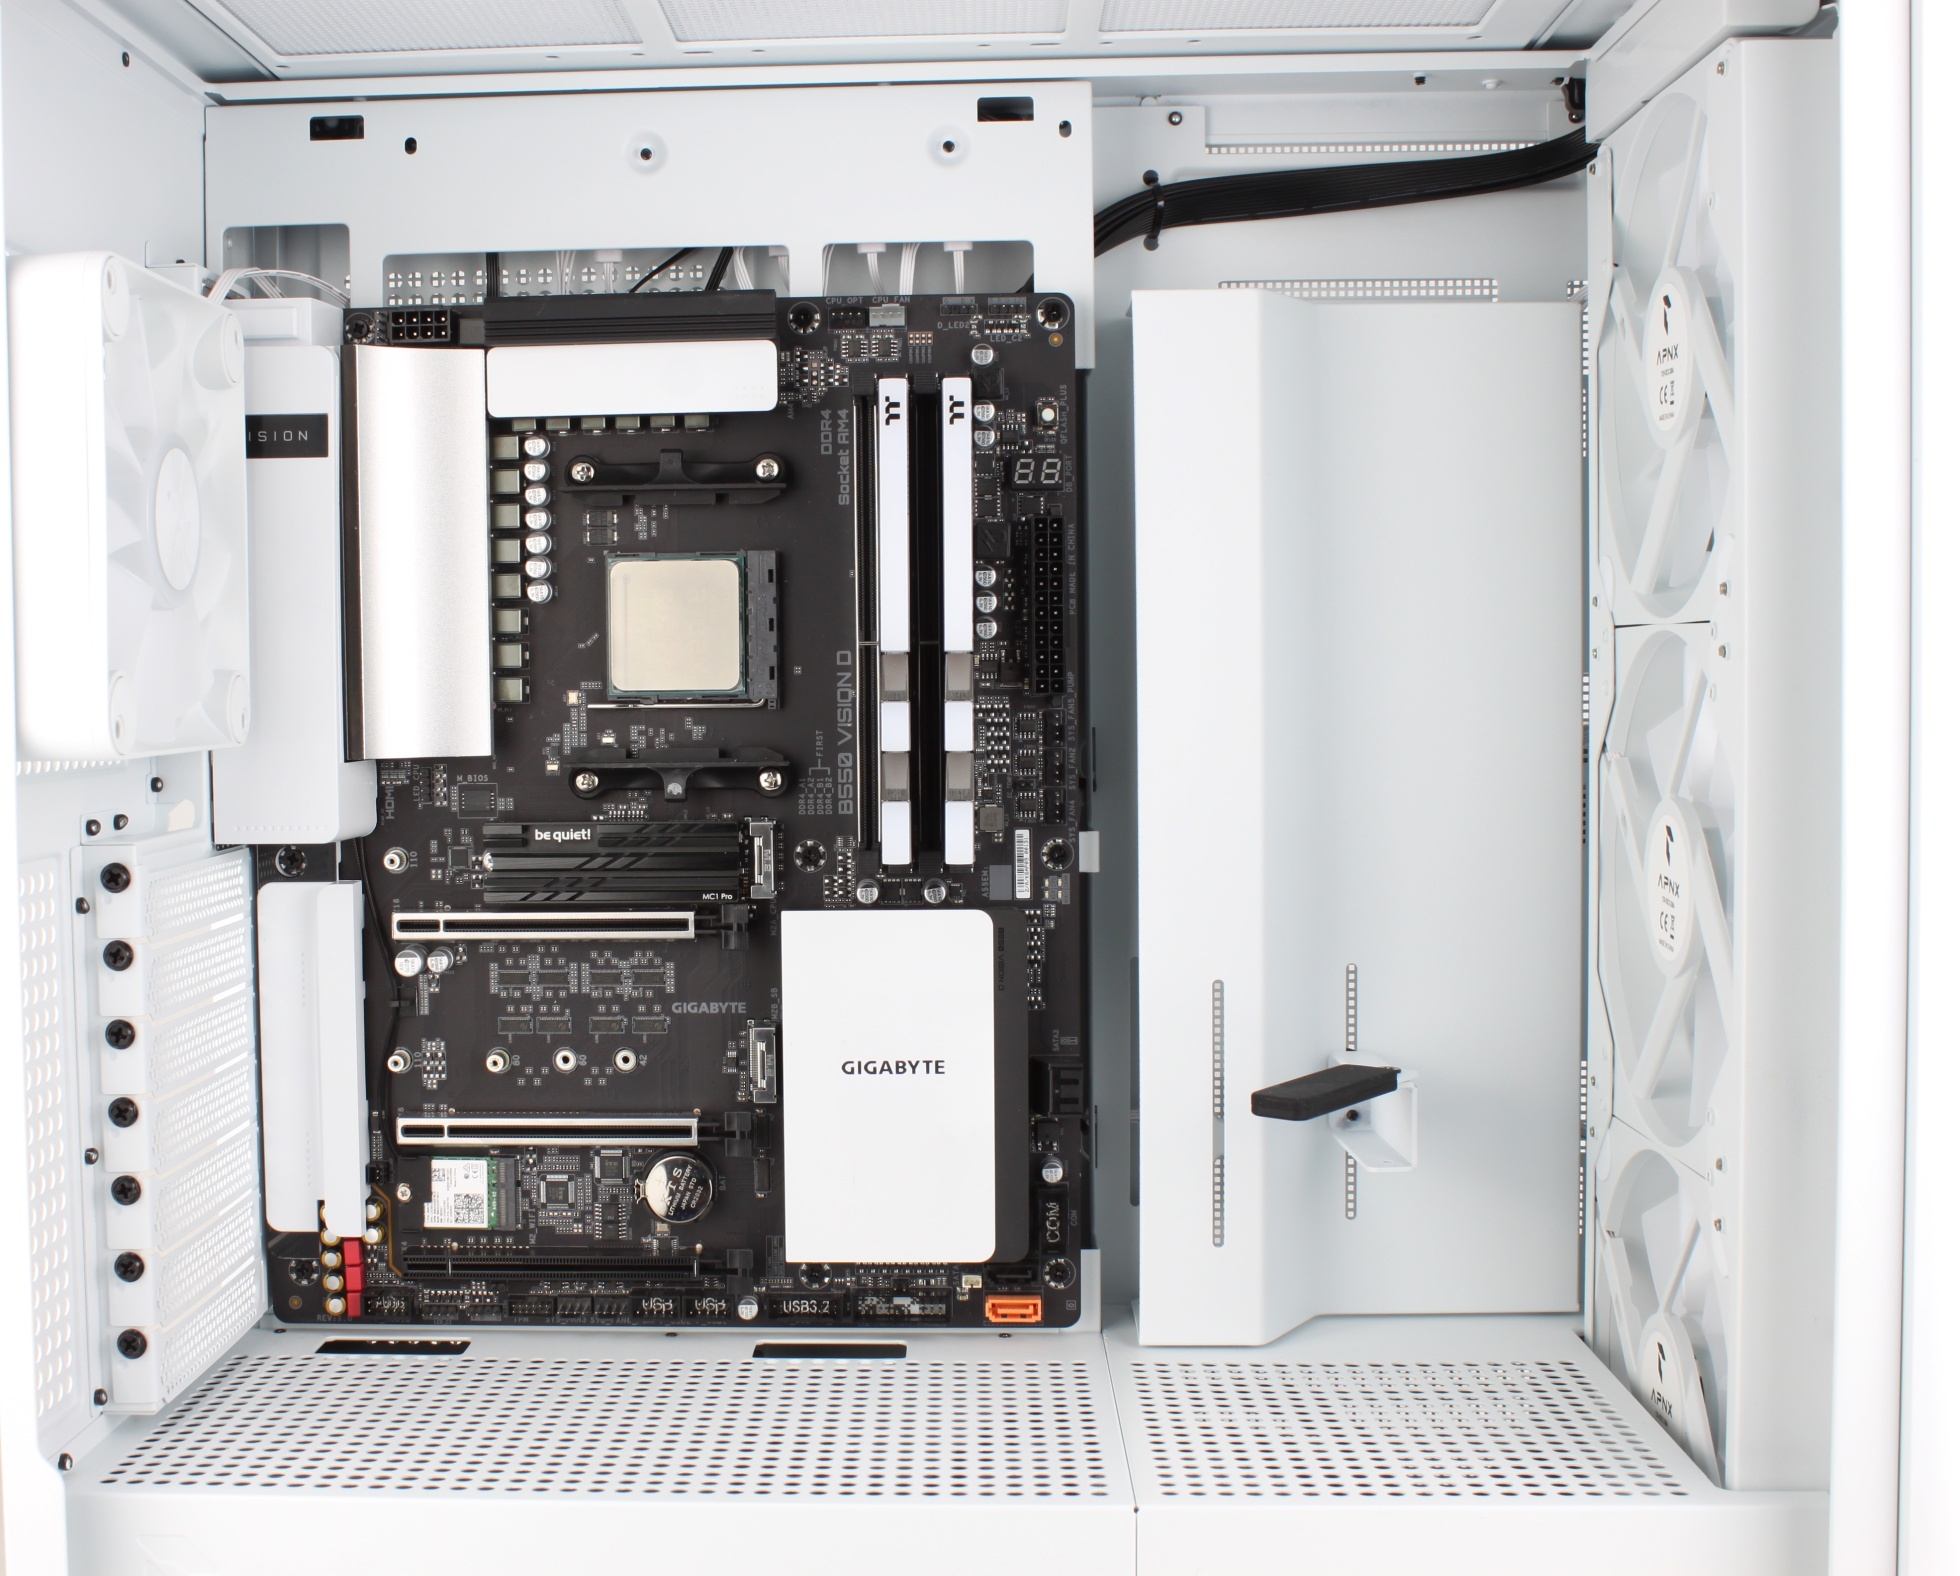
RAM, CPU and SSD were already pre-assembled and everything together was quickly brought in. It’s almost boring how few work steps are only needed when assembling a computer today.
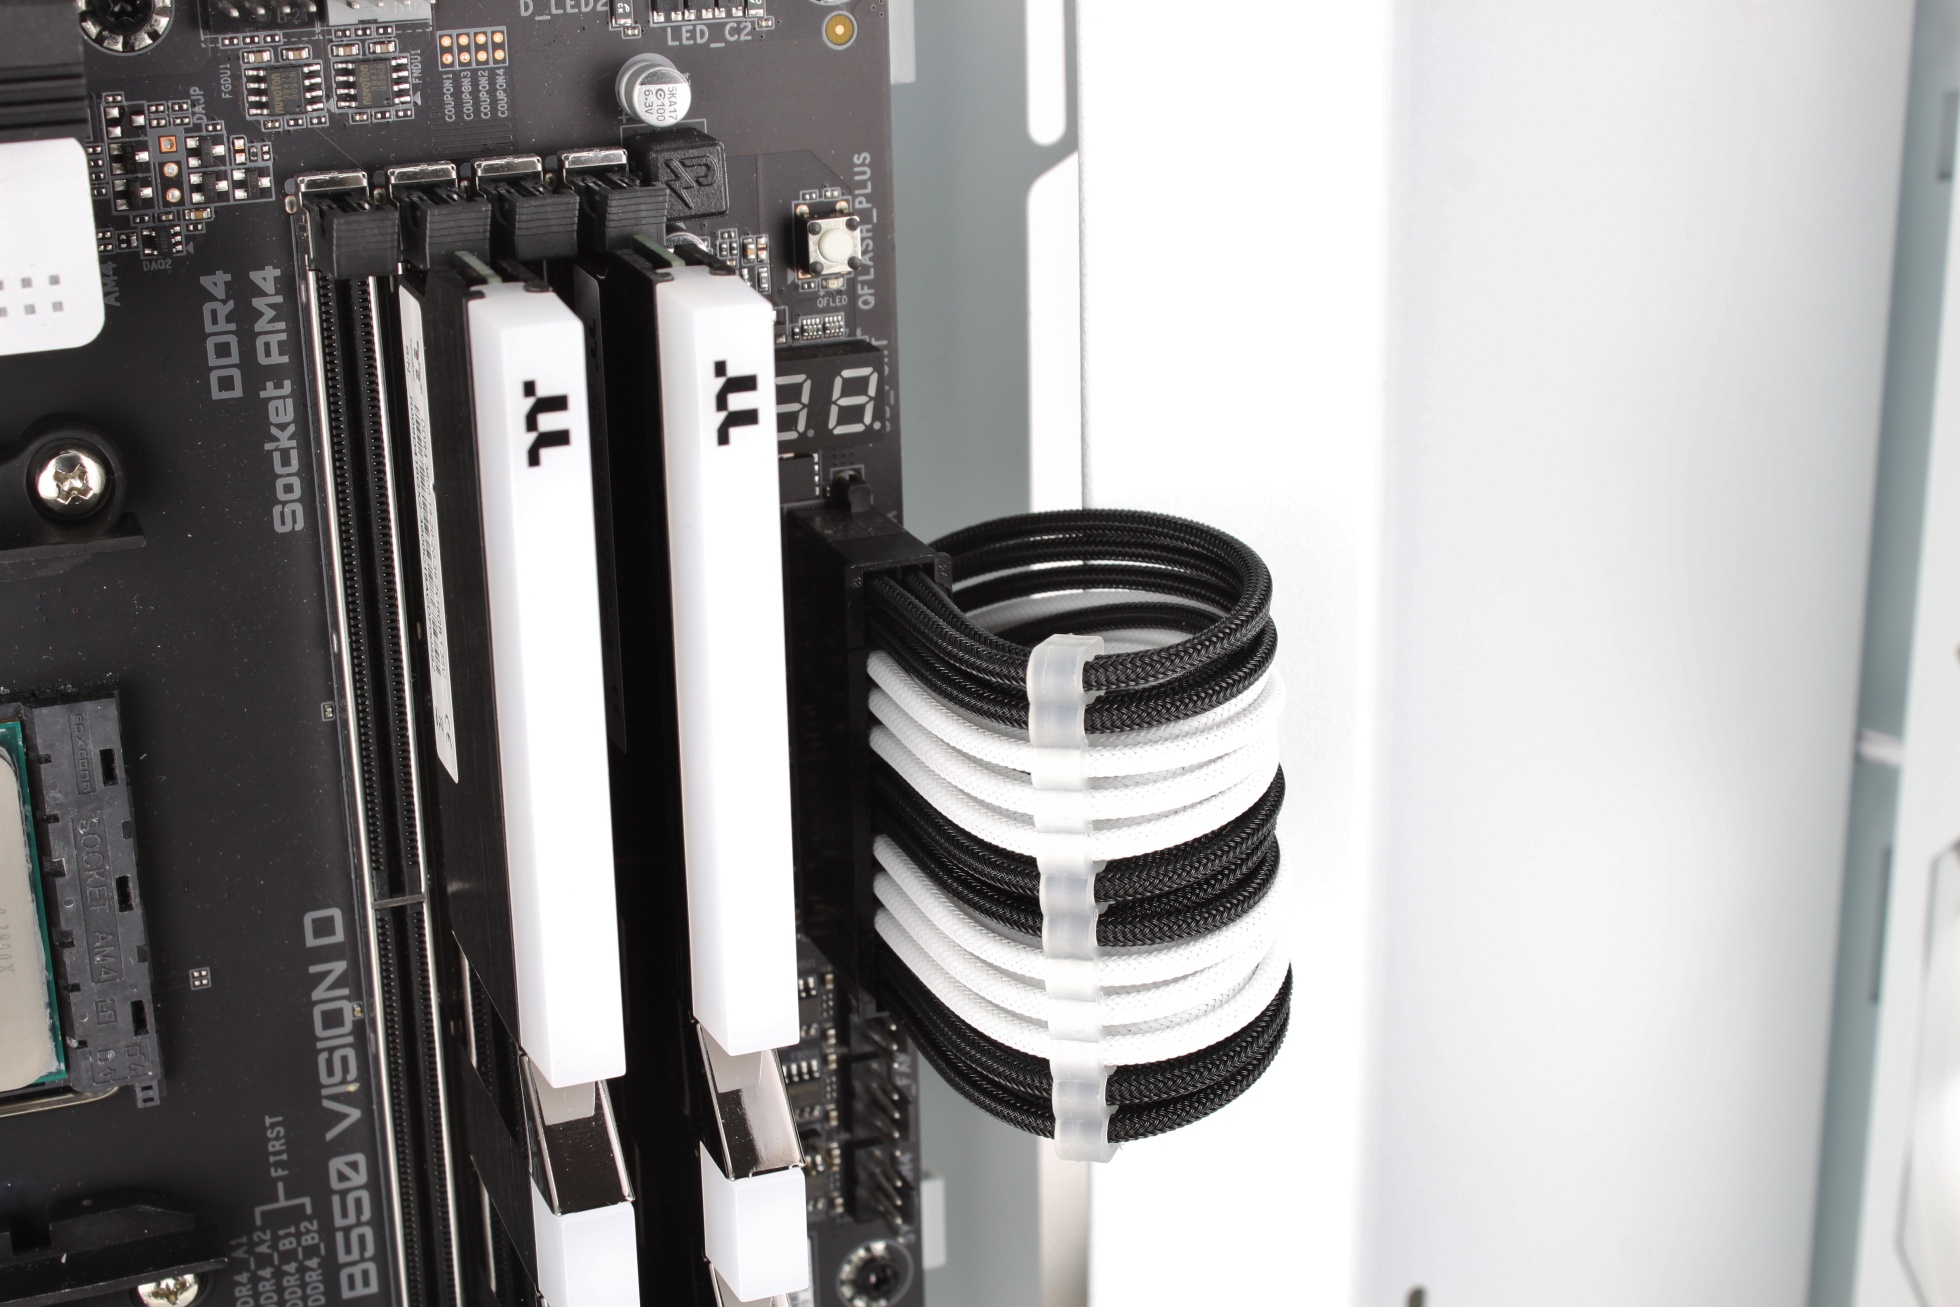
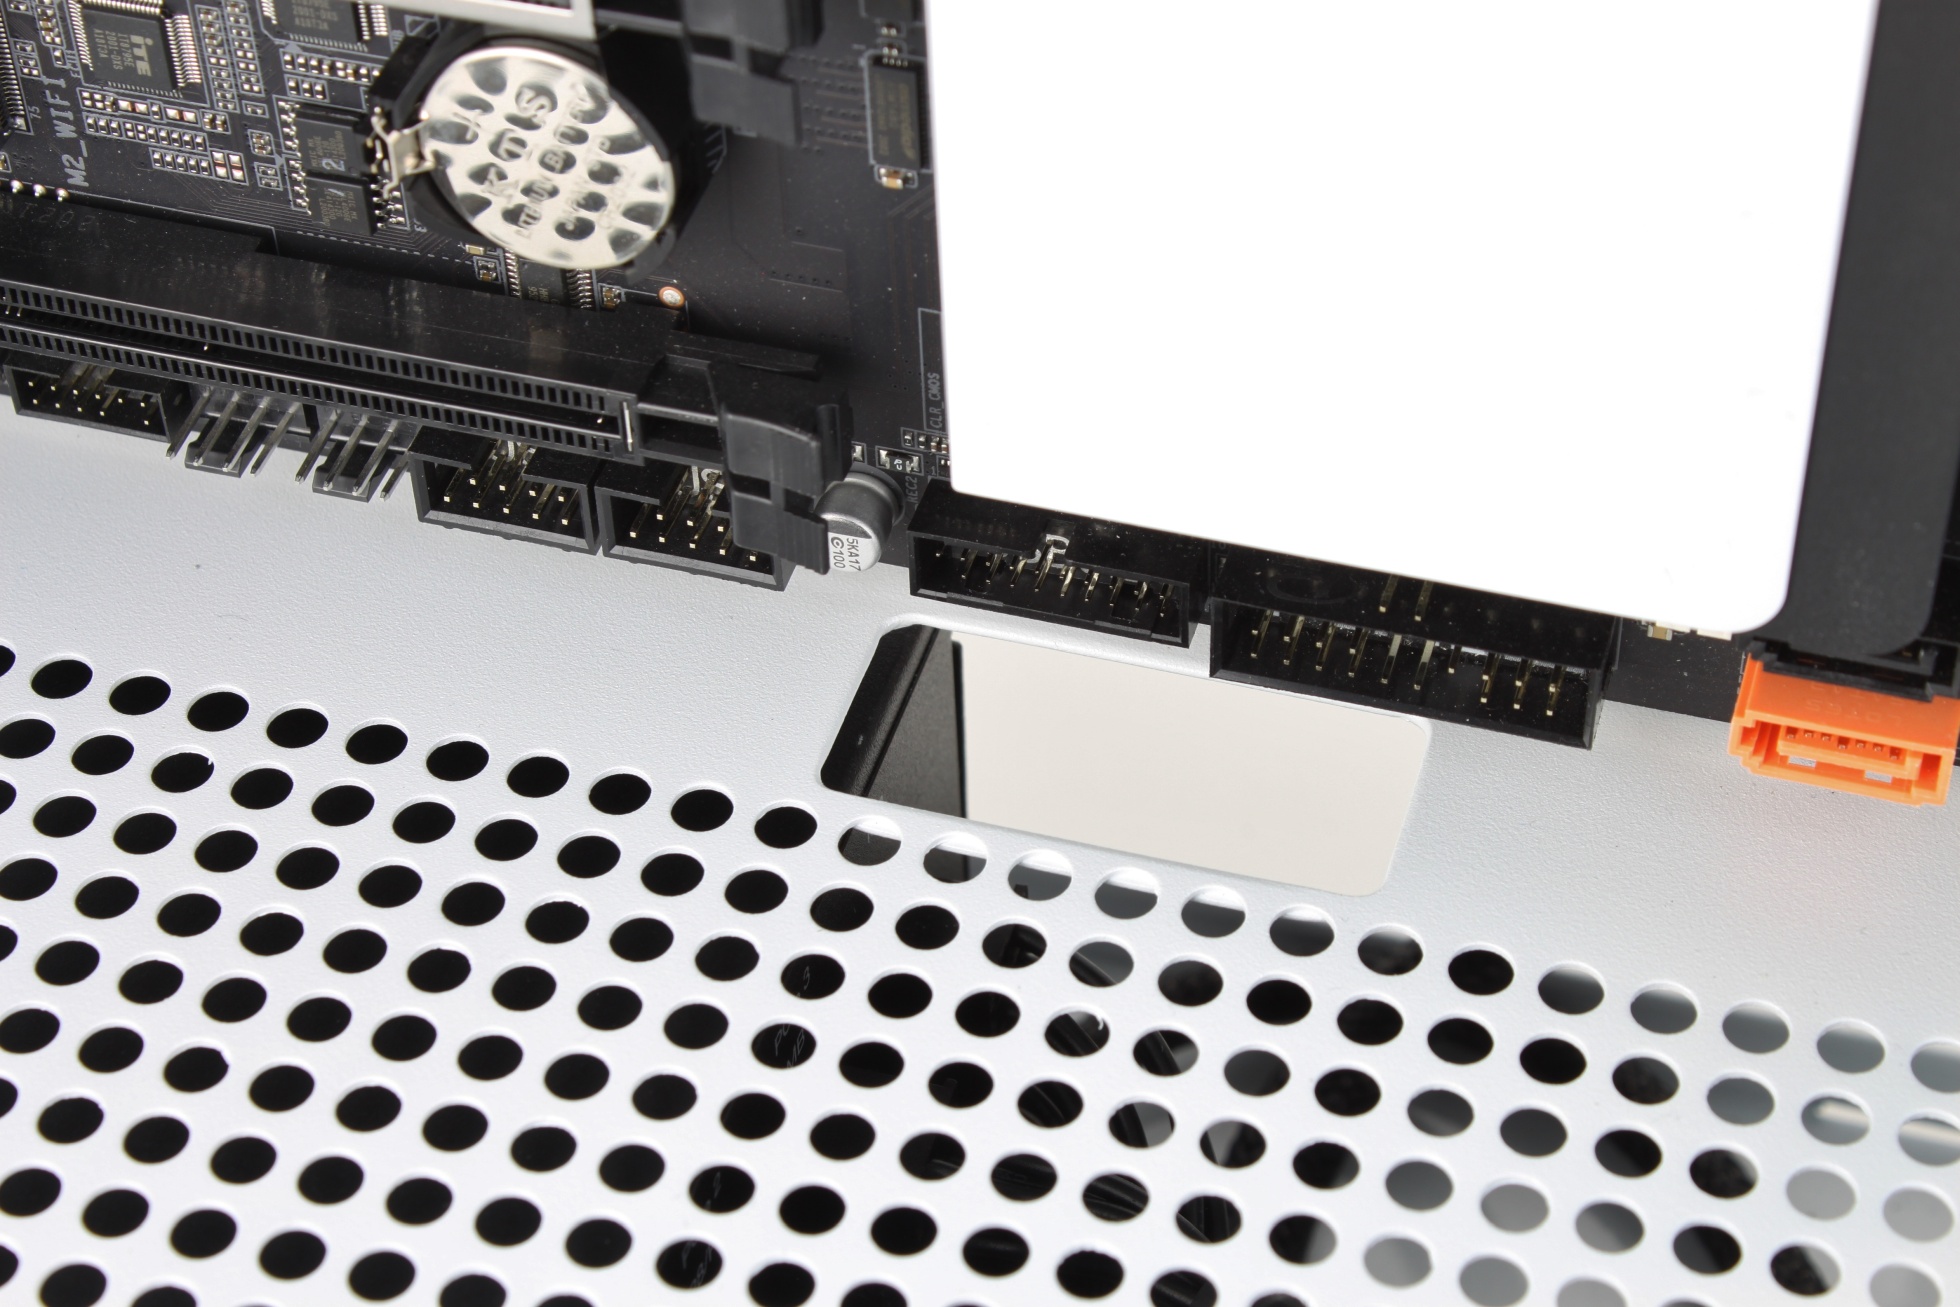
When connecting the power cables, I encountered the first point of criticism on the C1. That, which I have already criticized with some Corsair cases, also happened with the C1: Due to this cosmetic cover of the opening for the side radiator, there is simply no room for a clean feed-through of the rigid power cables. And the extension kit used here is already very thin and flexible.
The second fail followed immediately. When the power supply is installed, which is somehow unavoidable for the use of the PC, the rear cable grommet in the base can practically no longer be used.
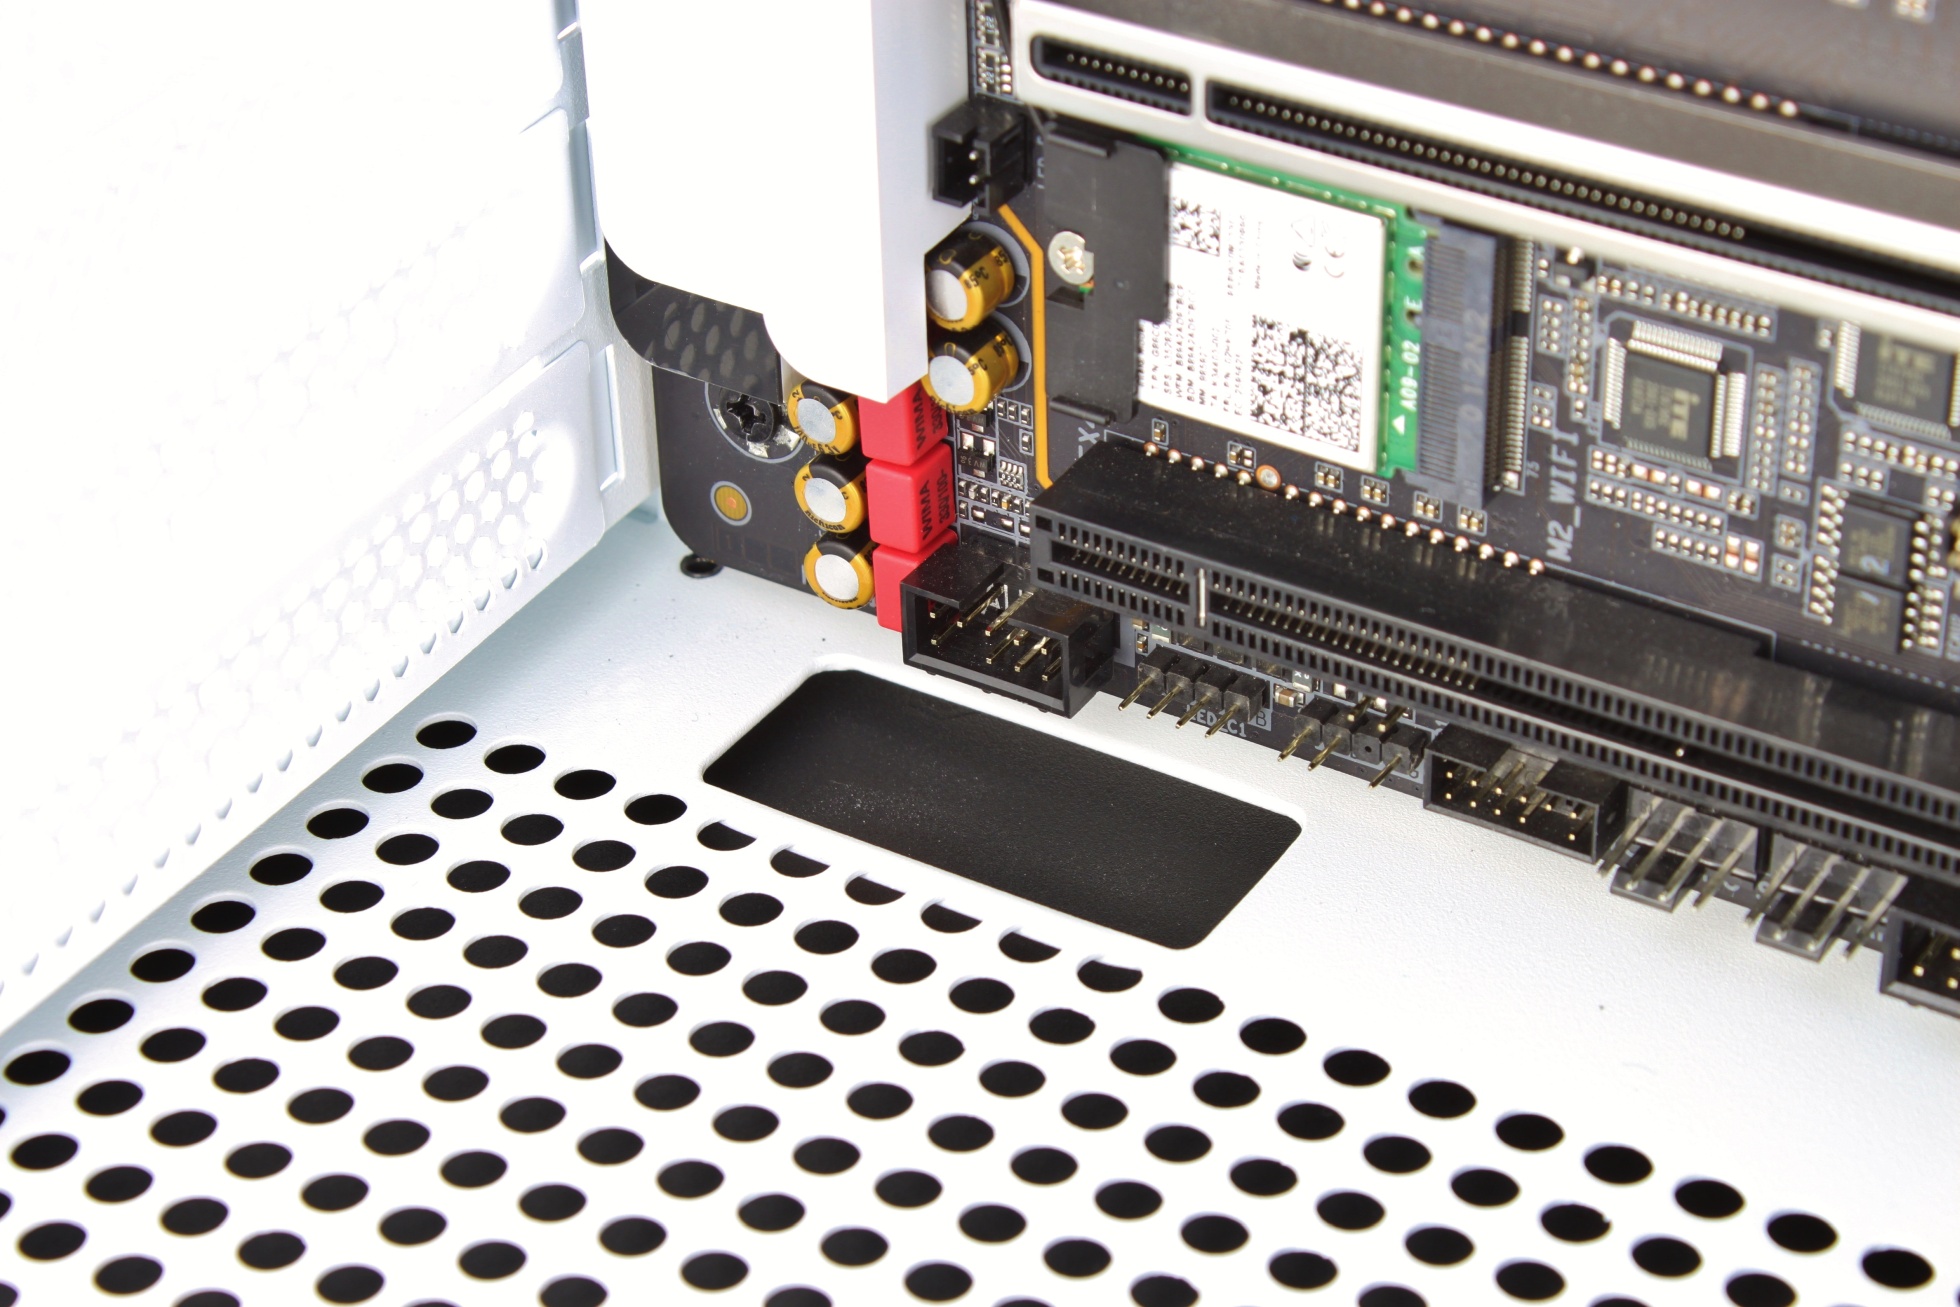
The front cable entry is still possible when using the Straight Power 11, but this entry would also be completely blocked when using a longer power supply.
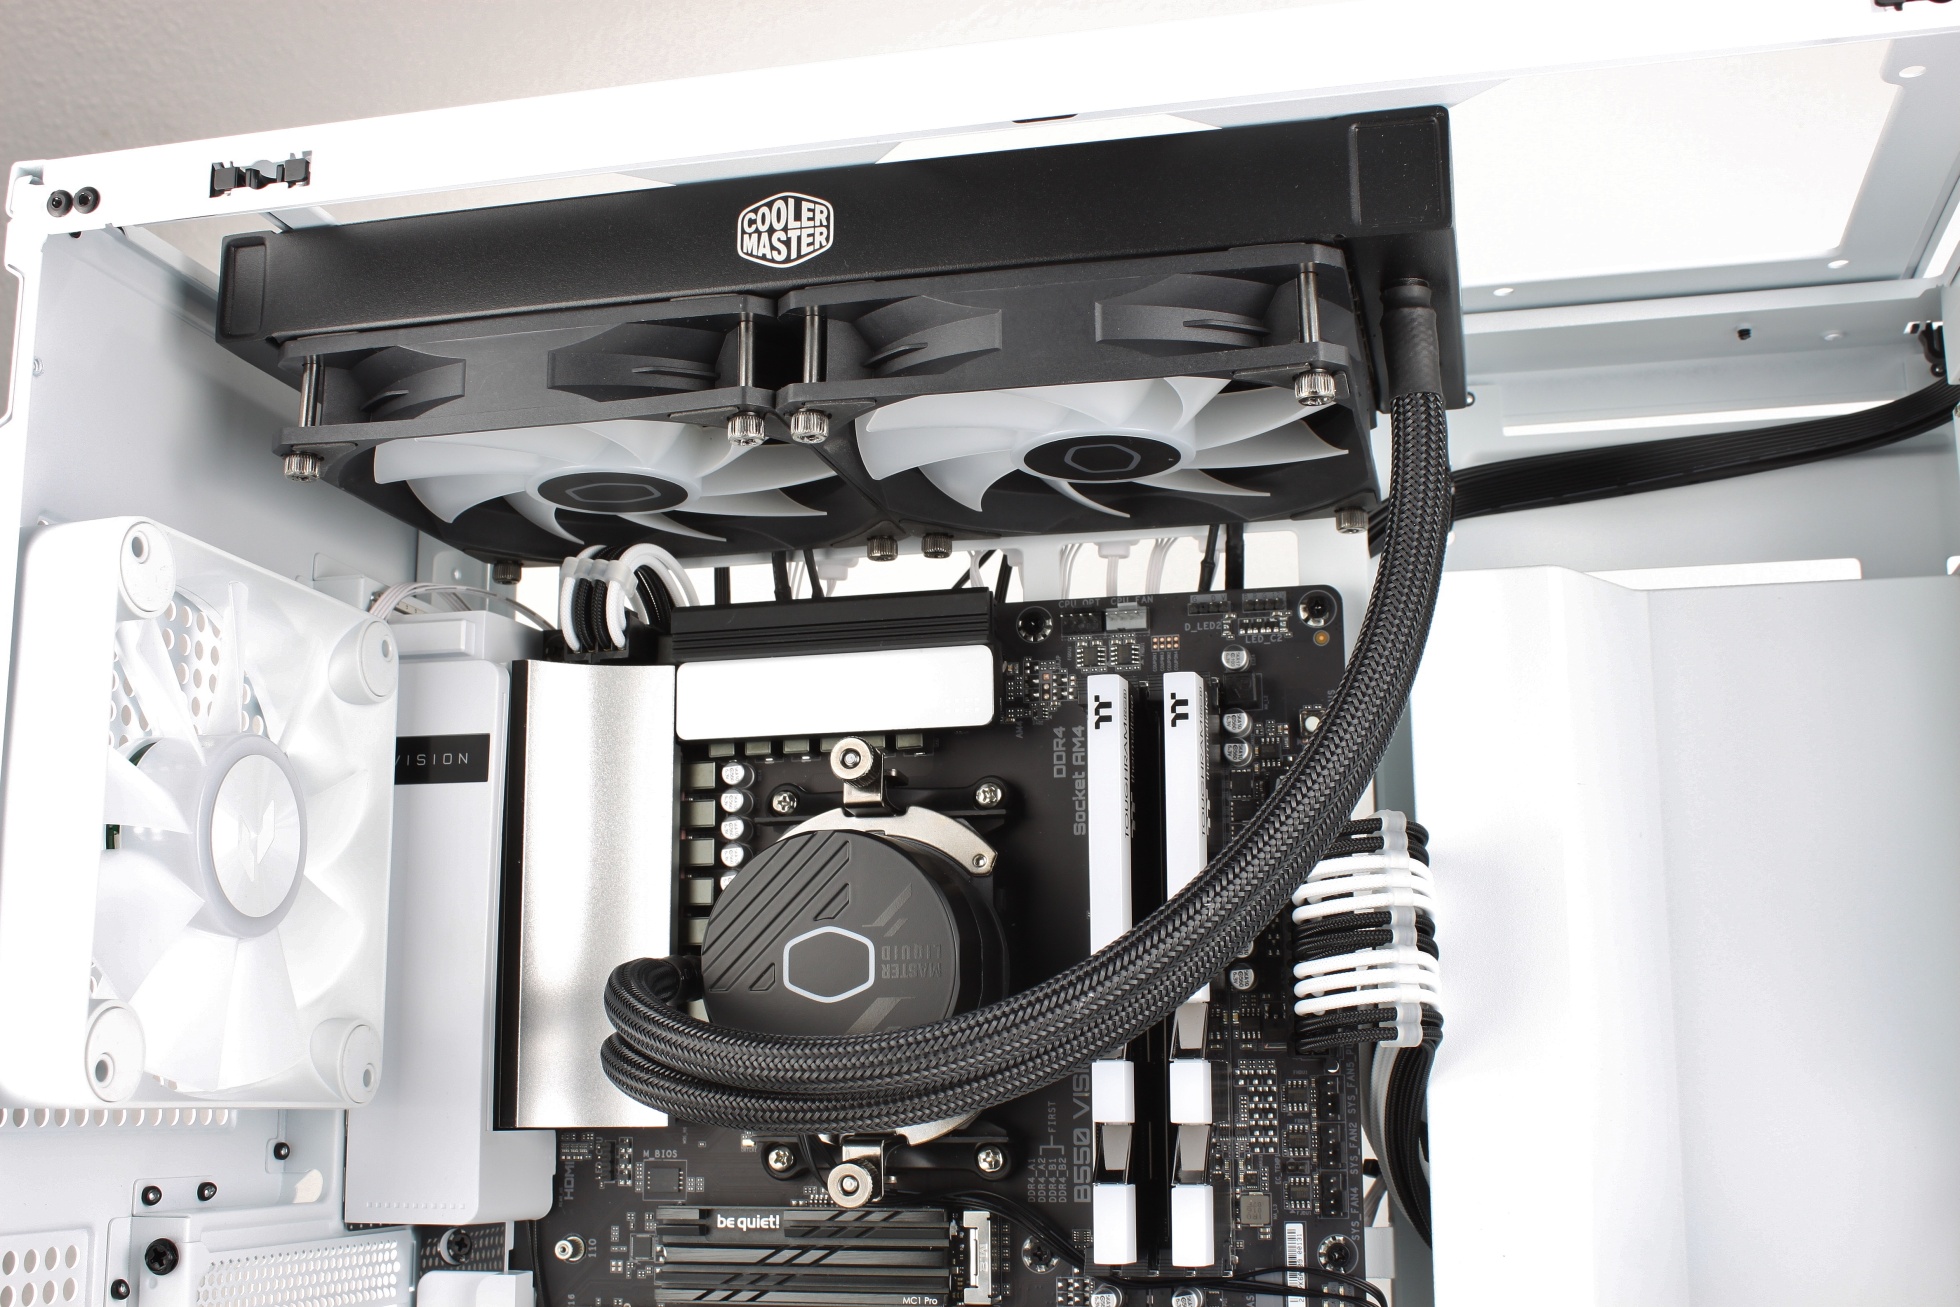
The AIO was then mounted quickly, but as mentioned on page 1, I would have liked to have elongated holes in the bracket for the radiator, so that the radiator can be positioned more flexibly.
There were no problems installing the graphics card, the integrated support does a good job and could even be mounted a few centimeters further to the left for a smaller graphics card.
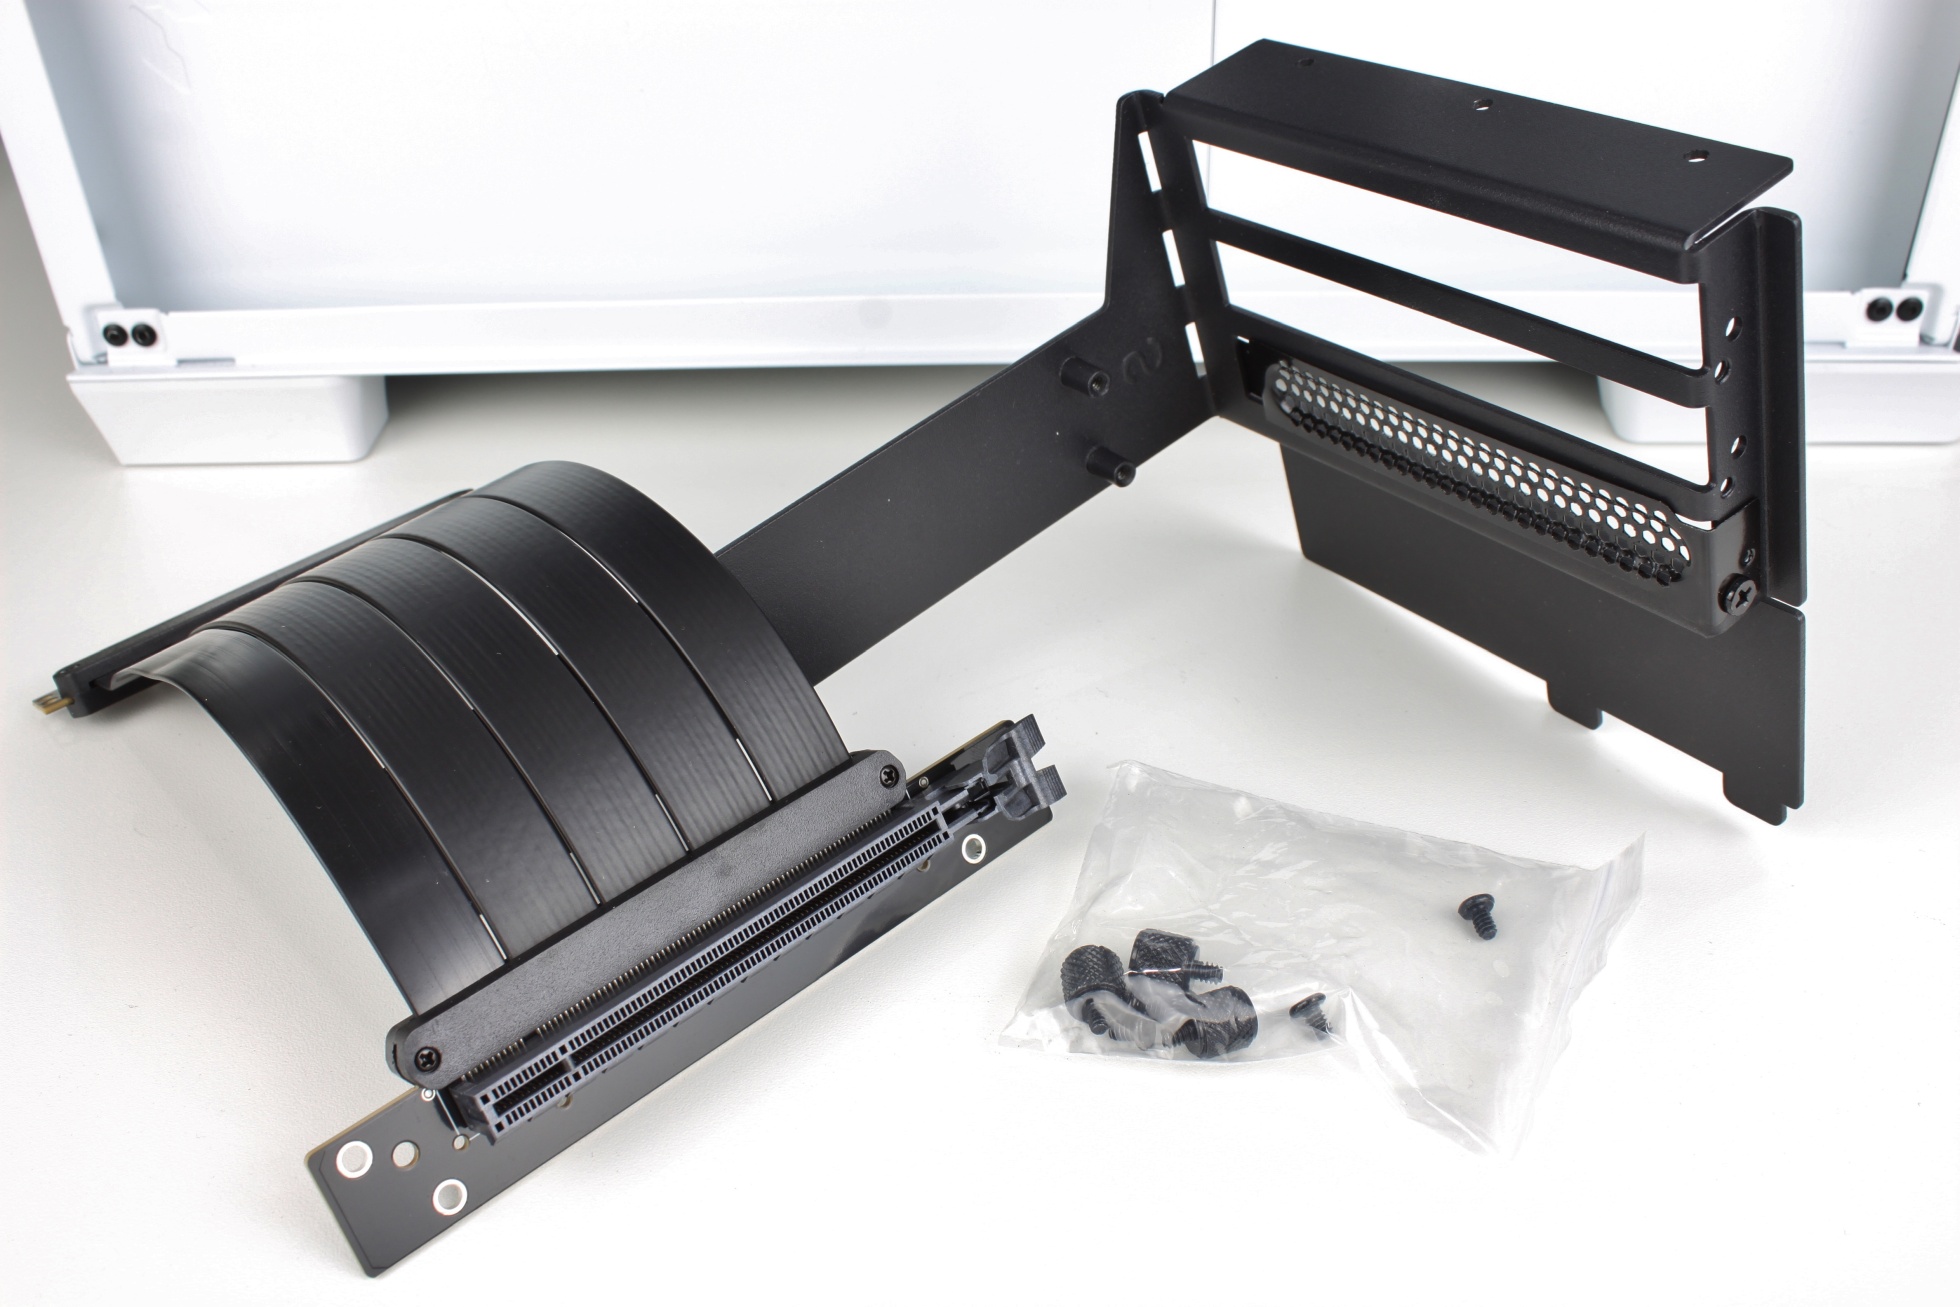
But if the VGA kit for mounting the graphics card vertically is already included, then we naturally want to use it. Therefore, a short digression about the installation of the VGA kit. The kit comes with the appropriate bracket, a PCIE riser cable and the necessary mounting hardware. I don’t understand why I got a black GPU kit with the white case, but it doesn’t look that bad in the end.
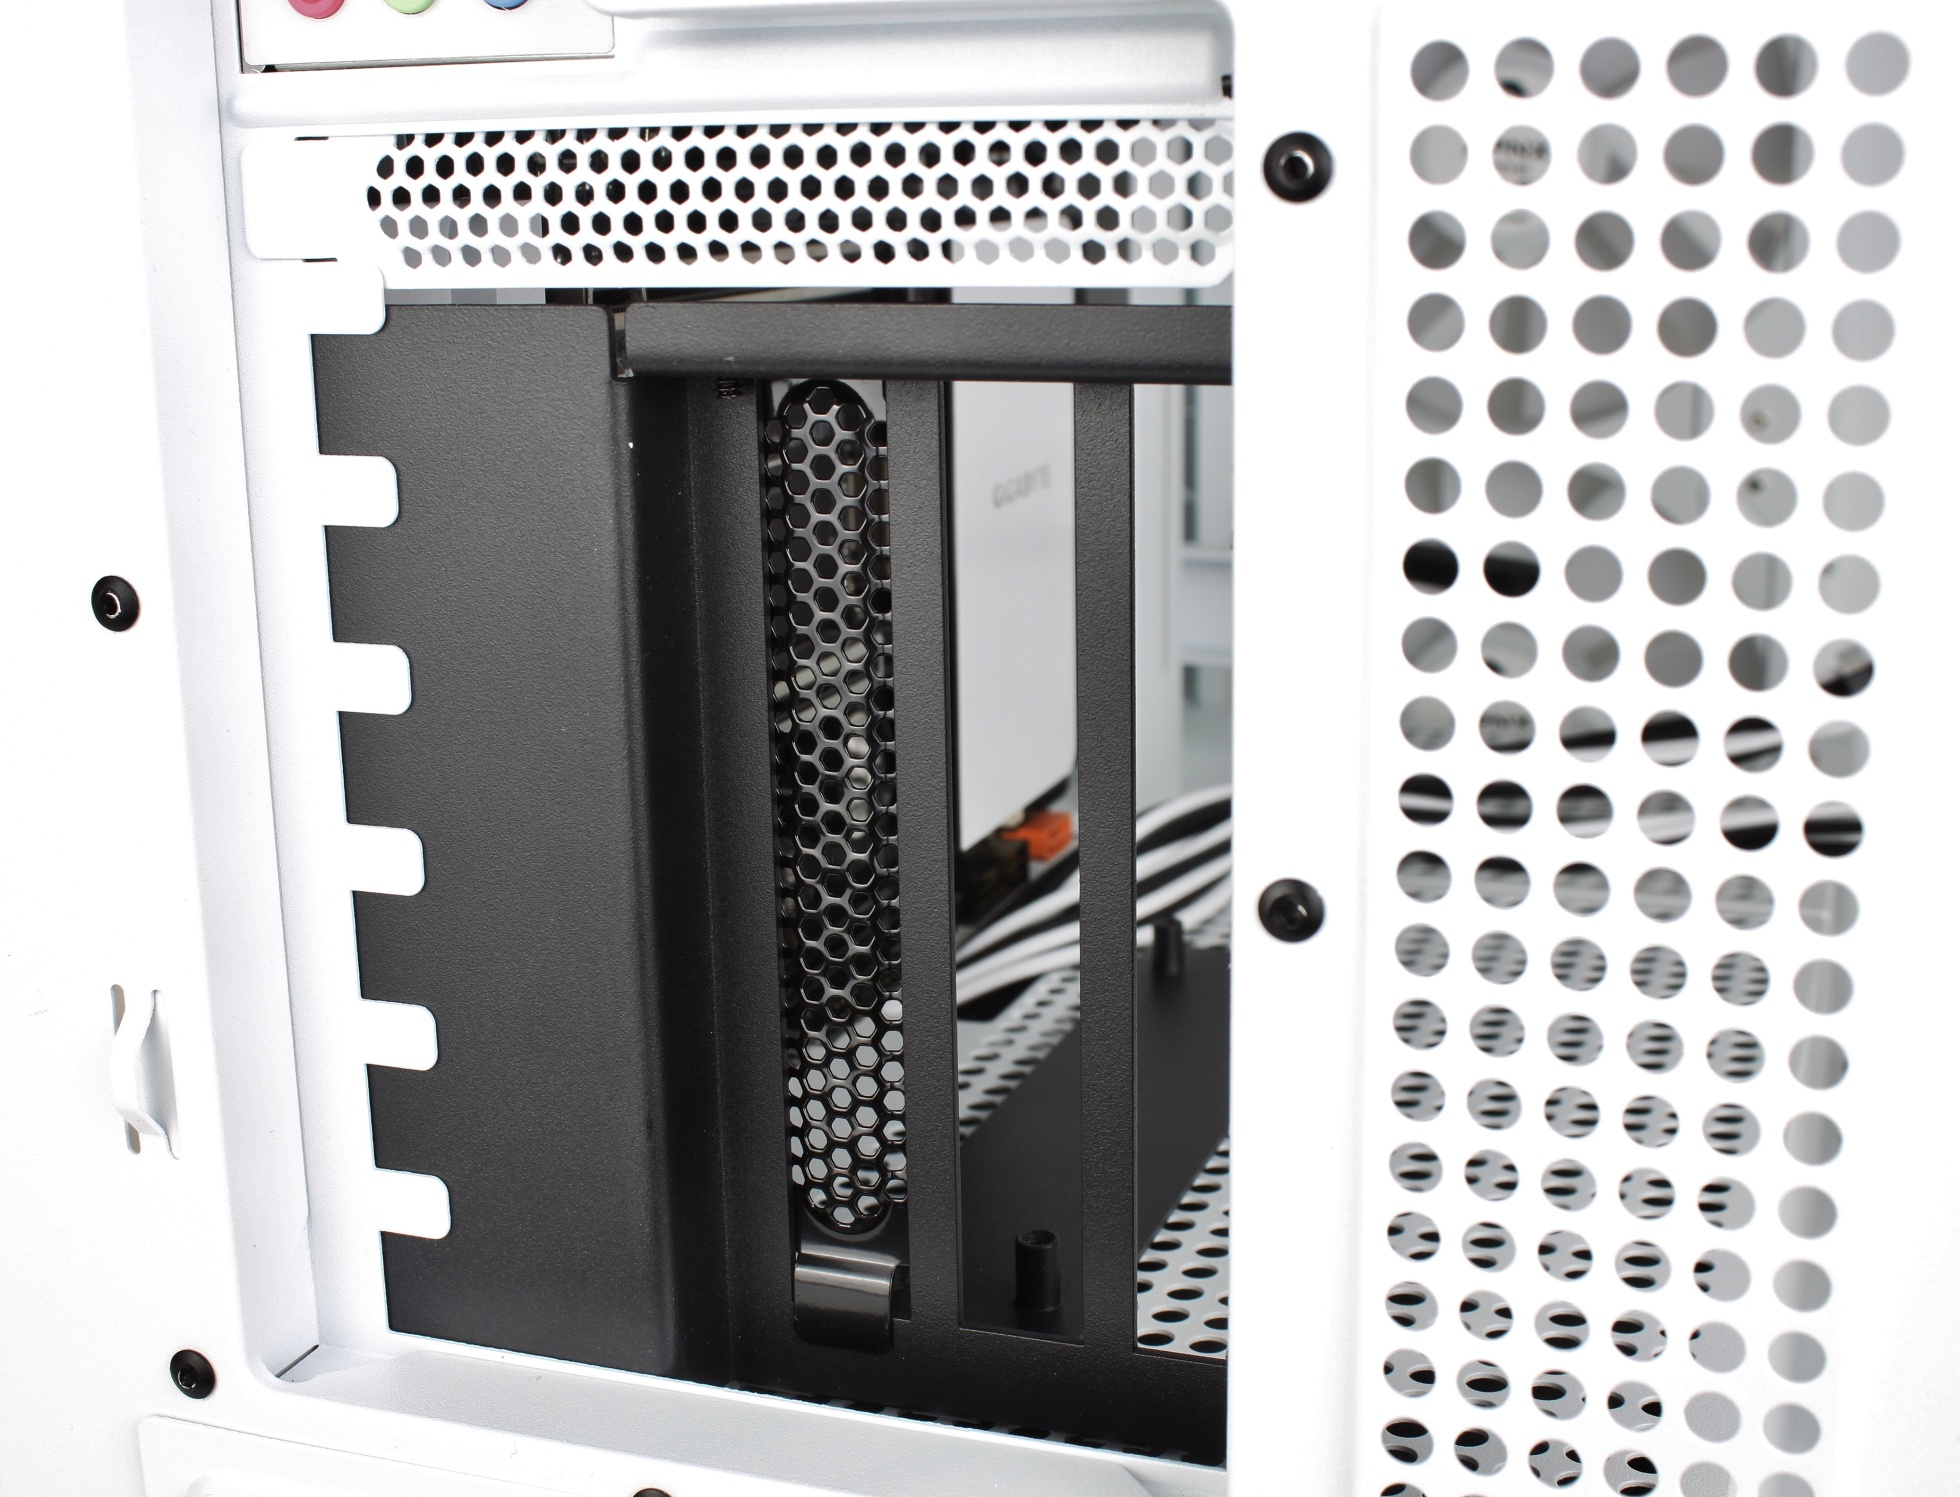
To mount the VGA kit, all PCI slot covers have to be removed first. By the way, these are very thin, which seems quite borderline at this price point. There are no separators between the slot bezels, which is why no brackets have to be removed or the like.
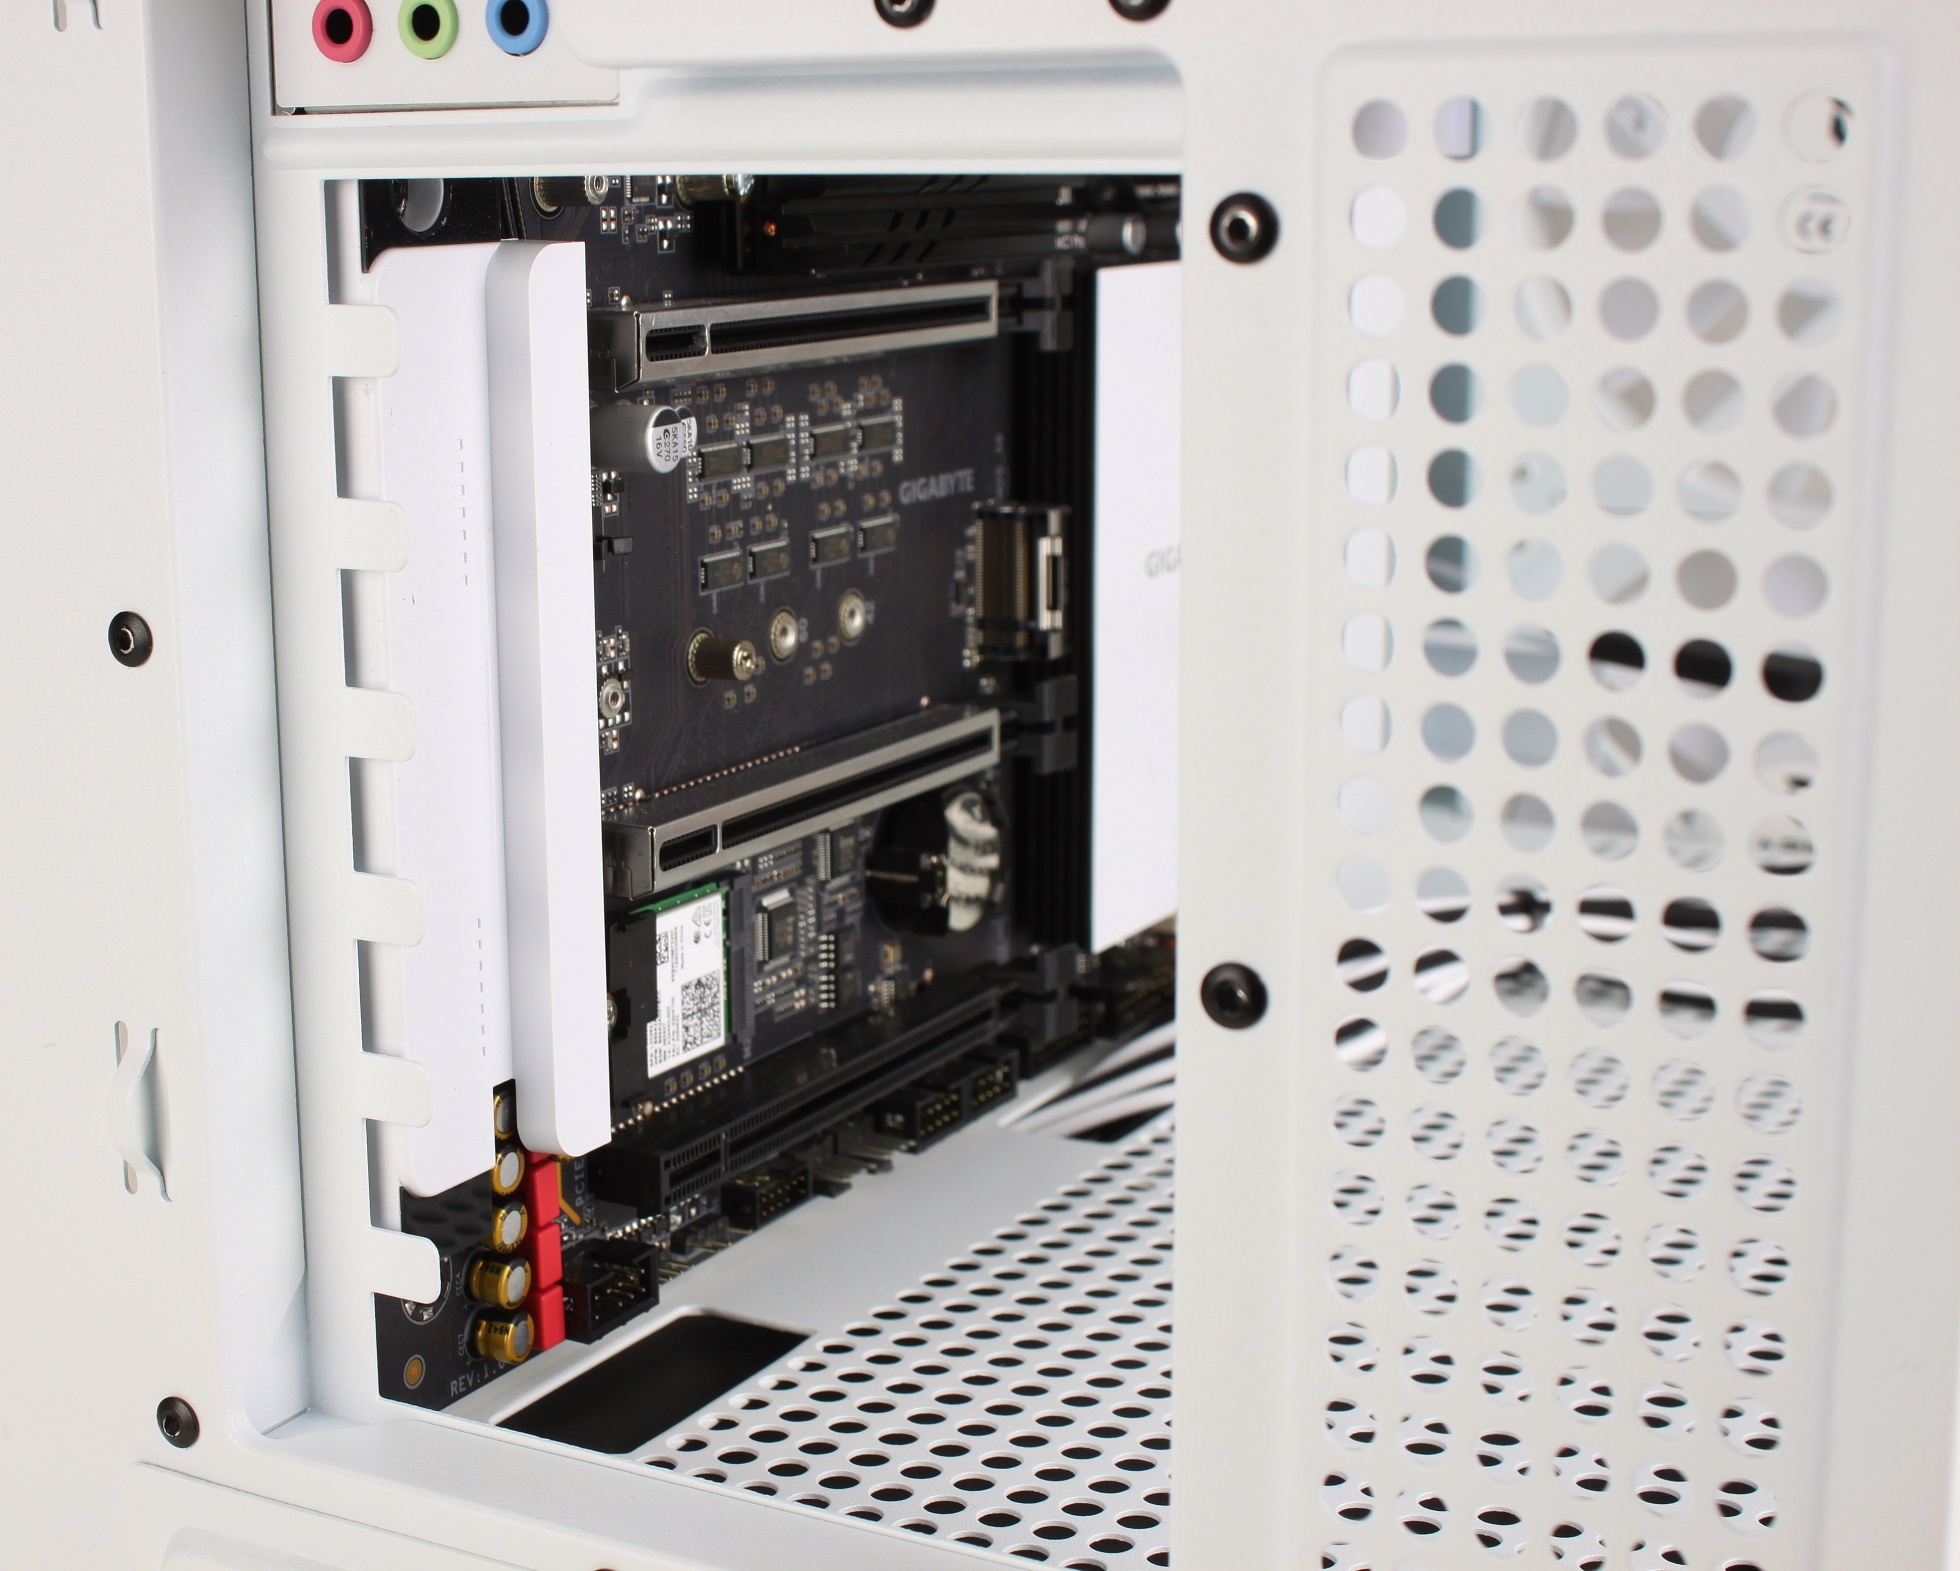
The VGA kit is simply inserted like an oversized expansion card.
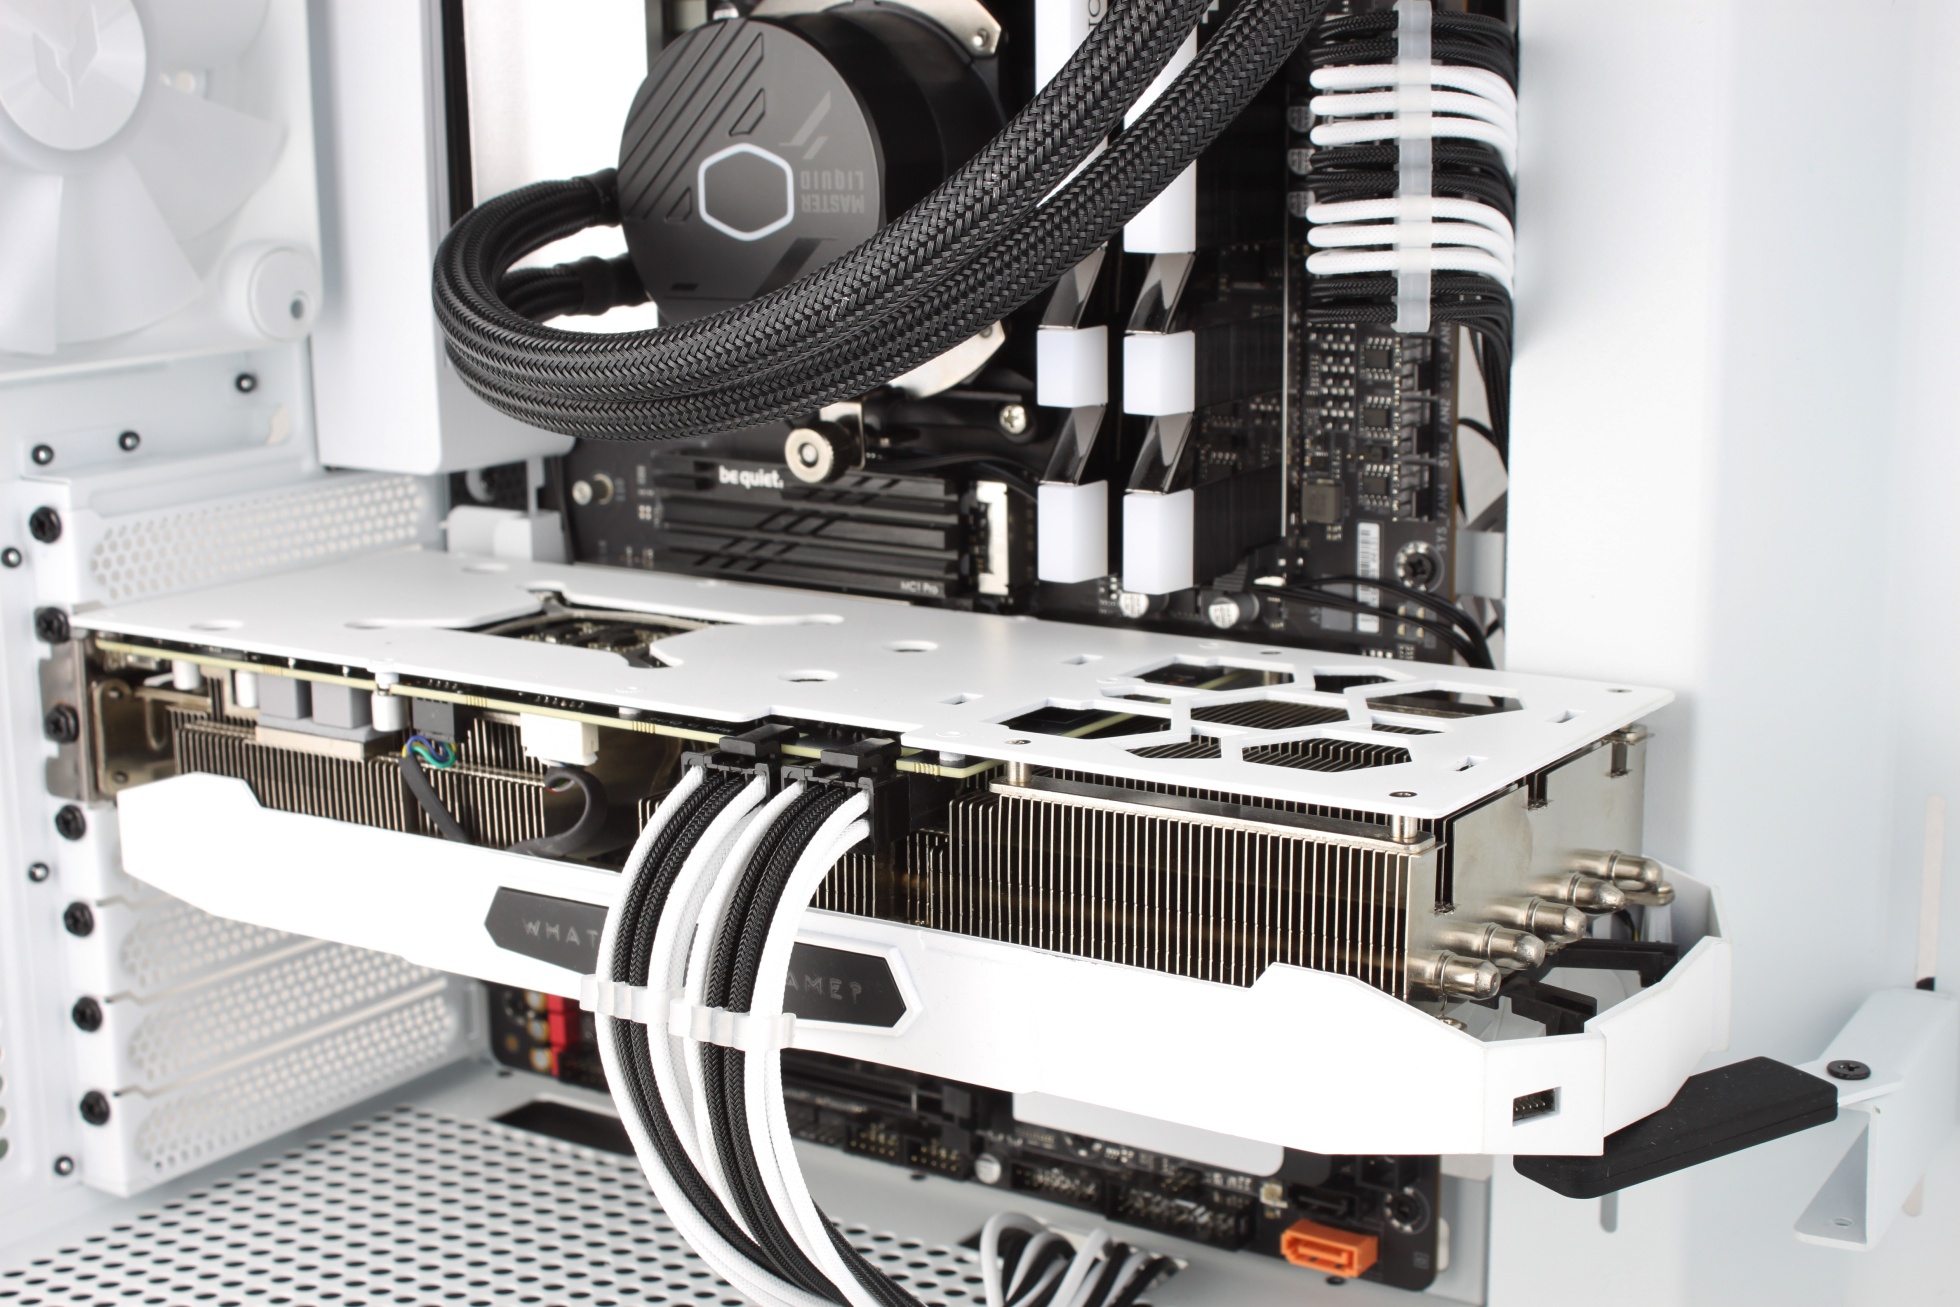
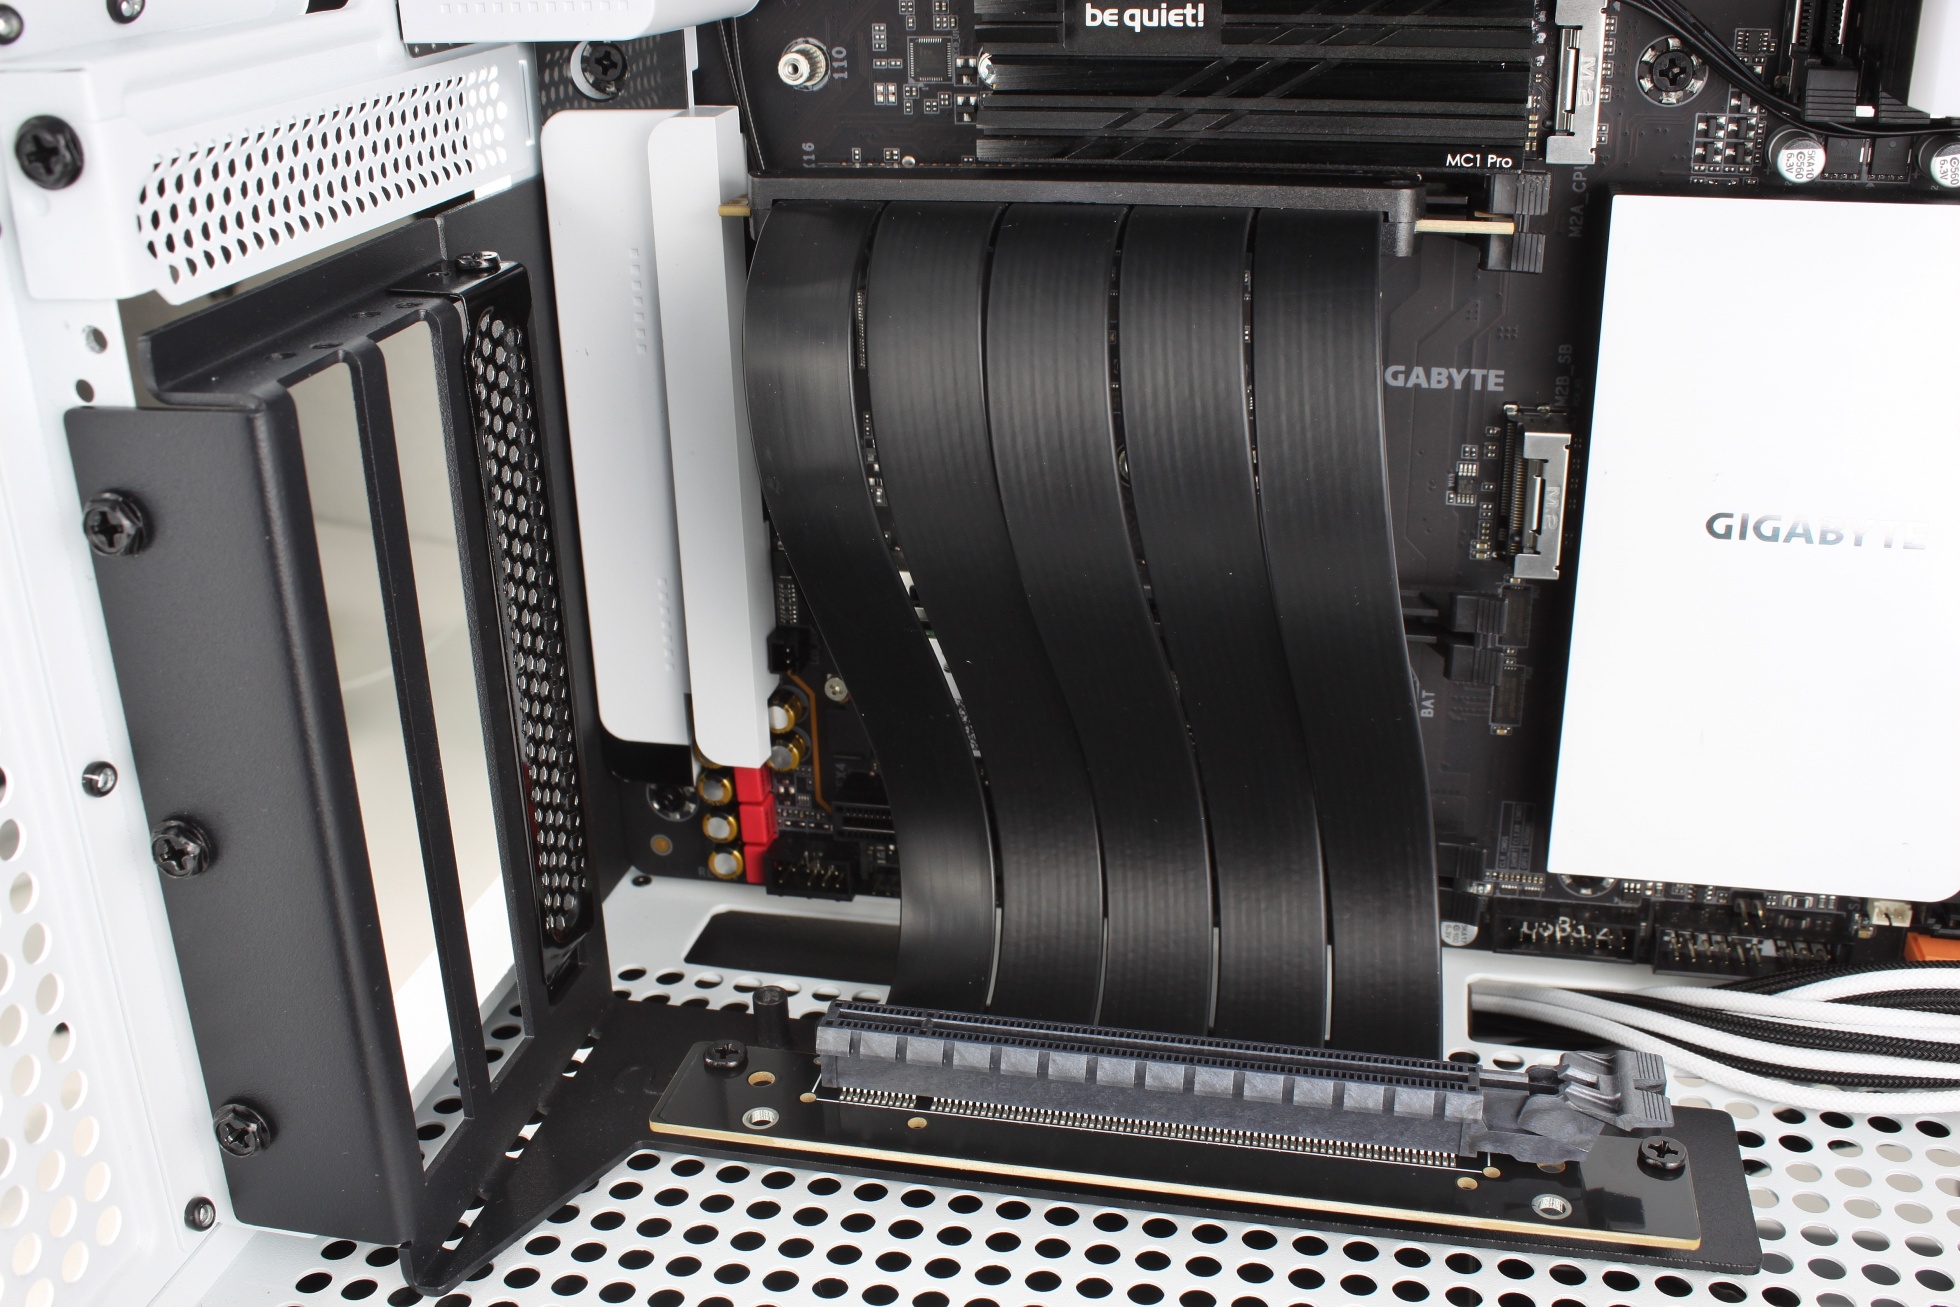
And then fixed with three screws. The riser cable is slightly offset due to the offset for screwing on the graphics cards and can never be fully screwed onto the bracket at the bottom due to the design. However, it can be moved according to the graphics card used (2 or 3 slot bezels), which makes it very flexible.
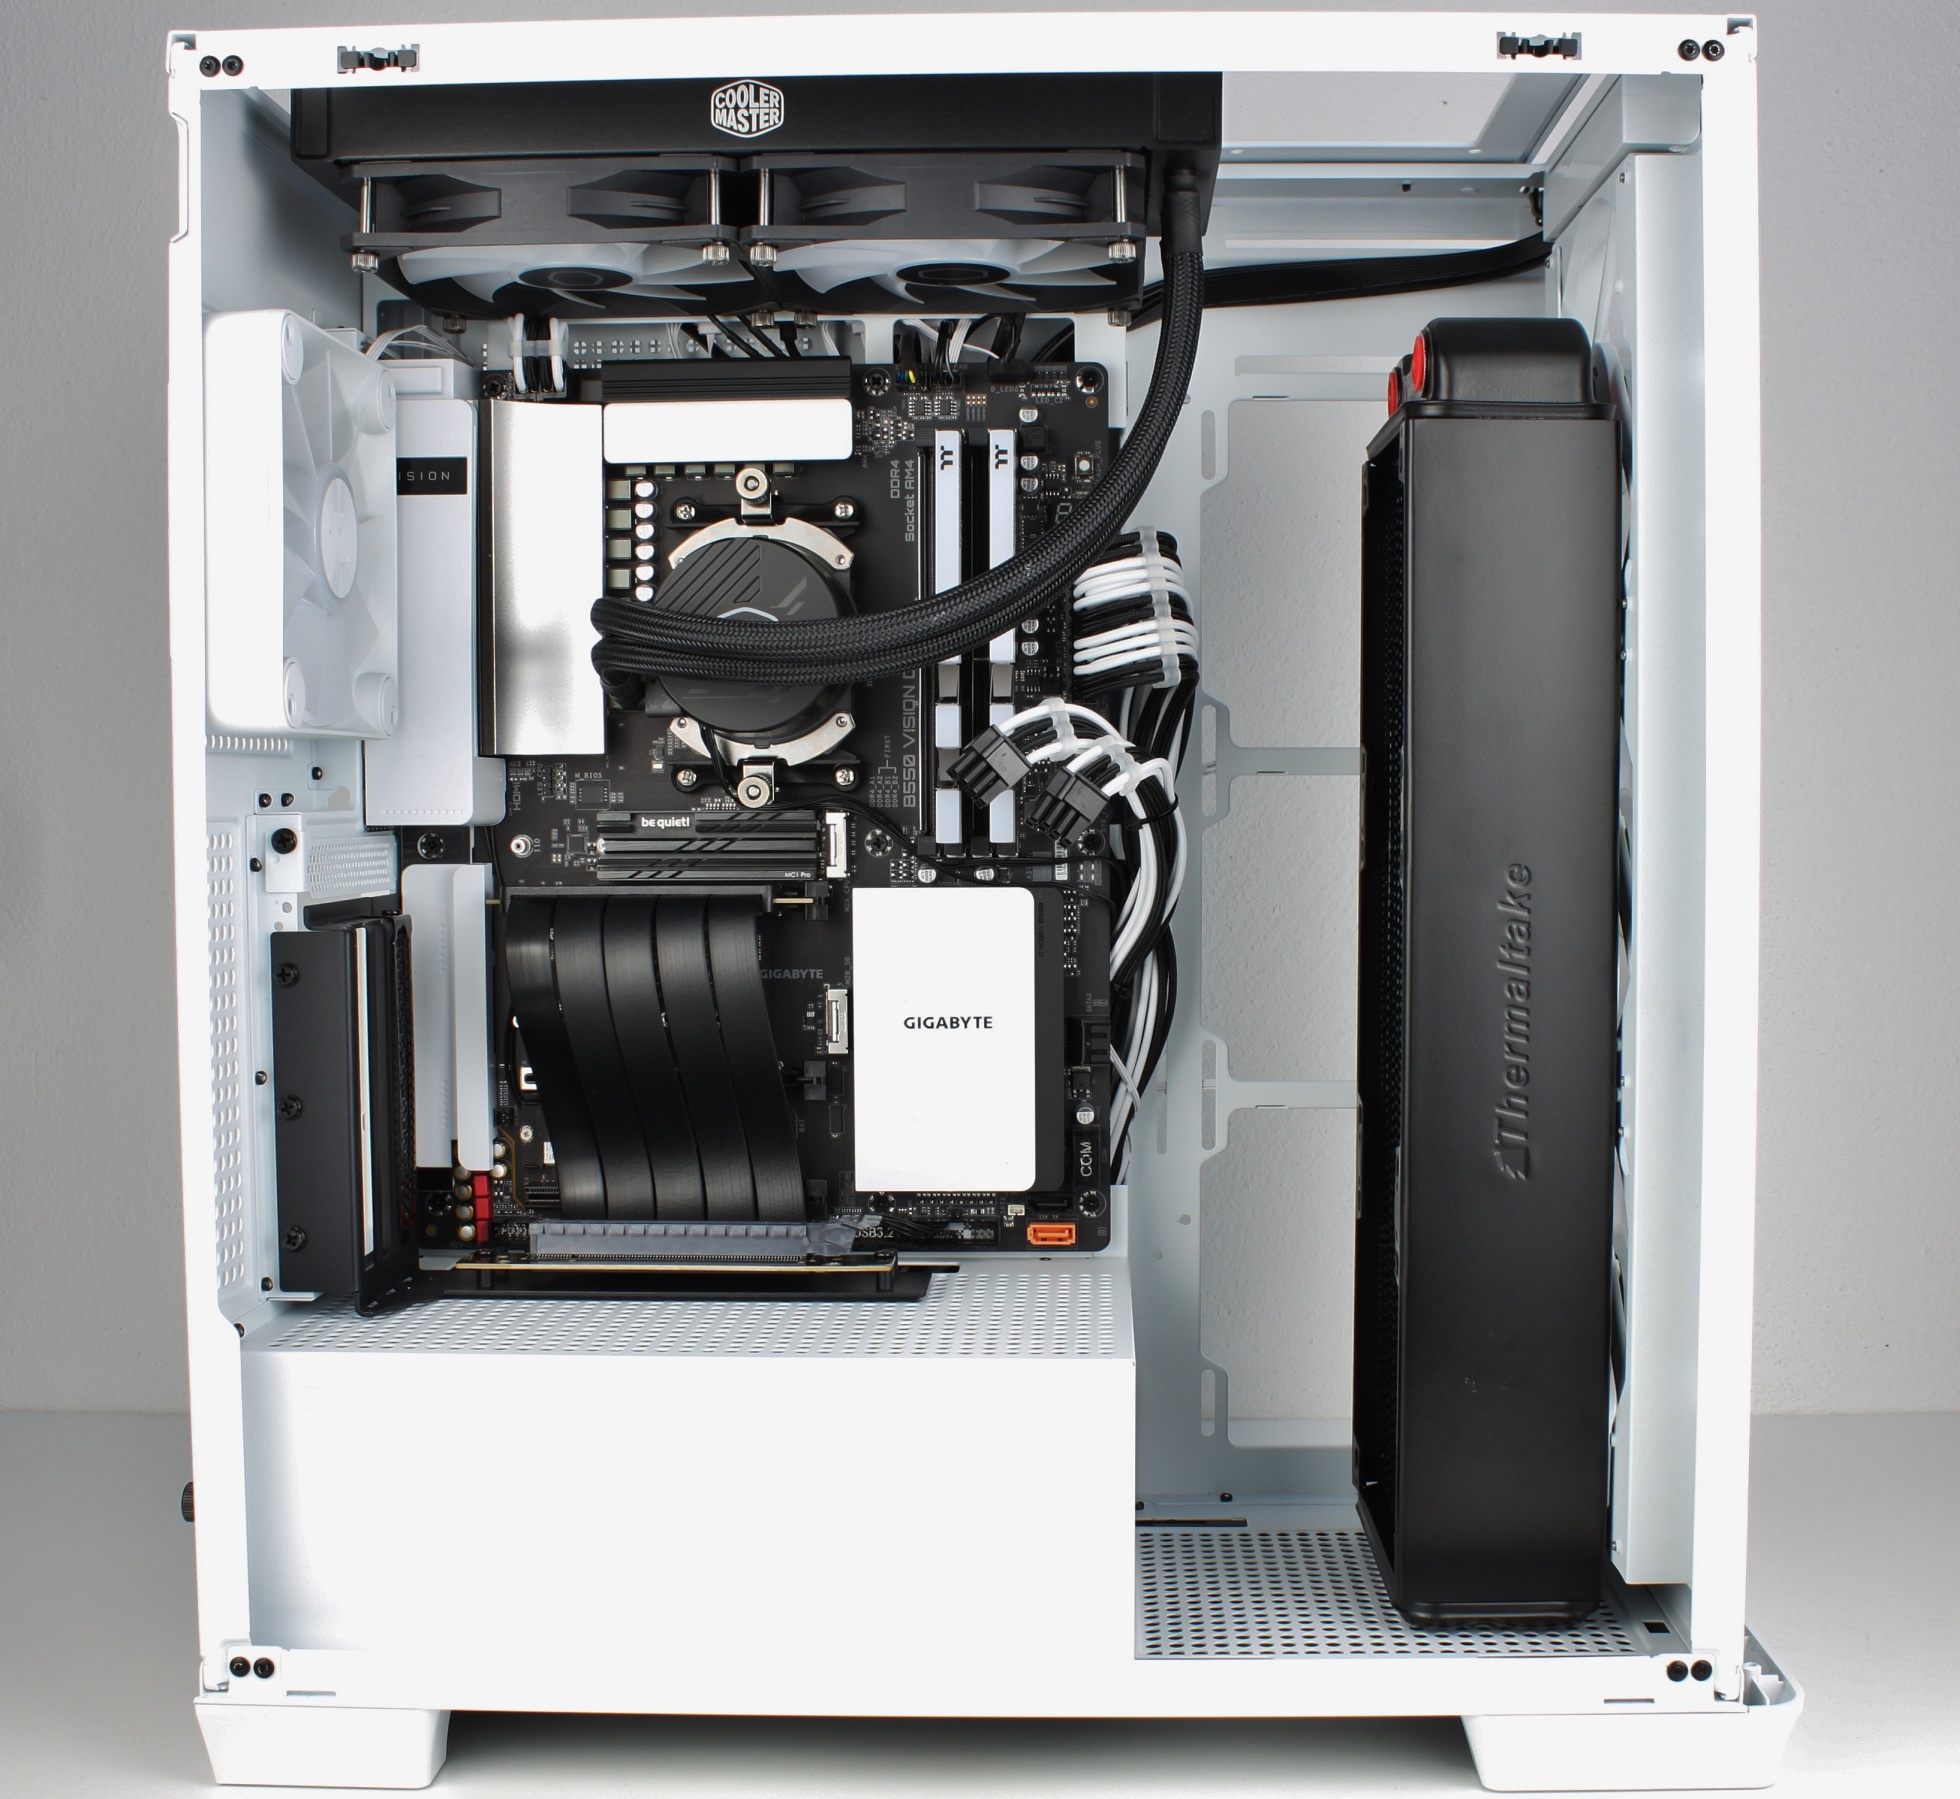
And this is how it looks in the end with the graphics card installed:
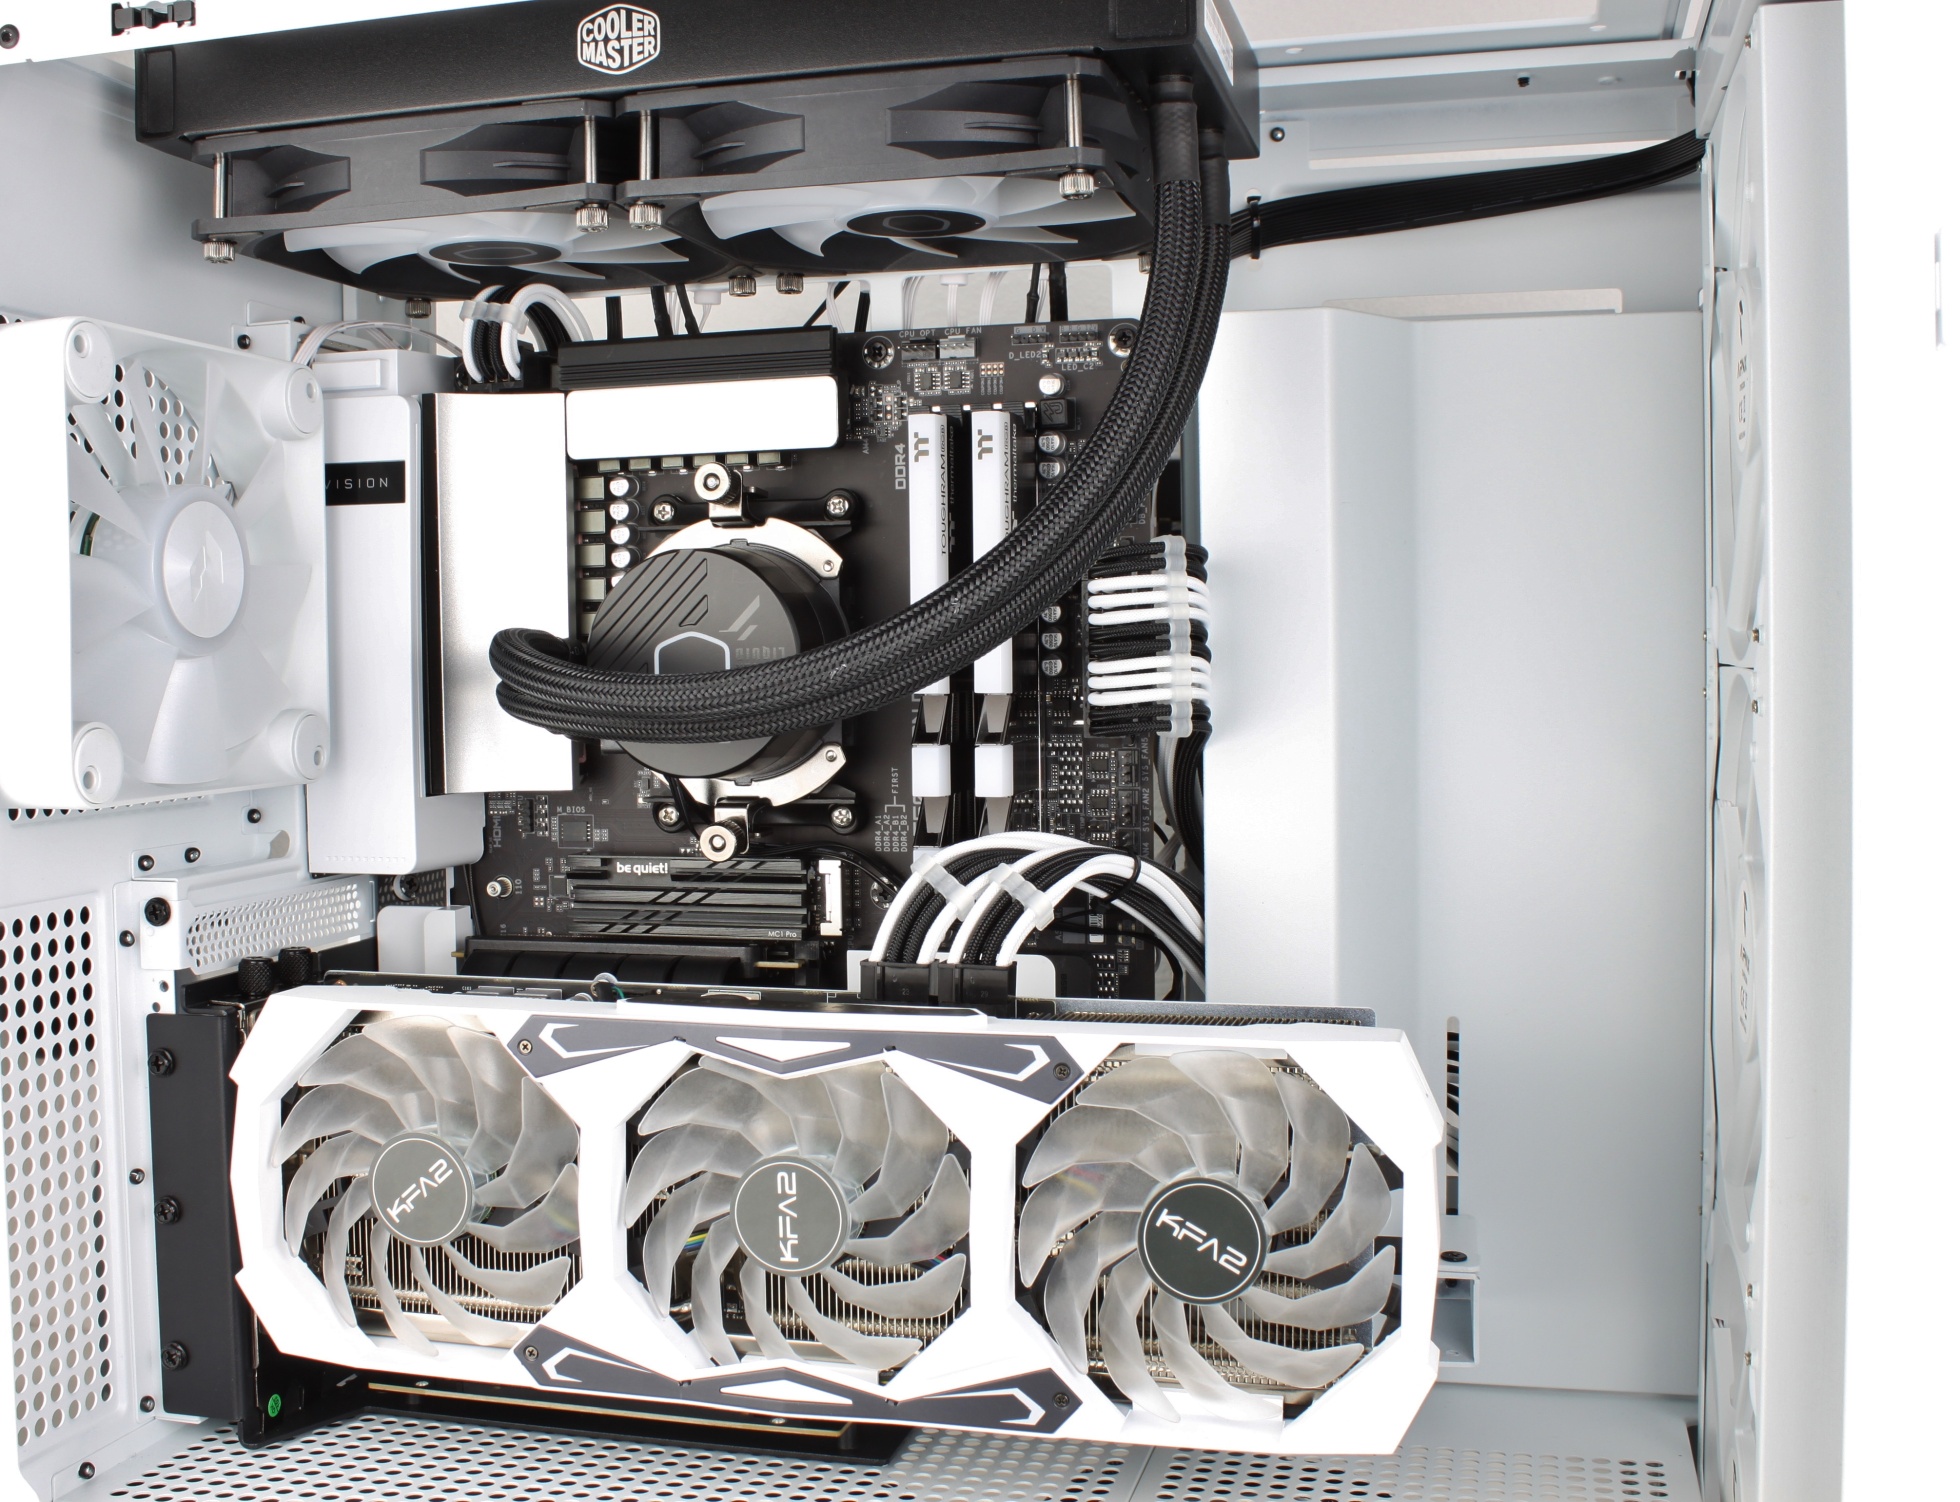
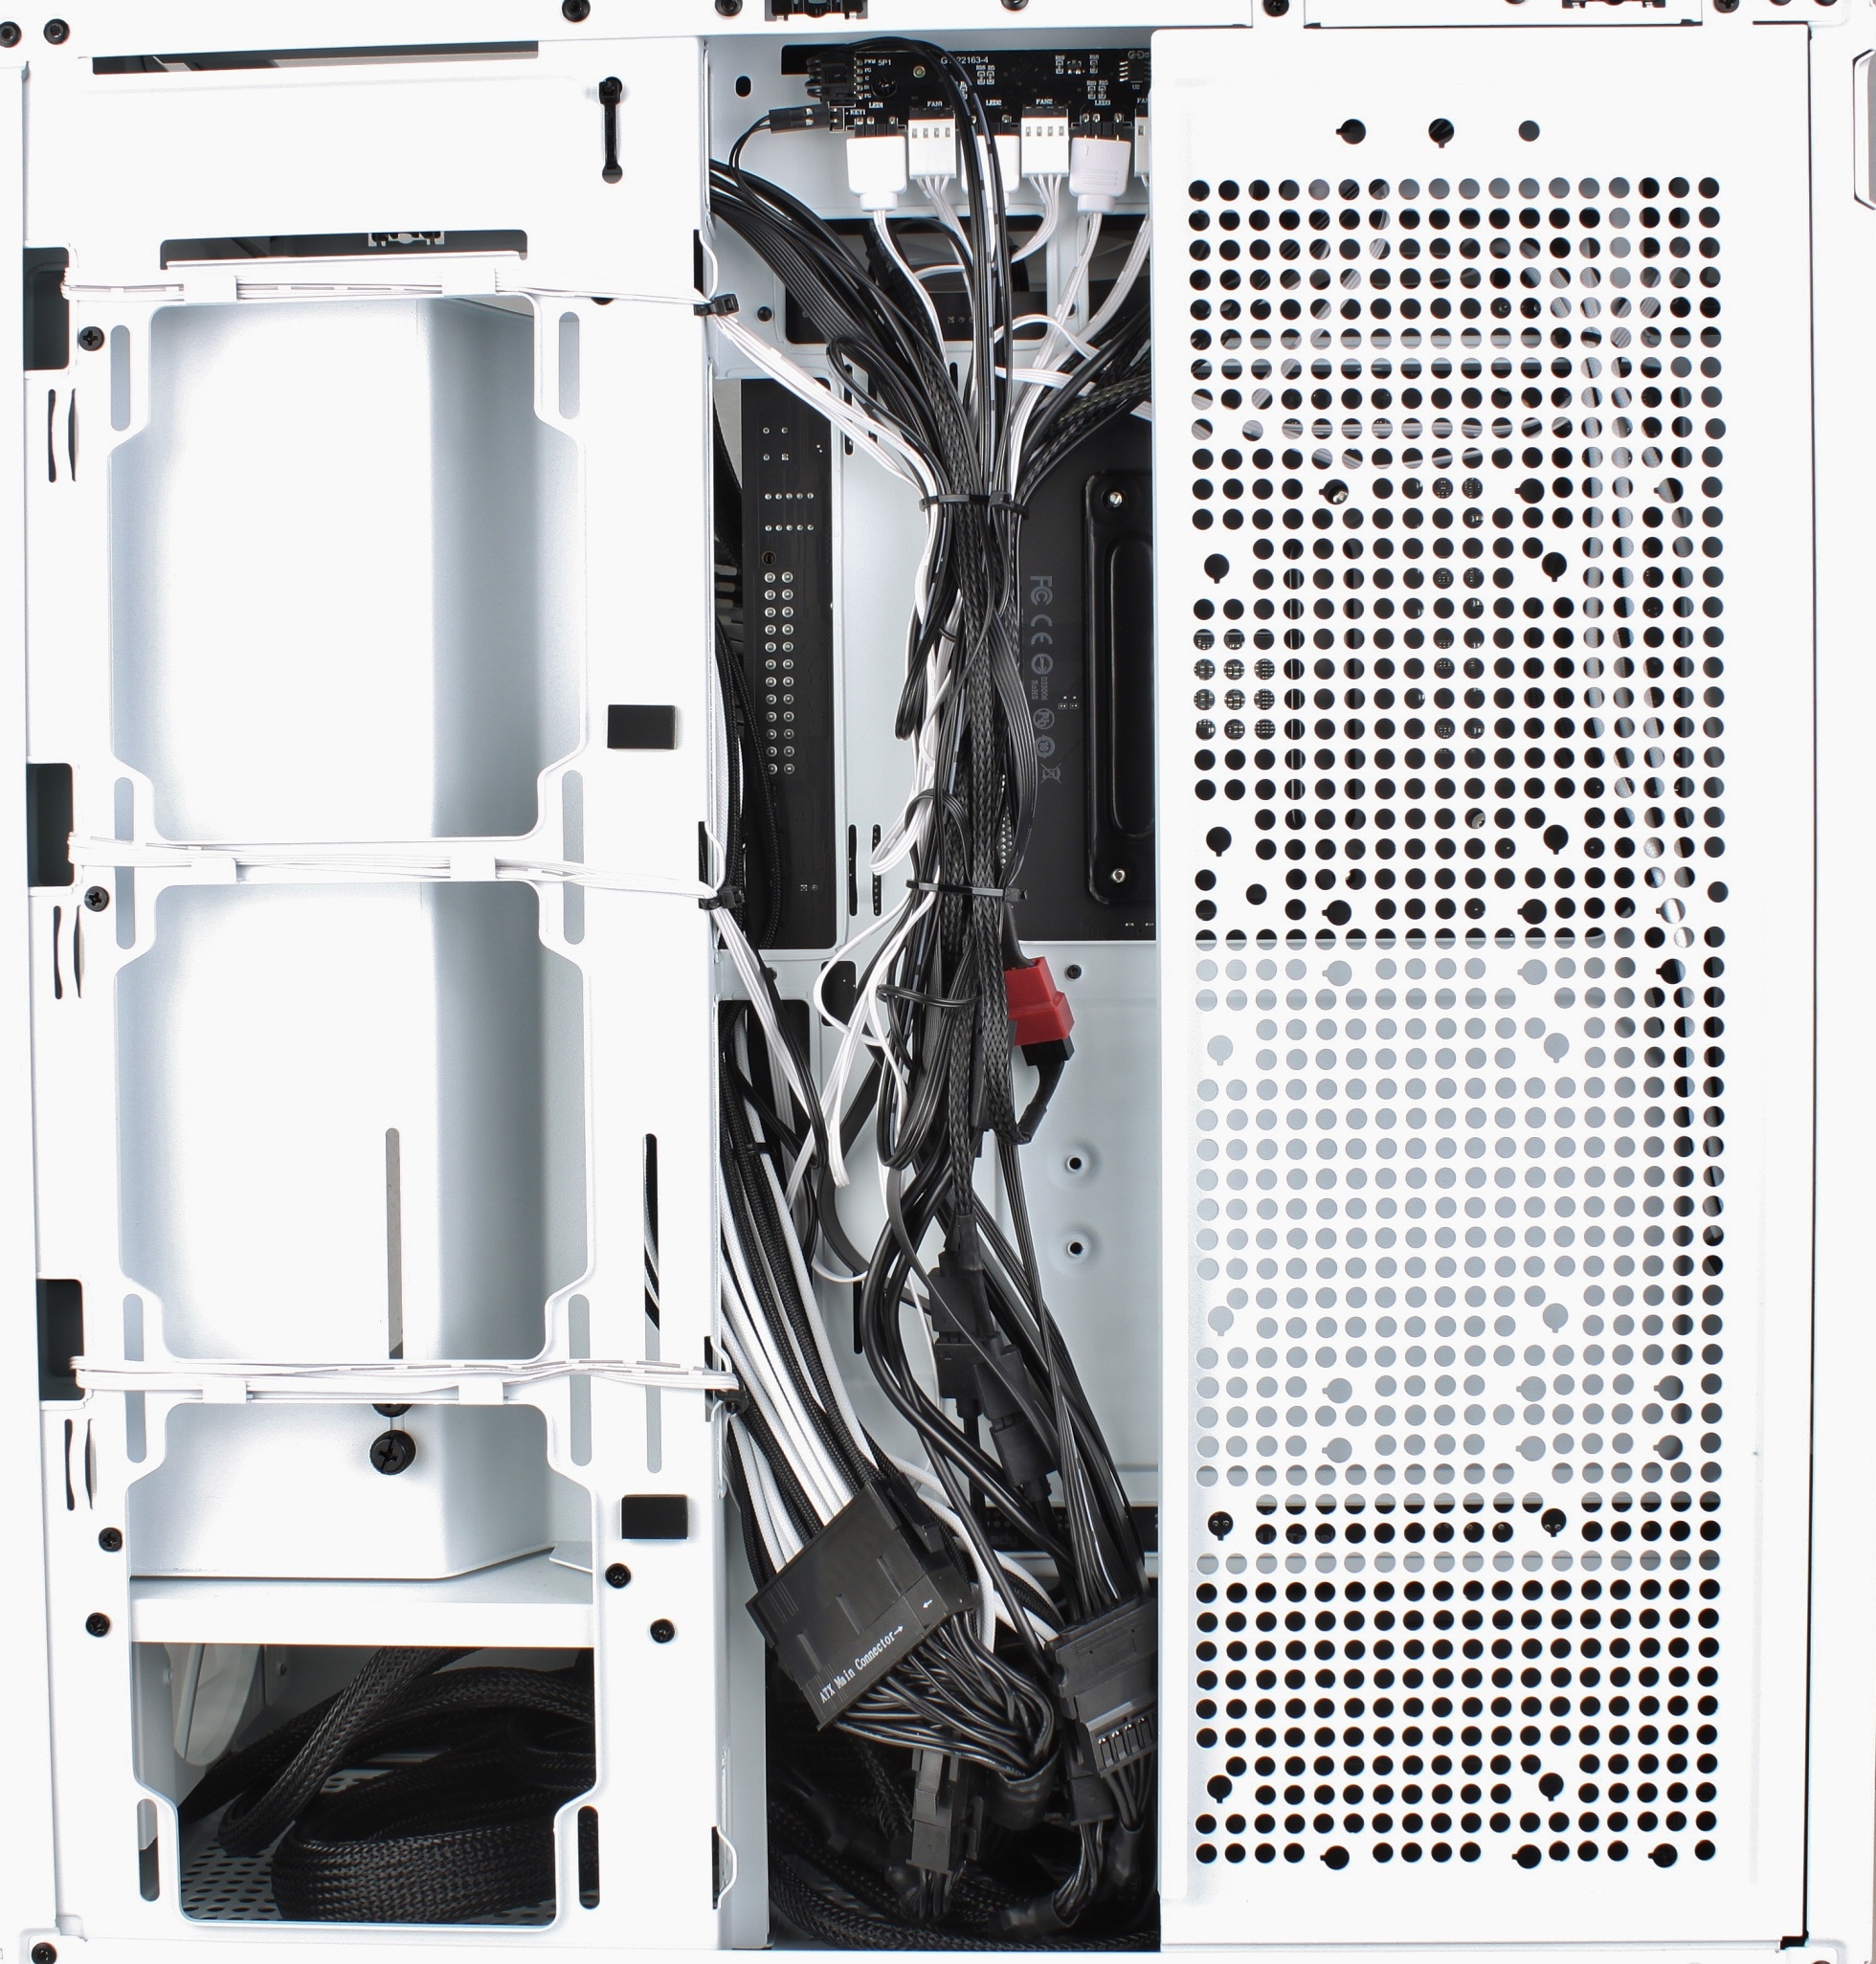
There is plenty of space on the back and many mounting points for the cables.
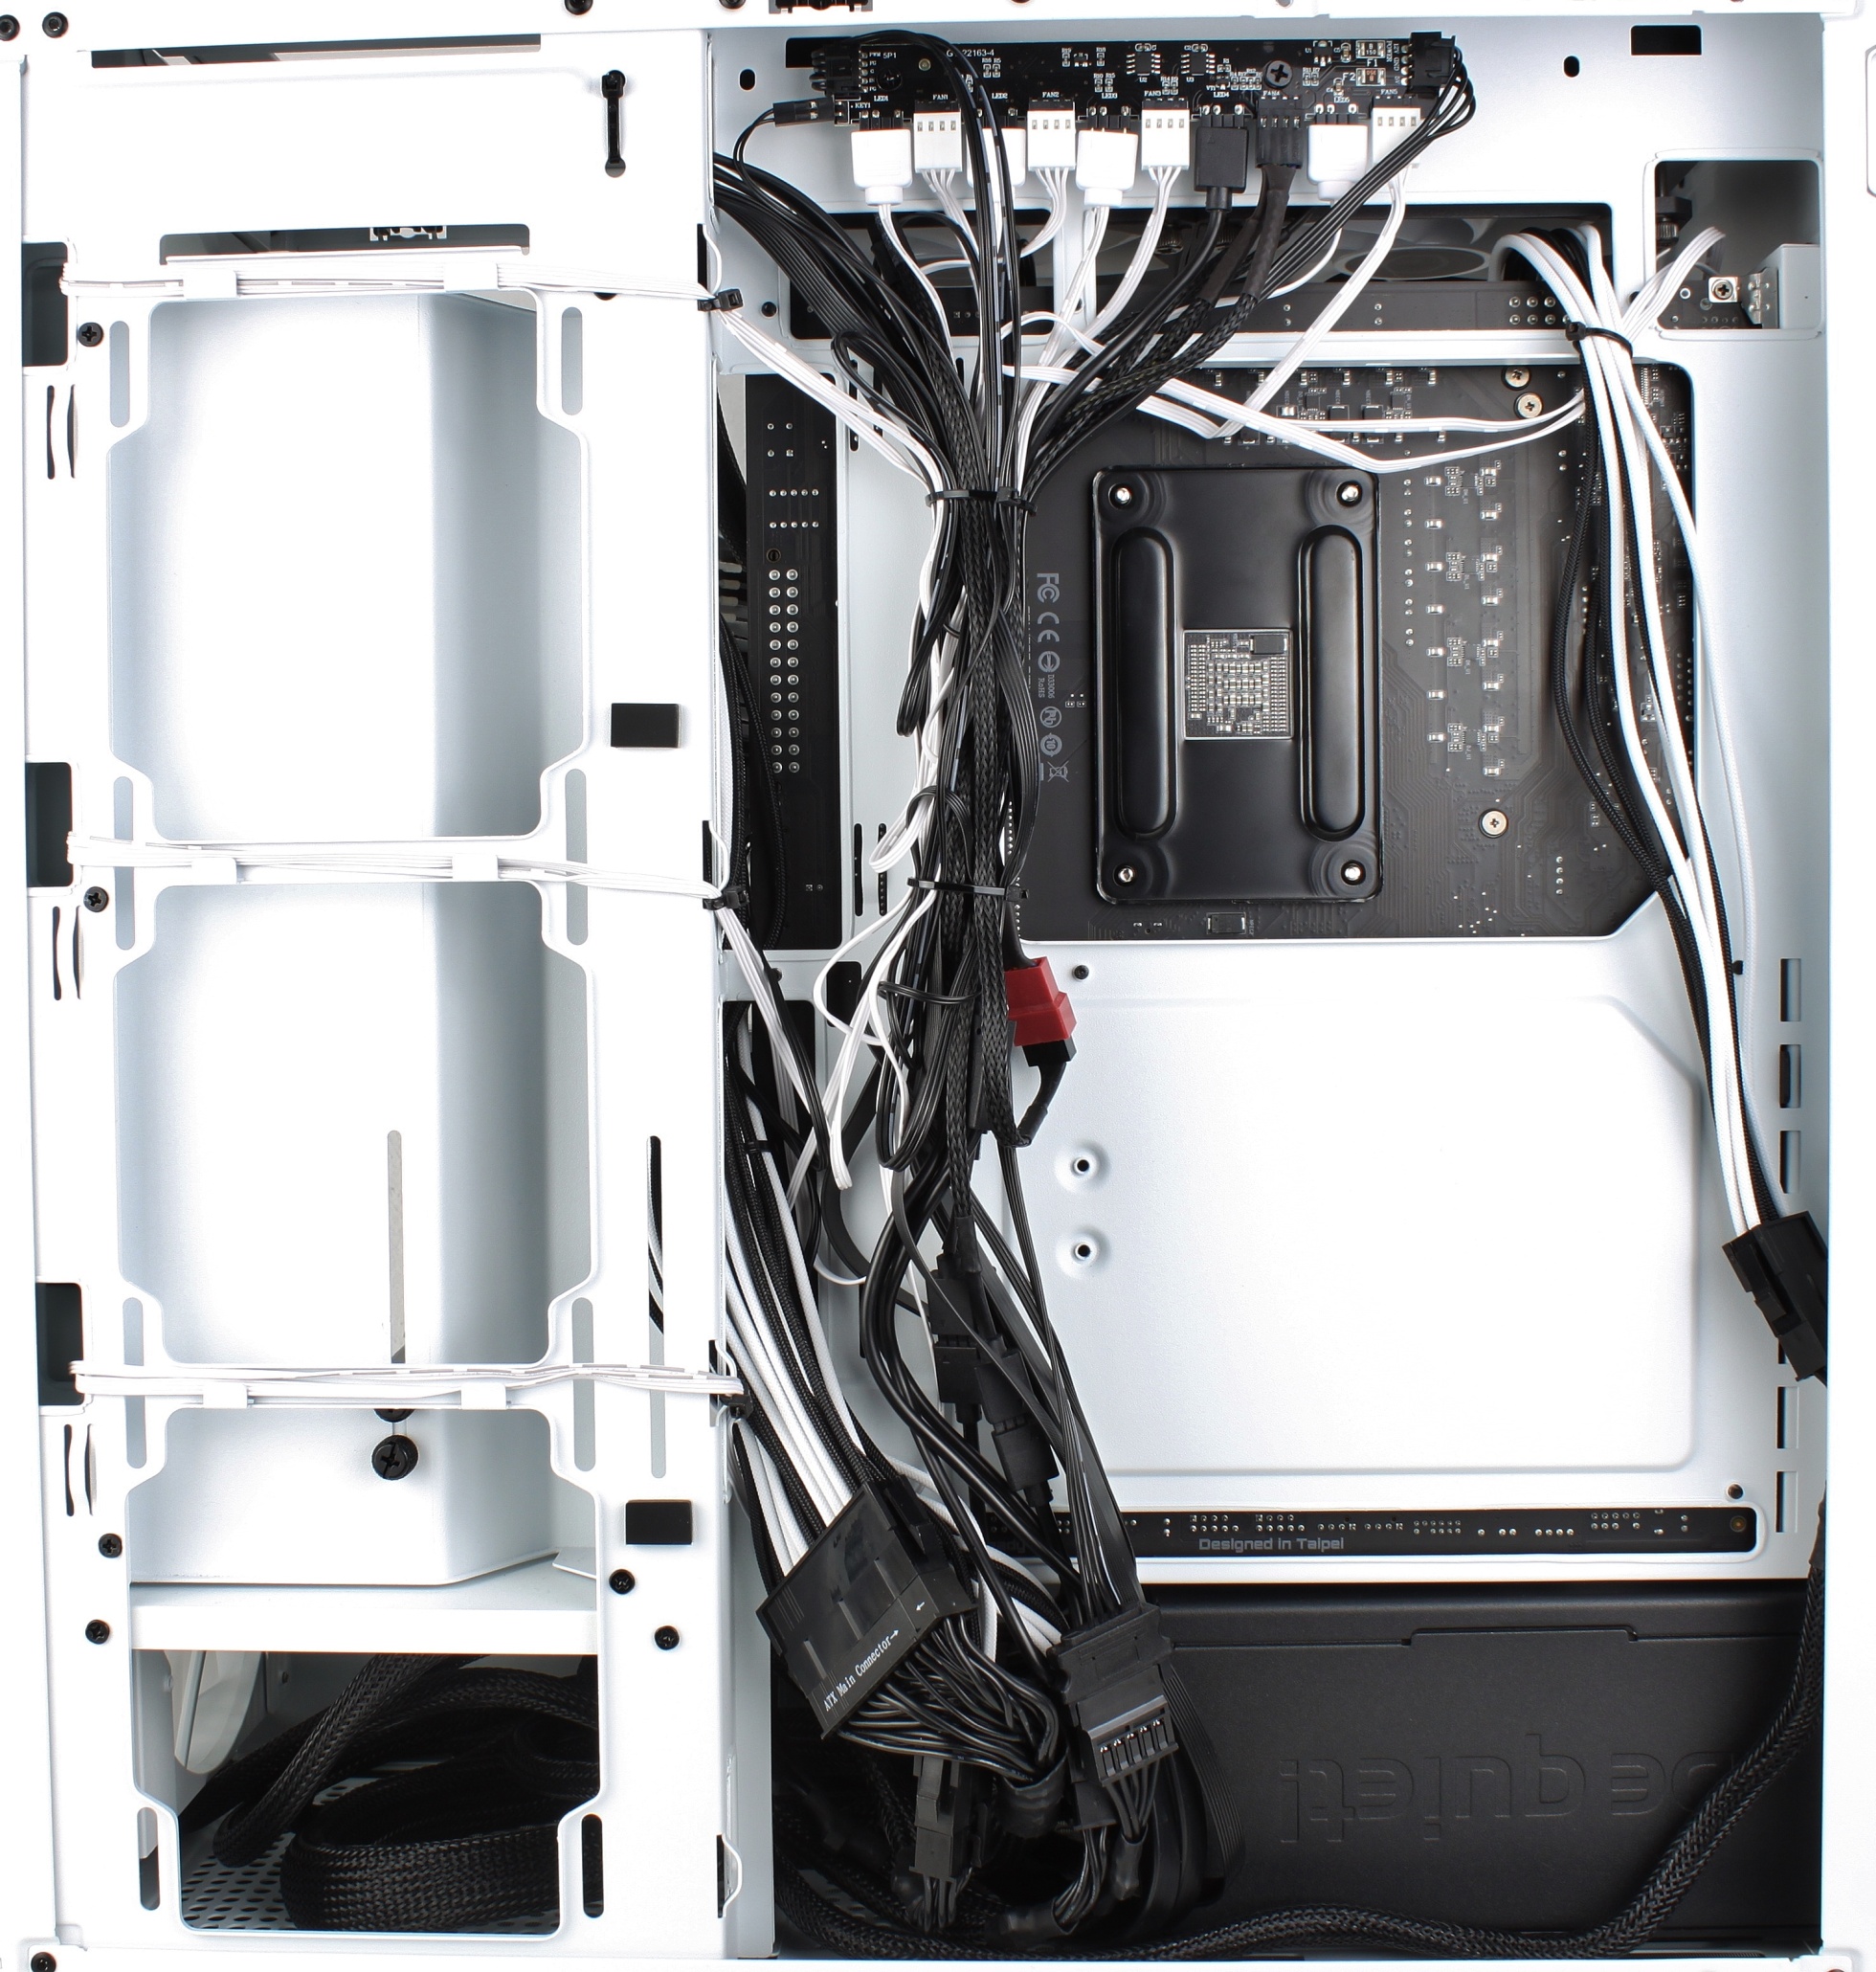
Since I didn’t mount any 2.5″ or 3.5″ drives, the bracket just goes “blanco” back into the case.
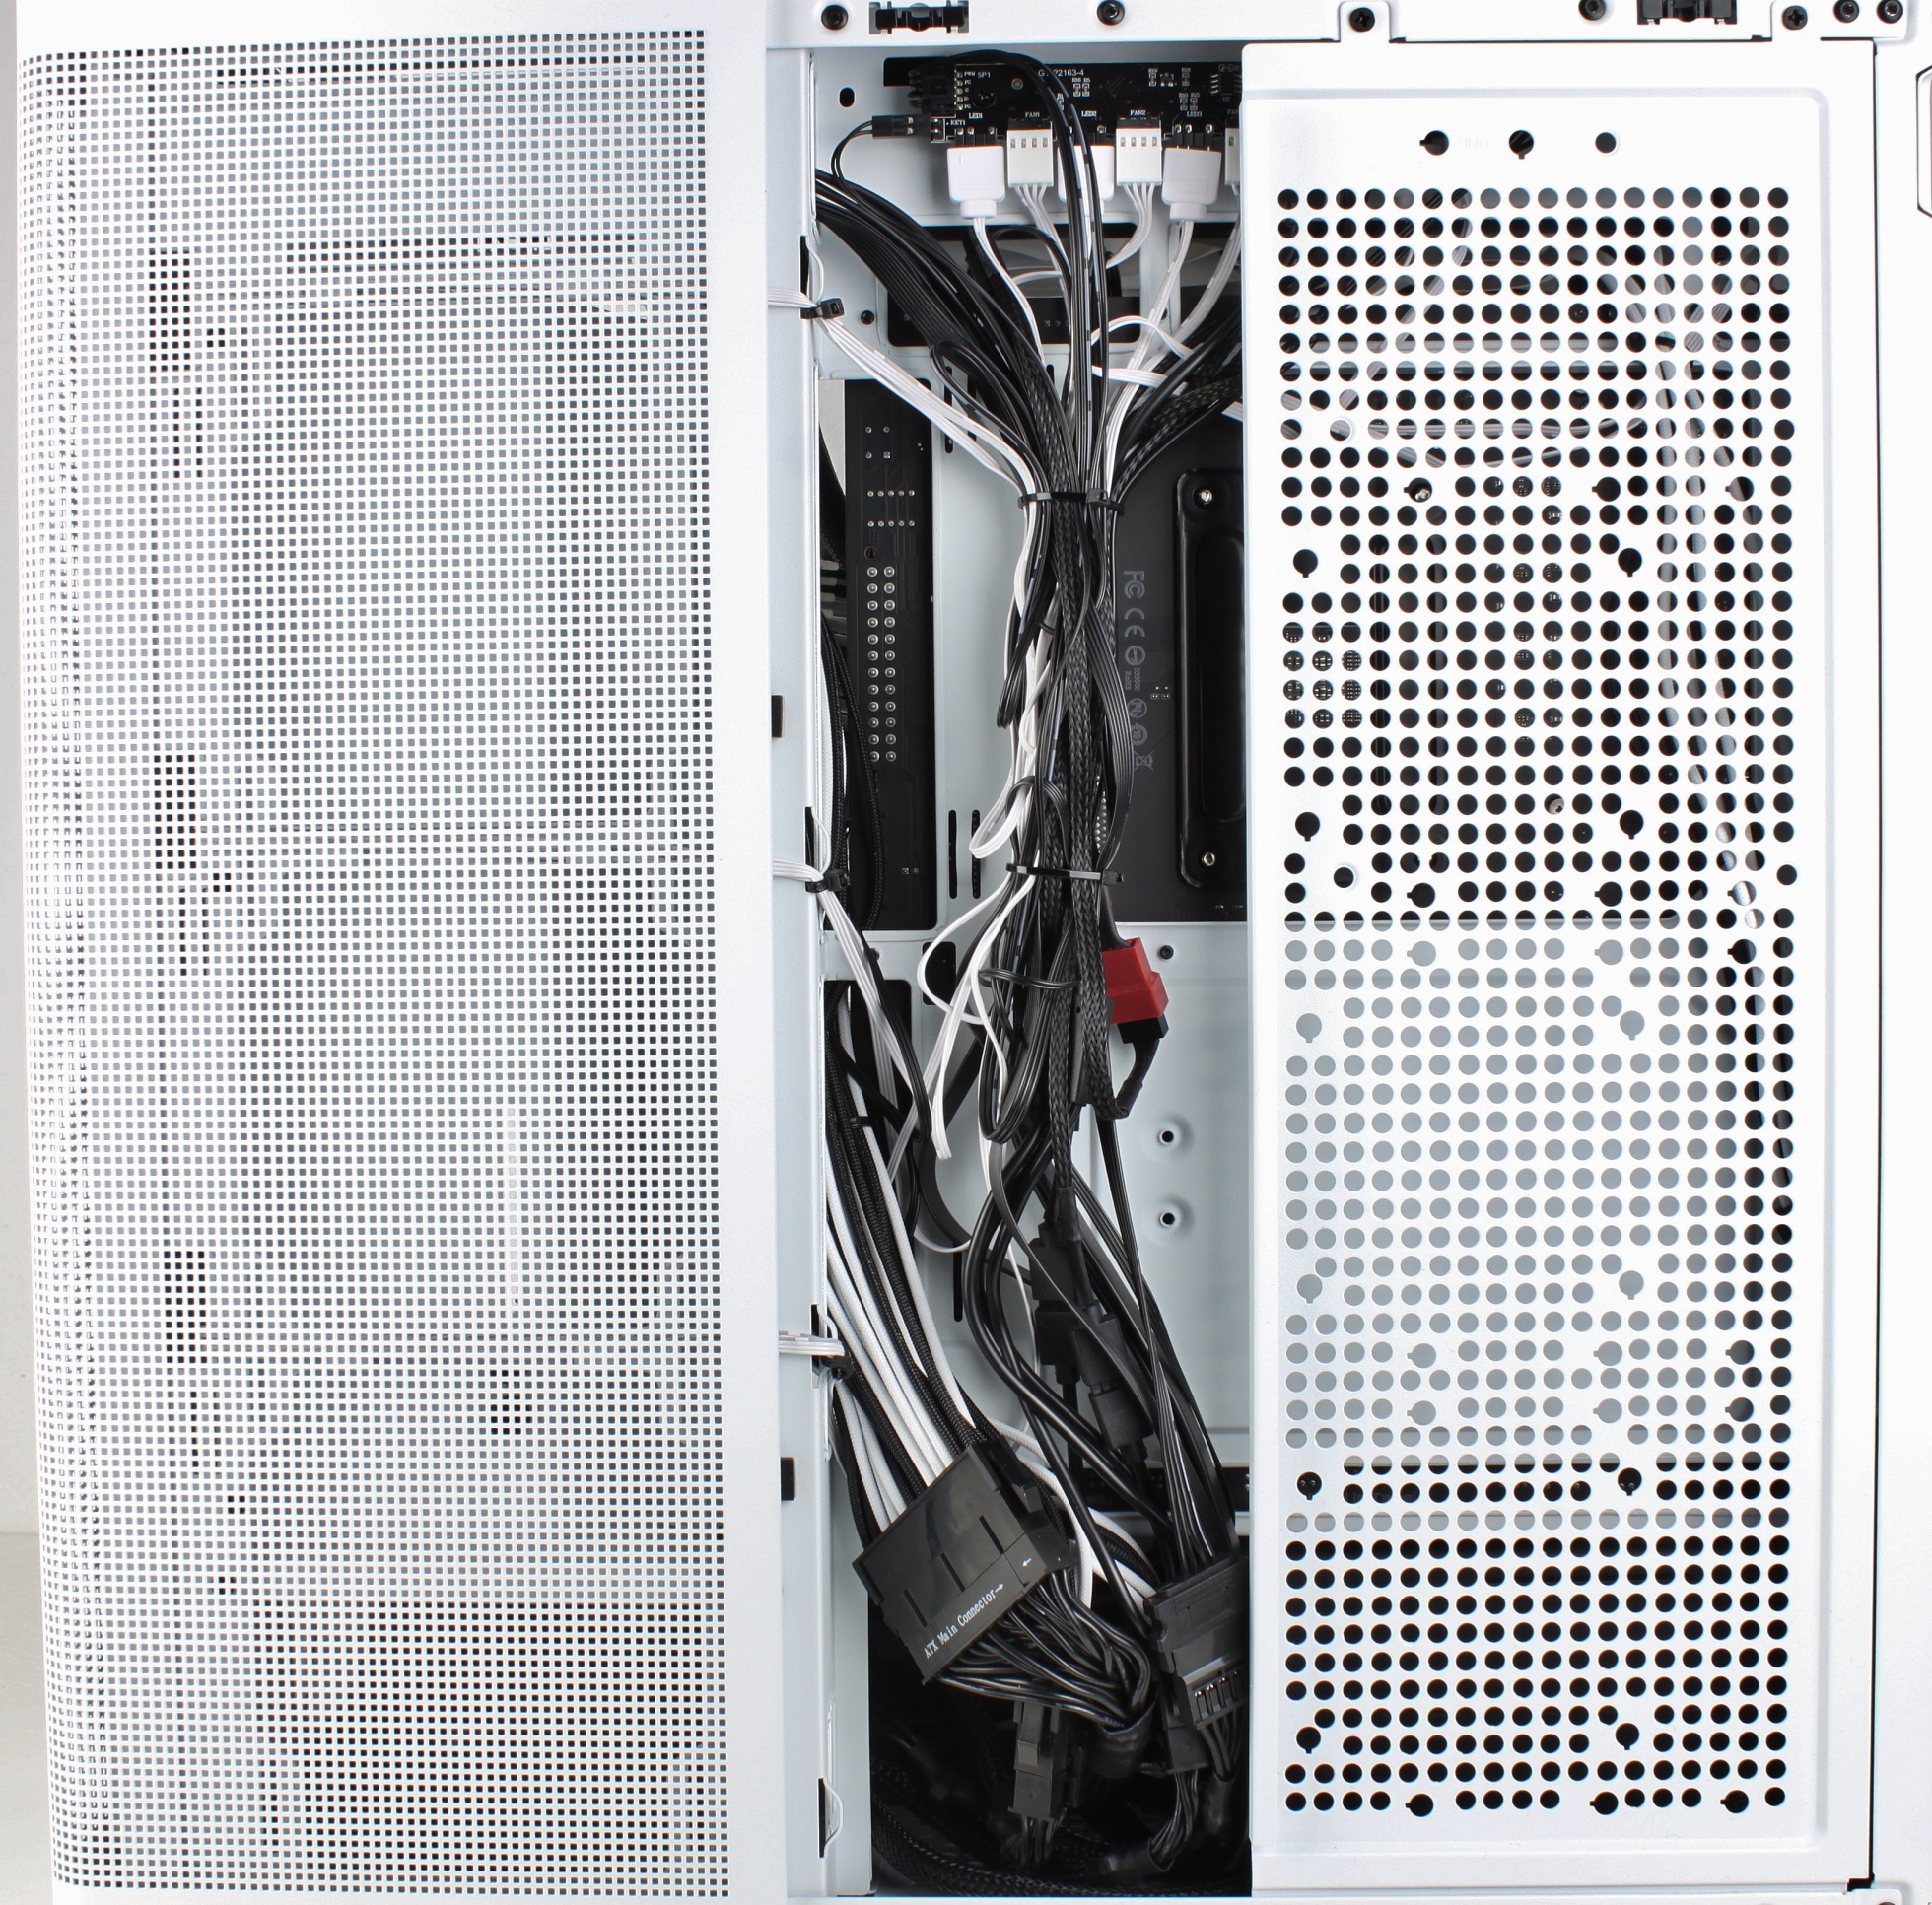
Front closed.
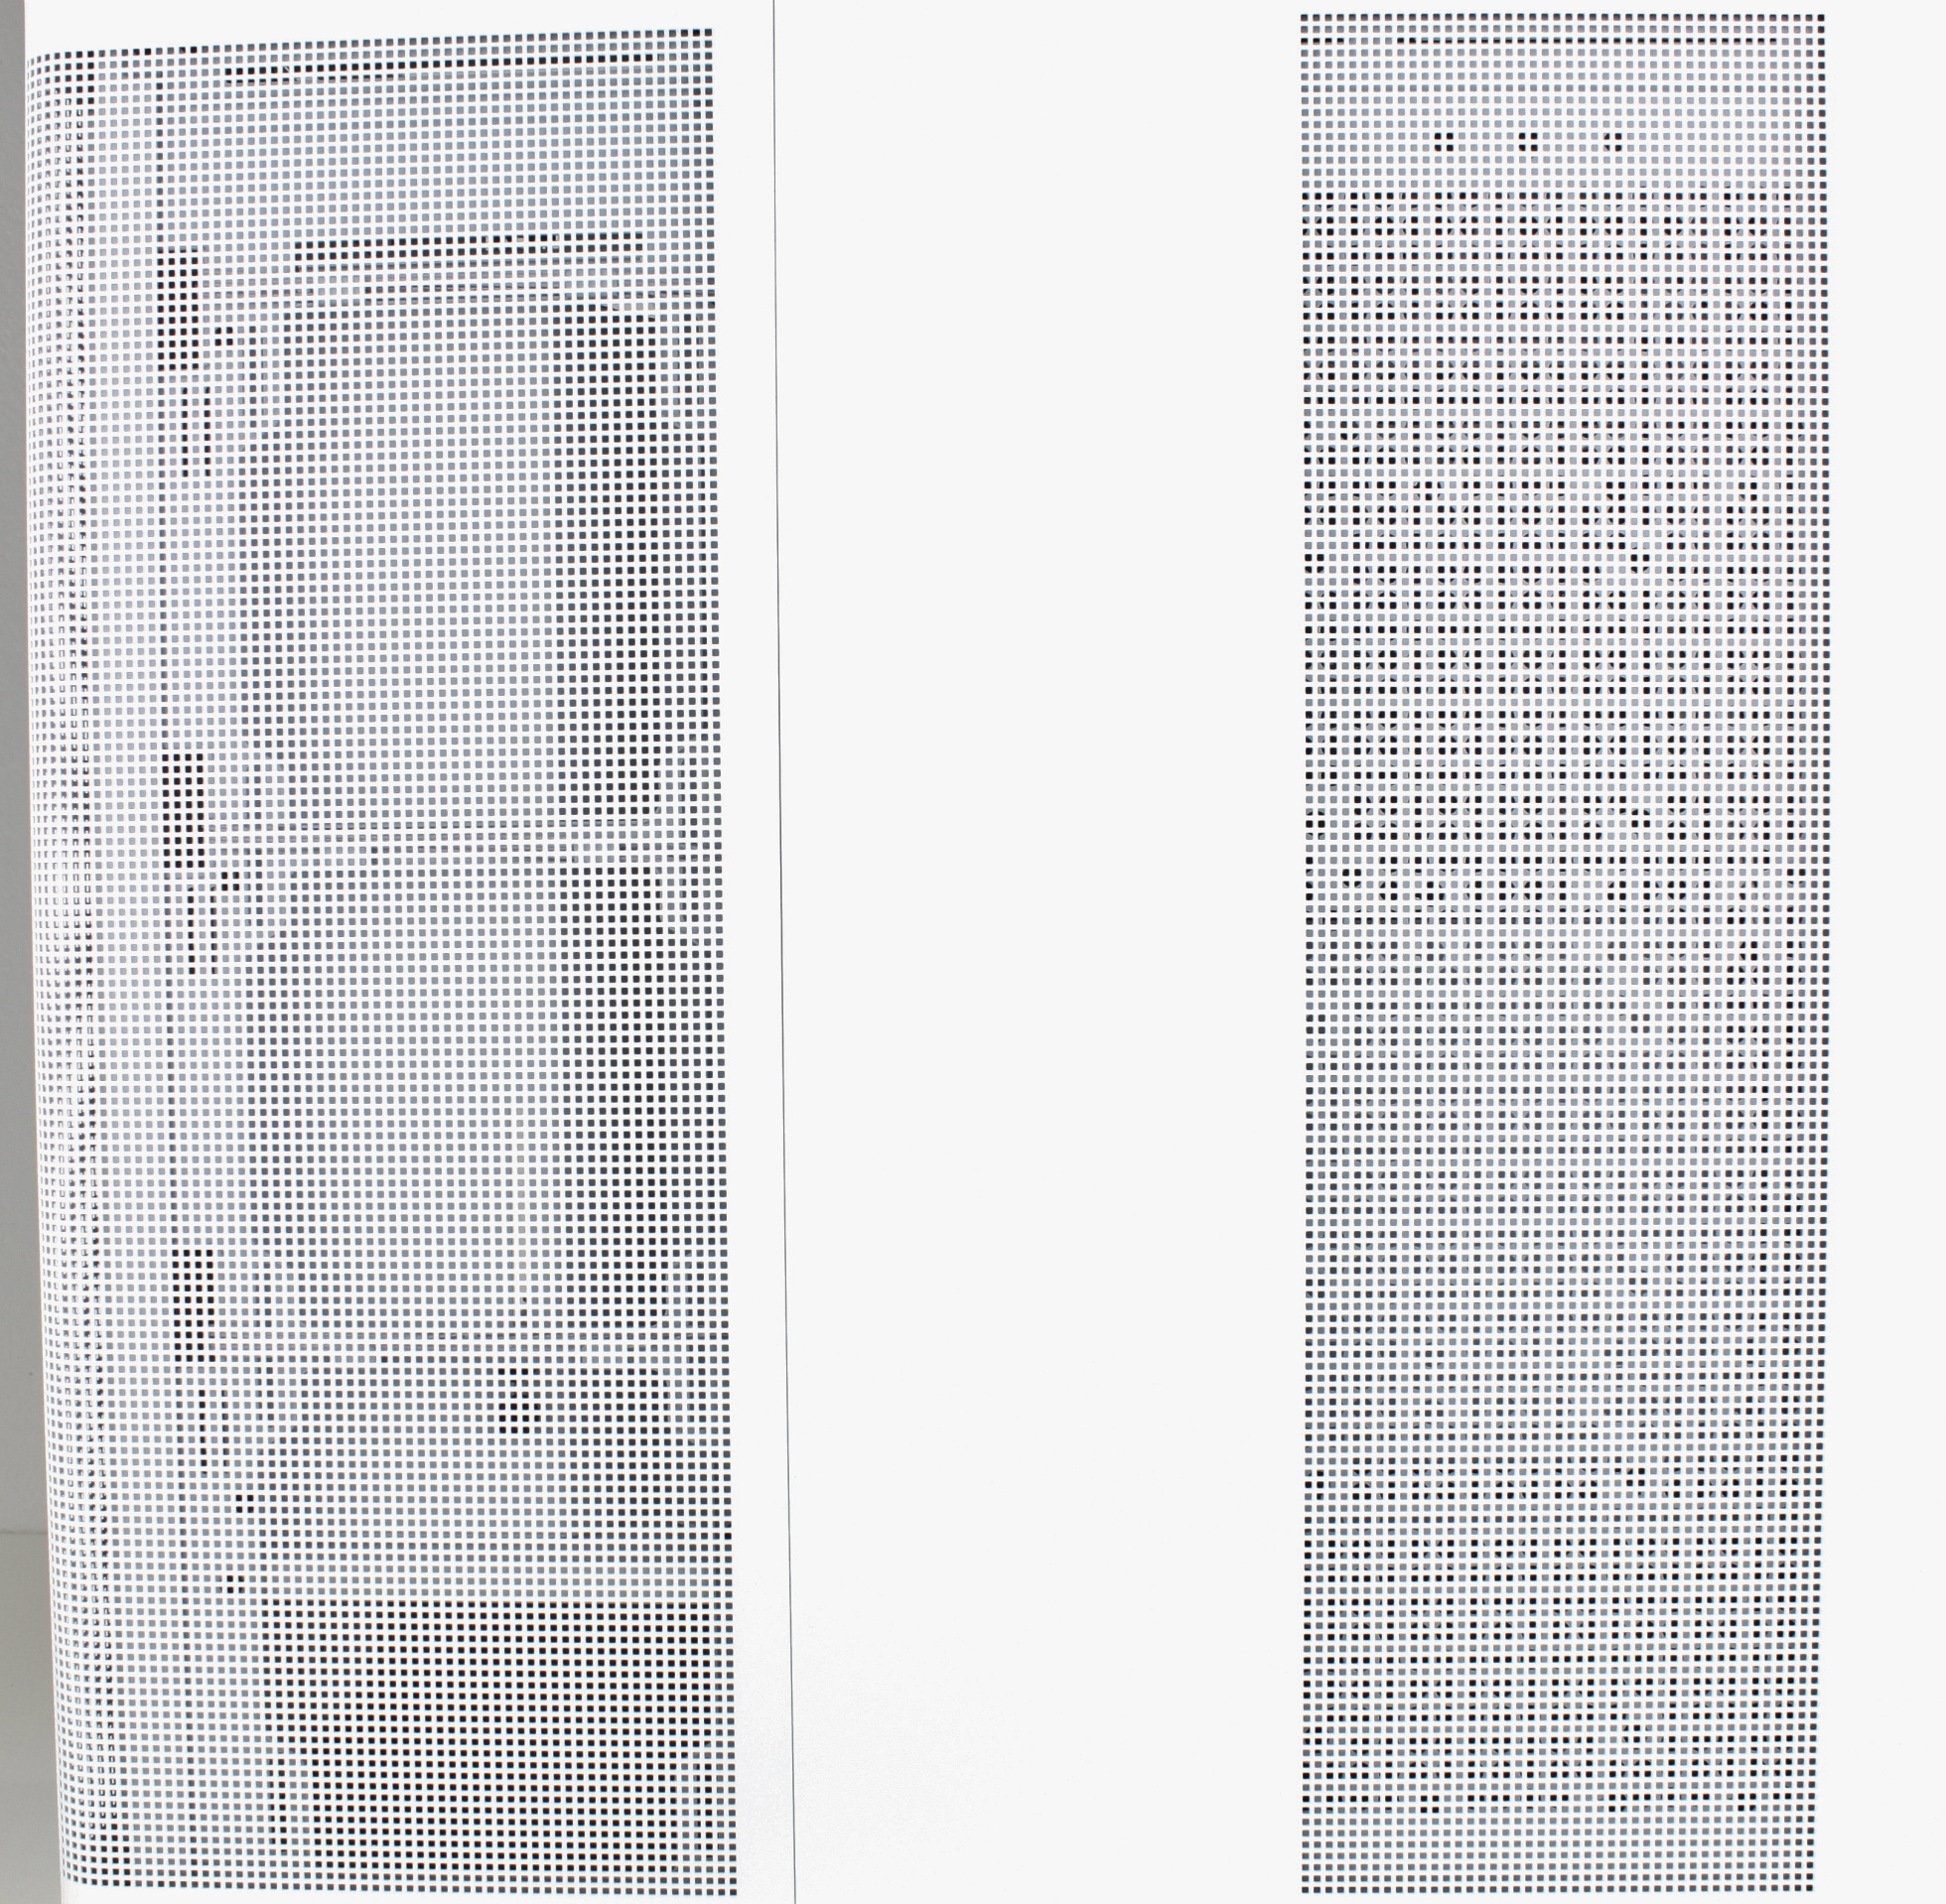
Flap closed.
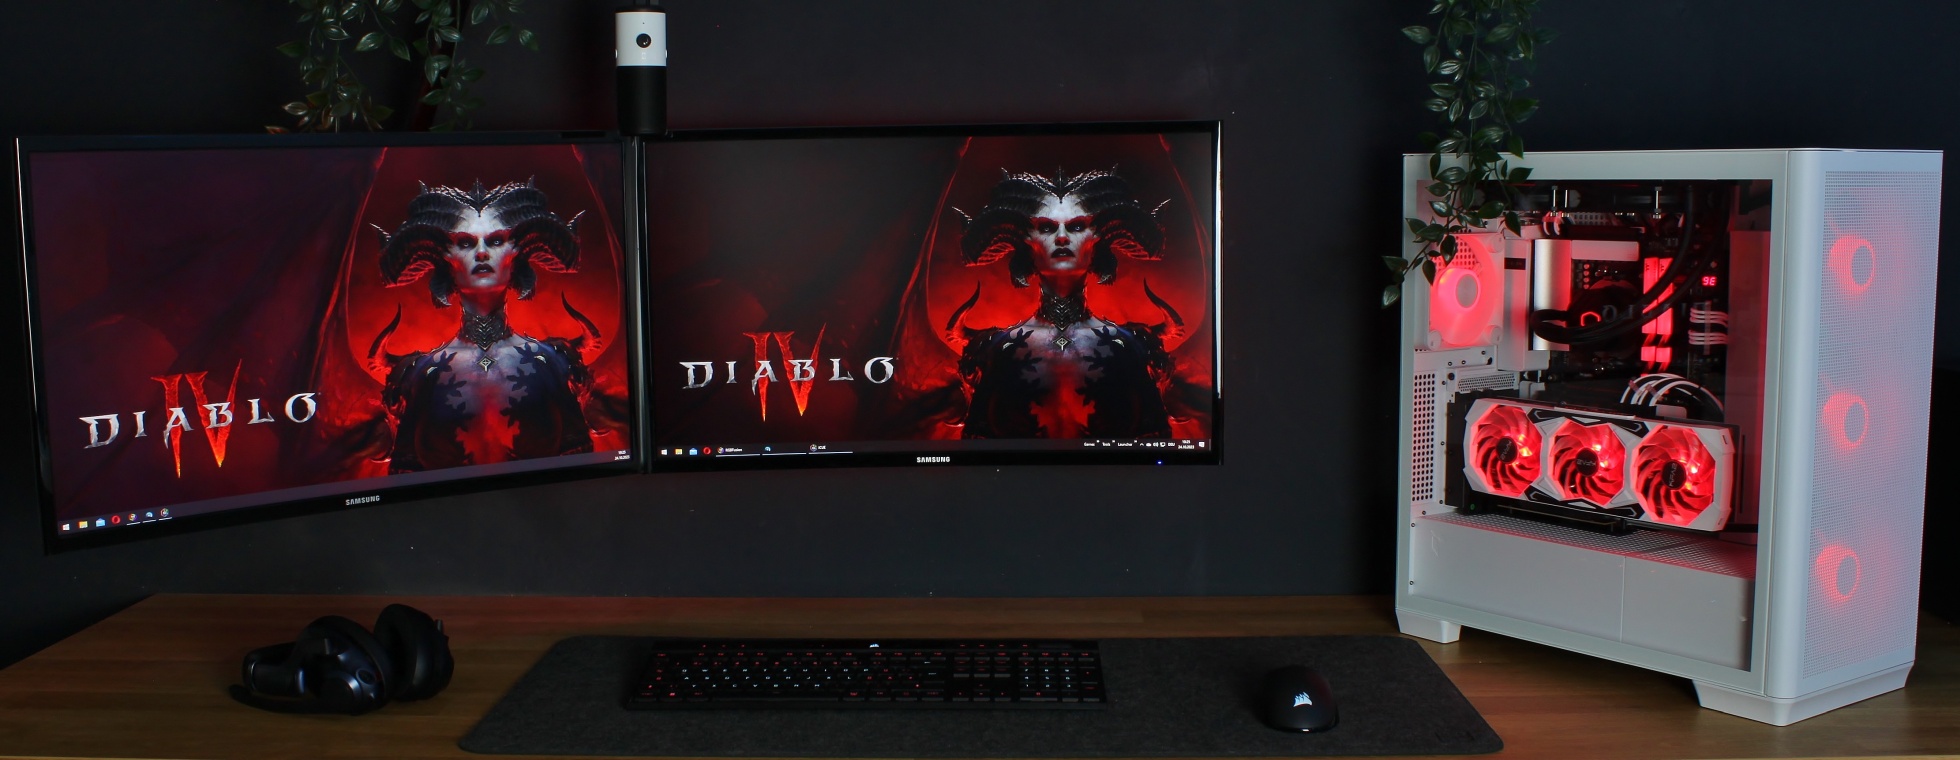
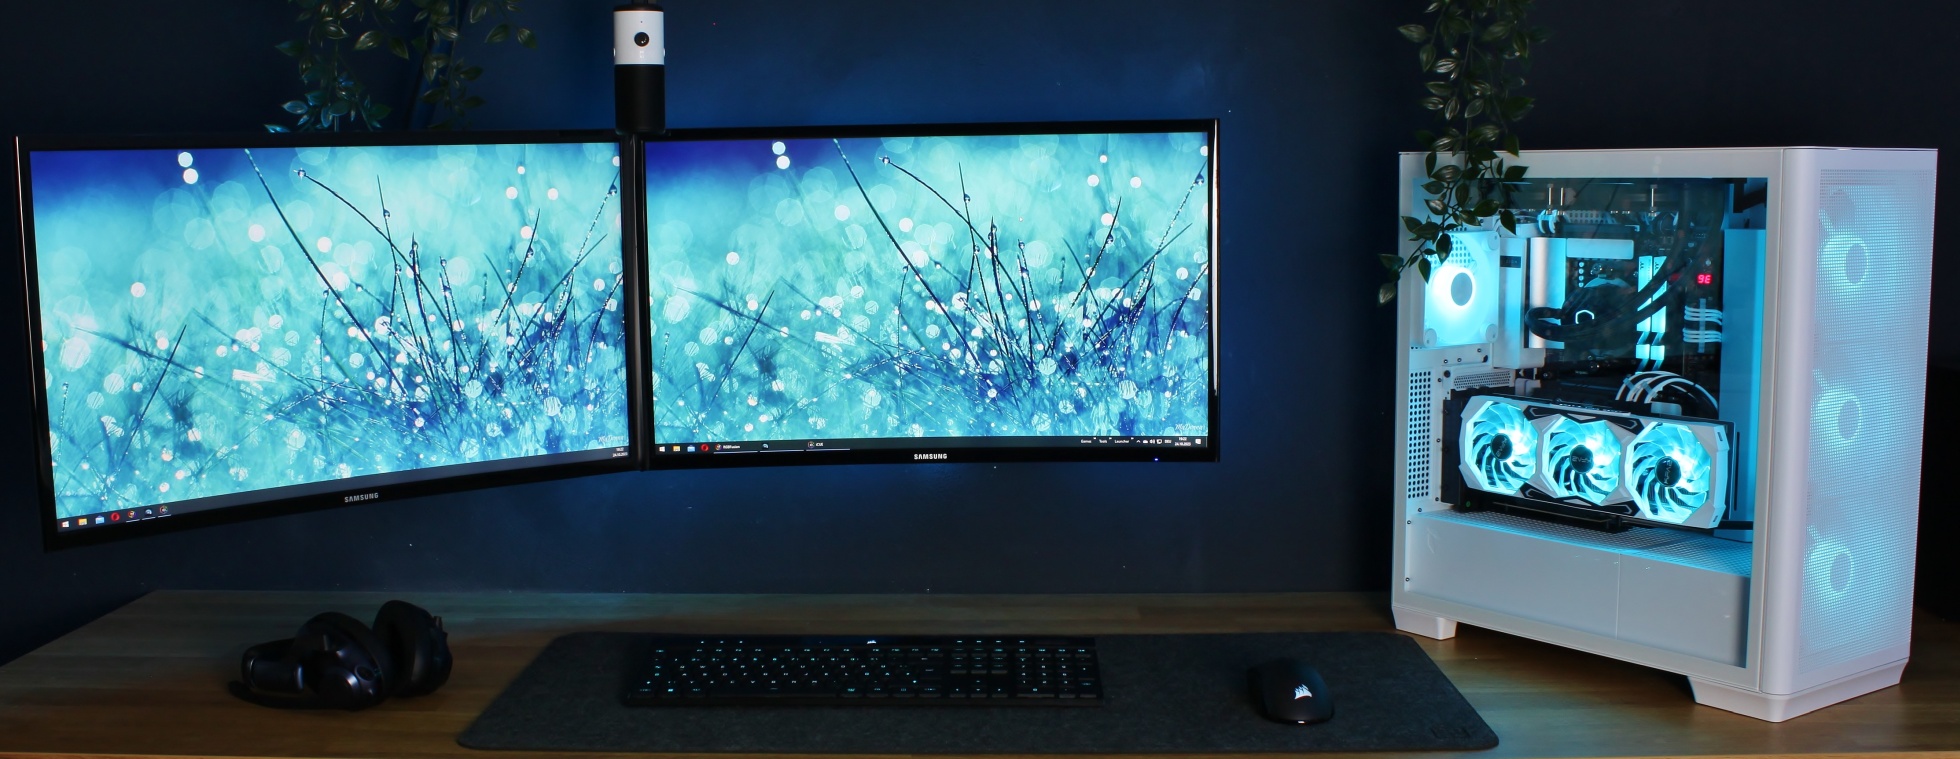
Test run!

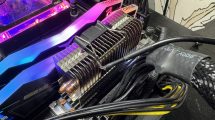
Stop, stop! Before I finish the installation report, I have one more point of criticism to make. The C1 can be equipped with a radiator of up to 360mm in the lid and in the side. To be able to use the side mounting, the front part of the separate PSU cover can be removed.
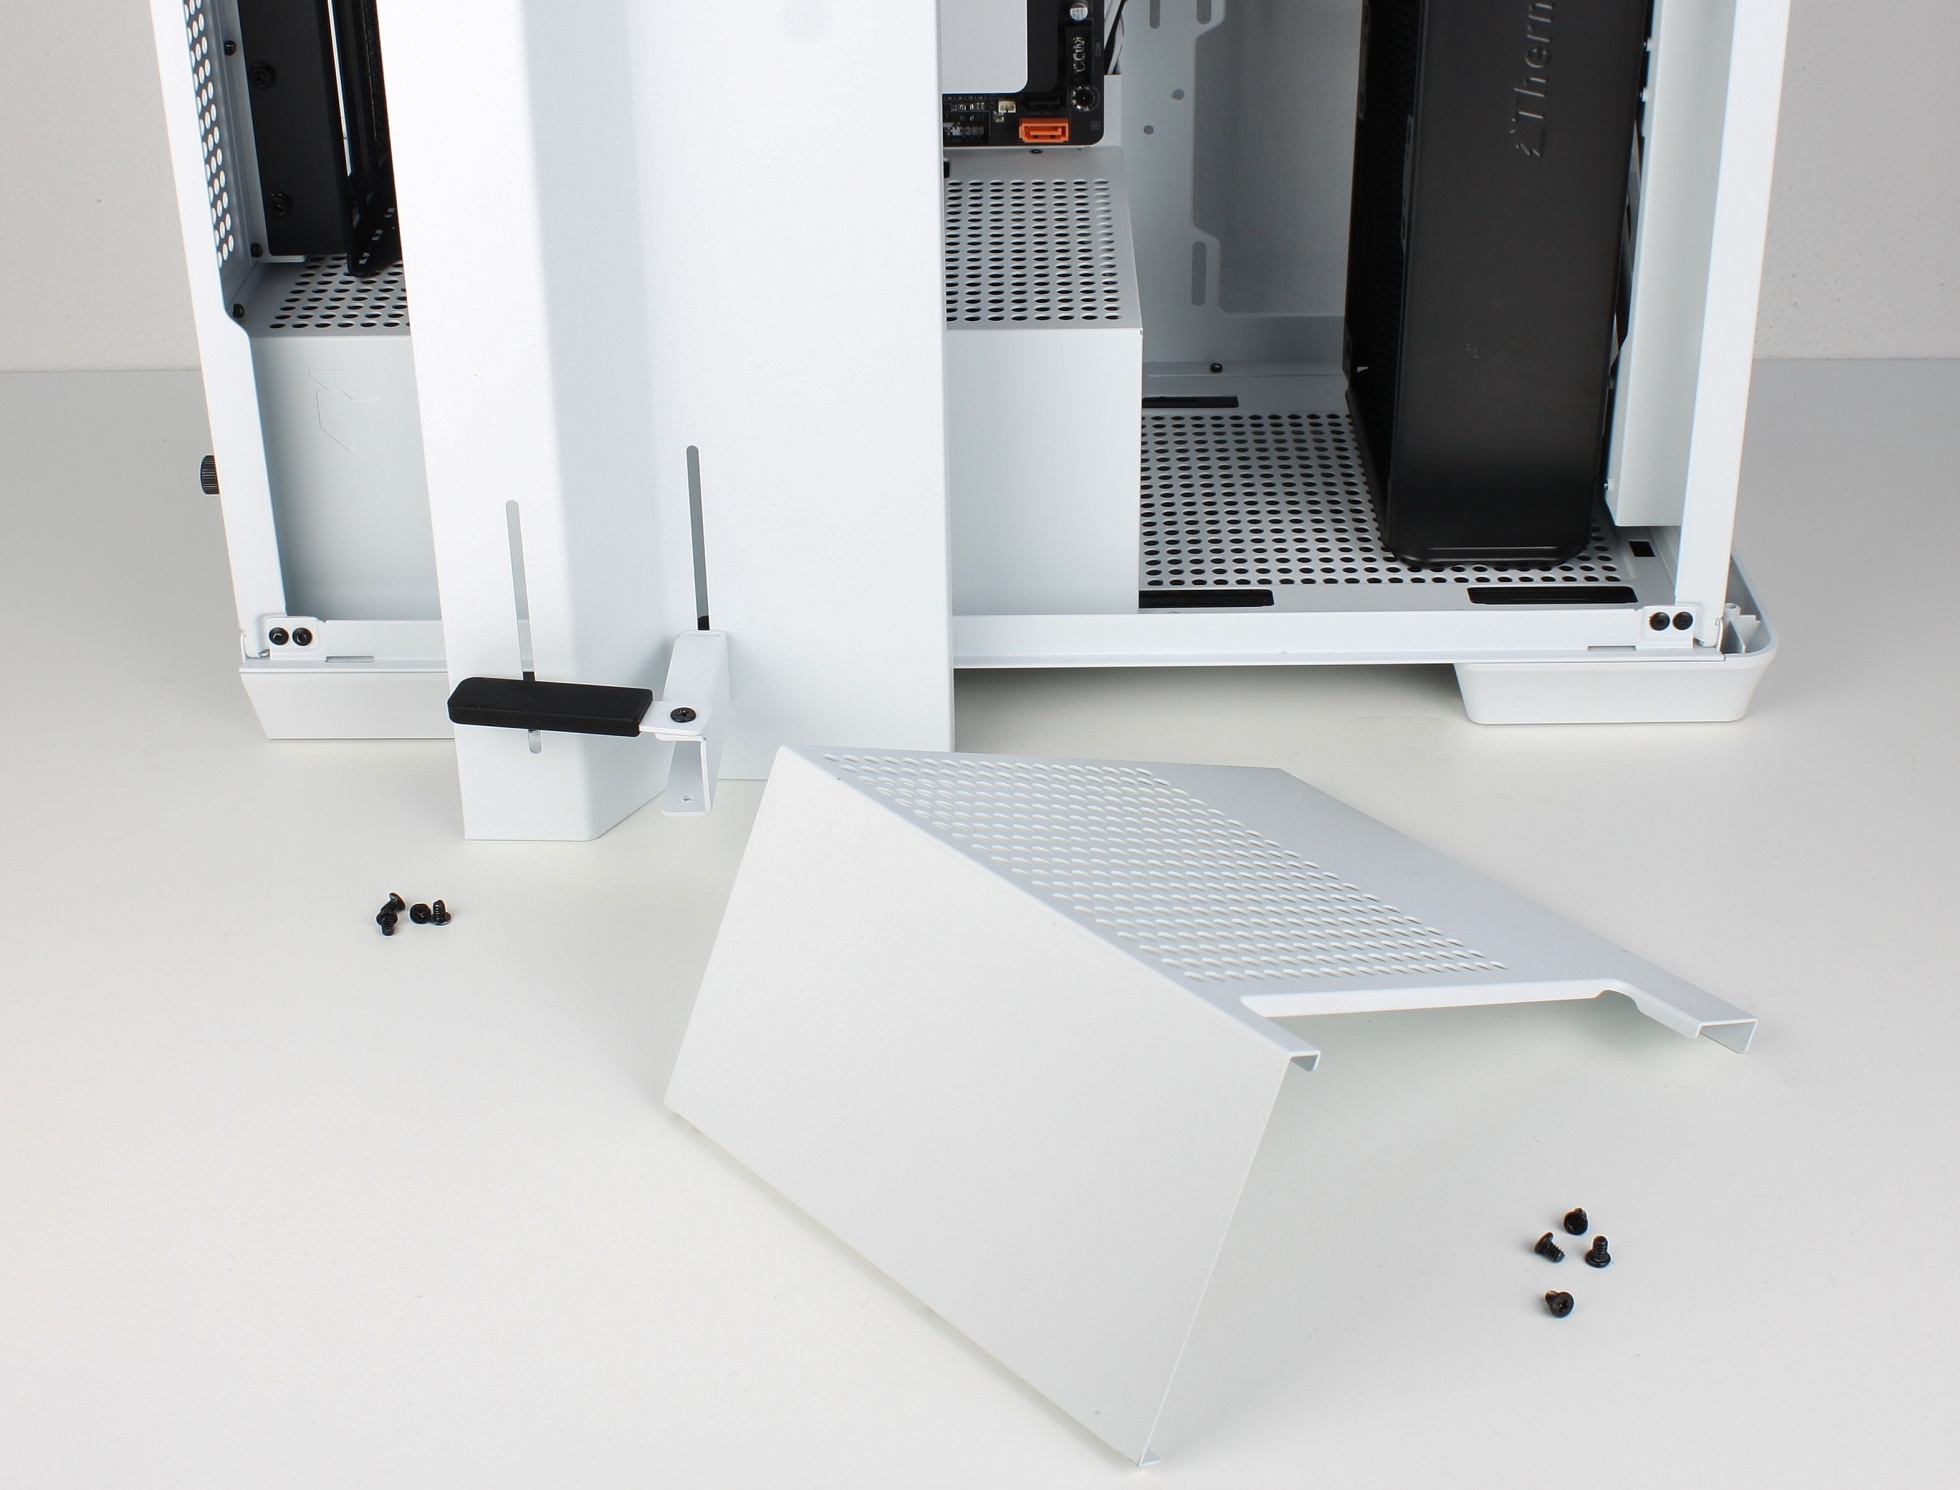
If we had added elongated holes instead of threads for mounting the front fans, a 360mm radiator could easily be mounted here as well. As you can see in the picture, even a push-pull configuration with a >60mm fat radiator would be possible.
Sorry, now you can test!


16 Antworten
Kommentar
Lade neue Kommentare
Urgestein
Moderator
Moderator
Urgestein
1
Veteran
Urgestein
Moderator
Veteran
Urgestein
Moderator
Veteran
Mitglied
Urgestein
Urgestein
Urgestein
Alle Kommentare lesen unter igor´sLAB Community →