


With the C1 mid-tower, the new manufacturer APNX enters the stage. The high-quality looking case comes with four pre-installed ARGB fans, a stable construction and a fresh design. Whether this is enough to hold its own in the highly competitive market, you can read in the review!

Of course, Advanced Performance Nexus, APNX for short, is not starting out without any experience at all. It is a new brand of the Pro Gamersware Group, which has existed for over 20 years and has also launched other extremely successful brands such as Noble Chairs. You can see right away during the first hands-on of the C1 that this is not a budget case, but that they would rather like to gain a foothold in the premium segment – I can say that much in advance. The test of this case turned out to be a real roller coaster ride of emotions, because from enthusiasm to disappointment, everything was really there. But before I anticipate anything, let’s unpack the thing first.
Unboxing
The outer carton was quite mysterious, with no writing whatsoever.

Only some Chinese characters and a shipping label adorned the upper surface of the box.

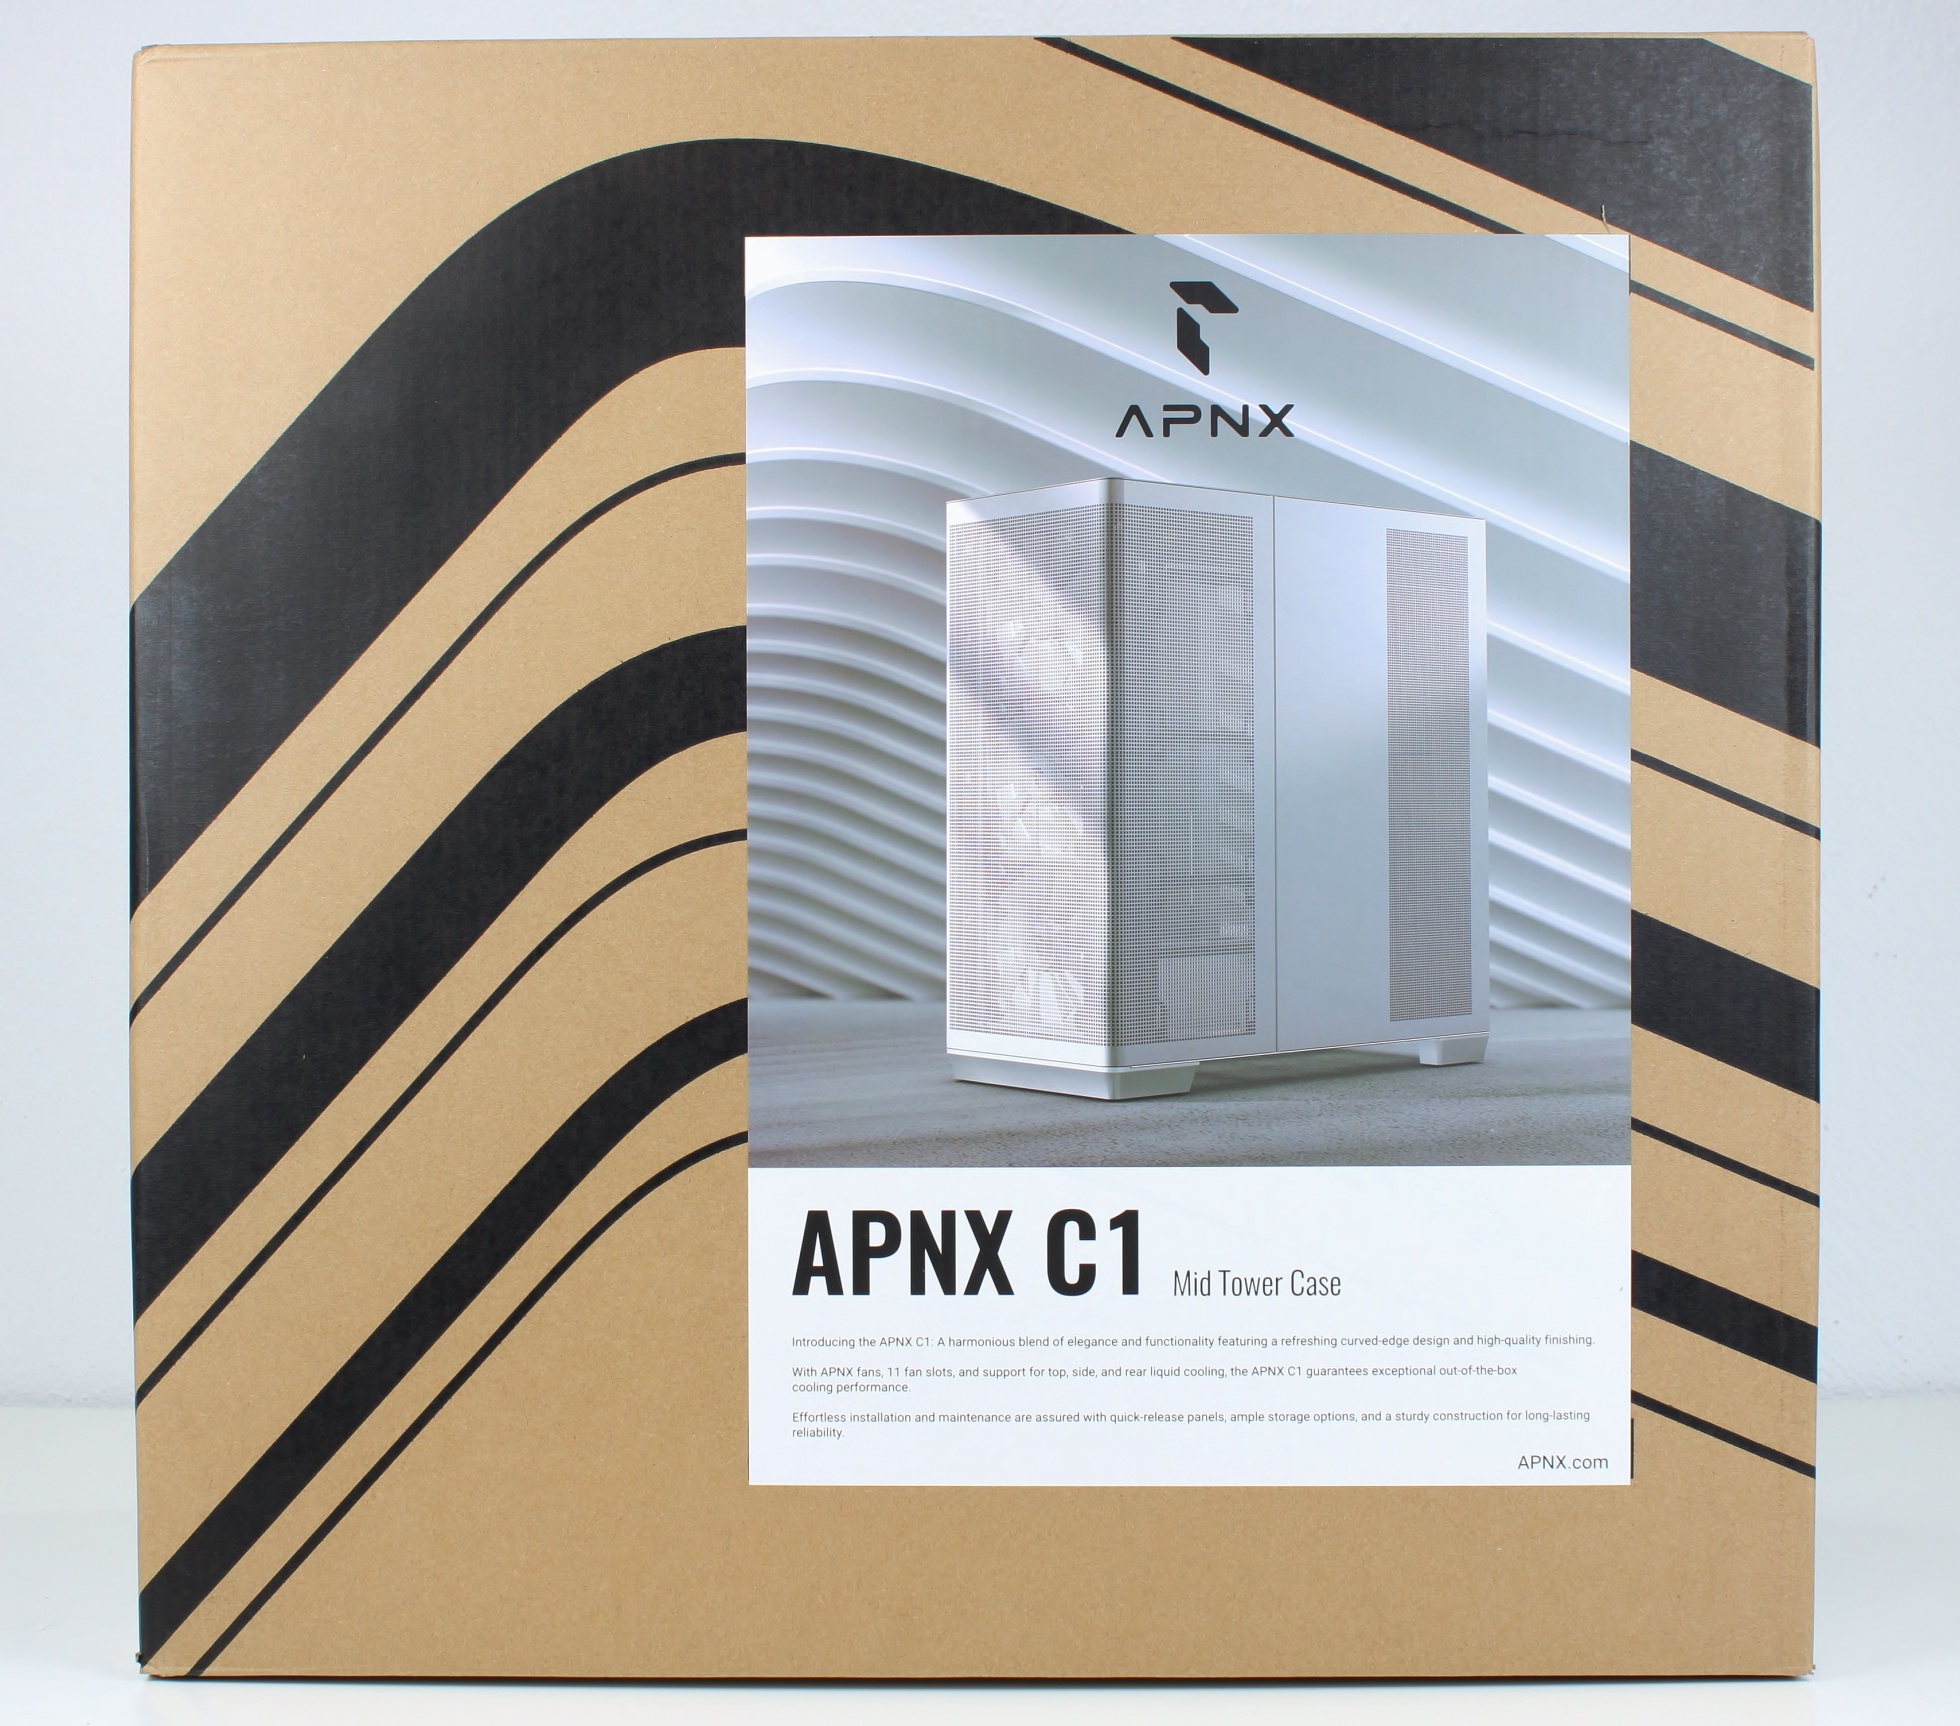
In fact, however, it was only a cardboard box to protect the actual packaging. Is also no longer a matter of course nowadays. This box is provided with a stylish pattern and a printed image of the contents.
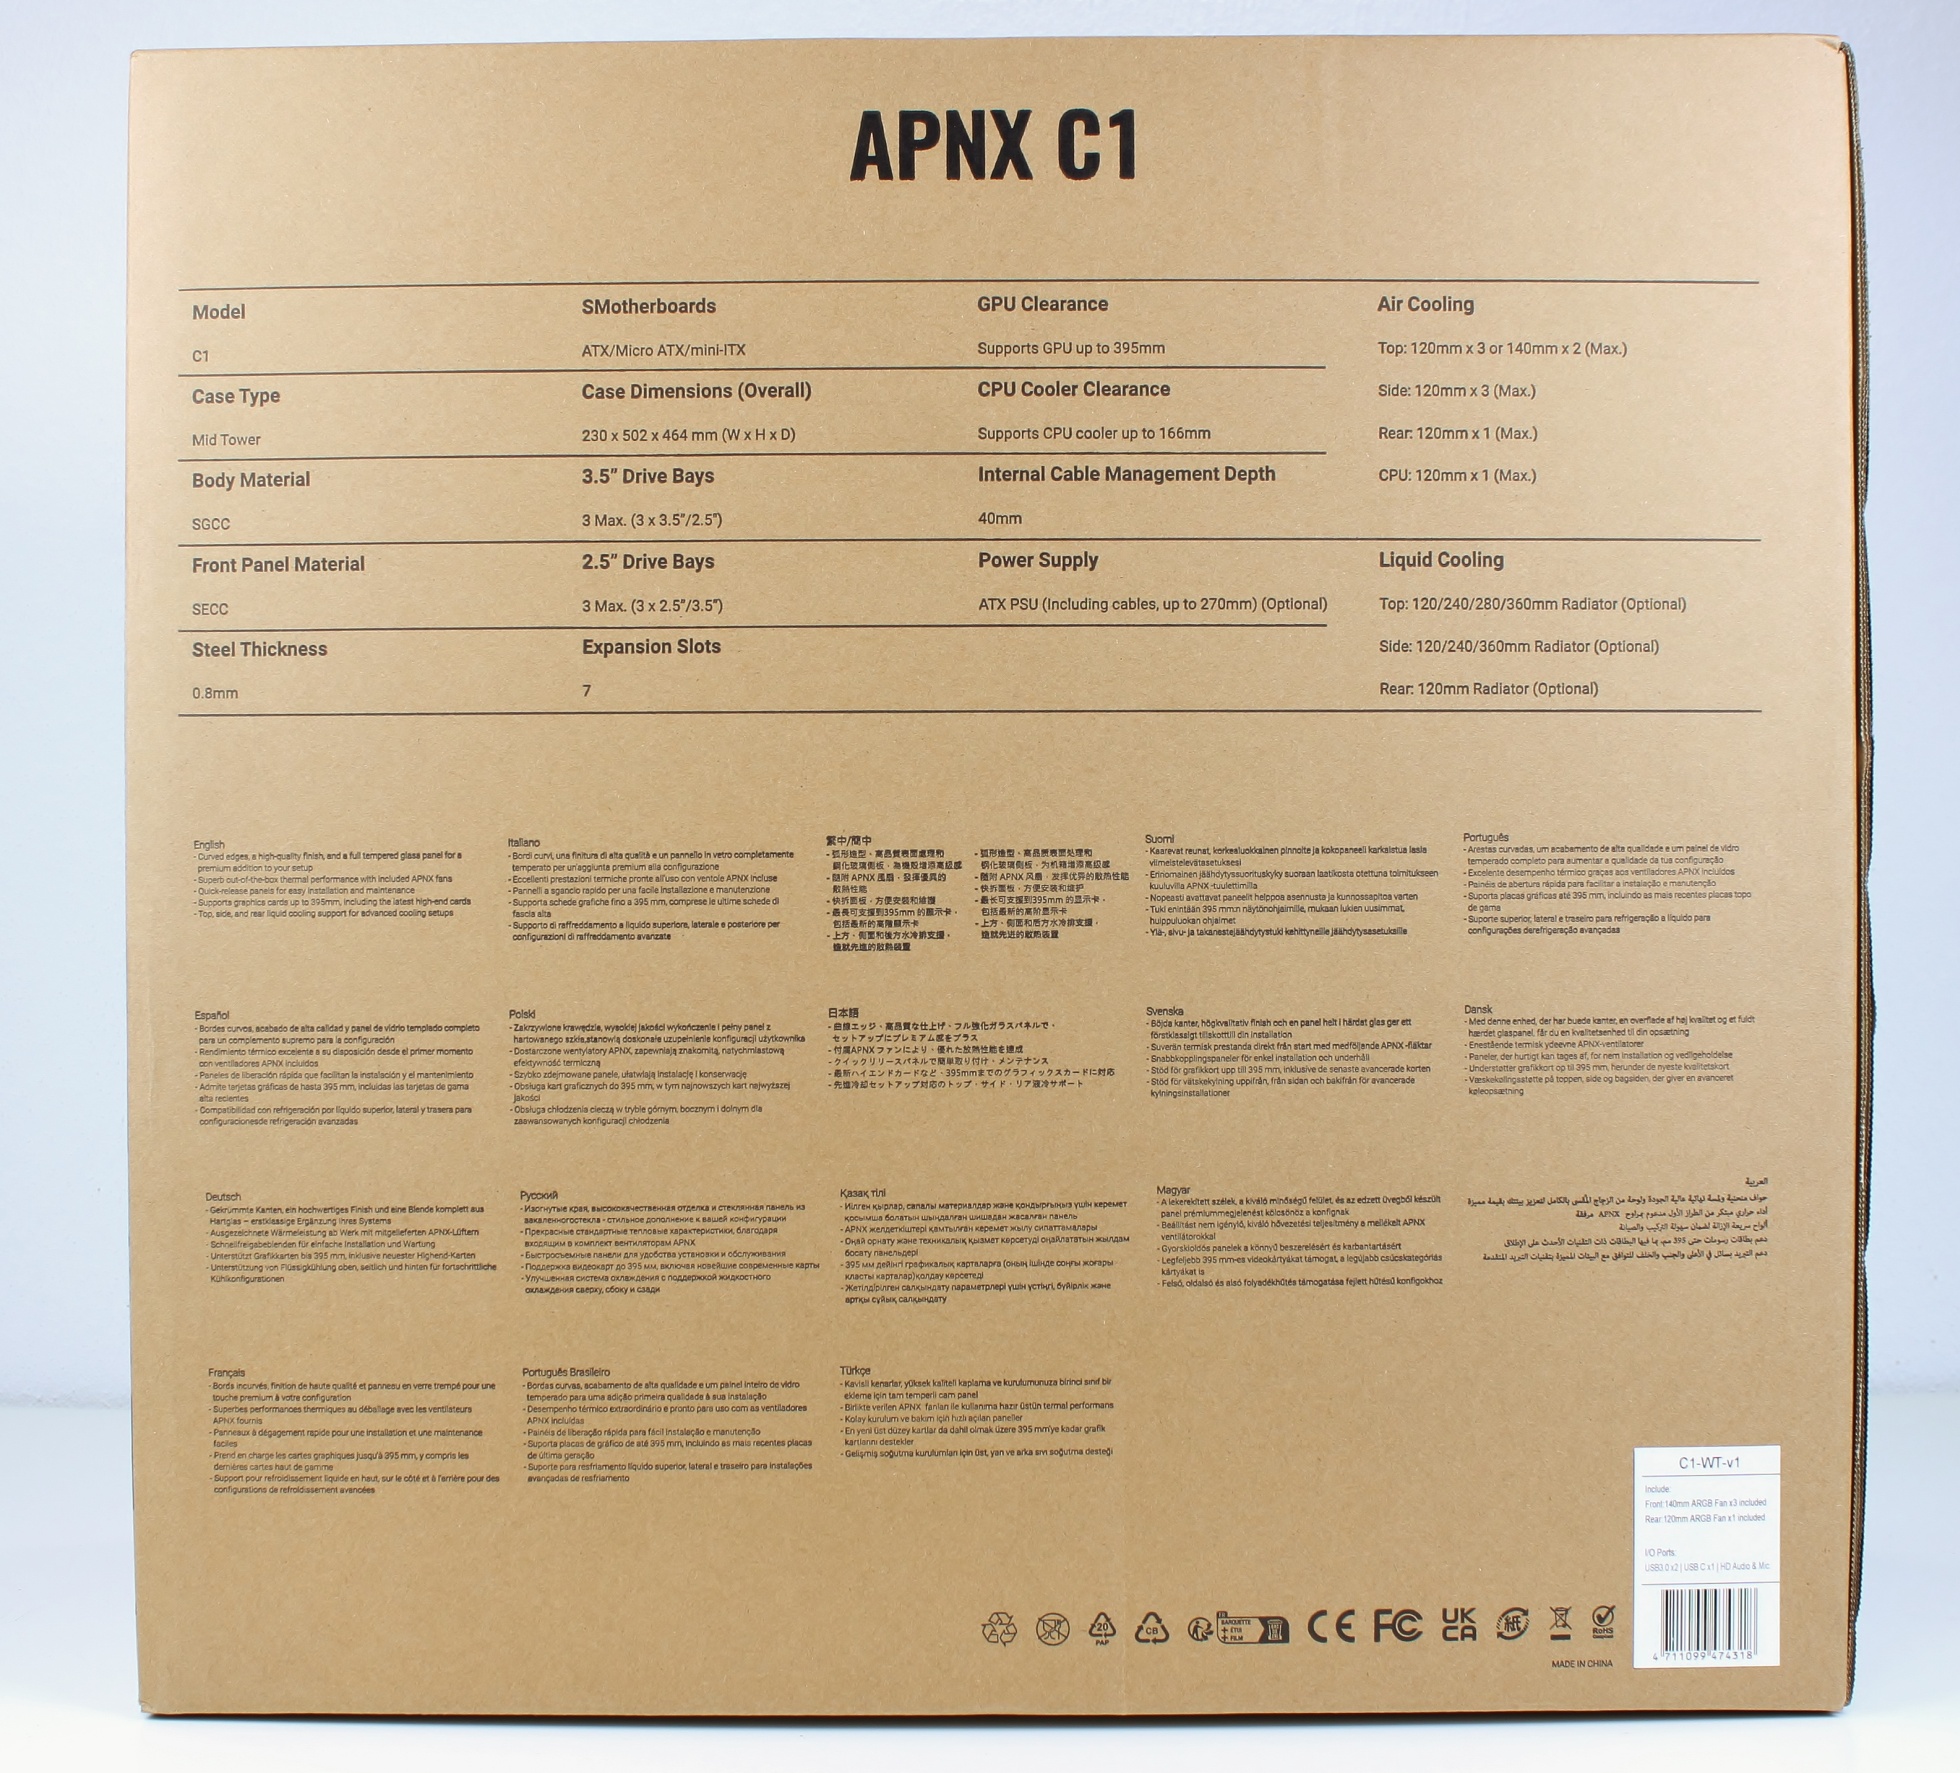
The technical specifications and dimensions are printed on the back.
Quickly away with the box, because curiosity was already high. The design is simple, the form language interesting. Absolutely successful at first glance!
The back and the right side panel are also completely white.
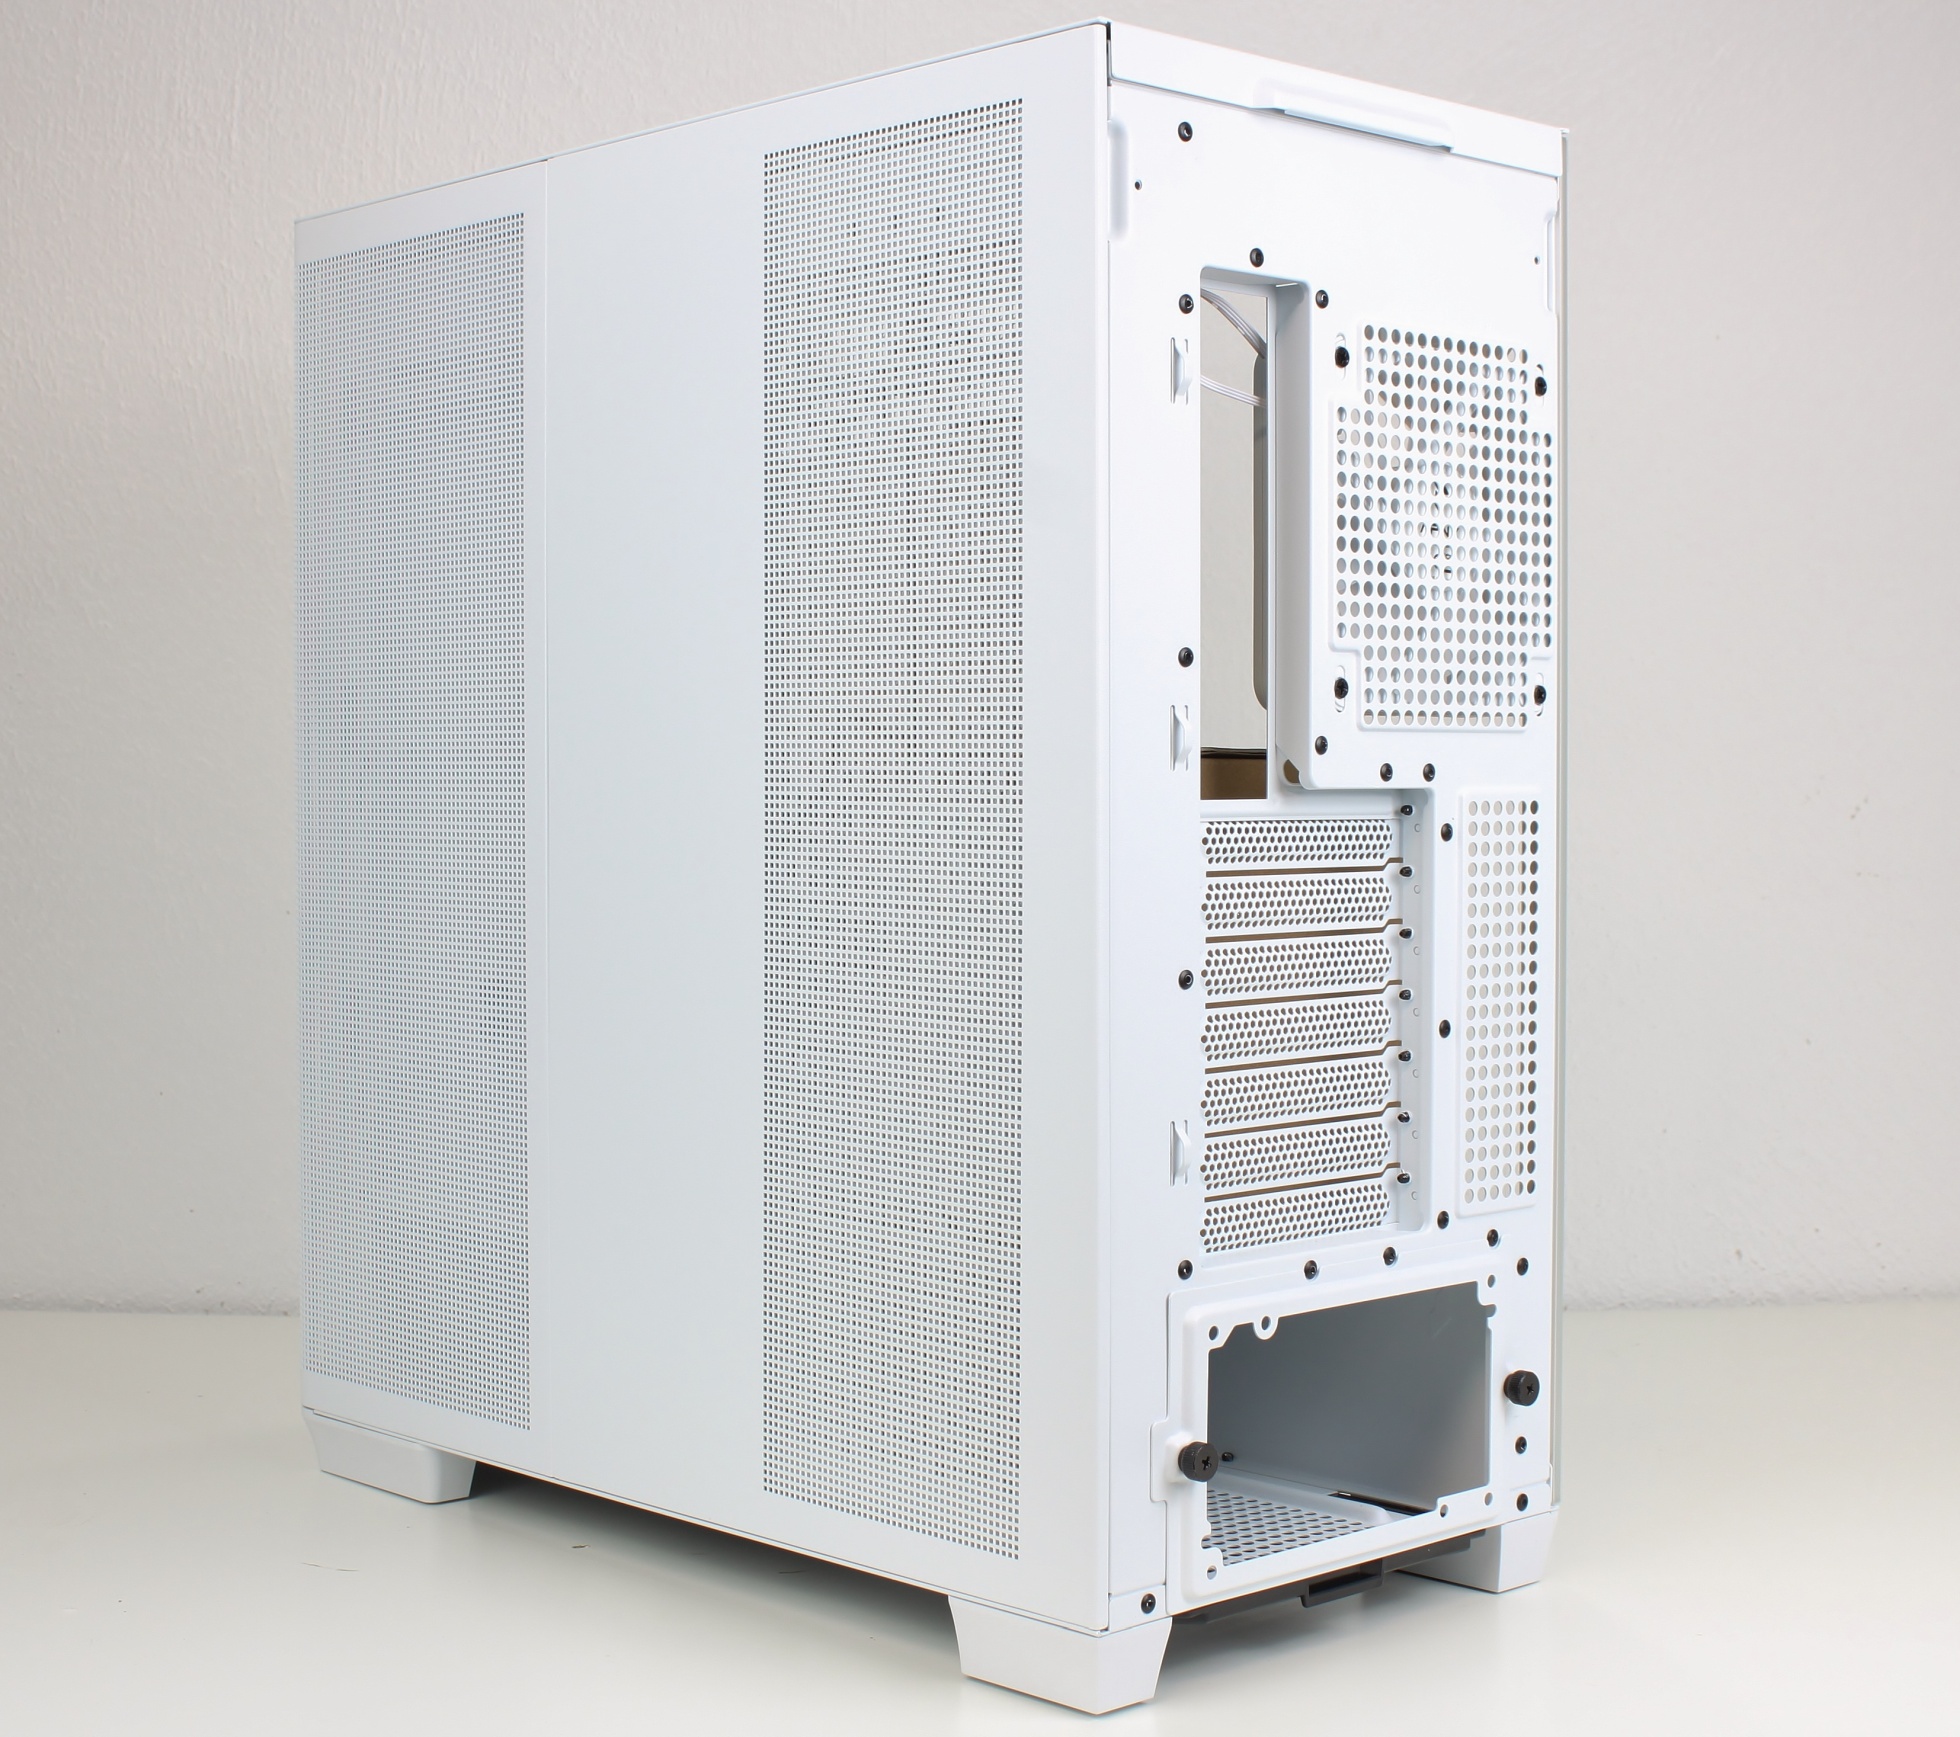
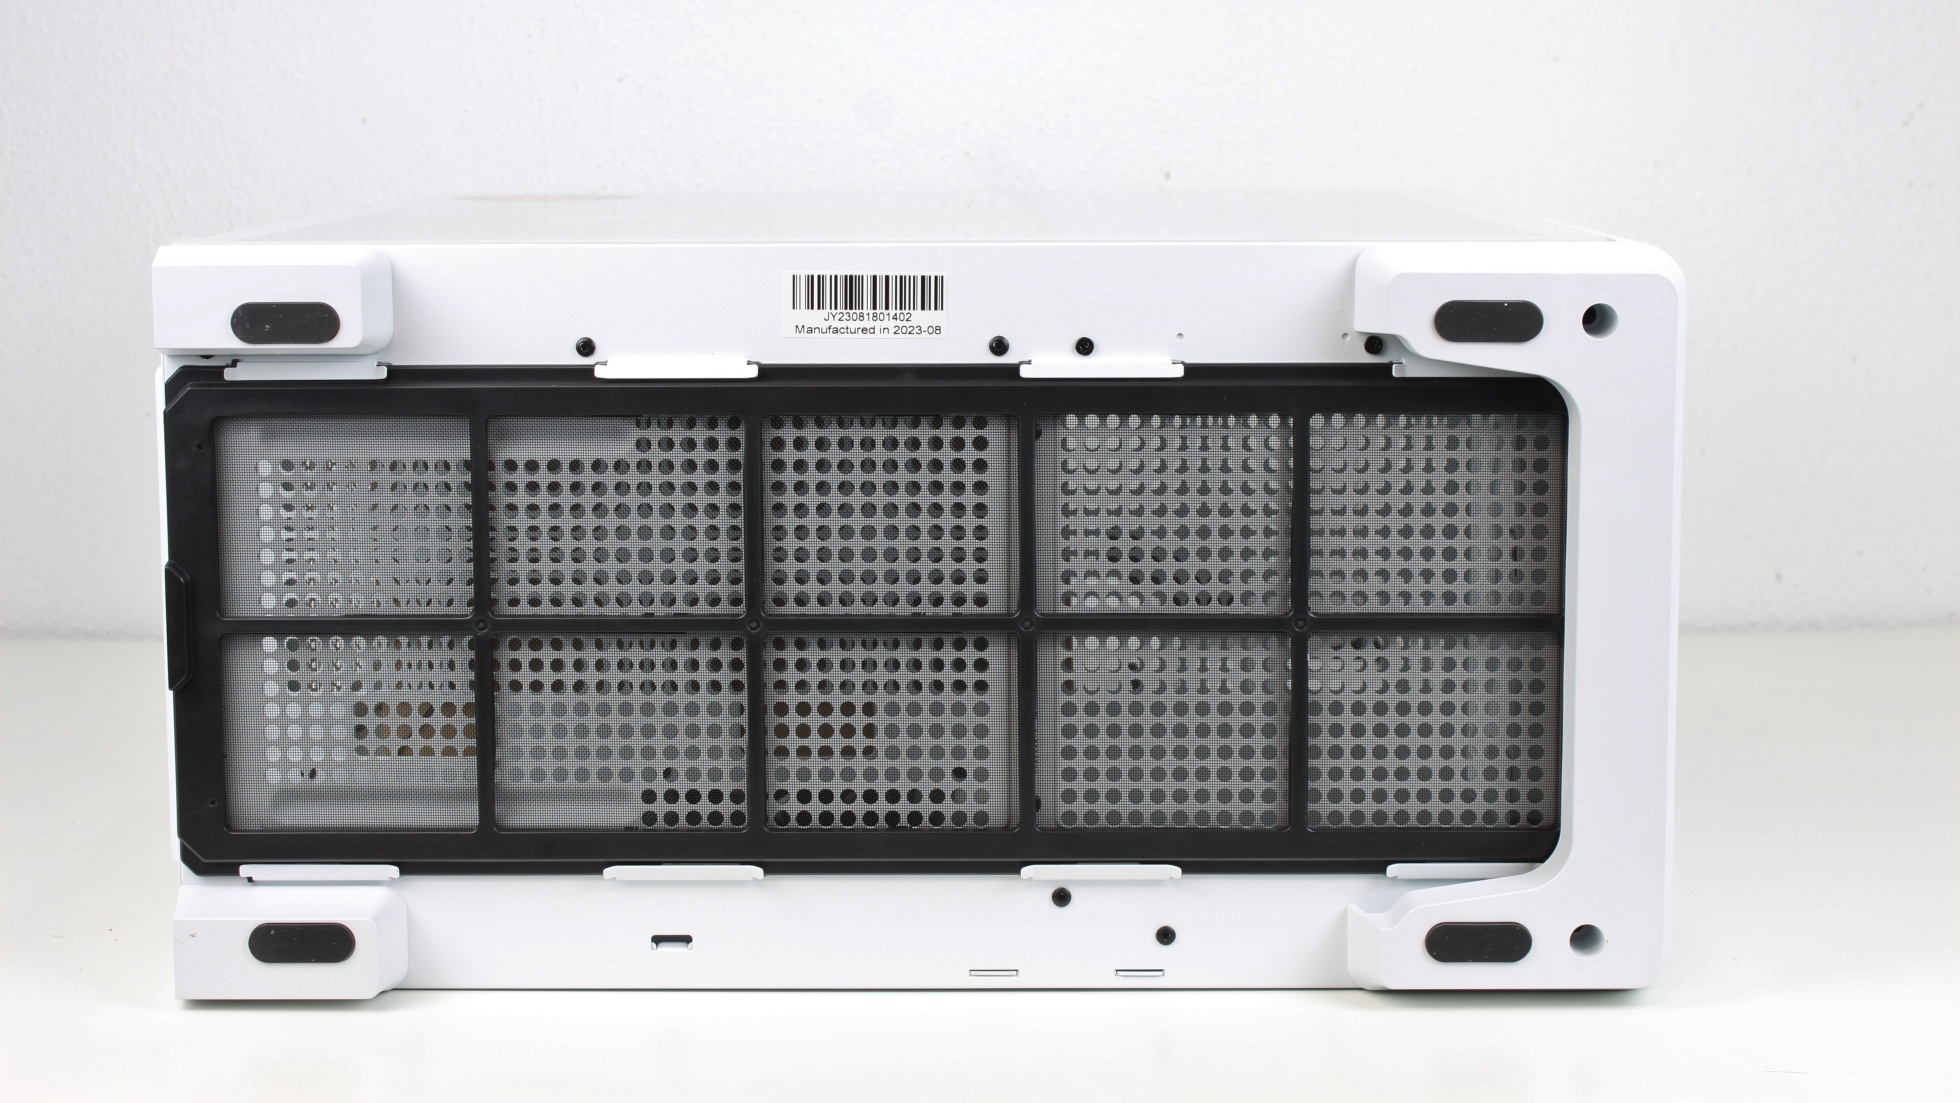
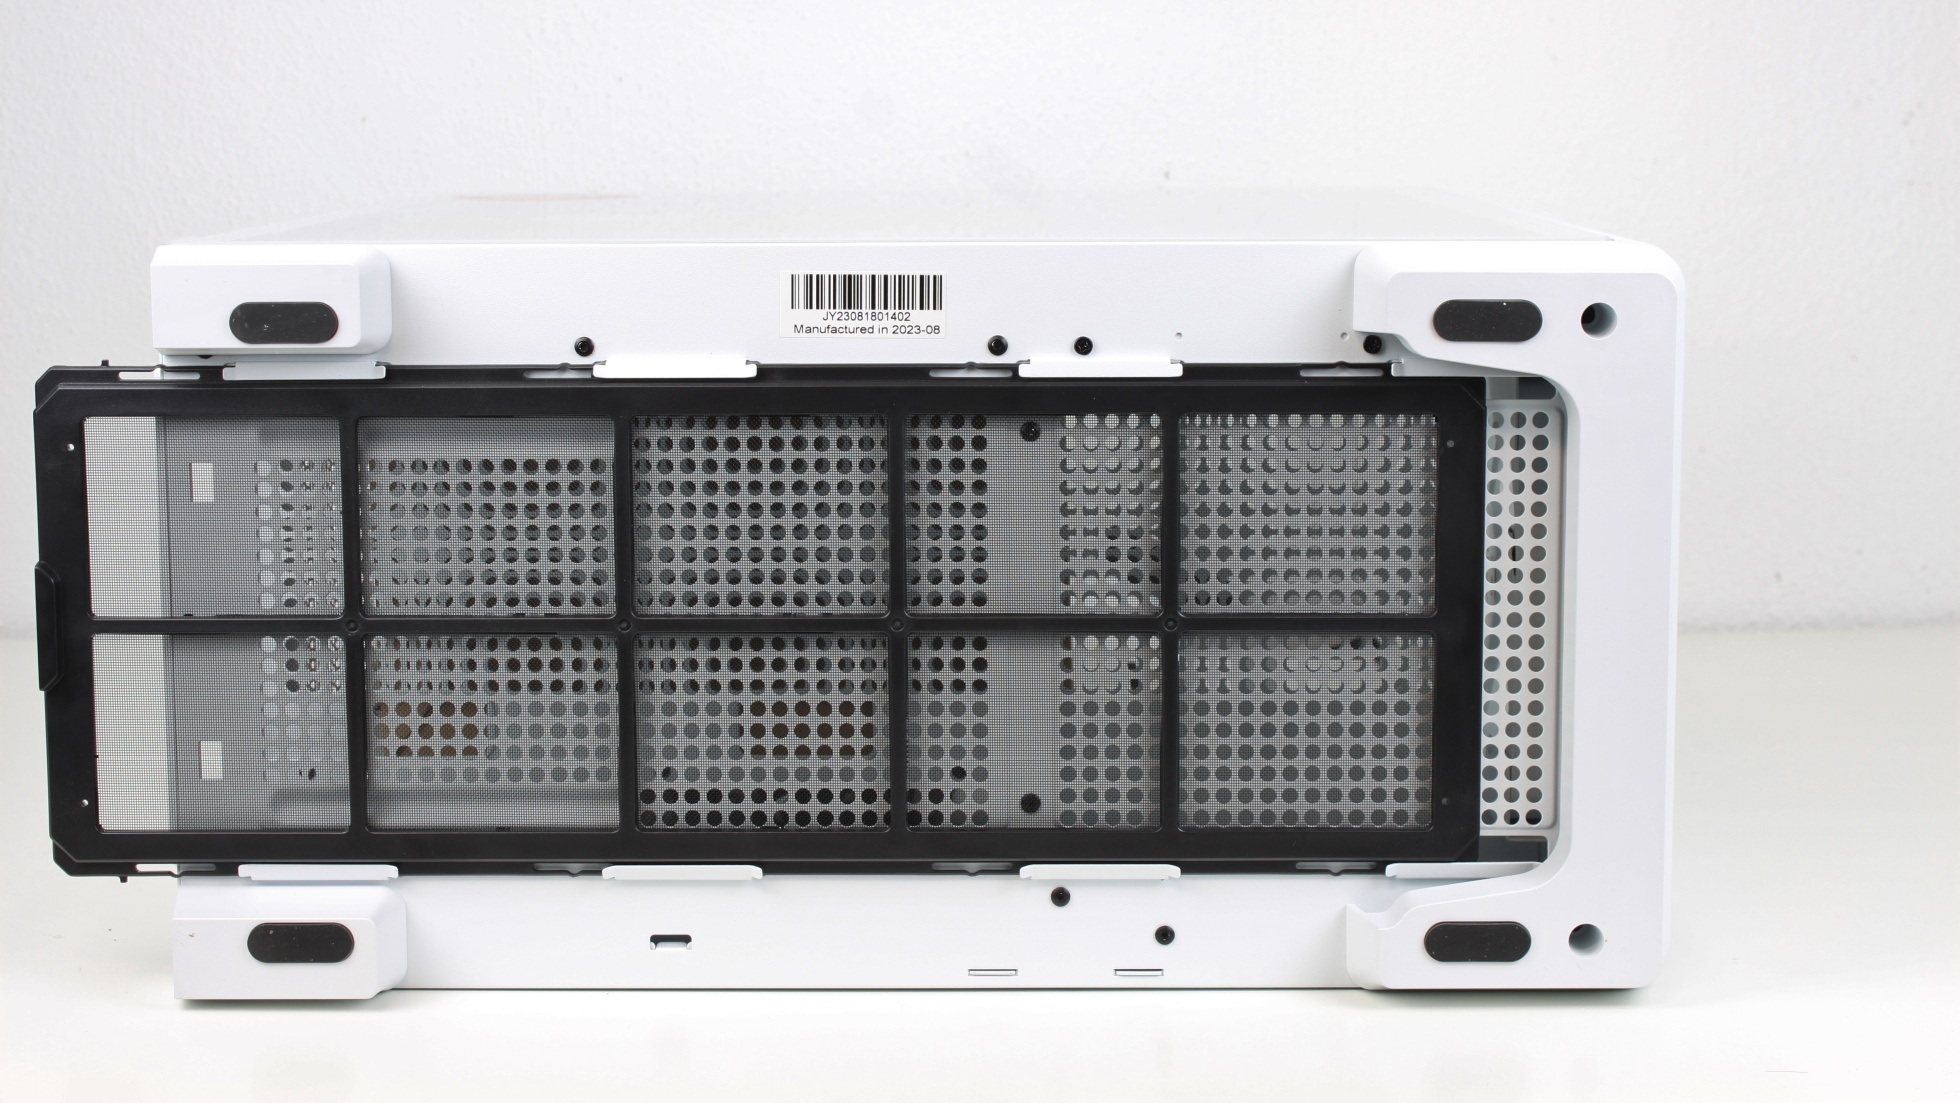
There is a removable dust filter at the bottom, but it can be pulled out to the back in favor of the looks.
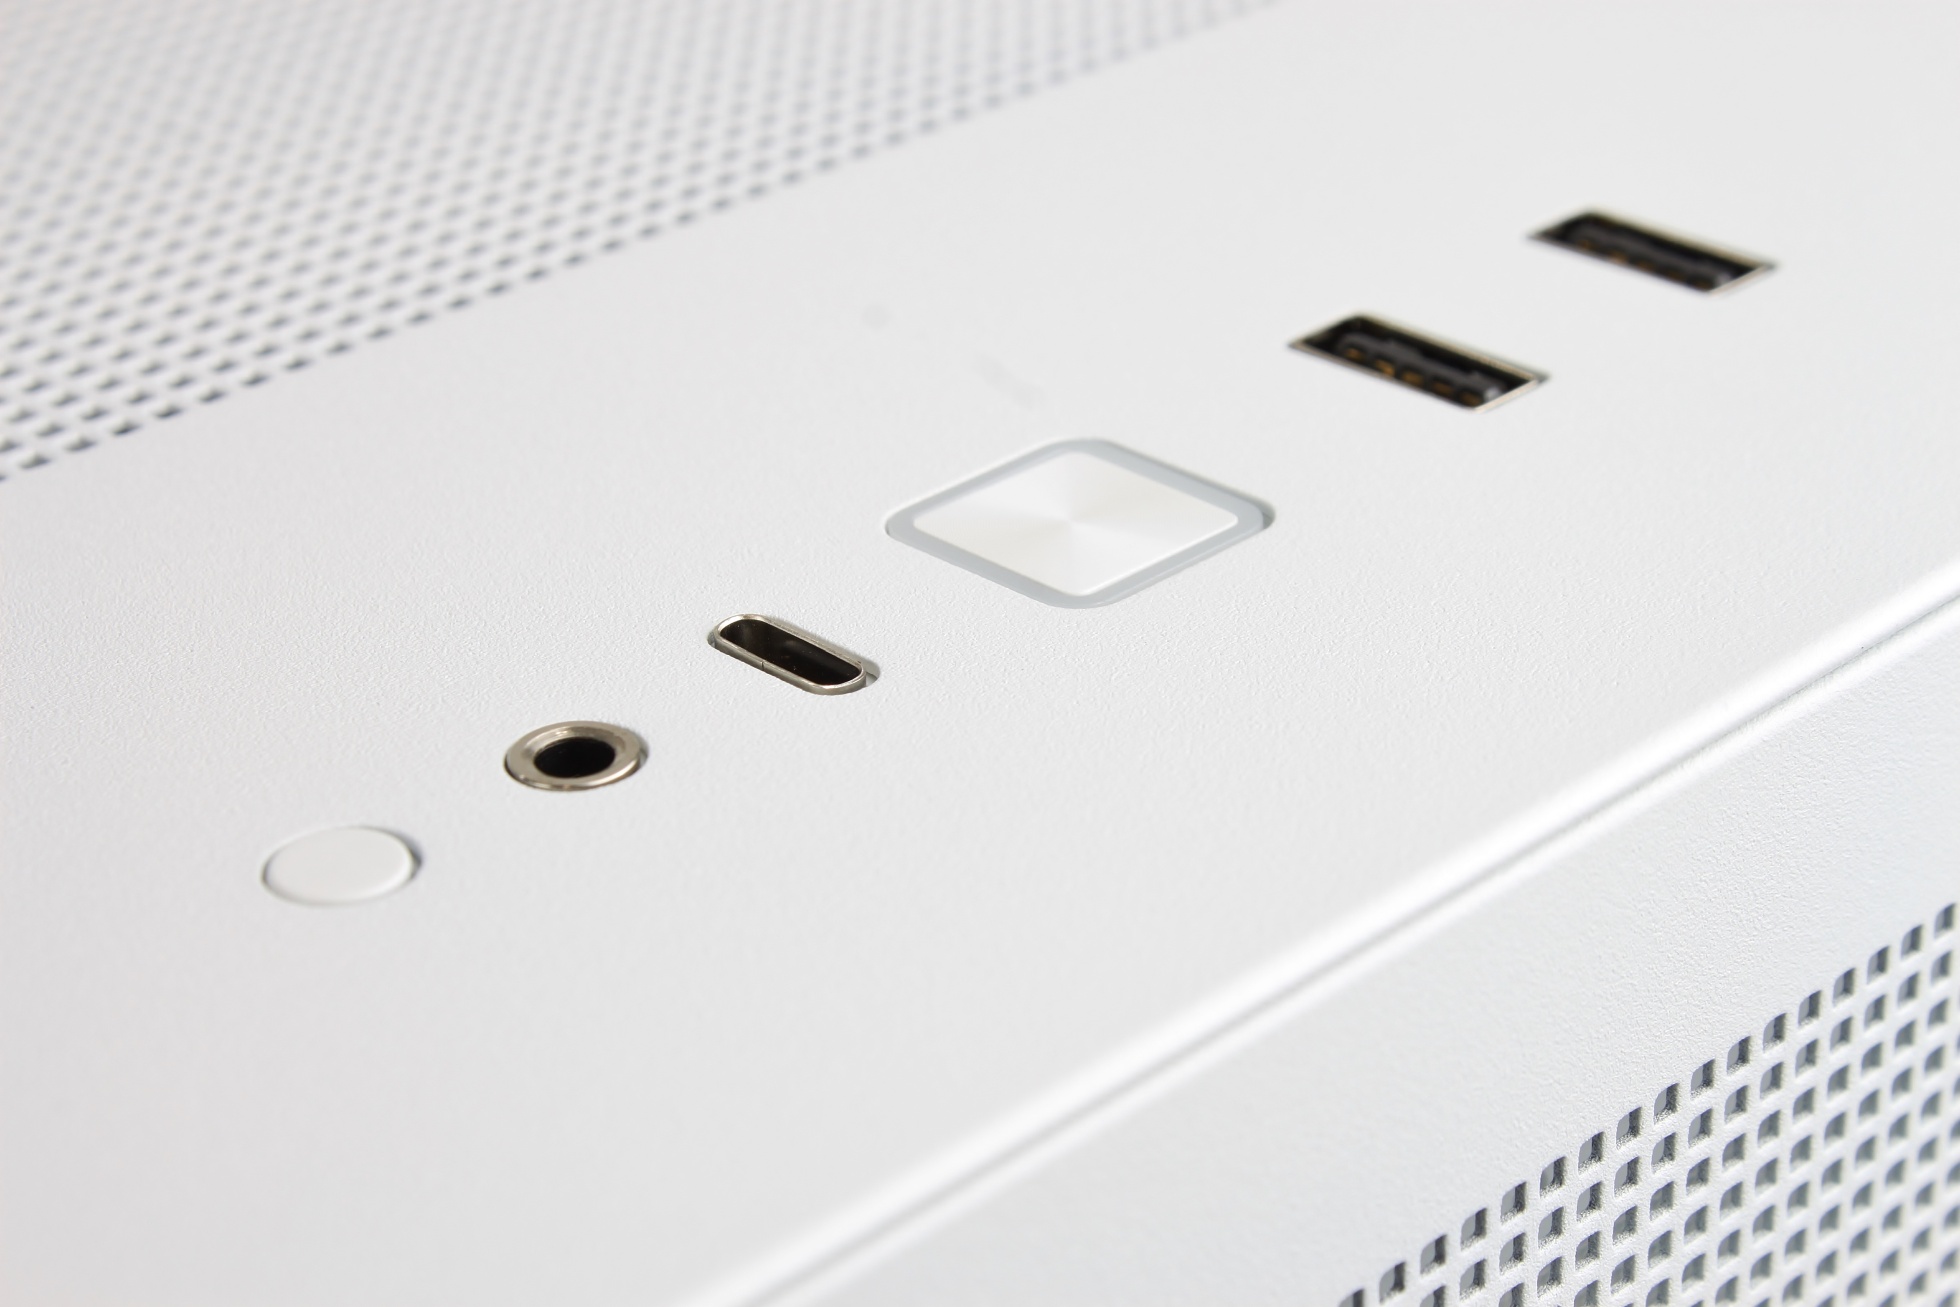
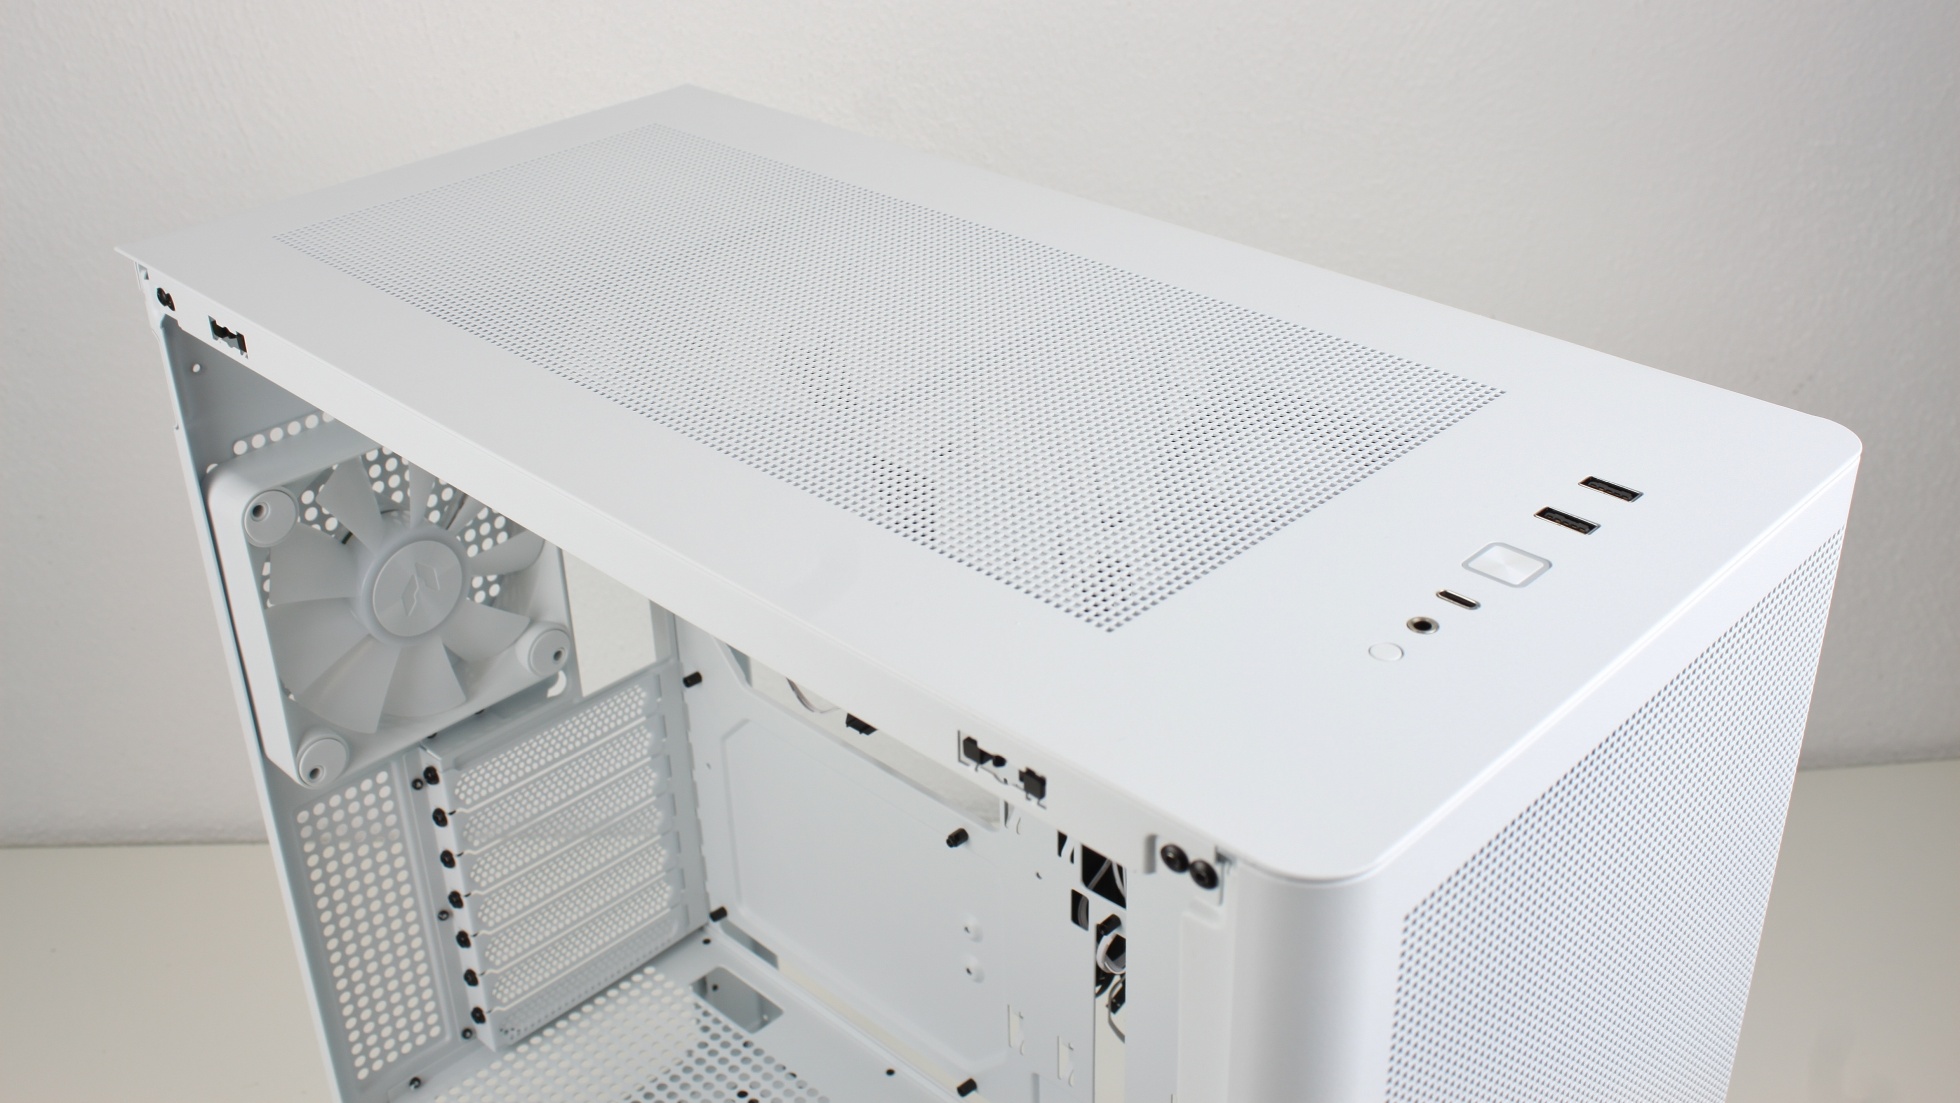
The front I/O is placed on the upper side and offers all necessary ports. 2 x USB 3.0, 1 x USB Type-C, front audio, power LED and button as well as a reset button, which can either be used as a reset button or for color selection for the integrated ARGB controller.
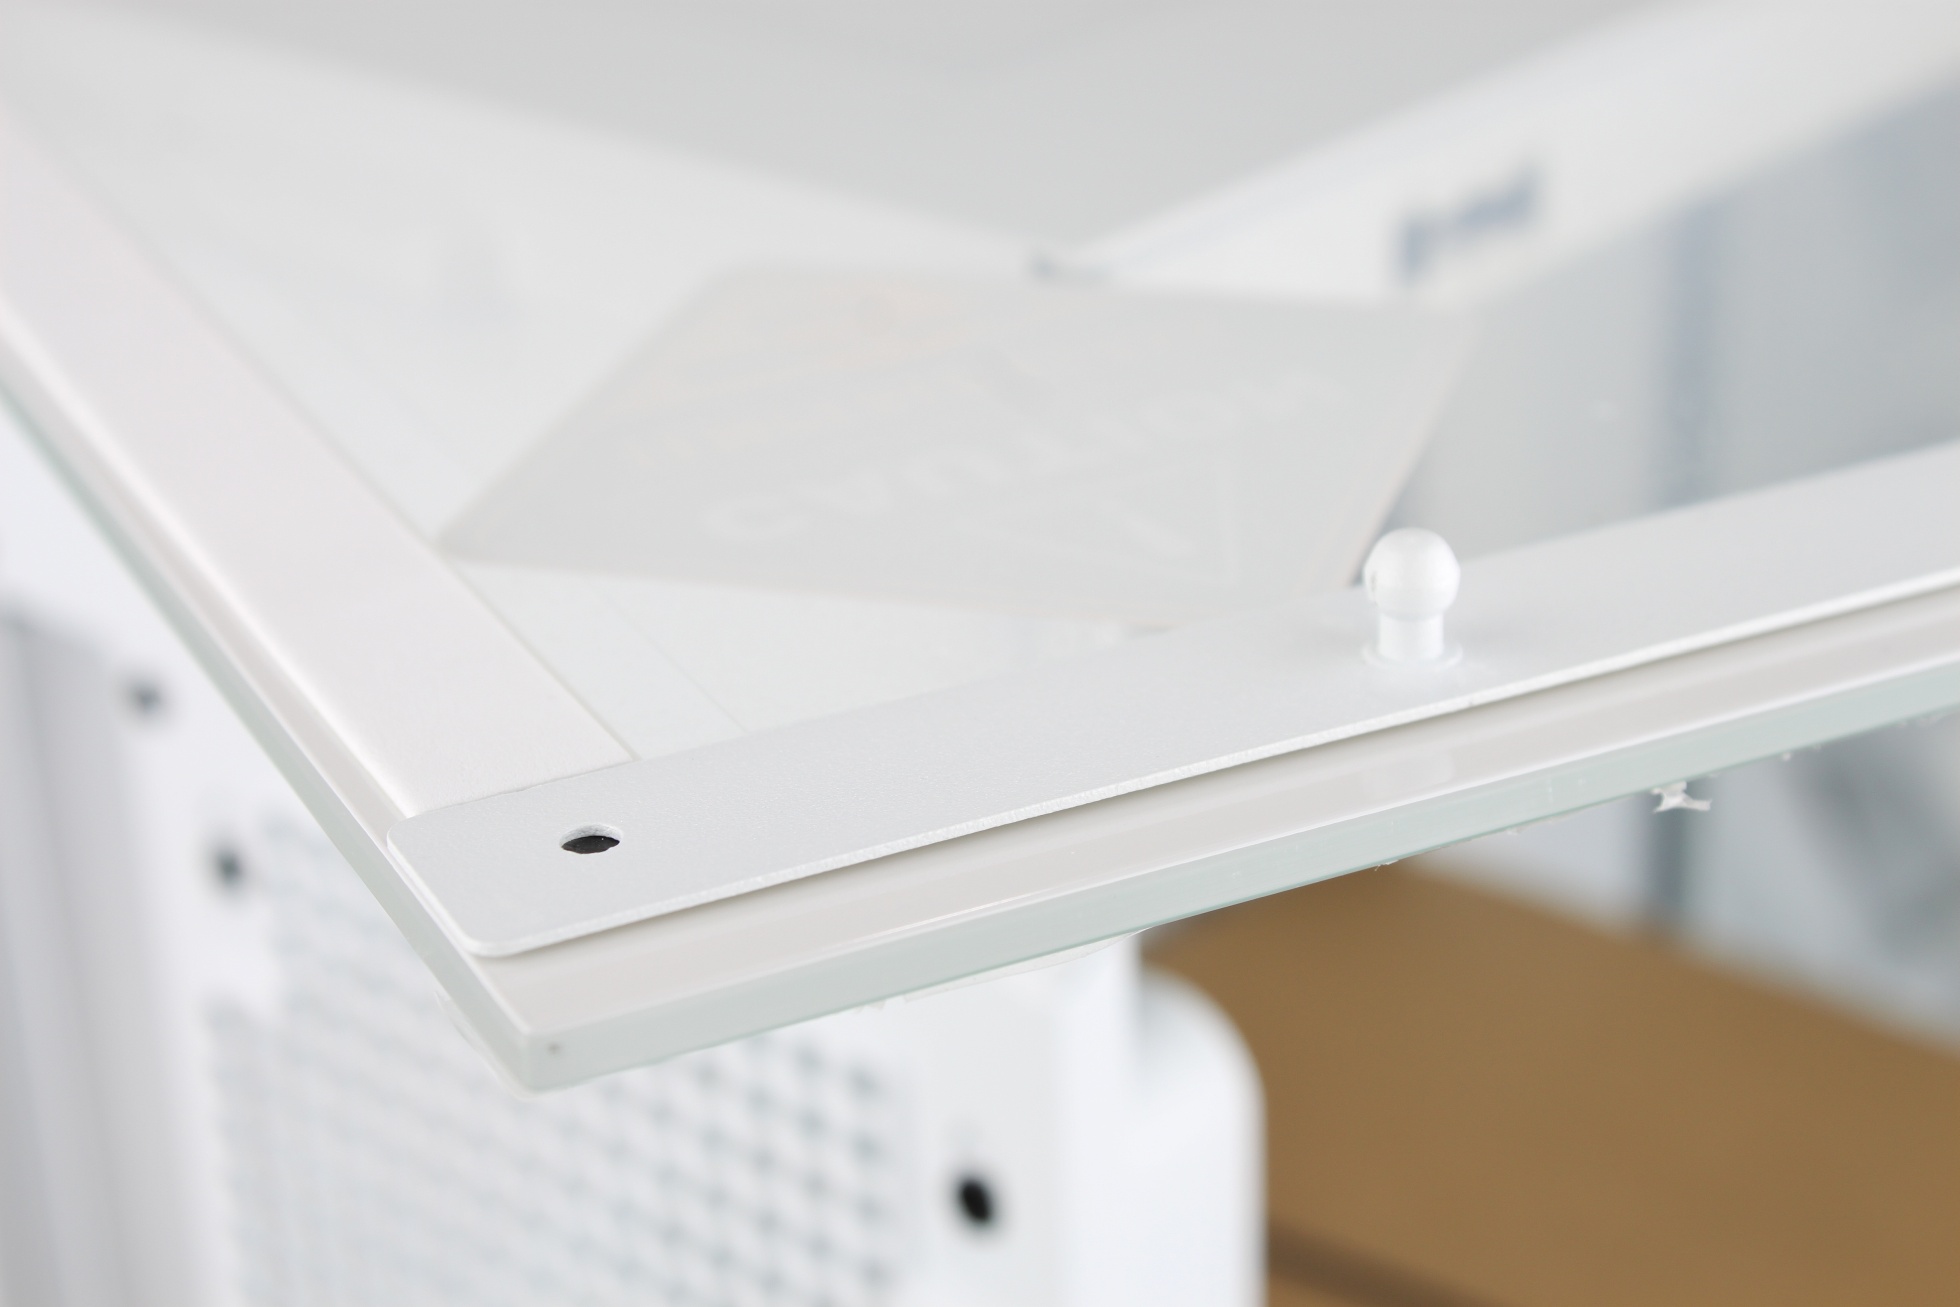
The glass panel is installed without tools, just like the rear side panel and the lid.
To protect the glass and prevent vibrations, a thick foam rubber layer is applied to the 4mm thick glass.
The right side panel is split and also only clipped in. Behind it, the HDD/SSD/fan holder is waiting for us.
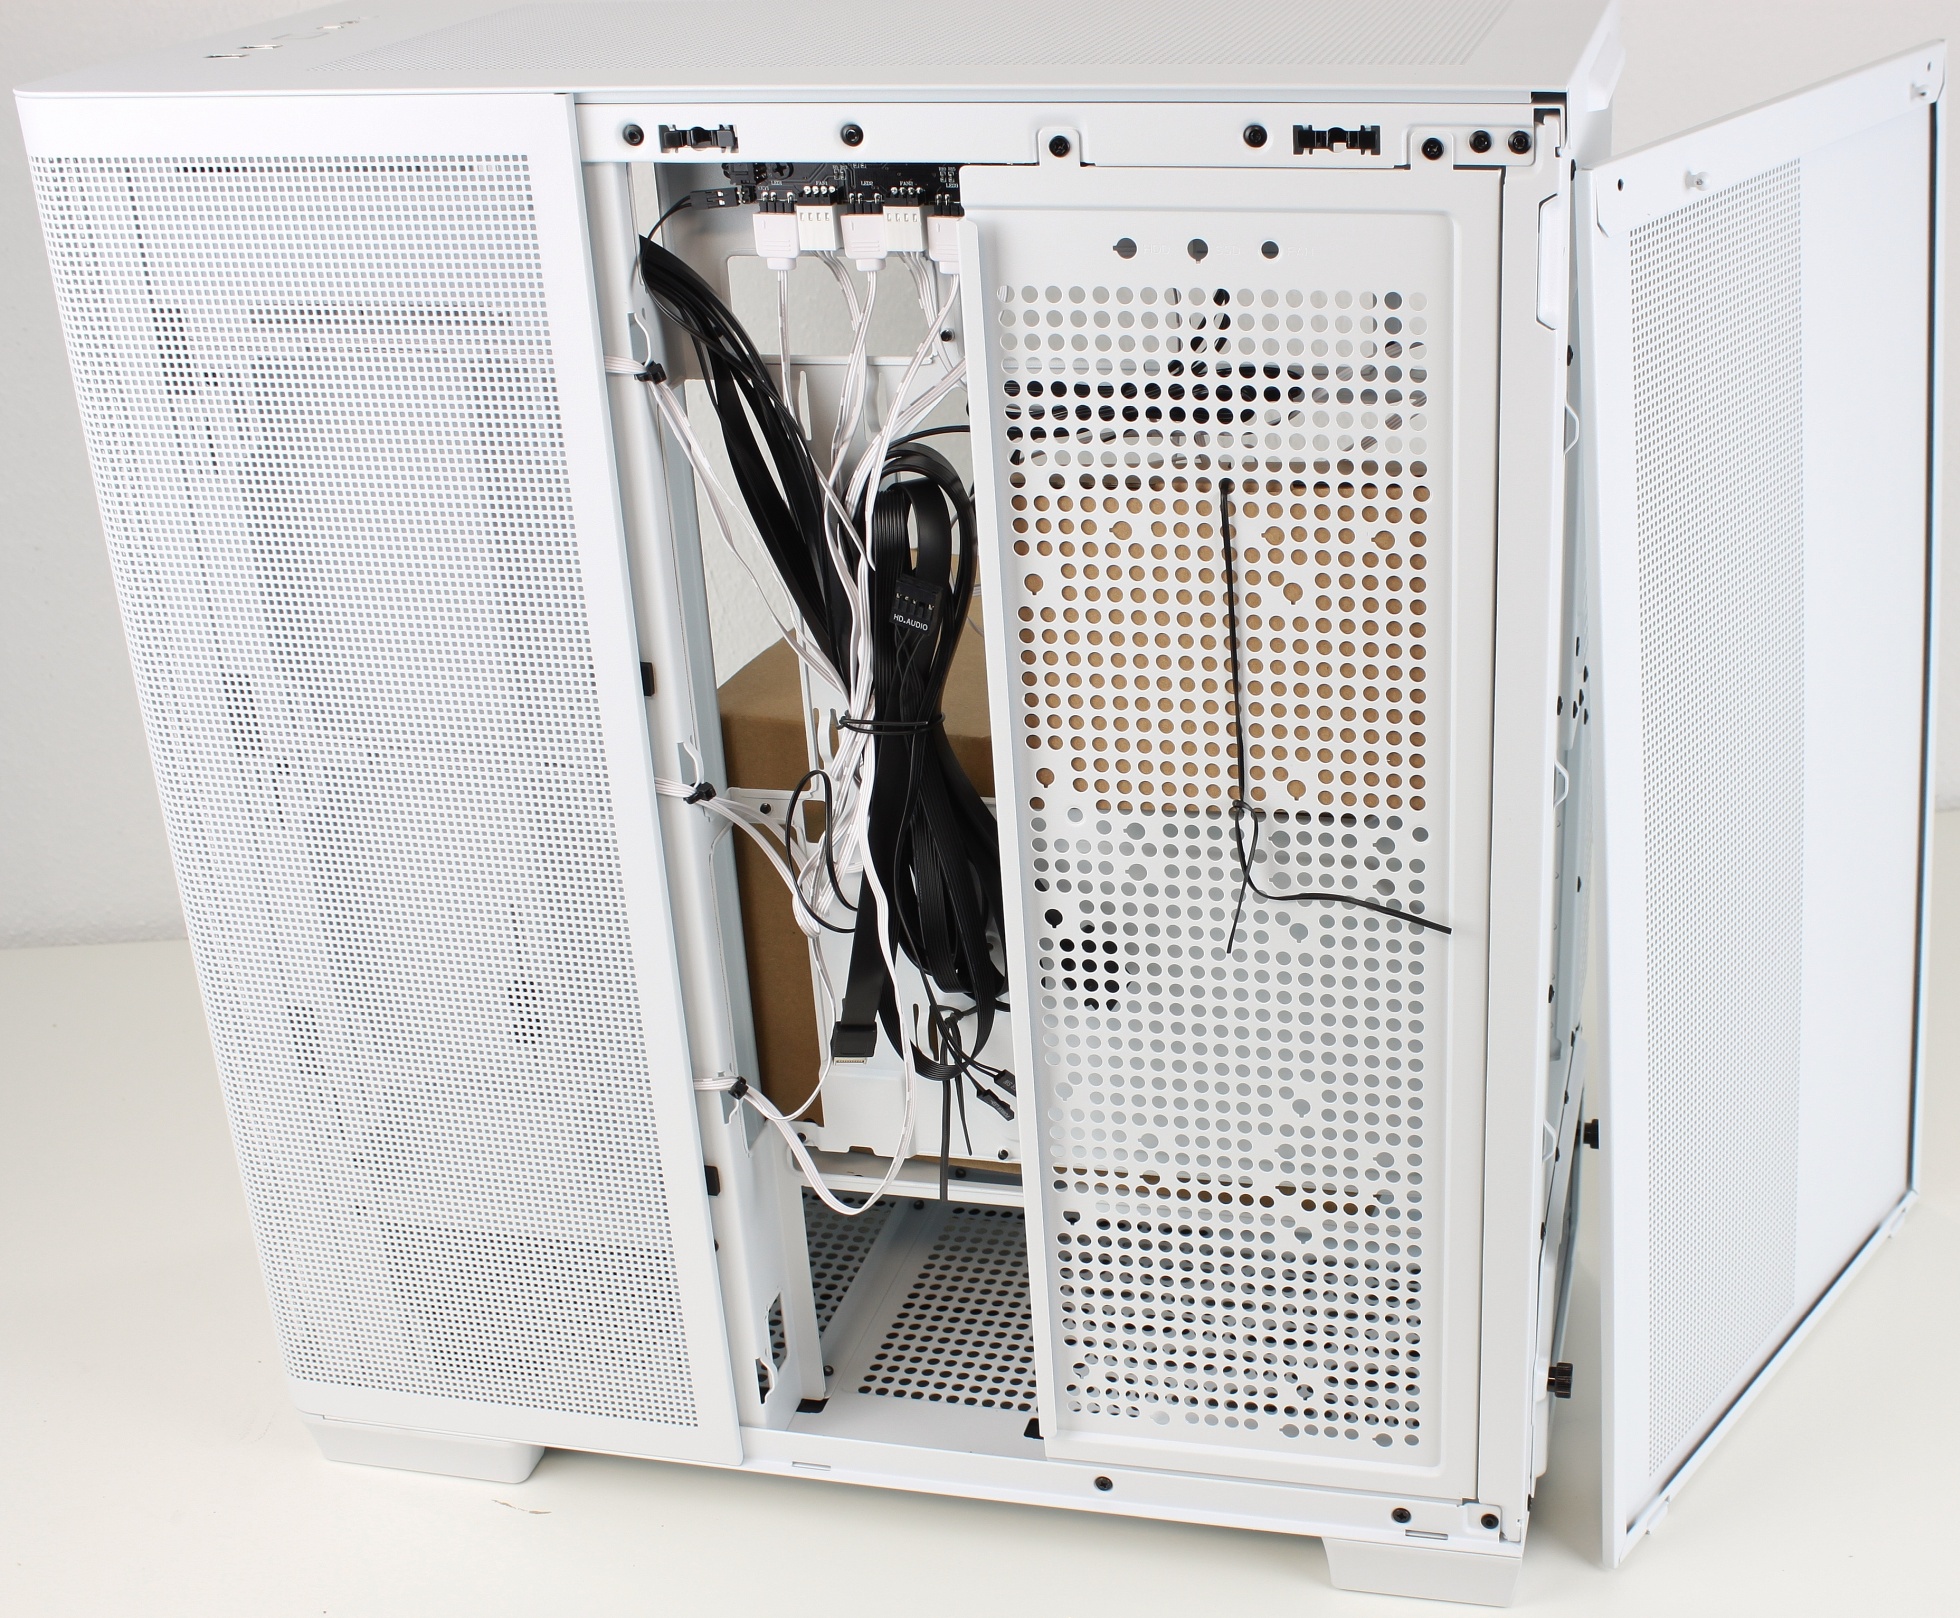
The mentioned bracket is held by four screws and can be removed easily.
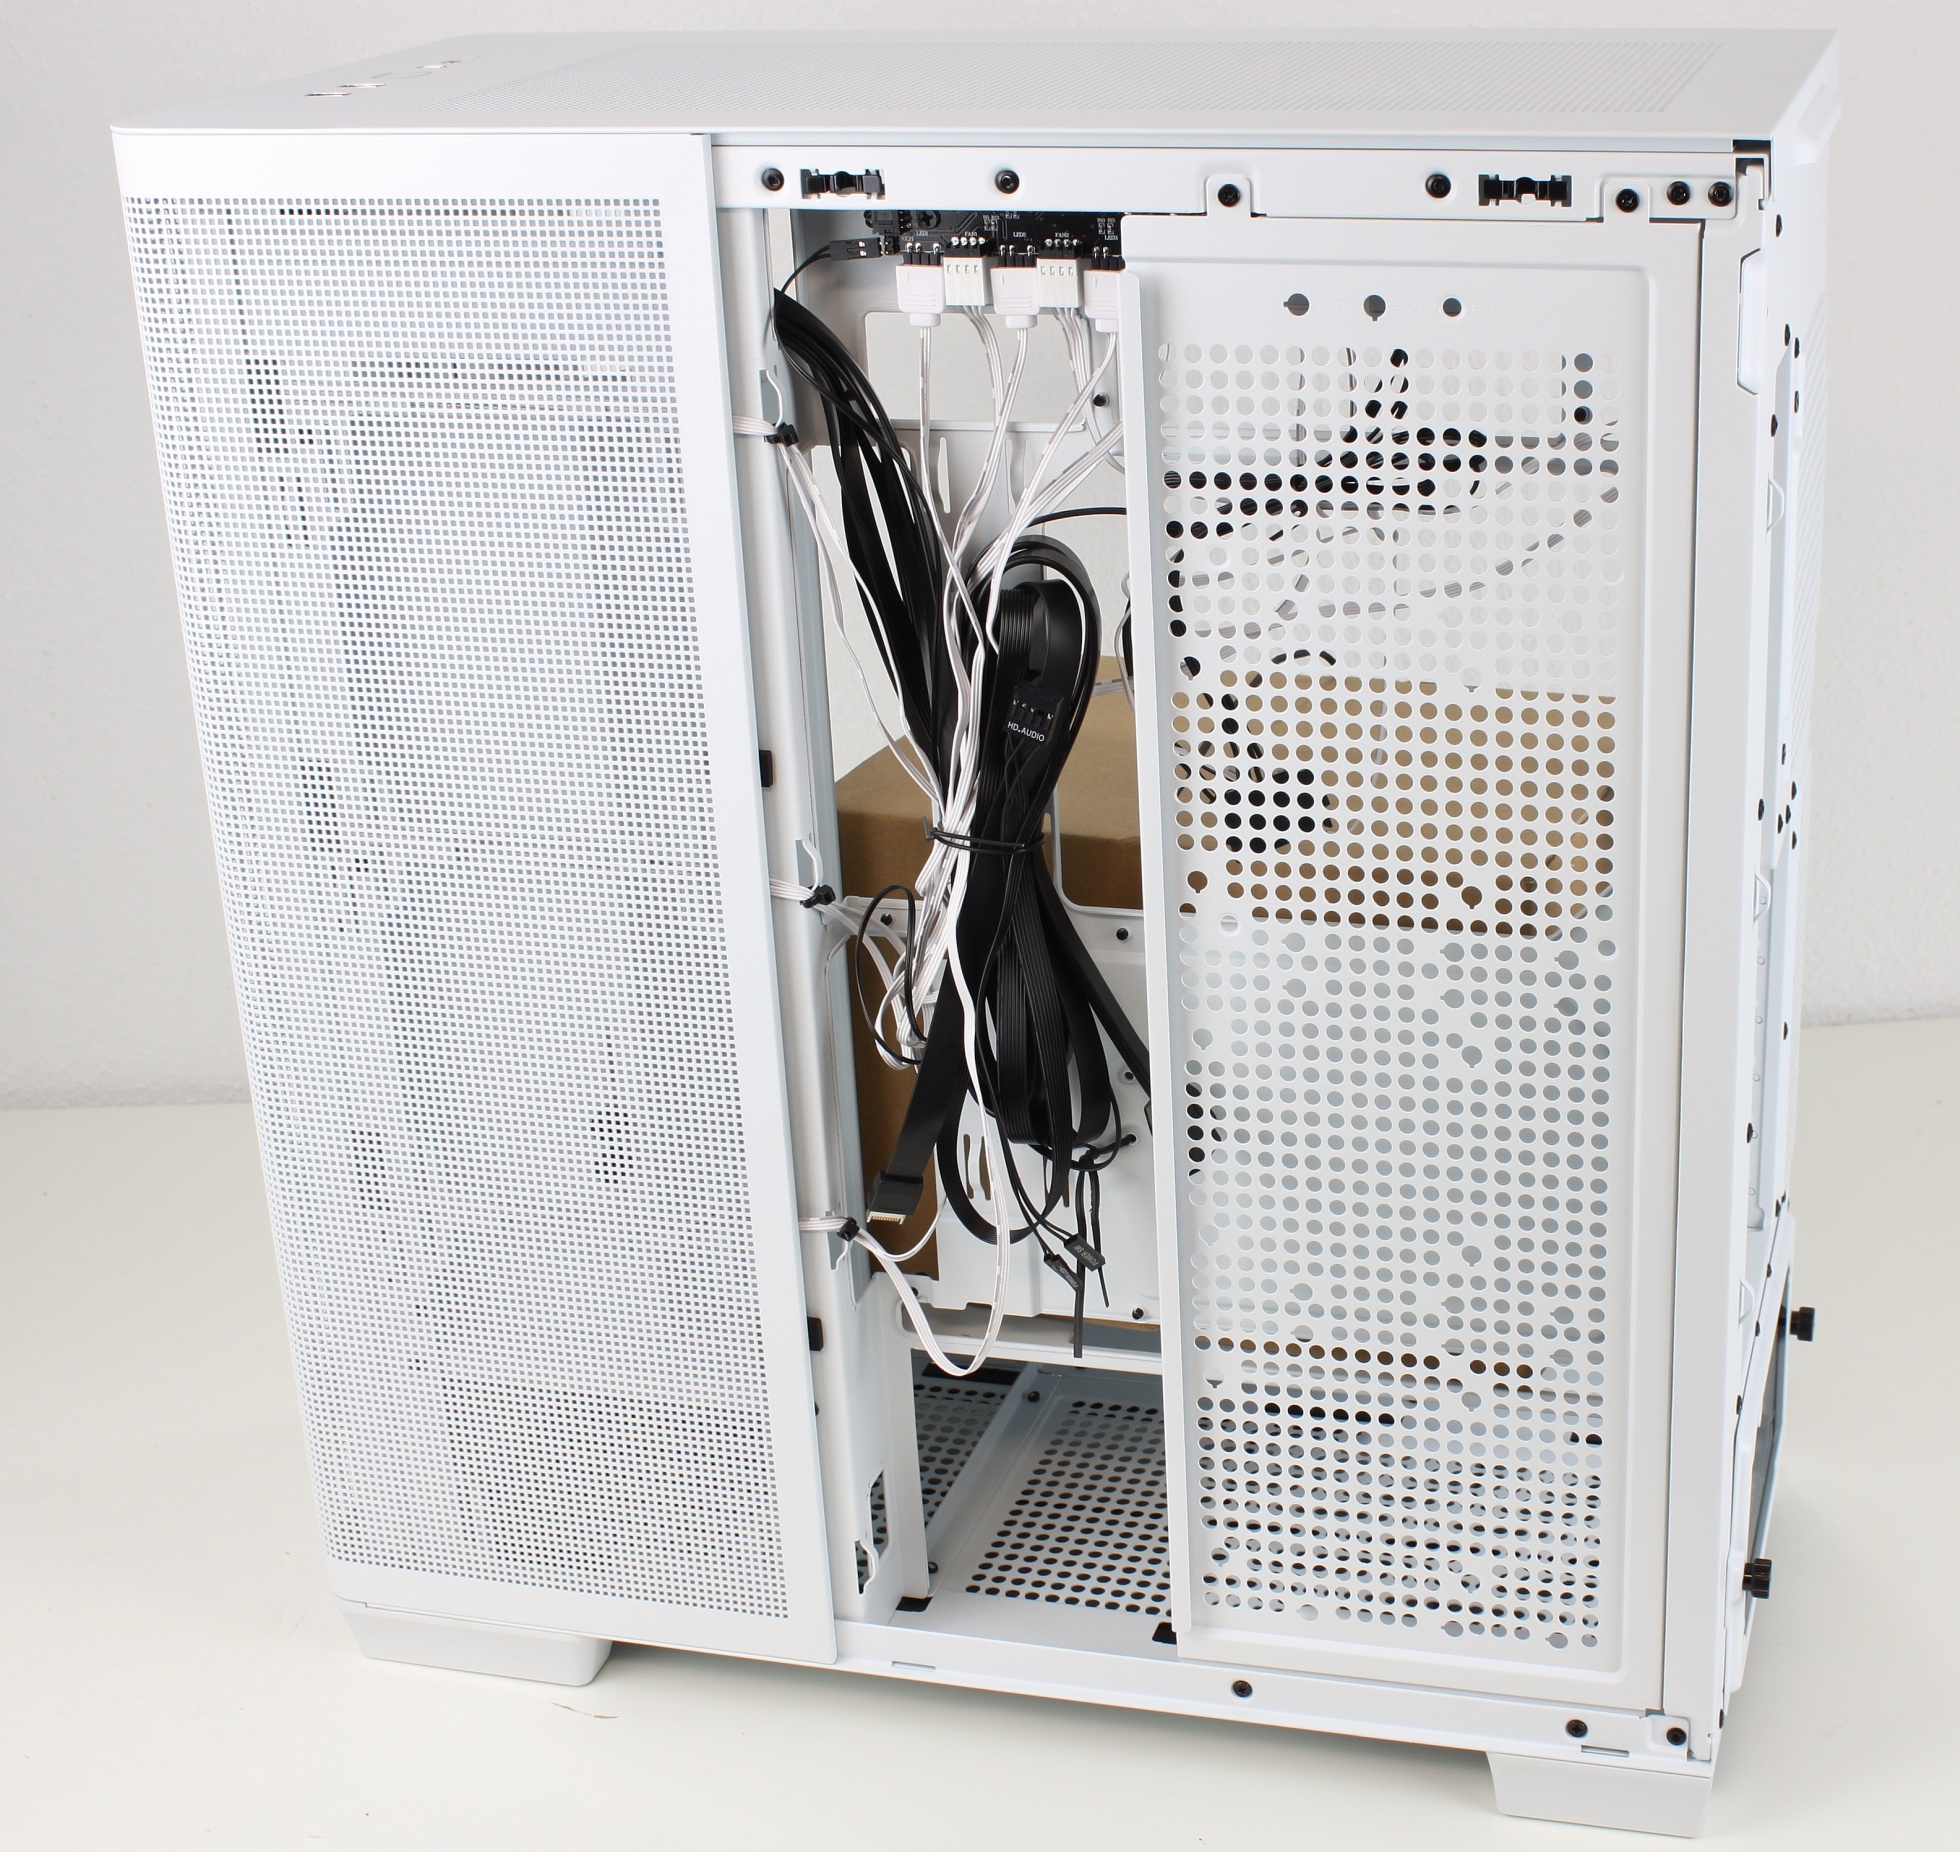
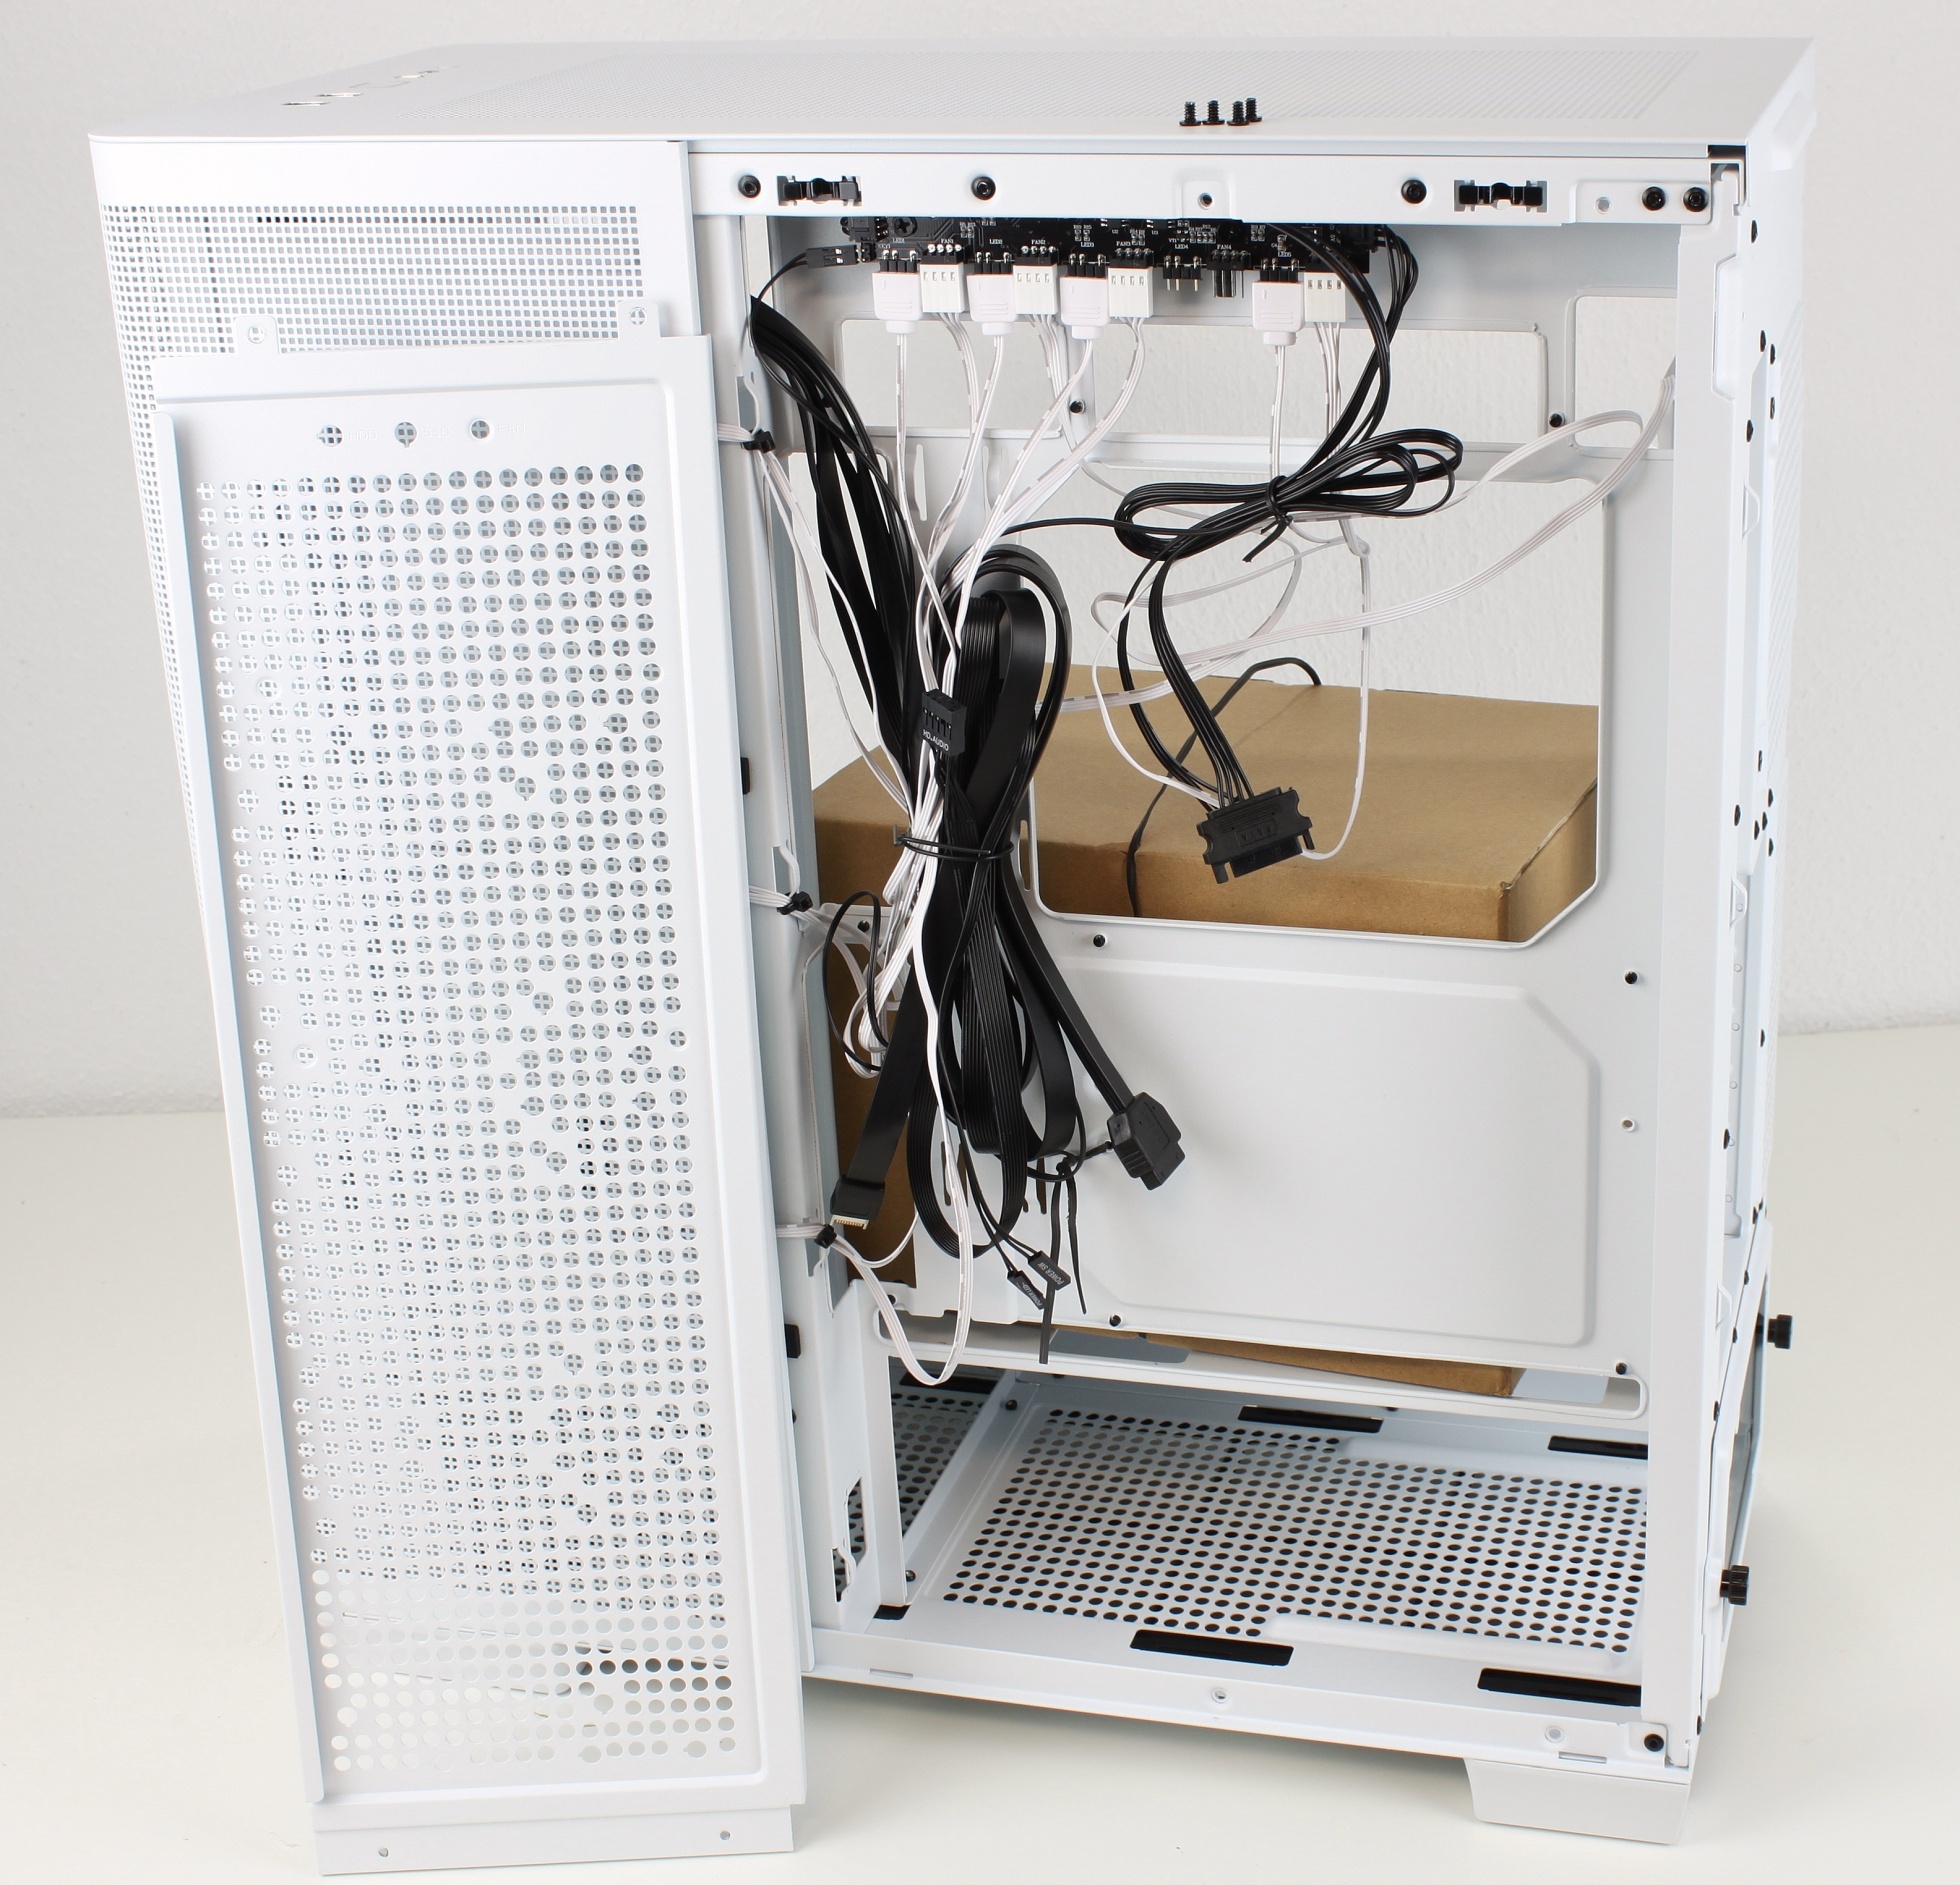
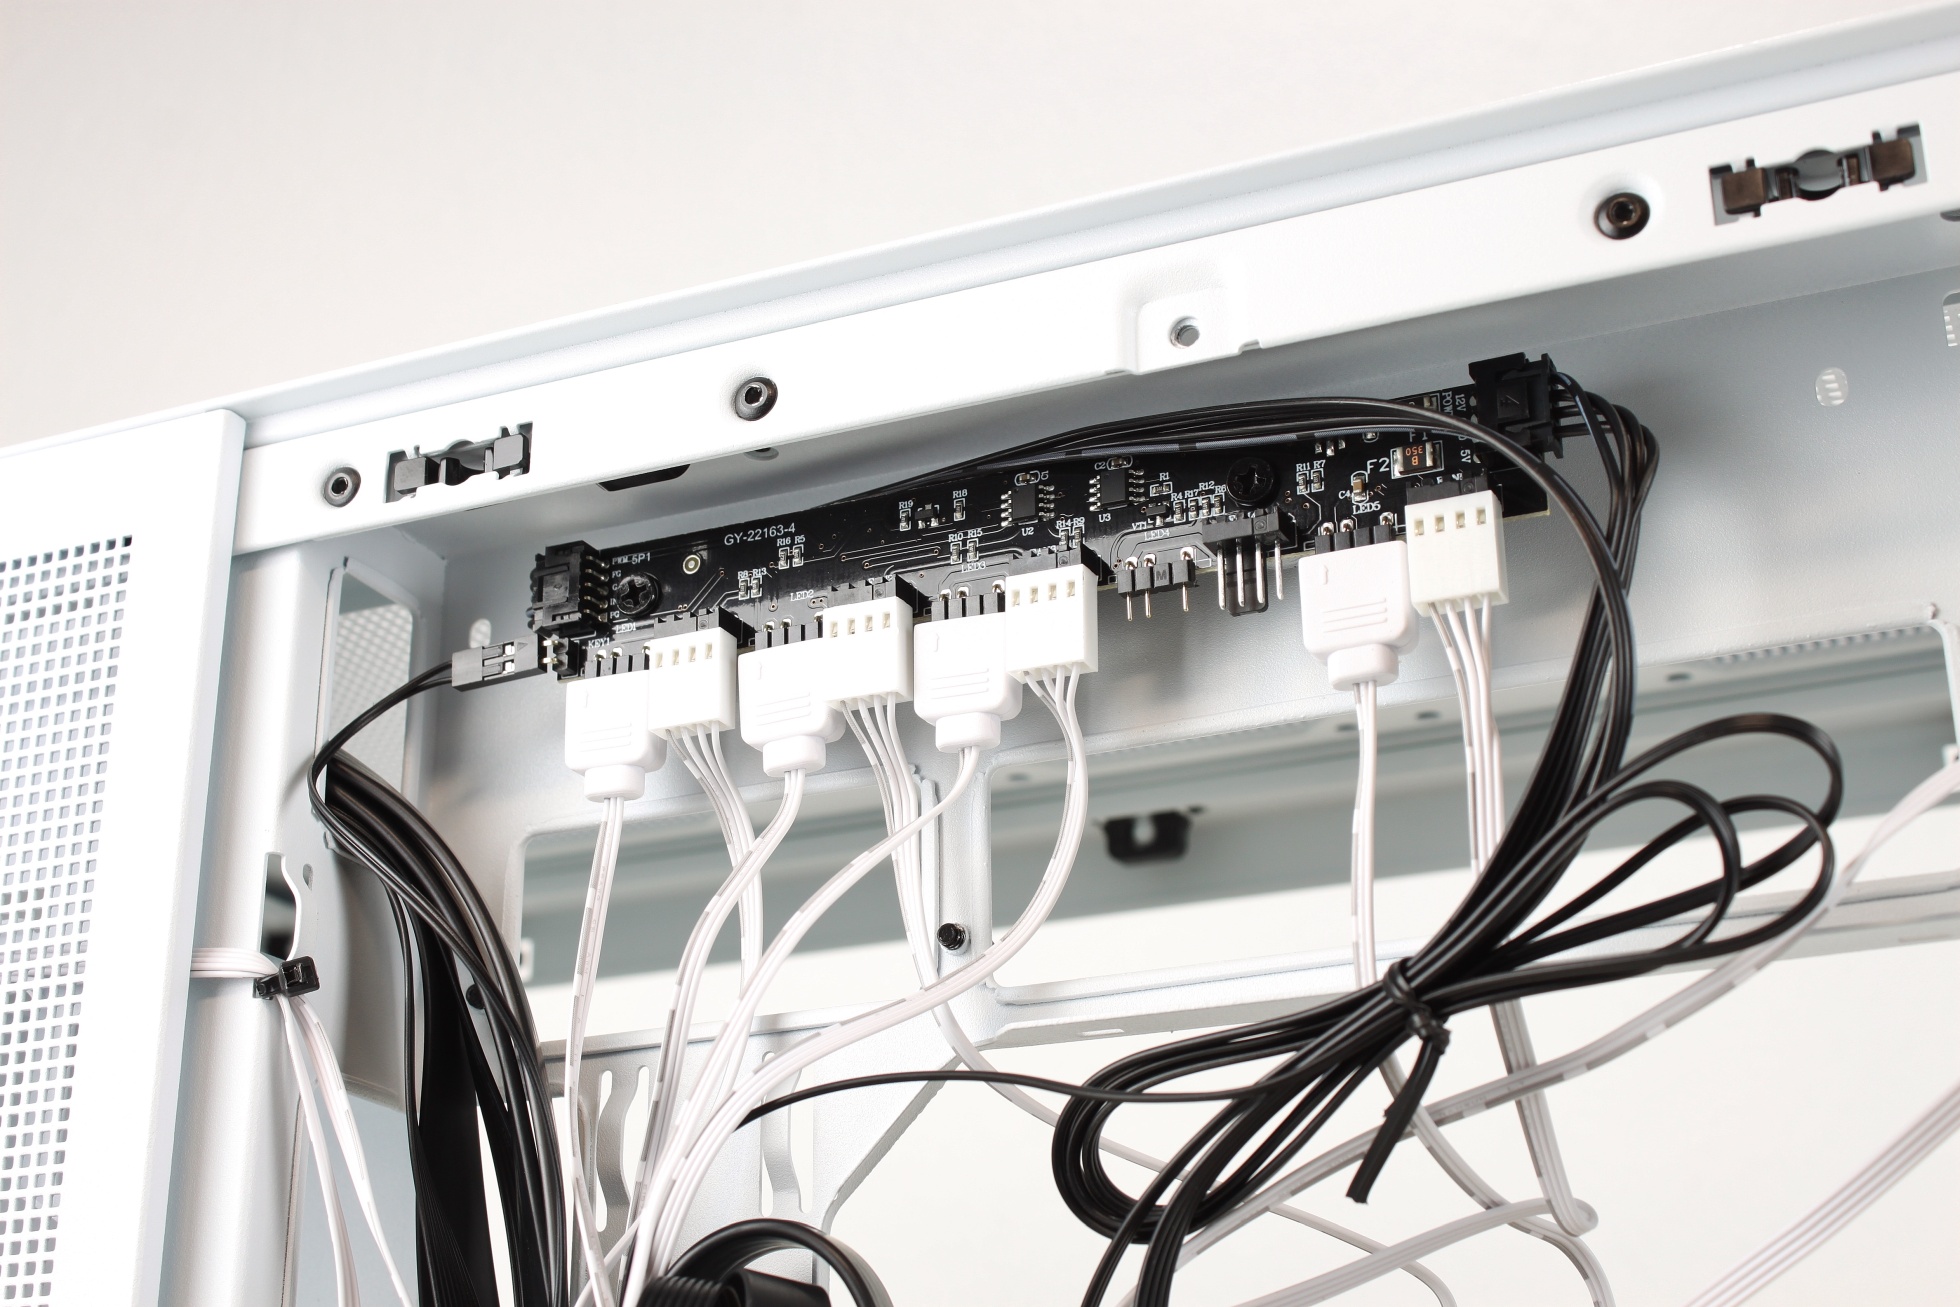
Once the bracket is removed, we also have a clear view of the integrated ARGB controller. The controller can distribute ARGB and PWM signals to 5 outputs each. The PWM control for the speed is basically controlled by a single connector of the mainboard, the color selection for the ARGB connectors is done either by mainboard or directly by controller (reset button).
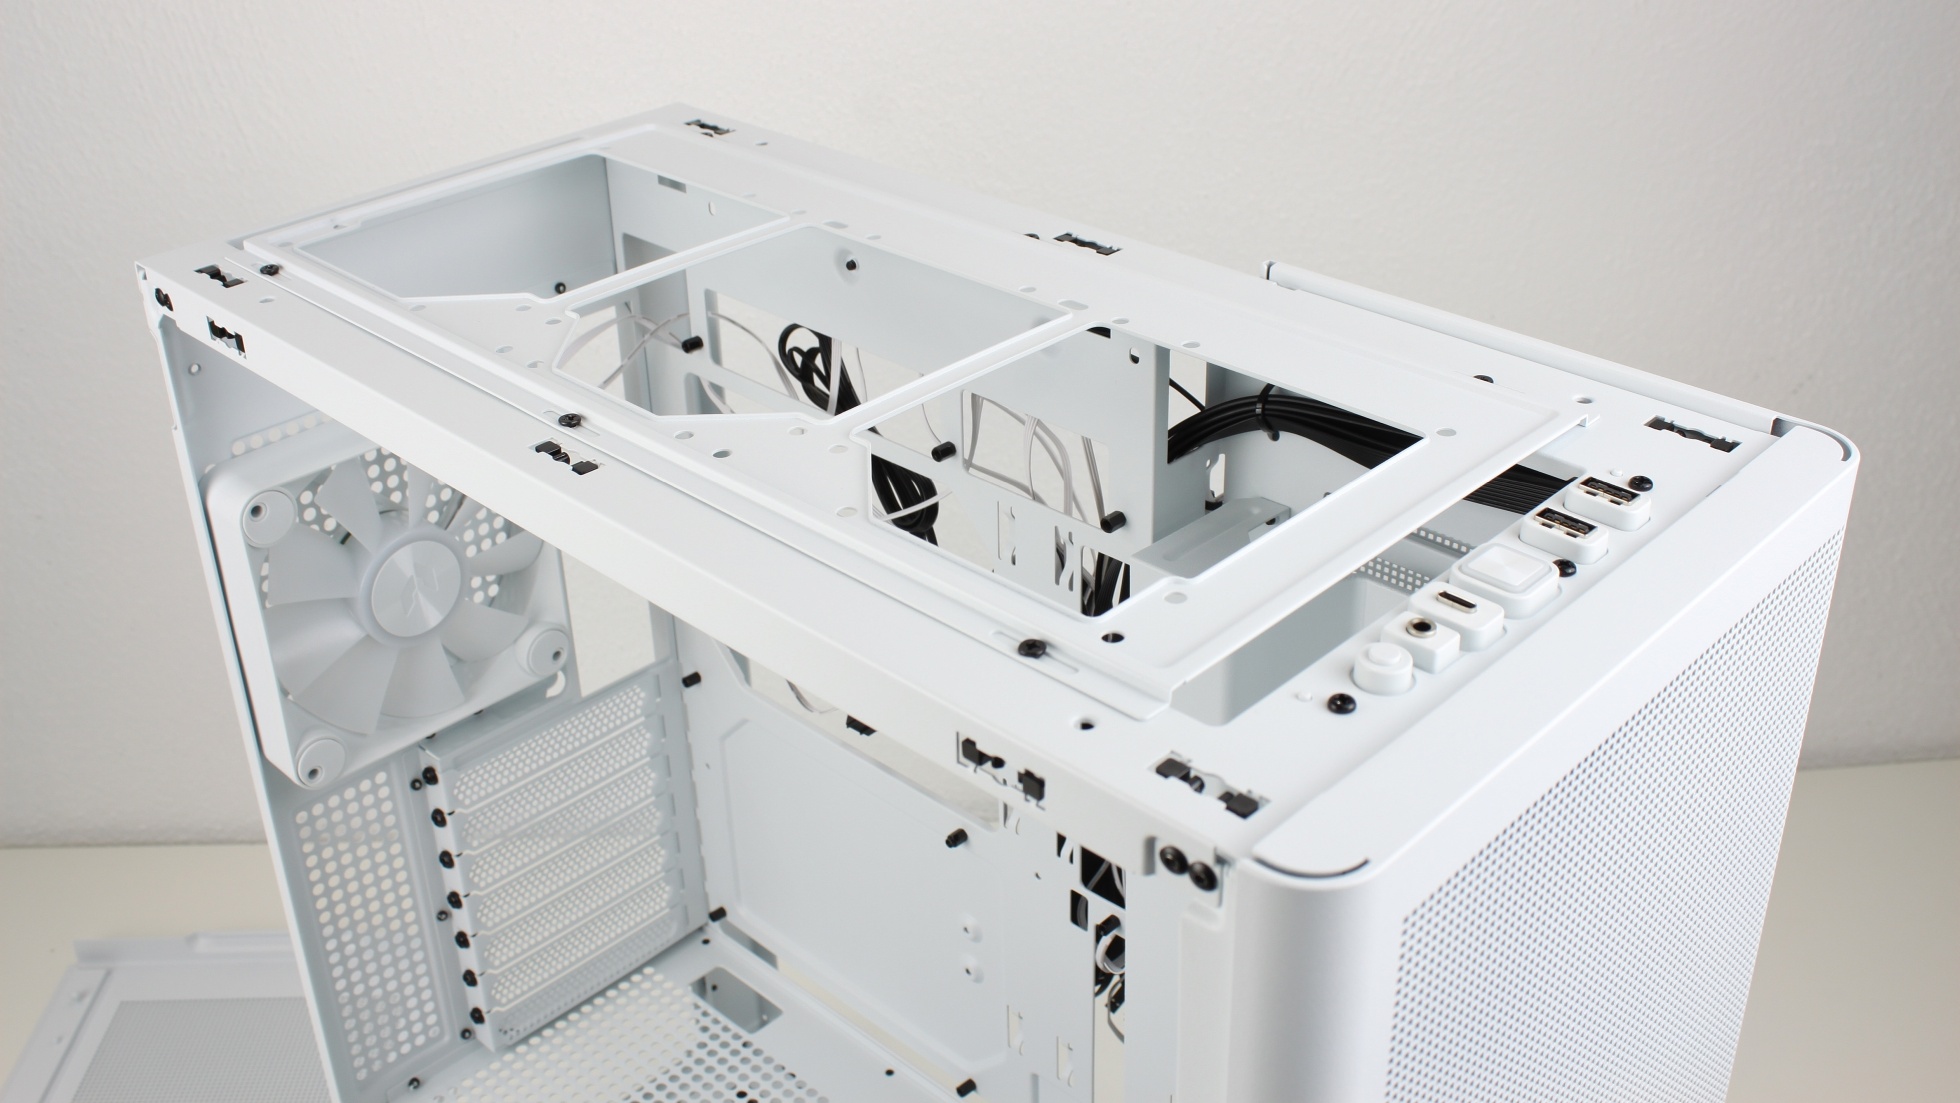
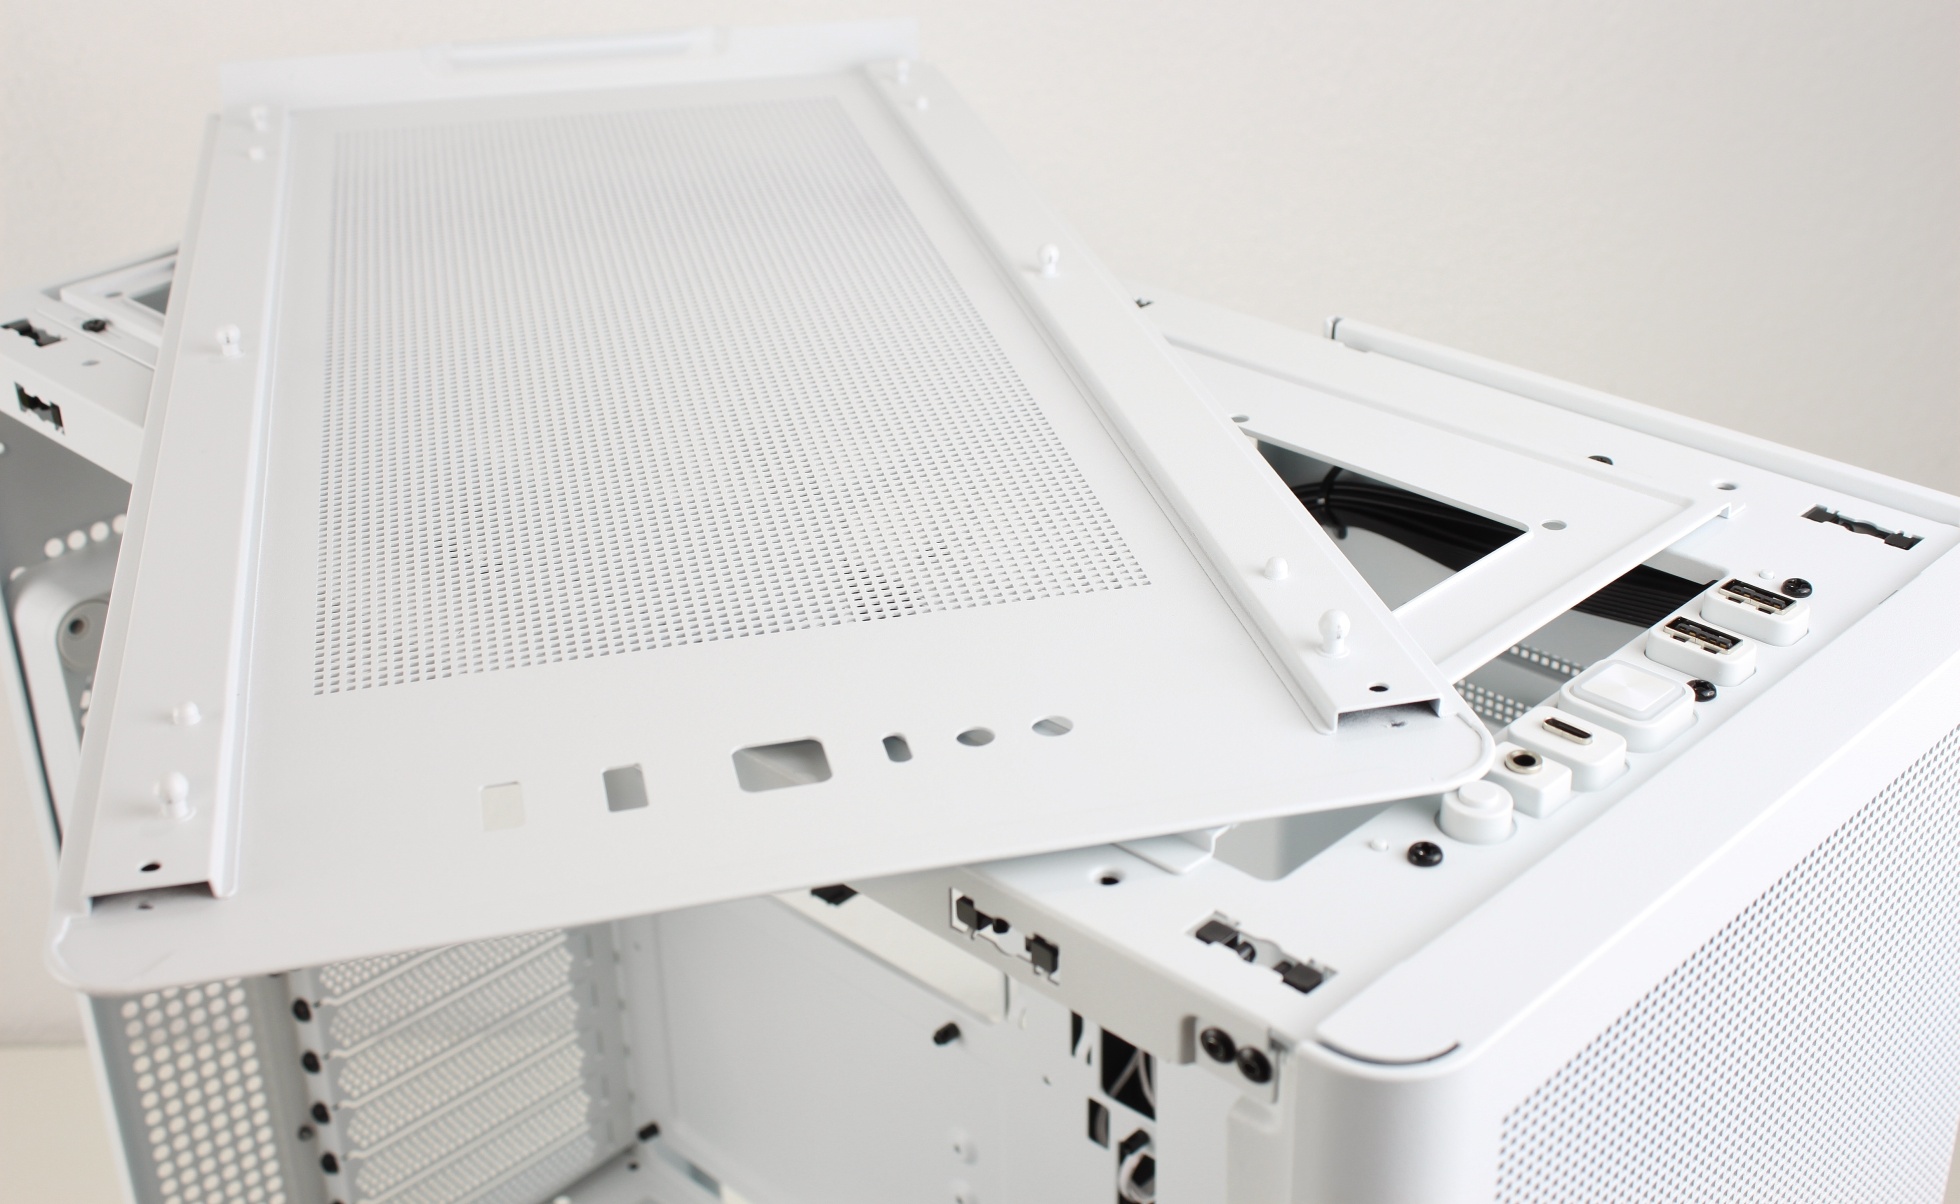
The lid is also clipped:
The fine-mesh grille in the sturdy material is not additionally equipped with a dust filter, but this is not a downfall, because usually the top of the case is used as an exhaust either way.
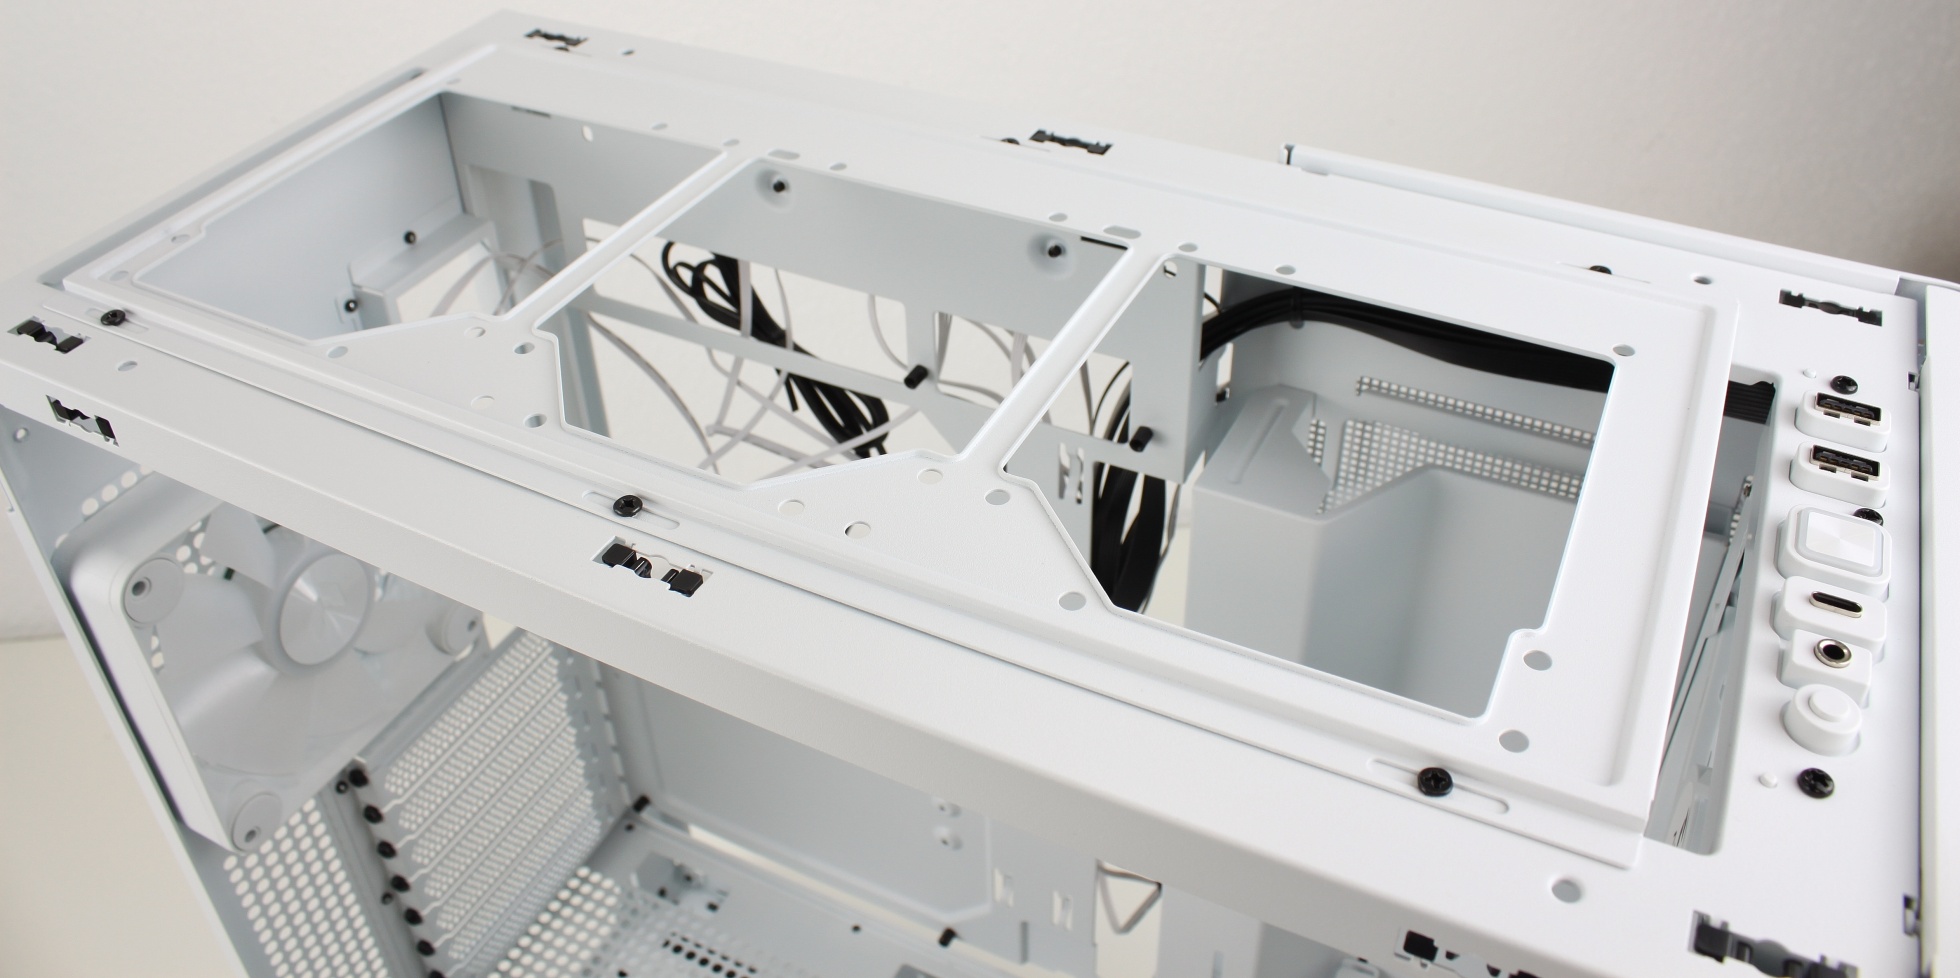
Under the lid is a bracket for a top radiator or top fan. It has slotted holes and can be installed “either way”, so you can choose to mount the fan closer to the left or right side. I would have liked to see elongated holes for mounting the radiator or fans, because as it turned out during the installation of the test system, the given holes are rather inflexible despite the movable bracket.
The front panel goes “around the corner” and can also be removed without tools.
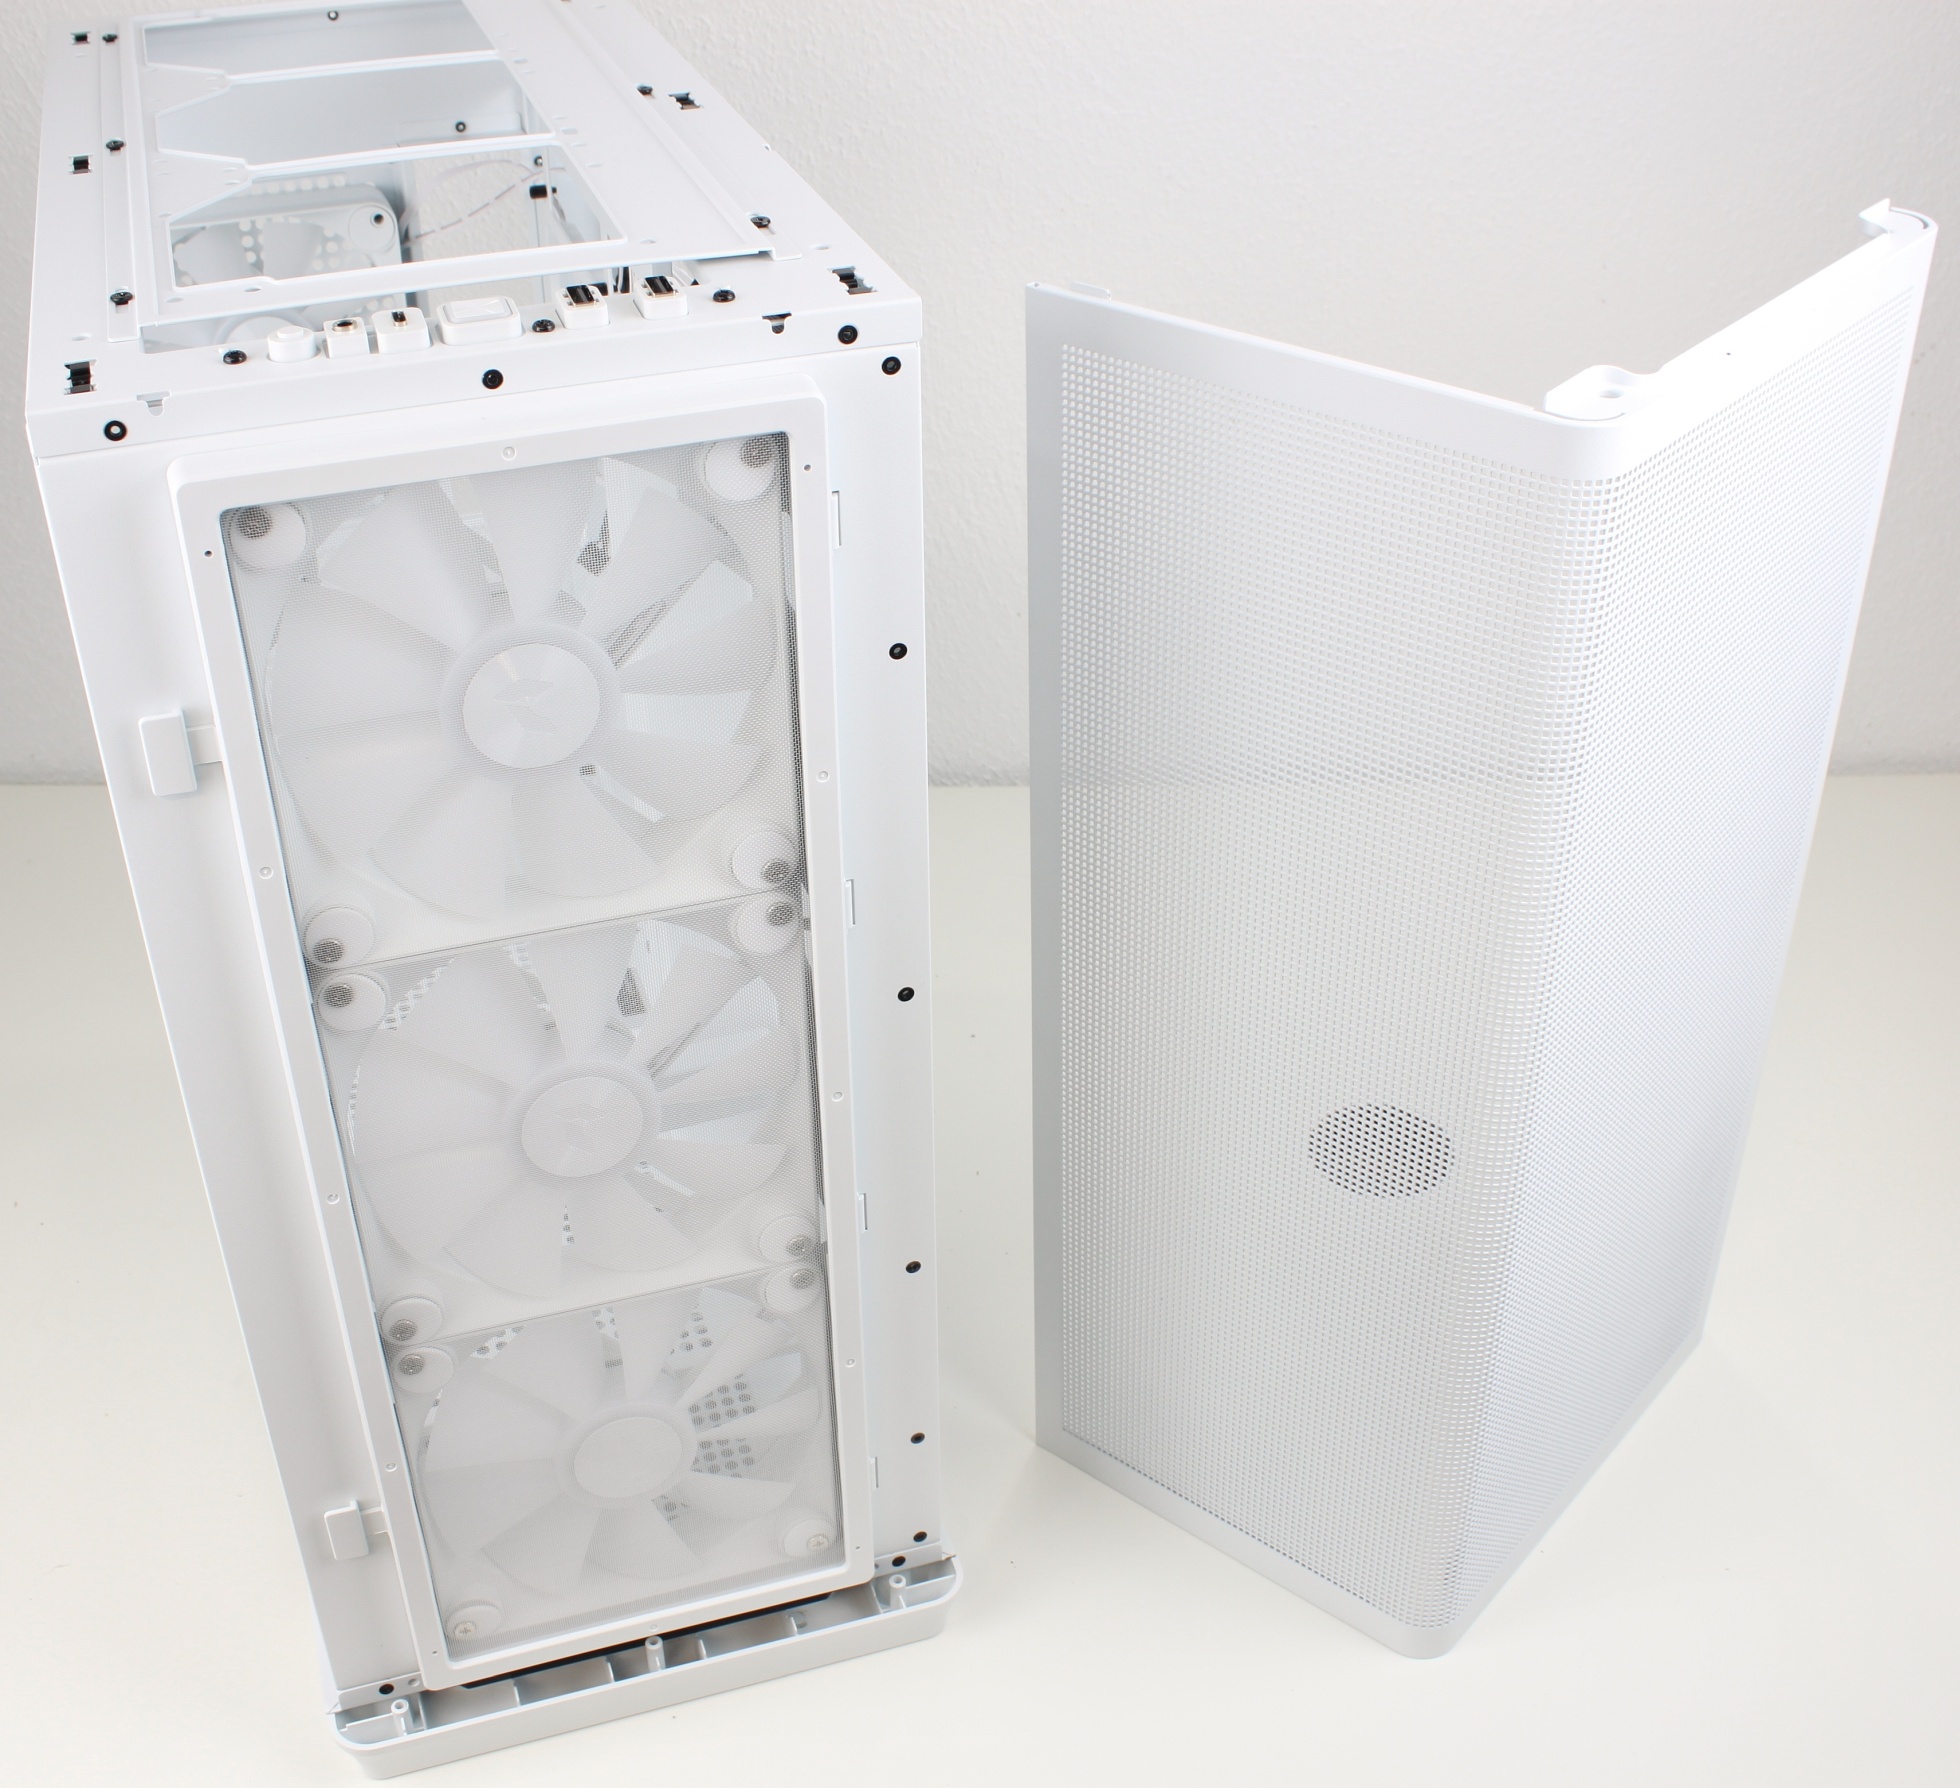
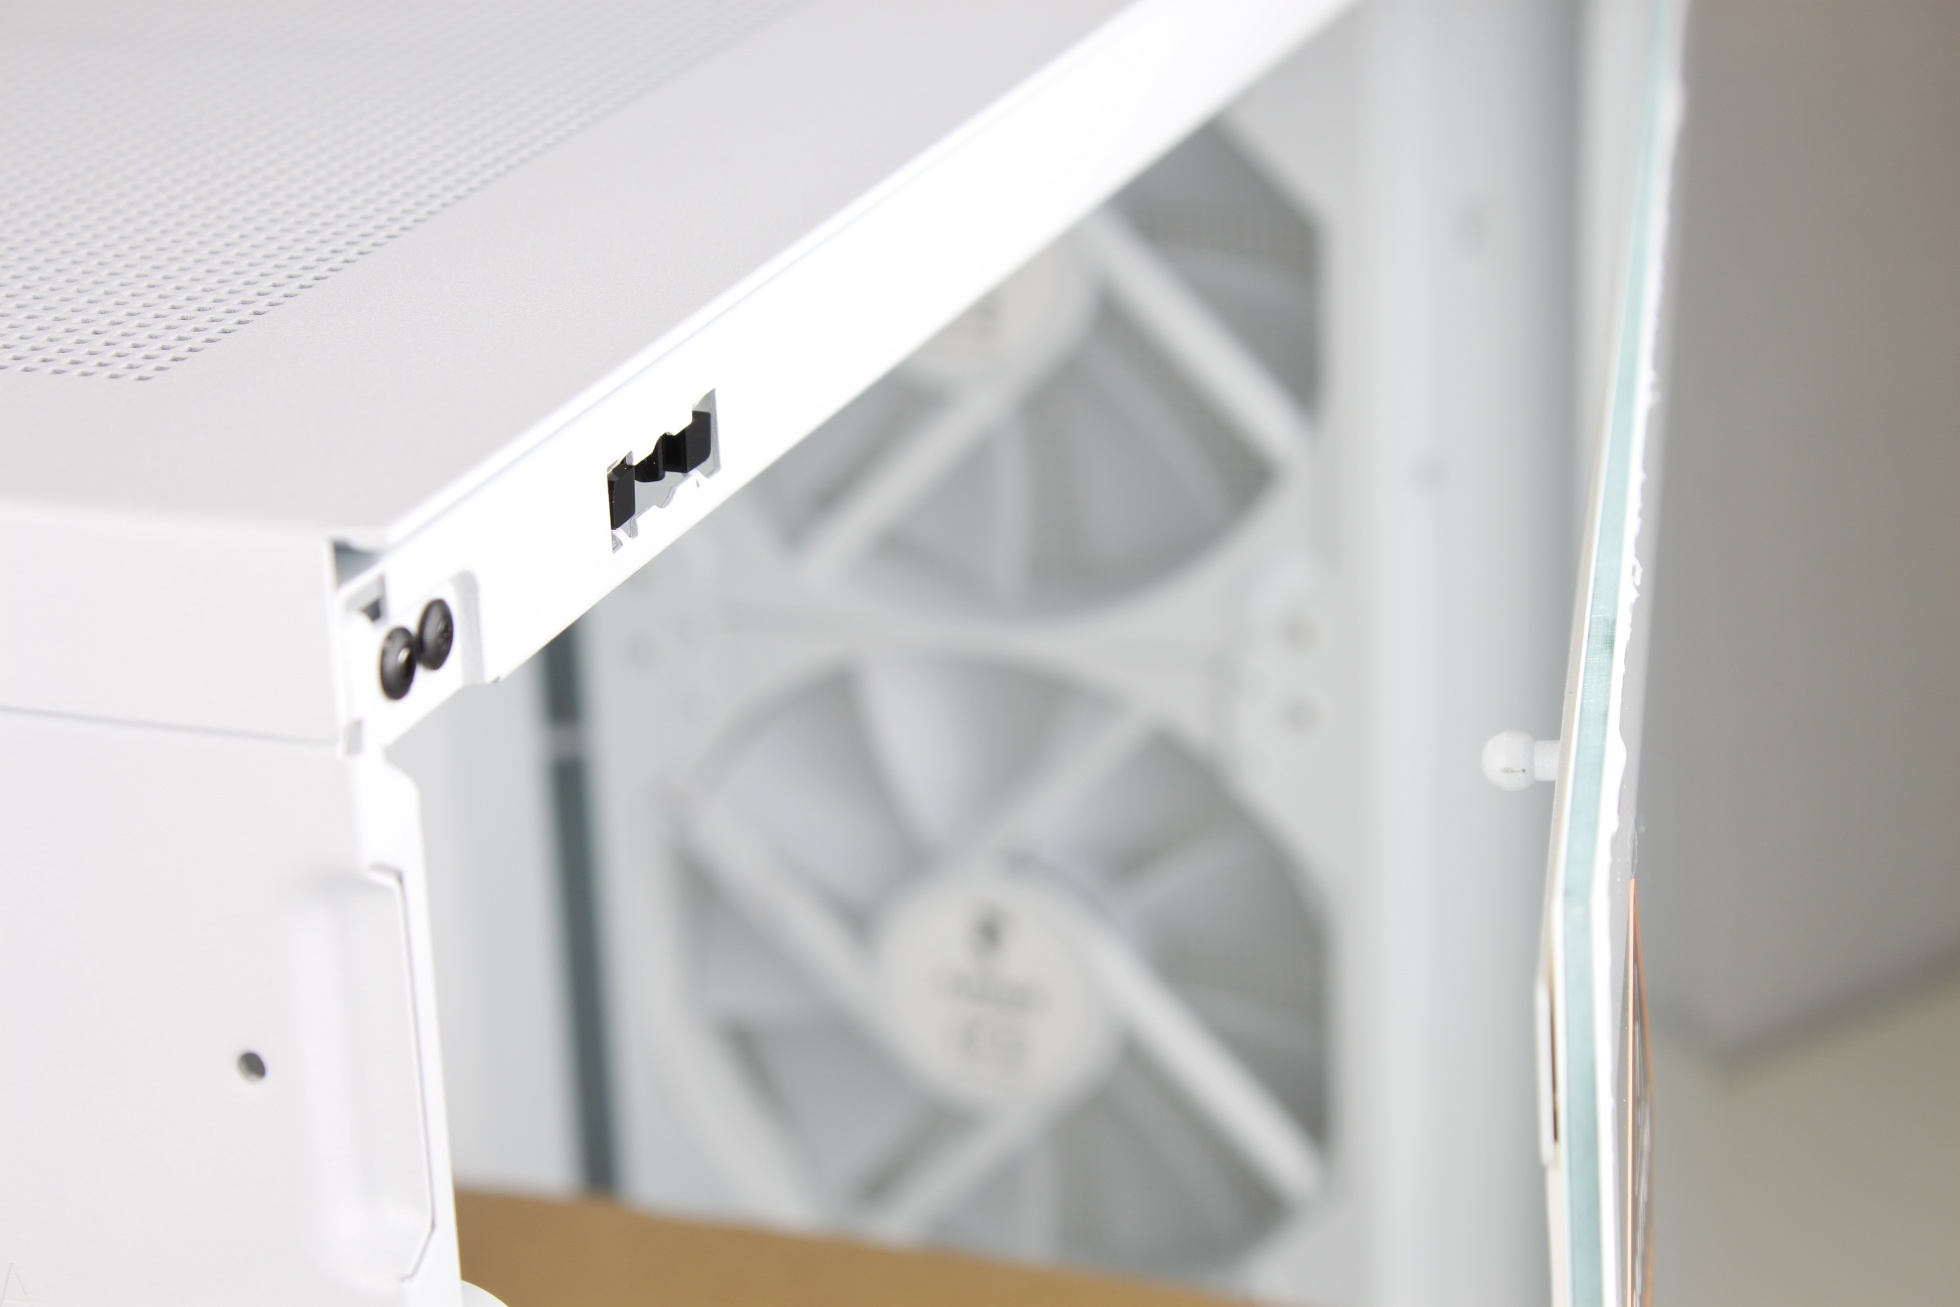
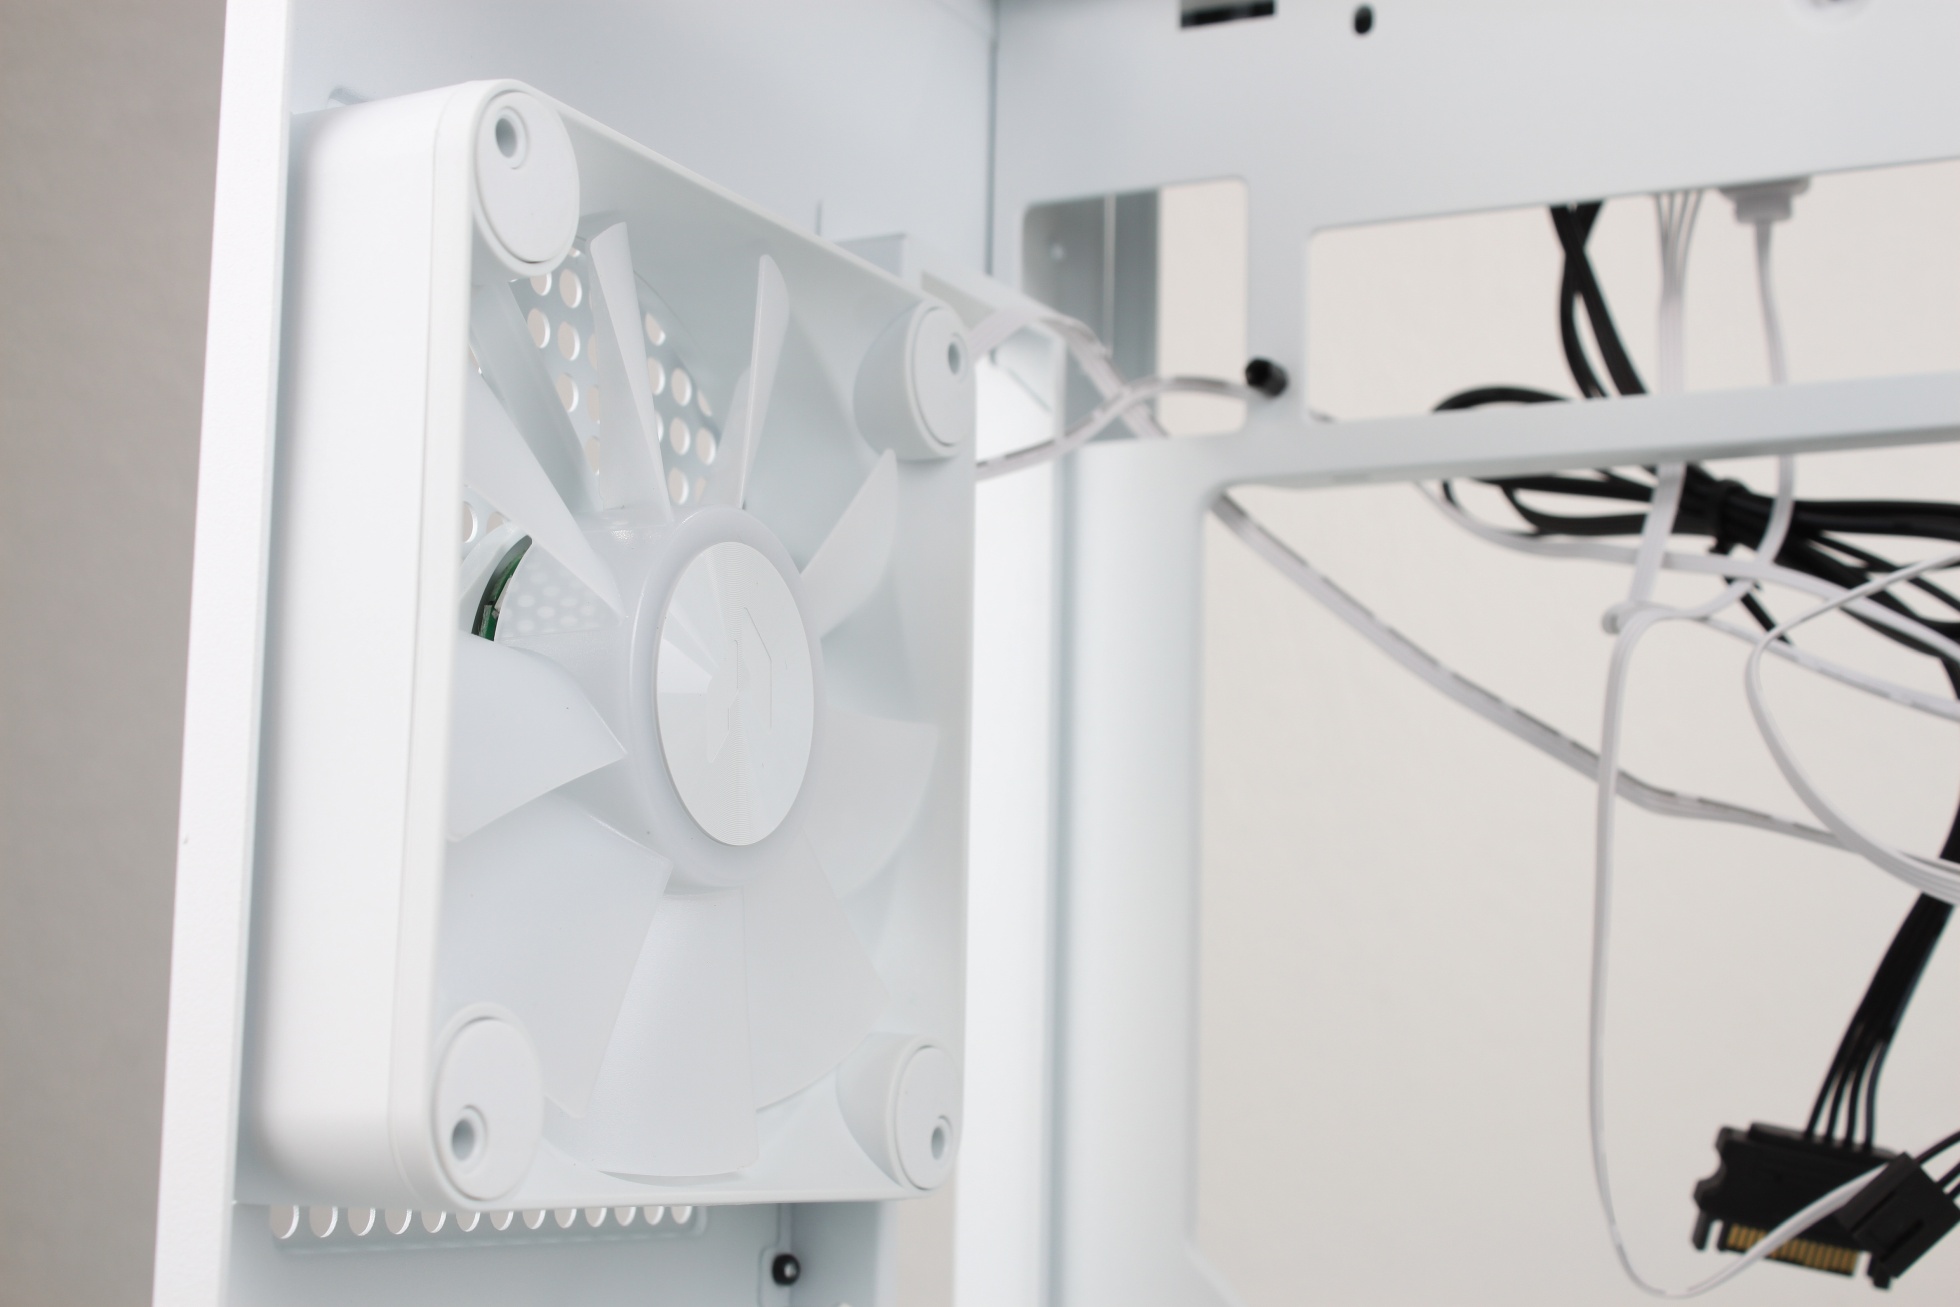
The beautiful looking FP1 fans are hidden underneath, protected by a removable dust filter.
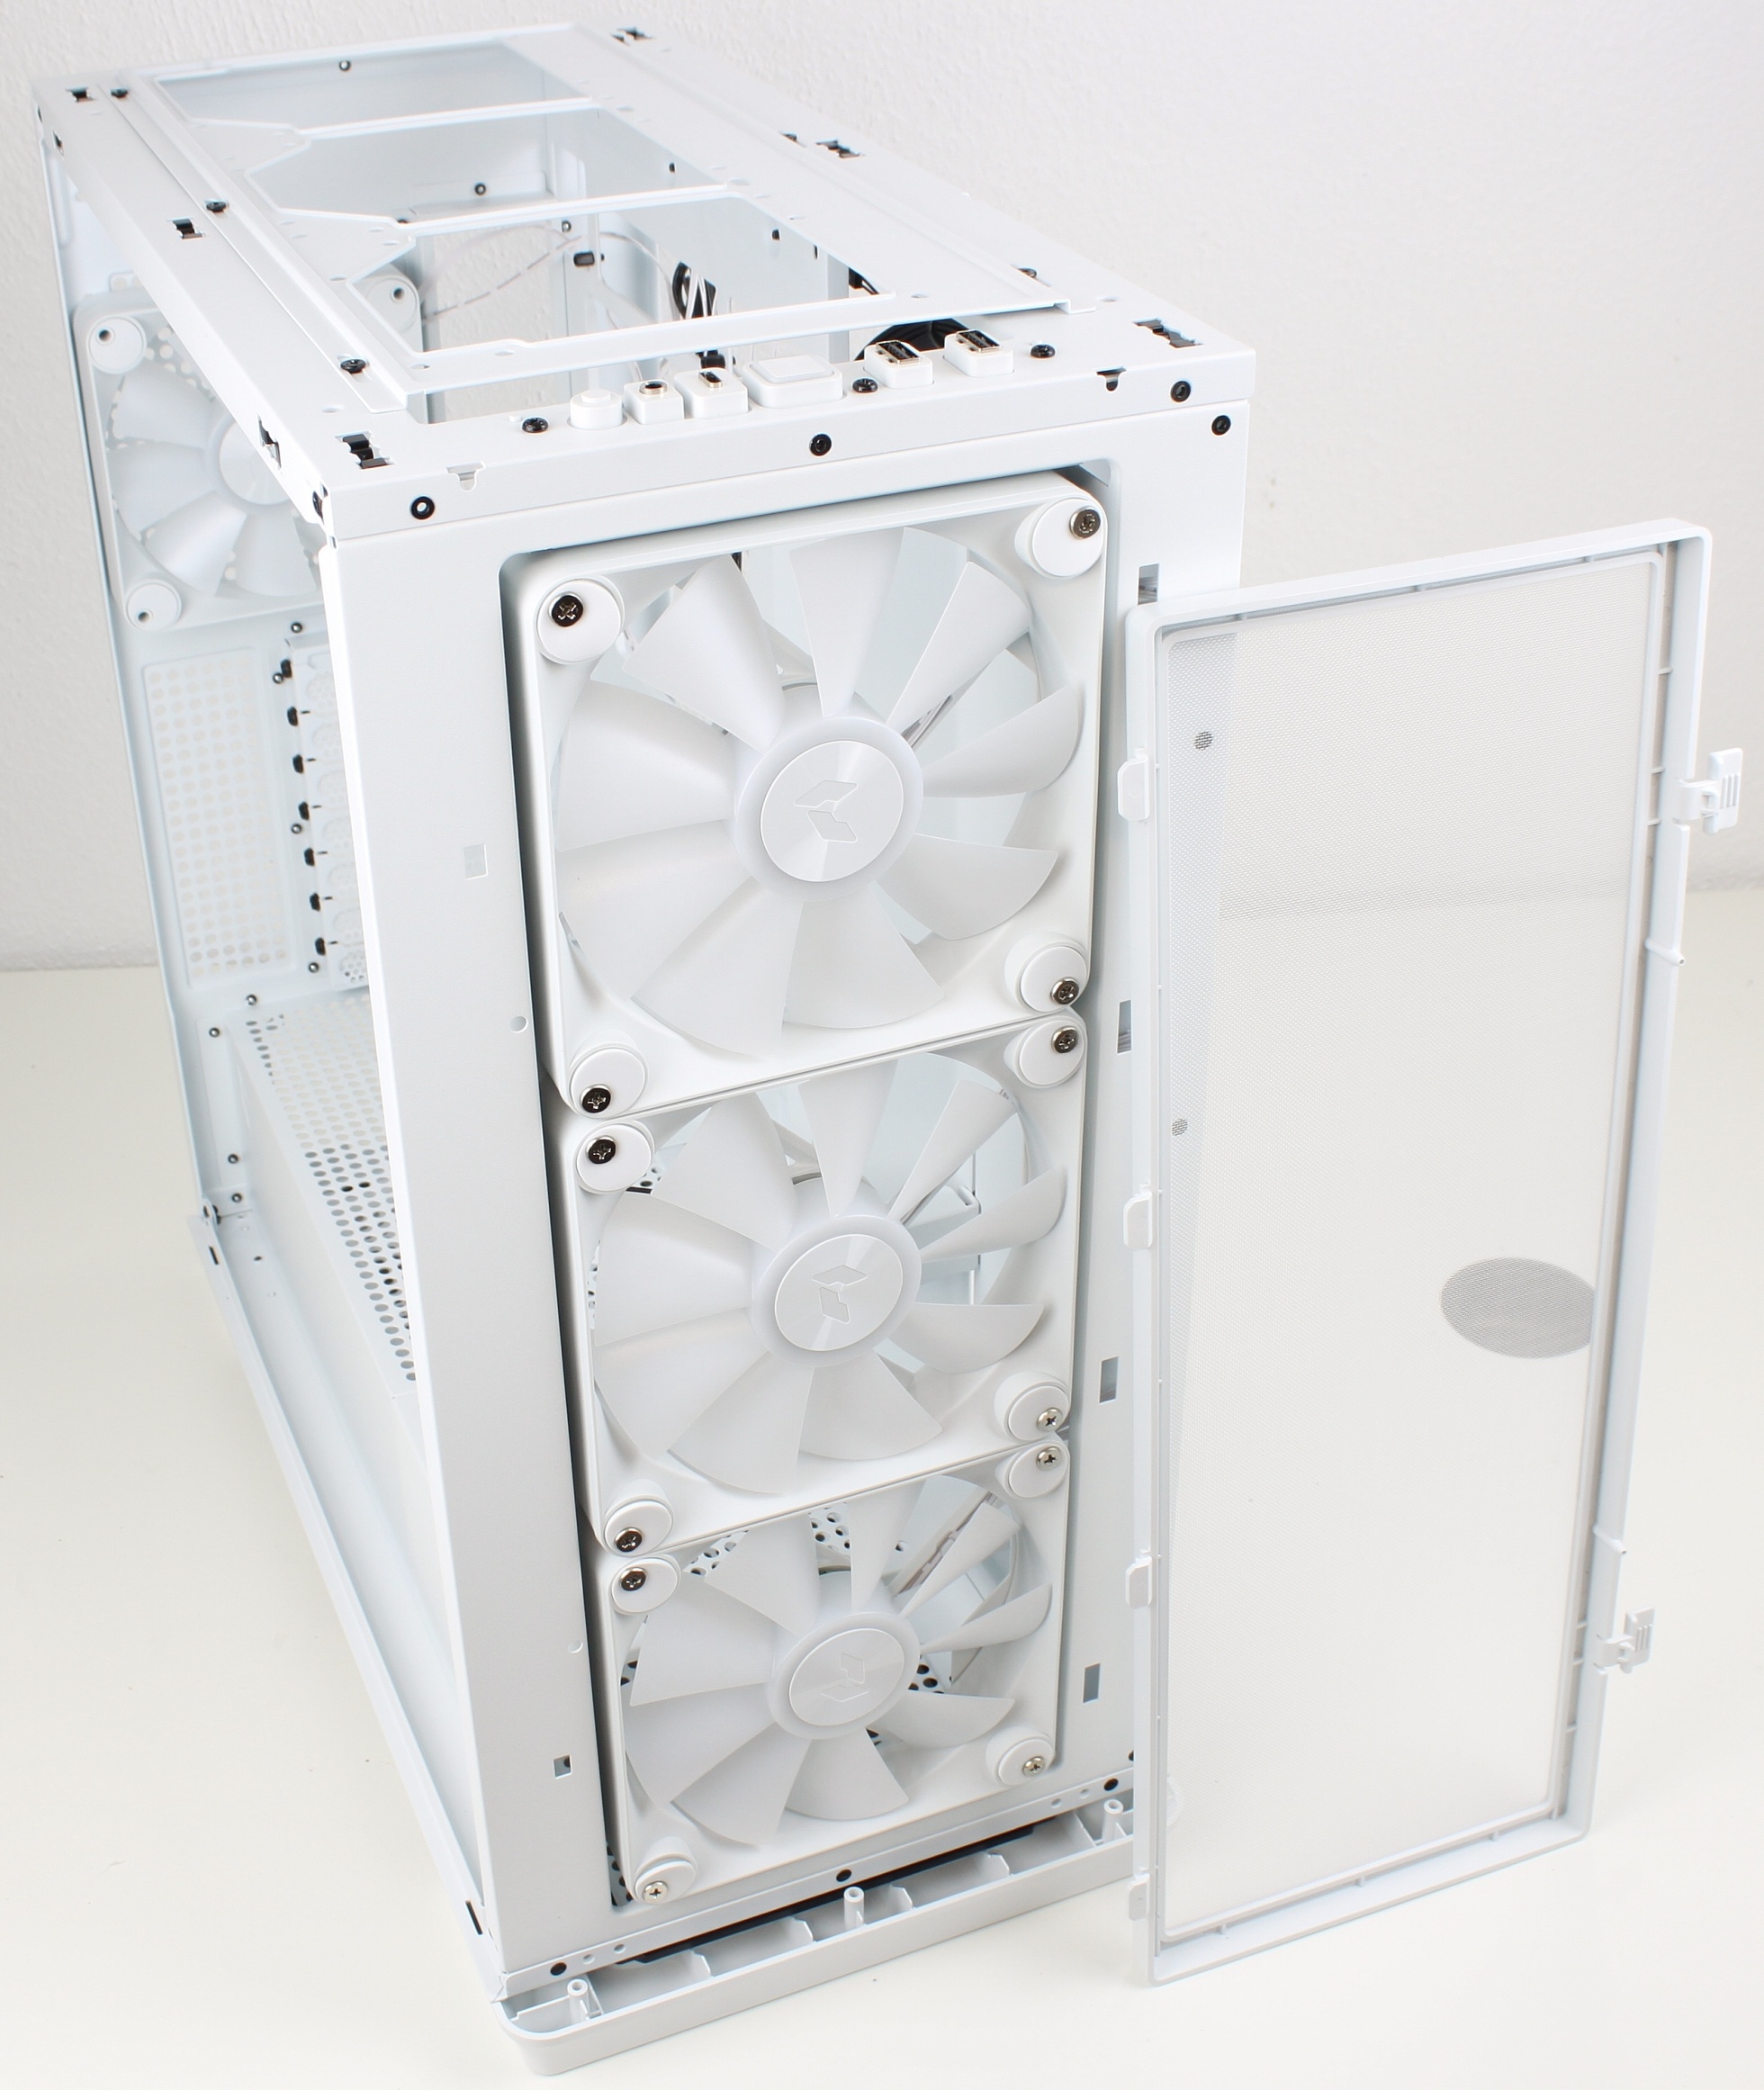
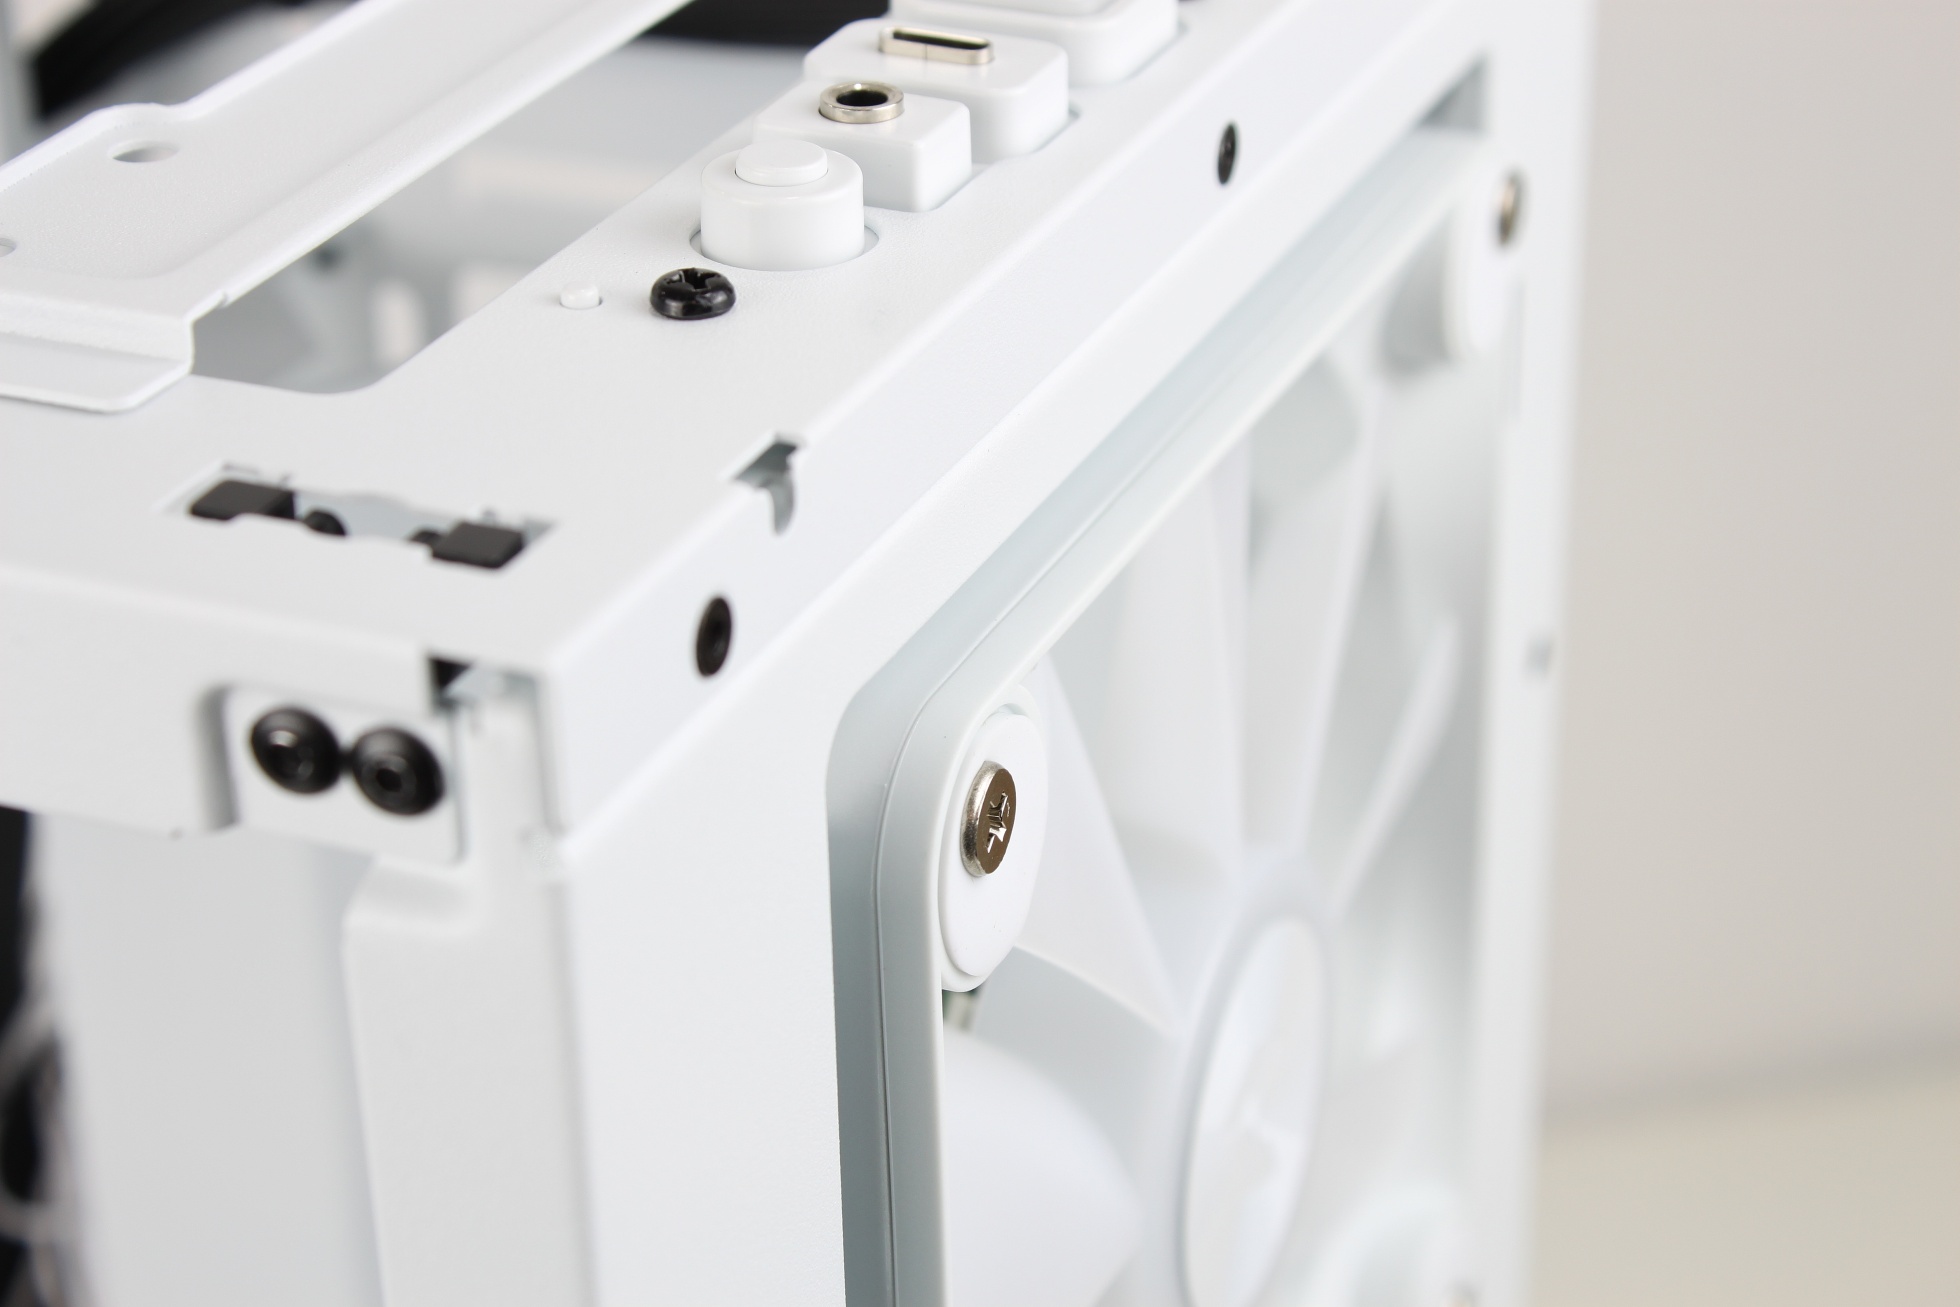
The pretty fans are equipped with large rubber bumpers that are supposed to prevent vibrations from being transmitted to the case.
I could not get enough of the fans.
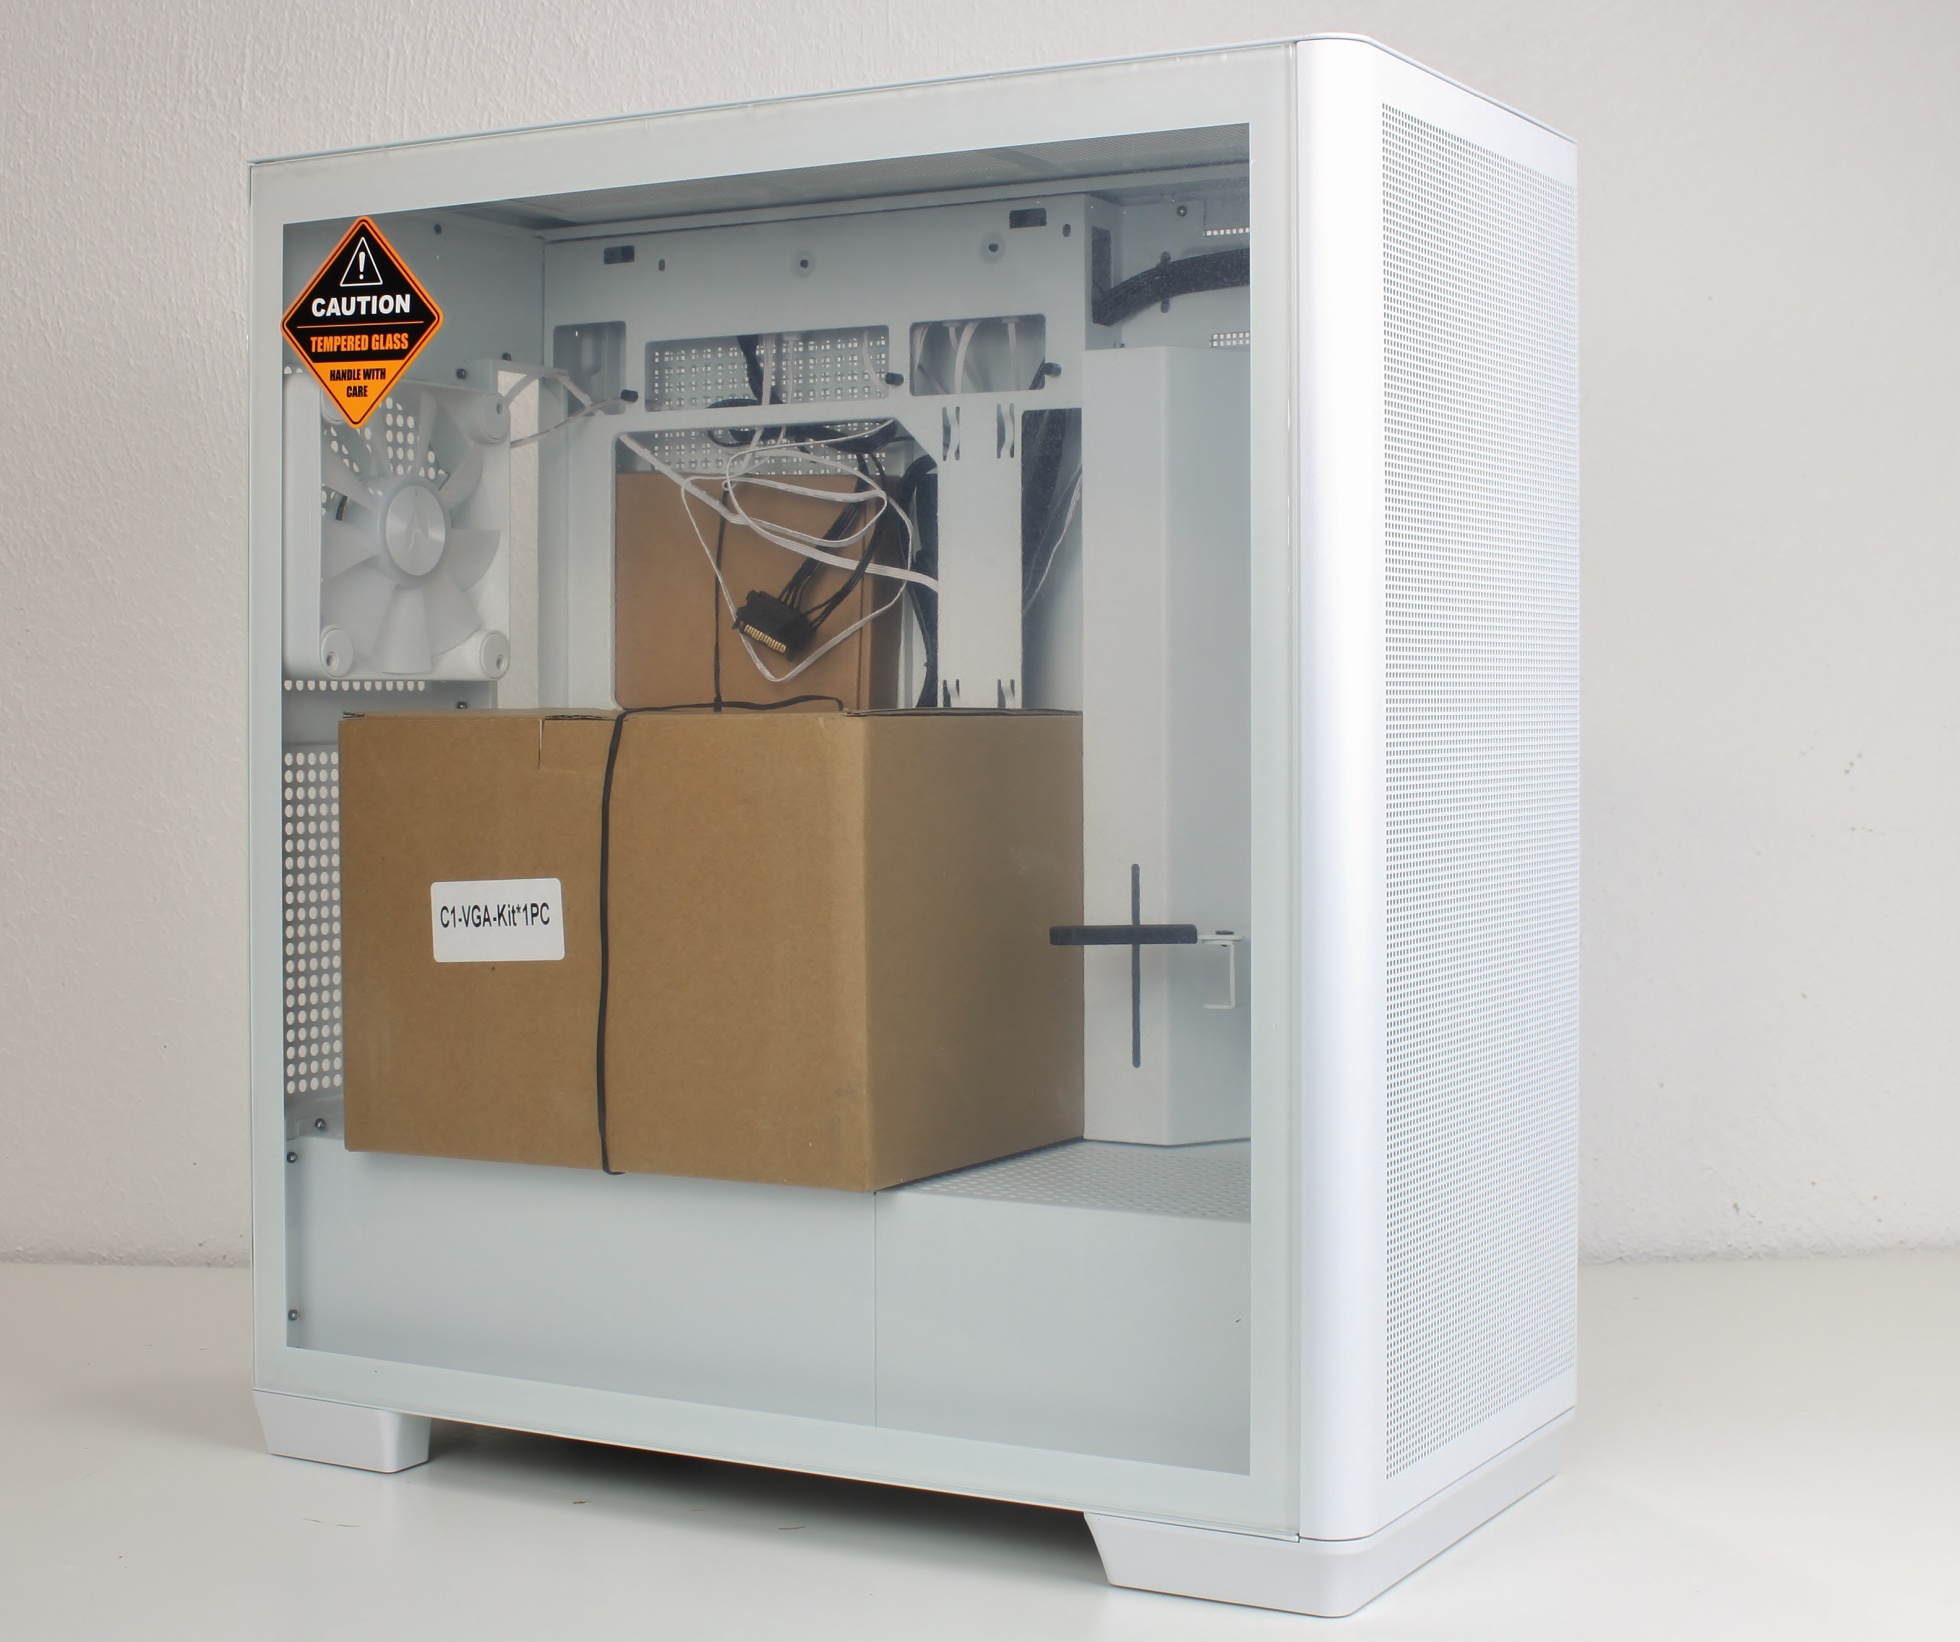
Now we come to the interior. Everything in the front compartment is tidy and “clean”.
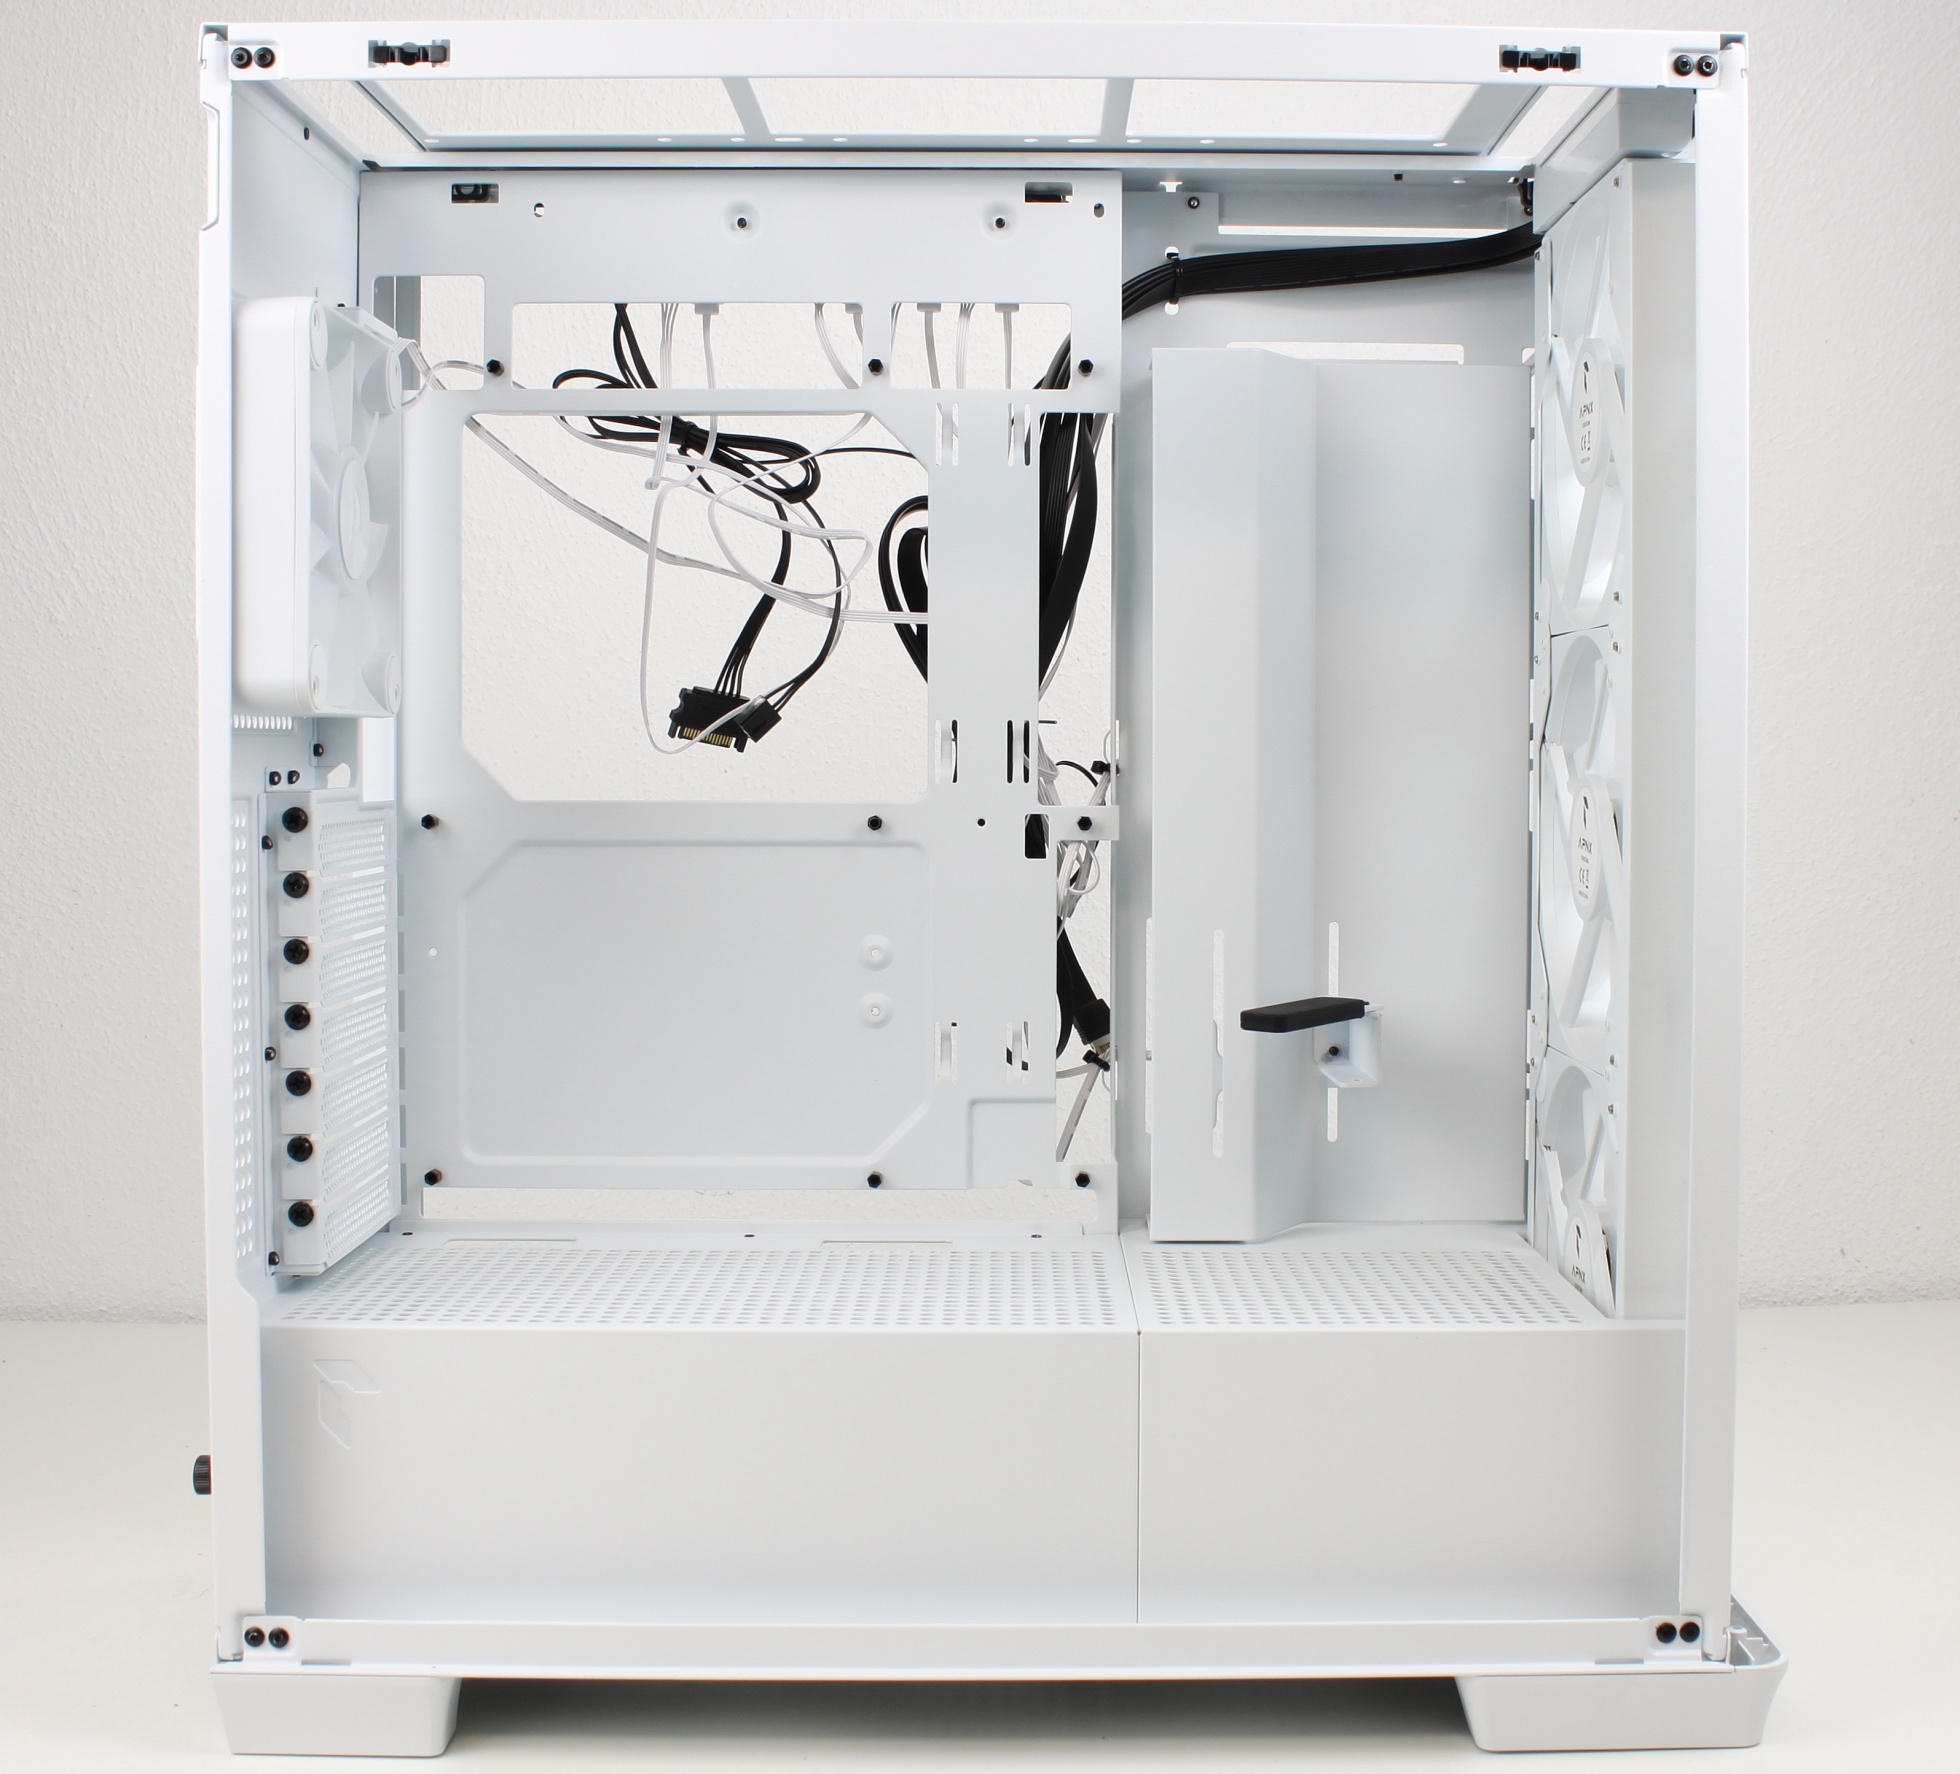
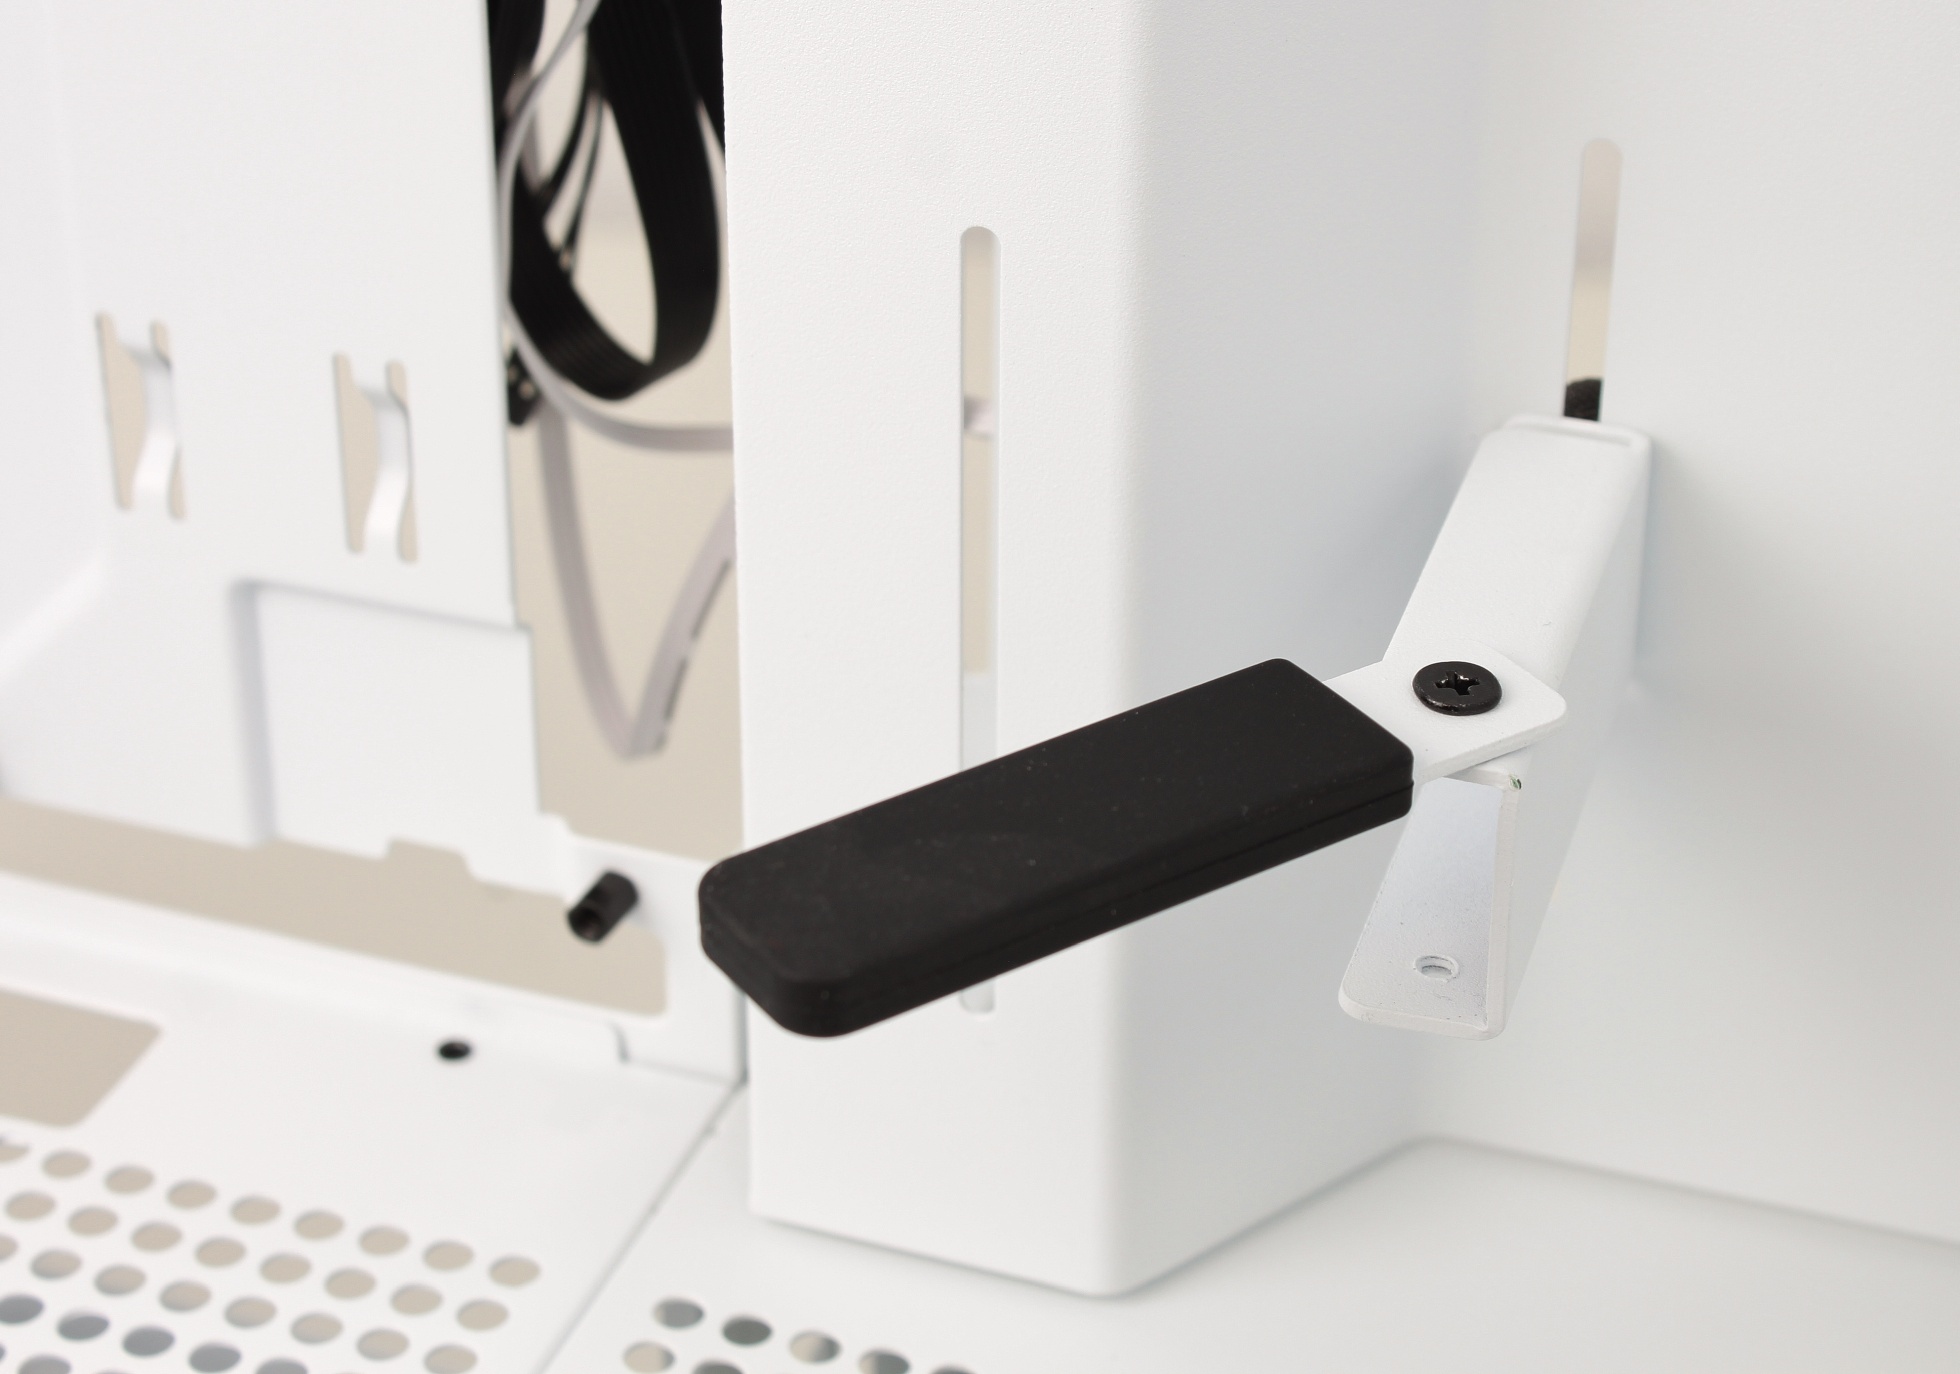
A flexibly mountable and thus usable support for large and small graphics cards is directly integrated into the case.
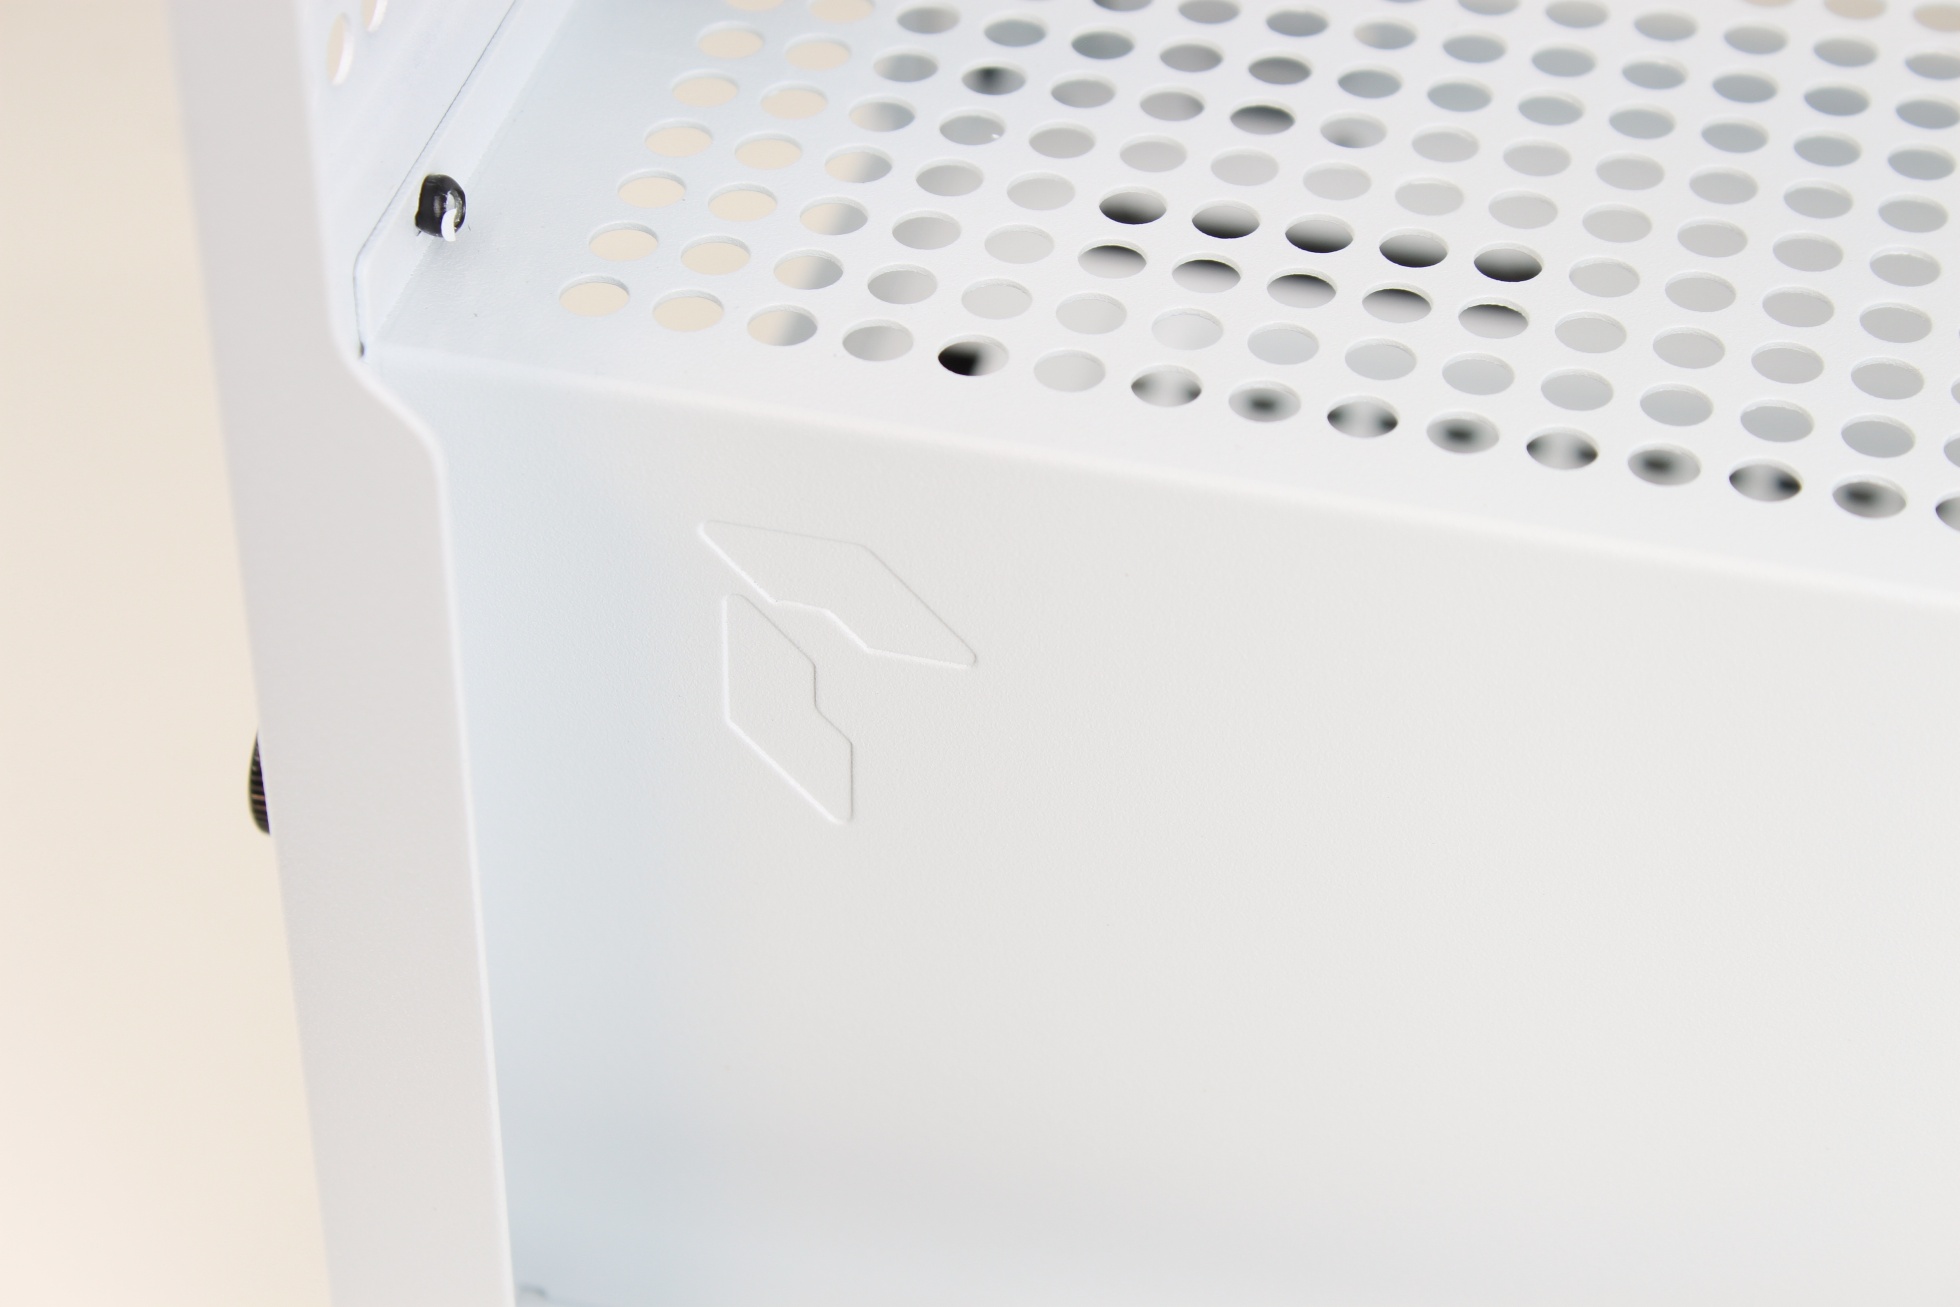
The lower part of the case is equipped with a “PSU shroud”. I find the embossing nice, the logo itself seems somehow familiar to me.
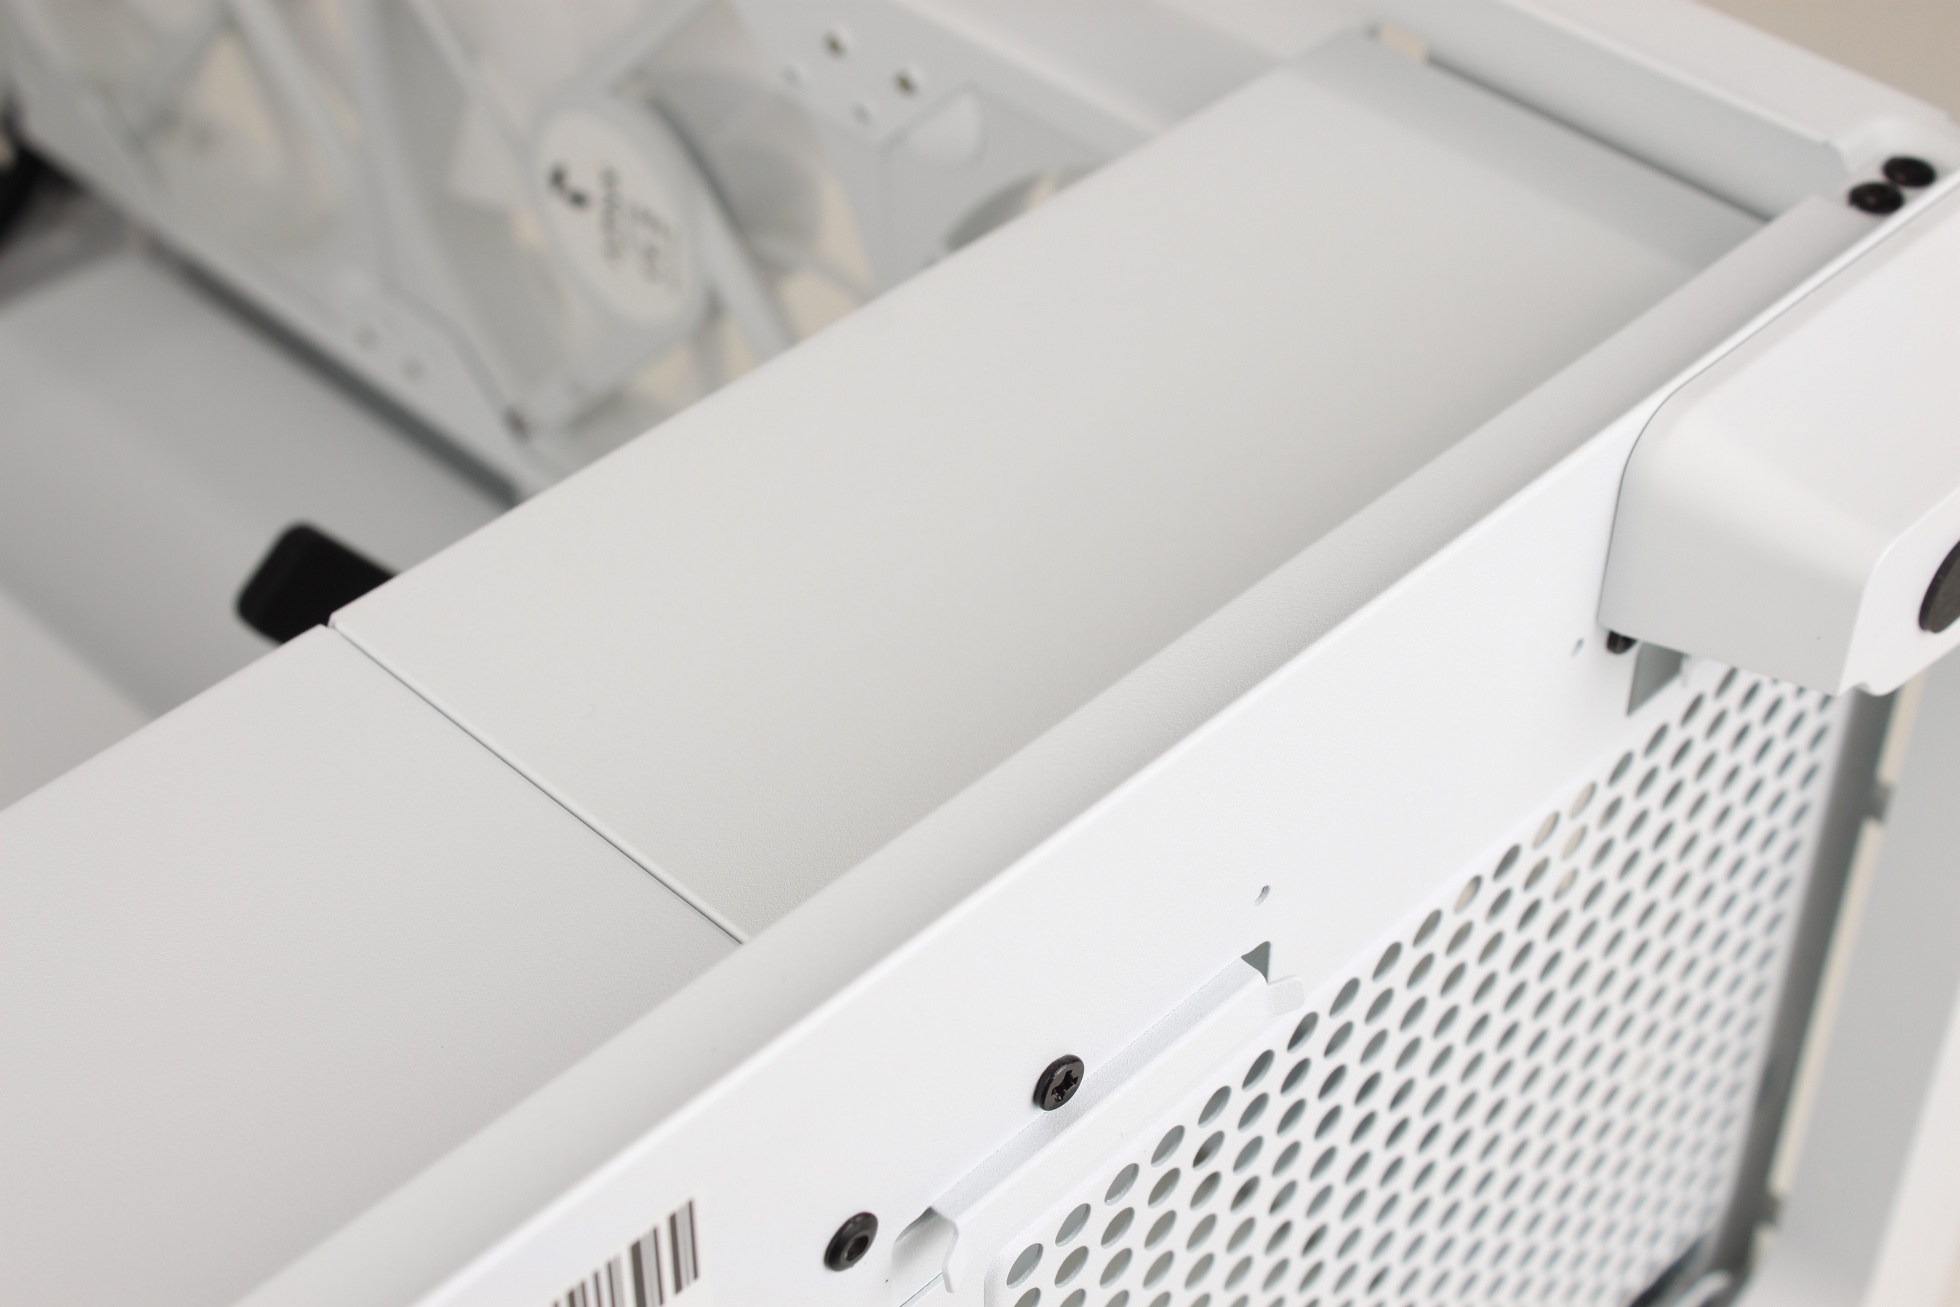
The cover is divided into two parts.
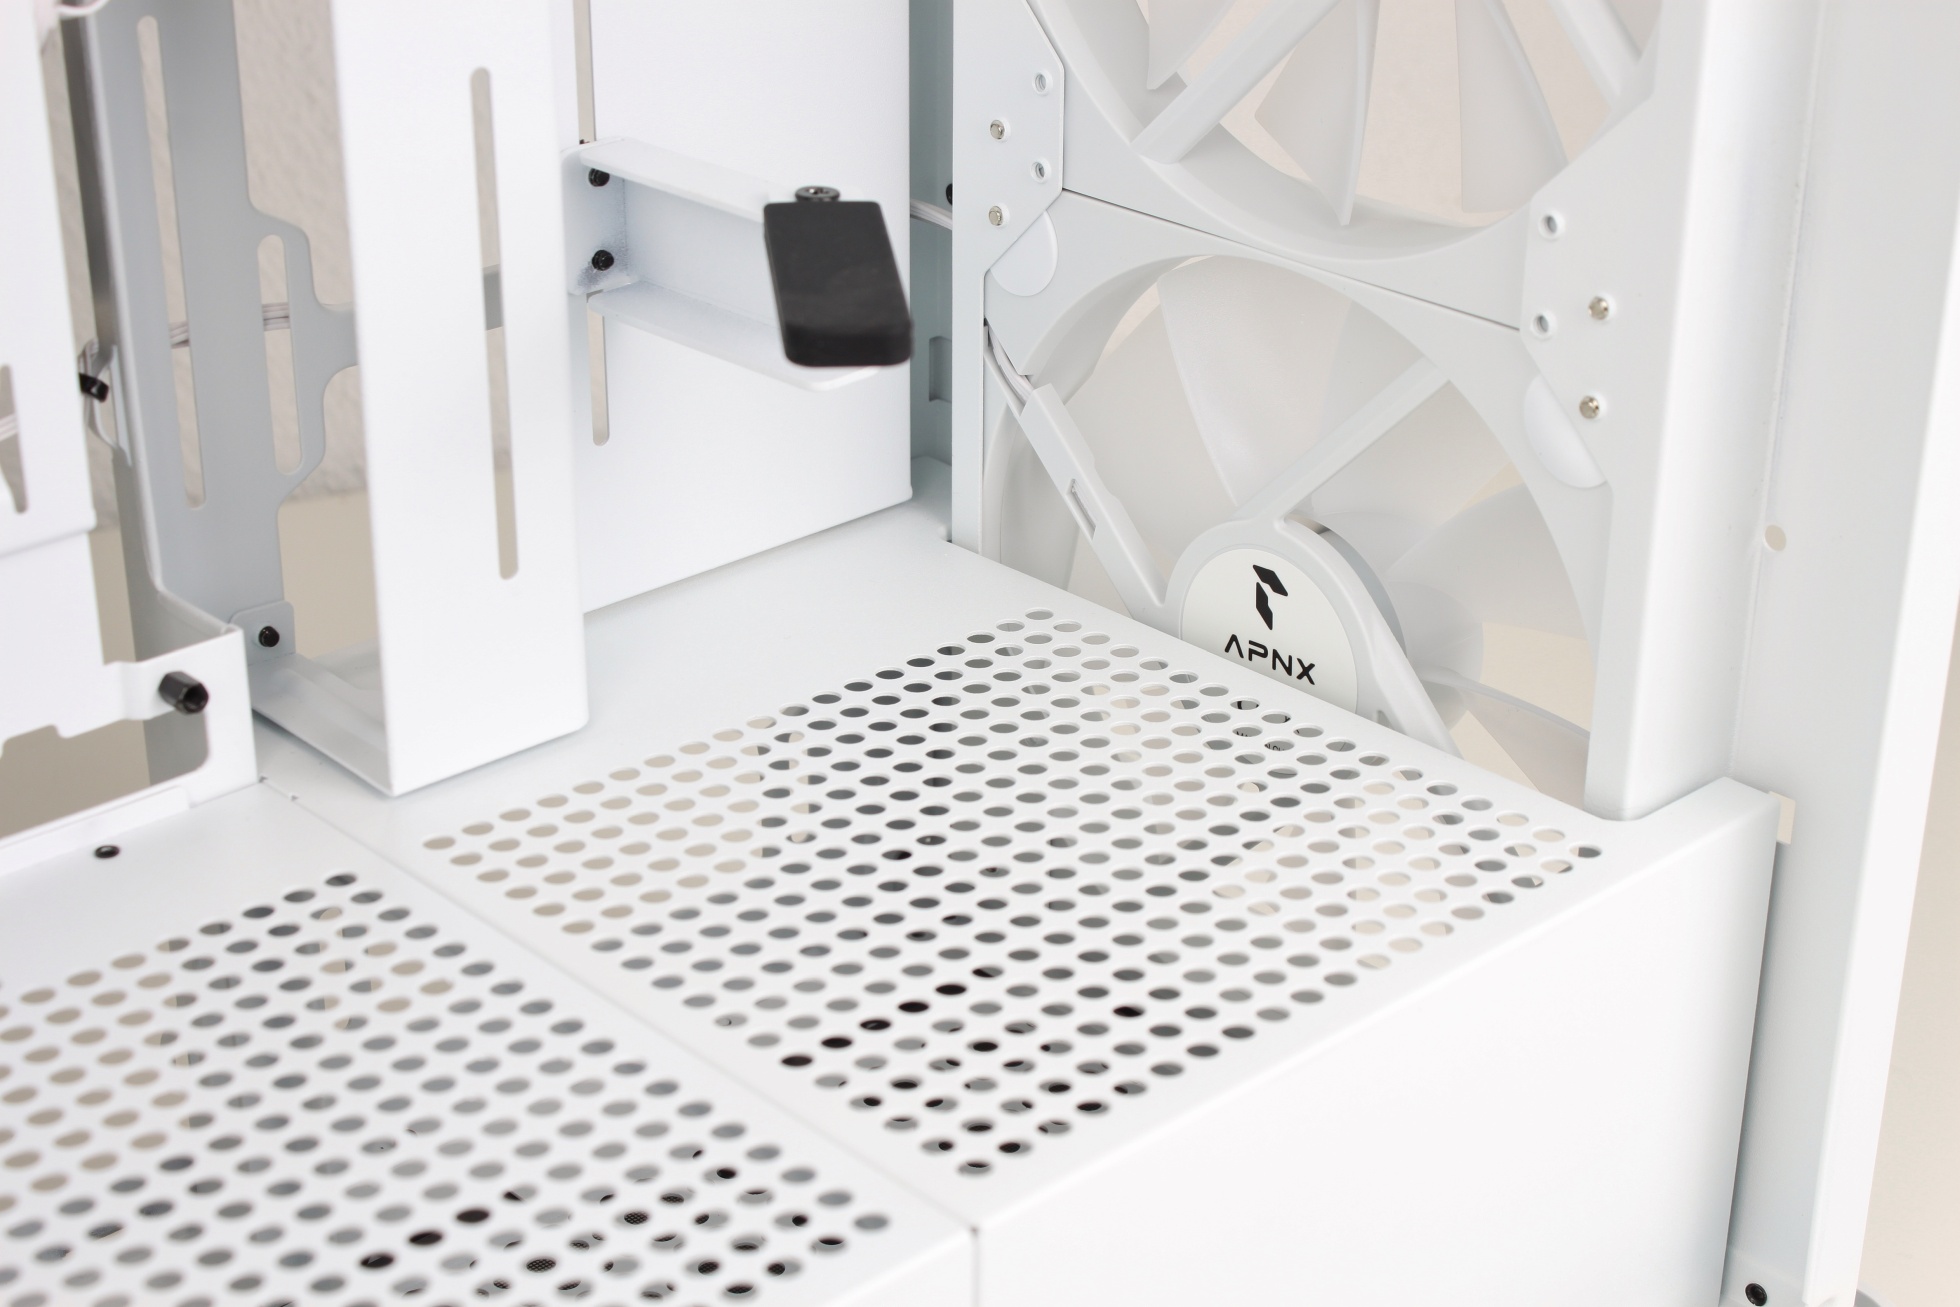
While the rear part is firmly riveted to the casing, the front part is fixed with screws and can thus be removed. But I’ll come back to that later.
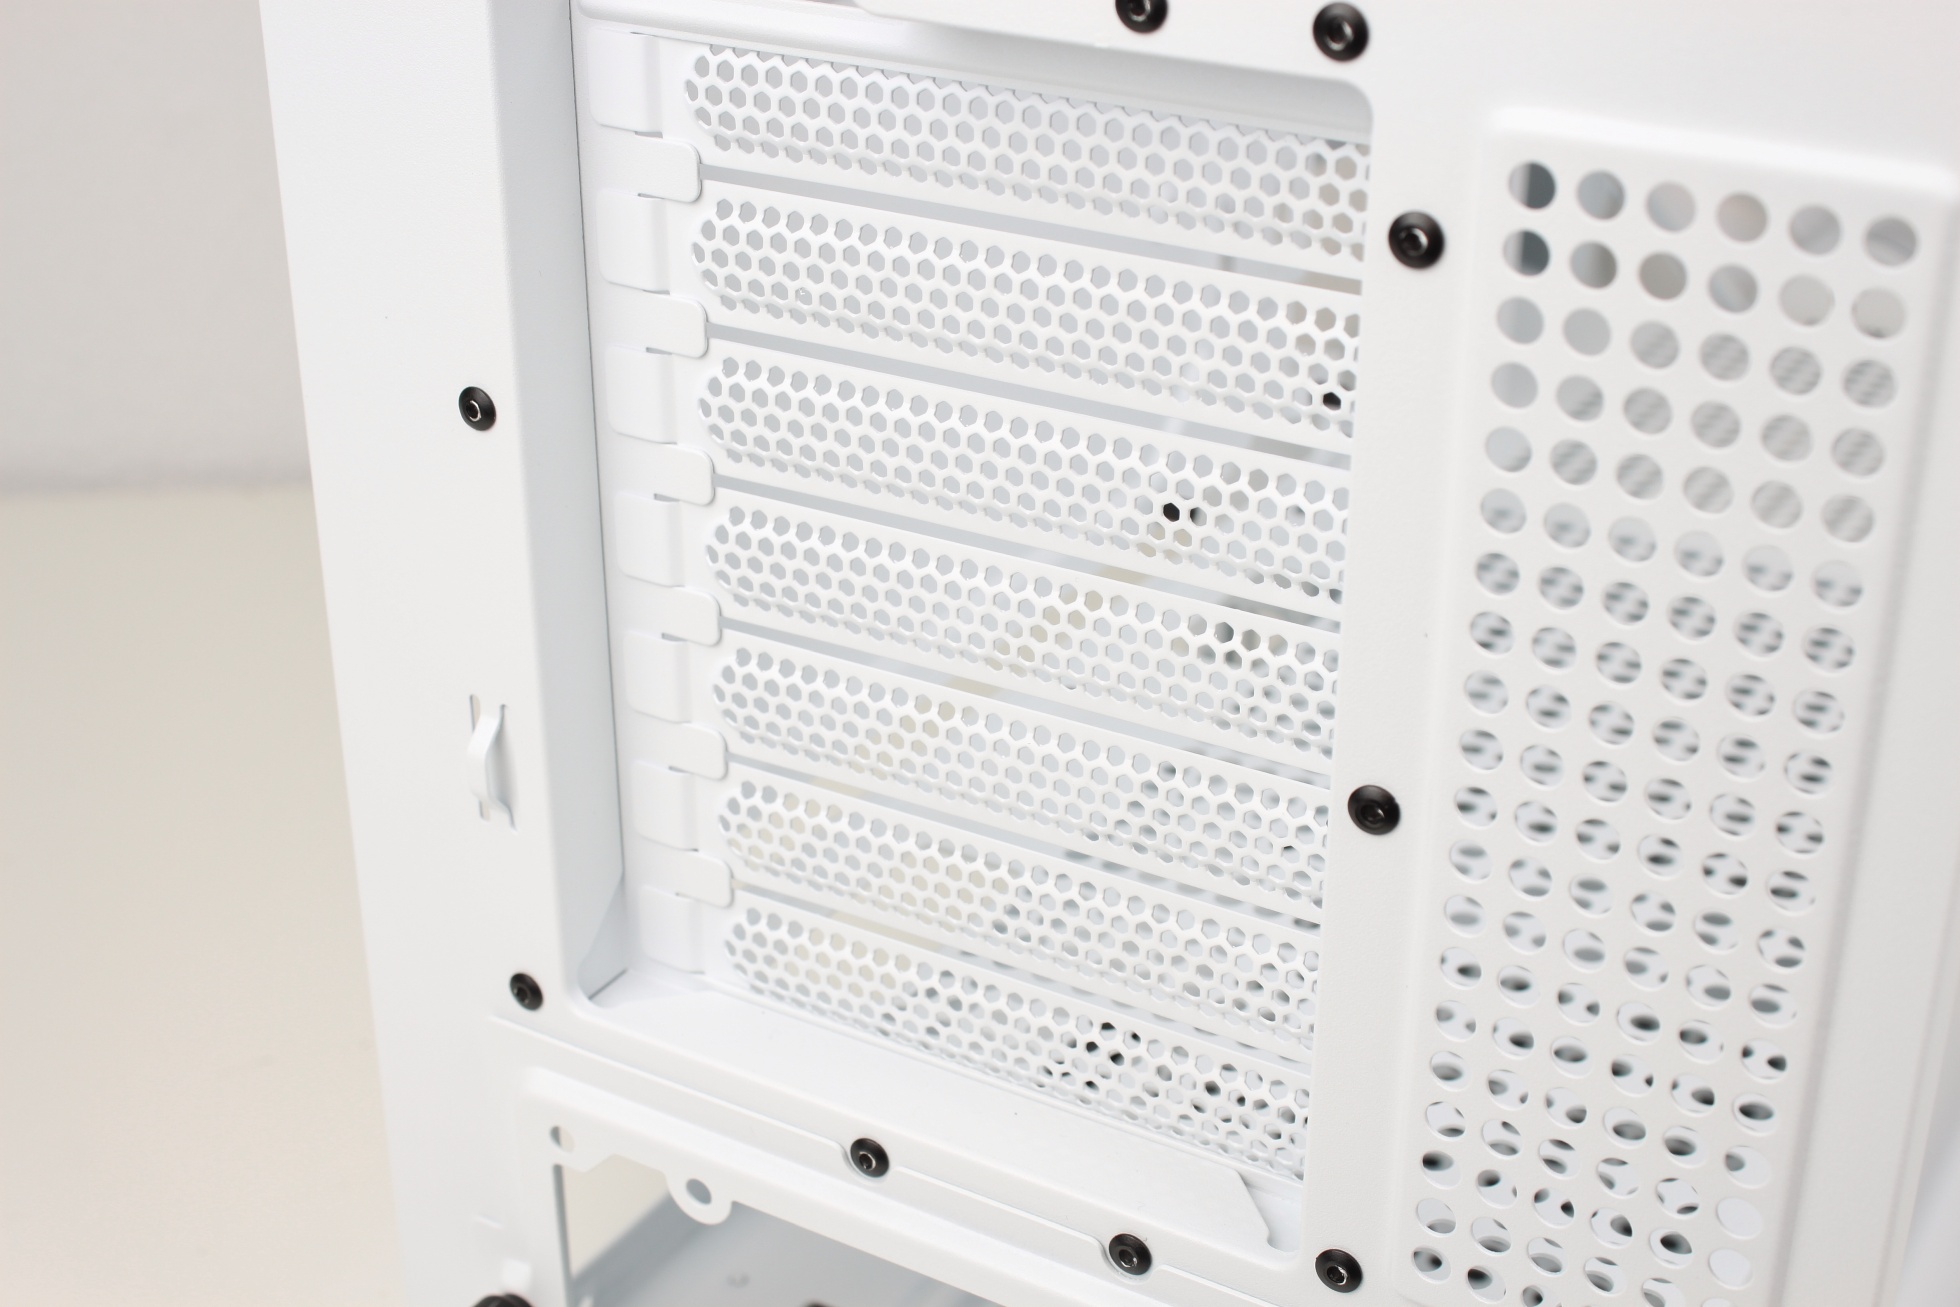
I’ll also talk about the slot covers when I install the VGA kit.
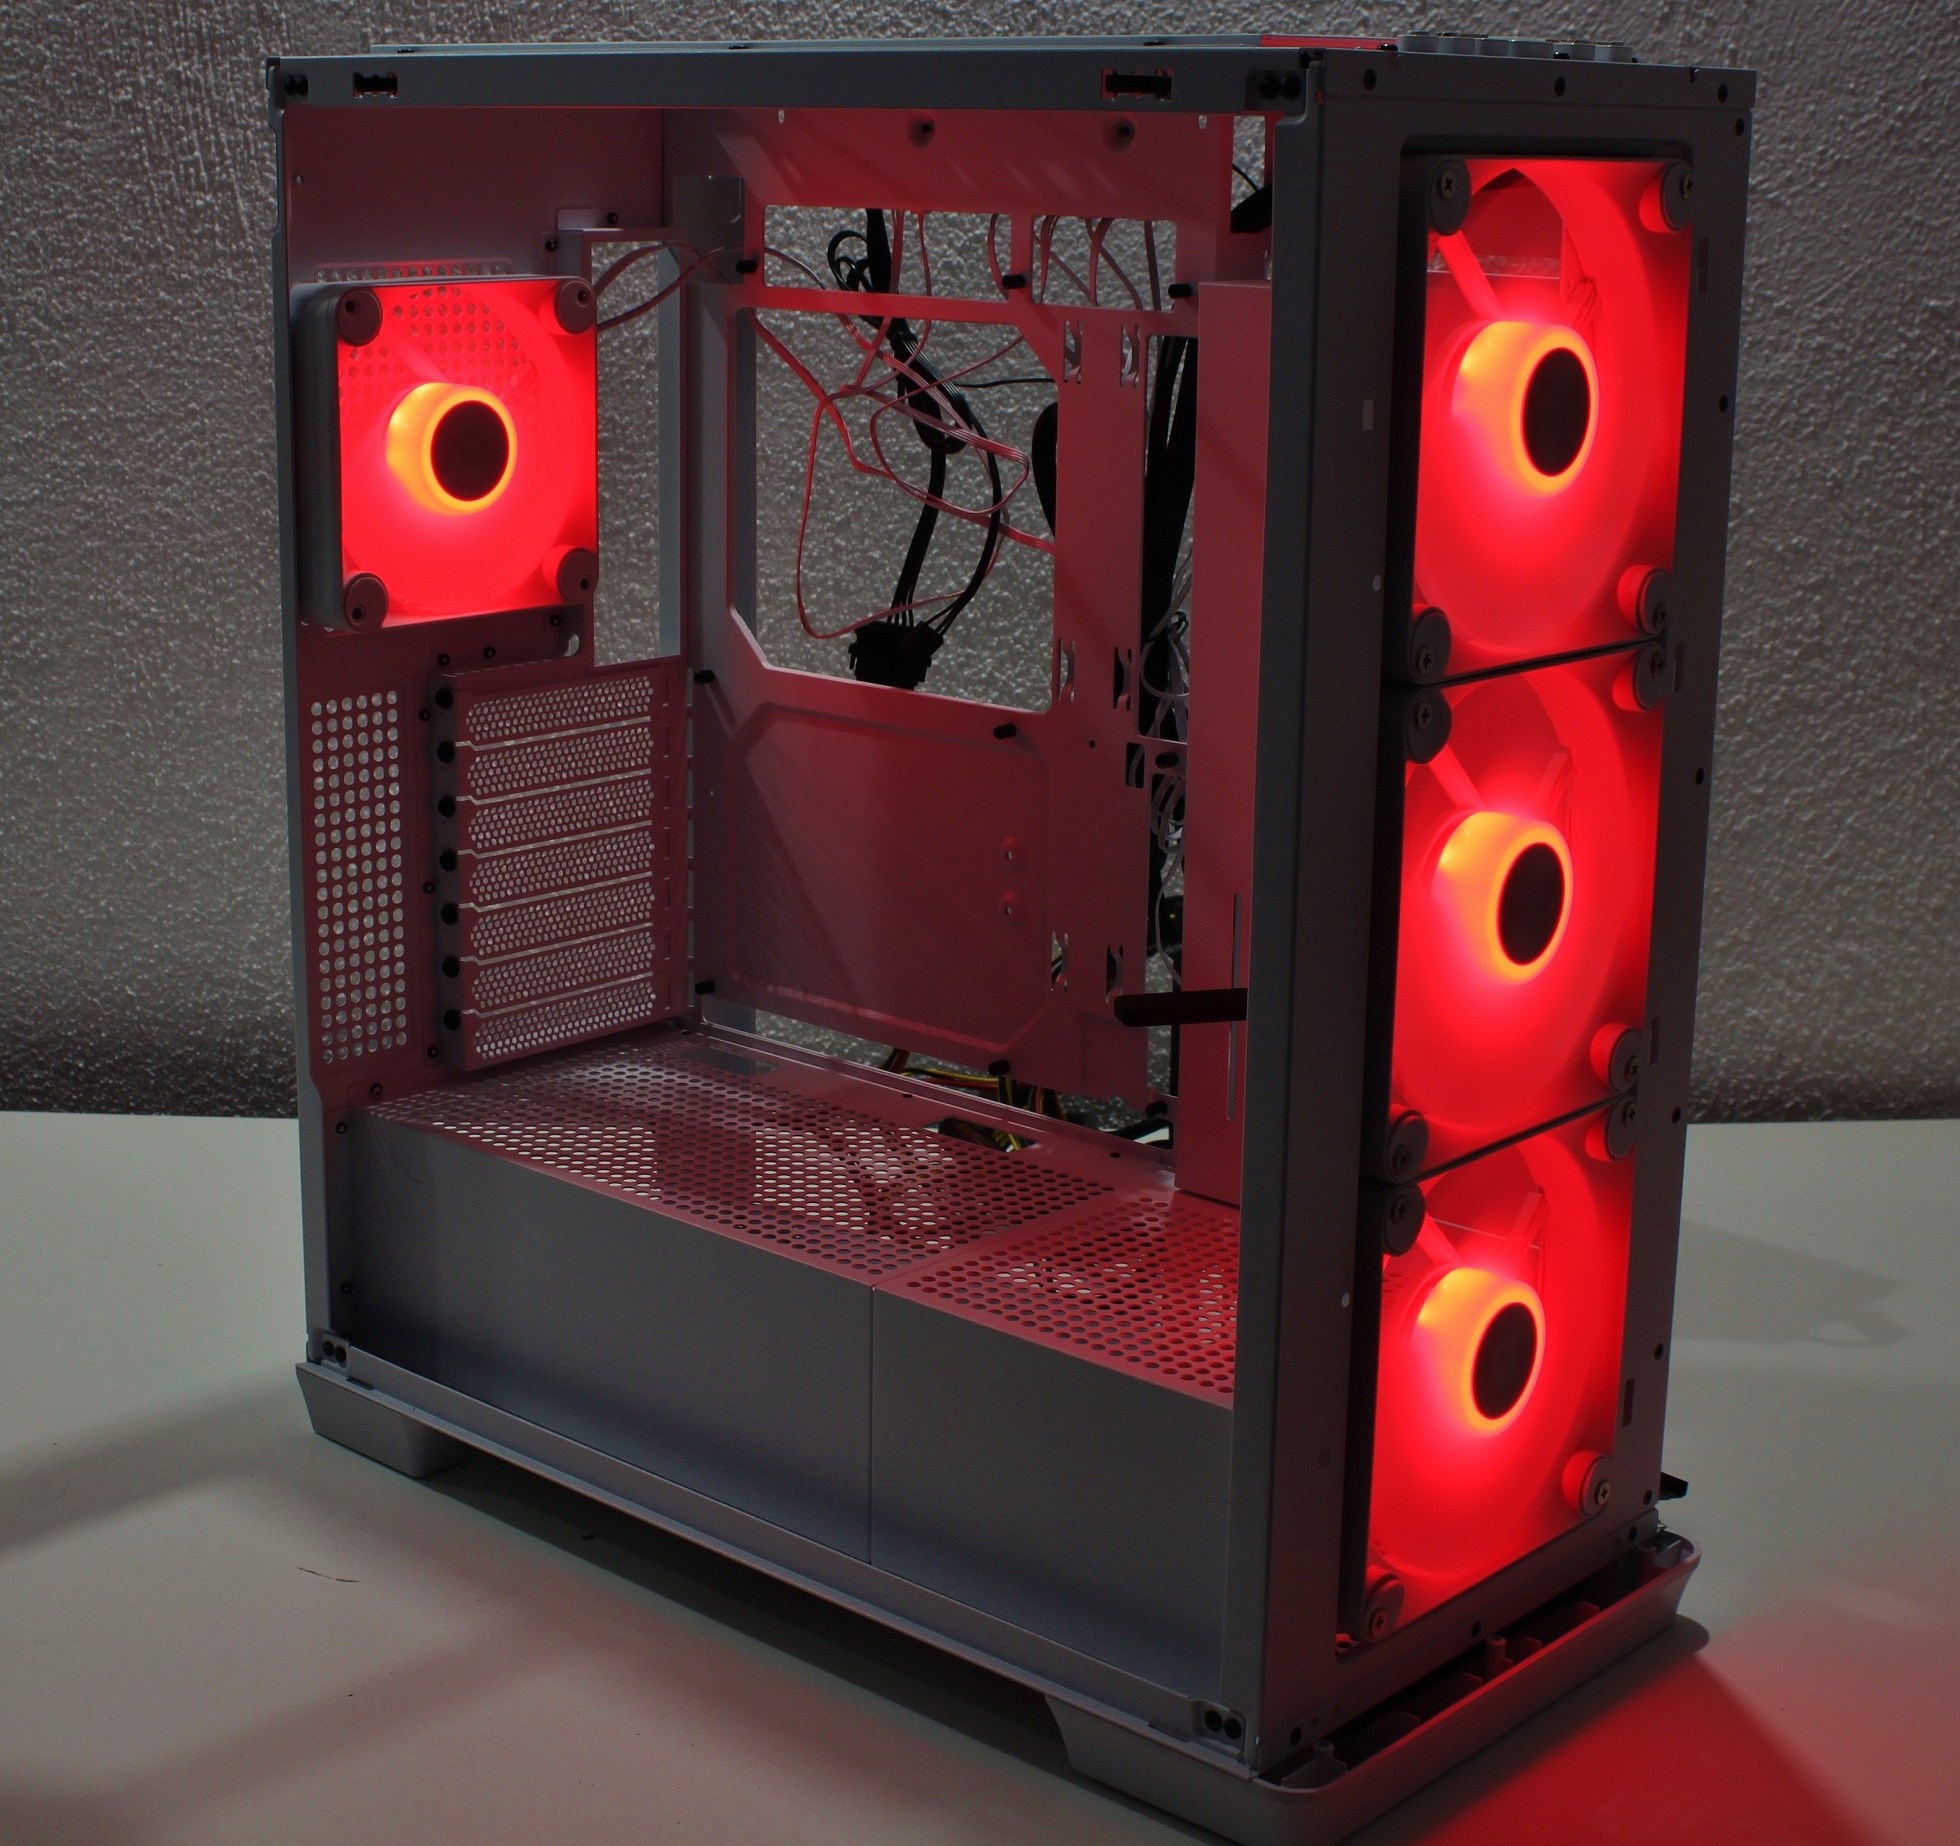
Because I couldn’t wait, I had to give the controller power once before installing the system to take a look at the lighting of the fans. The colors are very rich and even, but the volume at full speed is a bit scary high. Let’s have a look.
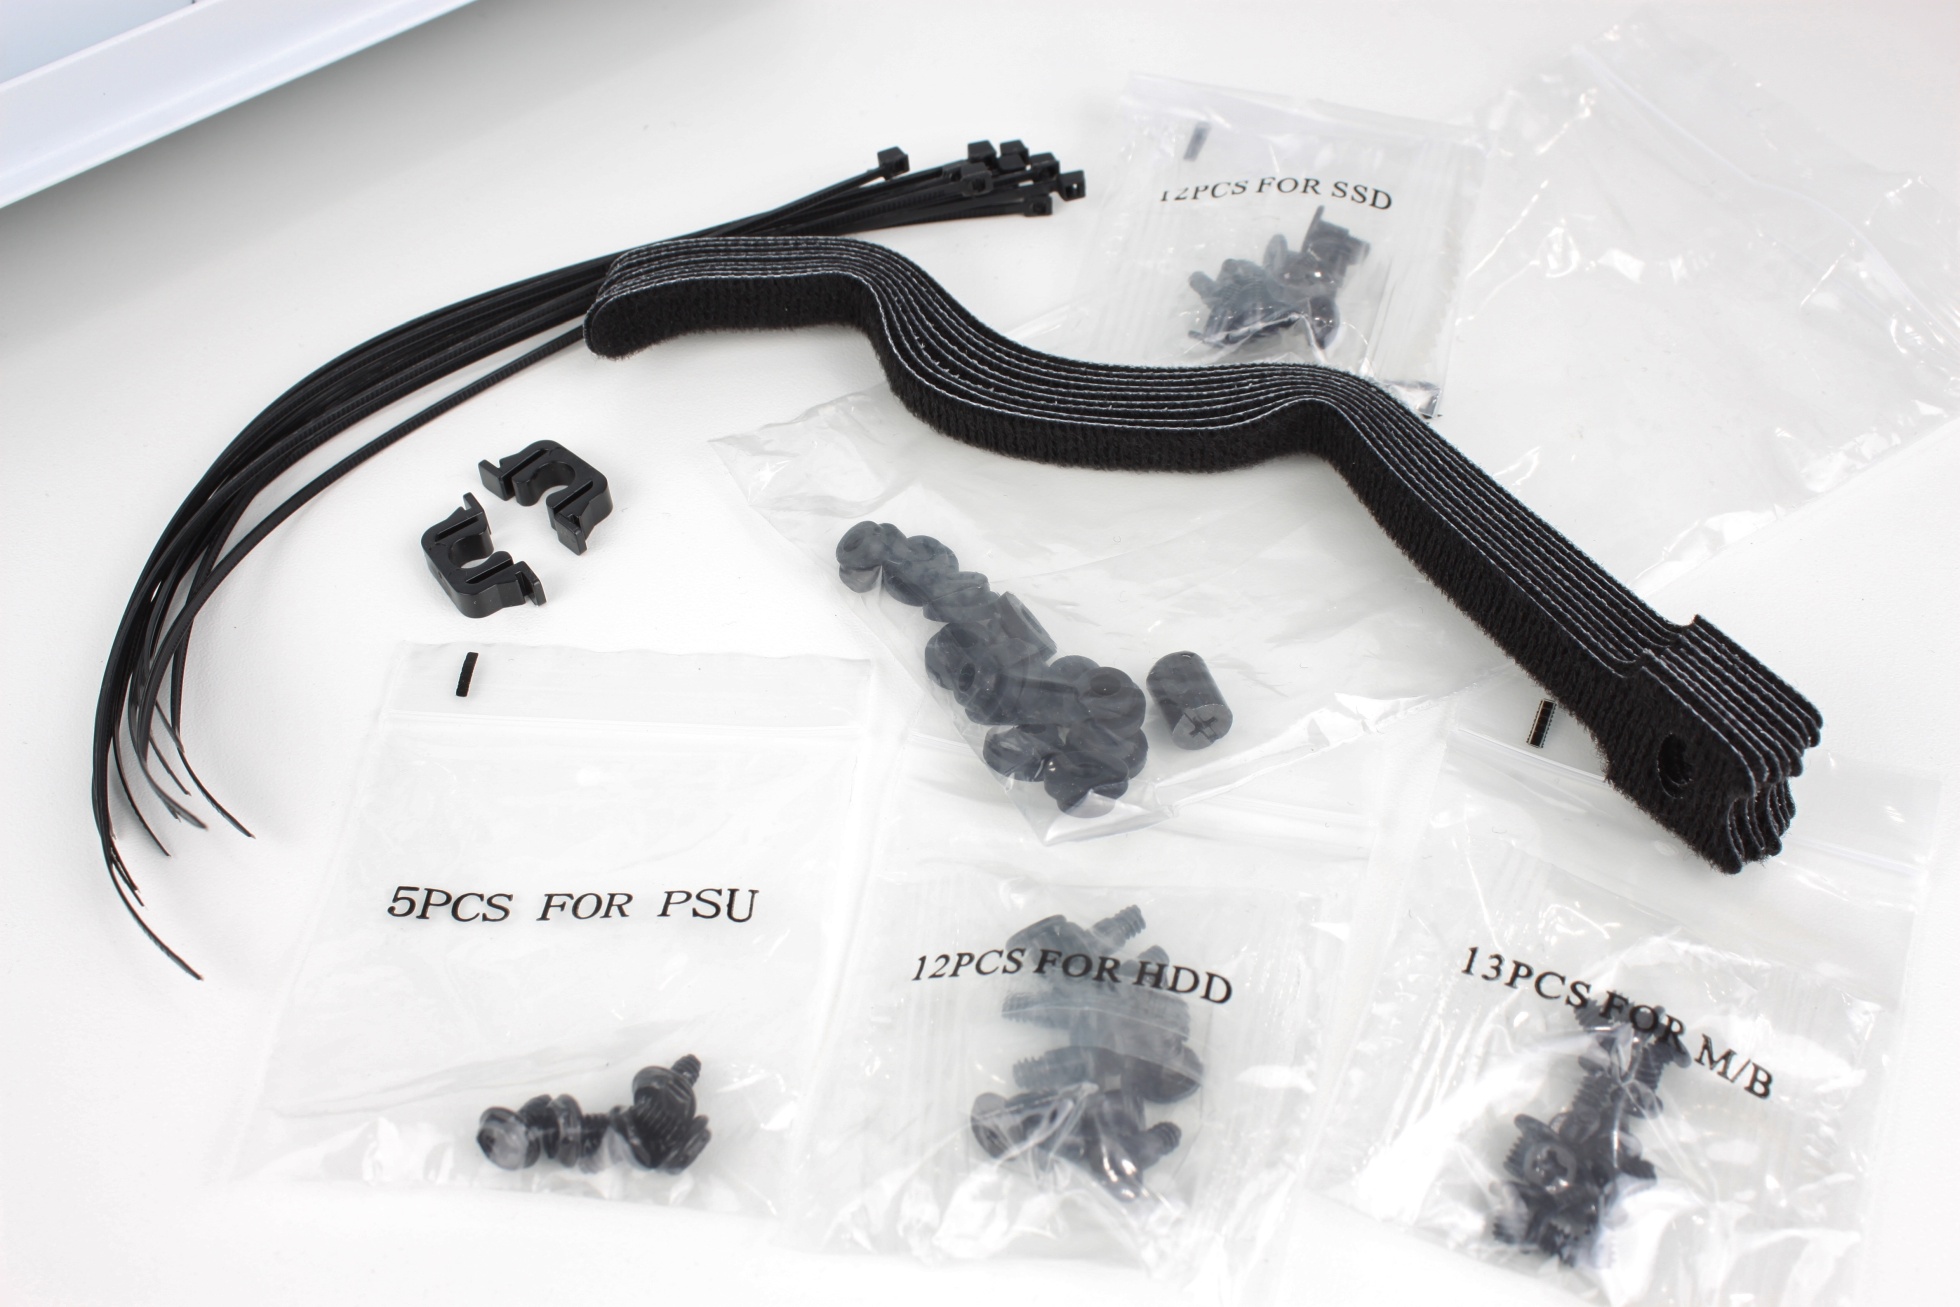
Accessories include all necessary screws, some rubber decouplers, replacement clips and cable ties.


16 Antworten
Kommentar
Lade neue Kommentare
Urgestein
Moderator
Moderator
Urgestein
1
Veteran
Urgestein
Moderator
Veteran
Urgestein
Moderator
Veteran
Mitglied
Urgestein
Urgestein
Urgestein
Alle Kommentare lesen unter igor´sLAB Community →