


Construction diary
Let’s finally get to the practical test, the most exciting part of my reviews. I was particularly looking forward to the different GPU mounting options and of course I tried out and photographed all three variants. The following hardware was to go into the E600:
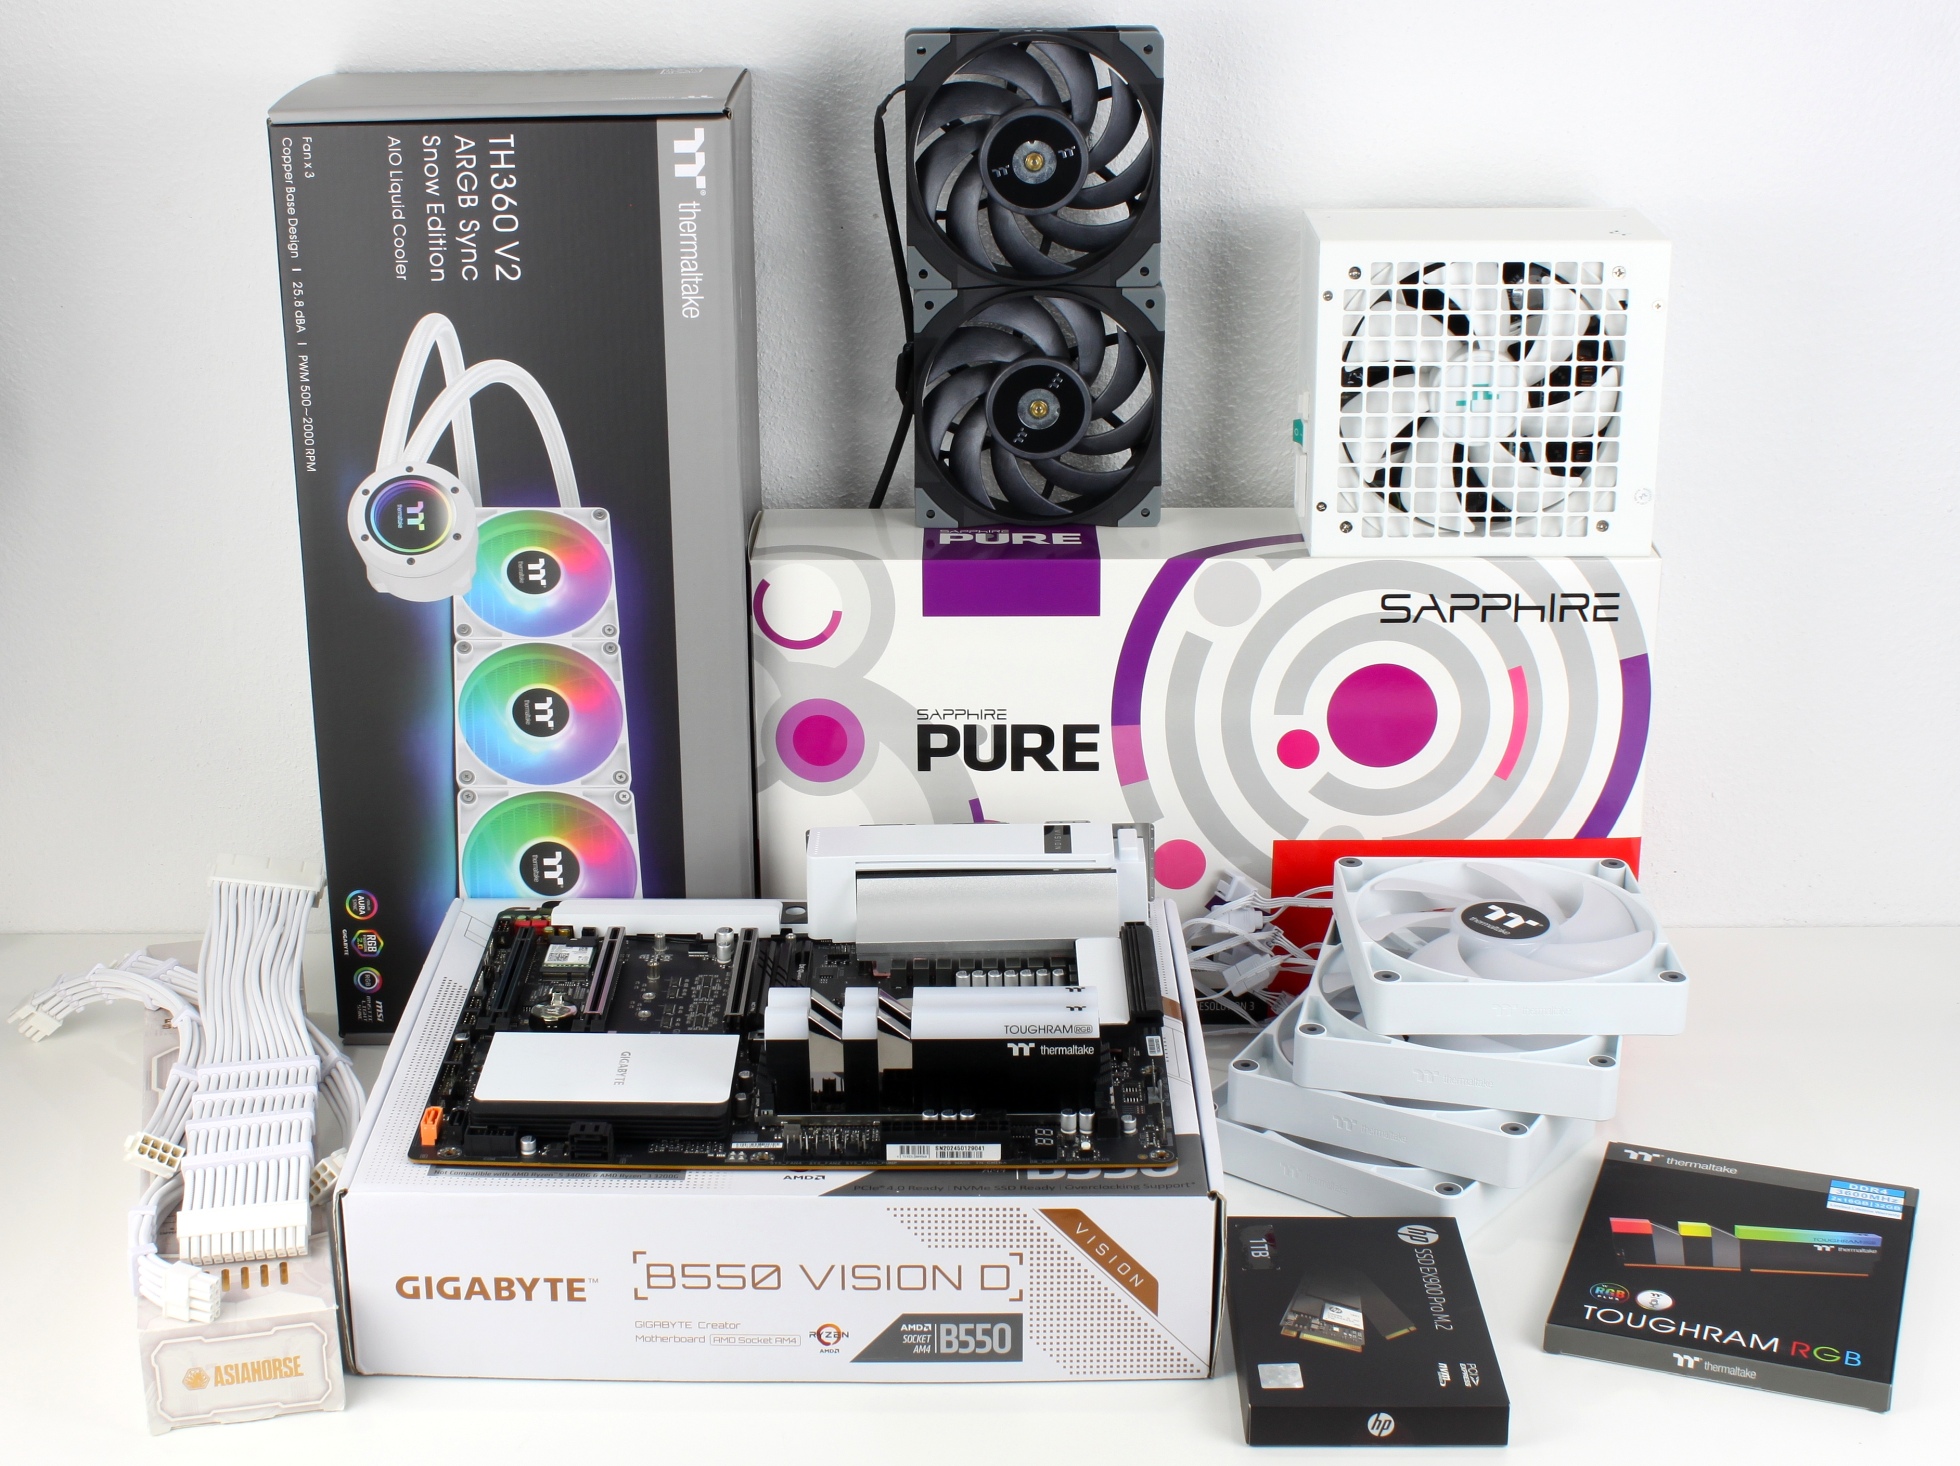
As the case comes to the customer without pre-installed fans, I first installed some case fans. I will explain why these fans were used on the next page.
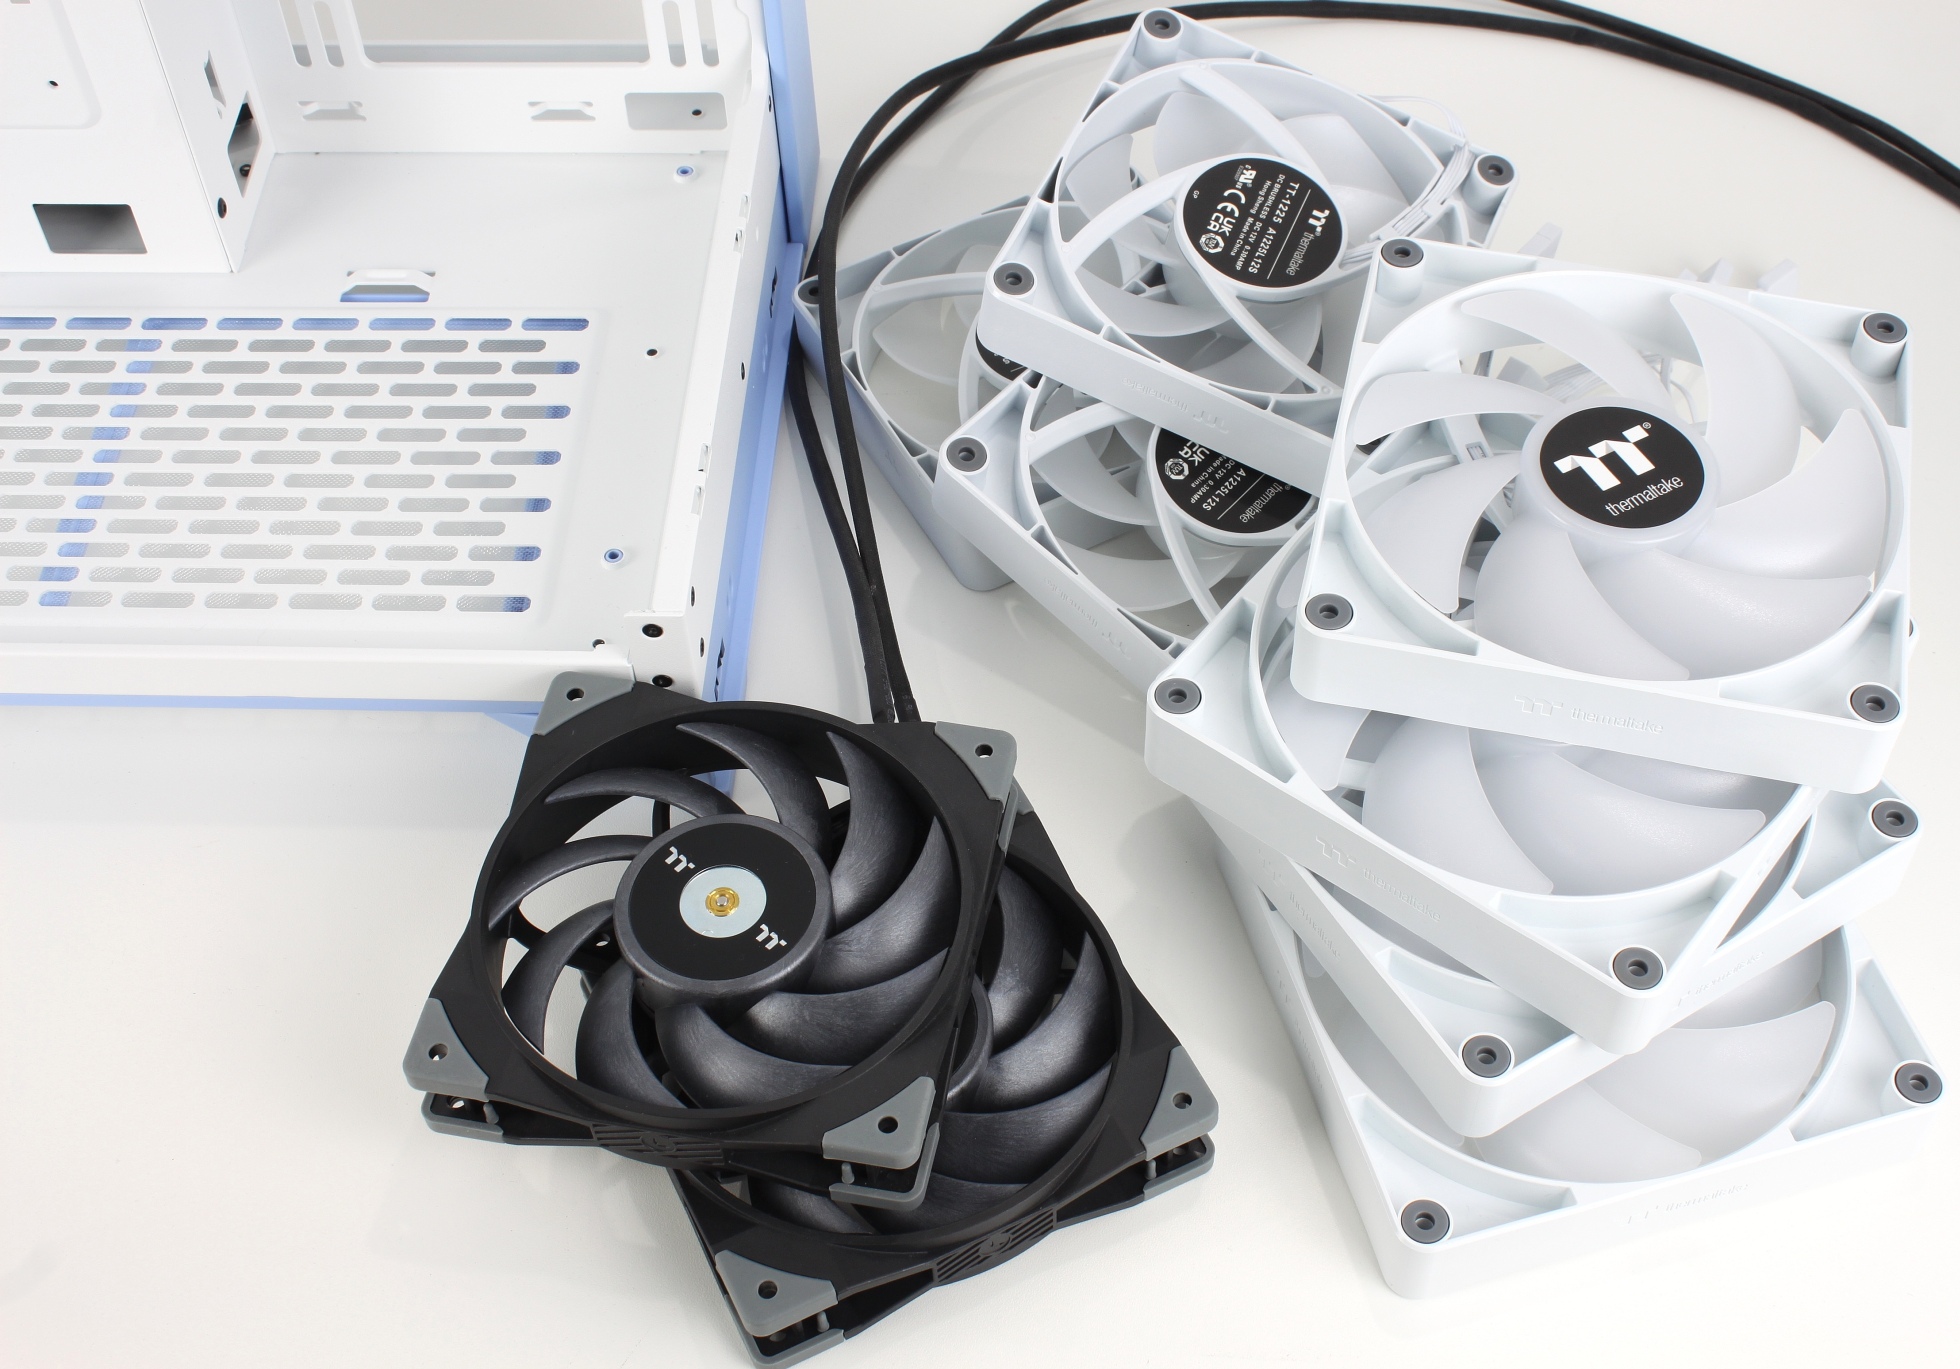
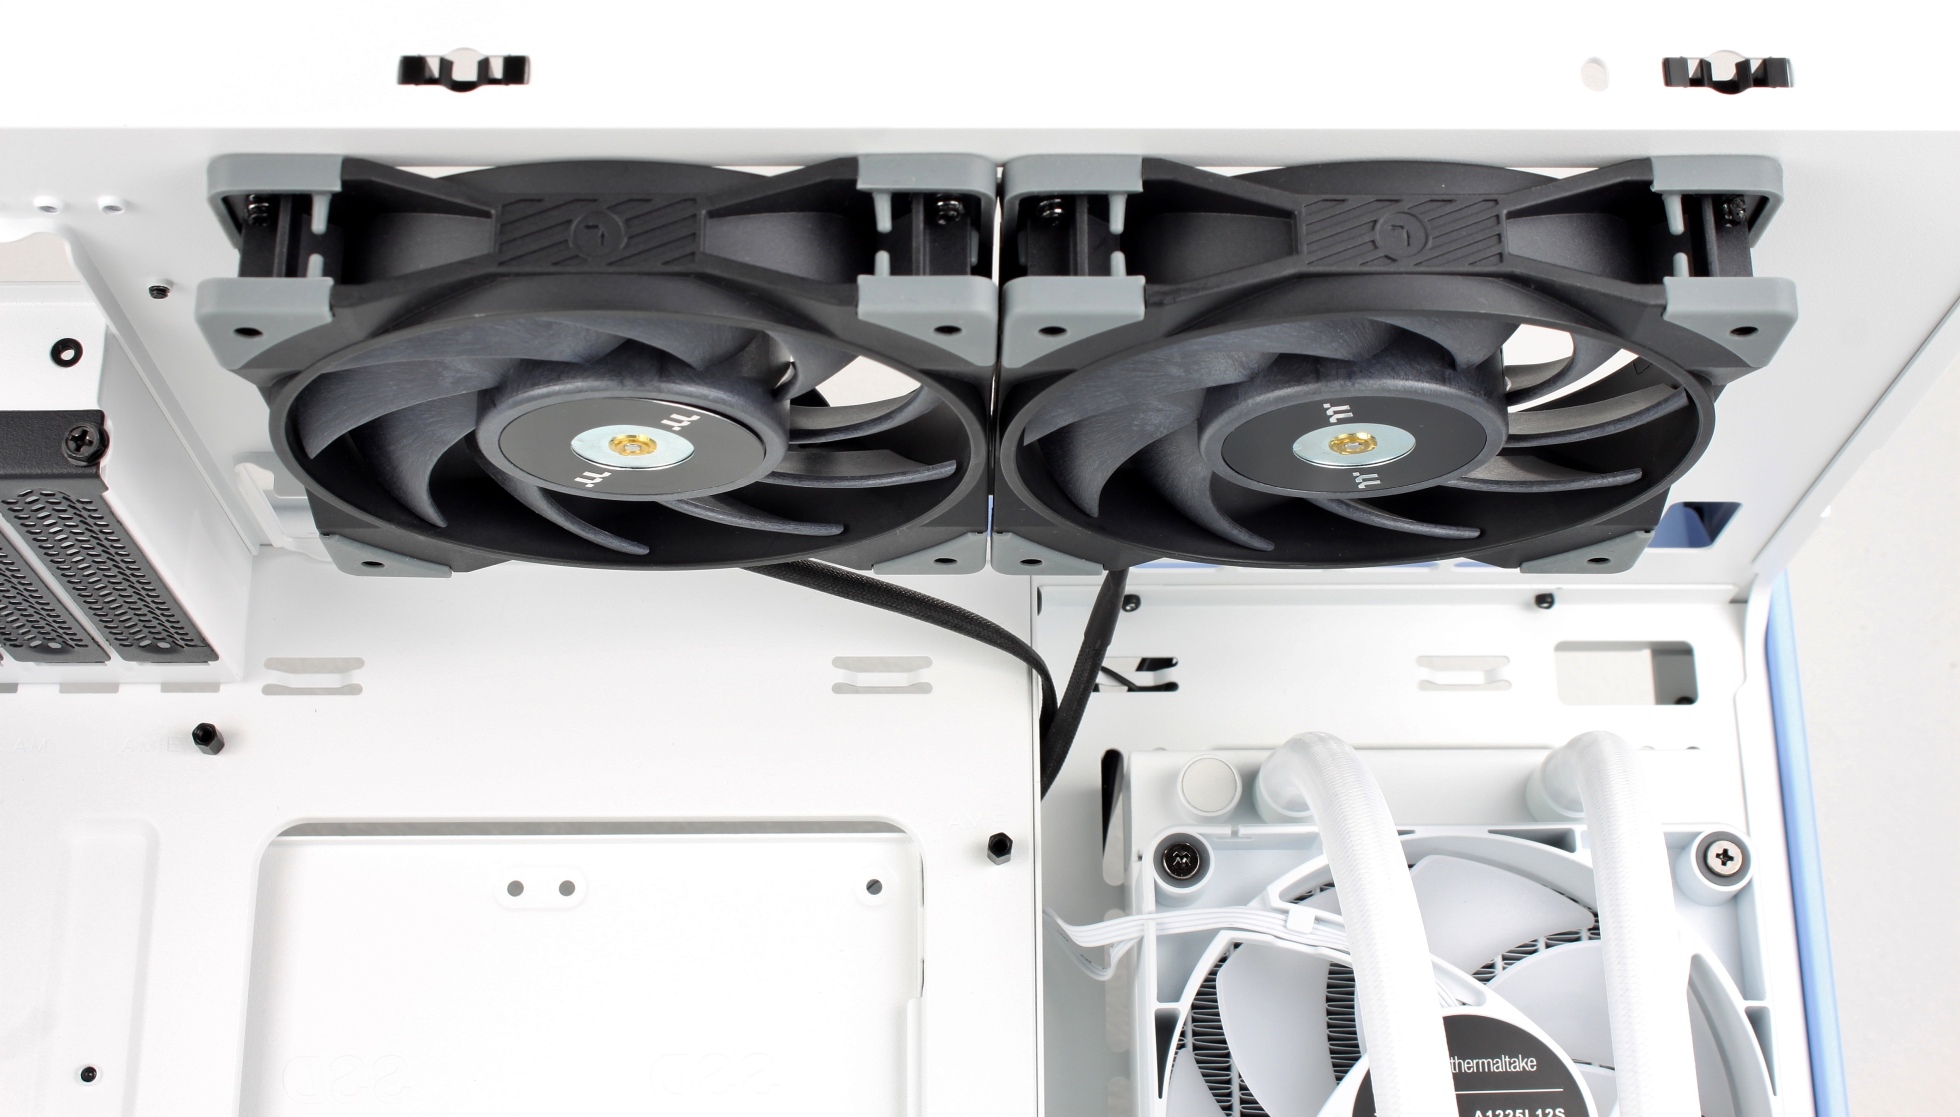
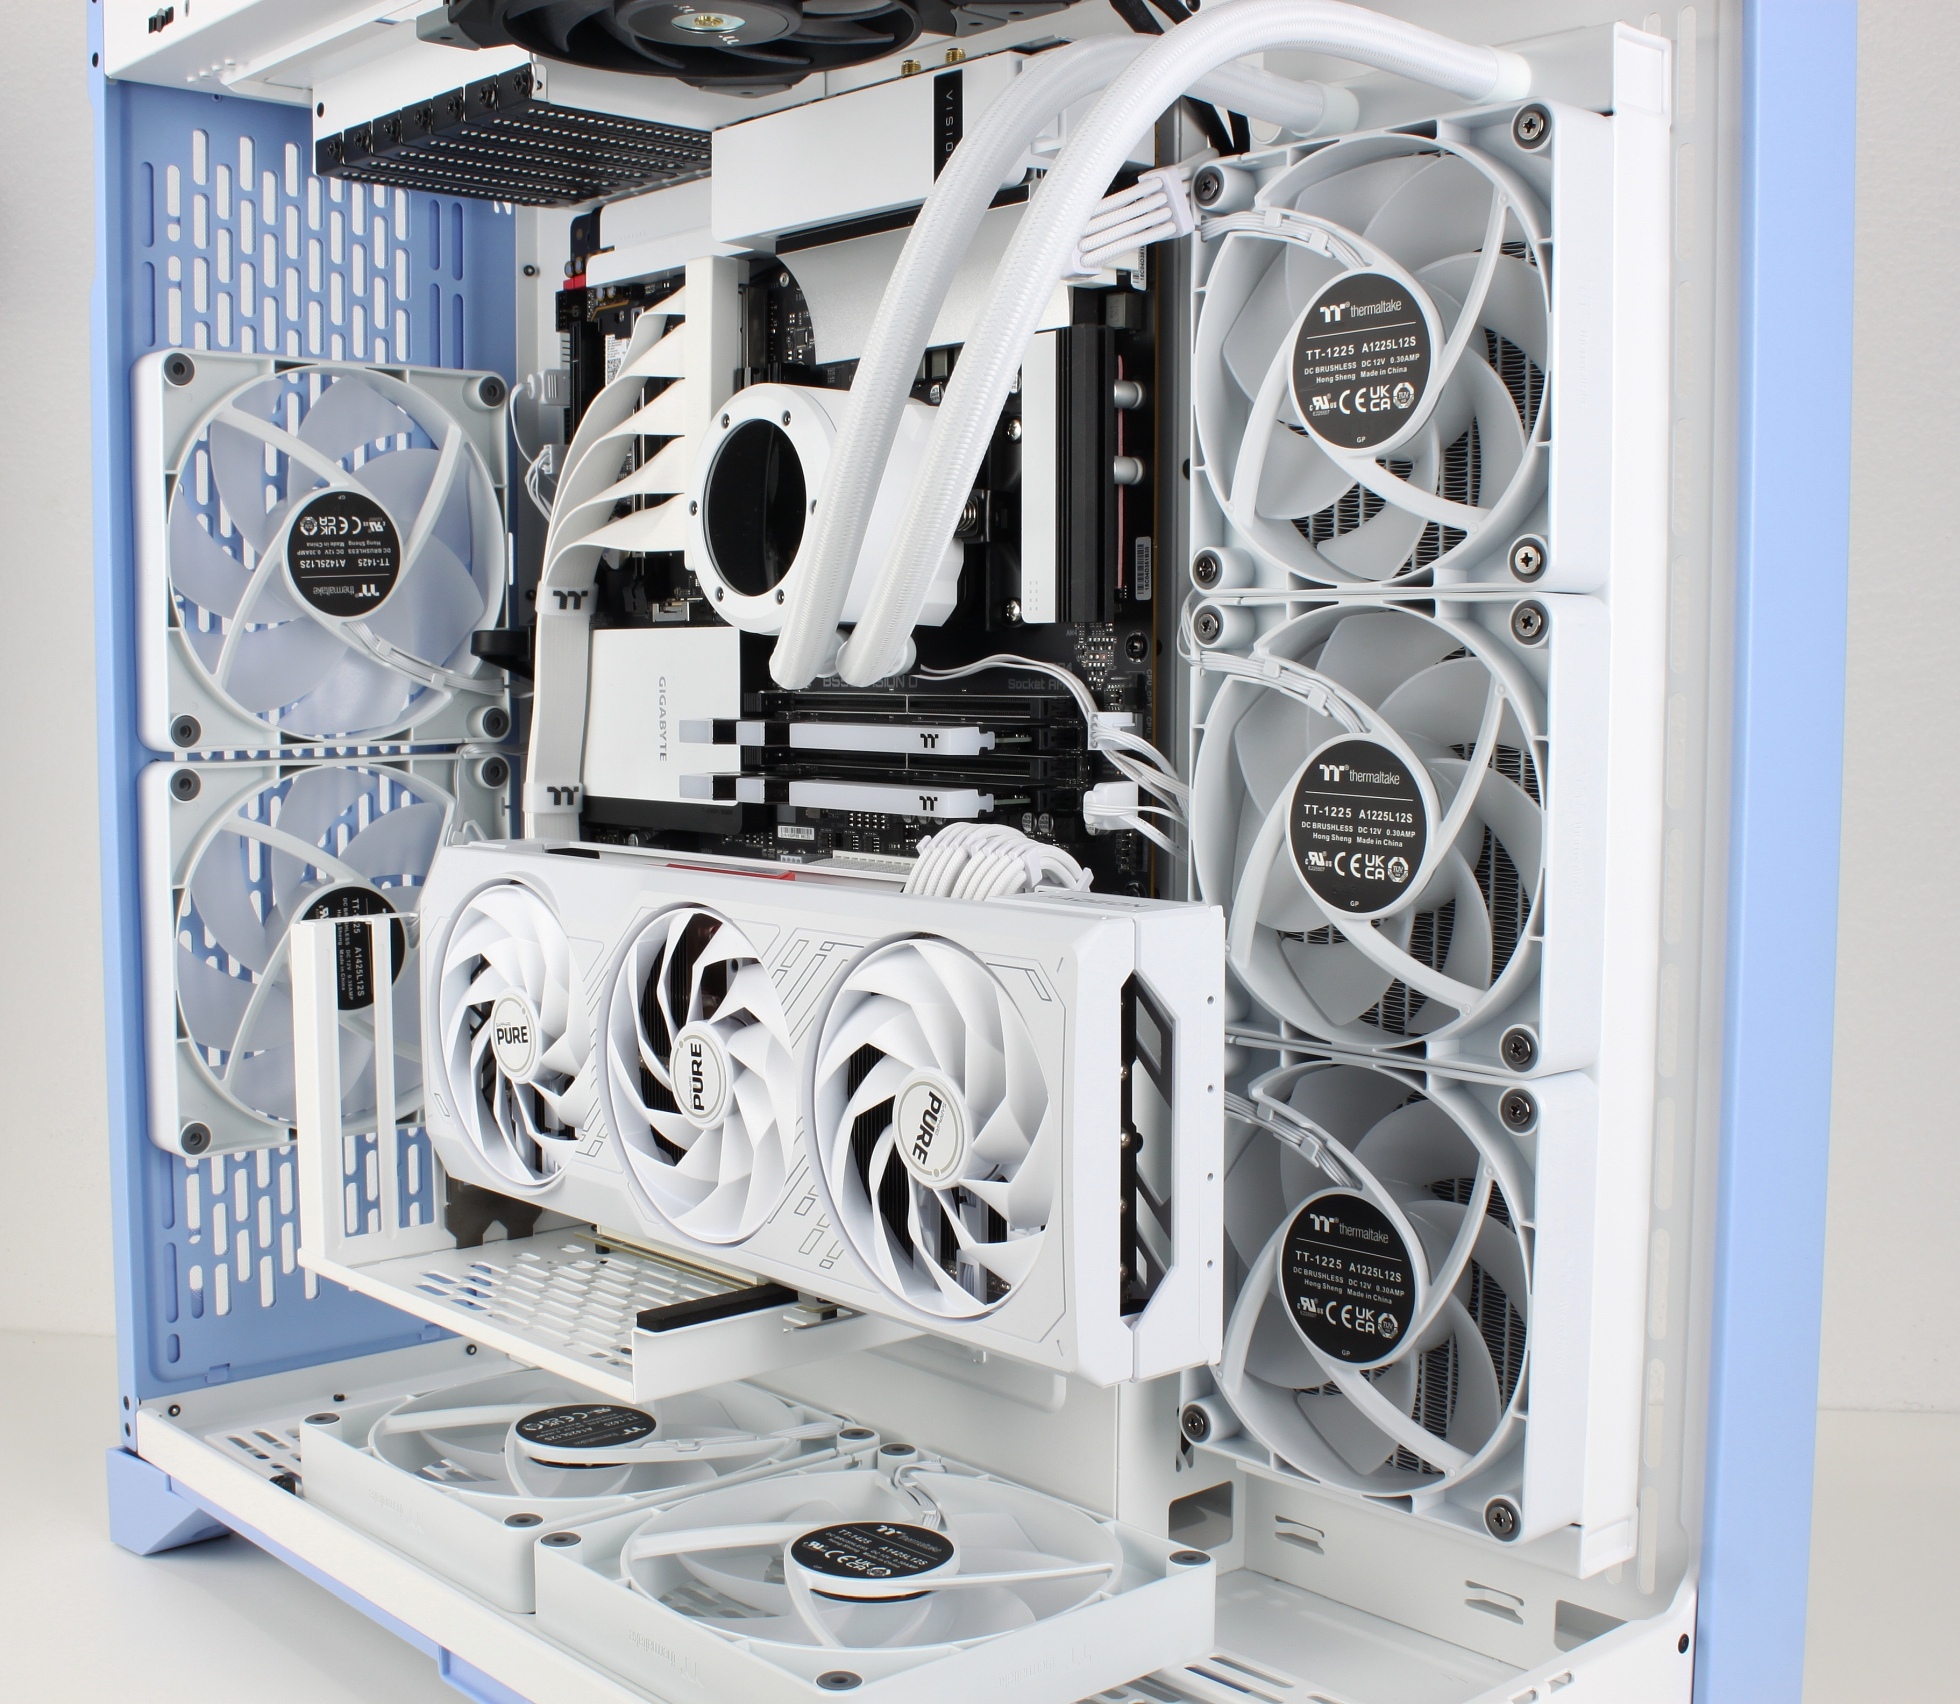
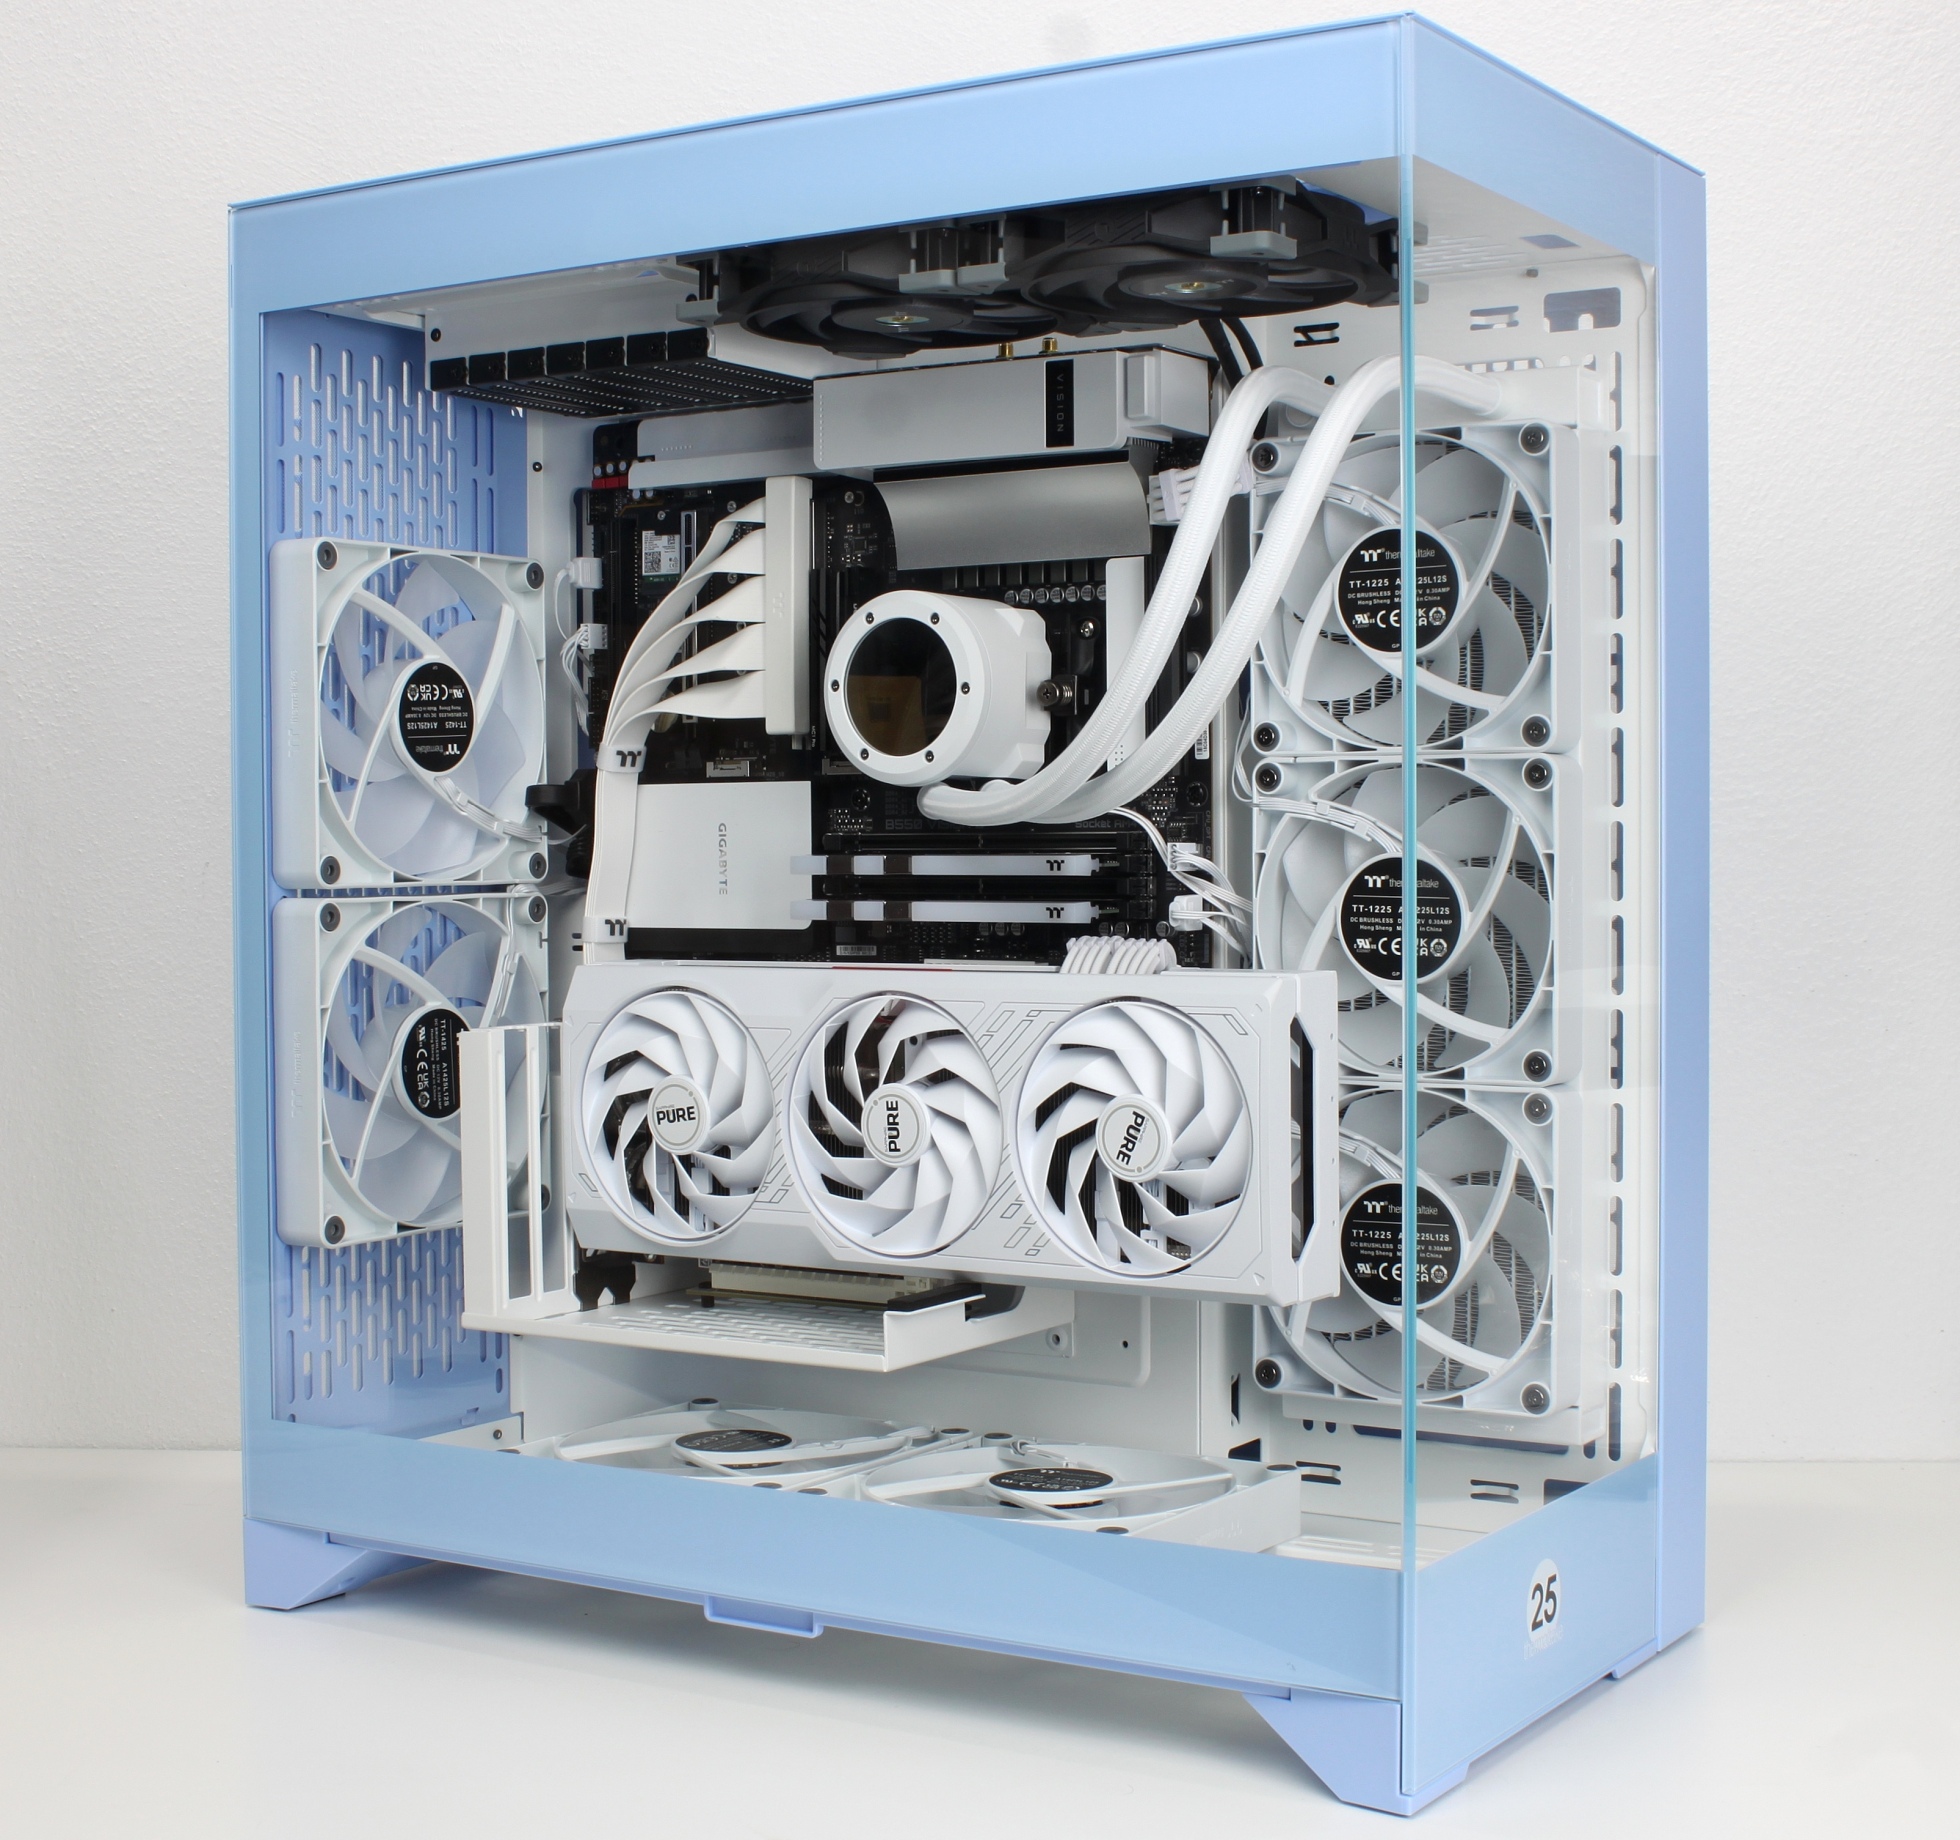
All fans installed. A 360mm AIO is to be used to cool the CPU. For reasons of appearance (use of the glass front), the AIO was mounted in the side mount.
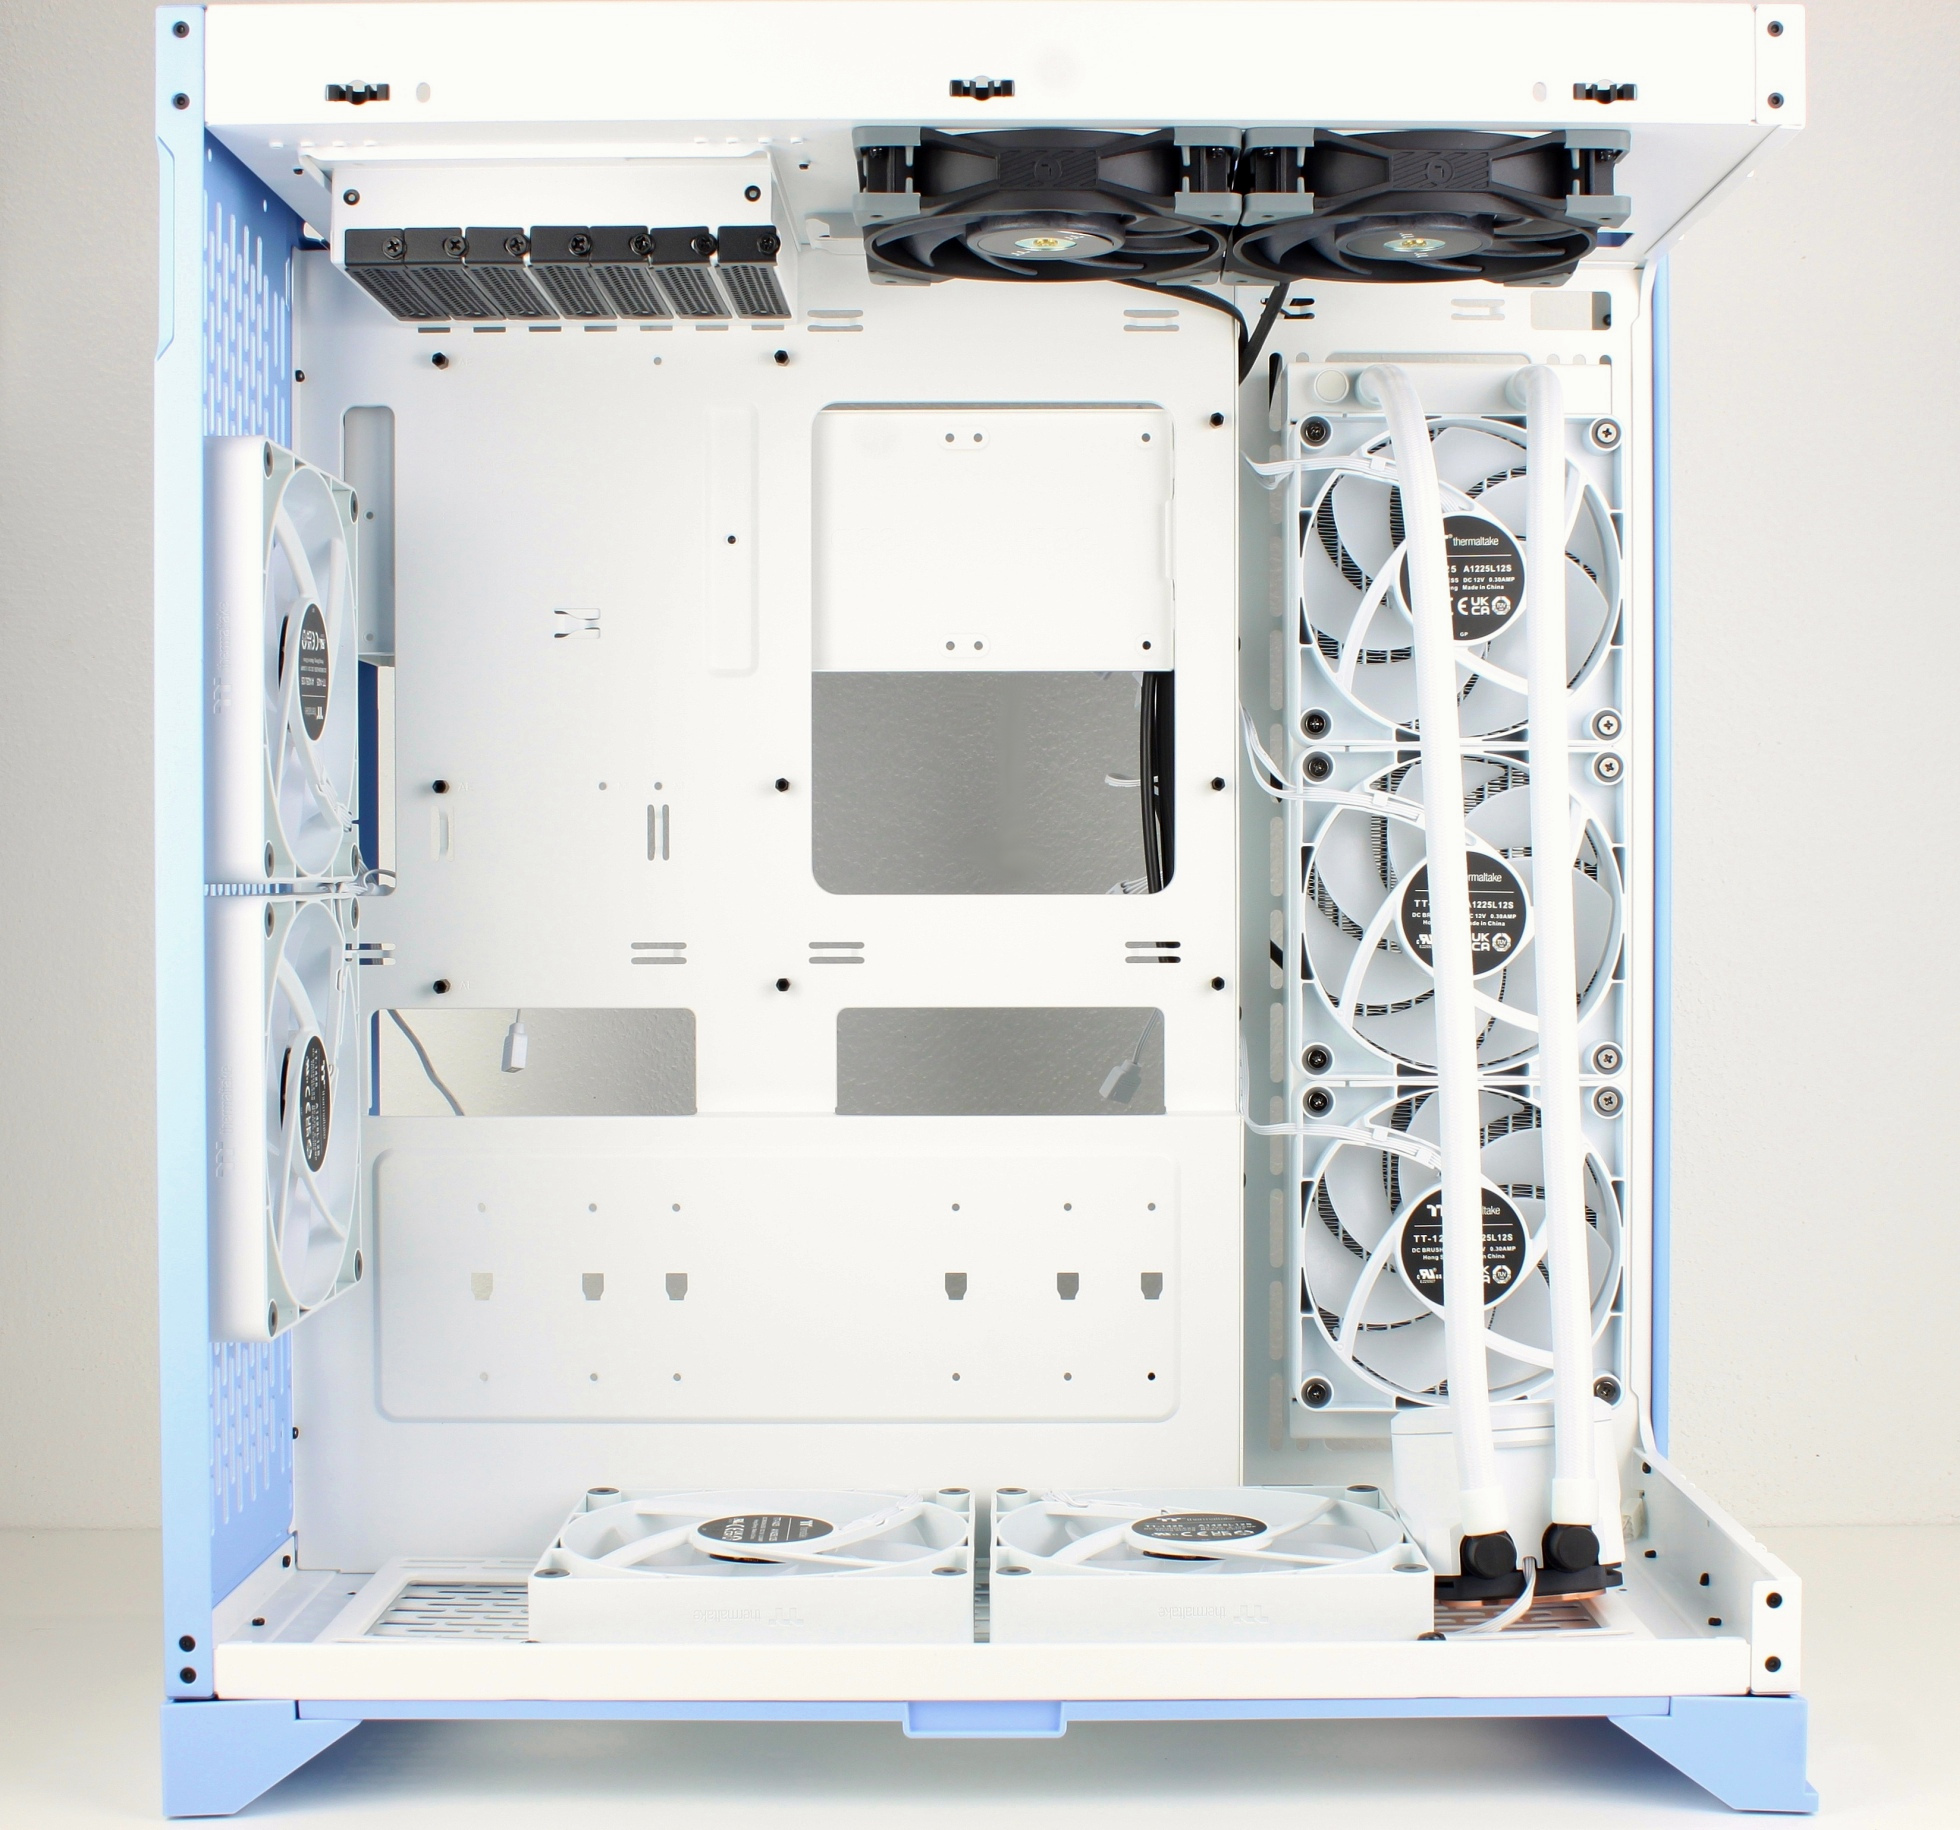
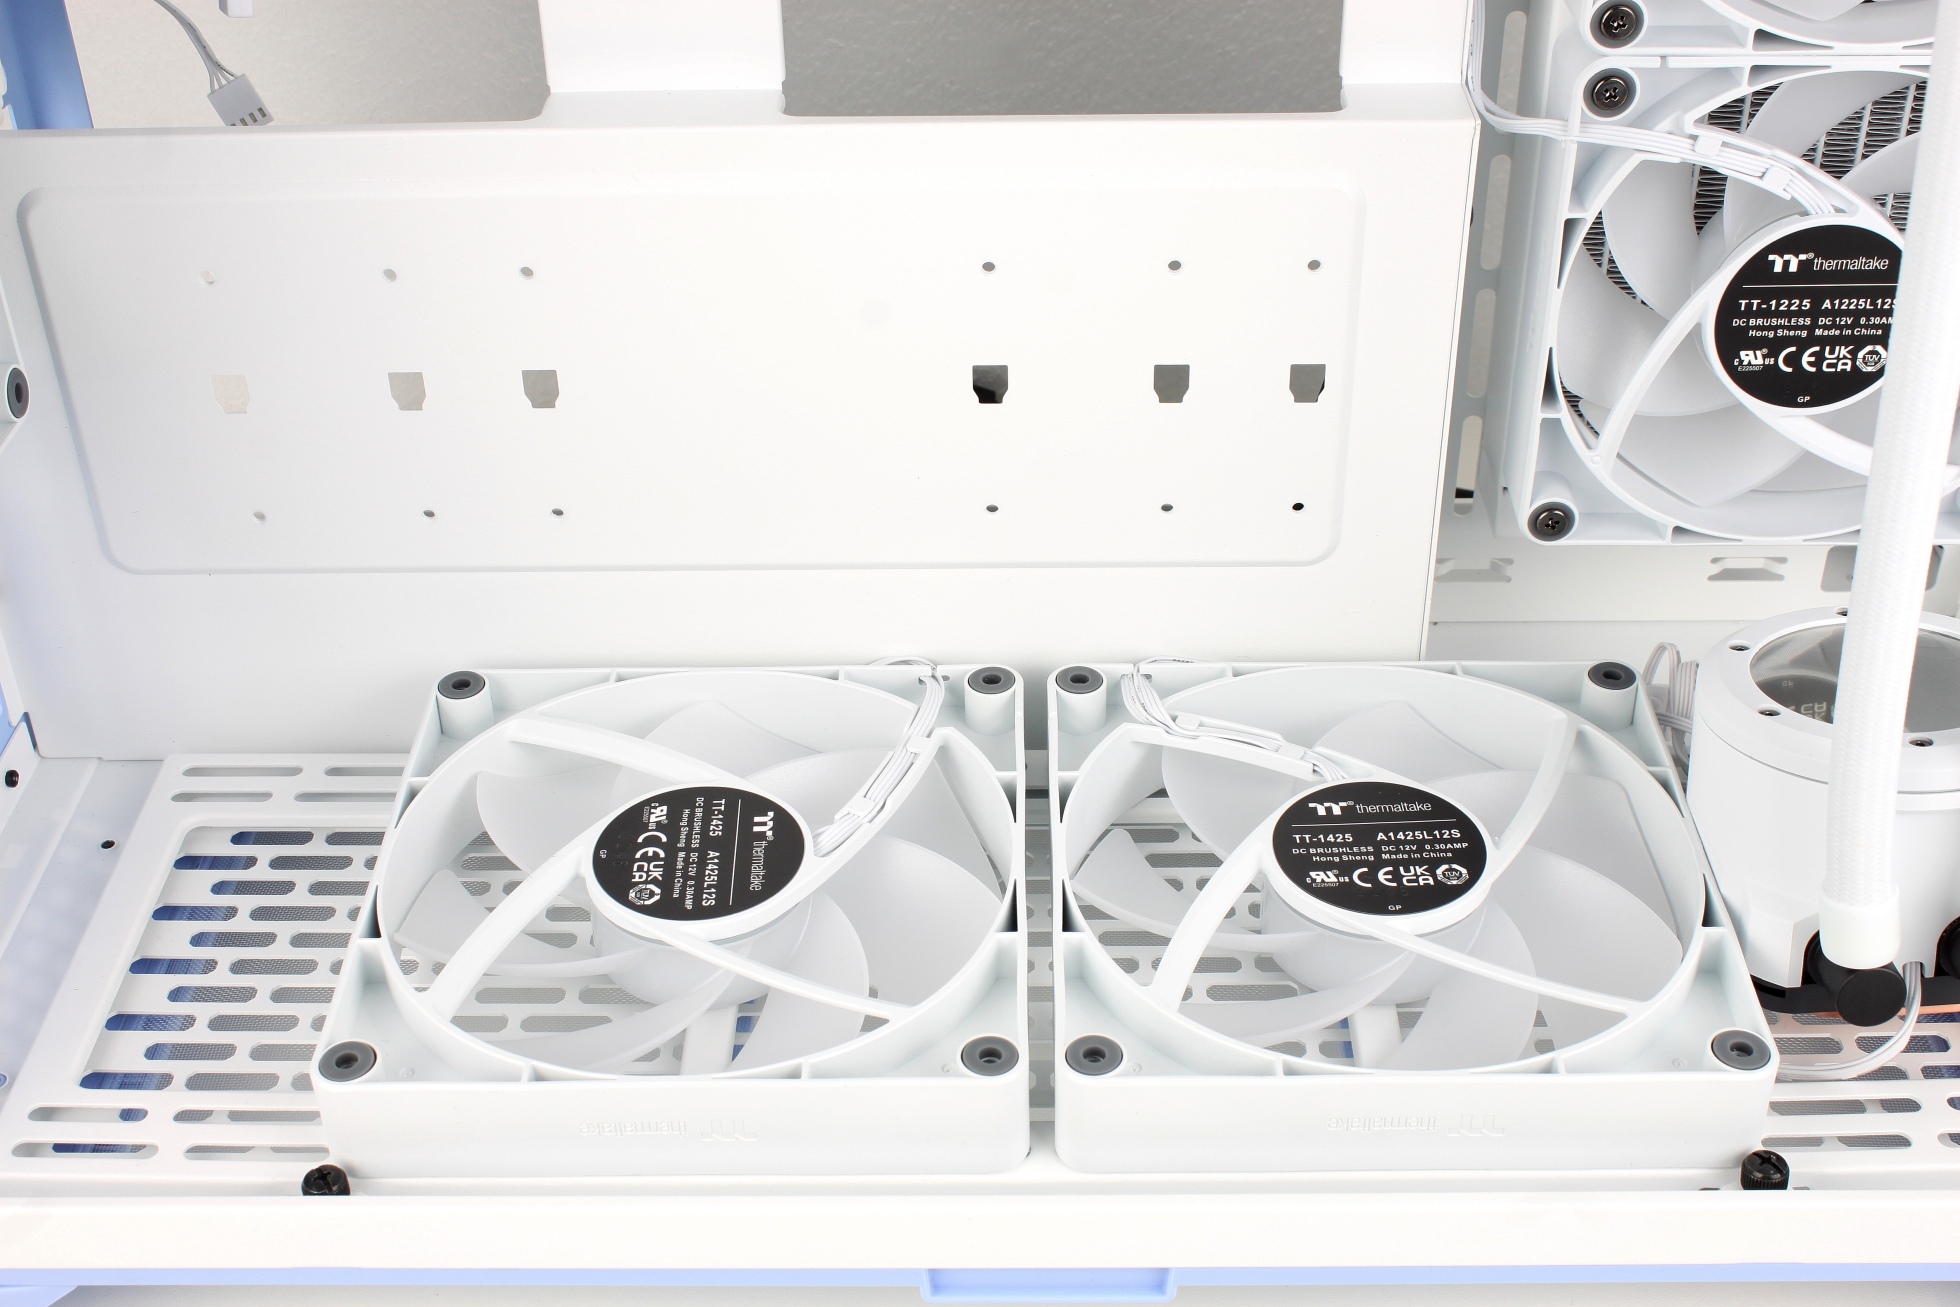
The 140mm fans in the base and rear are aligned as intakes in order to utilize the CTE design as intended by the manufacturer. The same applies to the three 120mm fans of the AIO.
All heated air should escape from the lid, which is why two 120mm fans have been installed as exhausts.
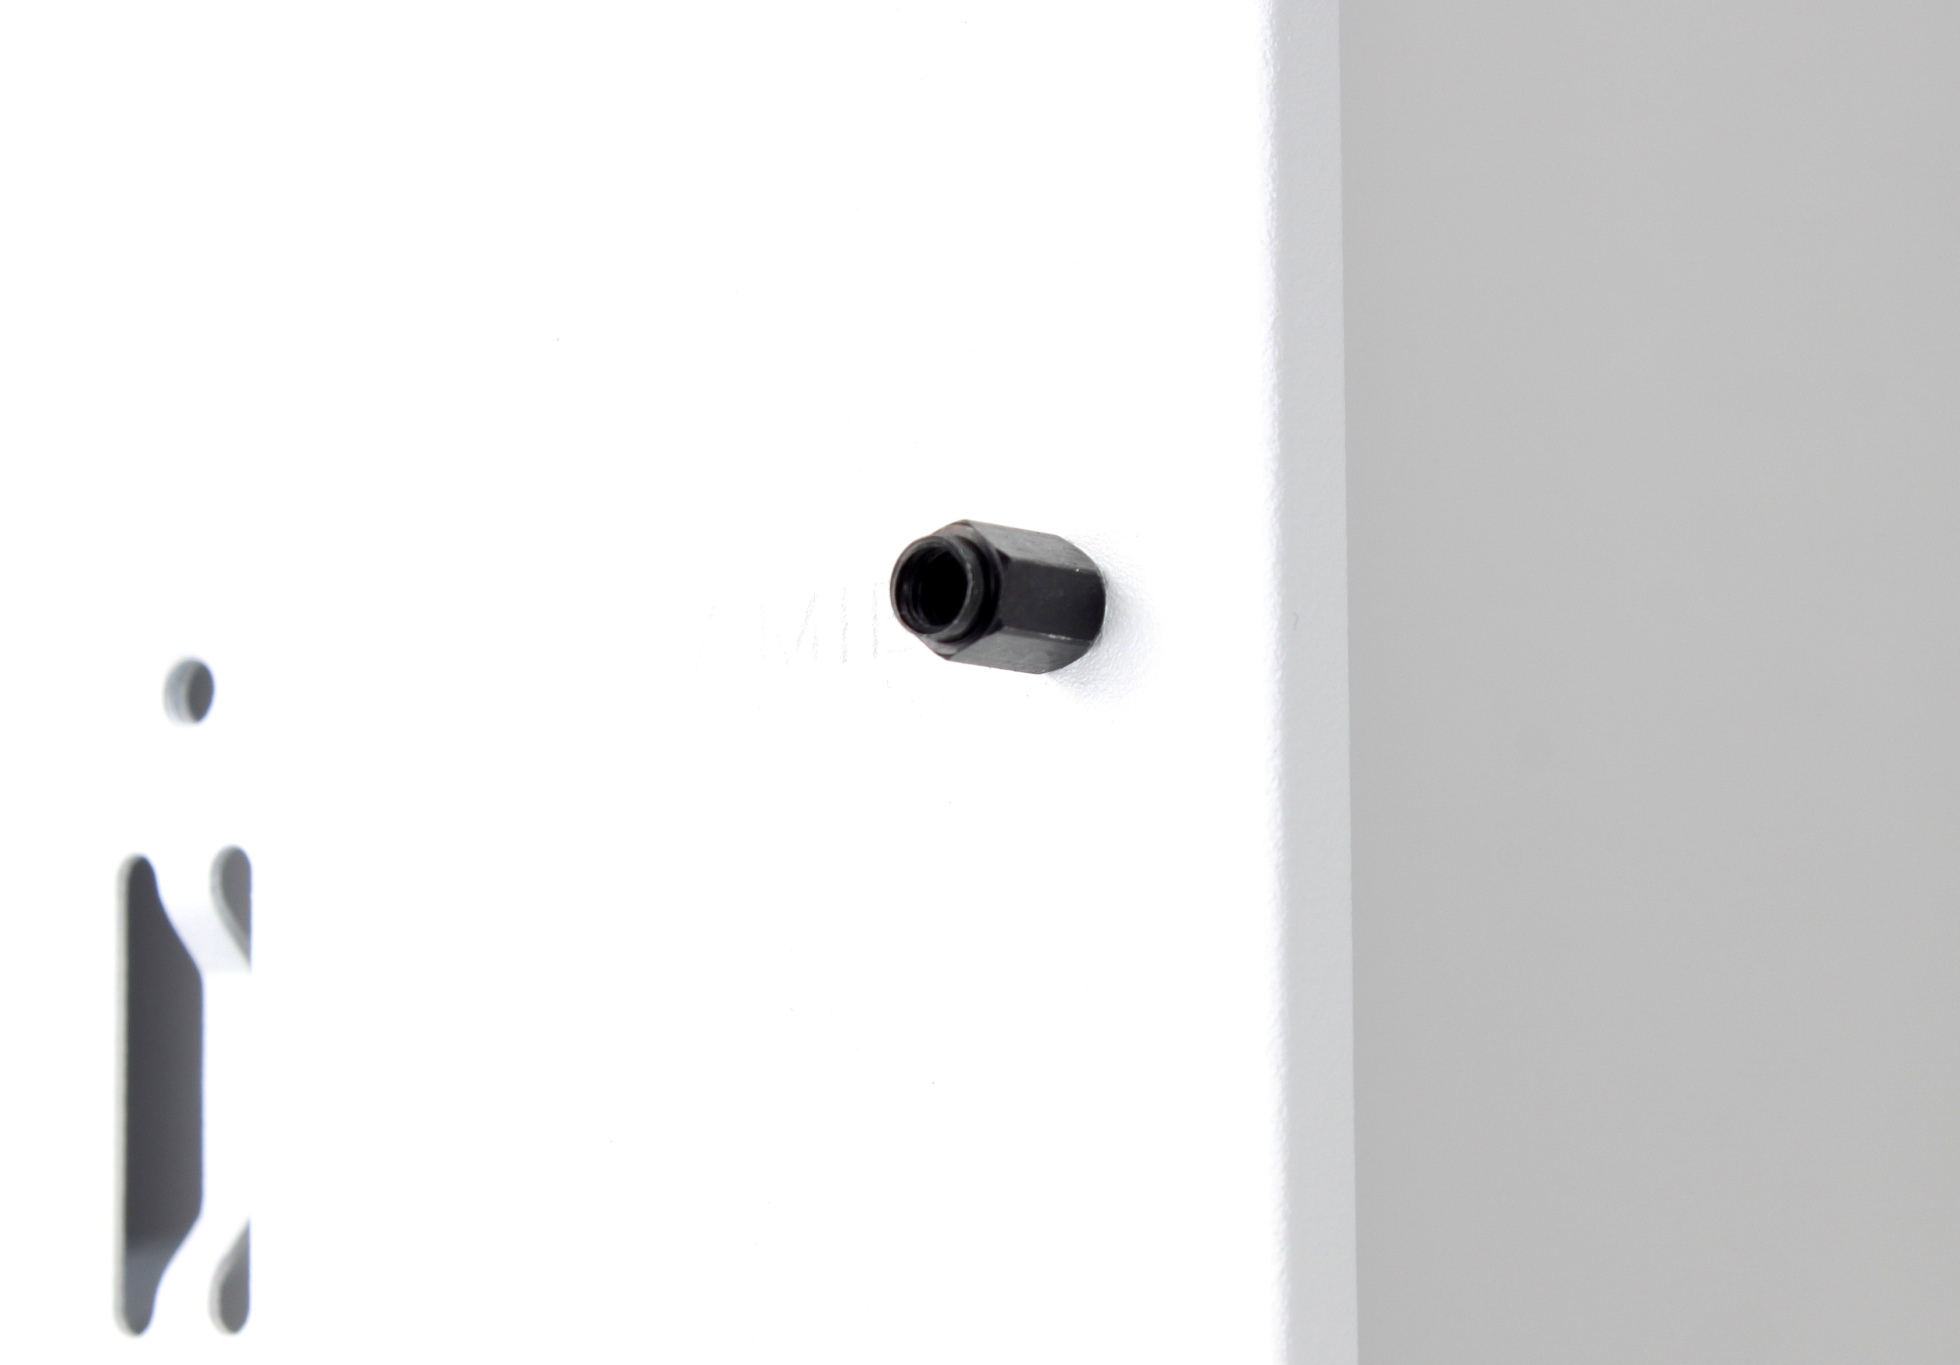
The next step was to install the mainboard. Thanks to the pre-installed components (CPU, RAM, NVME) and the helpful centering spacer, this was child’s play!
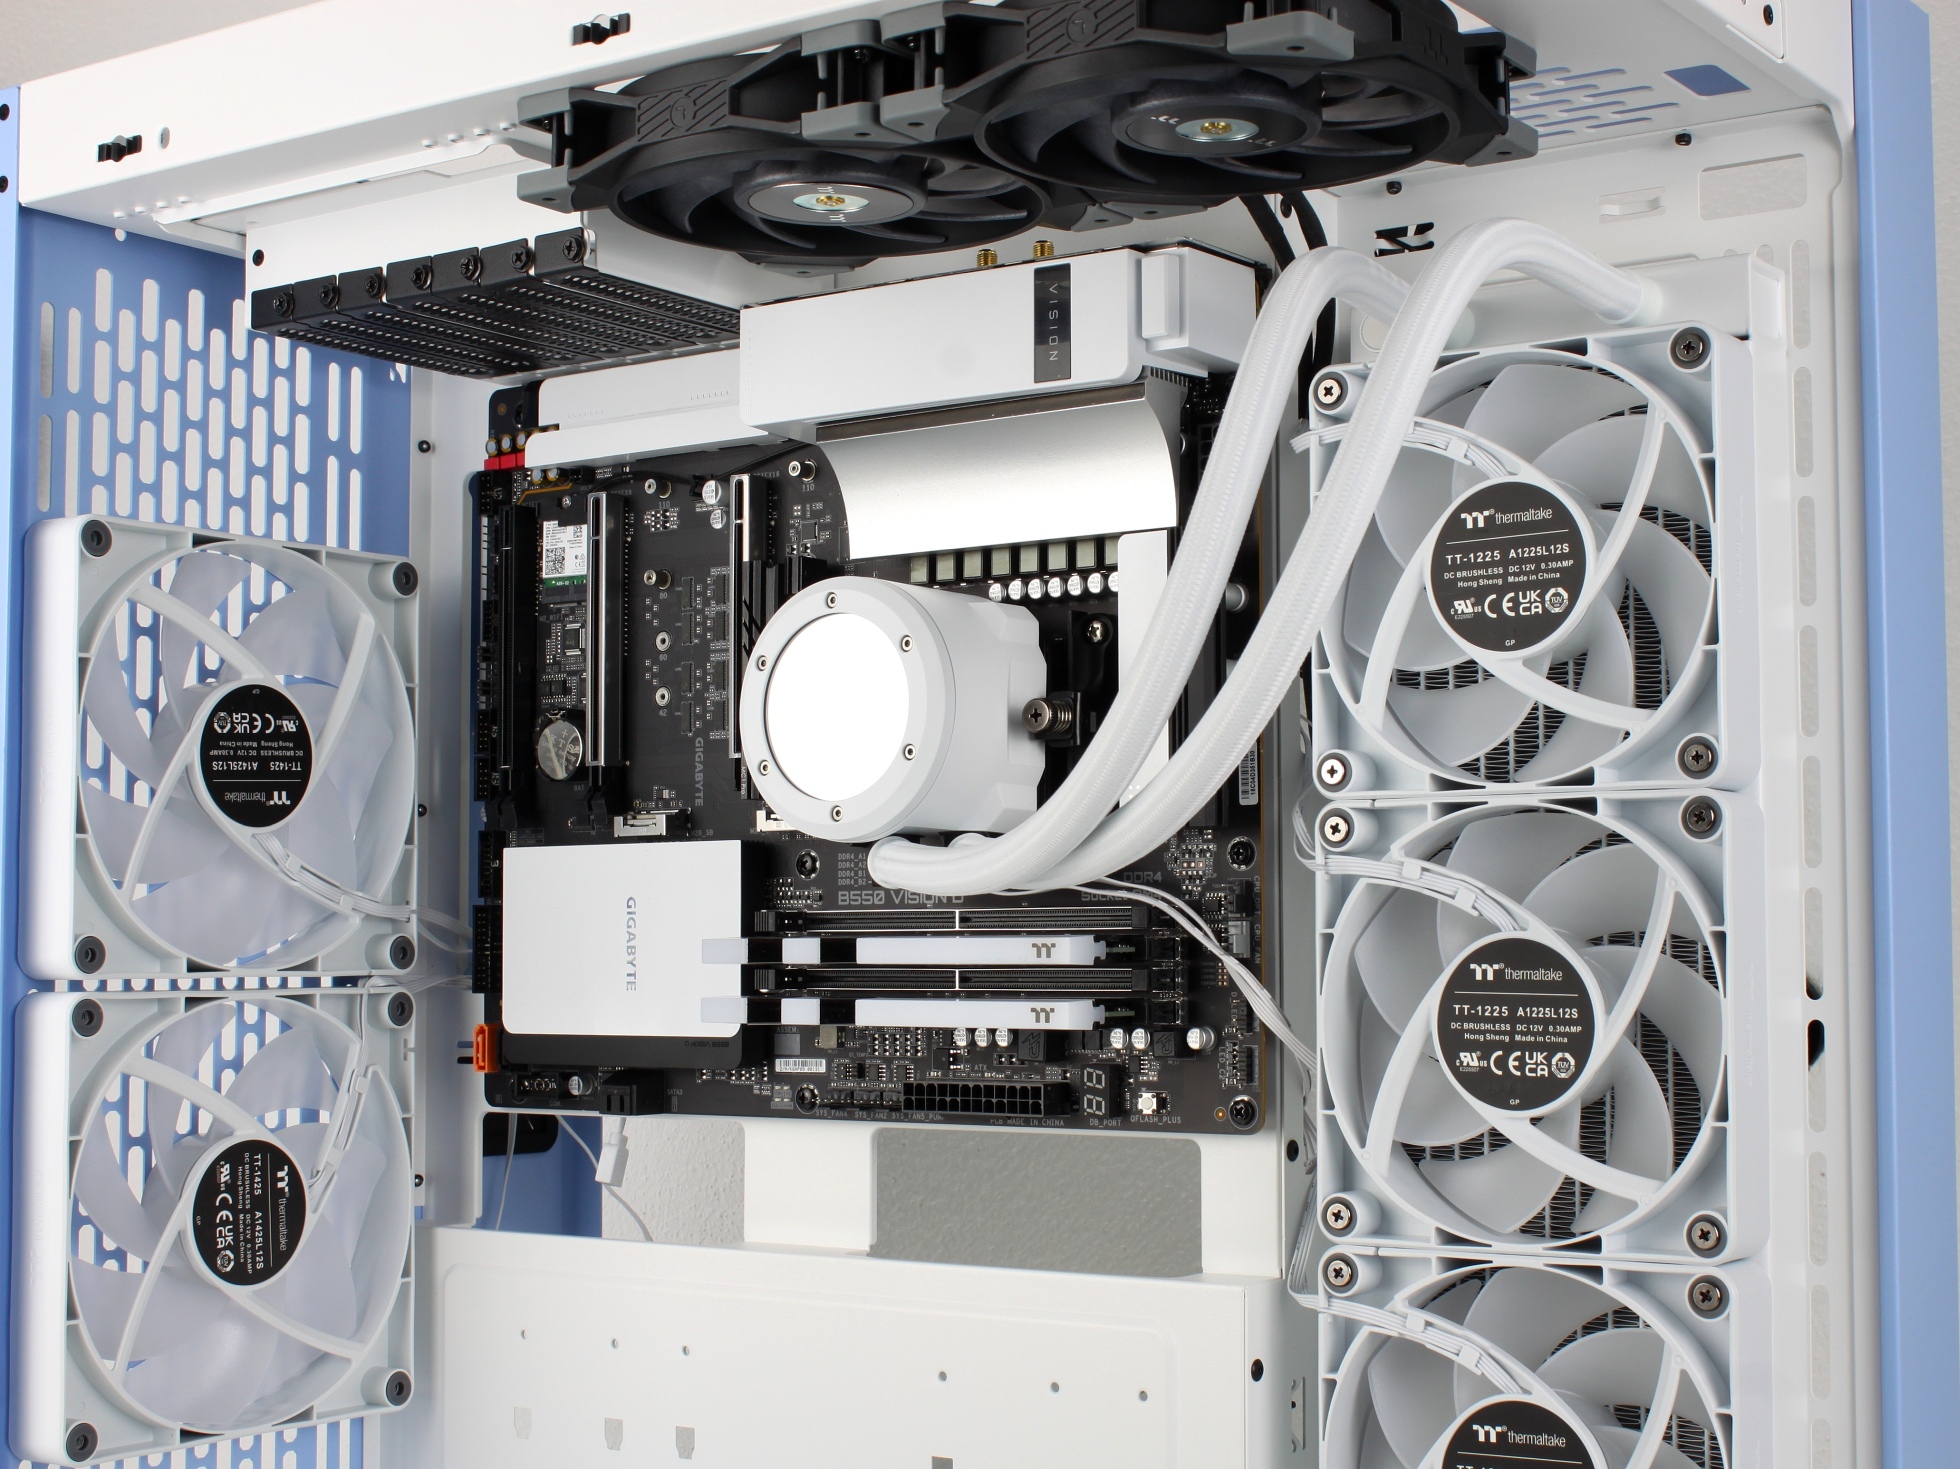
Board screwed in place and AIO attached:
Excursus: Varied installation of the graphics card
Let’s take a brief look at the installation of the graphics card. In the CTE cases, the graphics card is mounted “hanging” as standard. Because you can’t see much of the graphics card this way, previous models already offered the option of mounting the graphics card with the fans facing forwards (as with vertical mounting in regular cases). However, regardless of whether the fans were aligned towards the rear or the side panel, many graphics card coolers were unable to cope with suspended mounting, mainly due to the way the built-in heatpipes work. As I have already explained this issue in the reviews of the CTE 750 and The Tower 200, I will not go into it again in detail here. Thermaltake has now solved the problem by adding a third option for mounting the graphics card to the E600 MX – the “floating” variant.
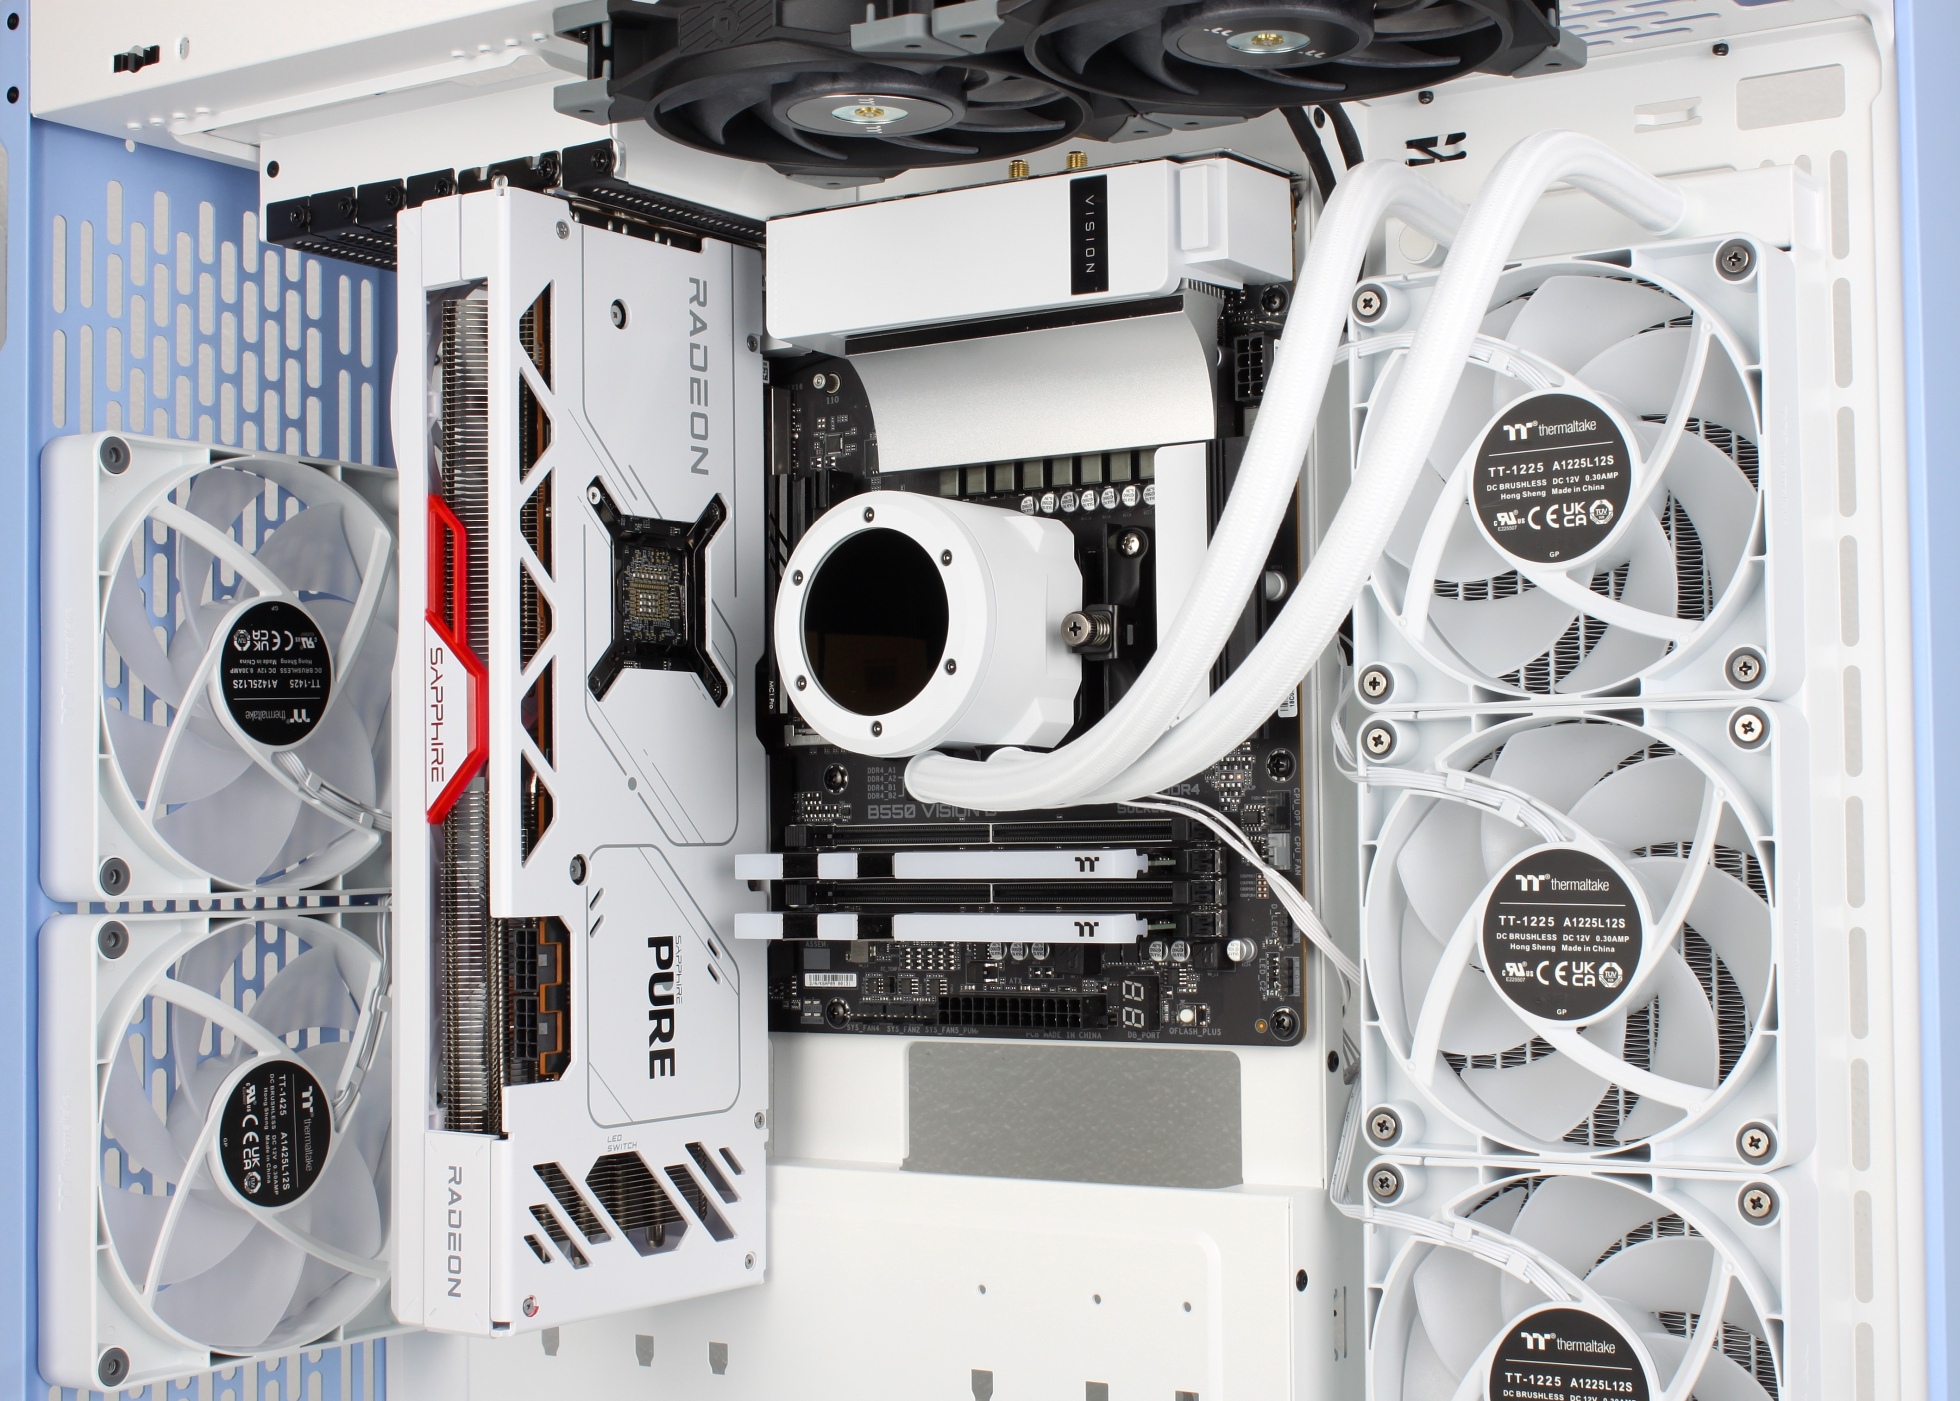
Variant A
Here the graphics card is installed “hanging”, i.e. rotated by 90° like the board.
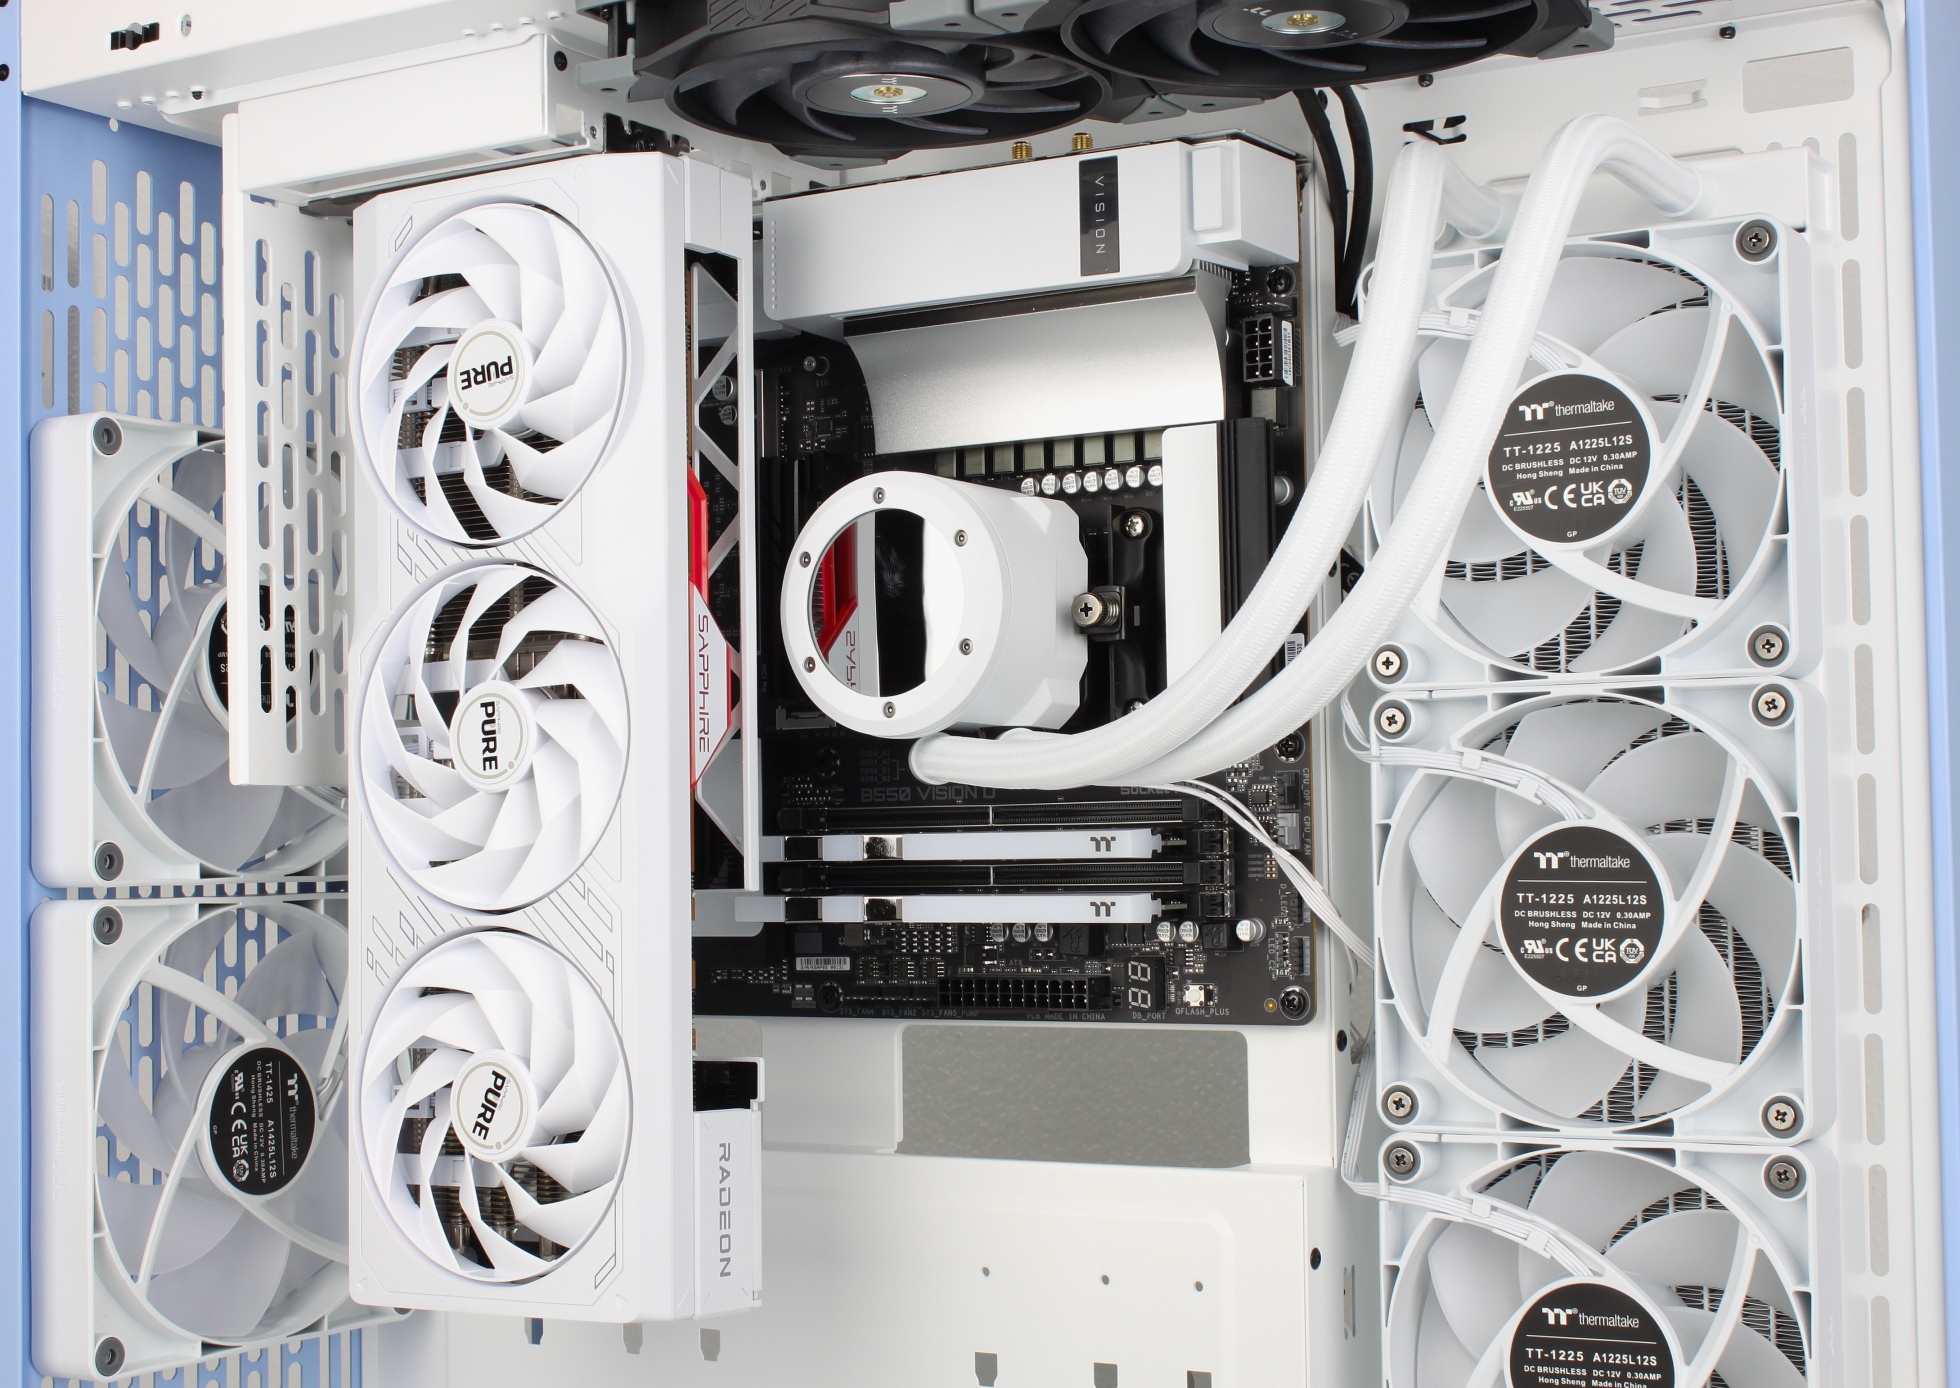
Variant B
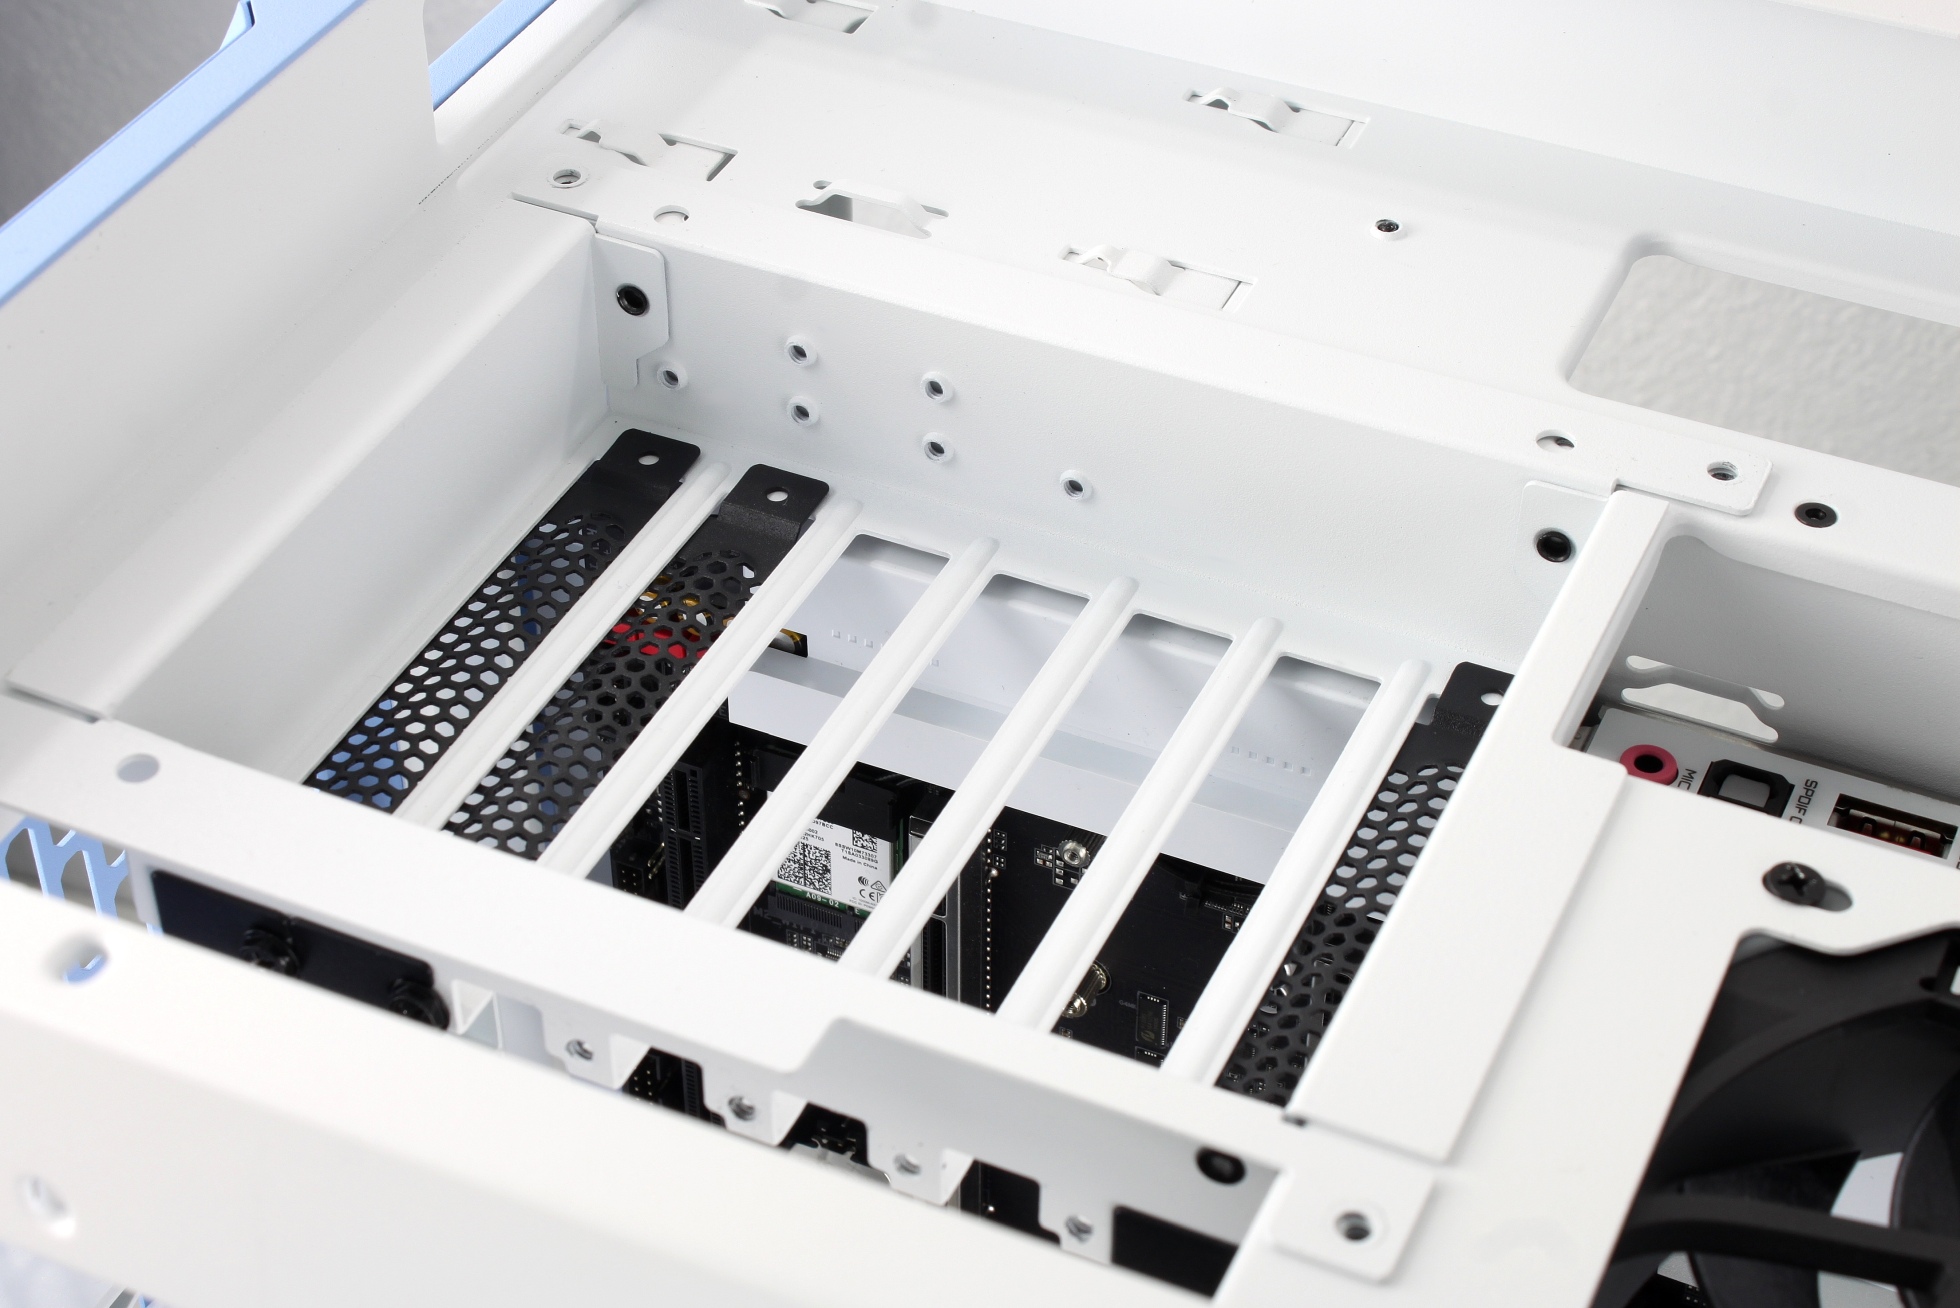
As with vertical mounting in regular cases, the graphics card with the fans can also be aligned towards the side panel in the 600. To do this, simply rotate the frame for installing the expansion cards and then, of course, connect the graphics card using the riser cable (included).
Variant C
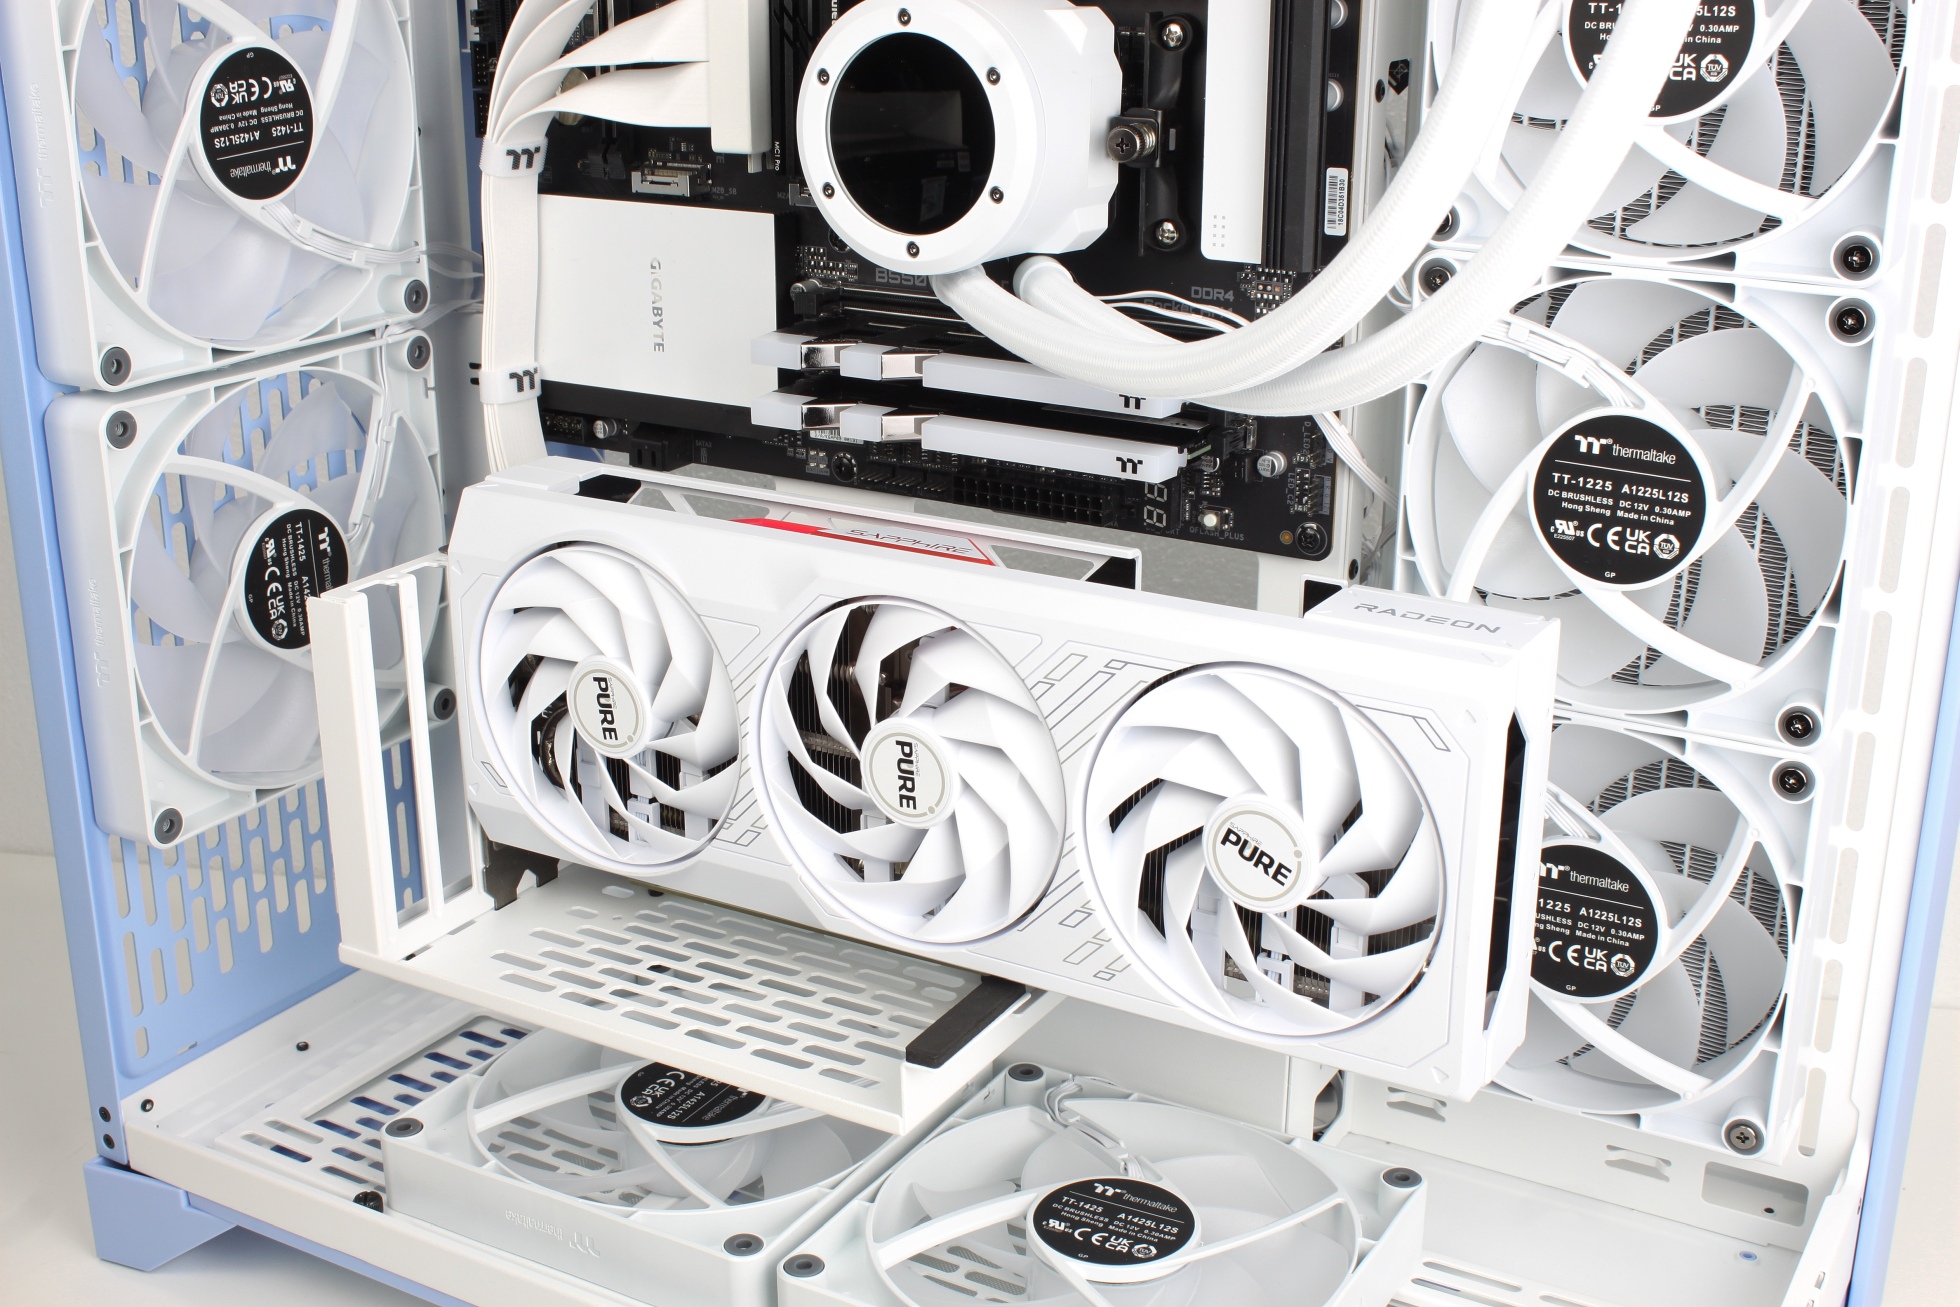
In the “floating” variant, the graphics card is mounted virtually in the middle of the housing. To do this, the enclosed holding device must first be assembled.
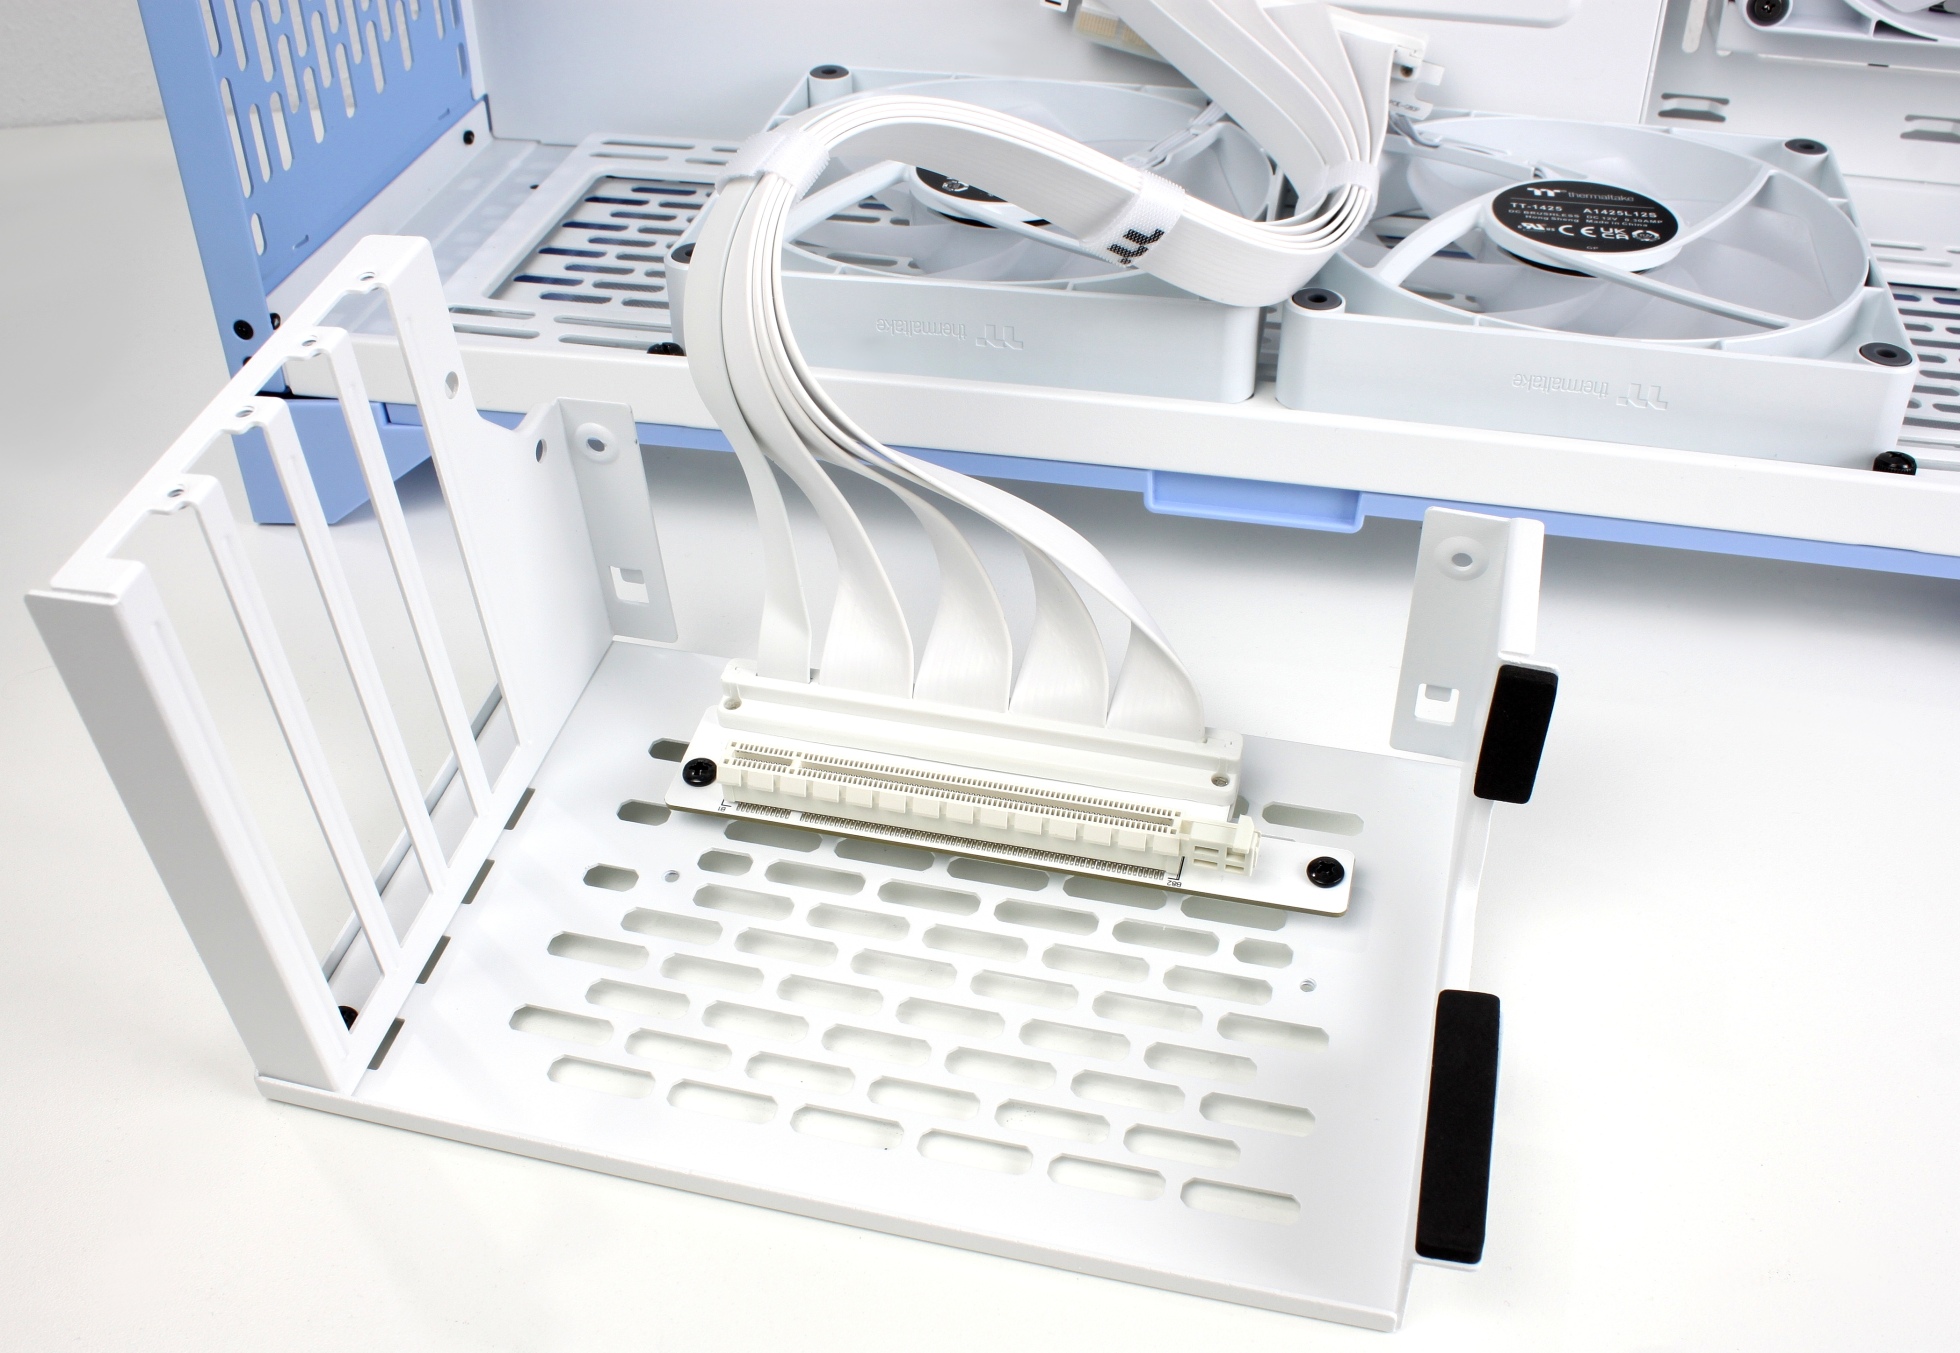
This is then screwed to the mainboard carrier under the mainboard and then sits as it would in a “normal” housing when mounted vertically – only completely in the middle of the housing.
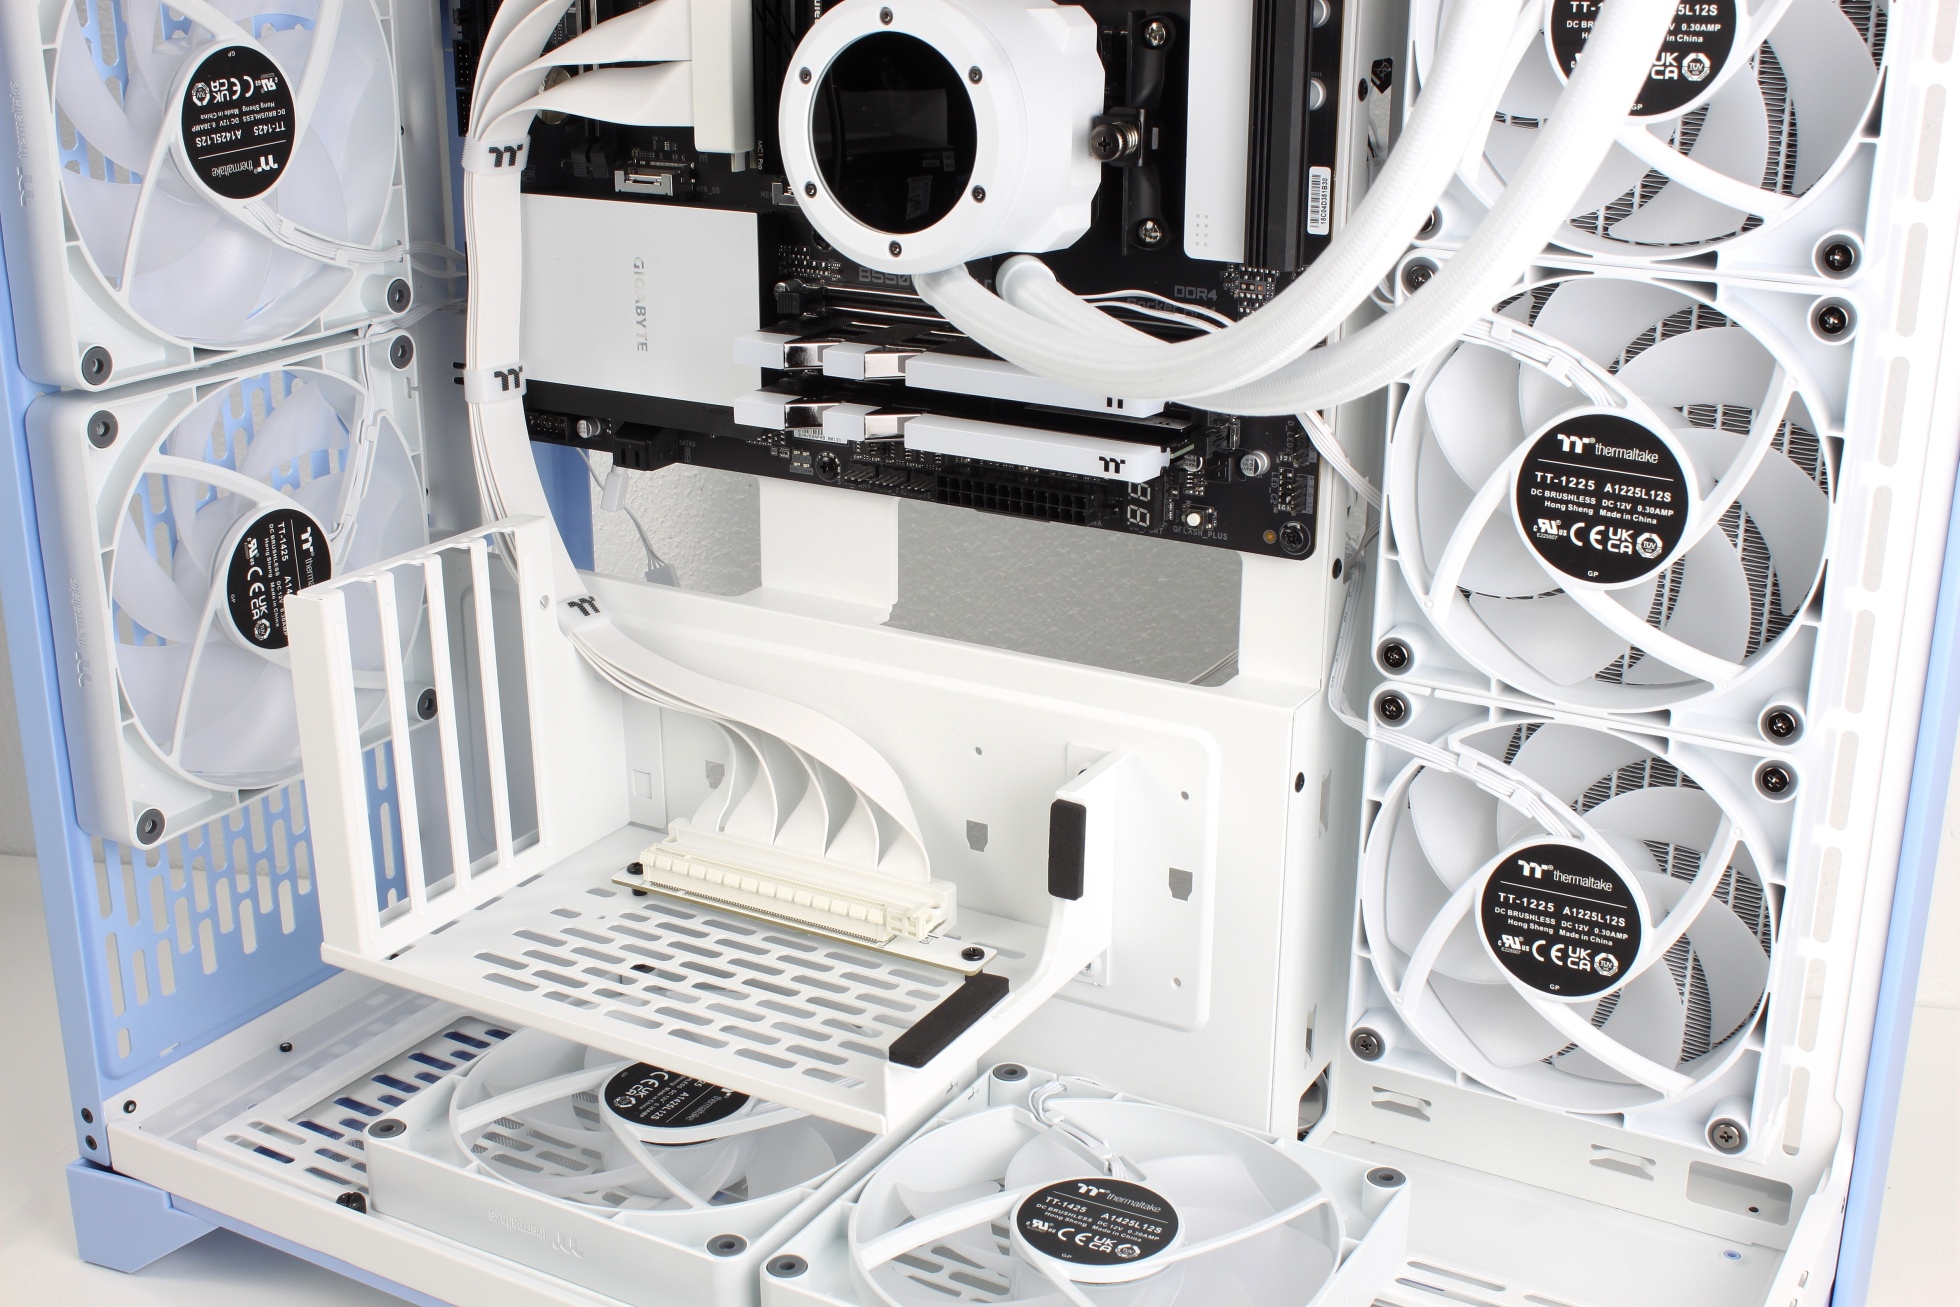
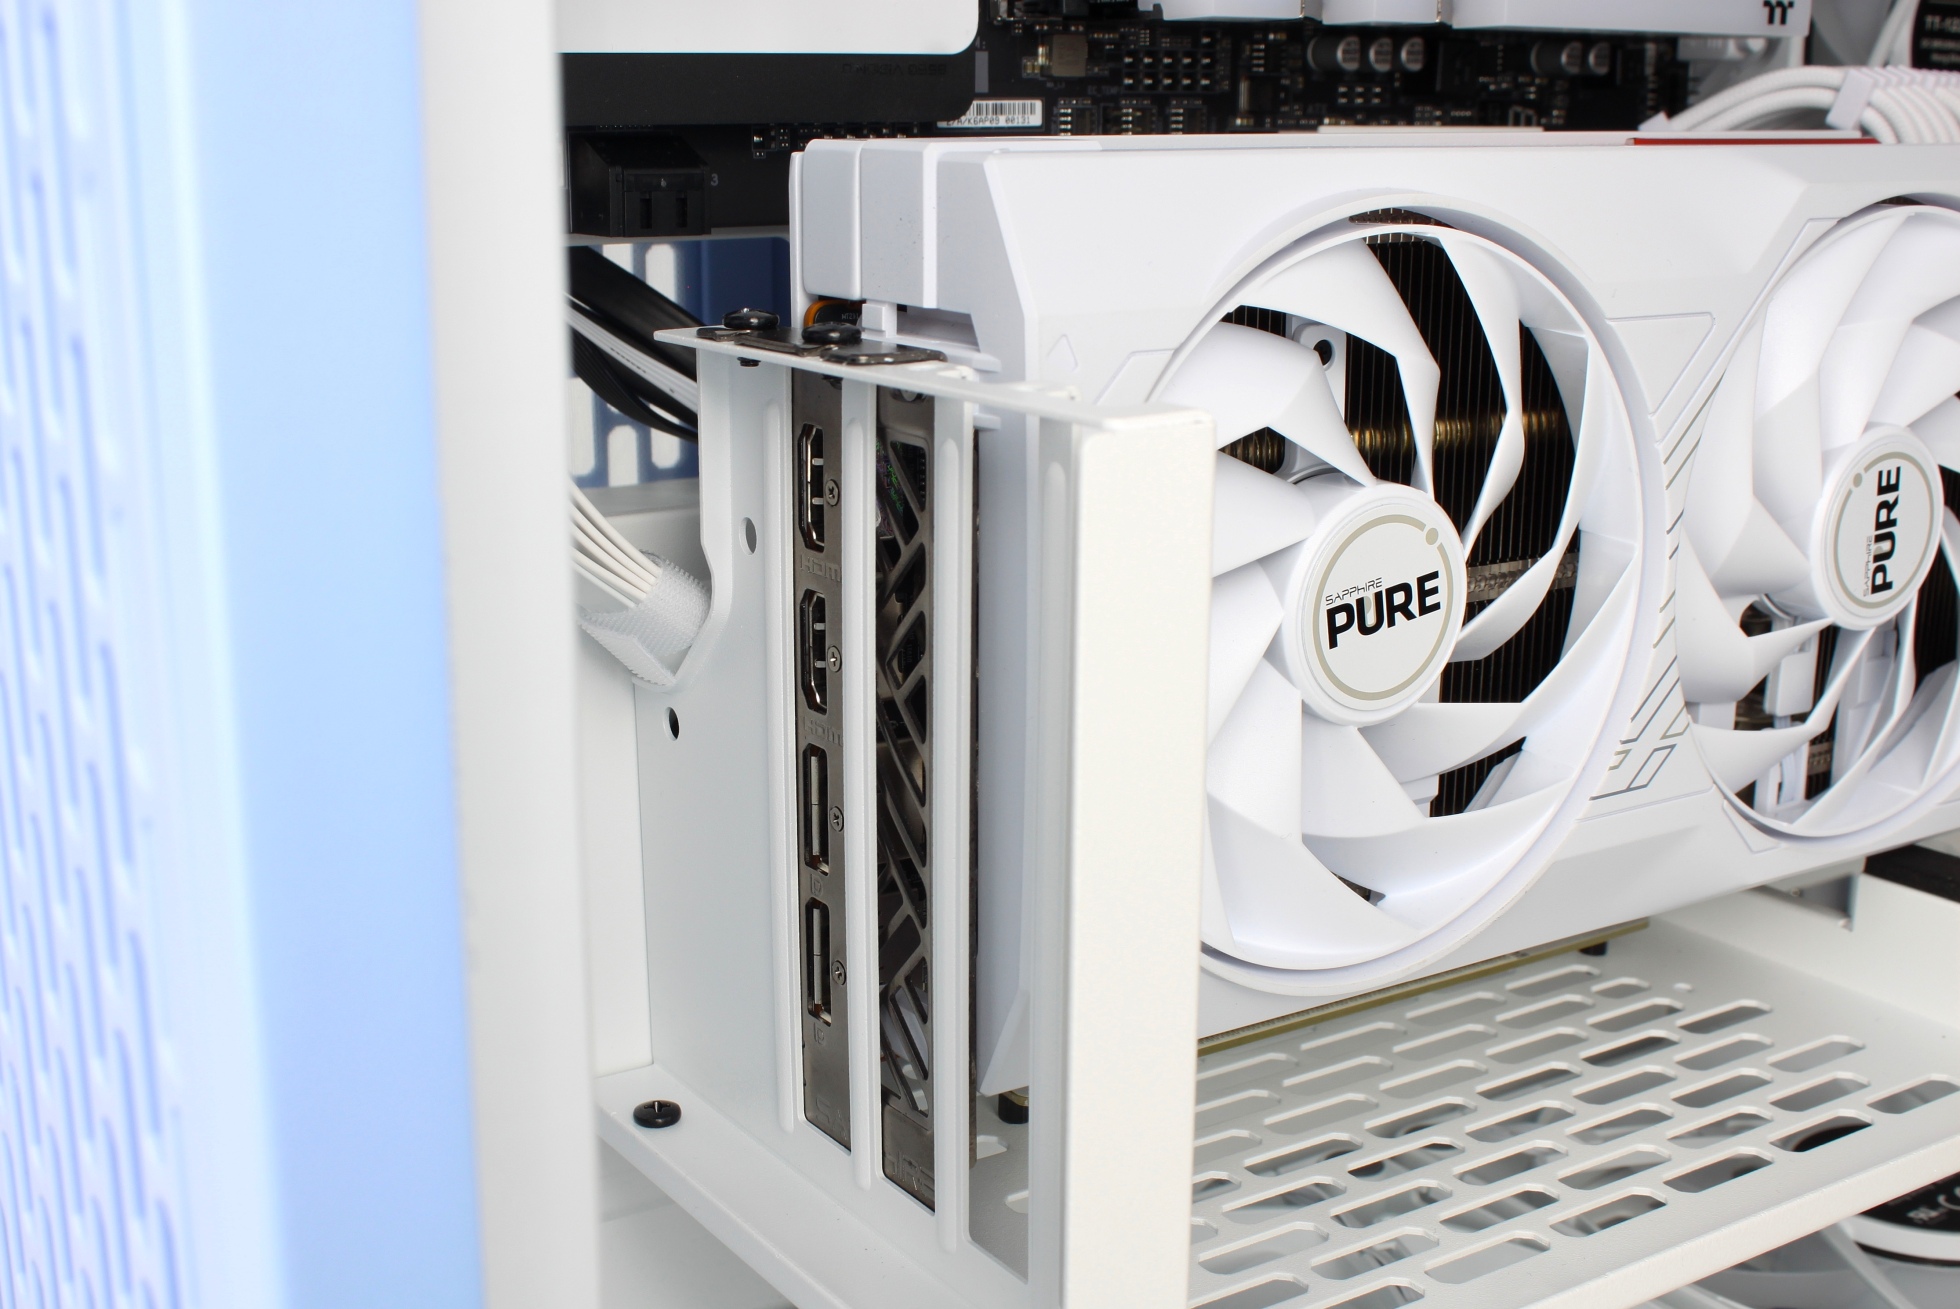
This of course looks great and also solves the problem with the hanging heatpipes.
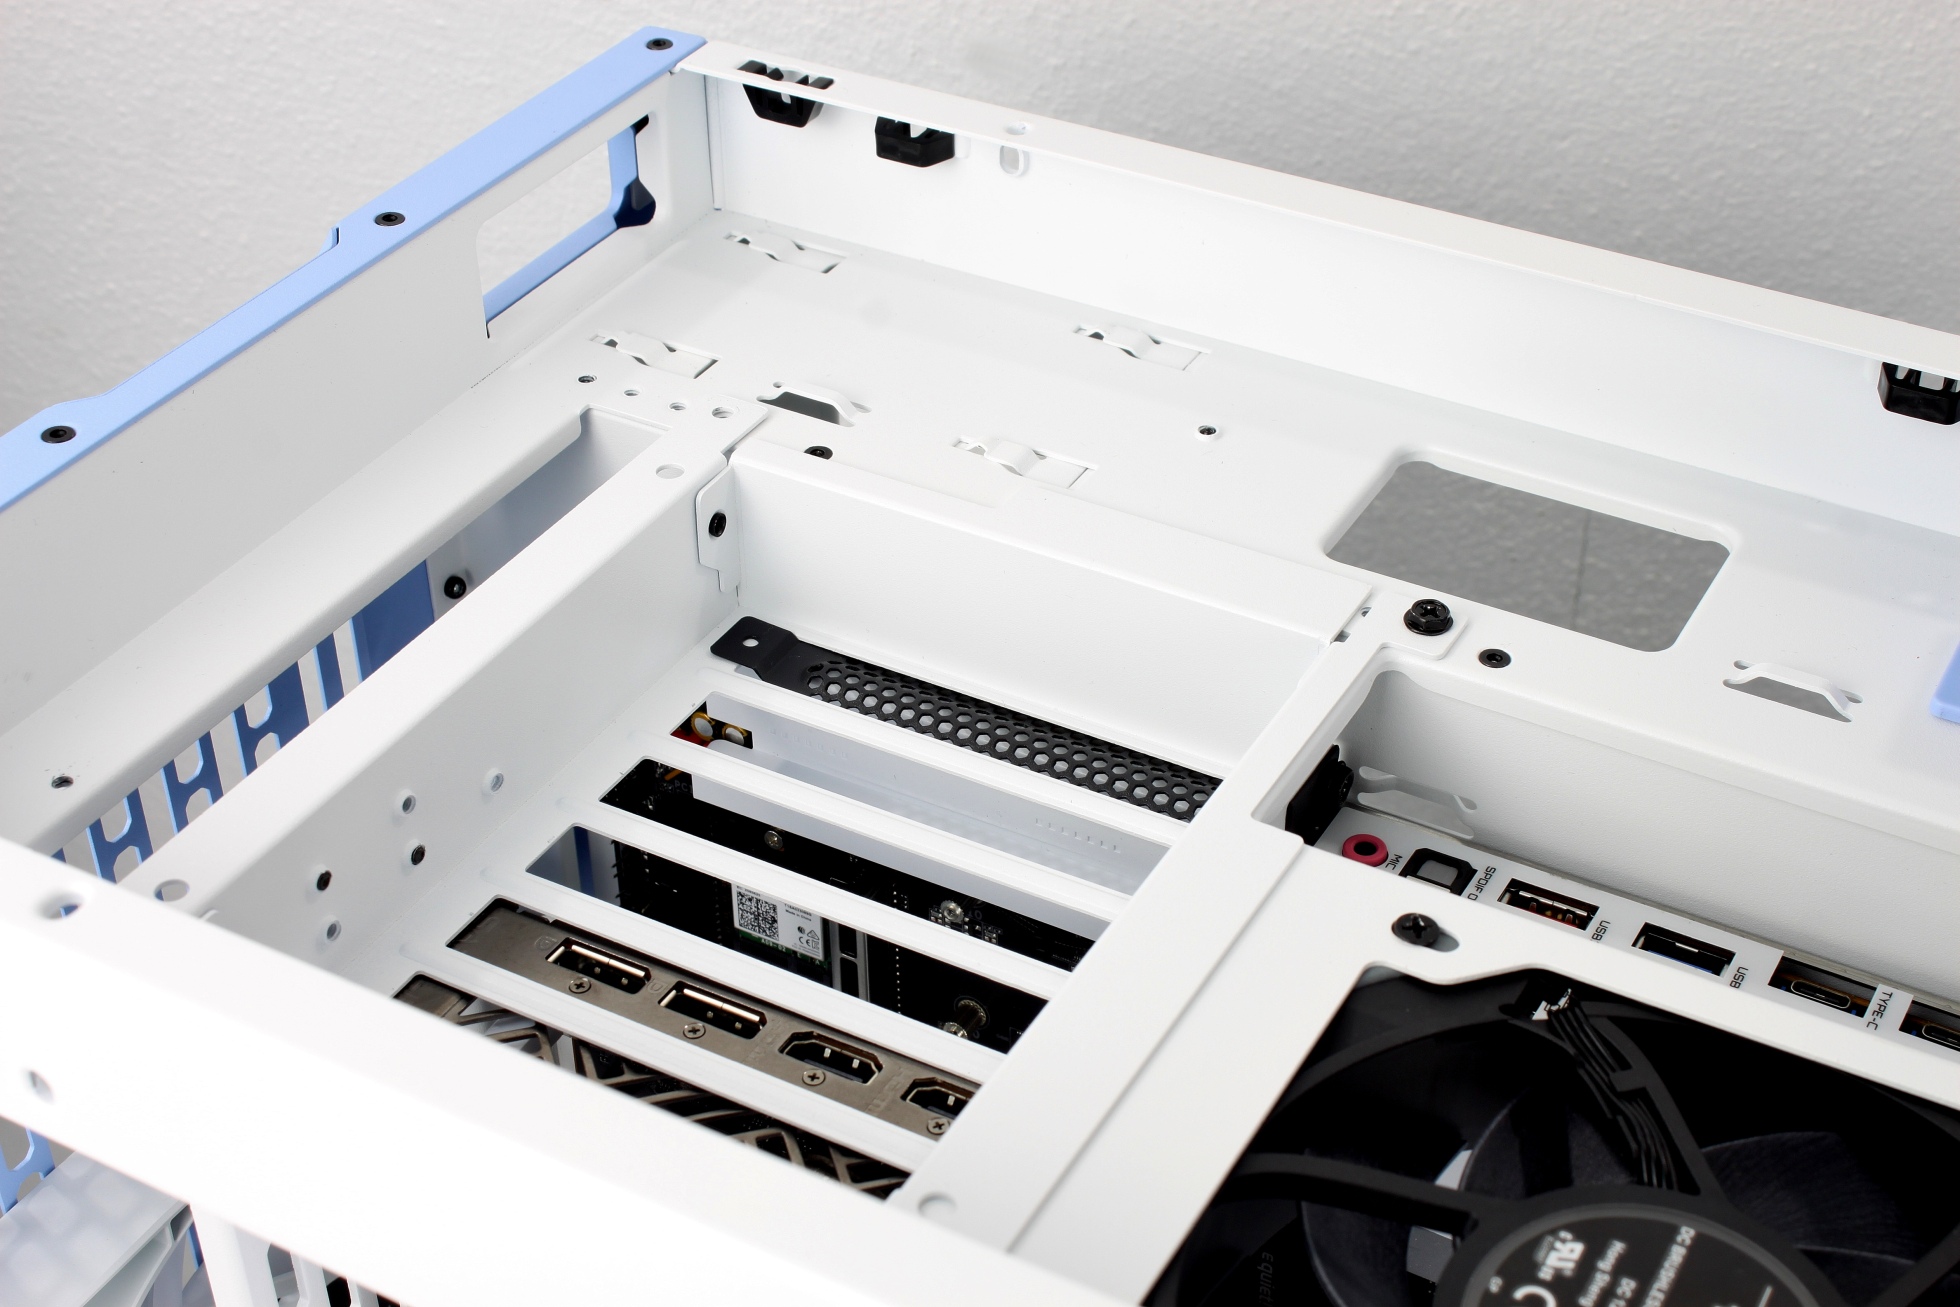
However, the disadvantage is also obvious, as the installation in the middle of the case means that the graphics card connections are also in a very impractical position:
Back to the construction diary
Now that all the components are installed, we still need power, of course. Because it fits perfectly into the overall look in white with the pastel-colored accents, I installed the DeepCool power supply unit.
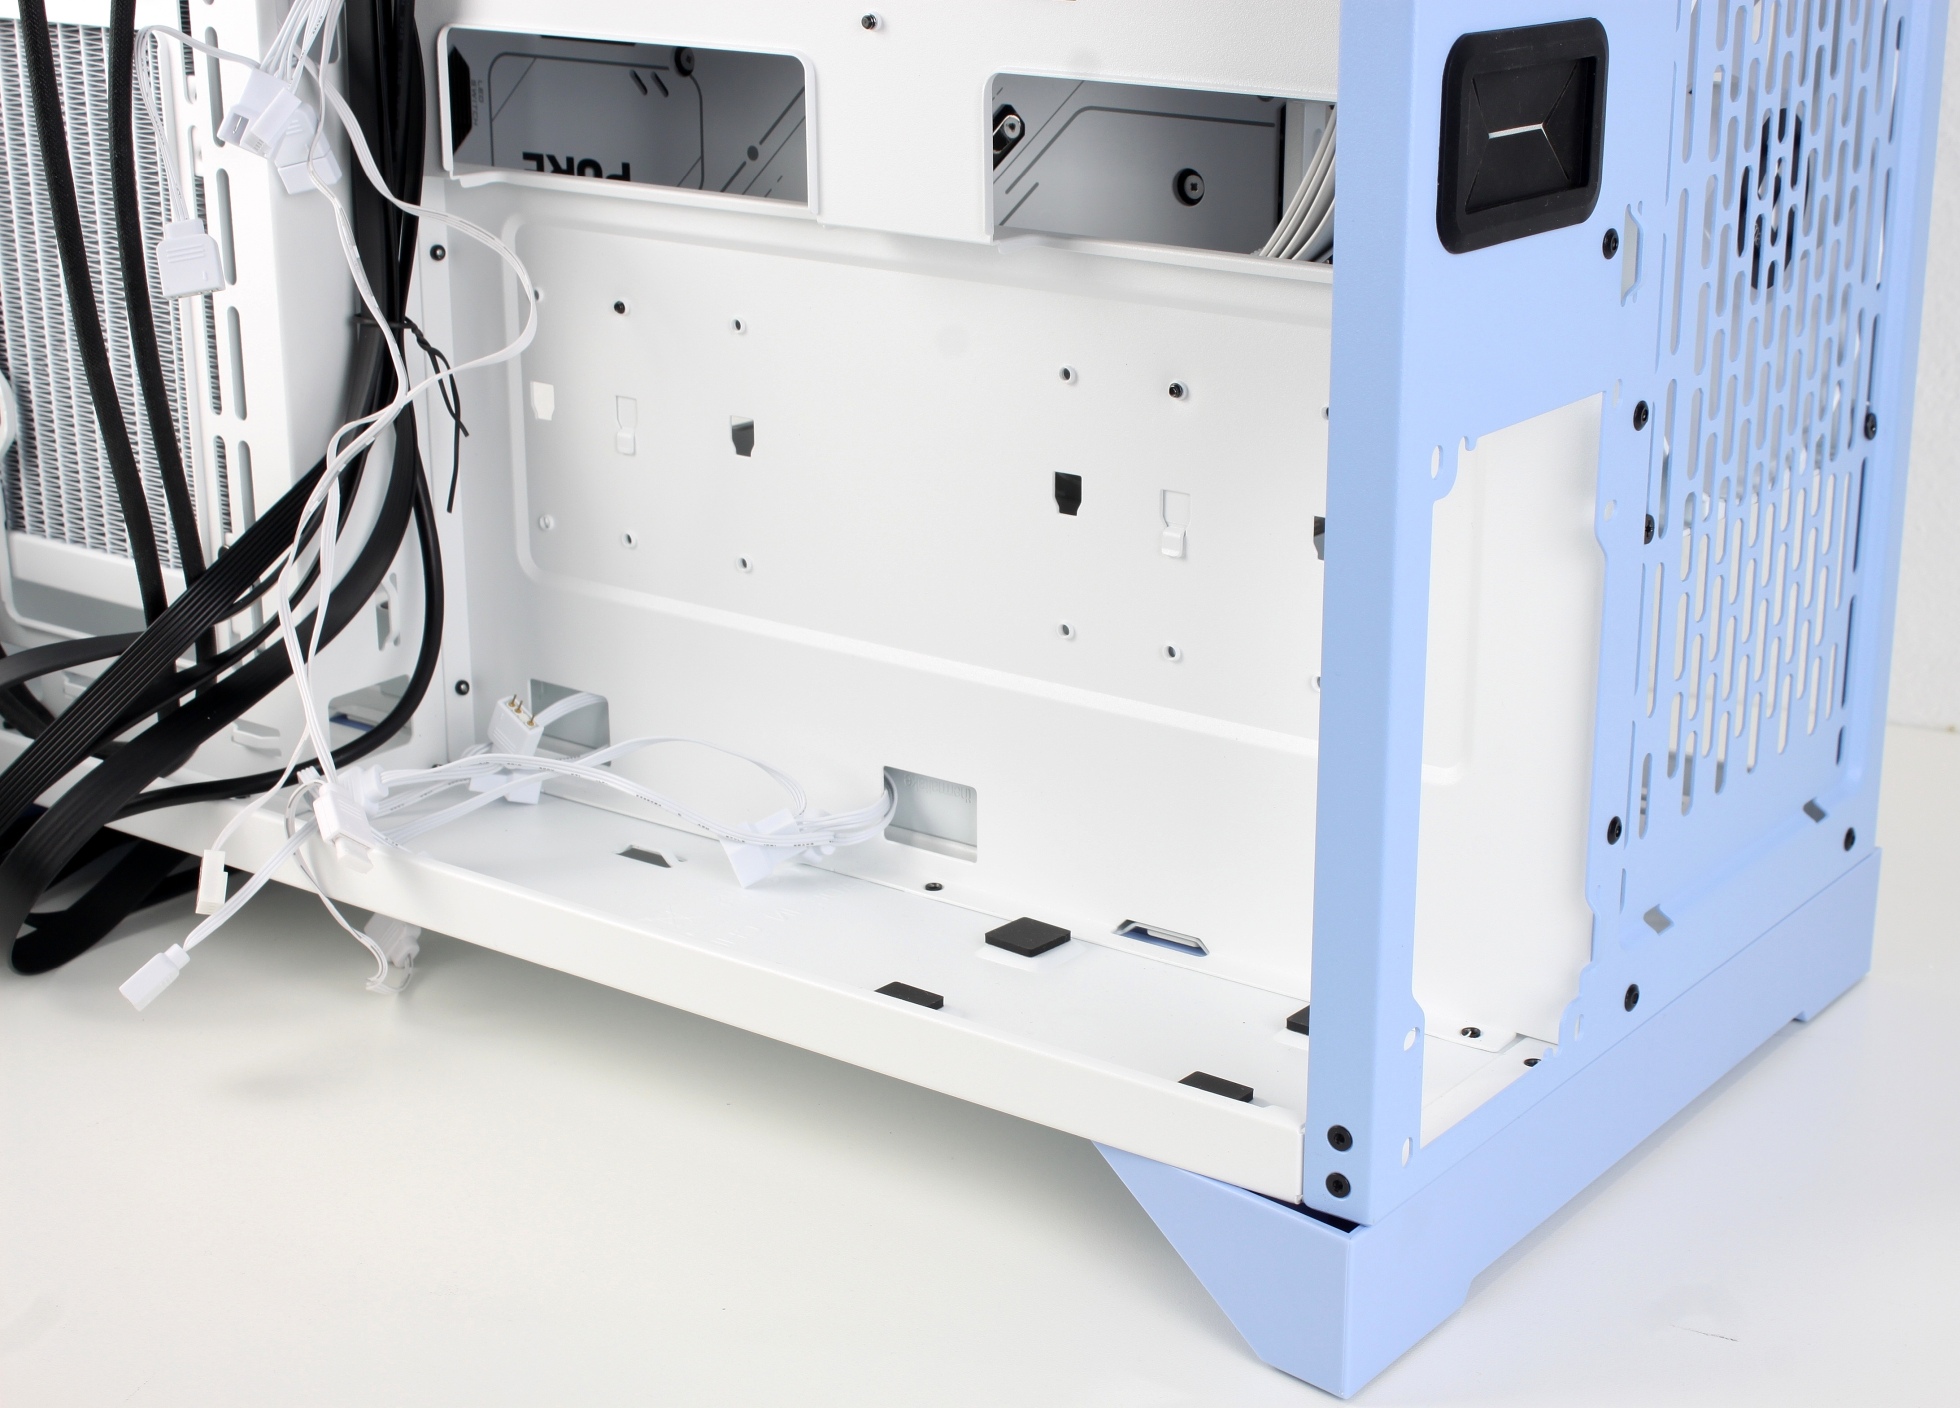
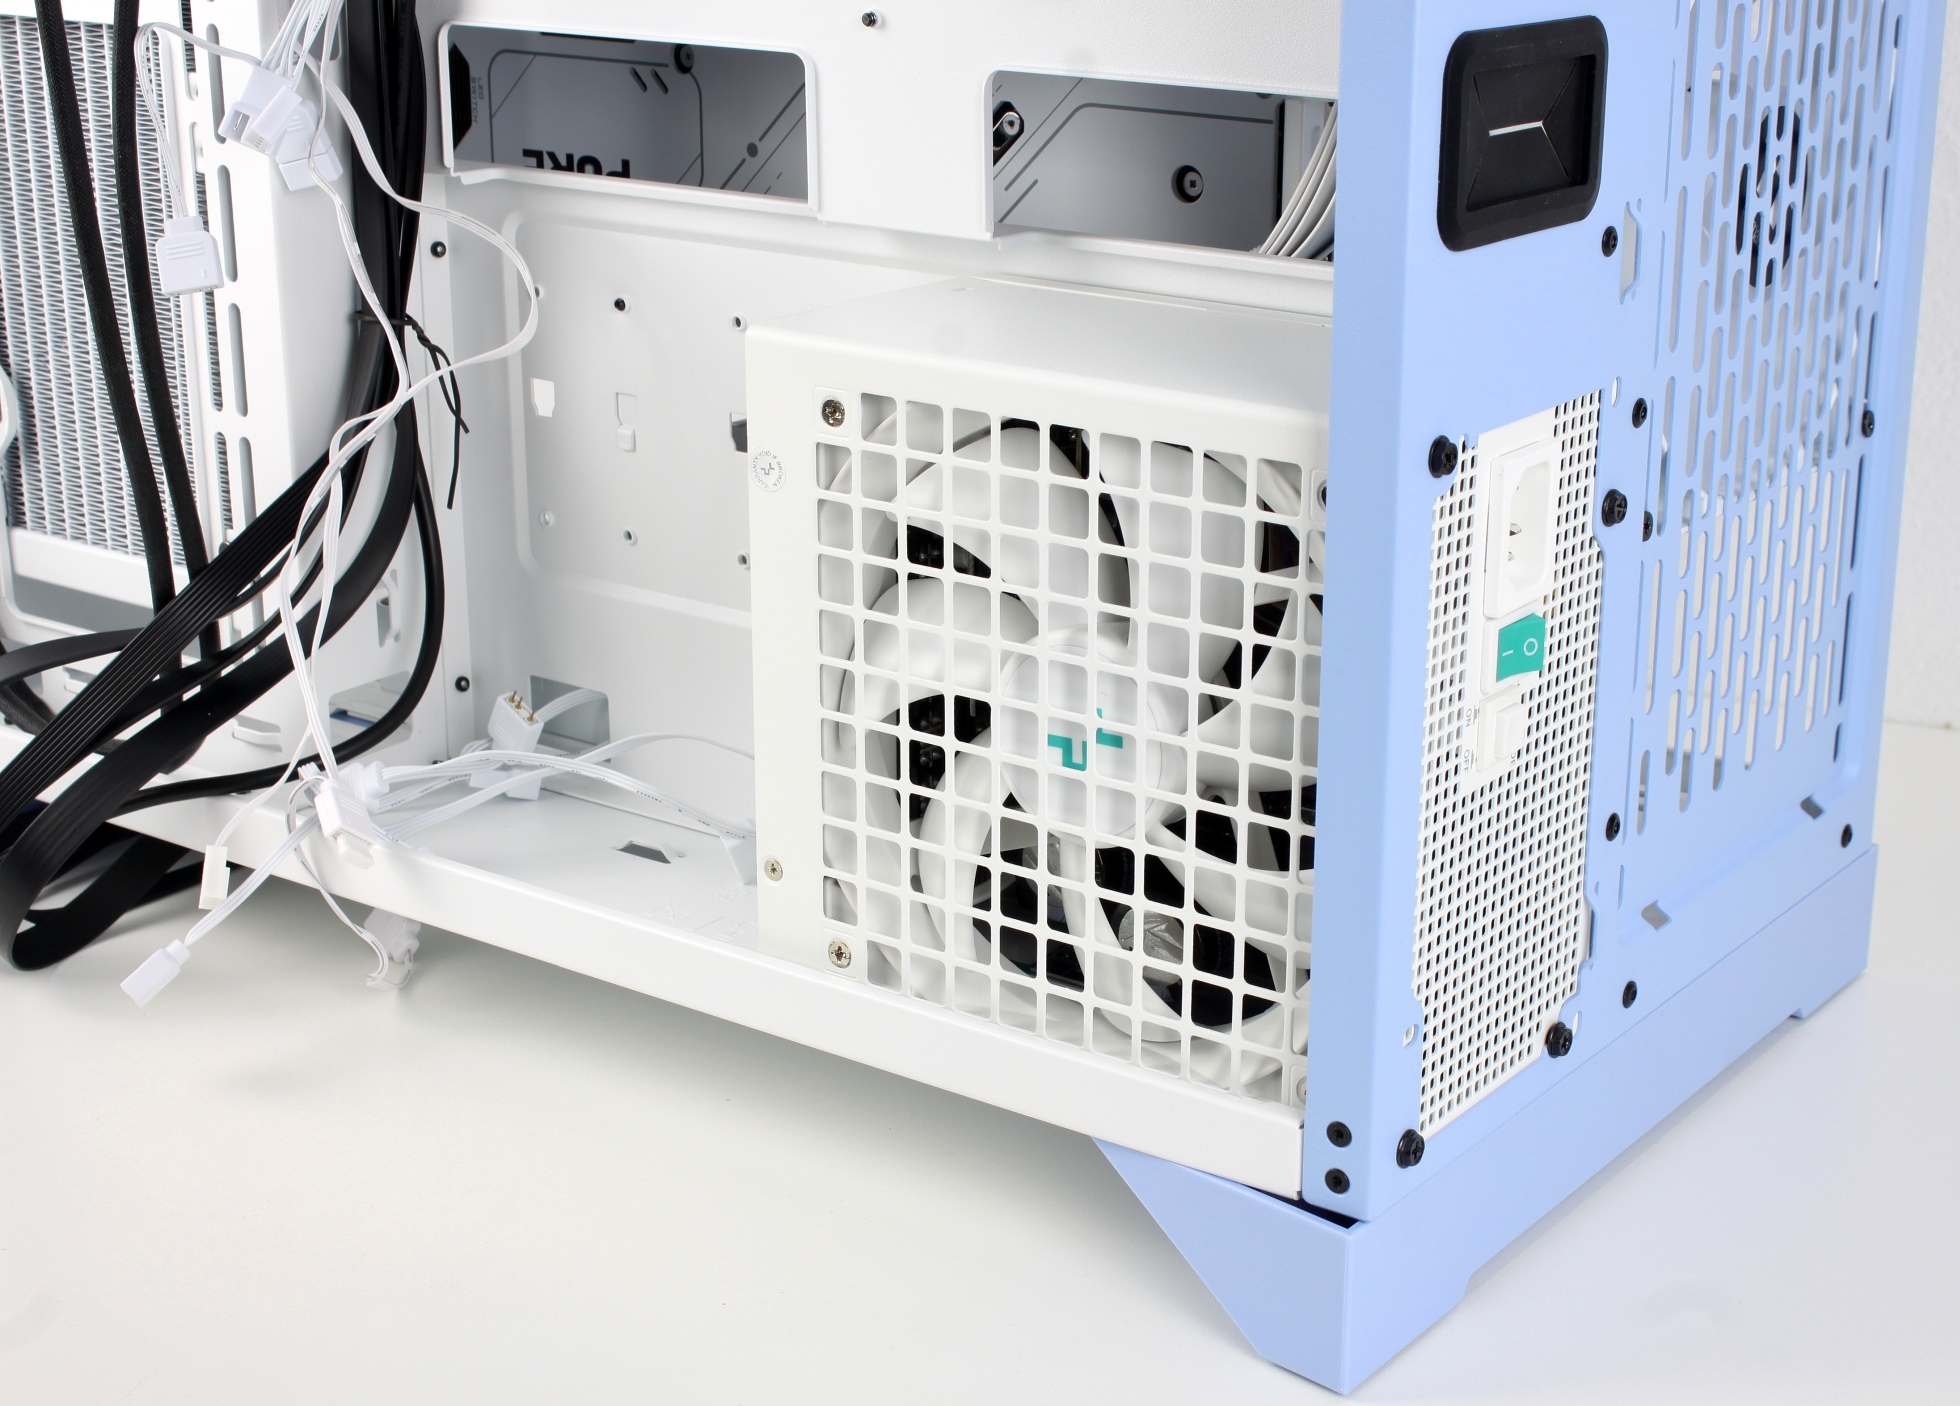
The housing offers a lot of space for cable clutter, so that there are no problems even when using cable extensions and sloppy cable management (as in the picture).
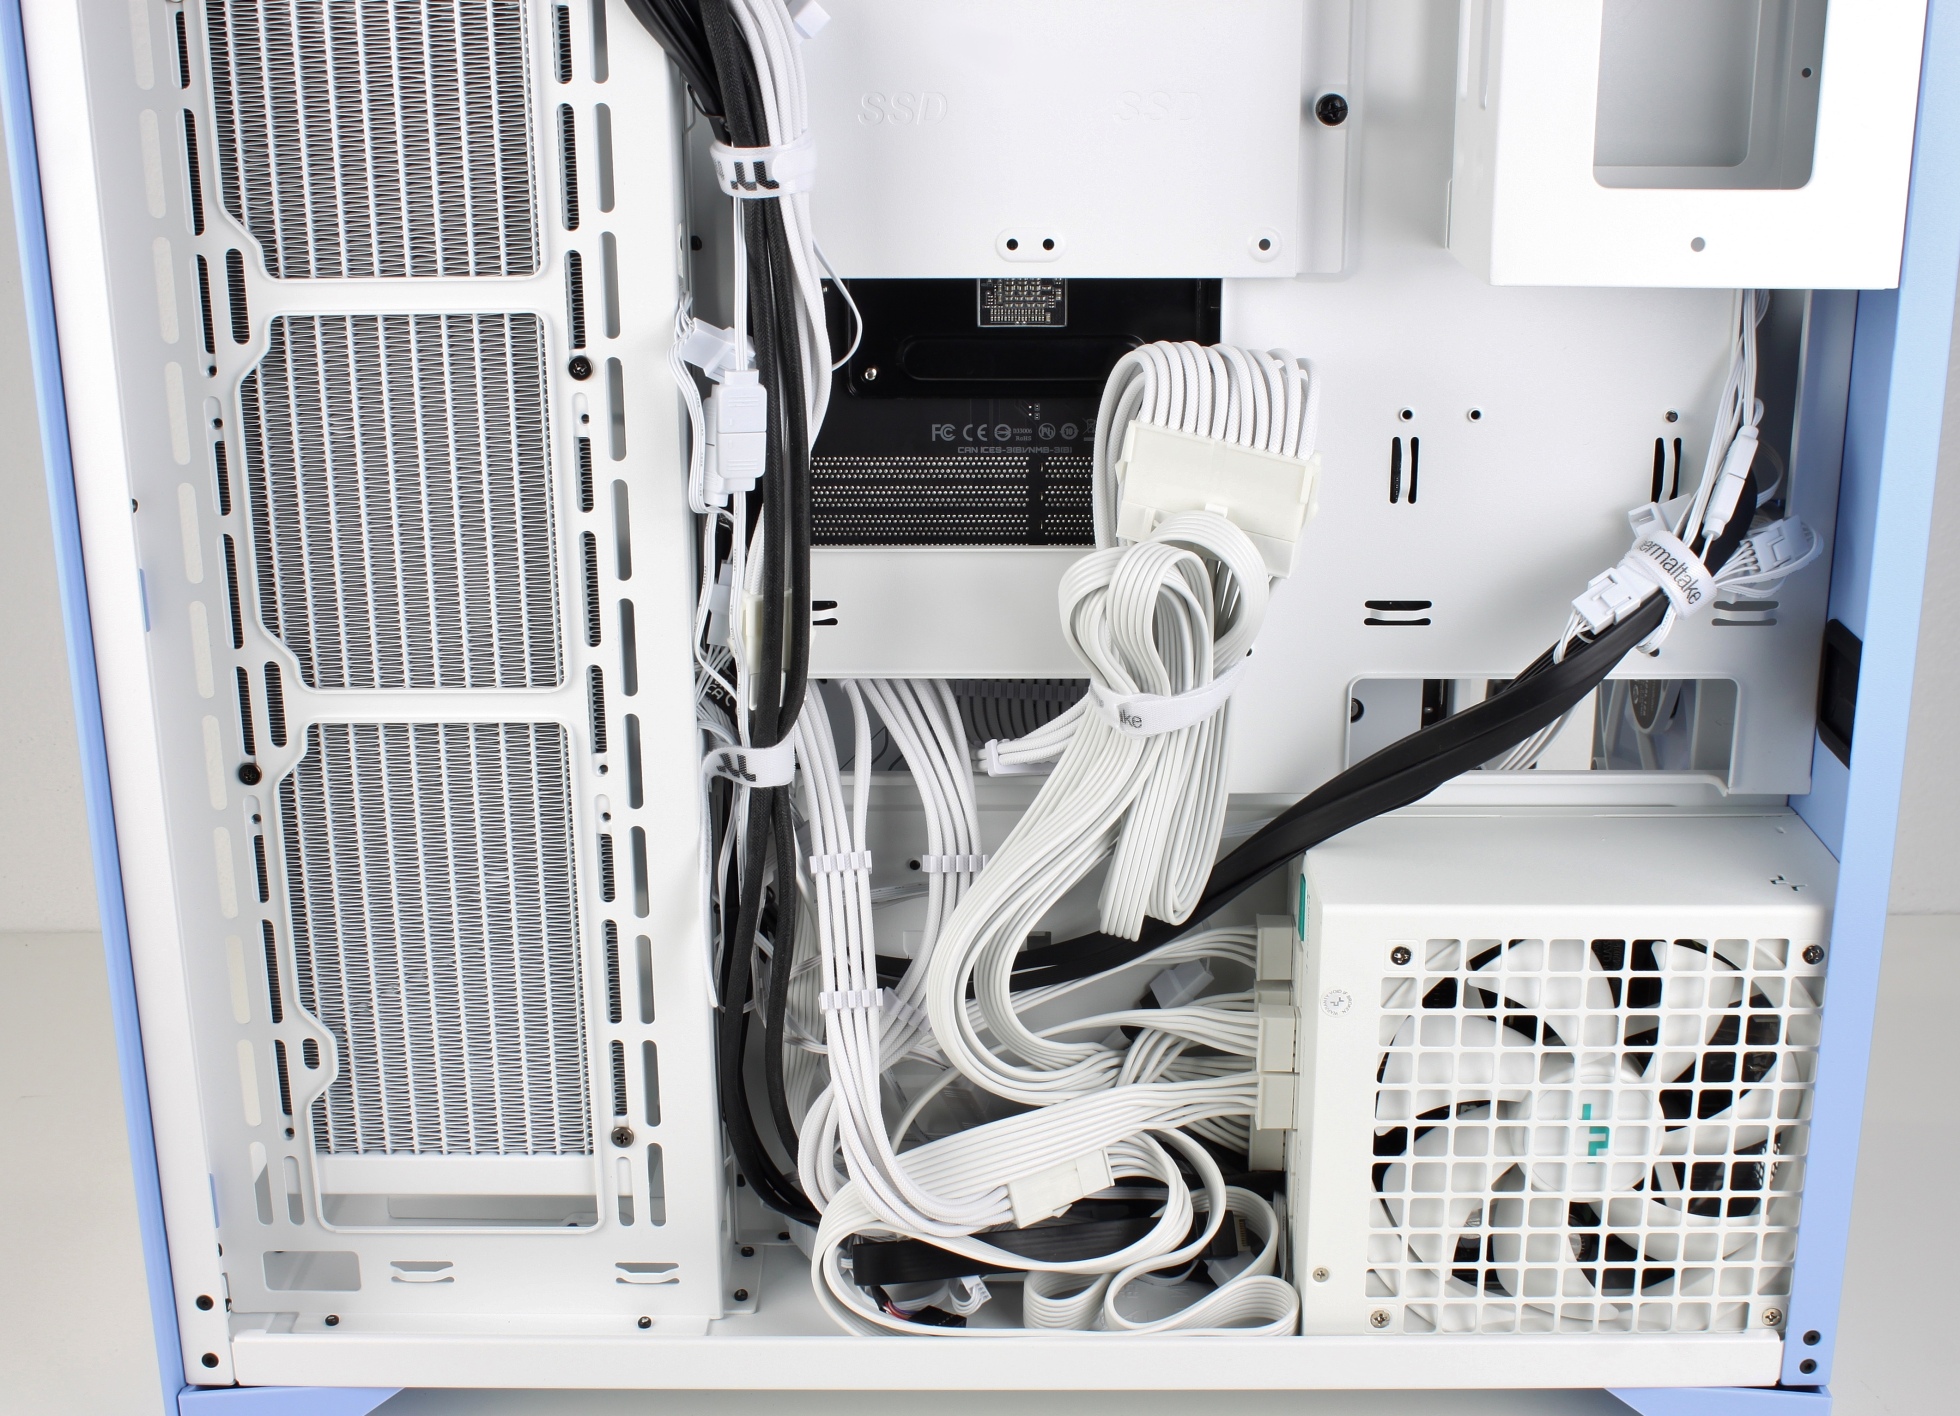
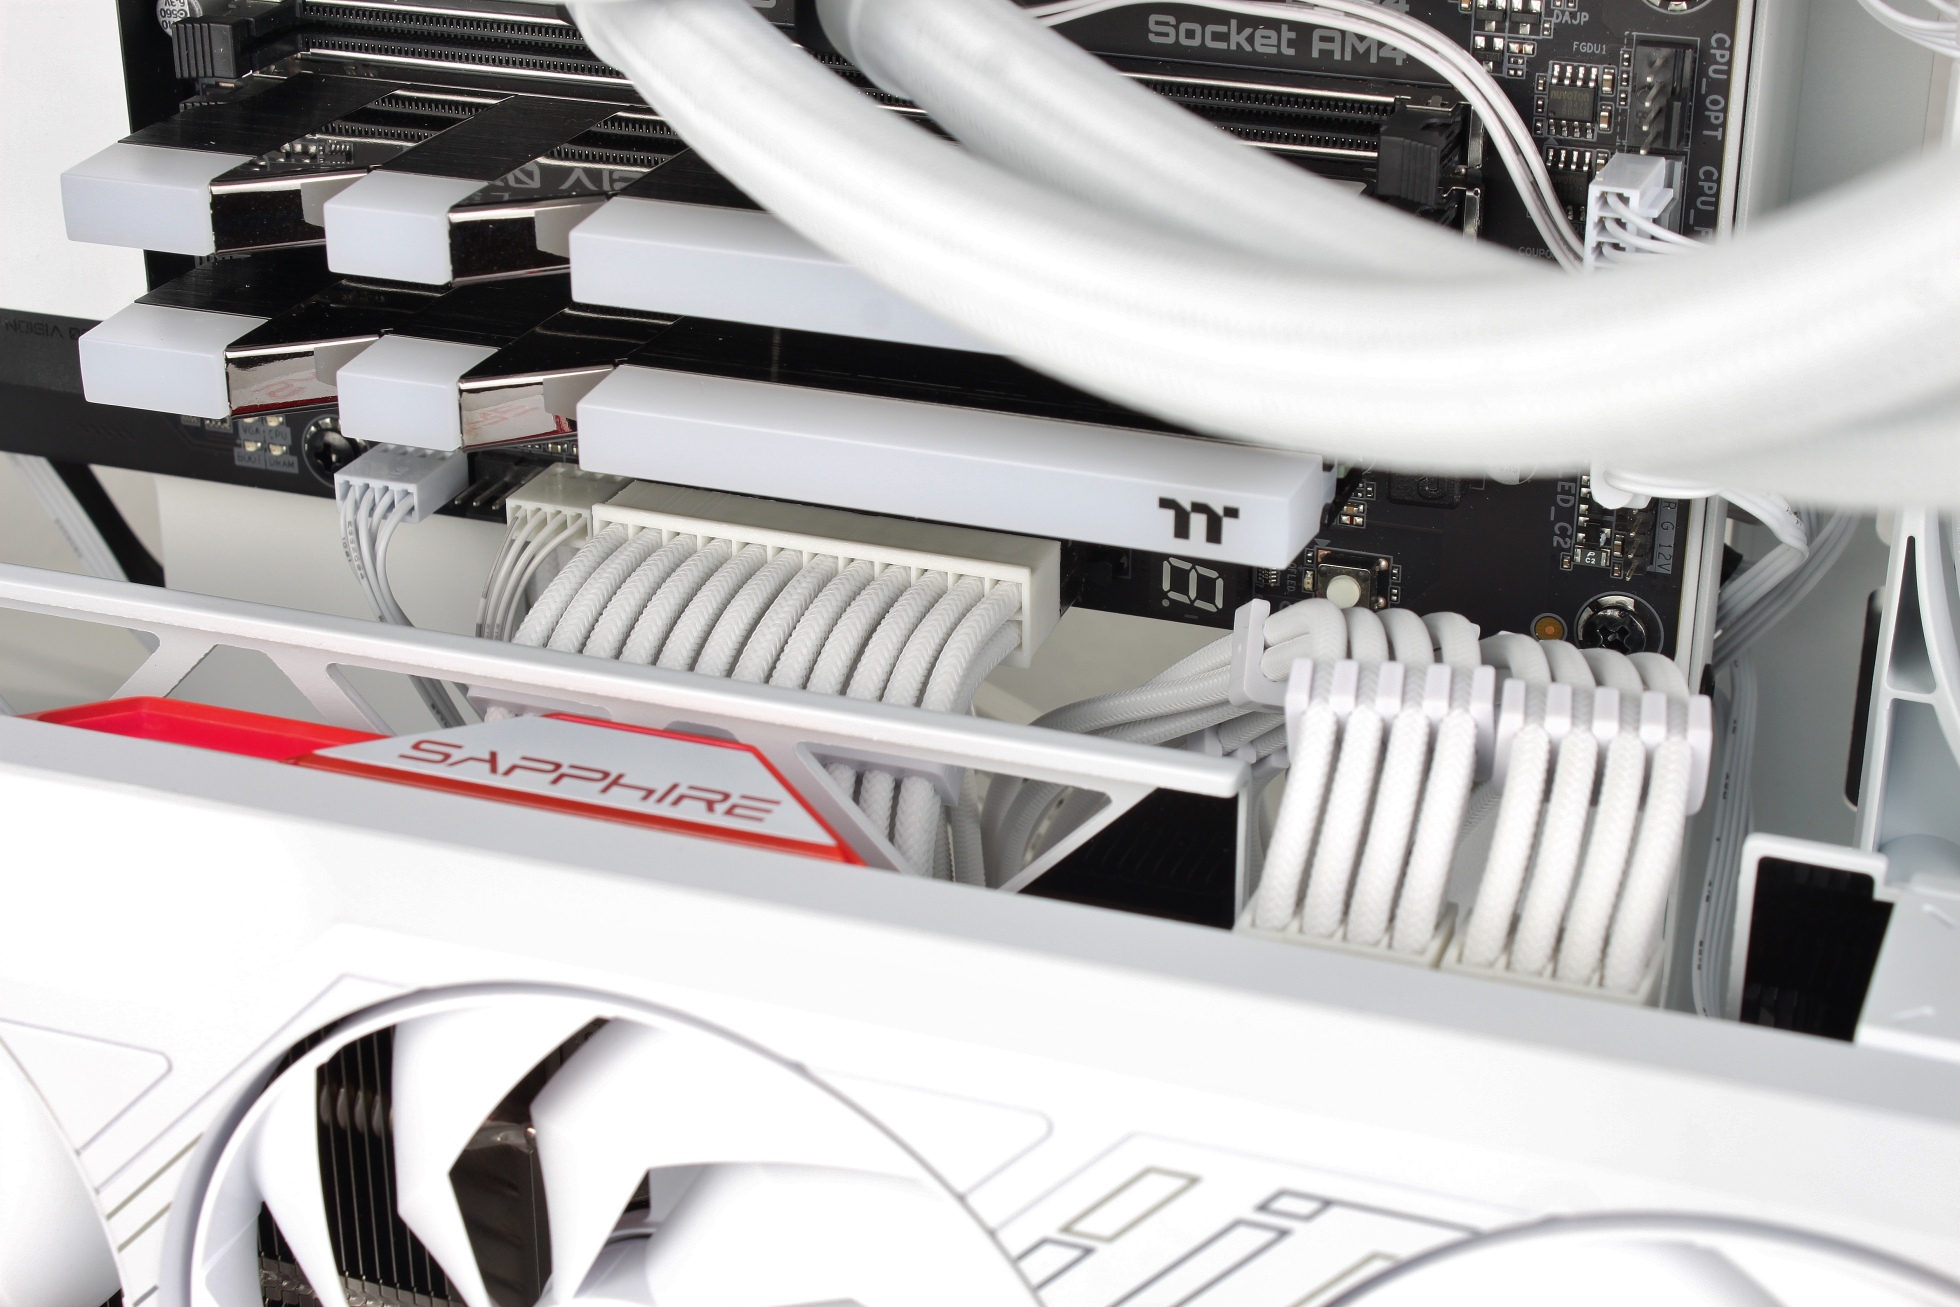
Now all the components had to be connected to the corresponding connections.
It’s actually a bit of a shame that the stylish cable extensions are hidden behind the graphics card with this type of installation!
Everything ready, glass panels attached and ready to rock – personally, I think this build looks pretty attractive.
Ready for the test run!


20 Antworten
Kommentar
Lade neue Kommentare
Veteran
Urgestein
Urgestein
Neuling
Urgestein
Veteran
Mitglied
Urgestein
Mitglied
Mitglied
Urgestein
Urgestein
Urgestein
Urgestein
Mitglied
Urgestein
Neuling
Mitglied
Alle Kommentare lesen unter igor´sLAB Community →