


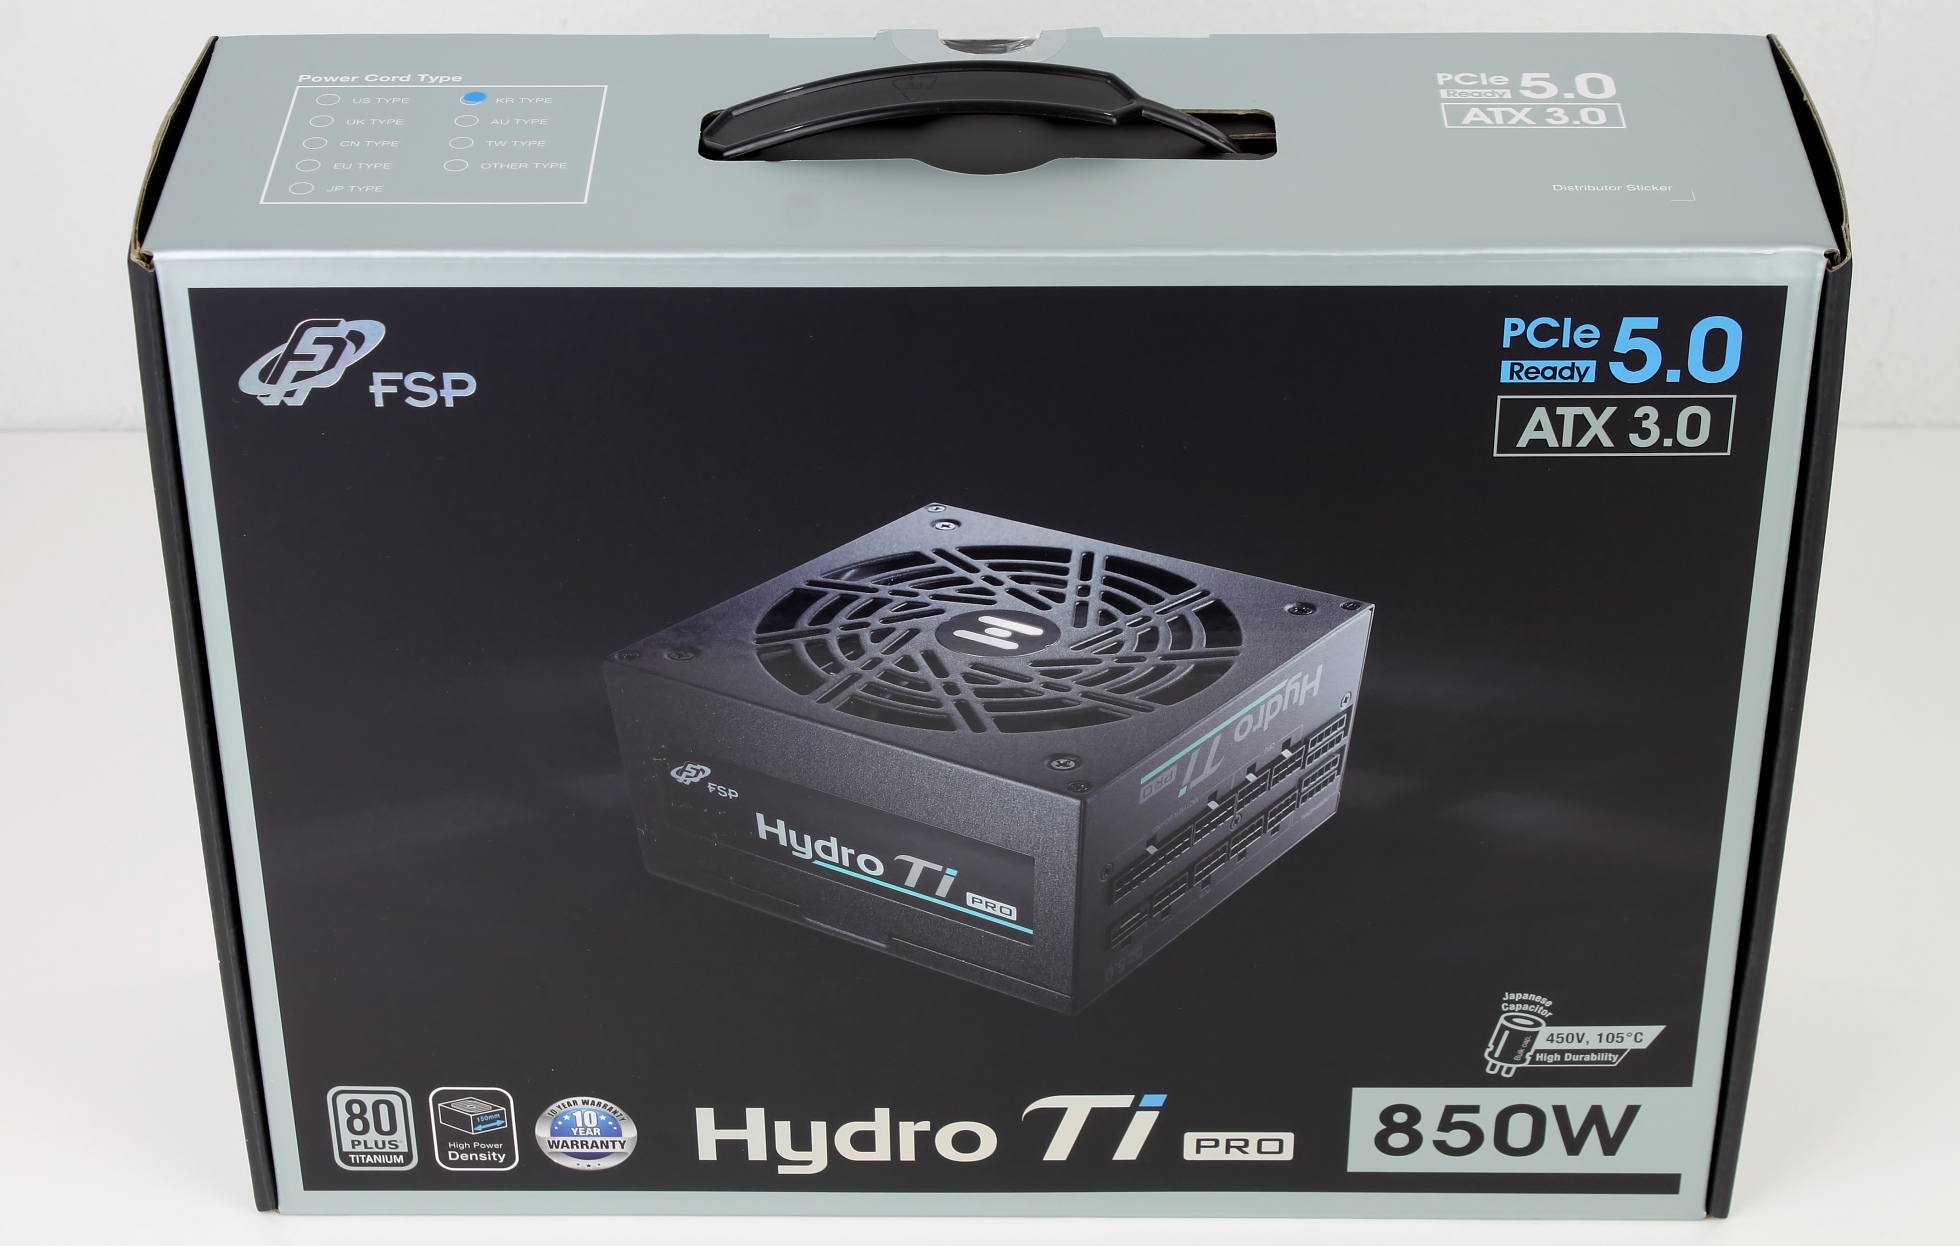
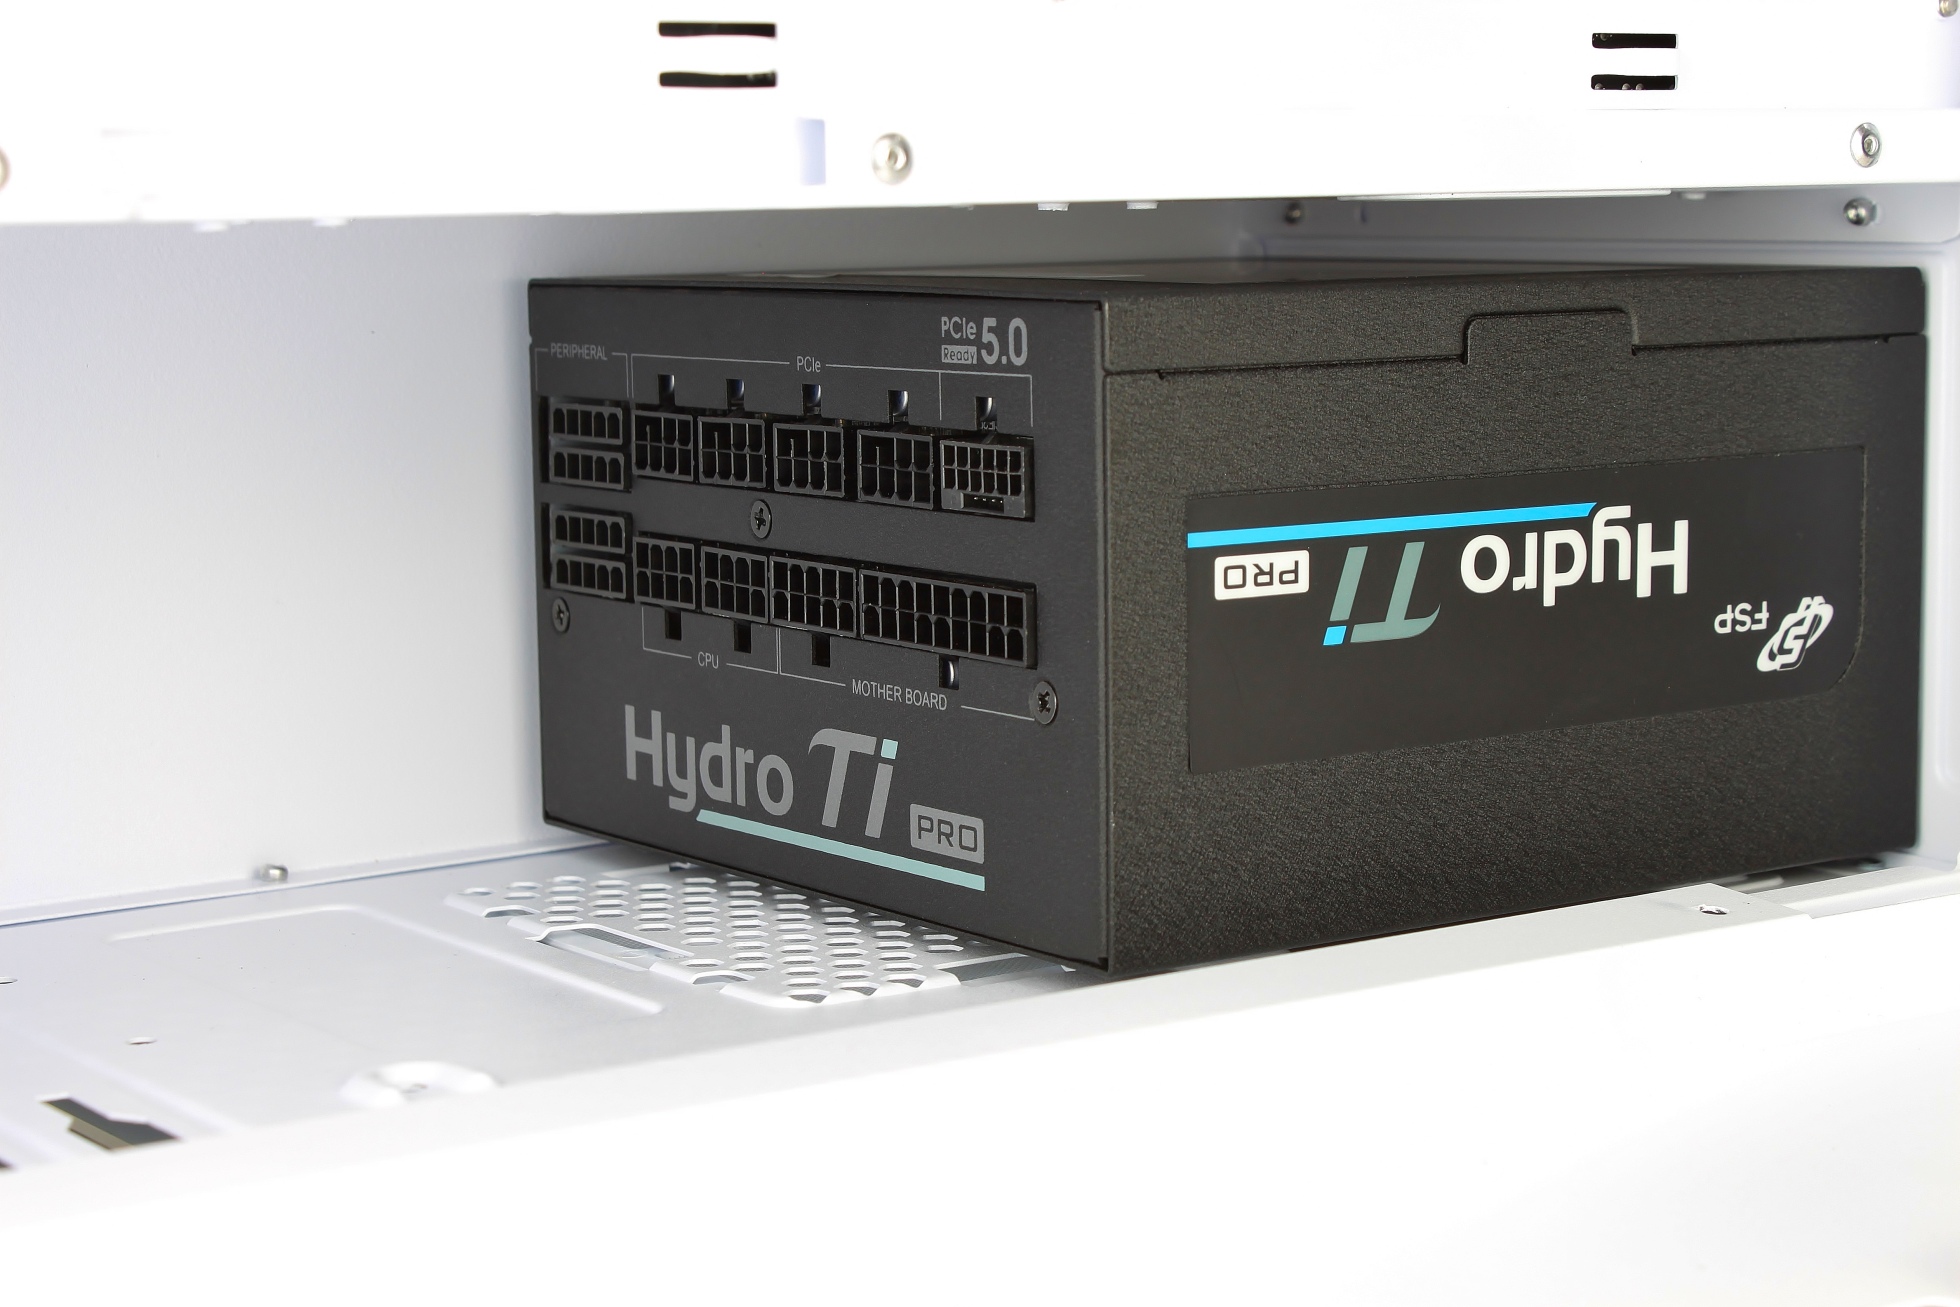
Despite the somewhat disappointing appearance of the material, I was eagerly awaiting the practical test. After all, I’ve never had this kind of cable management in my hands before and I was curious to get to work. But before I get to the components and the build report, I would like to briefly introduce a special guest – the FSP Hydro Ti Pro Titanium power supply. You can read Dr. Aristeidis Mpitziopoulos’ review of this gem here.
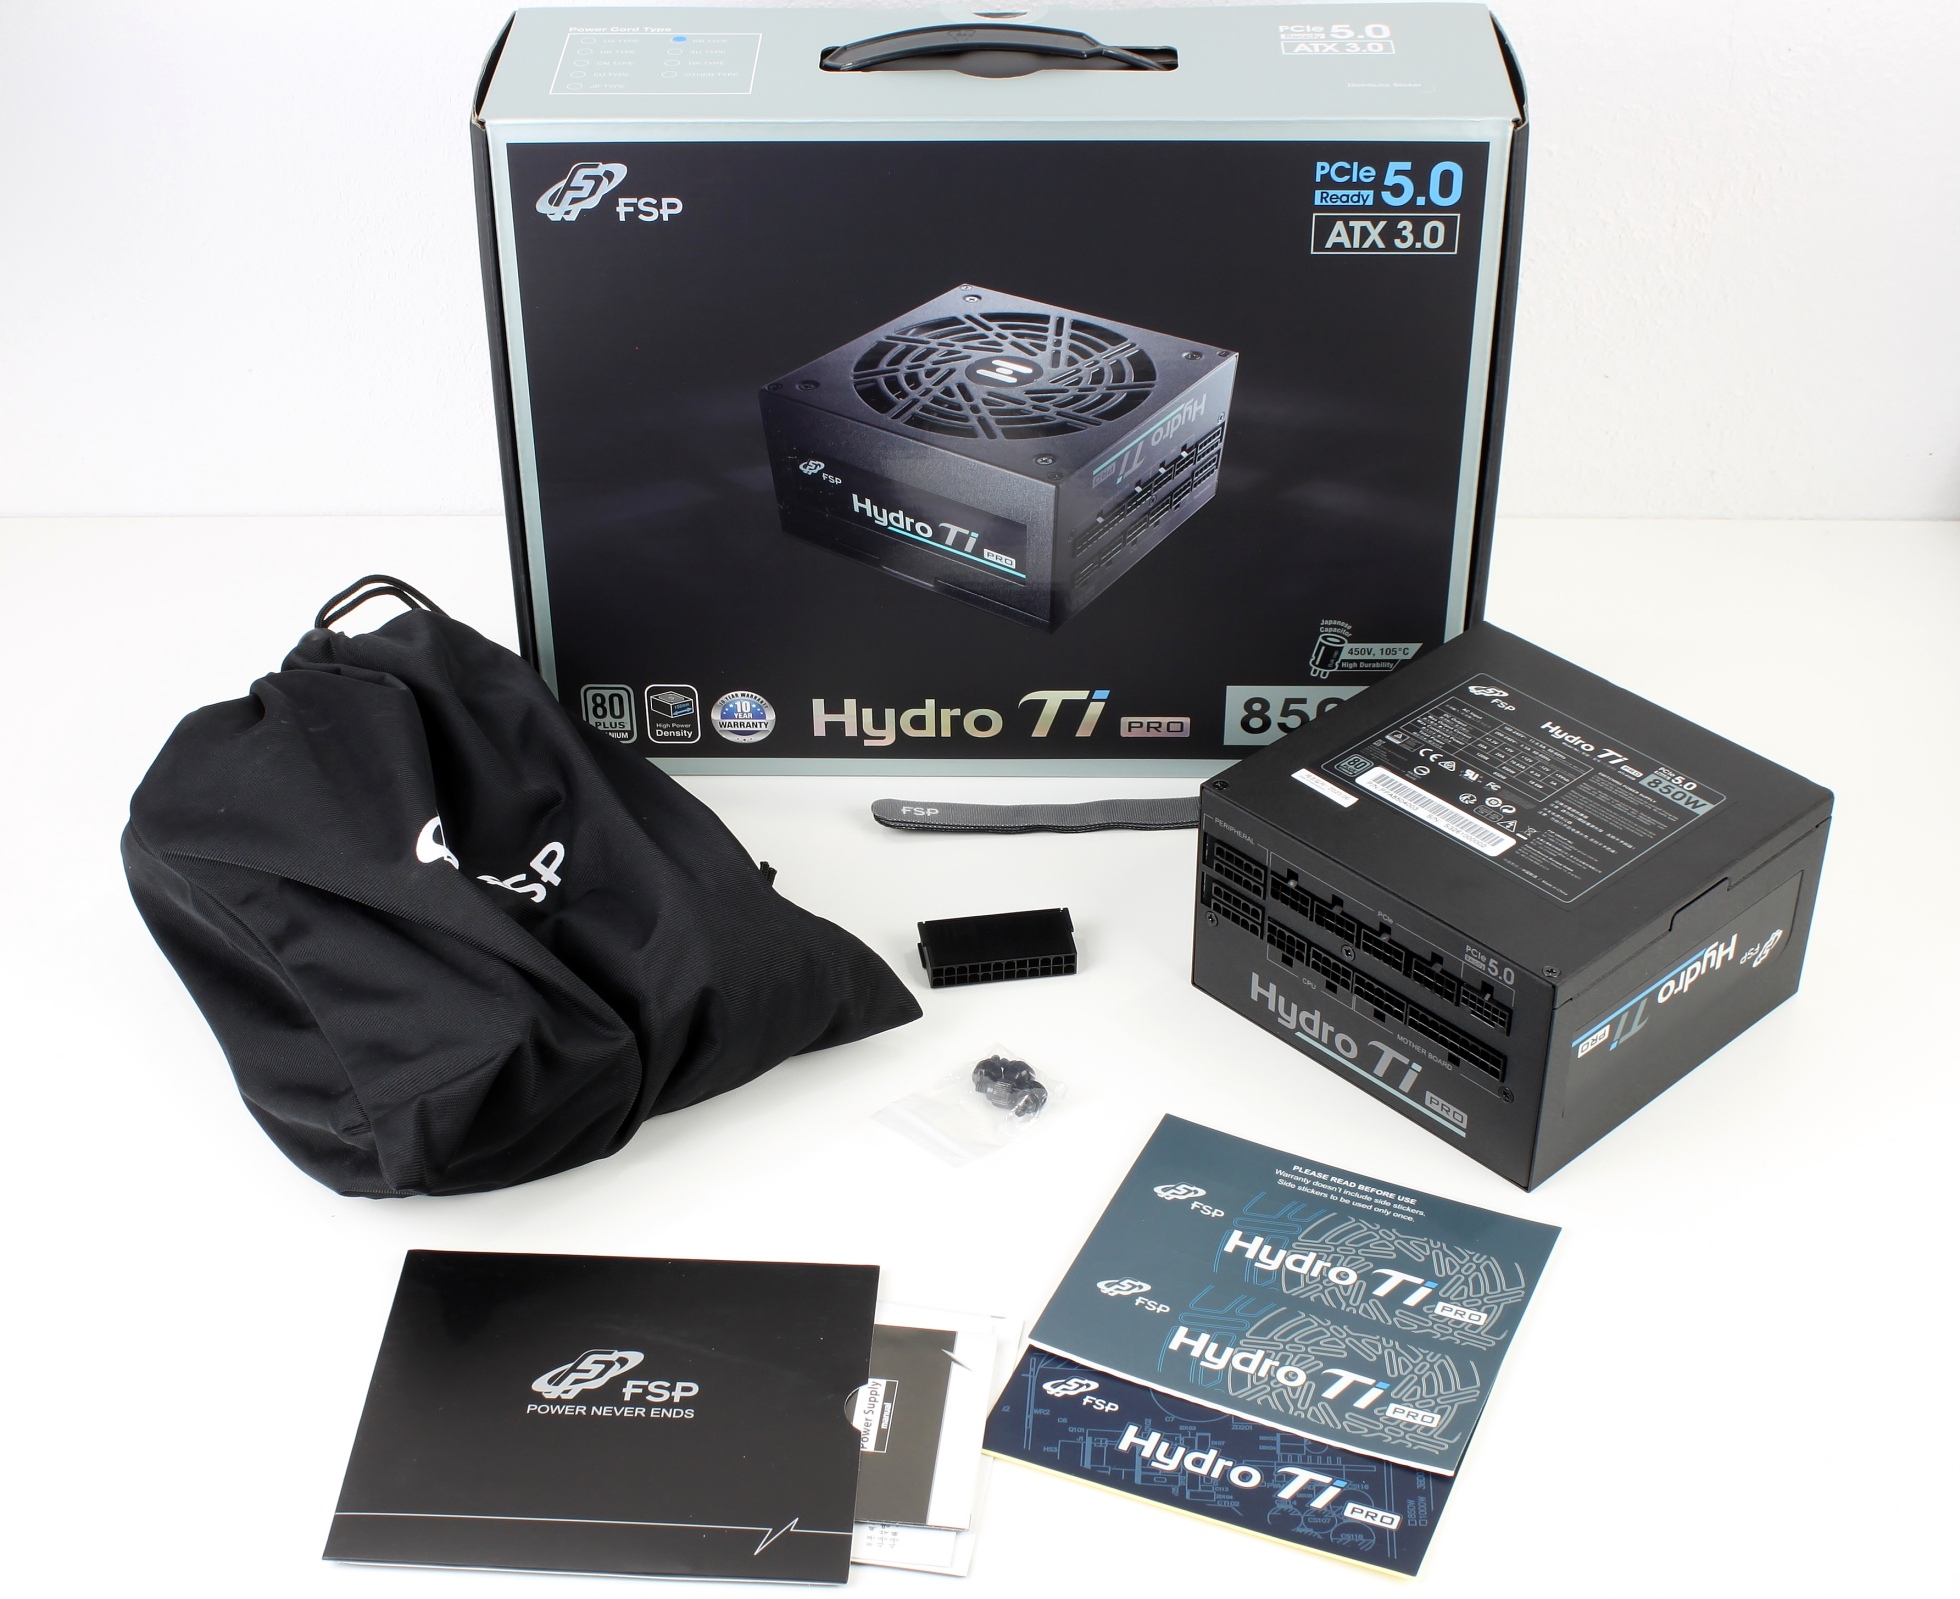
FSP Hydro Ti Pro 850W Titanium
Construction diary
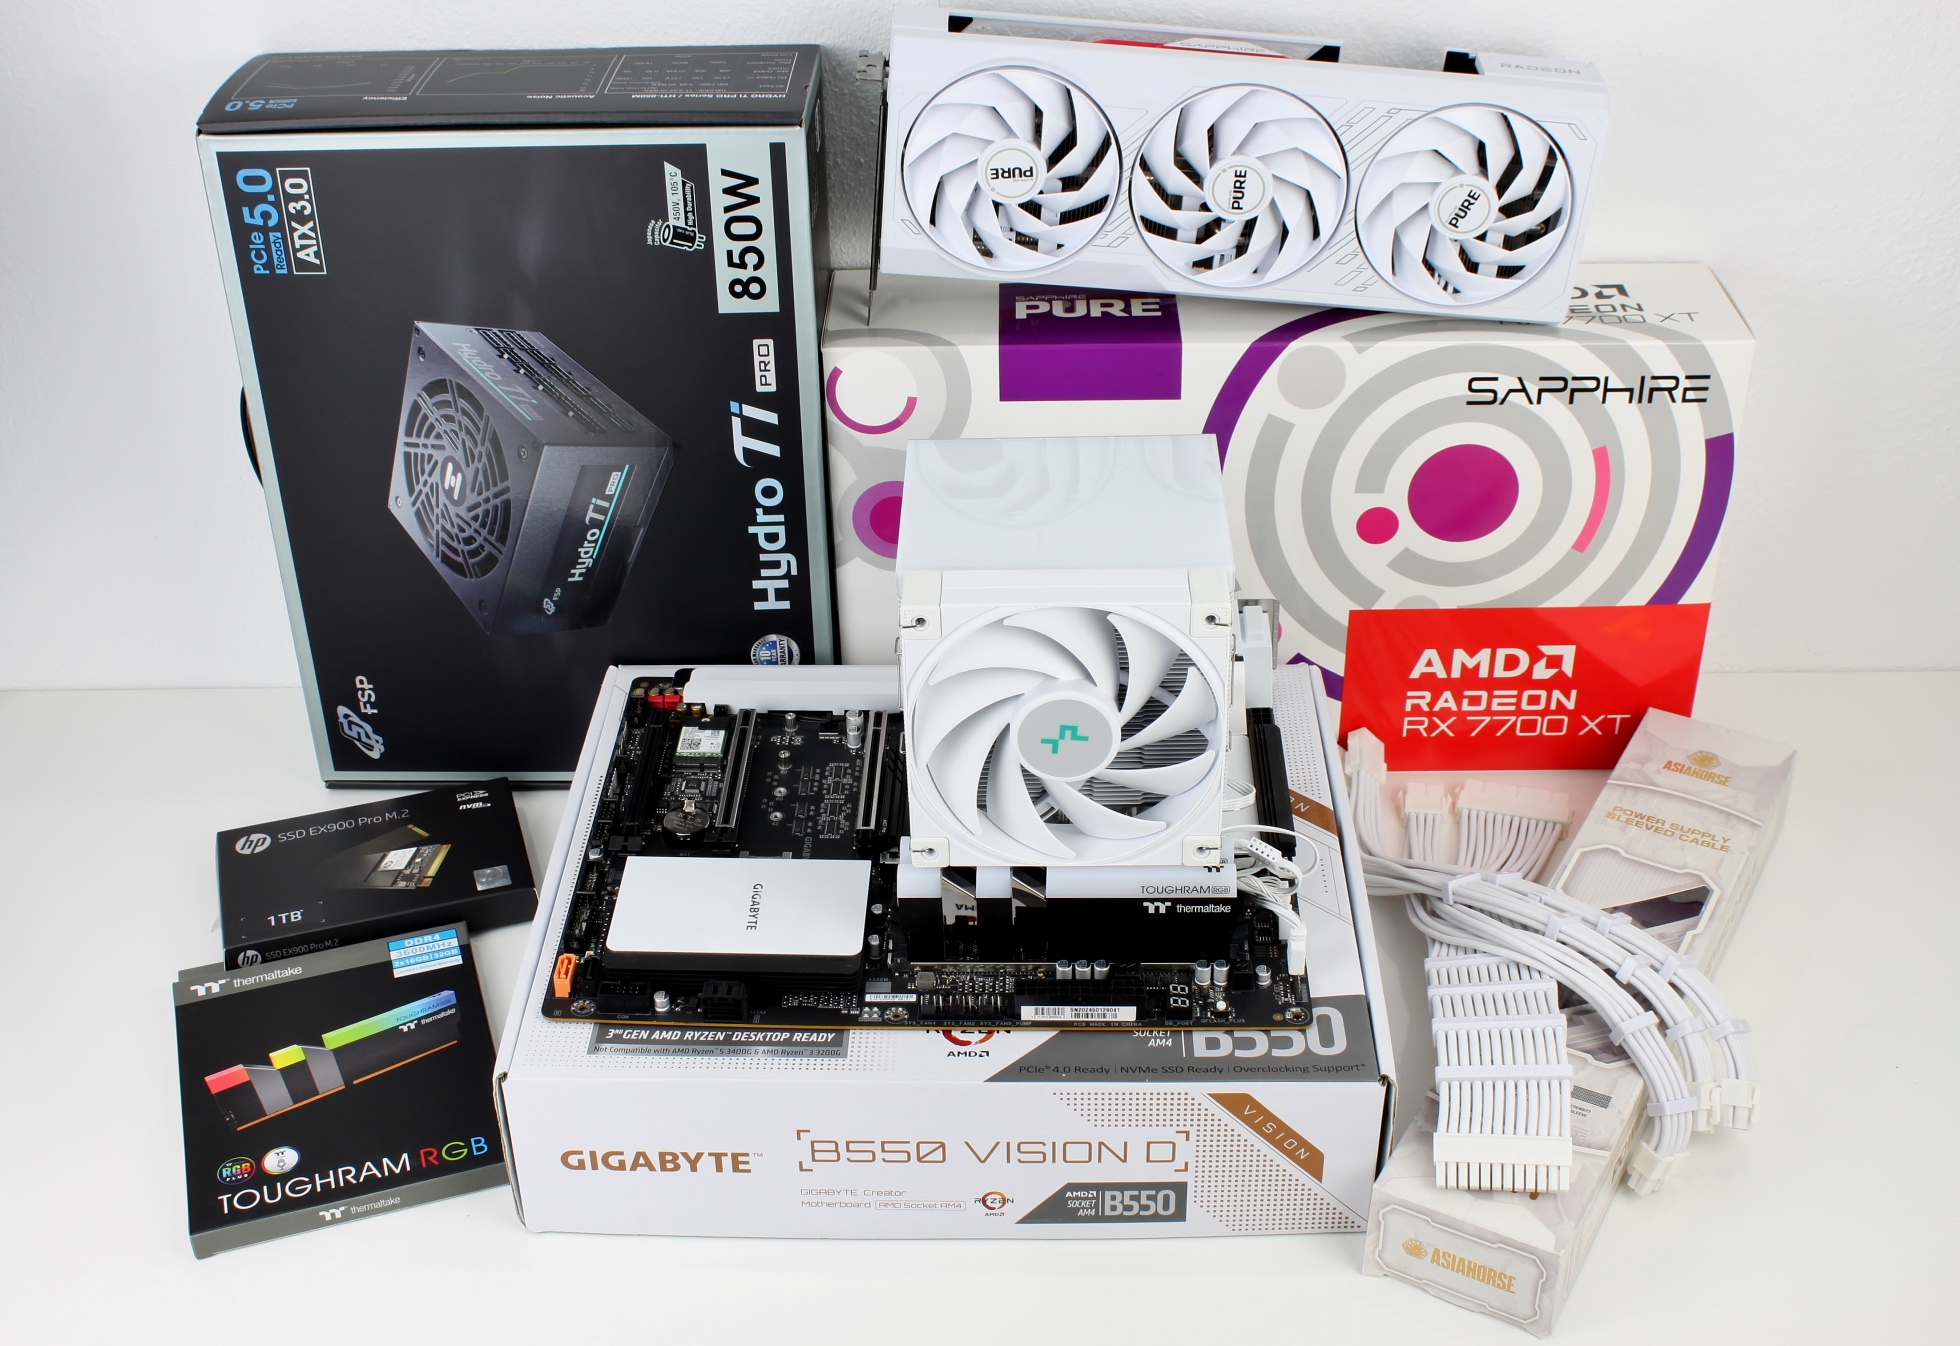
The following components were waiting to be installed in the white housing:
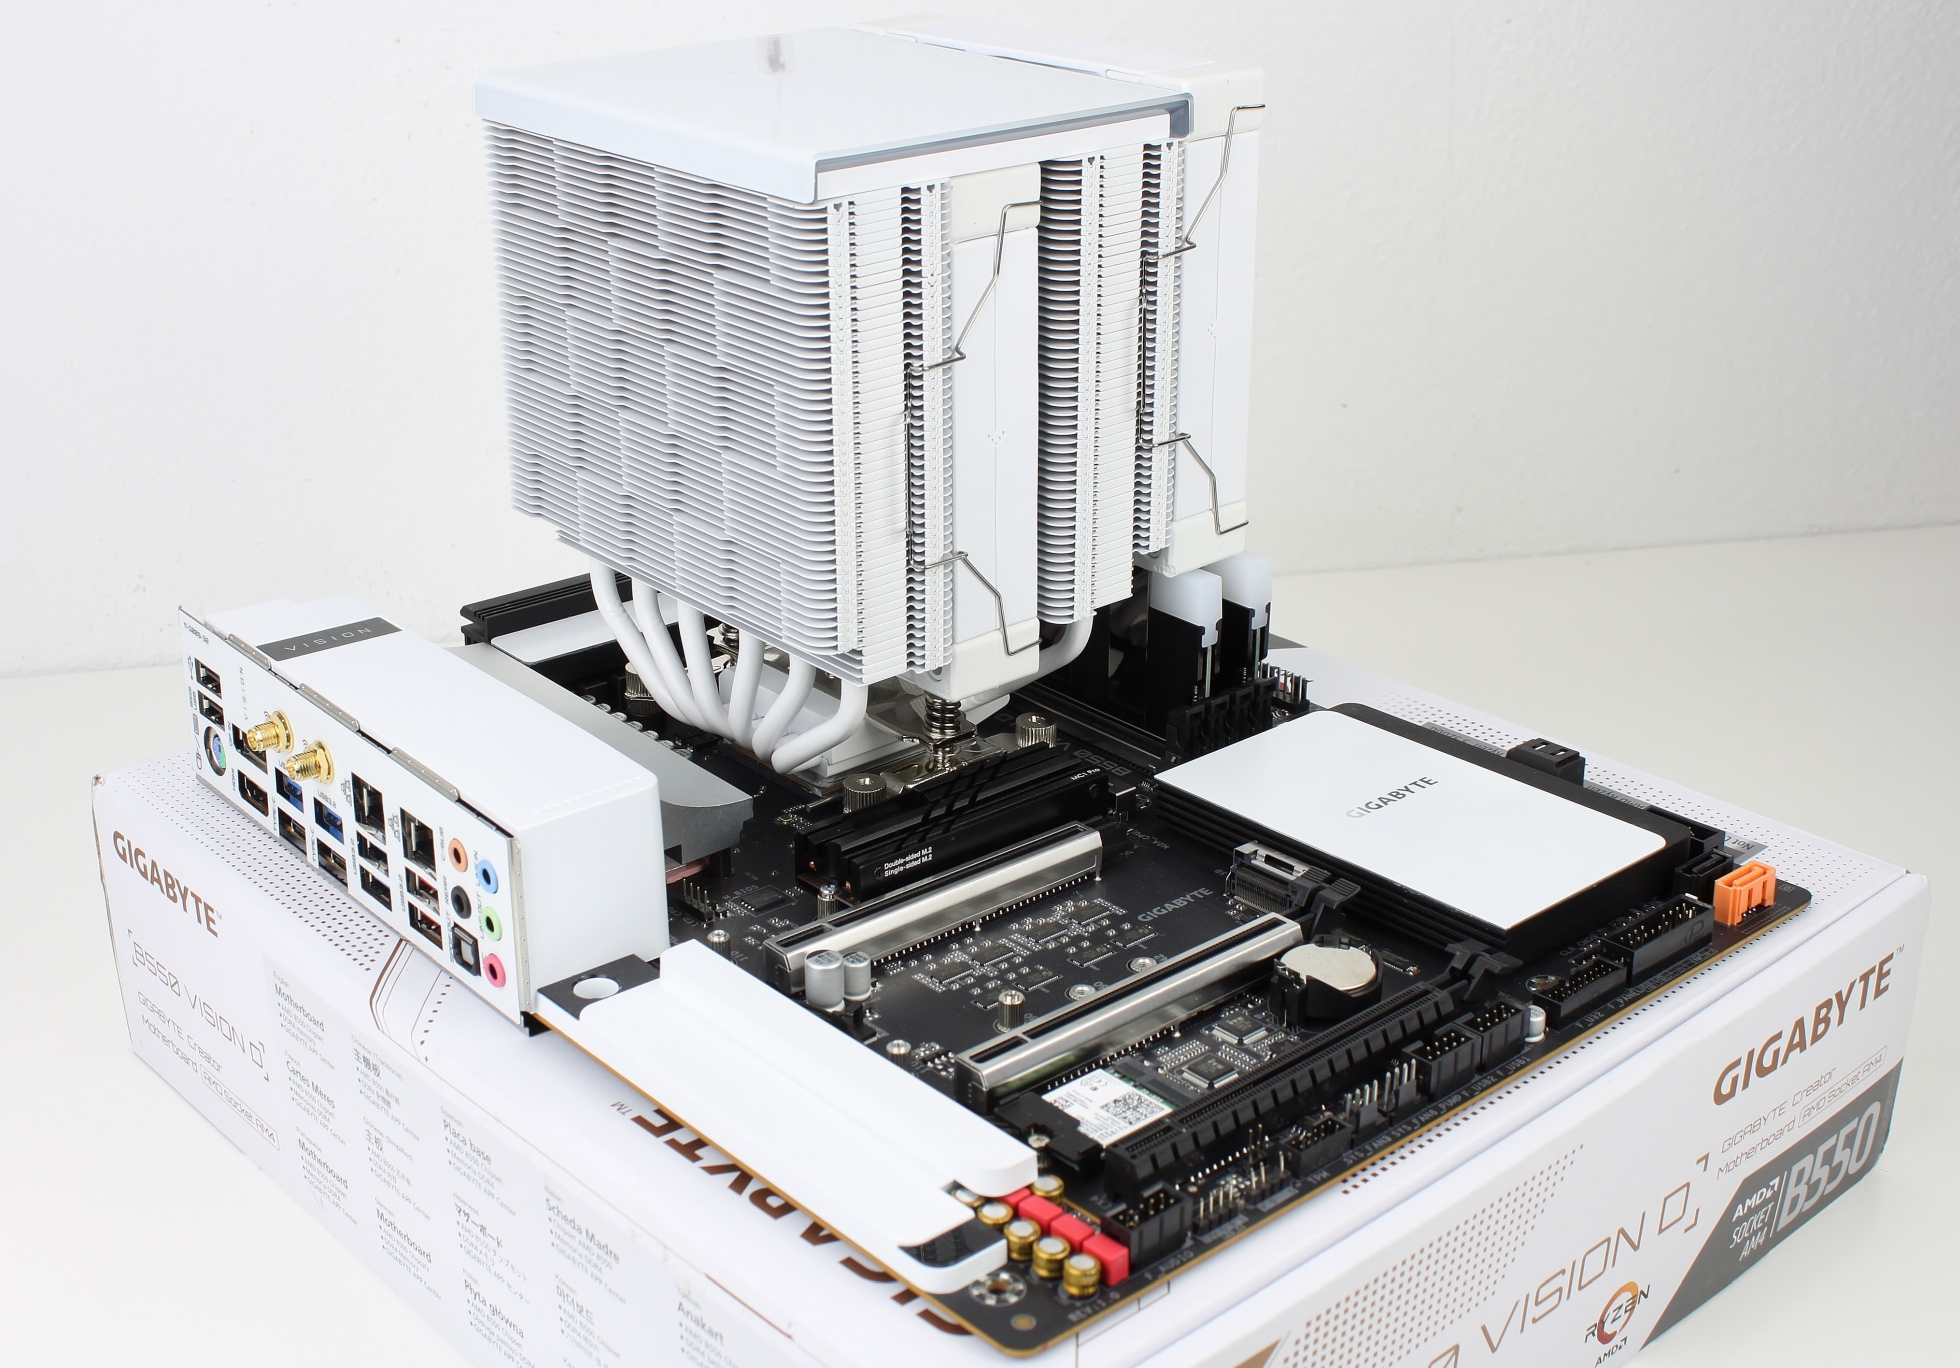
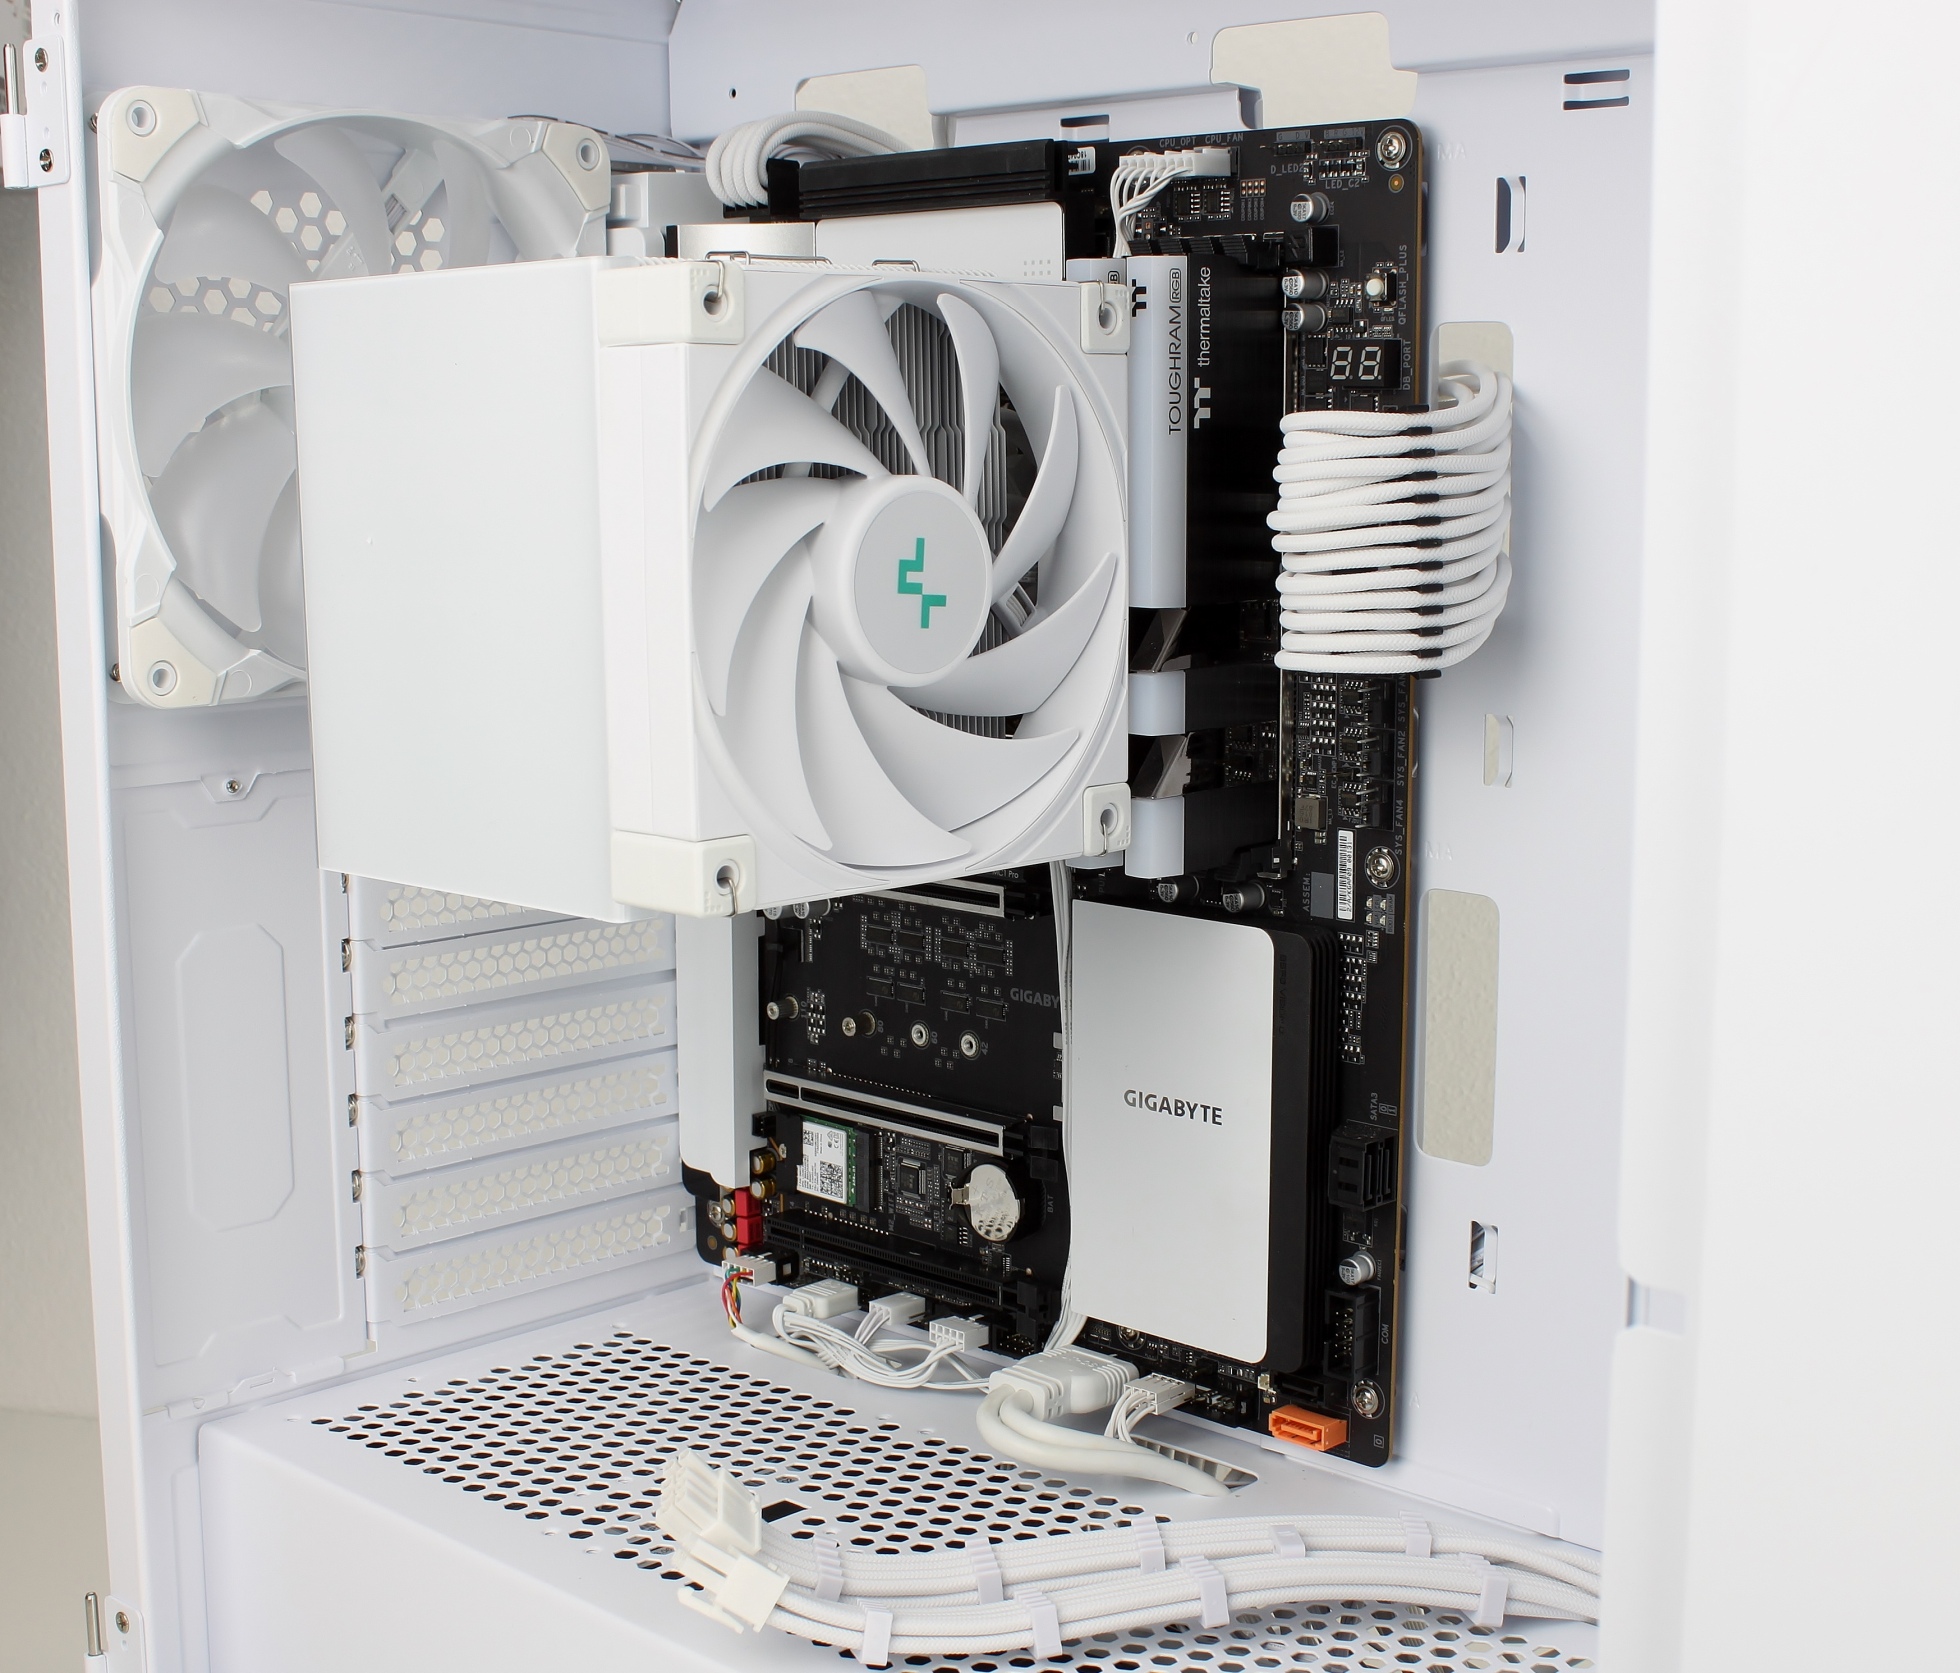
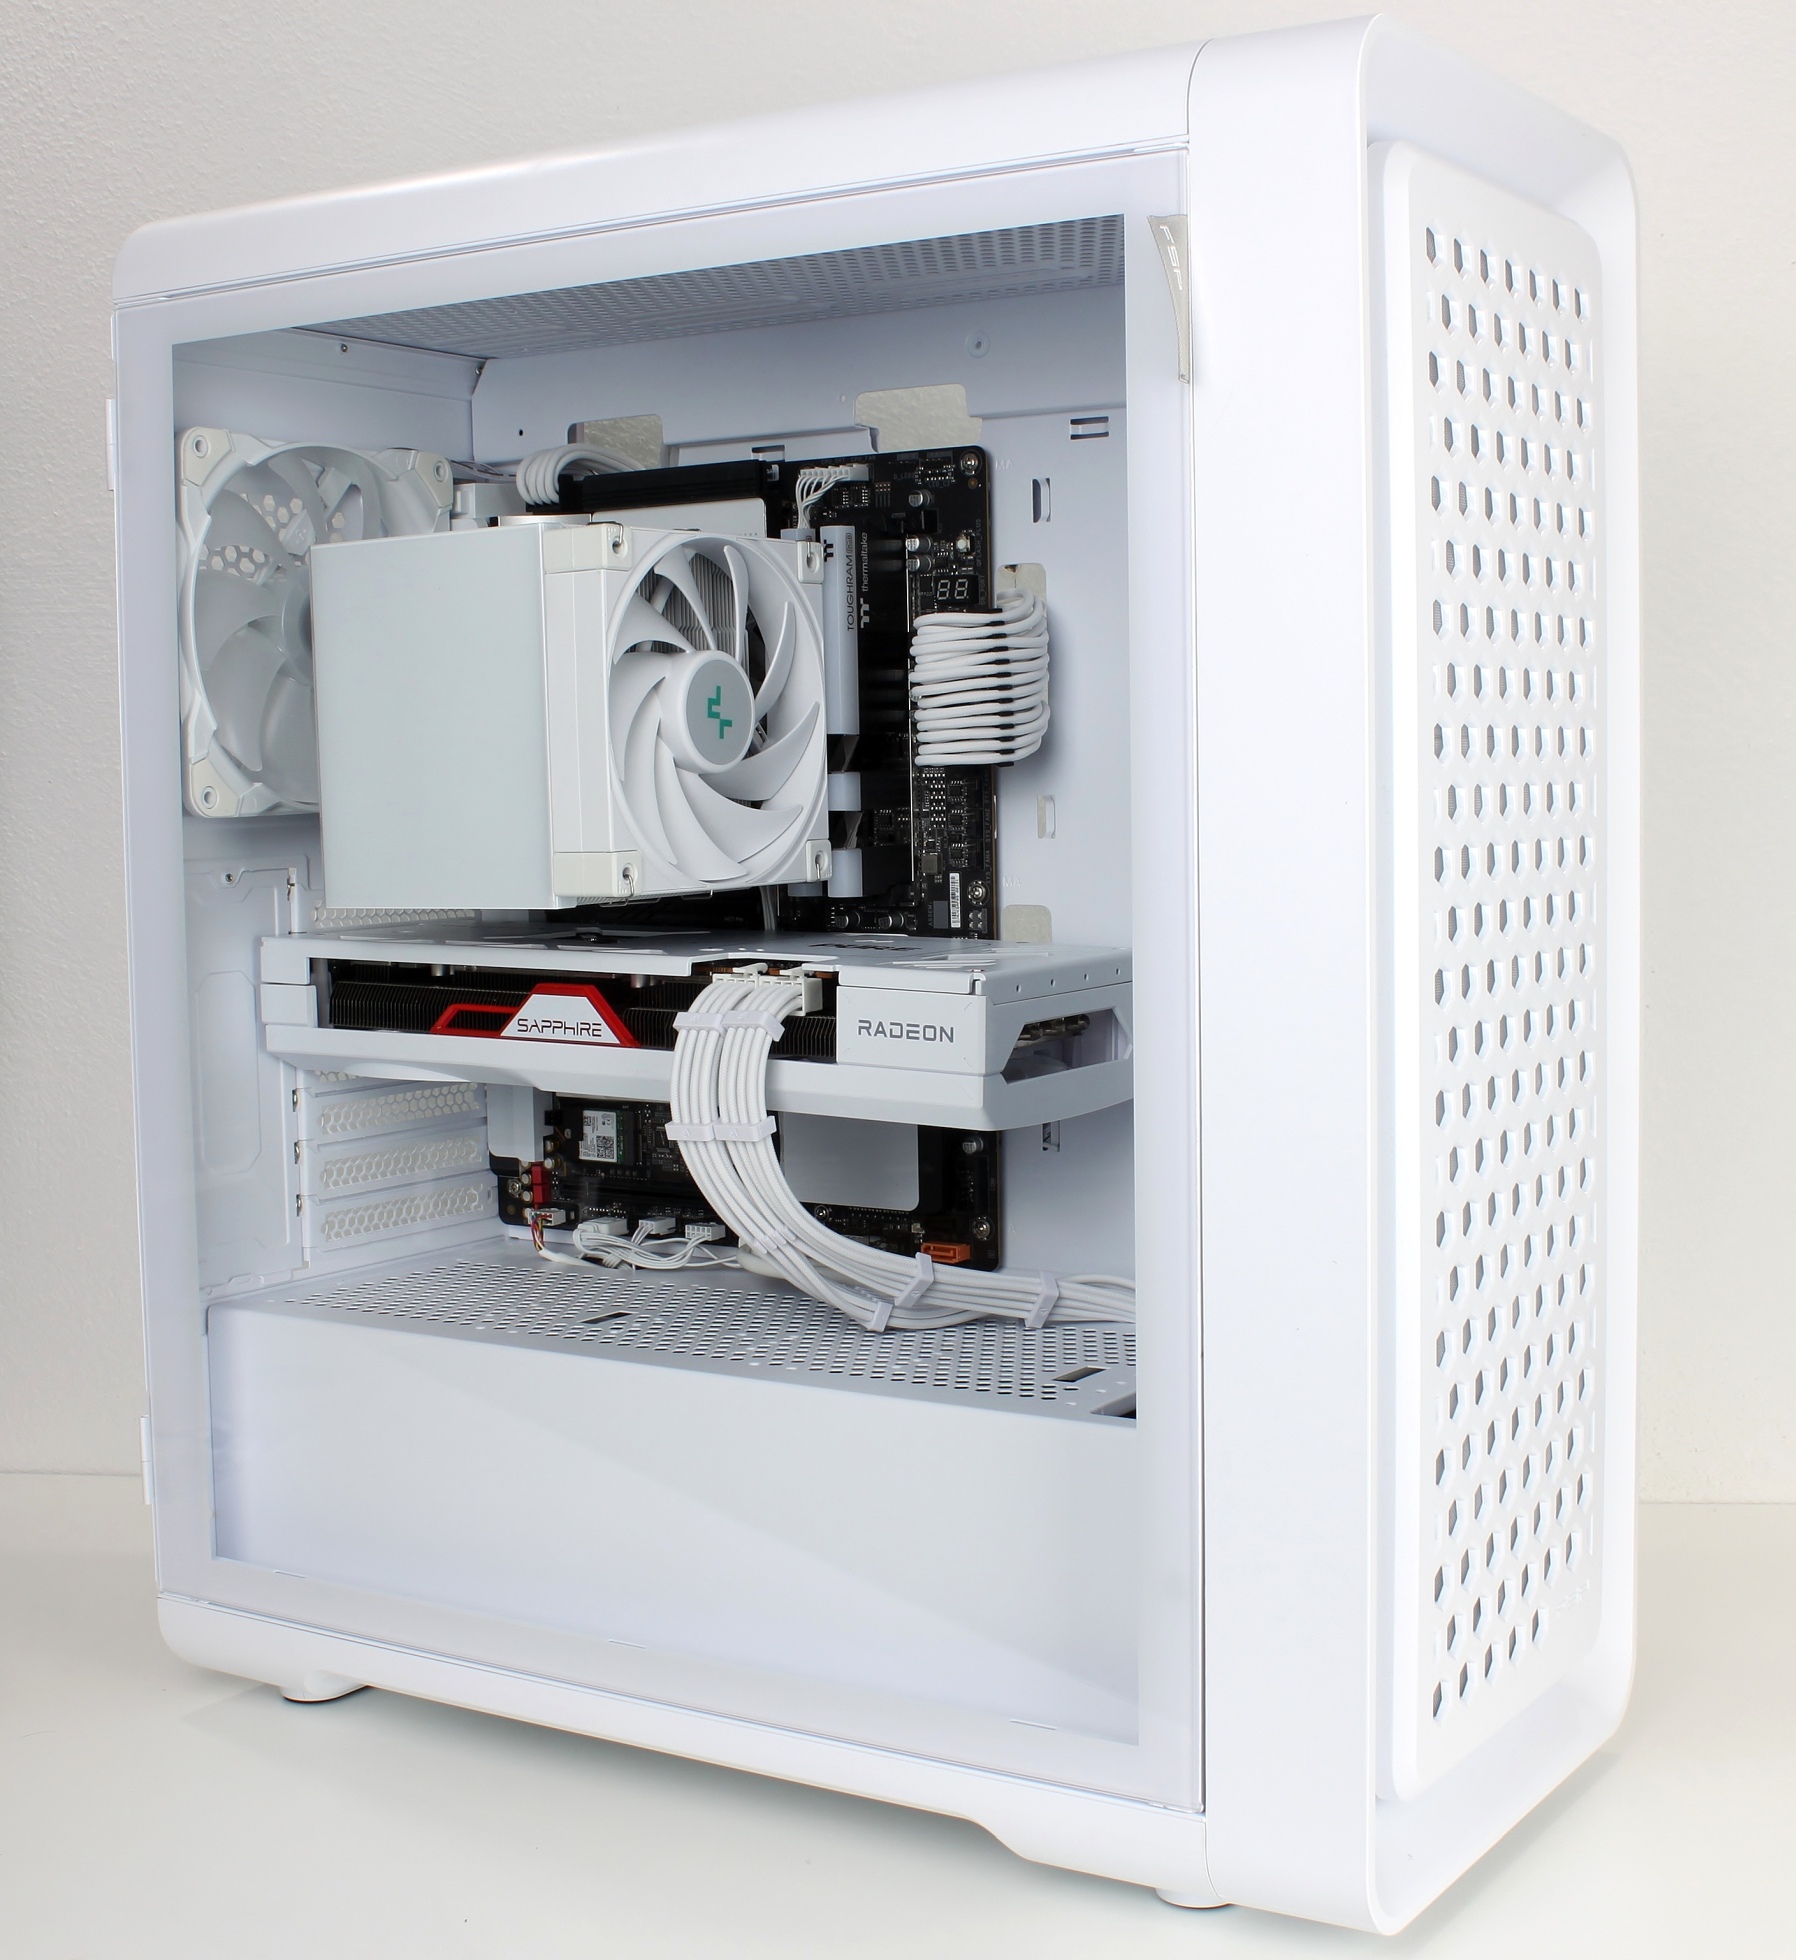
As always, I started by preparing the mainboard. I always install the NVME, RAM and CPU, including the cooler, outside the case as long as I can still reach them easily. The thick DeepCool AK620 was used here again for the right look.
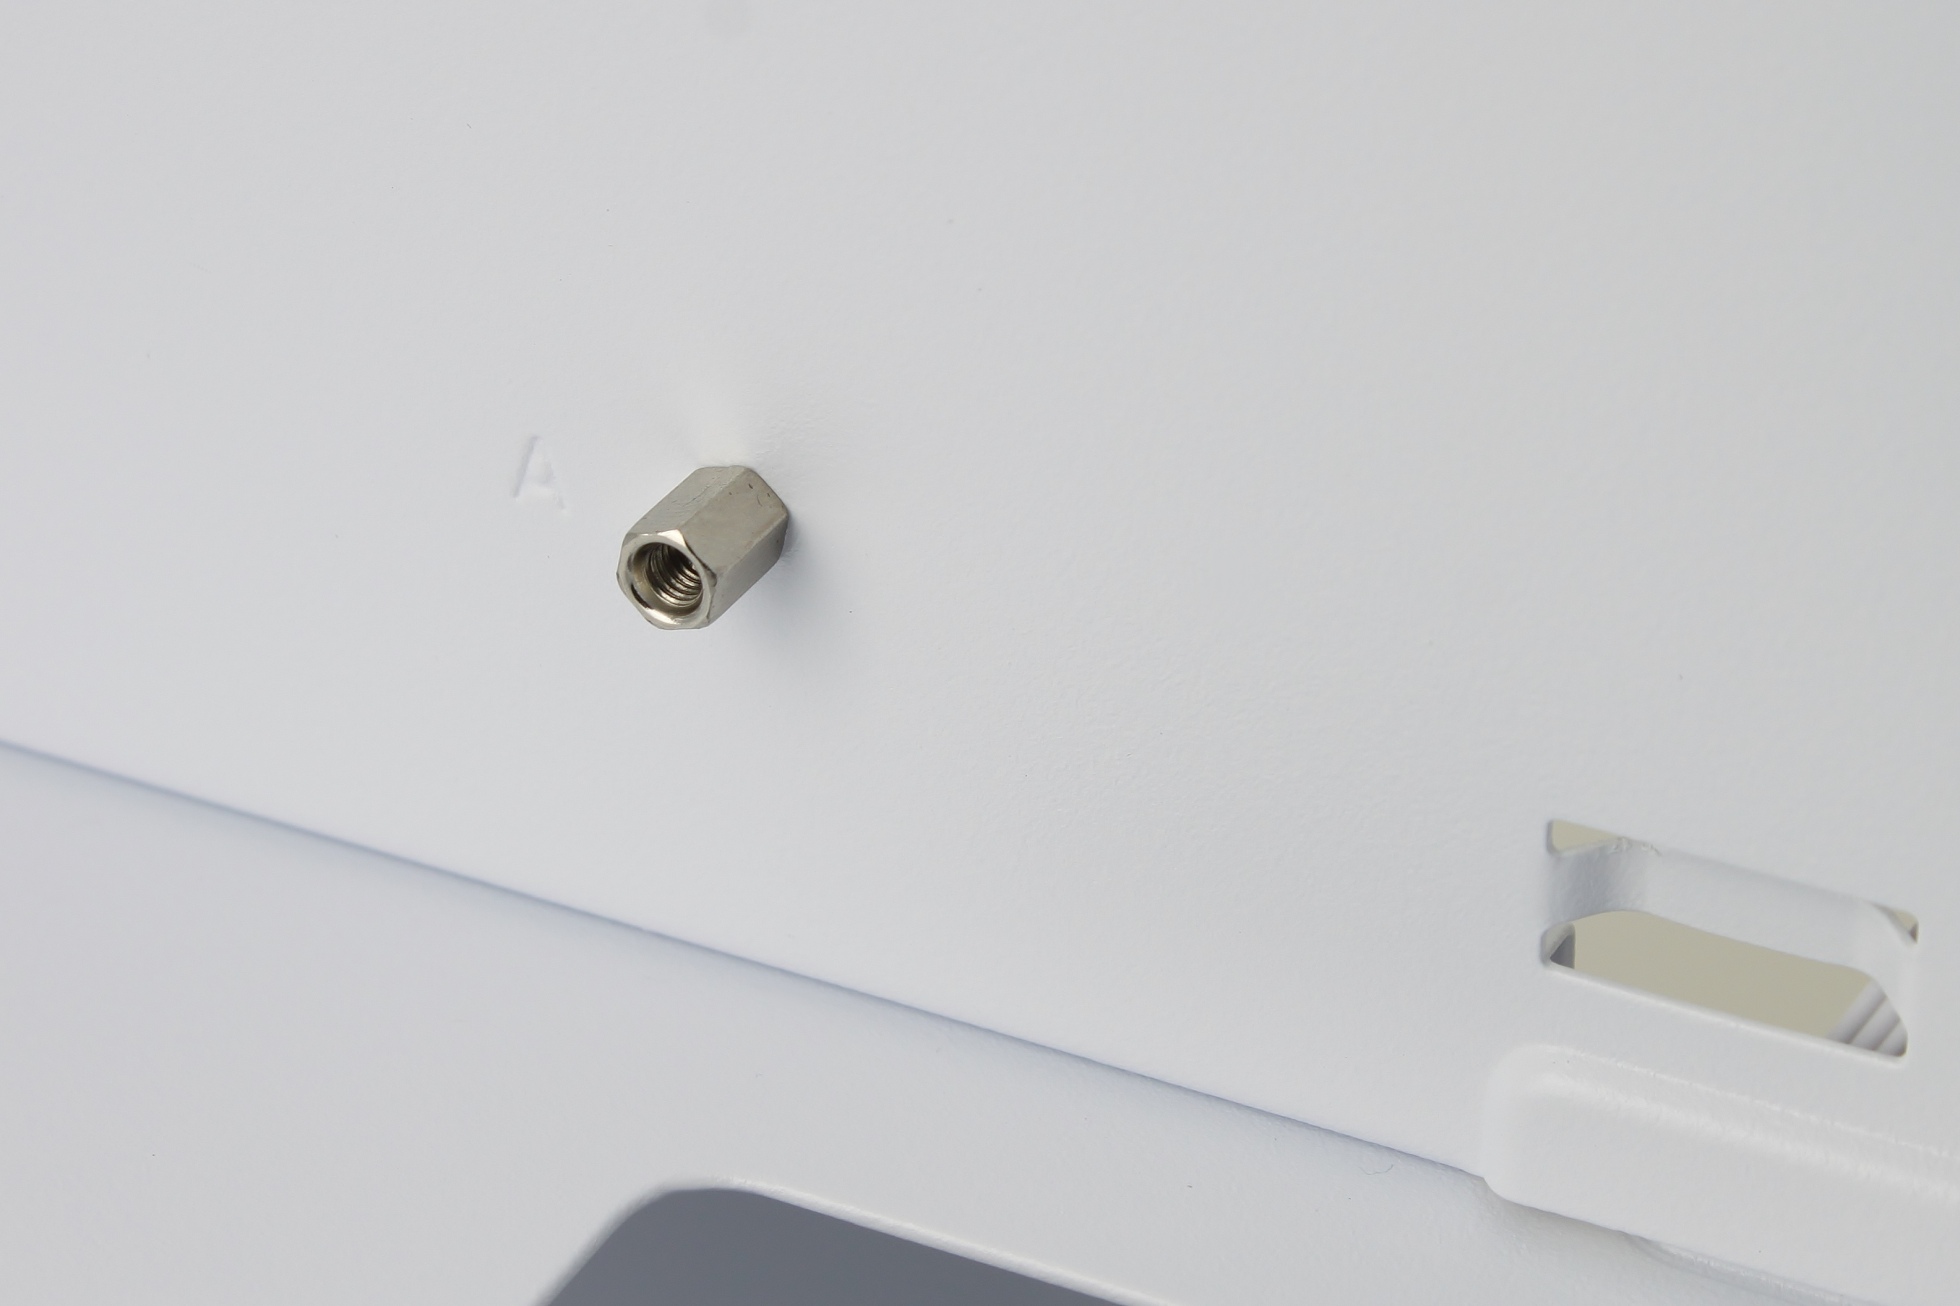
I had to lay the case on its side to install the board, as the CUT593 unfortunately doesn’t come with a “centering spacer”, which you can normally find even in the absolute budget class these days.
However, with well over 20 years of experience in “PC building”, I was not immediately overwhelmed by the situation and was able to install the mainboard in no time at all, even without the little helper.
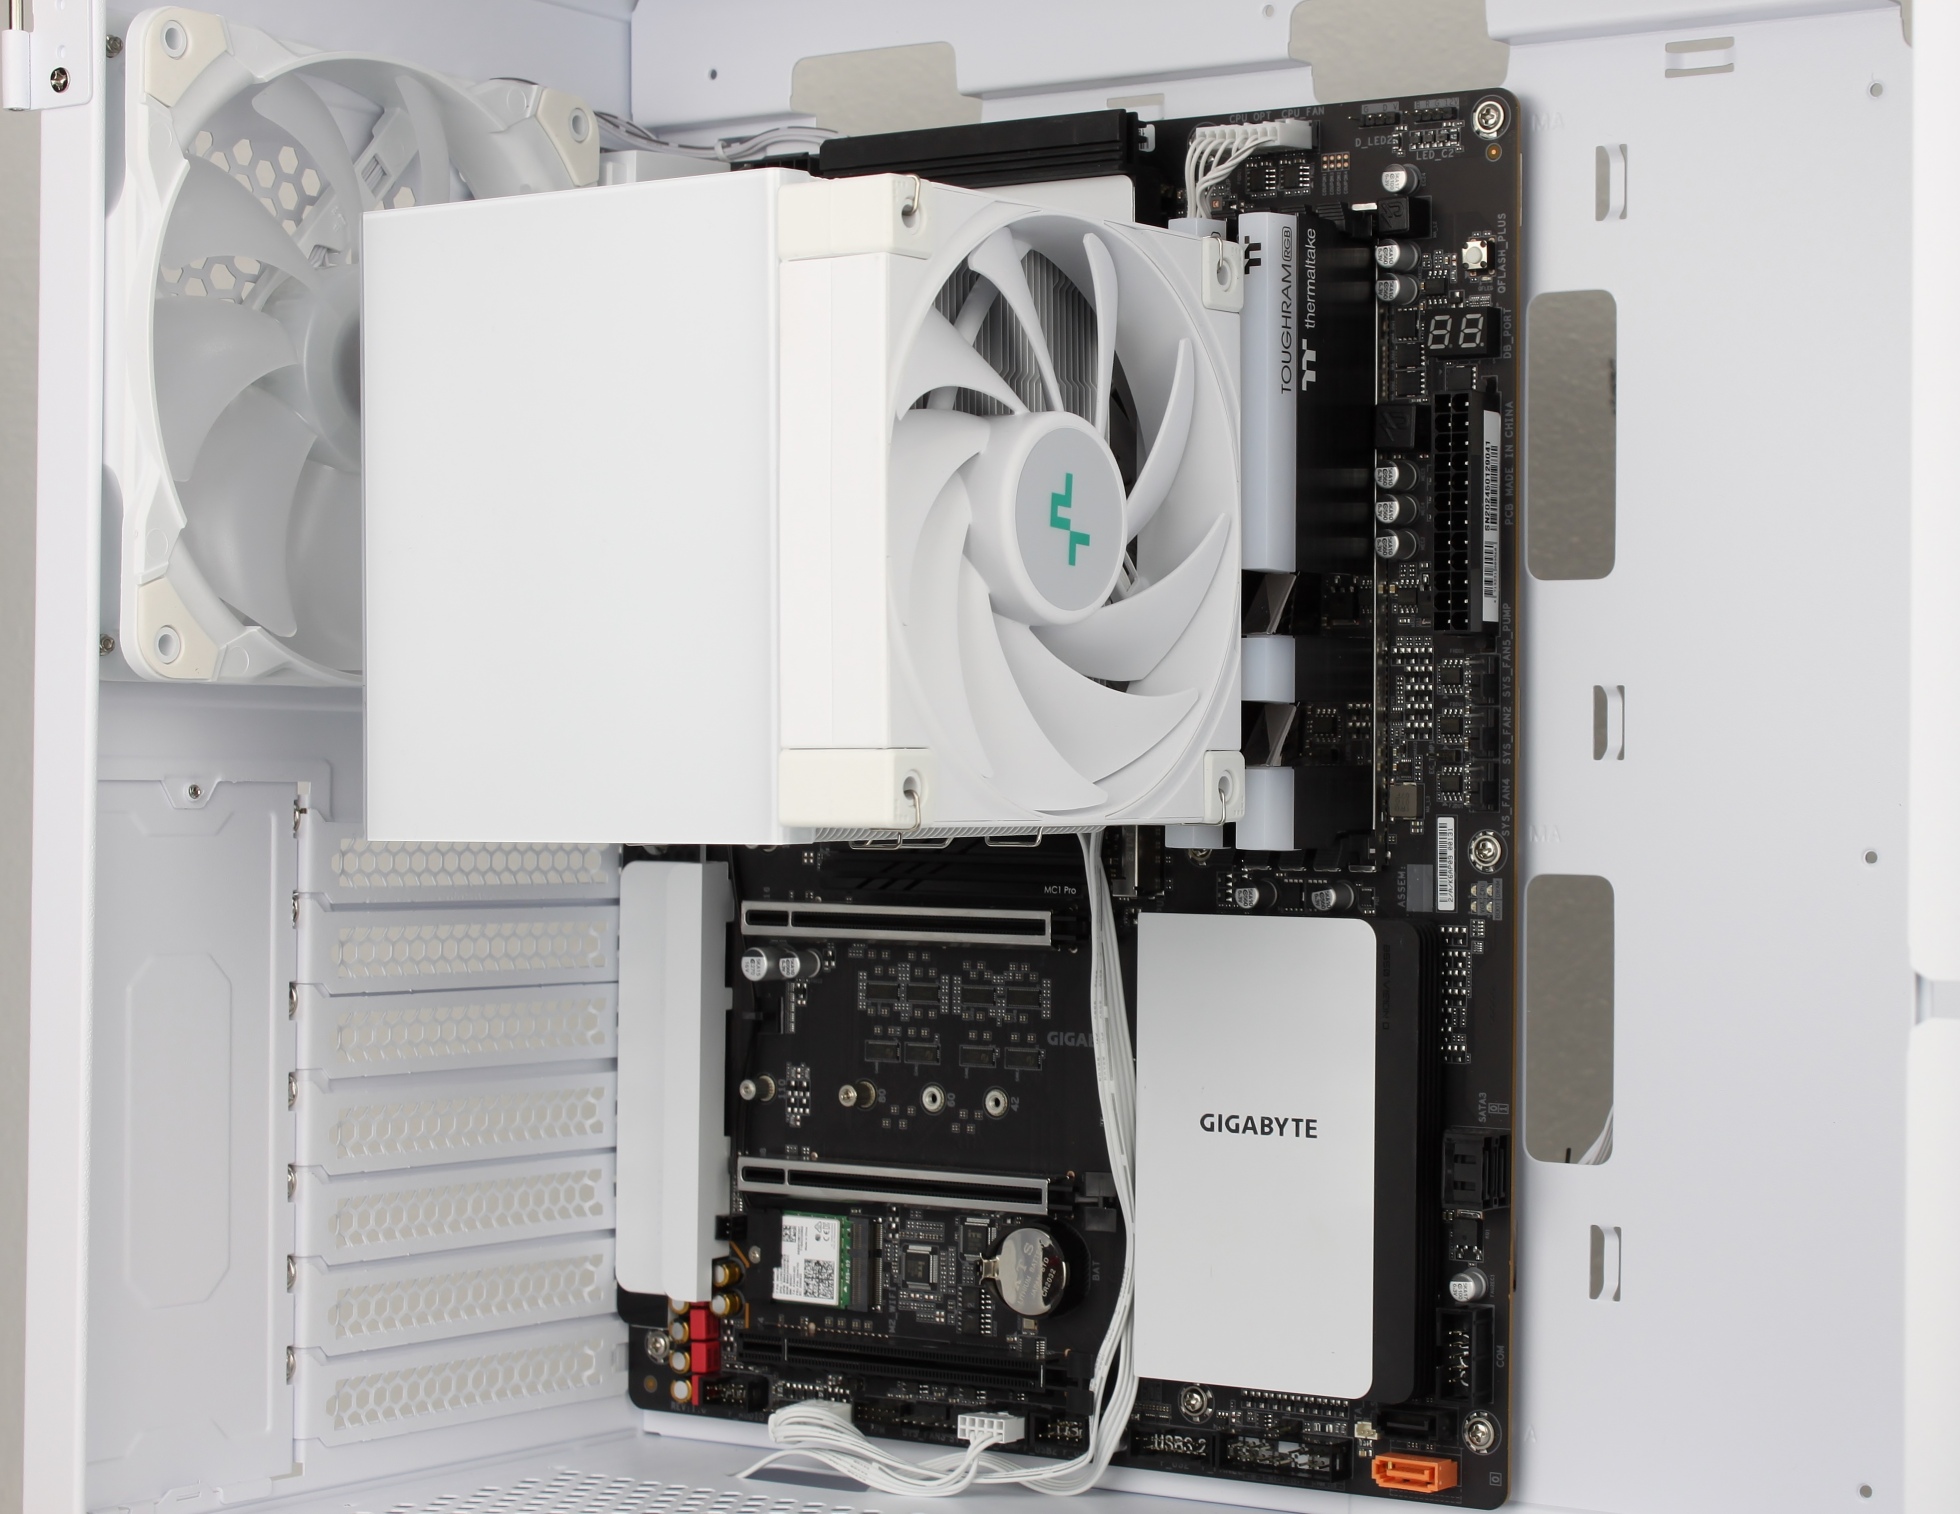
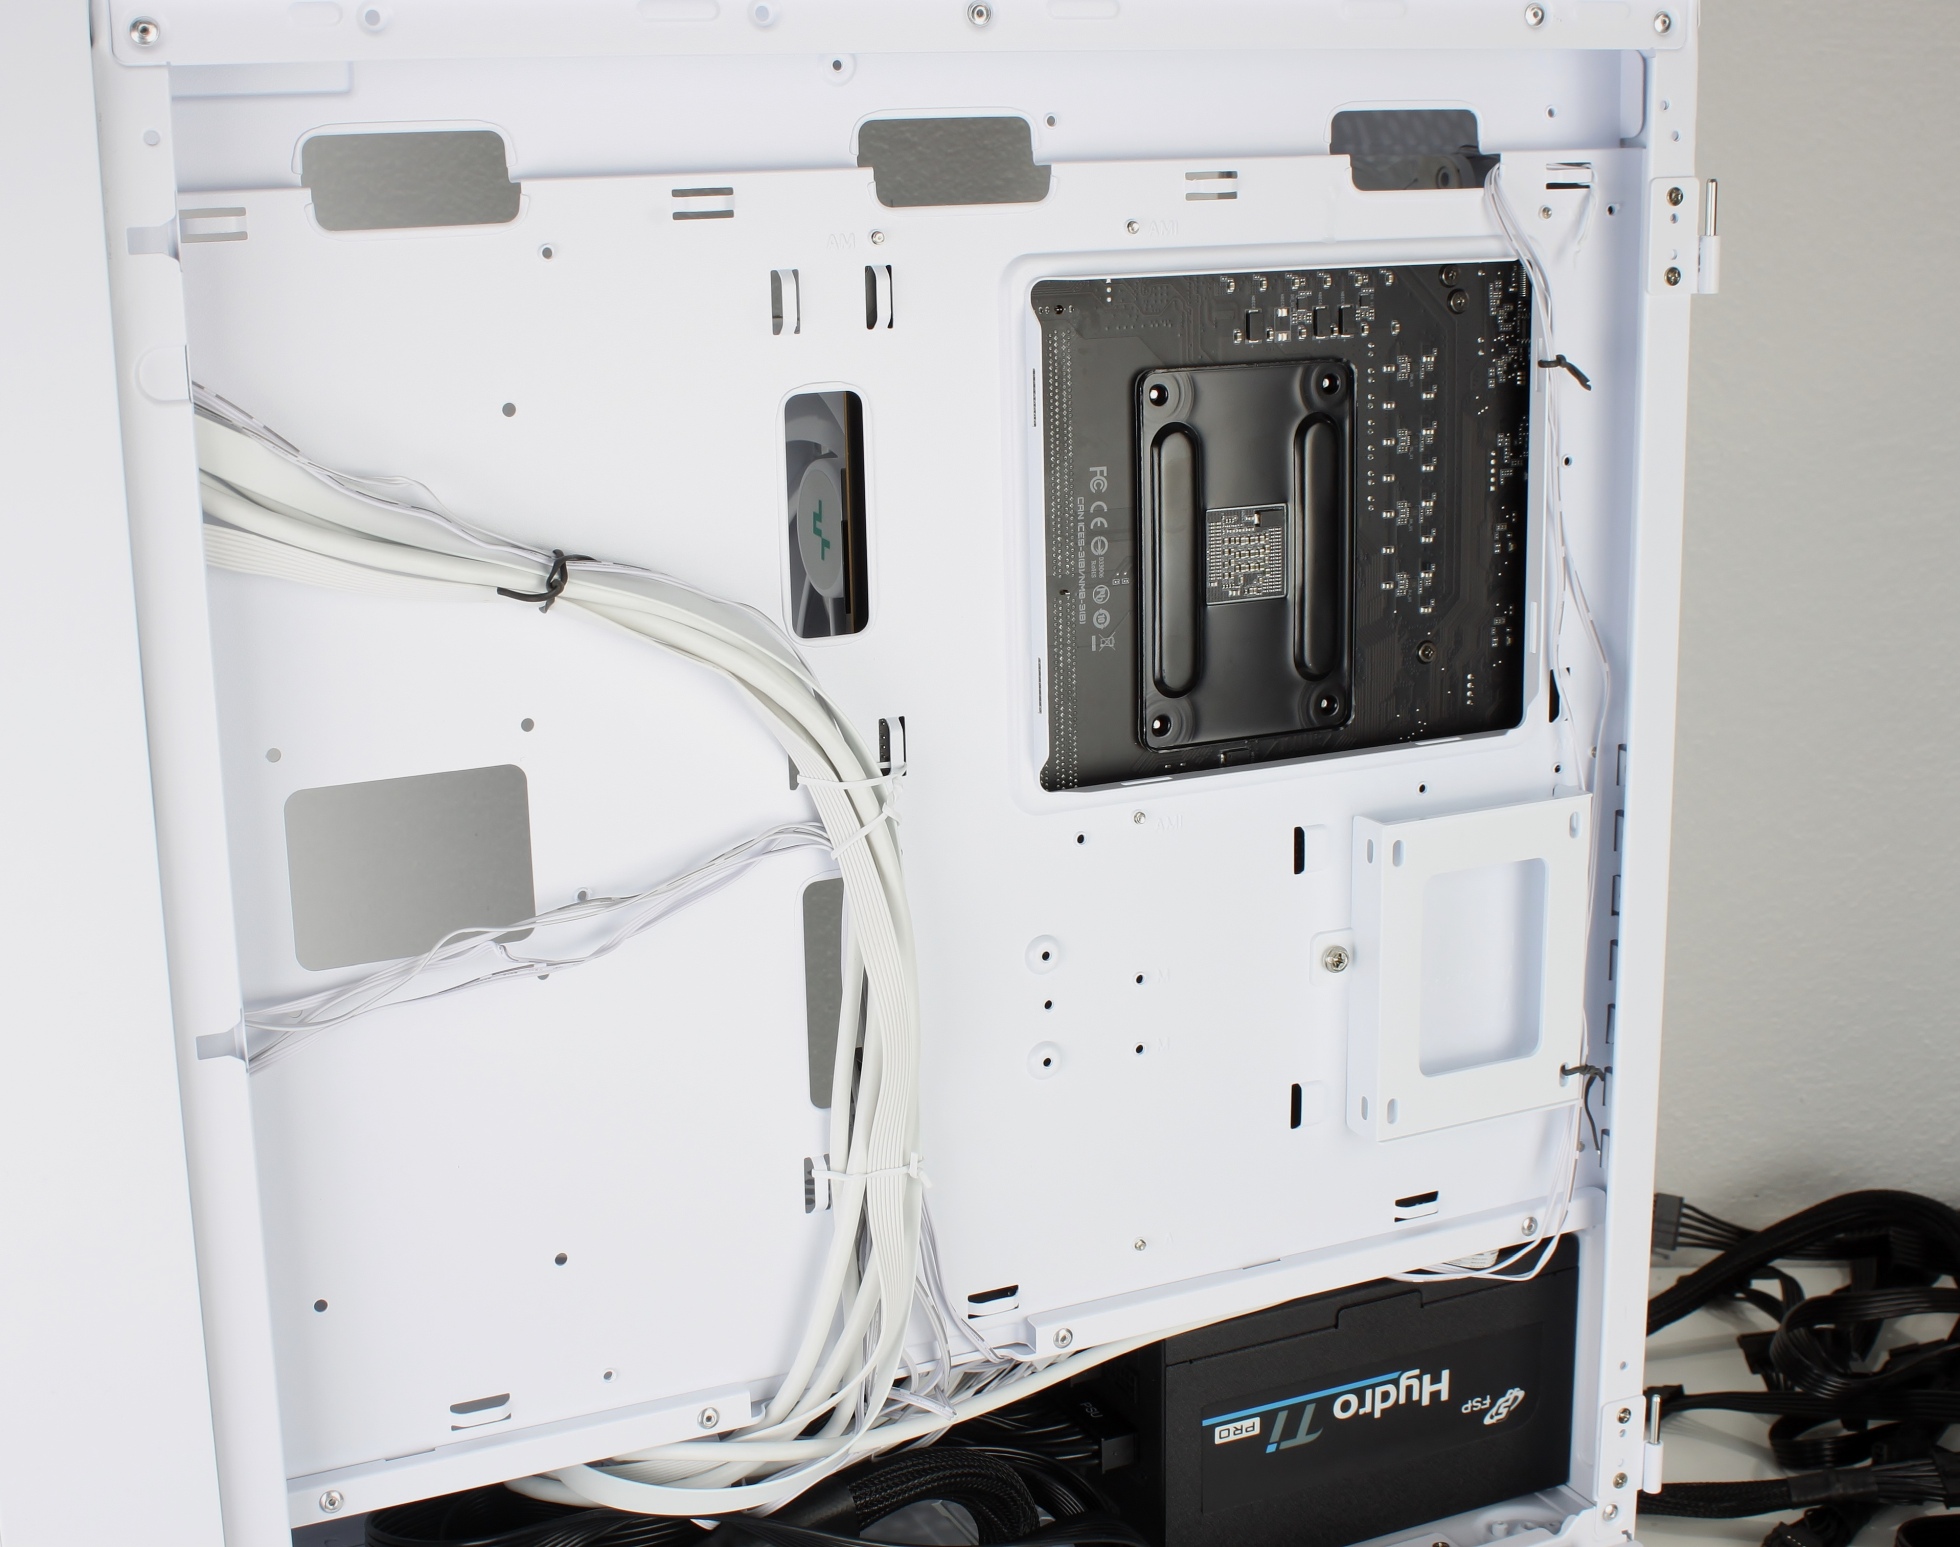
The next step was to fit the power supply unit. I hope that it is not a coincidence but a trend that the majority of the most recently tested enclosures have managed without any mounting frames!
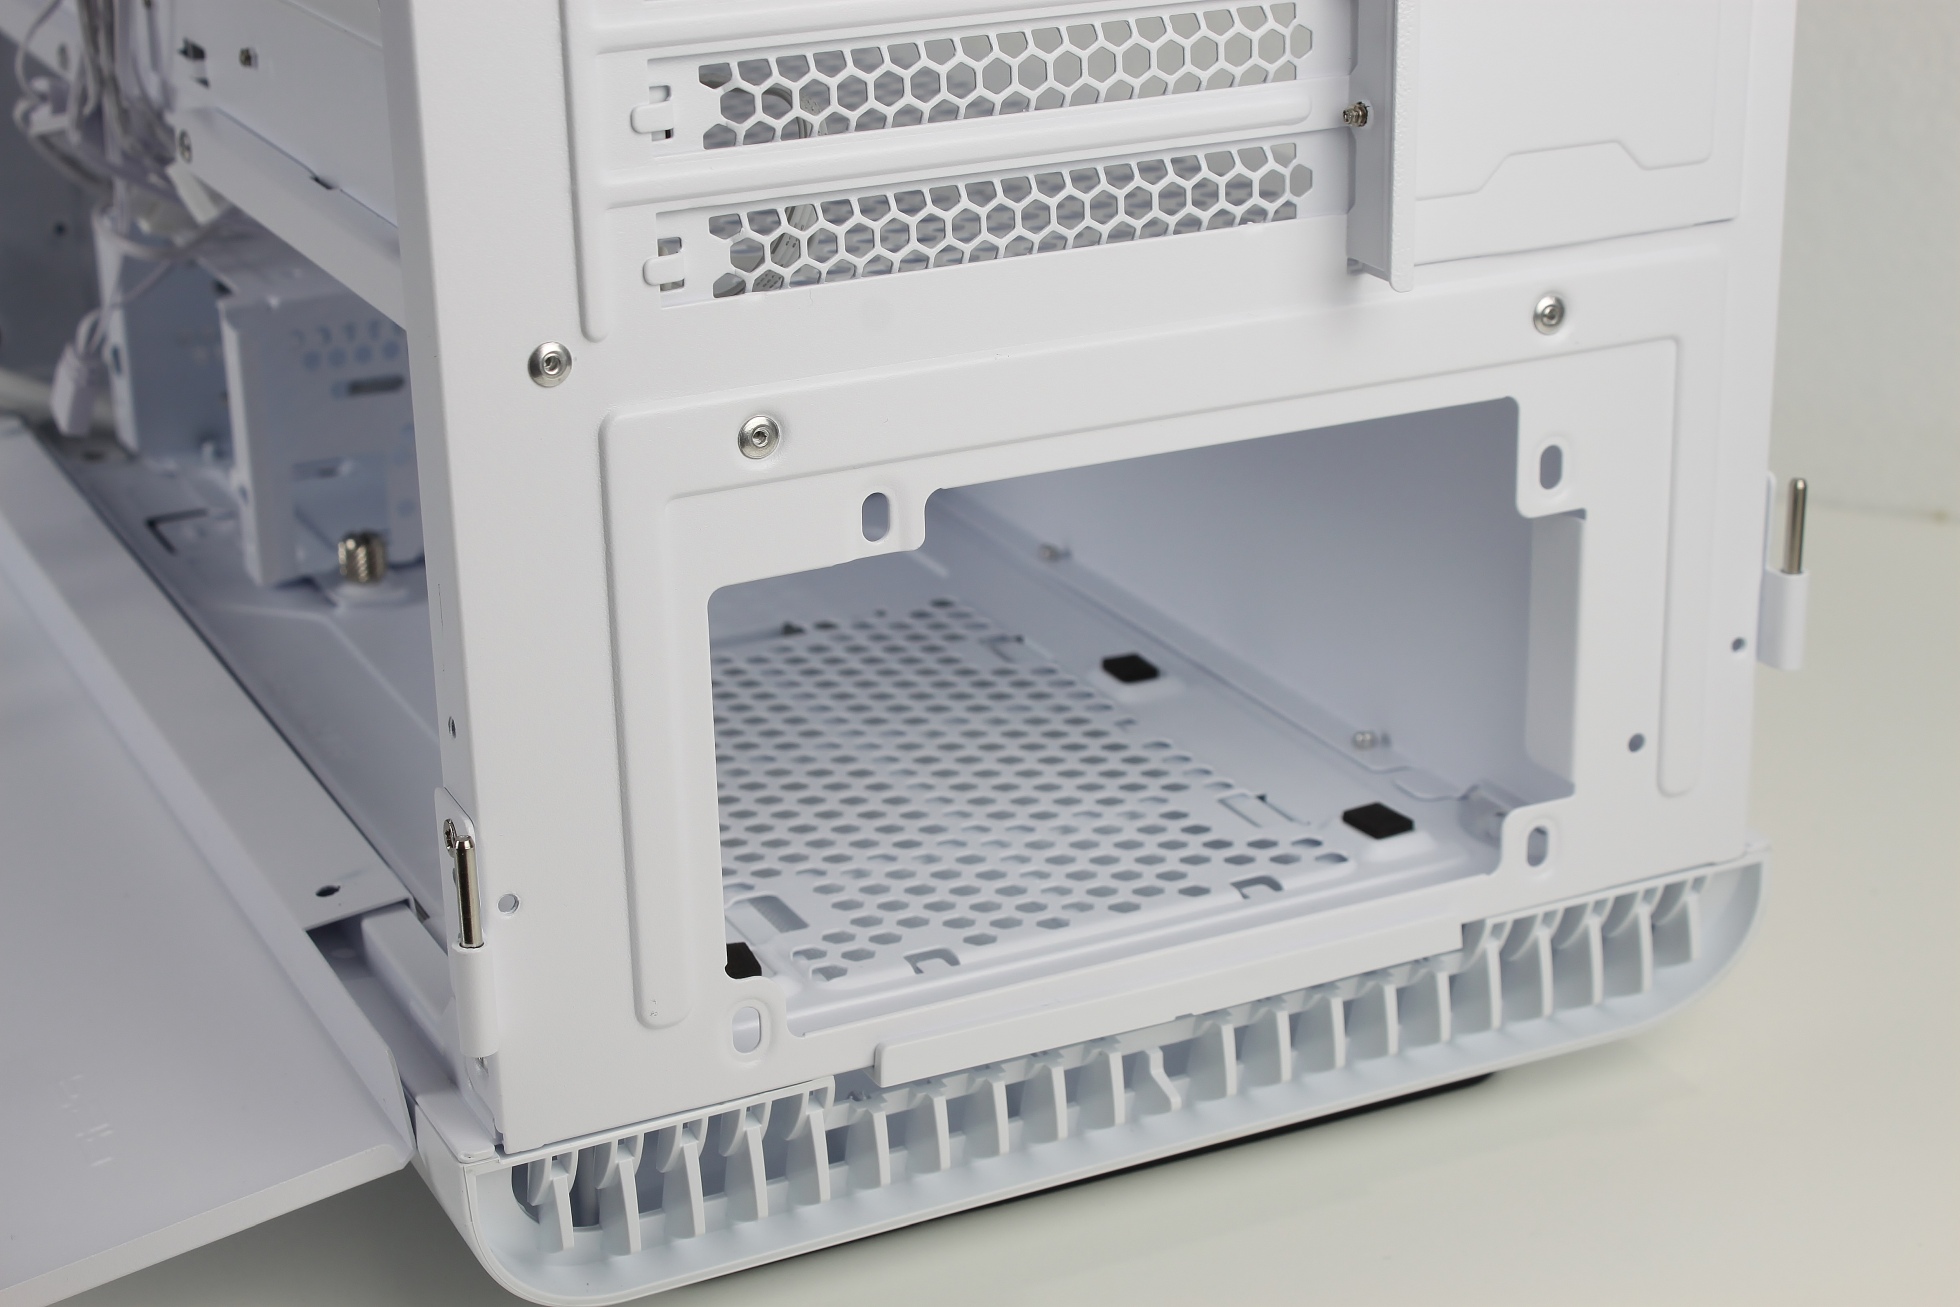

Even without the removable HDD cage, there would be plenty of room for cable clutter – but without the cage, even the required cables of the modular power supply can be conveniently plugged in after installation.
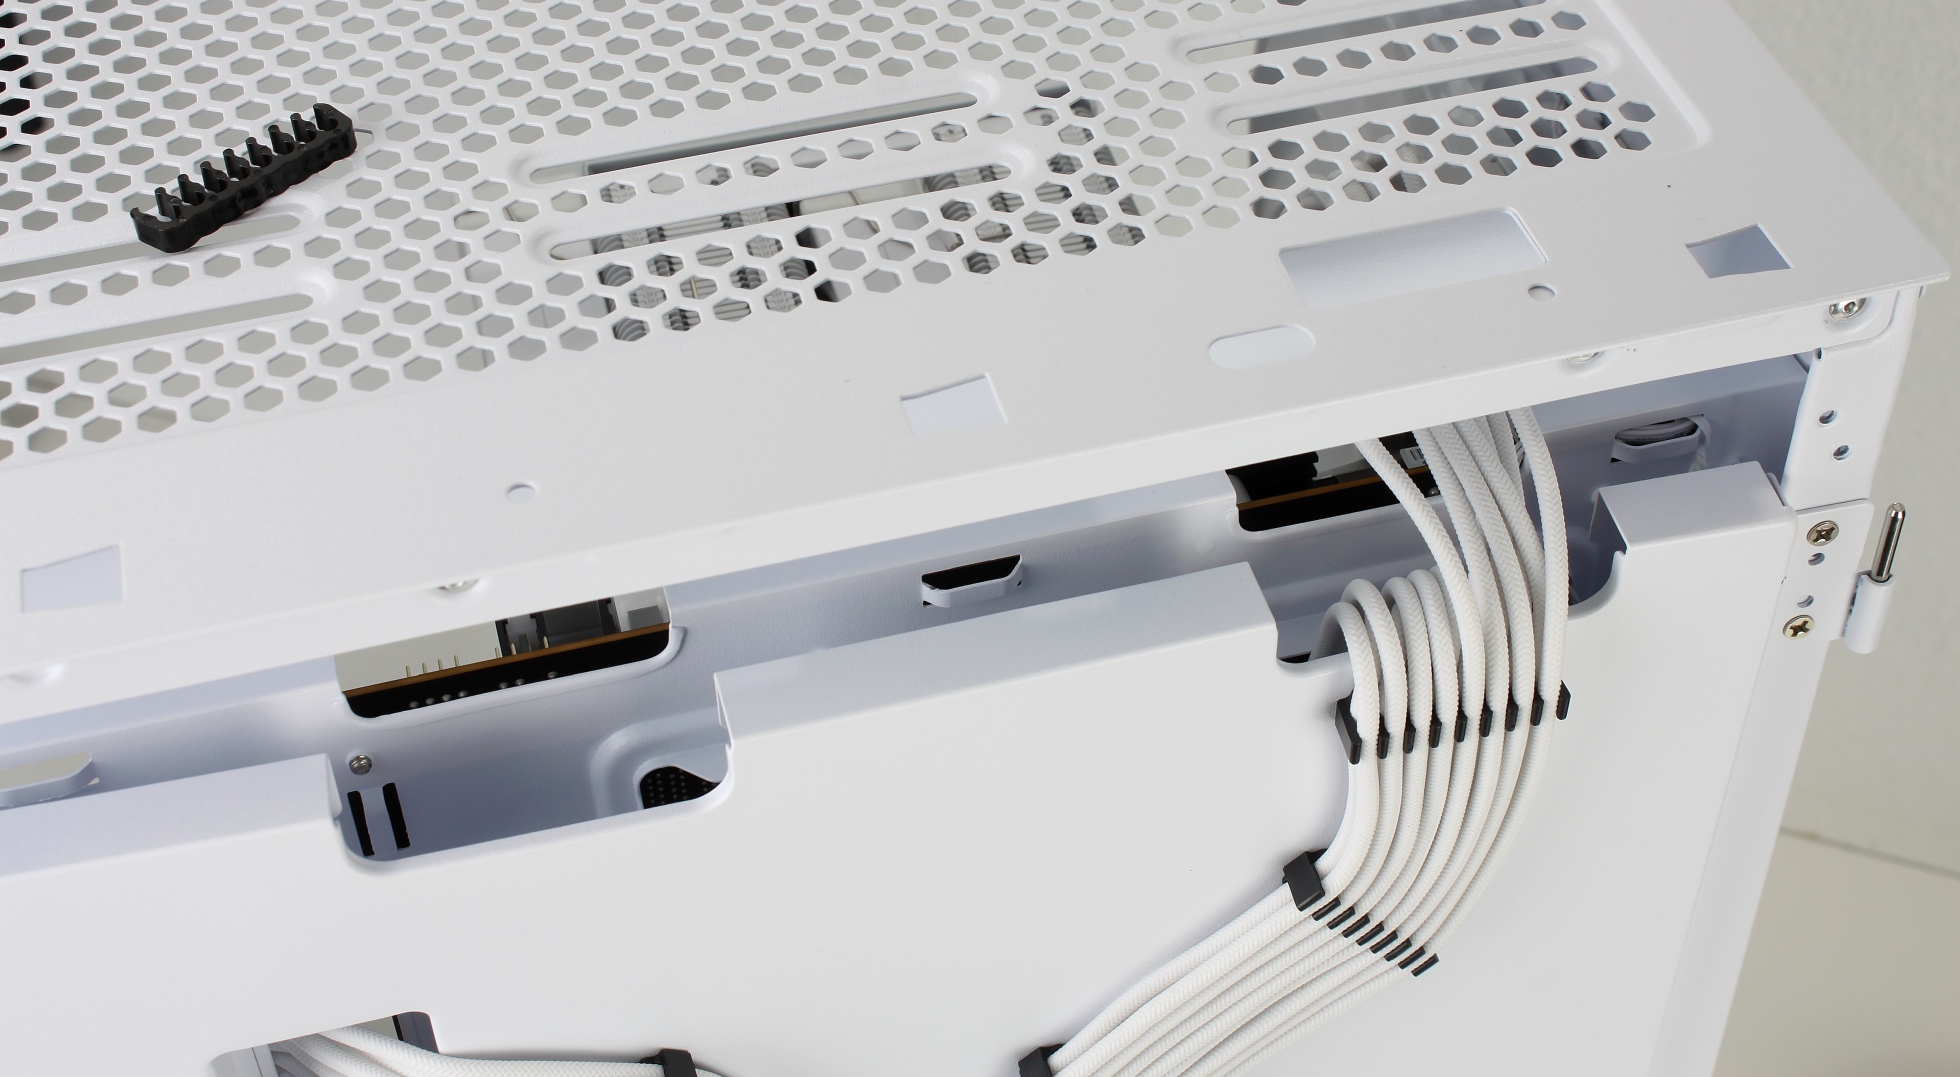
Next, I routed and fixed the cables for the front I/O and the pre-installed ARGB fans. Not a good idea, as I’ll soon find out.
The problem is that the chosen cable routing (and these are really thin cables and I have fixed them to the lashing points that are obviously intended for this purpose) is already causing collisions with the extravagant cable management system. Ideally, therefore, no cables (or cables that are perfectly adapted to the conditions) should be laid at this point.
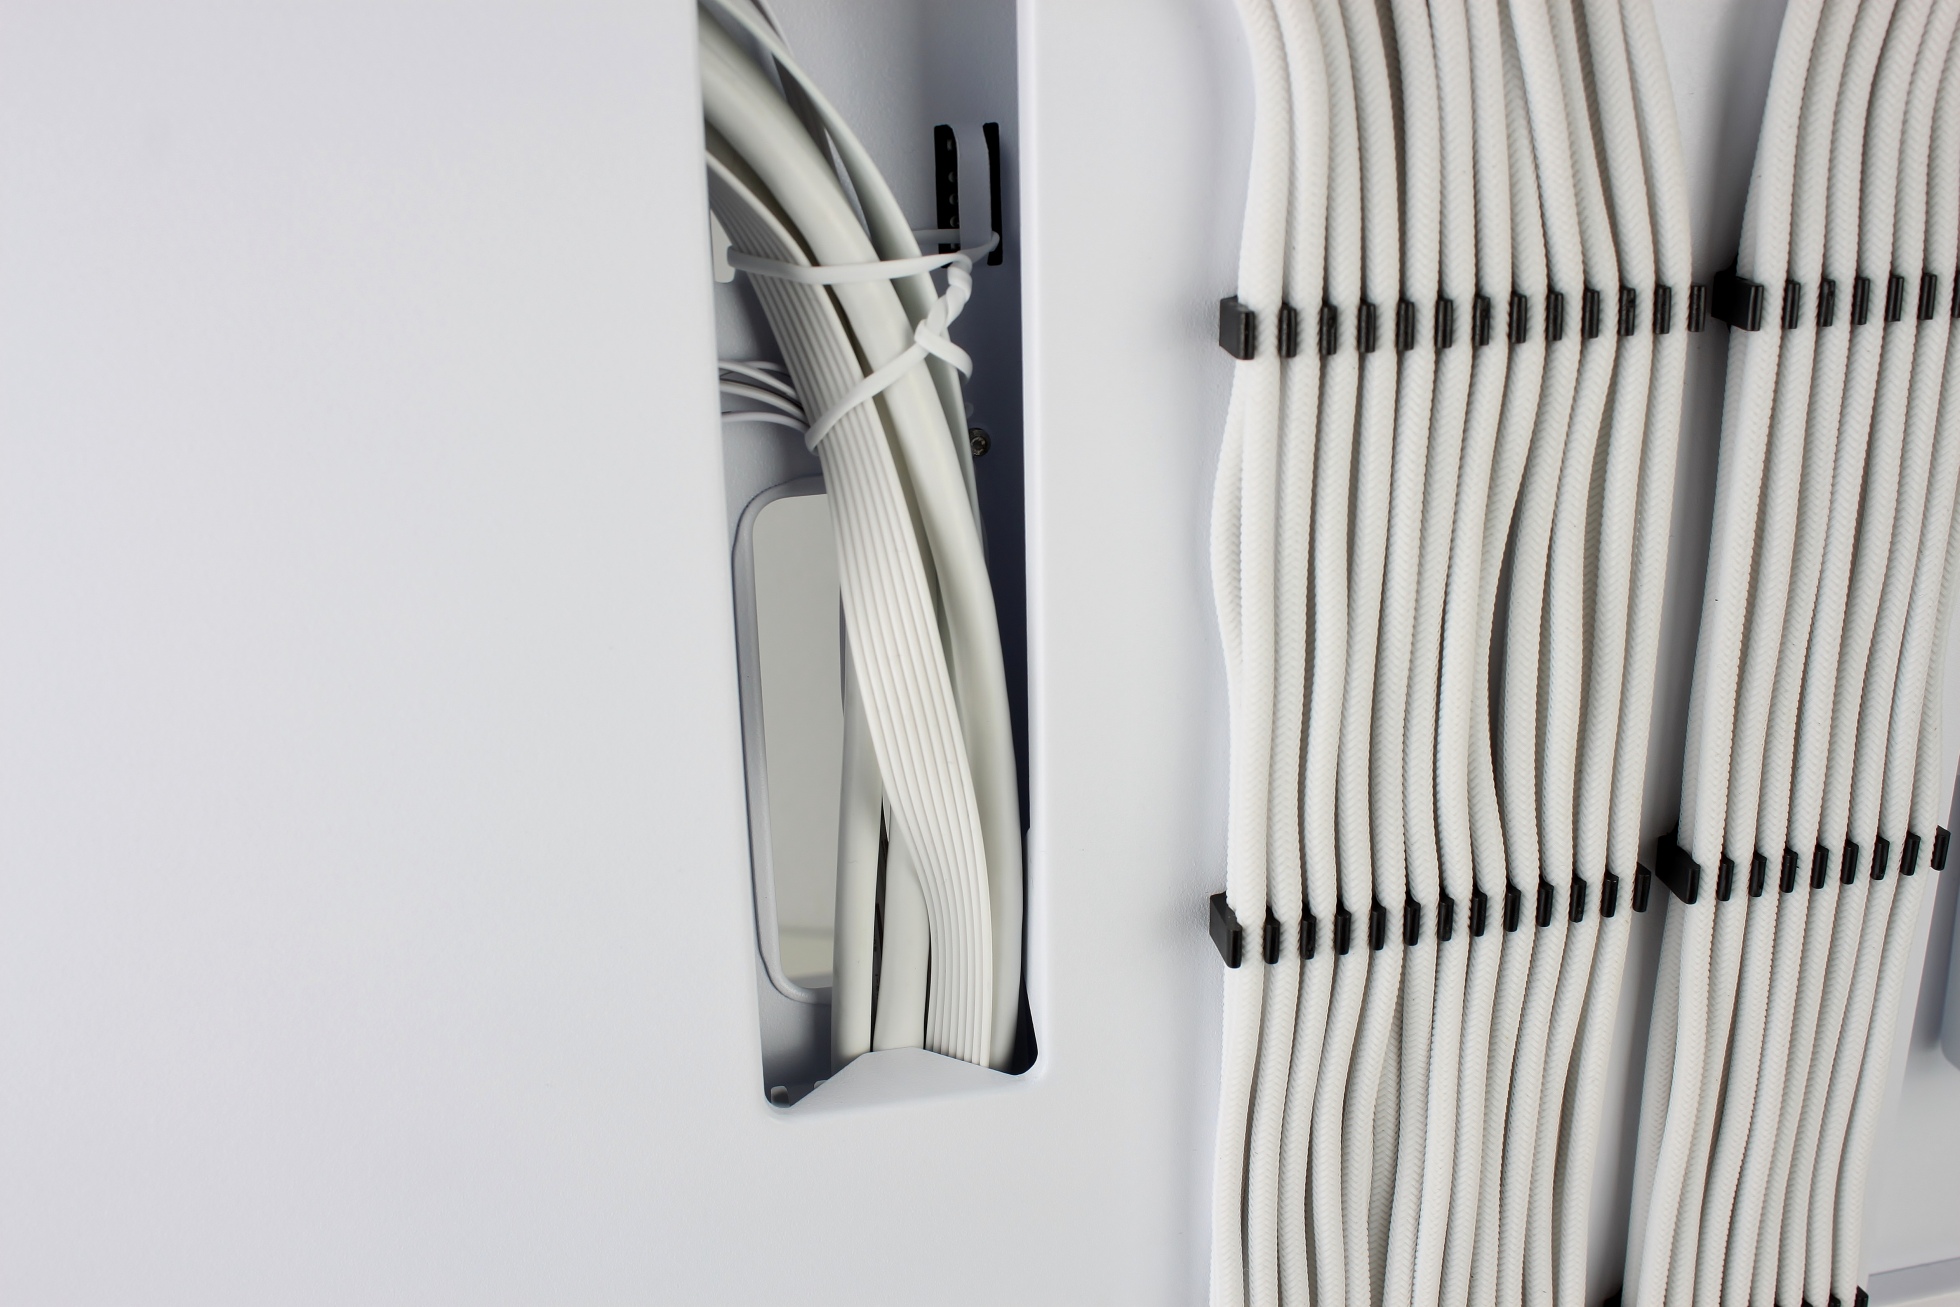
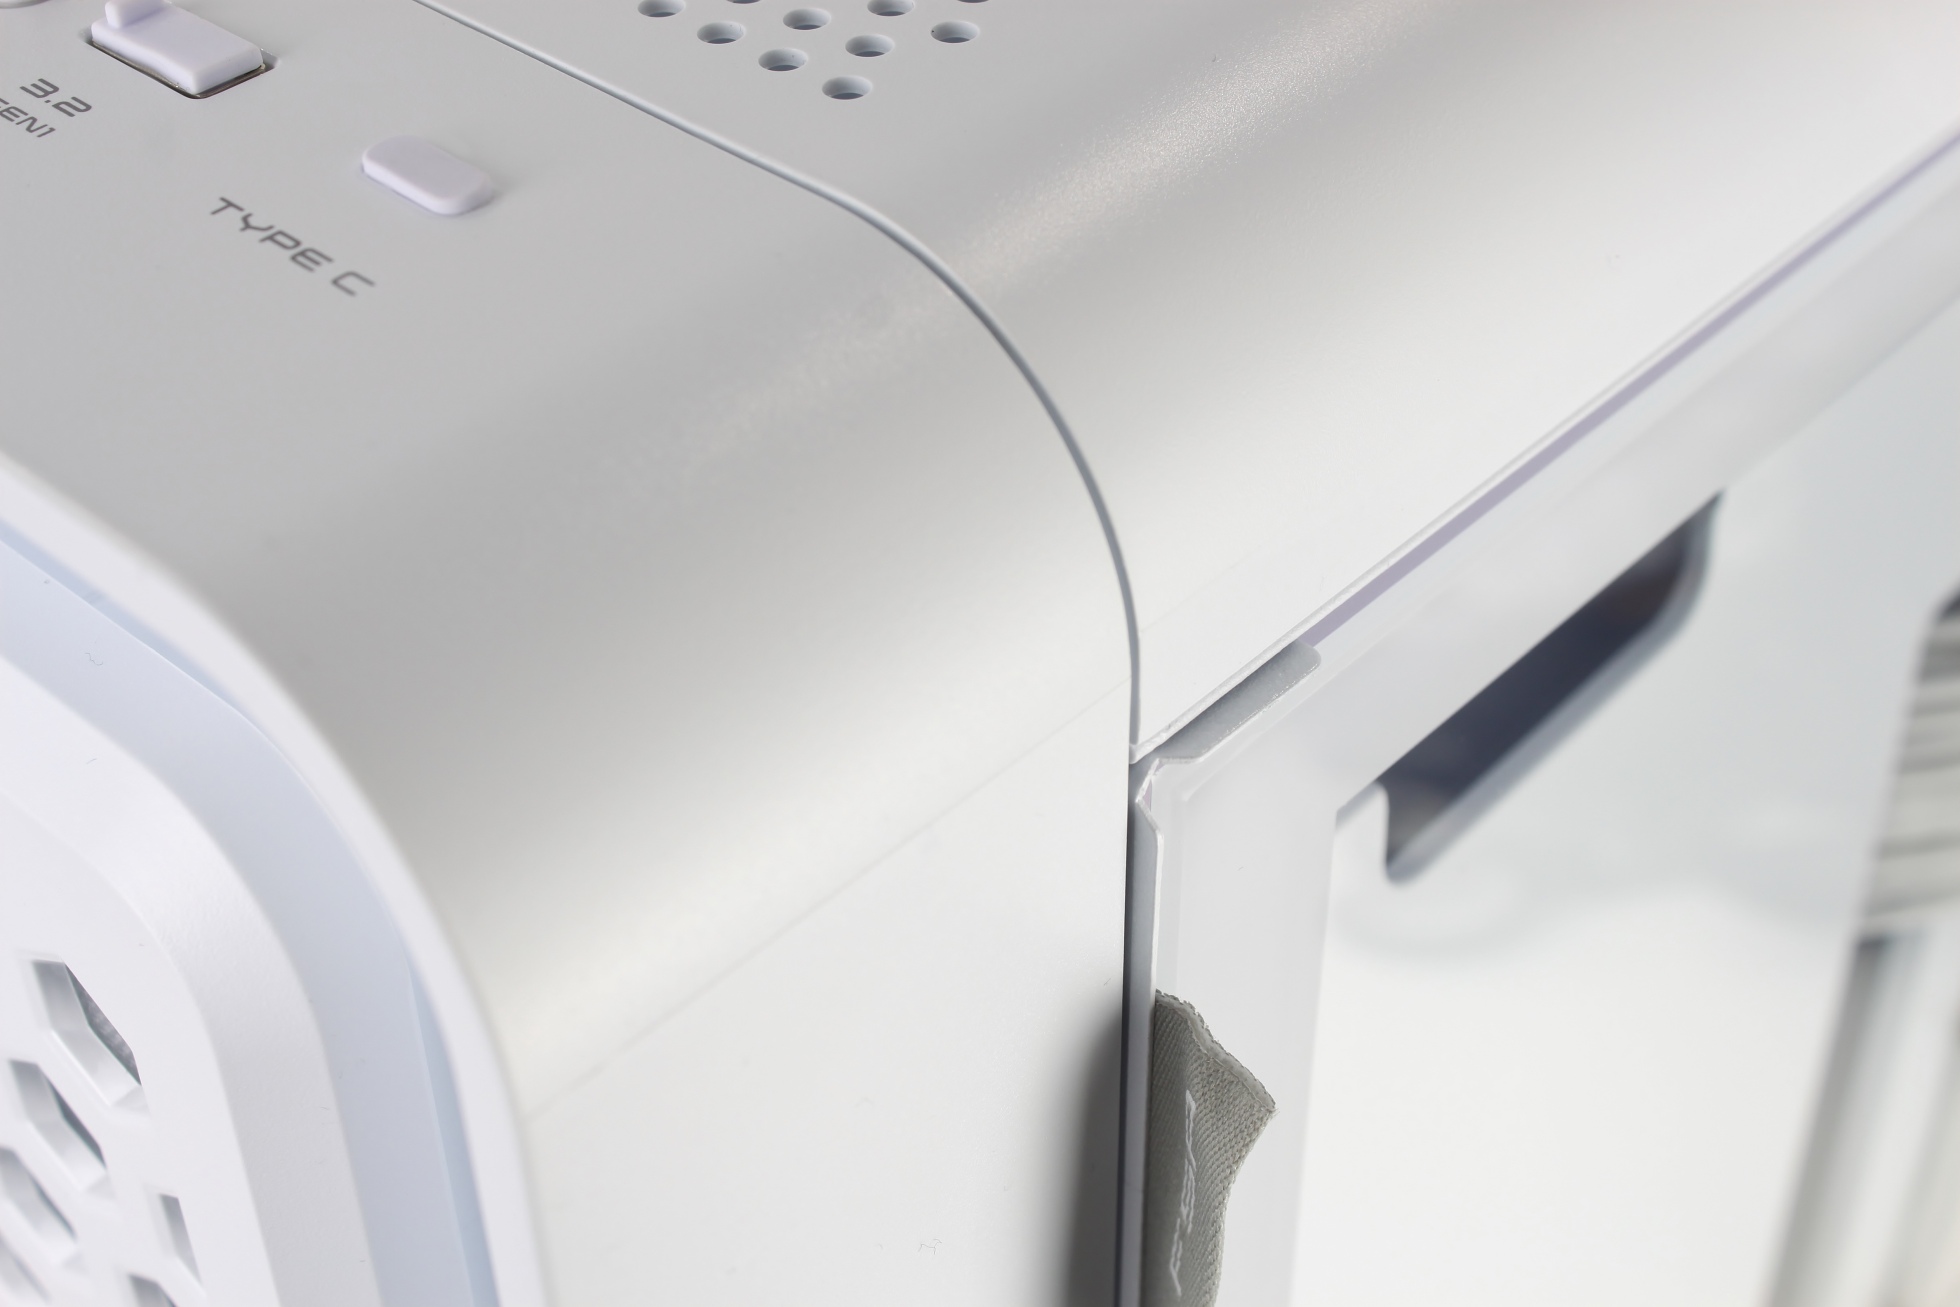
There are sufficient cable outlets for the front I/O and fan connections at convenient locations. It’s nice to see that attention has been paid to detail and that the connectors are also white.
The next step should be the 24-pin and 8-pin cable extensions for the mainboard. There’s no way it can stay like this:
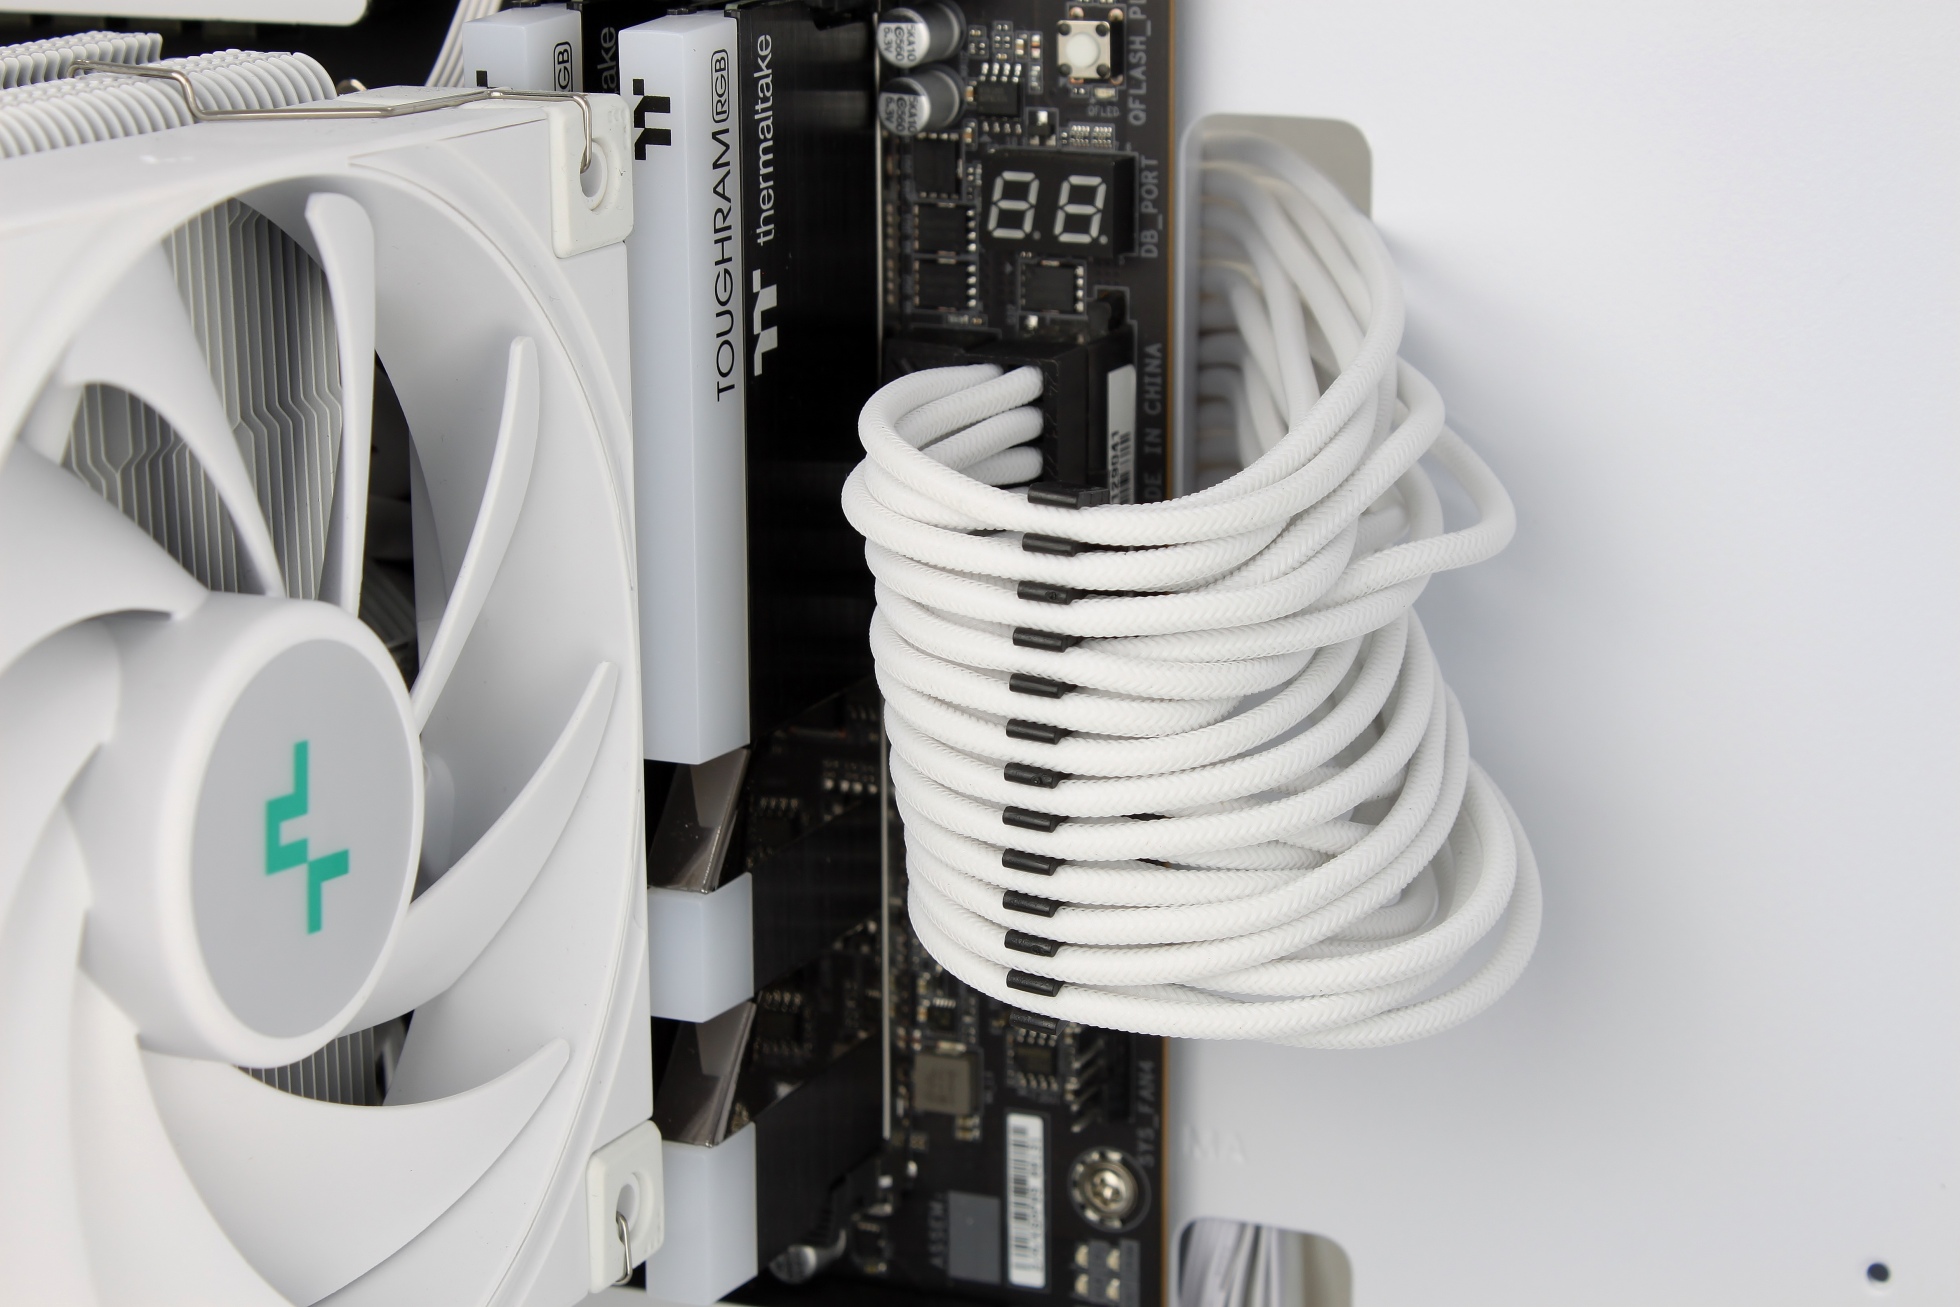
You actually have to touch and tighten every single wire if you want to lay the cables cleanly. After a few minutes of fiddling, the 24-pin cable looked like this:
The same applies to the 8-pin CPU connection cable. Here you also have to be aware that the second cable (for high-end boards with two connectors) can only be hidden half-heartedly. If you pull it out, half of the cable combs provided for it remain empty; if you try to hide it behind the thin carrier “plate”, the remaining connector easily pushes the entire construction so far forward that the magnets no longer hold at all.
The only option is to leave the remaining cable loose somewhere at the top.
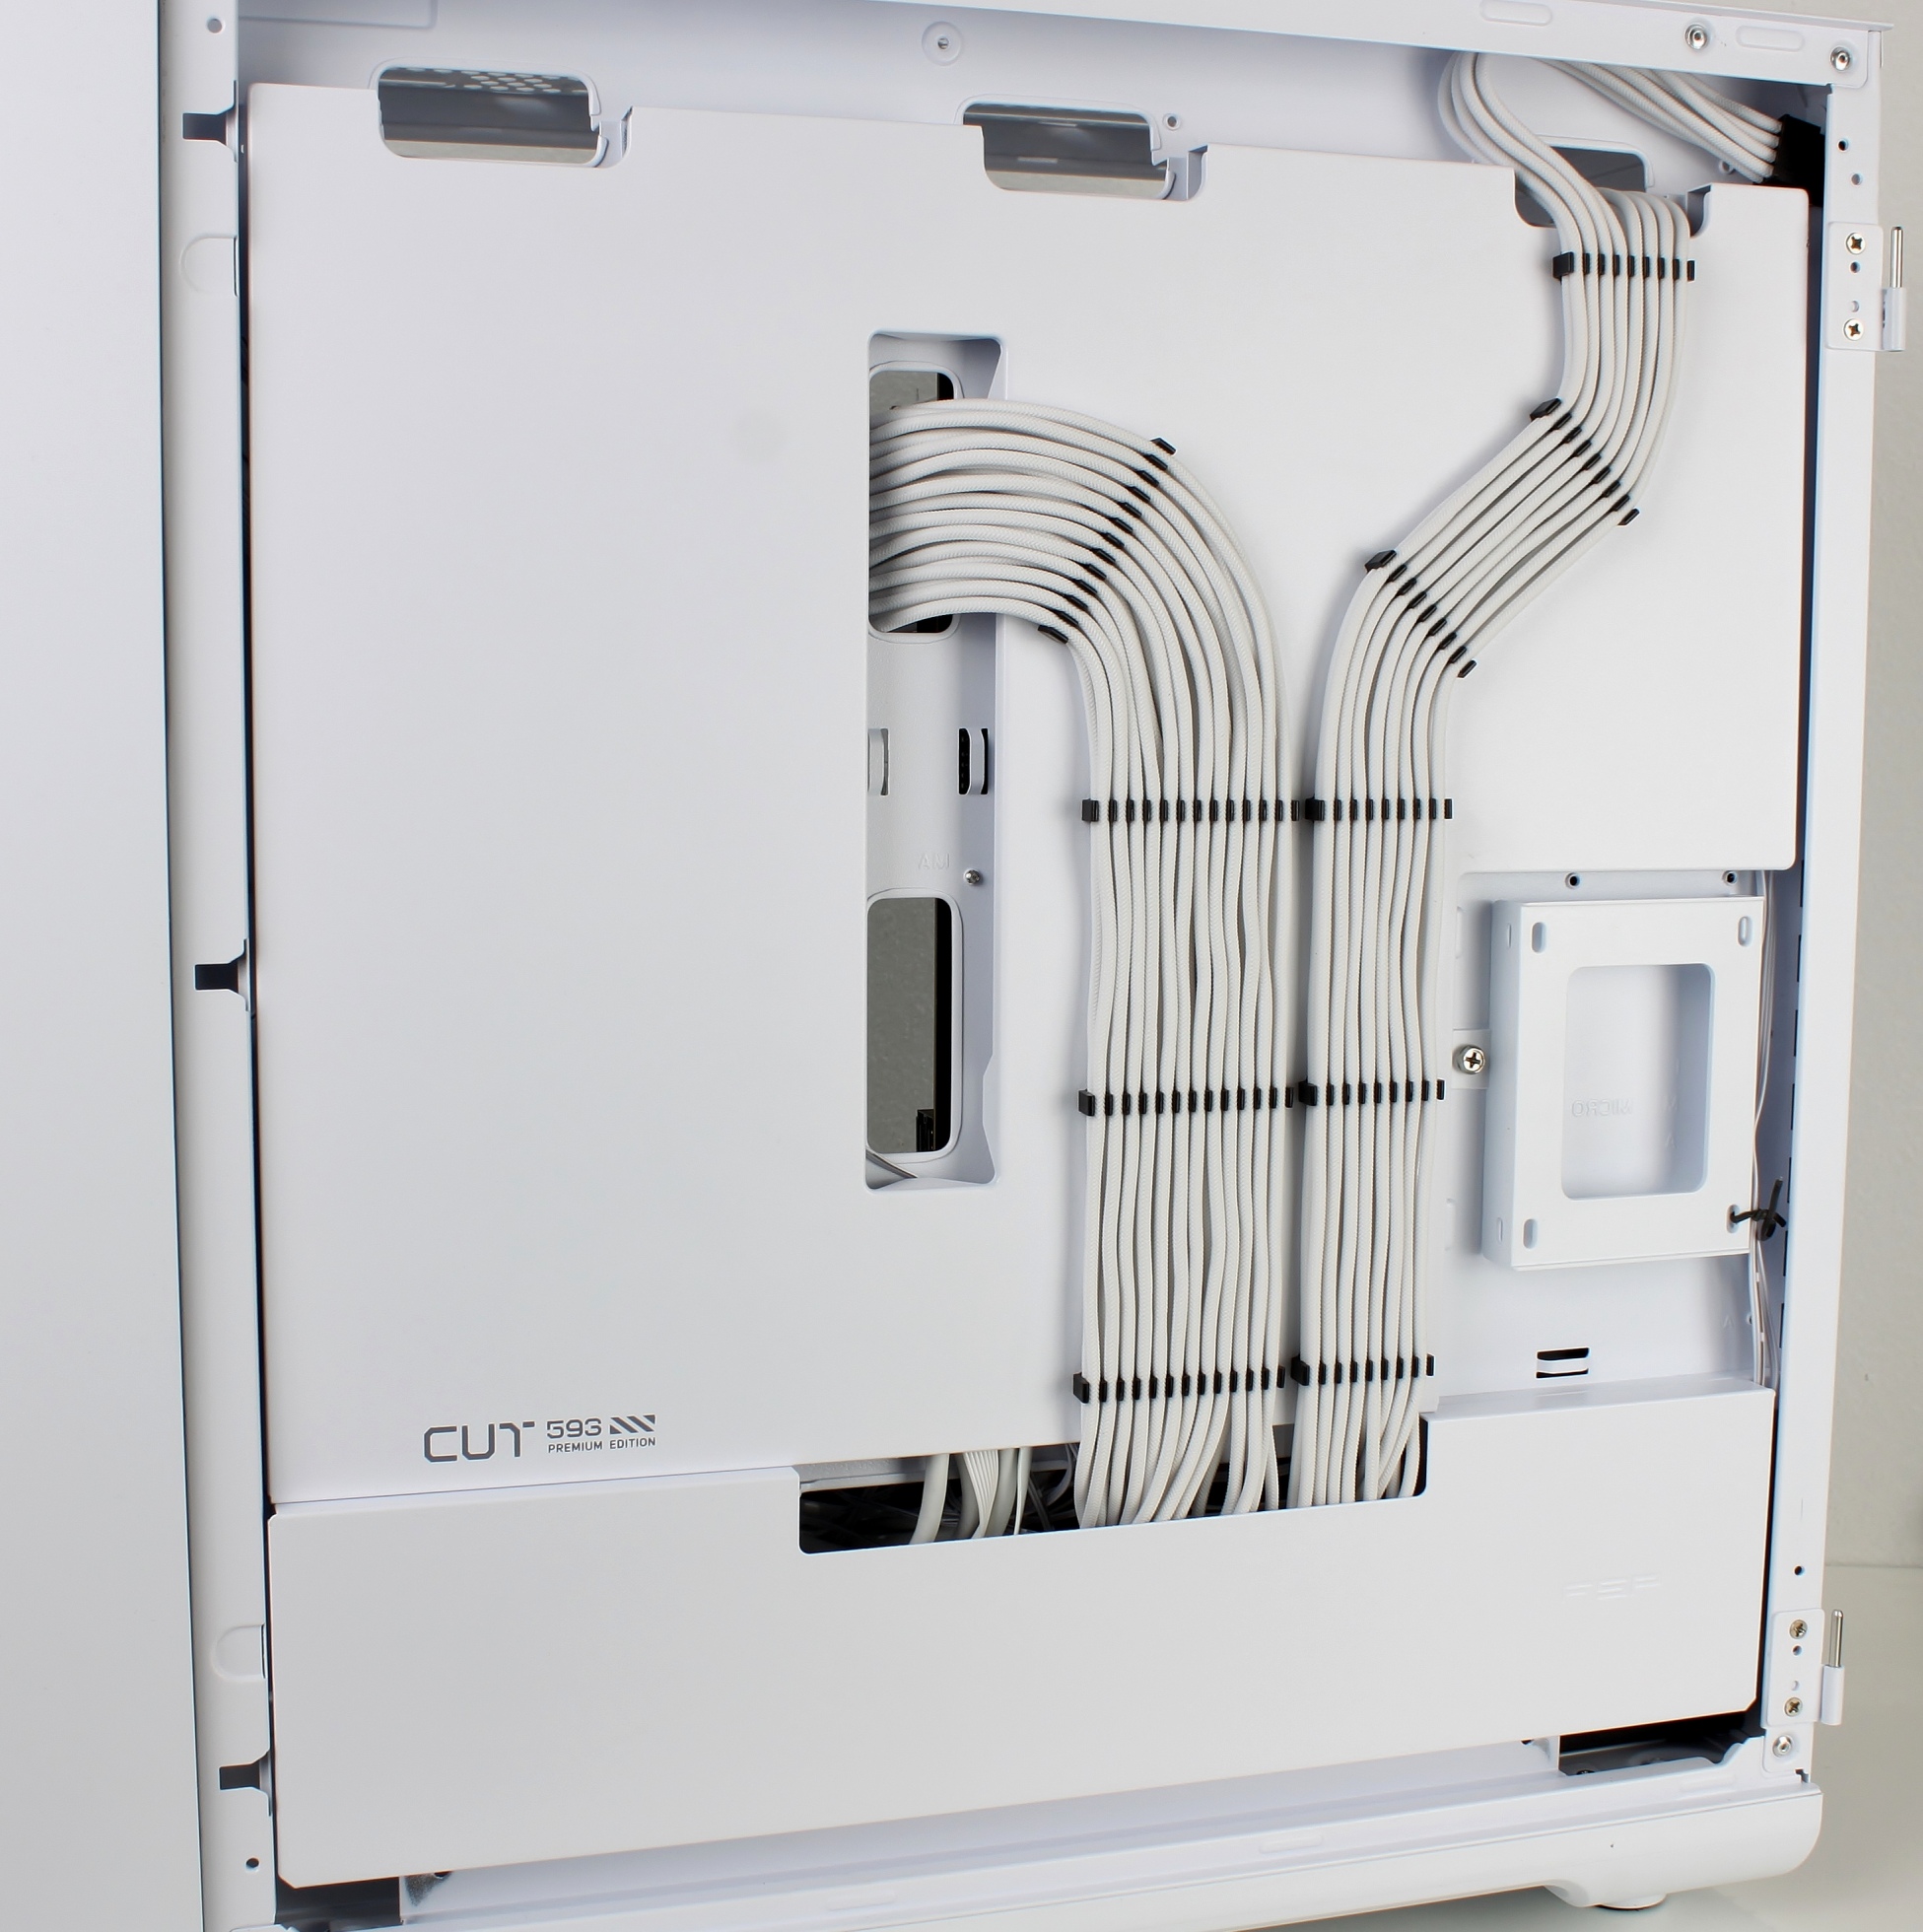
This way it looks reasonably clean and the “door” also closes.
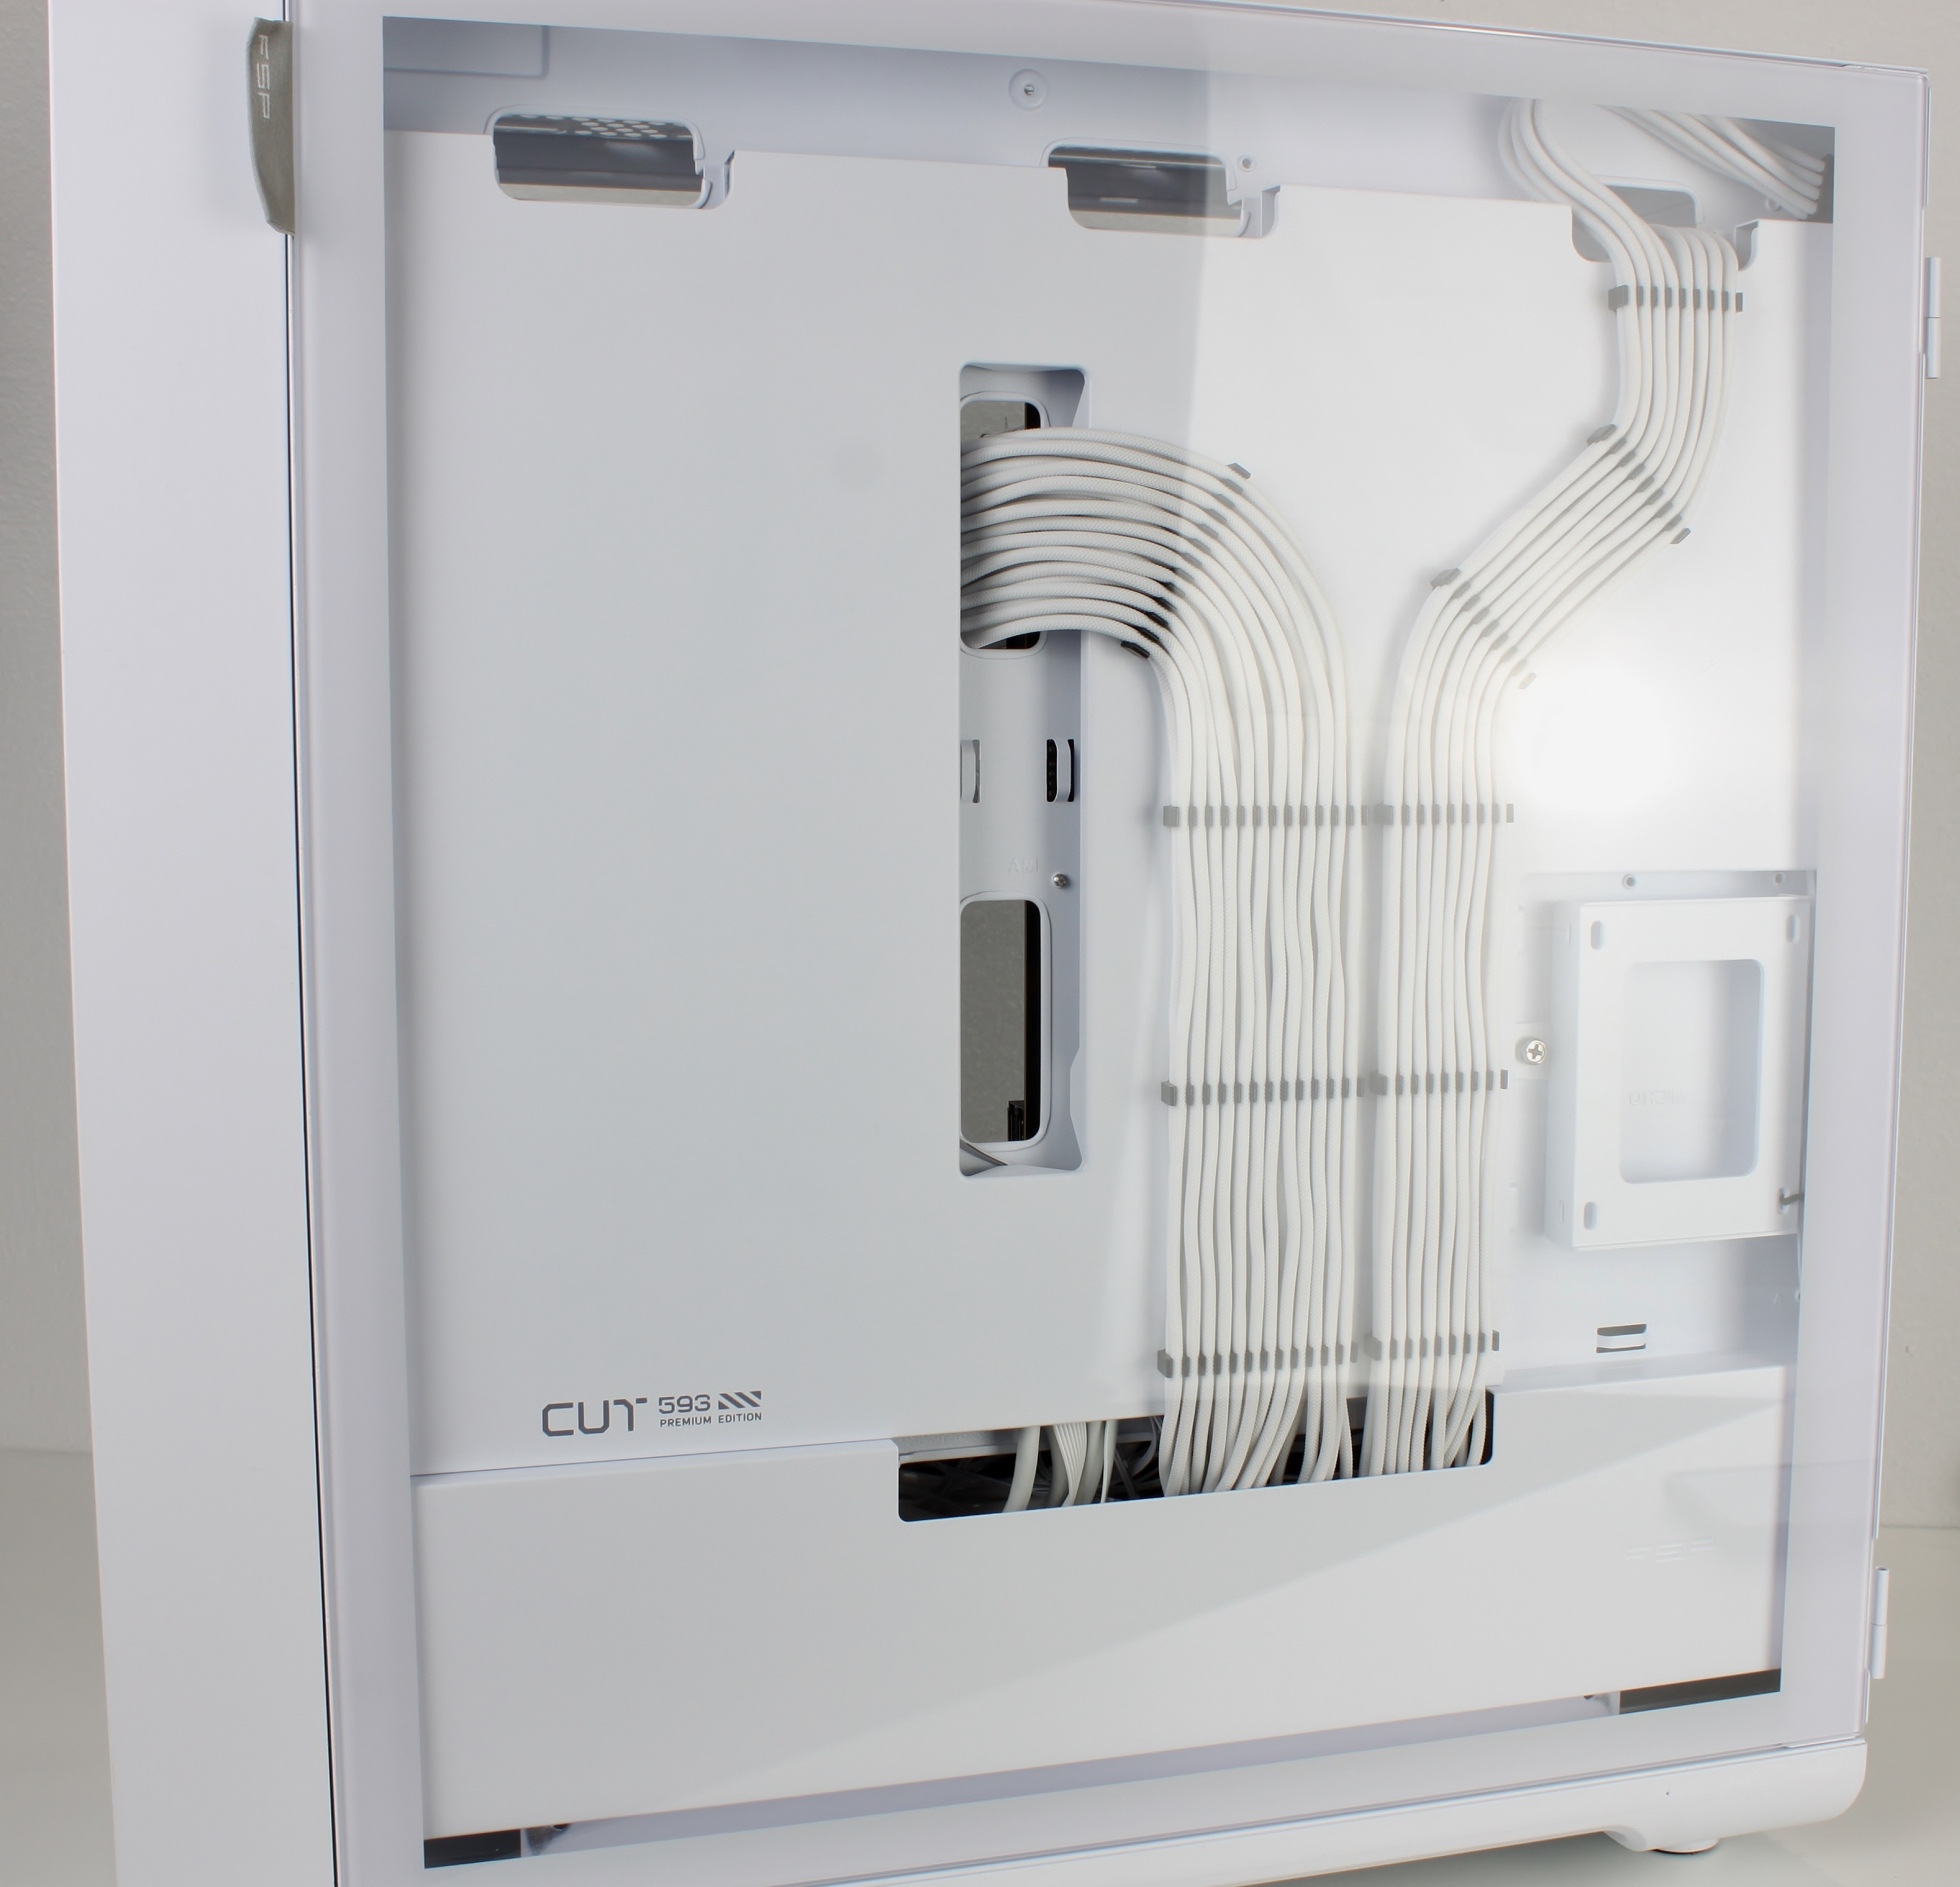
At first it looked as if the glass side panel would not close completely (see next photo), but after a few hours the cables had obviously “settled” and the door was then closed flush.
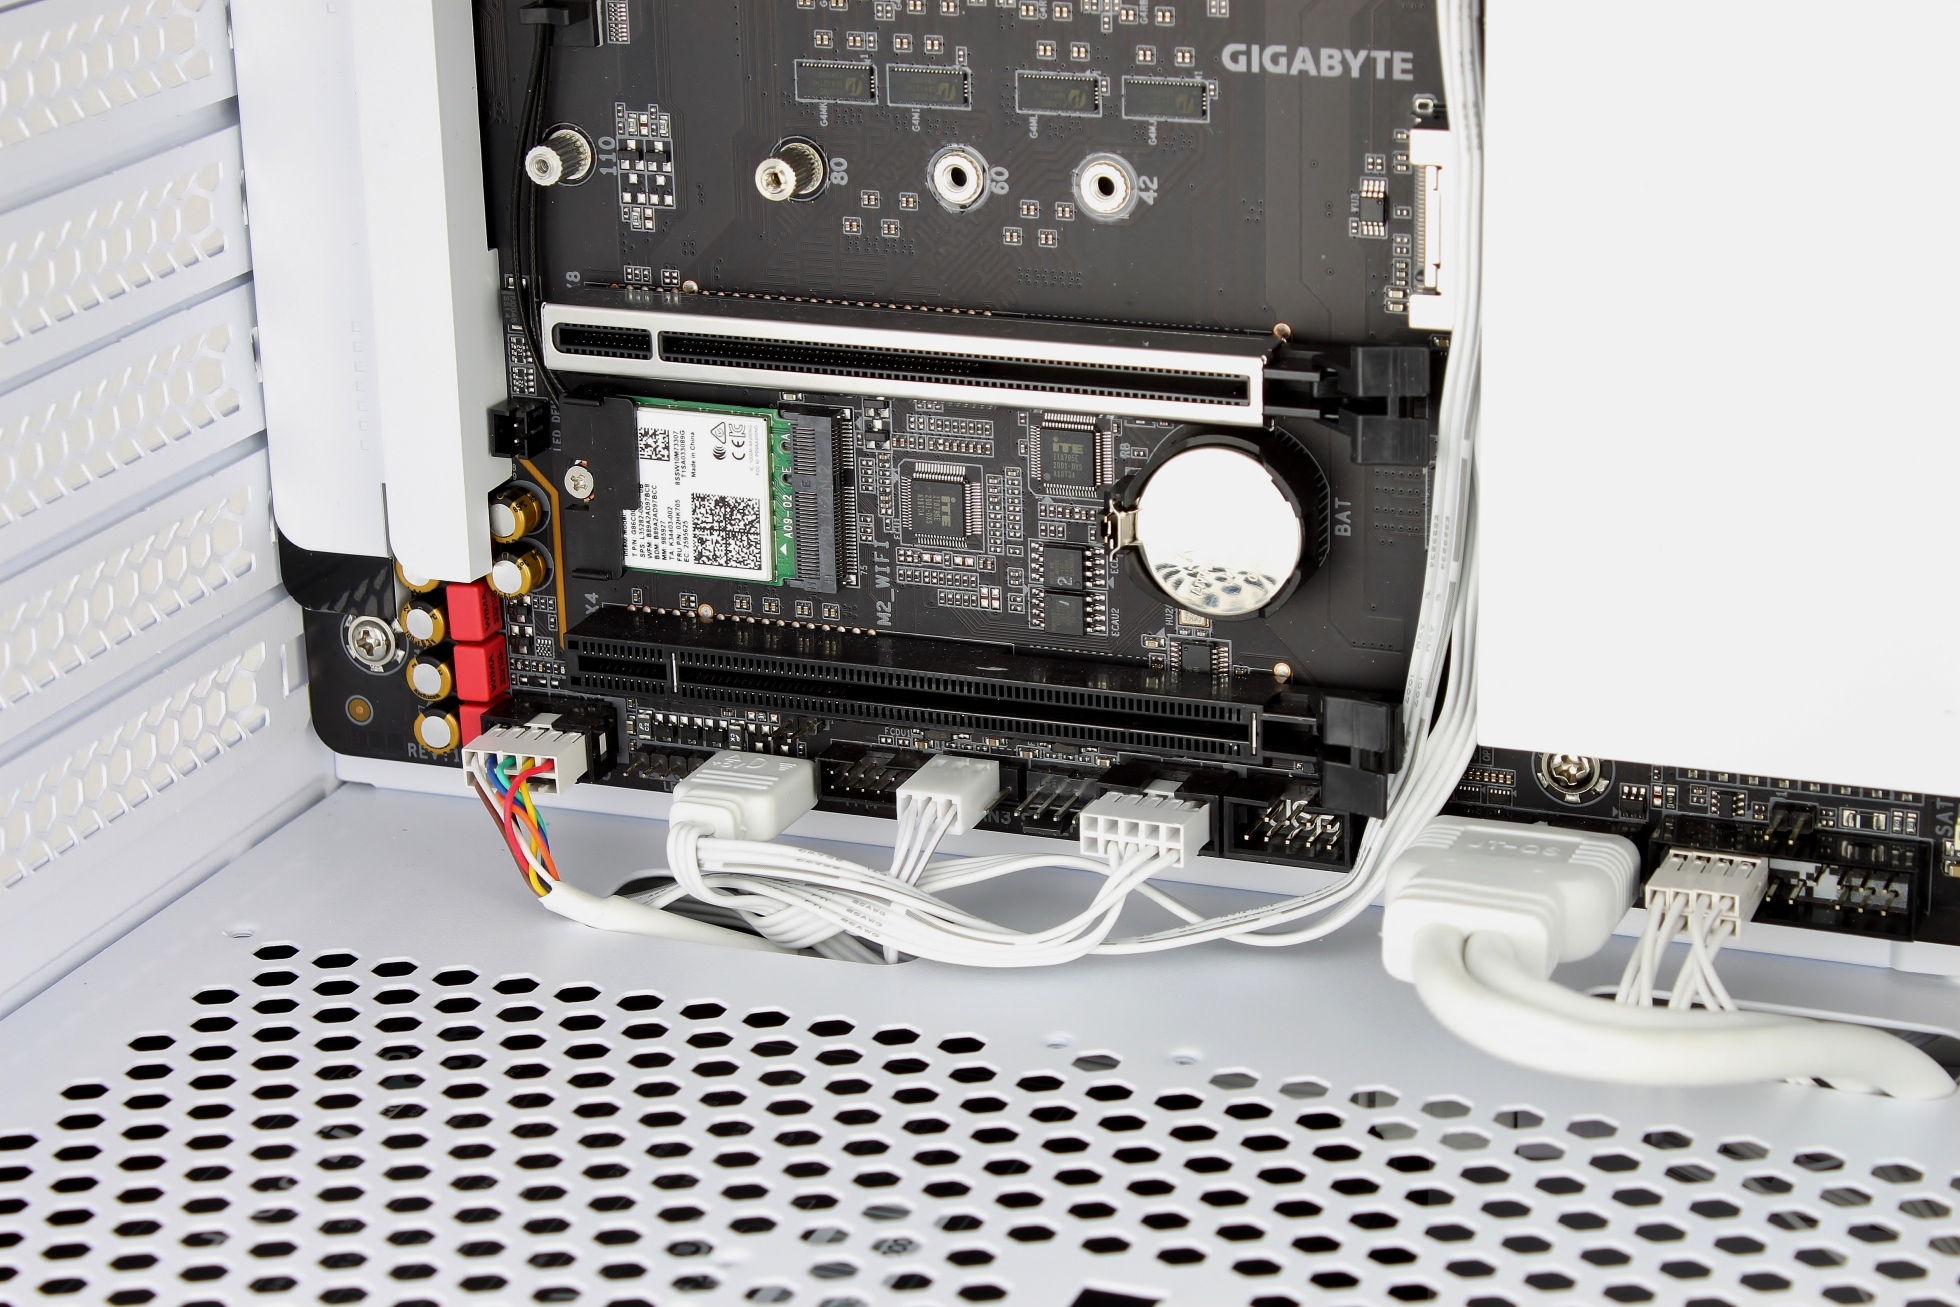
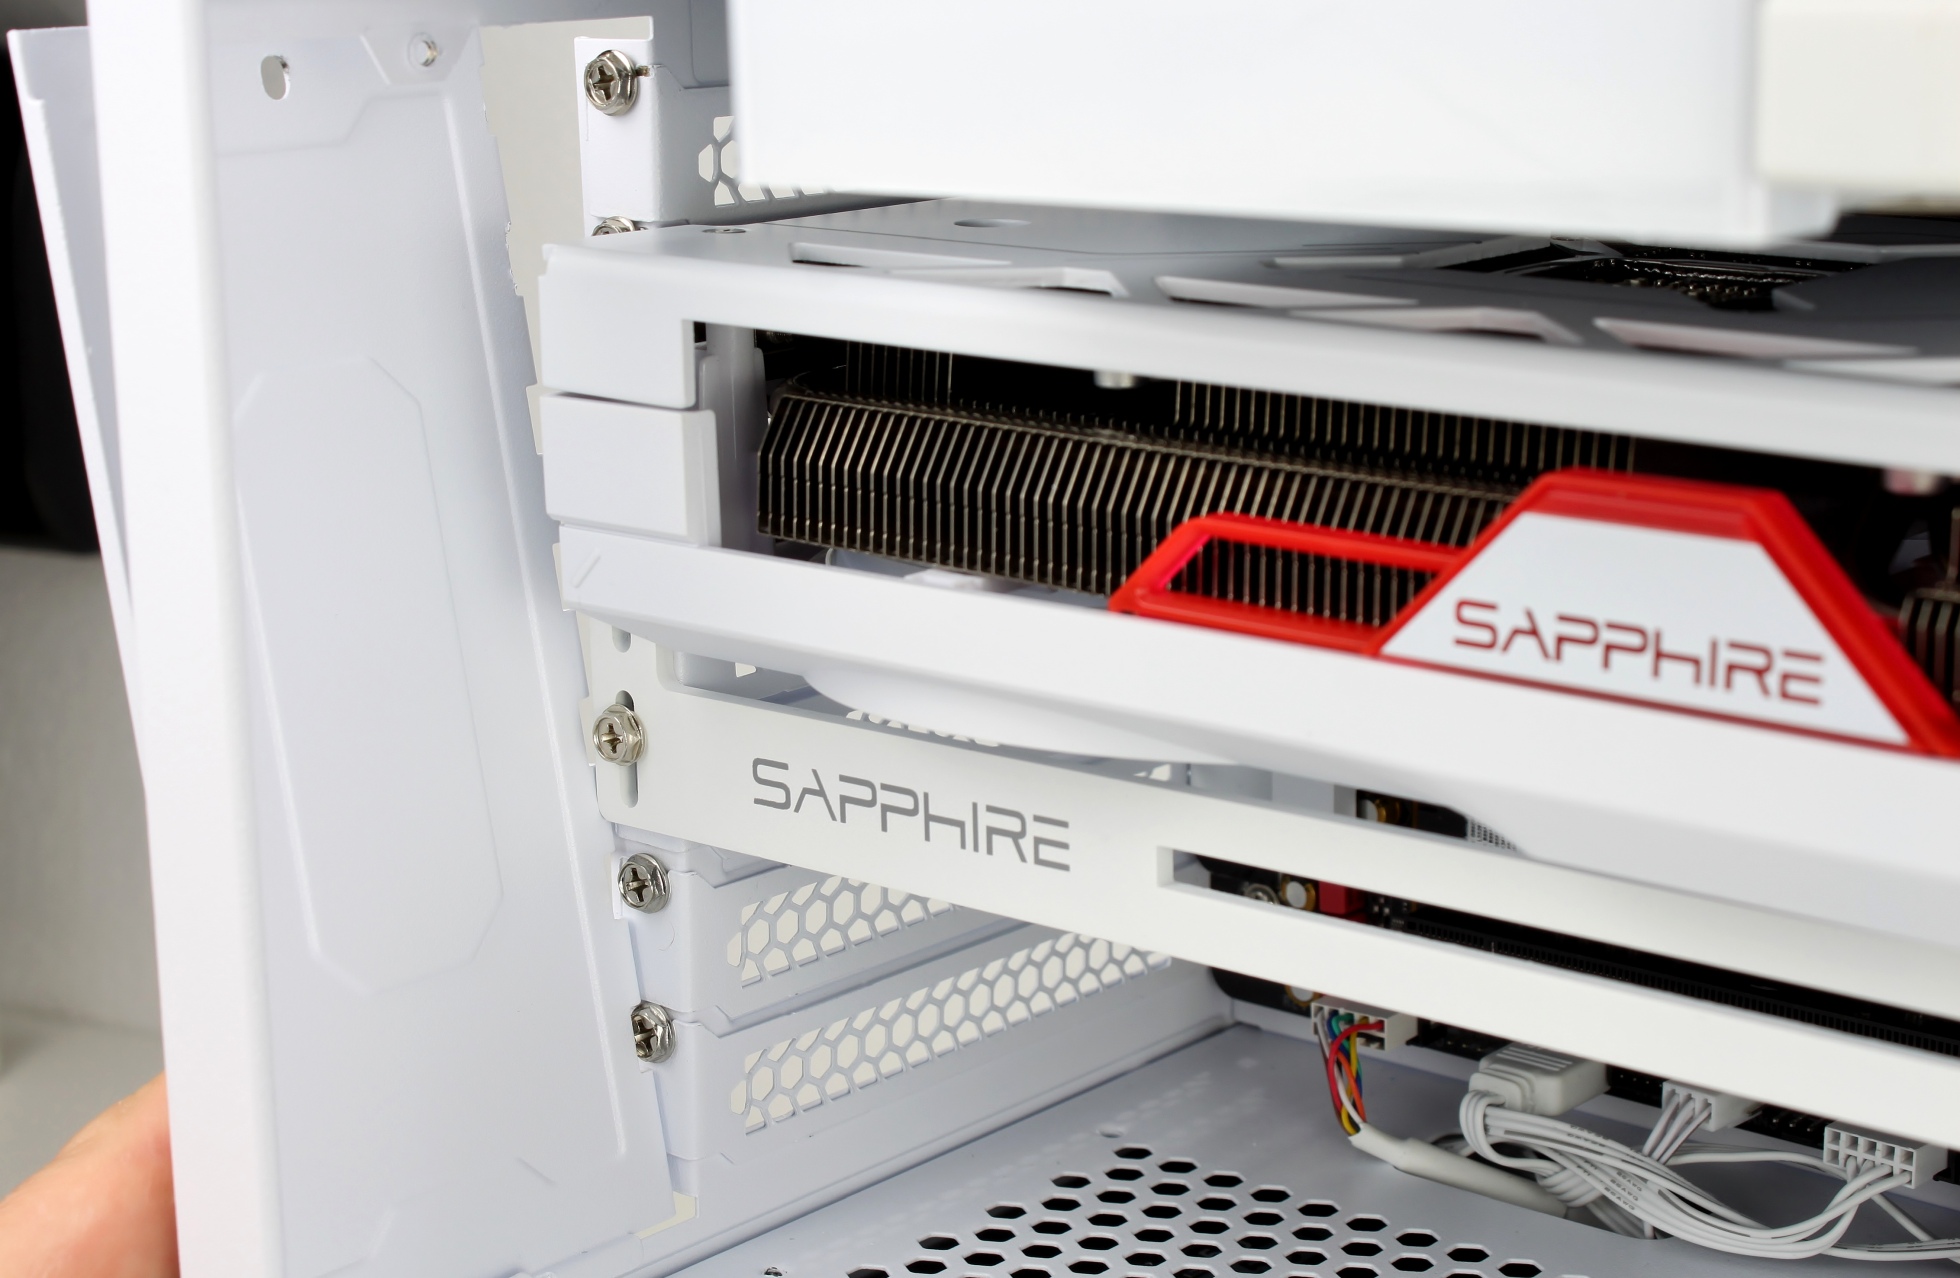
However, the CUT still had one annoyance in store before the test run could begin. As there is unfortunately no integrated GPU support, I wanted to support the not exactly dainty Sapphire card with the original bracket to prevent the graphics card from sagging. Unfortunately, I hadn’t taken into account the poorly designed cover plate for the expansion slots, which makes it difficult to mount the GPU bracket as the flap can then no longer be closed. A larger recess in the area of the screws and an optional rubber lip (also available in white or transparent) to close the gap would have made more sense here.
With the cable, but without the bracket, the last component was already installed.
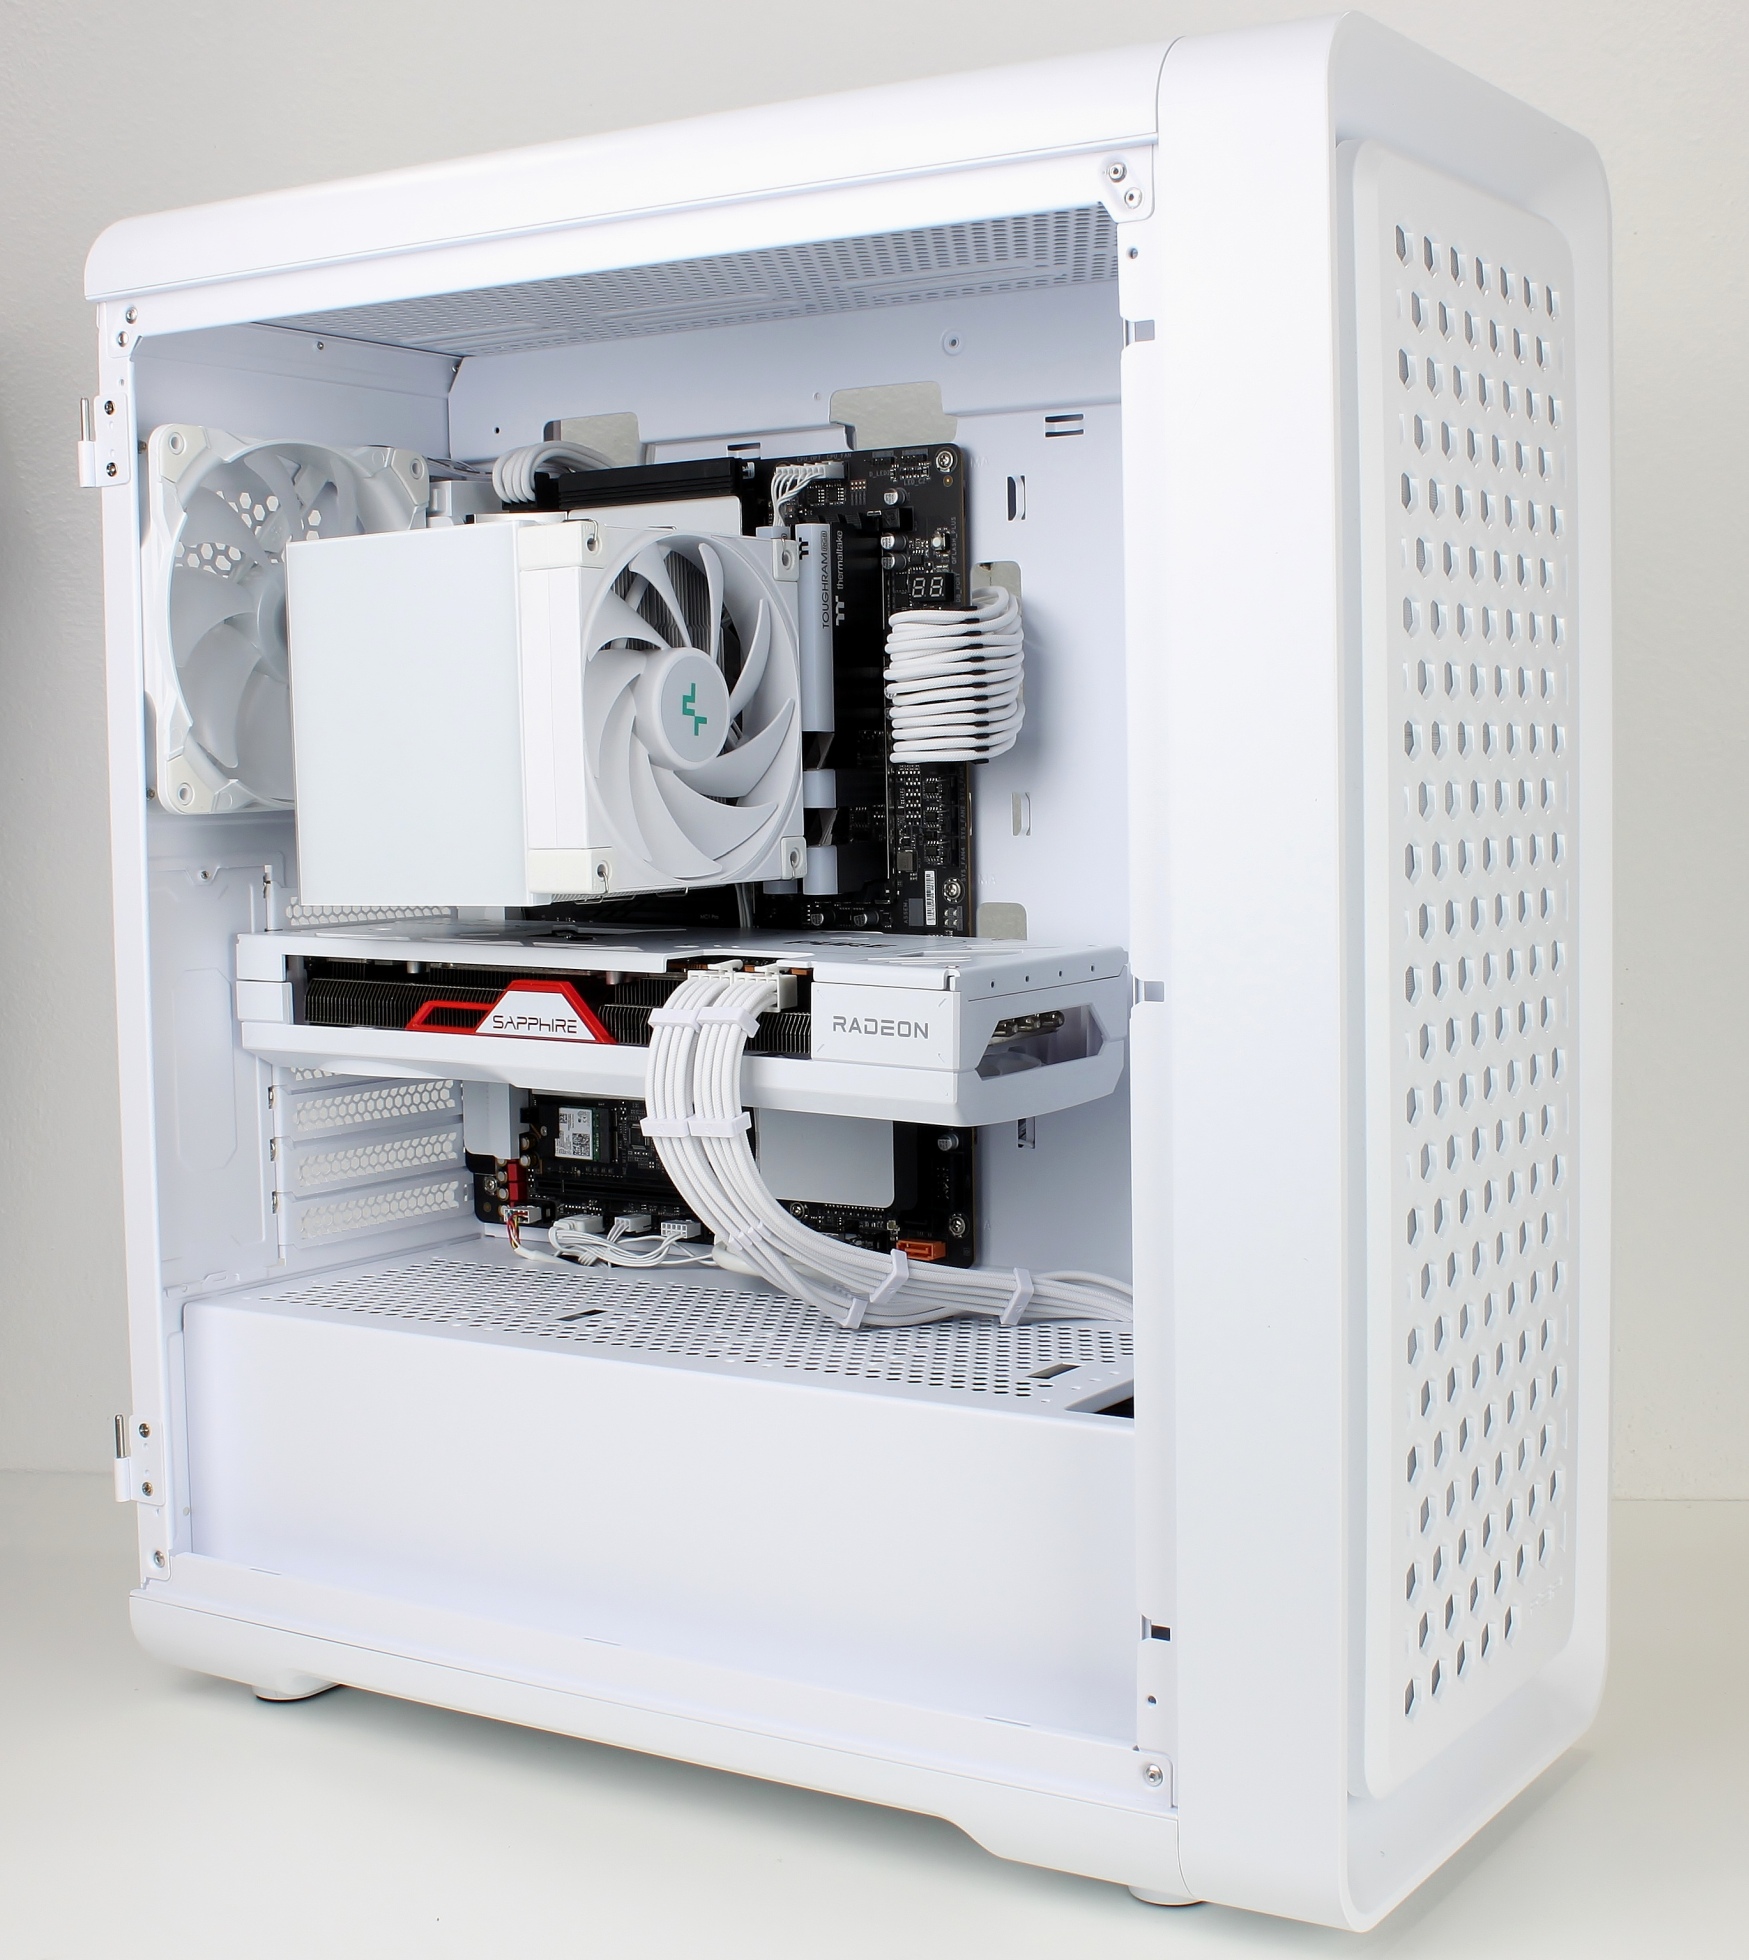
Glass side panel fitted:
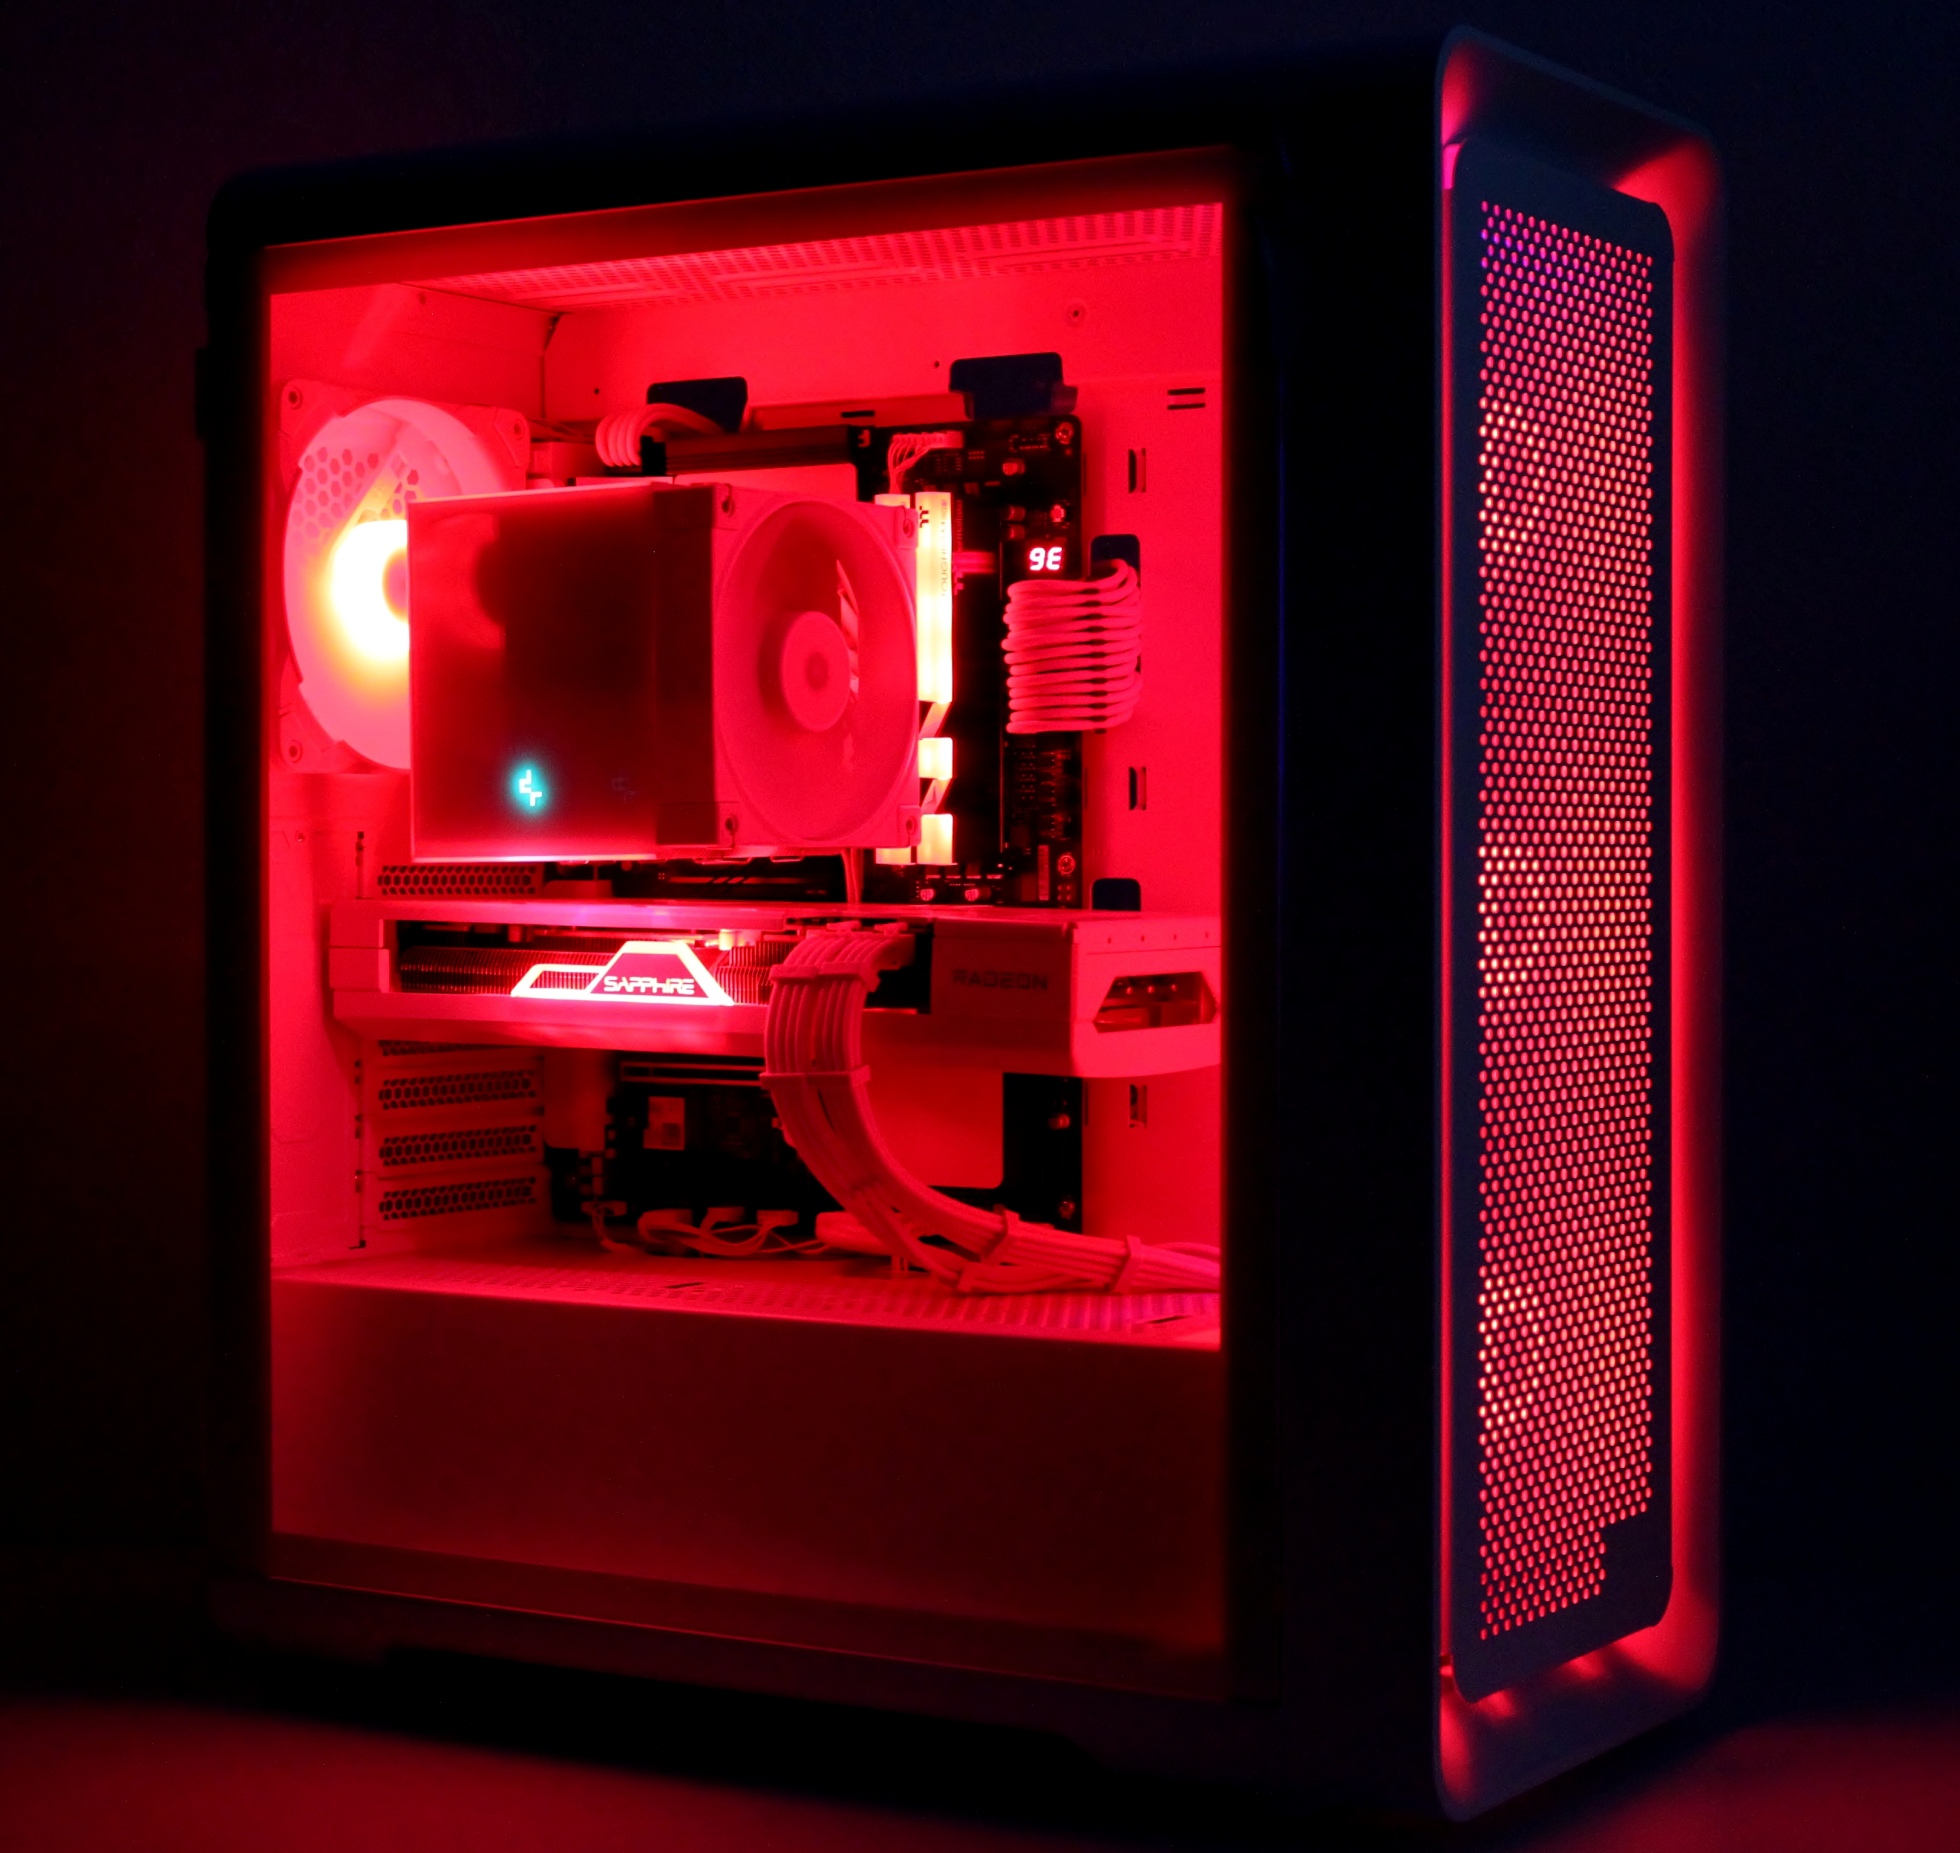
And test run!
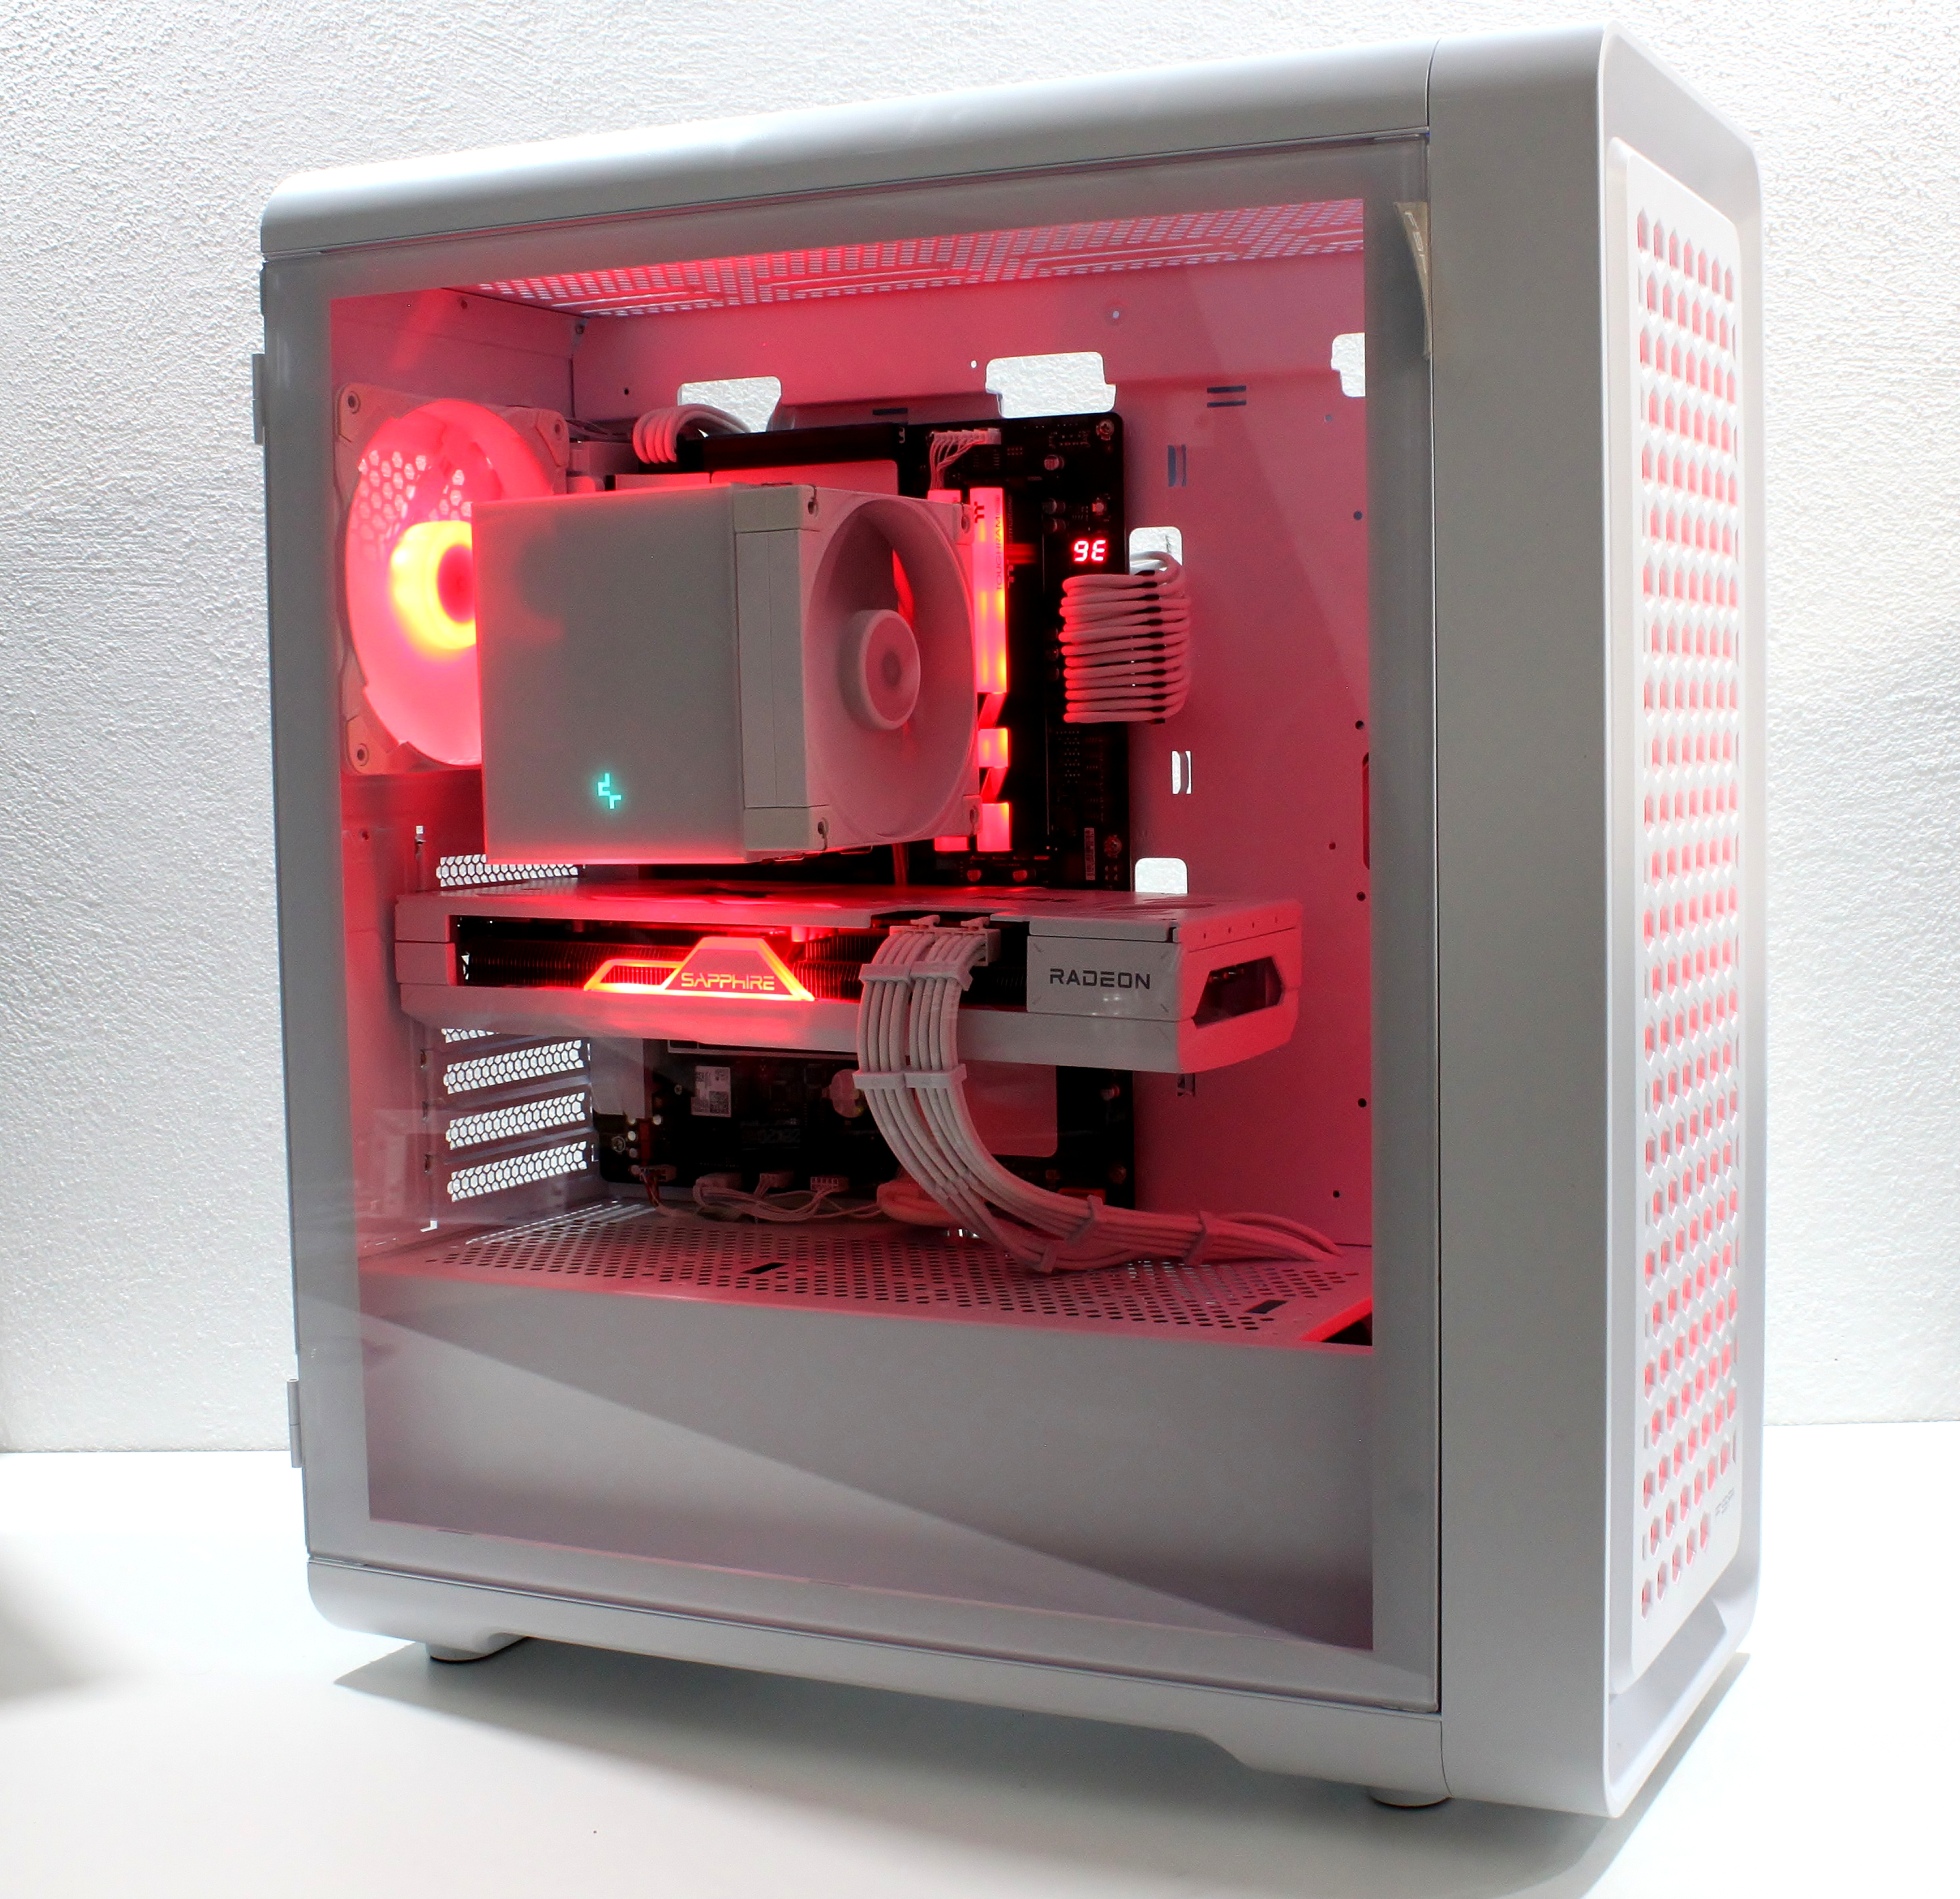
The CUT 593 certainly has something to offer visually, that cannot be denied.


12 Antworten
Kommentar
Lade neue Kommentare
Veteran
Moderator
Urgestein
Veteran
Mitglied
Neuling
Veteran
Neuling
Veteran
Urgestein
Mitglied
Alle Kommentare lesen unter igor´sLAB Community →