


Teardown: We take a look inside the cooler
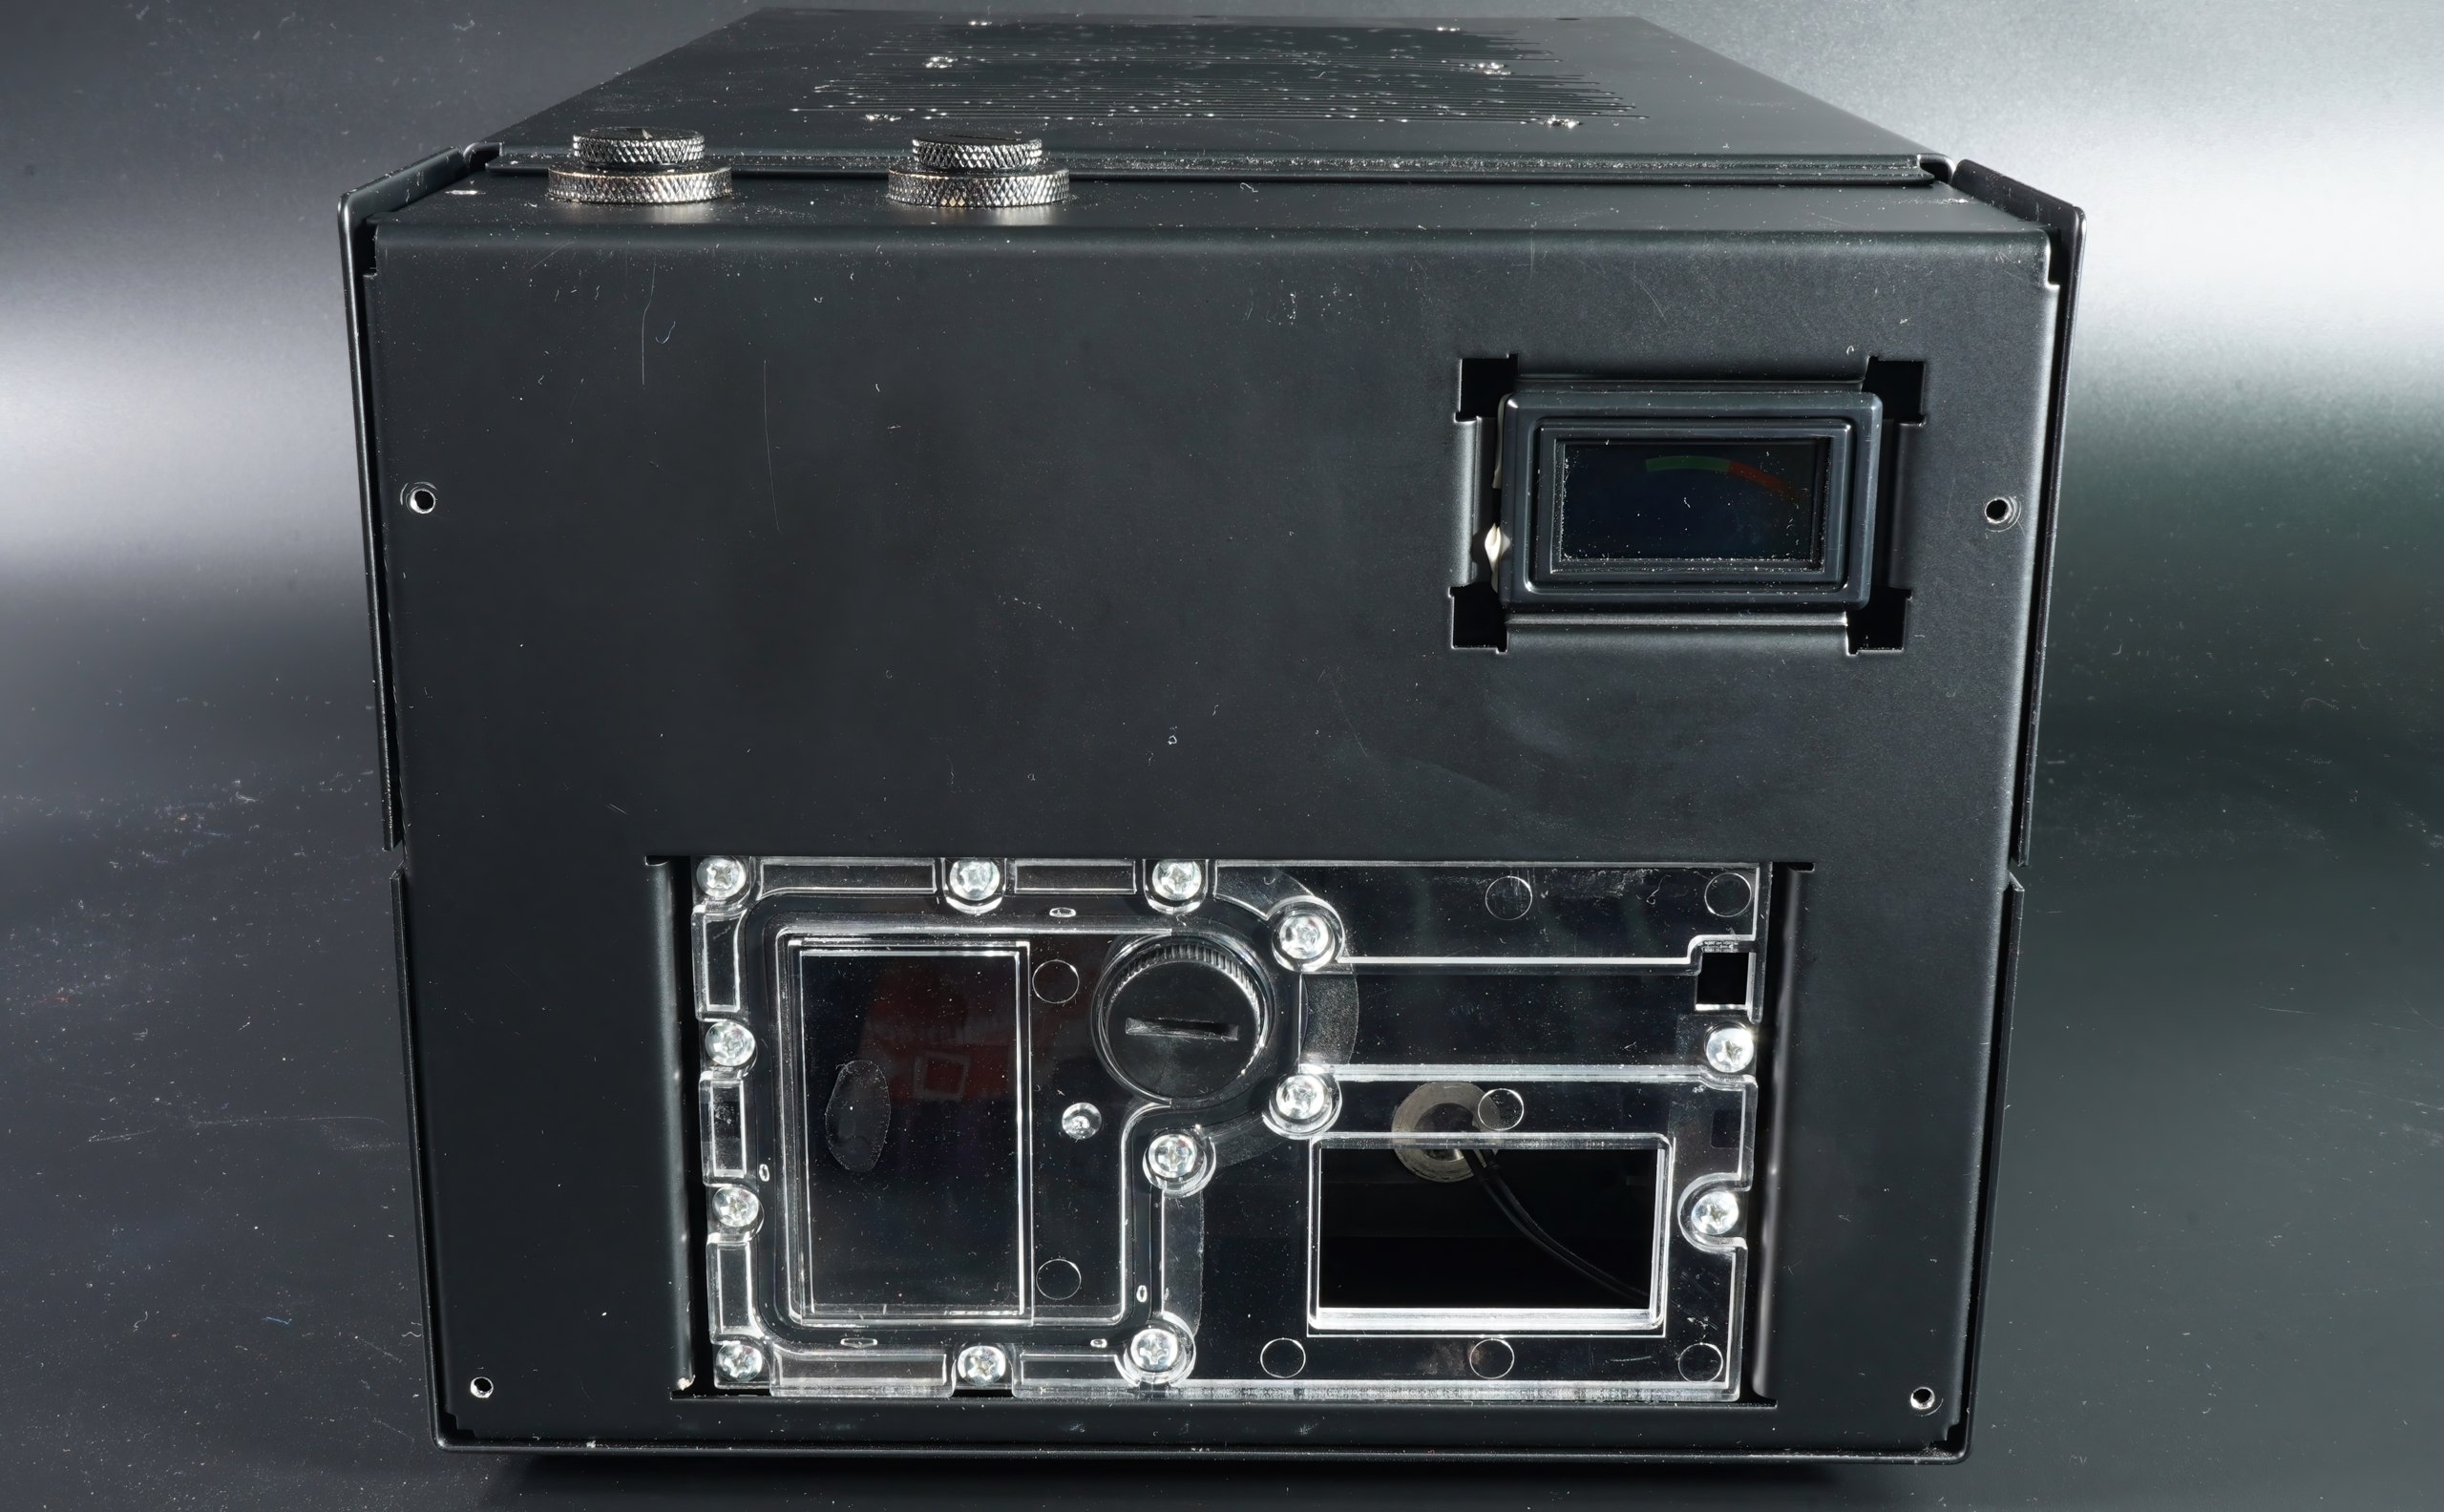
If you need the maximum flow of the pump like me, you will be disappointed at first. Around 150 l/l is nothing to get really excited about in a very simple loop. But that’s what tools and curious editors are for. Unscrewing the front panel is quick, but the very short screws could definitely be a millimeter longer, because disassembling several times otherwise becomes a bust. They really only grip with two turns. I preferred to use my own: works.
What we see is the reservoir and now we also know where the water level indicator comes from. And the temperature gauge is also visible. At the top, we can still see the filling nozzle and the one for venting. But that’s it. Since the whole cooler consists of two U-shells and a frame, I only have to unscrew the top shell, but it’s not quite as easy as I thought. Alphacool said that the customer usually has no reason to look in there. But I had one!
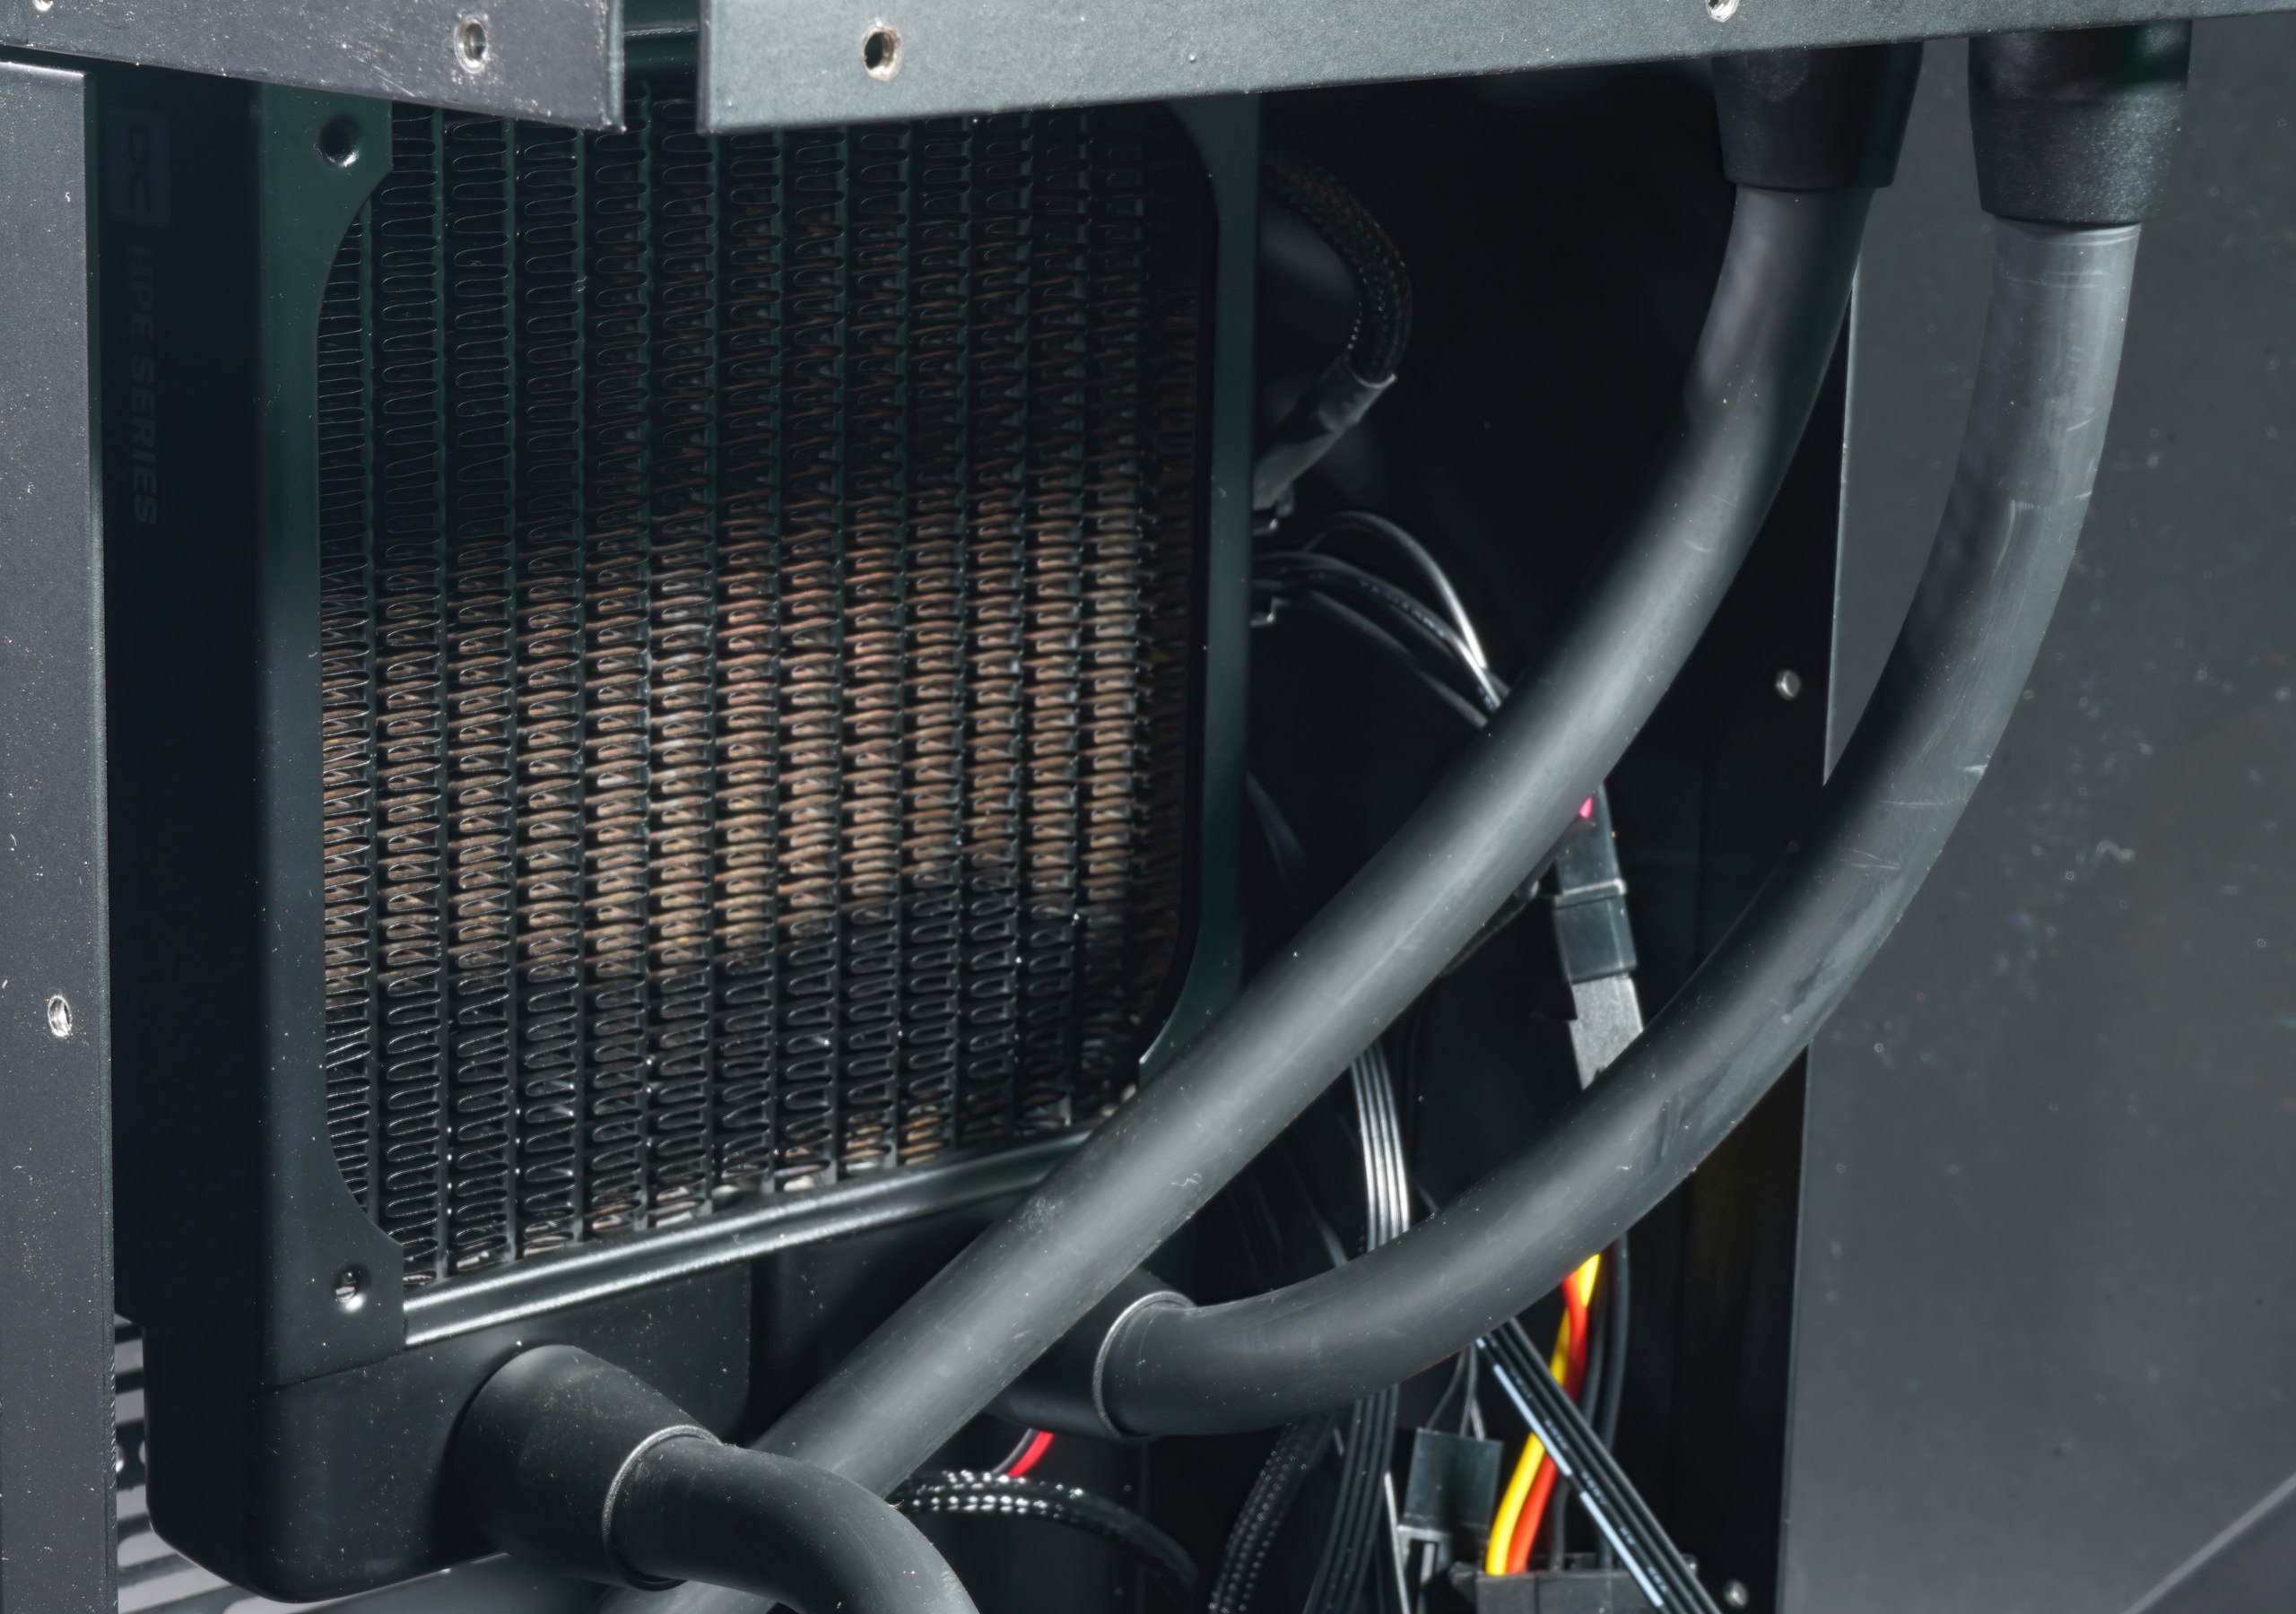
Lifting off the top tray reveals the artwork of hosed radiators and fans. Inside the lid is the 240mm radiator along with the fans in pull mode. I would have mounted it differently, but they will have thought of something. Maybe. Maybe not.
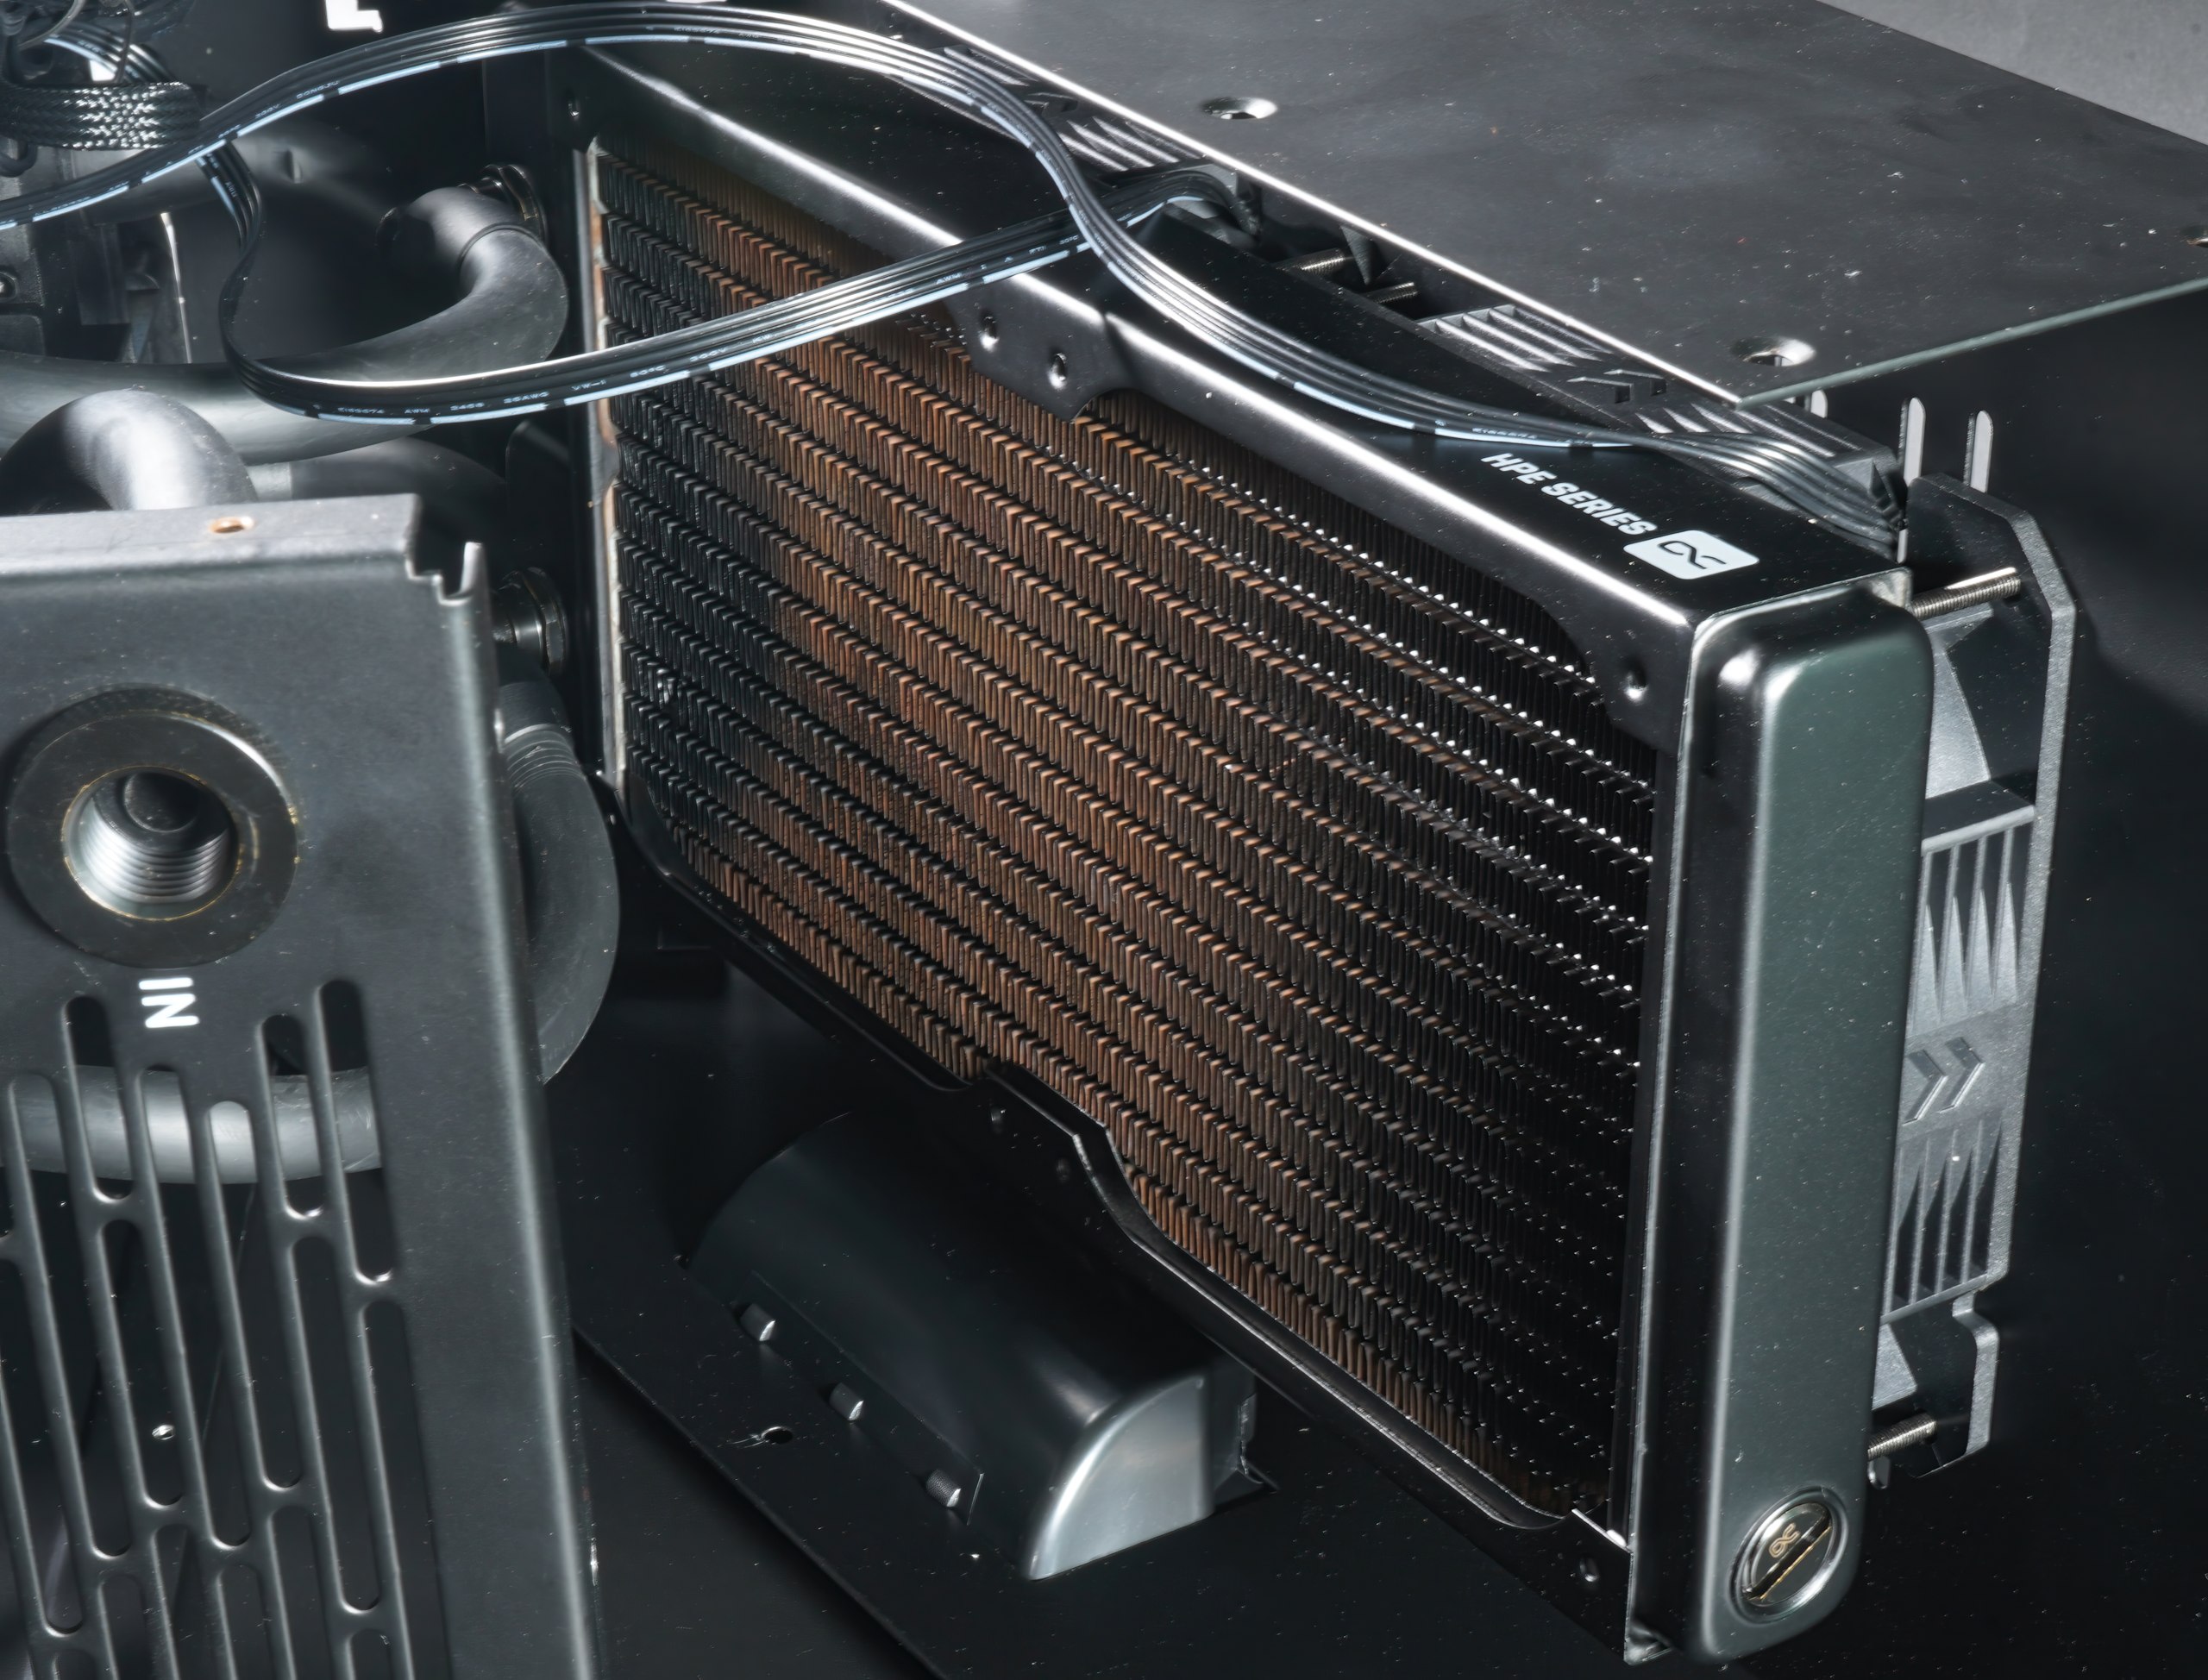
The narrower 120mm radiator sits at the bottom, and the hoses are so short that you’d be hard pressed to open it up without loss. You don’t necessarily have to, but you should really be careful not to rip anything off cockily. But I wanted and had to go through it at least partially, because I simply lacked the flow. I really wanted to know the cause…
Throttled pump? Can be changed!
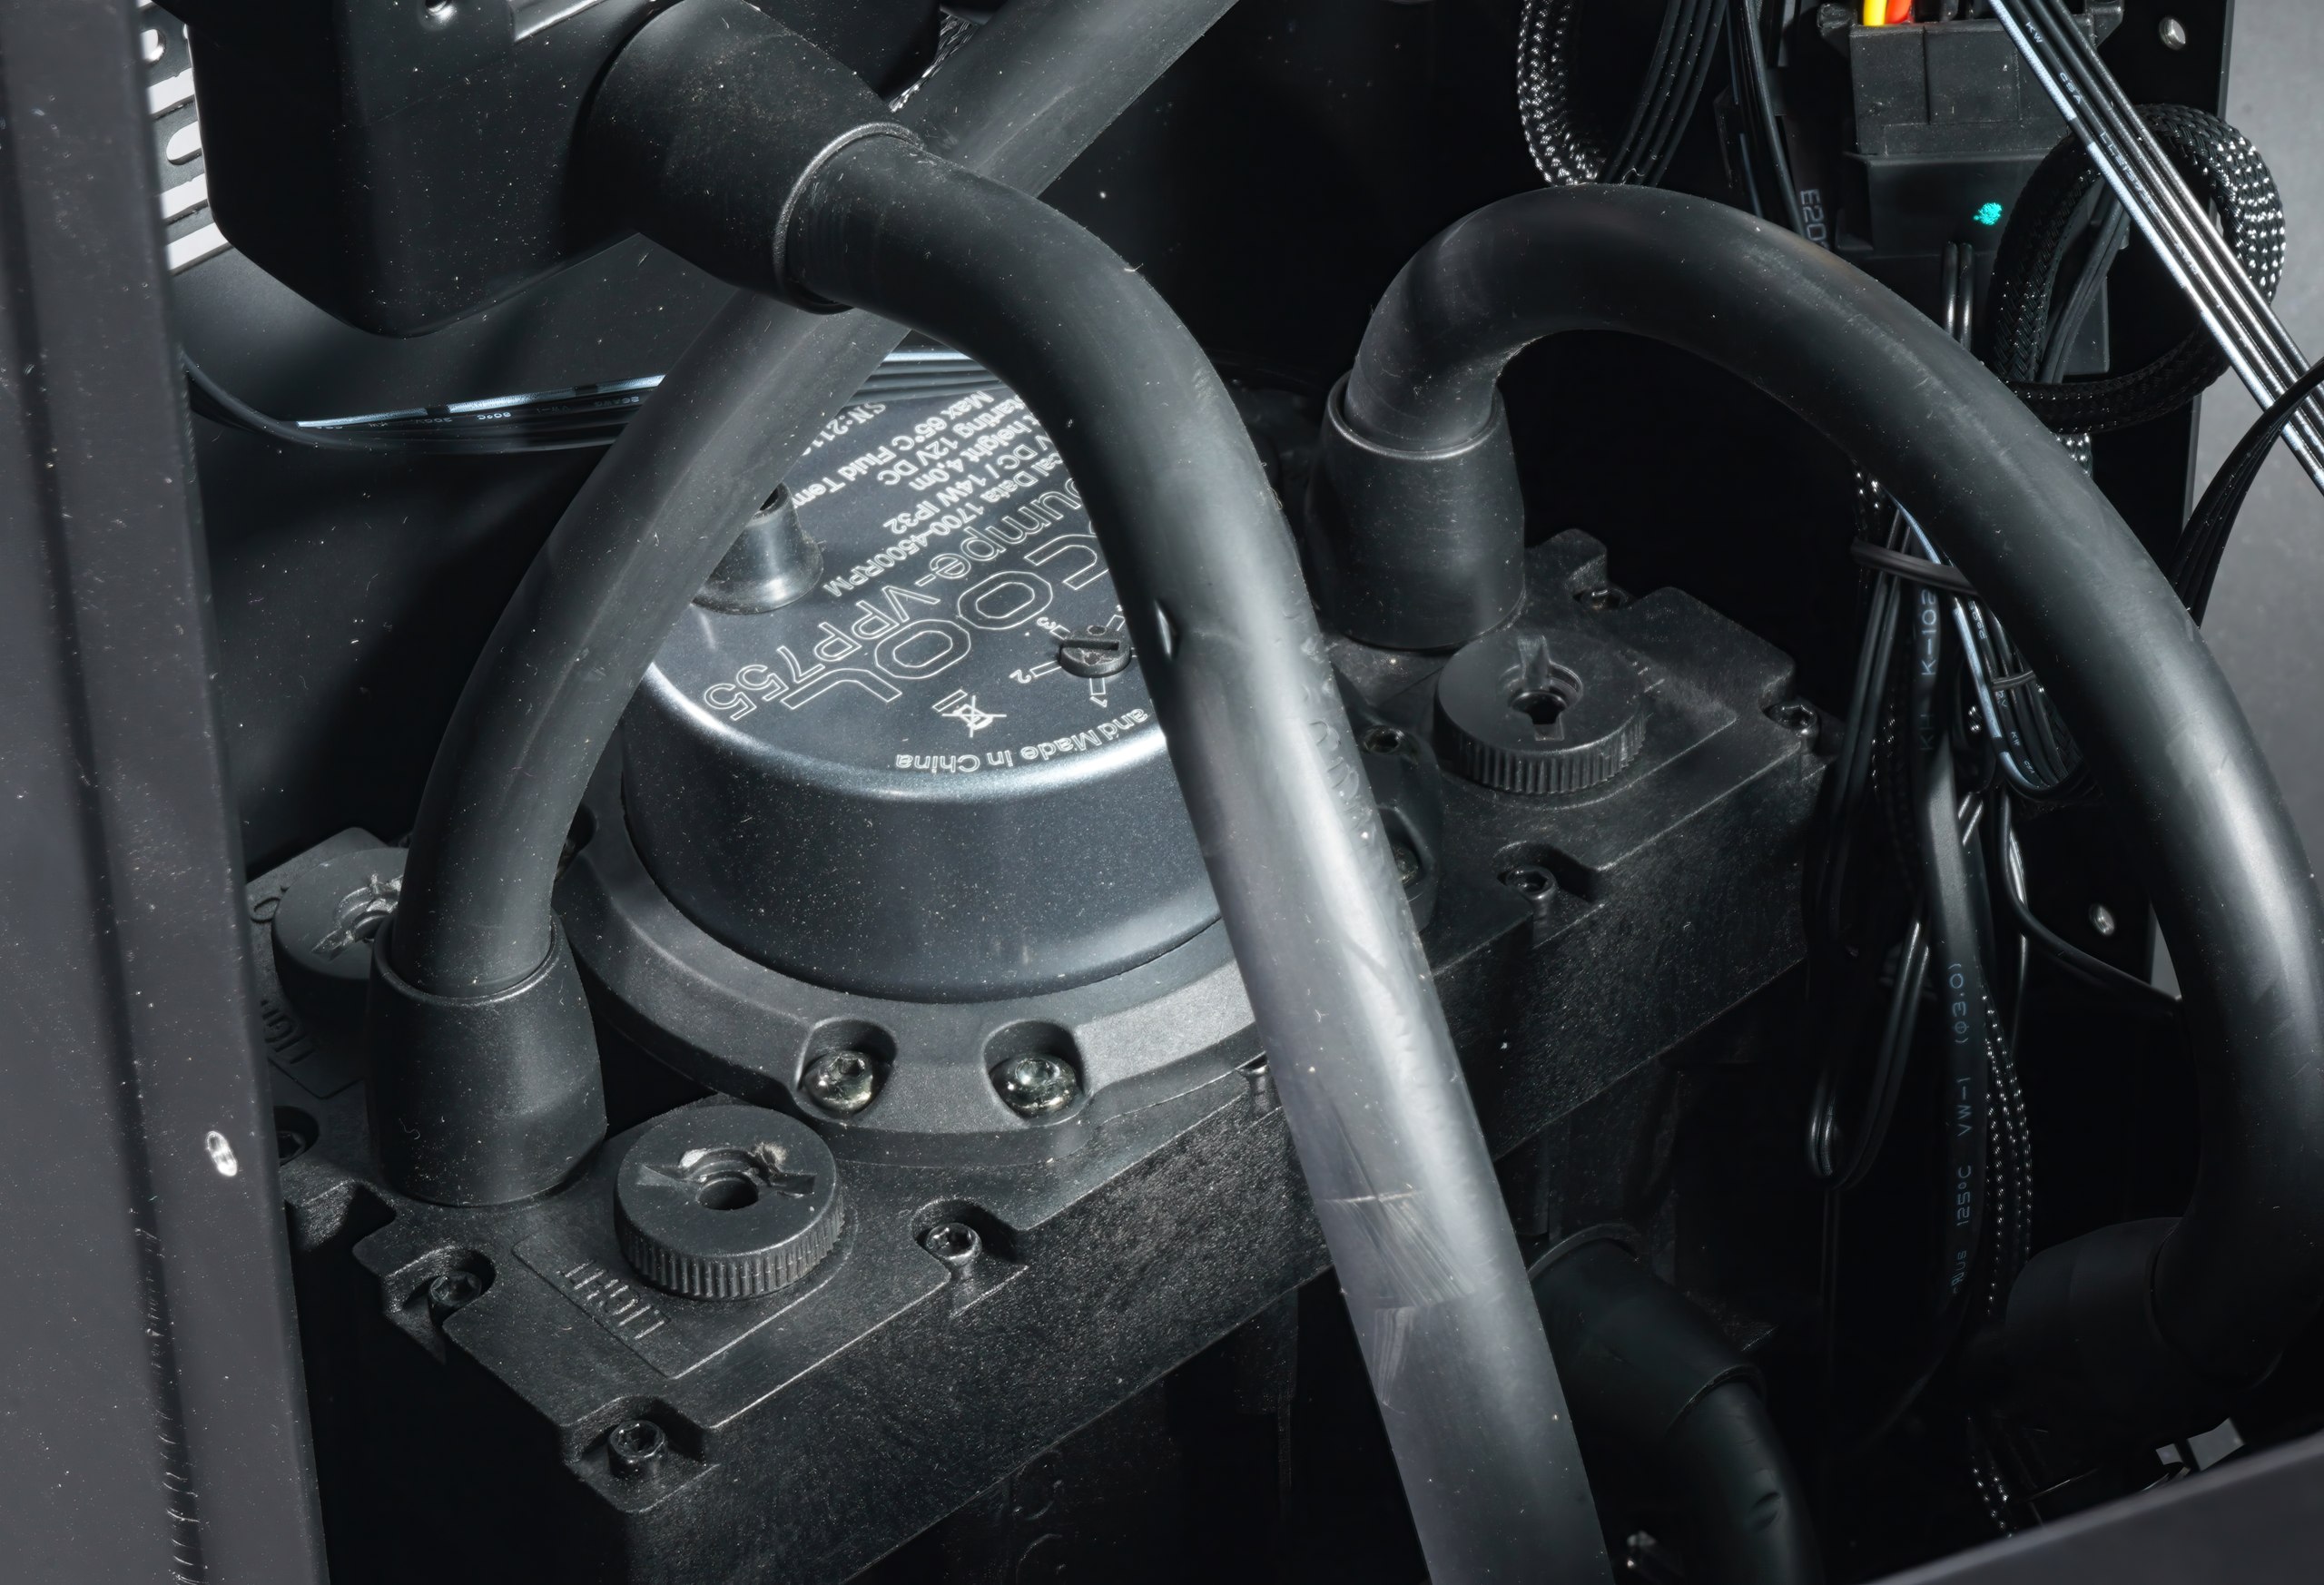
… and I found it. If you have fought your way to the reservior, then you quickly see why only a medium jet comes out of the outlet. The pump is only at 50% from the factory, so the regulator is between 2.5 of 5 stages. I can only explain this to myself as that is the original position with which these pumps normally come individually to the customer. But then it would have been essential to adjust this during assembly. I have a bit wrench with a flexible intermediate piece, so adjusting to maximum was no snap. A long screwdriver would certainly do the trick, though.
Hands-On and Conclusion
I wrote that the operation is not noiseless. Leaving aside the pump and the tiny screws, which are rather unsuitable for disassembly, it is an extremely solid and, above all, high-performance solution on the inside. Even if I do not quite understand the pull operation of the two fans on the 240 radiator, but it will already have (k)a reason. As a portable water cooling, the part is almost ideal, because you do not have to worry about anything and also the alarm function in case of system failure is practical.
The measured 48.7 dB(A) at a distance of 1 meter are quite loud, but it is not a fair weather cooling, but a real heavy worker, which can replace the extremely heavy and also unwieldy chiller in very many cases. For these purposes, the investment is certainly okay for many, but for the private PC in the study, it is of course nothing. The issue with the pump is currently being clarified with the production, so you won’t have to make costly improvements yourself in the future.
Yes, the individual parts are certainly a bit cheaper in total, but if you consider the effort and the included operational safety, that’s even okay. Especially since it is more likely to appeal to commercial users. But since I am also working with it, I thought I would present some of my water features to you. After almost 3 months of use, I have not found anything to the contrary up to a power loss of 900 watts in total. Even that is worth a mention. 😀
11932_Alphacool_ES_Orbiter_360_TS_Manual


44 Antworten
Kommentar
Lade neue Kommentare
Urgestein
Urgestein
Urgestein
Urgestein
Moderator
1
Mitglied
Mitglied
Urgestein
Urgestein
Mitglied
1
Urgestein
Urgestein
Veteran
Urgestein
Urgestein
Mitglied
Mitglied
Alle Kommentare lesen unter igor´sLAB Community →