Anyone who spends a lot of time in a home office knows the dilemma: one computer for work, one computer for private use, both with monitors and peripherals, but both somehow have to be on the same desk. Chaos ensues, ergonomics and productivity suffer. The remedy is a KVM switch. We’ll take a look at what that is and what an implementation of it might look like in today’s test.
Concept of a KVM switch
The concept of a KVM switch is as simple as it is ingenious. You connect a set of peripherals and all the computers to the KVM switch and then you can switch the peripherals from computer to computer. Effectively, the principle is similar to a railroad switch. For those who work in data centers and server landscapes, what I just explained is nothing new. Often dozens of servers in a server rack with their output for video and input for mouse and keyboard are connected to a KVM switch and all on site administration takes place from there. Conversely, it would be very impractical if each server in a rack needed its own set of mouse, keyboard and monitor.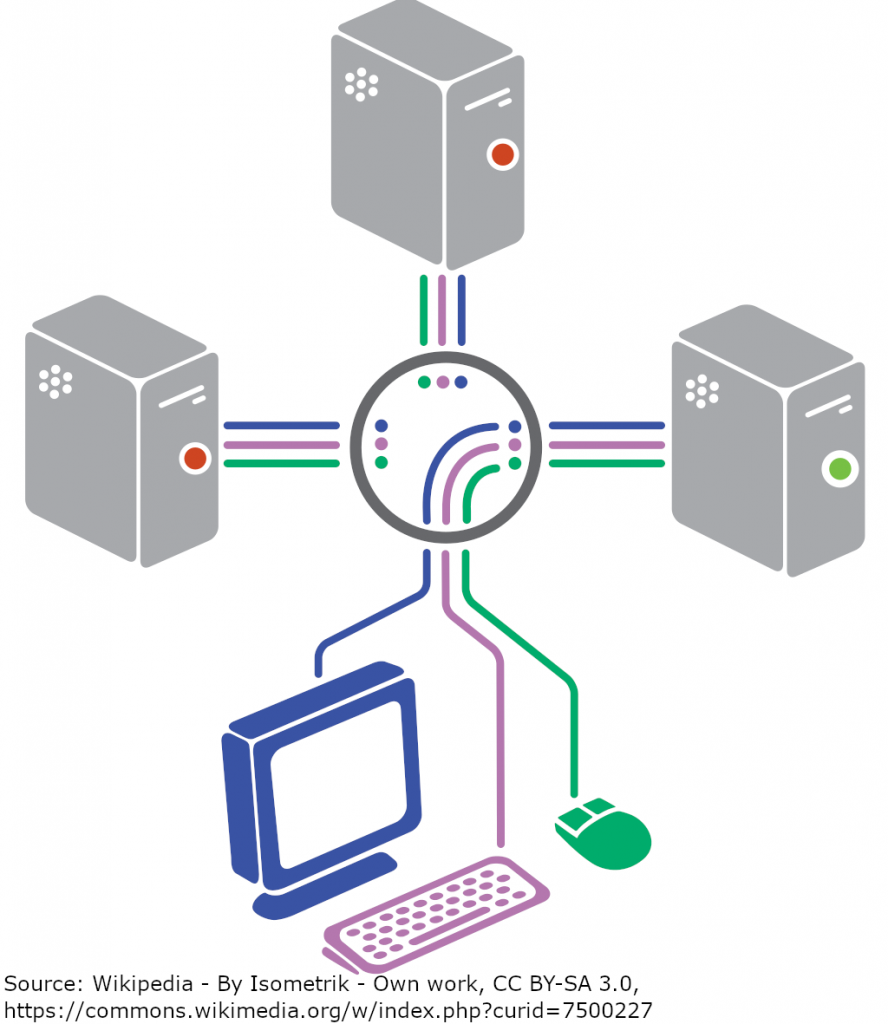
Often these server KVM switches also have the possibility to pack the inputs and outputs to and from systems into Ethernet frames, so that they can be sent over longer distances in the network, and or even offer a web interface, so that even the “local administration” can be done completely remotely. Today’s system administrators really only have to leave their desks when something needs to be done physically with the hardware.
But enough preamble, how does this help us in our office at home? The same principle can be applied to desktop computers, but with a smaller number of systems and slightly different requirements. For example, at home you might want to have audio or fast USB and perhaps connect one or more high-resolution monitors. And this is precisely where the wheat is separated from the chaff for many products on the market. Either only USB 2.0, no audio, only a monitor or video output standards from 15 years ago are often compromises that you have to accept. Not so with the KVM switch we’re looking at today: the DisplayPort 1.4 Dual-Monitor KVM from Level1Techs.
Packaging and design
Before we get into the features, here are some quick impressions on the buying experience and delivery. The sale is done exclusively through Level1Techs store and the transaction was hassle free. For questions or changes to the order, the support helps quickly and friendly. Shipping was also relatively quick at 7 days from the US and at $38 USD totally acceptable by today’s standards.
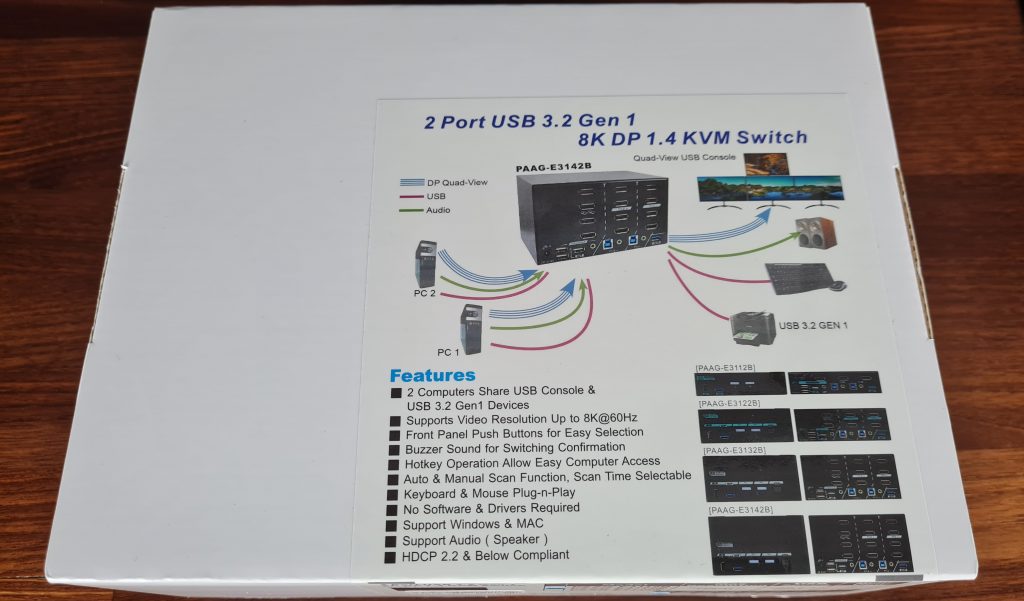
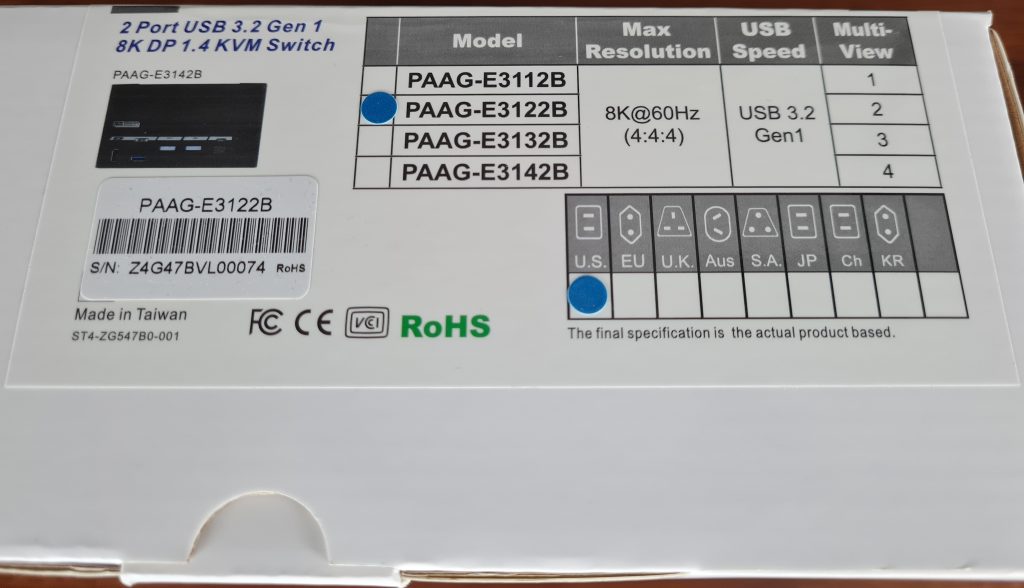
The packaging is kept simple. It is immediately noticeable that this is a product for the enterprise market, no frills. On the white box there is only a single sticker that mentions all the important features again, illustrates an exemplary configuration and lists the different model variants. In addition to the model with the number PAAG-E3122B for 2 monitors, there are also variants for 1, 3 and 4 monitors, which accordingly have this number in the third last position of the product number.
If you now throw these product numbers into a search engine of your choice, you will relatively quickly find the website of Rextron, who also advertise the product, but do not offer it for sale to normal end customers. The reason for this is that Rextron is the OEM for the product, taking care of most of the manufacturing and certifications. Level1Techs then fine-tunes the product with special firmware and takes over the distribution for normal end customers in the form of the L1KVM. Especially for better device compatibility, Level1Techs have put a lot of energy and brainpower into this special firmware, which the Rextron version does not have.
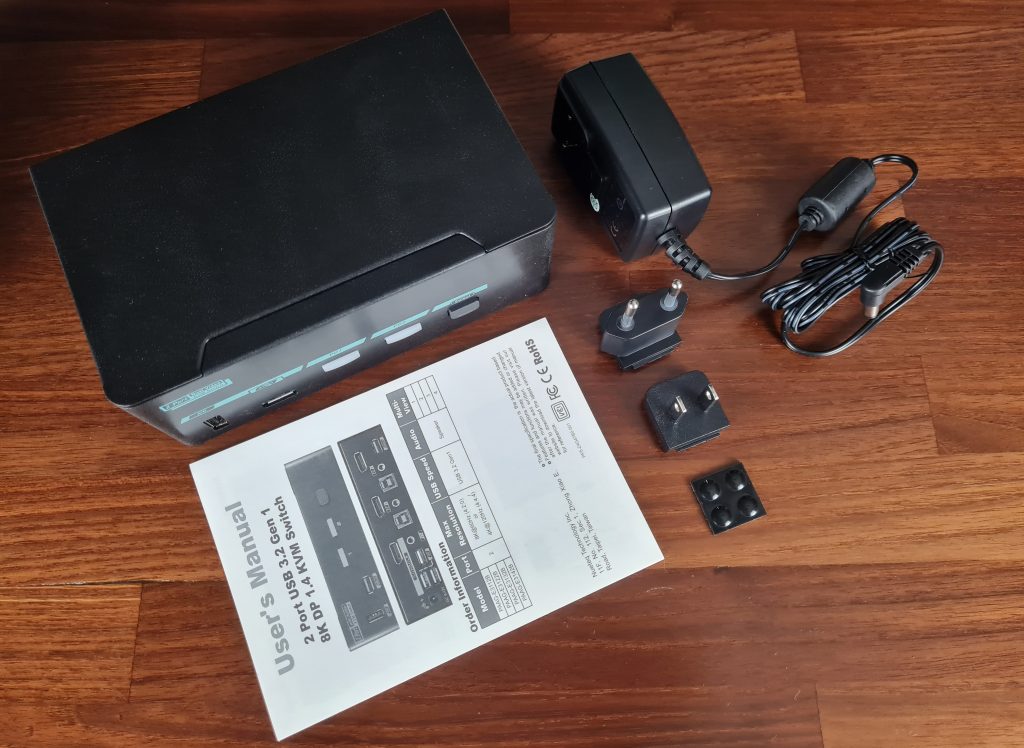
The scope of delivery is also spartan. Besides the L1KVM itself, there is a 12V power supply, optionally an additional adapter for the required power socket standard, four self-adhesive rubber feet and the user manual.
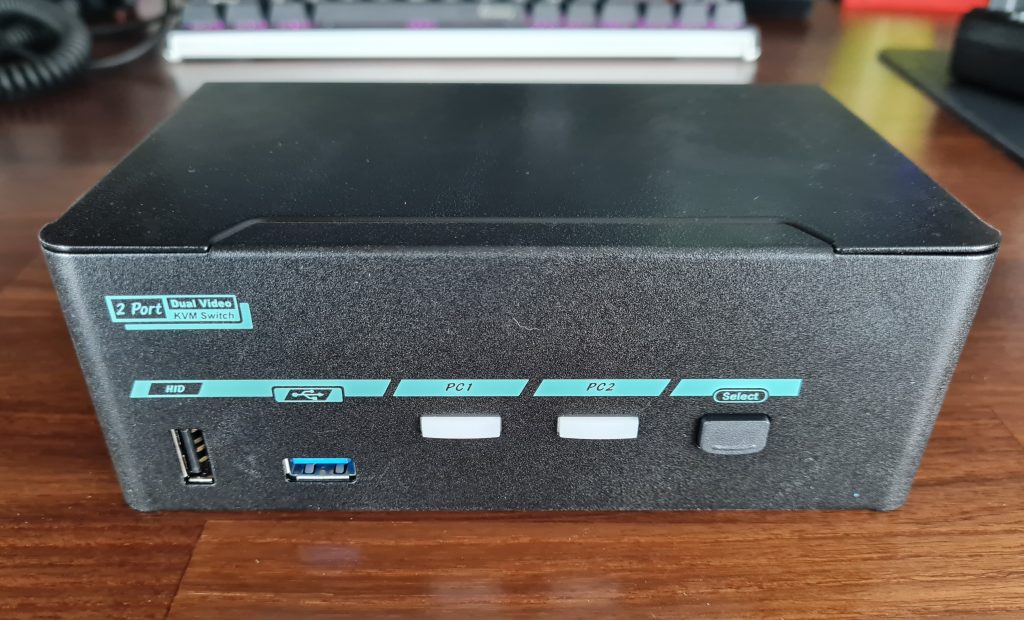
The KVM switch itself is also kept minimalistic and focuses mainly on its functionality. On the front we find a USB 2.0 Type A HID (Human Interface Device) port, a USB 3.0 or USB 3.1 Gen1 port (henceforth just called USB 3.0), two white LED windows to indicate the active host system and a switch to toggle between the two host systems. The construction is made of black powder-coated steel and measures 55 x 160 x 100 mm. Of course, the lengths of the connected cables on the rear side still have to be taken into account.
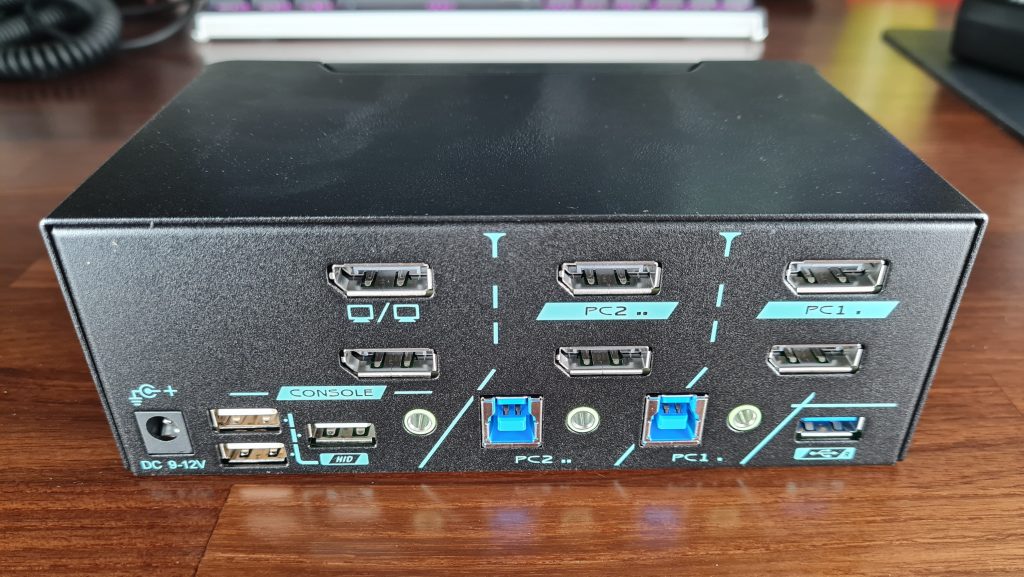
Speaking of the rear panel, this is where the action is at. In addition to the power supply connector, there are three more USB 2.0 Type A HID ports here, which together with the two left Displayport ports, a 3.5 mm jack and the USB 3.0 Type A port on the far right form the console downlinks, where peripheral devices will later be connected. The 3.5 mm jack, display port and USB 3.0 type B ports in the middle and on the right, respectively, are the uplinks to which the host systems will later be connected.
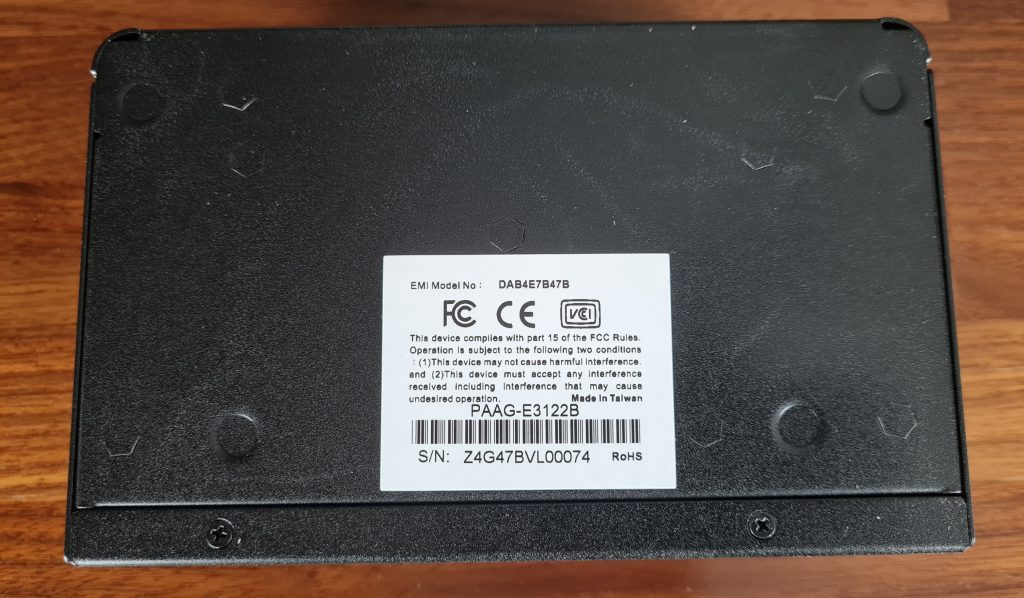
Now this all sounds more complicated than it is, but the principle is simple. 2 PCs are connected with DP, USB and audio and the user can switch which of the two is controlled with the connected peripherals. On the bottom there is just a sticker with product, serial number and FCC certification and 4 stamped indentations for attaching the rubber feet.







20 Antworten
Kommentar
Lade neue Kommentare
Moderator
Veteran
Urgestein
Mitglied
Mitglied
Urgestein
Mitglied
Veteran
Mitglied
Veteran
Mitglied
Mitglied
Veteran
Veteran
Mitglied
Neuling
Mitglied
Mitglied
Alle Kommentare lesen unter igor´sLAB Community →