


In part 1 “We build a Hackintosh – part 1 as a starting aid for newcomers and assembly” it was “only” about choosing the right hardware and assembling it, but now it’s getting serious. I would like to thank al6042 from the Hackintosh Forum, who was able to shorten the learning curve up to the “finished product” considerably. As always, the devil is in the details and without the help of a strong community and experienced colleagues everything takes much longer.
So after we focused on the hardware of the hackintosh in the first part, I don’t want to keep you in suspense any longer and in today’s part I want to describe the software installation and the experiences connected with it. Sorry also to the community that you had to wait so long. At this point maybe a few words about myself. I work in the automotive supply industry and develop manufacturing processes for complex assemblies and systems. We work with lasers, helium high vacuum sealing tests and other high-tech processes. We manufacture complex sheet metal forming parts, assemblies for high and low pressure injection, heating/cooling systems, parts for exhaust systems, etc. here. What I do here is more or less my free time and a hobby, which I am allowed to share with you here thanks to Igor. The current times are quite difficult for all of us and the last weeks I have been travelling a lot for work, which has caused a delay in terms of my work. the second part of the review. I got to know Igor via YouTube and was immediately convinced of his work. First and foremost, I tried to help Igor to measure the volume flow of water cooling systems, as well as the pressure drop and other physical “secrets” and, if necessary to create a possibility to calculate and design your water cooling system (custom) in advance There’s more to come, but it’ll take a while… Teaser! So much for me.

I had researched the hardware configuration in detail in the run-up to the project and critically questioned it several times. There was also a post on the Hackintosh forum and so I was not sure about the content. at the same time I have discussed the installation of MacOS on various sites, forums and of course YouTube. There are many ways to get MacOS running, so I looked at two common ways (Clover Bootloader and Unibeast). In several videos the Unibeast variant is explained very well and since it sounded so easy, I was quite confident that it would work. What came to me then, that was quite adventurous, at least it was for me!
We will first look at the settings in the bios, then I will continue with the creation of the boat stick and the difficulties involved. Until we come to the helpful support of the Hackintosh forum community and our Hackintosh suddenly saw the light of day. First of all: I’m not a MacOS specialist myself and you might want to look me up if I don’t use all the technical terms correctly or if I have made a few minor mistakes. The review will also not be a 1:1 guide on how to make the hardware configuration used here a hackintosh. It is a description of how not to do it, or how to make it better. For example, by taking the shortcut to the Hackintosh forum!
BIOS Settings
The settings have to be done first and the names of the menu items are of course different from manufacturer to manufacturer. But it is always the same in the end, only if necessary. at another location and with a slightly different designation
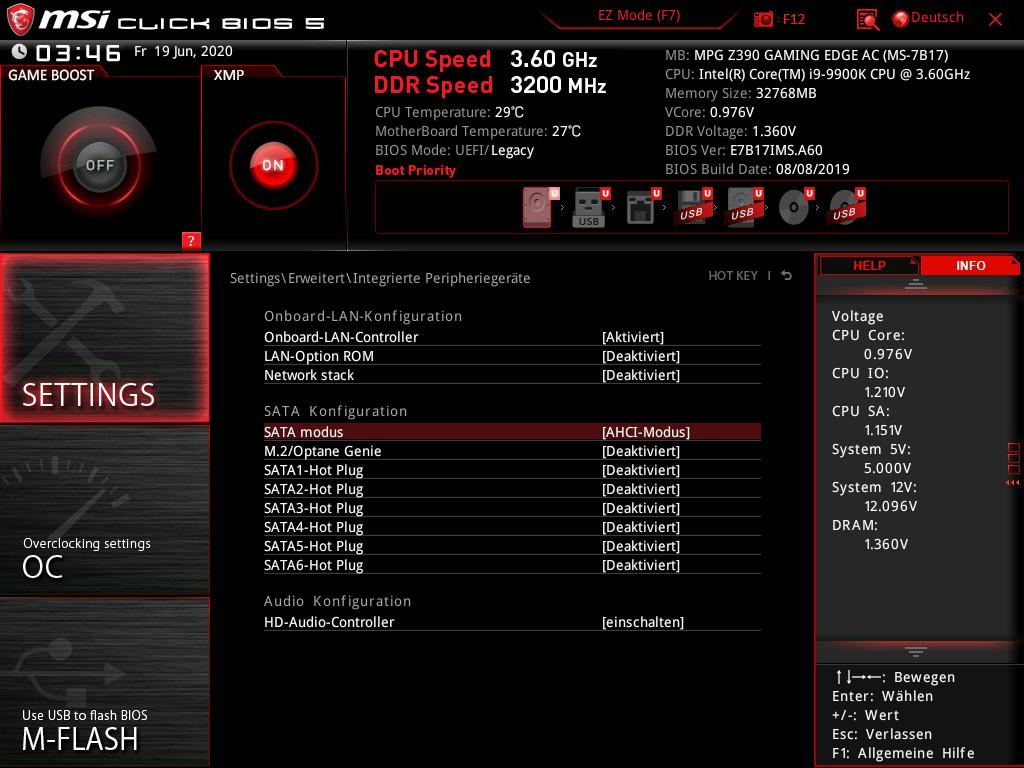
Advanced -> Integrated Peripherals: SATA Mode = AHCI Mode
Advanced -> Integrated Graphics Configuration: Initiate Graphic Adapter = PEG (PCI-Expgress Graphics Device), IGD Multi-Monitor = Disabled (This actually turns off the IGPU of the processor)

Advanced -> USB Configuration: , XHCI Hand-Off = Enabled, Legacy USB Support = Enabled

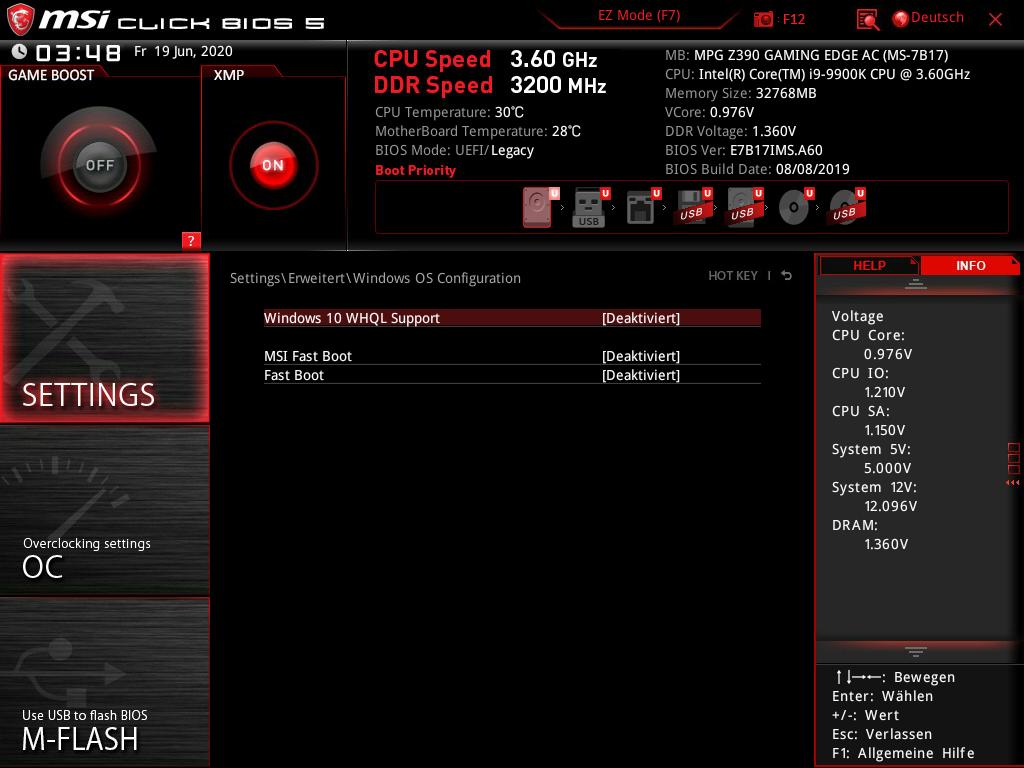
Advanced -> Windows OS Configuration: MSI Fast Boot = Disabled, Fast Boot = Disabled, Secure Boot Support = Disabled
Boot: Boot Mode Select = UEFI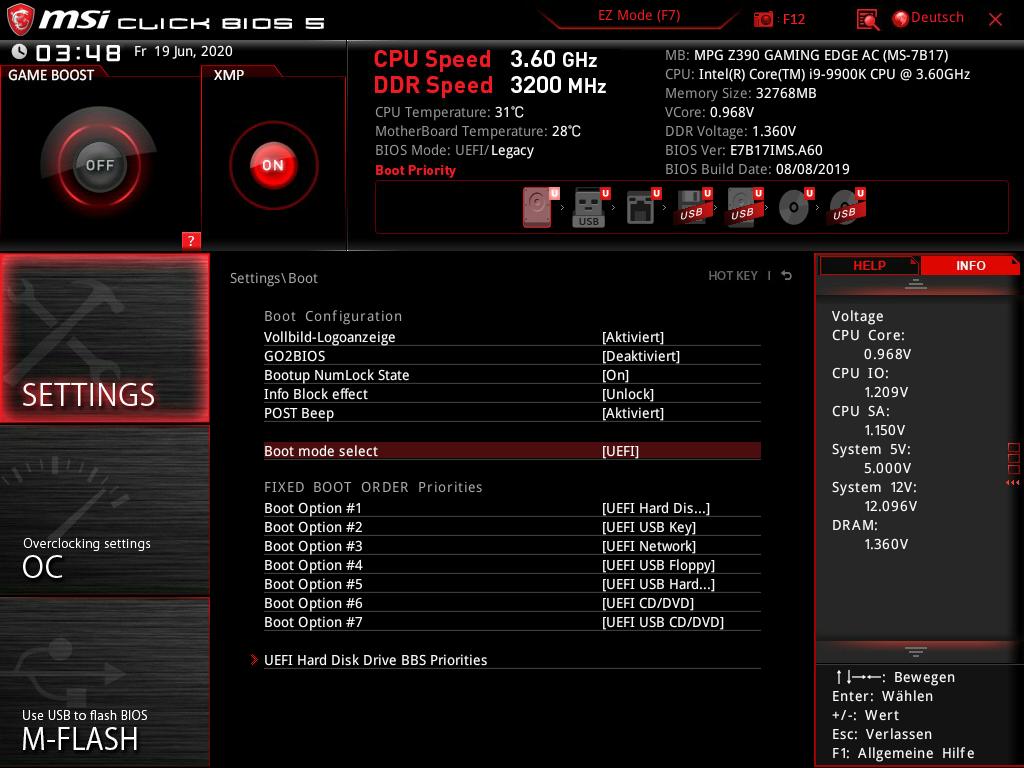


Kommentieren