


Owning an Apple PC is usually quite an expensive affair and is usually celebrated almost religiously. But if you want to work with MacOS, perhaps to have an advantage over Windows PCs in one or the other application, or simply to be different, you don’t necessarily have to buy an Apple Mac Pro (2019). Fortunately there is the possibility to build your own Hackintosh or to run his existing computer with MacOS. Here it depends of course on the installed hardware. But more about that later!
In this joint project between Igor and me, the goal was to build a hackintosh that not only matched the performance of the Apple Mac Pro (2019), but was also much cheaper and, if necessary, could be used for other applications. with the hardware, we took a little from the shelves, which corresponded to our own preferences or which were more suitable for our needs. We took components that we knew would fit together because we had used it before. There are always surprises, you don’t have to get any more hurdles and moments of happiness of a different kind.
The hackintosh is based on an Intel Core i9-9900K from Igor’s private stock, which has already been used quite successfully in many Mac clones. In the first step the finished Hackintosh was operated with my AMD Sapphire RX 590 Nitro+ SE, because the planned MSI RX 5700 XT Gaming X was still needed by Igor in another project. The goal was first to install MacOS and then to have the finished hackintosh finalized by Igor. If an AMD RX 580 or RX 590 is enough, the total price of the Hackintosh in the configuration can even be reduced to well below the 2.000 € mark! With an AMD RX 580 8 GB and the Intel Core i9-9900K, the performance is on the level of the current Apple Mac Pro and in terms of price and performance, the Hackintosh is the best choice. of the CPU even exceeds the performance of the Apple system by quite a bit. You look!
In order to share the experiences we made in this project a bit more clearly, we will split the review into several parts. In part 1 we first take a look at the specially selected hardware, the assembly in a rough overview (it should not be a detailed review of how to assemble a PC, I assume that you know that) and the start of the hackintosh in the BIOS, because these are the biggest hurdles. Everything else comes then in part 2 (teaser).
Choosing the right hardware
If you want to build a hackintosh, I would like to discuss this topic in detail in advance. It is important and essential to find reliable sources to ensure that the hardware works with MacOS. Not all hardware is supported by MacOS, so we would recommend not to rely solely on YouTube videos and other (sometimes dubious) sources. Many of the often quite adventurous presentations and statements end up costing time, money and above all nerves!
A serious and especially German-language source is the Hackintosh forum, because there you will find a non-toxic and above all very helpful community that really knows what still works in real life and how to get such a Hackintosh running. The advantage is that you can post your hardware configuration in the Hackintosh forum and get feedback in a very short time whether the configuration works at all or not.
If it doesn’t work, then the colleagues from the Hackintosh forum will make a suggestion as to which parts should be added to the configuration if necessary. and which hardware should then be used alternatively. By the way, in general: Based on Intel in combination with AMD GPUs you will almost always get a hackintosh with almost all features (like iMessage, FaceTime, etc.) to work. Why I already refer to the Hackintosh forum in advance, you will find in the 2. Part when it comes to the installation of MacOS!
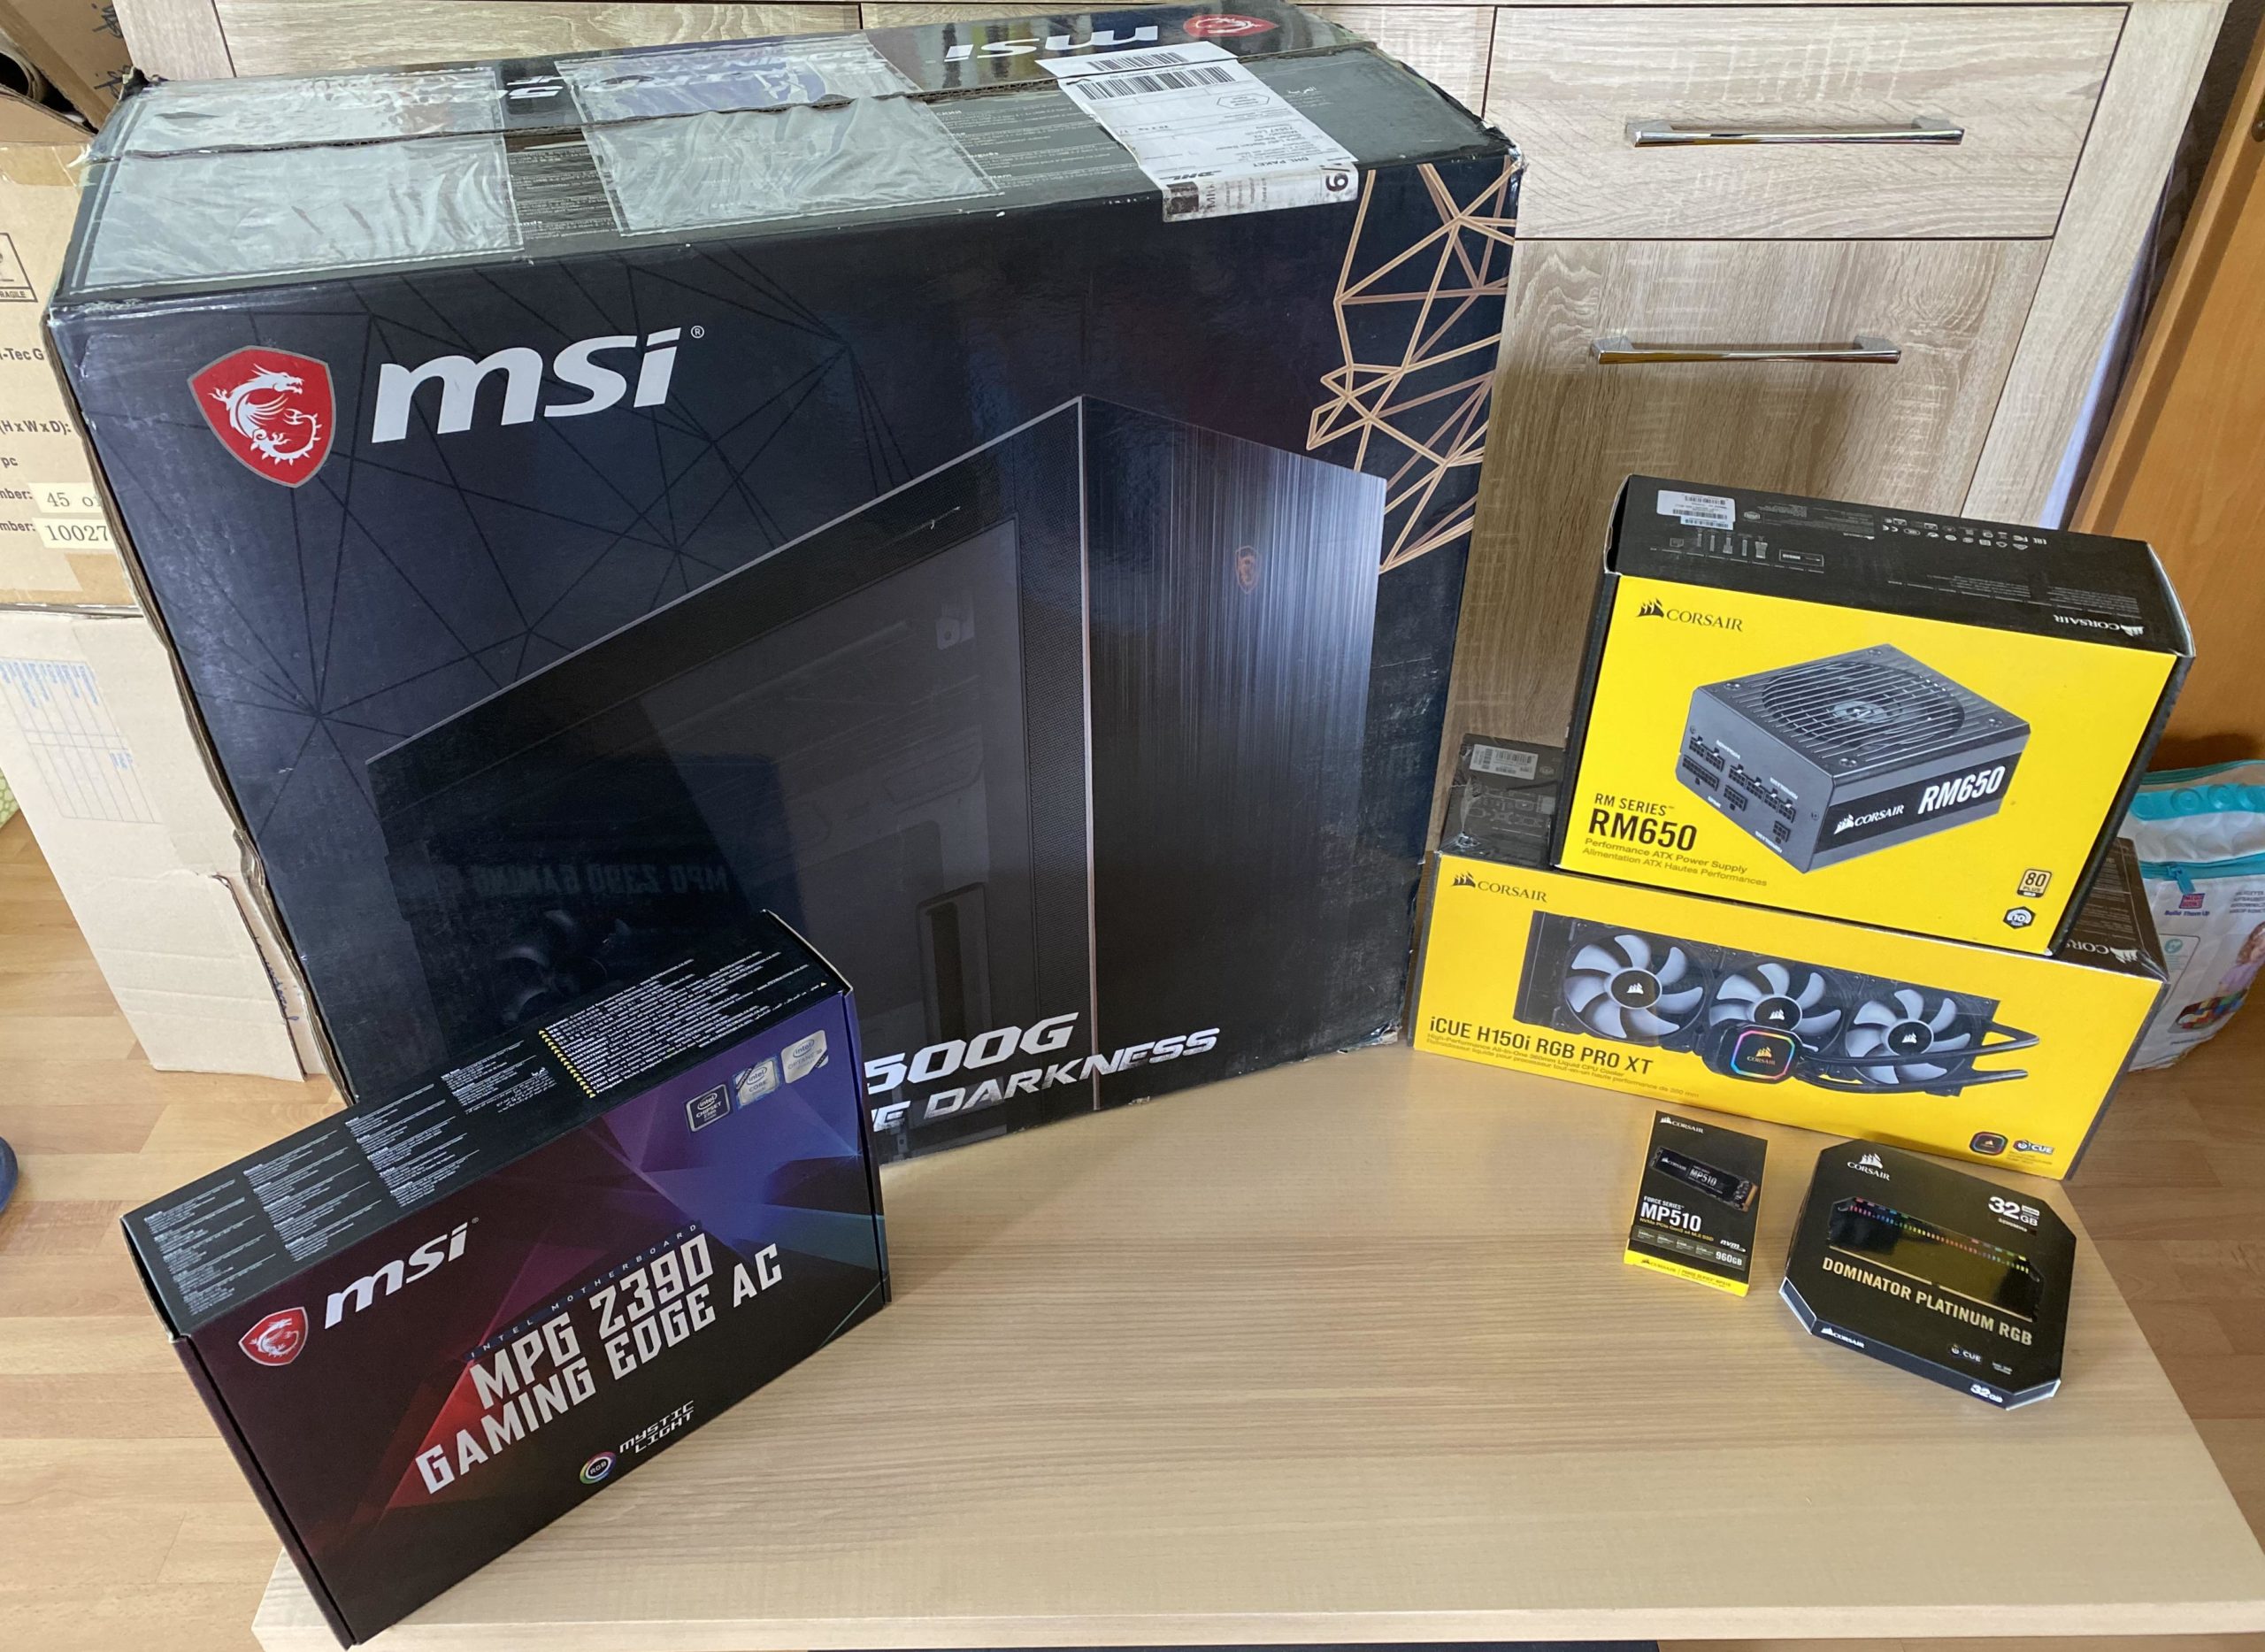
We have used the following hardware and can recommend it – with the exception of the WLAN module – without restrictions:
| Processor: | Intel Core i9-9900K |
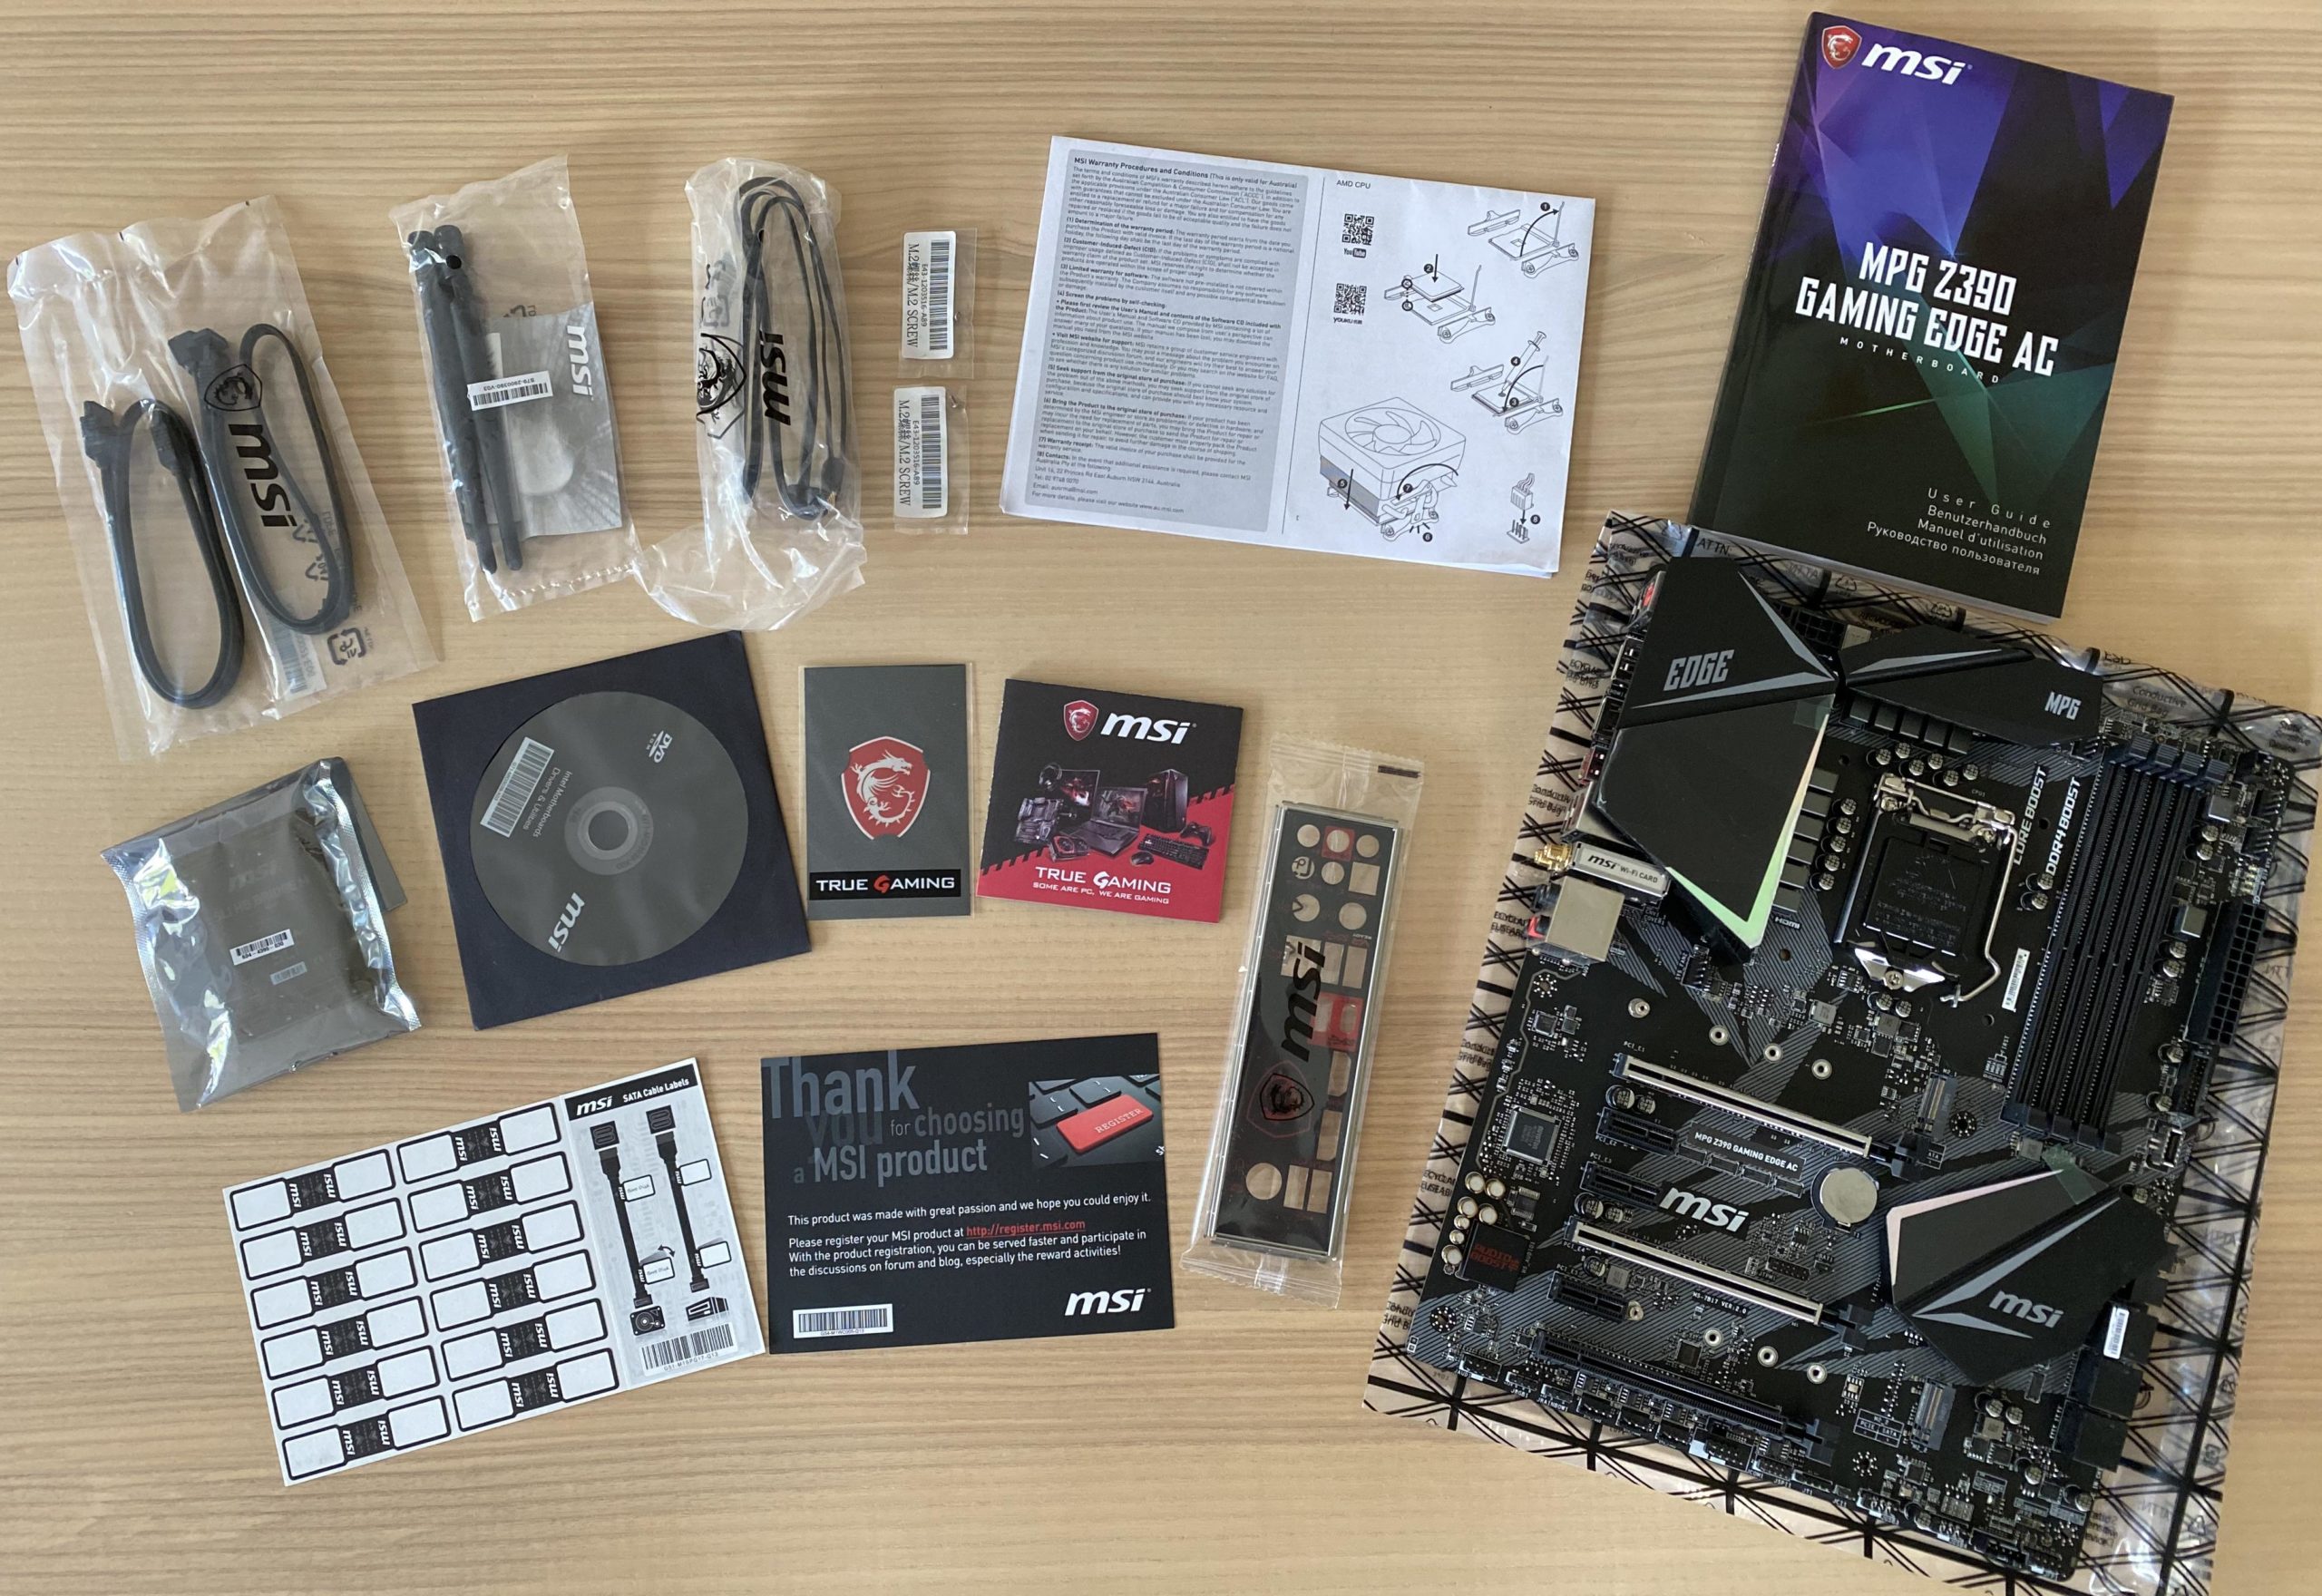
| Motherboard: | MSI MPG Z390 Gaming Edge AC |
| Housing: | MSI MPG Sekira 500G |
| Video card: | MSI Radeon RX 5700 XT Gaming X |
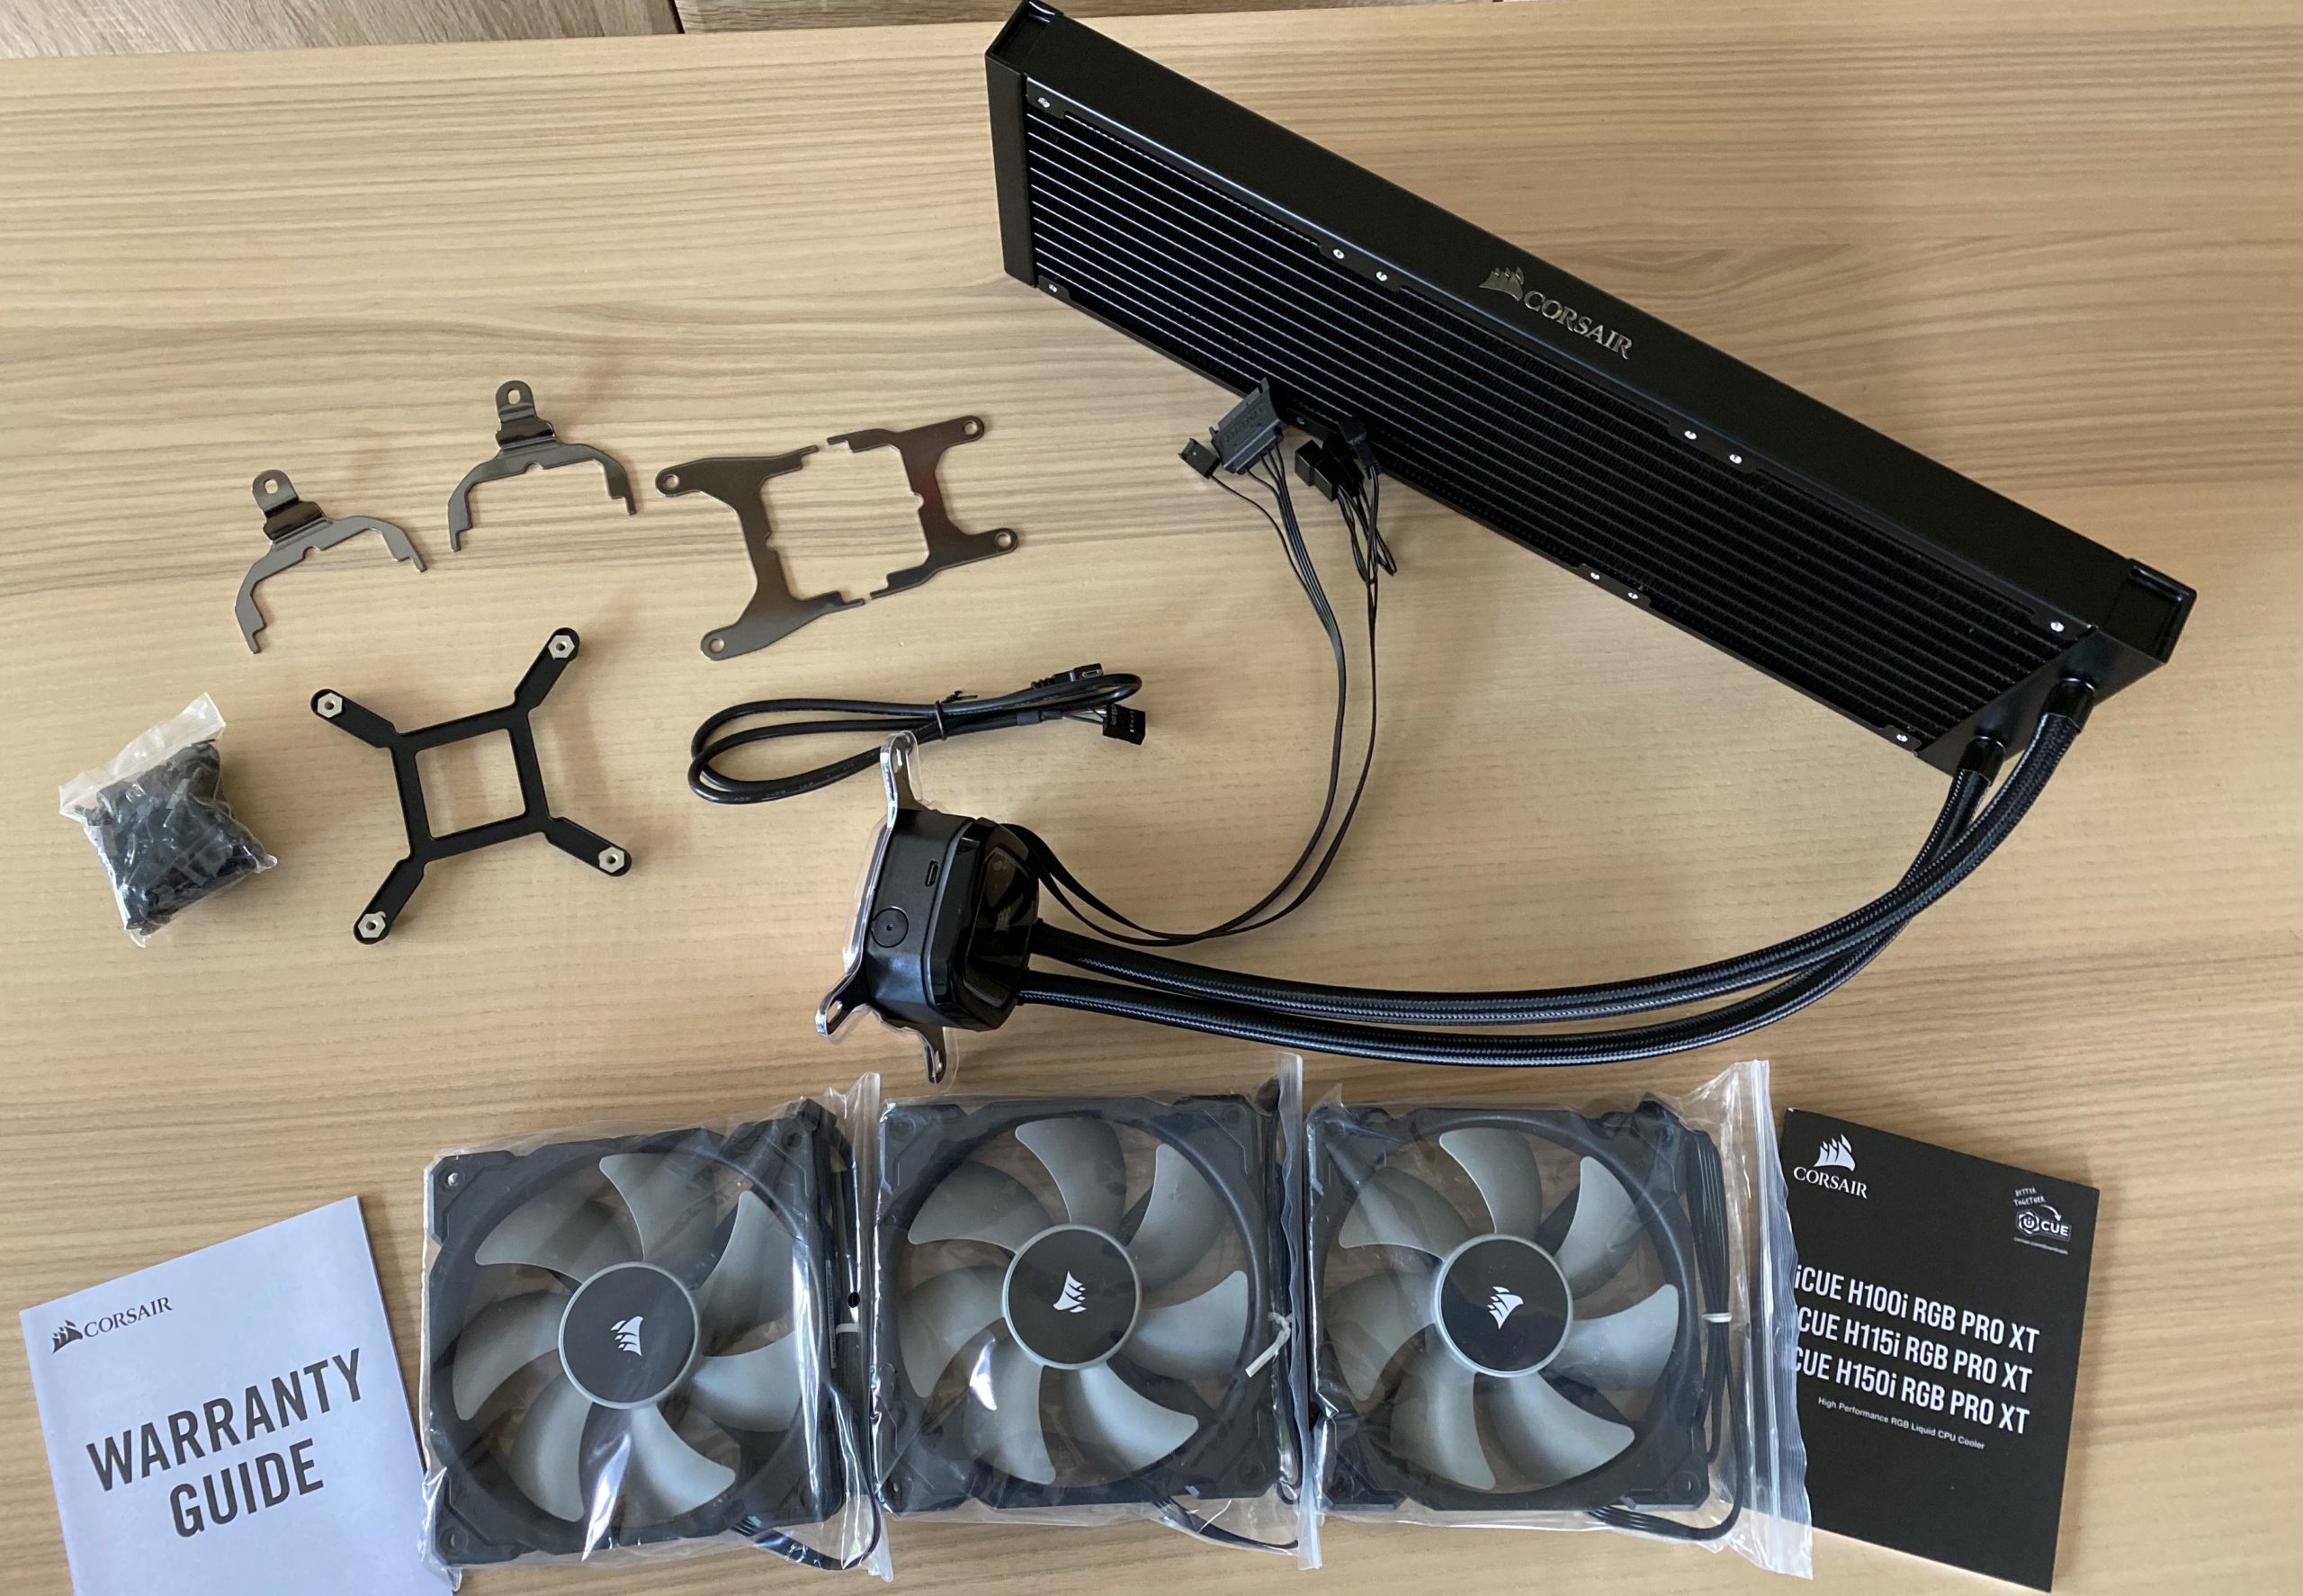
| CPU cooler: | Corsair Hydro Series iCUE H150i RGB Pro XT |
| SSD: | Corsair Force Series MP510 960 GB M.2 |
| Memory: | Corsair Dominator Platinum RGB 32 GB 3200 MHz CL16 (2×16 GB) |
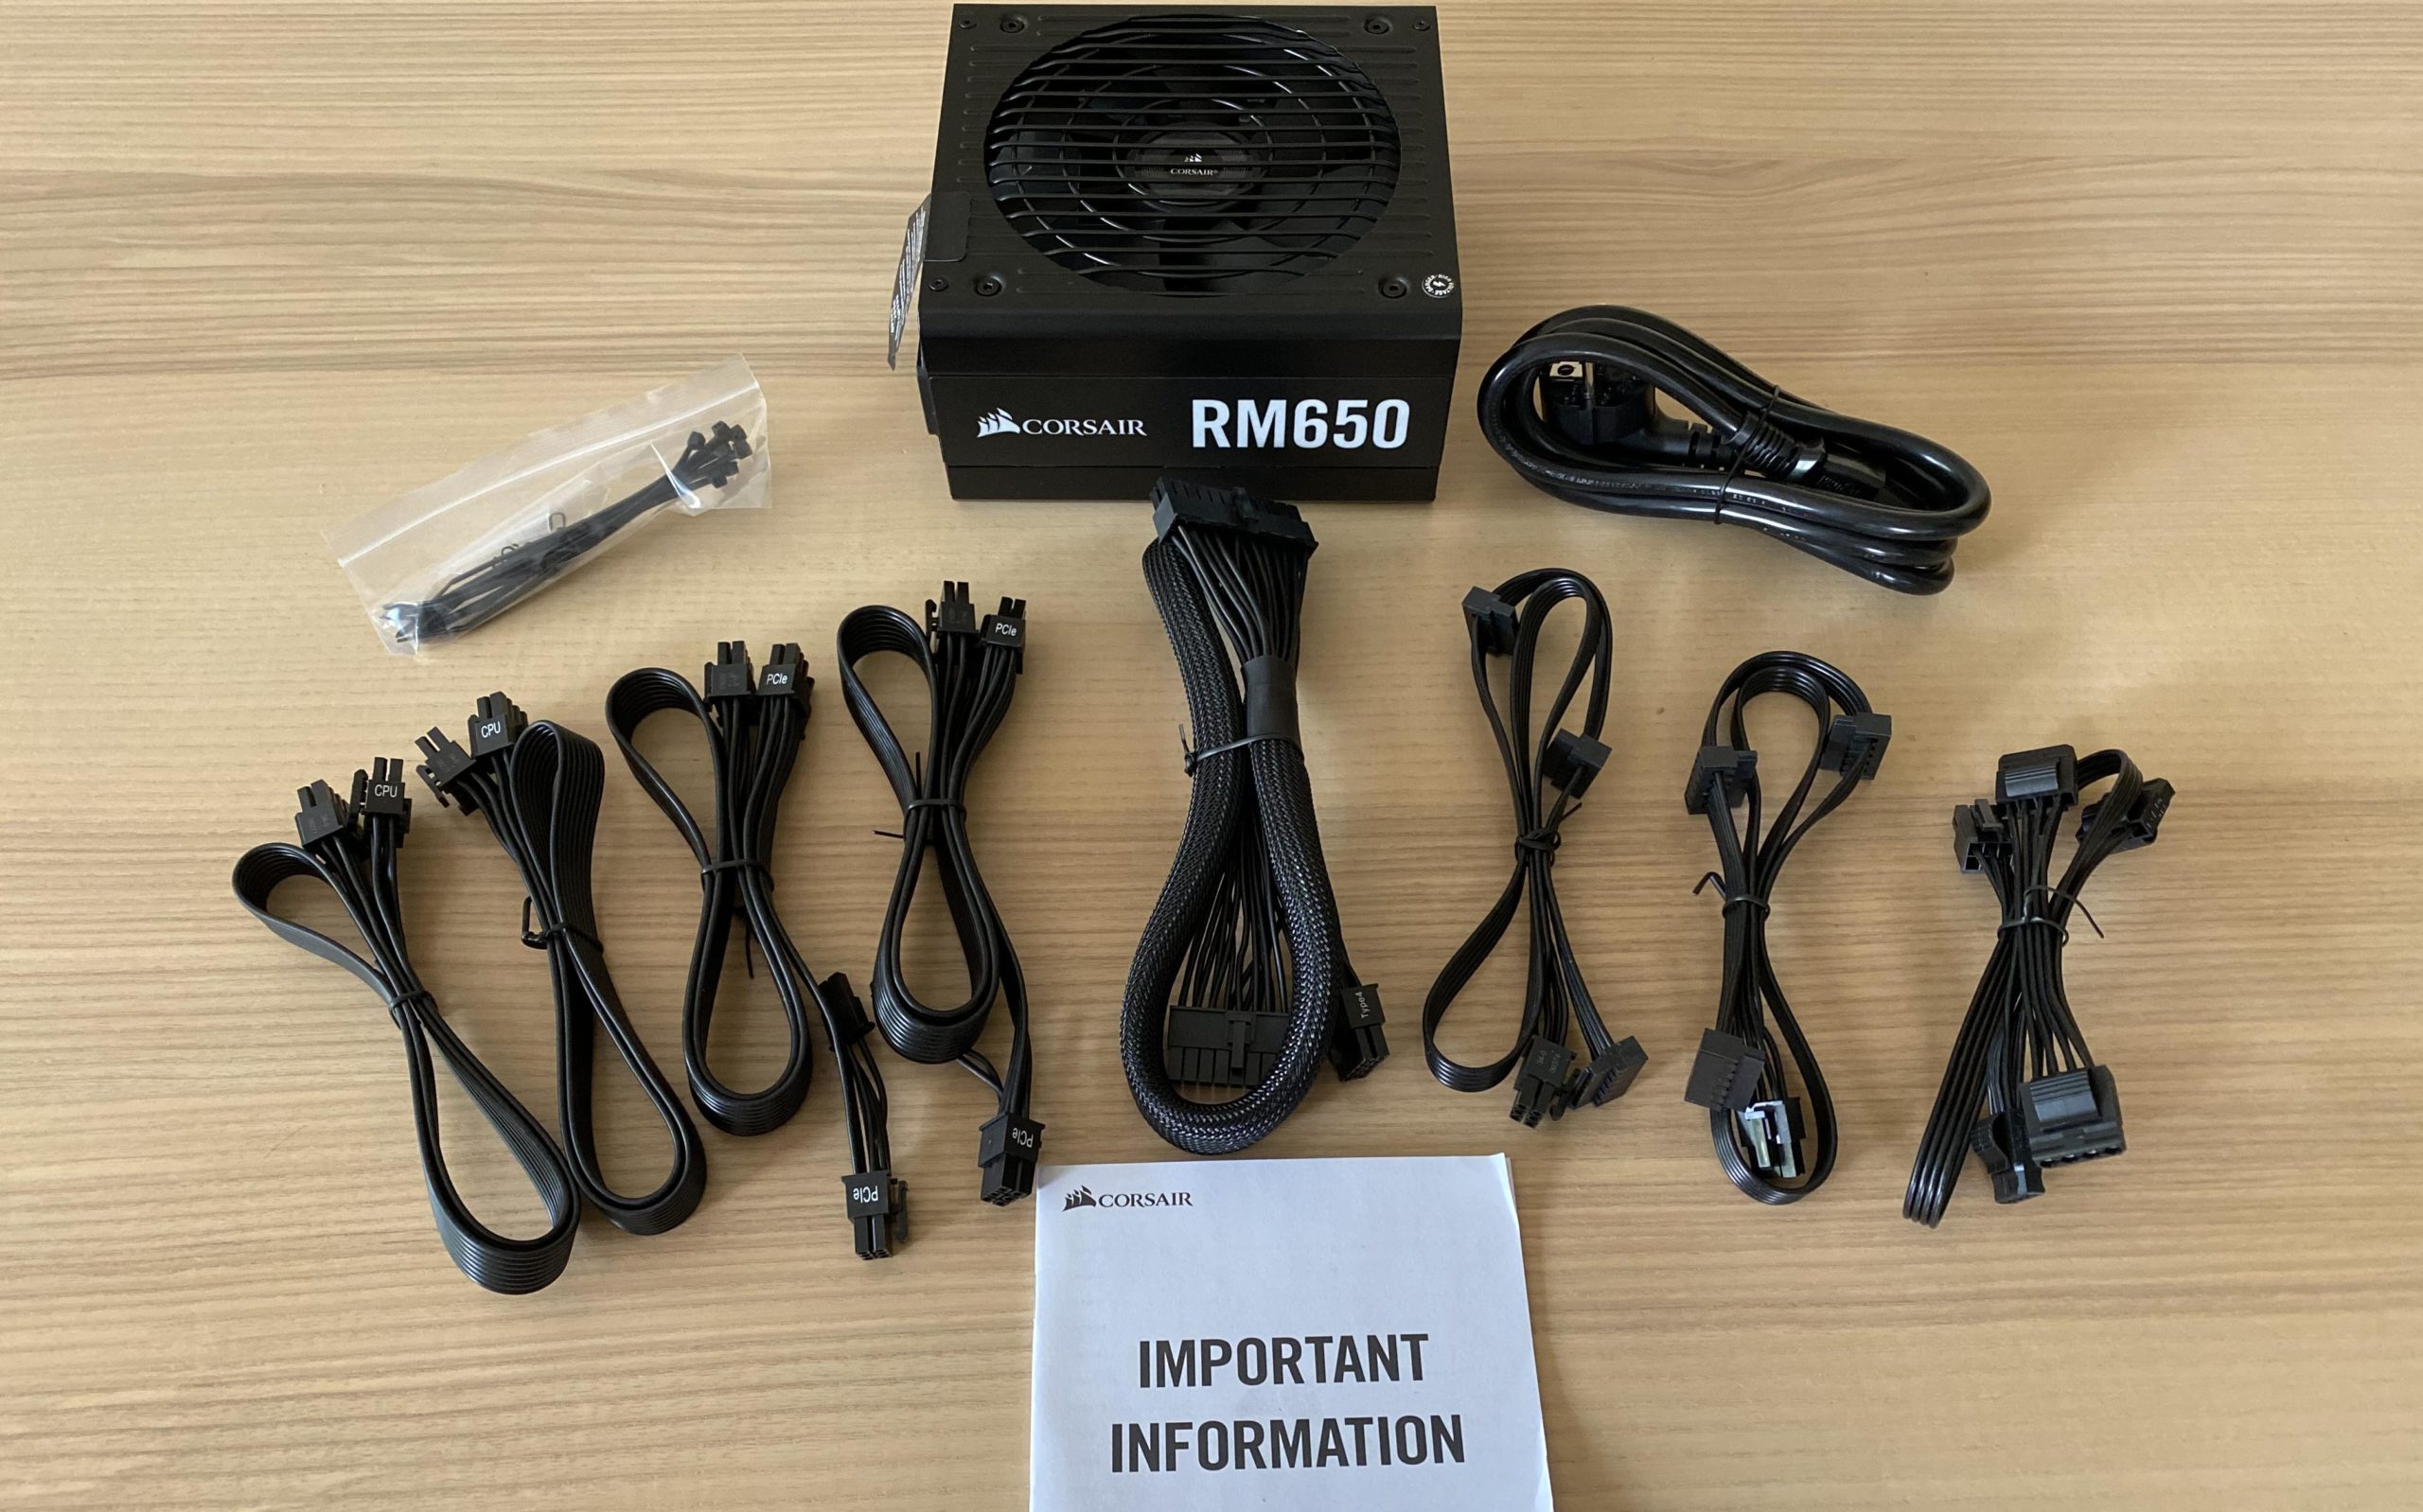
| Power supply unit: | Corsair RM Series RM650 (2019), 650 Watt ATX |
| Total price: | Status 03.06.2020 approx. 2030, – € vs. Apple Mac Pro (2019) Entry price 6,500, – € |
If you really want to use WLAN, you can secure this option by exchanging the M.2 WLAN module. Again, please refer to the Hackintosh-Forum, here you can find out which hardware you need! Unfortunately the WLAN module, which is built into the MSI MEG Z390 Gaming Edge AC, does not run under MacOS.
The components from Corsair made a very good impression, but let’s be surprised anyway.

The case MSI is not only heavy, but also very well packed. There goes an extra praise to MSI, because we had that already clearly more unstable and shaky. This way, almost (nothing) can happen to the housing during transparting and the real glass arrives safely at home!
Everything you need is provided by MSI with the mainboard, only two SSD coolers for the M.2 slots would be desirable.
Here we see the components from the power supply to the cooler, the RAM and the SSD that we need for our Hackintosh. Don’t worry, Corsair delivers much more mounting kits than you usually need.
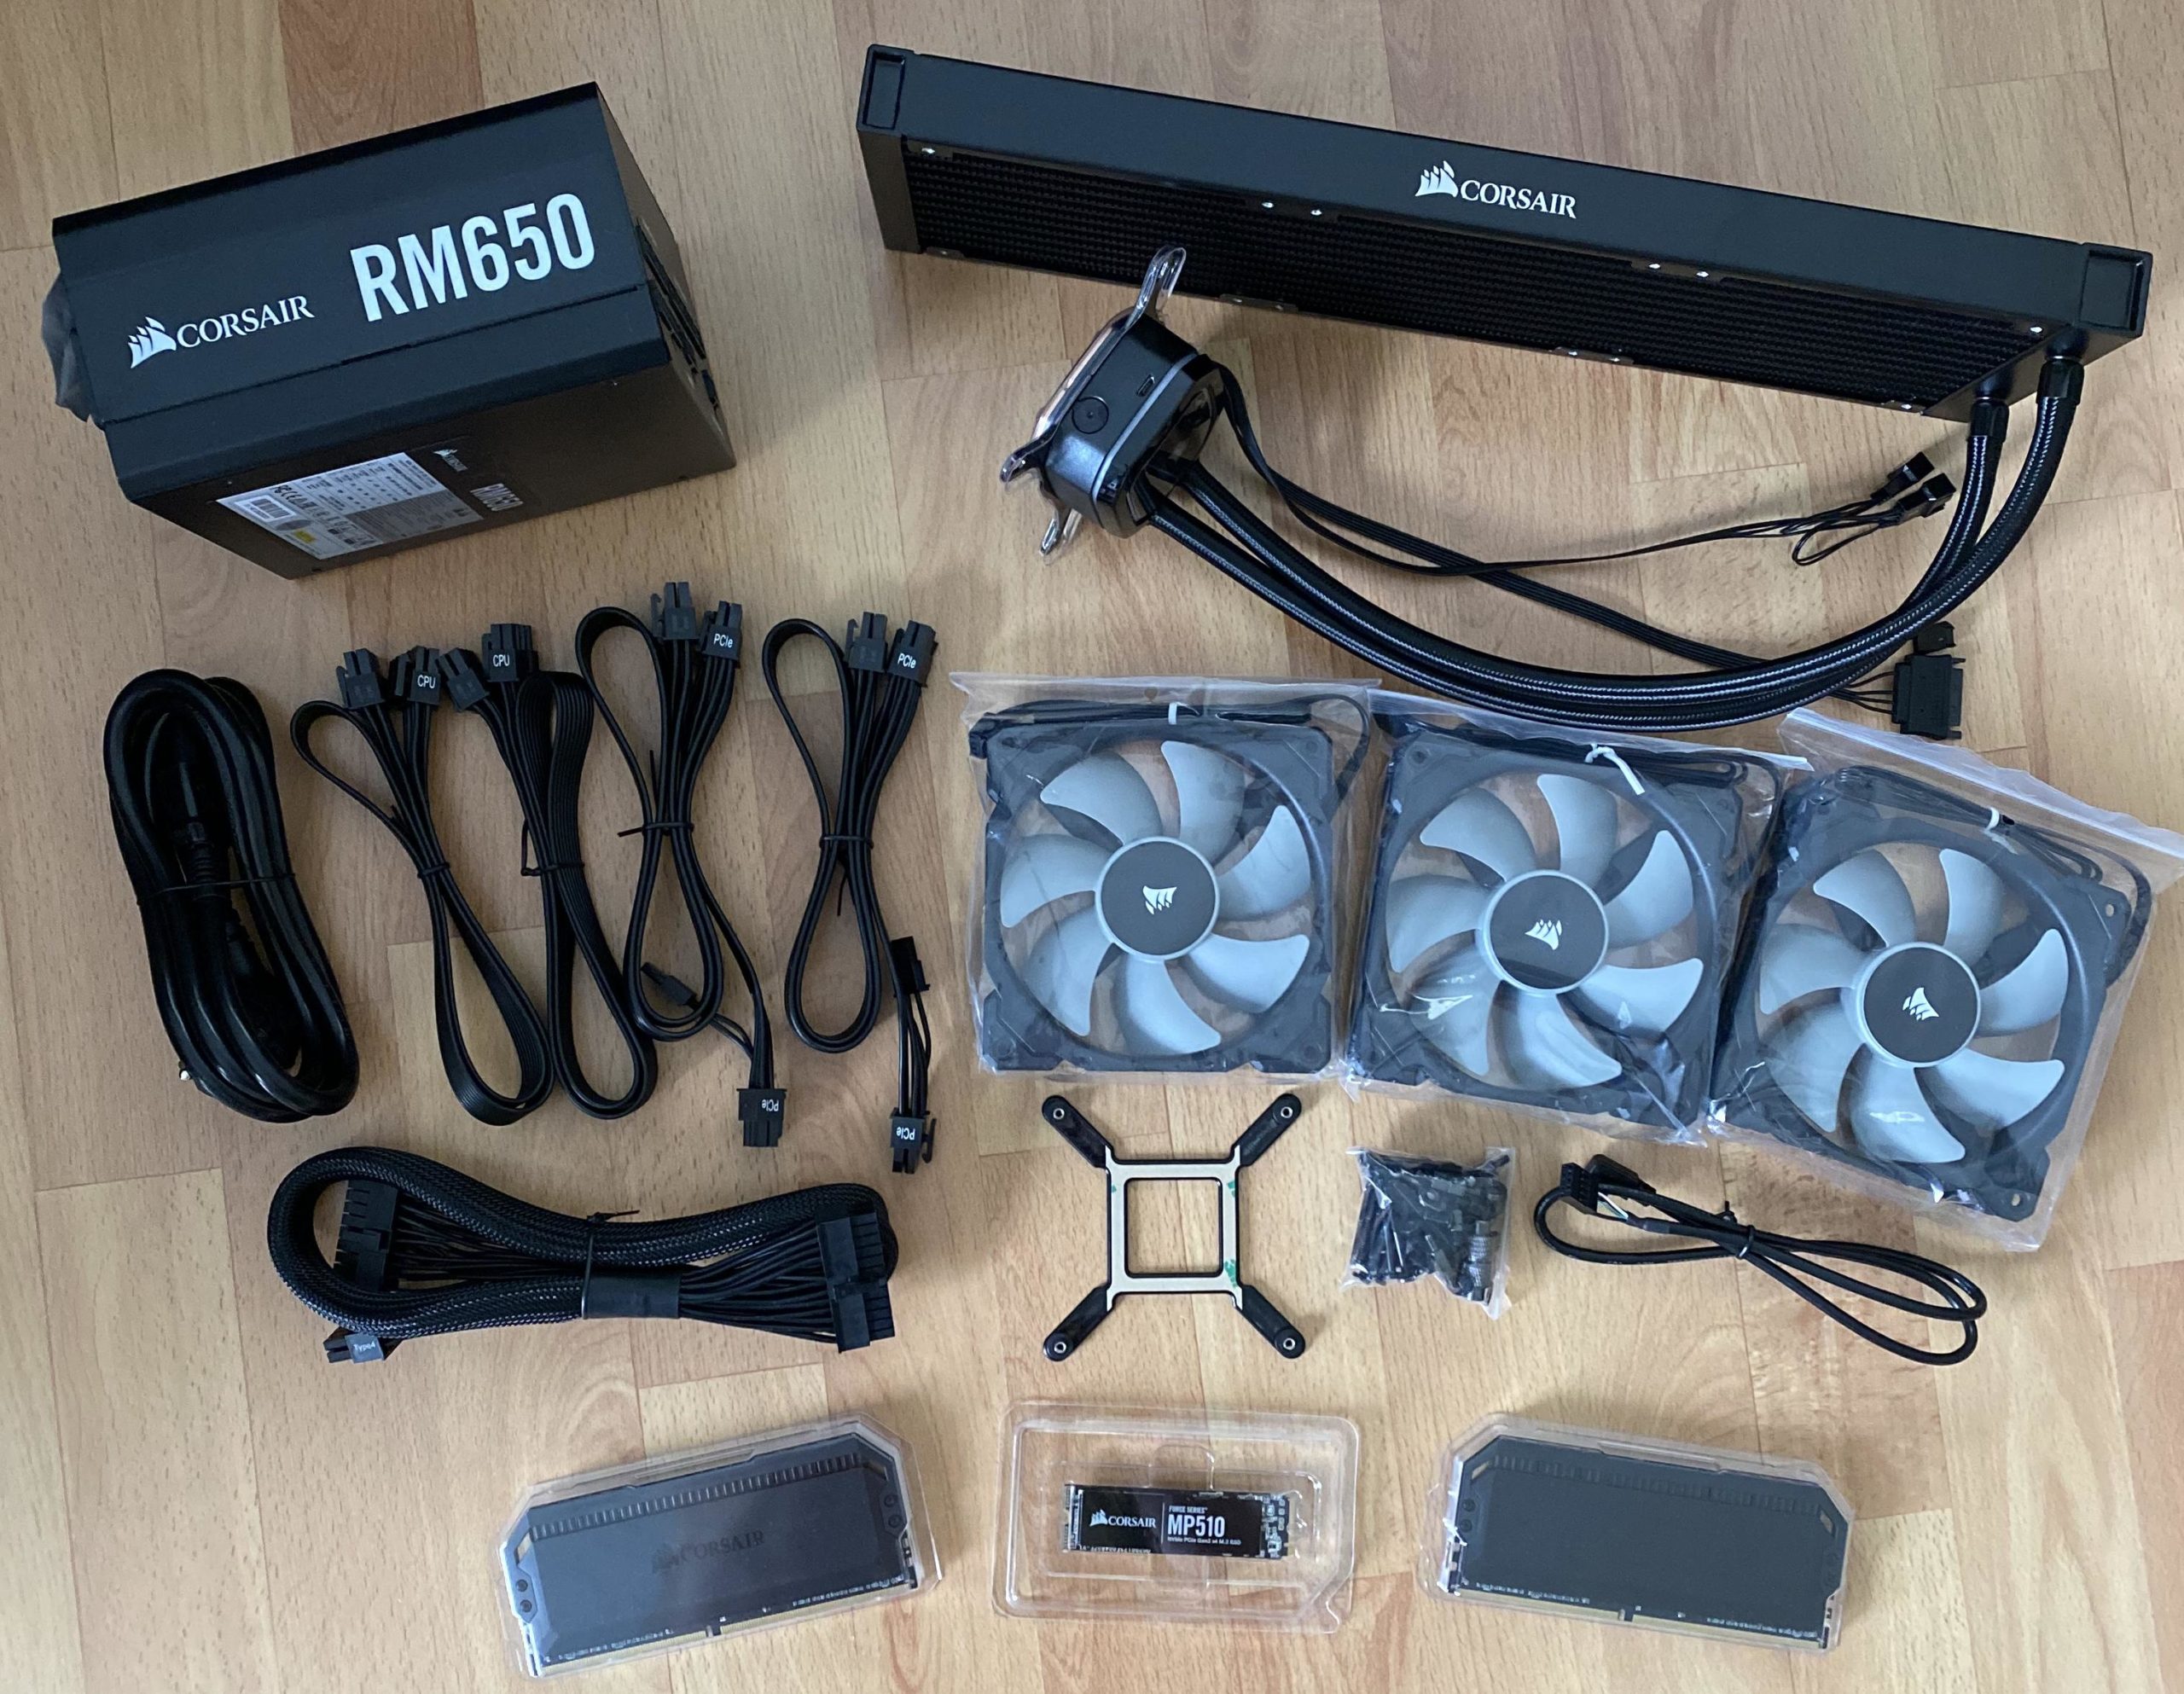
The power supply is fully modular and comes with 2x 4+4 pin CPU cables, which isn’t standard for every manufacturer, so you can also supply a lot of power to the CPU! Git, the Core i9-9900K isn’t a cost neglector.
Corsair supplies everything for the AiO compact water cooling system for various bases and the installation instructions supplied are also self-explanatory.
And everything has to fit into the big MSI case! This is exactly the assembly you see on the next page.


Kommentieren