


Shunt search and modification
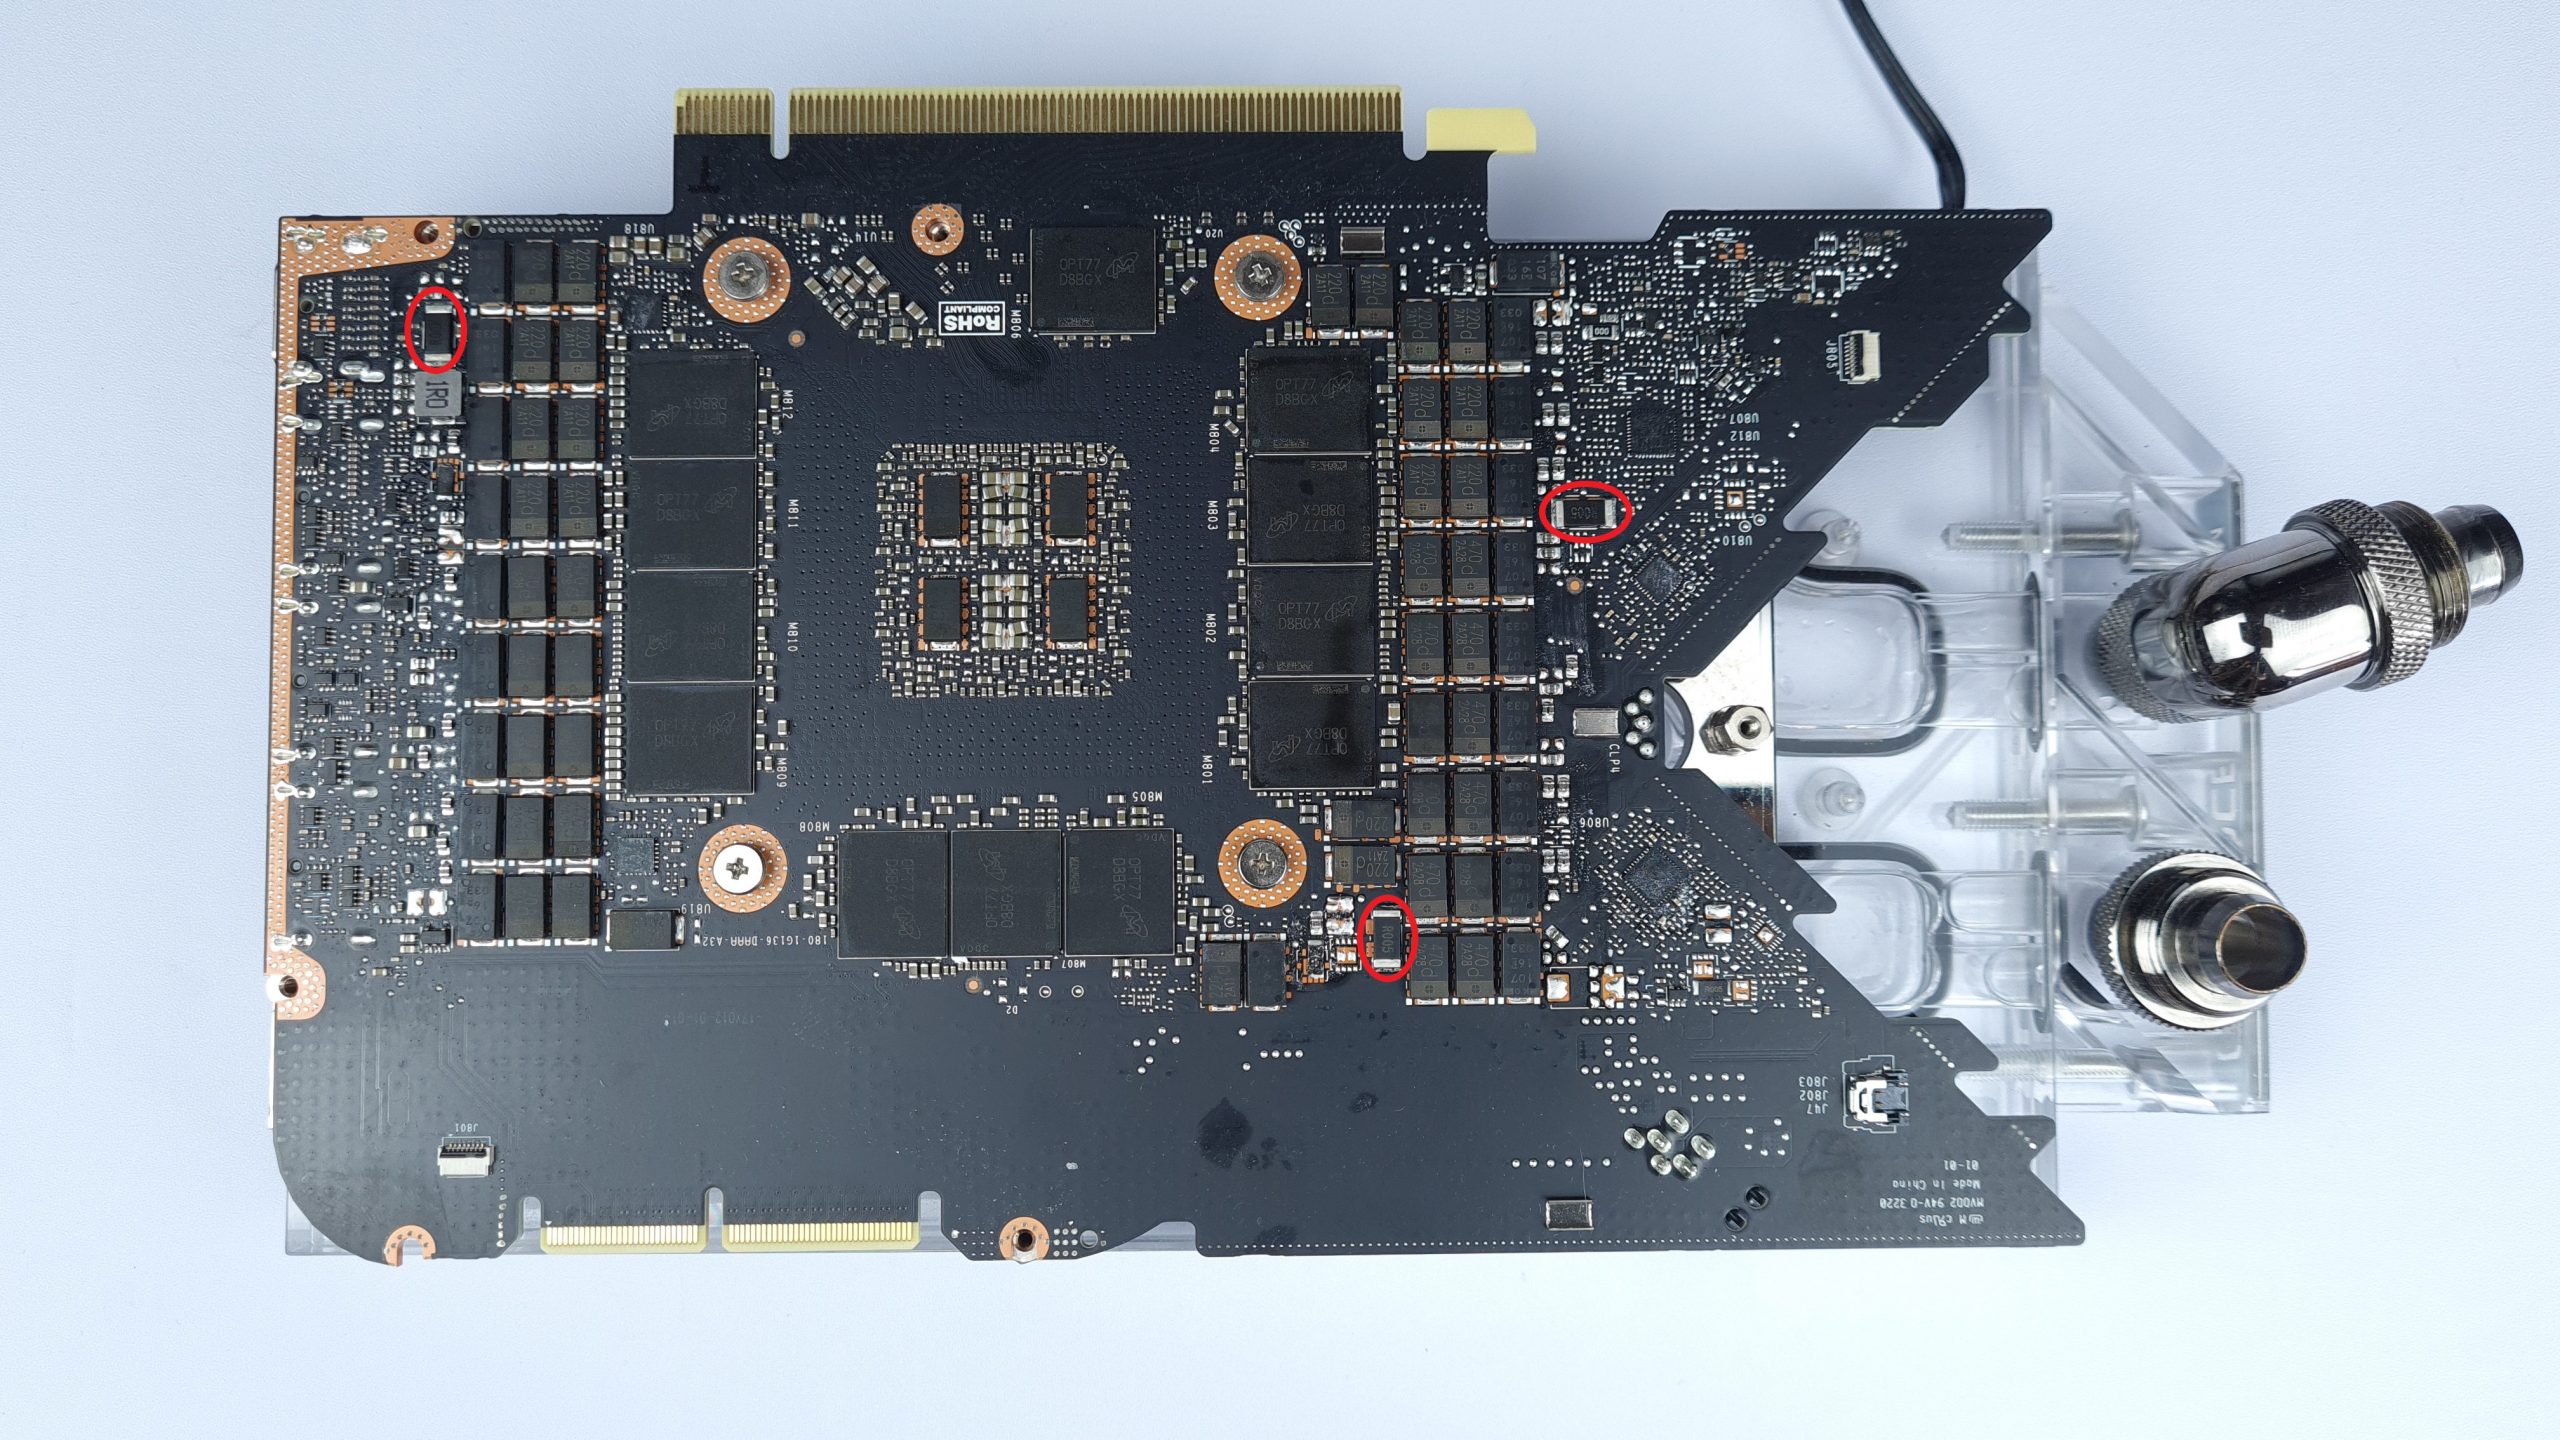
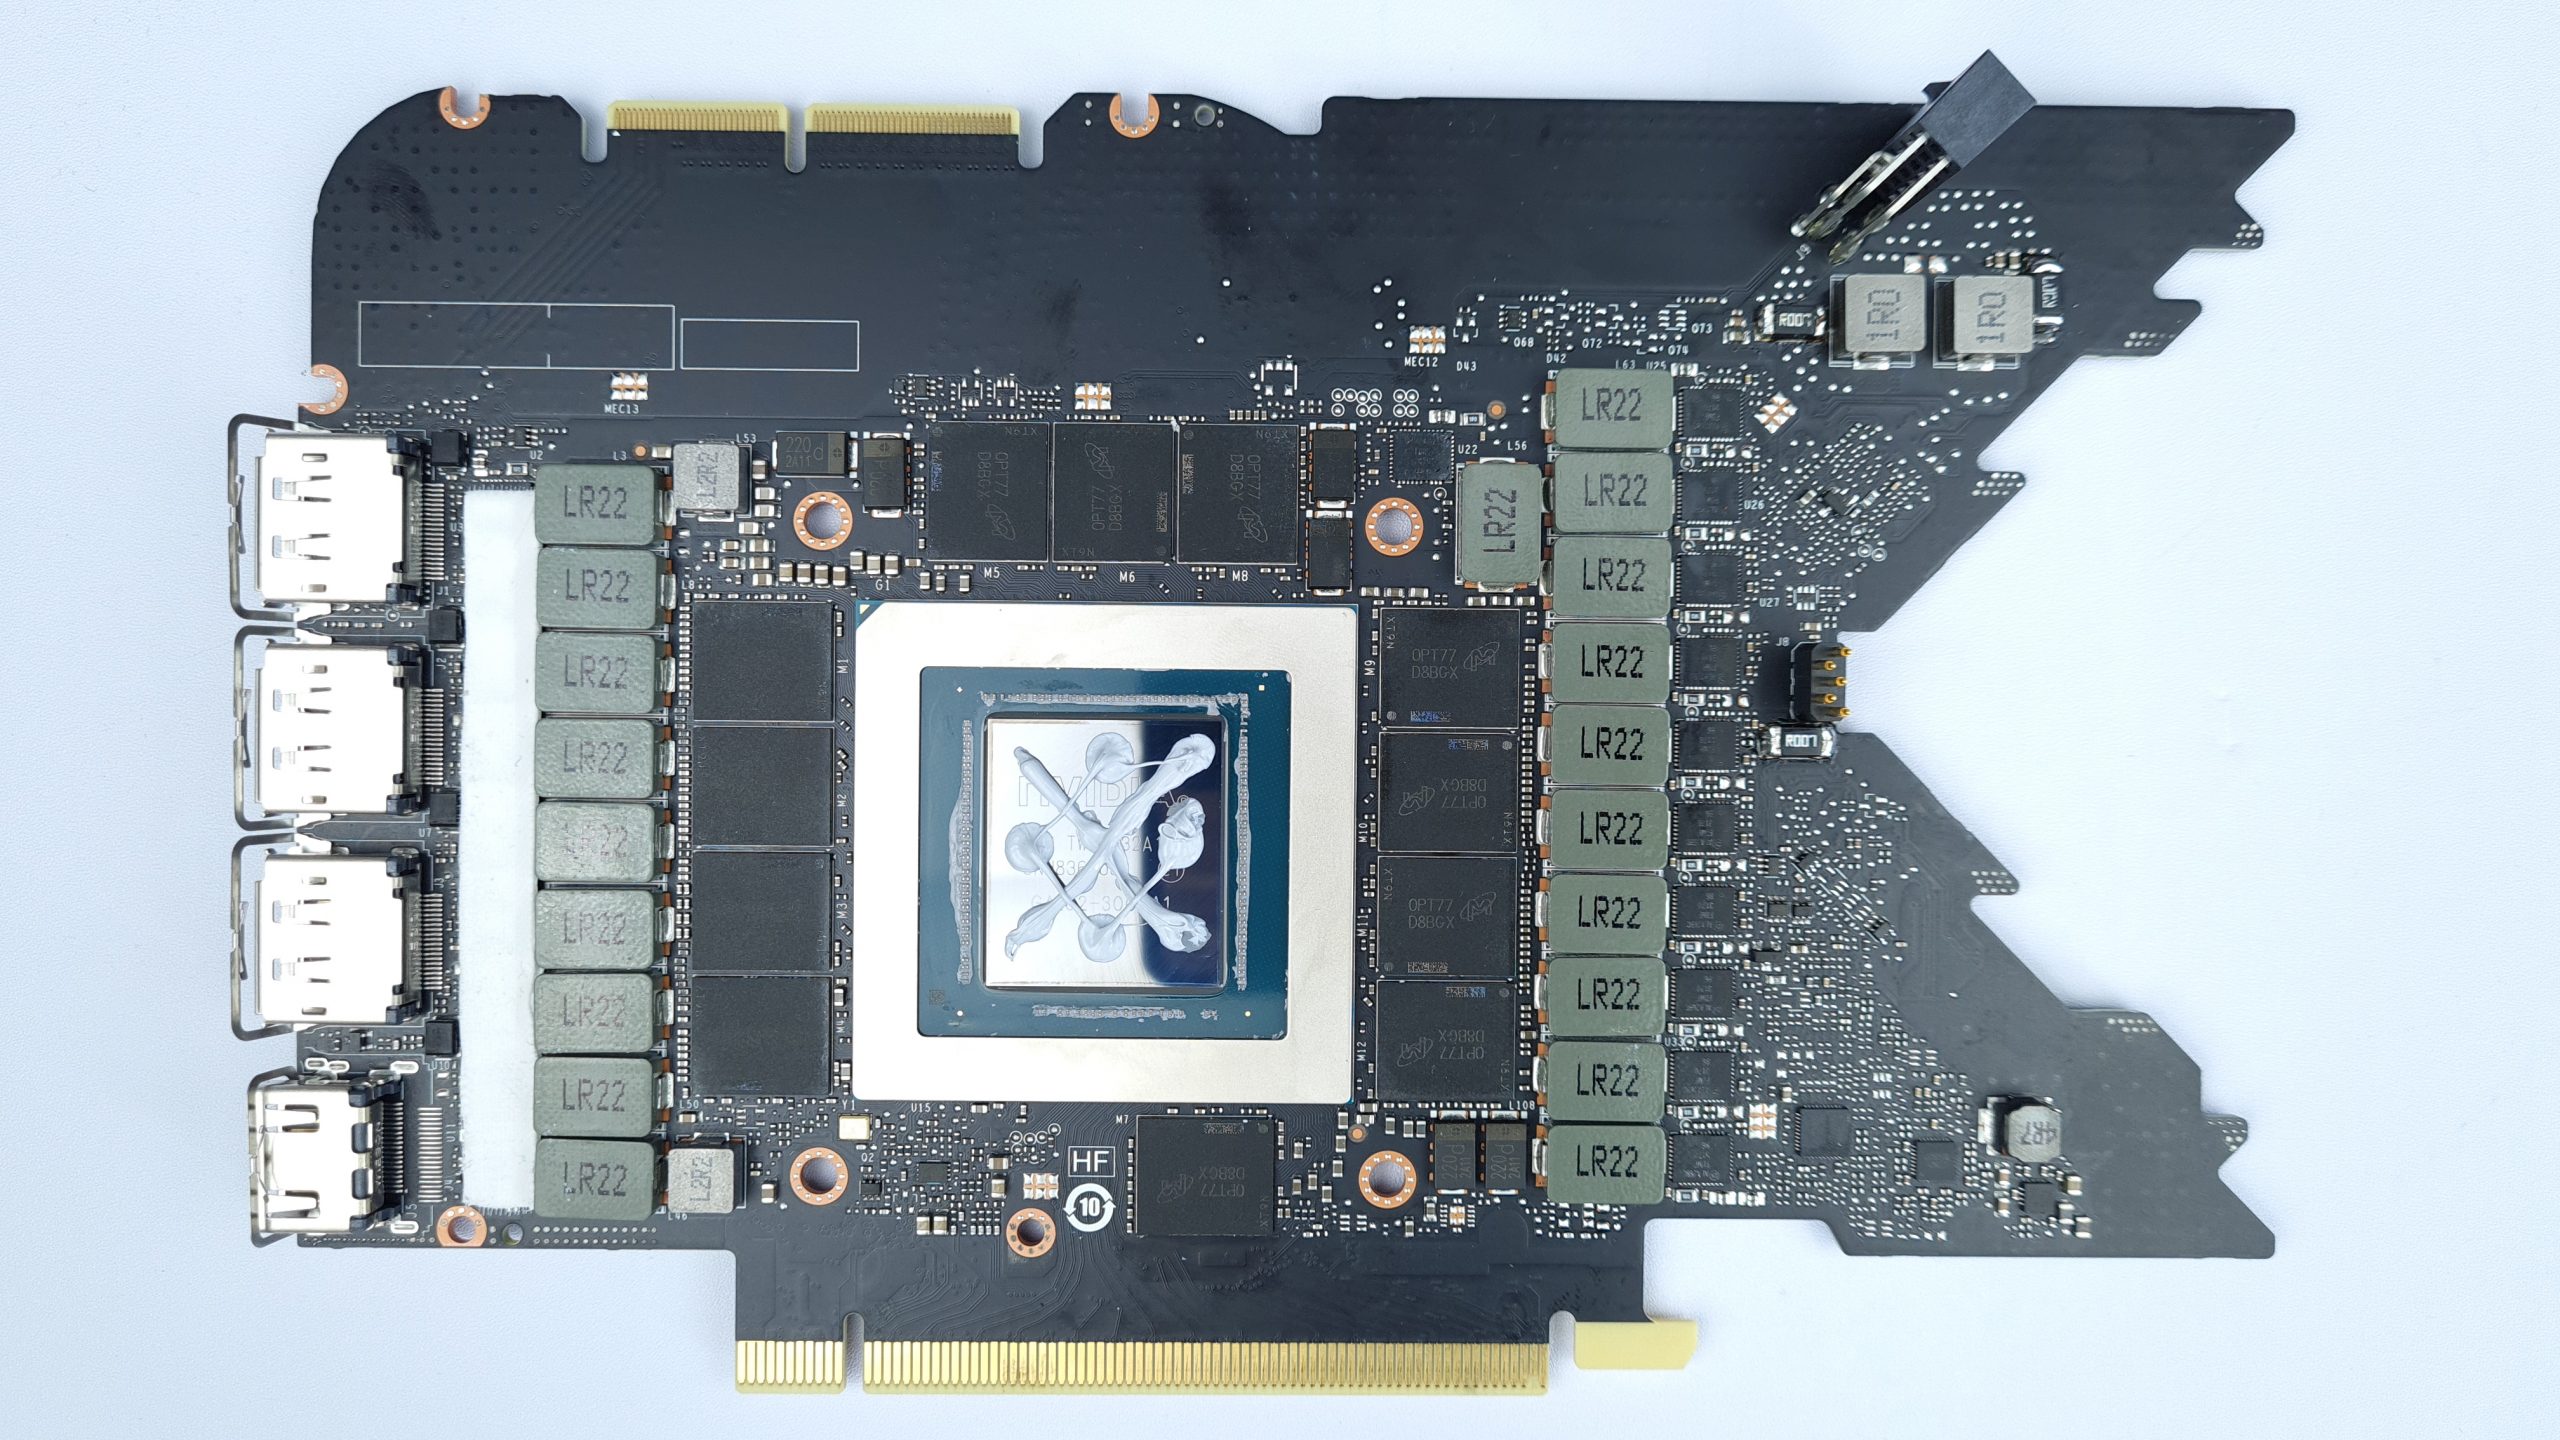
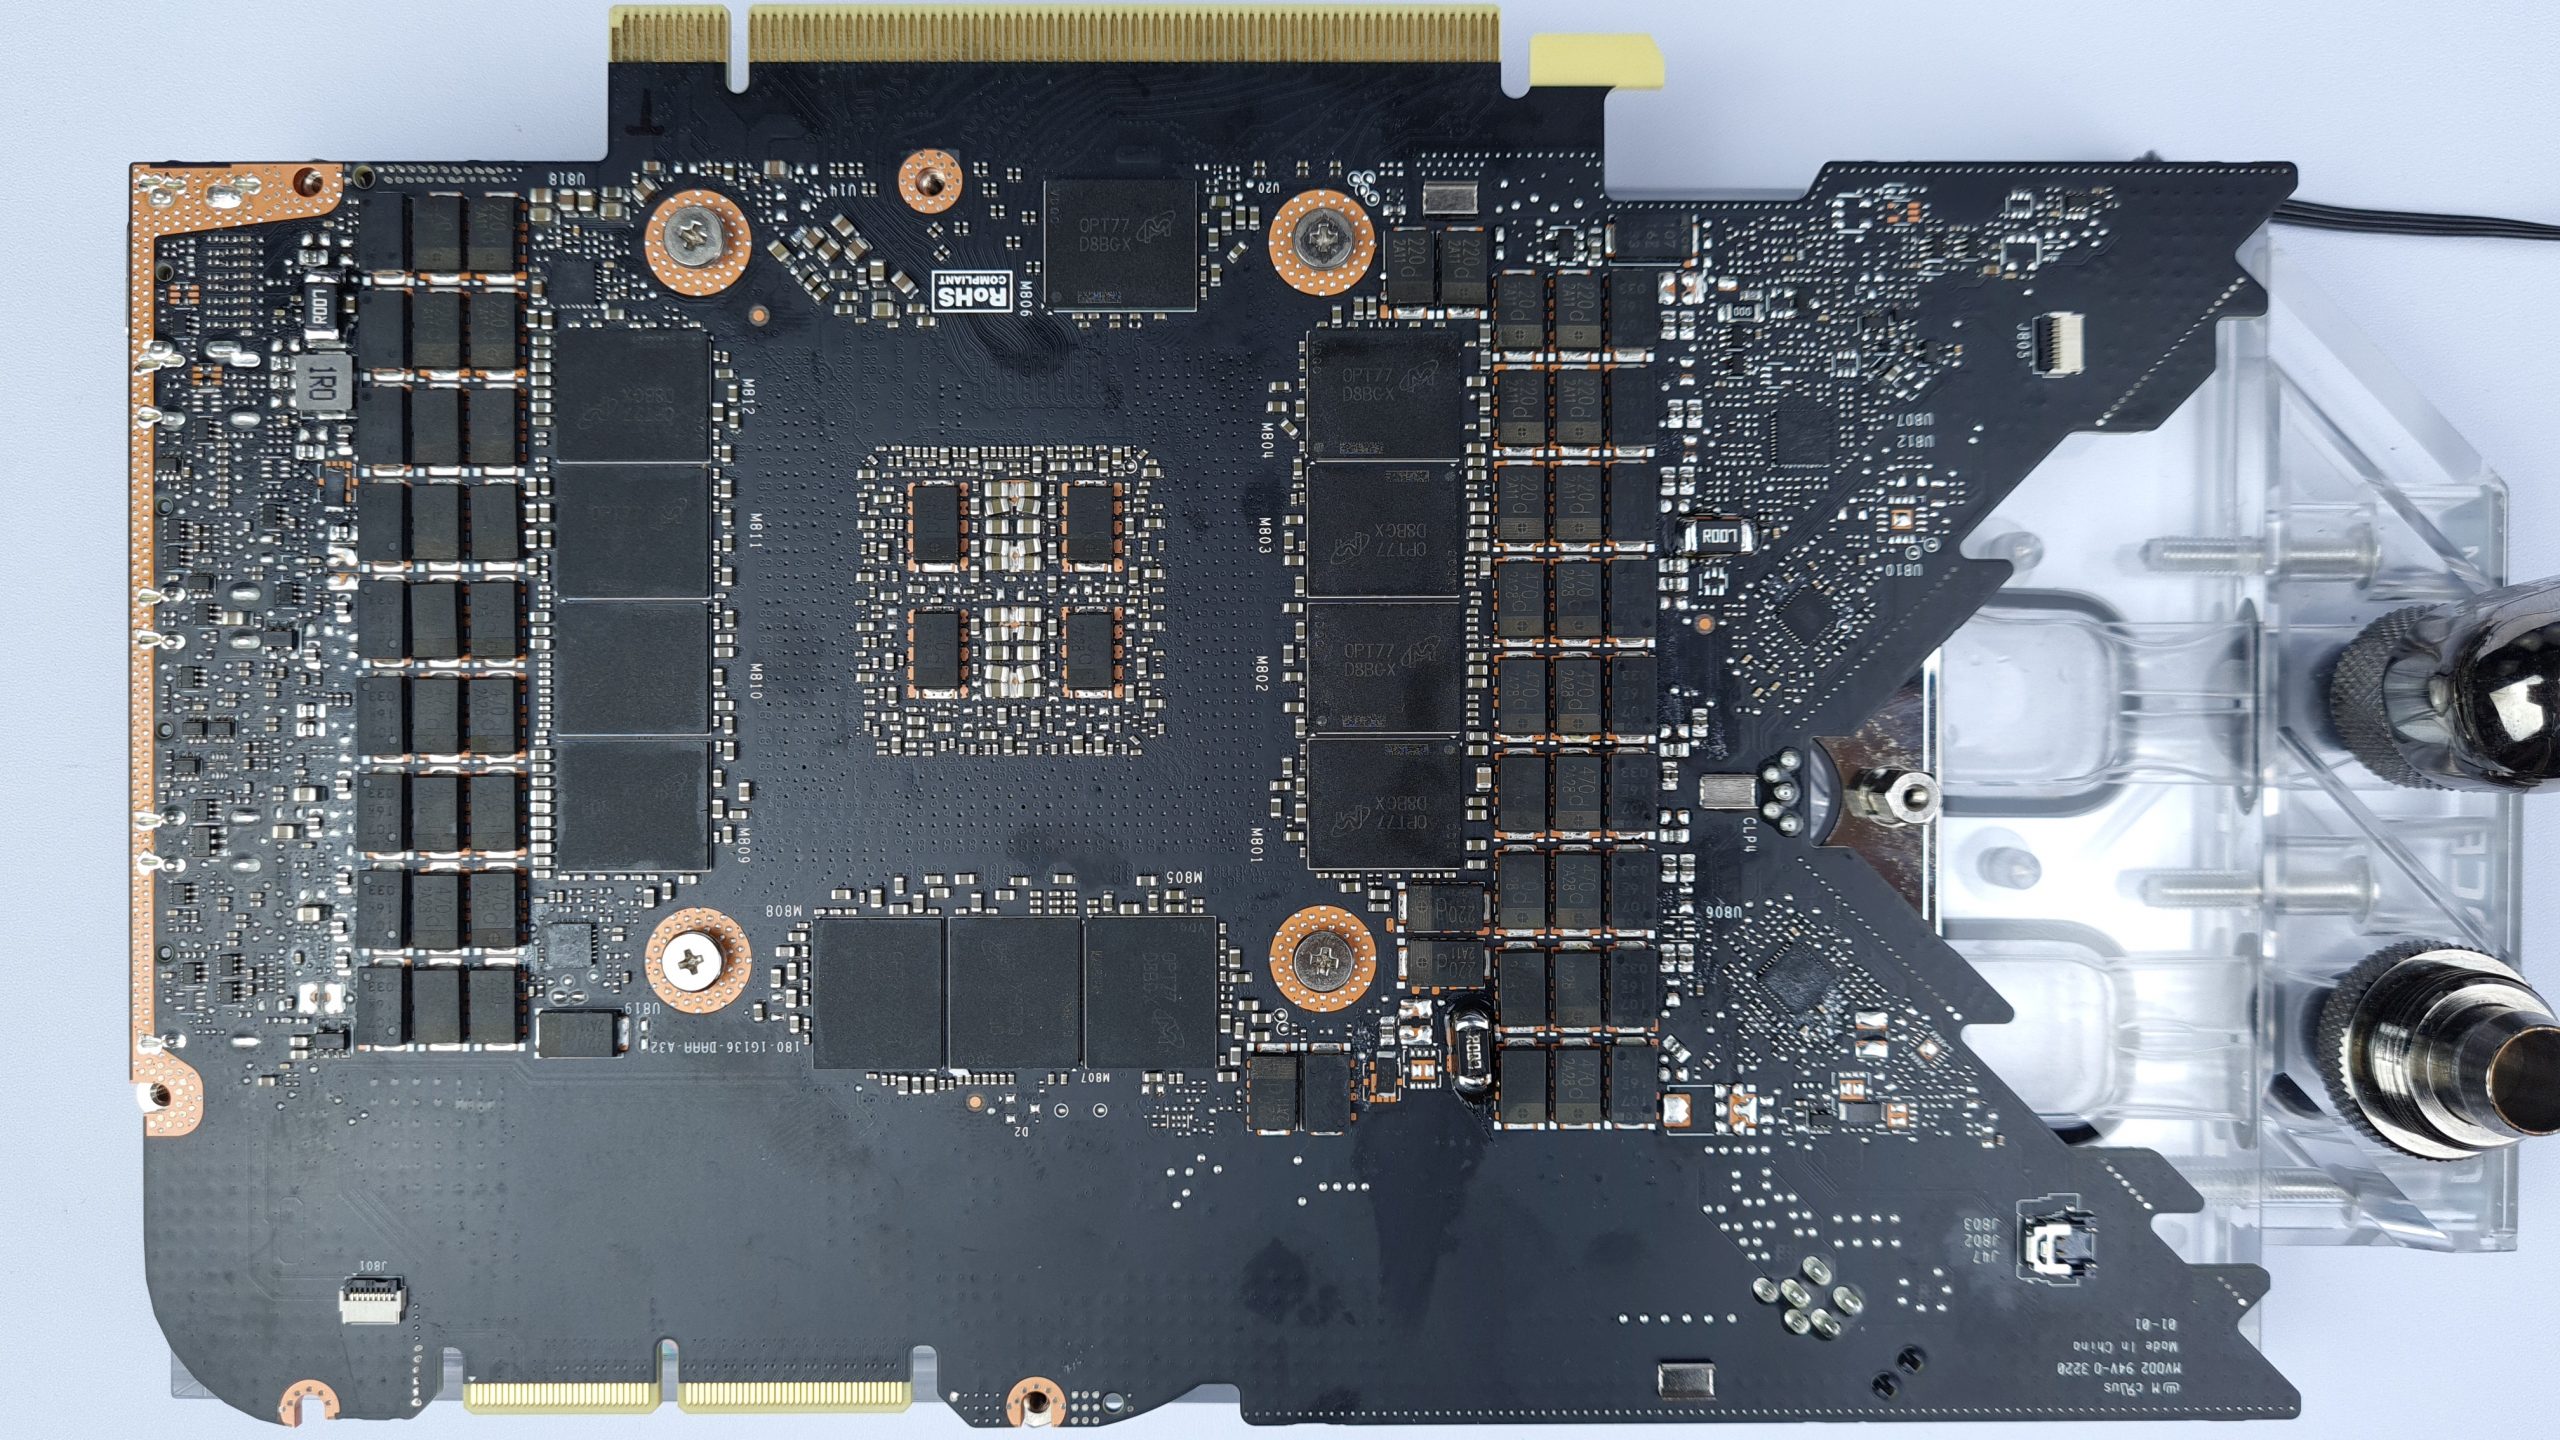
If we look at the board in detail, we find a total of 6 shunt resistors, 3 each on the front and back. Each of these resistors is used to monitor a voltage rail, like 12 V from the 8-pin, 12 V from the PCI-Express slot etc.. But we really have to modify all 6 and not only the most relevant ones for the power supply, because as soon as the GPU would notice that the resistors are different, a safety mode would be activated immediately, comparable to the emergency run of a car engine, and the clock rate would be locked at 210 MHz.
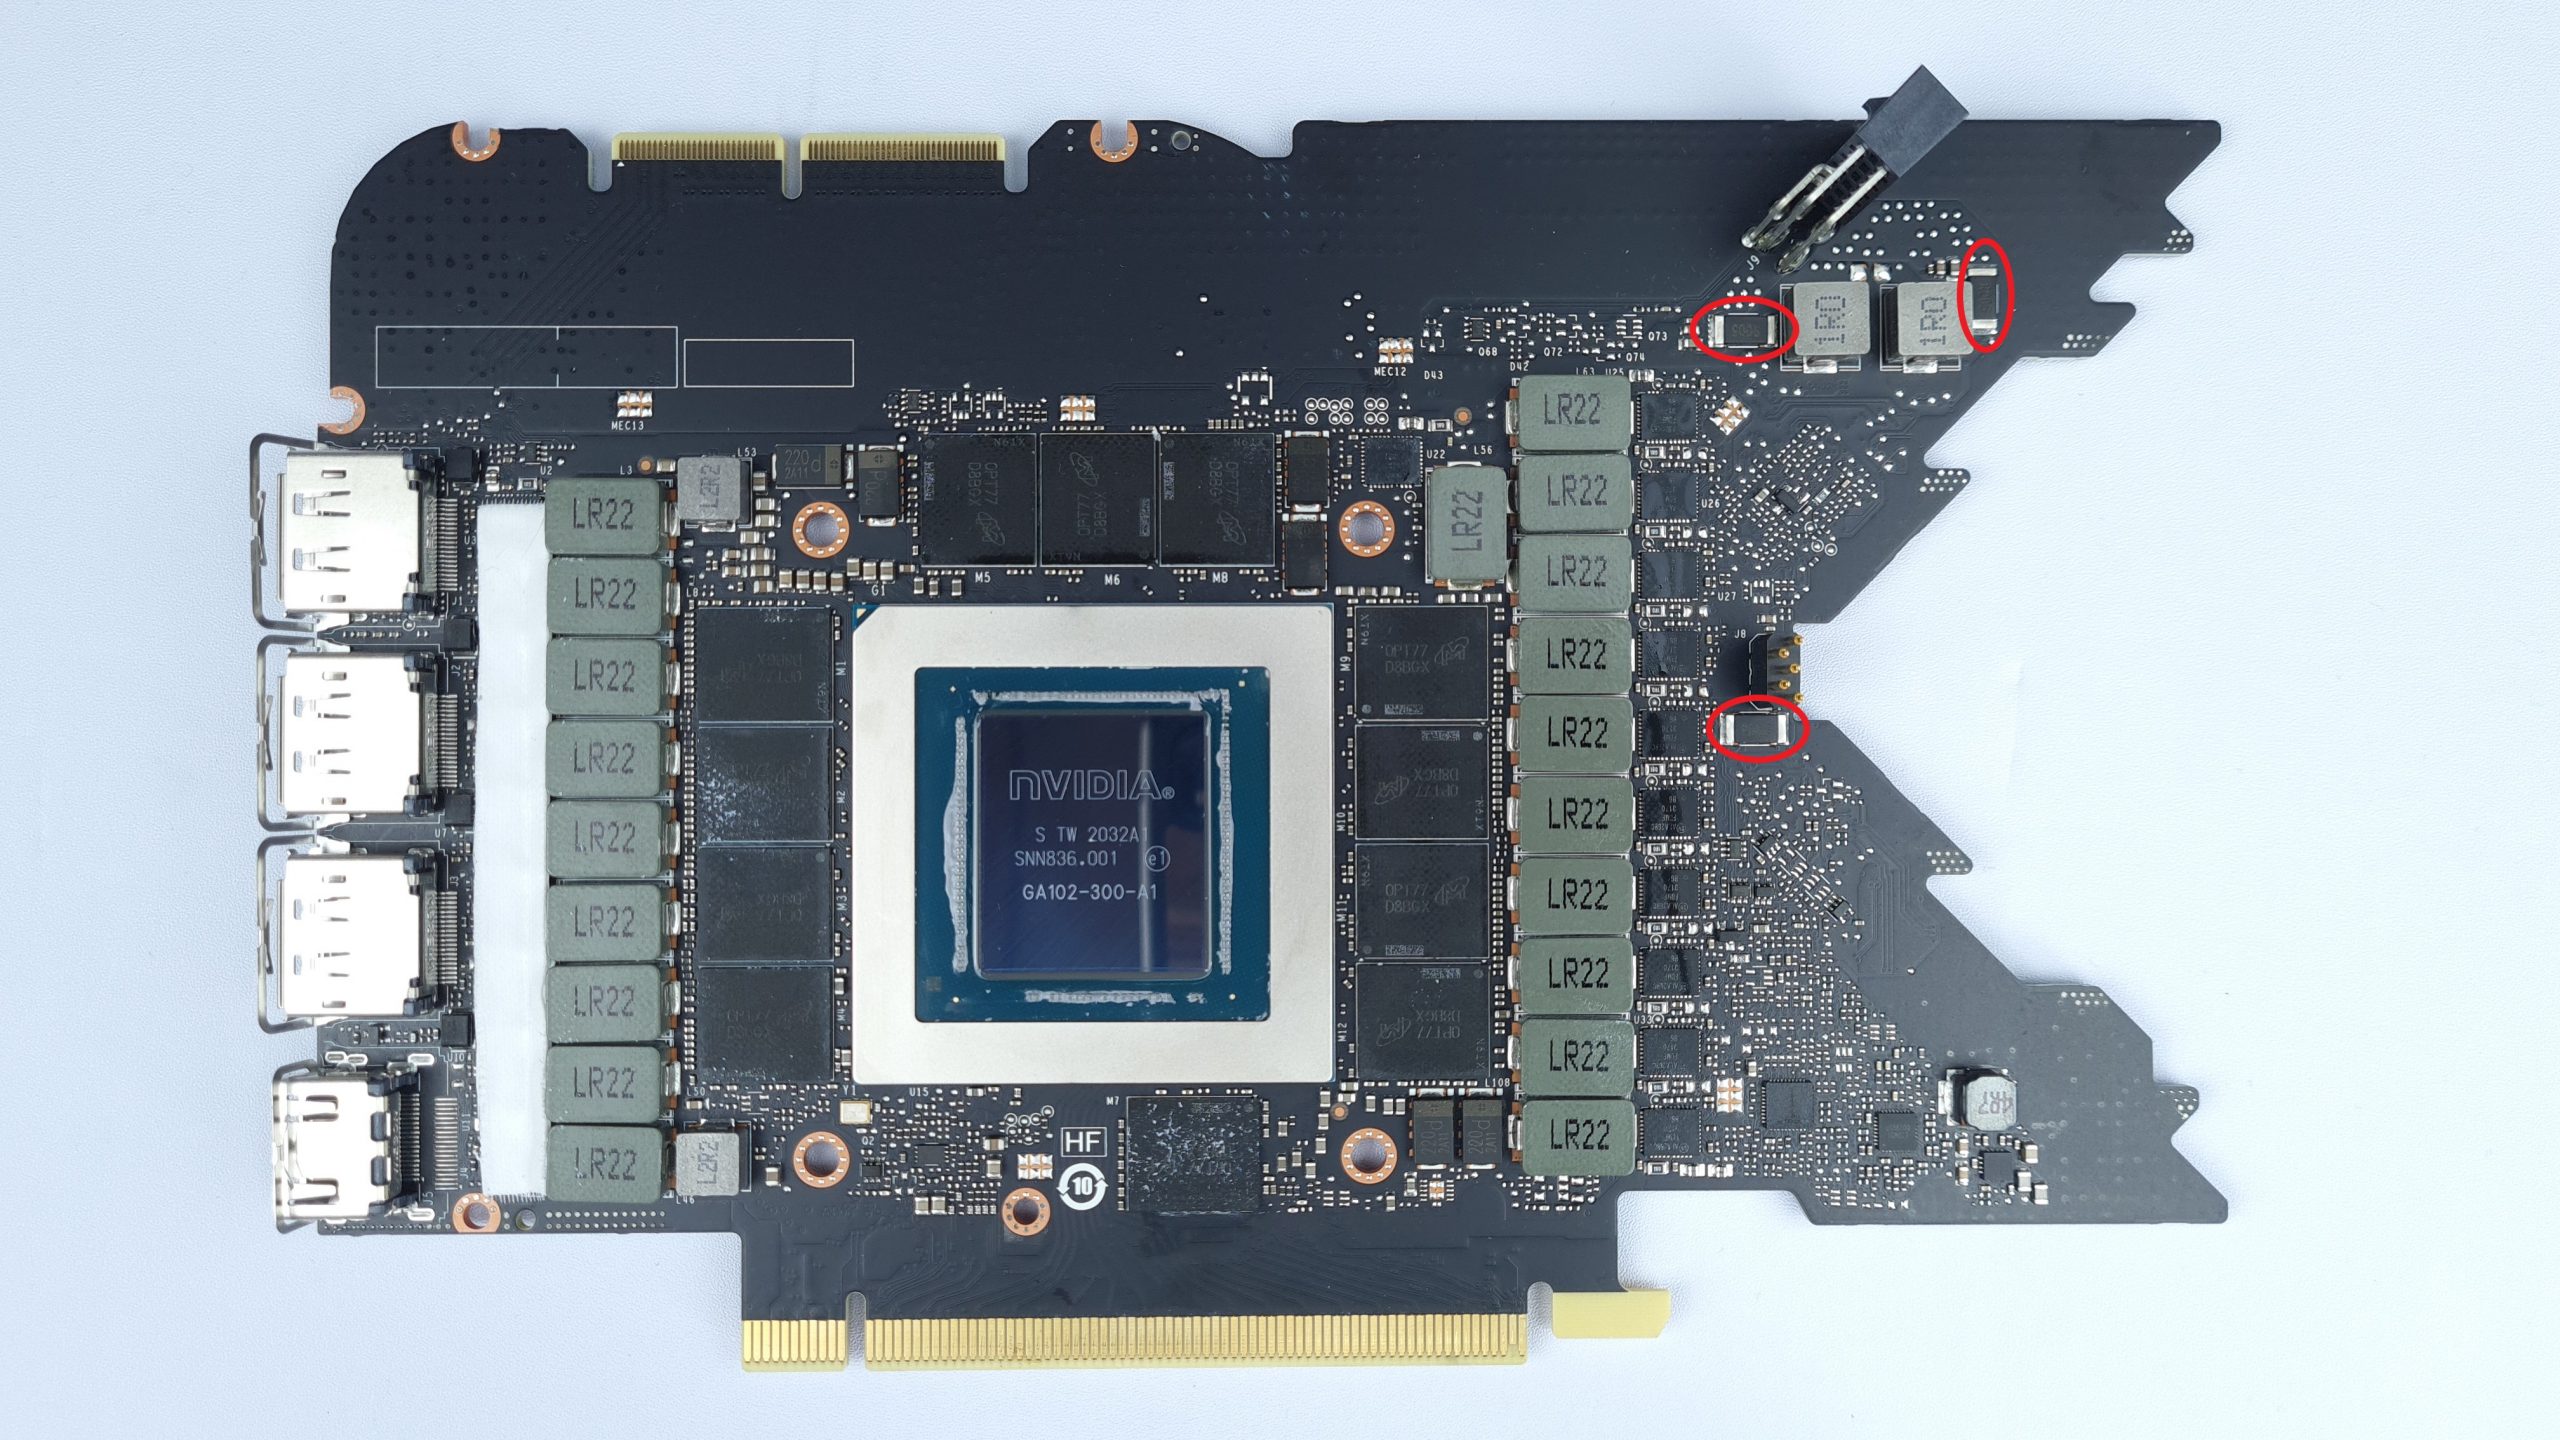
I marked the shunt resistors on the RTX 3090 Founders Edition on the board here. Fortunately, these are almost always relatively far away from sensitive components, so the risk of accidental damage is relatively low. Still, we’re about to modify the power supply of a graphics card with the value equivalent of a months’ rents – so you can’t be too careful!
My soldering skills are also more rudimentary than refined, so I practiced a bit on another dead GPU first and worked out a working procedure. Basically, there would be two ways to reduce shunt resistors: either replace the existing resistor with a new component with lower resistance, or add another resistor on top and effectively connect it in parallel, because parallel resistors have a lower total resistance than themselves. Without going deeply into the theory, one could say: The current now has more ways to reach its destination and thus experiences less resistance.
Since removing the existing resistors proved difficult to impossible for me and my equipment during testing, I opted for the second option of adding a second resistor on top of each shunt. Of course you have to pay attention to the now double height, but this was no problem with the Alphacool Eisblock and its backplate.
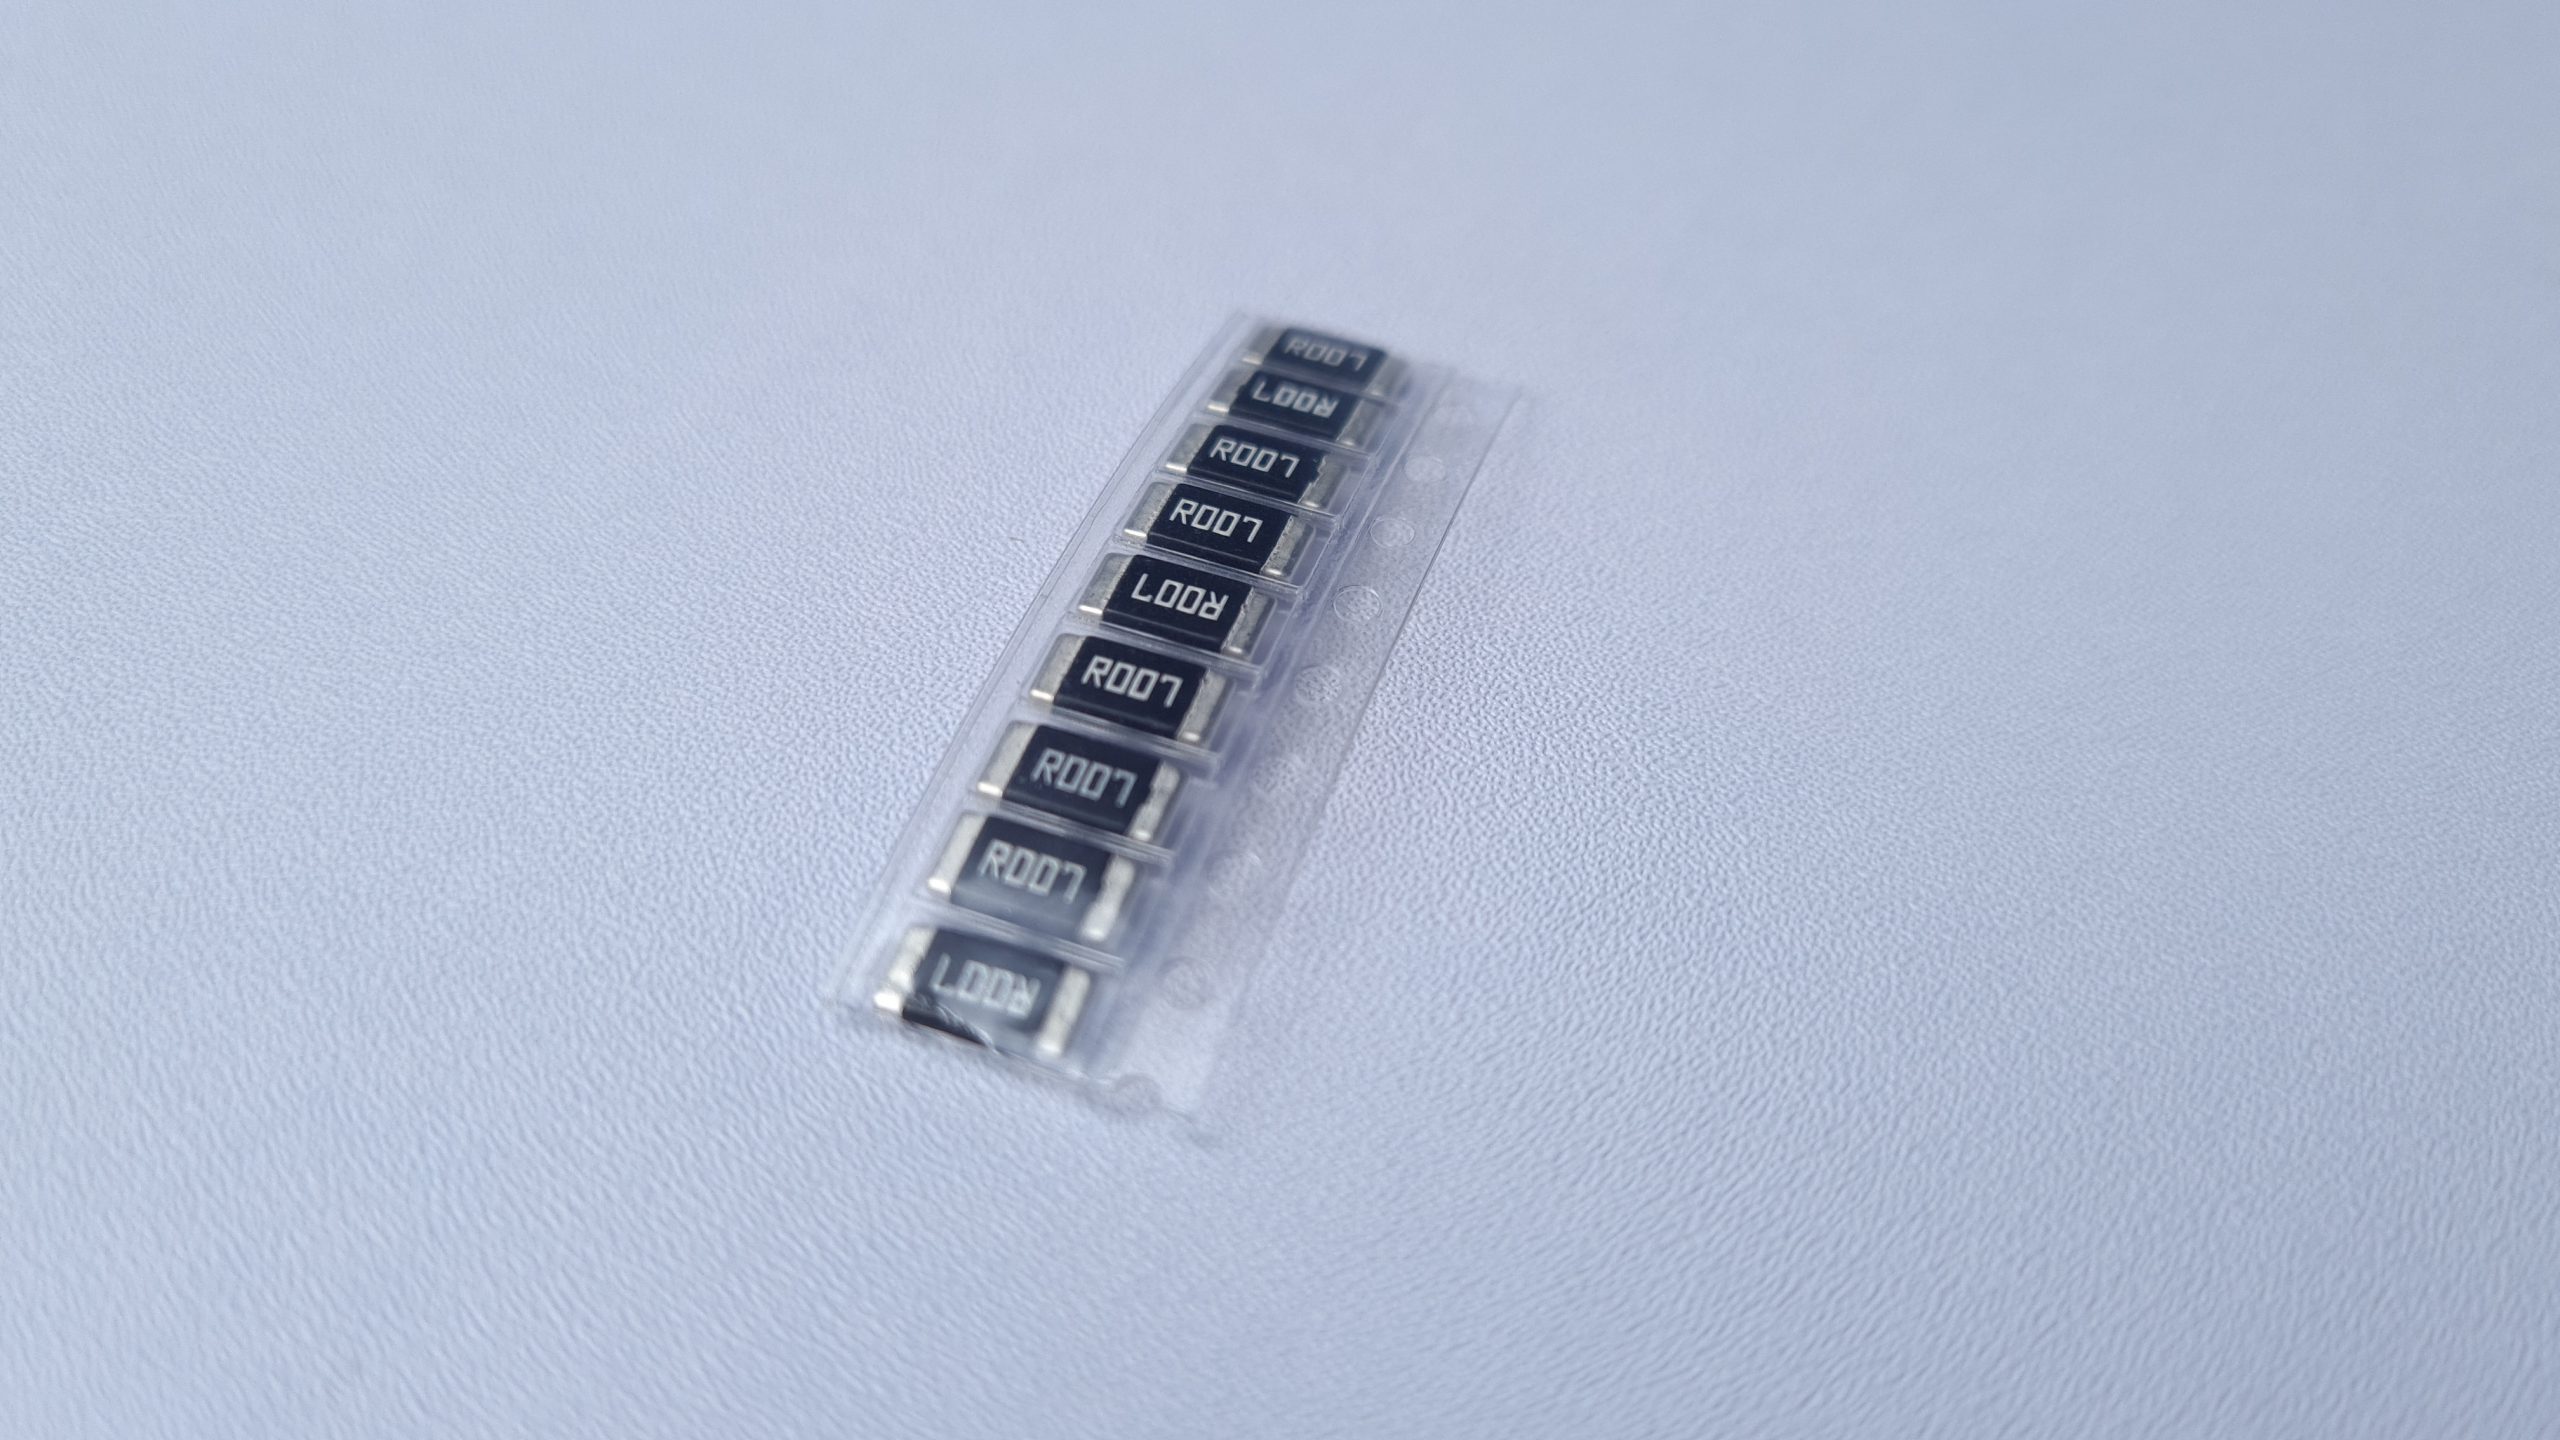
For the additional resistors I decided to use 7 mOhm each, because together with the existing 5 mOhm each a total resistance of 2.92 mOhm results. And if we remember that current and power measurements scale linearly with shunt resistance, this results in a 5/2.92 times higher current and power limit per circuit. Conversely, if we want to know the actual current and power consumption later, we can multiply the monitored values by 5/2.92 and get the real value.
But enough of the theory and get to the soldering iron! …or much more to the board and its preparation, because as so often a good preparation is already half the way to success. First I clean the shunt resistor with isopropanol and then tape off surrounding components so as not to accidentally damage them. For this I use kapton tape because of the realtively high heat resistance.
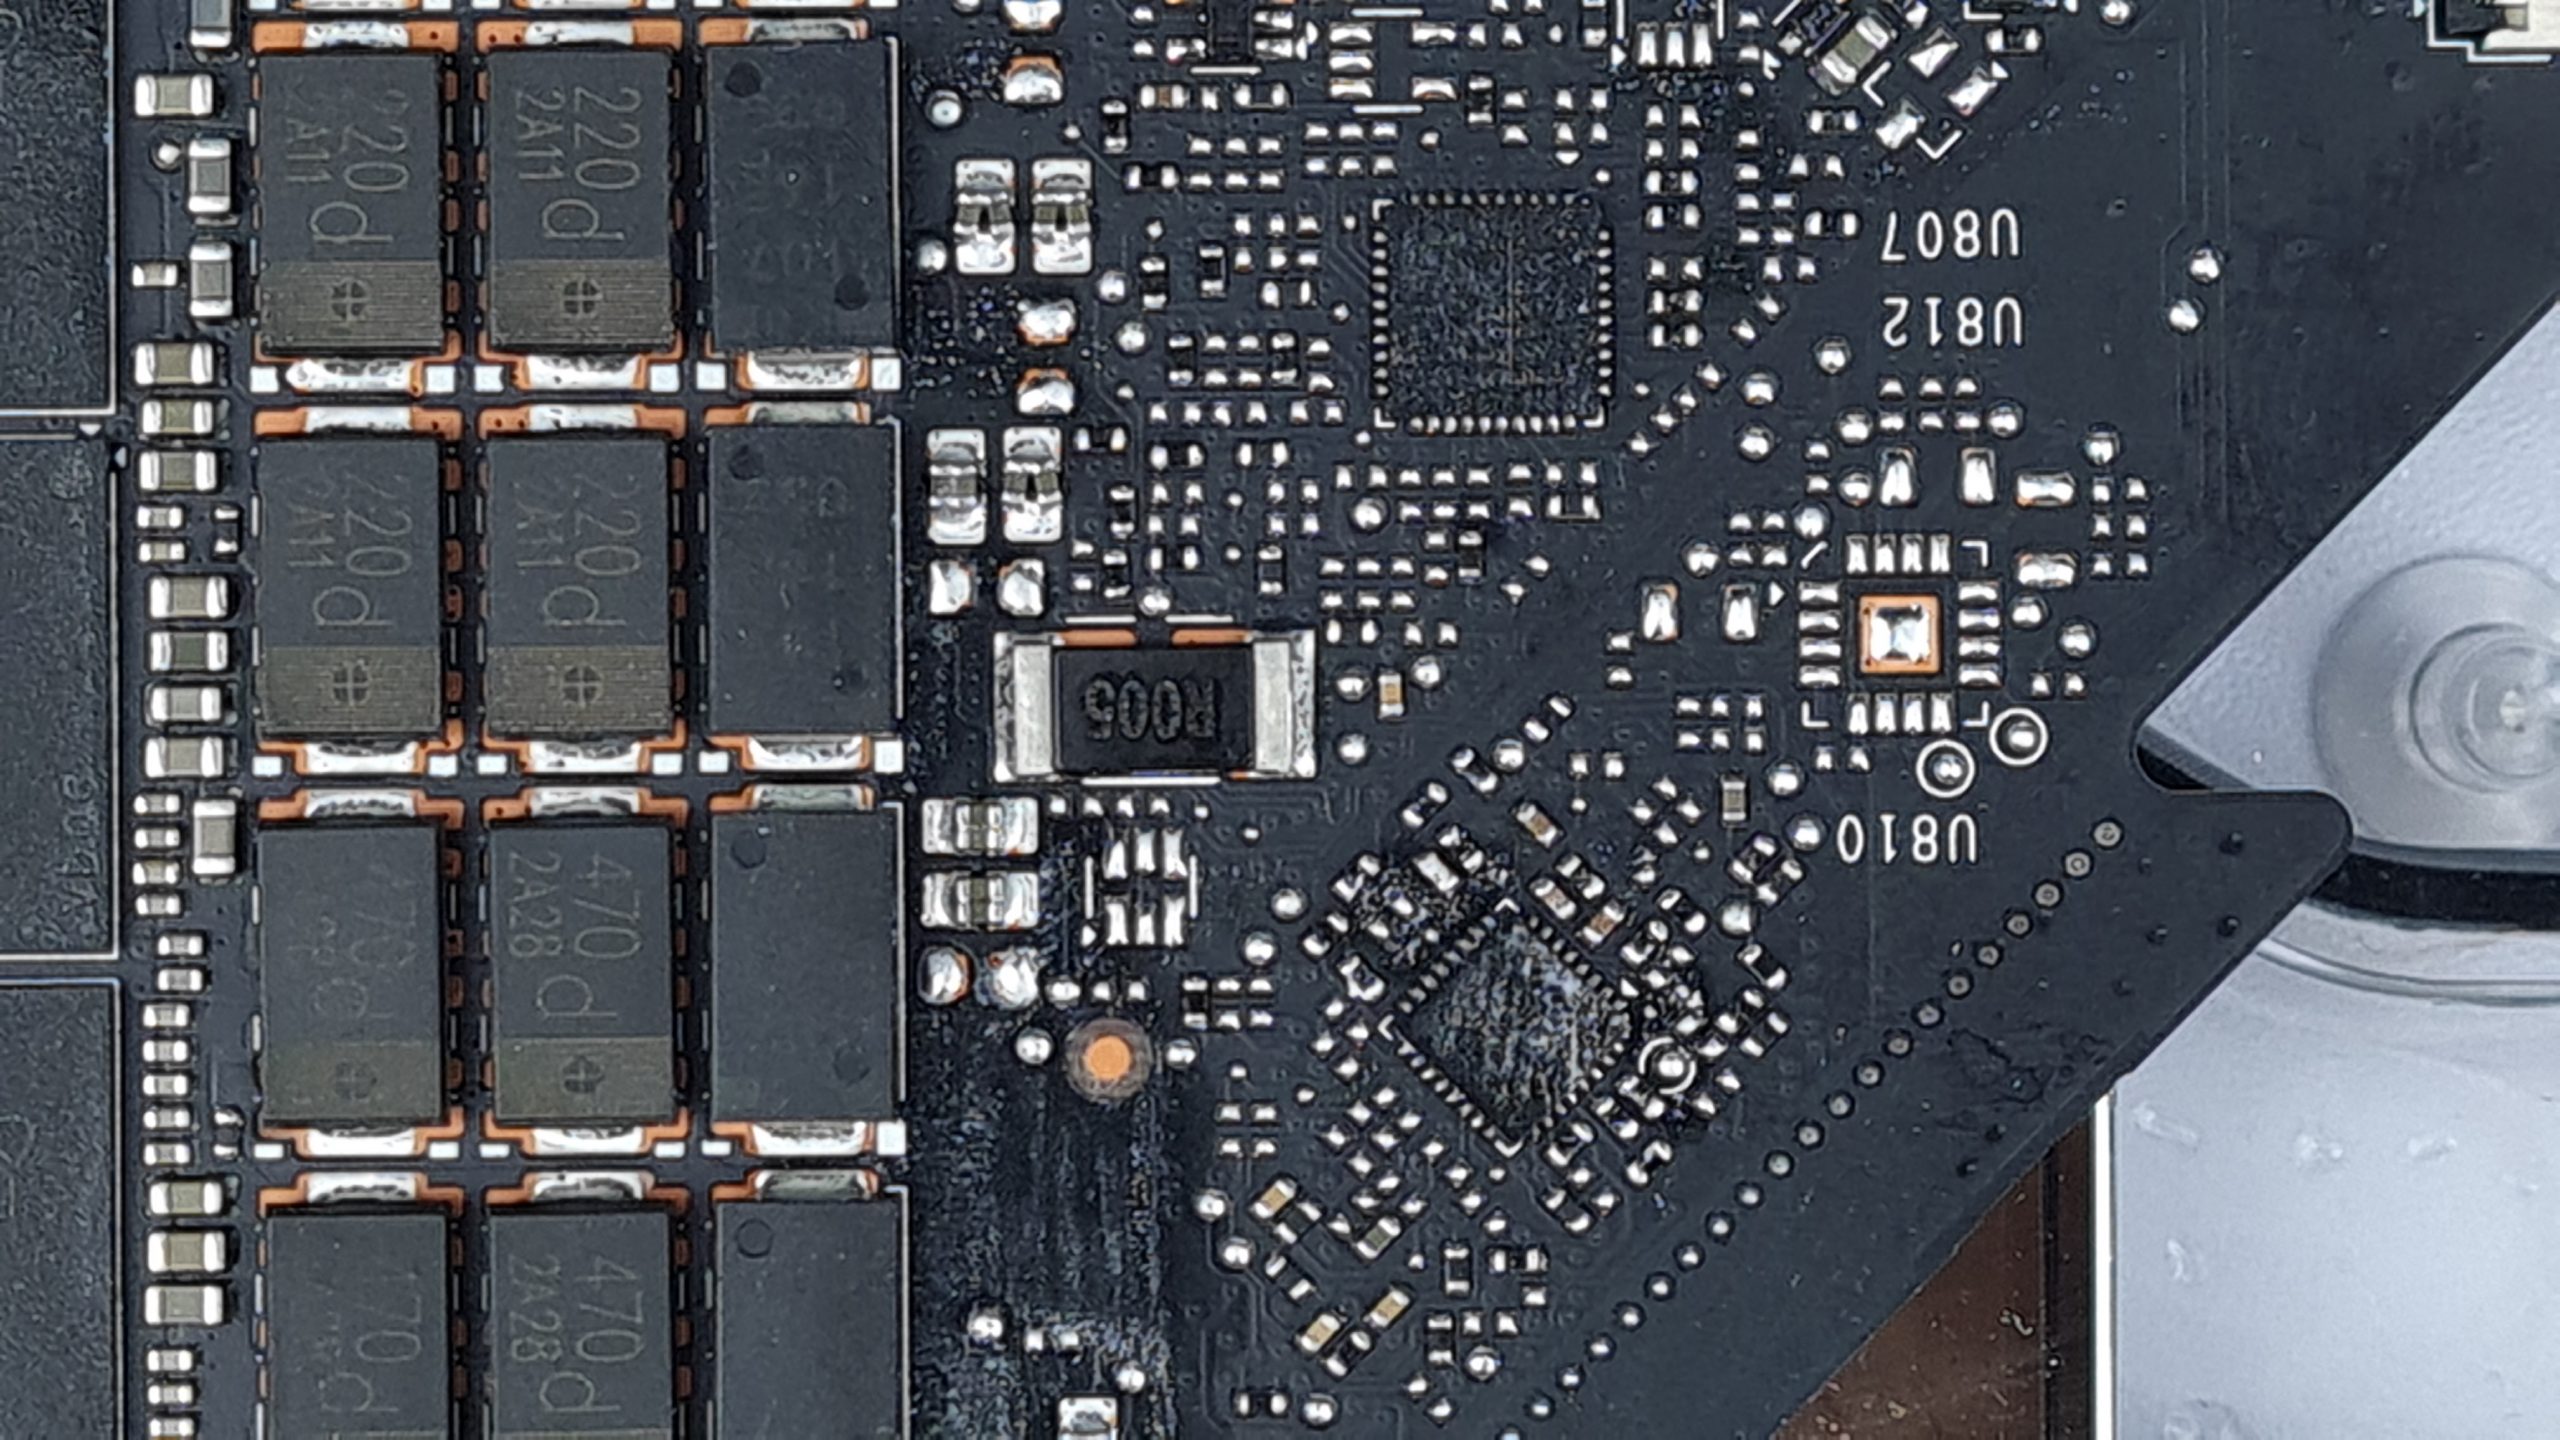
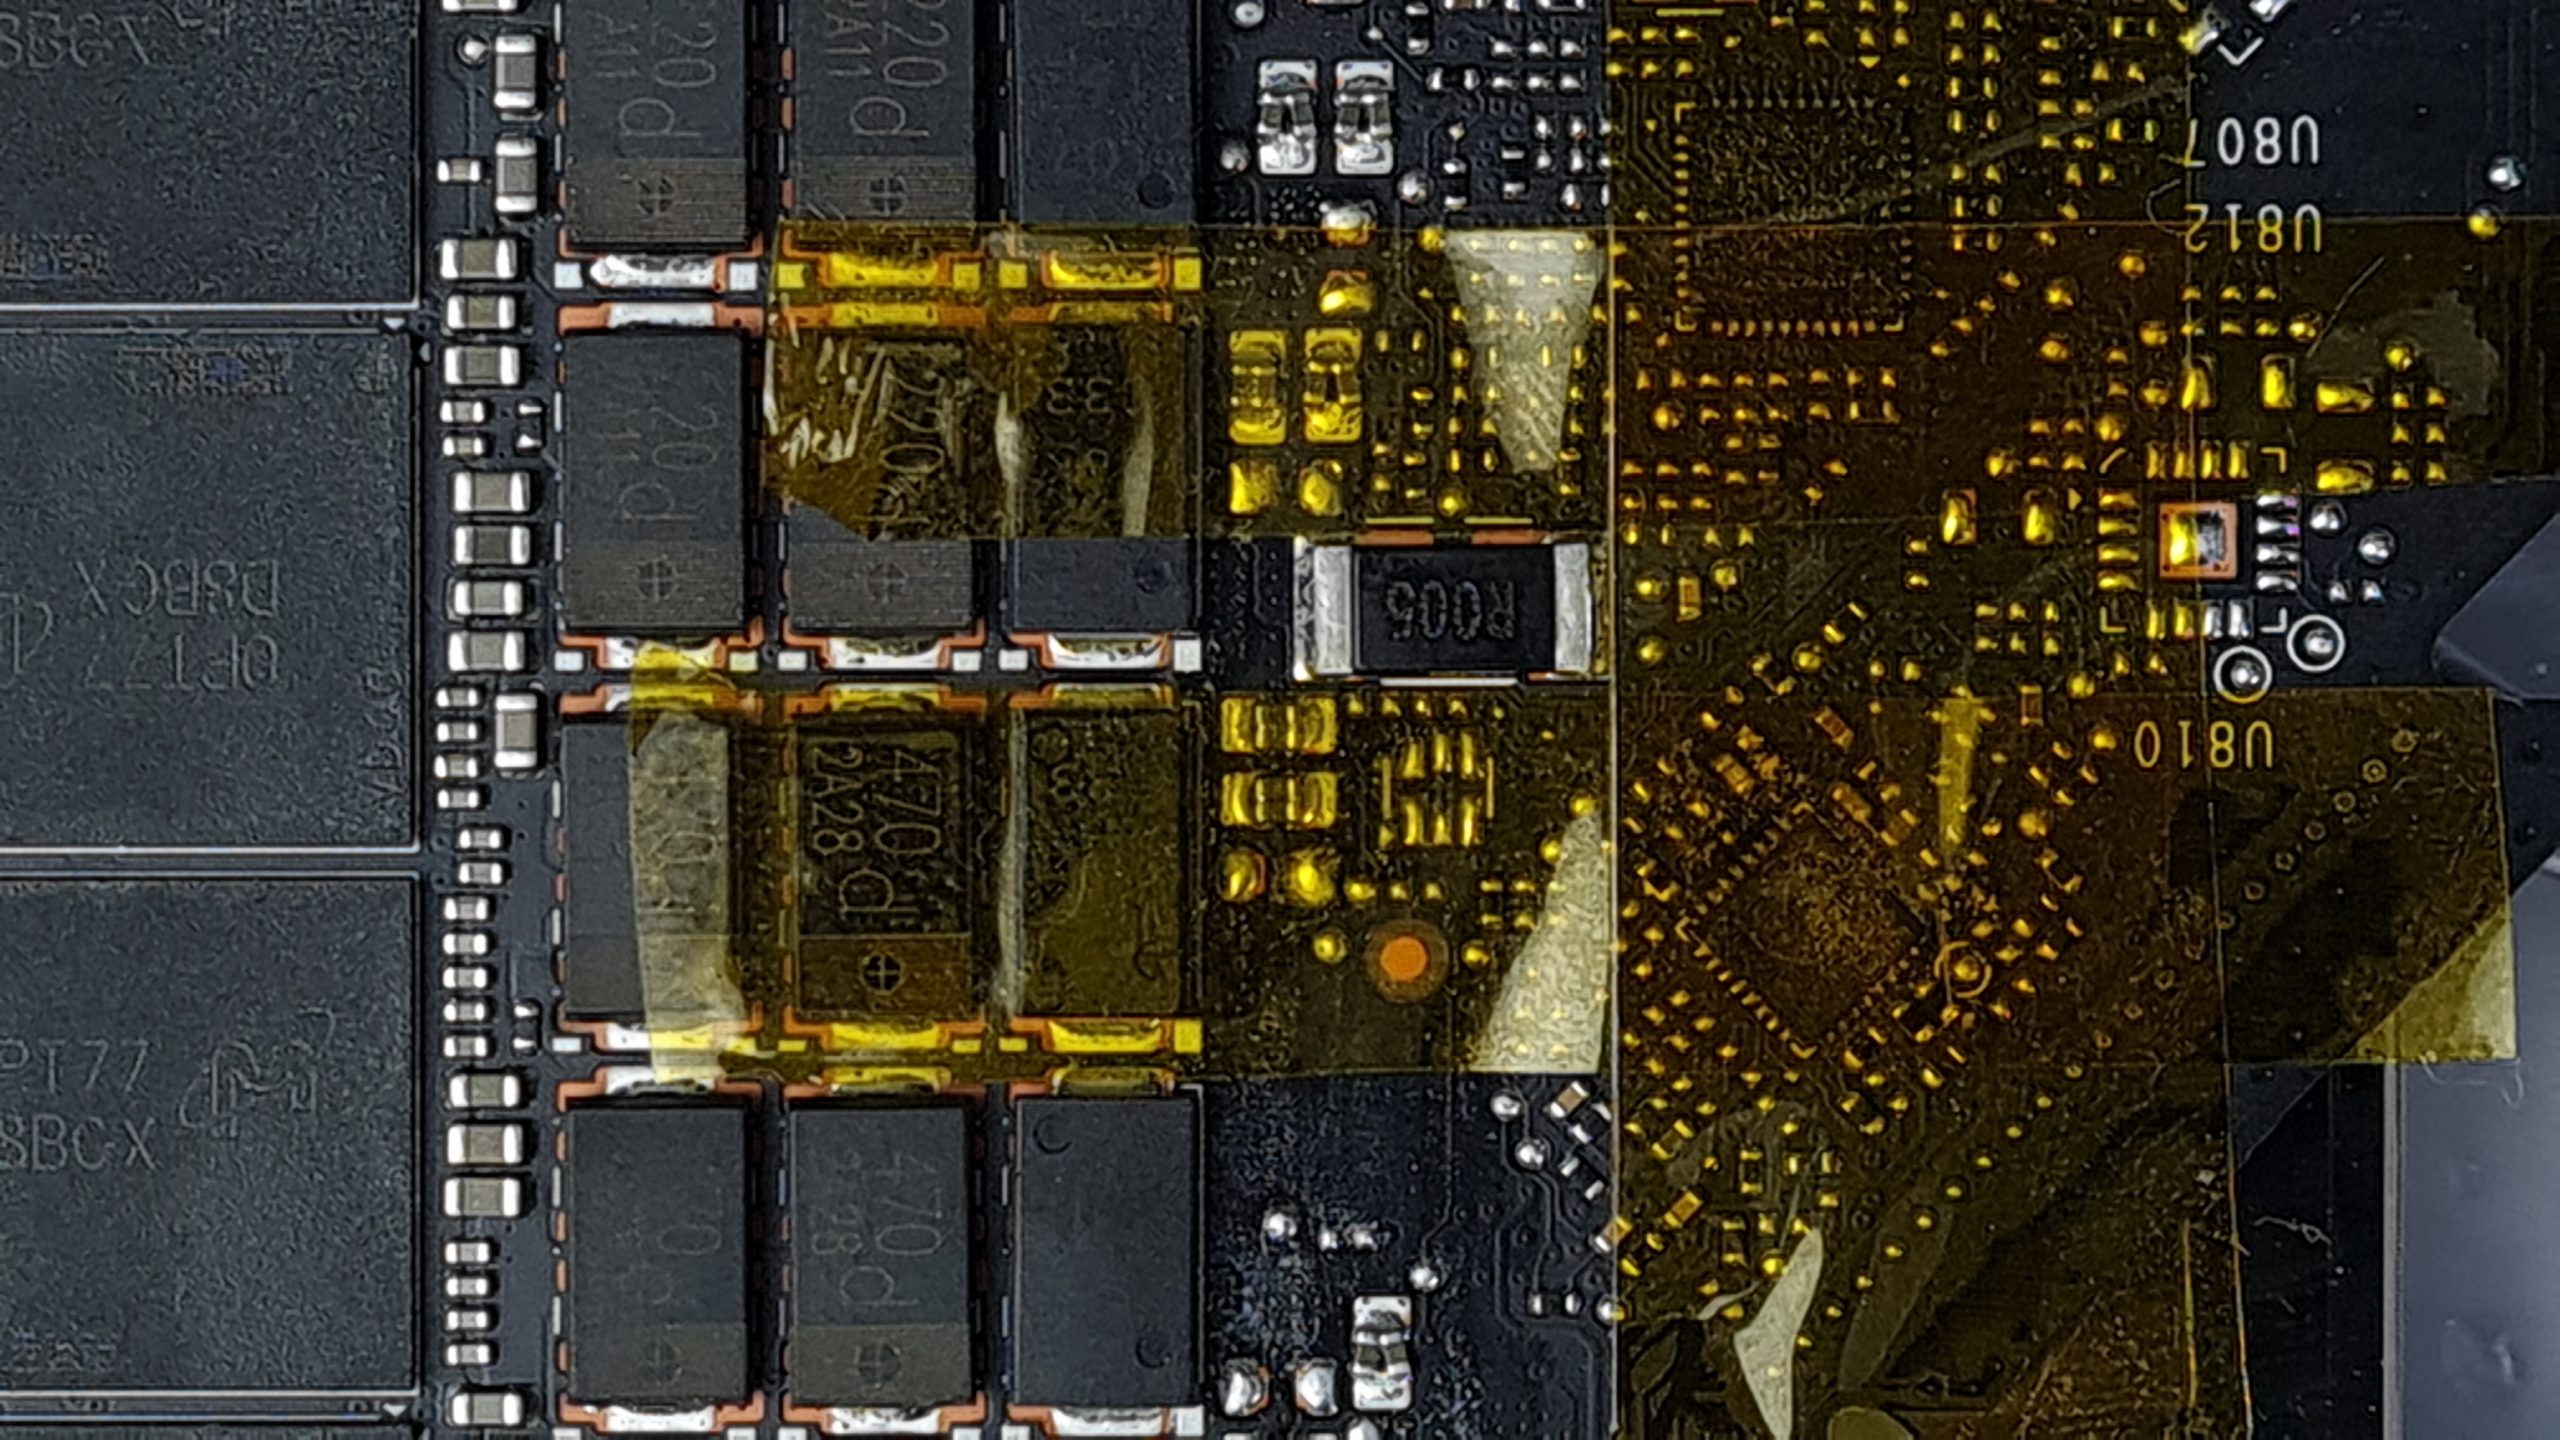
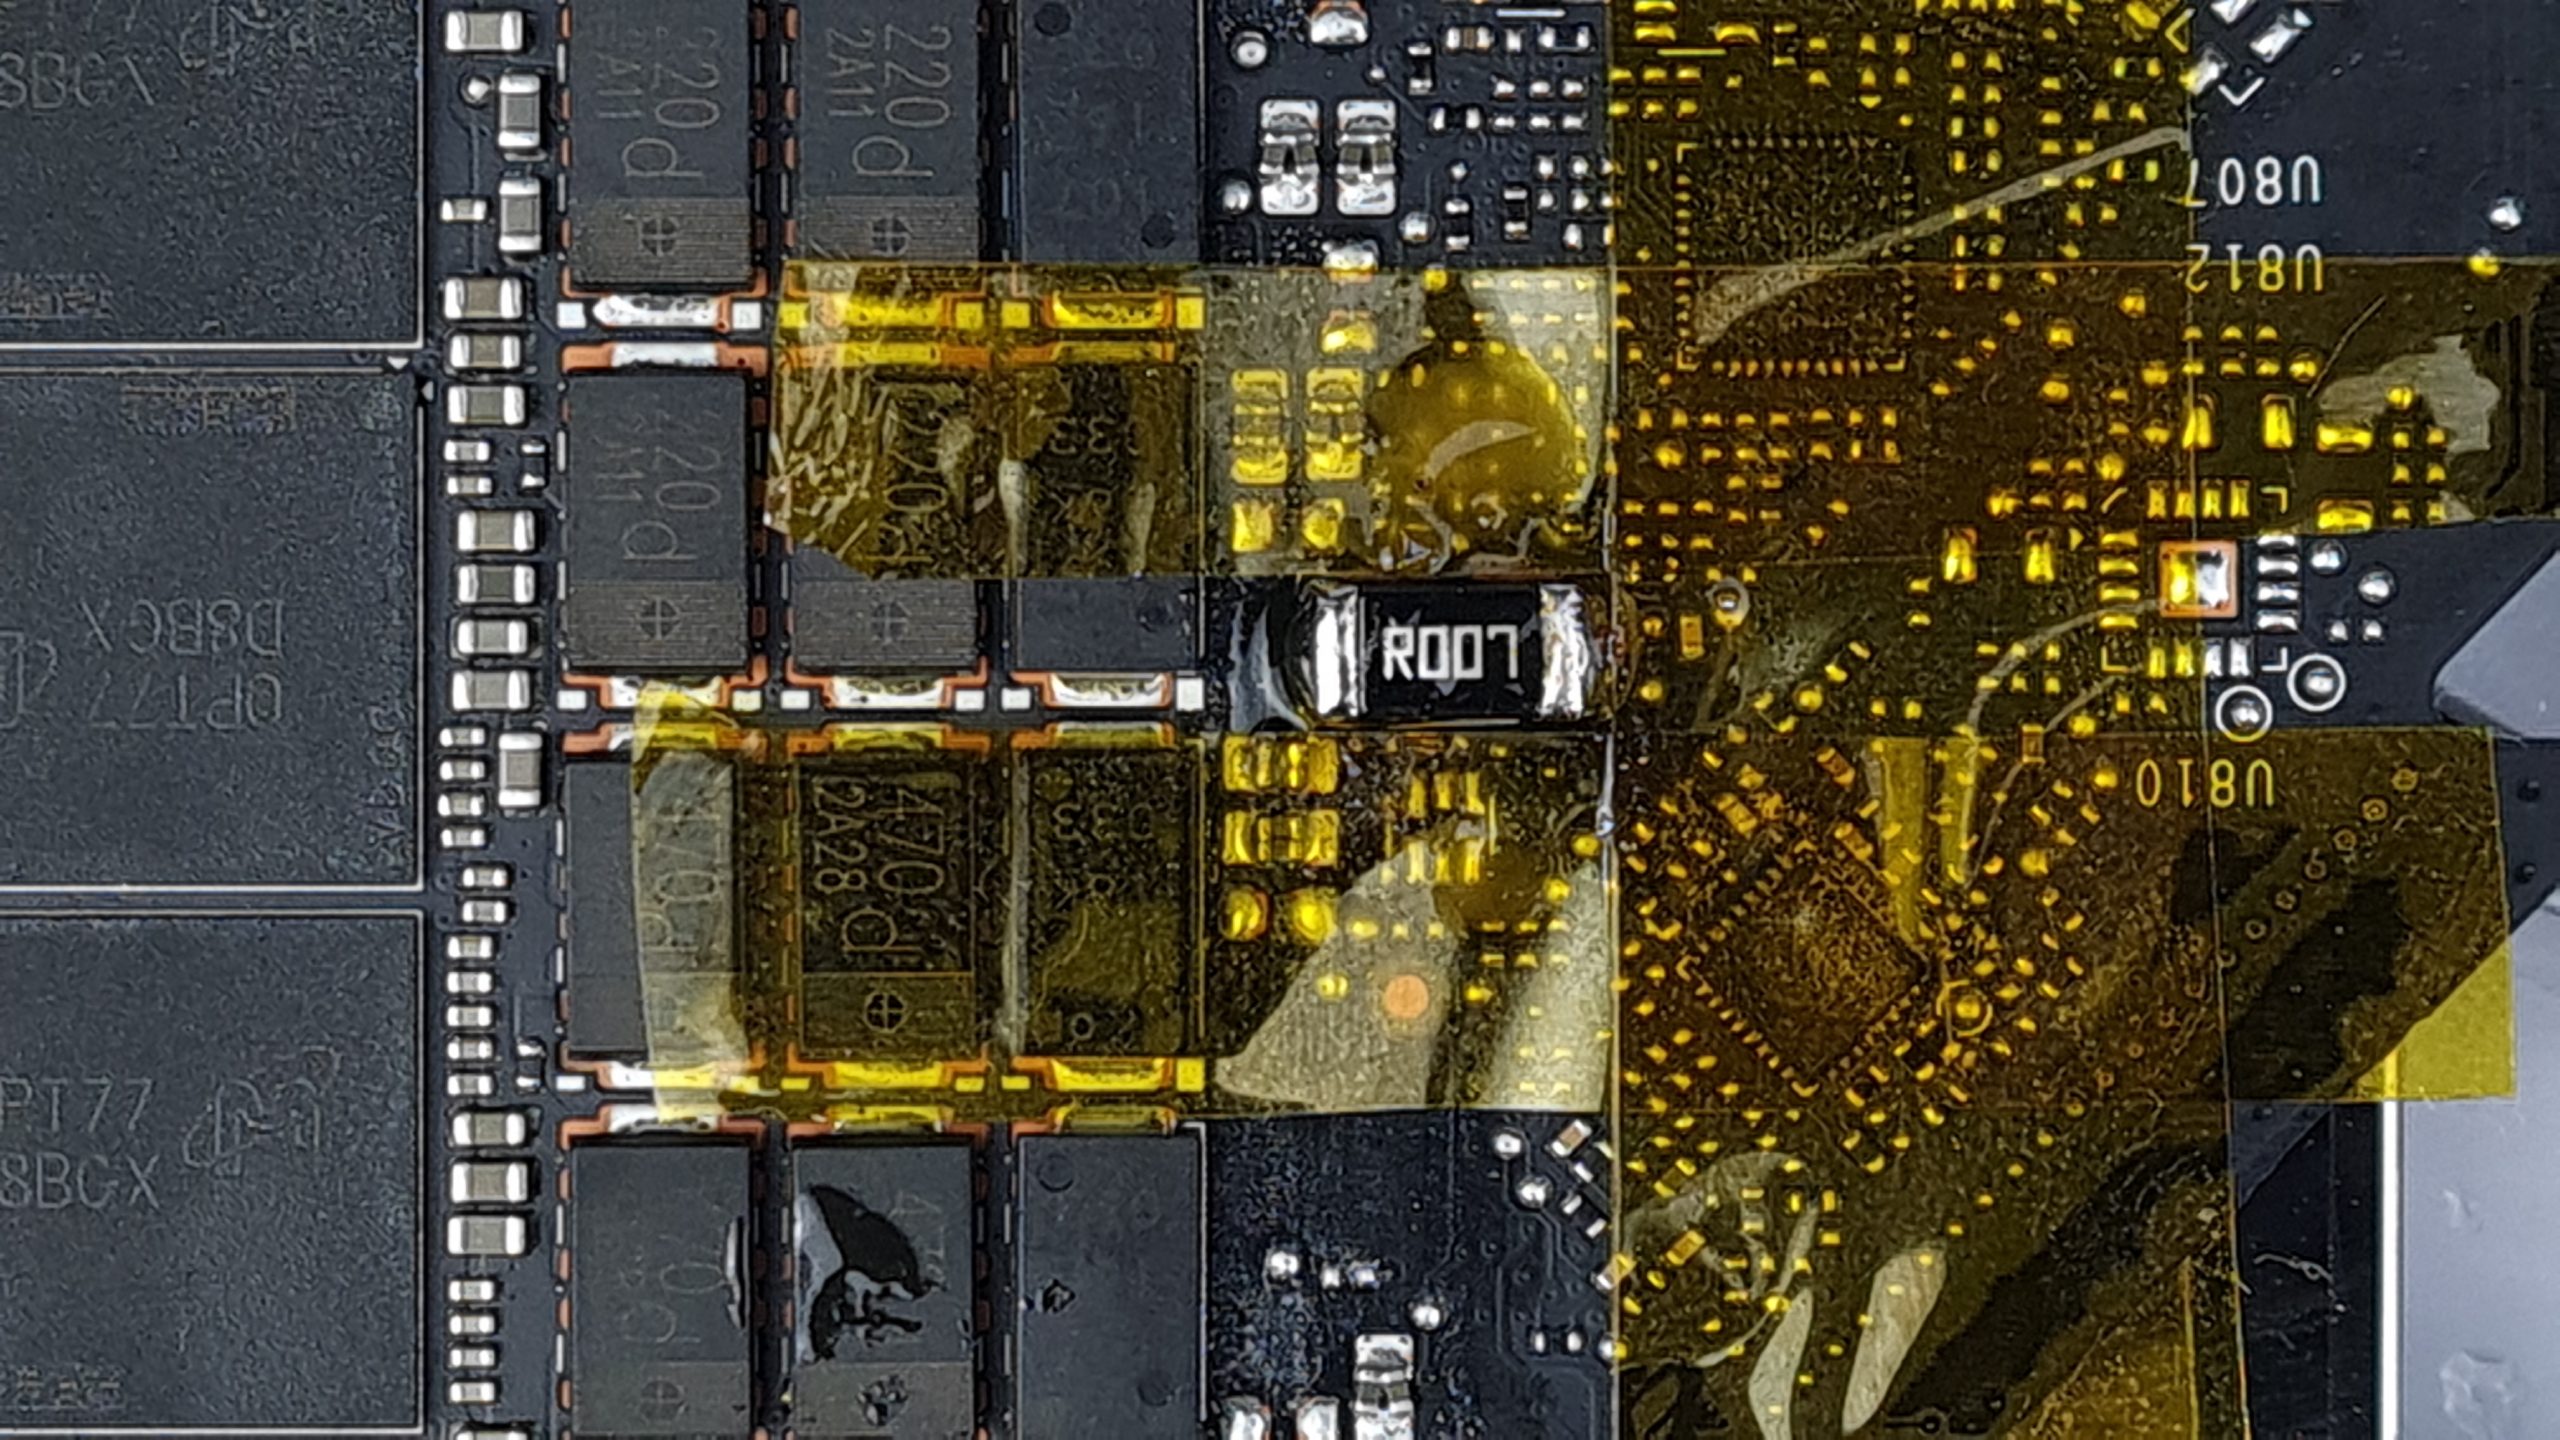
Now some flux can be applied to the existing shunt and then the soldering iron can be prepared. I use a flat tip and a comparatively high operating temperature of 380 °C, because the resistors are located at points with relatively high heat capacity and otherwise the solder could not be heated sufficiently. Soldering iron and existing shunt are wetted with solder, then the new additional shunt is simply put on top with tweezers and soldered on both sides for a second at most.
That’s about it and with enough flux and temperature the solder points should shine and have no protruding tips. Now simply remove the Kapton adhesive tape and clean the soldering point from the remaining flux again with isopropanol. Now you have to repeat the whole thing five times with the other shunts and the mod is ready. In fact, the whole process is probably more of a mental challenge than a physical one, and with a little time and patience can be done within an hour.
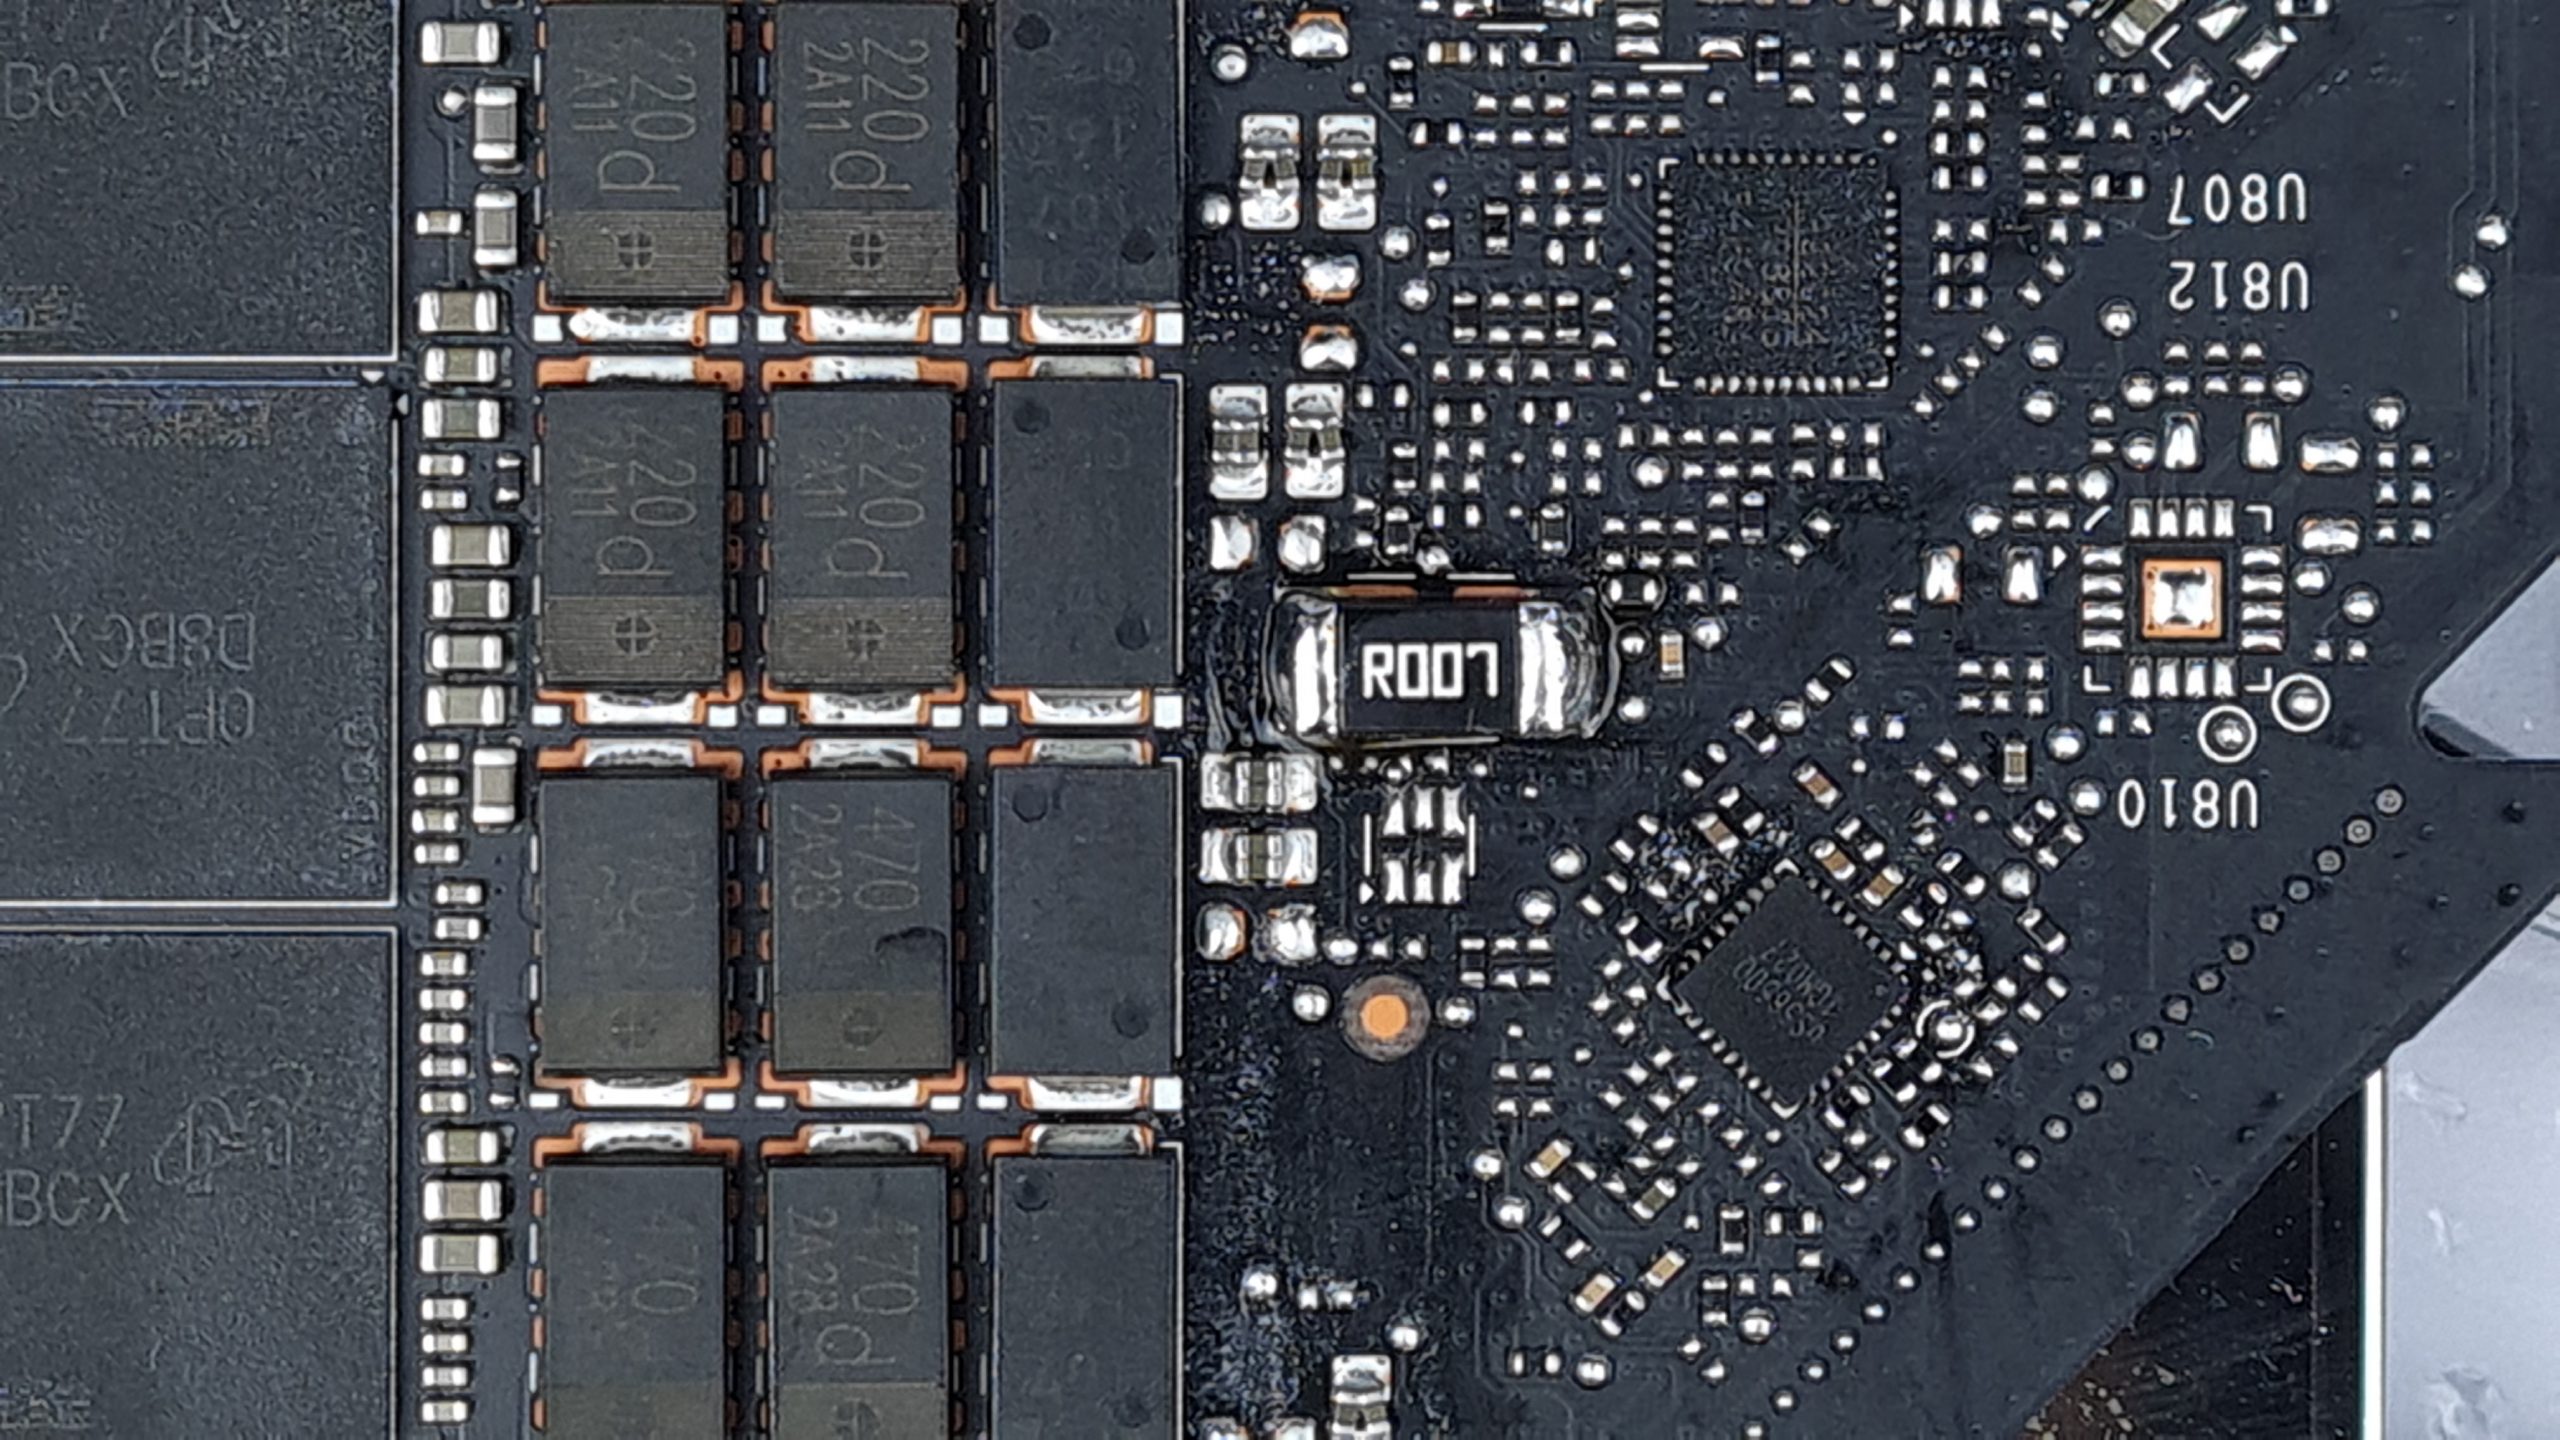
This is what it looks like when I’m done. Granted, the work won’t win a beauty prize, but as long as it ends up producing the desired result, that’s fine by me. Now all that’s left is to reassemble the GPU and cooler and test what all the effort has really done for us in terms of performance.


Kommentieren