You’ve seen a lot of things, even on YouTube. For example, a 500 watt power supply miraculously survives even a GeForce RTX 3080, while exactly this card even forced a 1300 watt Platinum behemoth to give up in the lab before the Ampere launch. Well, NVIDIA has meanwhile defused the boost and thus also the load changes, but that should still not be the subject of today’s test. Firstly, I know how this is going to turn out anyway and secondly, it still has some entertainment value but unfortunately not much information value.
However, I’m happy to take feedback from readers who have asked me about setups and measurements well below a GeForce RTX 3080 or Radeon 6800XT. I can already spoil that with a good 500 watt power supply, if you don’t overdo it with the OC, especially with the AMD card. I was actually going to go with the RTX 3060 Ti first and wait for the RX 6700XT, but curiosity won out. That is exactly why I have once again chosen the be quiet! Pure Power 11 grabbed with the 500 watts that the RTX 3080 couldn’t manage, yeah how could it? But now the world looks a lot better!
Multi-rail and load sharing
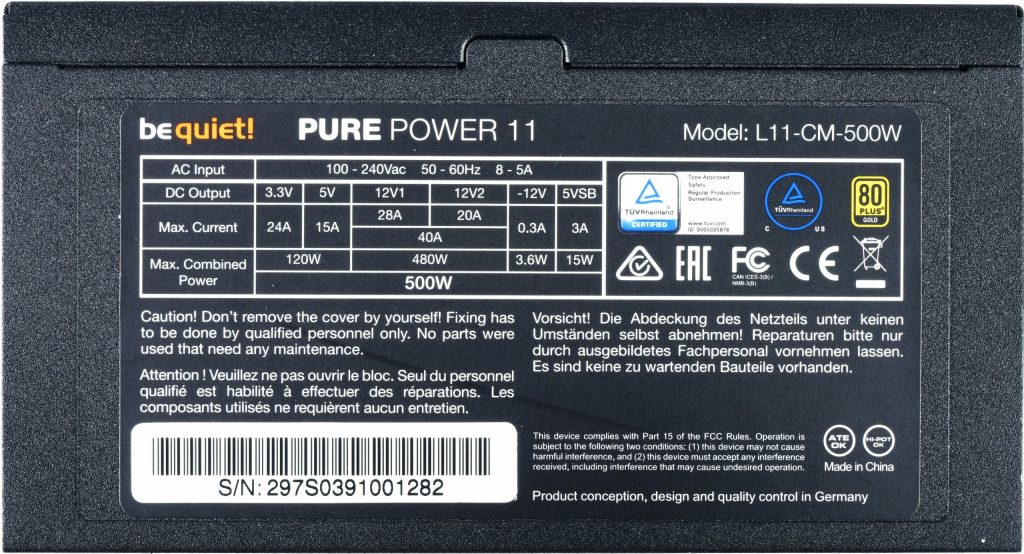
The Pure Power 11 500 Watt has two rails that are fused separately. The motherboard and PCIe 1 hang on one, somewhat weaker one, the GPU with the two 8-pin connectors, motherboard and other stuff on the other. After all, both 12-volt rails together manage 480 watts and if you add the two smaller voltages, the total is exactly the limit of 500 watts that is offered. The Radeon RX 6800 causes an average of just under 230 watts of continuous load at the two PCIe ports, which should nominally be easily enough. It’s up to 30 watts at the motherboard slot of the graphics card, plus another 15 watts for the motherboard’s 12 volt rail and up to 140 watts for the CPU. That’s still well under 200 watts and should actually be enough. Nominally.
Of course, the connected hard disks and SSDs also nibble a bit at the smaller voltages besides the motherboard, so that in the end 450 watts are not reached on all rails on the secondary side. With the GeForce card it’s even a bit less average load, but the devil is in the nasty load peaks, because no socket meter and no normal shunt or sensor measurement shows exactly those, because then it already goes into the millisecond range. And that’s exactly what I’m going to test today, because it’s really worth it!
Test setup, CPU and periphery
I admit it, I wasn’t particularly brave at first. I had picked out two scenarios that are really exemplary and therefore perfect for measuring. Let’s start with the first part. The maximum continuous load of the CPU can be reached with Prime95 including Small FFTs, but you have to choose 3-4 threads less than offered and available. After that, I start Furmark in the FHD window, but the burn-in test including post-processing. This allows me to achieve the maximum possible load on both the CPU and GPU.
However, this turns out to be quite constant and nothing jitters at first. But this setting is really perfect for testing out Combined Power first. And that’s where I worked my way up from the Ryzen 5 5600X to the Ryzen 7 5800X and at least to the Ryzen 9 5900X. In the end, I went with the Ryzen 9 5900X and PBO, which explains the 130 to 140 watts. You can do that with the Ryzen 7 5800X and a lot of OC as well, so you can leave it at that. More can hardly be cooled away normally with the Ryzen 7 anyway. Since Intel unfortunately doesn’t sample me and the money for an extra Core i9 isn’t that loose, it just stays with the Ryzen. The thing with the several-second drinking-attack of the current i9 would have been interesting, but who buys something like that usually has a larger power supply anyway. And there is still a bit of space on the CPU rail.
Now let’s move on to the test sequence with the load peaks. You’ll see, but the selected game in the form of Control in QHD with DXR and no DLSS is a killer hammer for both graphics cards and generates load spikes at a very penetrating frequency, so this game really lends itself to a test like this! I walk up the last set of stairs to the Hedron chamber here, after walking back and forth down the long hallway once through the security. More load is almost impossible. But let the next two pages surprise you.
Benchmarks, test system and evaluation software
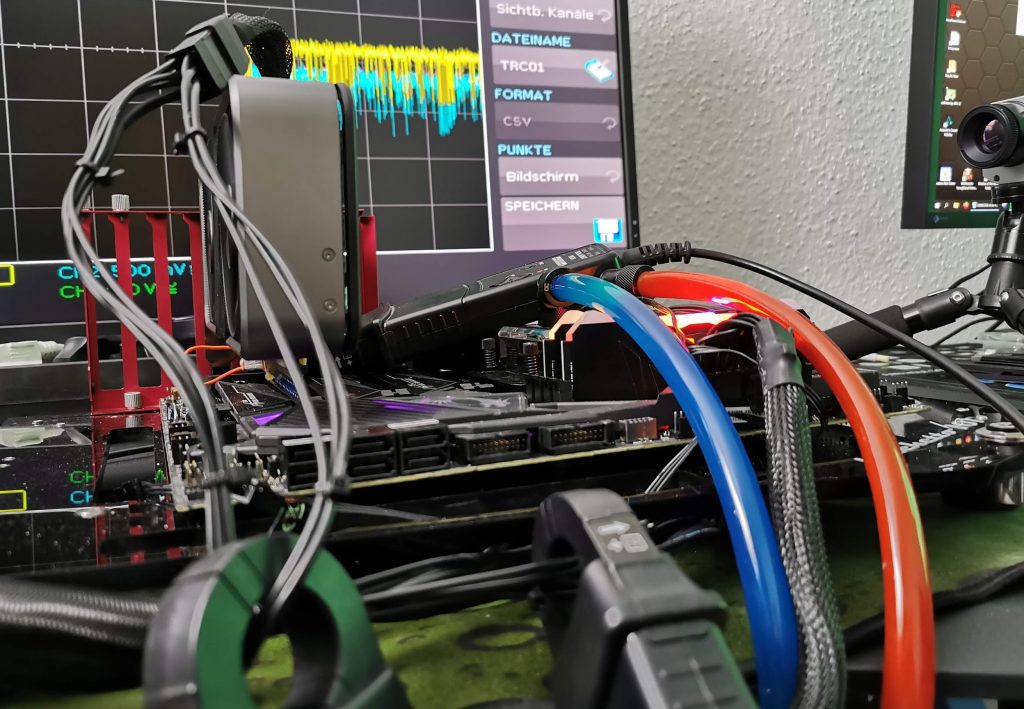
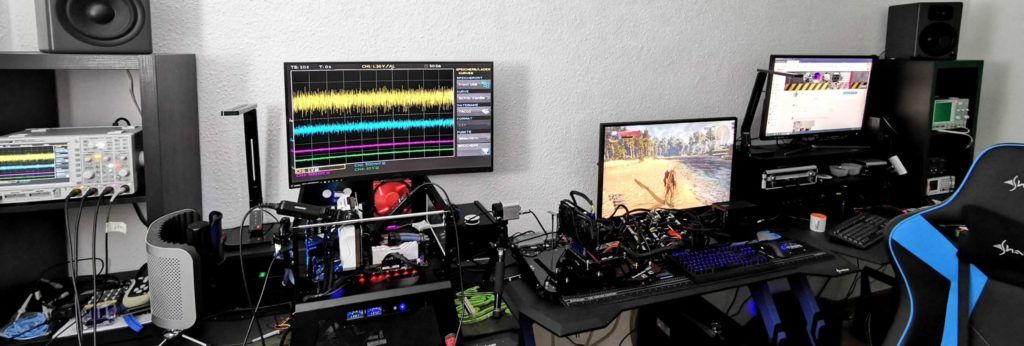
The measurement of the detailed power consumption and other, more in-depth things is done here in the laboratory using high-resolution oscillograph technology. Even though I usually like to use Witcher 3 in the GPU load tests, it is now (and probably will be in the future) Control (see above) because it generates extremely frequent and very fast load changes. That makes this run the ideal test subject for our investigation today. As always, the stress test is performed by the combination of Furmark and Prime95 (with AVX).
The overclocking of the CPU is done via PBO (130 Watt TDP limit, + 500 MHz boost), that of the two reference graphics cards with MorePowerTool and Wattman (Radeon) or MSI Afterburner (GeForce). In order to reproduce relevant spike combinations repeatedly, it sometimes took many runs. The high-resolution measurements are performed as usual by means of two fast storage oscillographs and the appropriate software from my own laboratory.
I have also summarized the individual components of the test system in a table:
| Test System and Equipment |
|
|---|---|
| Hardware: |
AMD Ryzen 9 5900X Stock/OC MSI MEG X570 Godlike 2x 16 GB Corsair DDR4 4000 Vengeance RGB Pro / Patriot Viper 1x 2 TByte Aorus (NVMe System SSD, PCIe Gen. 4) 1x 2 TB Corsair MP400 (Data) 1x Seagate FastSSD Portable USB-C be quiet! Pure Power 500 Watt |
| Cooling: |
Alphacool Eisblock XPX Pro Alphacool Eiswolf (modified) Alphacool Subzero |
| Case: |
Microcool Banchetto 101 |
| Monitor: | BenQ PD3220U |
| Power Consumption: |
Oscilloscope-based system: Non-contact direct current measurement on PCIe slot (riser card) Non-contact direct current measurement at the external PCIe power supply Direct voltage measurement at the respective connectors and at the power supply unit 2x Rohde & Schwarz HMO 3054, 500 MHz multichannel oscilloscope with memory function 4x Rohde & Schwarz HZO50, current clamp adapter (1 mA to 30 A, 100 KHz, DC) 4x Rohde & Schwarz HZ355, probe (10:1, 500 MHz) 1x Rohde & Schwarz HMC 8012, HiRes digital multimeter with memory function |
| Thermal Imager: |
1x Optris PI640 + 2x Xi400 Thermal Imagers Pix Connect Software Type K Class 1 thermal sensors (up to 4 channels) |
| OS: | Windows 10 Pro (all updates, current certified or press drivers) |
be quiet! Pure Power 11 500W ATX 2.4 (BN293)
 | Lagernd, Lieferung 1-2 WerktageStand: 27.07.24 03:04 | 66,15 €*Stand: 27.07.24 03:05 |
 | Auf Lager, Lieferzeit 1-2 Werktage | 66,16 €*Stand: 27.07.24 01:53 |
 | Ware lagernd - versandfertig - Lieferzeit 1-3 Werktage | 68,24 €*Stand: 26.07.24 23:49 |


165 Antworten
Kommentar
Lade neue Kommentare
Urgestein
1
Urgestein
Mitglied
Urgestein
Urgestein
Mitglied
1
Urgestein
Neuling
Neuling
Mitglied
Urgestein
Mitglied
Mitglied
Mitglied
Veteran
Urgestein
Mitglied
Alle Kommentare lesen unter igor´sLAB Community →