


The Raijintek Samos RX 5700 XT, which I tested today, is so new that it is not even listed at the dealers. My test sample has made it on an unofficial way from Asia directly to the laboratory, so that I can already present you exclusively a product that will only be officially available for purchase in the coming days. I already feel so slowly like the prototype uncle, but this product is already the final retail version, just without a glossy cardboard and a lot of things. However, one can easily do without such externalities, because the outer packaging usually flies to the garbage anyway.
Unboxing, scope of delivery and assembly
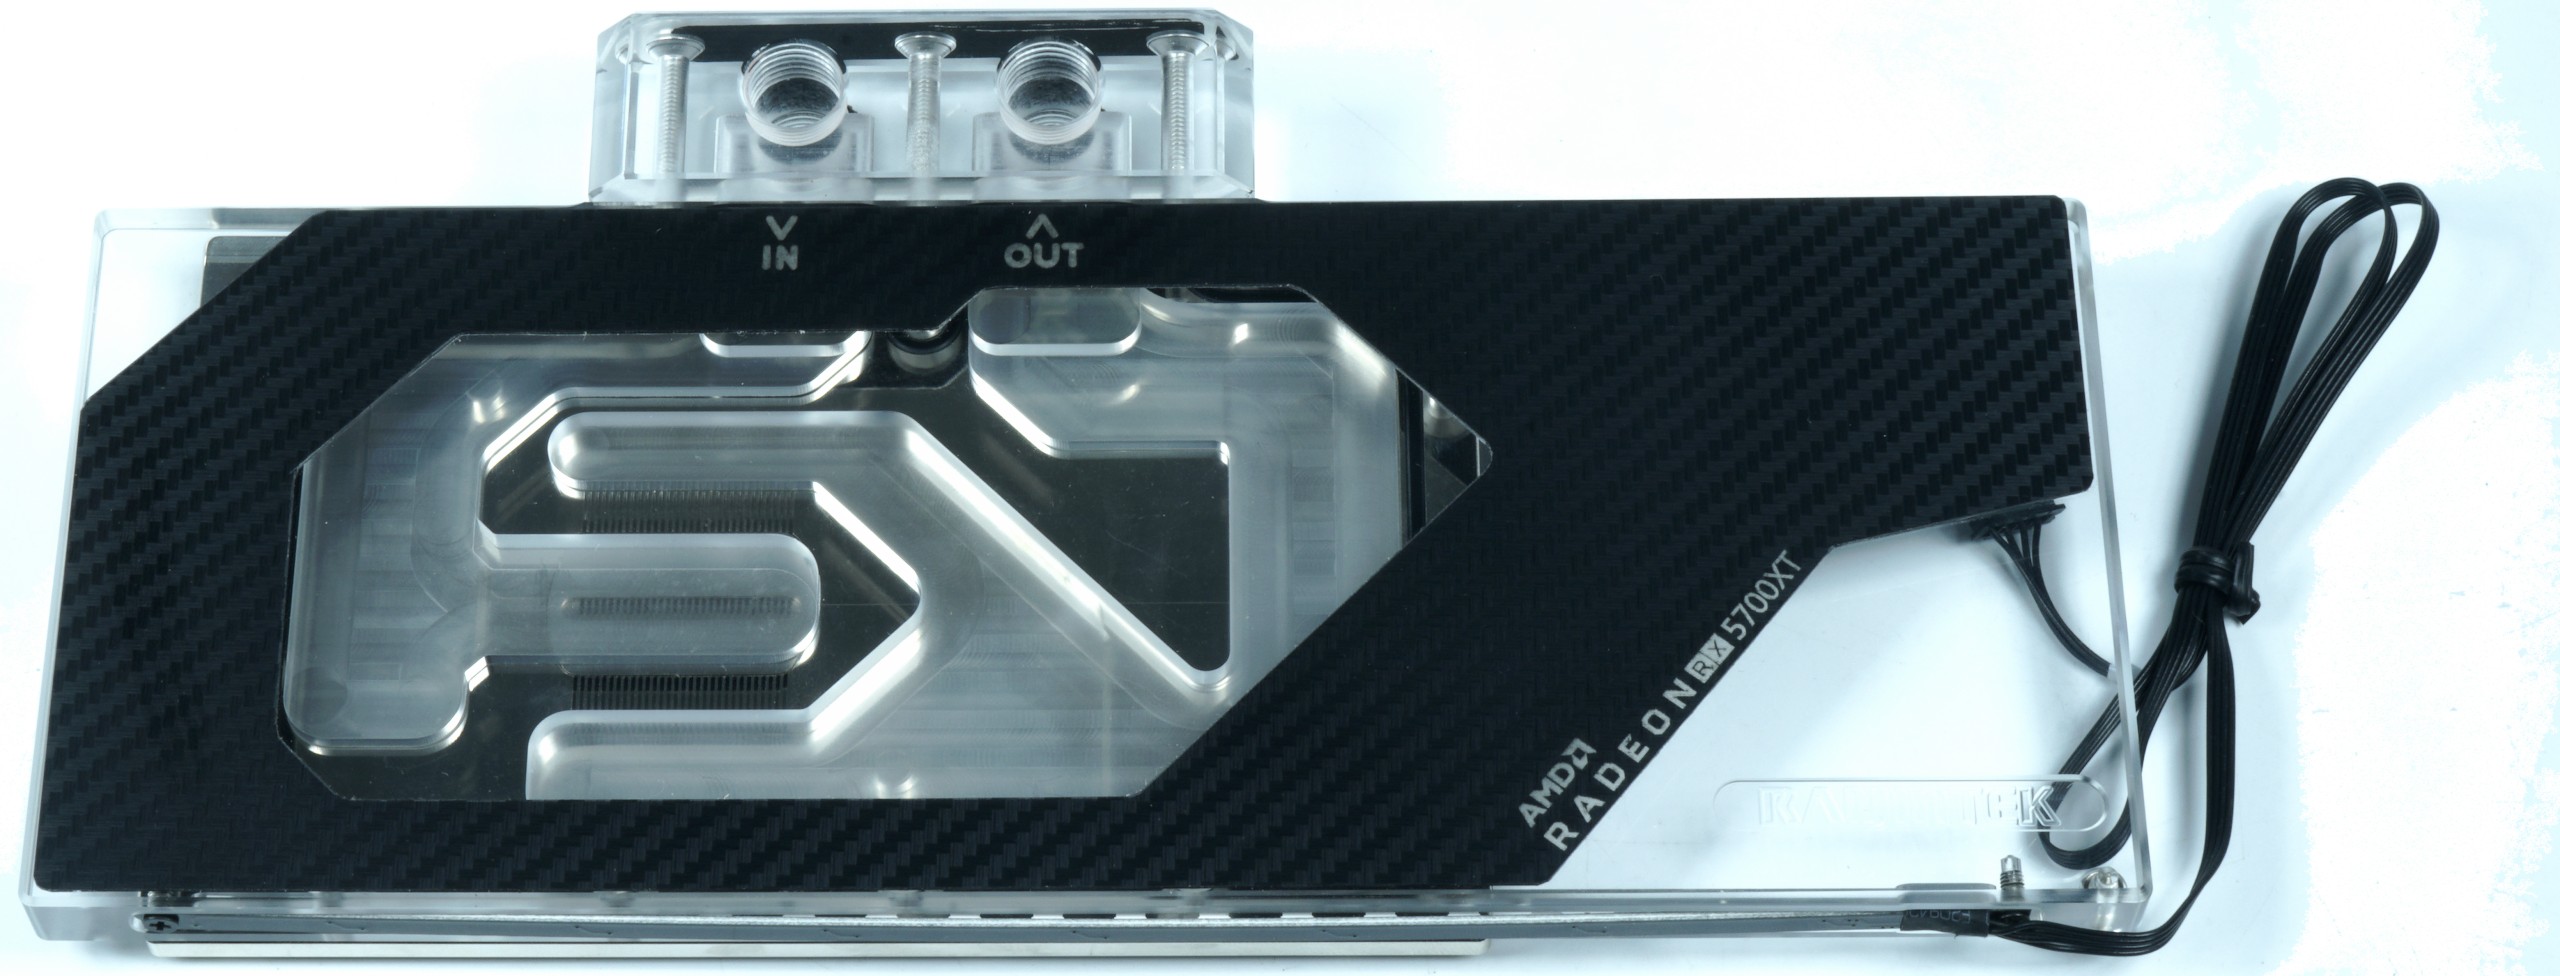
The fully assembled water block with terminal, screws, pads, thermal paste and manual as well as two plugs ("end pieces") are supplied. The acrylic block has been partially glued with carbon film (imitation) on the front side and provided with a pre-assembled aRGB stripe on the underside. This is the usual 5 volt connector, which even fits the round PreciDips of most motherboards.

The water flow is clearly defined, there are no visible experiments. The part comes along abundantly "old-school" and should also be able to perform quite properly. Intake and Outtake are clearly marked and should not pose any problems to even the inexperienced.
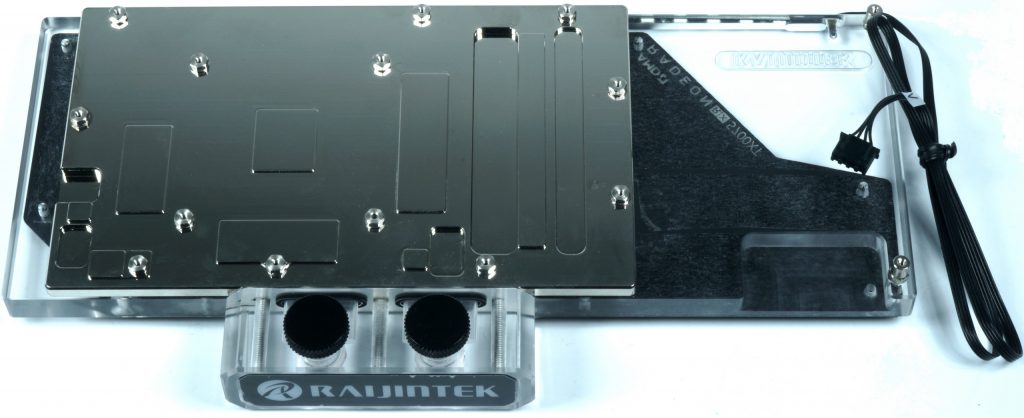
The threaded inserts are tight enough not to loosen when the screws are later unscrewed, and the cooling surfaces are also available for GPU, RAM, VRM and a few other components. Tool traces are hardly seen and the nickel plating also leaves a decent impression. In terms of pad thickness, Raijintek has gone down to 0.5 mm, which also speaks for a certain precision of the water block.
However, the M2 screws are a small weakness, because the screw heads are very thin and the material is very soft. With a good screwdriver, these heads can be unintentionally turned off as early as 0.5 Nm and after that the thread insert becomes unusable, as the rest of the screw can no longer be pulled out. Here Raijintek has to improve and as a buyer you will have to be careful not to overdo it when screwing with the force.
The inevitable RGB bulb in the form of an LED strip was thankfully glued right into the bottom of the acrylic block. This does not disturb any further and can also be removed manually (but irreversibly) if not fallen. The light games look quite nice, but do not rip you off the stool. As a connection, however, there is only aRGB, i.e. the now usual addressable connection, which has replaced the older 12-volt connections. If you still want to use the older standards, you need an adapter or a controller from the accessories. Unfortunately, you will not find any additions in this regard.
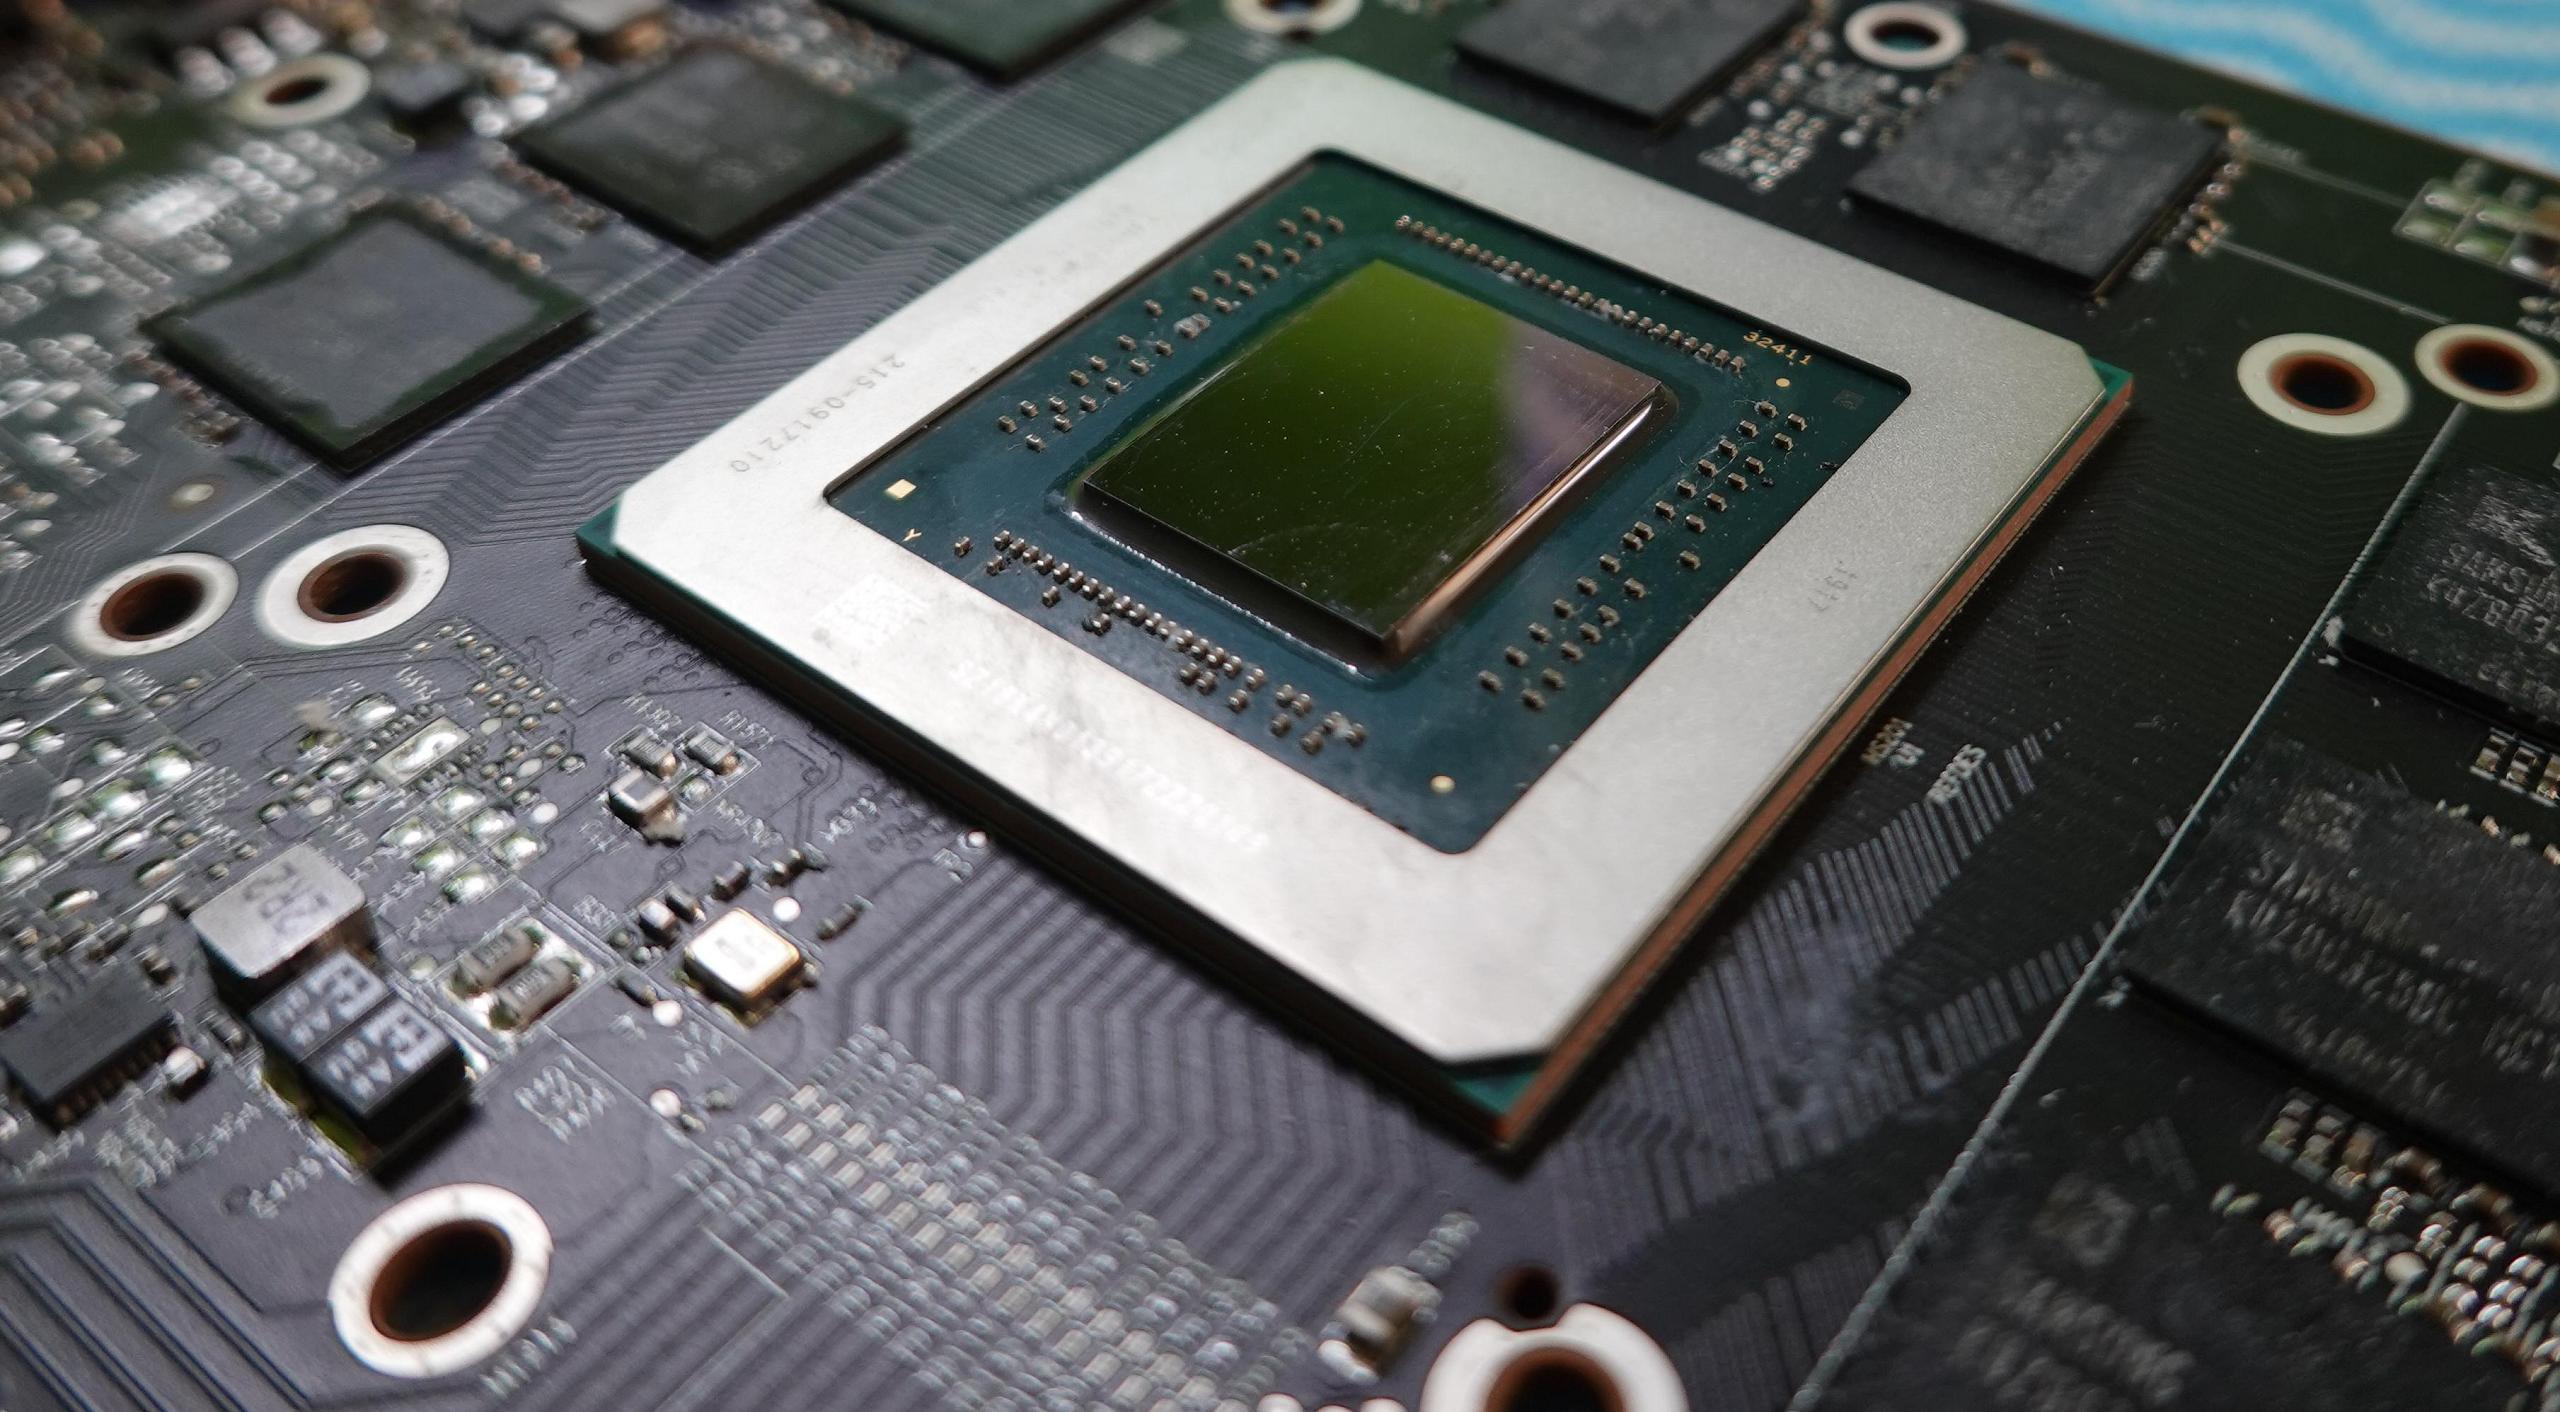
What is important with AMD's Radeon RX 5700 (XT) is the proper cleaning of the GPU and the clean removal of all residues of the thermal paste, which is actually none at all. The phase change polymer pad used has been offset with any amount of so-called graphite fillers to increase thermal conductivity. Unfortunately, the material is also electrically conductive and the smallest remaining crumb can lead to permanent damage on the board later! So please remove carefully and remove everything immediately!
Earsticks have also proven their worth for the edges. Please do not use a fluenk or even kitchen paper. Instead of normal burning spirits or other solvents, isopropanol may be used at most, but nothing else. The coarsely pre-assembled, very soft 0.5 mm pads are quickly adapted and laid out. Please attach to the radiator bottom with the adhesive side. The thermal paste is easy to apply and the supplied quantity is easy enough for up to four applications. A thin and even application with a spatula is sufficient. Drops and blobs are suboptimal.
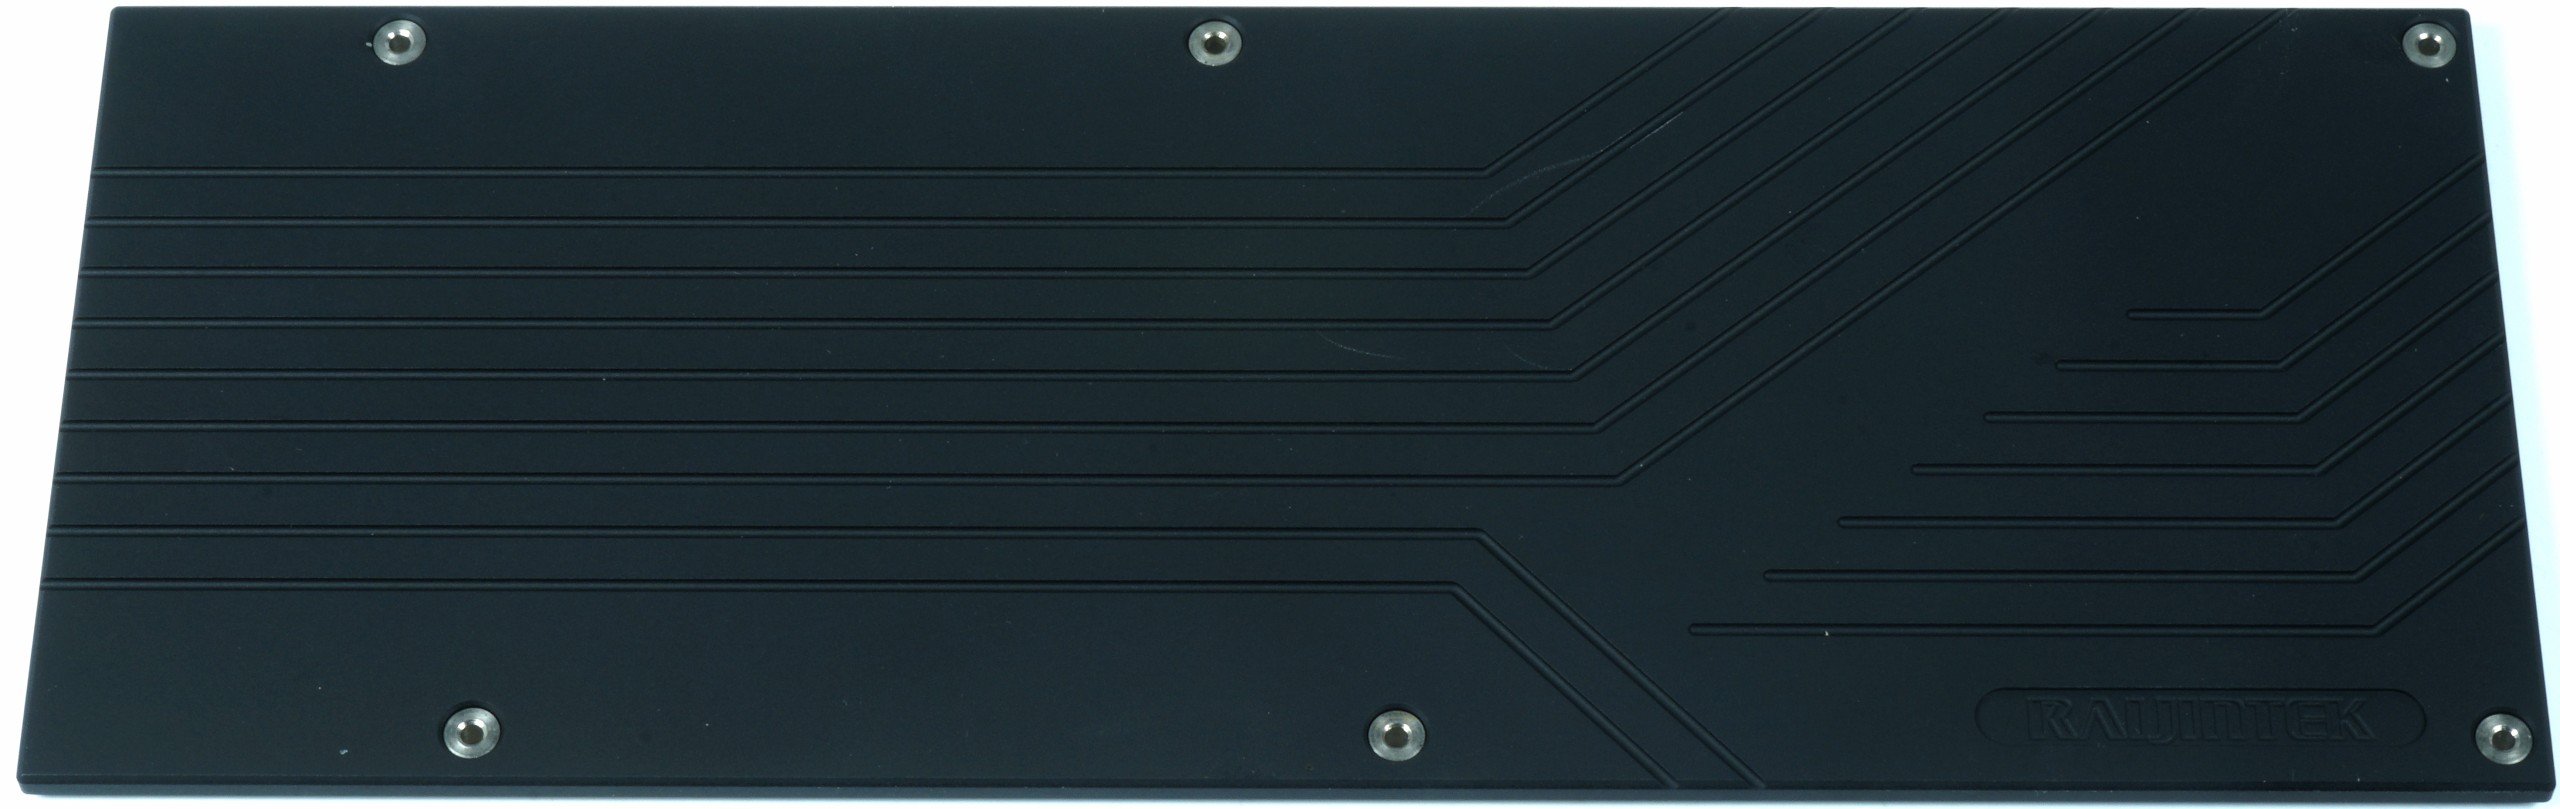
Screw together and finish the paint? Here, too, you first screw the four screws on the GPU side by side and in small steps as tightas it can and only then outwardly the other screws to avoid voltages in the PCB. Then it can start. And: Don't forget plugs! There is a baking plate with it, so free to the house.
Test system and measurement methods
I have described the test system and the methodology in great detail for years and therefore, for the sake of simplicity, I now refer only to this detailed description. So if you would like to read everything in detail afterwards, you are welcome to do so.
If you are interested, the summary in table form quickly provides a brief overview:
| Test systems and measuring rooms | |
|---|---|
| Hardware: |
Intel Core i7-9900K MSI MEG Z390 Ace G.Skill TridentZ DDR4 3600 1x 1 TByte Toshiba OCZ RD400 (M.2, System SSD) 2x 960 GByte Toshiba OCZ TR150 (Storage, Images) Be Quiet Dark Power Pro 11, 850-watt power supply |
| Cooling: |
Alphacool Ice Block XPX 5x Be Quiet! Silent Wings 3 PWM (Closed Case Simulation) Thermal Grizzly Kryonaut (for cooler change) |
| Housing: |
Lian Li PC-T70 with expansion kit and modifications |
| Monitor: | Eizo EV3237-BK |
| Power consumption: |
non-contact DC measurement on the PCIe slot (Riser-Card) non-contact DC measurement on the external PCIe power supply Direct voltage measurement on the respective feeders and on the power supply 2x Rohde & Schwarz HMO 3054, 500 MHz multi-channel oscillograph with memory function 4x Rohde & Schwarz HZO50, current togor adapter (1 mA to 30 A, 100 KHz, DC) 4x Rohde & Schwarz HZ355, touch divider (10:1, 500 MHz) 1x Rohde & Schwarz HMC 8012, digital multimeter with storage function |
| Thermography: |
Optris PI640, infrared camera PI Connect evaluation software with profiles |
| Acoustics: |
NTI Audio M2211 (with calibration file) Steinberg UR12 (with phantom power for the microphones) Creative X7, Smaart v.7 own low-reflection measuring room, 3.5 x 1.8 x 2.2 m (LxTxH) Axial measurements, perpendicular to the center of the sound source(s), measuring distance 50 cm Noise in dBA (Slow) as RTA measurement Frequency spectrum as a graph |
| Operating system | Windows 10 Pro (1903, all updates), driver as of 07.10.2019 |


Kommentieren