


Unboxing
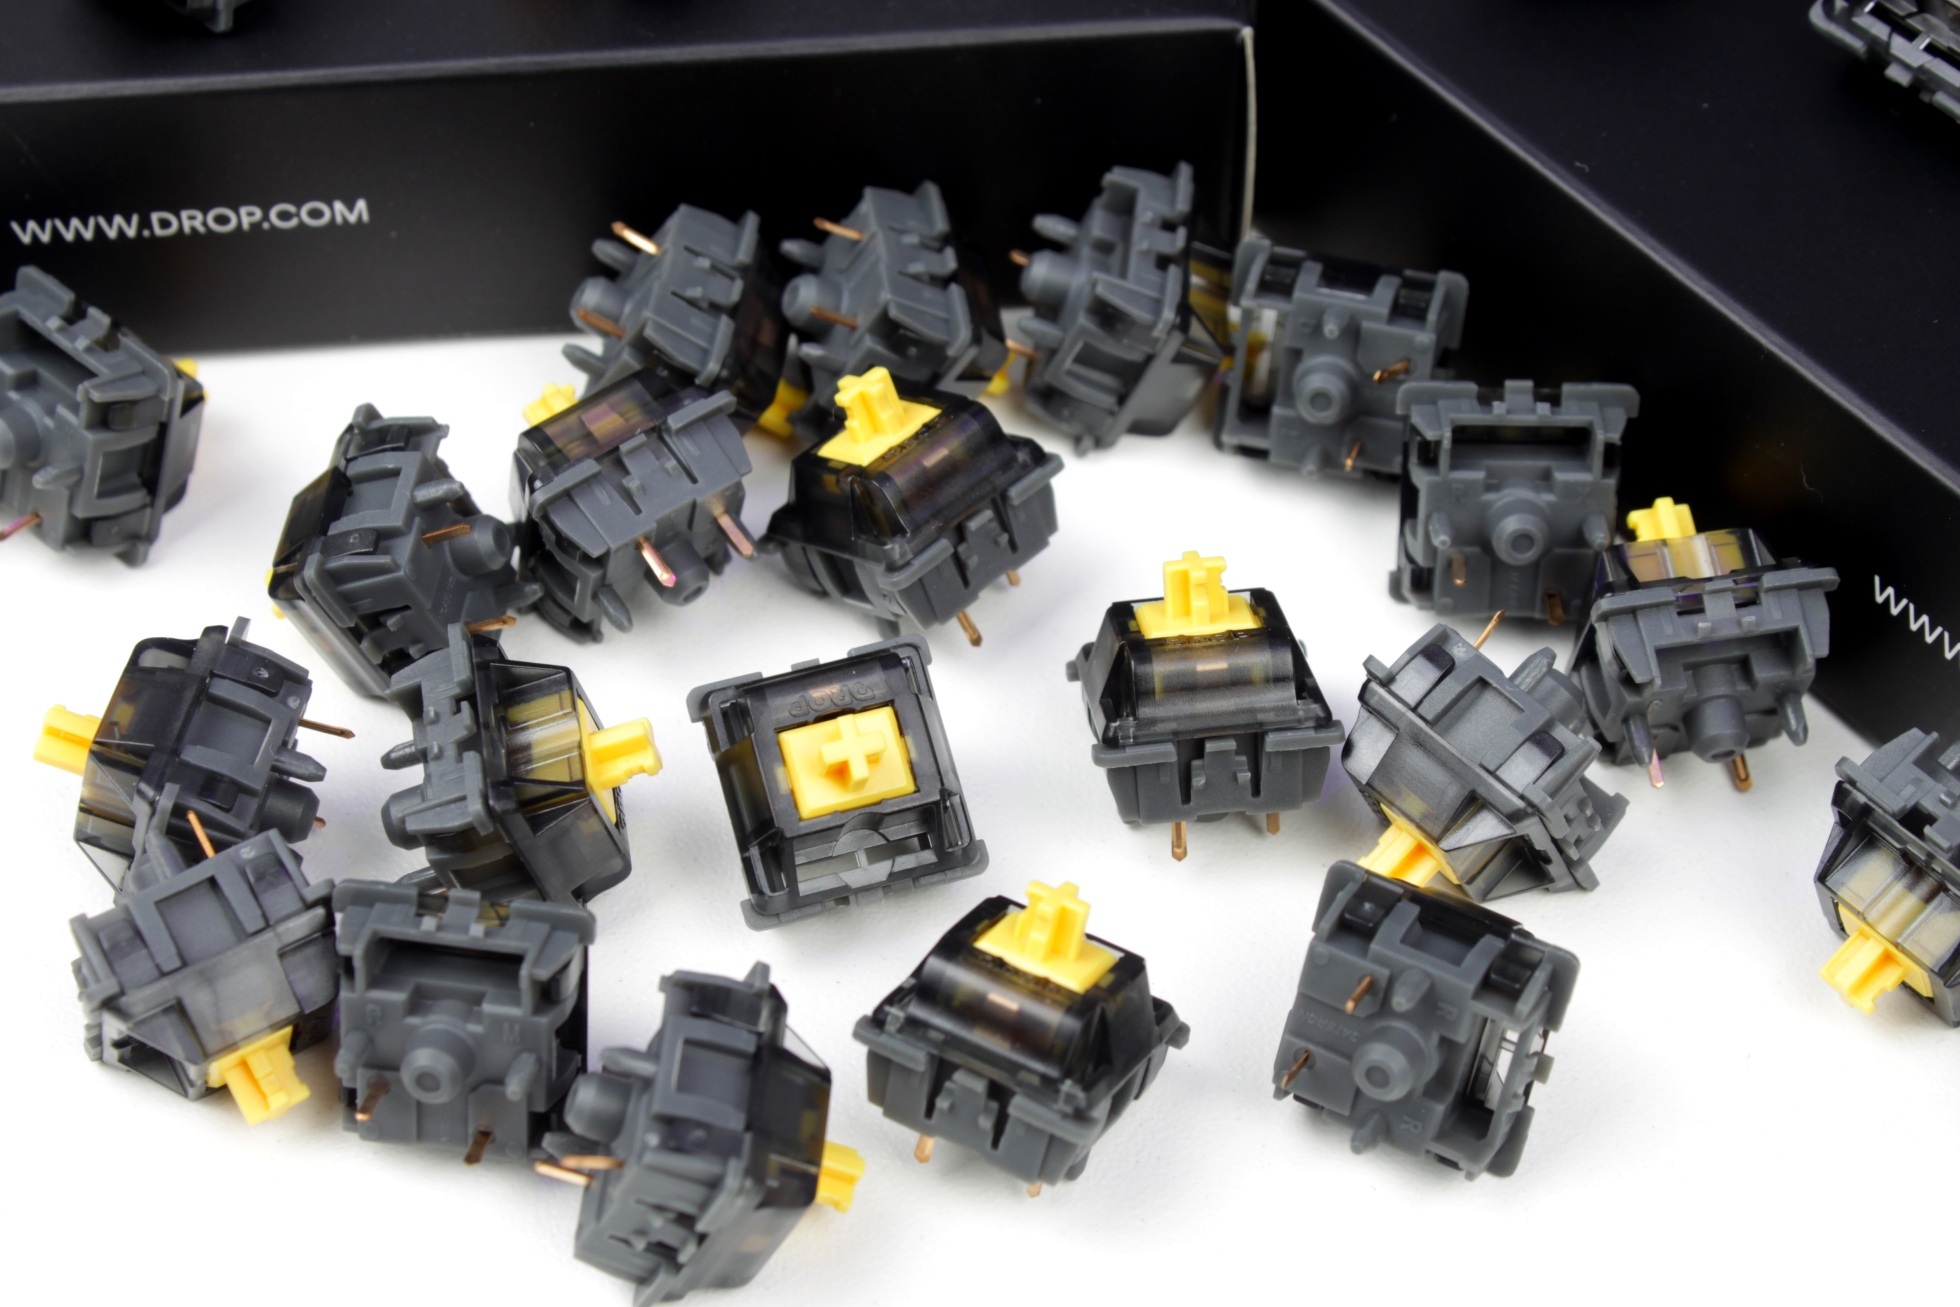
To test the switches, we first have to remove them from their packaging.

A tip at this point: If you treat the switches as shown in the picture, you will quickly bend the connection pins, as can be seen on the switch at the bottom of the picture. This can lead to problems during installation, because if the pins are bent, they will bend completely when you press them into the board and there will be no contact!
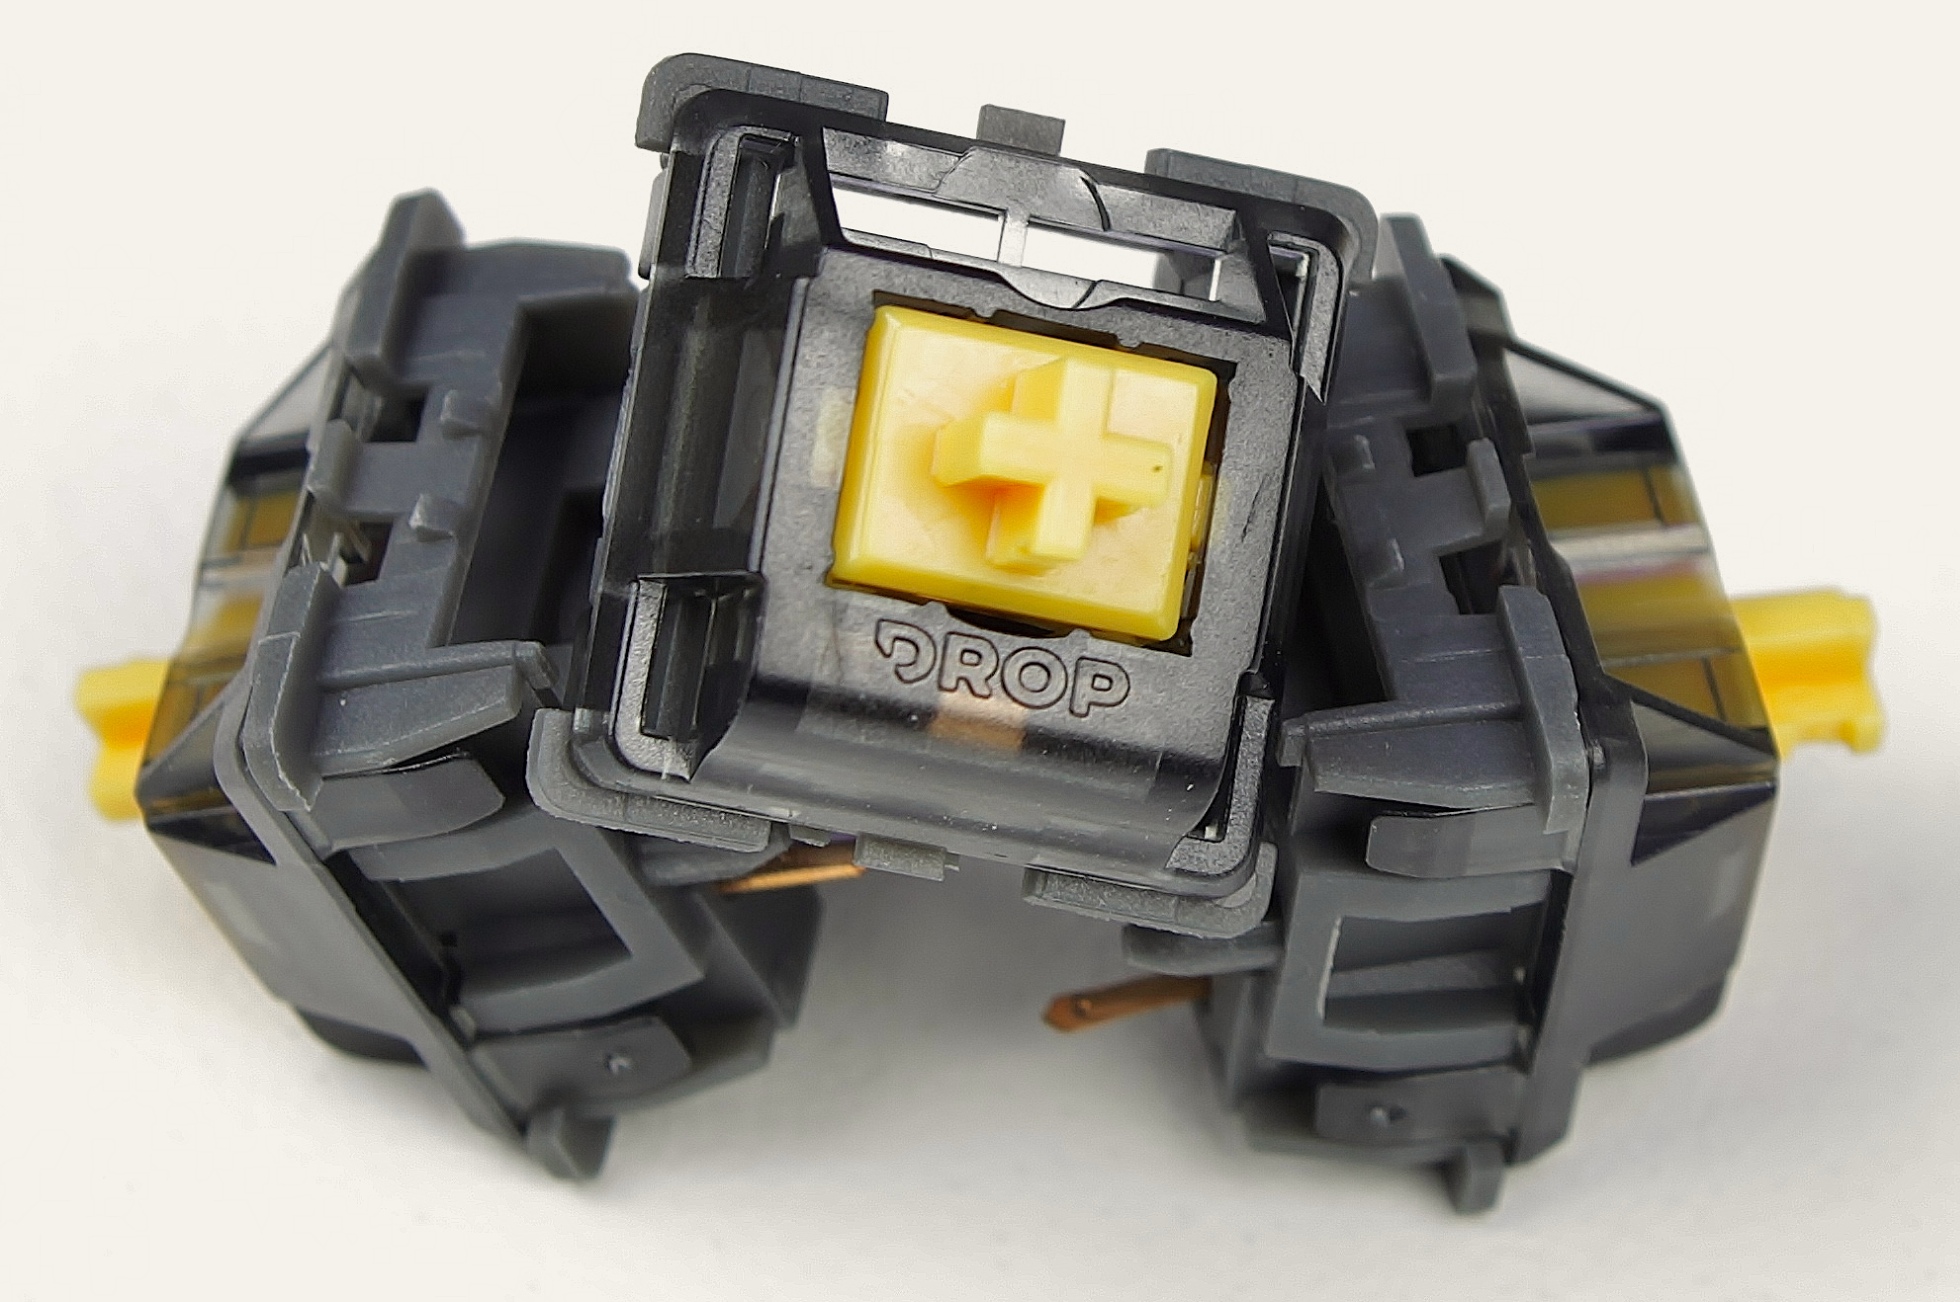
The Holy Pandas in detail:
Conversion of the Corsair K65 Plus
To test the switches, we naturally have to install them in a suitable keyboard. As the test should have already taken place as part of the K65 Plus Wireless Review, we also use this as the basis for the subsequent test.

First of all, the keyboard has to be freed from the factory-fitted keycaps and switches using the tool provided.

To do this, I have created a small series of pictures, which I have stored in an automatically scrolling gallery:


The new switches are then carefully inserted. Center them well and then click them carefully but with appropriate pressure into the carrier plate. If the keyboard is connected, you can see whether the pins are making contact before the final click-in.

The individual steps are then repeated for the entire keyboard. When removing the keycaps, I had lined them up directly in the form of the keyboard layout so that I only had to “grab and put on” when fitting them instead of having to search for a long time.


The entire conversion, including photo documentation and meticulous fitting of the keycaps, took me 33 minutes as a layman. Depending on your experience and layout, you should be able to complete such a conversion in 15-20 minutes.


9 Antworten
Kommentar
Lade neue Kommentare
Urgestein
Veteran
Urgestein
Urgestein
Mitglied
Urgestein
Urgestein
Mitglied
Neuling
Alle Kommentare lesen unter igor´sLAB Community →