Allgemein Case Reviews Watercooling

Double test in a two-chamber case – Corsair 6500 Series Mid-Tower and the XH405i RGB Hard-Tube Custom-Loop Kit

After a long delay, today we are taking a look at the new dual-chamber case from Corsair, which generates powerful Carbide Air 540 vibes. As I also installed the XH405i RGB Hard-Tube Watercooling Kit as part of the test, you can expect plenty of pictures. So better get a large coffee to read the article today.

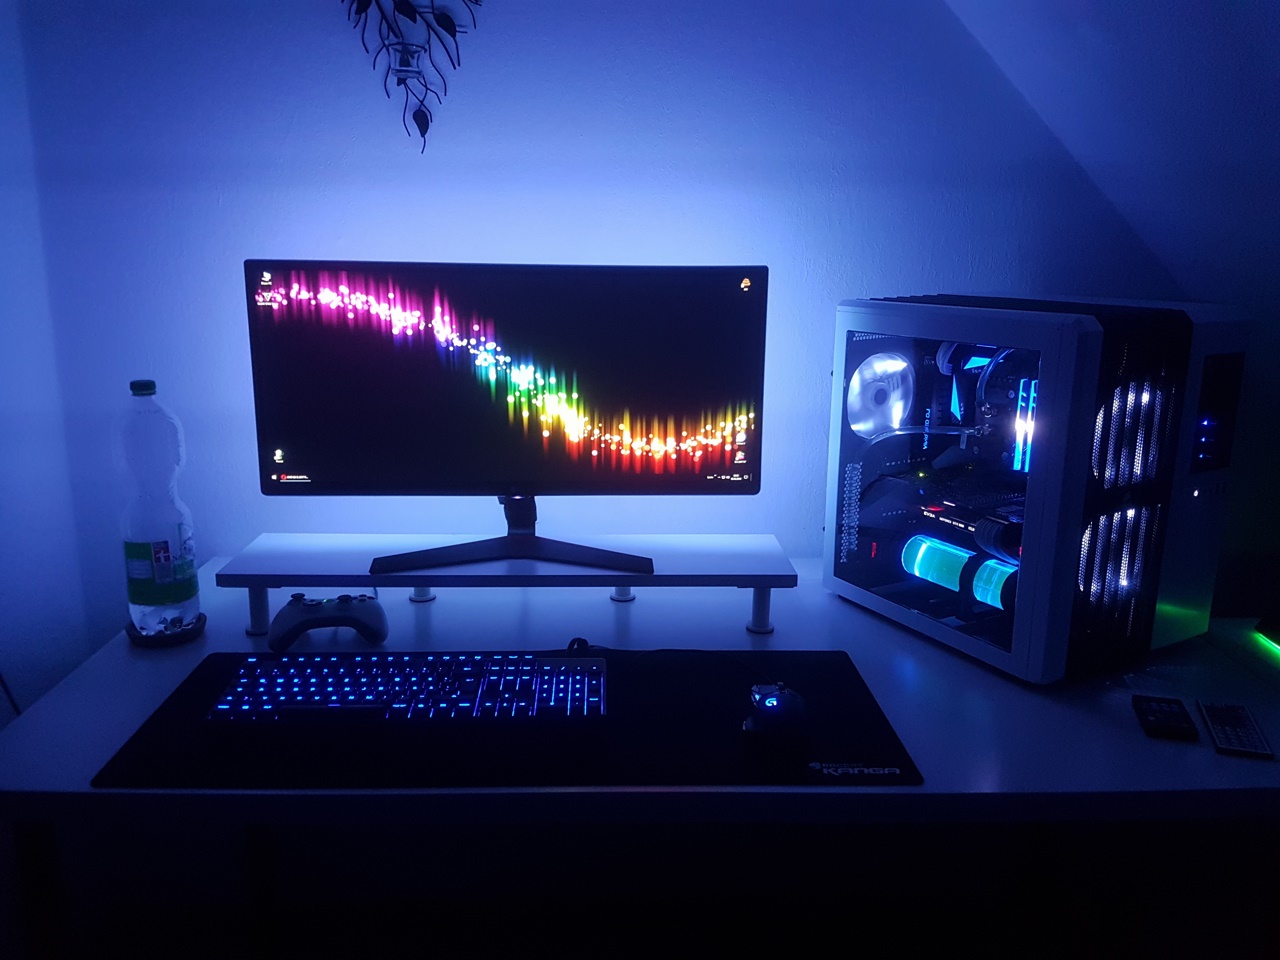
To be precise, it was the Corsair Carbide Air 540 that rekindled my passion for PC building almost 10 years ago. Before that, I had only used Chieftec Bigtowers for over a decade, with a brief detour to the Cooler Master Mystique with an externally mounted radiator in between. When no really exciting CPUs came from AMD for a long time and I was able to enjoy all new games in maximum quality “forever” with the GTX 560 Ti, which was already getting on in years, the PC hobby had pretty much fallen asleep. And suddenly there it was. The Carbide Air 540, on the desk of a fellow student where we had met to study. We quickly discarded the actual topic and it was all about computers. A short time later, the case was also on my desk and the PC spiral continued:

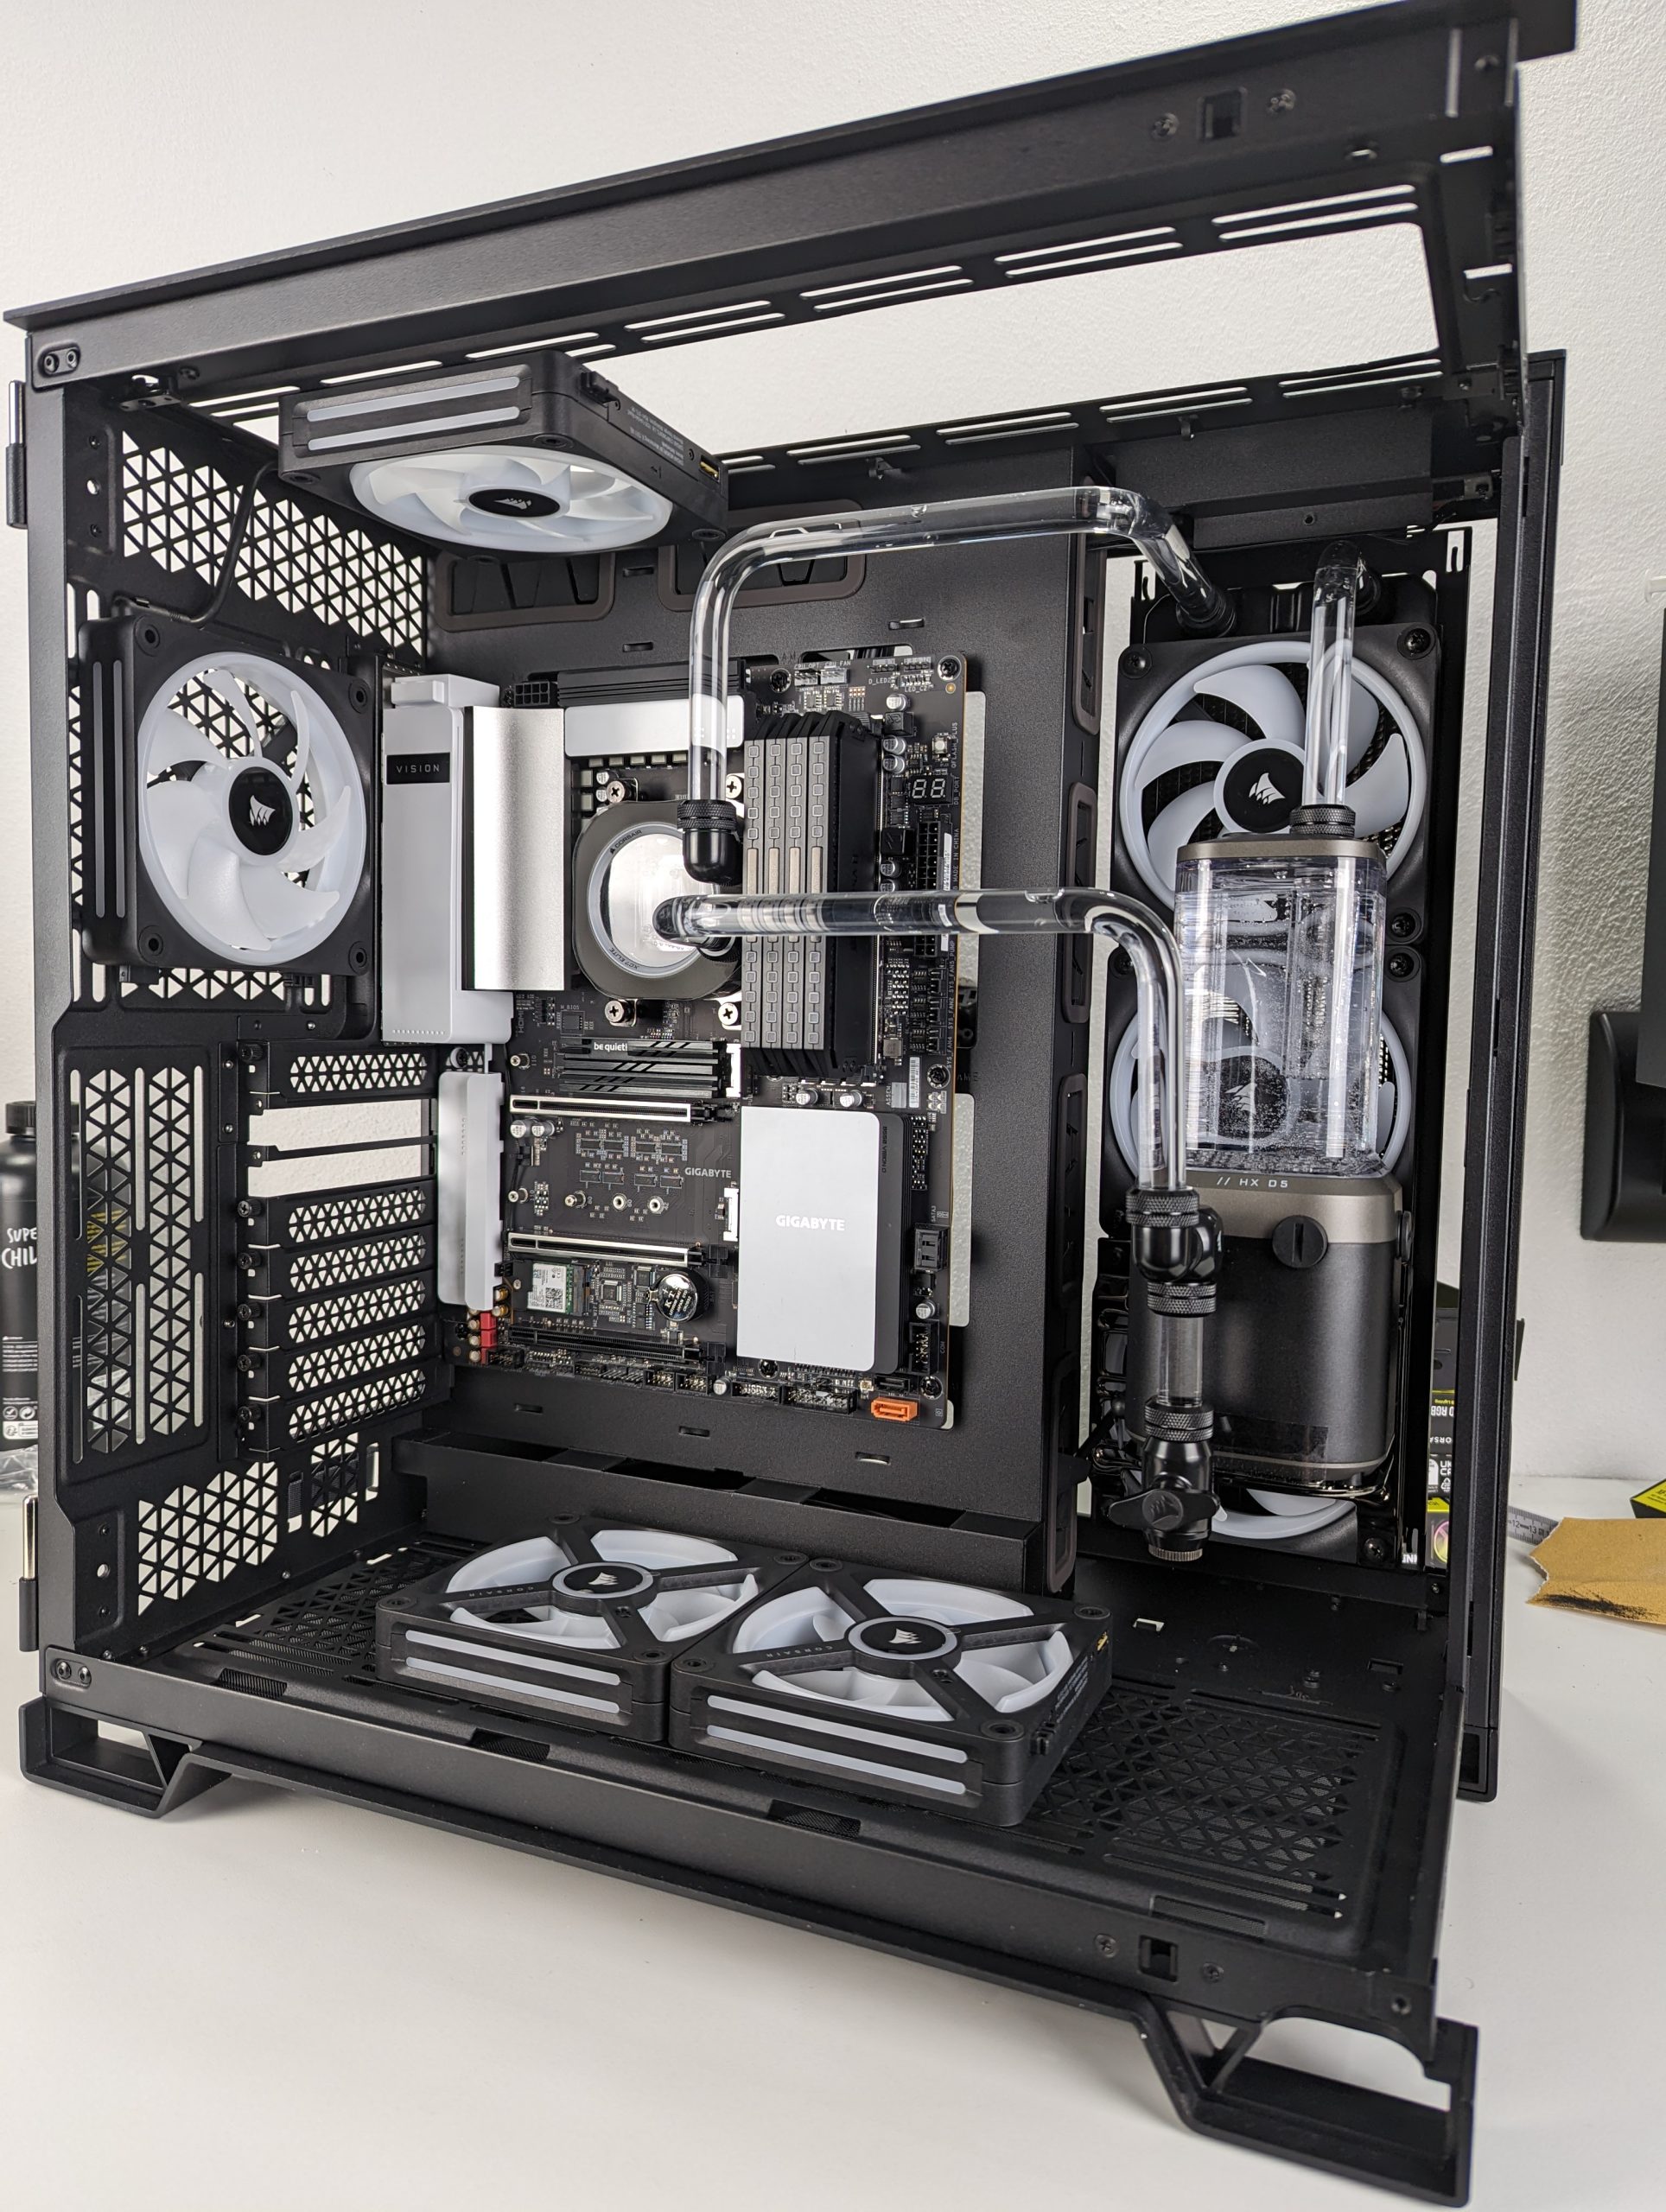
What does all this have to do with the Corsair 6500? Quite simply, the Air 540 had to go back then because it simply couldn’t keep up with the new “fancy” RGB glass cases with its Plexiglas side panel and lack of modern features. I did miss the spacious cube from time to time and the official successor, the Crystal 680, didn’t fully convince me. The 6500, on the other hand, even though it smells suspiciously of O11 Dynamic once again, seemed to me to be a worthy successor to the good old Air 540 and because I was so euphoric about the test, we let it fly right away and installed the new XH405i RGB Hard-Tube Watercooling Kit. But before we get to the technical data and the water cooling kit, let’s first take a look at the case.
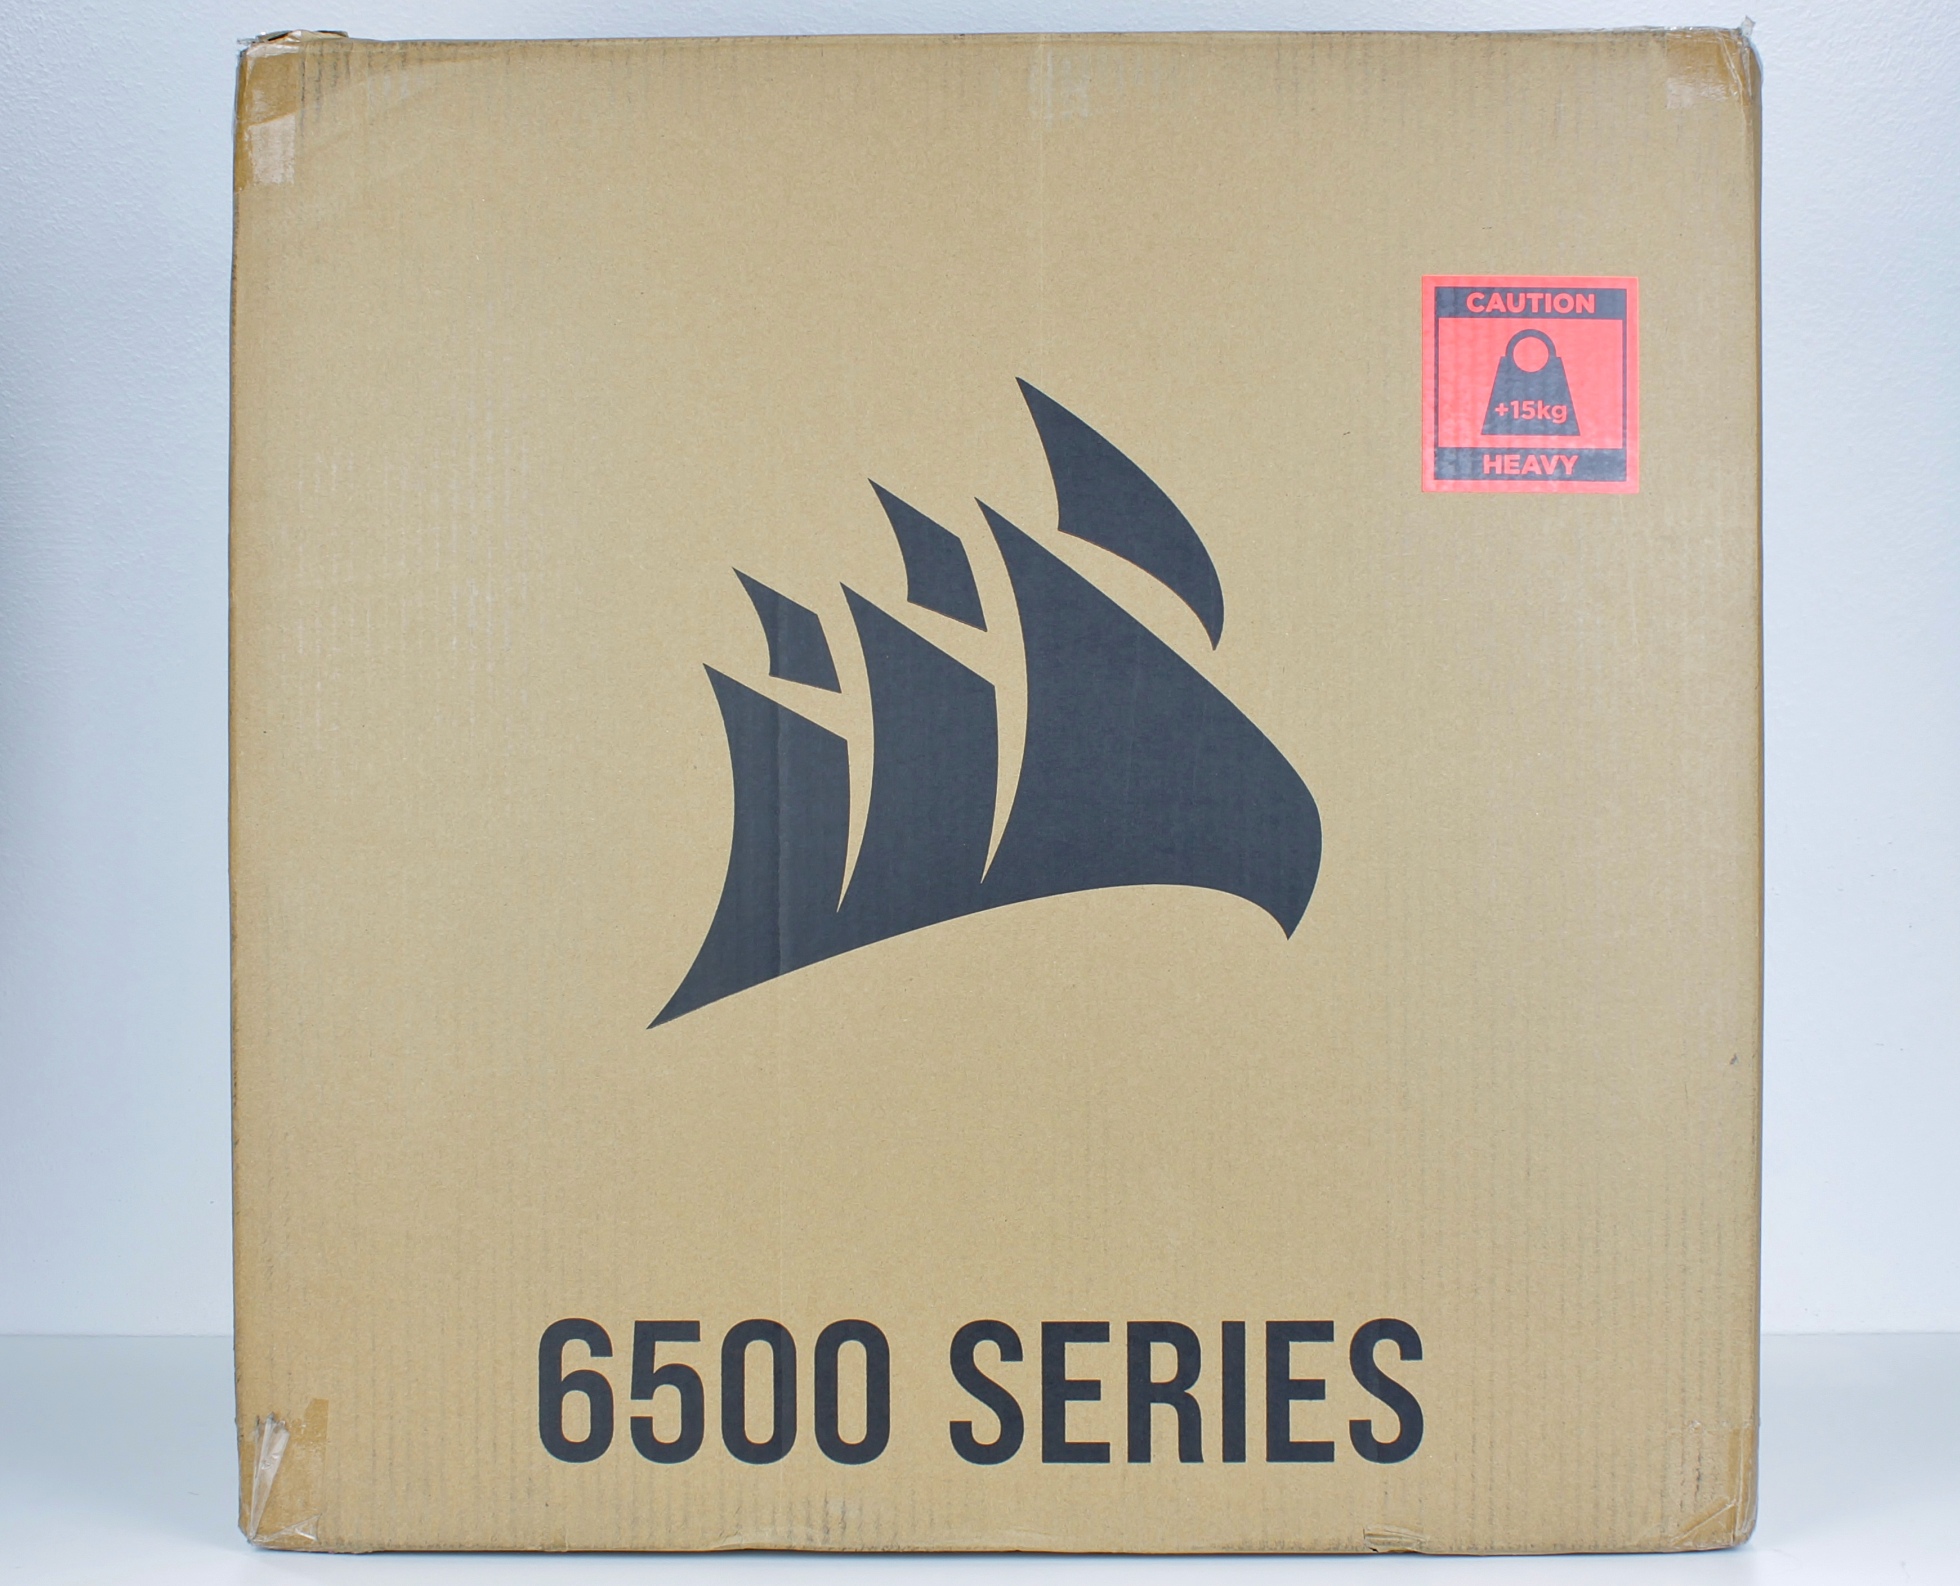
 

Unboxing

The box gives no indication of the contents.

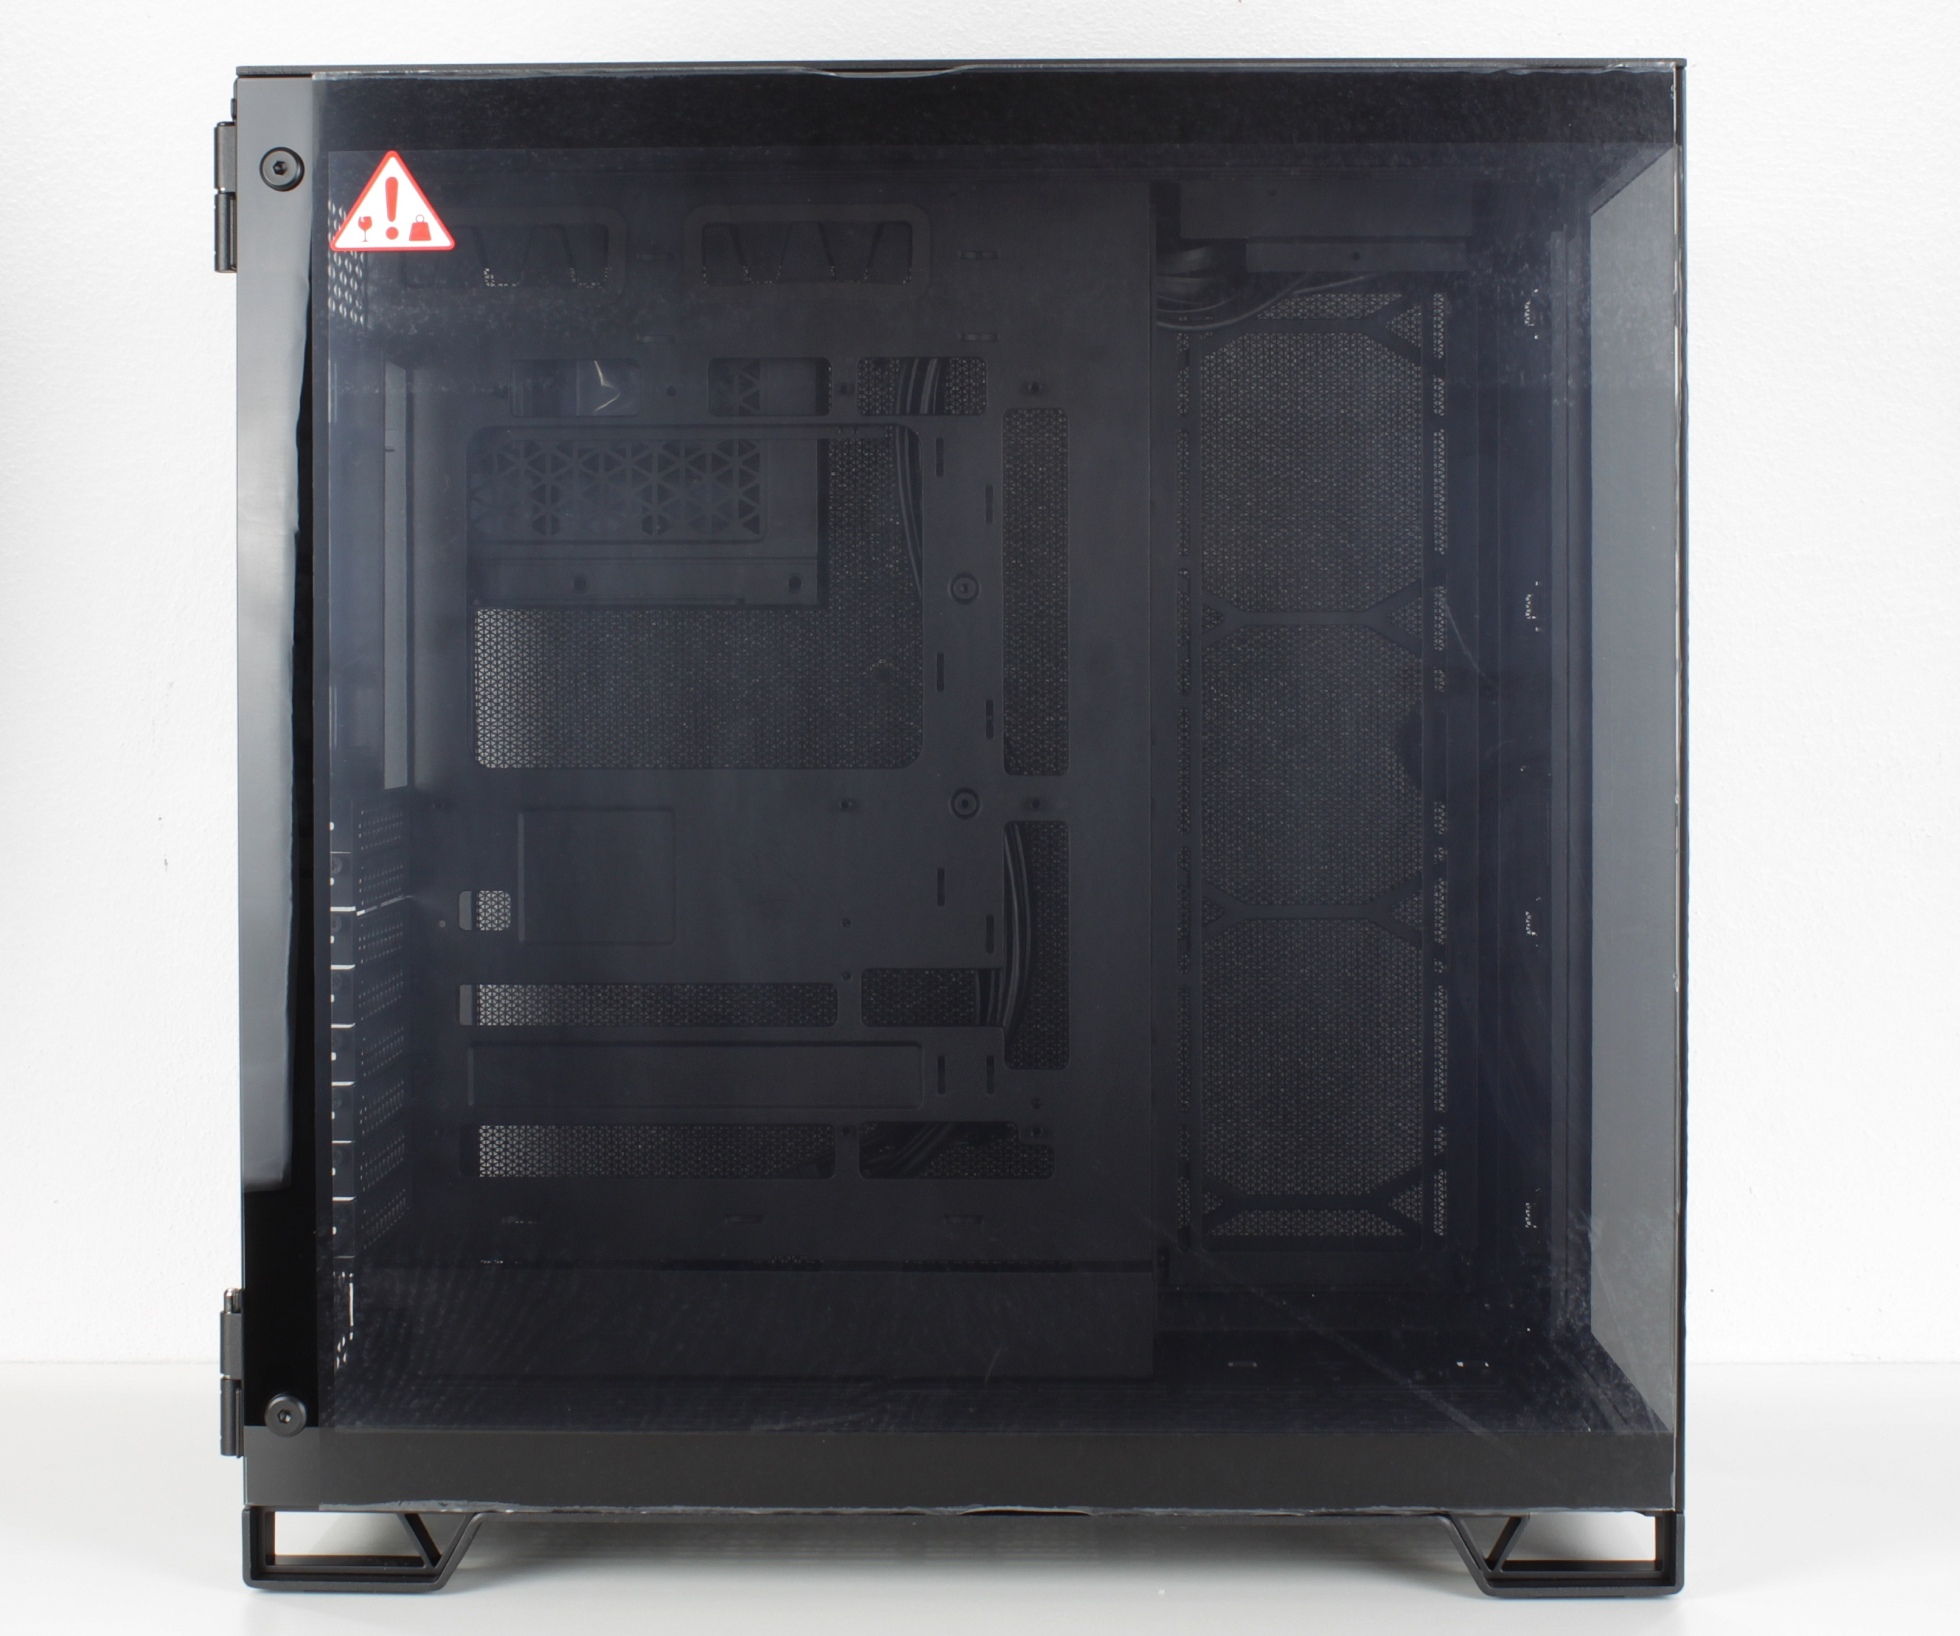
Let’s take the 6500X out of its packaging and take a look at it from all sides. The left side panel is made entirely of glass.

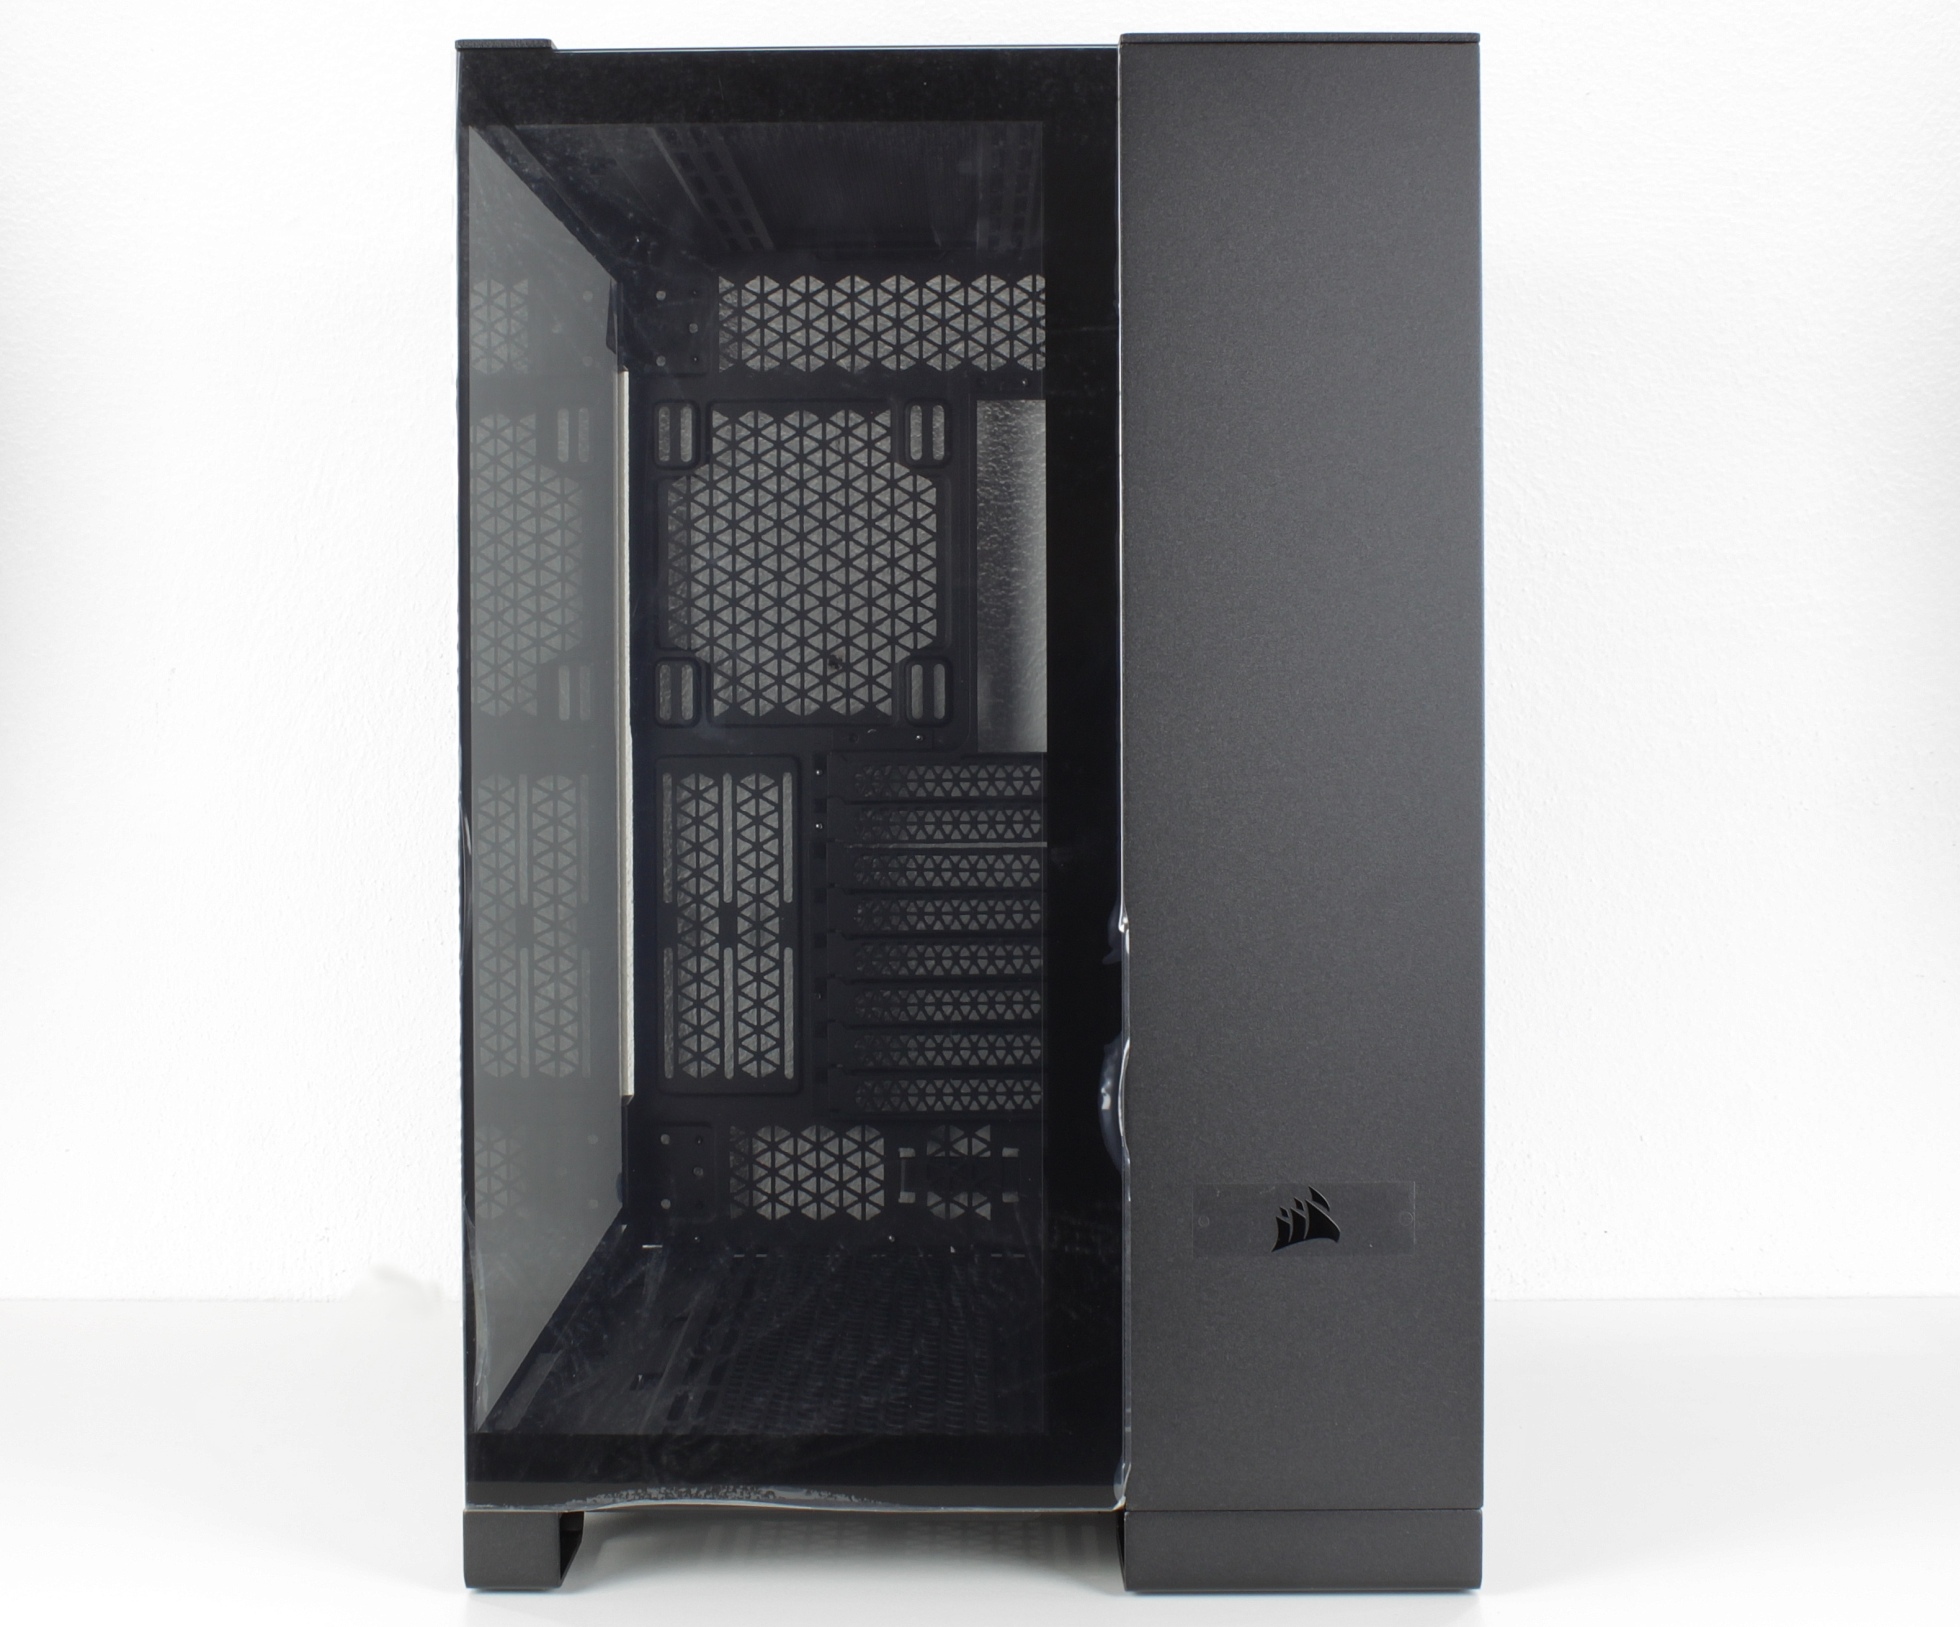
The front of the 6500X (RGB) is closed with a glass panel, while the 6500D Airflow would have a grille instead of a glass panel.

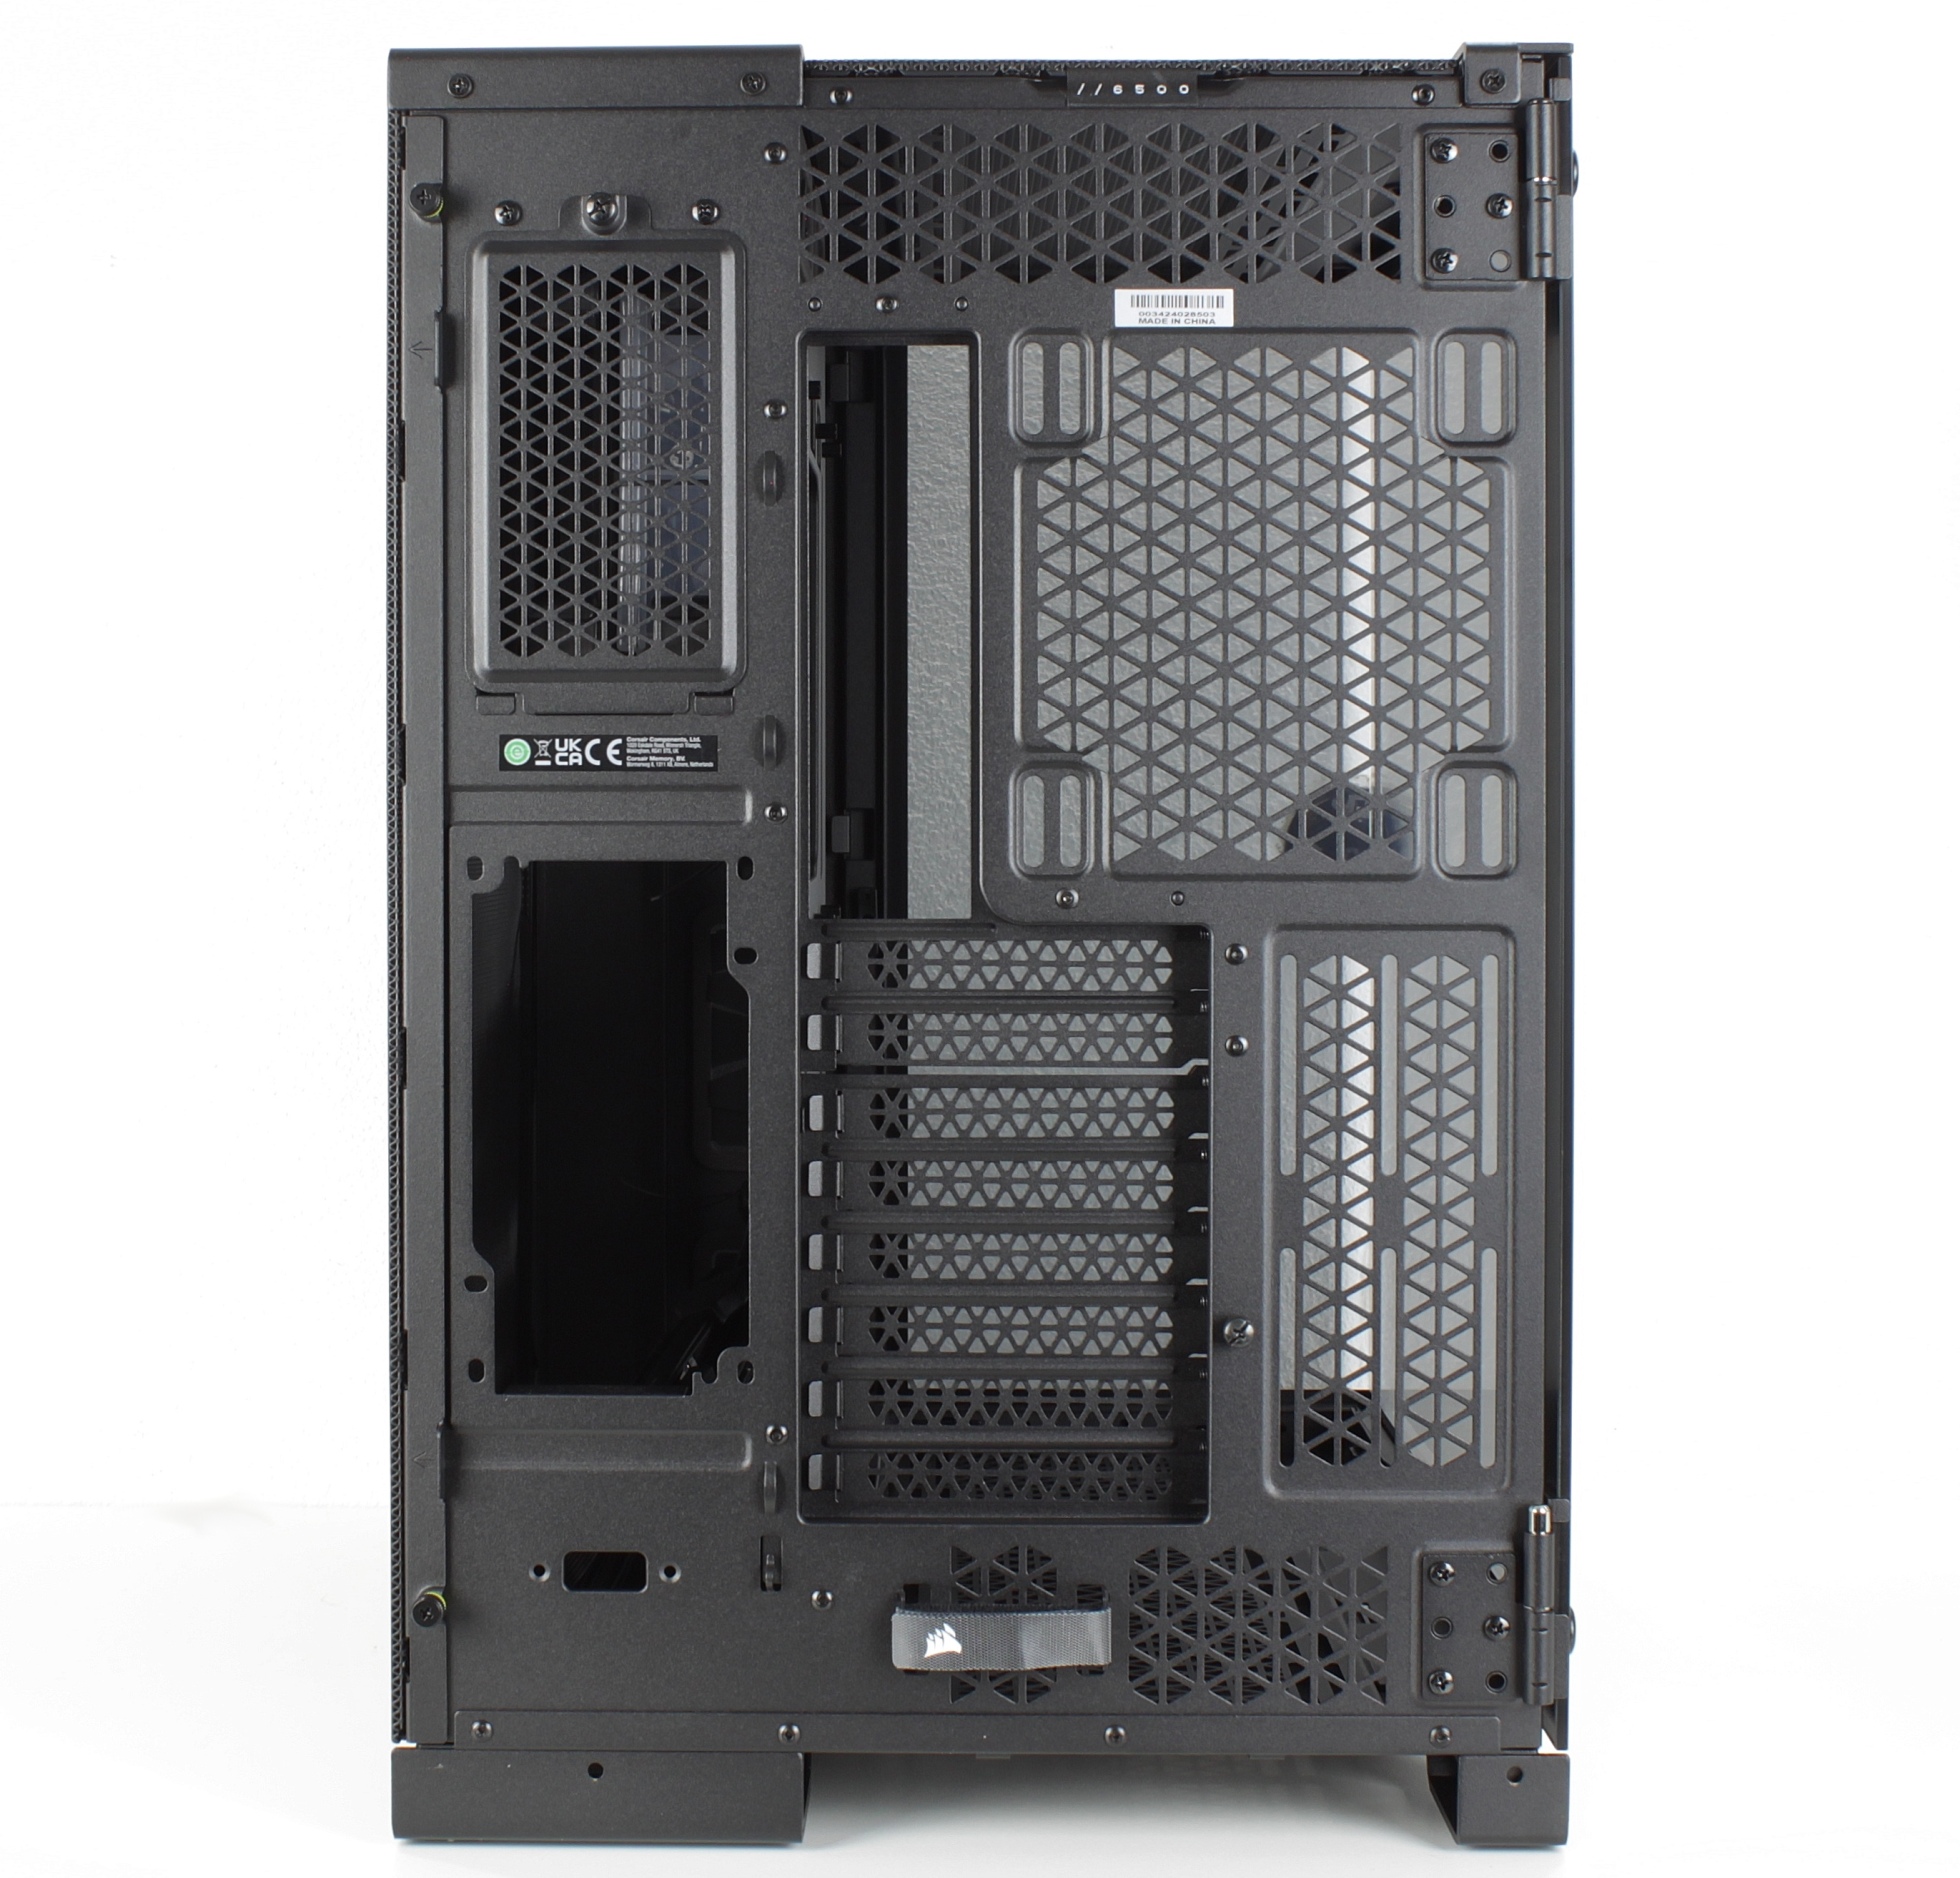
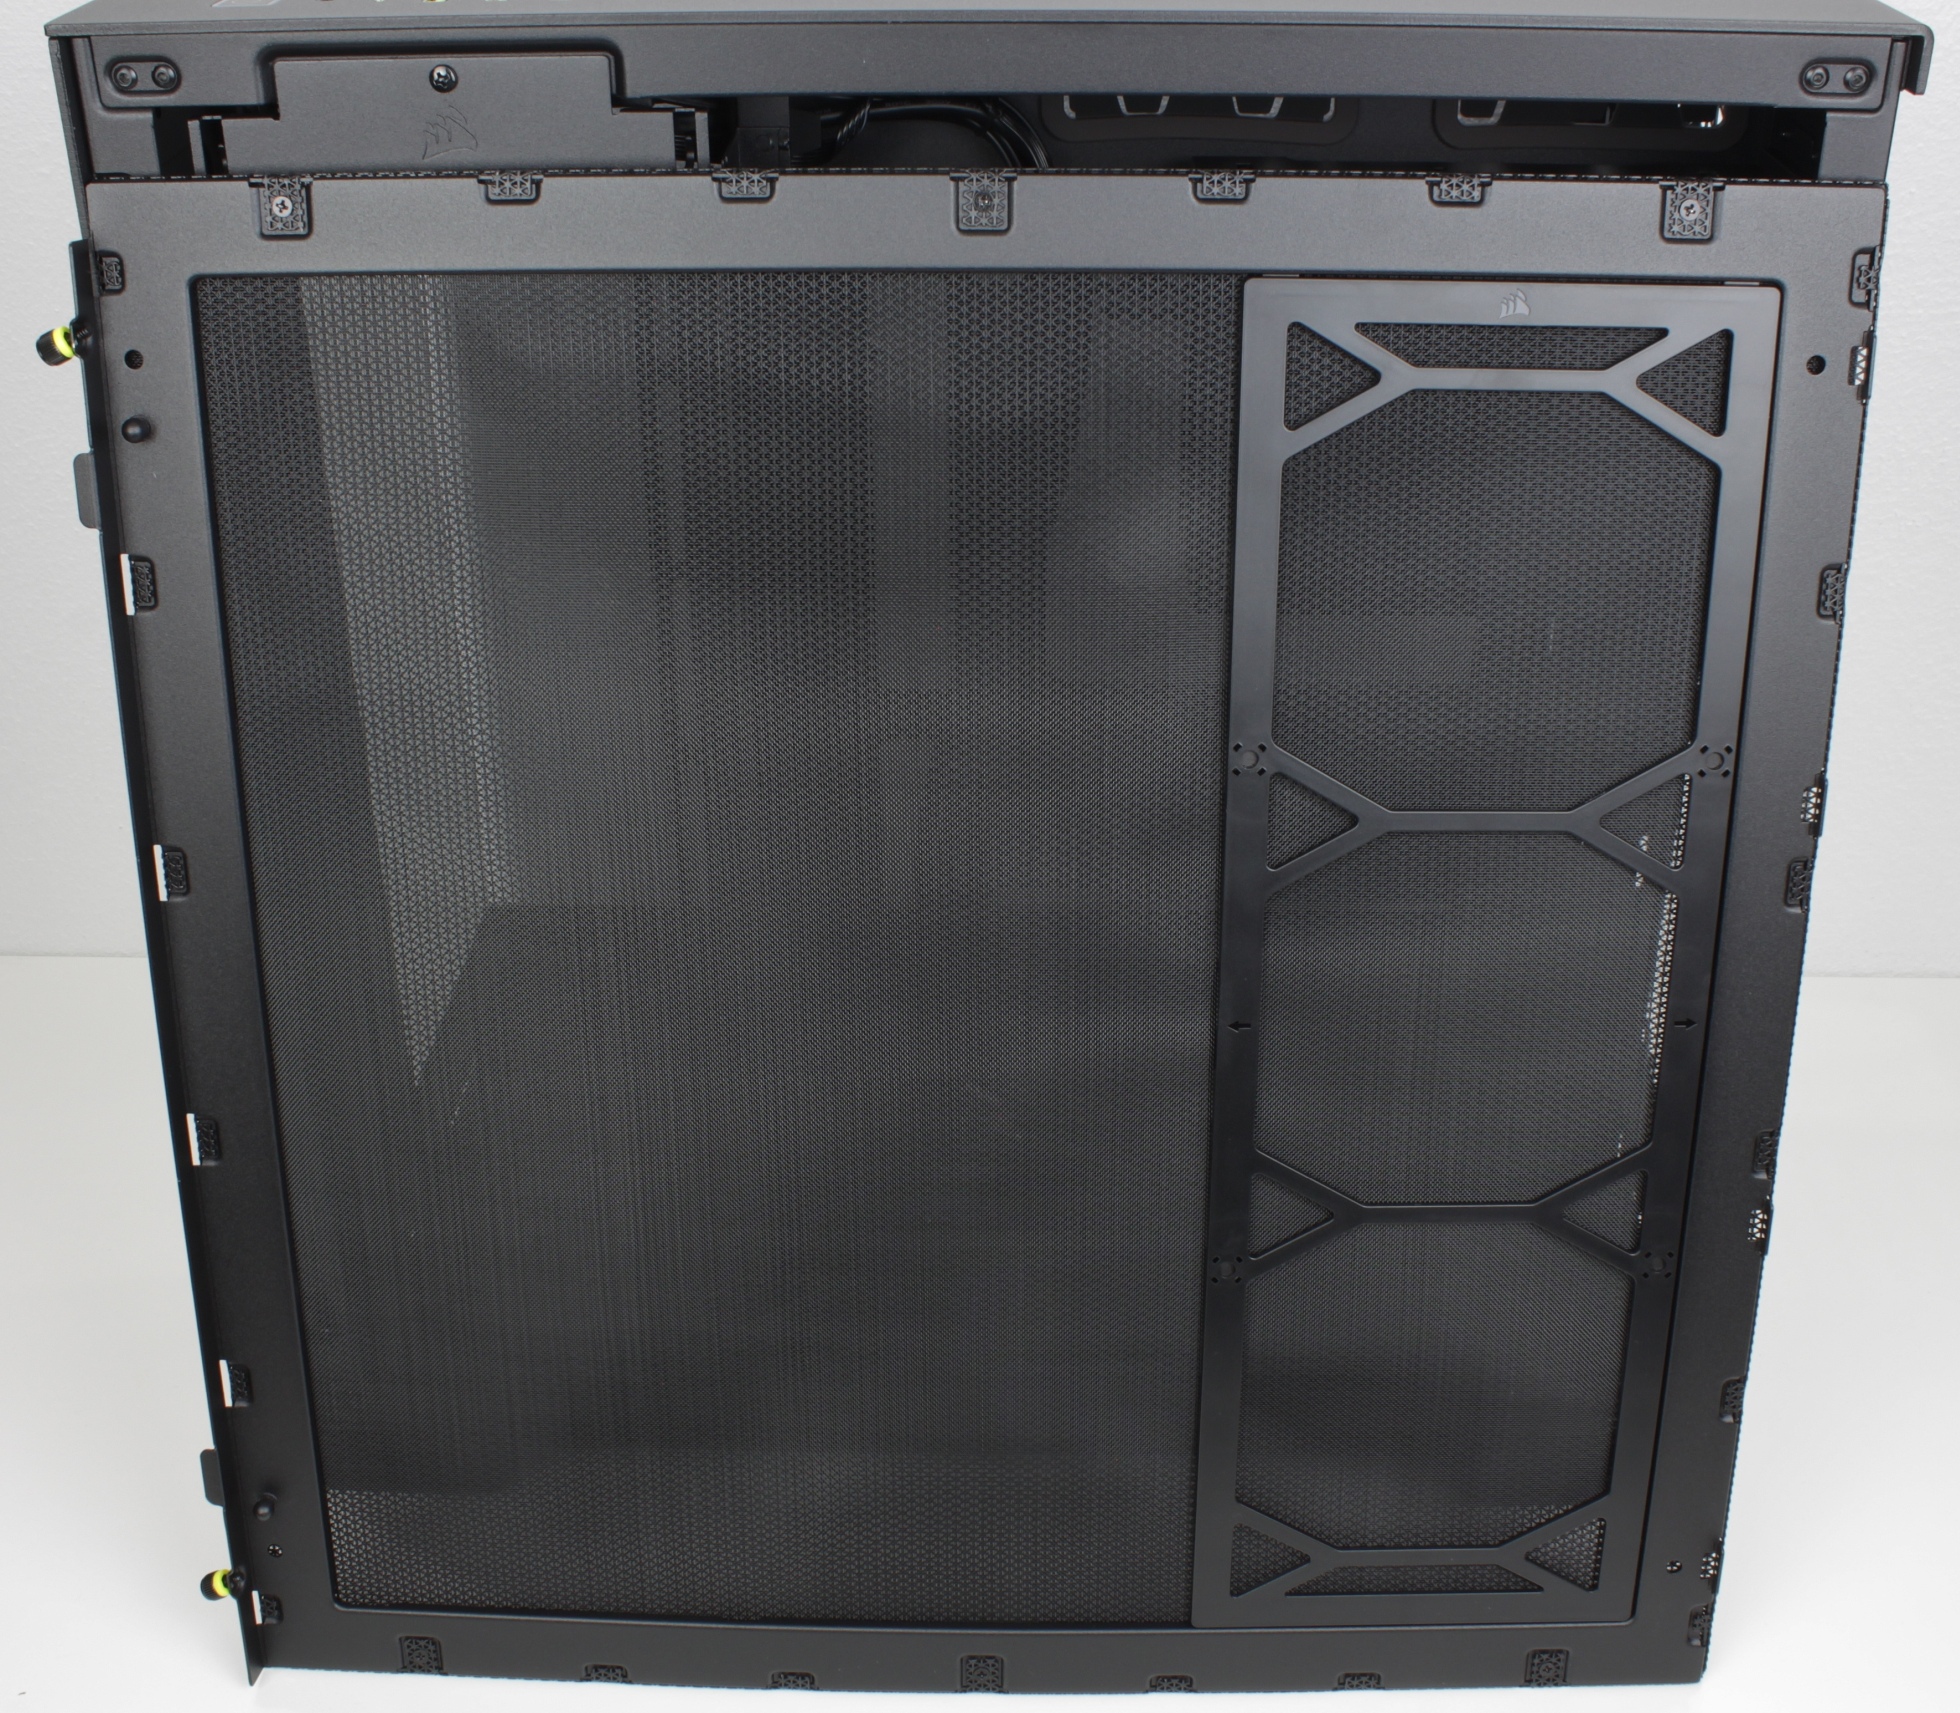
The right-hand side panel is made entirely of mesh on all variants and is therefore very airy.

There have also been some changes to the rear compared to the 540 Air, but above all the available space has been used much more efficiently. We will take a closer look at the details later.

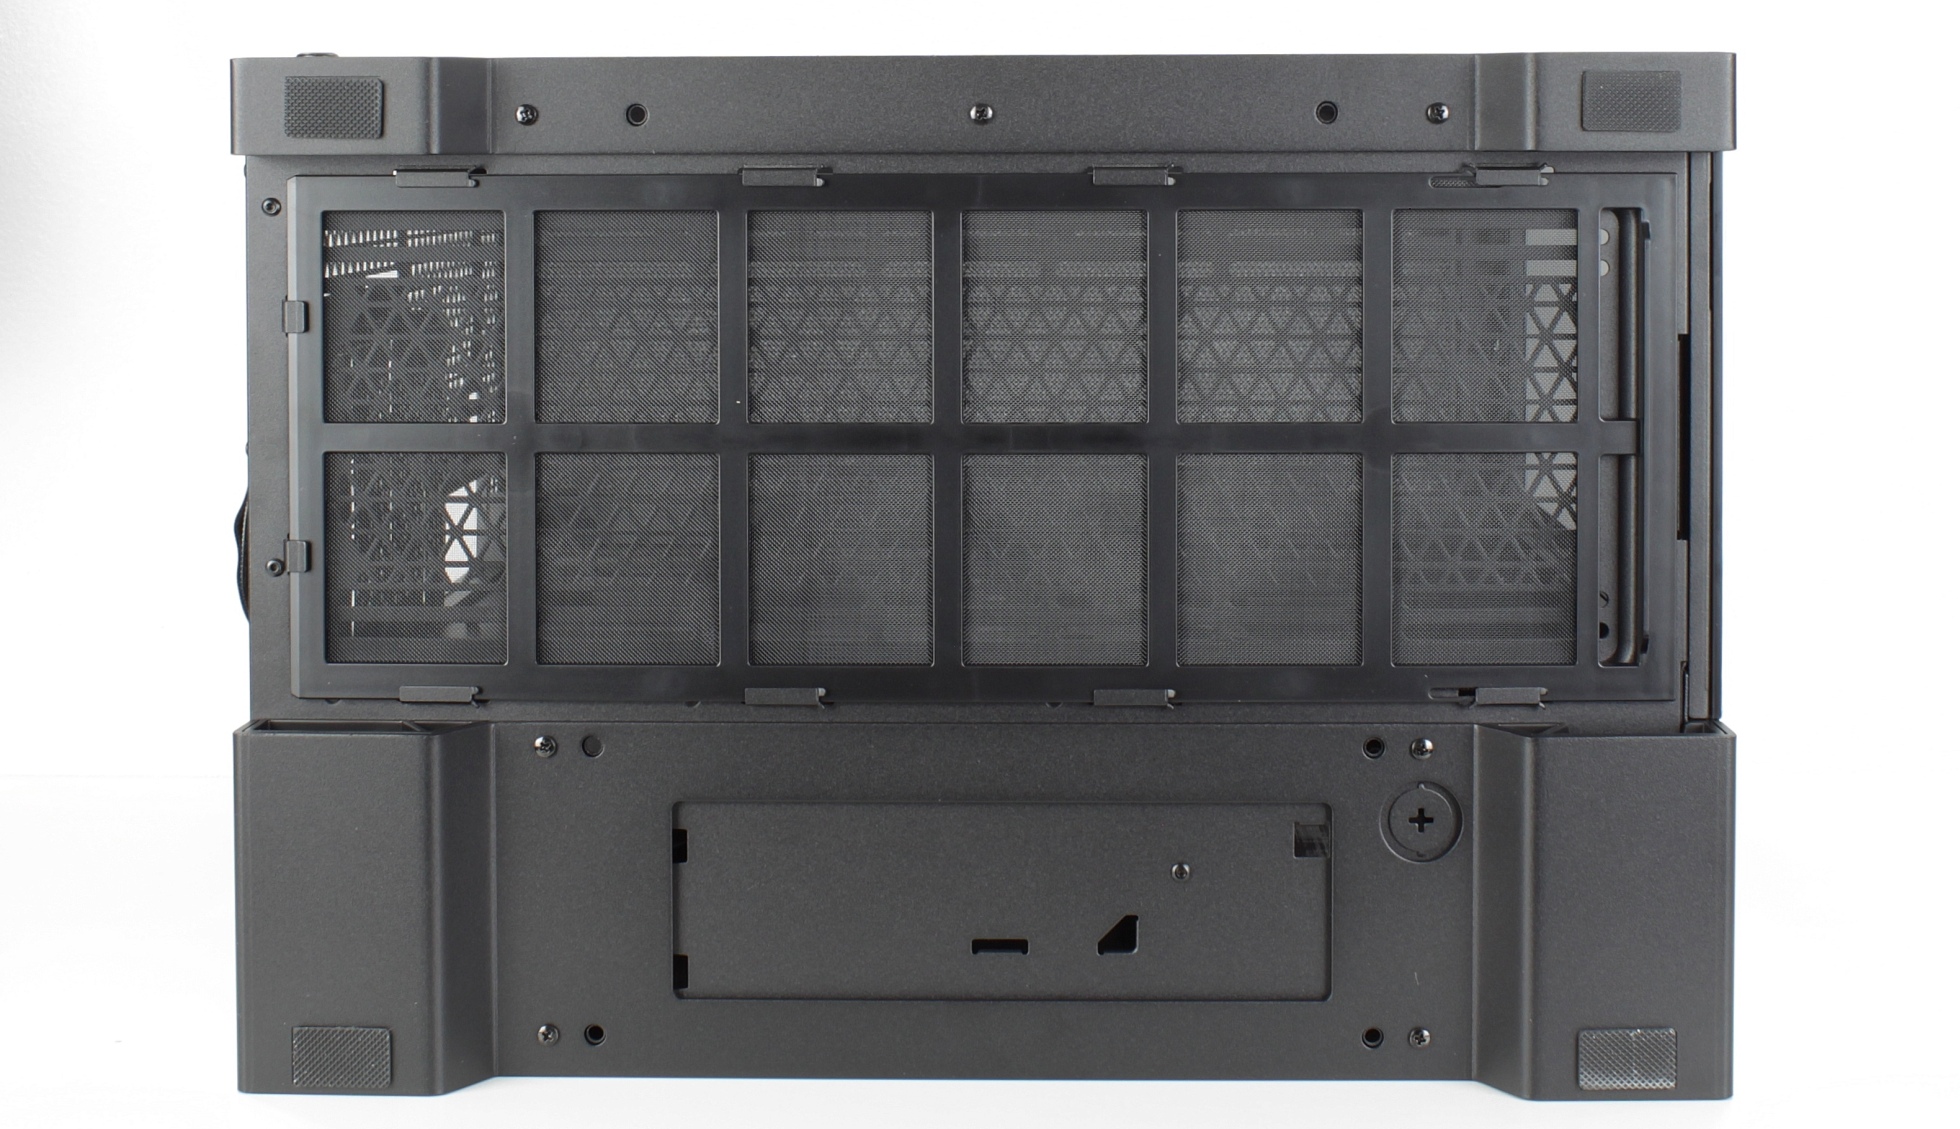
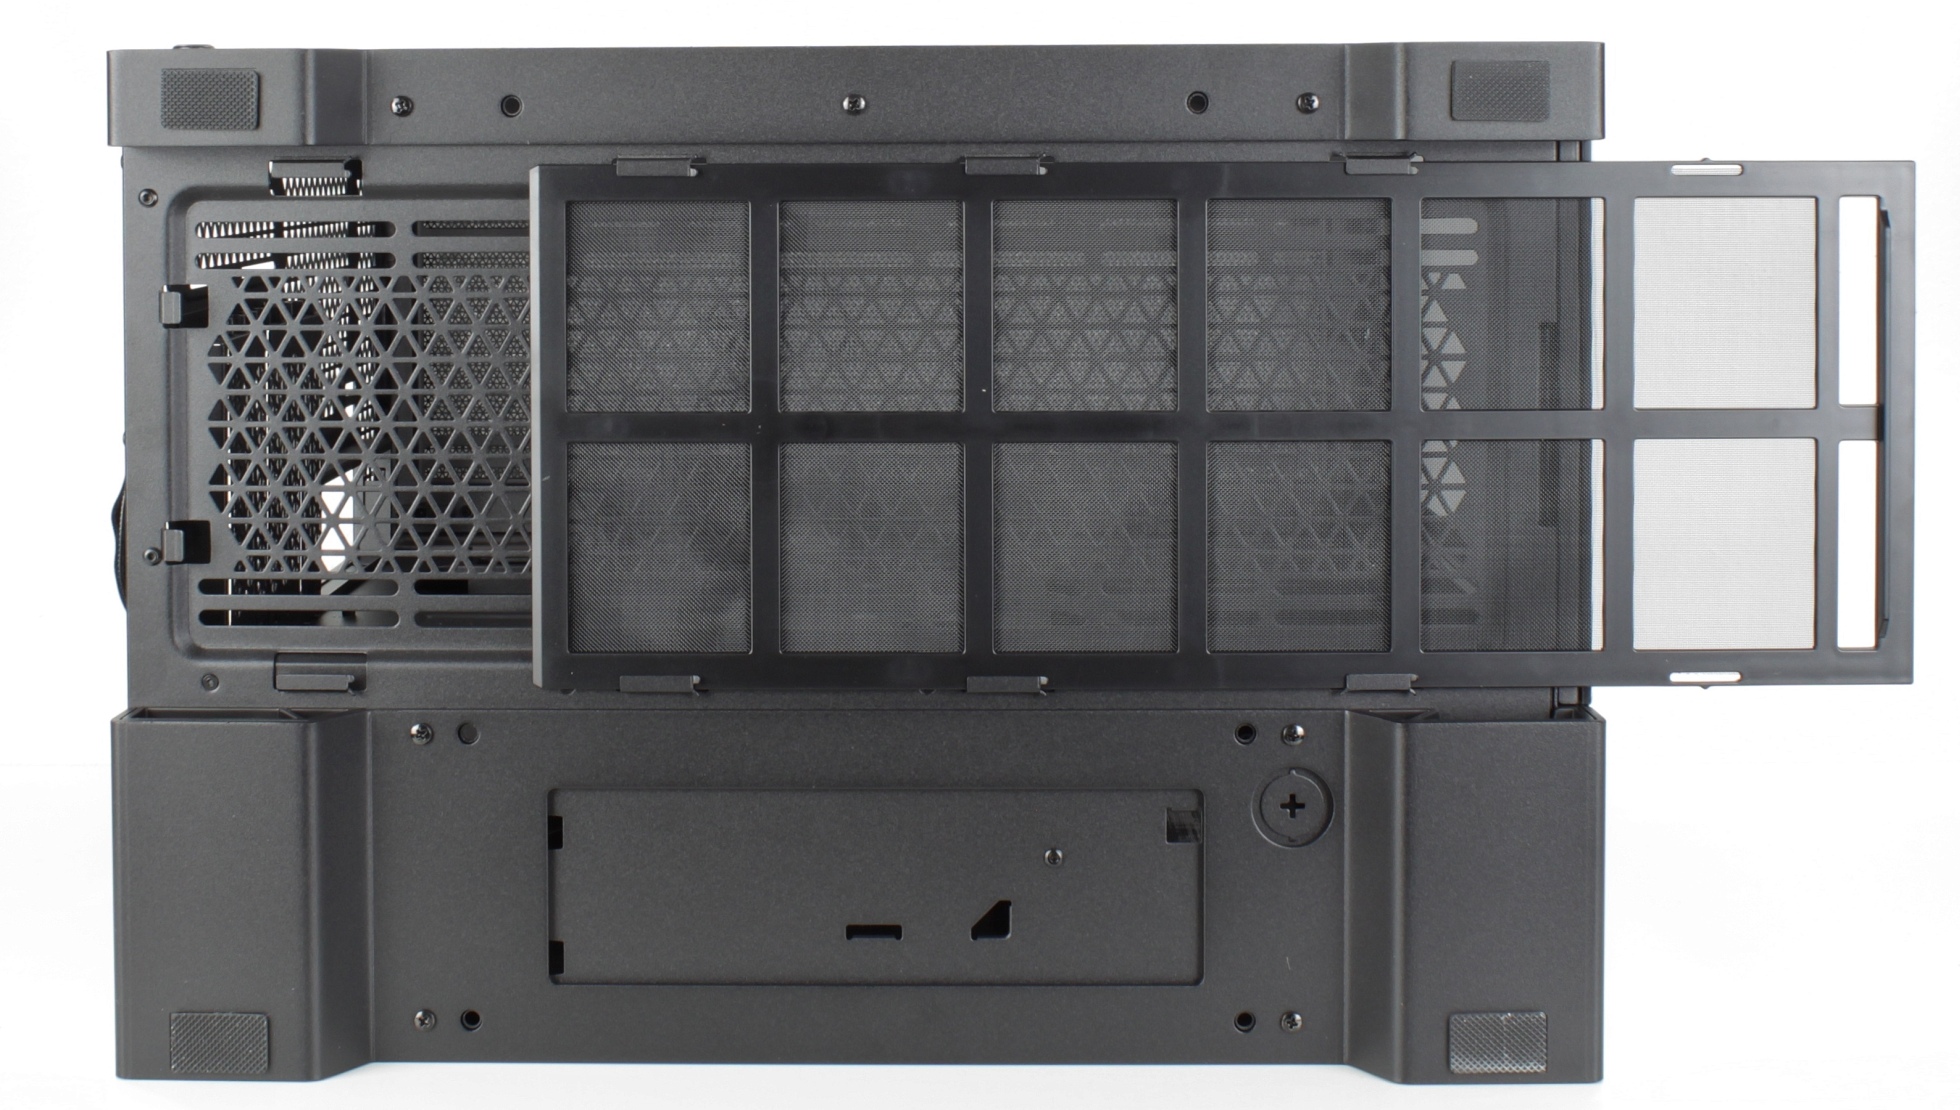
There’s not much to see on the floor. The “feet” (you could almost call them “supports”) can be unscrewed and the large dust filter can be pulled out to the front – very easy to maintain.

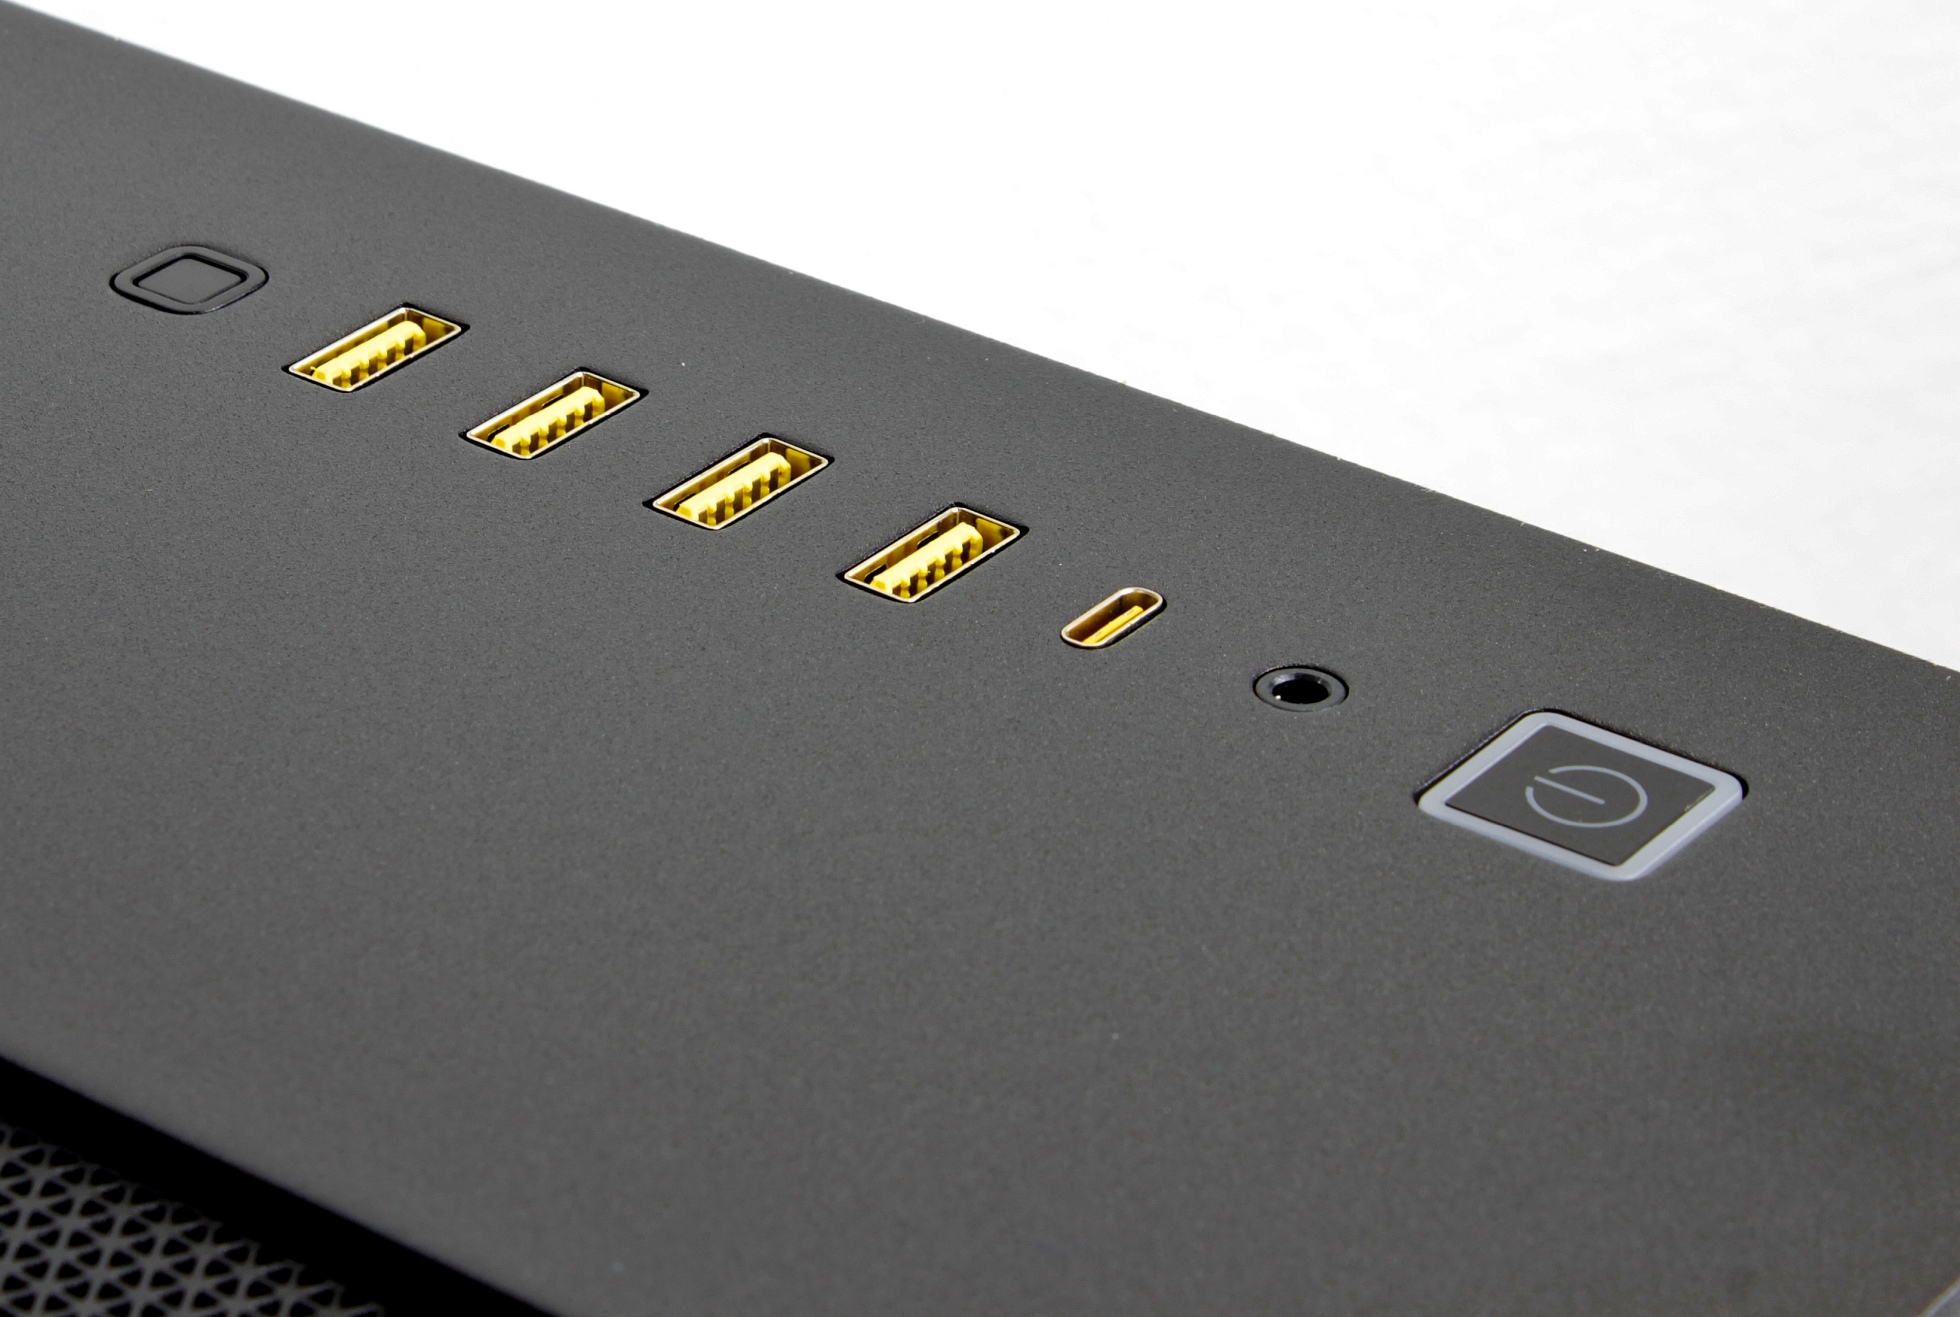
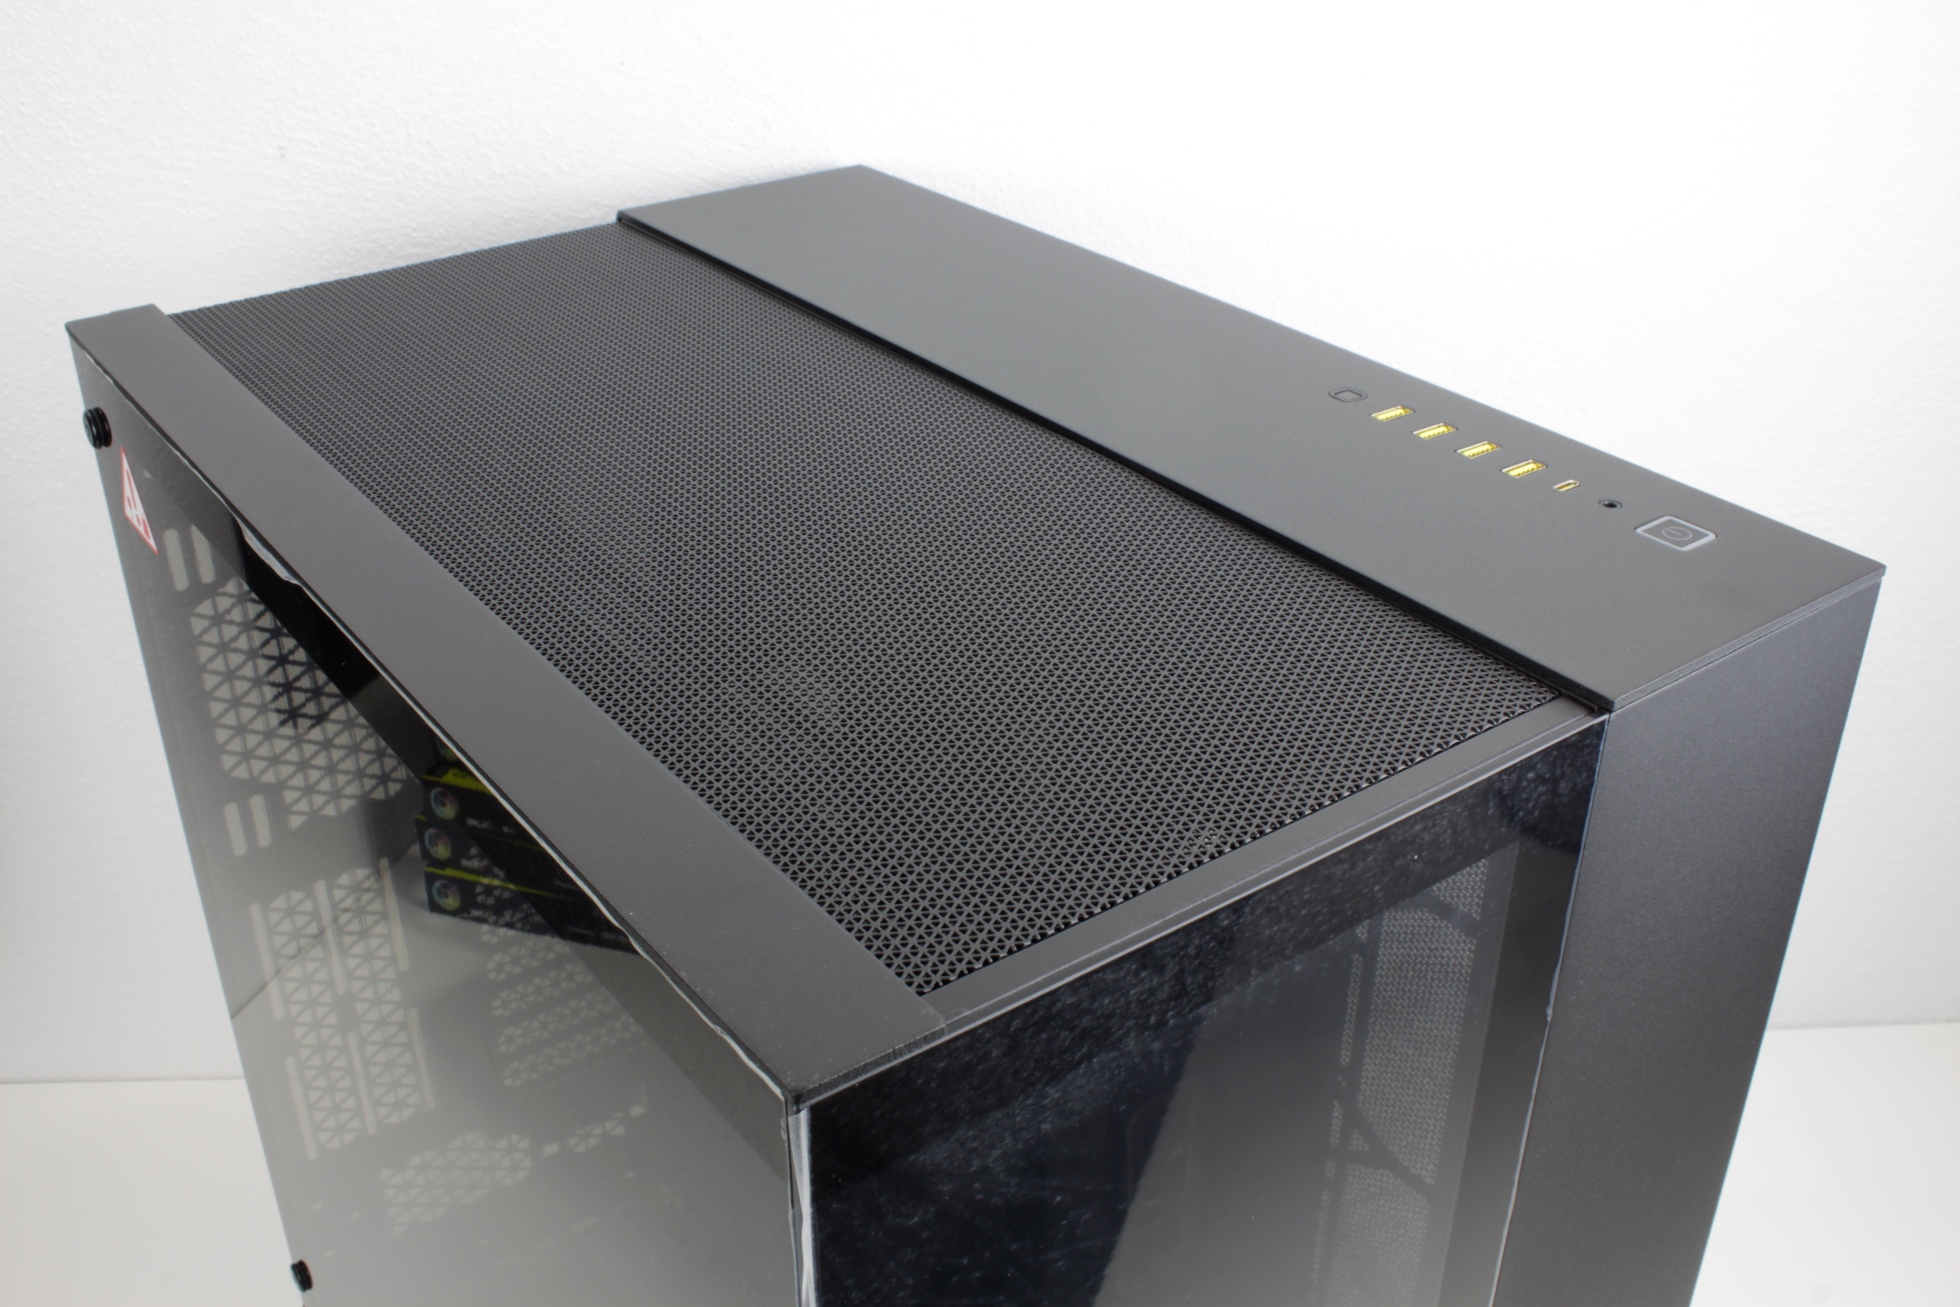
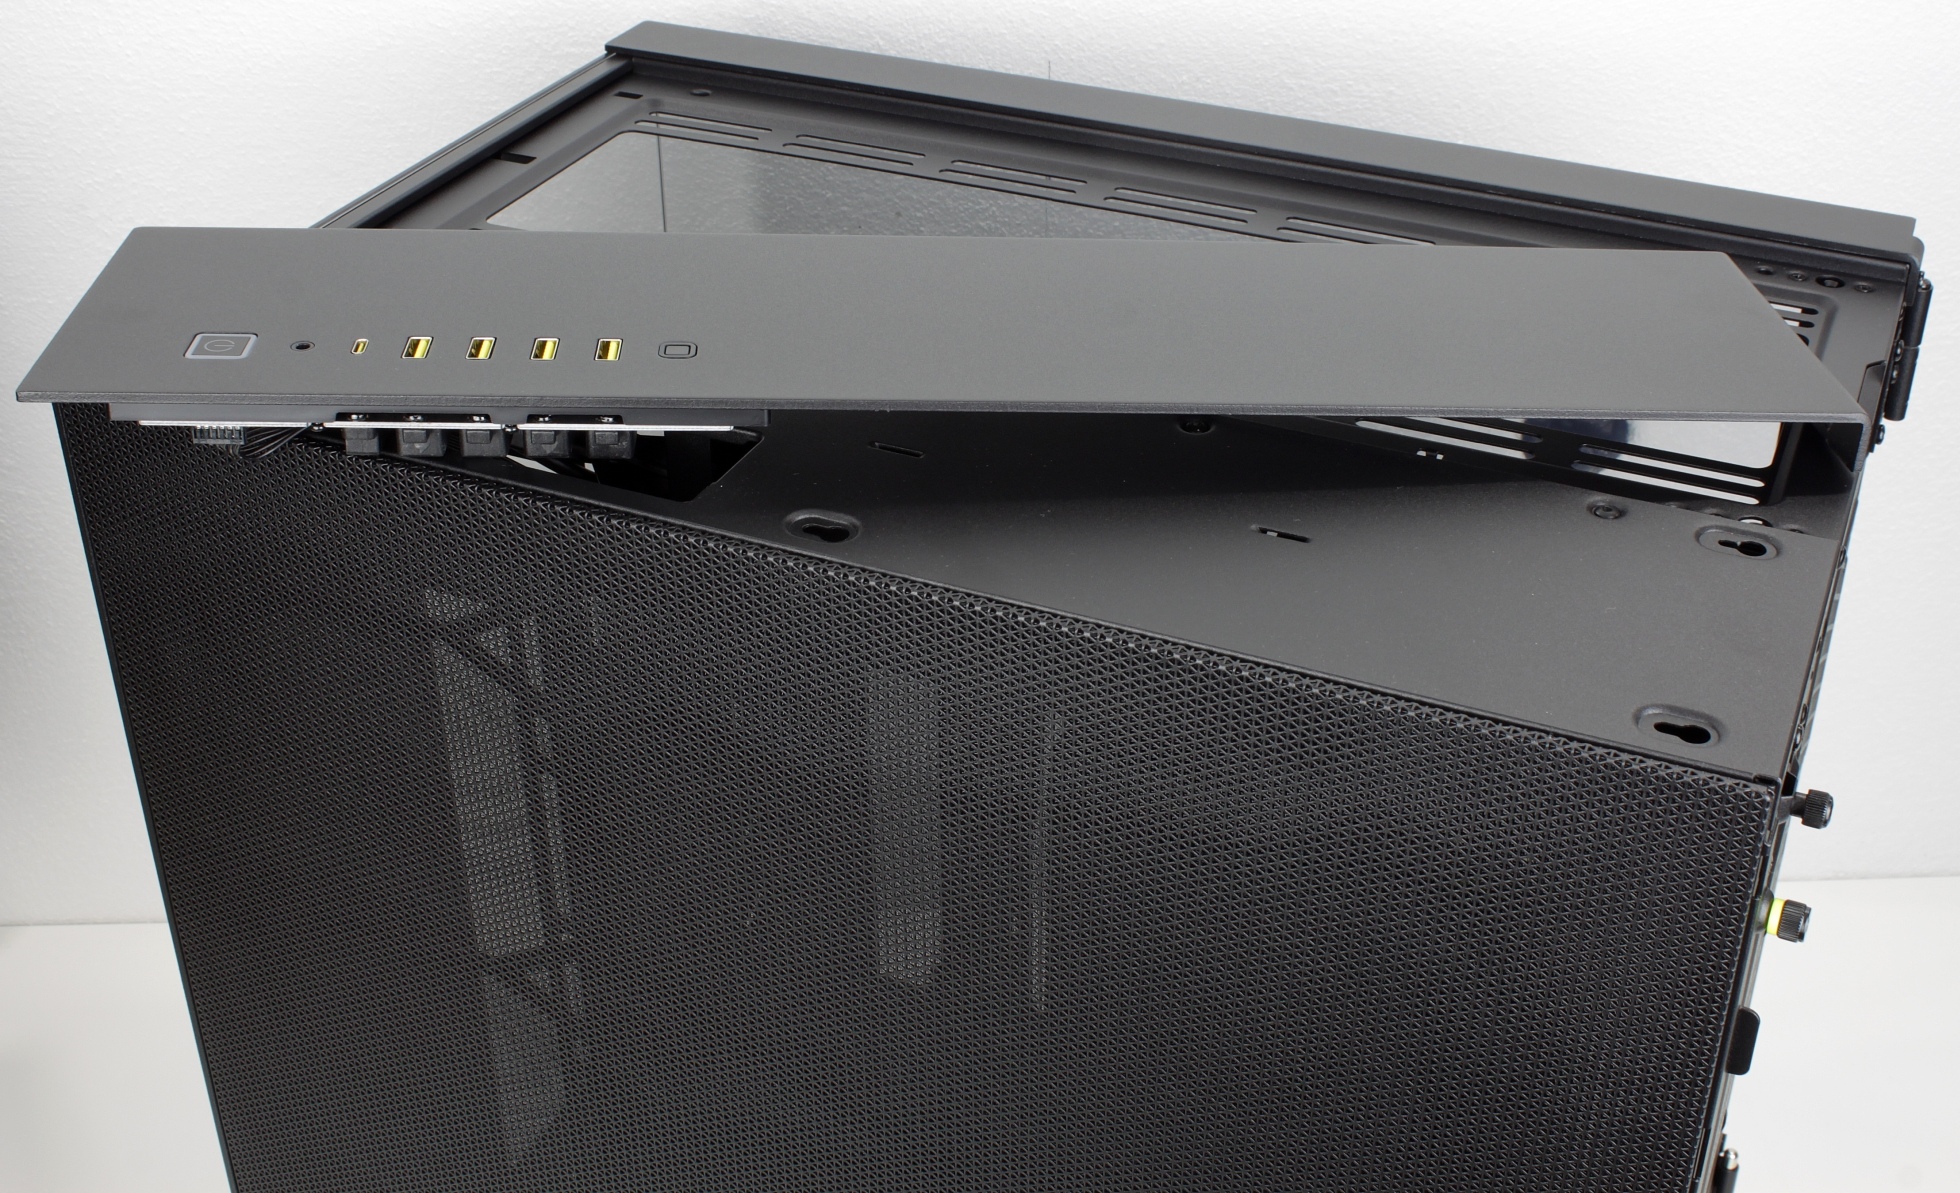
On the lid we find the lush front I/O, which leaves nothing to be desired: 4 x USB 3.0, 1xUSB-C, power and reset button and a 3.5mm combo jack is also available.

The mesh cover is simply clicked into place and can be removed in no time at all. There is space for three 120/140mm fans underneath, but there is no additional dust filter at this point.

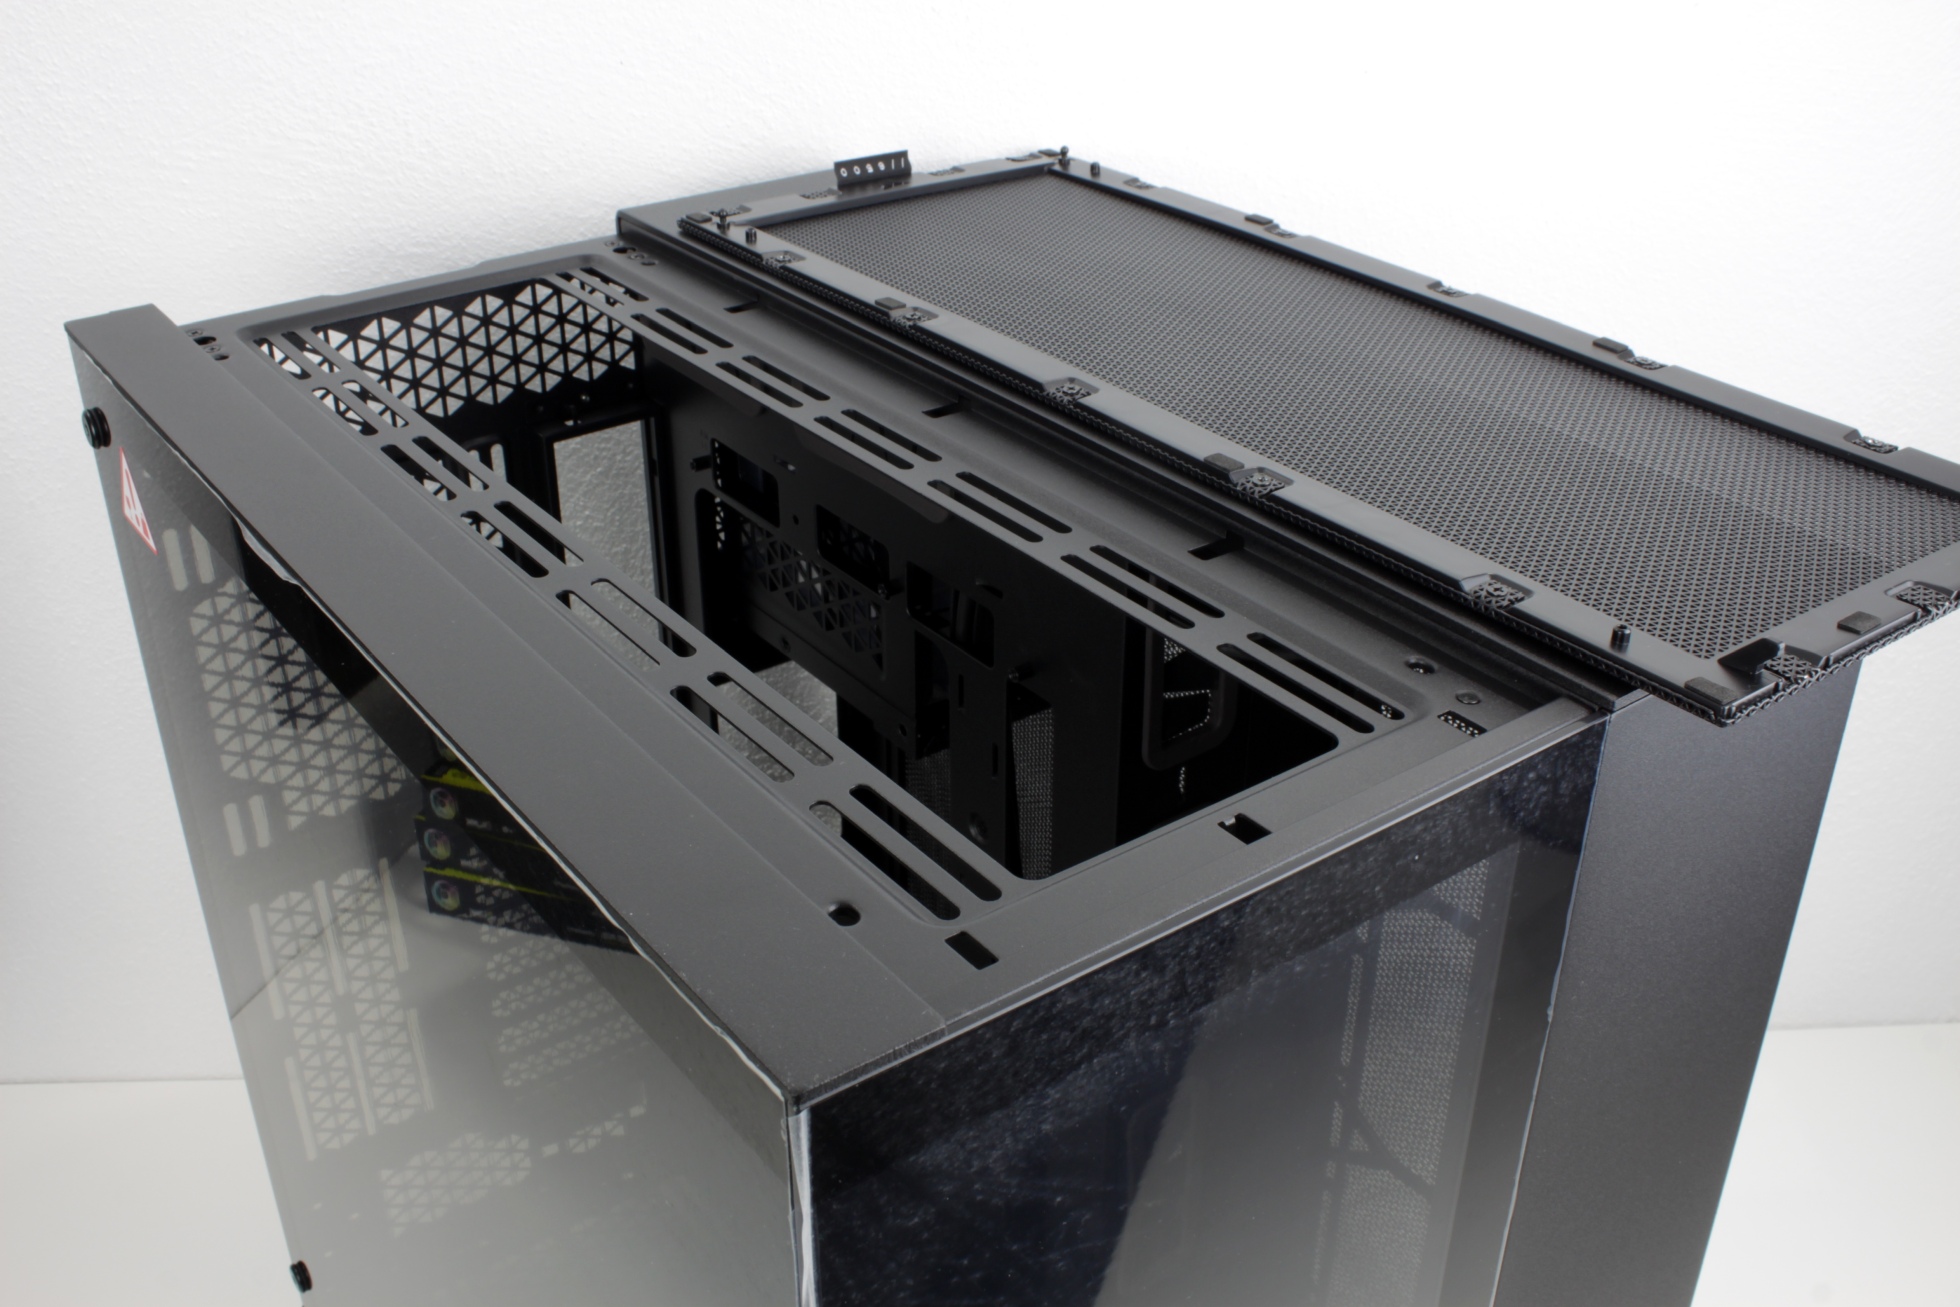
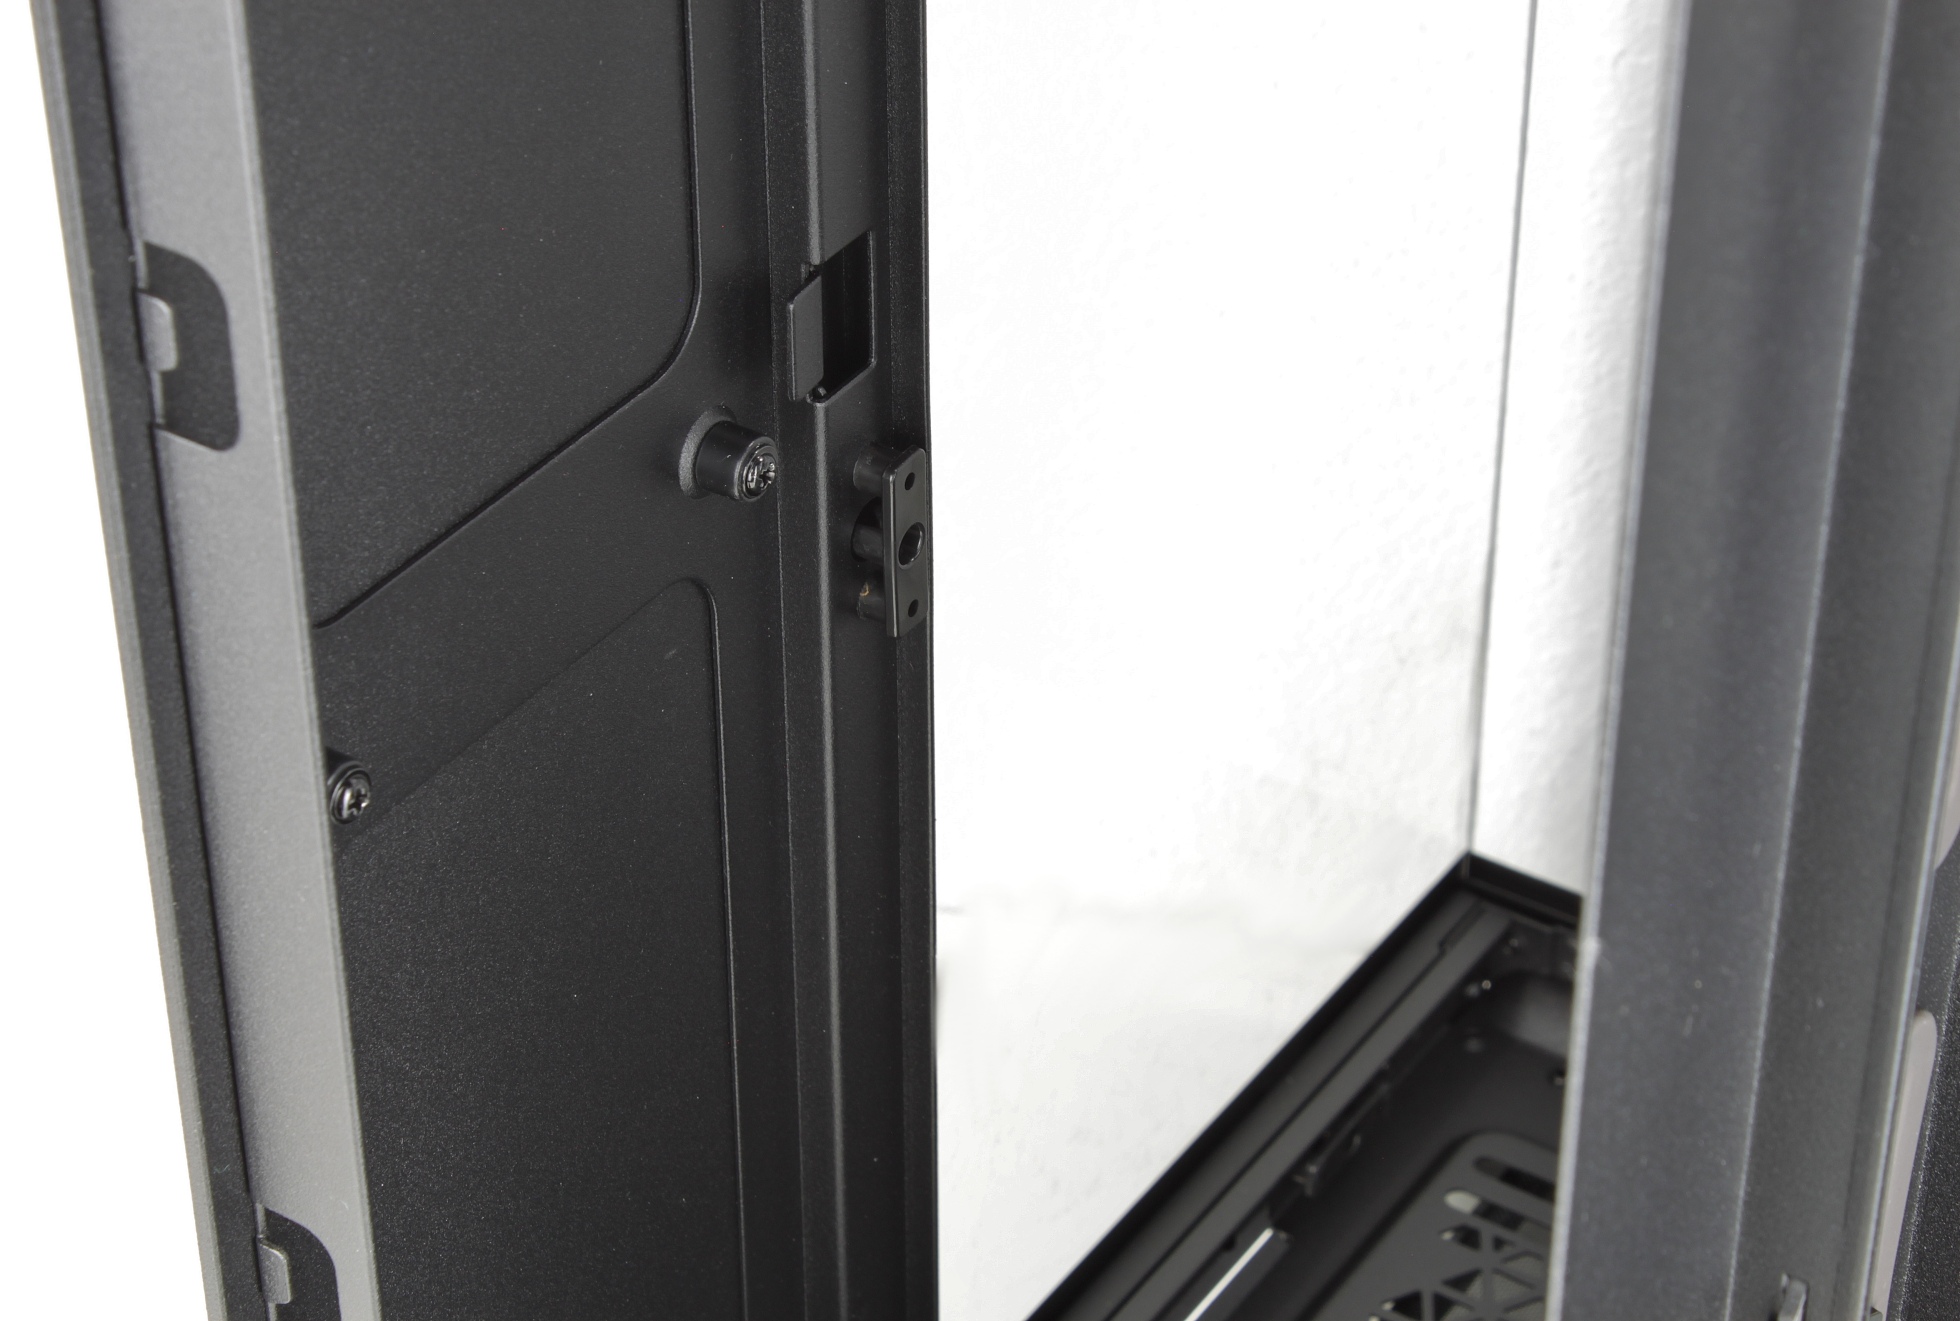
The other covers can also be removed. They are hooked in and fixed at the back with screws. They can be replaced by visually appealing wooden covers, which can be purchased in the Corsair store. Unfortunately, these were not yet available at the time of testing, but I will present the variations in the course of the article.

This also applies to the panel at the front, which is screwed on from behind.

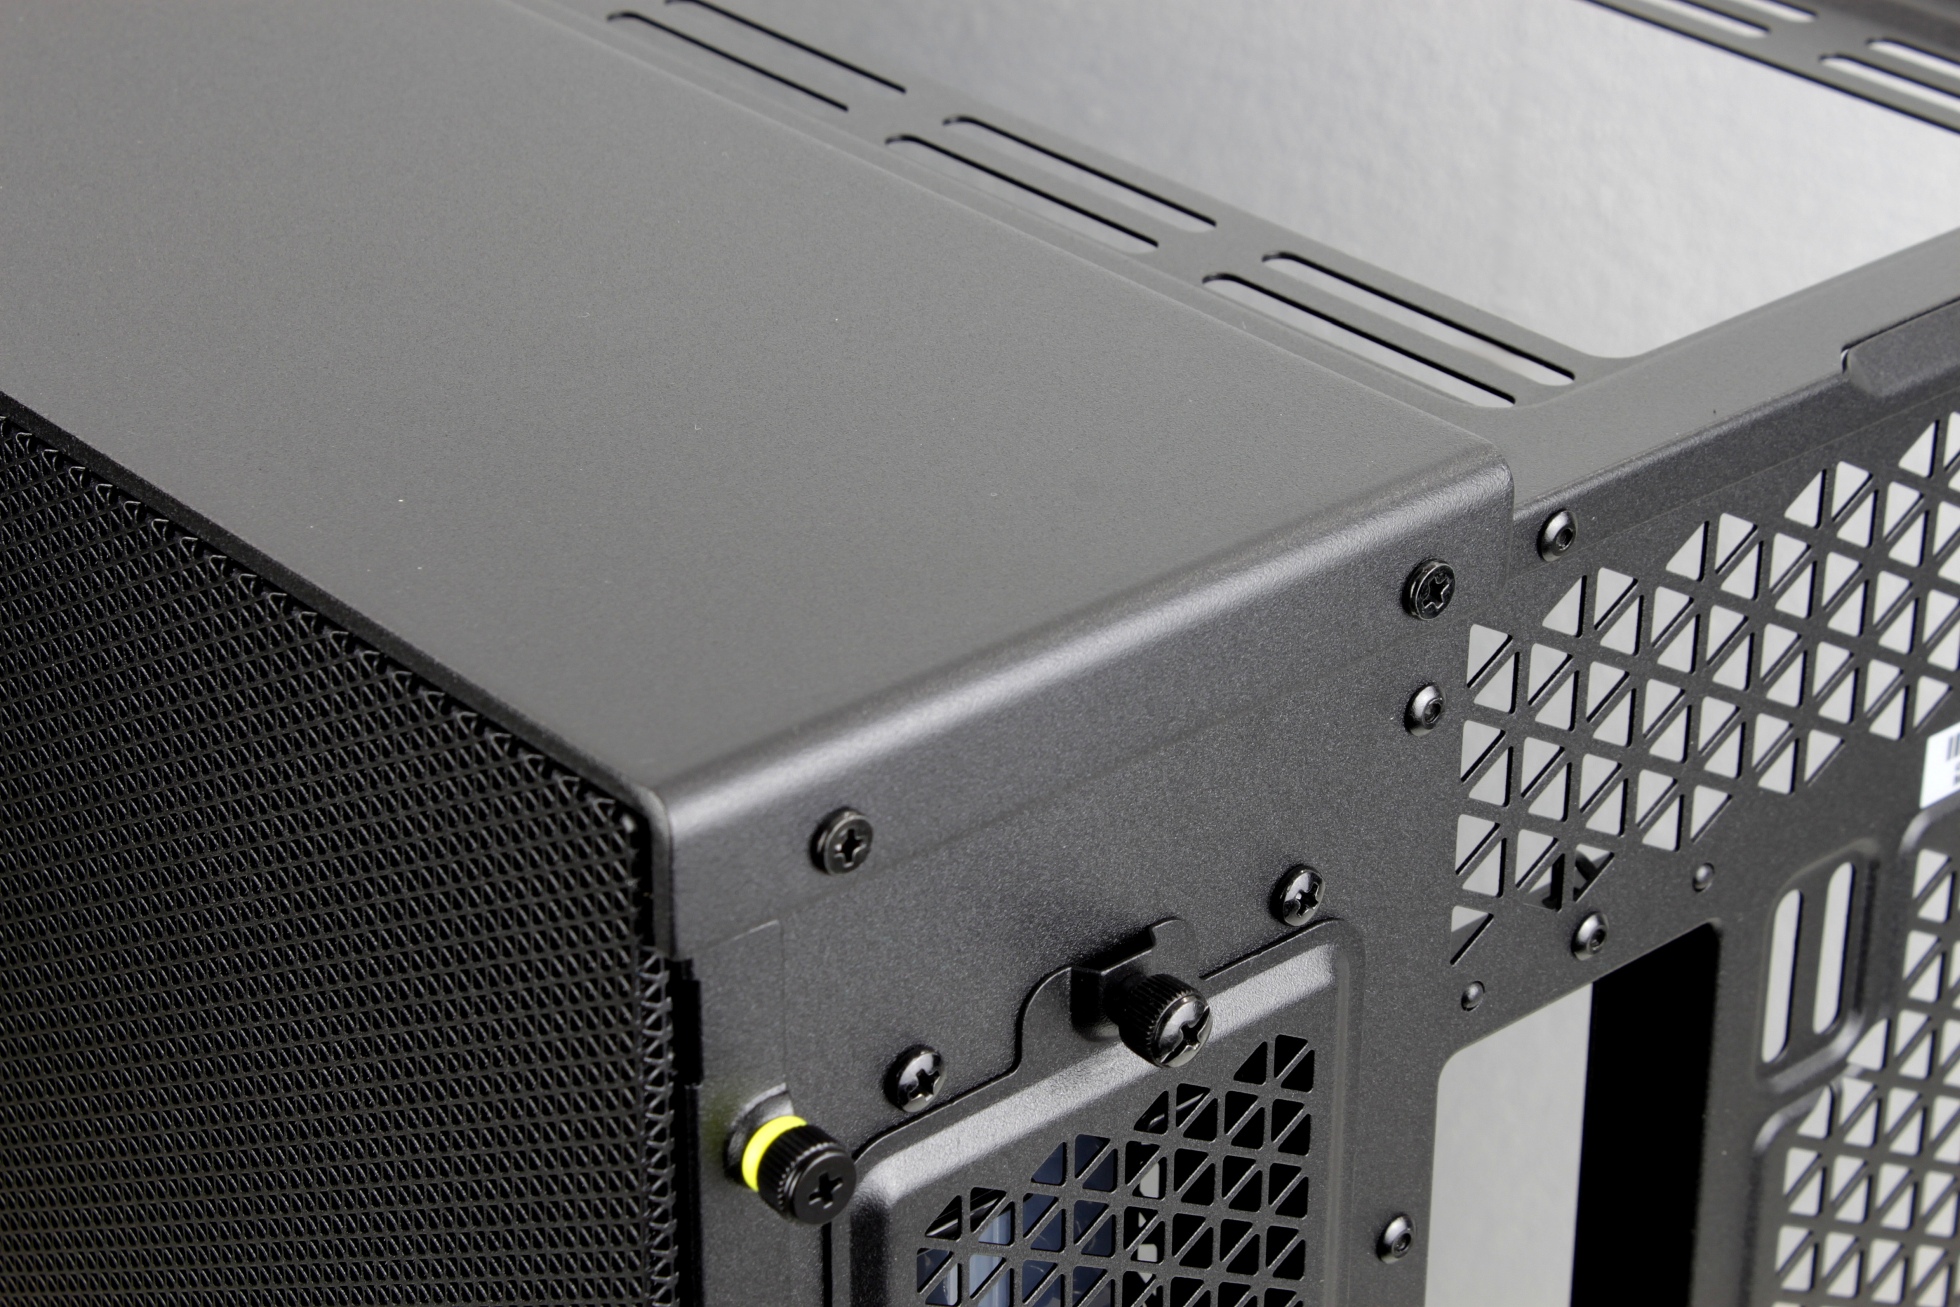
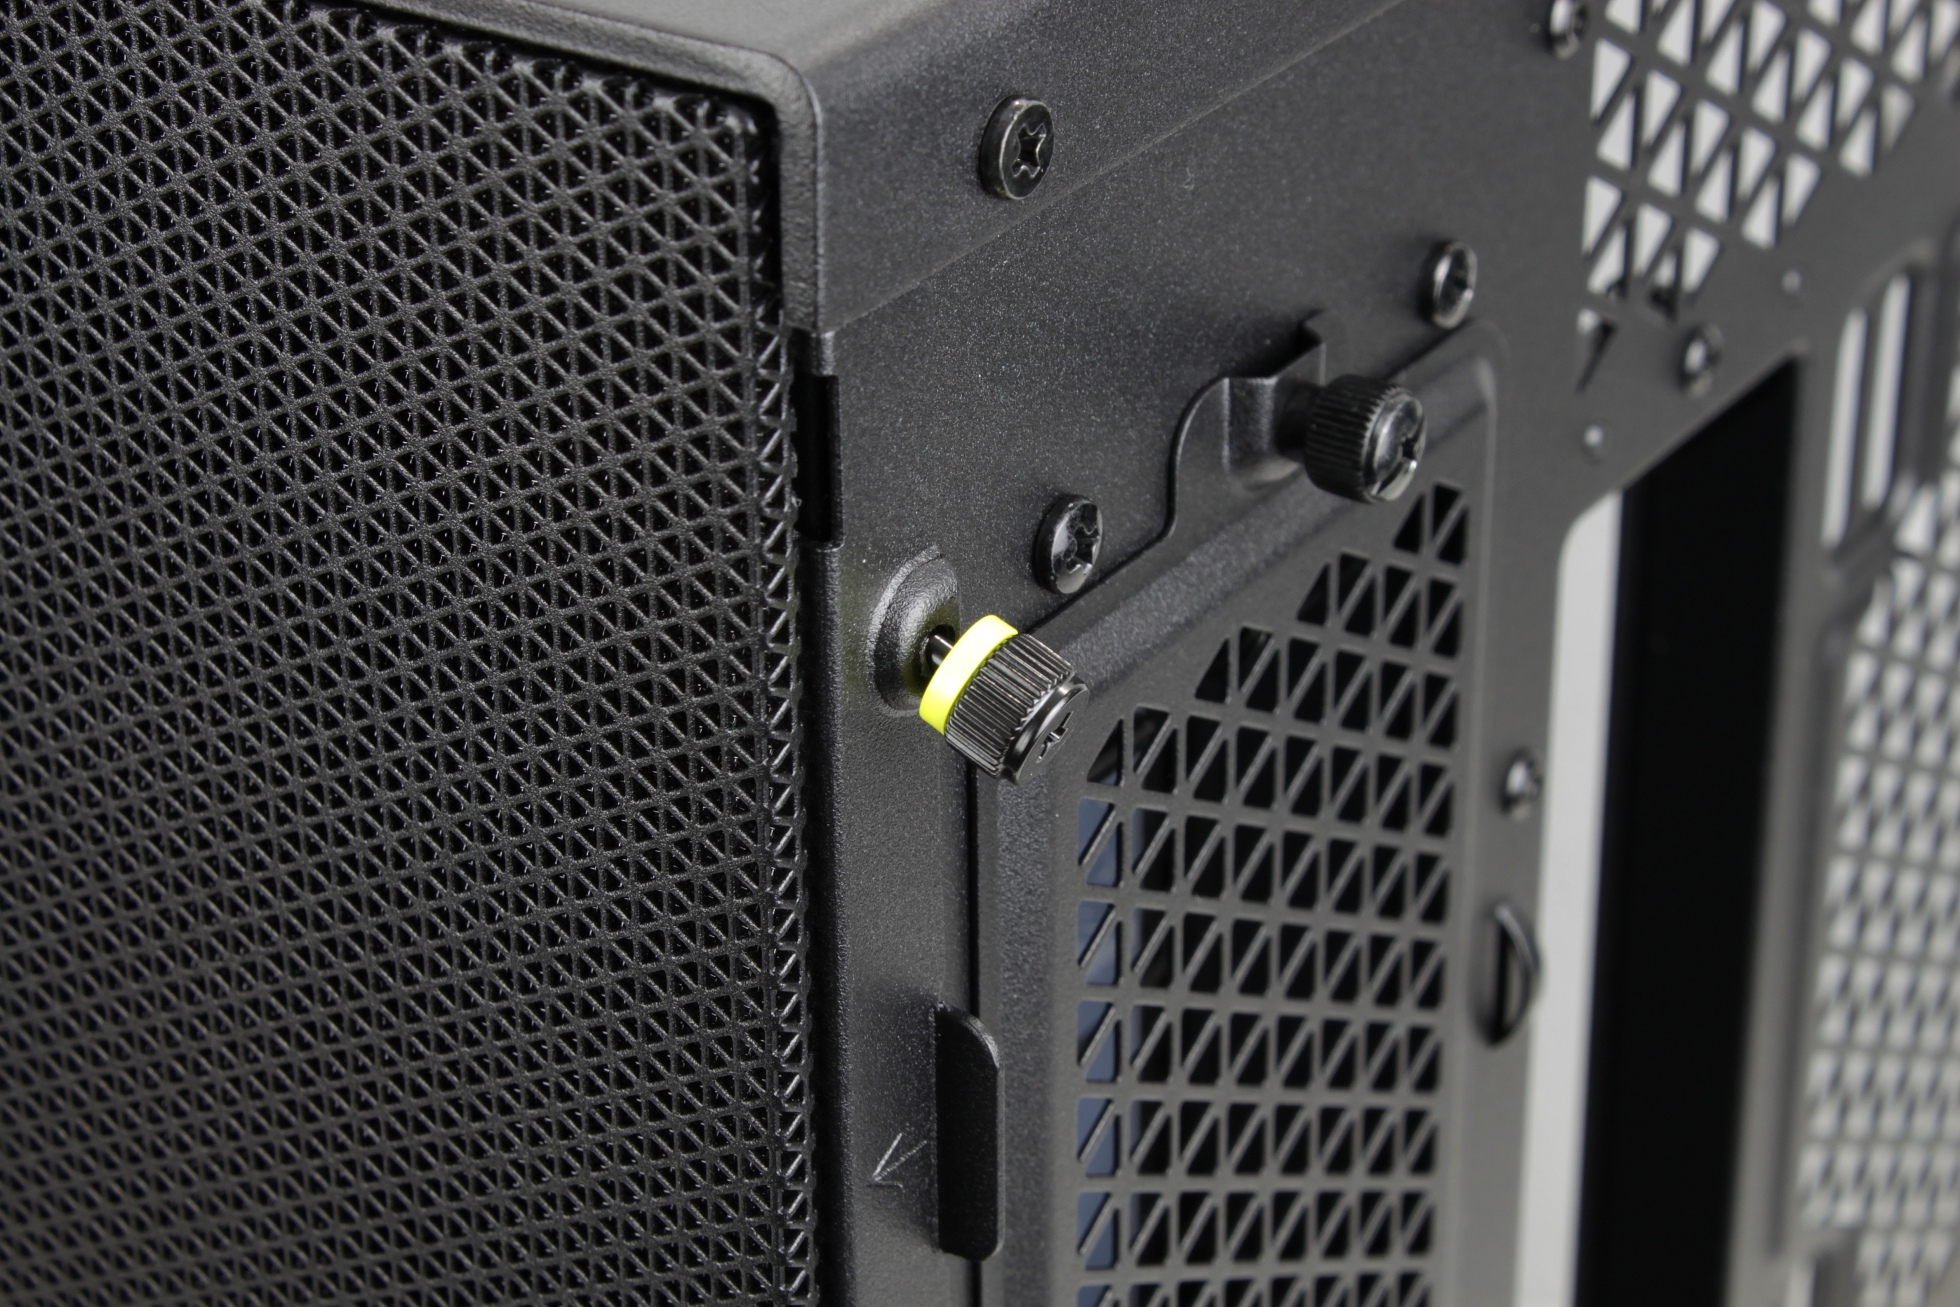
The mesh side panel is equipped with knurled screws that do not fall out.

The rear is fully equipped with a dust filter, the removable frame is probably intended to take on a “sealing” function if fans for a side-mounted radiator are installed here.

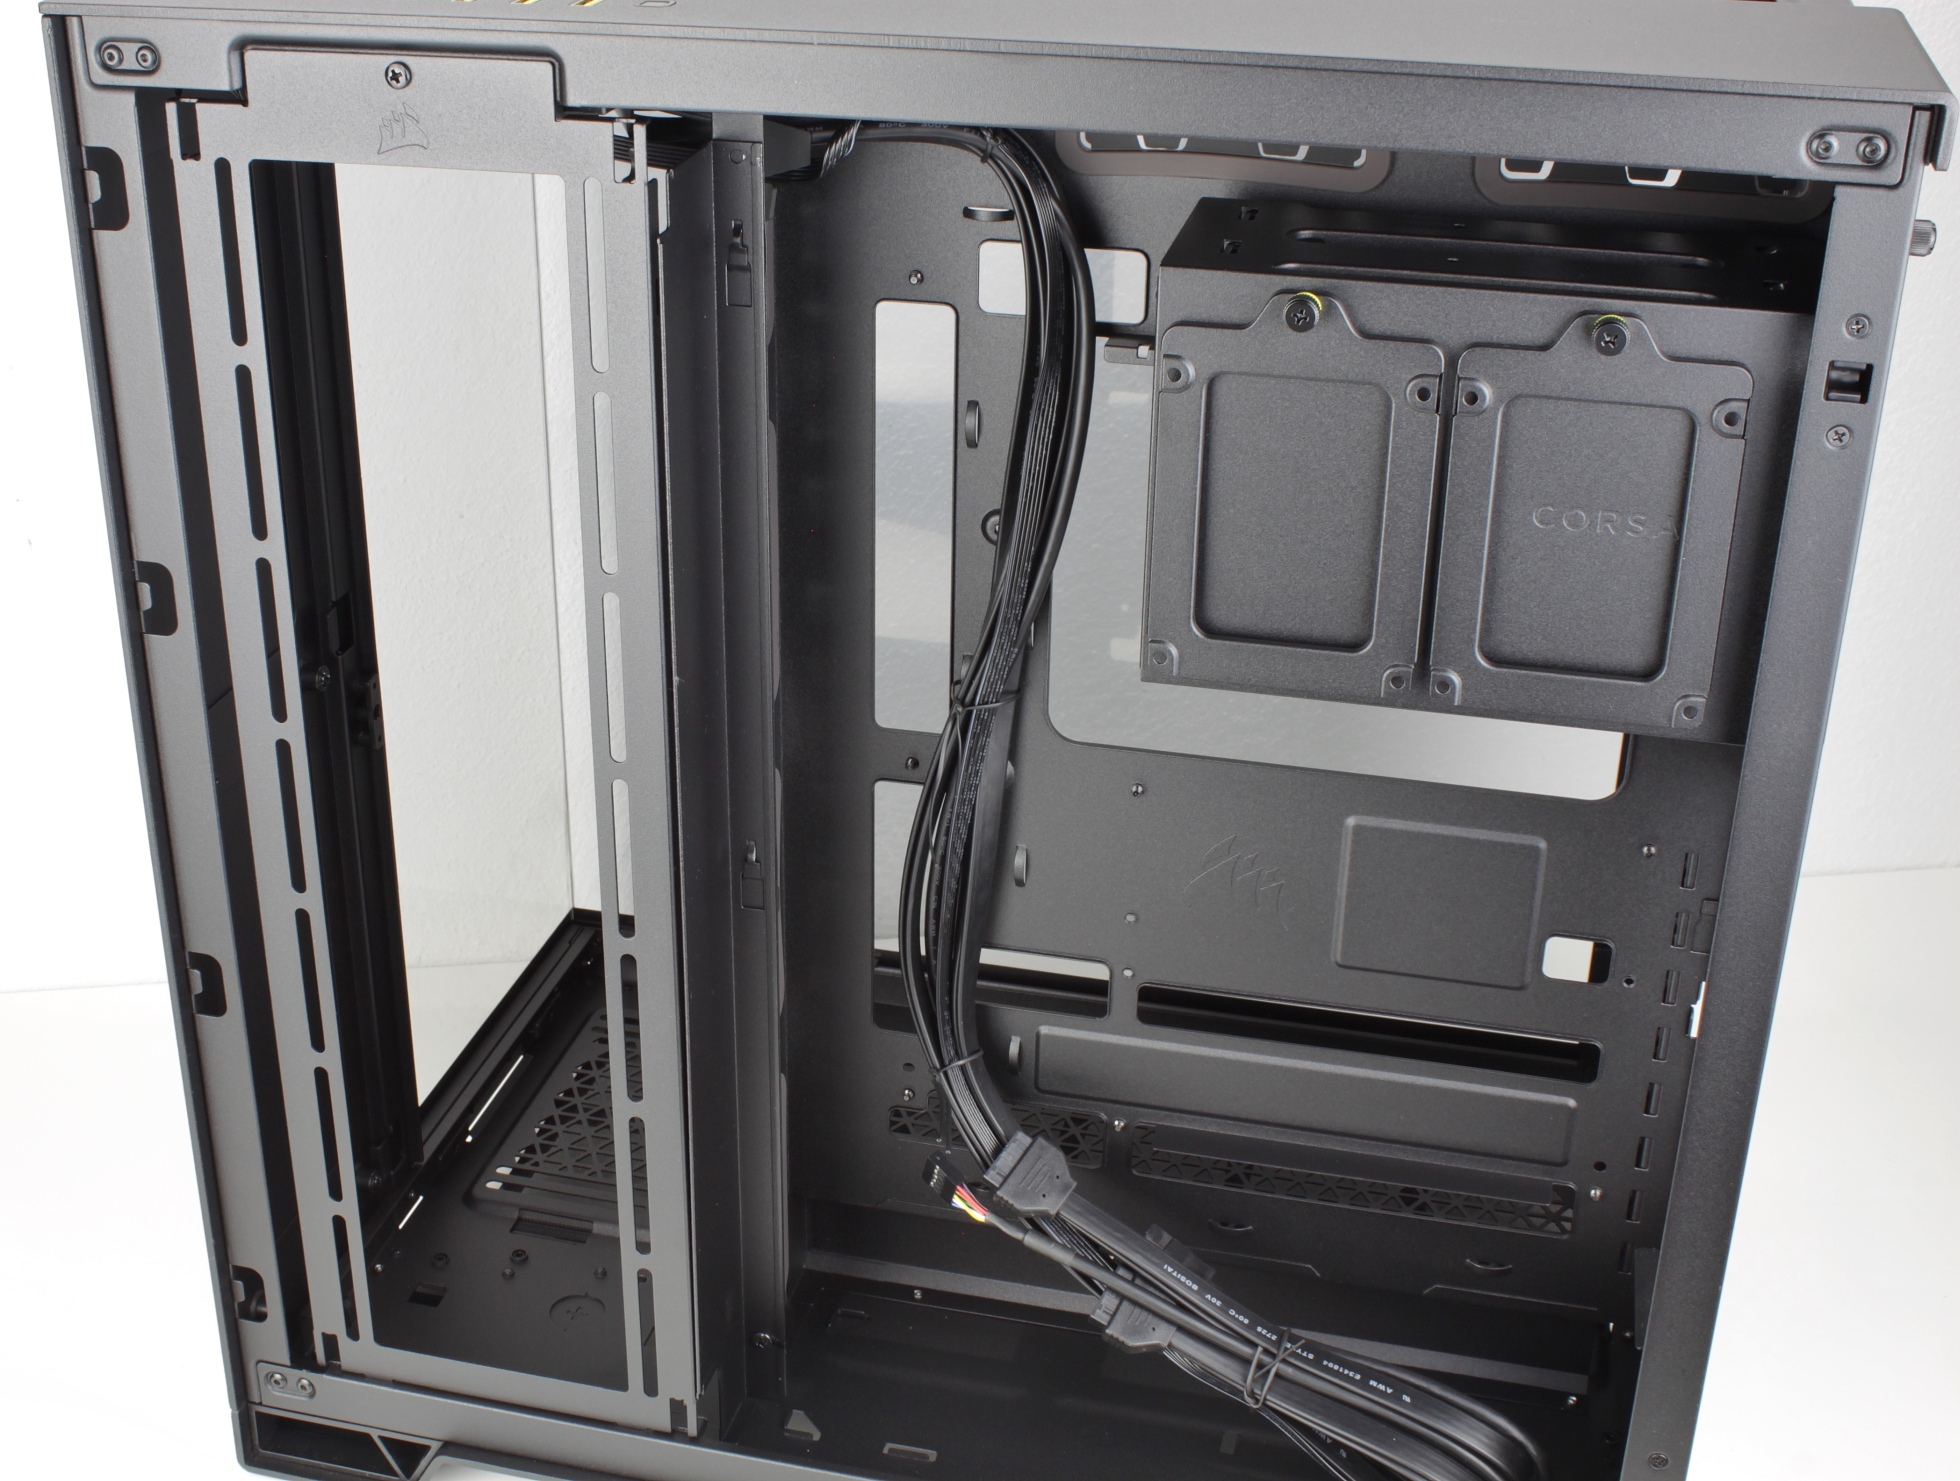
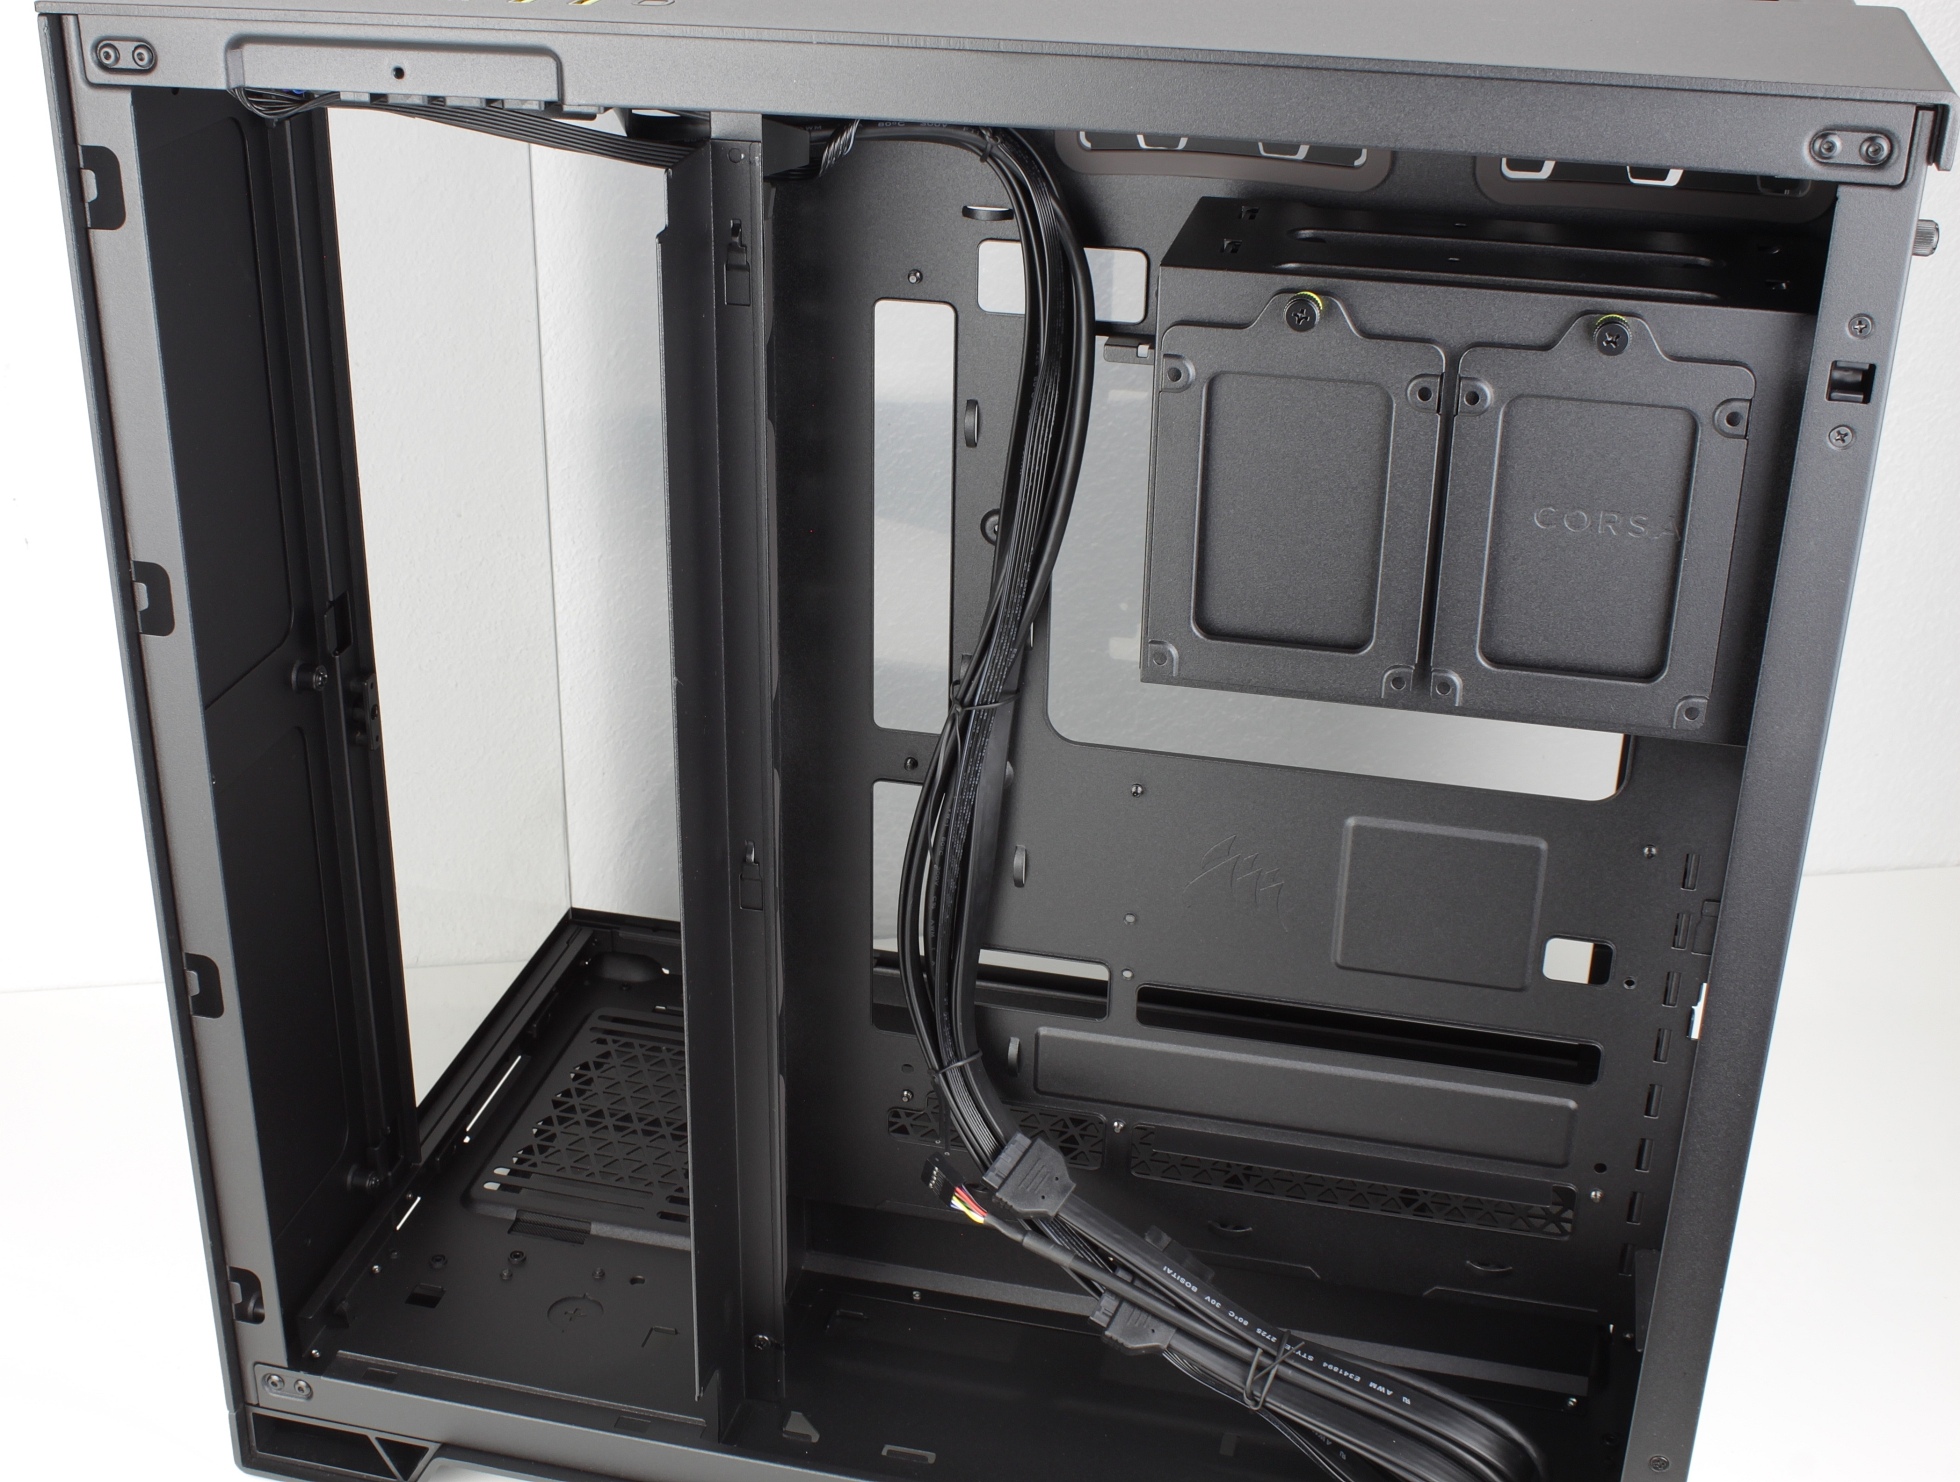
Unobstructed view of the rear chamber. Very spacious at first glance!

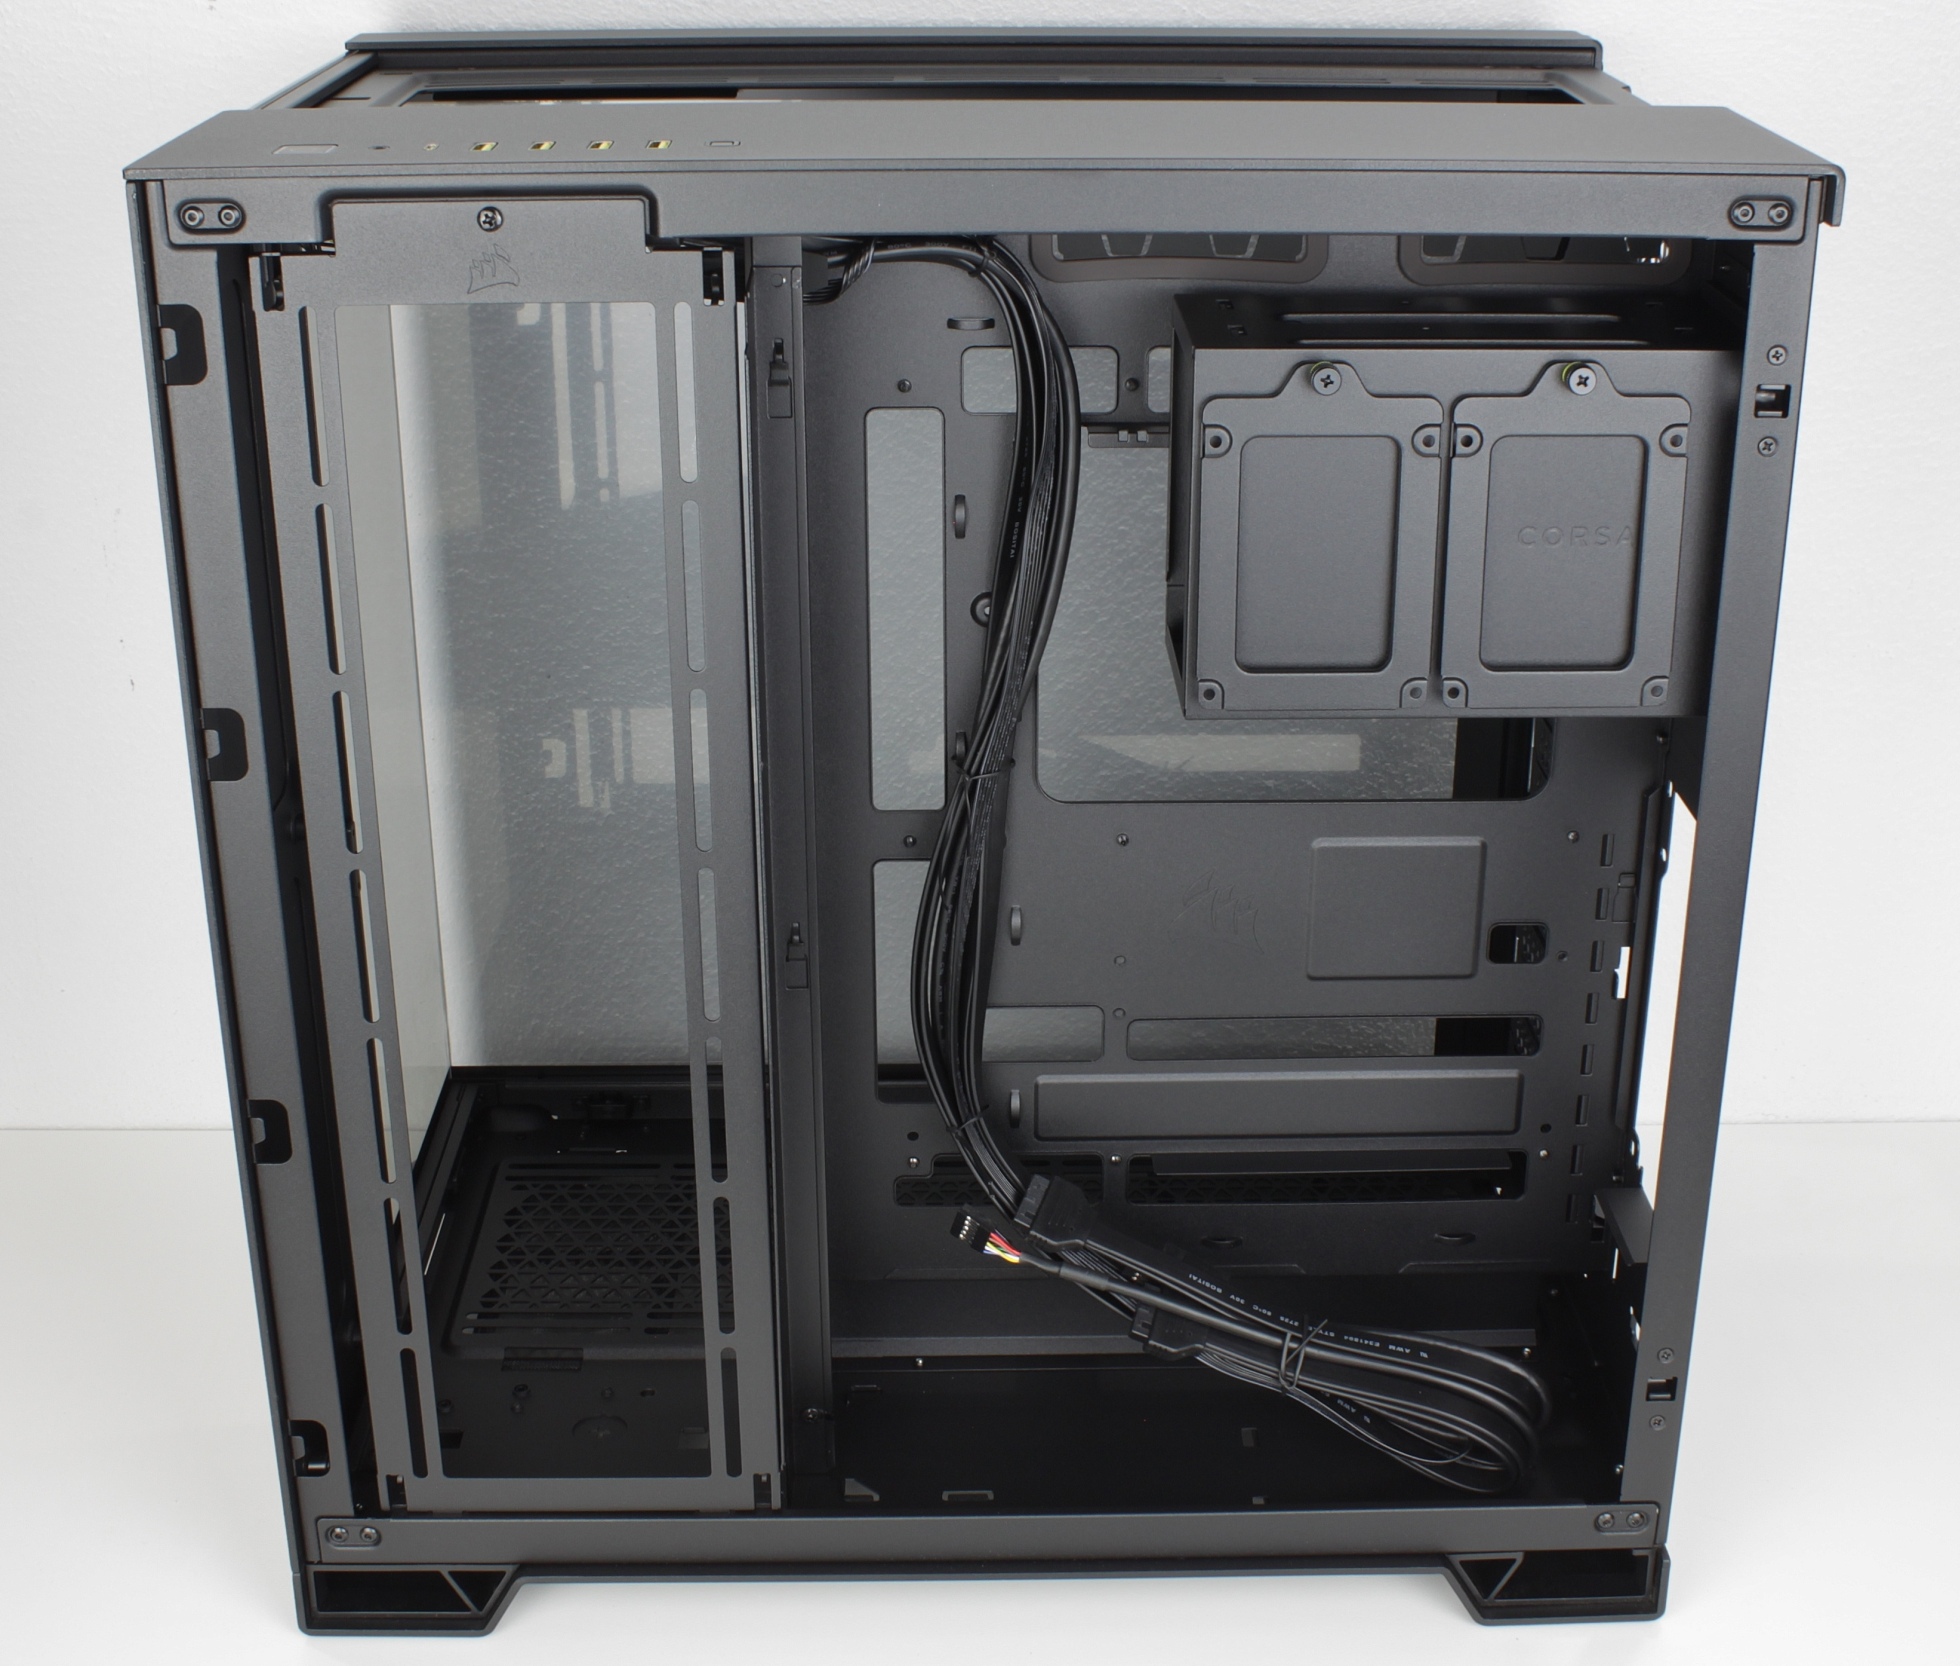
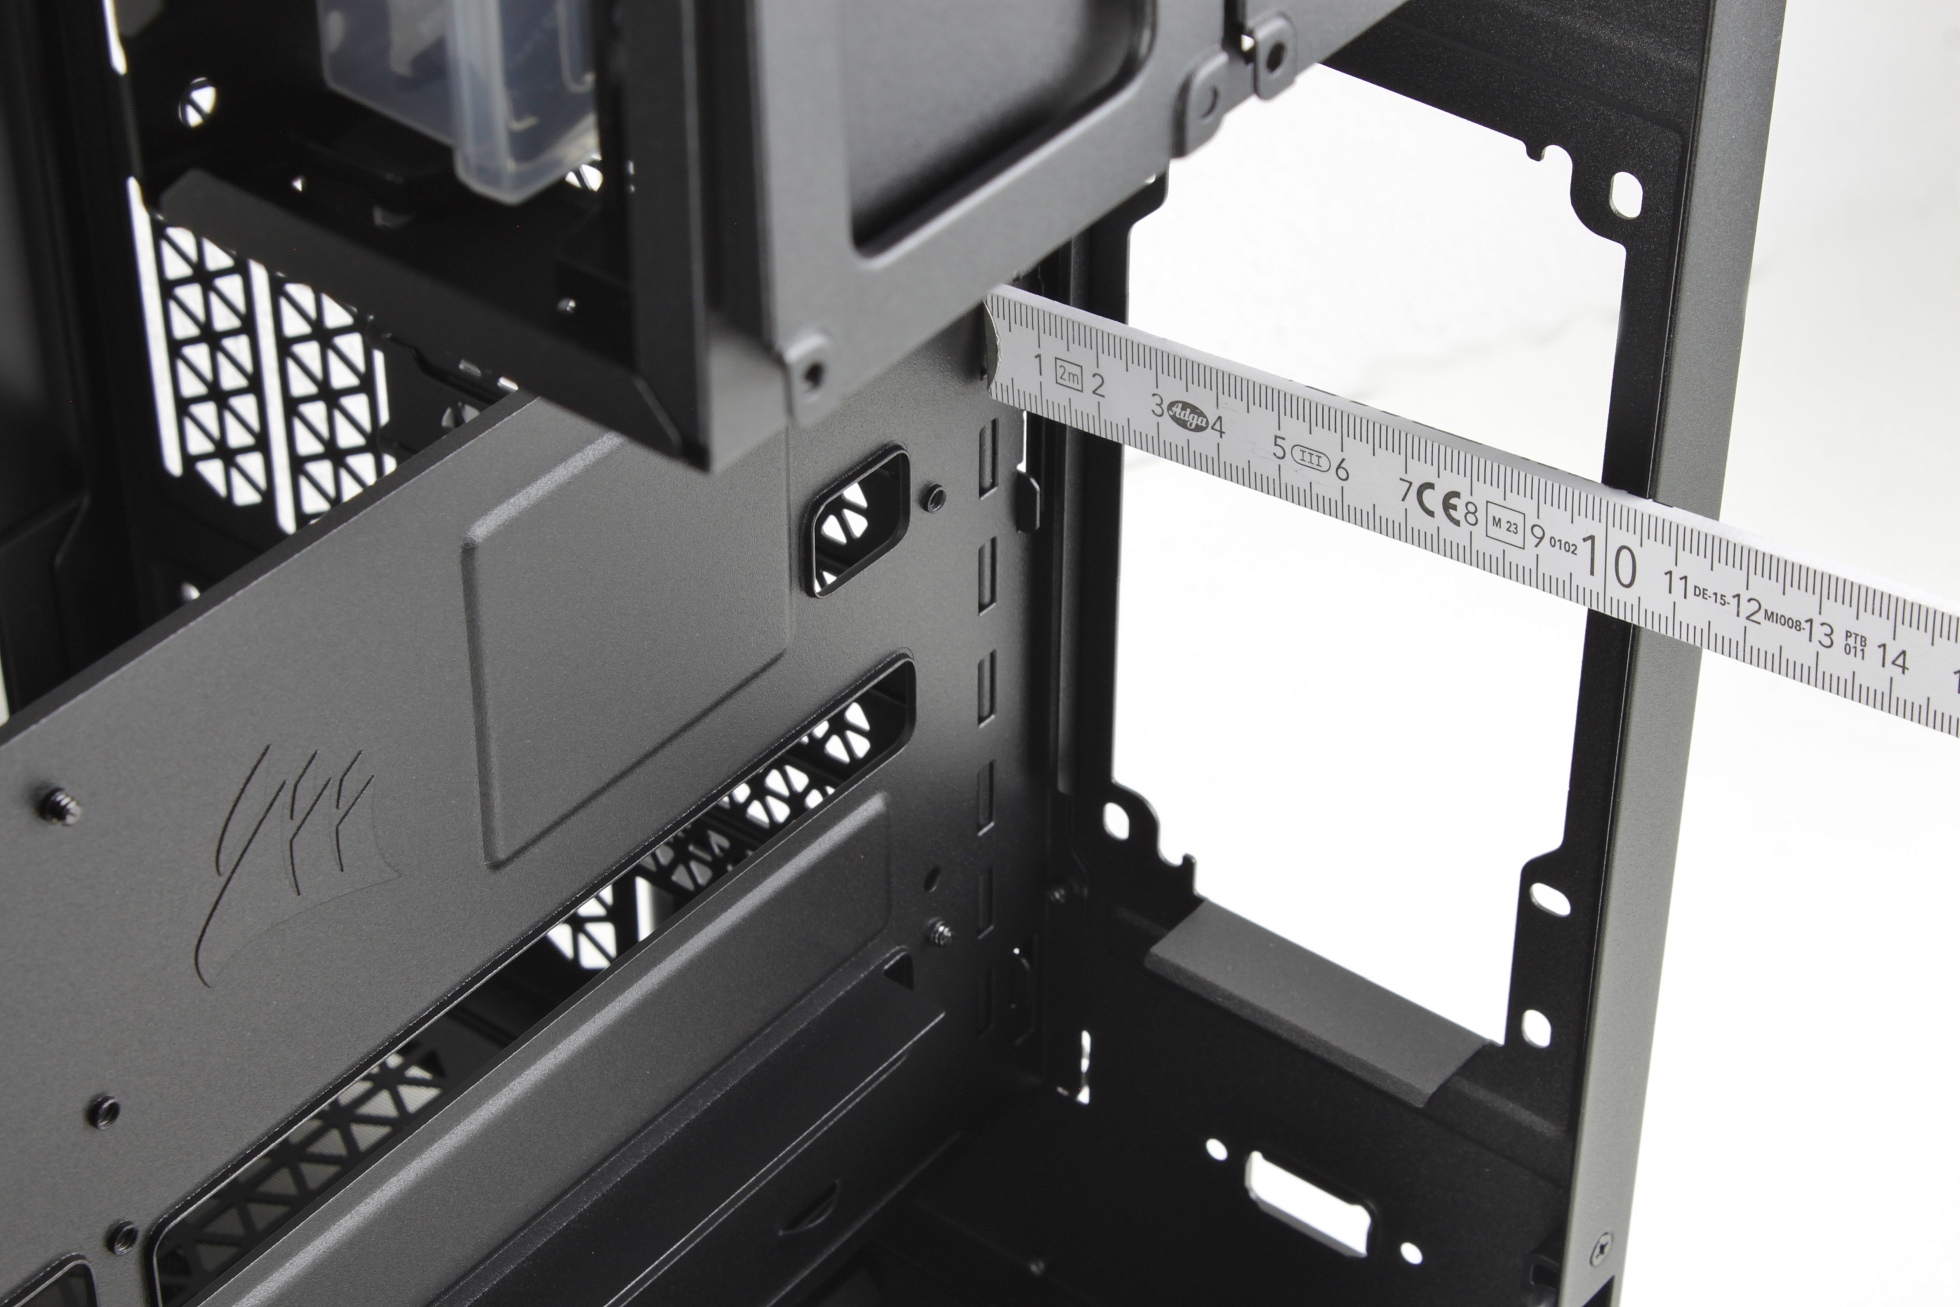
We have a depth of over 10 cm across the entire chamber, which means we can hide plenty of cables and small devices such as RGB controllers!

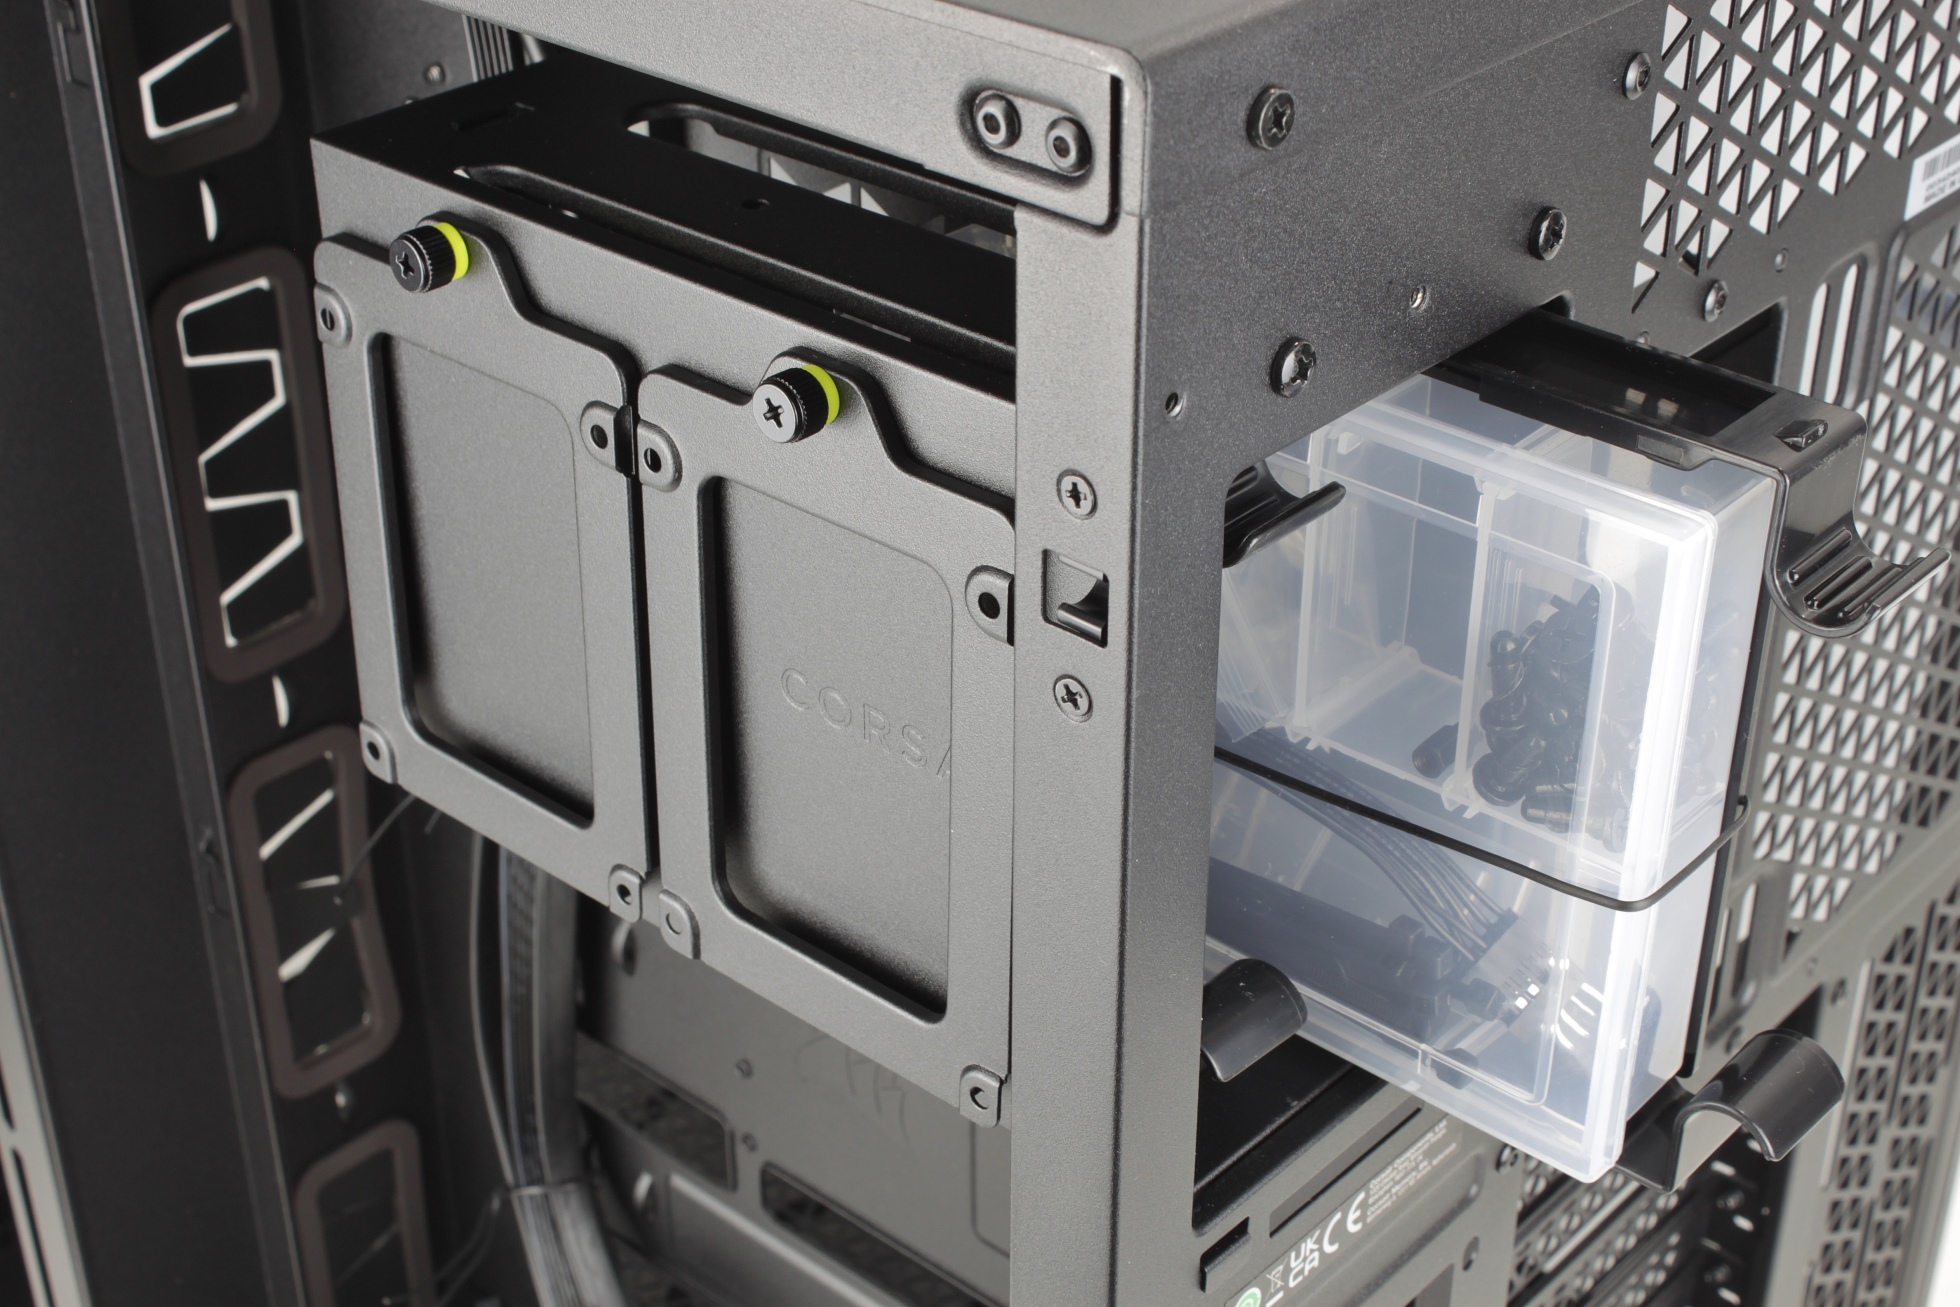
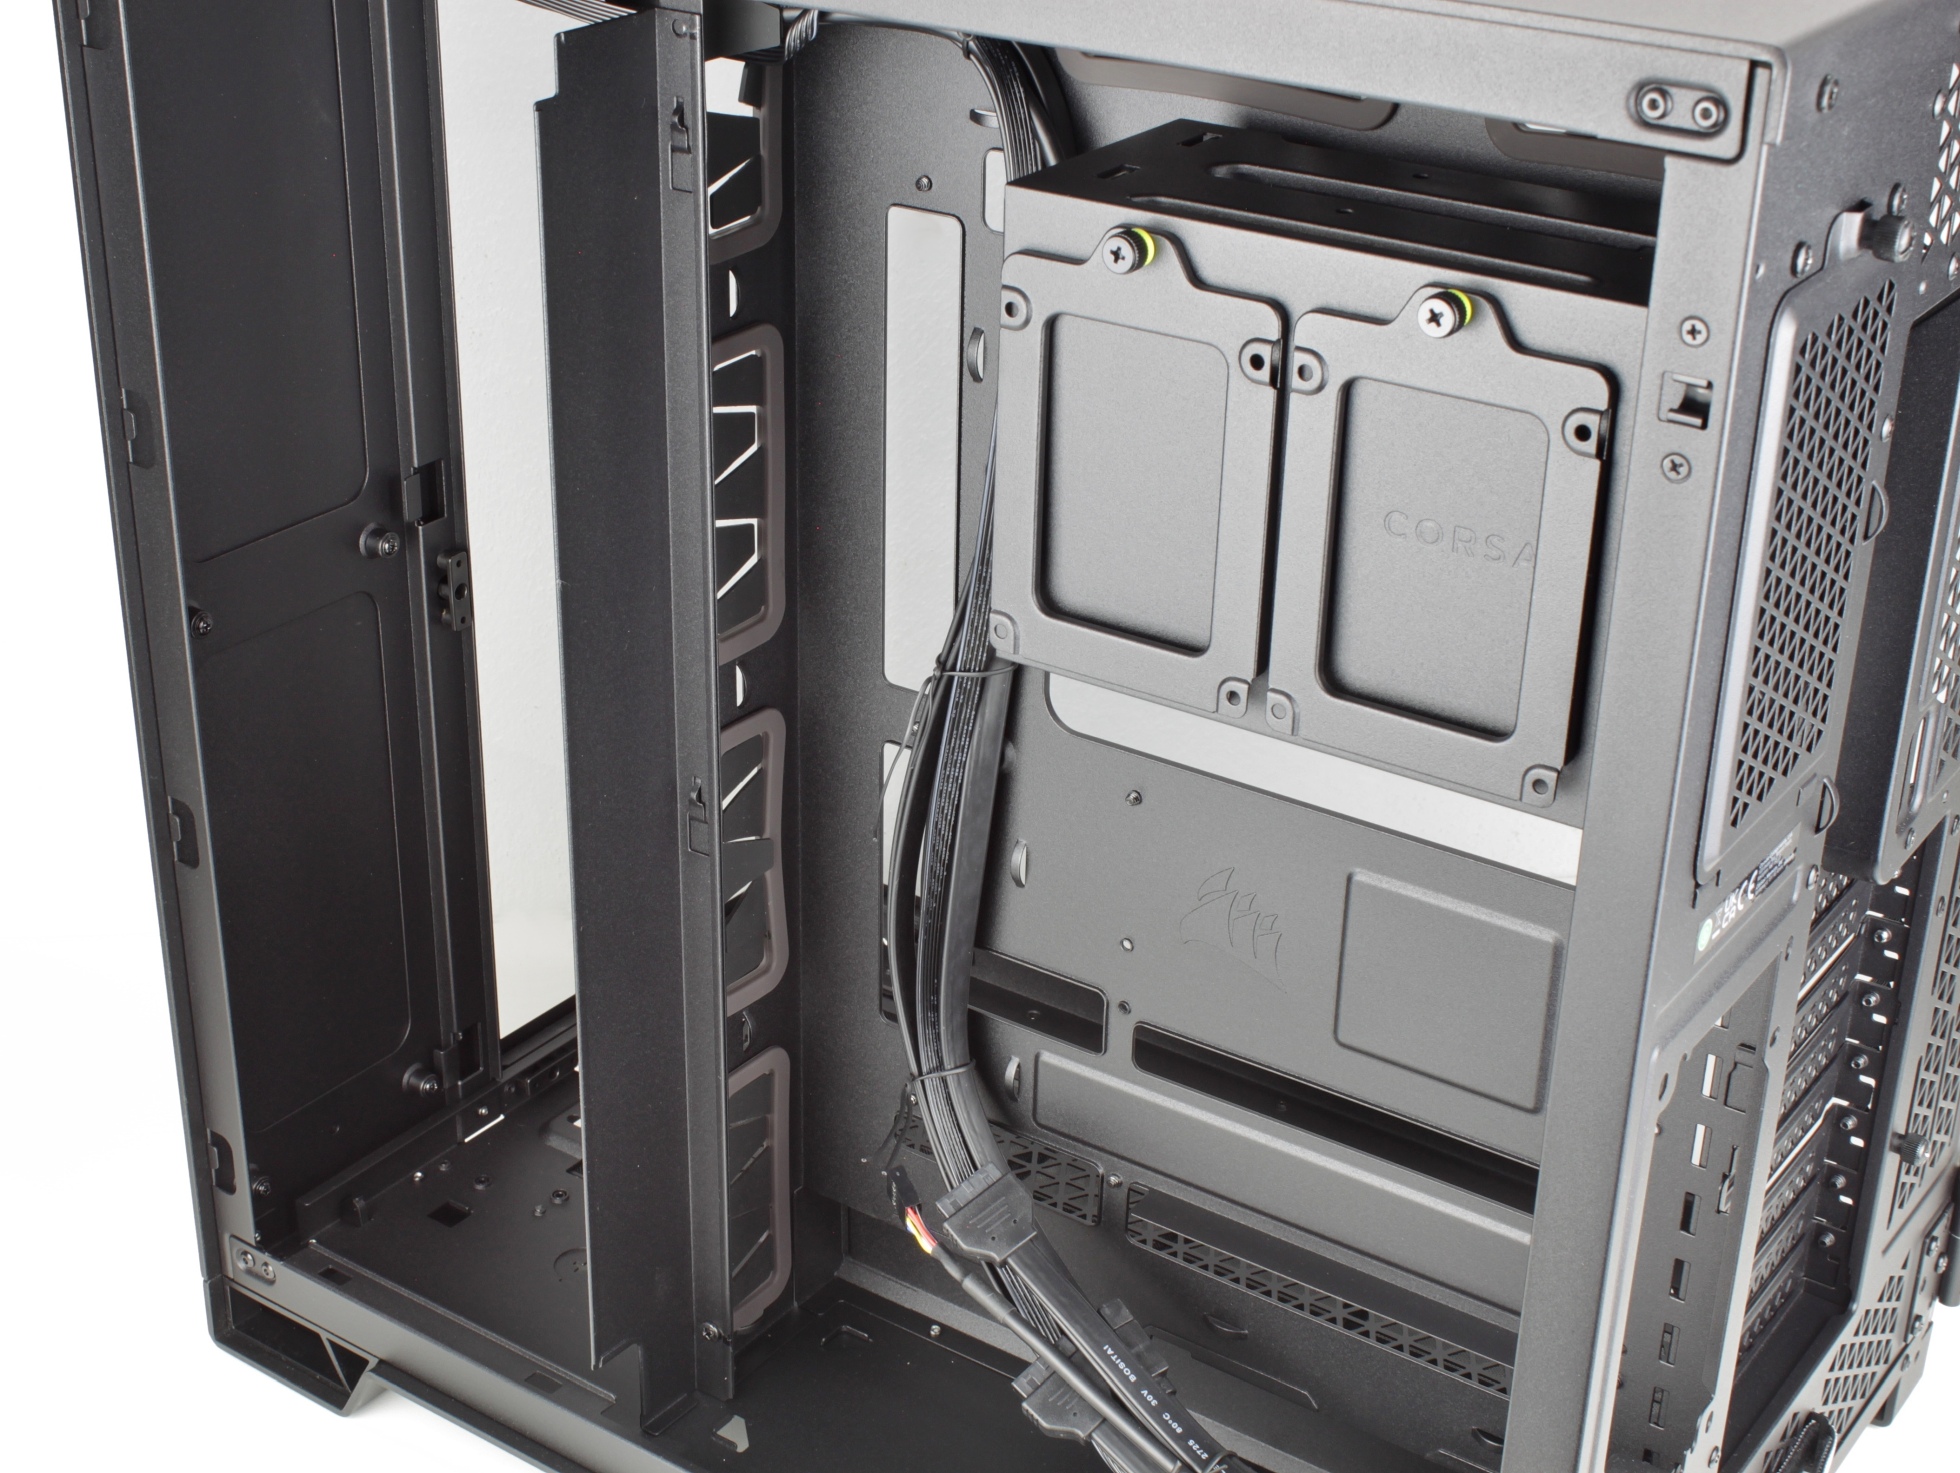
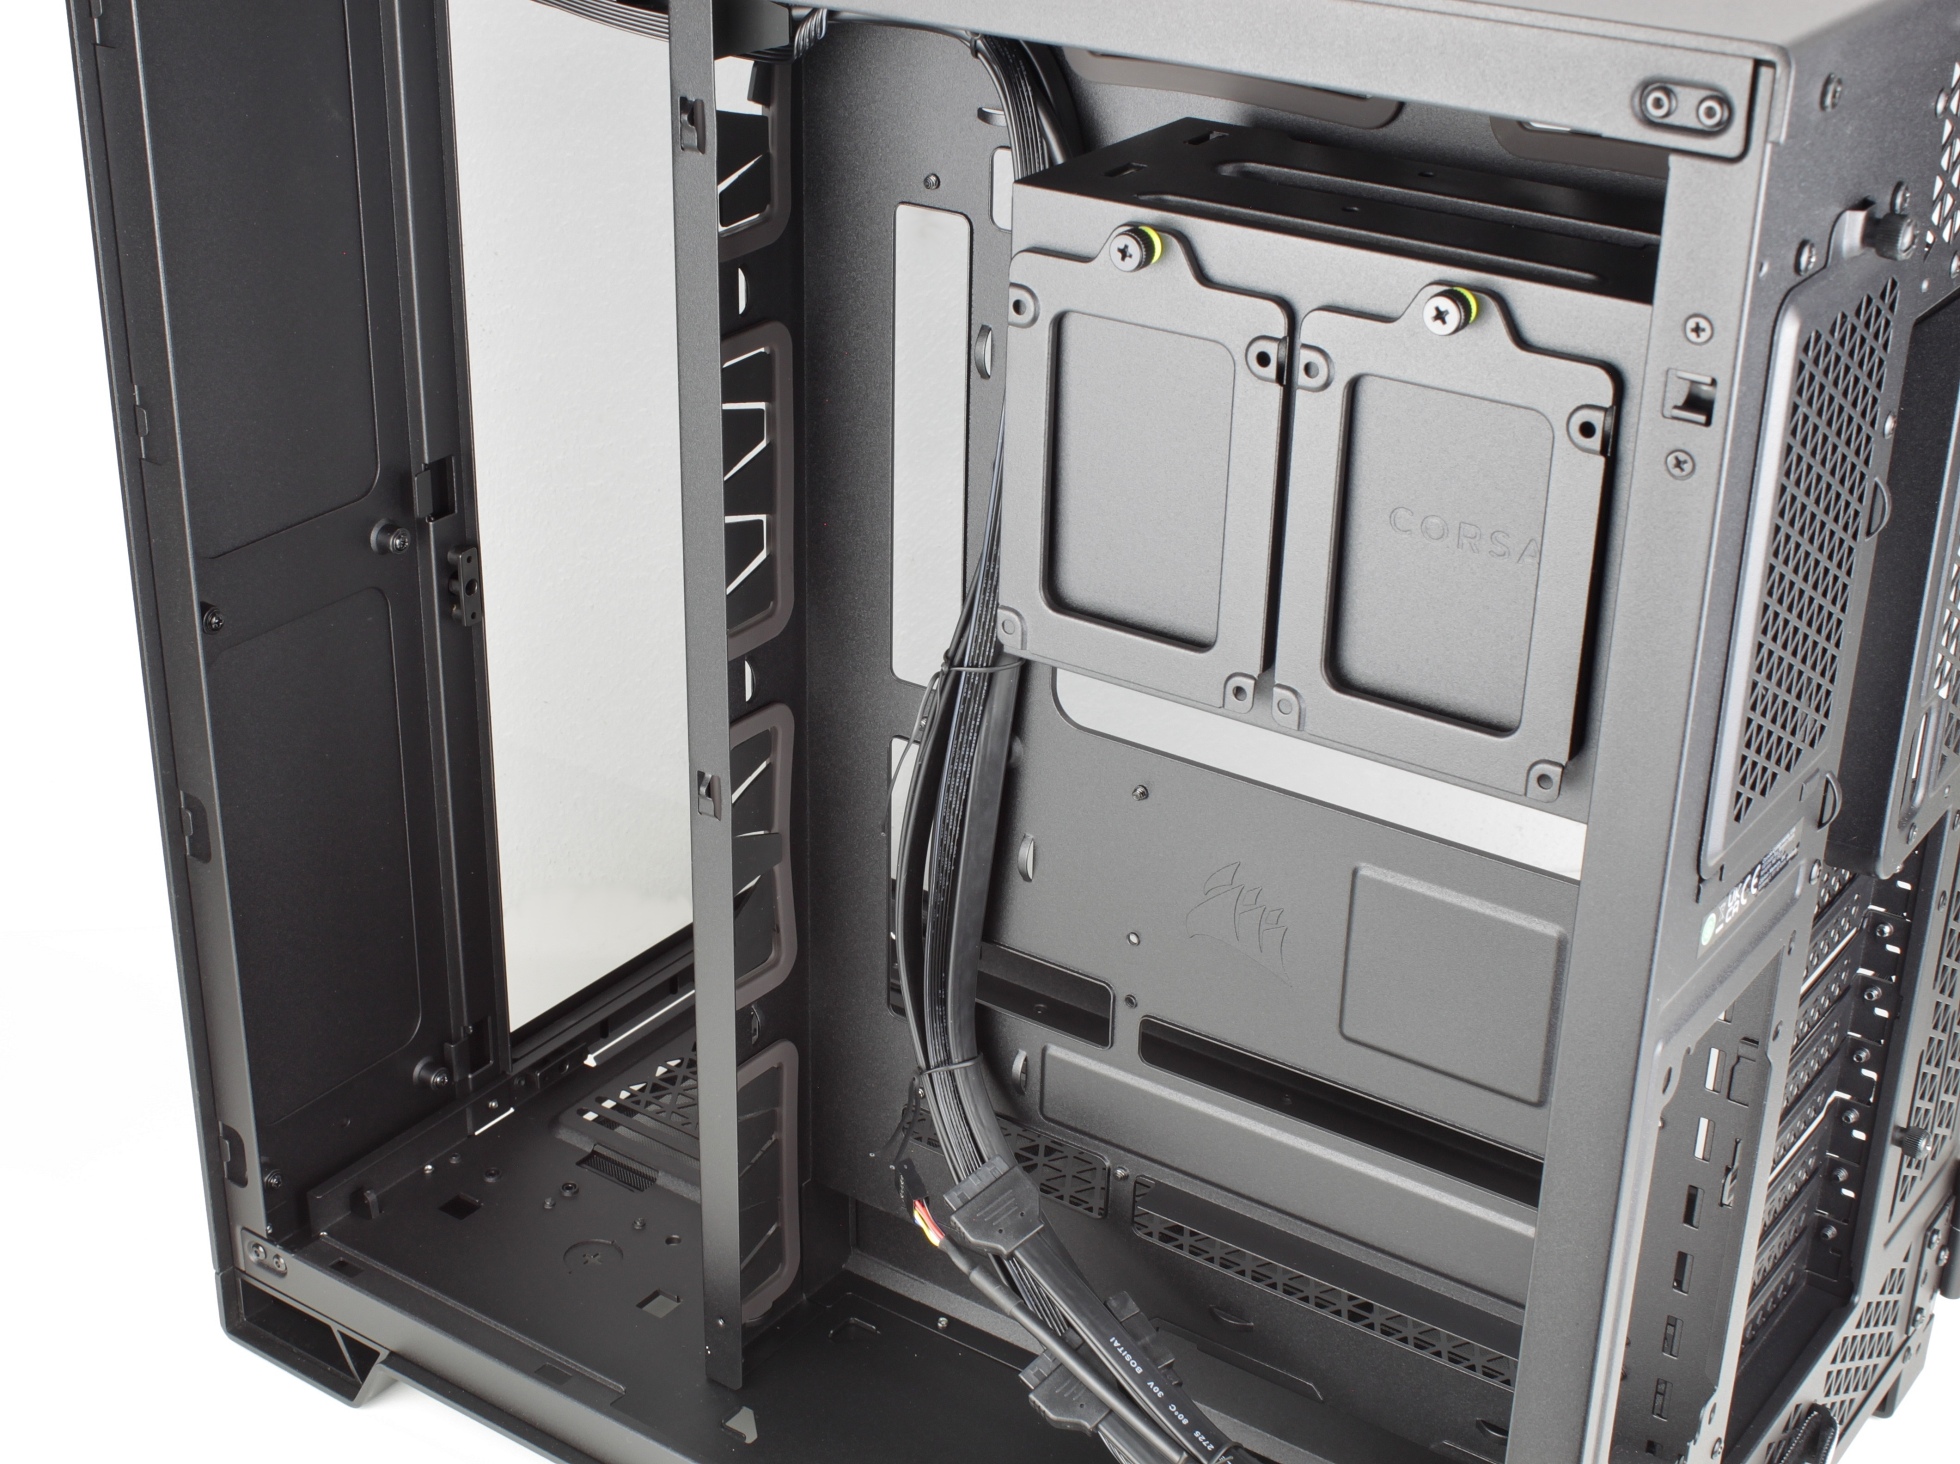
The drive cage is already familiar in this form from other cases. Two 2.5″ drives can be mounted on the side. Two further 2.5″ or 3.5″ drives can be mounted on slots that can be pulled out of the housing from the rear without having to open the housing itself. Of course, the cage can also be removed completely.

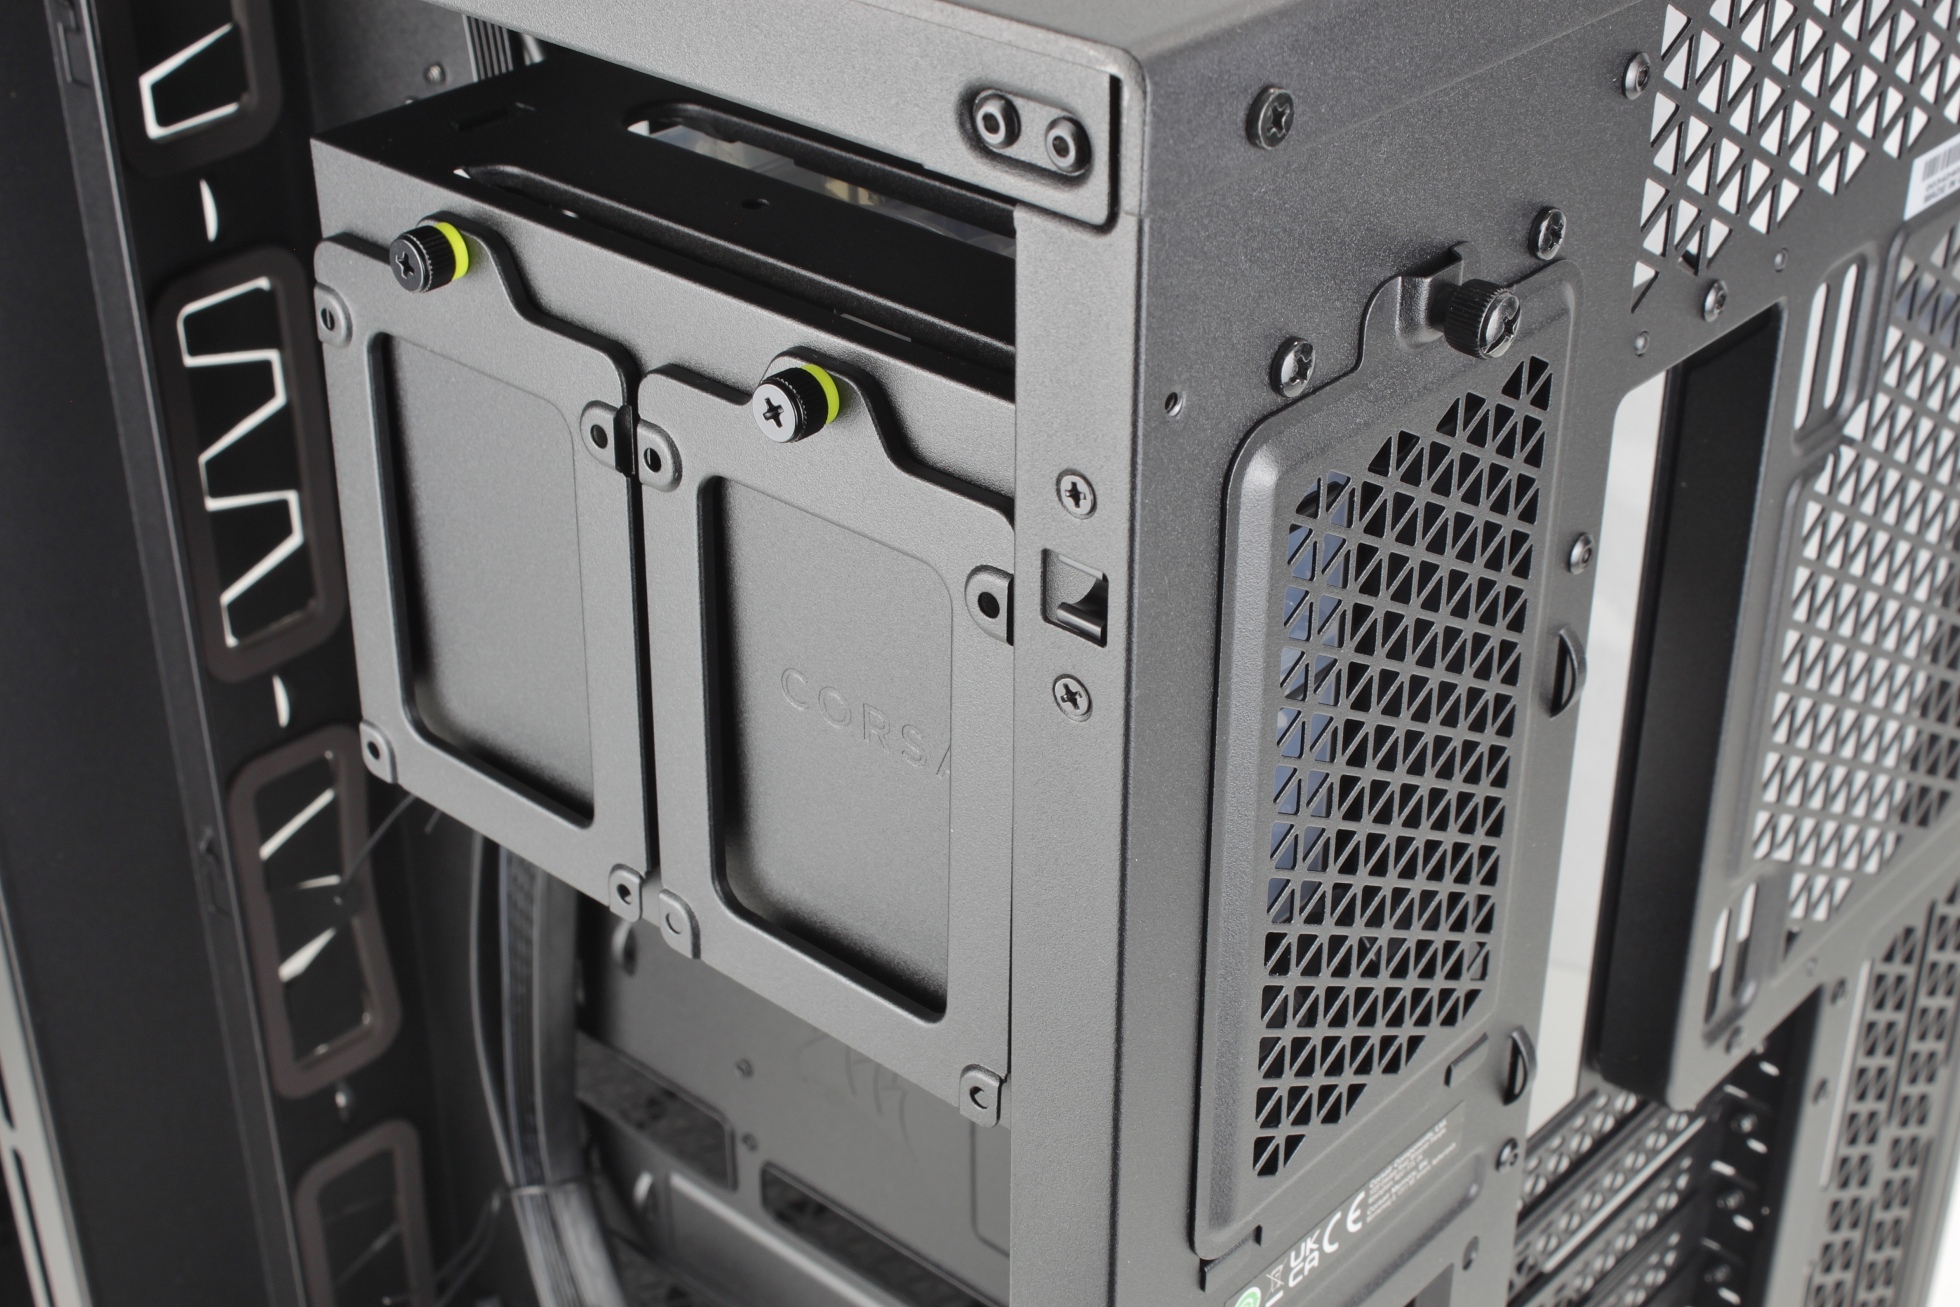
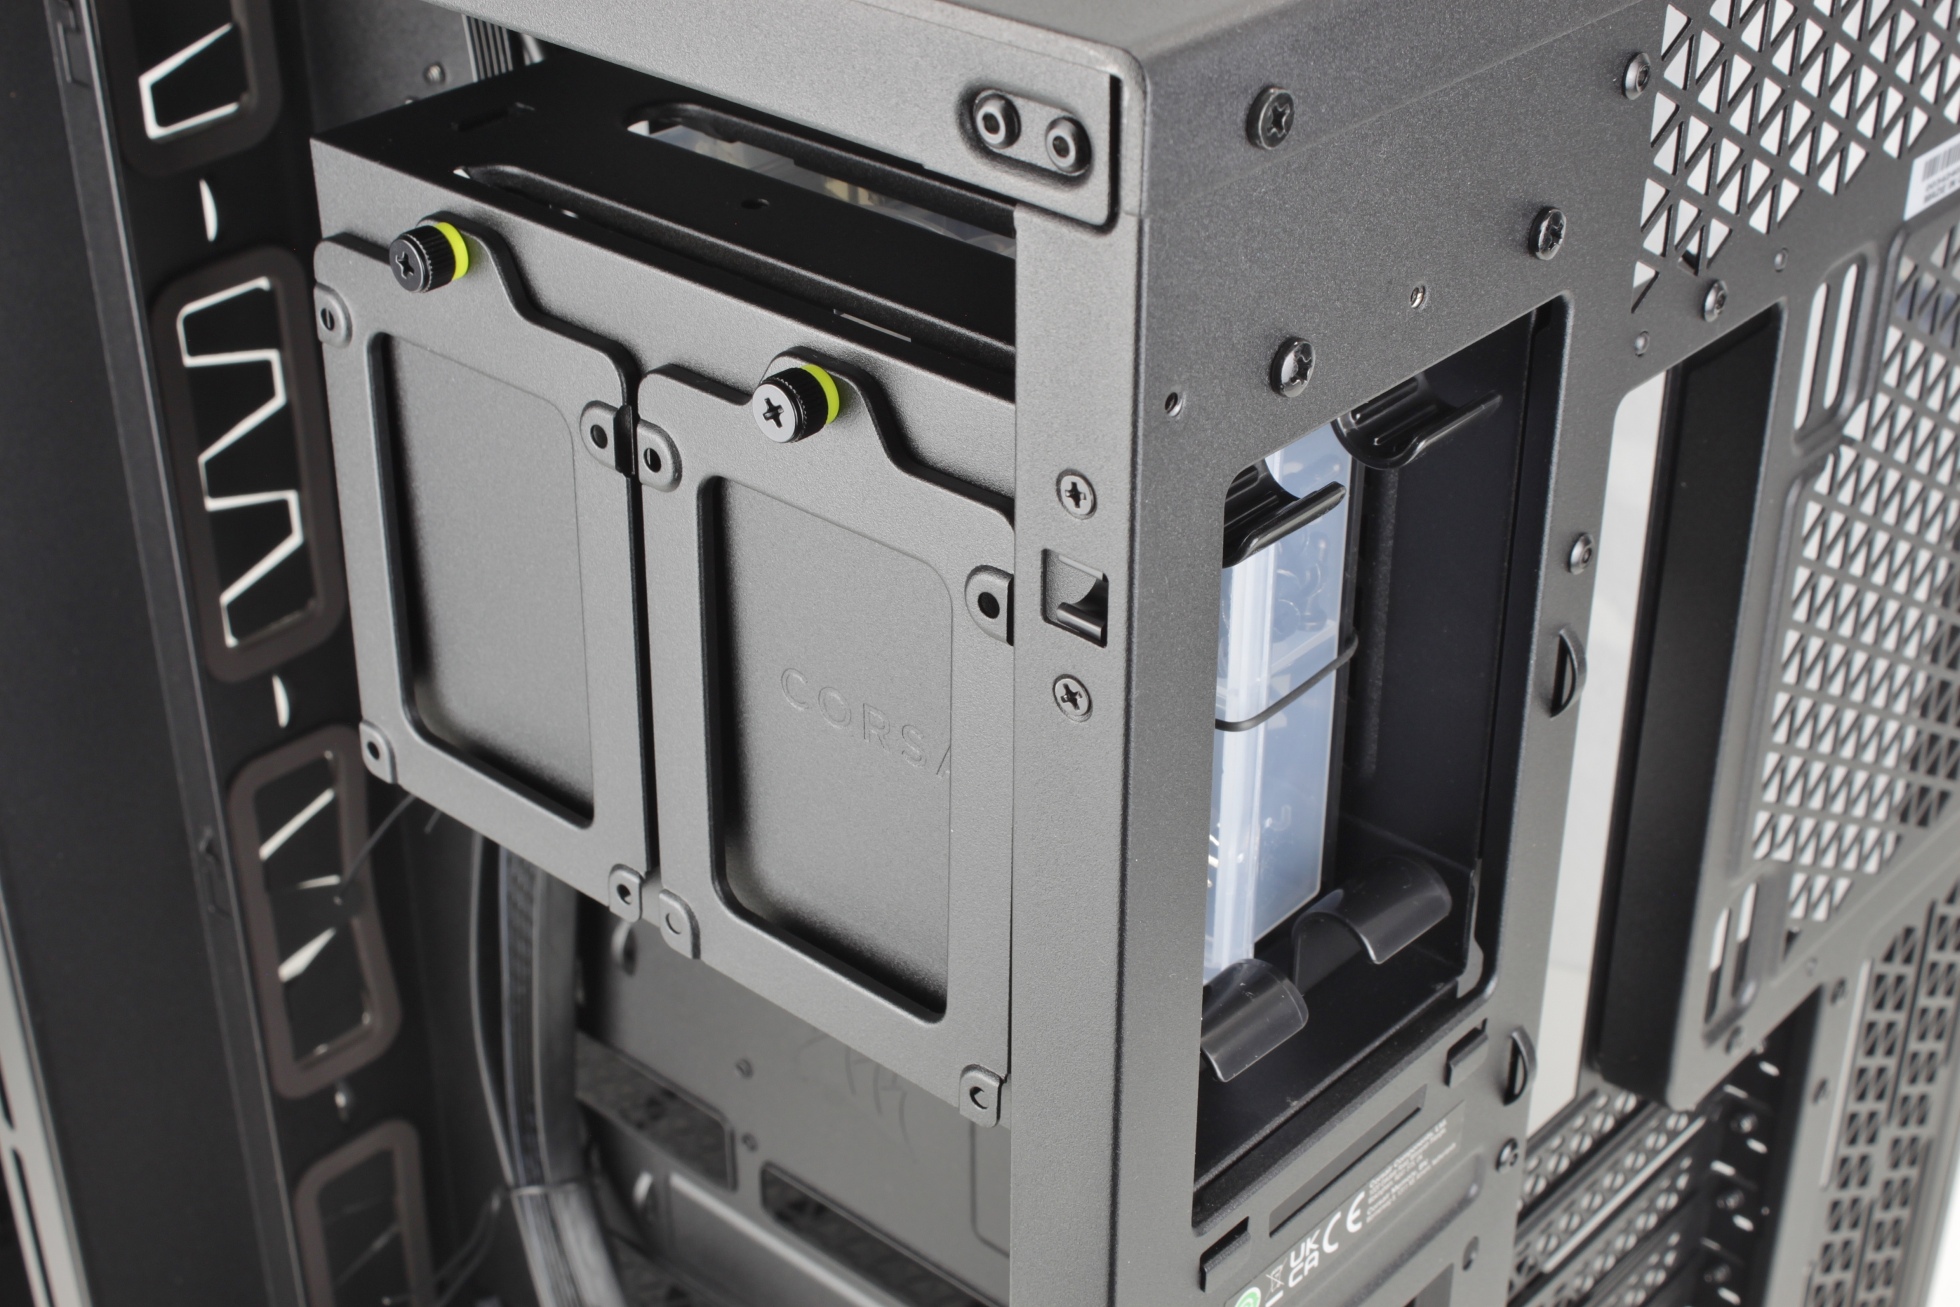
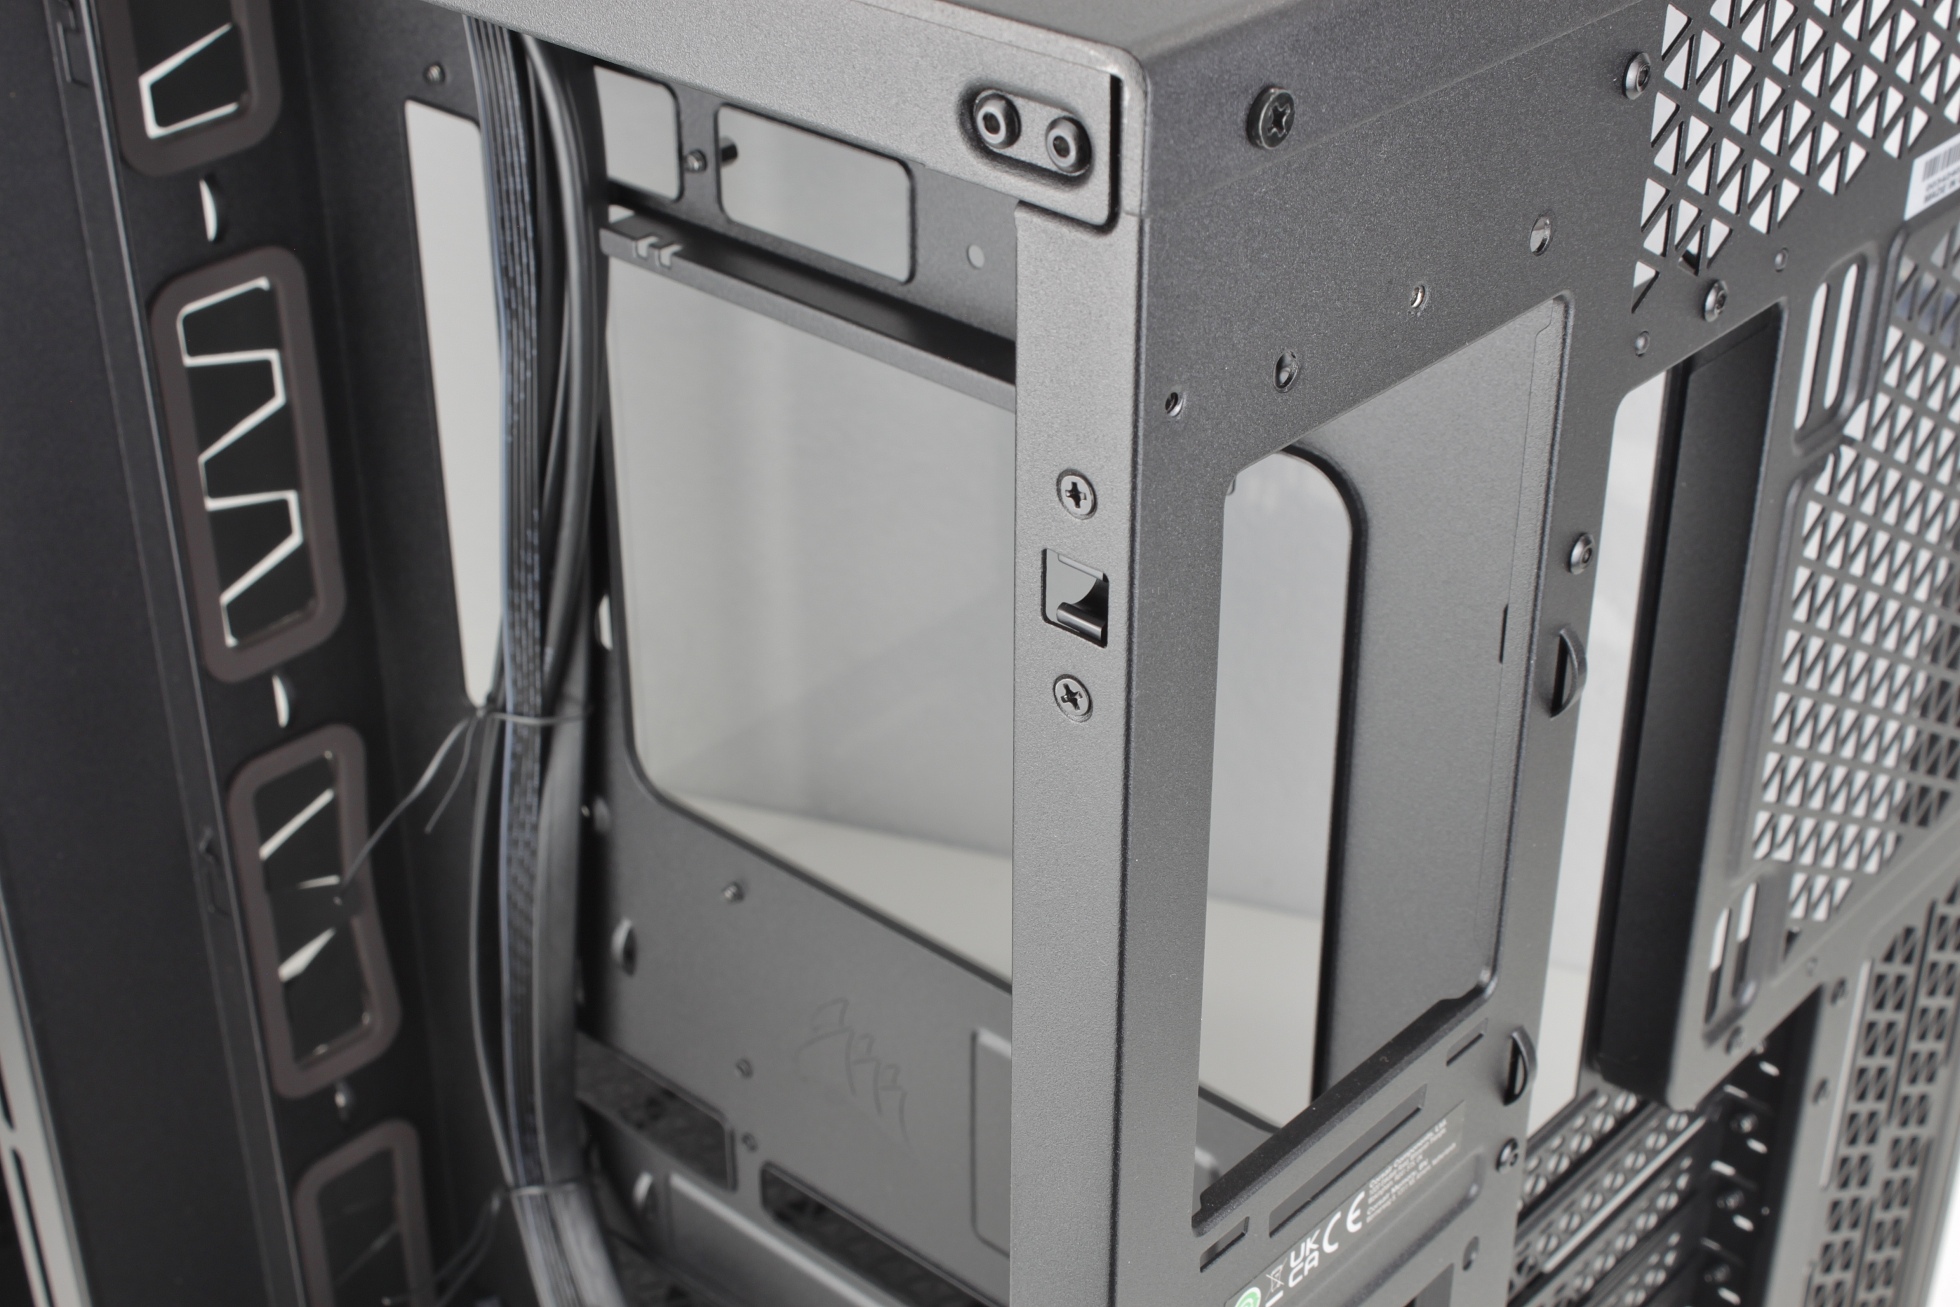
The support for side-mounted radiators can be removed by loosening a single screw.

There is also a removable partition plate on the side, which is probably intended to prevent the air from the “power supply chamber” mixing with the supply/exhaust air from the radiator.

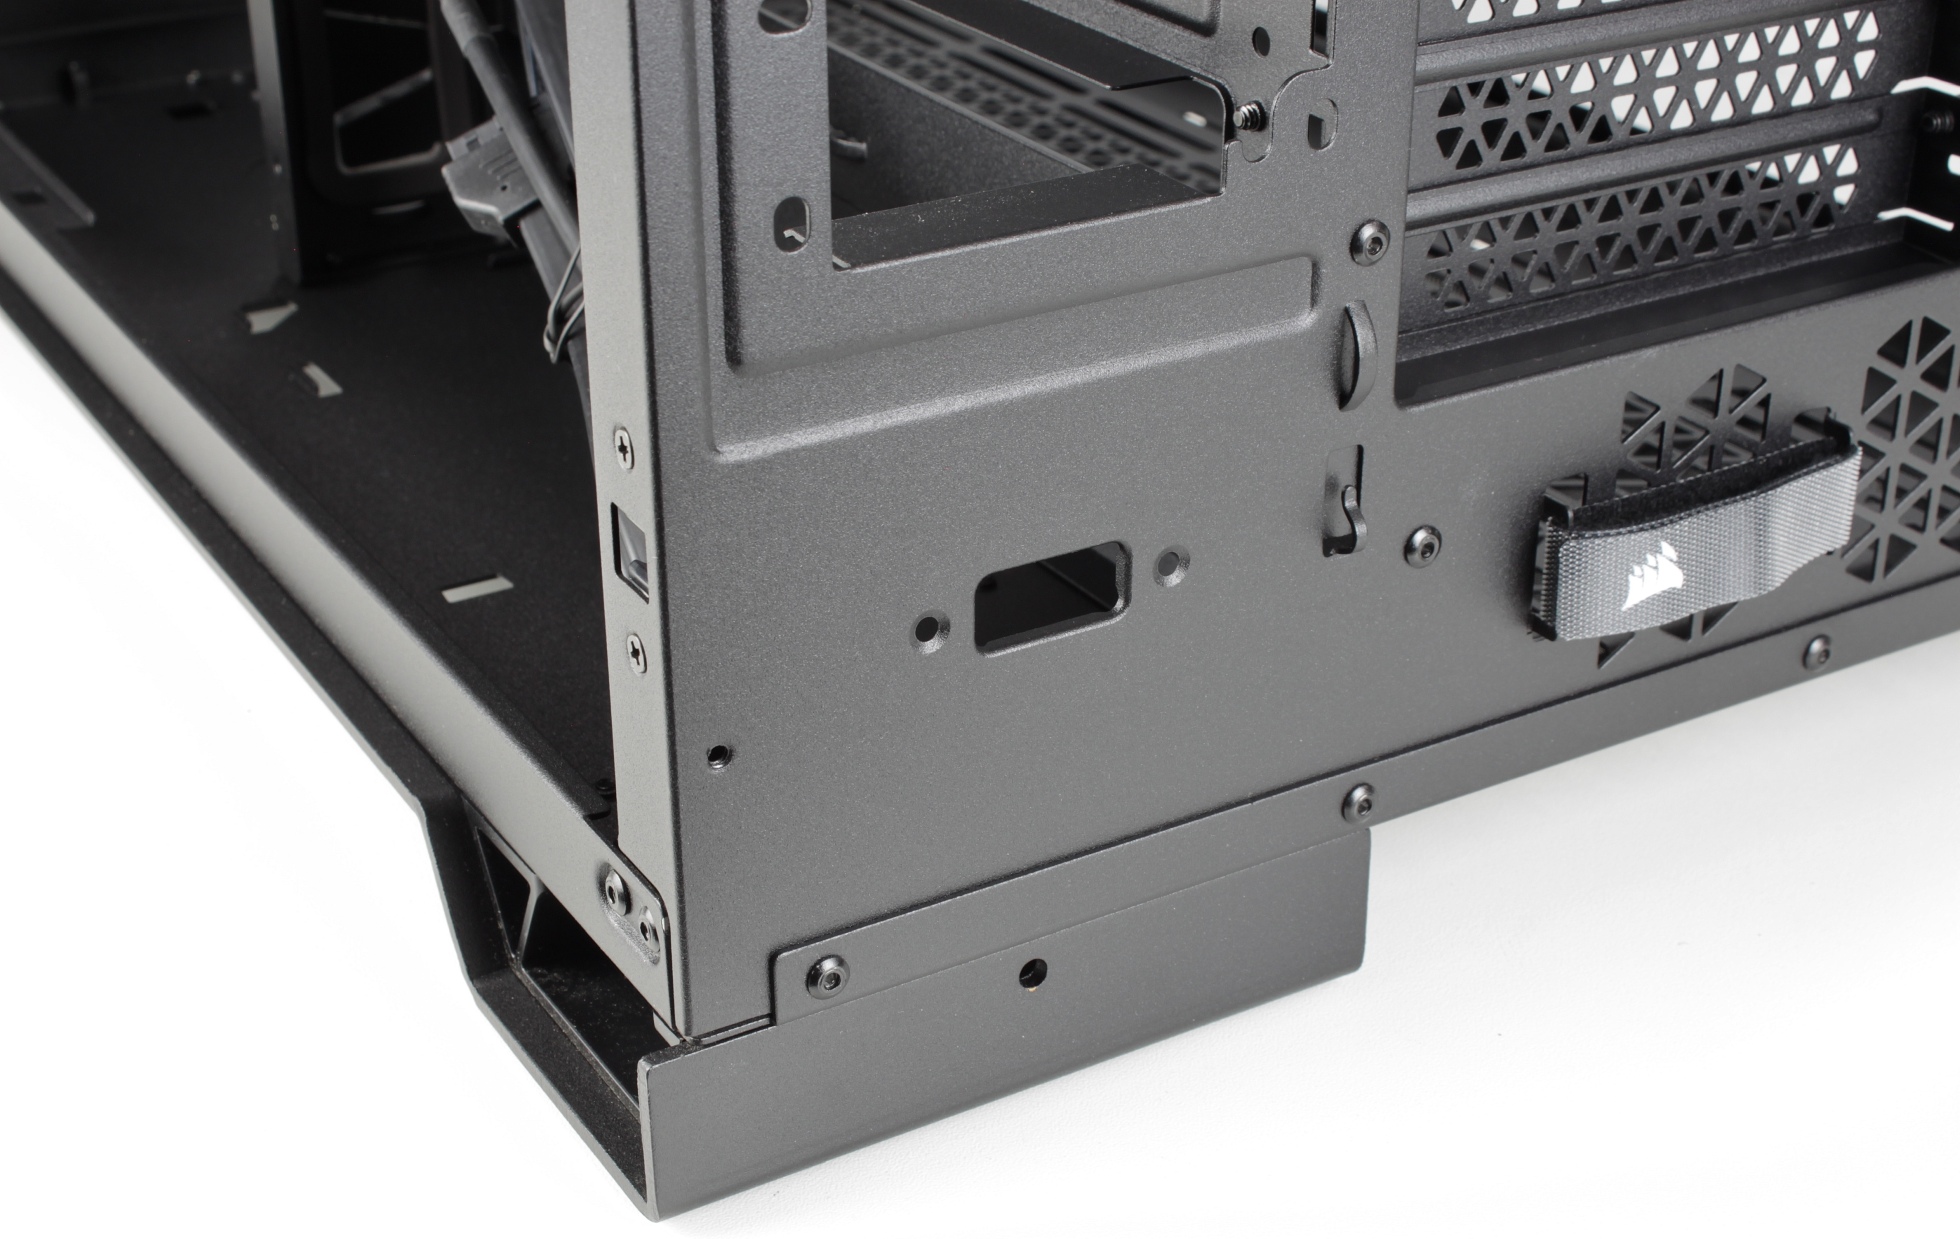
We can only guess what the outlet under the power supply unit is intended for. Perhaps a connection for external iCUE-Link devices can be fitted here in the future?


Kommentar

Lade neue Kommentare

p
pinkymee

Mitglied

62 Kommentare 59 Likes

Toller Artikel. Schönes Gehäuse samt Innenleben. Würde ich auch gern so nehmen ;)
Danke für die Einblicke in so ein anspruchsvolles Projekt.

Eine Frage habe ich aber noch. Ist das Baumarktsilicon?
Wie hast Du das schwarze Silicon in die Röhre bekommen und vor allem auch ... wie wieder raus?

Antwort 1 Like

hansmuff

Mitglied

46 Kommentare 27 Likes

Gut geschriebener Artikel, danke!

Ganz kurz, "ein keiner Corsair Fanboy" auf der letzten Seite ist wohl eher "ein kleiner Corsair Fanboy" denke ich :)

Antwort 1 Like

echolot

Urgestein

932 Kommentare 723 Likes

Schickes Gehäuse mit gepfefferten Preisen und das nicht nur für die Riserbestückung mit satten 92,58€ (musste zweimal hingucken) sondern auch für den Custom-Loop mit 750,- €. Und die Wakü lohnt sich ehrlich gesagt nur wenn die Graka miteingebunden wird und da ist ein Radiator zu wenig. Nackt, Gehäuse mit Gedöns und Customloop für 1k€ ist bedenklich. Die Preise kennen momentan nur eine Richtung.

Antwort 5 Likes

hansmuff

Mitglied

46 Kommentare 27 Likes

@echolot Ich weiß nichts über WaKü, aber ist ein guter 420'er Radiator genug für sagen wir mal 'ne 140W CPU und 350W GPU? Reines Interesse.

Antwort 1 Like

echolot

Urgestein

932 Kommentare 723 Likes

Wenn Du es leise haben willst, ist das definitiv zu wenig. Die Kühlleistung hängt stark vom Luftdurchsatz ab und so eine Wakü macht für mich nur Sinn, wenn ich damit gleichzeitig den Lärmpegel nach unten kriege.

Antwort 2 Likes

hansmuff

Mitglied

46 Kommentare 27 Likes

@echolot Lärmpegel ist für mich alles. Im Moment habe ich nur eine 280mm AIO für meine CPU, und das ist schon super leise wenn richtig eingestellt. Die GPU macht etwas Mucken wenn sie echt ausgereizt wird.. da lechtze ich manchmal für nen vollen custom loop, aber das ist ja schon aufwendig und teuer, das leitet mich dann immer weg.

Irgendwas muß man ja immer suchten :)

Antwort Gefällt mir

echolot

Urgestein

932 Kommentare 723 Likes

Gebraucht tuts auch. Bei Kleinanzeigen gibt es genügend Radis und Pumpen. Hardtubes kommen bei mir grundsätzlich nicht rein. Dafür fummel ich zuviel rum. Wenn man sich umschaut kann man aber einiges sparen. Das hier vorgestellte System ist für meinen Geschmack zu hochpreisig. Betrifft auch die Lüfter. Steht jedem frei vor er sein Geld investiert.

Nachtrag: beispielhaft

Antwort Gefällt mir

Klicke zum Ausklappem
big-maec

Urgestein

841 Kommentare 487 Likes

Finde zwar guter Ansatz, aber zu teuer, da das Gehäuse keine wirklich neuen Innovationen aufweist, findet man auch vergleichbare Gehäuse auf dem Markt, die unter anderem auch günstiger sind.

Antwort Gefällt mir

Rizoma

Veteran

169 Kommentare 134 Likes

Das 6500D hat mir echt gut gefallen und wäre beinahe auch neben mir gelandet was mich allerdings abgehalten hat war der Preis denn es stand fest das ich eine Vertical GPU wollte und 300€ war mir dann doch zu Teuer. Leider kann ich aber auch nicht verstehen Warum Corsair nicht den schritt gegangen ist zumindest beim großen 6500 alle Lüfterplätze mit 140´er zu supporten.

Antwort 1 Like

p
pinkymee

Mitglied

62 Kommentare 59 Likes

Geschenkt nehme ich es, da ist der Preis schnurzegal ;)

Antwort 2 Likes

garfield36

Urgestein

1,279 Kommentare 334 Likes

Scheint ja ein interessantes Gehäuse zu sein. Ein Staubfilter oben hätte aber nicht geschadet. Bei den Fotos hatte ich den Eindruck, dass Front- und Seitenscheibe bündig abschließen. Kann das sein? Die meisten Gehäuse ohne "Eckstütze" haben da ja einen Spalt, was mir persönlich ja nicht so gefällt.

Antwort 1 Like

c
cunhell

Urgestein

551 Kommentare 506 Likes

Echt sehr schön gebaut. Das Einzige was mir auffällt ist, dass man, so sieht es für mich zumindest aus, die RAM-Riegel nicht herausnehmen kann, ohne die Wasserkühlung zu entleeren. Mir scheint der Abstand zwischen dem Rohr und den Riegeln dafür auf den Bildern zu gering.

Aber sonst echt top! 👍
Grüße
Cunhell

Antwort 1 Like

Alexander Brose

Moderator

821 Kommentare 574 Likes

Moin!

Vielen Dank schon einmal für die Kommentare, ich versuche heute Abend auf ein paar Fragen einzugehen.

@cunhell: Der RAM ist tatsächlich zugänglich. Es sind nur 2-3mm Platz, aber es passt 😁

Grüße!

Antwort Gefällt mir

S
SpotNic

Urgestein

953 Kommentare 396 Likes

War selbstredend so geplant ;)

Antwort 1 Like

c
cunhell

Urgestein

551 Kommentare 506 Likes

(y)
Maßarbeit :)

Nochmal Gratulation zu dem netten Build

@SpotNic: Wie konnte ich nur daran zweifeln ;)

Grüße
Cunhell

Antwort 1 Like

Ghoster52

Urgestein

1,412 Kommentare 1,068 Likes

dto, danke für den Test und die Einblicke! (y)
Ob es den (Fanboy 😆) Preis wert ist, muss jeder für sich entscheiden ...
Das "Sorglos-Paket" hat eben auch seine Vorteile.

Ich hätte noch eine Anmerkung zur aktuellen Software....
An sich funktioniert alles so wie es soll und vorstellt, aber ich hatte schon ein paar mal dezente Probleme.
Nach Windoof-Update war die Corsair Steuerung komplett weg (war auch nicht mehr auf dem Datenträger zu finden),
musste neu installiert werden (angelegte Profile / Einstellungen waren aber noch da)
HW Info mag das Teil gar nicht, von seltsamen Verhalten bis lustiges vor sich hin blinken hatte ich schon alles.
Teils nervt das ganz schön.

Antwort 1 Like

Alexander Brose

Moderator

821 Kommentare 574 Likes

Nee, das ist ein fertiger Silikonschlauch, der denselben Durchmesser hat wie die Rohre. Der Silikonschlauch liegt dem Set bei - rein schieben, Rohr formen, abkühlen lassen, Schlauch wieder rausziehen (y)

Klar, korrigiert :)

Ja, die Kante schließt ziemlich bündig ab, man bekommt gerade so ein Blatt Papier dazwischen geschoben. Auf einigen der Herstellerfotos kann man das ganz gut erkennen, kann aber auch versuchen, das nochmal irgendwie einzufangen, wenn es kaufentscheidend wäre.

Das hatte ich bisher zum Glück noch gar nicht, aber mir hat neulich ein Windows-Update den Radeon-Treiber verschwinden lassen. Keine Ahnung, was sich die Jungs bei Microsoft bei sowas denken, es gibt genug Leute, die so ein Pfusch vor unlösbare Aufgaben stellt.

Grüße!

Antwort 1 Like

garfield36

Urgestein

1,279 Kommentare 334 Likes

@Alexander Brose

Ich gebe zu, für mich wäre das schon ein Kaufkriterium. Zur Zeit habe ich zwar ein passables Gehäuse, aber ich tausche diesbezüglich öfter.

Antwort 1 Like

OldMan

Mitglied

30 Kommentare 9 Likes

Ganz toller und aufschlussreicher Bericht. Super gemacht und für mich ein top Ergebnis! Vielen Dank für die Mühe

Antwort 1 Like

Danke für die Spende


Du fandest, der Beitrag war interessant und möchtest uns unterstützen? Klasse!

Hier erfährst Du, wie: Hier spenden.

Hier kannst Du per PayPal spenden.

About the author

Alexander Brose

Werbung

Werbung