


Completed and installed
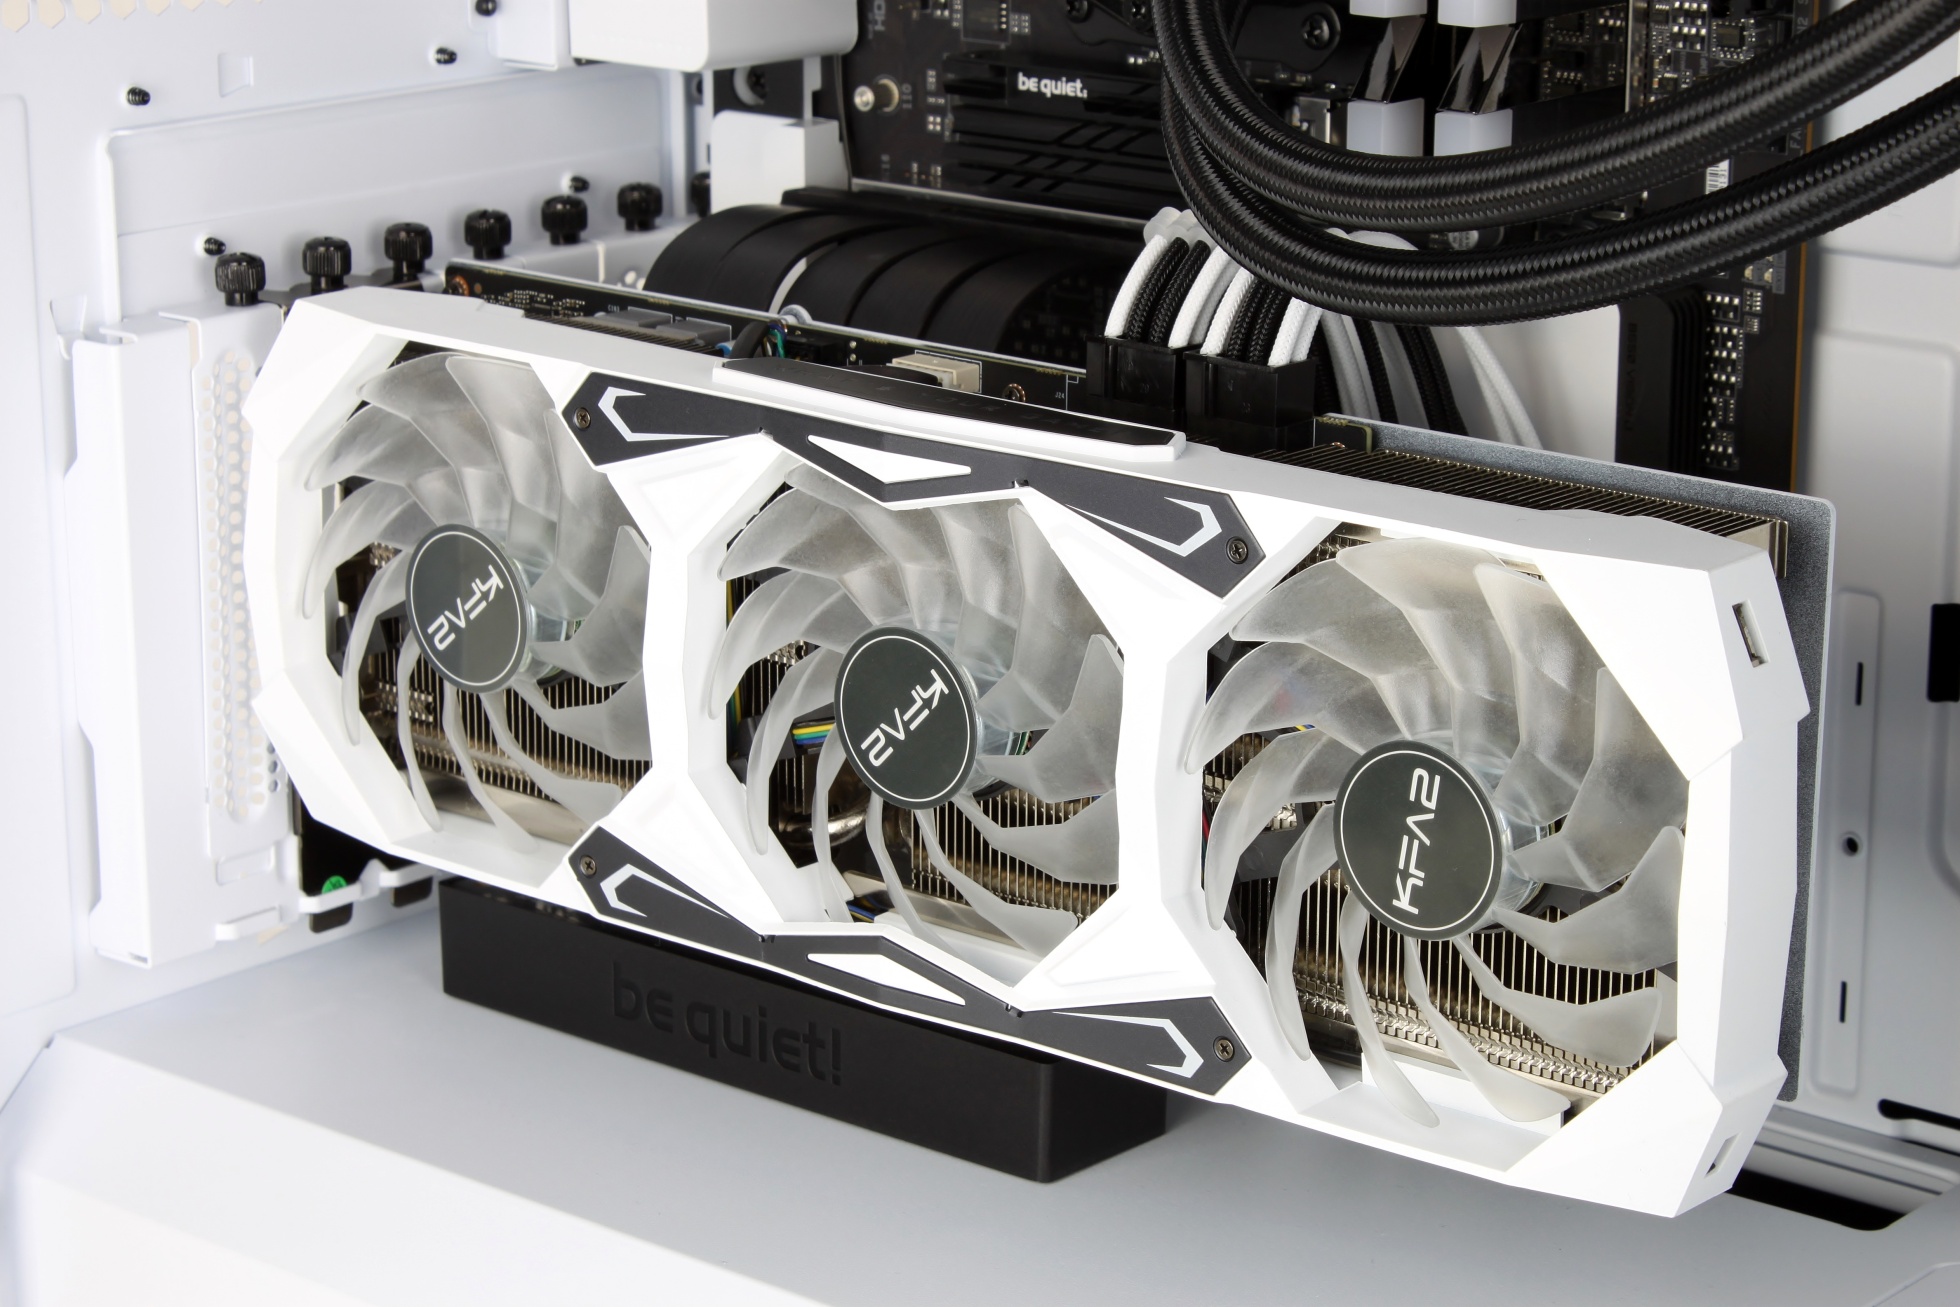
This is what the assembled card looks like now. I think it looks really good.

Because of the cutouts and shapes, the white painted backplate doesn’t look as “boring” as I had feared before.
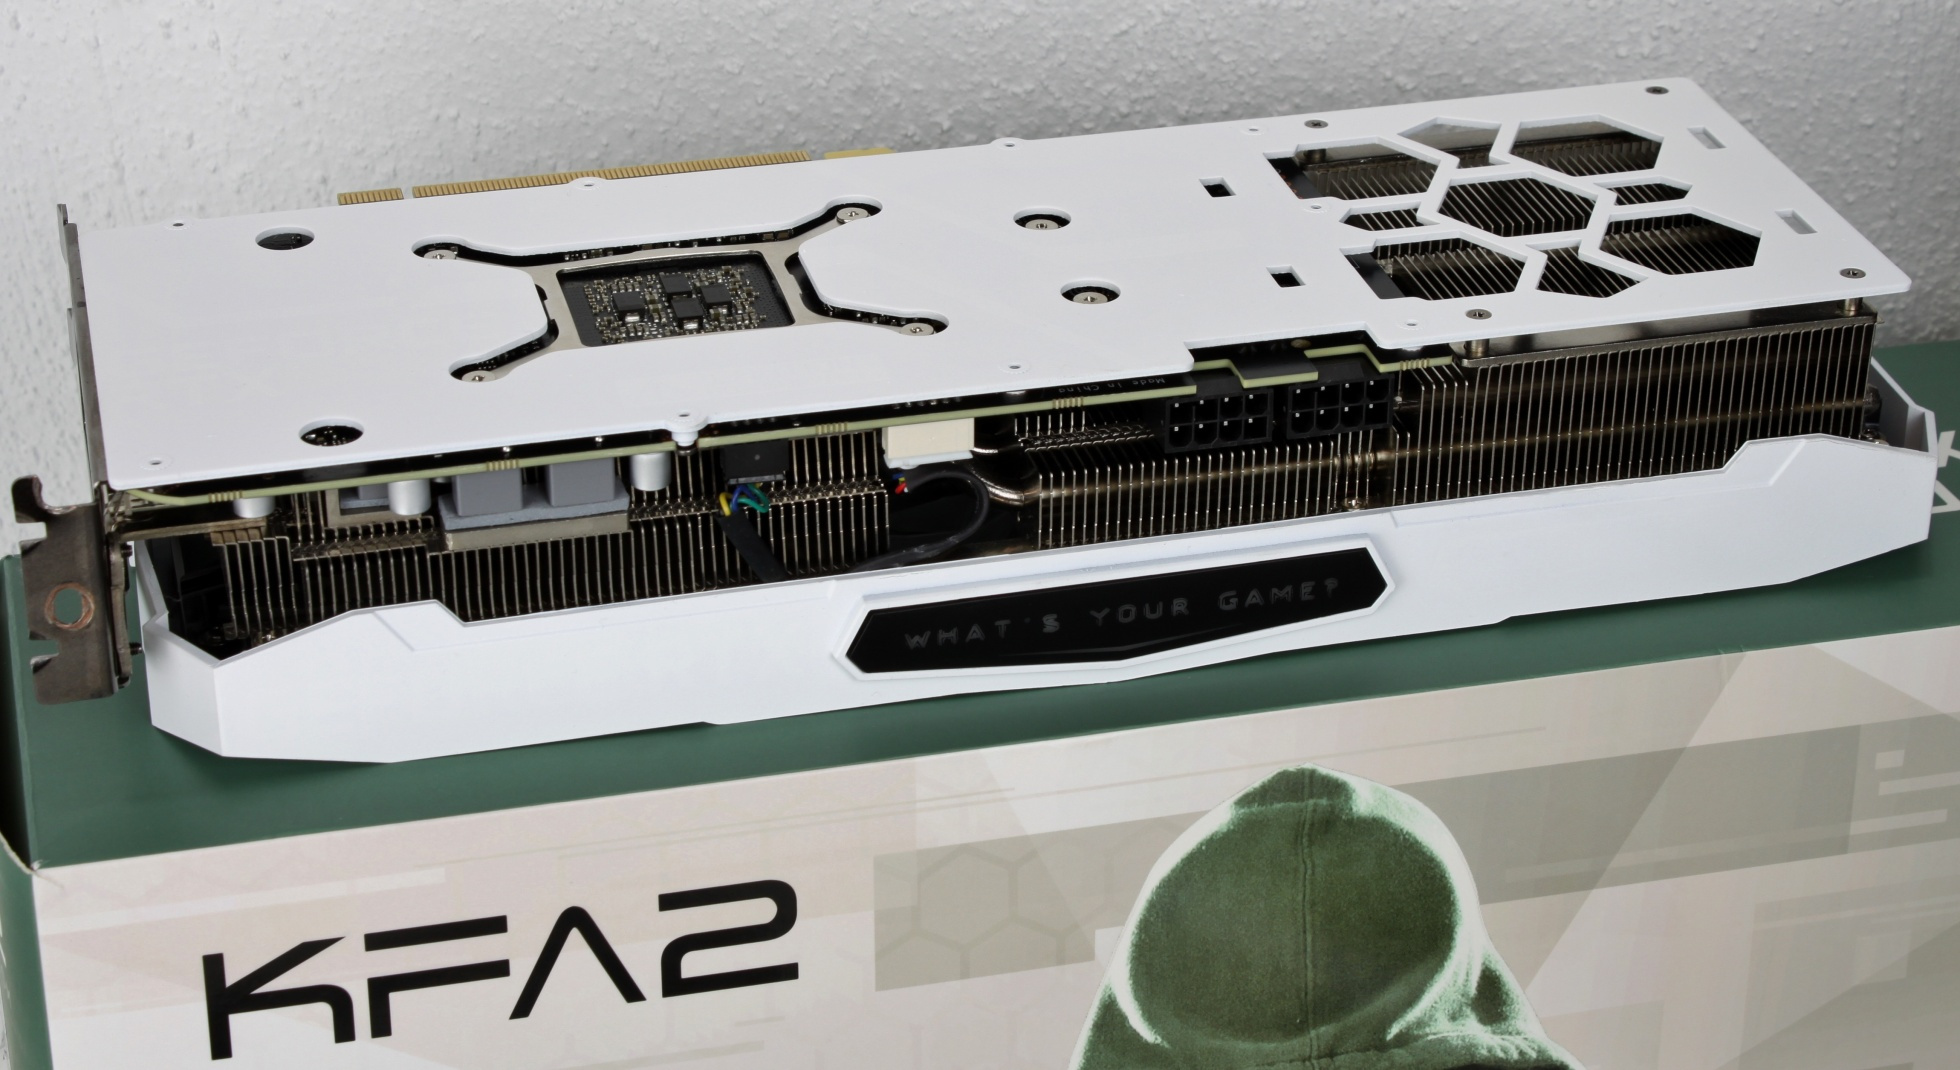
Okay, you could have painted the backplate from the back/bottom, but at least the spray is so evenly distributed that it does not immediately jump into the eye.
And this is how the final result looks in action:


Conclusion
I am very happy with the work and think that the effort was definitely worth it. You just have to do it neatly so that it looks neat in the end. Of course, you can simply mask moving and electrical components and simply paint over them, but I wouldn’t be satisfied with such a job if I knew exactly that it would only look good in the video, but that I would get nausea every time I looked at the computer. In hindsight, you might have sprayed a coat of (matte) clear coat over it to protect the paint a bit from scratches and scuffs. I refrained from doing so because I was afraid of gumming up the threads and openings too much if another 1-2 coats of varnish were applied.
At the end, however, a little warning! Even if the Modder is a good painter and as a side effect of the conversion by the exchange of the thermal paste even still temperature improvements result, can always go wrong with such a conversion also something. The slightest carelessness, a forgotten (or wrongly dimensioned) heat conductive pad, even screws tightened in the wrong order – all these mistakes / carelessness can irrevocably destroy the expensive graphics card! In any case, the warranty is void after such a measure, so always keep in mind.


24 Antworten
Kommentar
Lade neue Kommentare
Mitglied
1
Urgestein
Urgestein
Urgestein
Veteran
1
Veteran
Urgestein
Urgestein
Neuling
Urgestein
Veteran
Veteran
Urgestein
Urgestein
1
Urgestein
Urgestein
Alle Kommentare lesen unter igor´sLAB Community →