


What is the best way to test graphics cards in the workstation area? Of course with appropriate software and not just any dead-optimized synthetics. But it's not just the software that decides, but also the hardware. That's exactly where I started again and thought long beforehand. In the end, because the fastest CPU per thread is also important, because it depends on the fastest CPU per thread, I decided on a Core i9-9900K. Because I don't want to render with the CPU, but to explore the nuances between the graphics cards during the performance. Then, as far as possible, the CPU side must not limit anything.
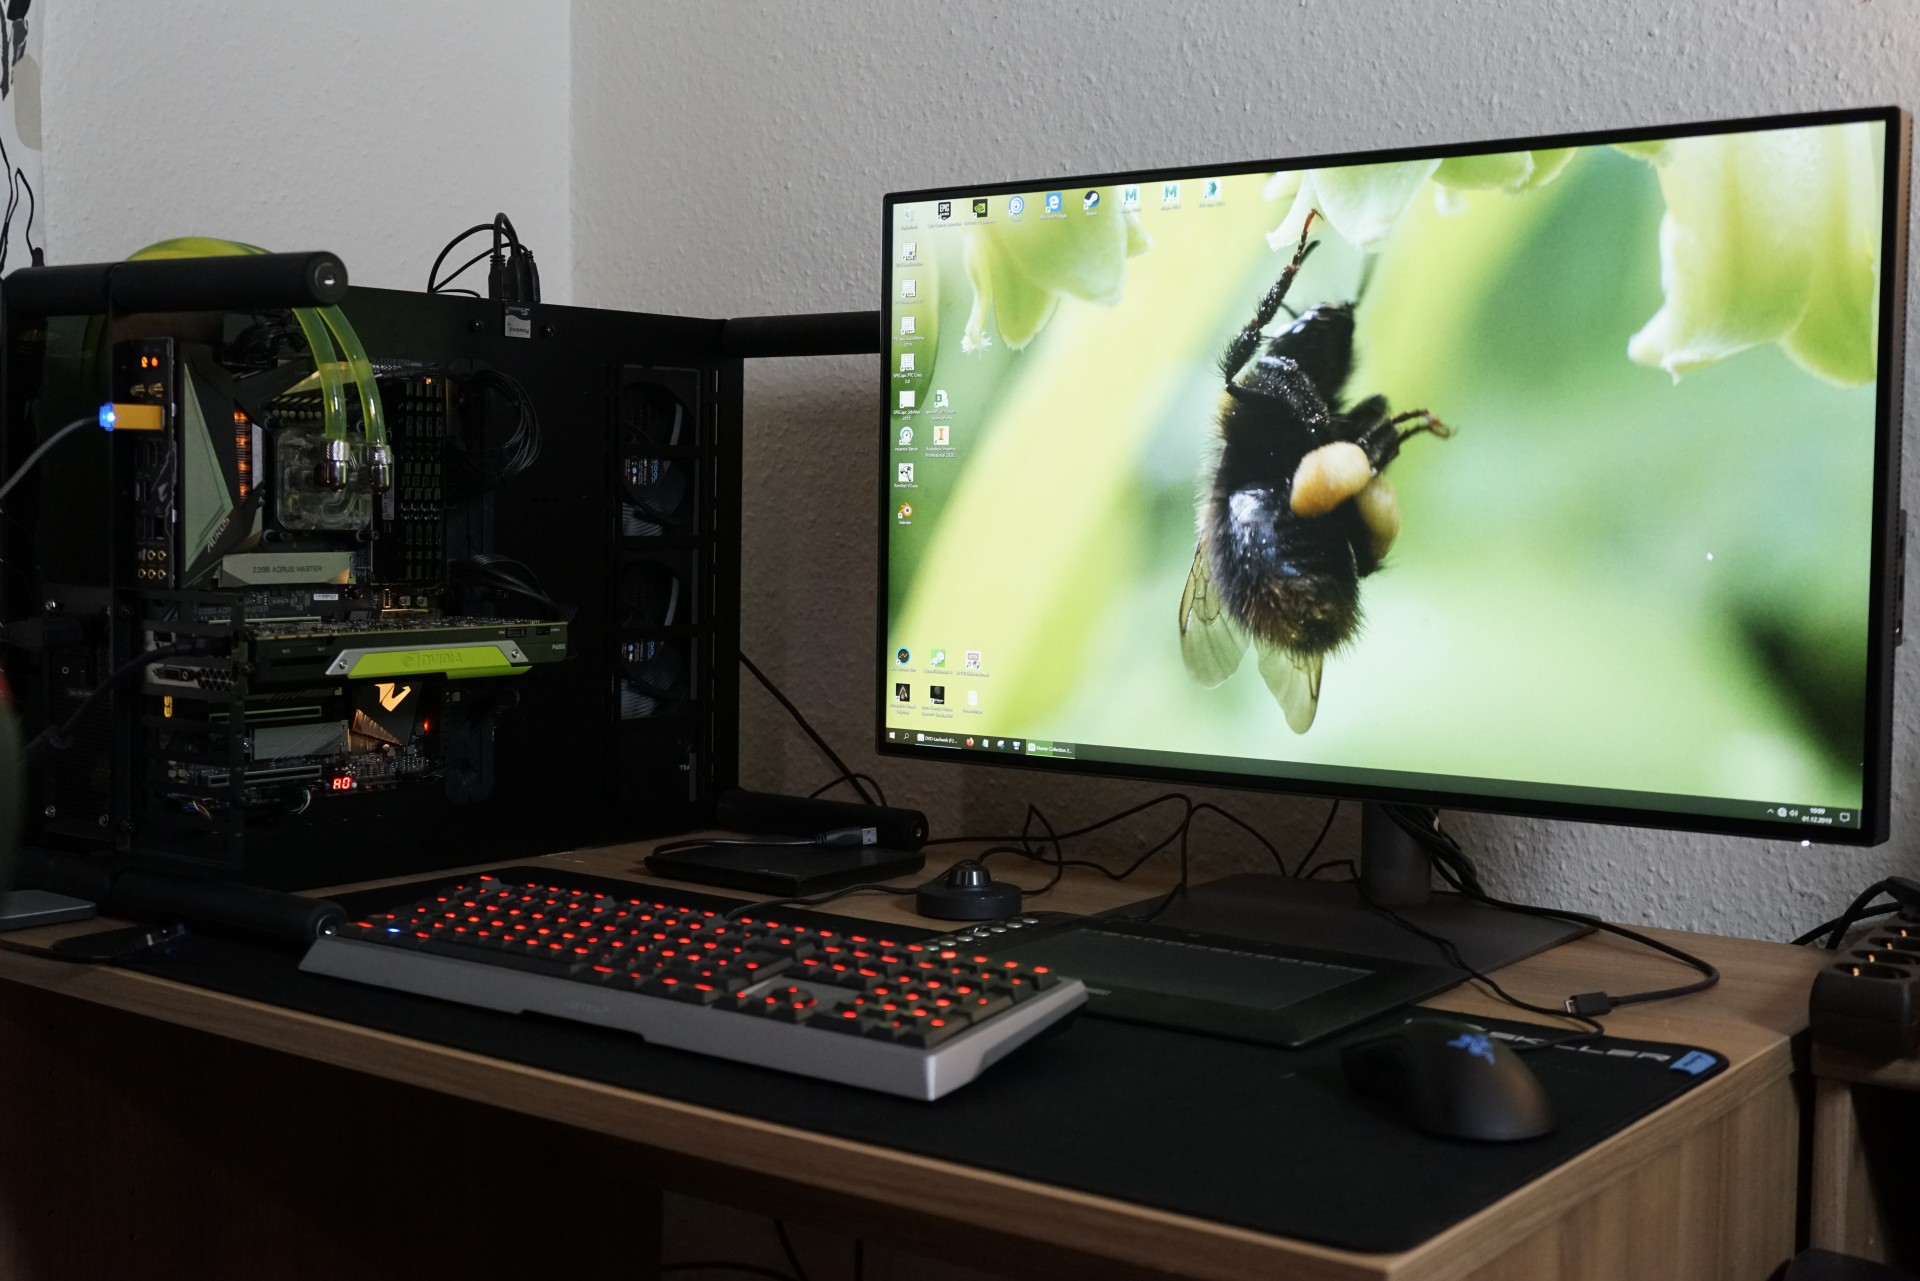
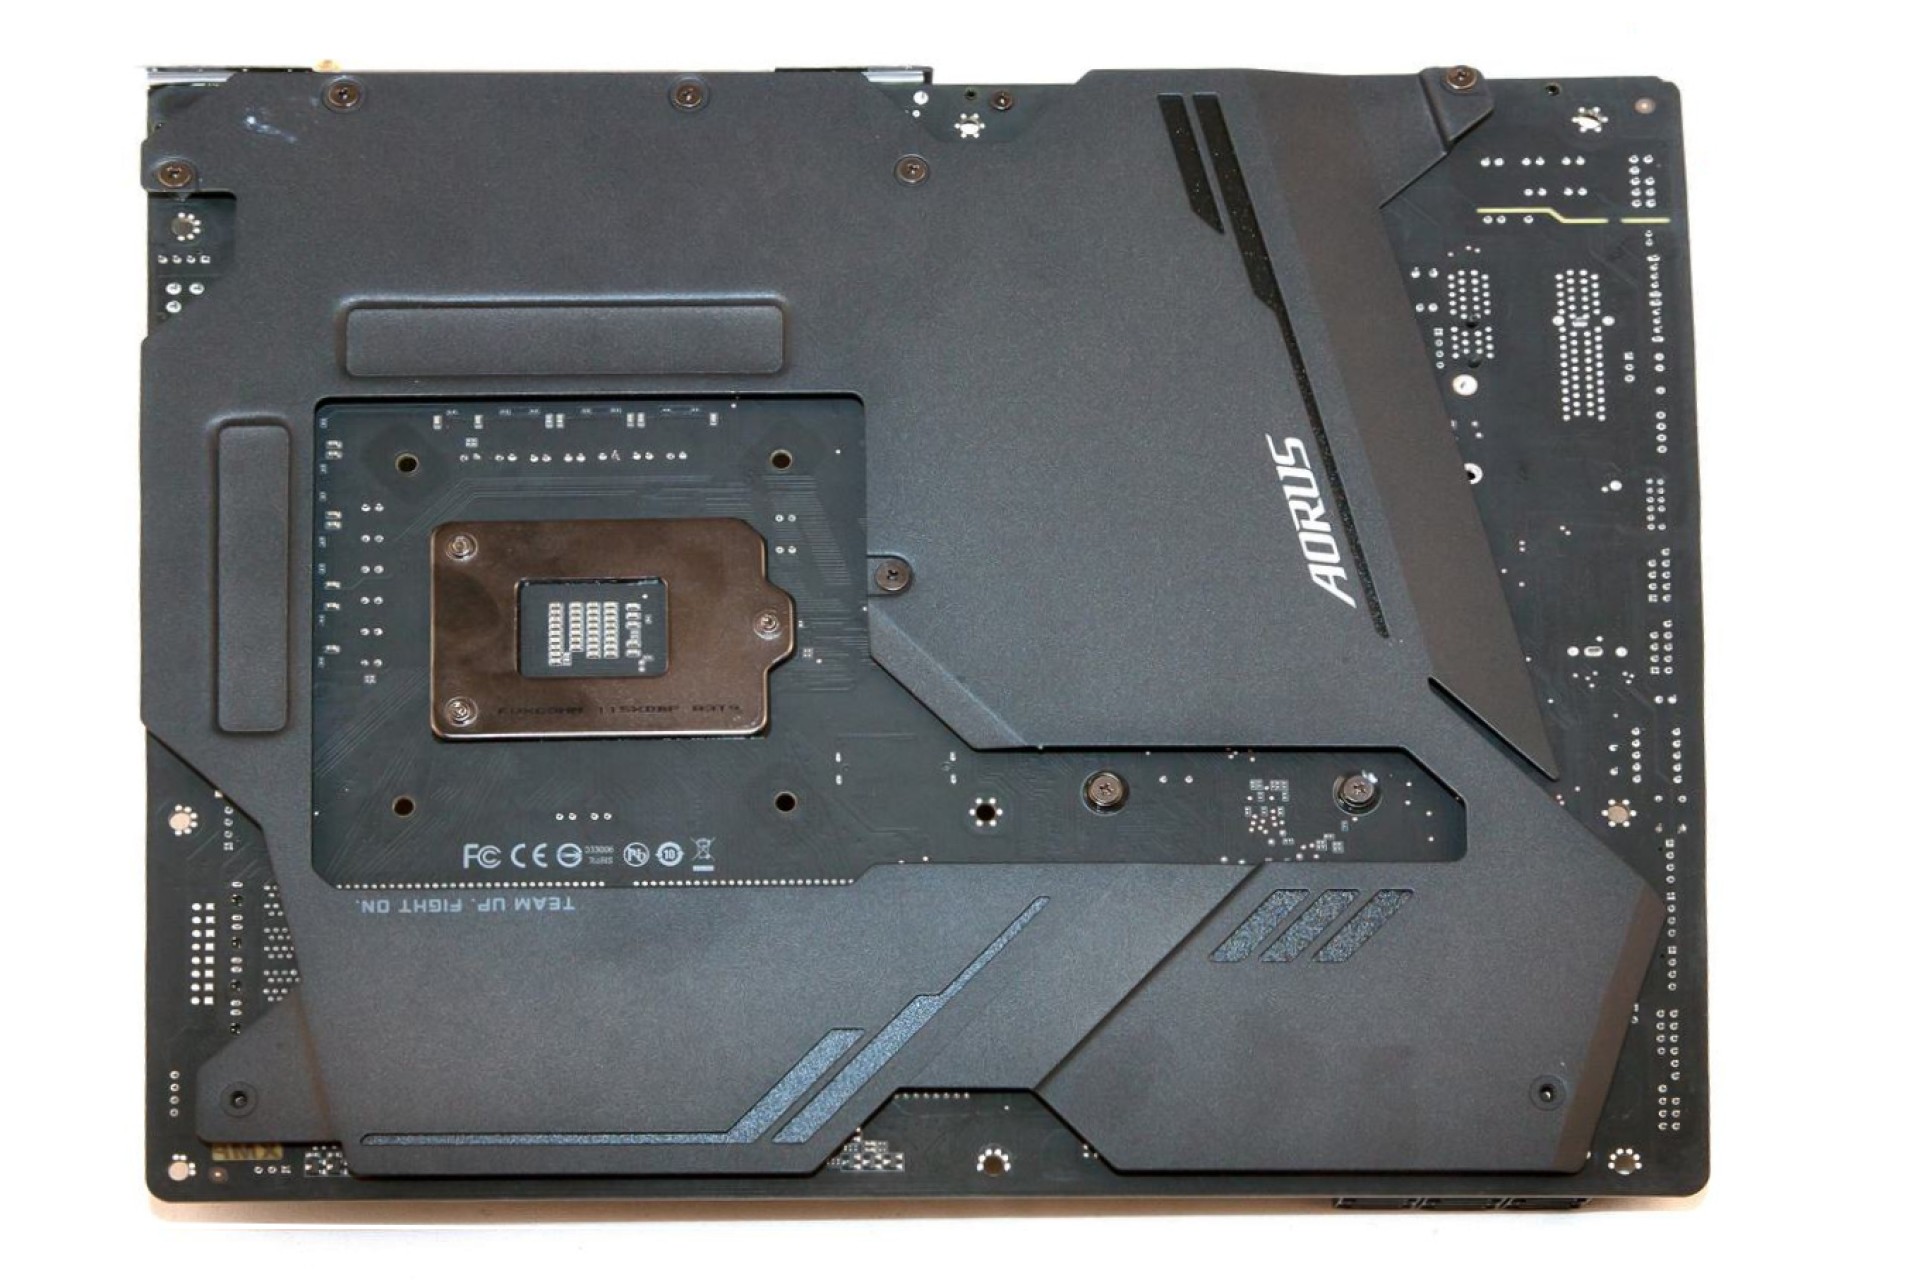
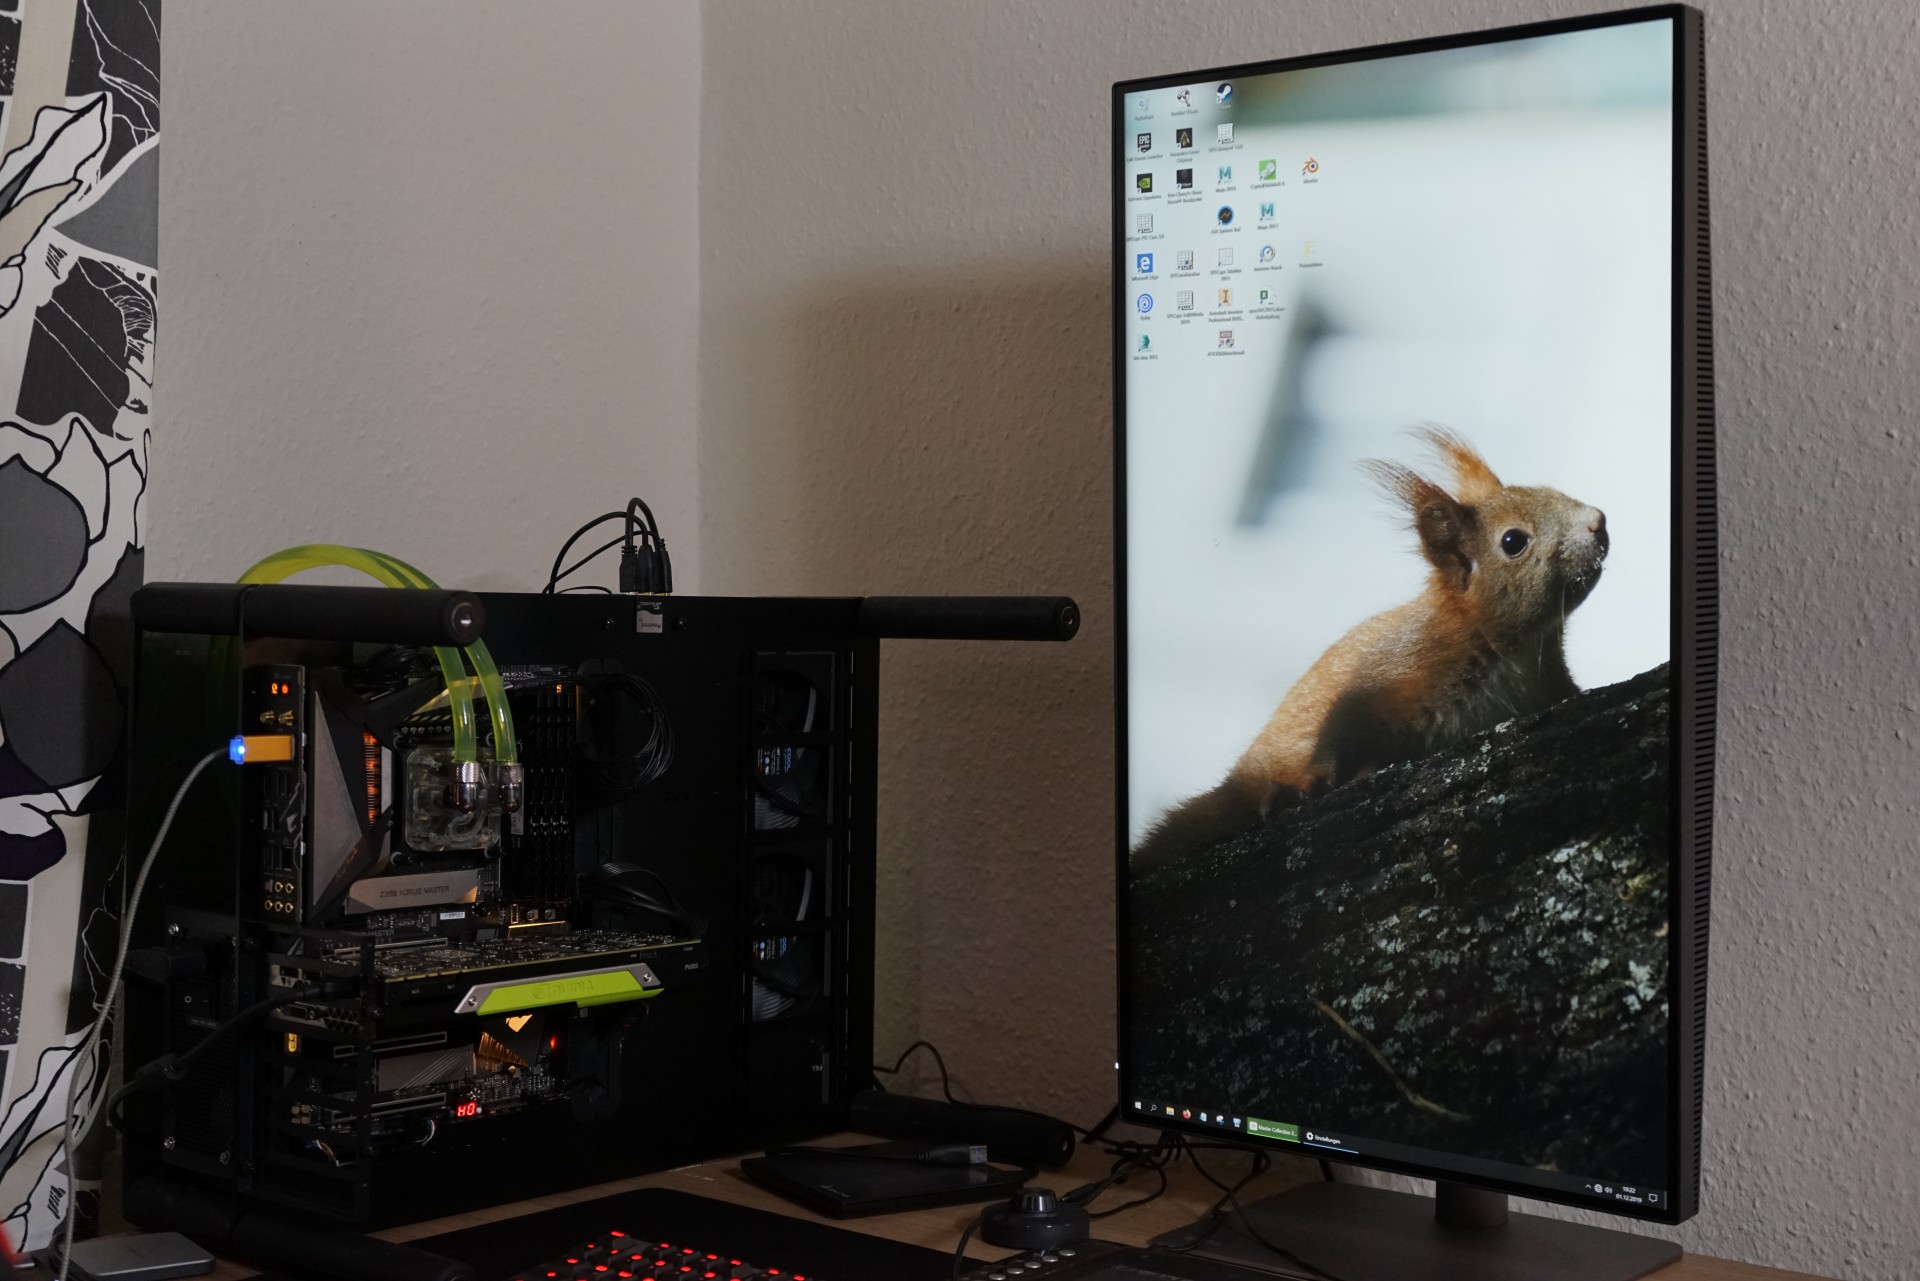
A Raijintek Paean, which is open on the front, is used, which I of course set up for space reasons. The board is an Aorus Z390 Master, which I selected mainly for stability reasons. The board has excellently cooled voltage converters and is perfectly protected from bending with a backplate. The audio part is handled by an ESS-Sabre, which with 2 volts also offers enough bums for the necessary headphones. Because I will not only use this workstation for benchmarking, but also work productively on it for the rest of the time. Image processing, short video clips and everything that is possible with CUDA, OpenCL and graphics cards.

The installed 32 GB memory is currently sufficient, maybe I will re-energise later. DDR4 3200 is currently installed by G-Skill, which runs in the XMP profile. All the fun is supplied by a Seasonic Prime Titanium and 1000 Watts maximum power, which is still quite sufficient for mGPU. Cooling is done by a modified Alphacool ice grinder with an advanced quick release system. On the CPU sits an Alphacool XPX, a graphics card could still be stuck in between.
With the monitor, I deliberately chose a real professional solution. The almost frameless BenQ PD322020U with its 31.5 inch diagonal and 3840 x 2160 pixels is large enough, has an excellent AHVA panel from AU Optronics and covers with 10 bit color depth (1.07 billion. colors) almost completely clears the required color spaces. The ergonomics are almost perfect and you can turn it (up to the pivot function) and turn it as you like – a setting always fits.
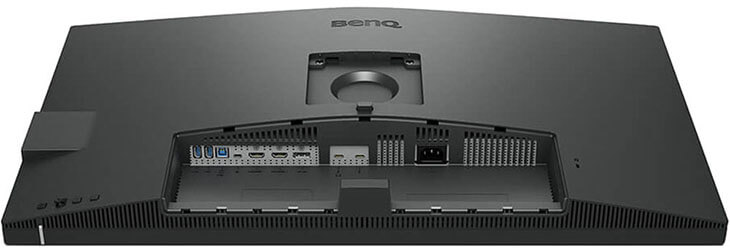
One of the main reasons for selecting this monitor for the test series, however, is the excellent image quality and ergonomics, but the very good connectivity. In addition to DP 1.4a and 2x HDMI 2.0, you can find USB 3.1 up to Type C and Thunderbolt 3. A special feature is the functionality as a KVM switch by assigning the keyboard and mouse that can be connected to the screen to the active screen. Especially when testing, this feature is priceless, because it saves an enormous amount of space. By the way, picture-in-picture works the same way as displaying multiple inputs at the same time.
If you want to see the complete presentation, you are welcome to watch this short video of me, below you can find the component list in table form.
The test system in detail:
| Test System and Equipment |
|
|---|---|
| Hardware: |
Intel Core i9-9900K, i9-9900K 4x 8GB G.Skill FlareX DDR4 3200 |
| Cooling: |
Alphacool Ice Block XPX Alphacool Ice Grinder (modified) Thermal Grizzly Kryonaut |
| Case: |
Raijintek Paean Open Benchtable |
| Monitor: | BenQ PD3220U |
| Power Consumption: |
Non-contact direct current measurement on PCIe slot (riser card) |
| Thermal Imager: |
1x Optris PI640 + 2x Xi400 Thermal Imagers Pix Connect Software Type K Class 1 thermal sensors (up to 4 channels) |
| Acoustics: |
NTI Audio M2211 (with calibration file) Steinberg UR12 (with phantom power for the microphones) Creative X7, Smaart v.7 Own anechoic chamber, 3.5 x 1.8 x 2.2 m (LxTxH) Axial measurements, perpendicular to the center of the sound source(s), measuring distance 50 cm Noise emission in dBA (slow) as RTA measurement Frequency spectrum as graphic |
| Os: | Windows 10 Pro (1909, all Updates) |


Kommentieren