Summary and conclusion
Before we get right to my final thoughts, what does this printer actually “Pro”, that is, what makes it different from the regular version? I was able to find the following upgrades from the factory:
- Allmetal hot end with up to 300°C Nozzle temperature
- 4.3″ touchscreen instead of screen with knob
- better pressure surface, structured PEI spring steel
- Insulation for the heating bed
- LED lighting for the printing area
- Filament holder with ball bearing
- Handle on print bed
- Covering made of plastic
I have already sorted out how relevant the differences are according to my personal assessment. I’ll continue with a few notes and things I noticed about this printer during my test. Before I write a long novel, here are the most important points:
- Sensitivity of the touchscreen is a bit worse than you are used to, for example, from a cell phone
- Menu navigation partly convoluted
- German translation is mediocre, English is preferable
- After selecting the file from the SD card, the print start has to be confirmed with a small button again
- All belts are from the brand manufacturer Gates
- Rubber roller wheels are a bit old-fashioned, for a “Pro” model I would have expected linear bearings
- Rollers at the print bed but factory quite loose, retightening absolutely necessary
- Popular user mod already available as injection molded part
- Standard profiles in PrusaSlicer have unnecessarily much infill
- PID values can be entered on the printer, but a test cannot be performed directly on the touchscreen
- Filament preheat profiles can be easily adapted and quickly used
- Mesh bed leveling lasts several prints before it should be repeated
Despite the open structure and thus constantly necessary heating of the print bed, the power consumption is kept within limits. This is probably due in no small part to the insulation on the underside. When heating the nozzle to 200°C and the print bed to 60°C at the same time, I measured a peak power consumption of 375 watts, but as soon as the temperature is reached, it drops to about 90-95 watts. When printing PLA, you’re looking at about 105-110 watts with the motors moving. When switched on, the printer draws 9 watts, but when the stepper motors are energized, e.g. after bed leveling but before printing, the consumption is 29 watts. At a distance of about 40cm from the front, I could measure 52.2 dB(A) during active operation. For the simultaneous heating of the nozzle to 200°C it takes 64 seconds, after 107 seconds the print bed had also reached its 60°C.
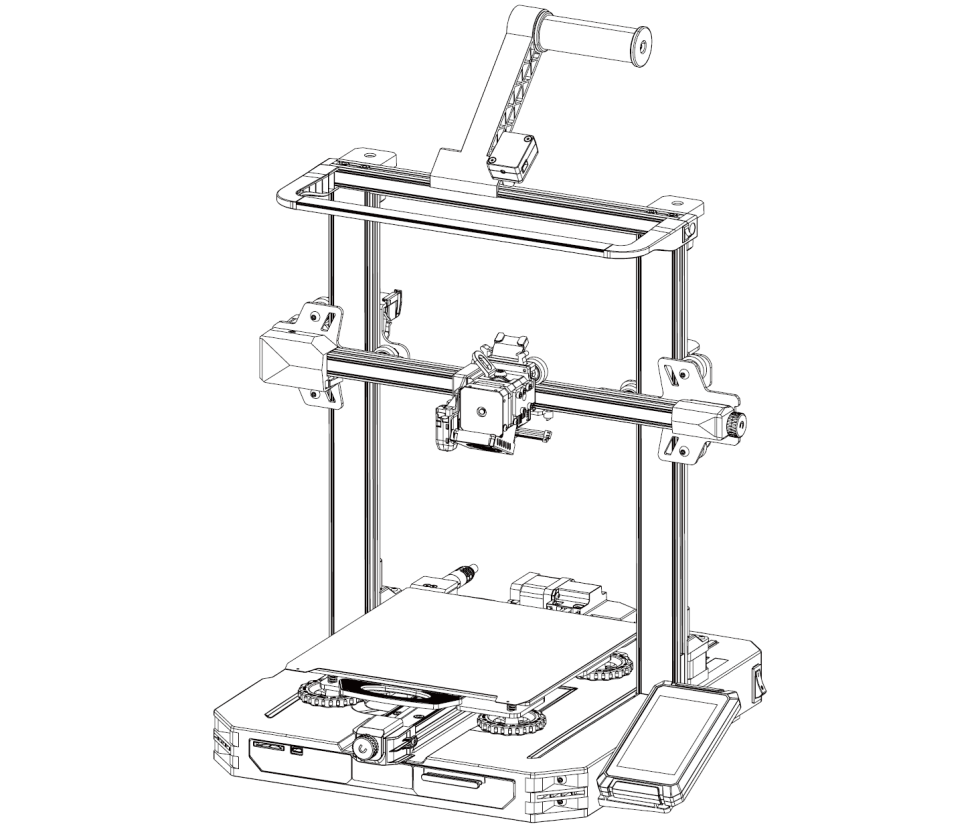
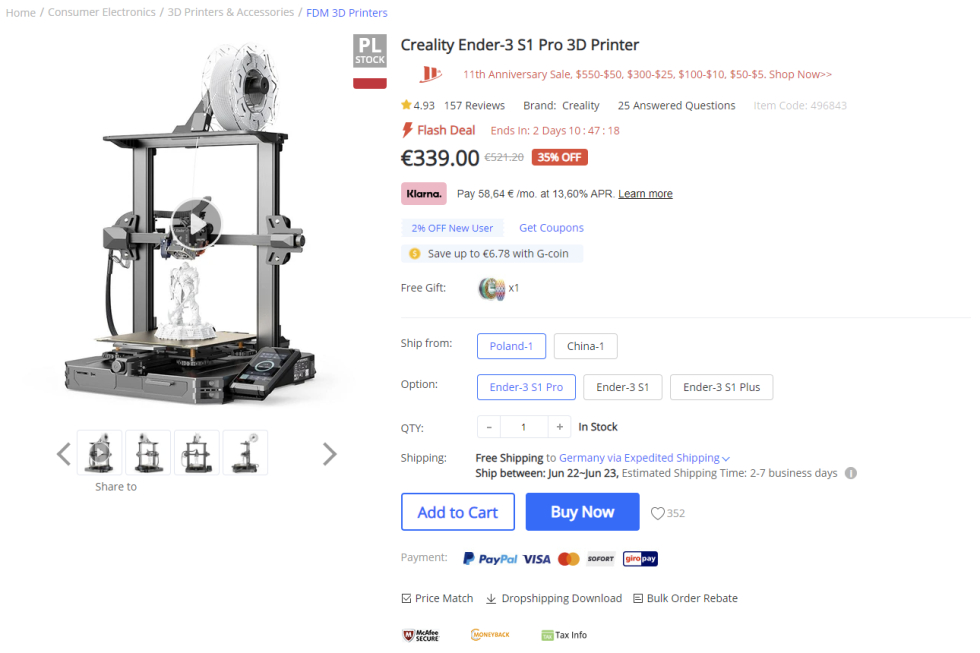
At the current time, the Creality Ender-3 S1 Pro costs about $80 more than the regular Ender-3 S1, which I think is a fair premium for the upgrades and changes mentioned above. Much of this can be retrofitted, printed and tinkered with yourself. If you’d rather buy the finished total package of improvements outright, you shouldn’t pay much more and can save yourself the time.
— Geekbuying Creality Ender-3 S1 Pro
Code: NNNCREALITYPRO – reduces the price to 349€, if no sale offer is active
Overall, I had the impression that I was using a really solid printer. I don’t even want to start the comparison to my old “original” Ender-3, there are worlds in between by now. Out-of-the-box and with the standard settings in the slicer, good results came out, with a little patience, fine tuning and the really important adjustment to the filament used, there is then also a great print image without stringing threads. If you are just starting out with 3D printing, this is a good option at a fair price that can also “grow” a bit. I would have liked to have a reliable 3D printer like this when I started the hobby.













30 Antworten
Kommentar
Lade neue Kommentare
Urgestein
Moderator
Urgestein
Moderator
Urgestein
Urgestein
Urgestein
Neuling
Moderator
Urgestein
Urgestein
Urgestein
Urgestein
Urgestein
Urgestein
Mitglied
Urgestein
Moderator
Mitglied
Alle Kommentare lesen unter igor´sLAB Community →