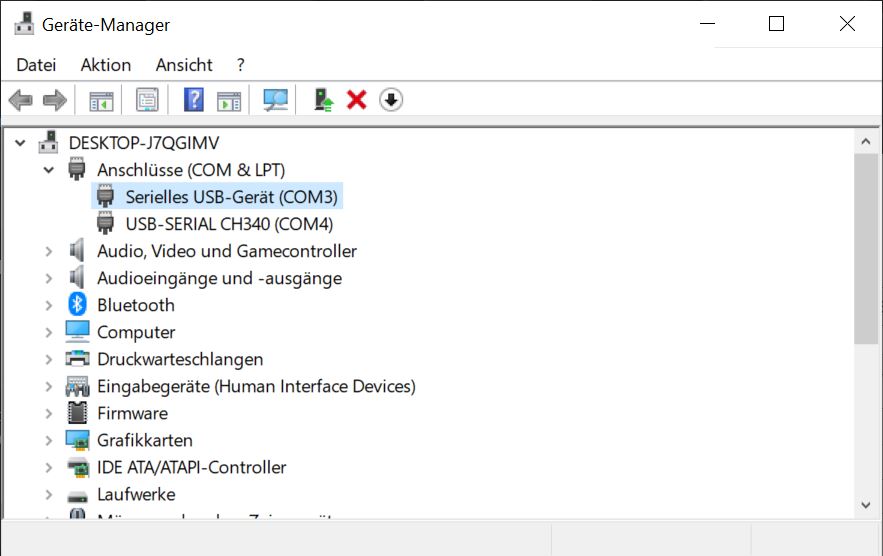
You just have to connect the RainPOW with a mini-USB cable to a simple USB port of the motherboard and you will find a new serial device in the device manager. But be careful, because not every cable with a mini-USB plug found in the drawer has data lines! If the port doesn’t appear as a device, you’ve usually got a simple charging cable. If you want to test your cables in this respect, here is a perfect test device!
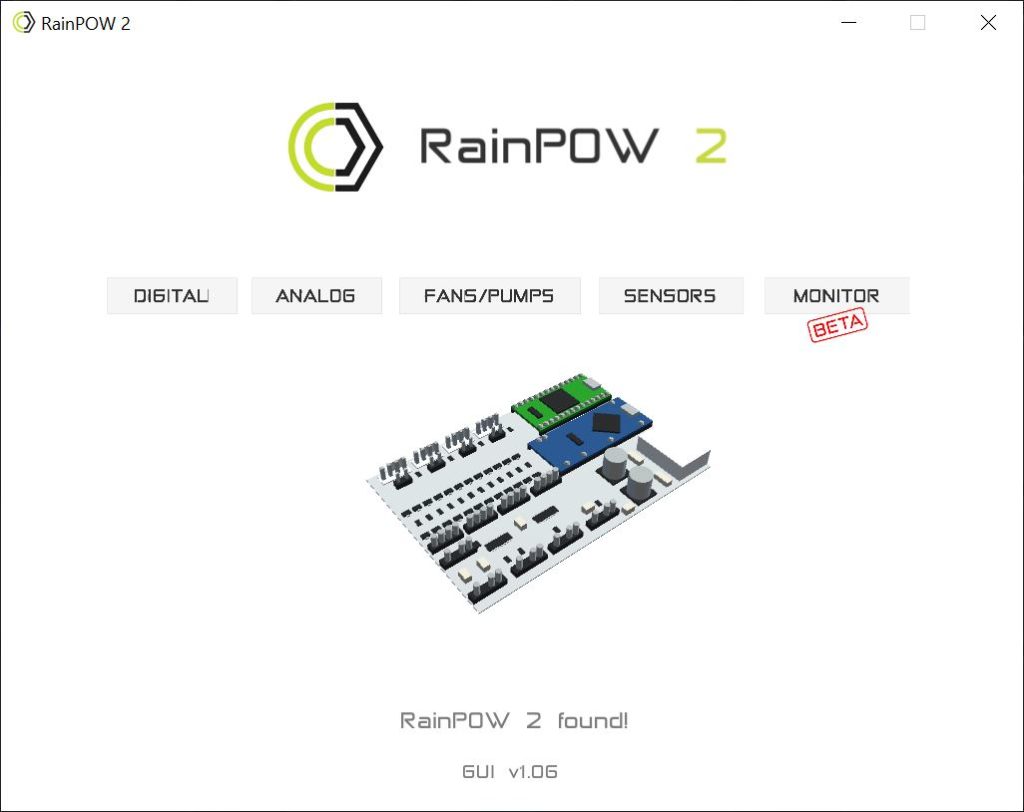
Afterwards you install and start the RainPOW software, which you can find as a free download on the homepage. Again, I would like to point out that this is not a matter of course and that some suites with a hidden subscription model can cause costs and trouble. It certainly doesn’t happen here.
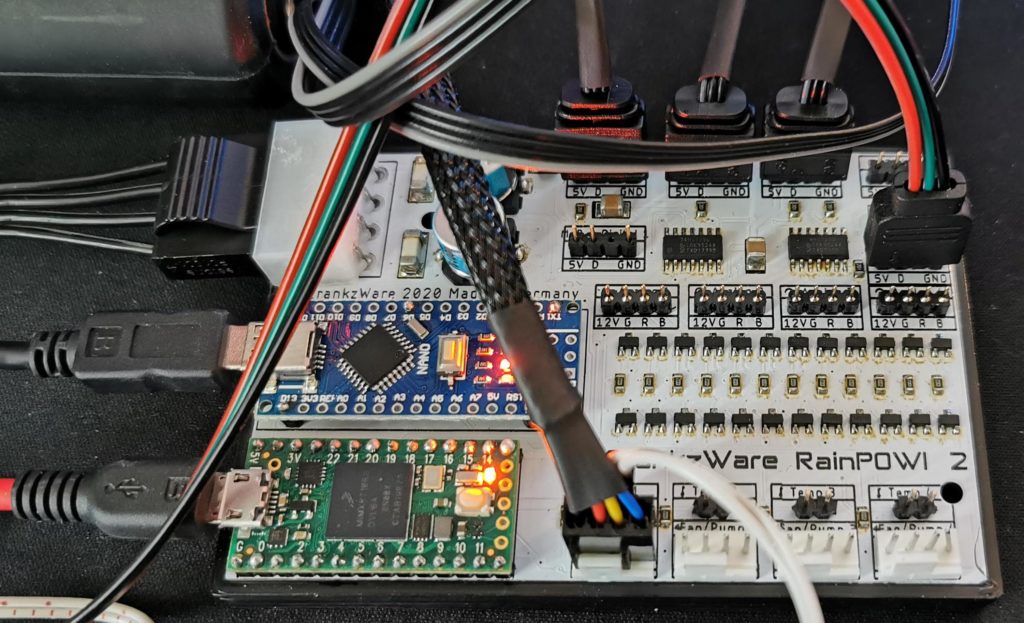
When the LEDs on the blue board light up, the communication is already running.
If all this is in the green, then you are welcome to connect whatever your heart desires and the parts drawer is ready to go! once everything has been thoroughly consolidated, nothing stands in the way of configuration and a test run!
I intentionally used a free and flying setup for this review, because the RainPOW! 2.0 will later be finally installed in the Lian-Li table. But then you don’t see everything so easy there anymore, so I decided to do a separate test setup. Everything is self-explanatory and simple, apparently. Nevertheless you can stumble, so I used a kind of learning mode first. But it wasn’t as difficult as I feared. And yes, I hate excessive cable clutter.







Kommentieren