


System construction
As the cooling and power supply are already installed ex works, the system should be quickly assembled. However, I was a little taken aback when the screw fell out when I was removing the side panel.
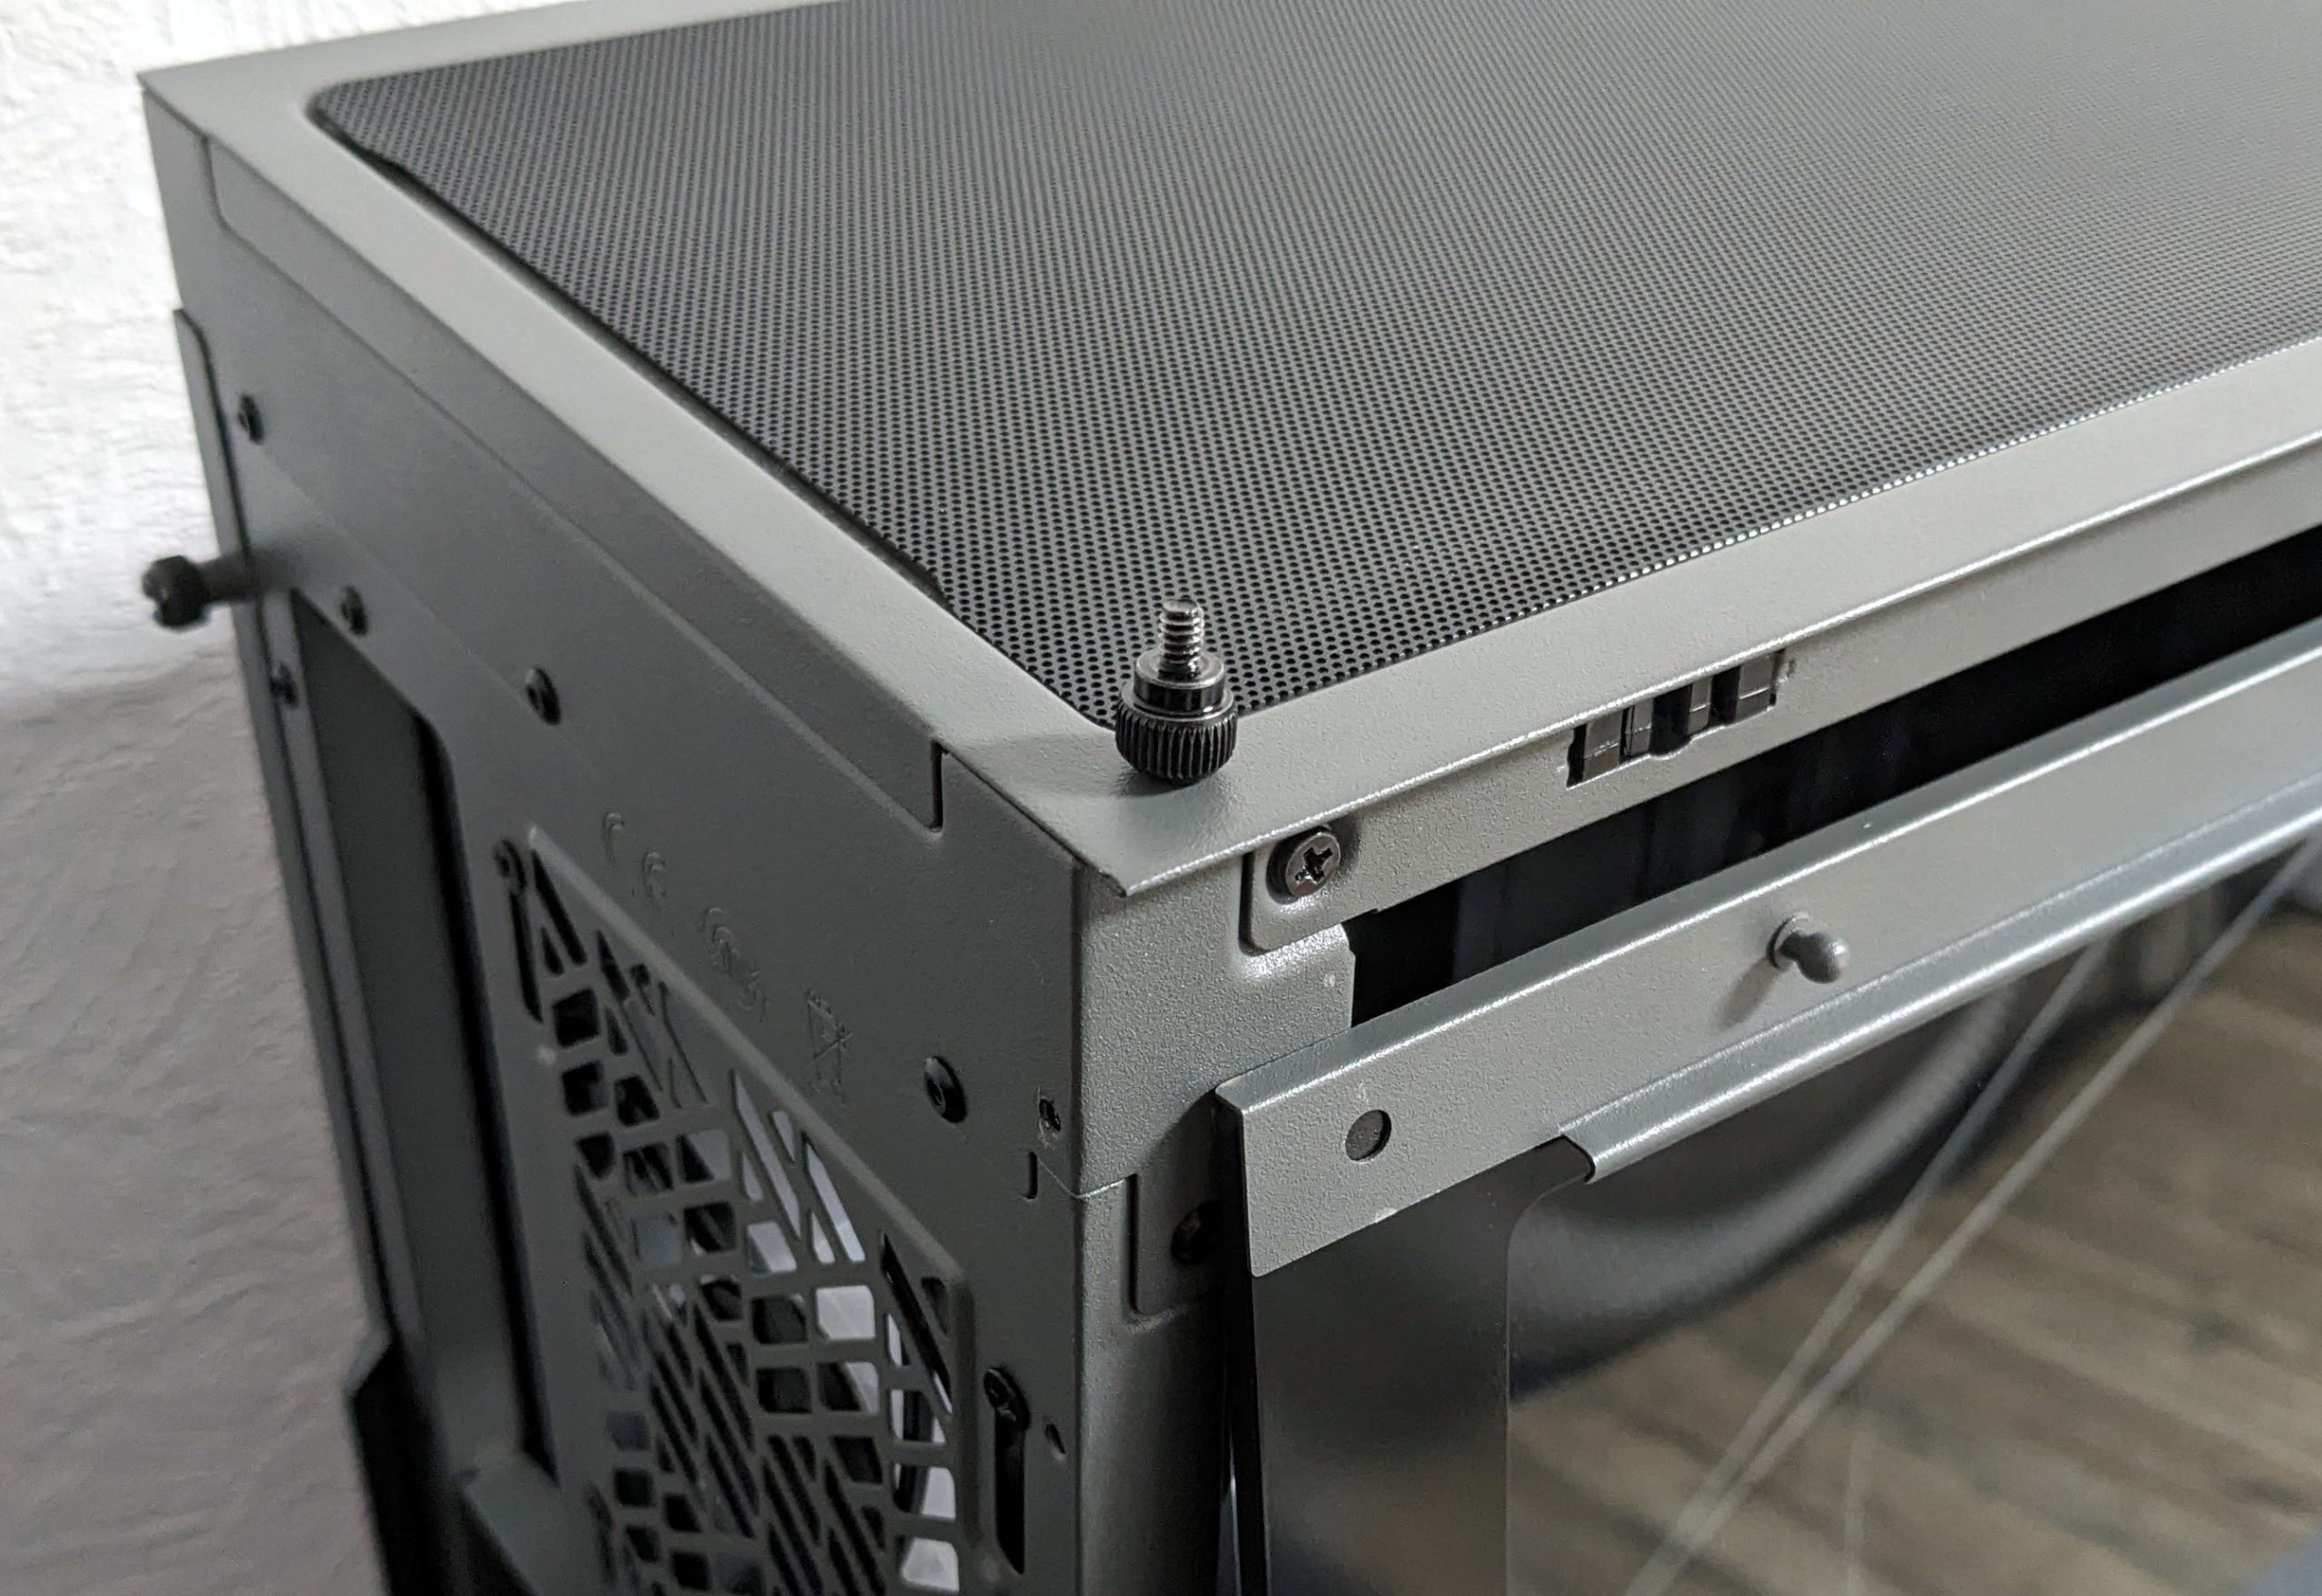
Unlikethe two knurled screws on the other side, this one is not attached.
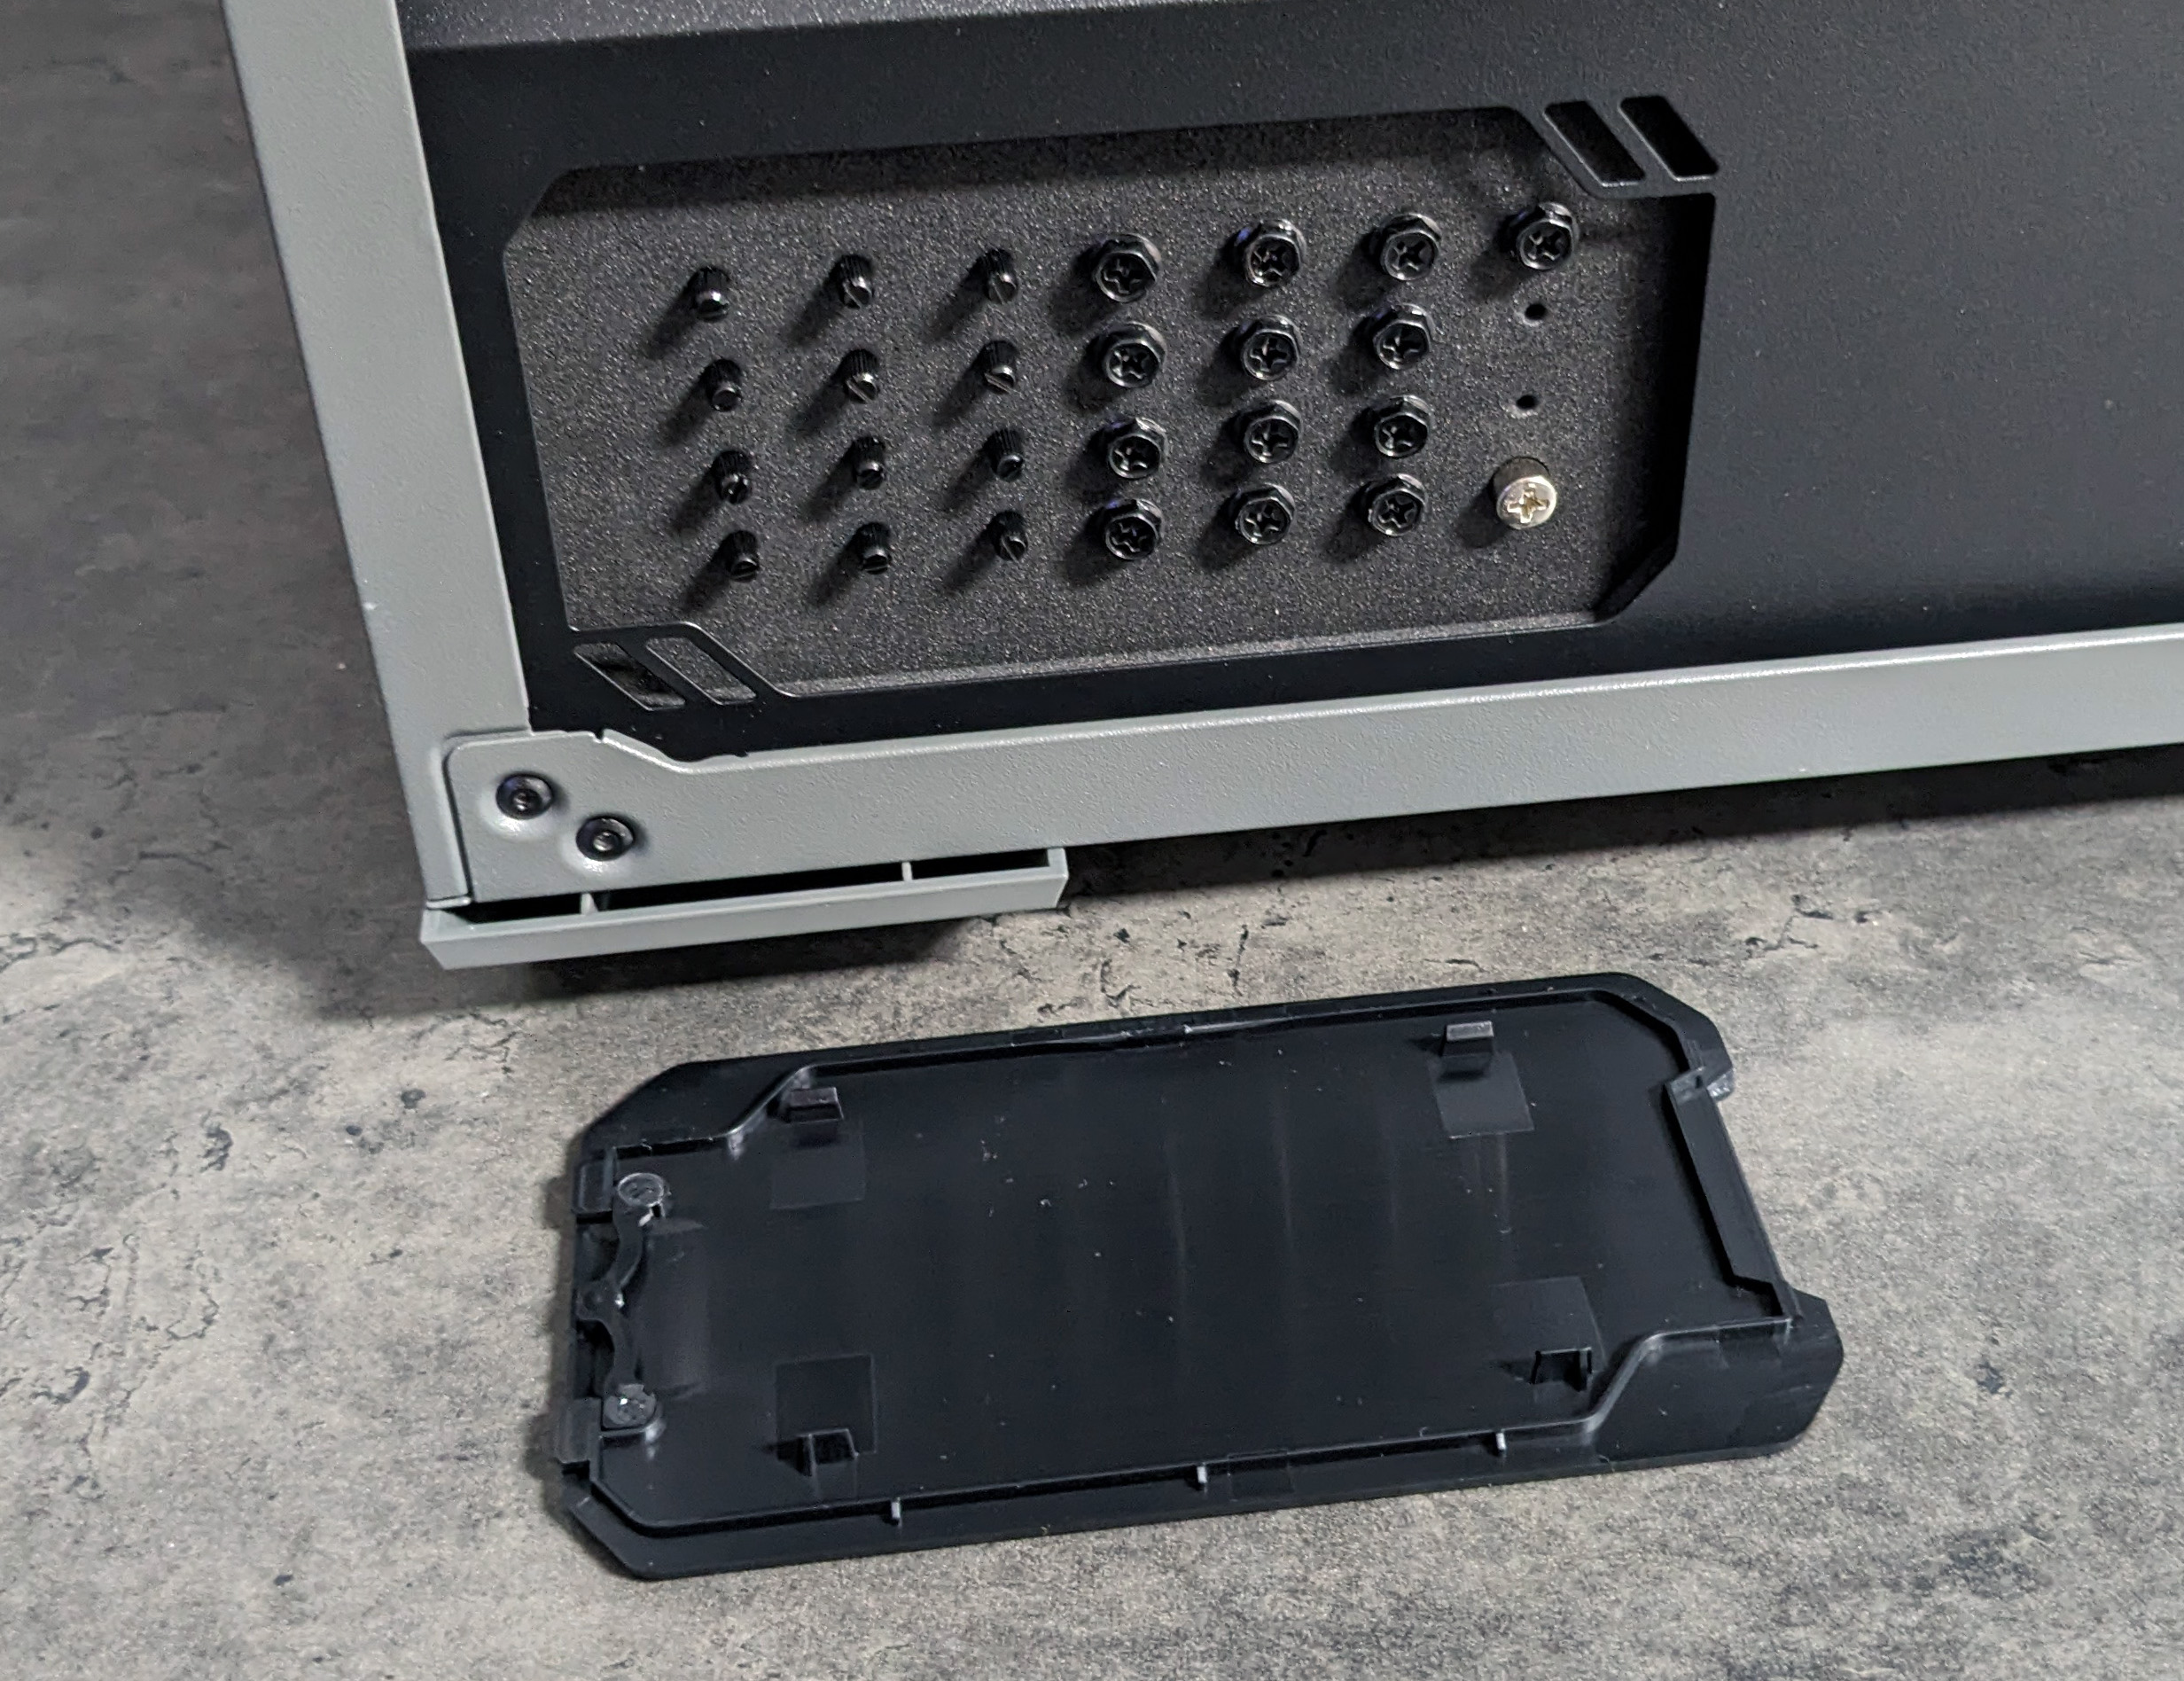
And I can now finally solve the mystery of the missing screws, as they are located behind a small flap in front of the power supply unit directly on the housing.
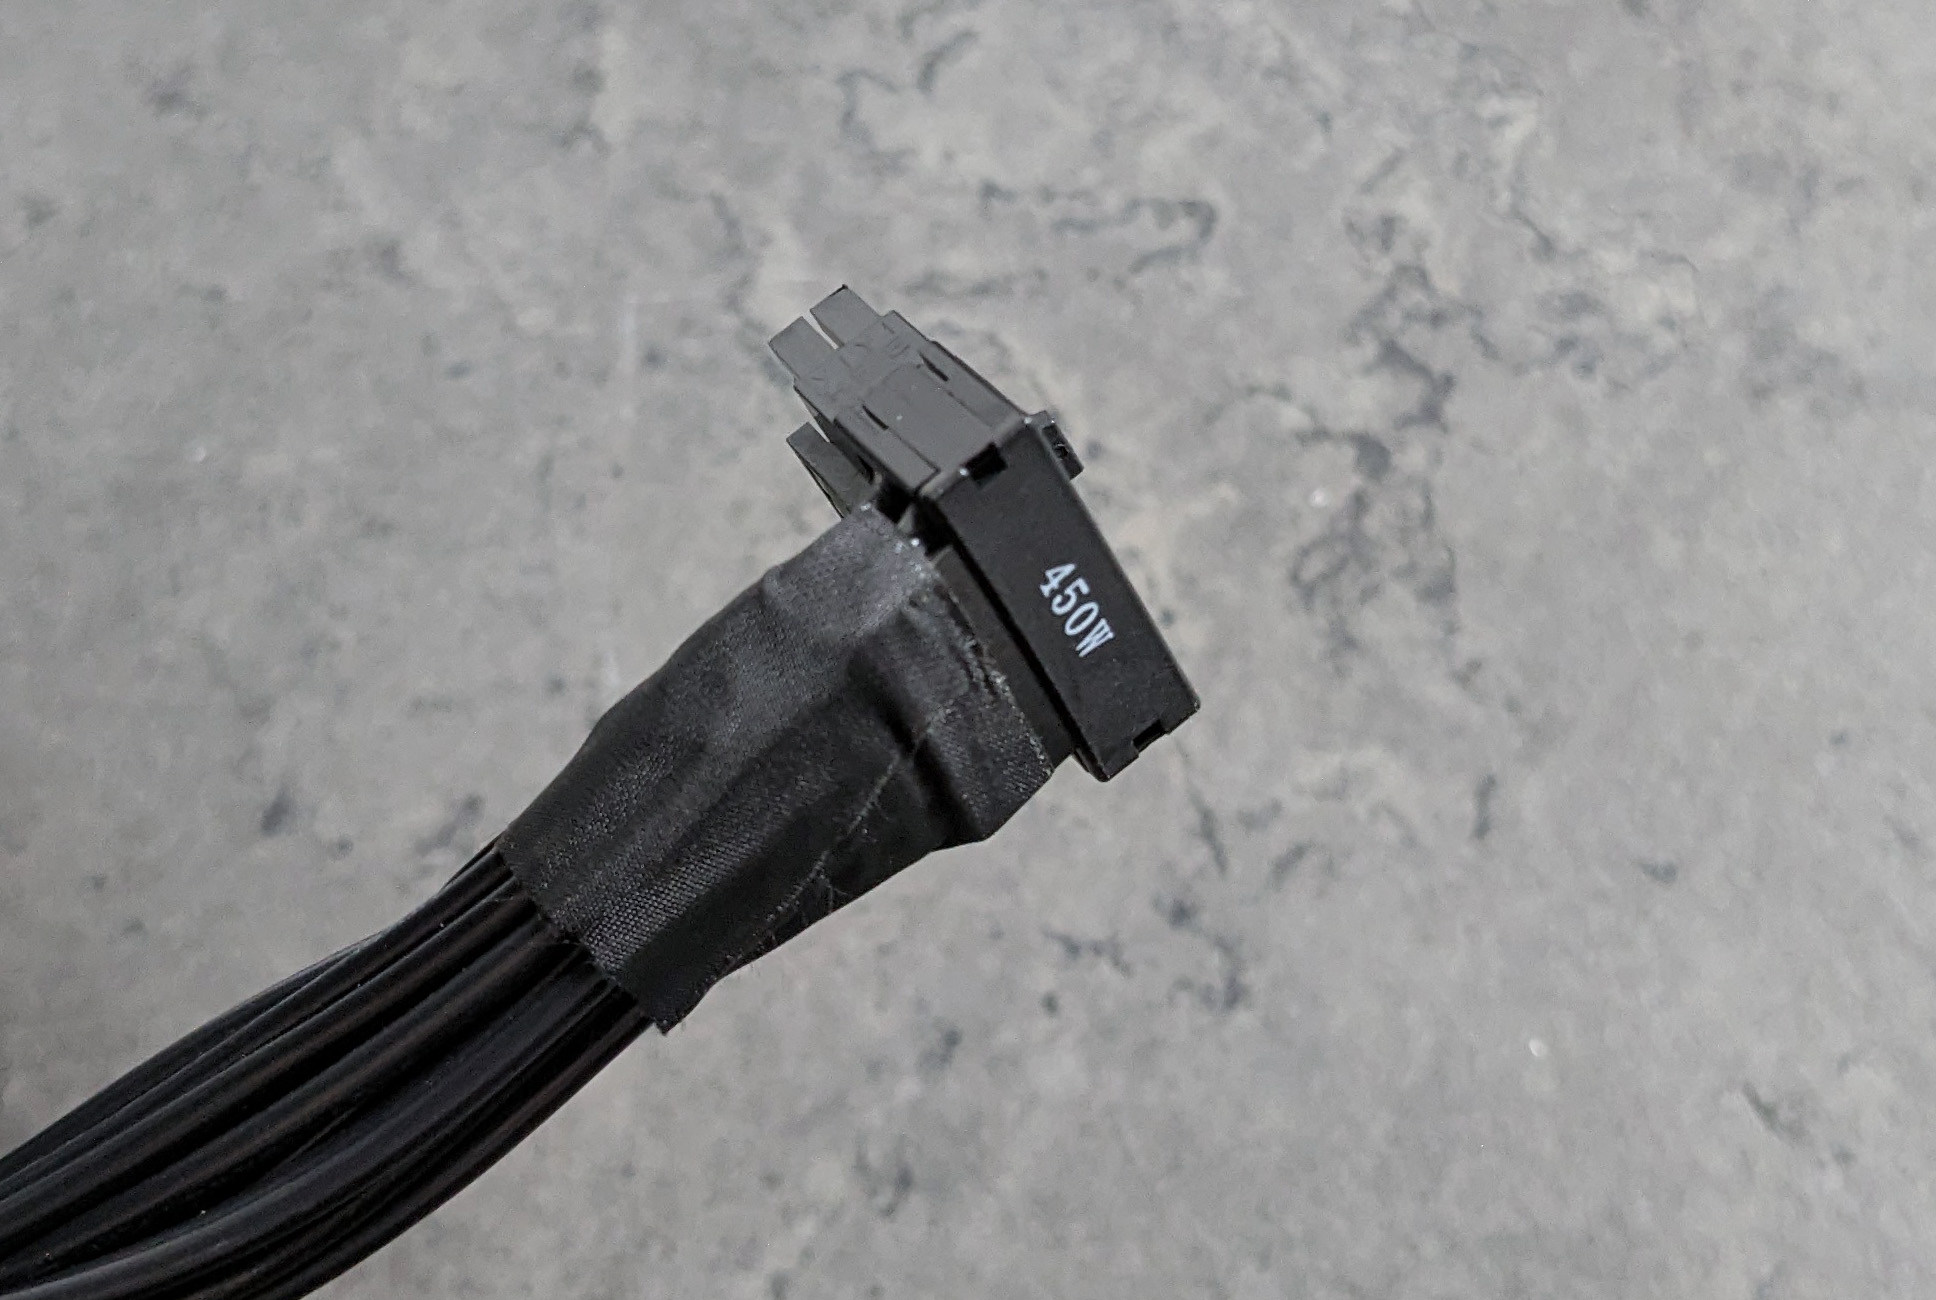
Incidentally, this is a Cooler Master GX II Gold 850W, which is also equipped with an angled connector for graphics cards with 12VHPWR.

First of all, I plugged the required sleeved cables into the connectors in the case wall.
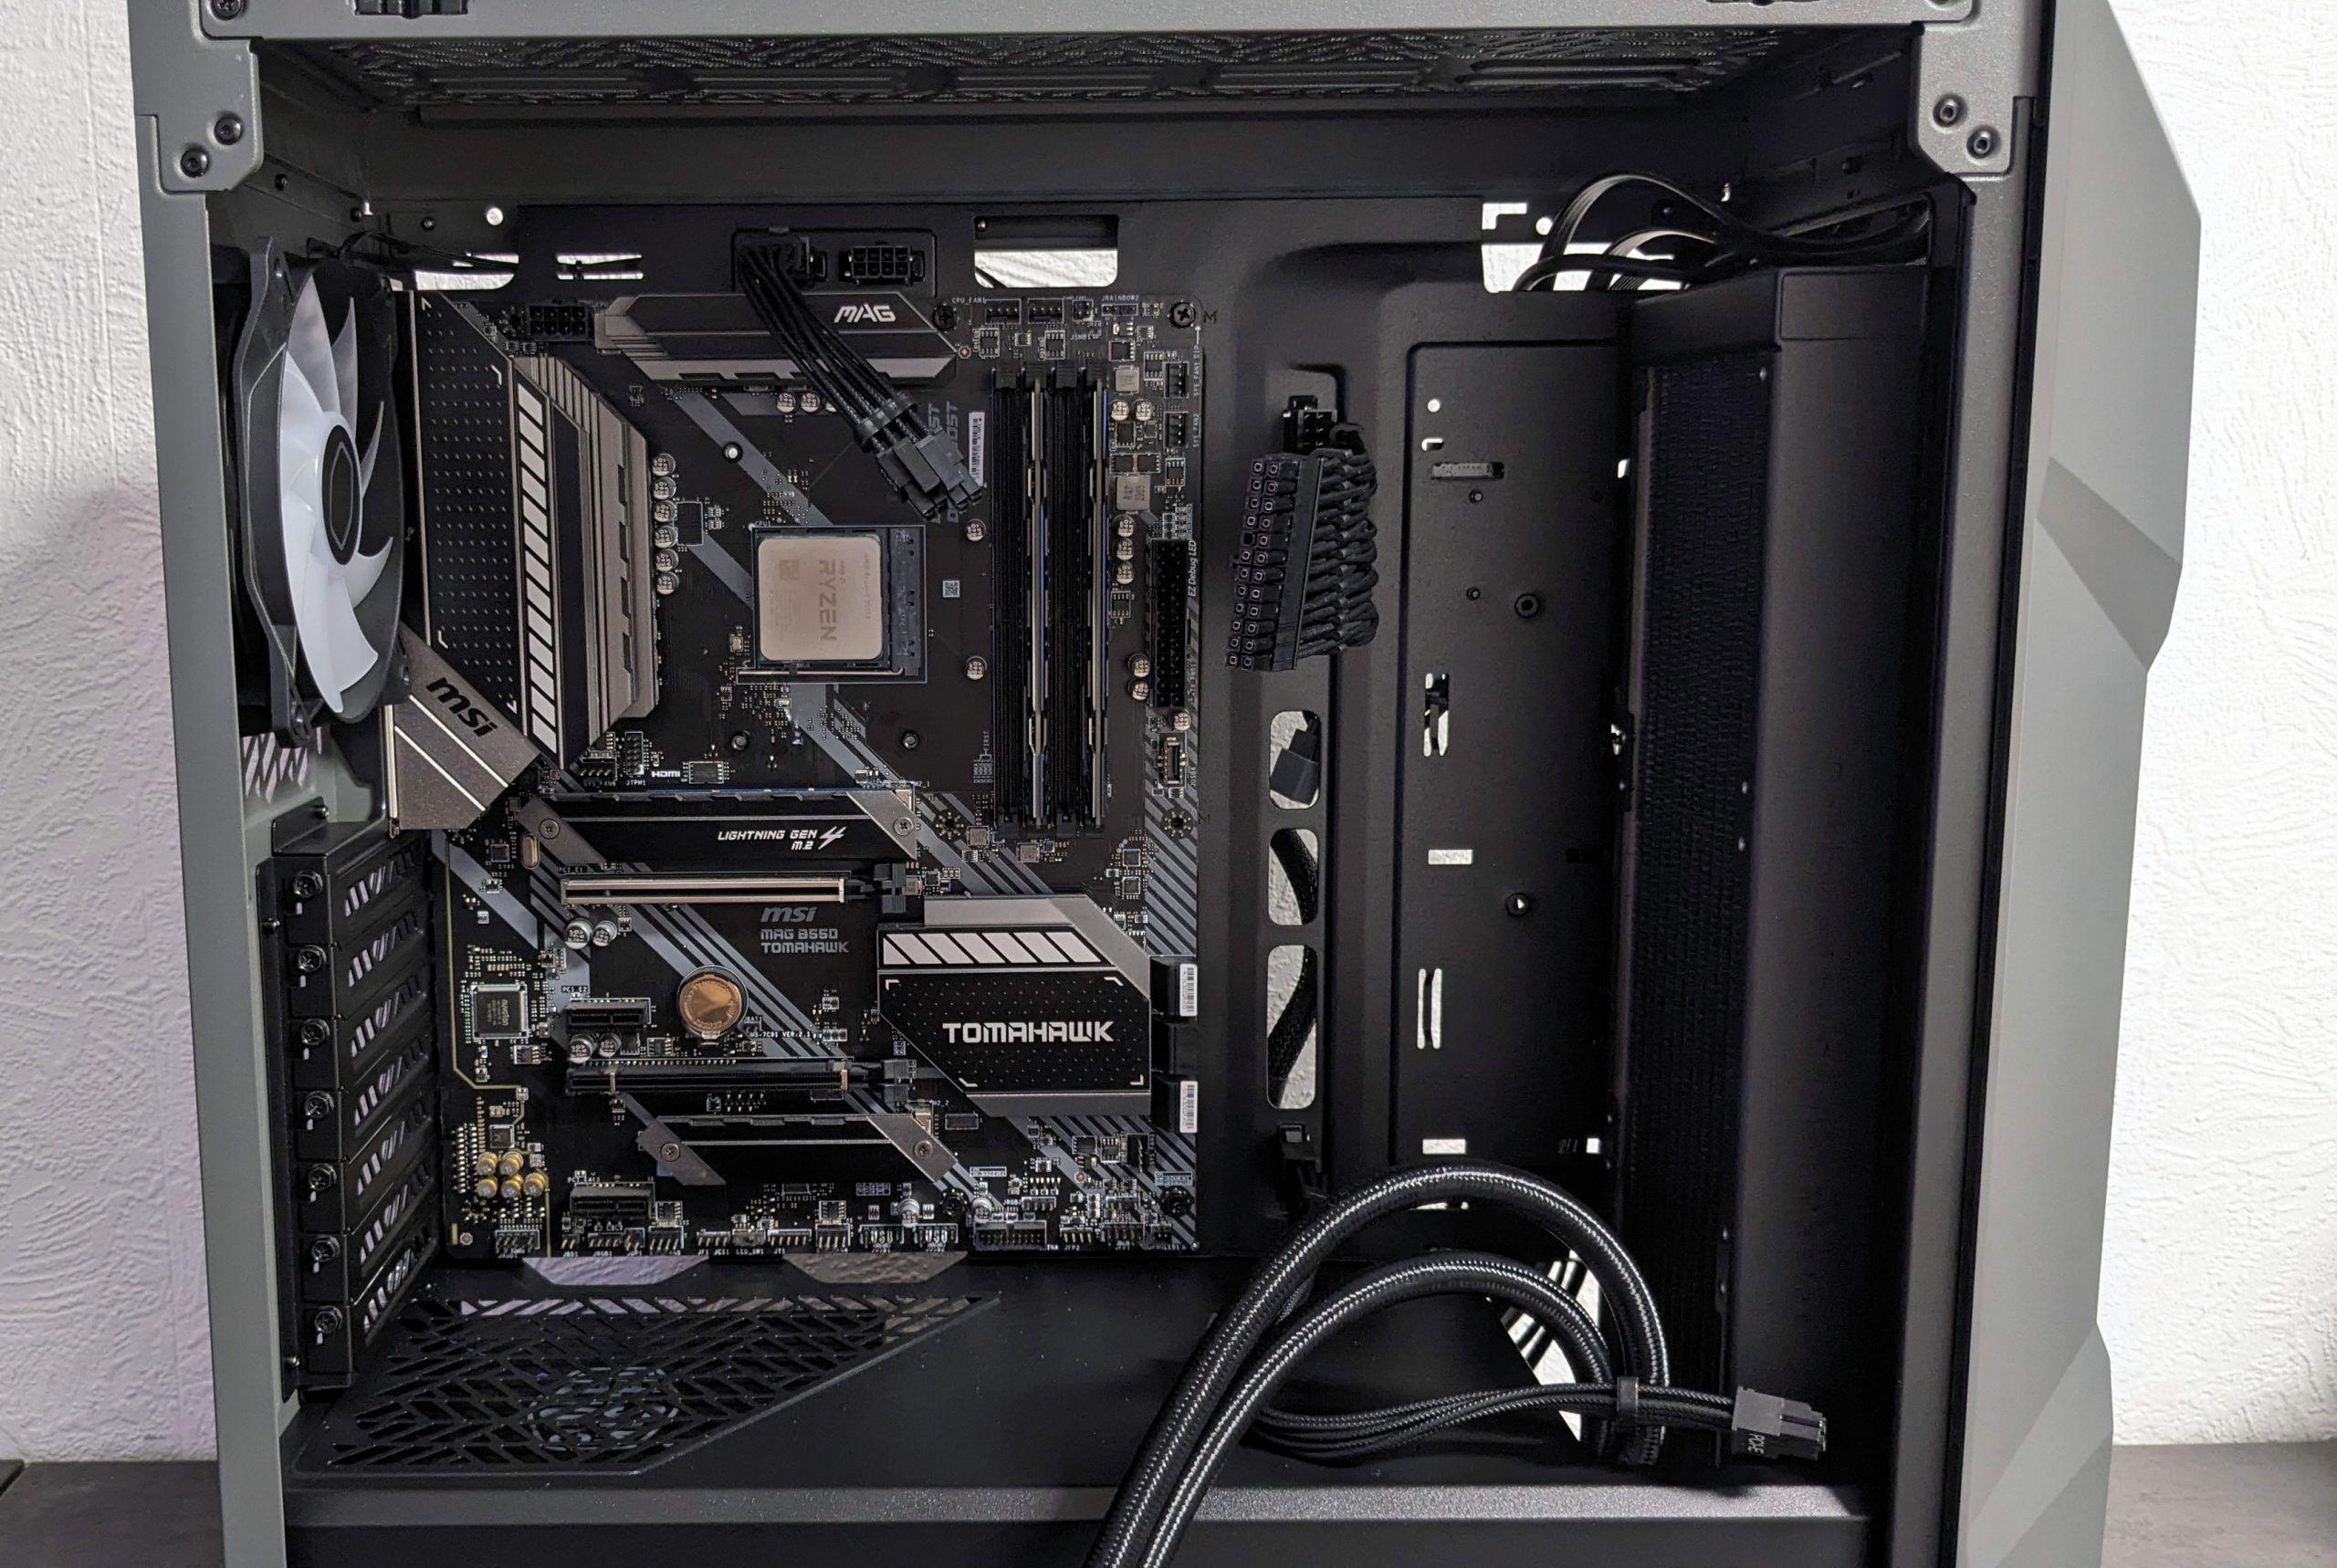
The mainboard can then follow directly afterwards.
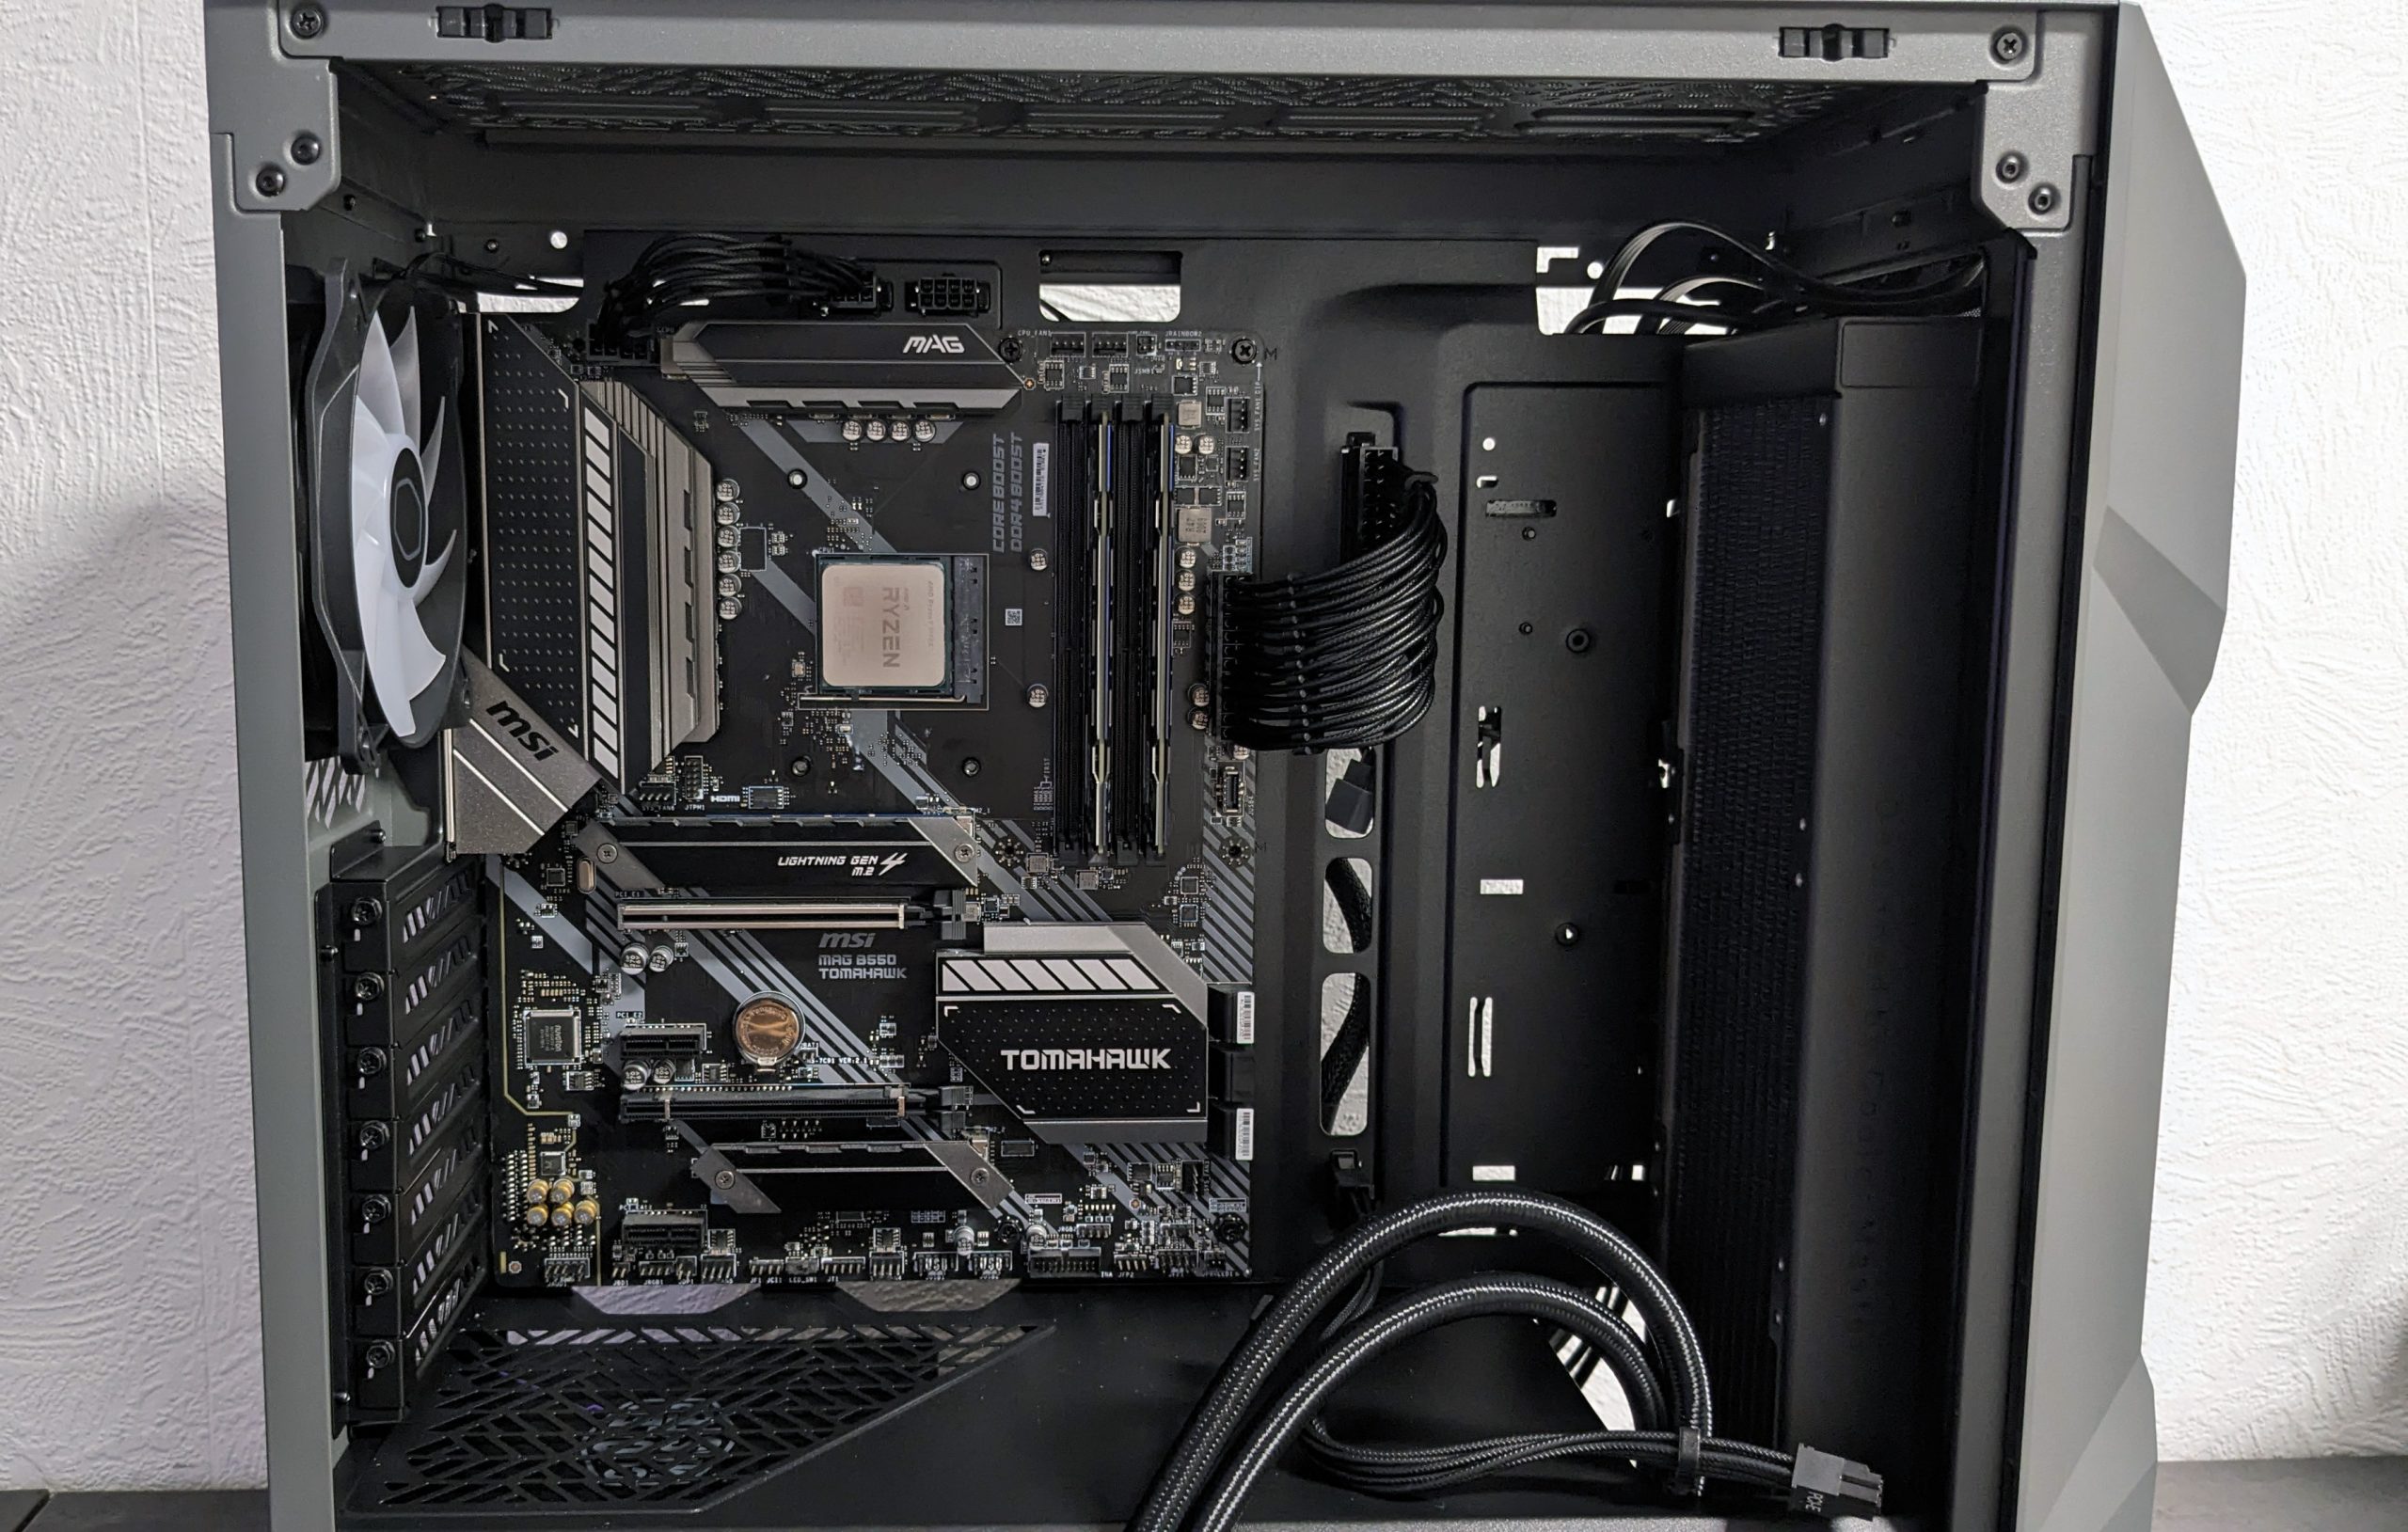
To which the power connections are then also connected.

The cables for the connections on the front and the connection to the RGB and fan hub are of course not forgotten either.
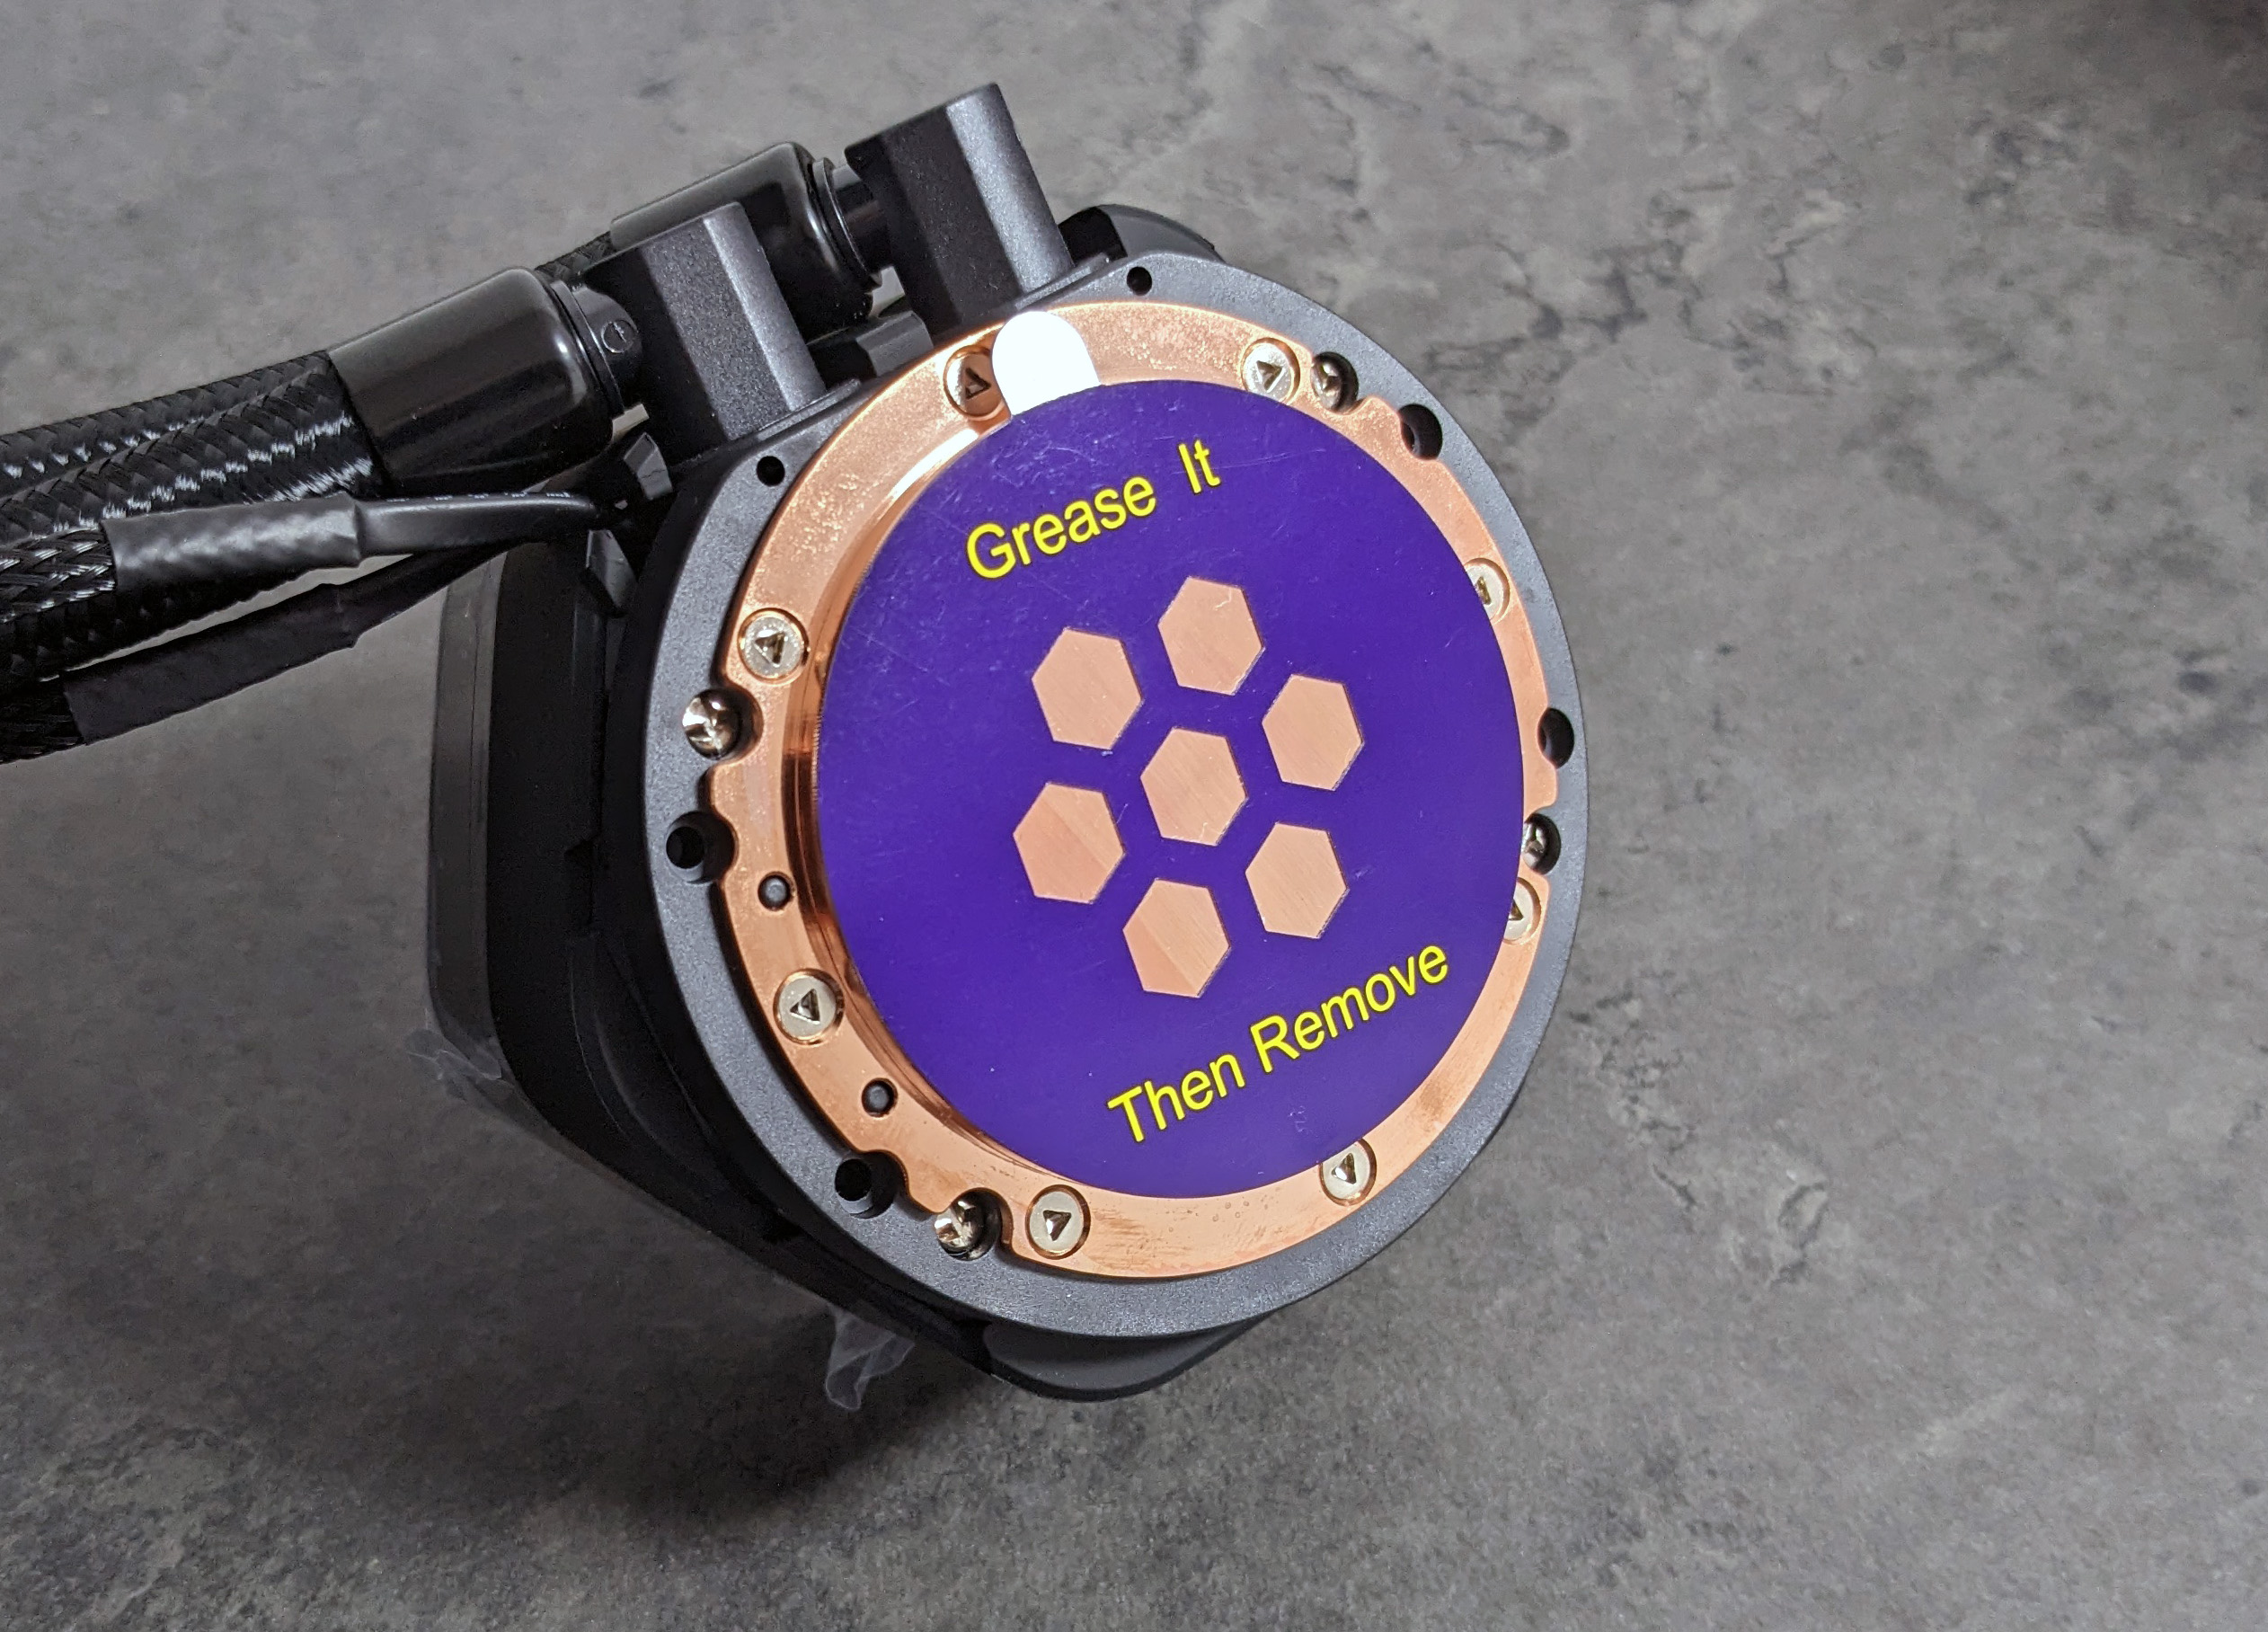

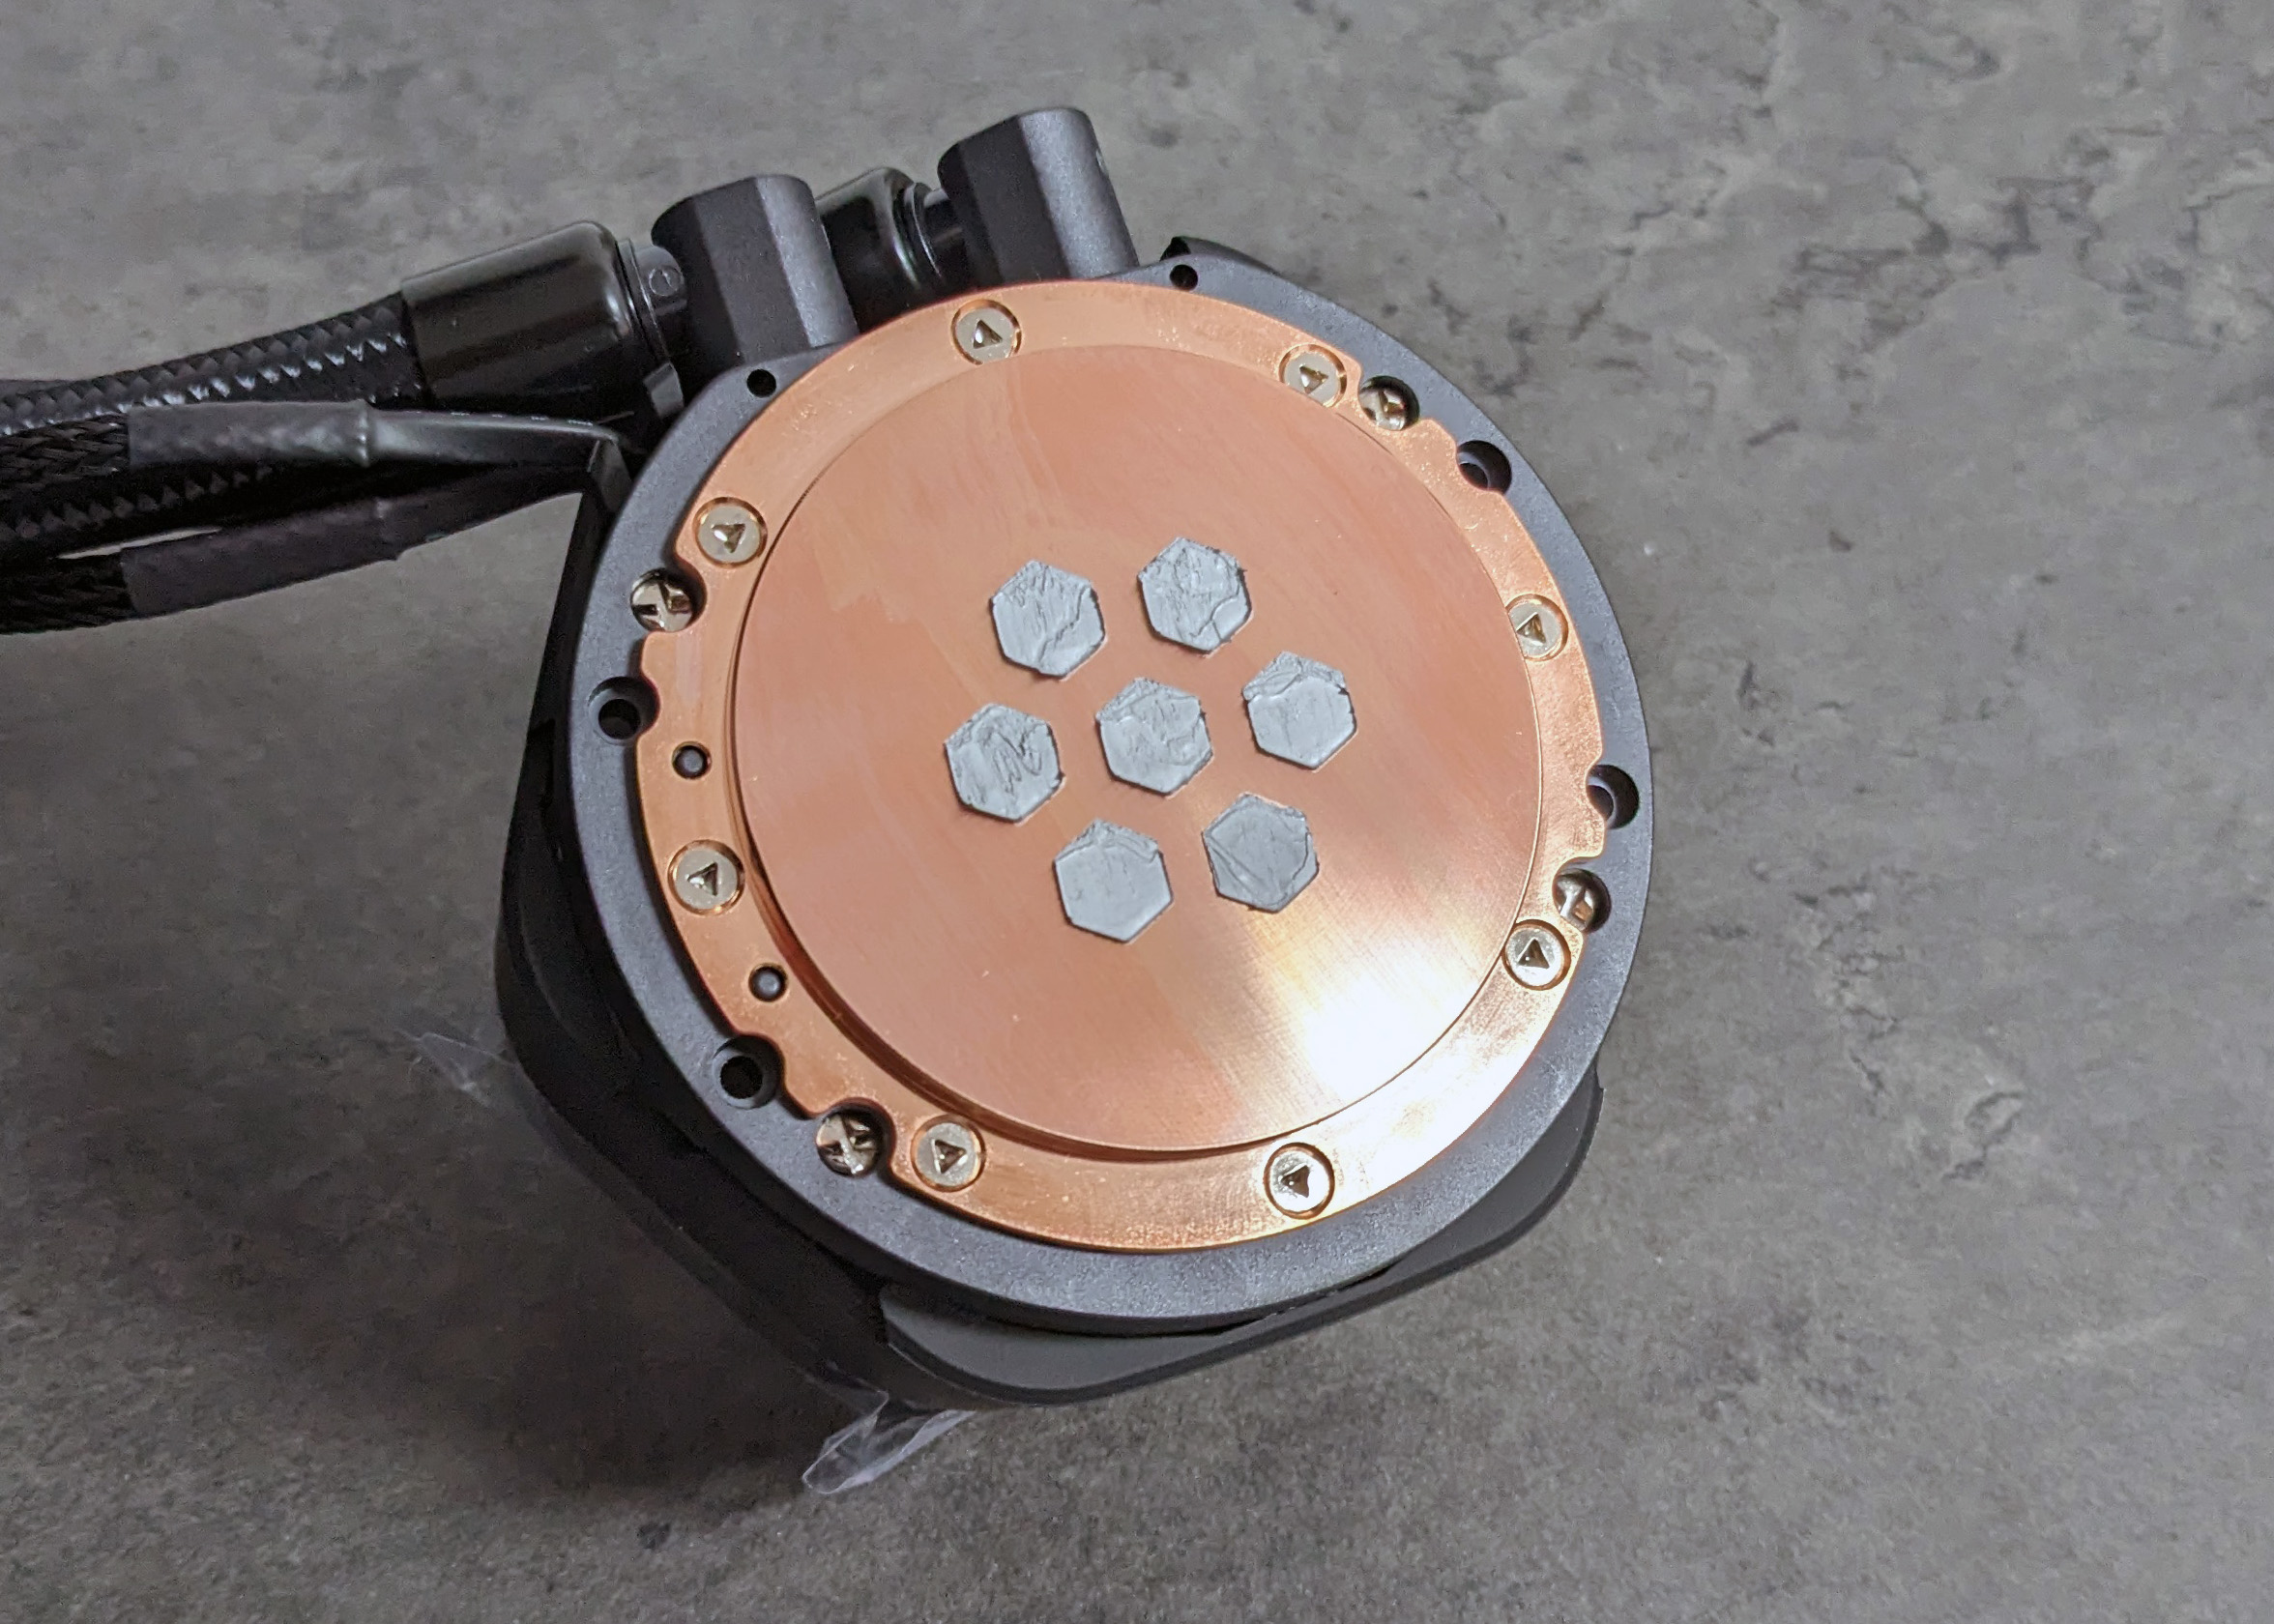
A factory-applied template is used for the complete water cooling system, which should make it easier to determine the correct position and quantity of thermal paste.
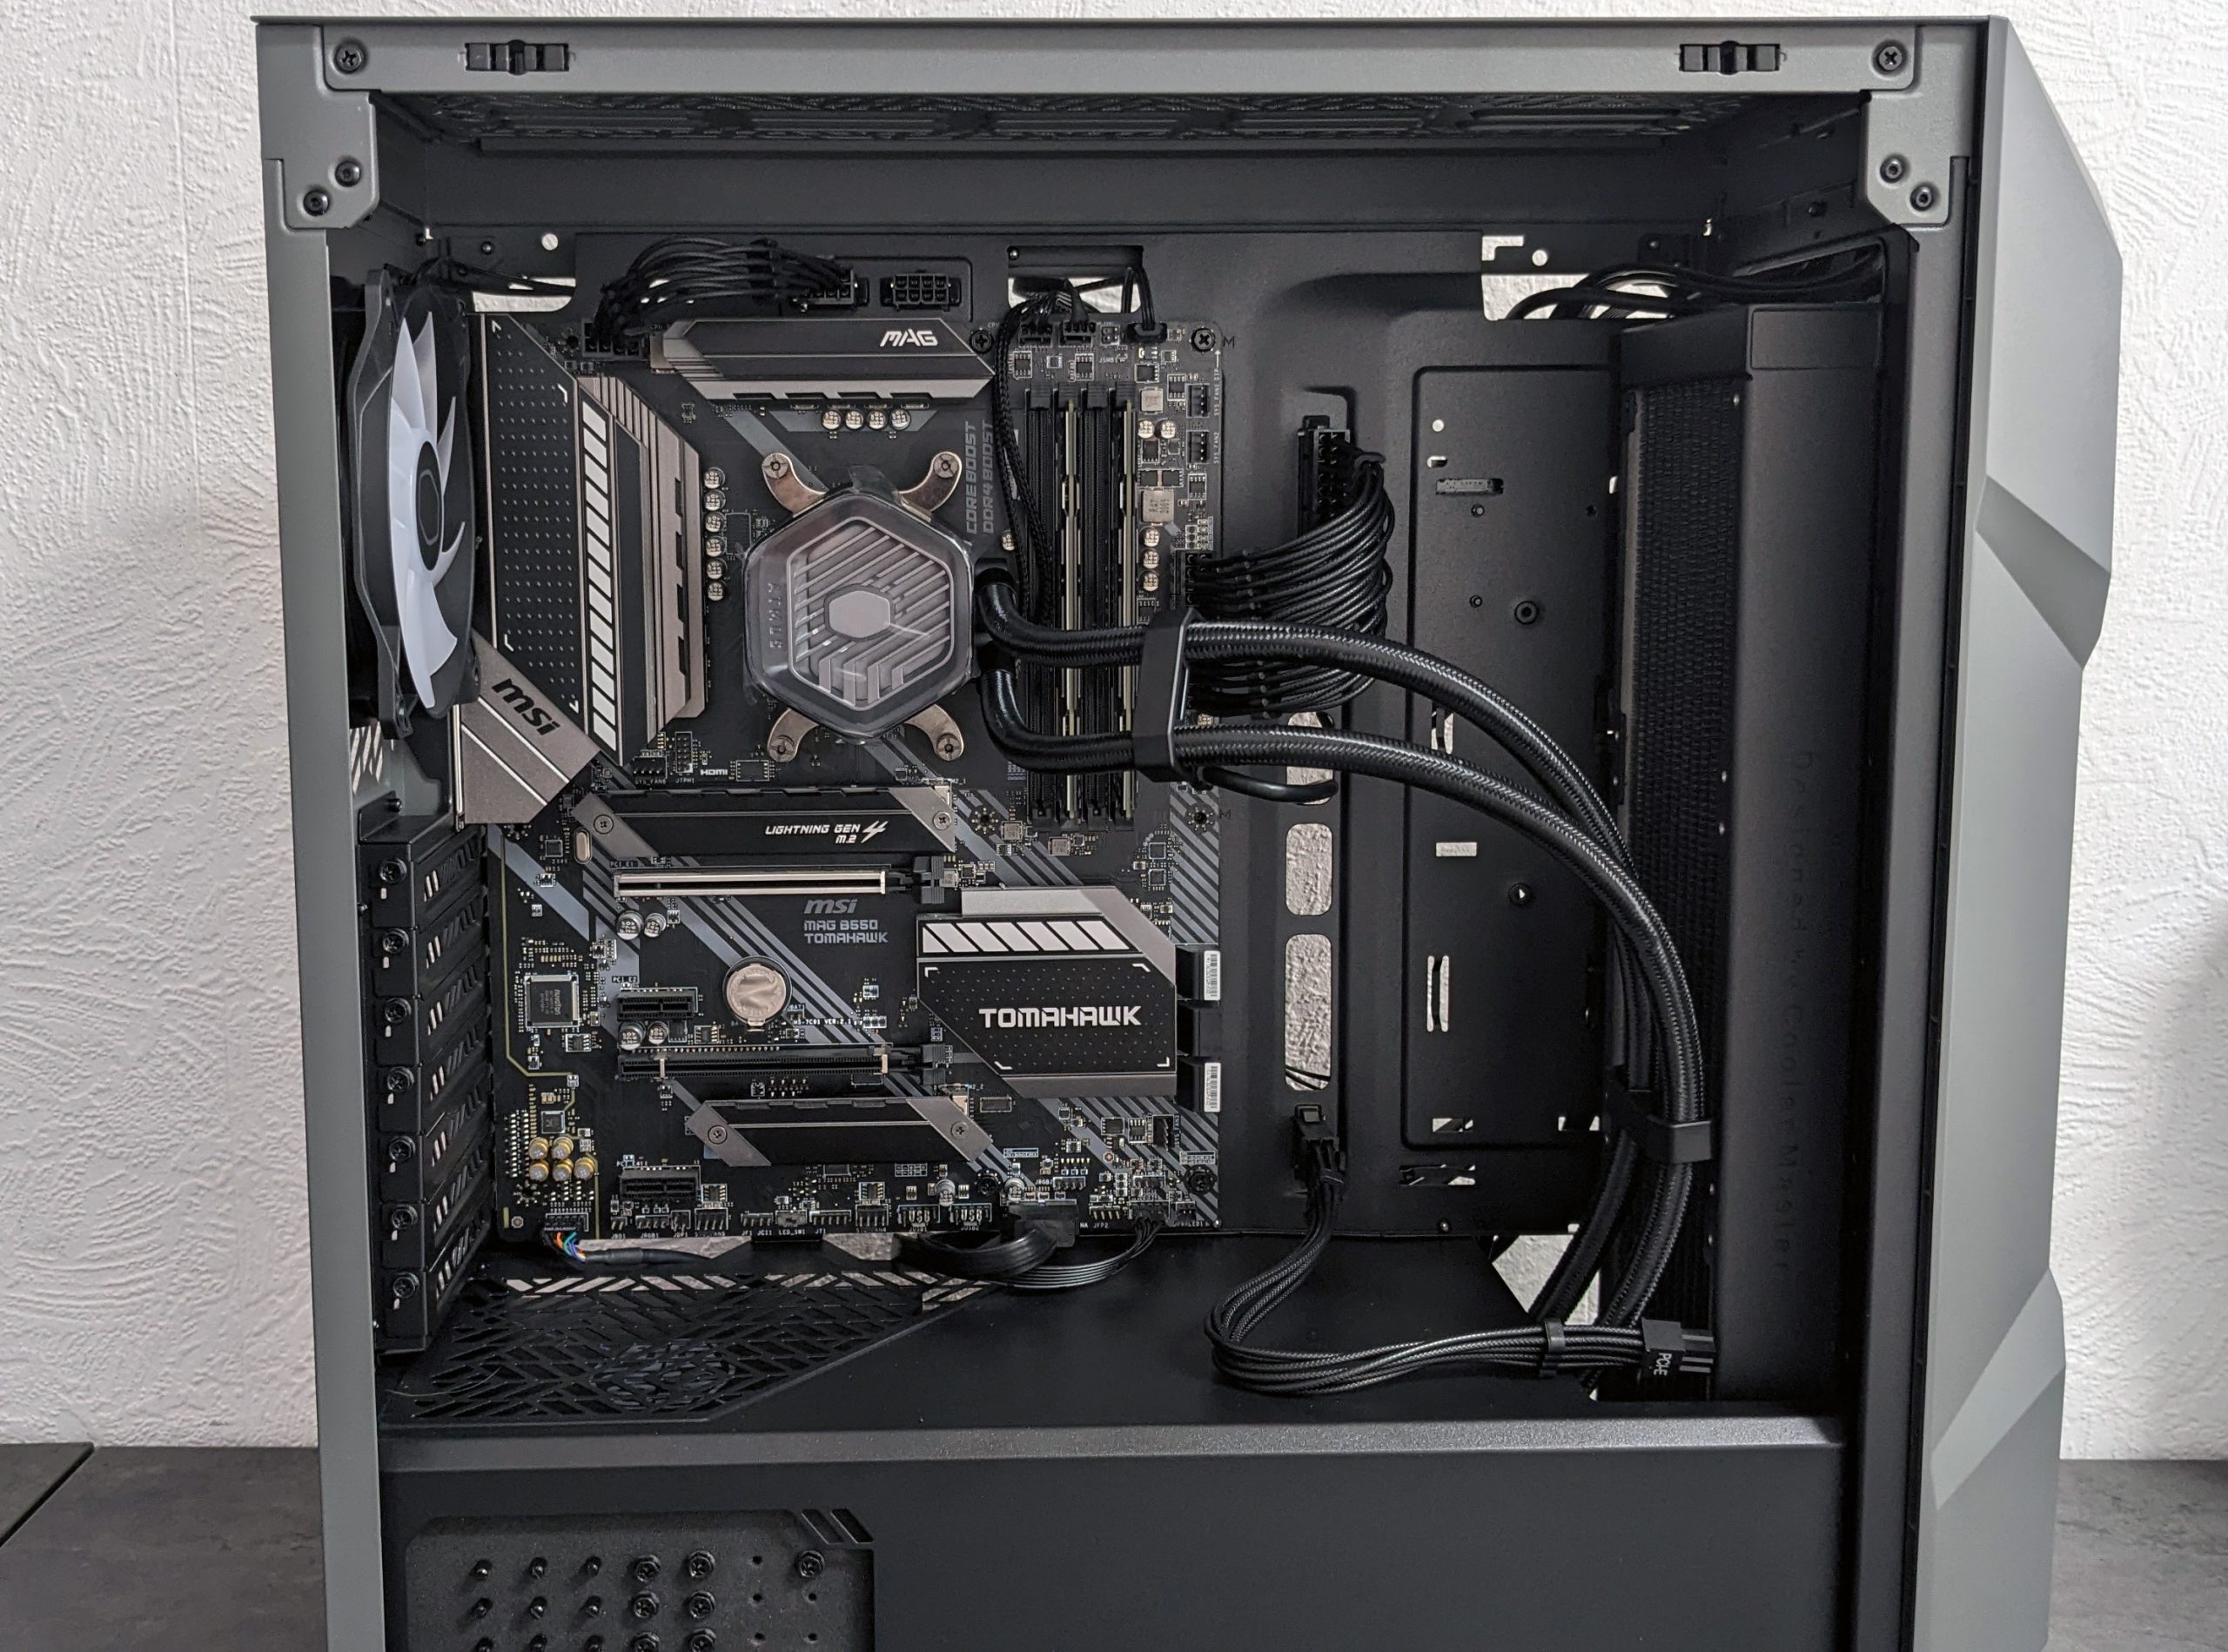
The pump block can then be attached to the processor. If you like the look, you can also add the two plastic clips for the hoses.
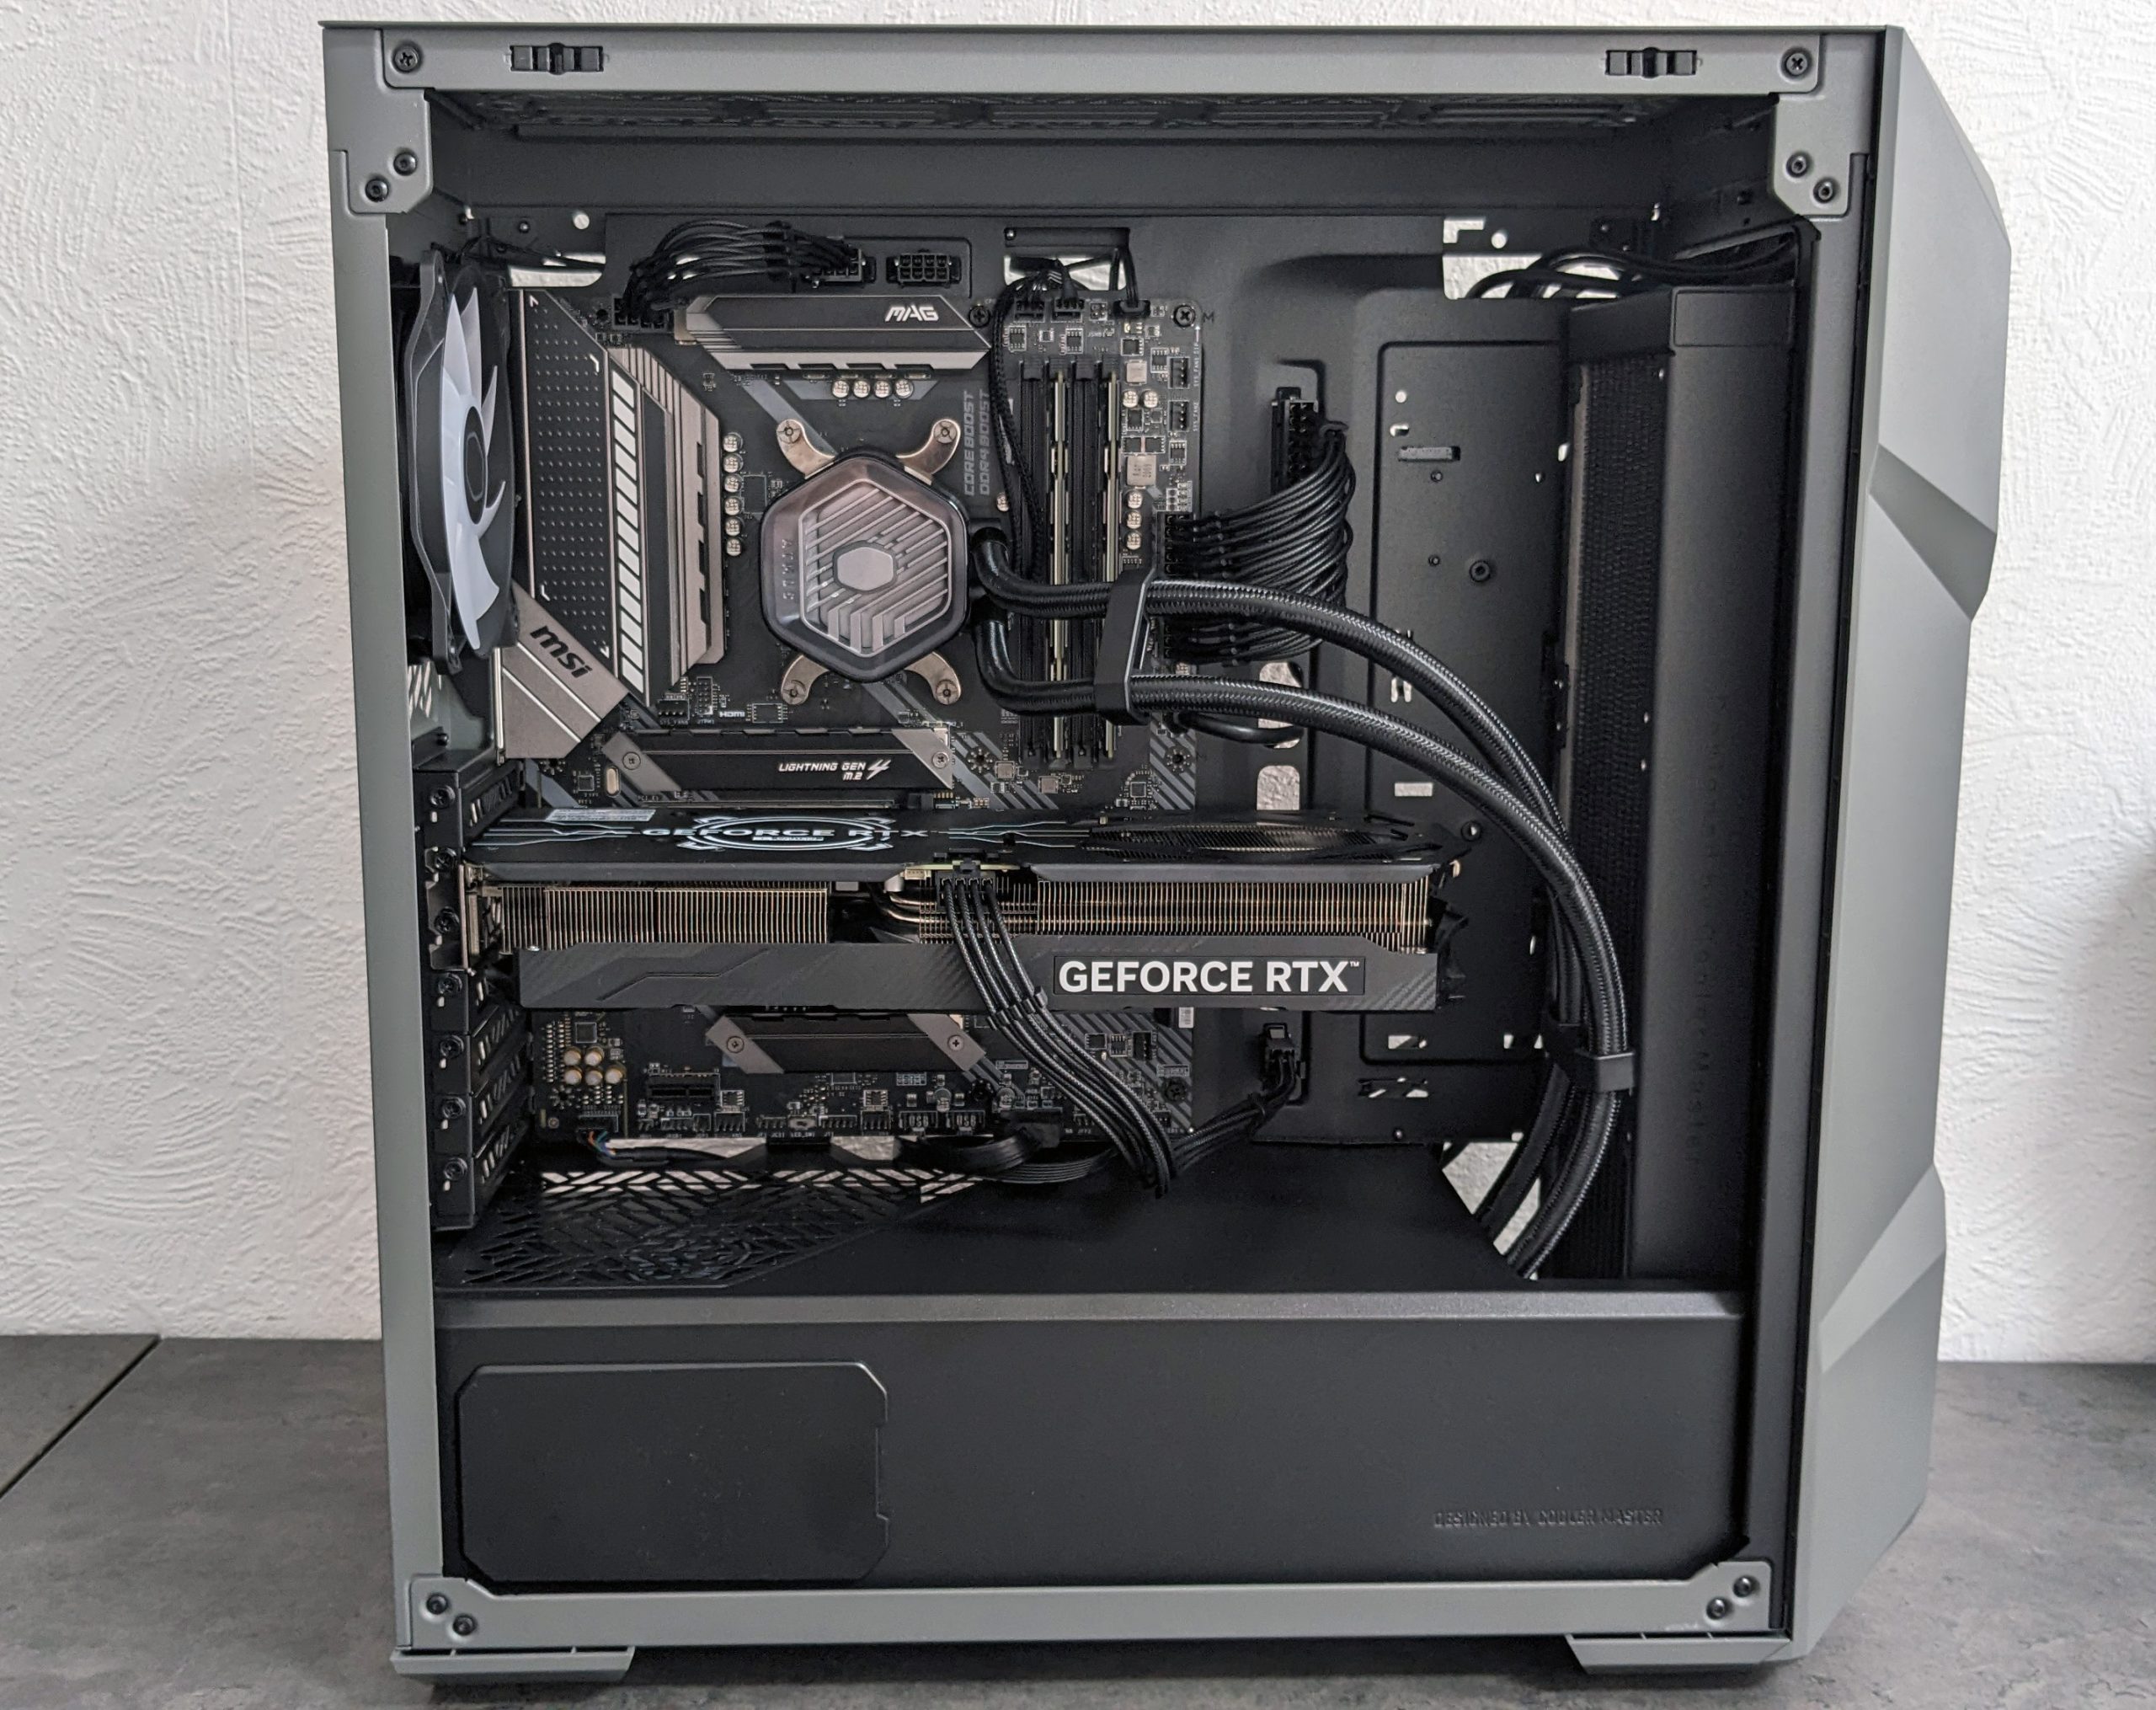
Last butnot least, the graphics card is installed and connected.
All in all, everything is done very quickly and painlessly.
Apart from a few cables for the front I/O, practically everything is built in the “main chamber”.
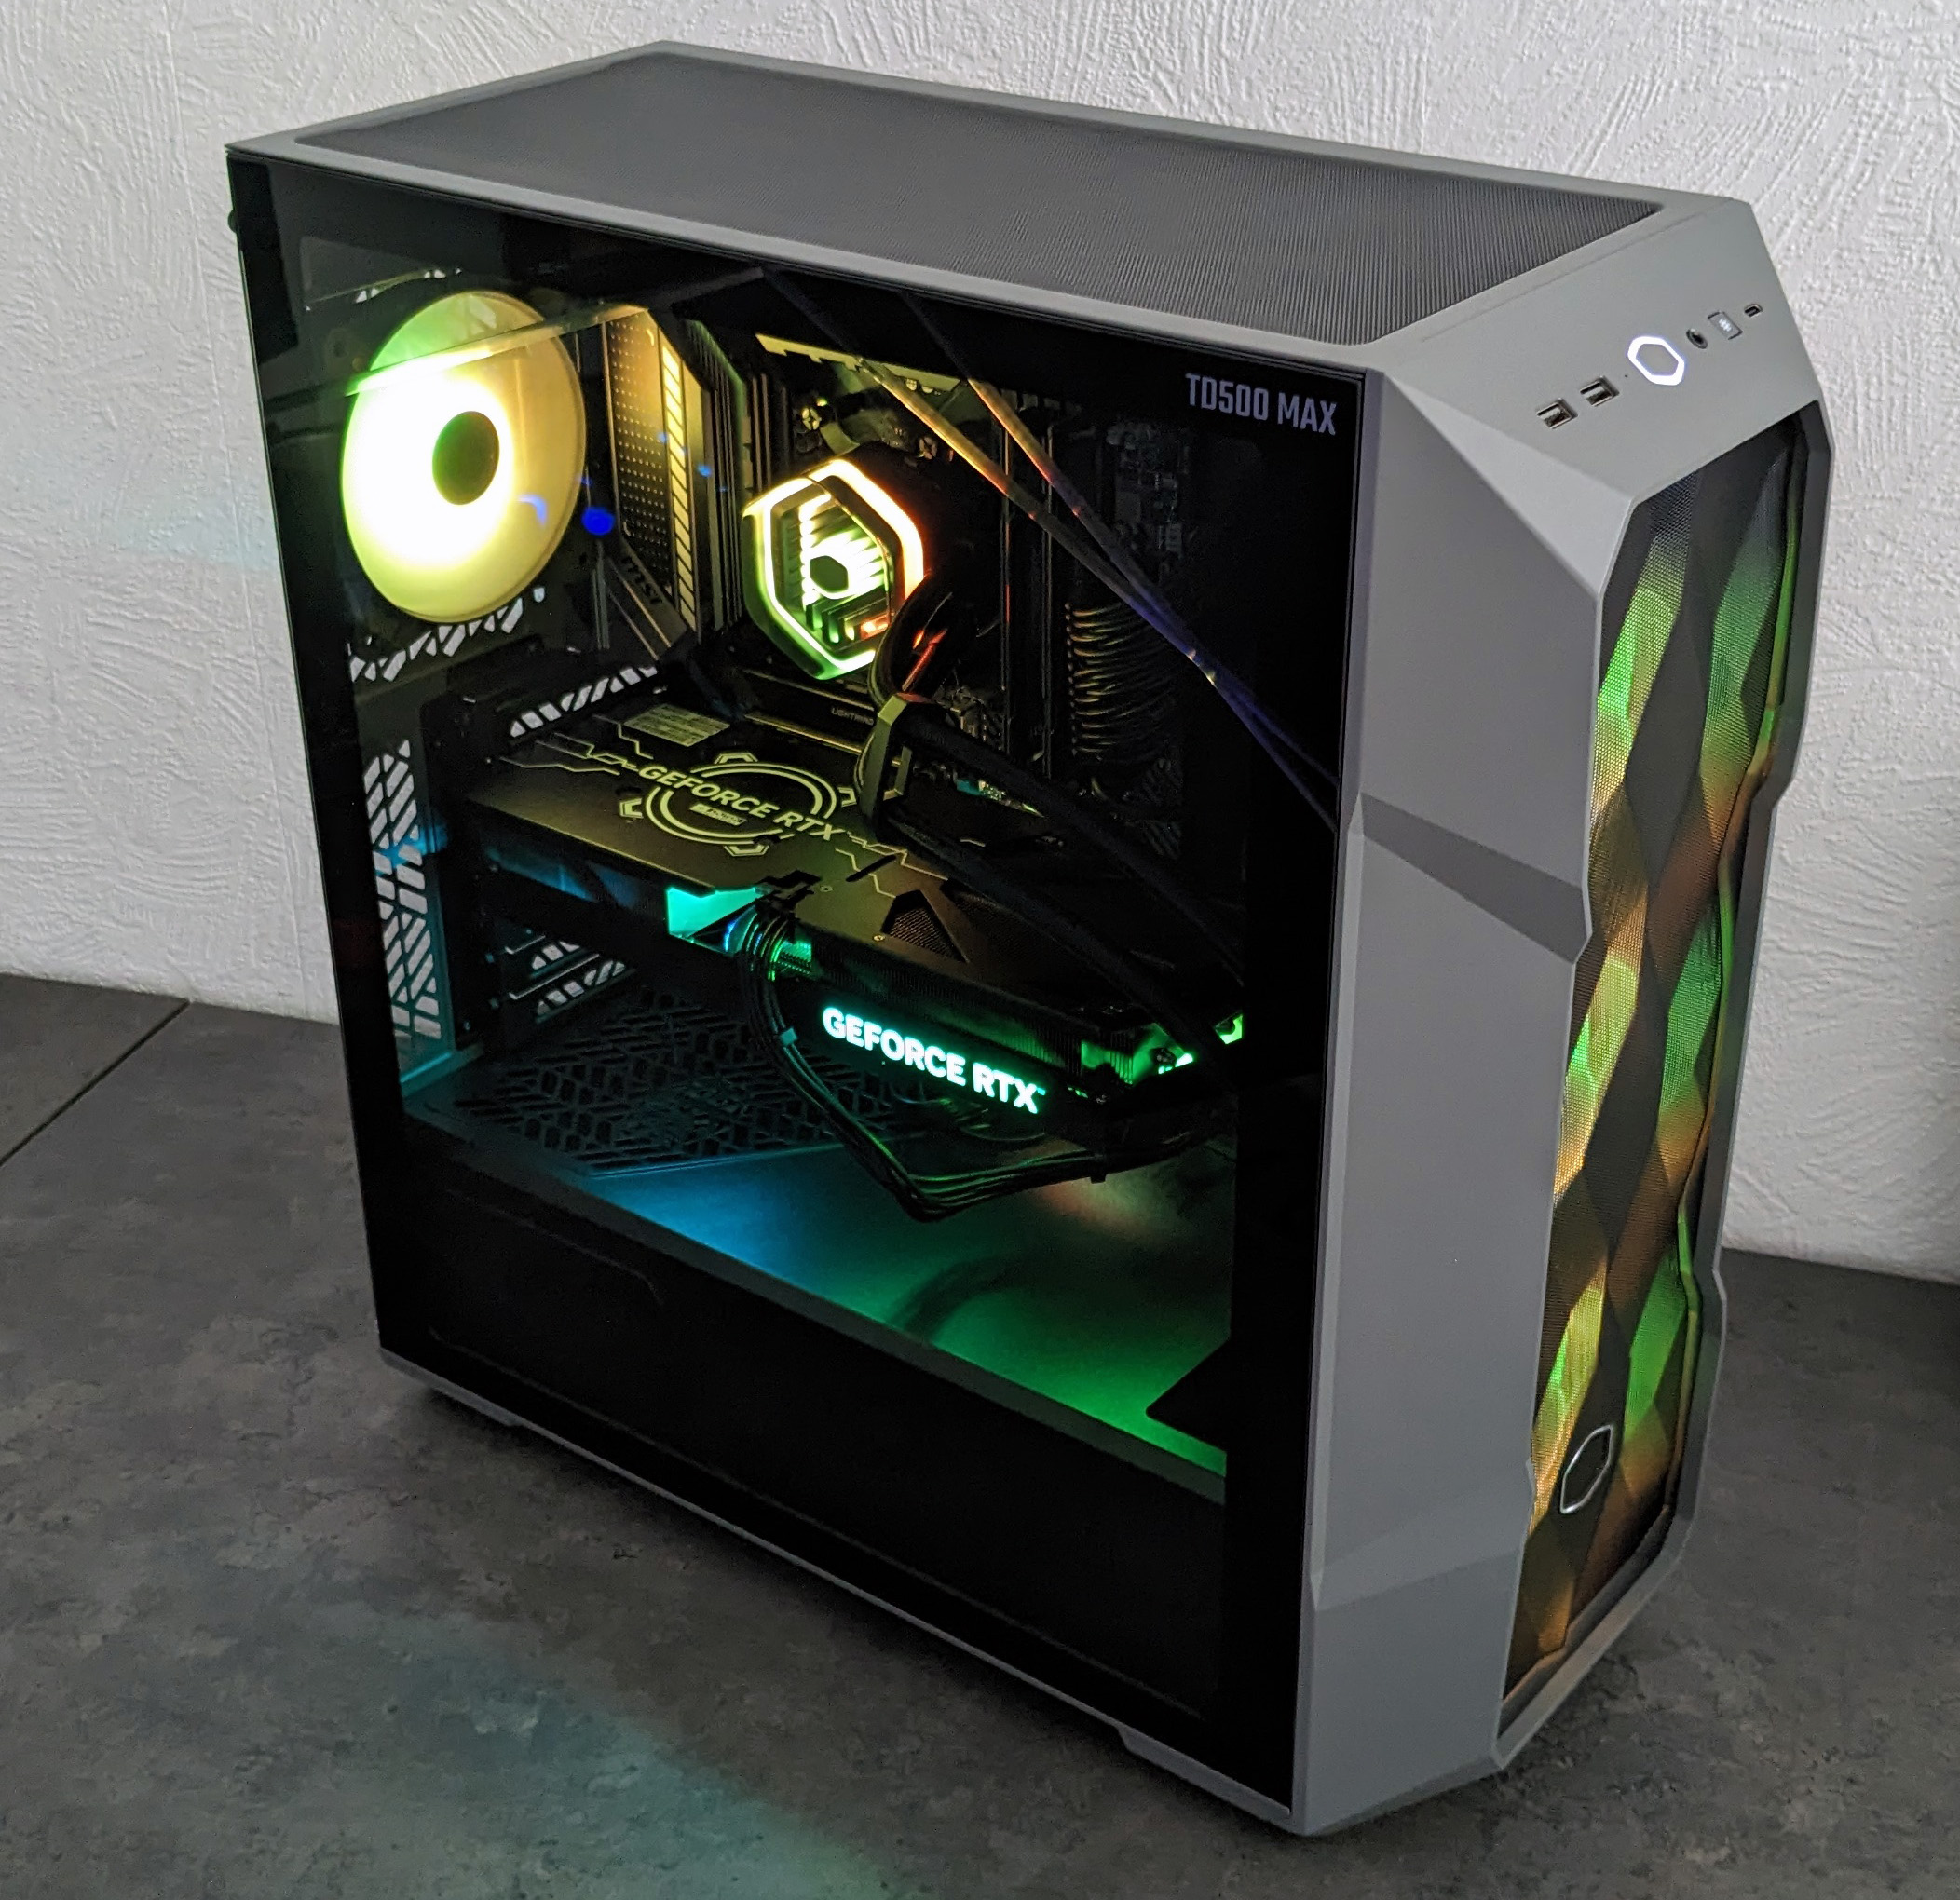
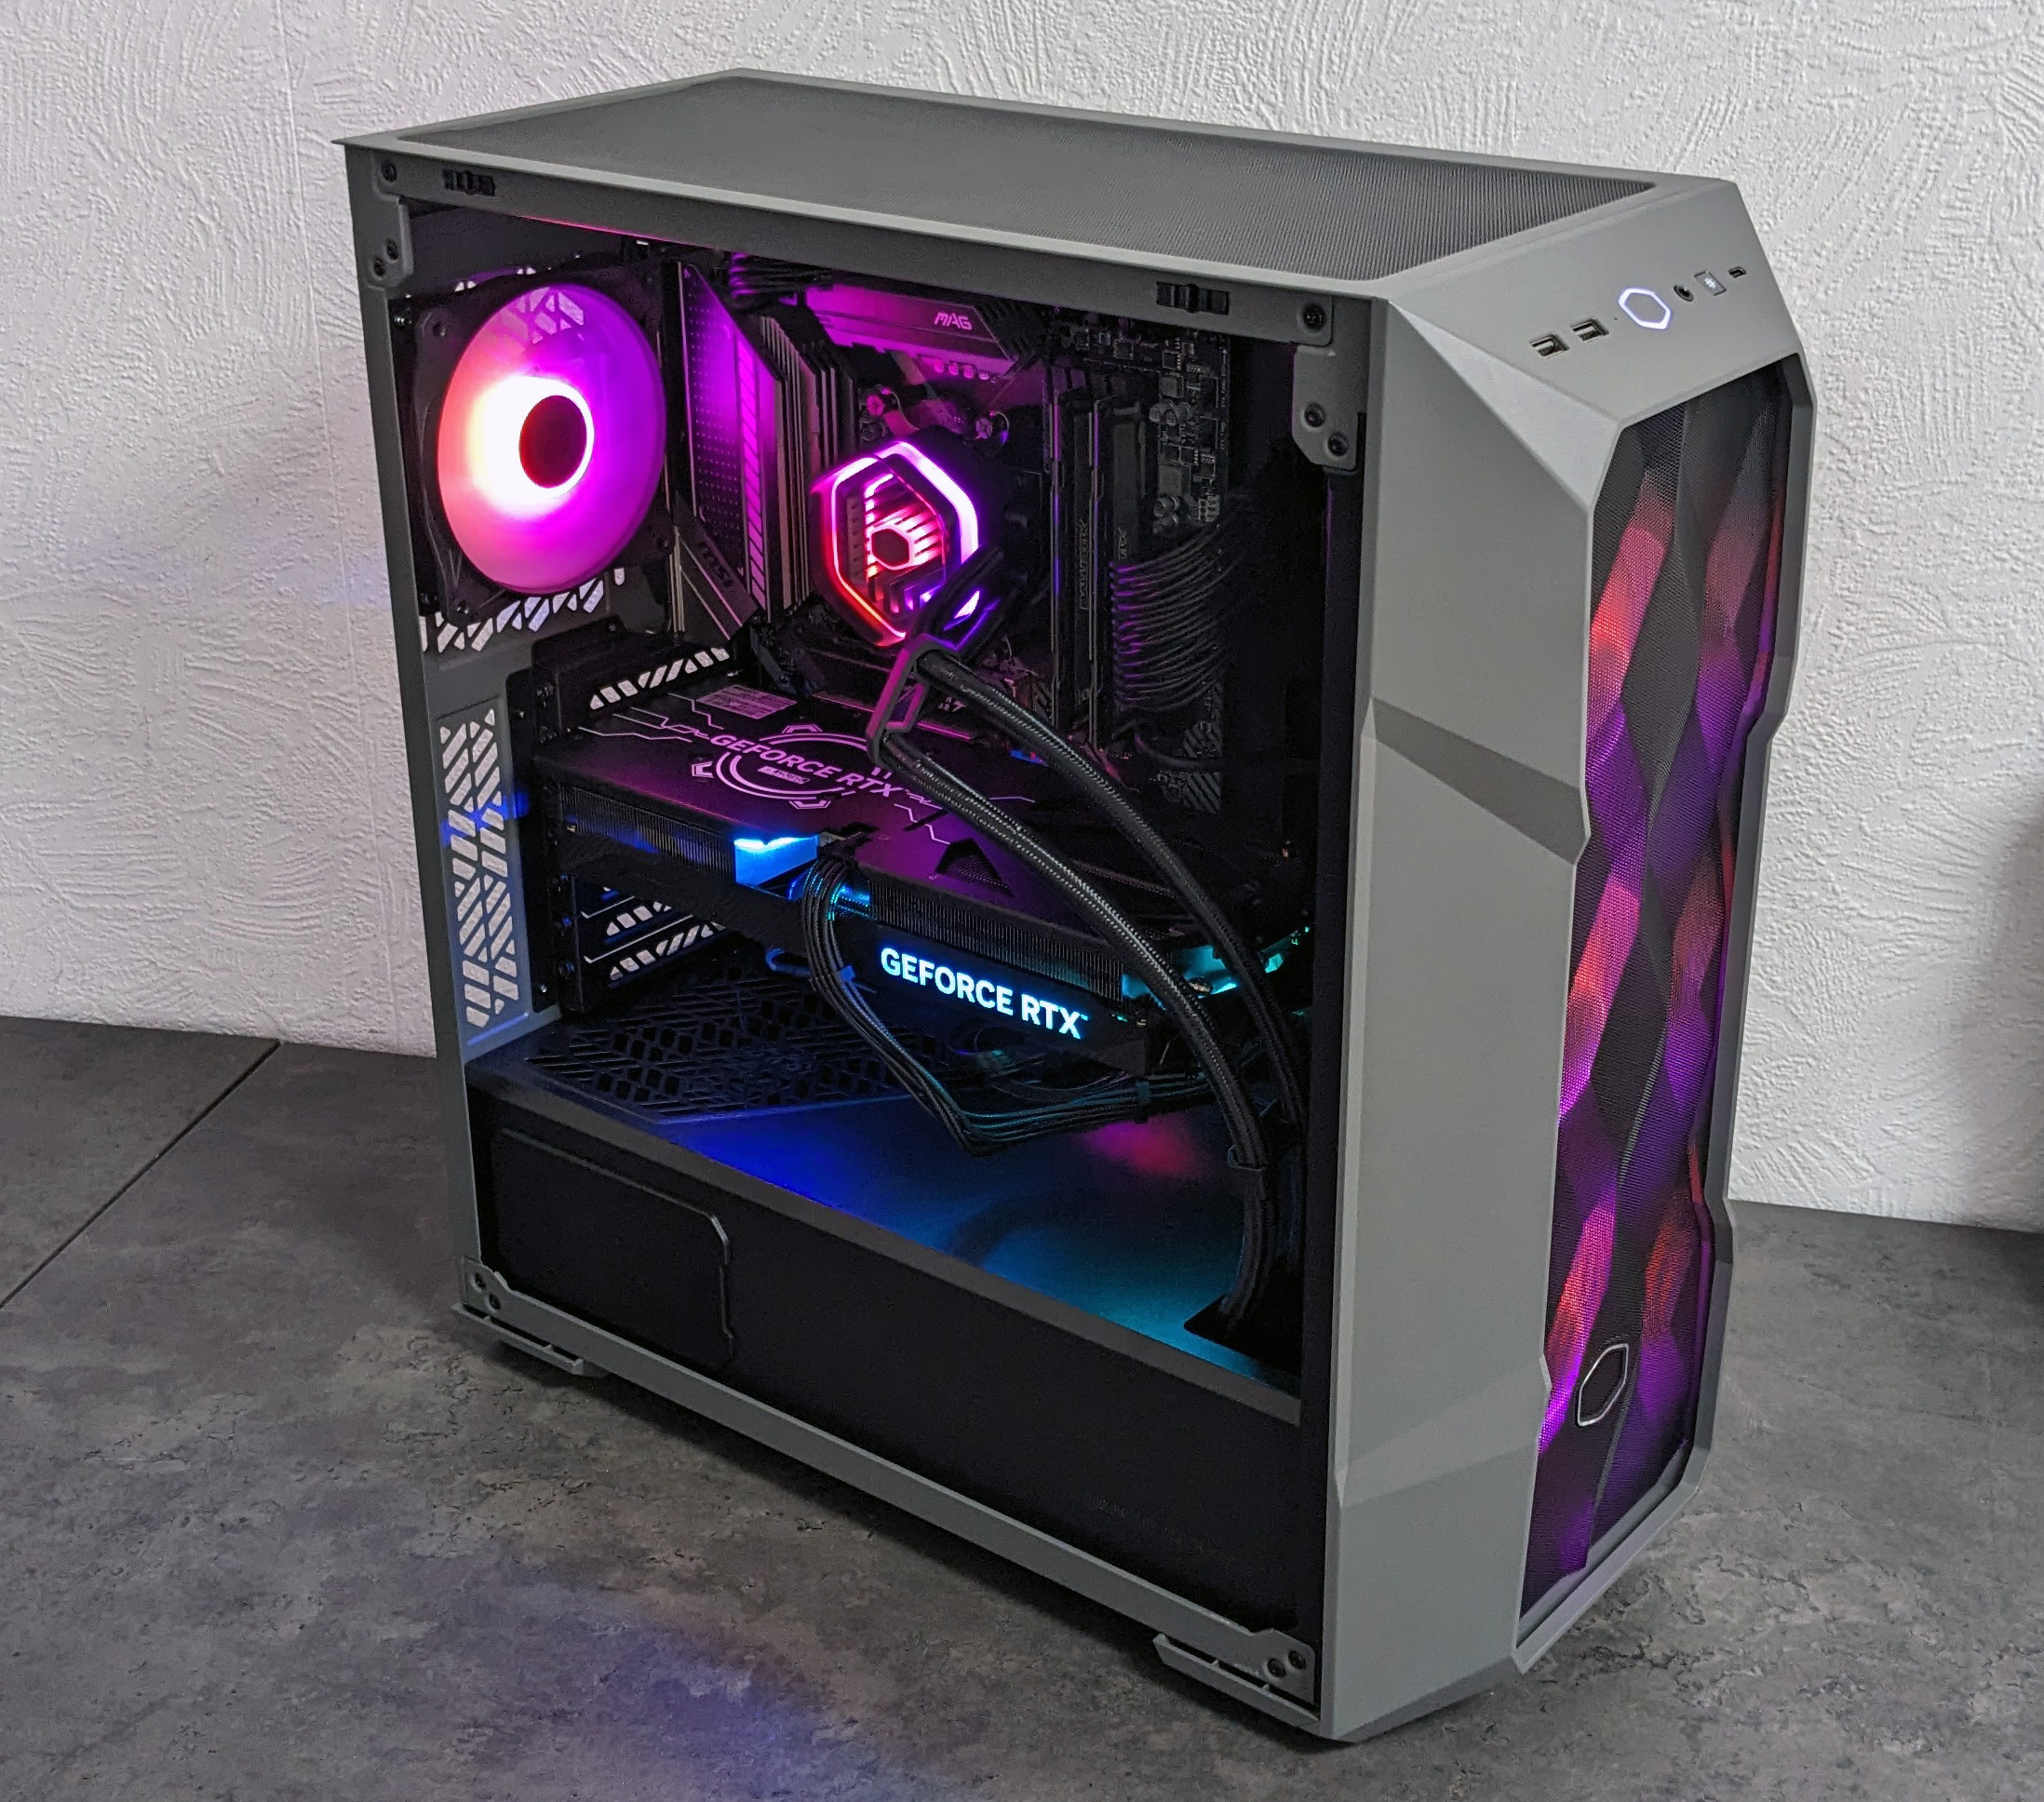
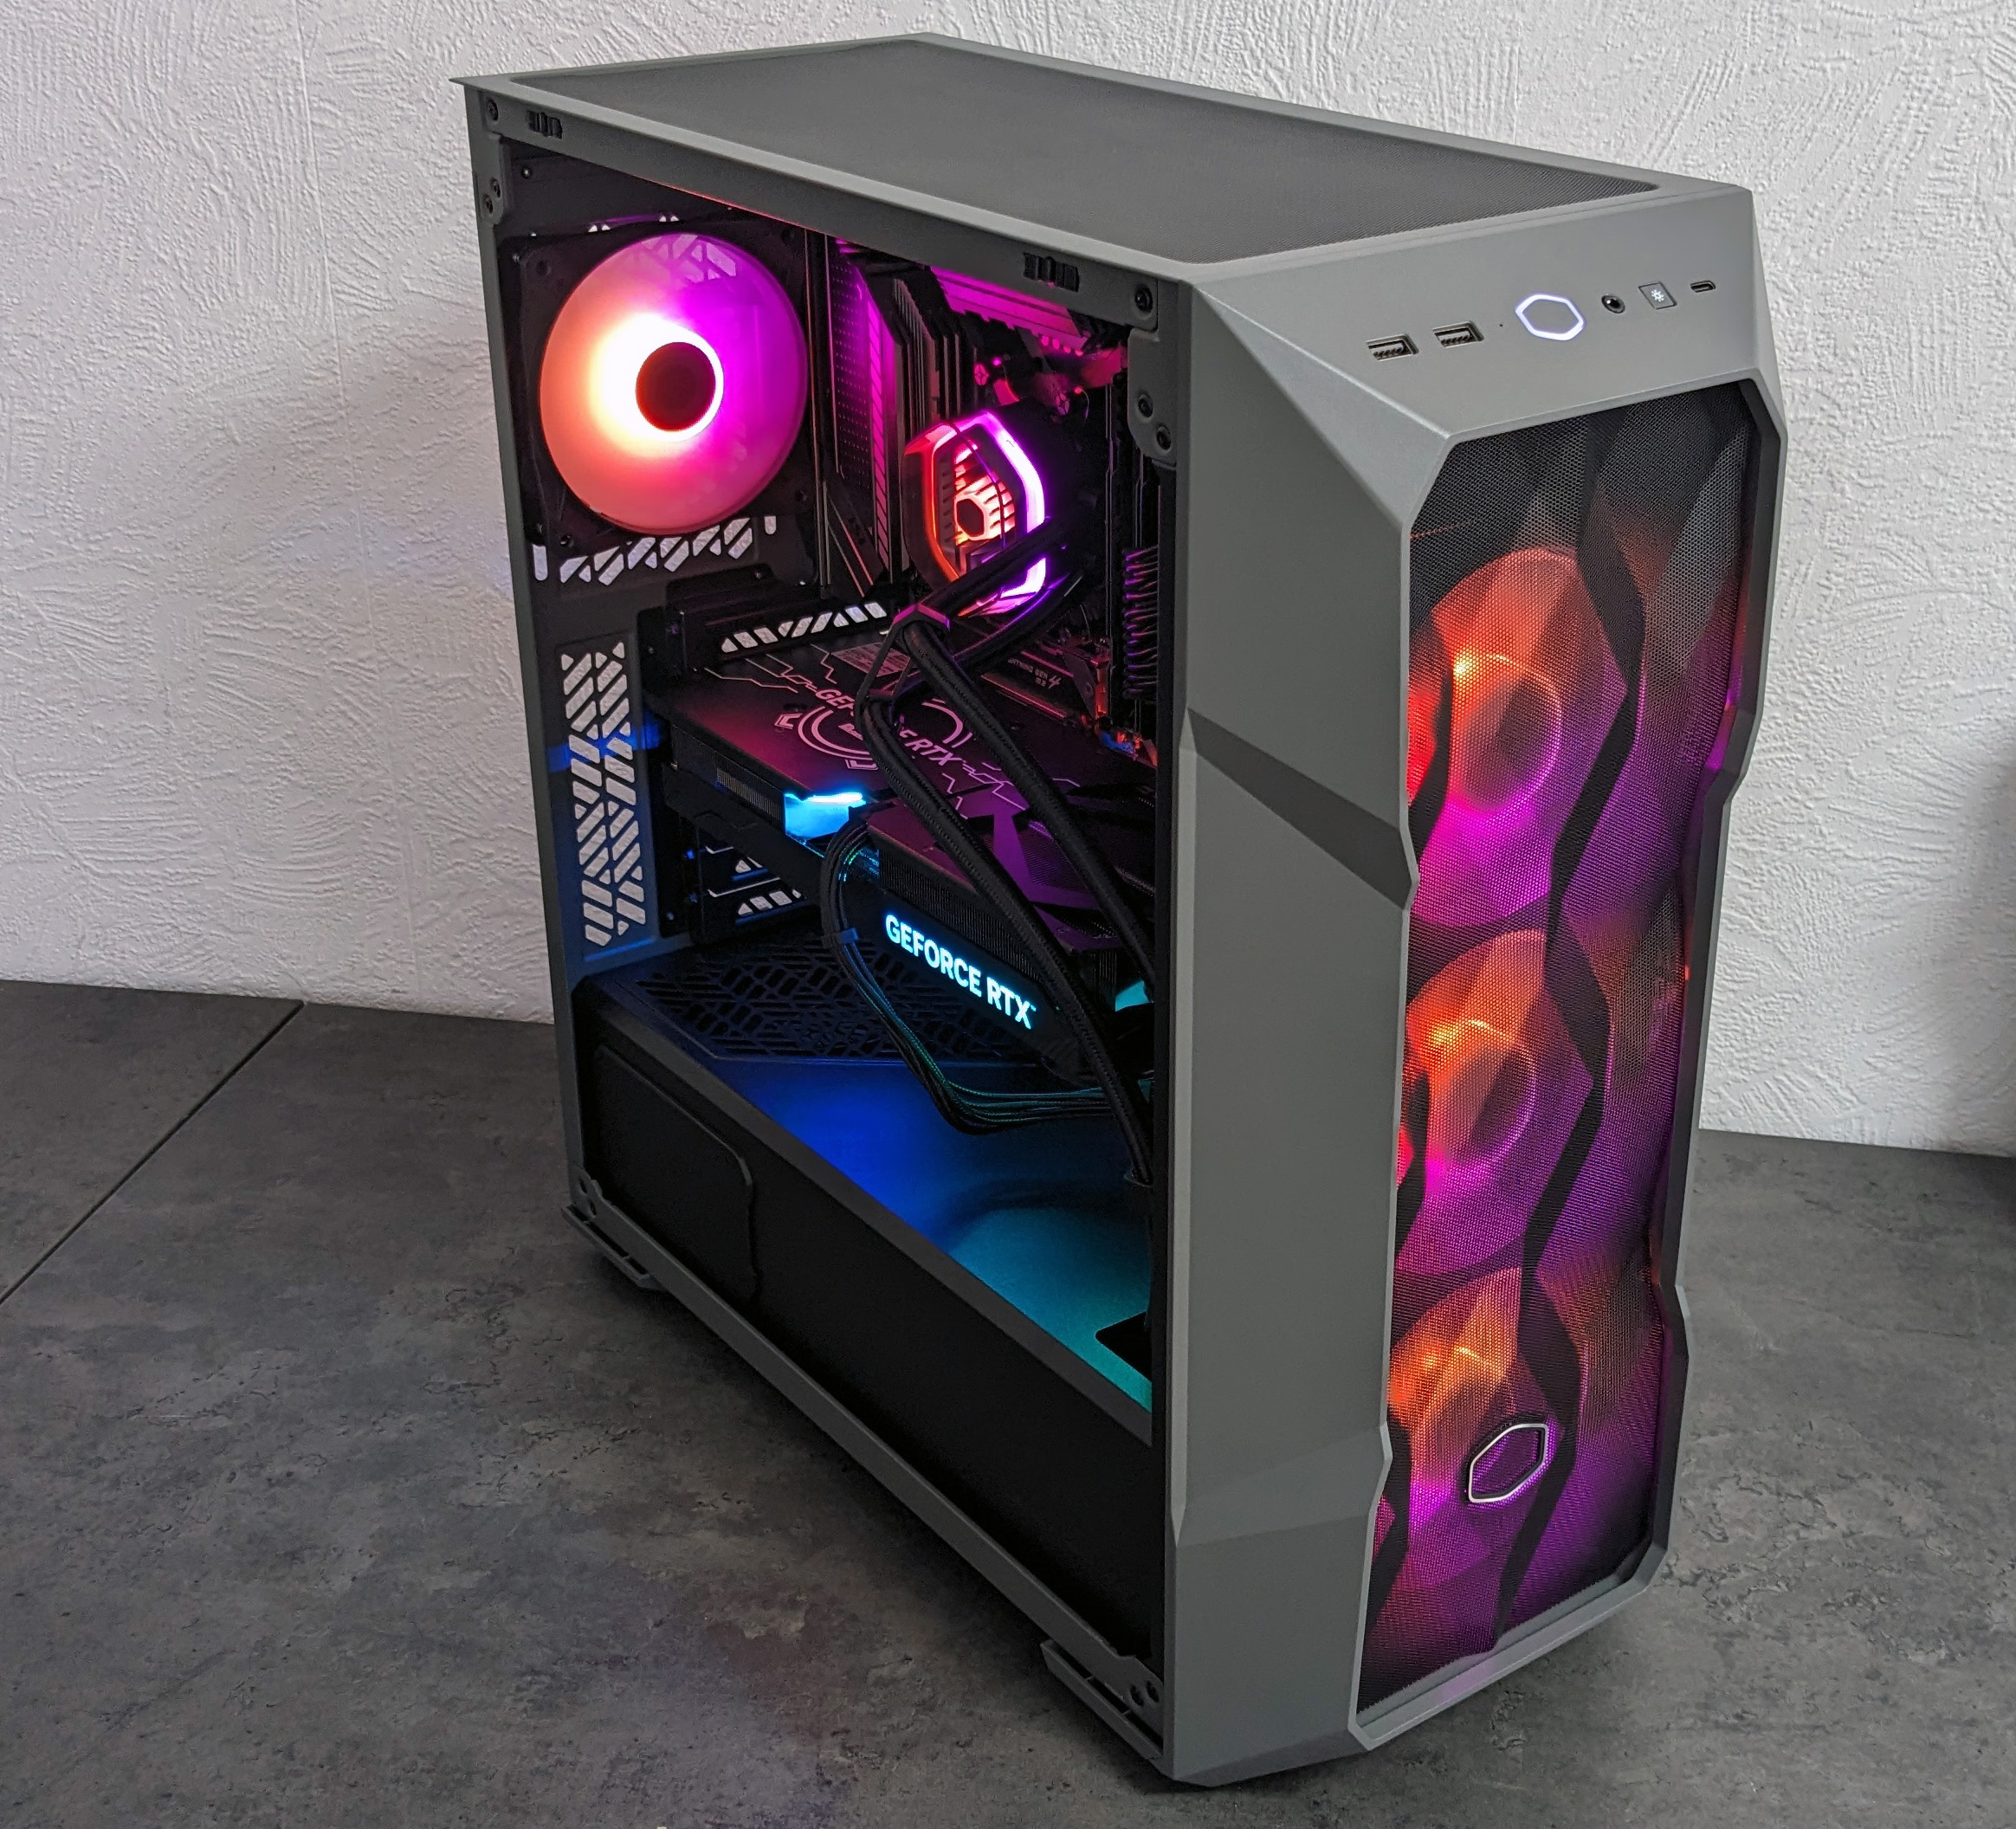
And before we get to the results of the stress tests, the side panel has to be replaced.
[the_ad_group id=”7834″]


45 Antworten
Kommentar
Lade neue Kommentare
Veteran
Urgestein
Moderator
Urgestein
Veteran
Urgestein
Moderator
Moderator
Urgestein
Urgestein
Mitglied
Veteran
Moderator
Moderator
1
Veteran
Moderator
Urgestein
Mitglied
Alle Kommentare lesen unter igor´sLAB Community →