


Installation report
Some of the components required quite a bit of finger acrobatics to install – you just have to pay the price for compact cases. I also noticed some less than optimal solutions, which I will discuss at the end of this page. But let’s start from the beginning.
Test system
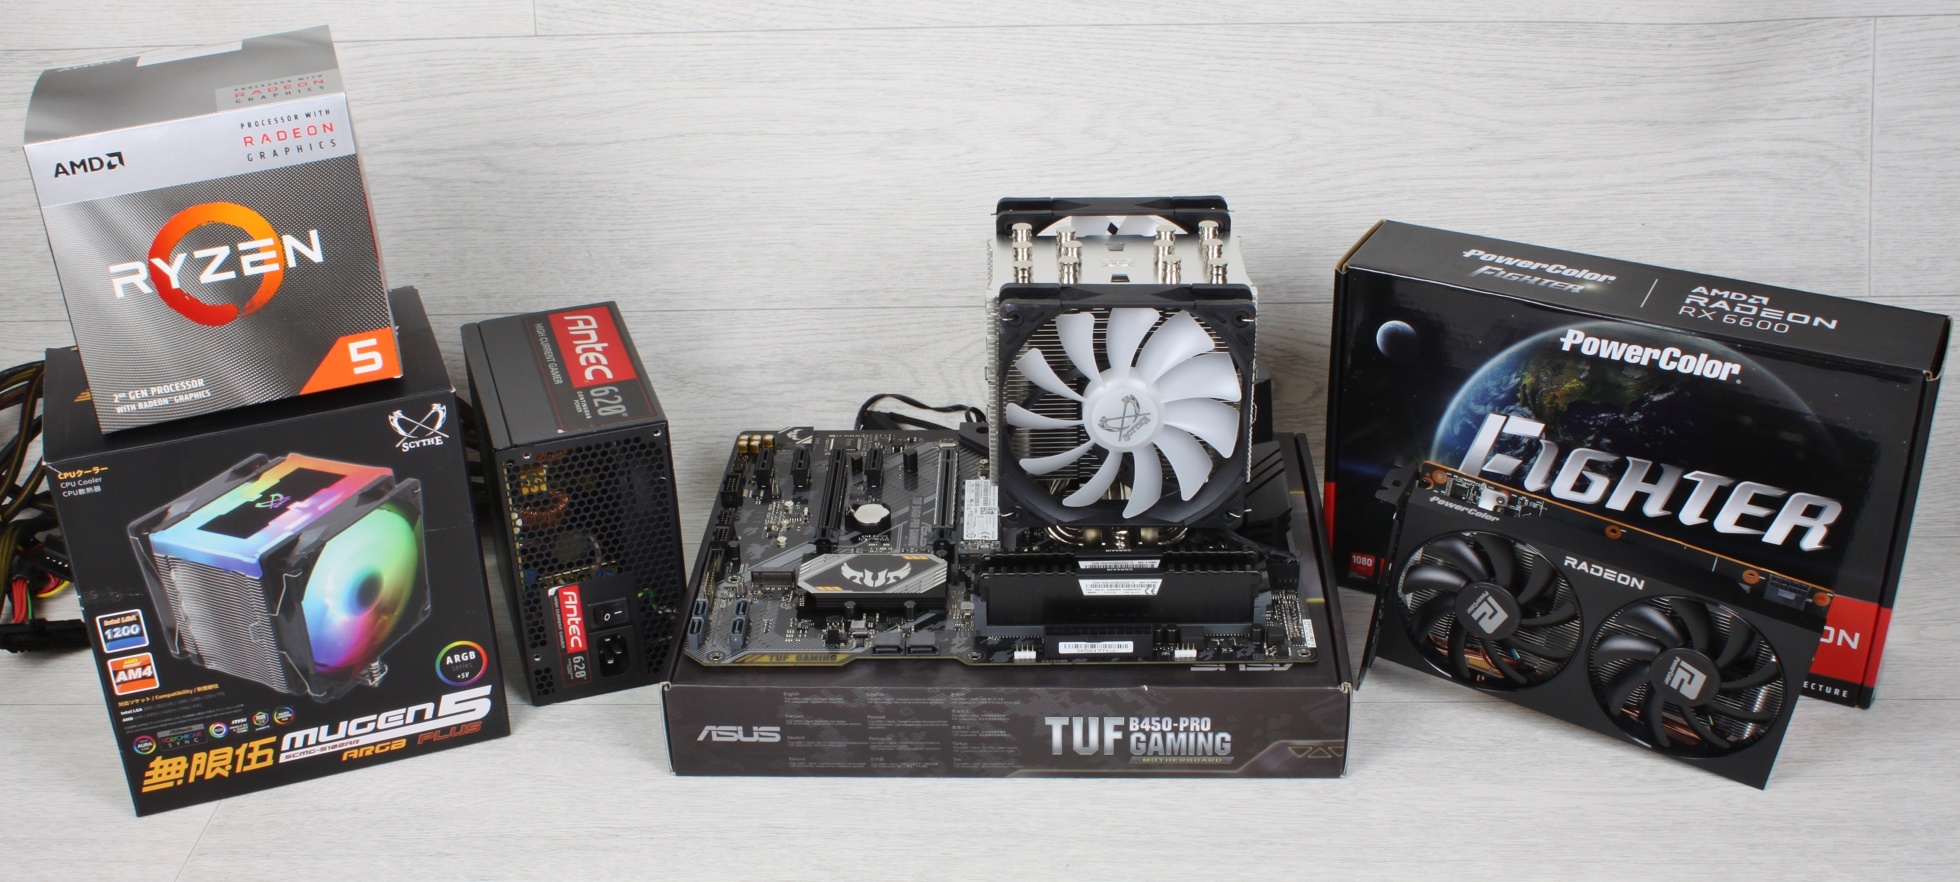
Of course, the usual system consisting of the components pictured above is used again for testing. The exact specs:

Installation
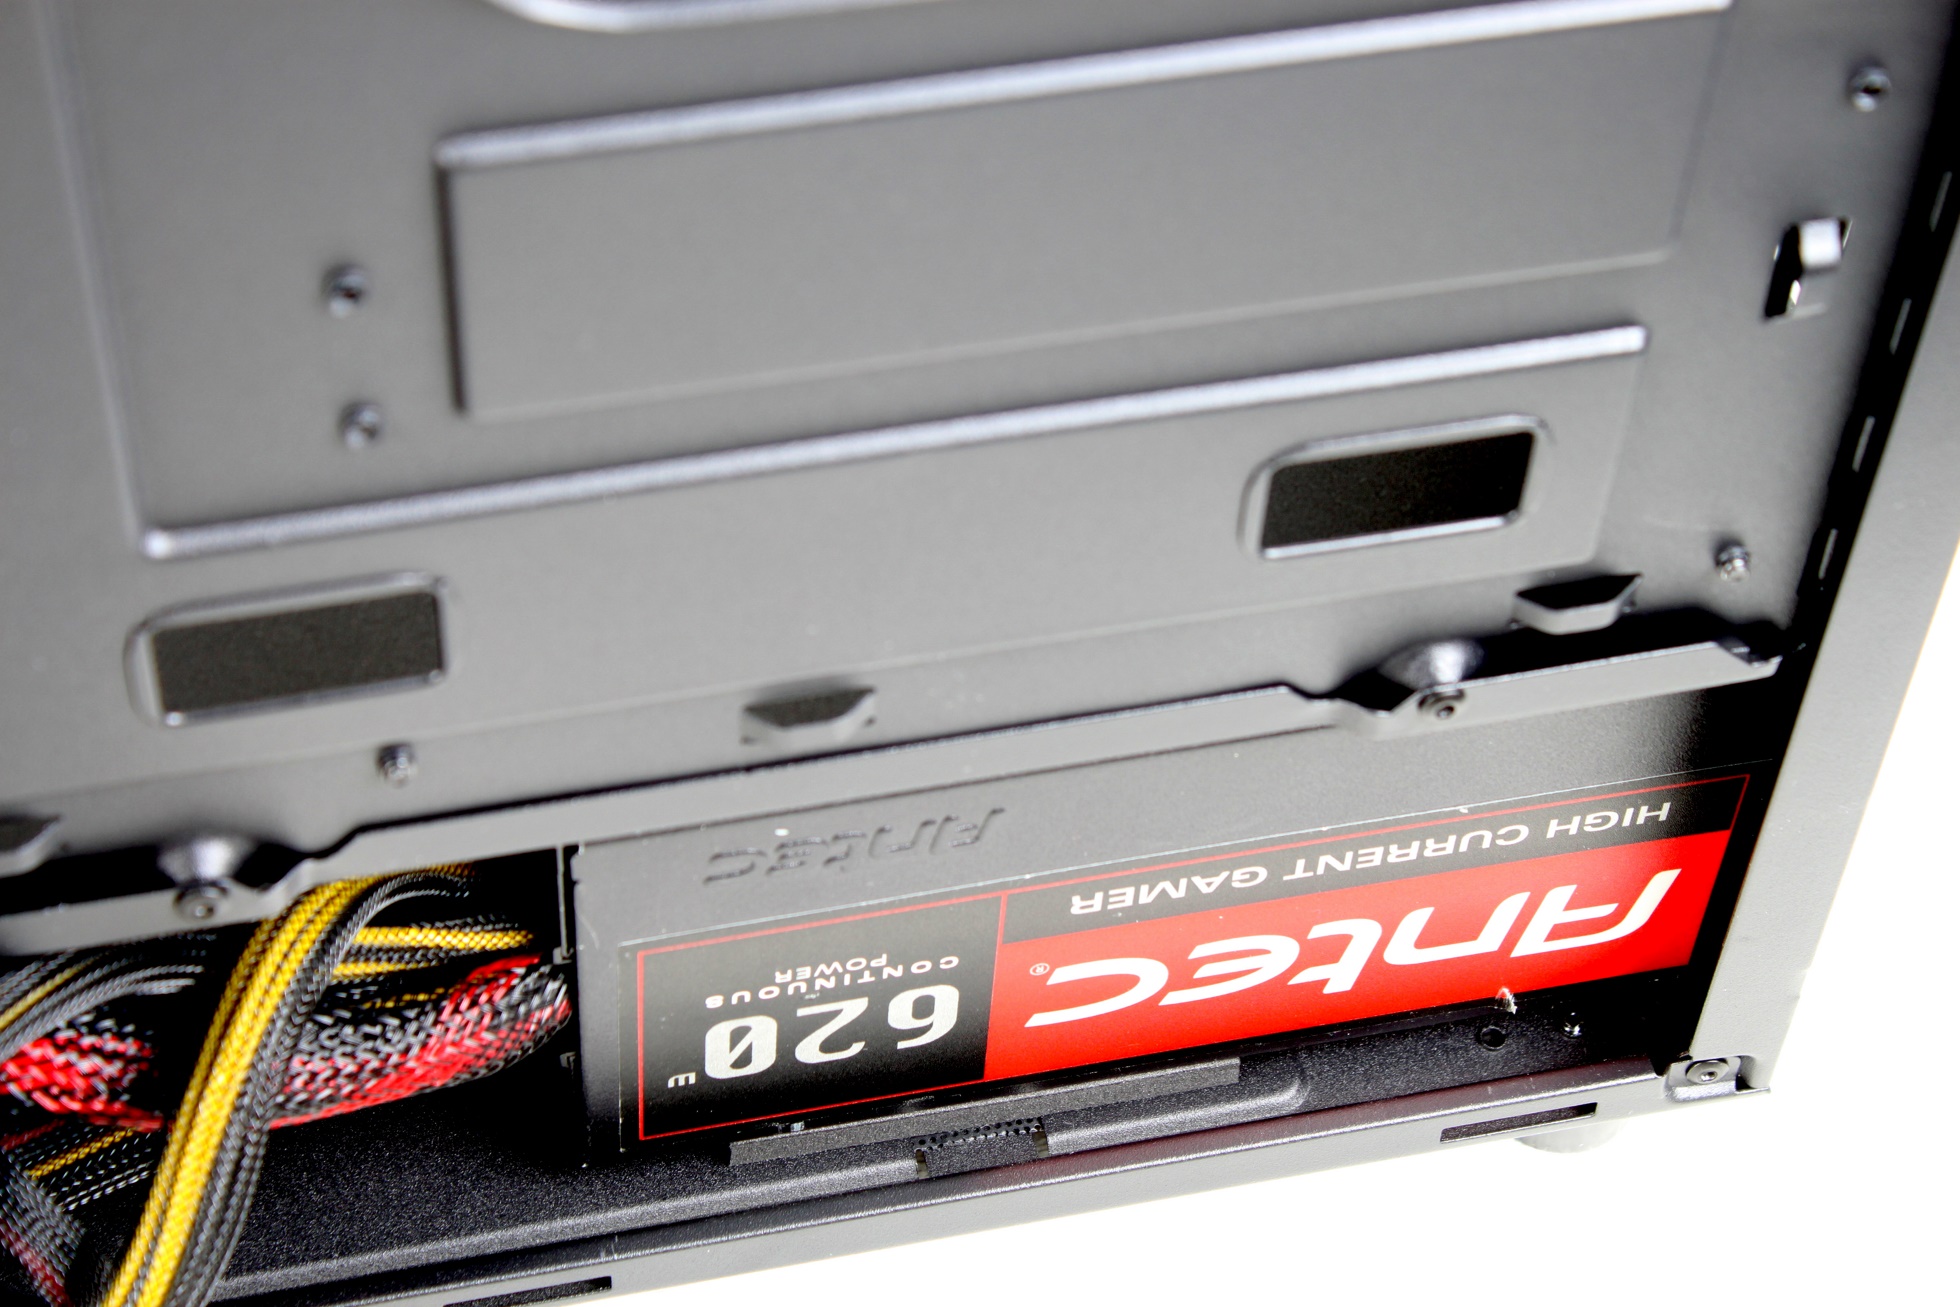
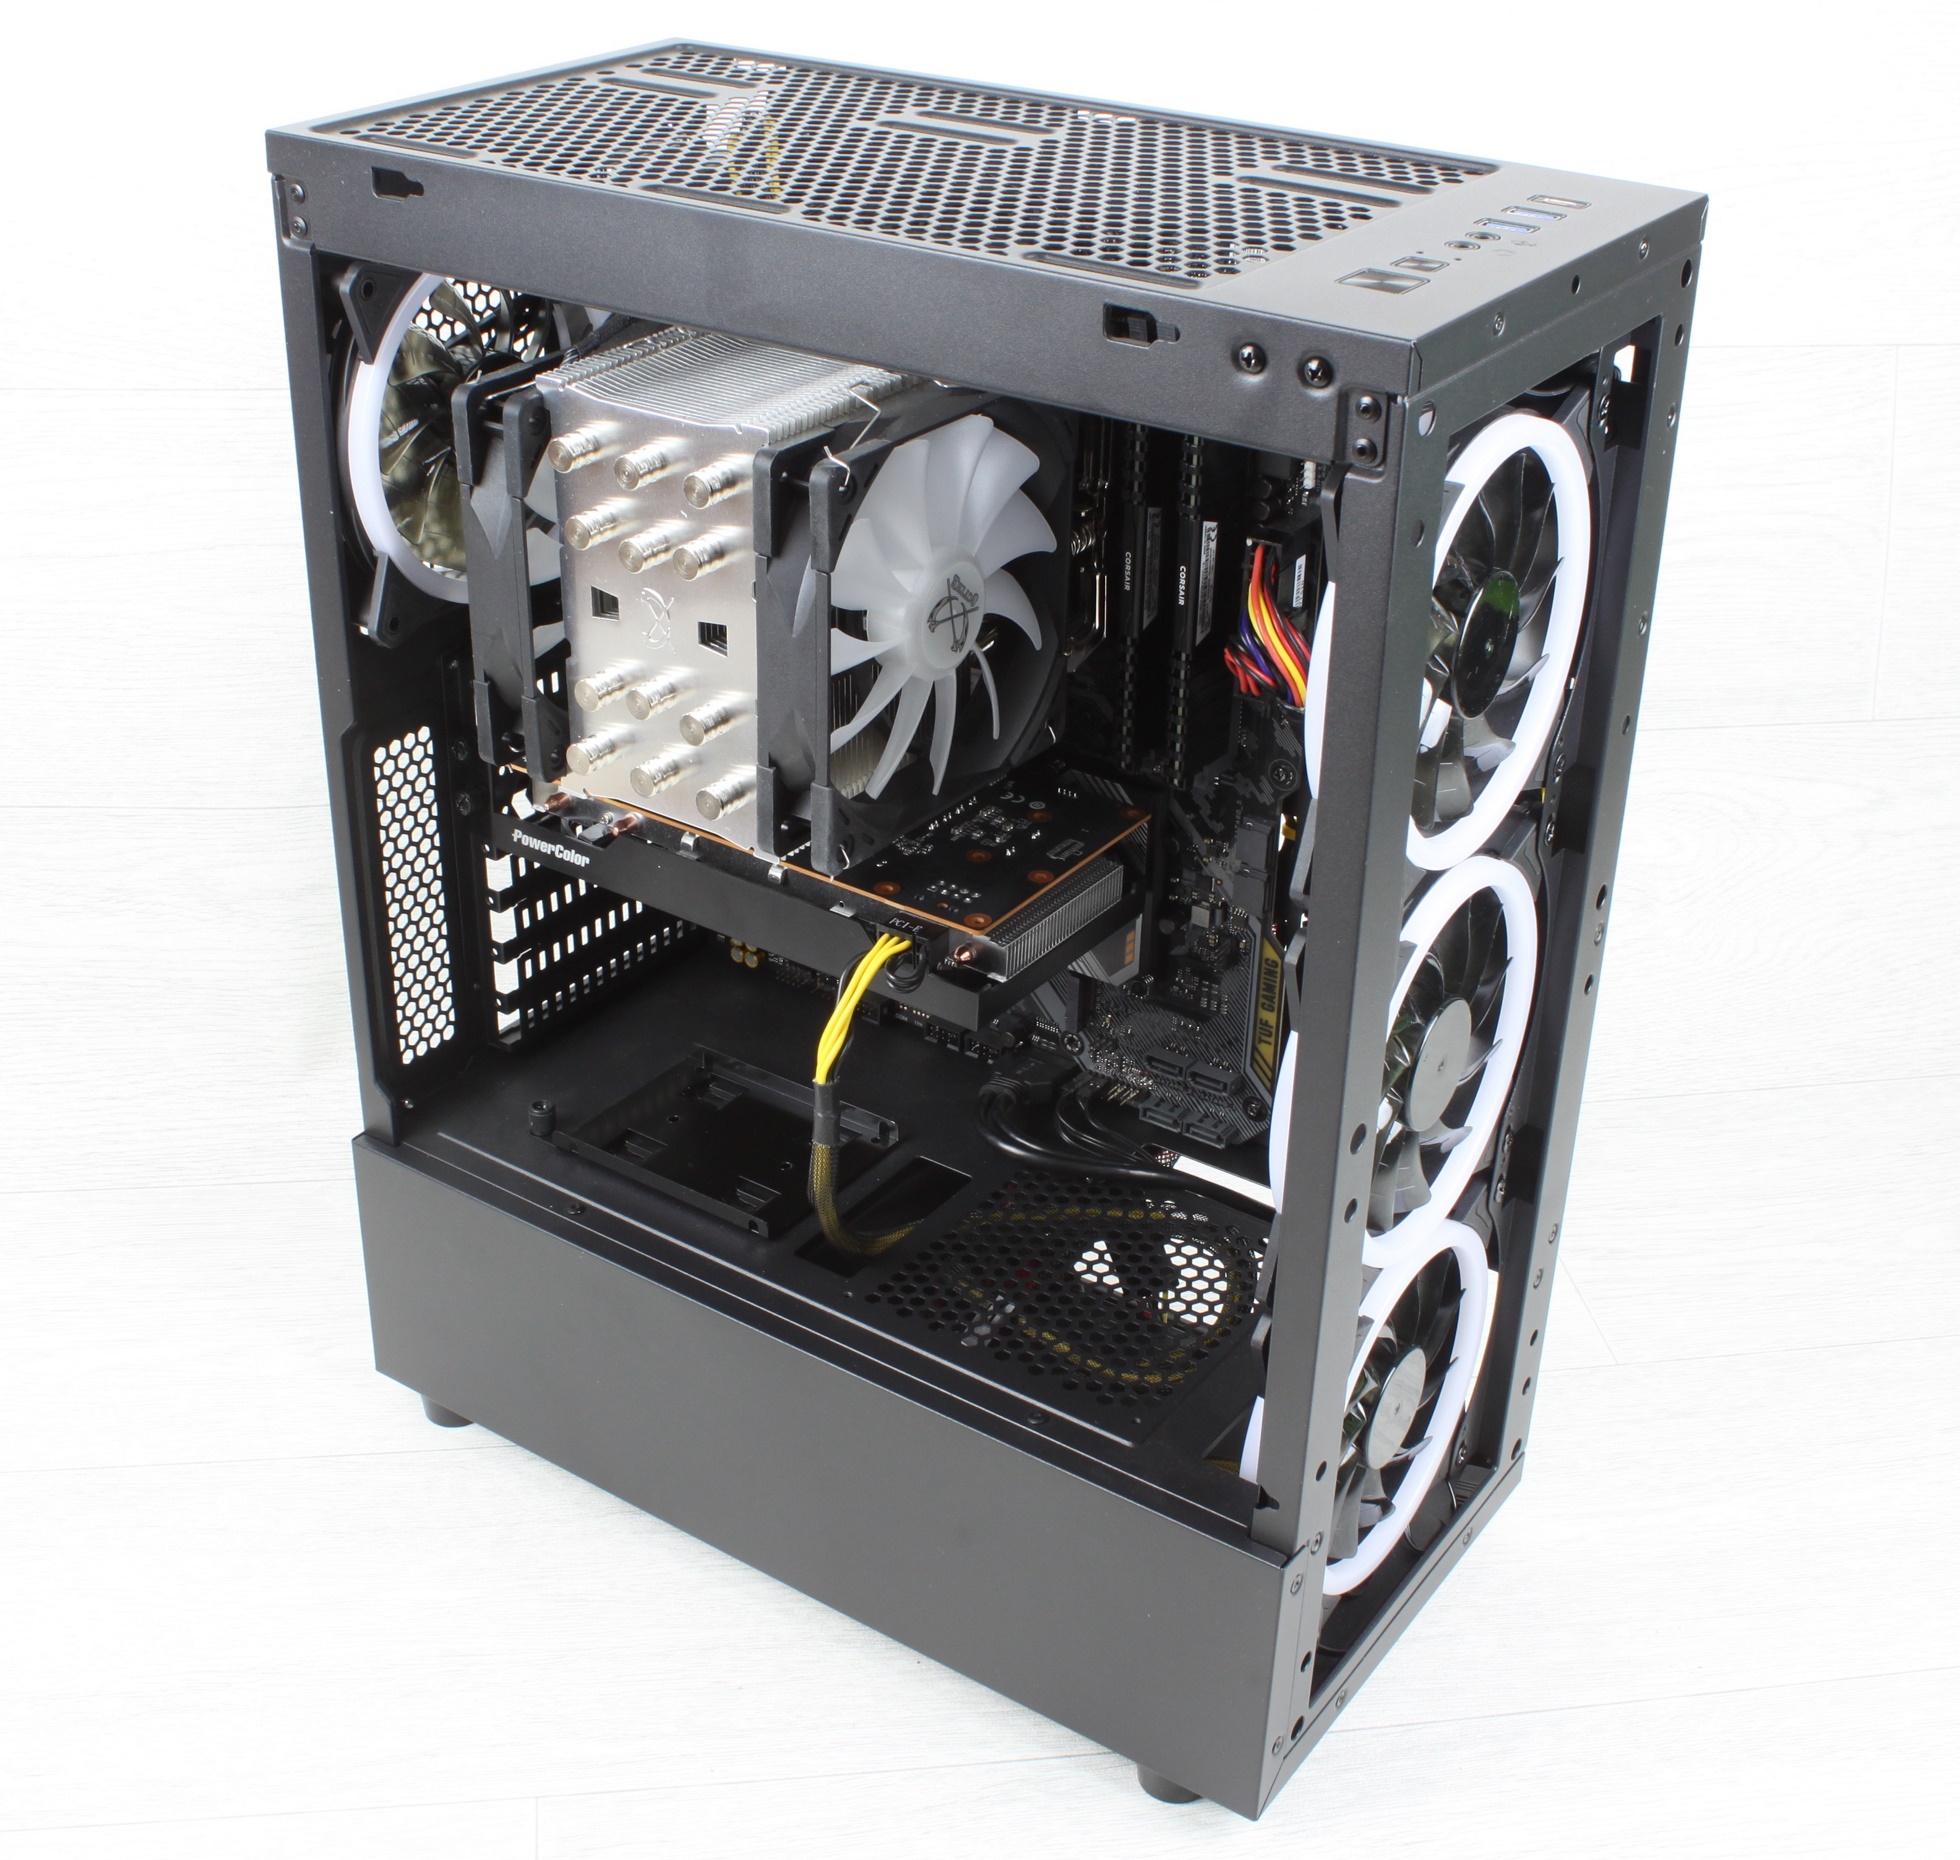
In the first step I mounted the power supply. This was easily stowed under the cover and rests nicely on the aforementioned foam rubber bumpers.
When mounting the motherboard with the cooler pre-installed, it is recommended to connect the EPS12V power supply to the CPU before the board is completely in the case. Otherwise, it is practically impossible to still reach the slots with your fingers. However, this is not a case-specific problem, but almost always the case with compact cases due to their design. By the way, the installed Scythe cooler is 0.5mm higher than the case can accommodate according to the spec, and it still has a few millimeters of space up to the header.
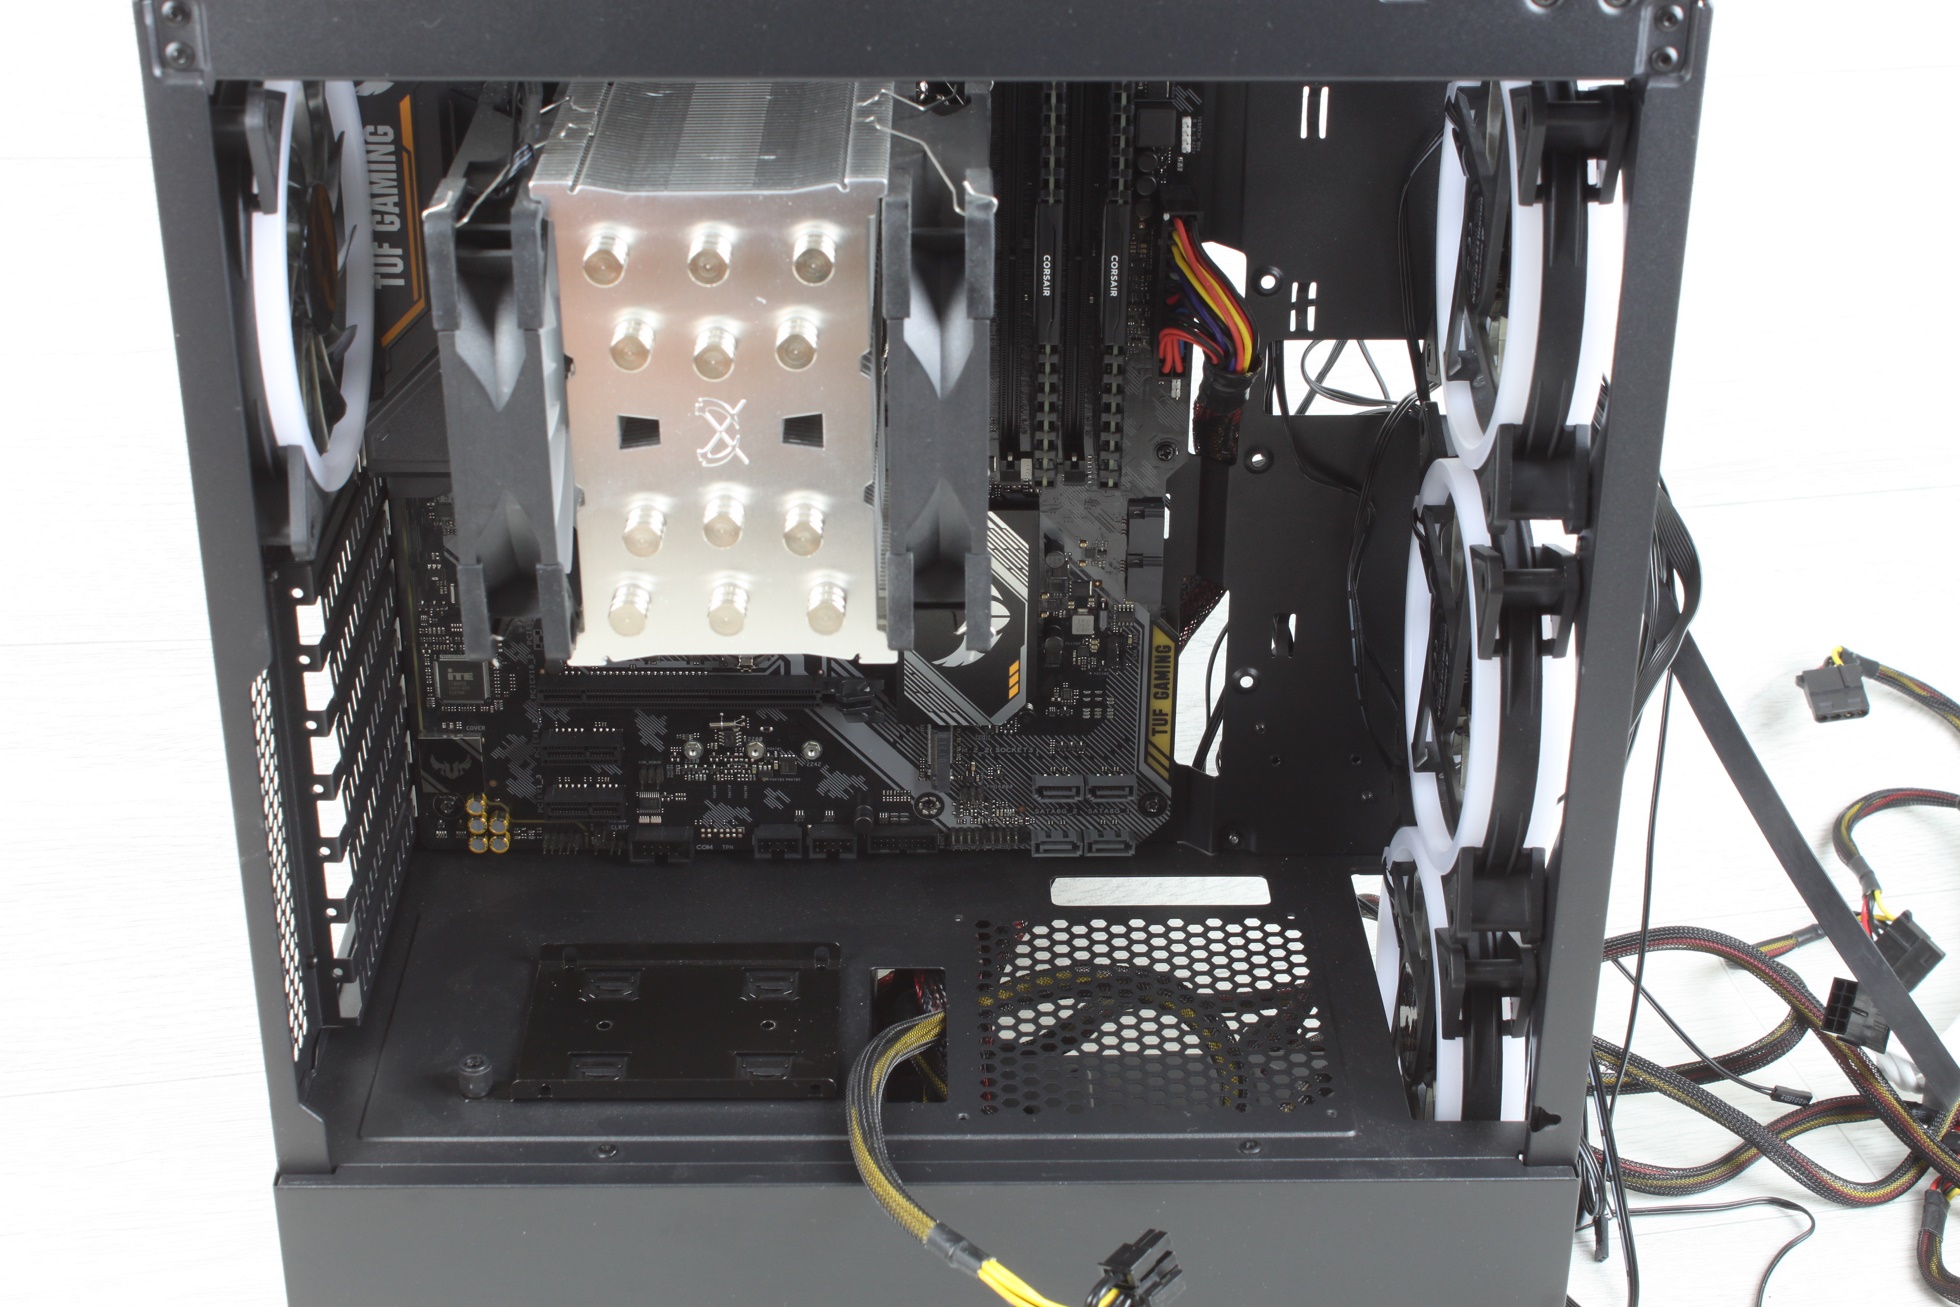
The RGB controller for the four pre-installed fans only offers the same number of ports, so it is not expandable. To switch the different modes, the reset button of the I/O panel is connected to the controller. Alternatively, you can also connect the reset switch as such to the motherboard and connect the controller to an ARGB port, which then allows you to control the lighting of the fans via the corresponding motherboard software.

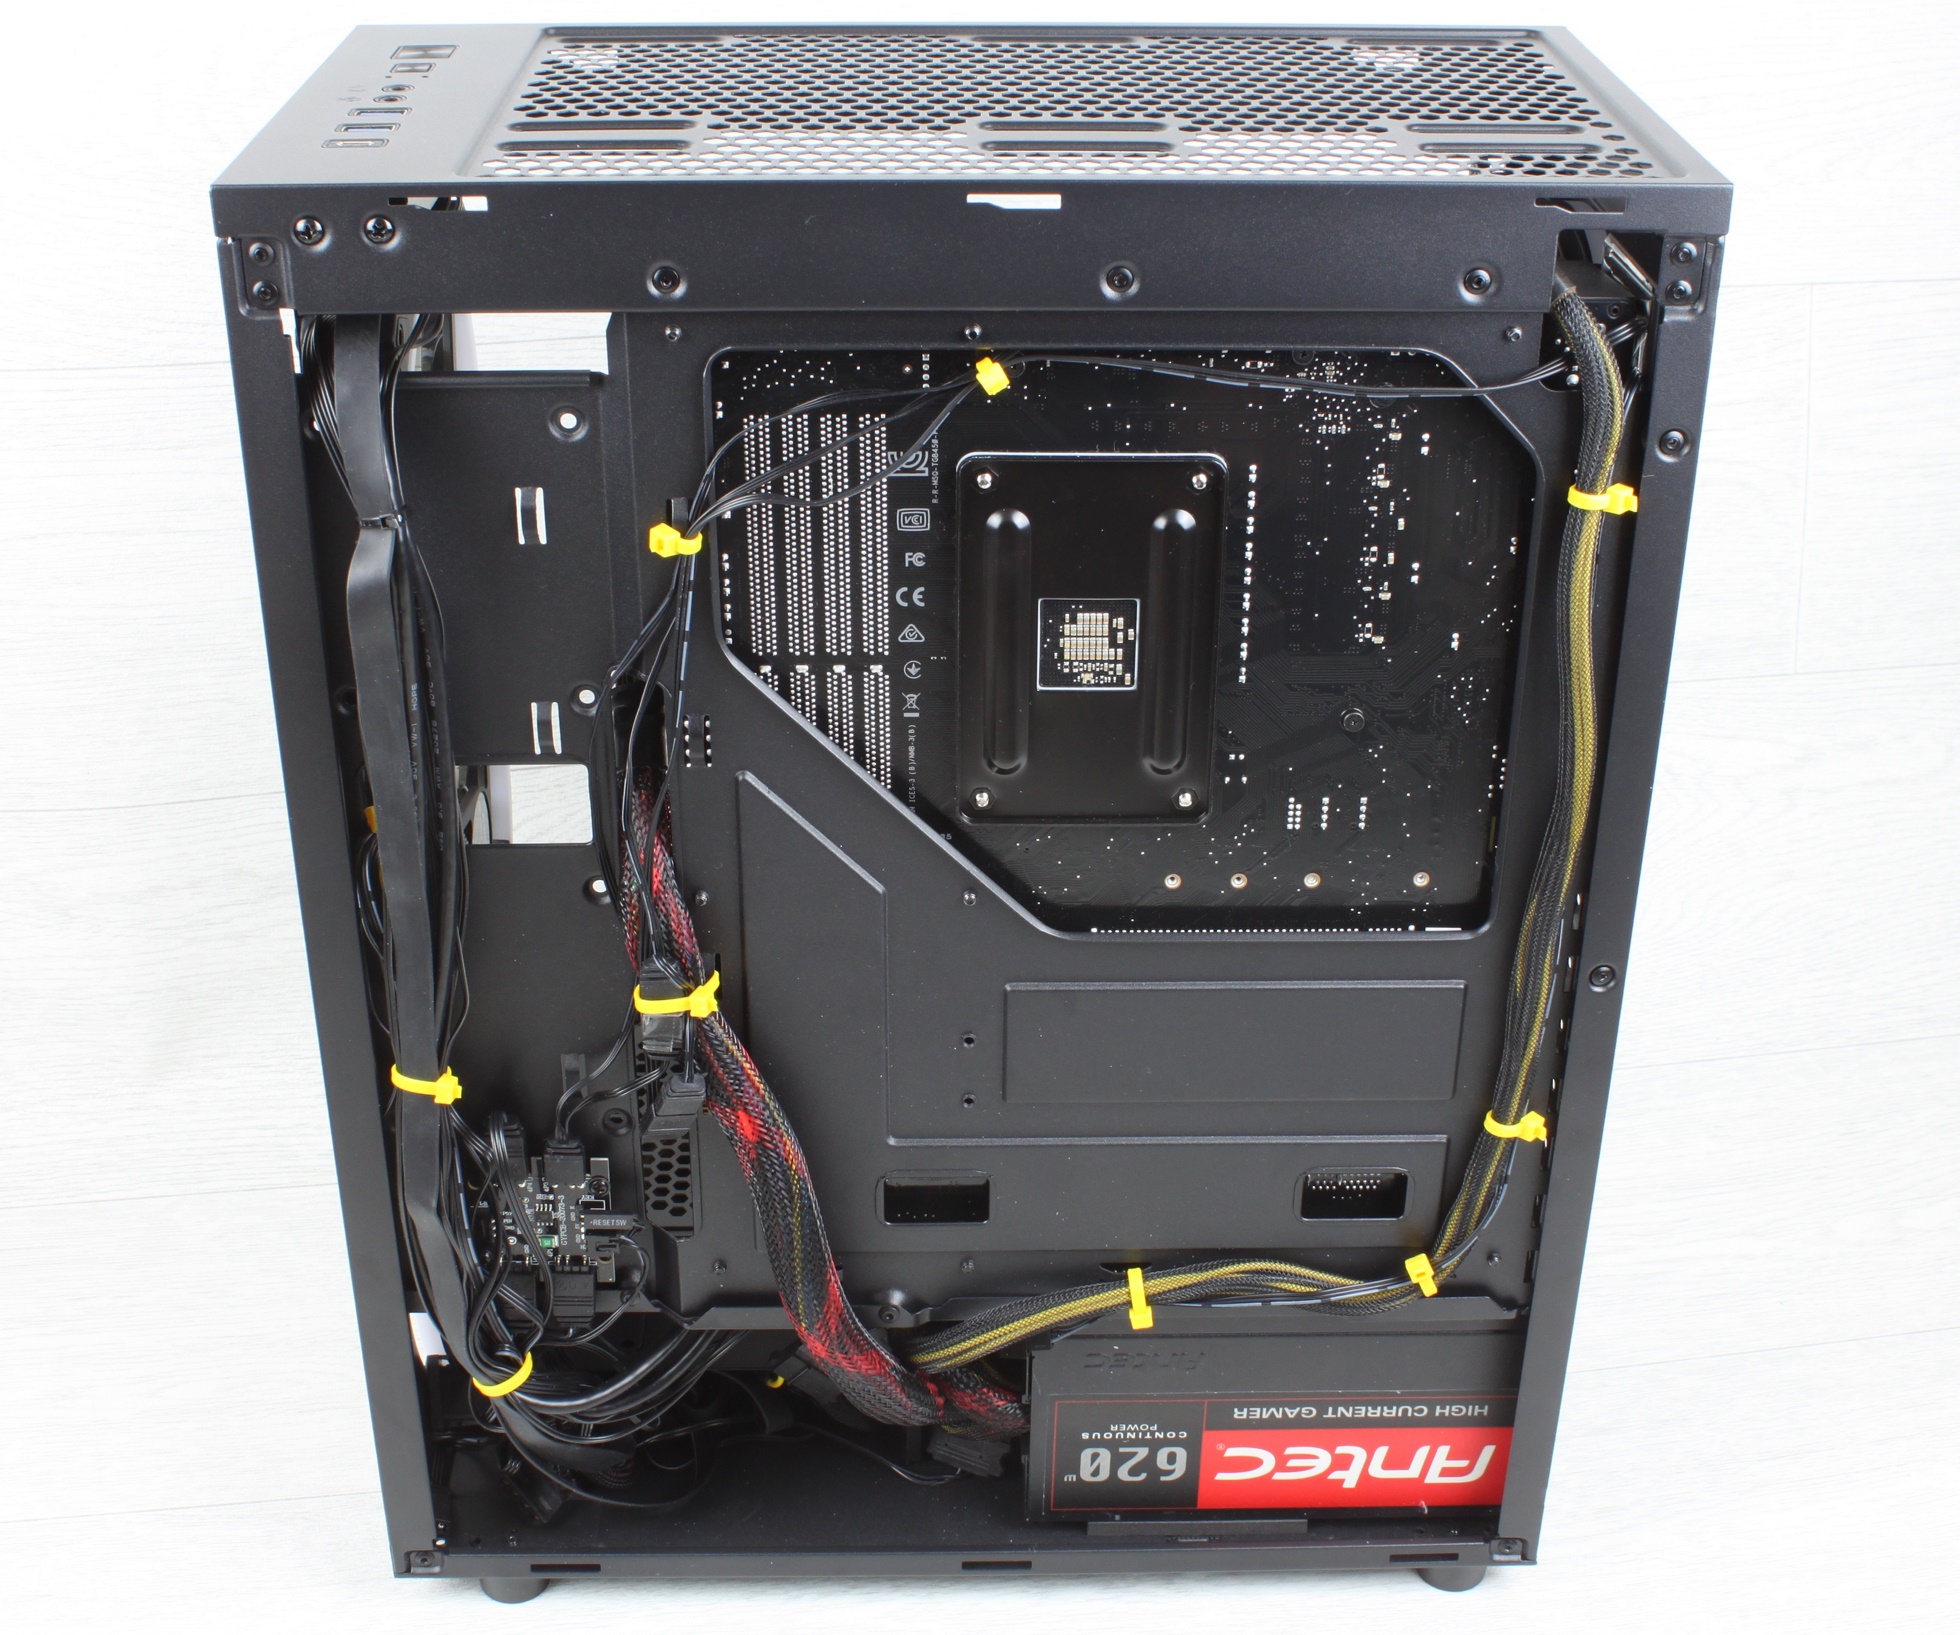
We also had to pull out some stops when it came to cable management so that we could mount the side panel without any problems in the end. A modular power supply would have been the better choice here and my somewhat bulky and stiff extensions for the 24-pin and the graphics card unfortunately didn’t find a place either. All in all, the case offers many fixing points for cable ties, so that a clean cabling can be achieved with some effort.
All components have found their place without any problems, time to complete the case.
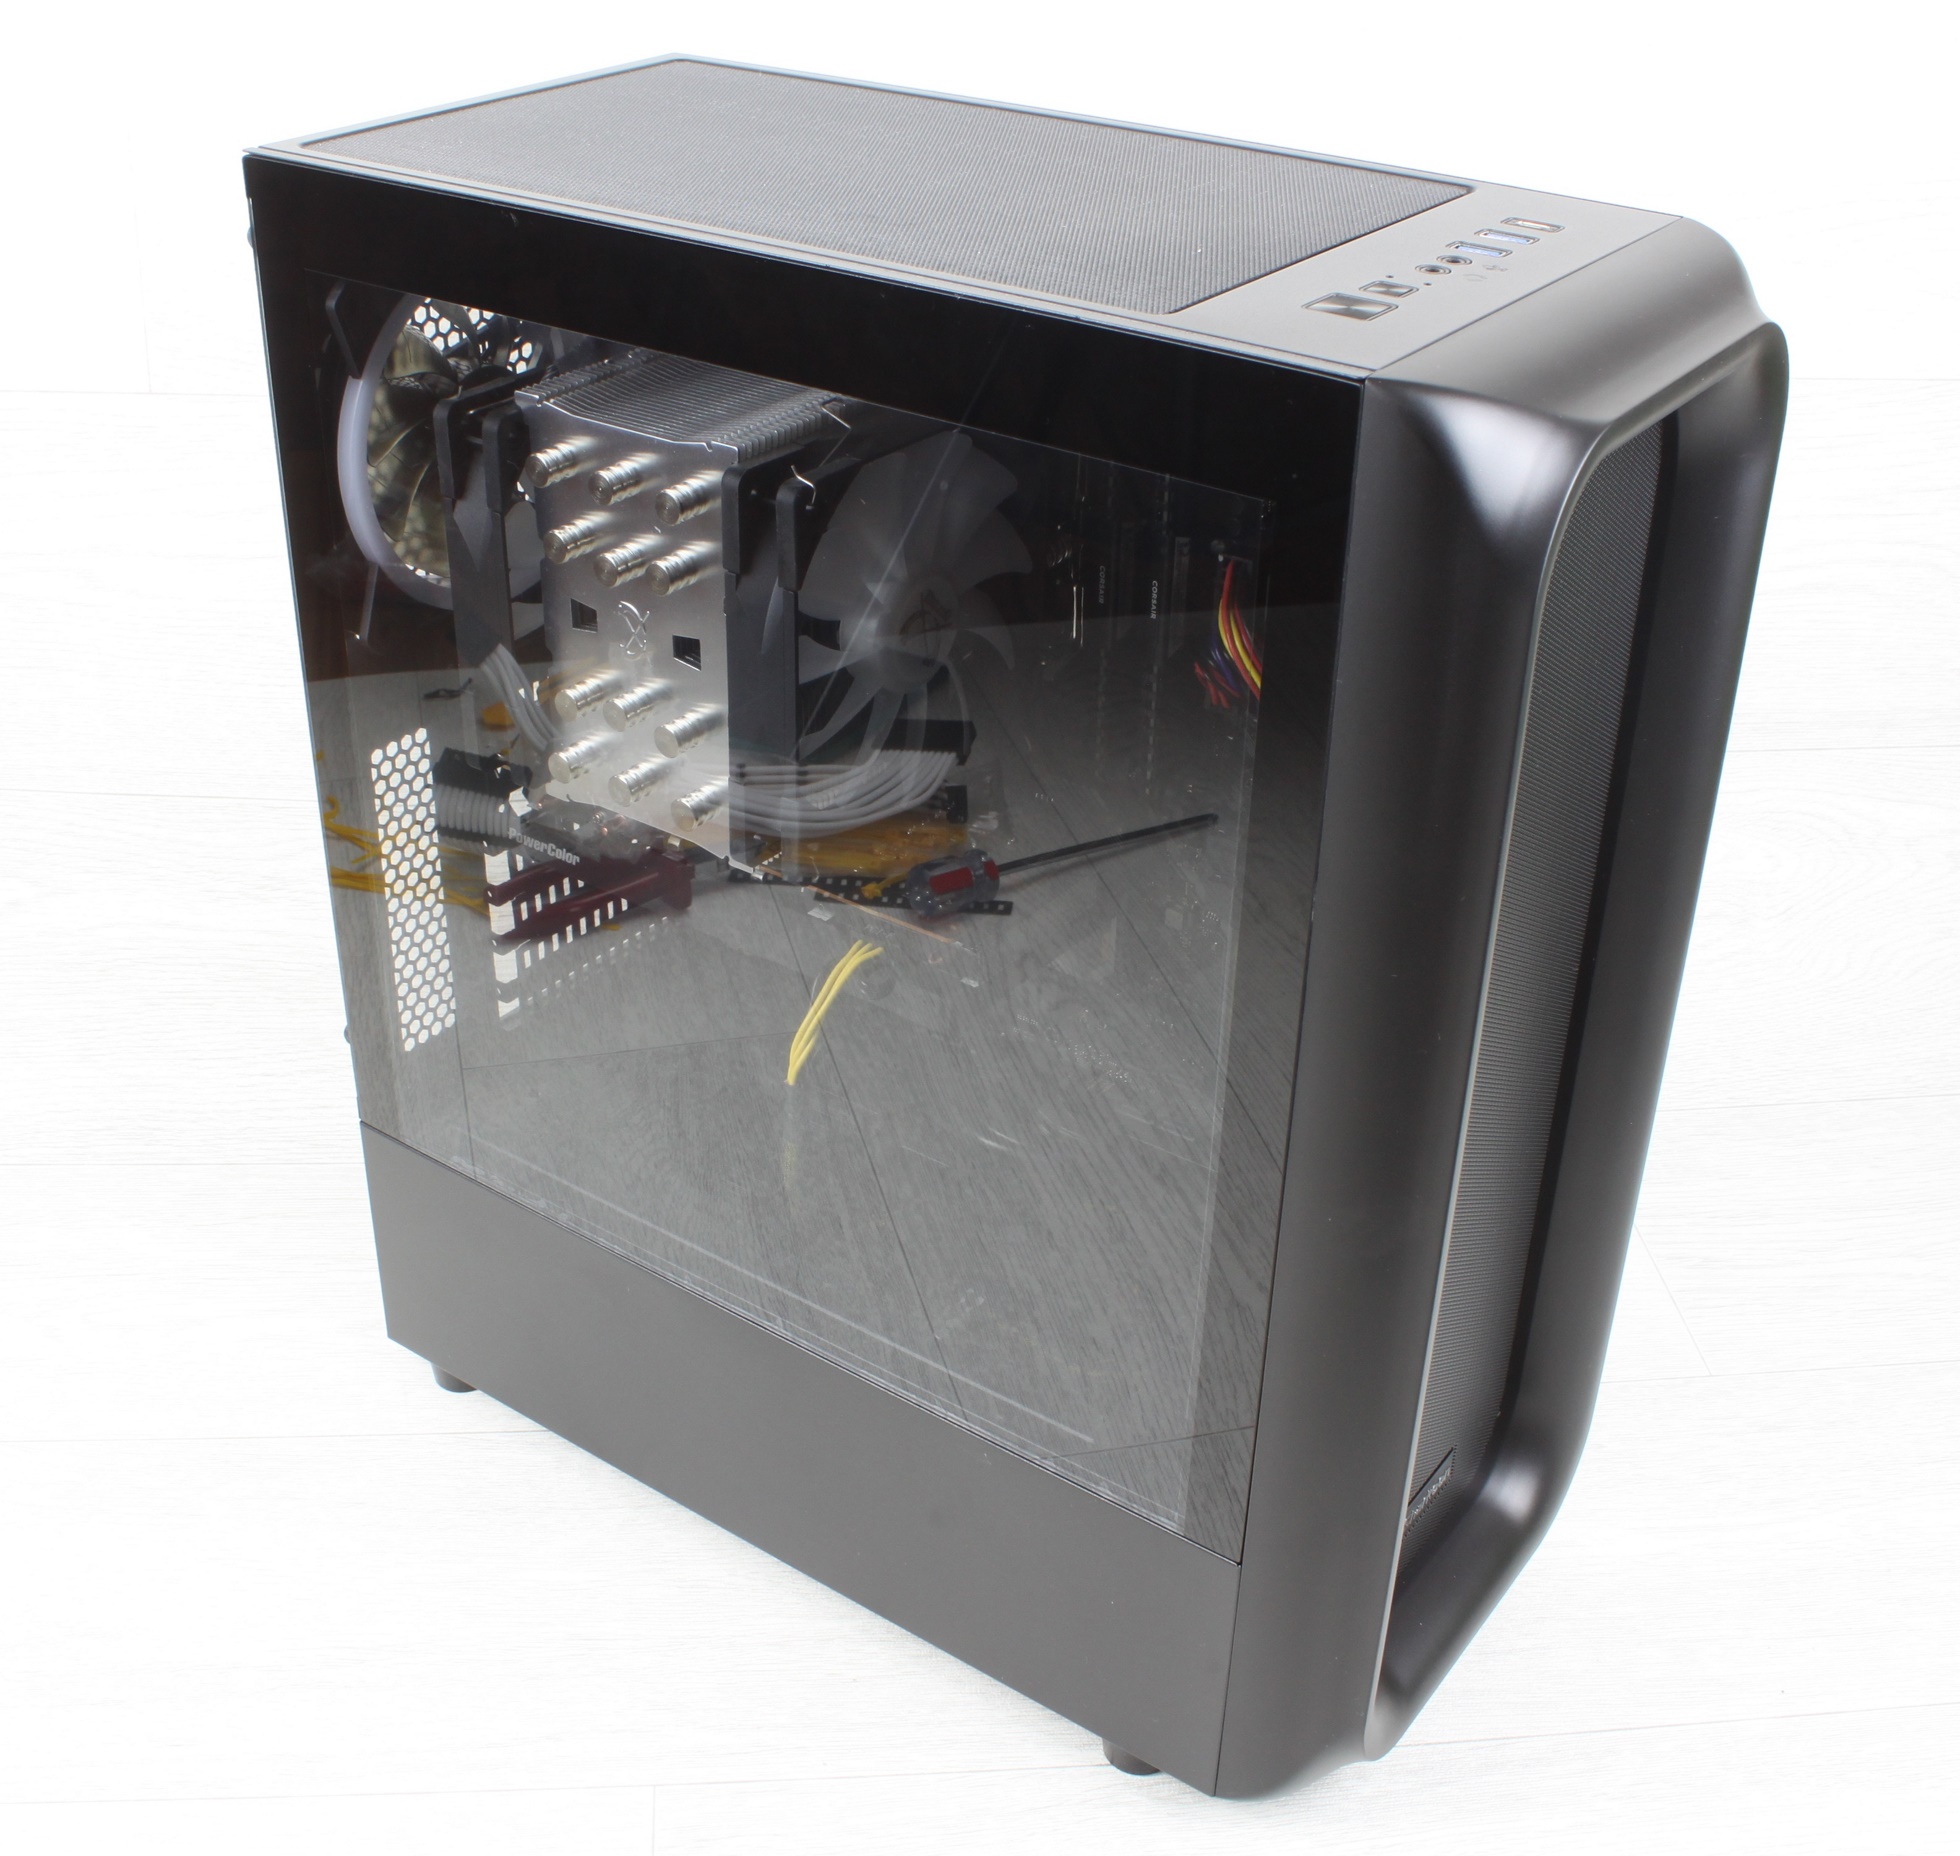
Front, side panels and dust filter reassembled.
Criticism
At the end, there are three points of criticism that I had already addressed in advance. First of all, I find the solution with the “bulging” side panel as additional storage space for cable management rather flawed. Especially if the places where the side panel is NOT exposed have to be placed exactly where there are mounting points for cables or their attachment when mounting the side panel.
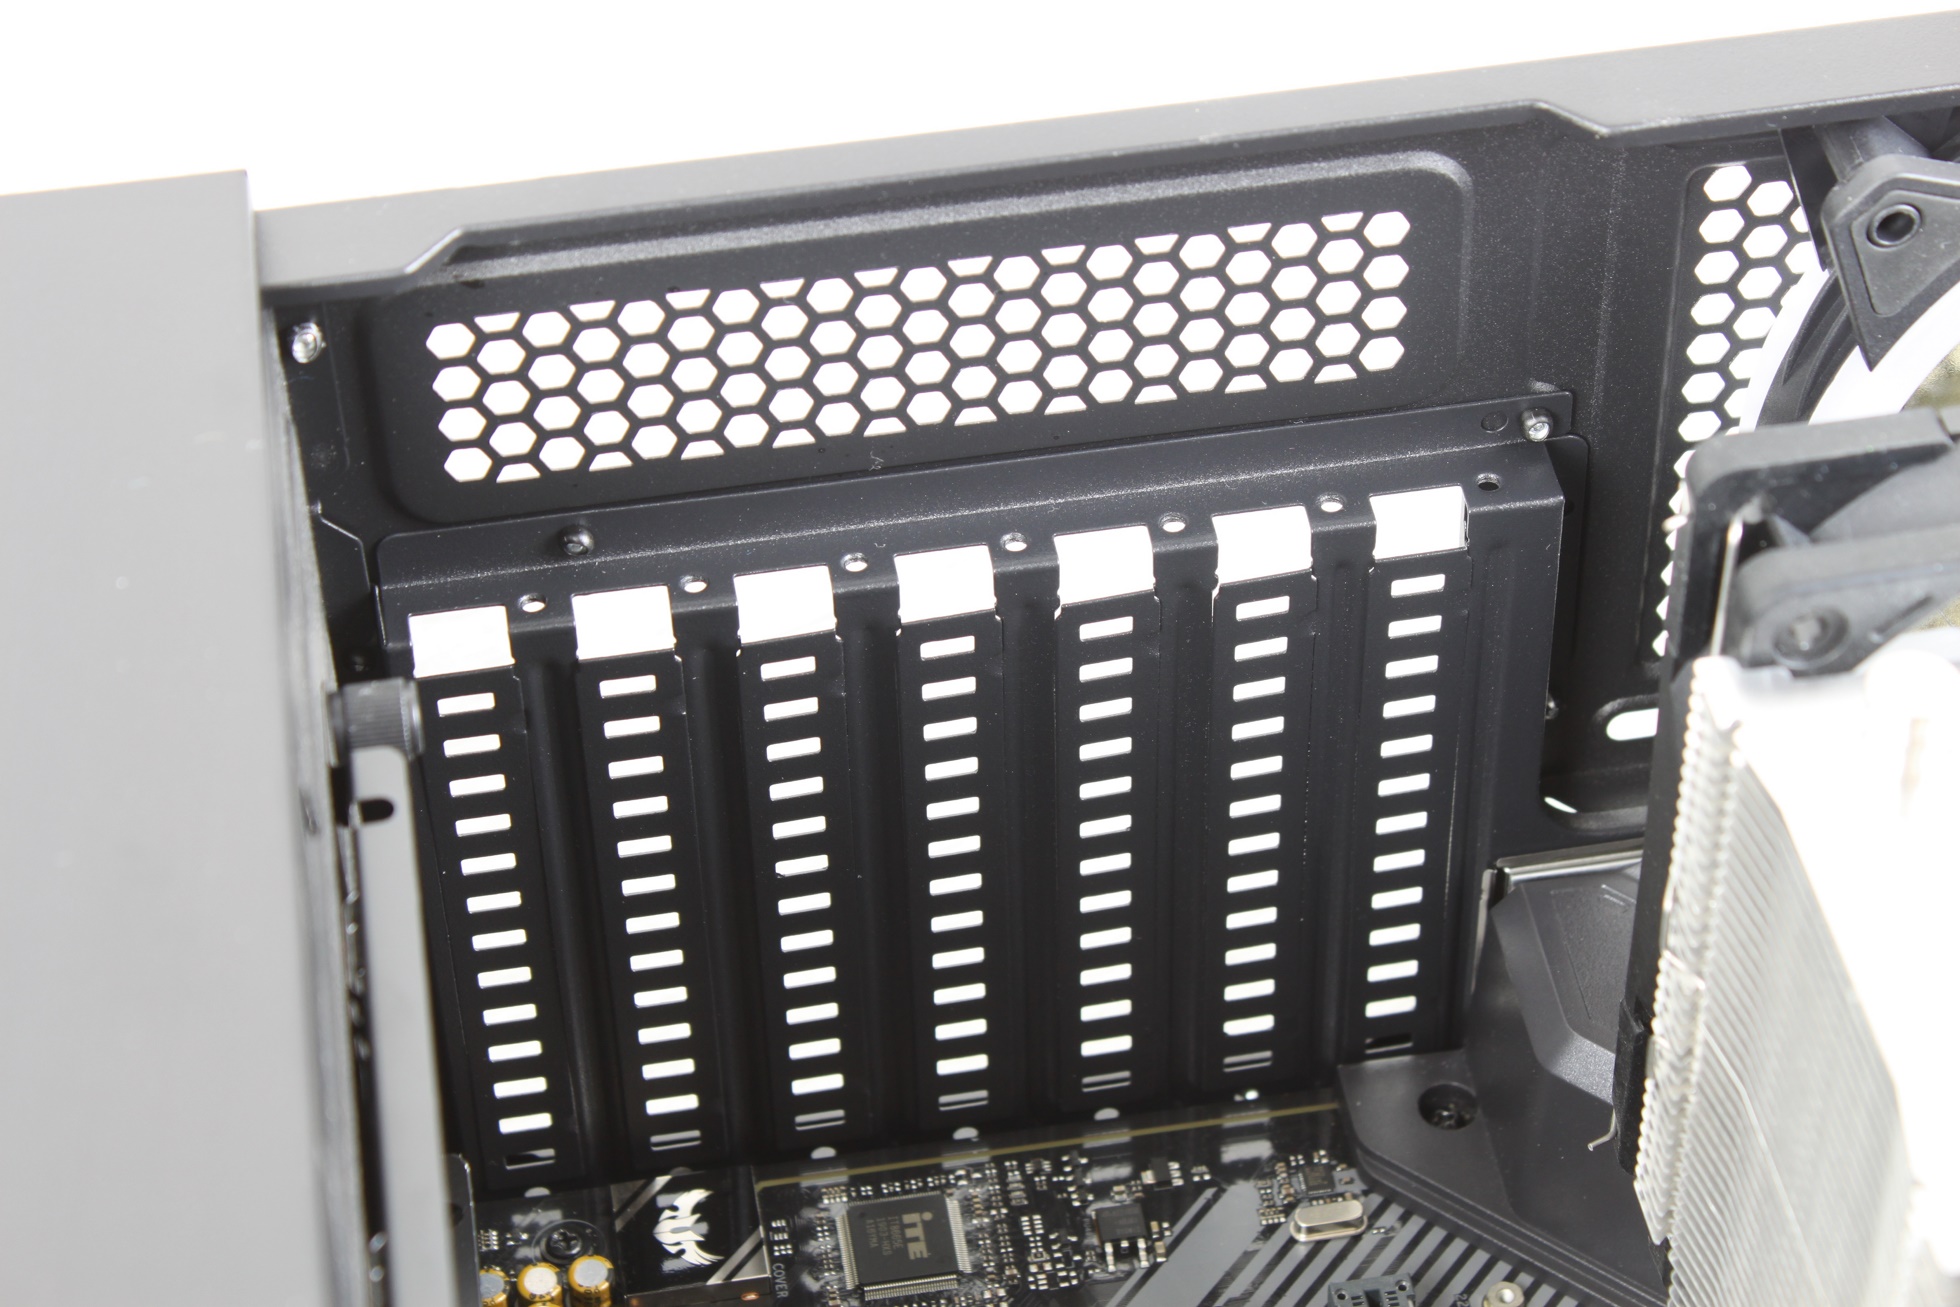
In addition to the available space, another small detail has also fallen victim to the red pencil. The slot bezels are not screwed, but to break out. Always be careful with this solution, because if the bezels are broken out only after the mainboard has been mounted, there is a risk that small components of the mainboard will be damaged!
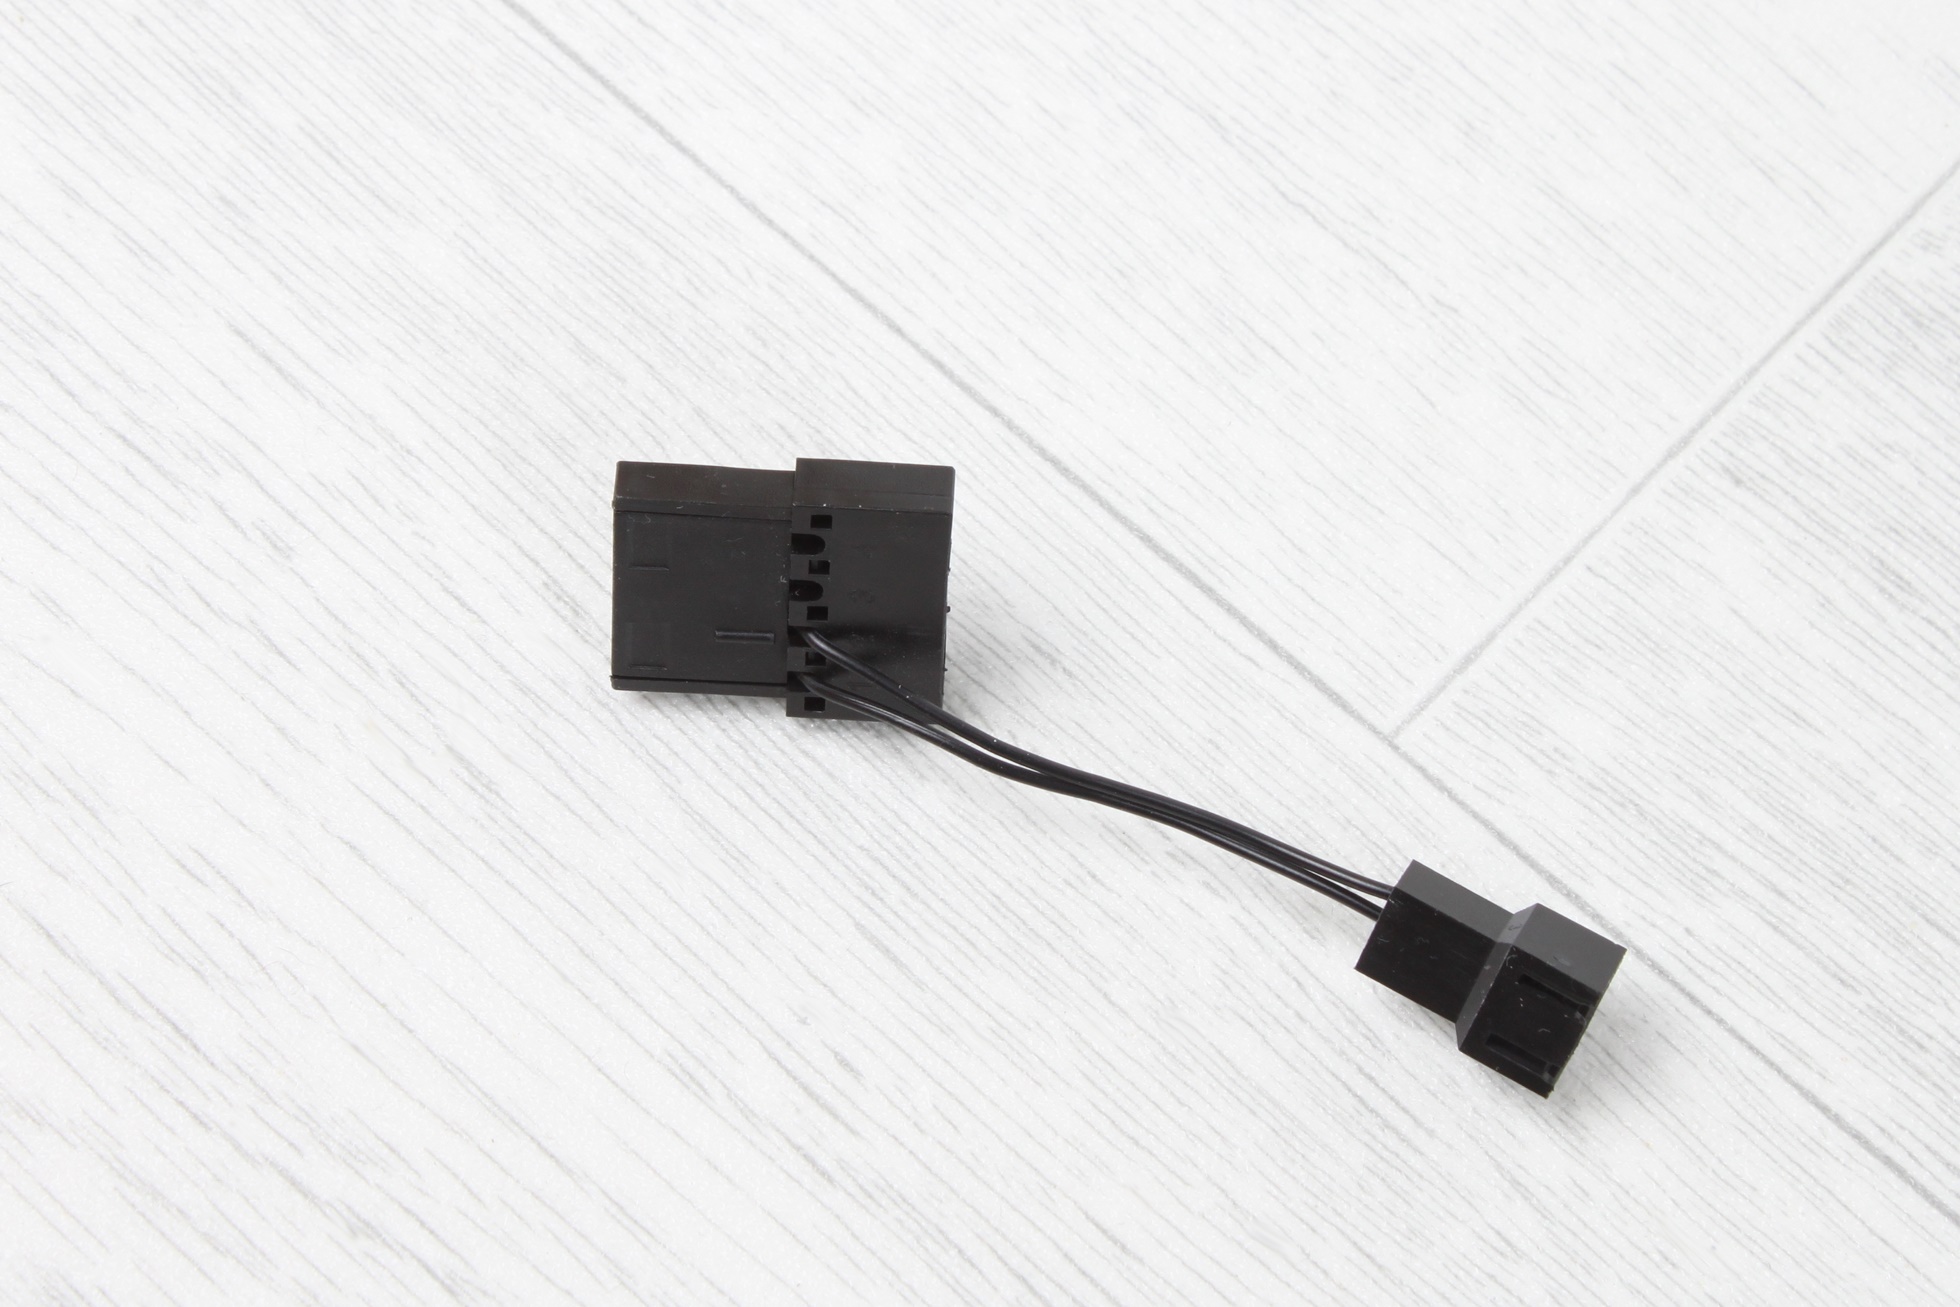
The last point of criticism is the adapters for the unfortunately non-PWM controlled fans. These can be connected directly to the power supply via adapter. Then, however, only to the 12V line and as a connection option a rather outdated Molex connector is used.


6 Antworten
Kommentar
Lade neue Kommentare
Veteran
Urgestein
Urgestein
Urgestein
Mitglied
Urgestein
Alle Kommentare lesen unter igor´sLAB Community →