


The new CPU waterblock from TechN (here as AM4 version for 99 Euro RRP) has to prove itself in today’s test with the quasi classic cooler in the form of the Watercool Heatkiller IV Pro AMD (from approx. 65 Euro) and the expensive Beauty Quantum Magnitude AMD from EKWB. I’ve been using Heatkiller Blocks for what feels like ages and most people will avoid the EK Water Blocks Quantum Magnitude Full Nickel AMD (what a name!) because of the street price of over 240 Euro, so I took the offer of a friendly loan of a friend and added it to the package. Today, however, the focus is on the block of TechN, the other two are quasi sparring and conclusion partners.

The TechN water block in detail
New? Yes, even though you can’t really reinvent the wheel, of course. A lot of things have been seen in one form or another and in the end it all boils down to the right combination of the respective techniques with physical laws, a well-considered and high-quality choice of materials and perfect workmanship. The latter in particular can quickly tear any product back into the ground, no matter how well designed and thought through. But that is exactly what TechN has tried to avoid very clearly. With success, by the way, this in advance.
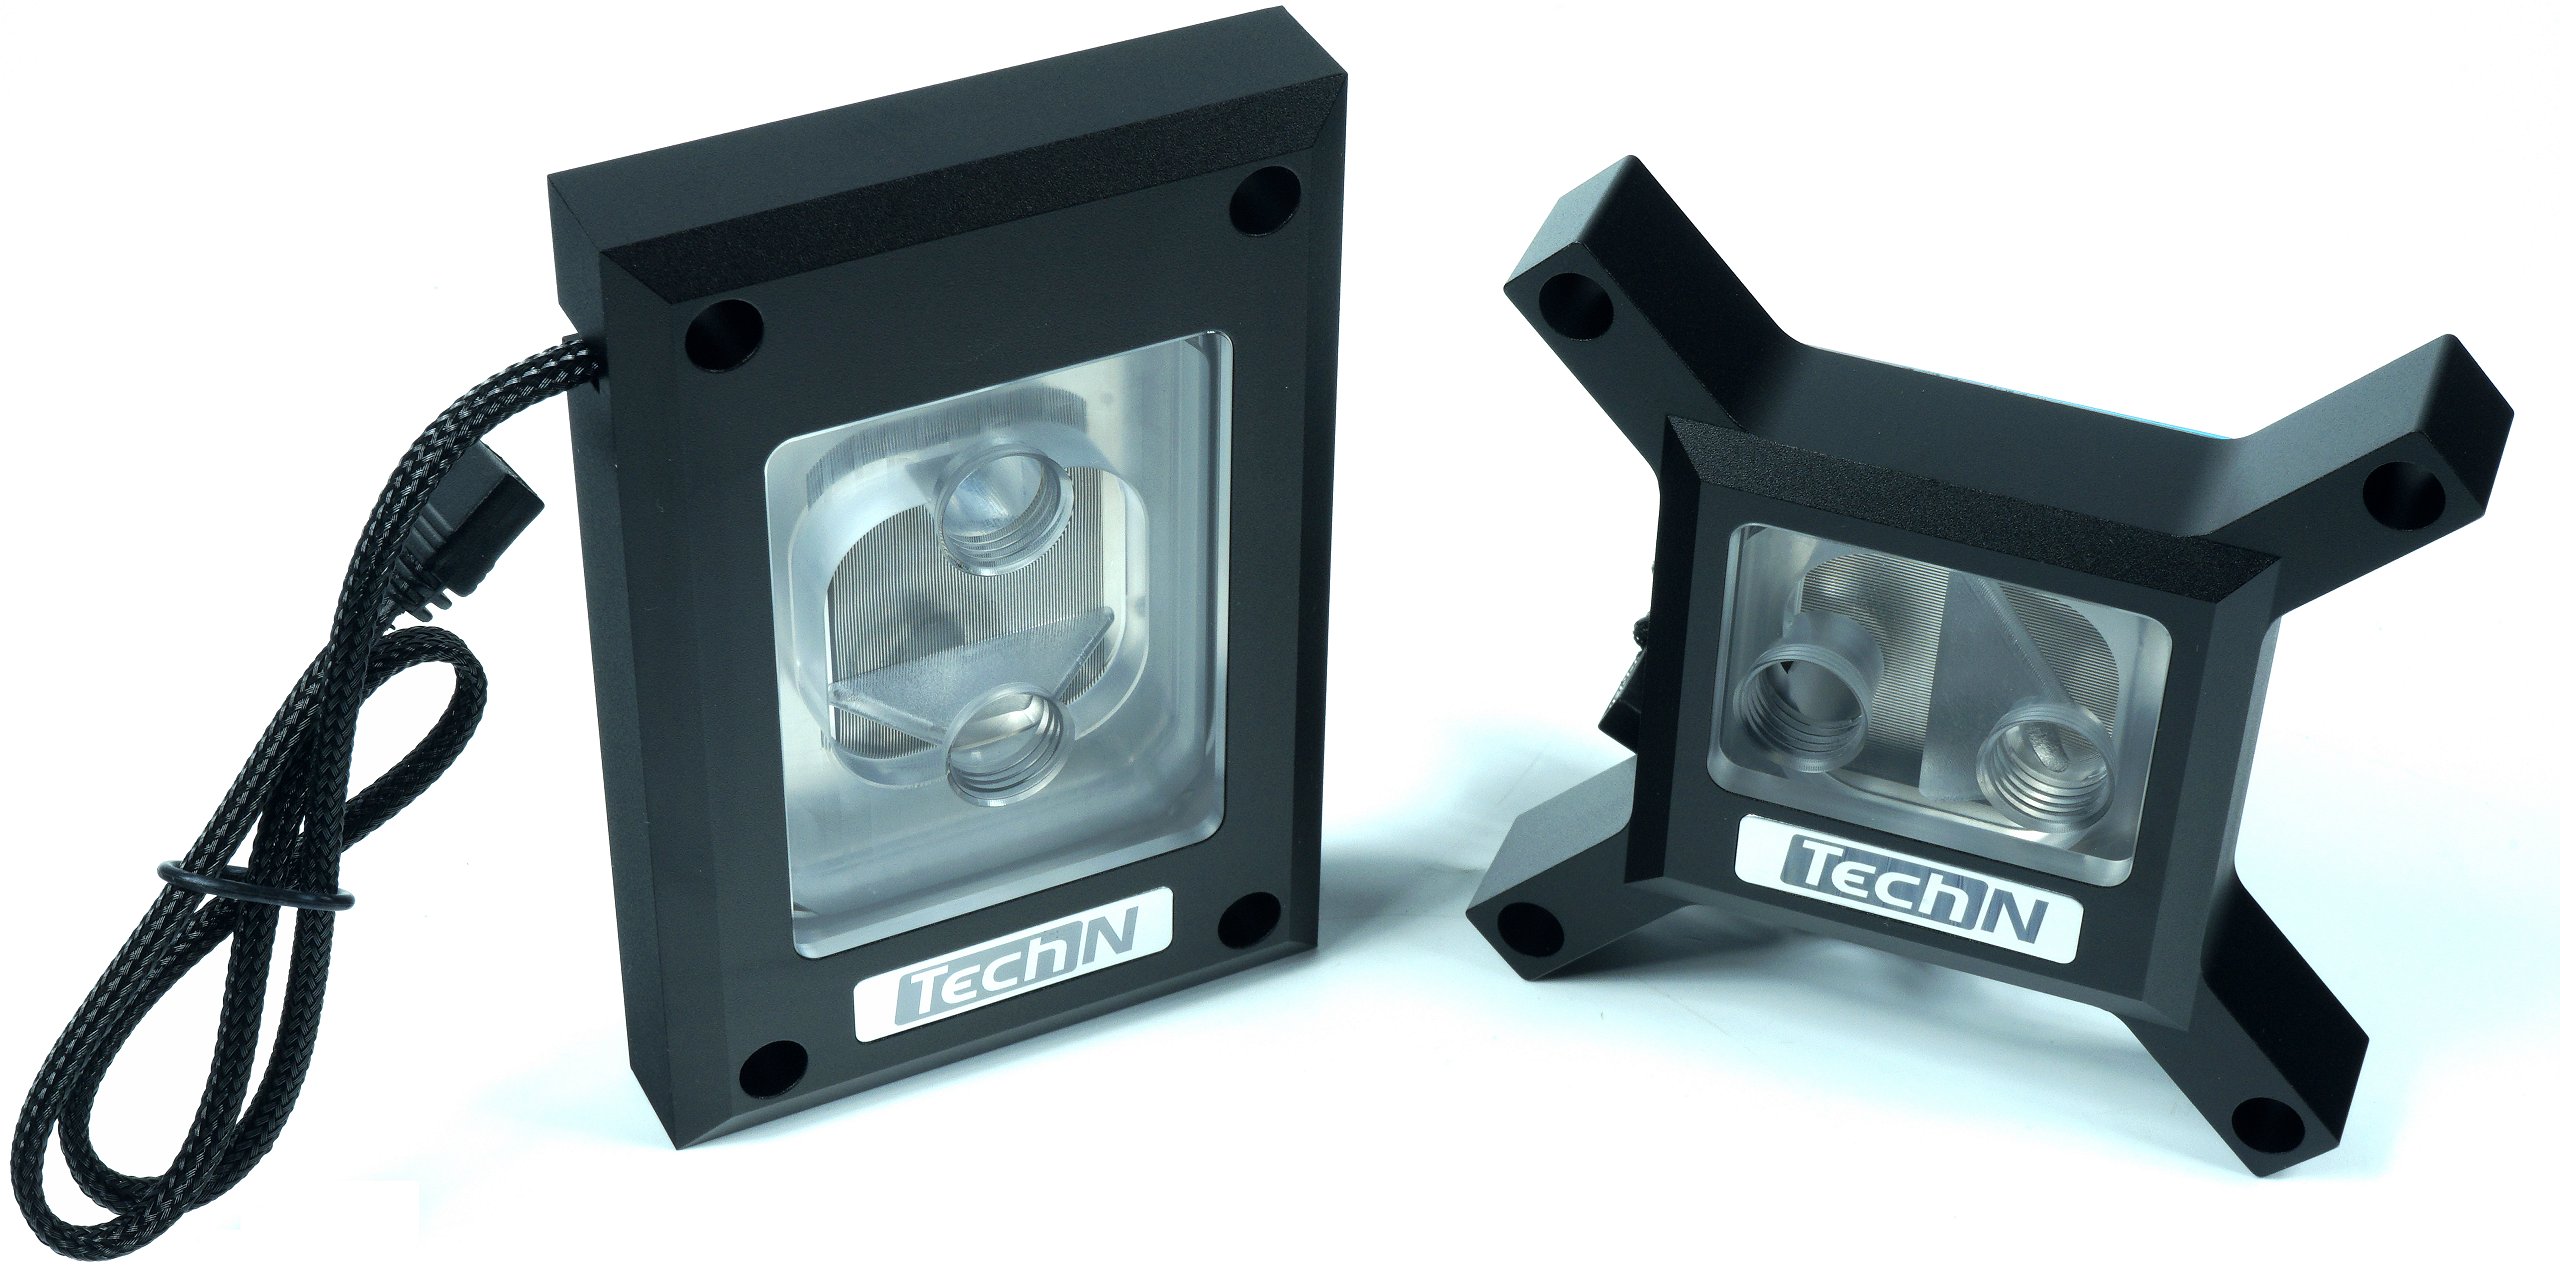
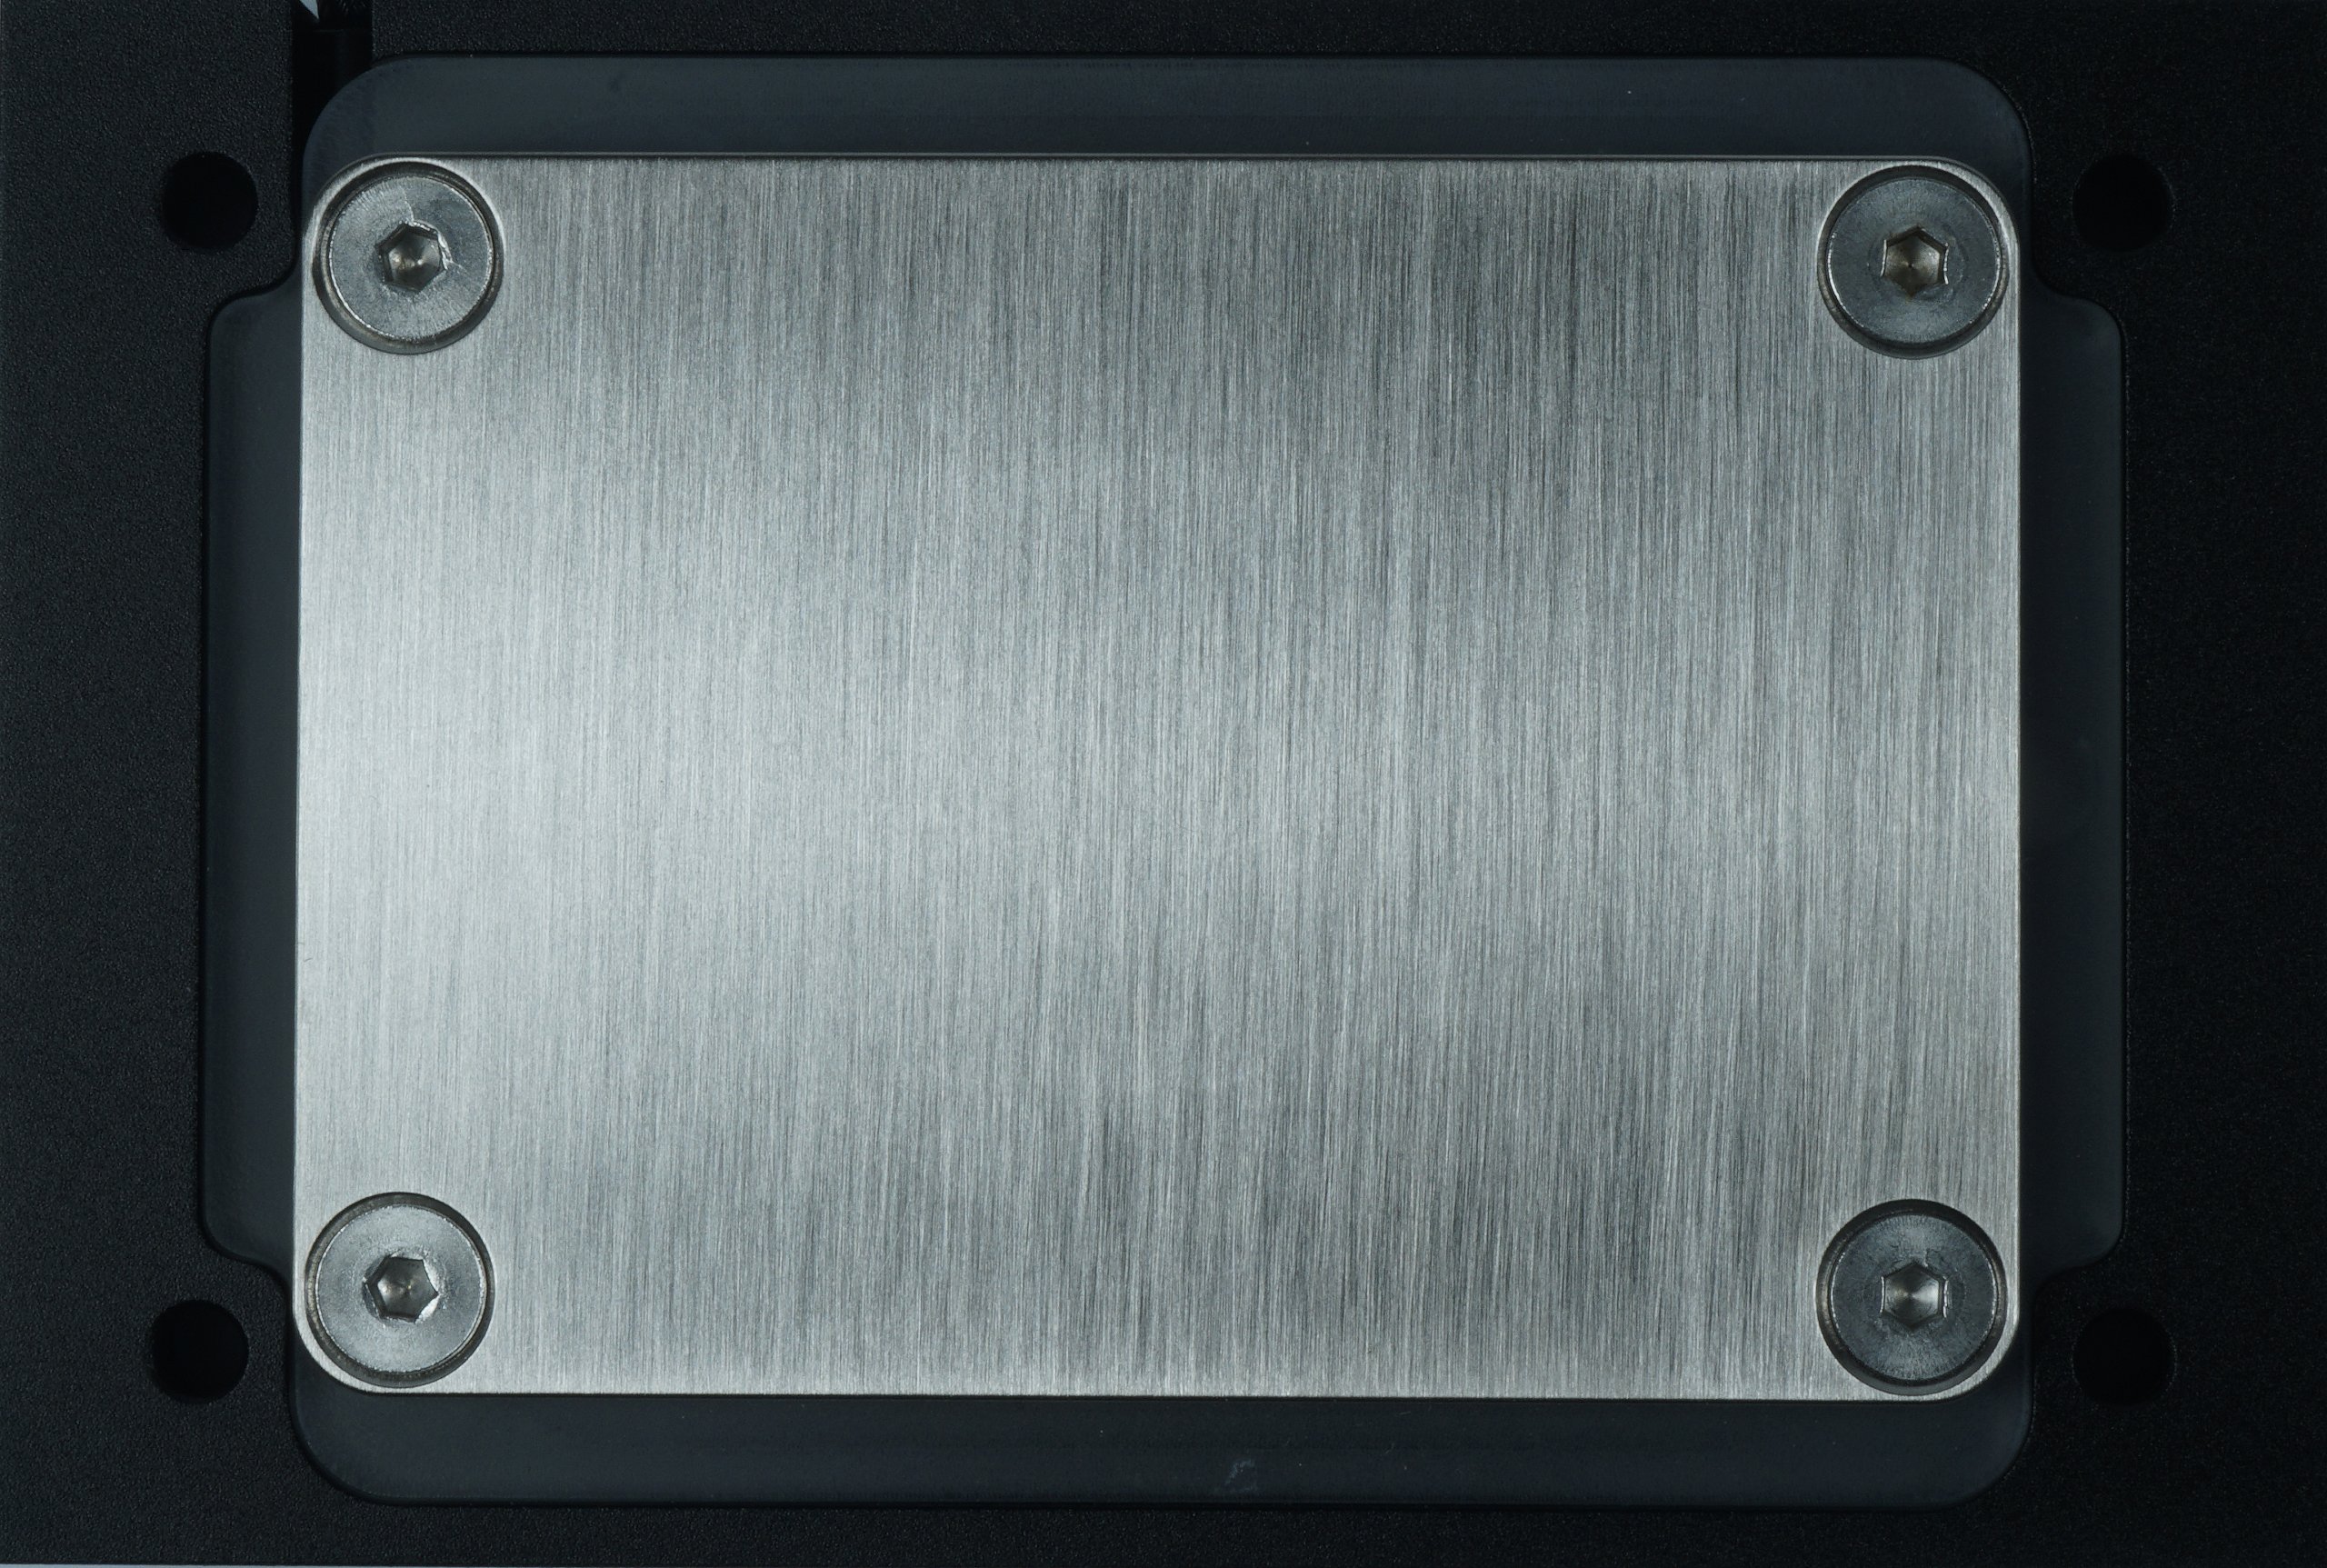
One may argue with pleasure about the optics, this is and remains a very subjective judgement. A solid, anodized aluminum frame covers both the AMD and Intel coolers, which also both follow the same design language. The countersunk hexagon socket screws with the also fully accommodated springs are therefore not visually significant, but they do complete the really solid mounting system, which together with a solid backplate requires hardly any skills. In addition, you will find a hexagon socket wrench and a bag of MX2 (2019), which does it, but not everyone will like it.
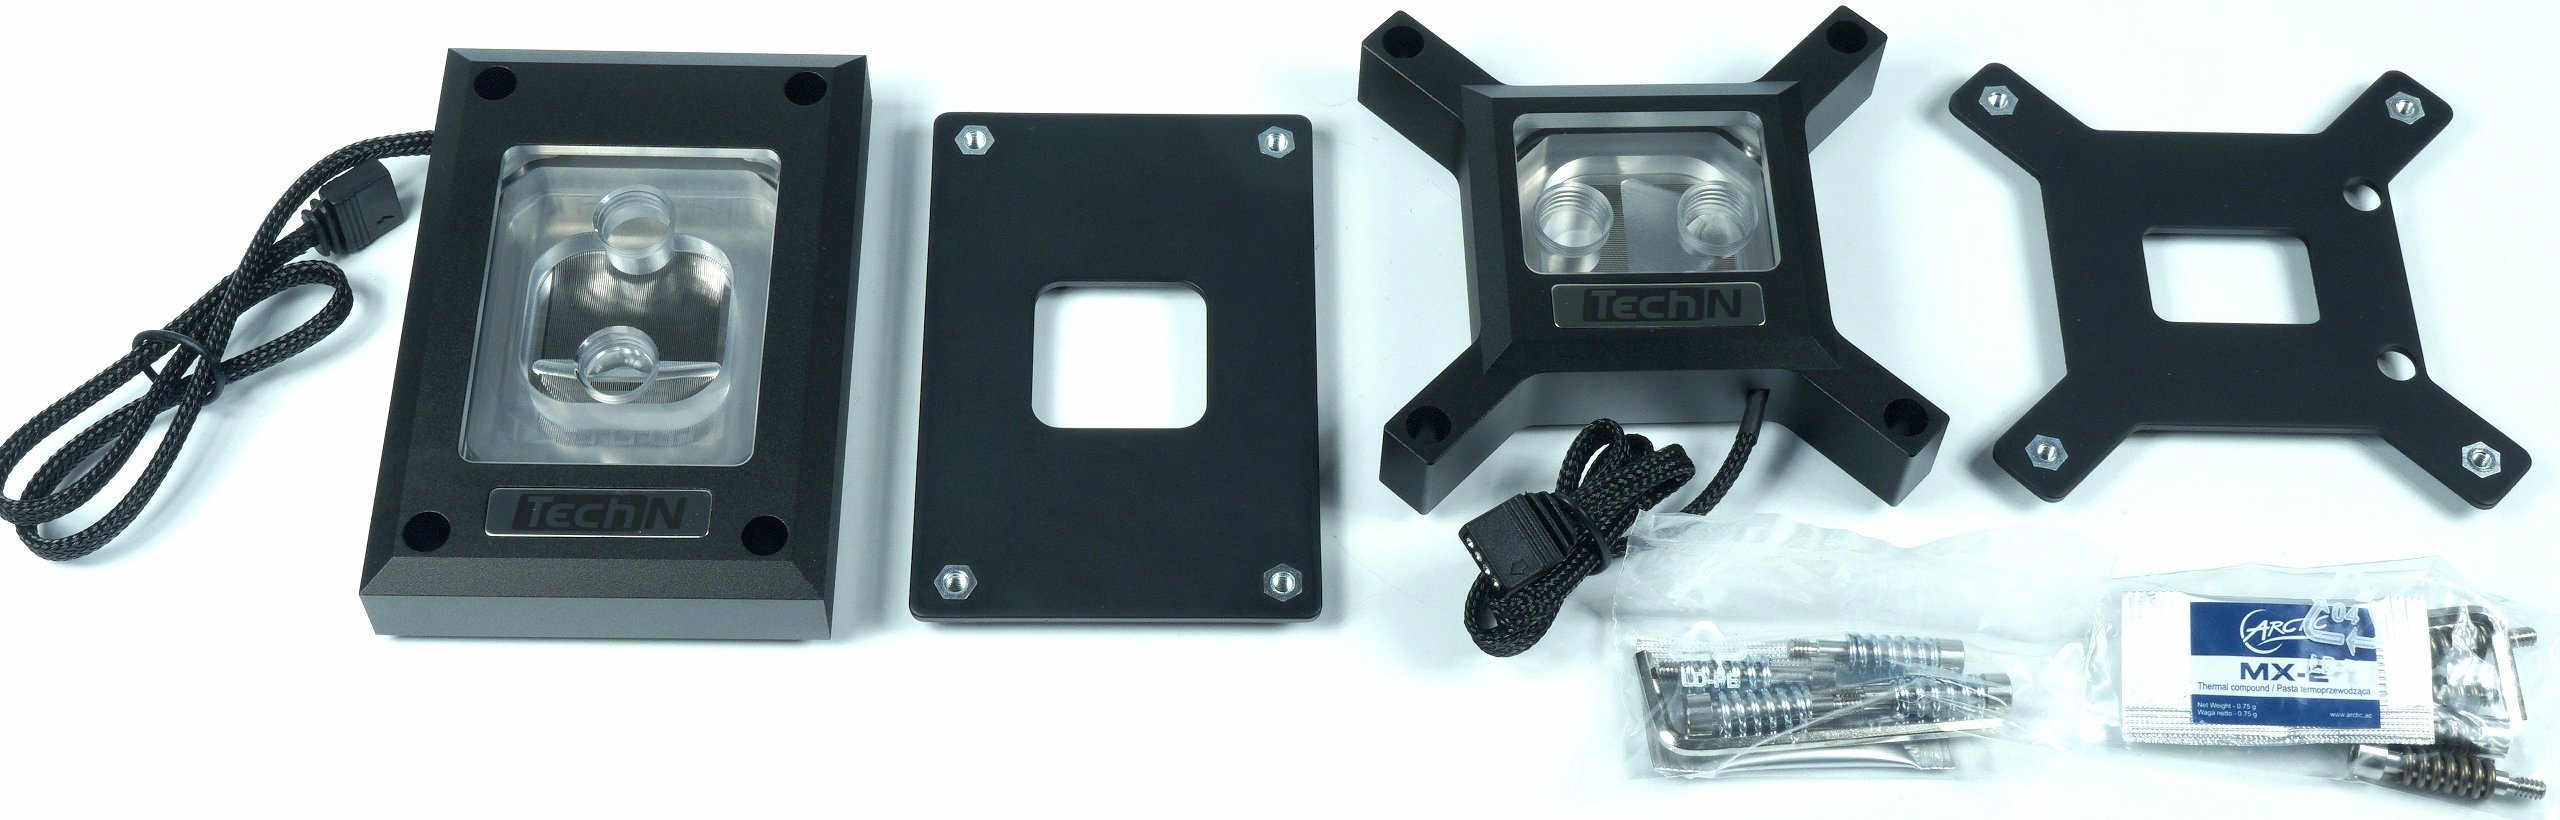
The base plate (coldplate) of both coolers is first polished and then satin finished. Now one could at least conclude that the directional distribution (and better adhesion) of the (thinly applied) heat-conducting paste promises a certain degree of optimisation. Personally, I also prefer satin surfaces, even if they are more difficult to clean again because of the points just mentioned. At least it does not harm, but in the case of liquid metal it will probably stick forever.
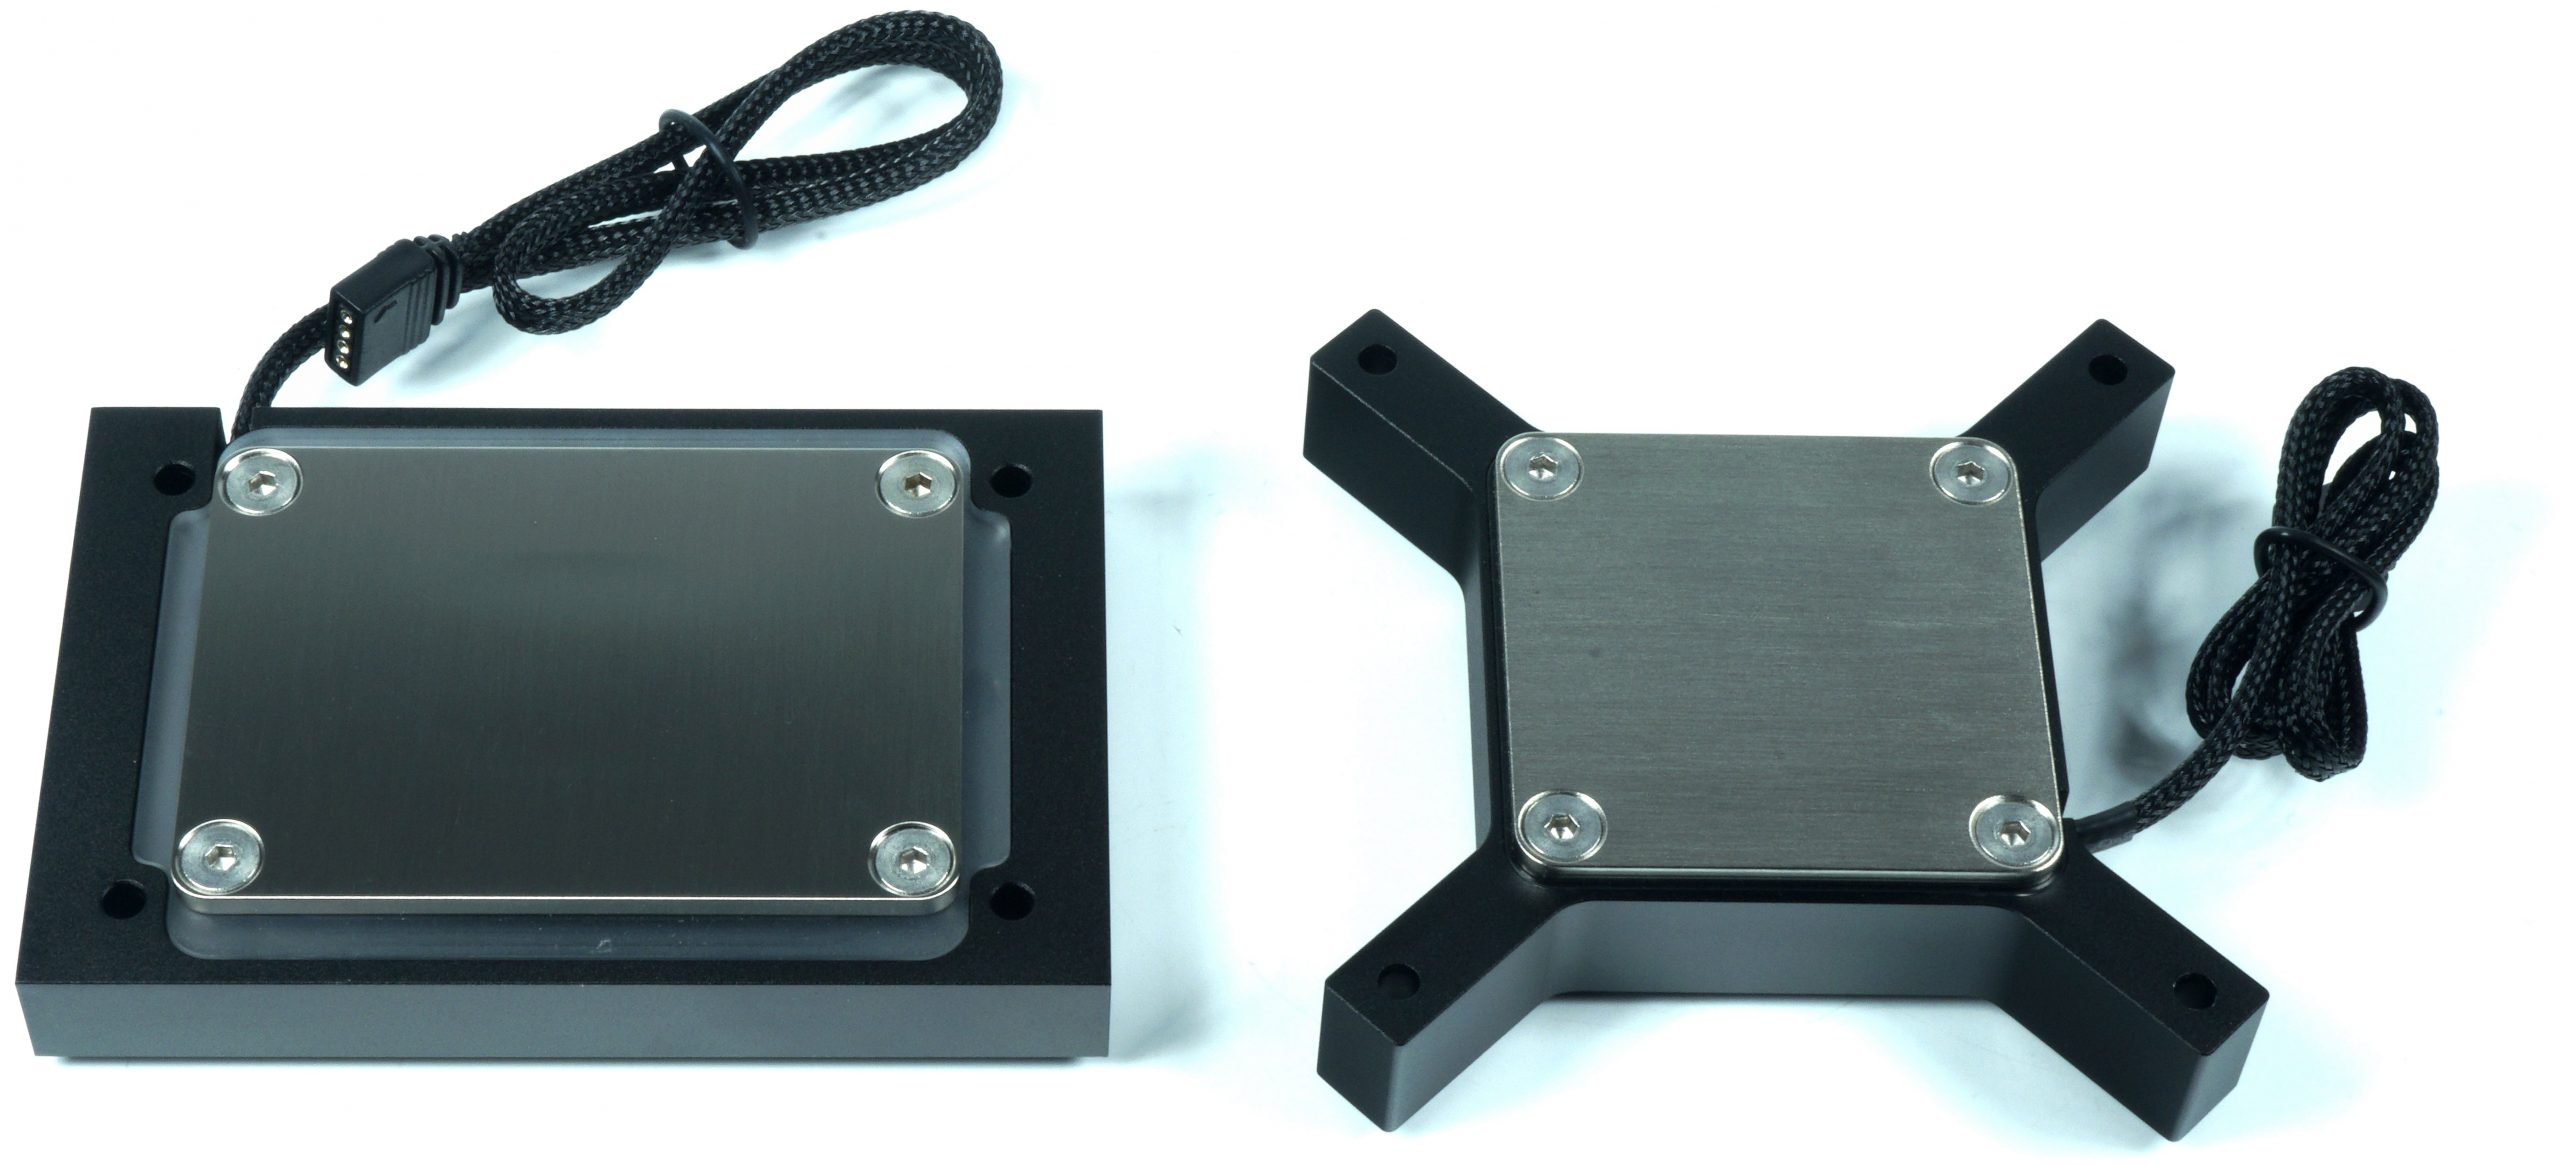
With its dimensions of 11.0 x 7.43 x 2.08 cm, the AM4 version is quite a chunk, whose weight of a whopping 340 grams doesn’t exactly turn out squeamish either. Also haptically the very clean and exactly processed aluminium body with the used plexiglass is completely ok. You may have some objections against Plexiglas, but if it has been tempered accordingly and all openings including the threads are milled cleanly instead of being drilled, there are certainly no durability concerns.
The plexiglass is slightly curved at the top and should probably also exert some additional pressure at the bottom after screwing it to the body or support the very thin remaining bottom, which is intended for cooling reasons, to increase stability. This still worked even after several screwing, because the delta between water and CPU package didn’t deteriorate, and the EPDM seal (see imprint) always held tight, where this is of course no long-term test.
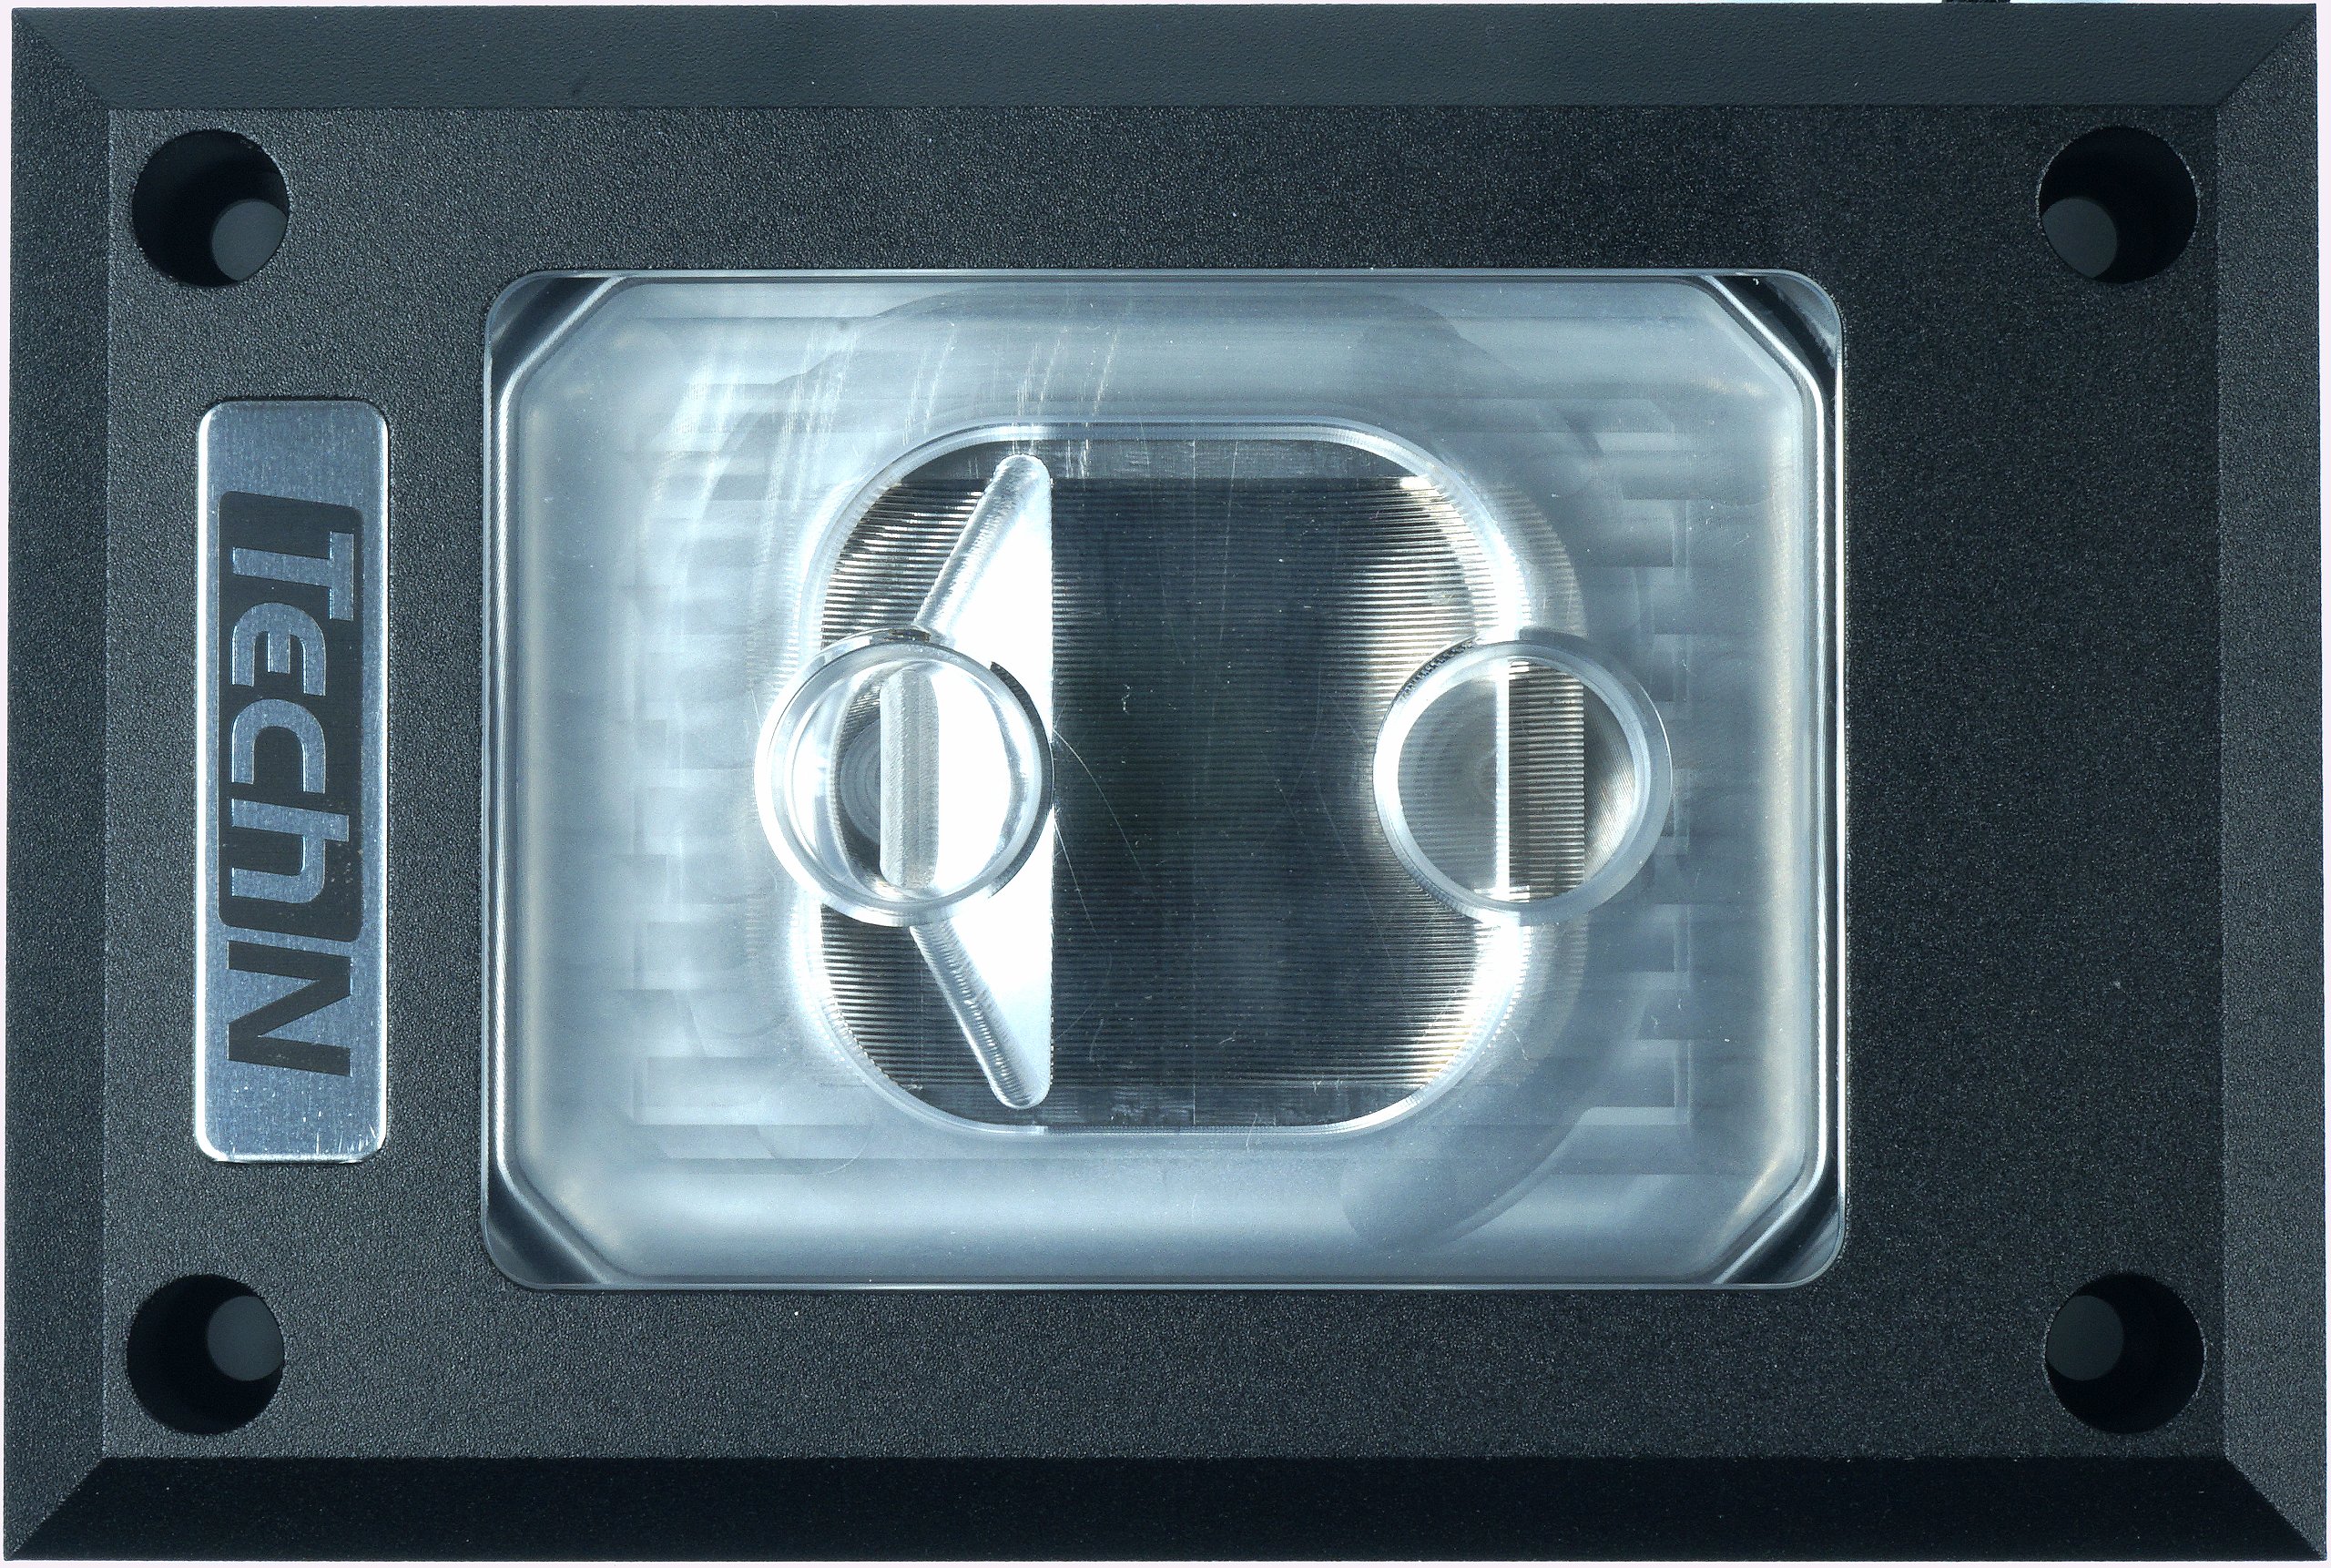


The cooling structure measures approx. 4.14 x 2.98 mm (visible in the picture below, after use and disassembly). The nickel-plated base plate is 3 mm thick and the fin thickness is specified by the manufacturer as 0.15 mm, whereby the channel width is slightly wider at 0.2 mm. You can see that the channels were not cut, but neatly sawn out at the CNC. Even if the manufacturer is silent about the depth, I was able to measure with a simple measuring blade in the middle range clearly above 2.5 mm. This results in a residual floor thickness of less than 0.5 mm, and probably even less than 0.3 mm in some areas.
Such tight microfins don’t clog so quickly either, since at least my sample was cleaned here in an exemplary manner. Whether this even happens with ultrasound, I can’t say, but it looks exactly as if I had put it in my ultrasound bath. The record was also fat-free. I unscrewed the cooler extra after 10 passes and several changes once again. The small lint outside the cooling area comes from the cotton cloth and serves to better illustrate the proportions. If you don’t run pastel stuff 24/7 (you don’t do that either), you should be safe here.
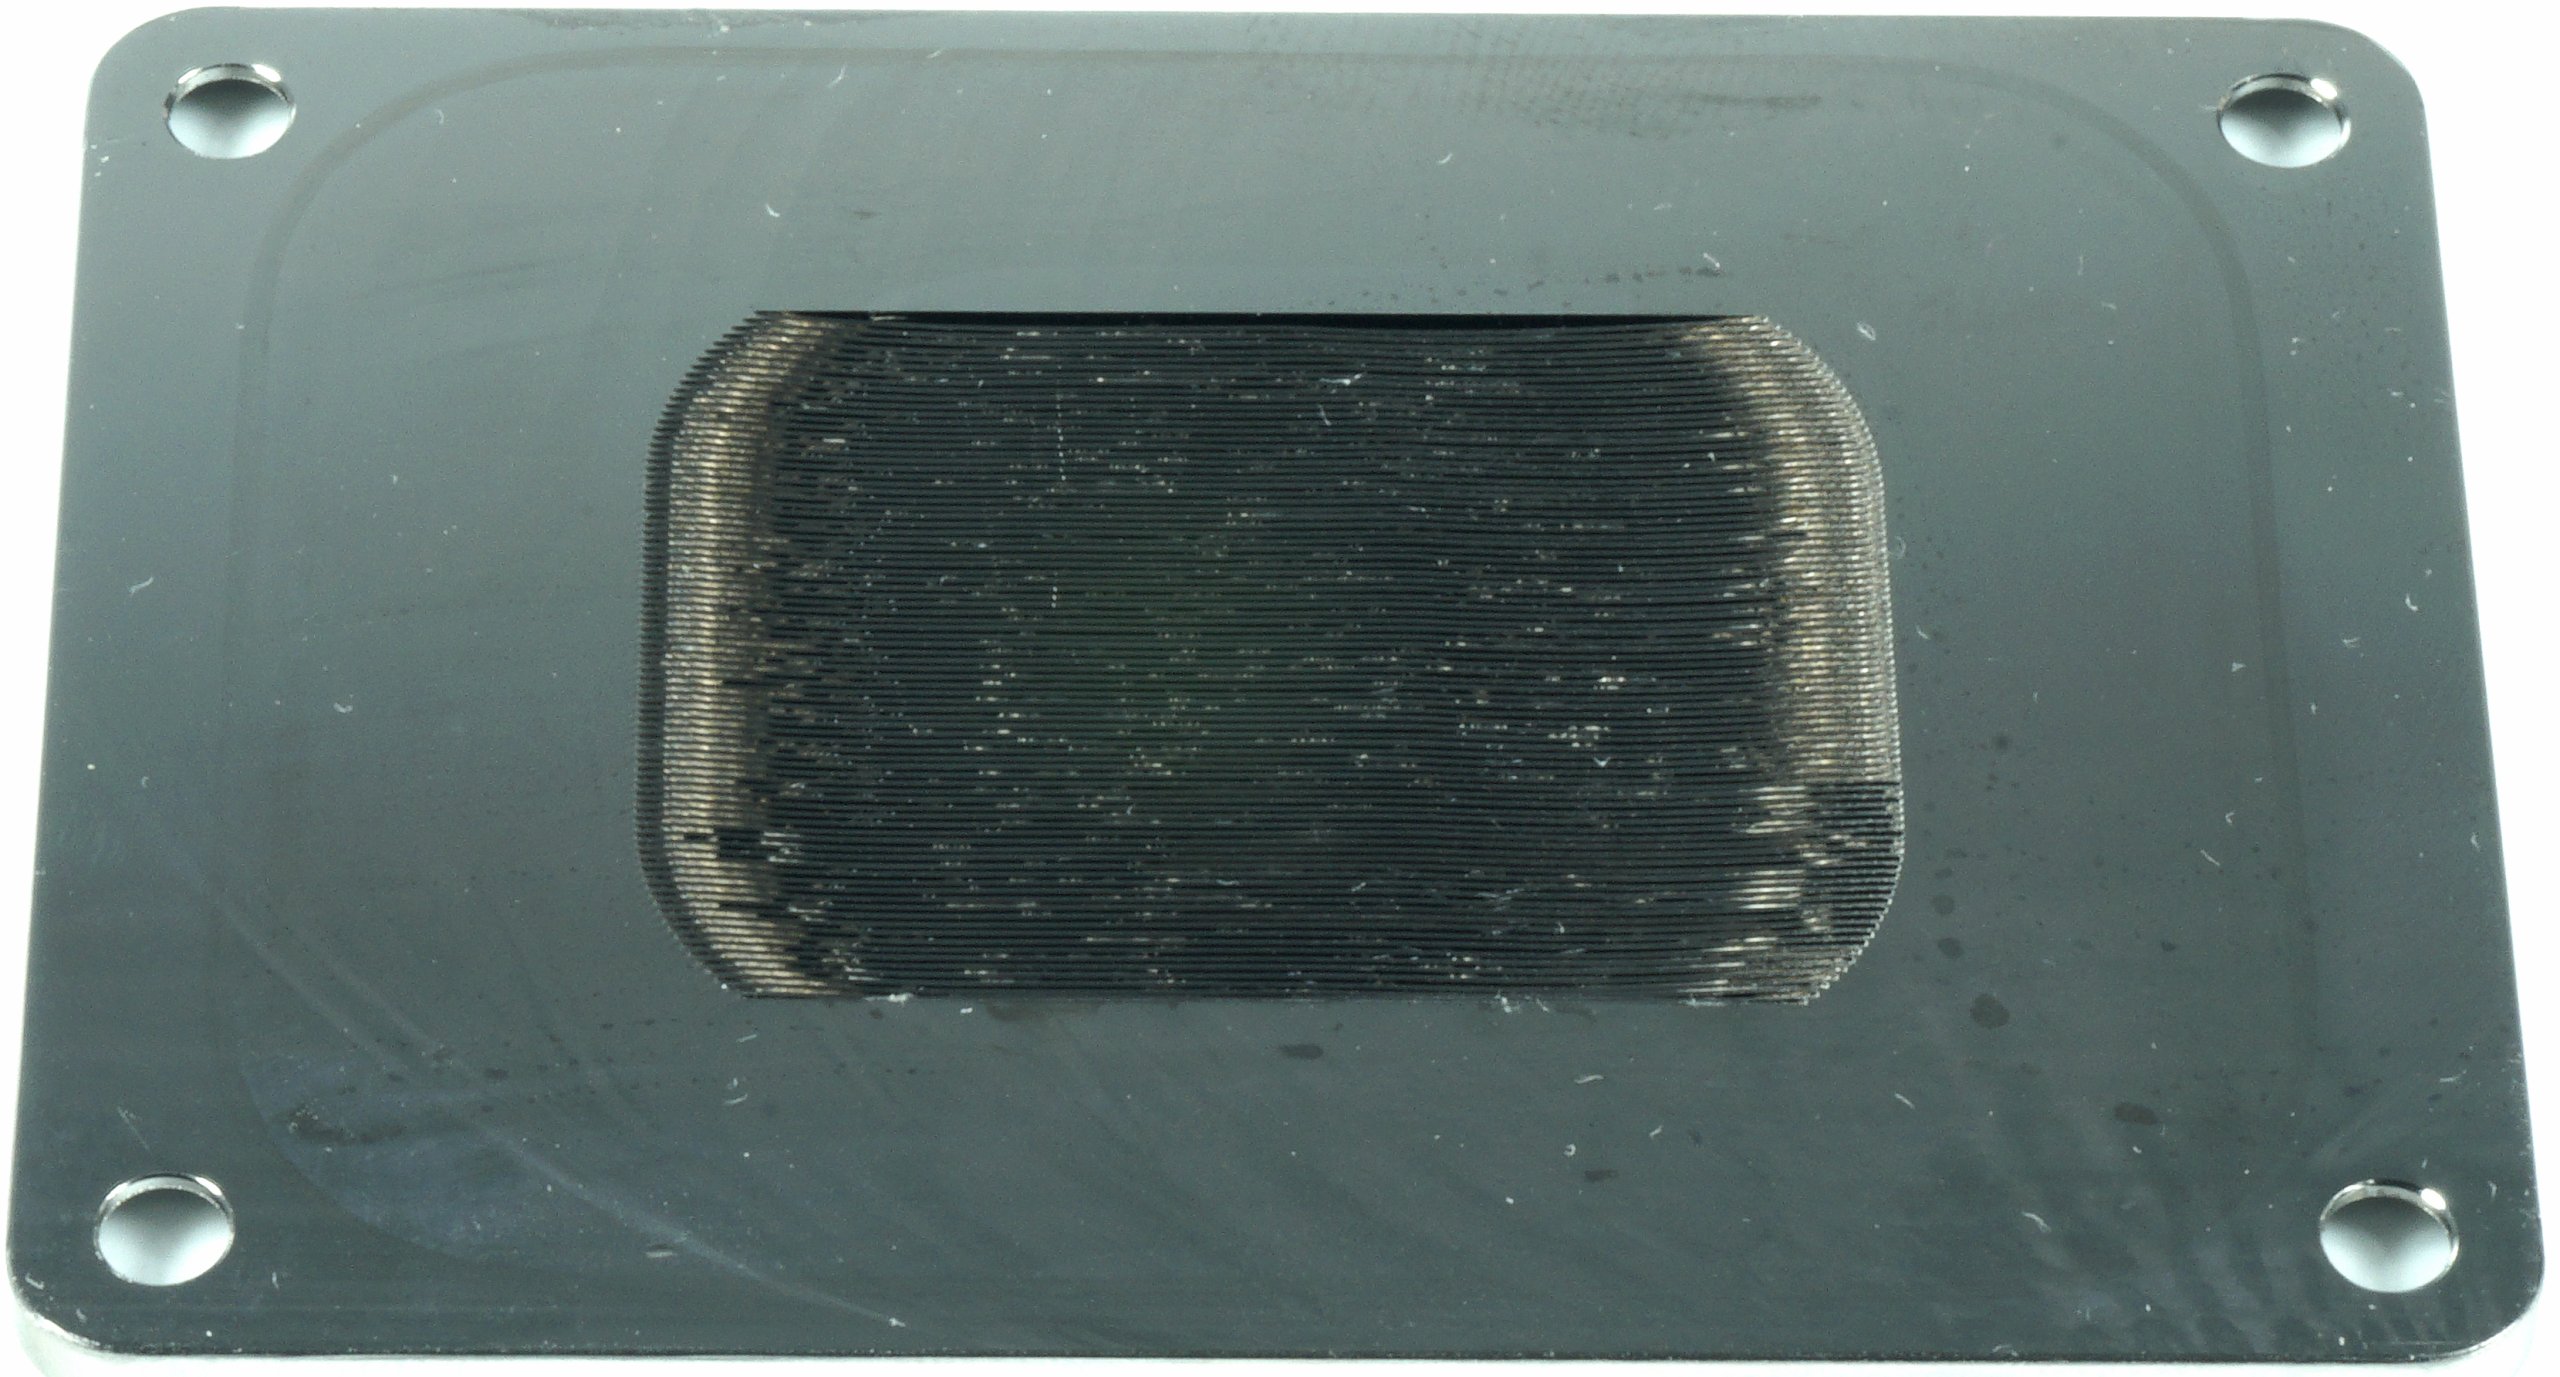
You won’t find a jetplate, here you first spray directly and purposefully on the two Ryzen dies (here in the picture above from right to left), because you can see from the positioning, how and where the CPU is located together with the structure. This also means that the cooler must be installed with the logo facing downwards. If you turn it around, the delta between water and package rises by up to 2 °C, depending on flow and pressure! Speaking of the logo, you can remove it by simply pressing it over the edge, it is only magnetically attached, but not glued.
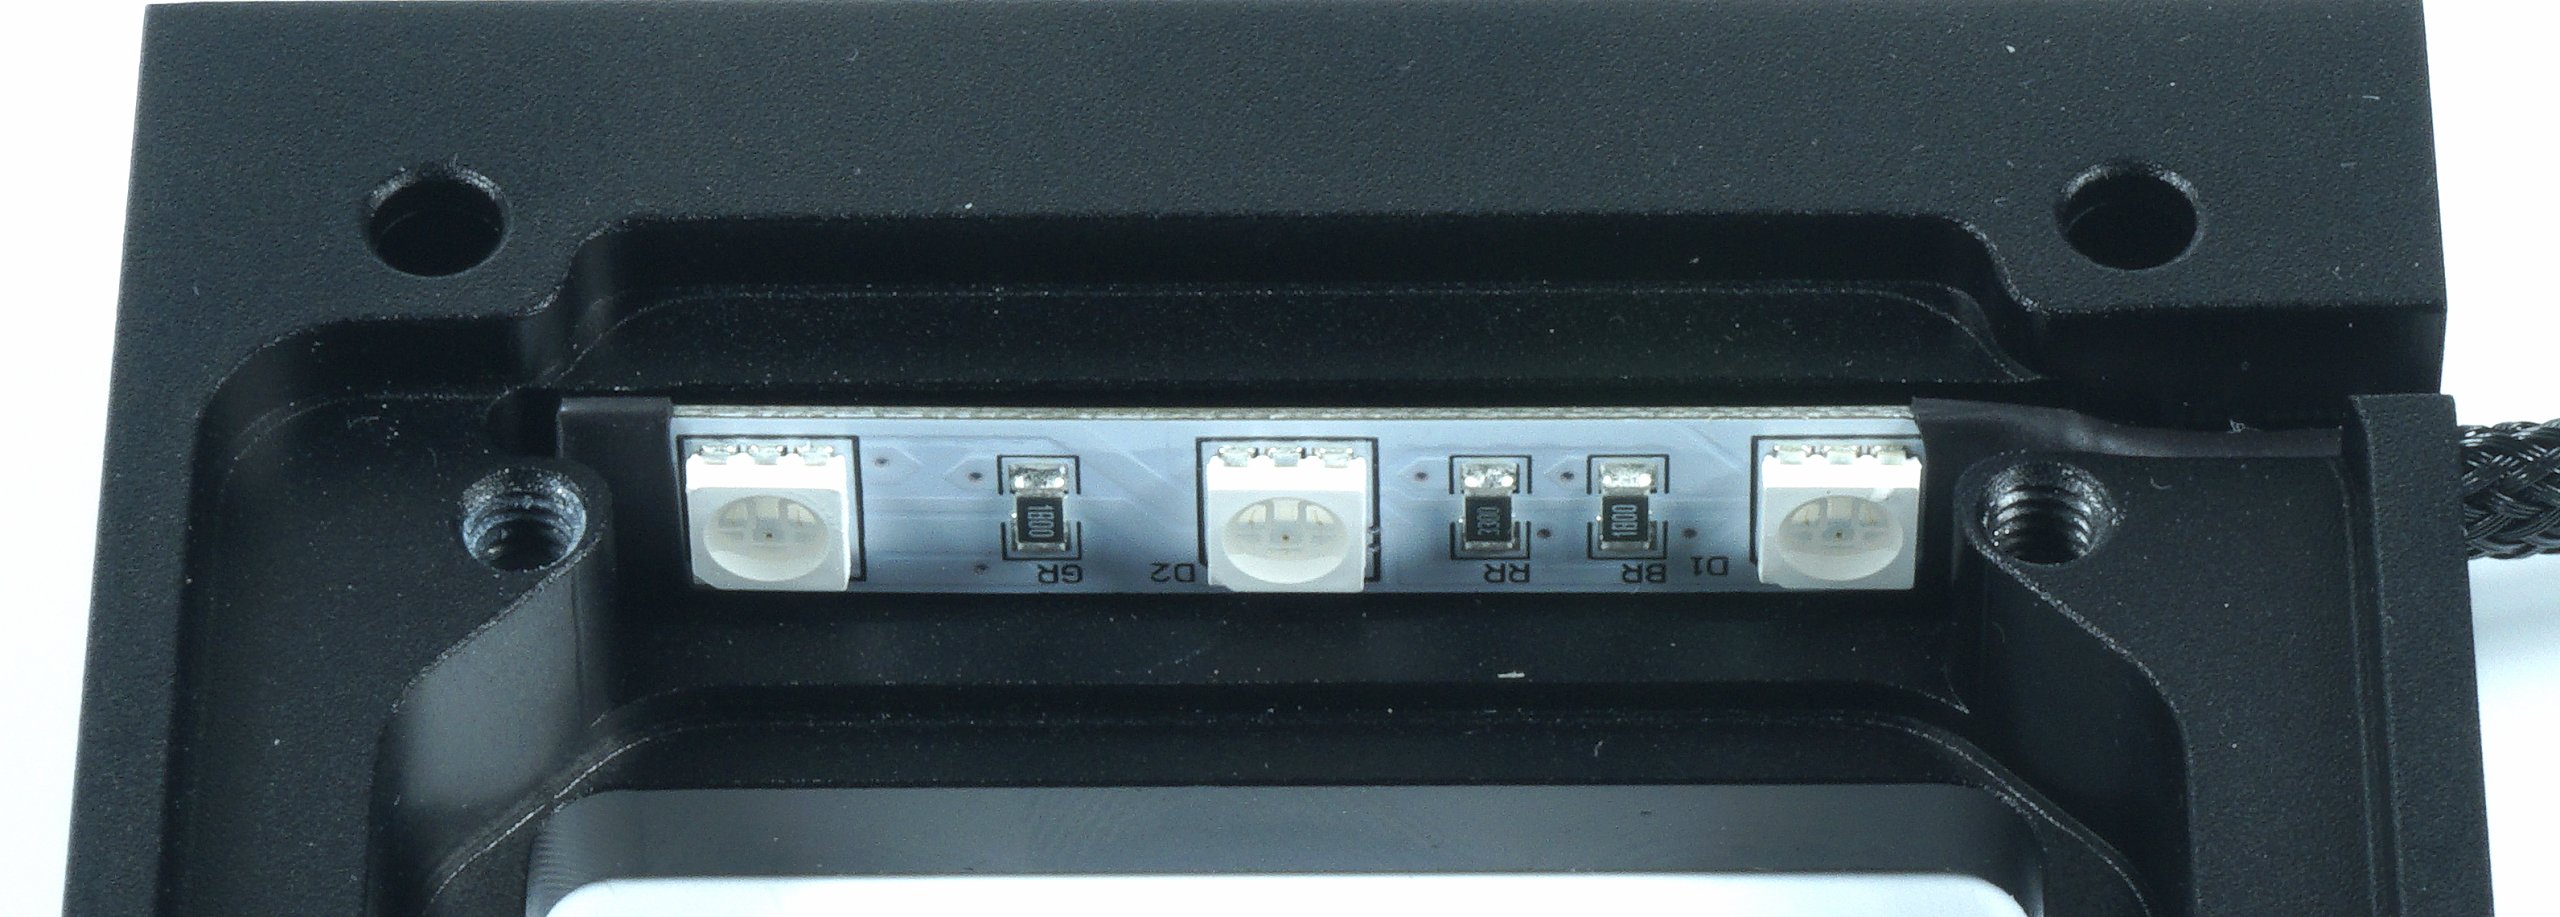
RGB illumination are also available, the cable with the Preci-DIP socket can be connected normally to any 12V RGB connector on a motherboard or controller. The brightness of the three diodes is sufficient and the plexiglass does the rest of the distribution.


Kommentieren