


First start and setup
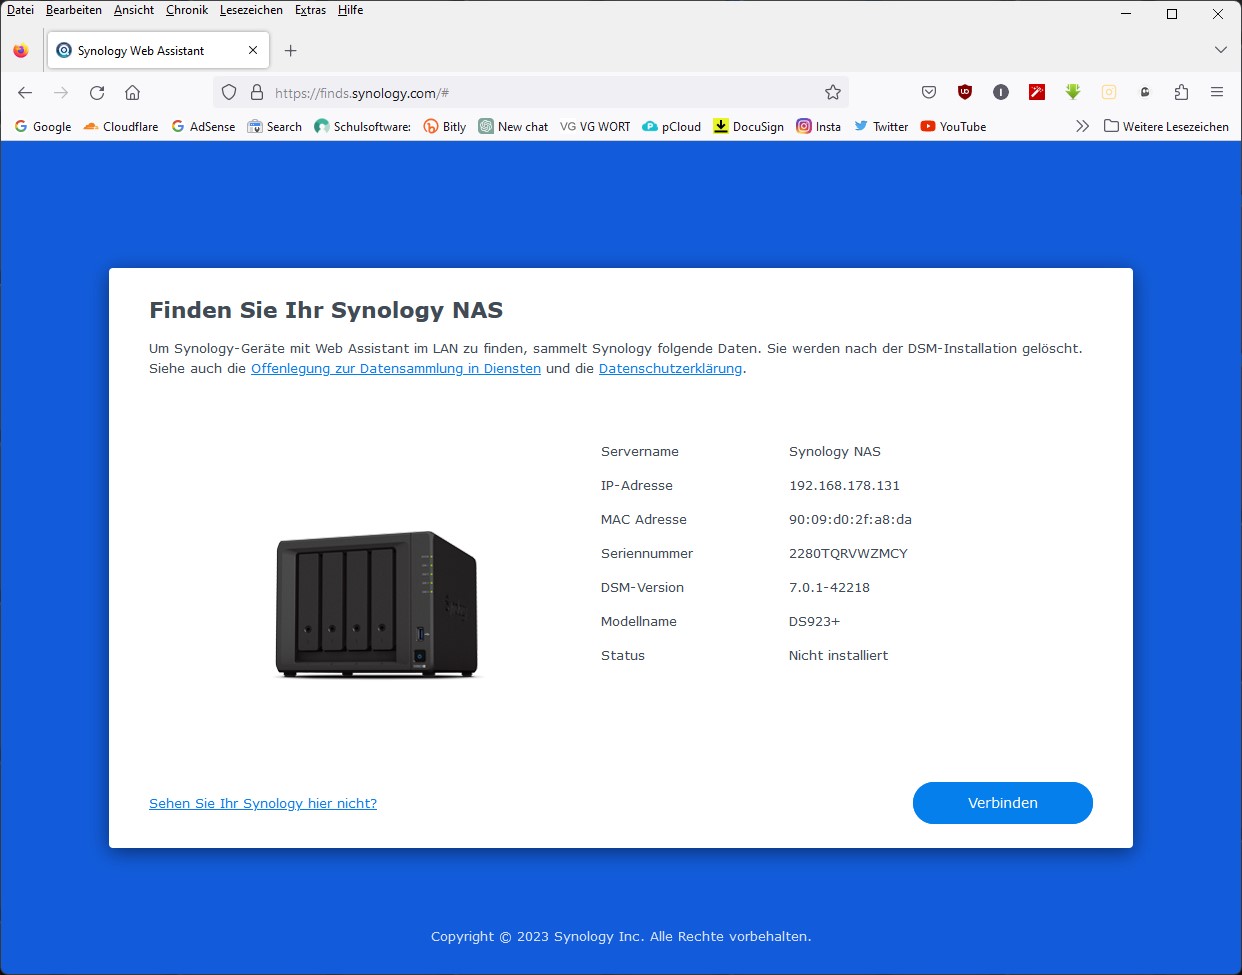
In order to start the system after it has been installed and rebuilt, find.synology.com must be entered in the browser after the drives have been inserted and the cables have been connected. This will then allow access to the user interface. Especially since the Synology Drive Client must also be installed first, which can be found on Synology’s homepage. We see the first boot and also the delivery state with the old DSM 7.0.1.
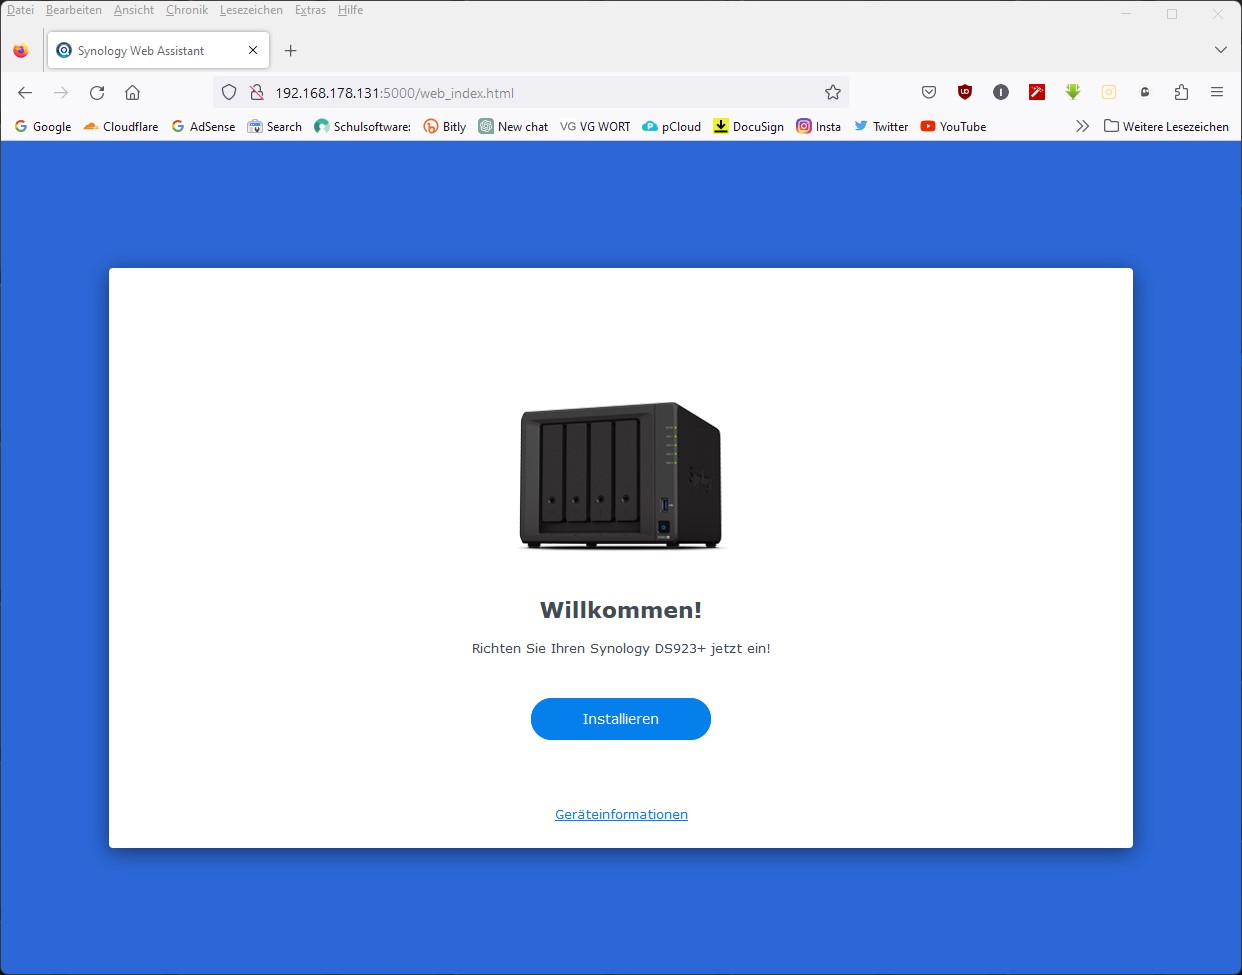
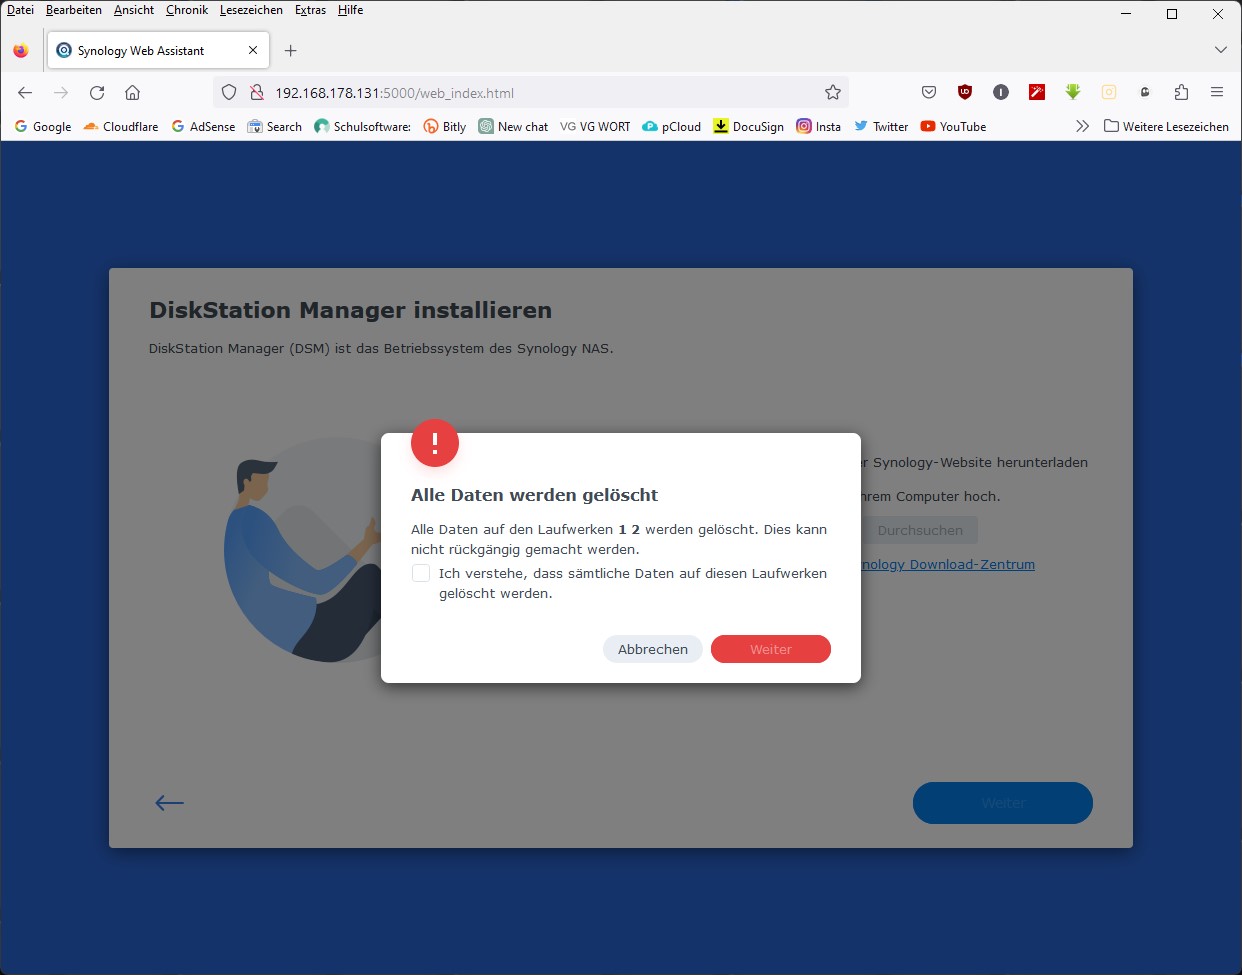
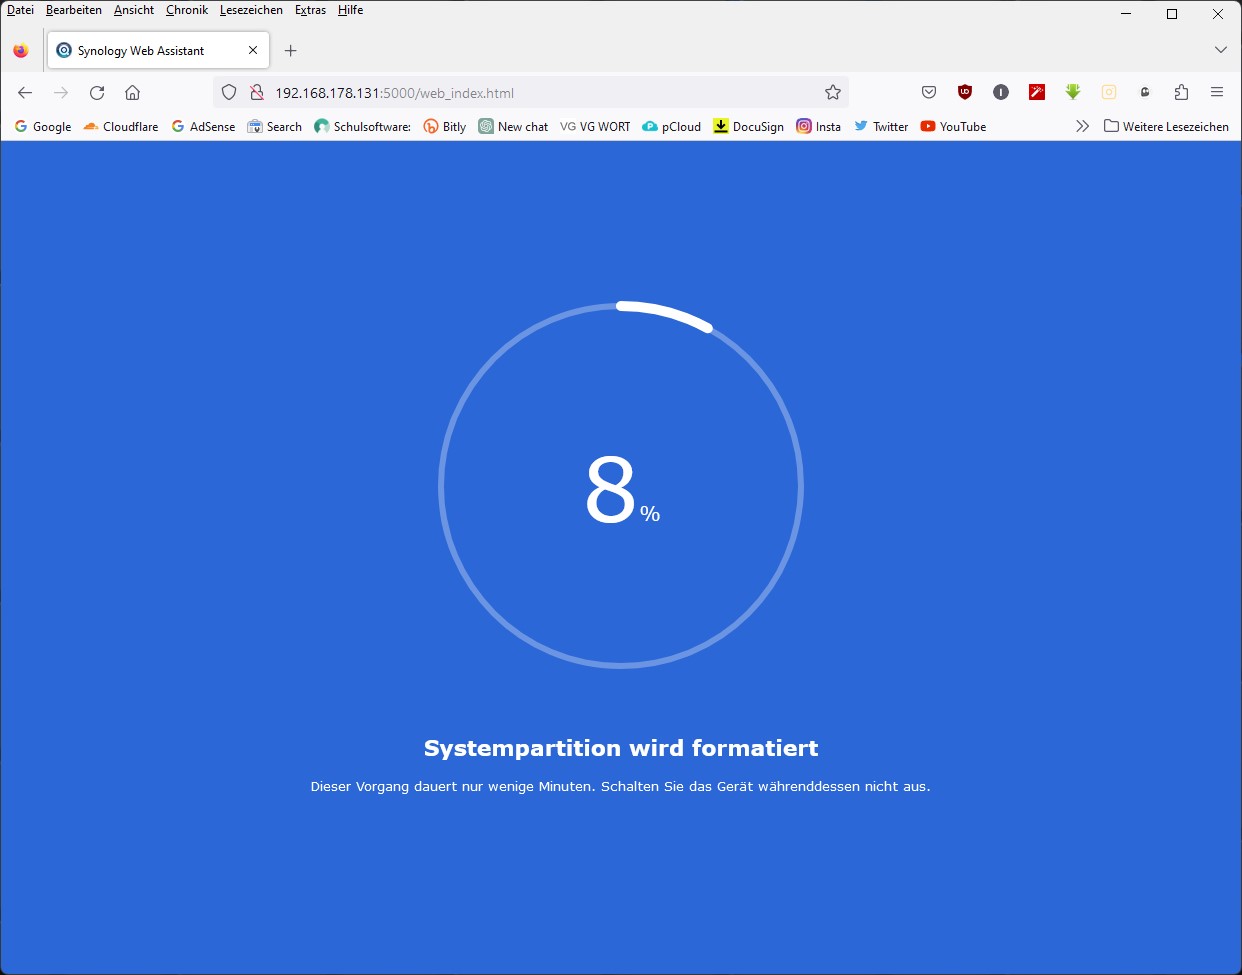
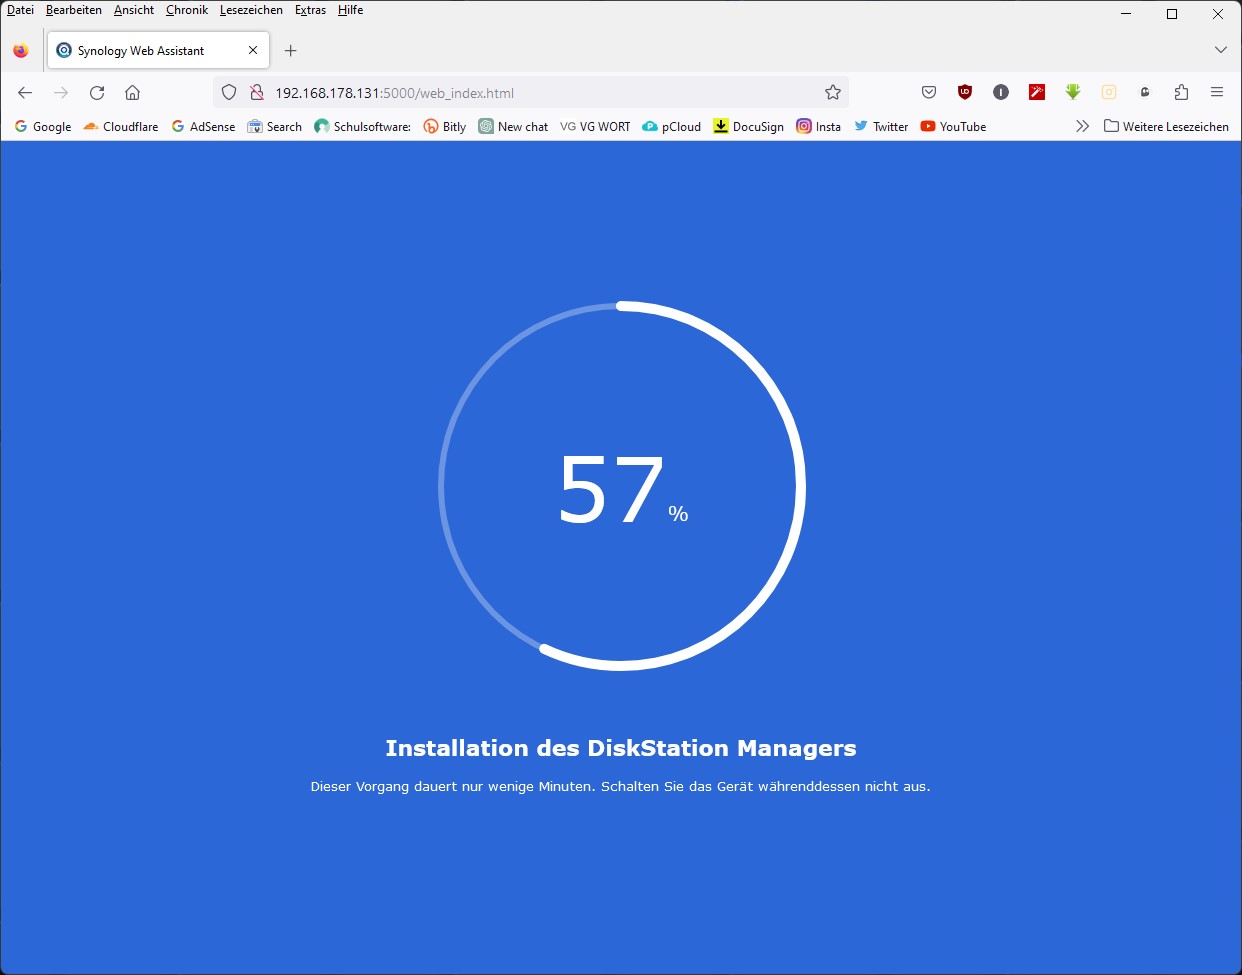
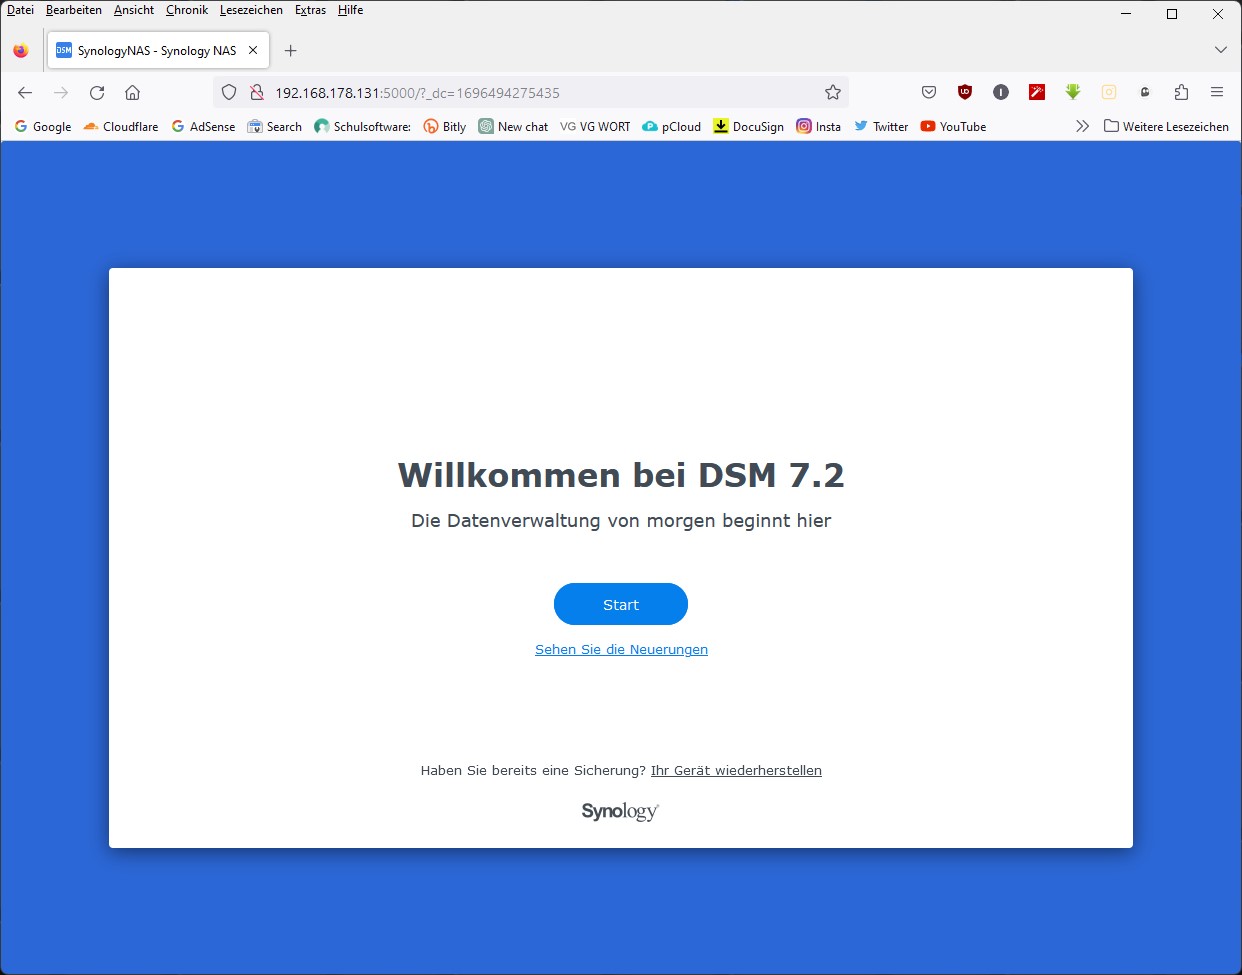
During setup, the latest DSM version can be obtained directly from Synology if desired. However, in an isolated network, installation via USB is also possible. I have summarized the next steps into a gallery for space reasons, because it is all really self-explanatory, although I have skipped EULA and data treasure for once:


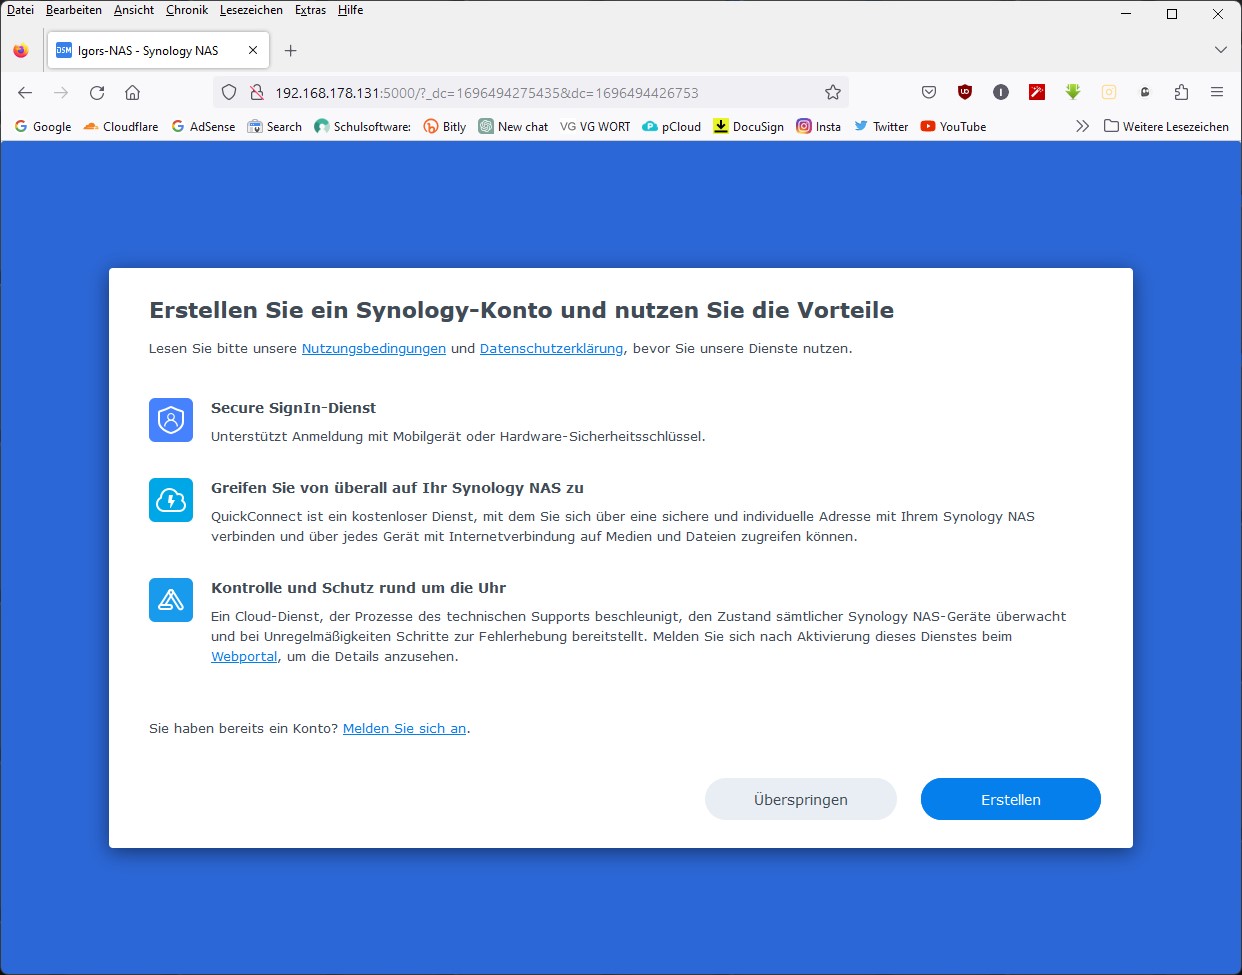
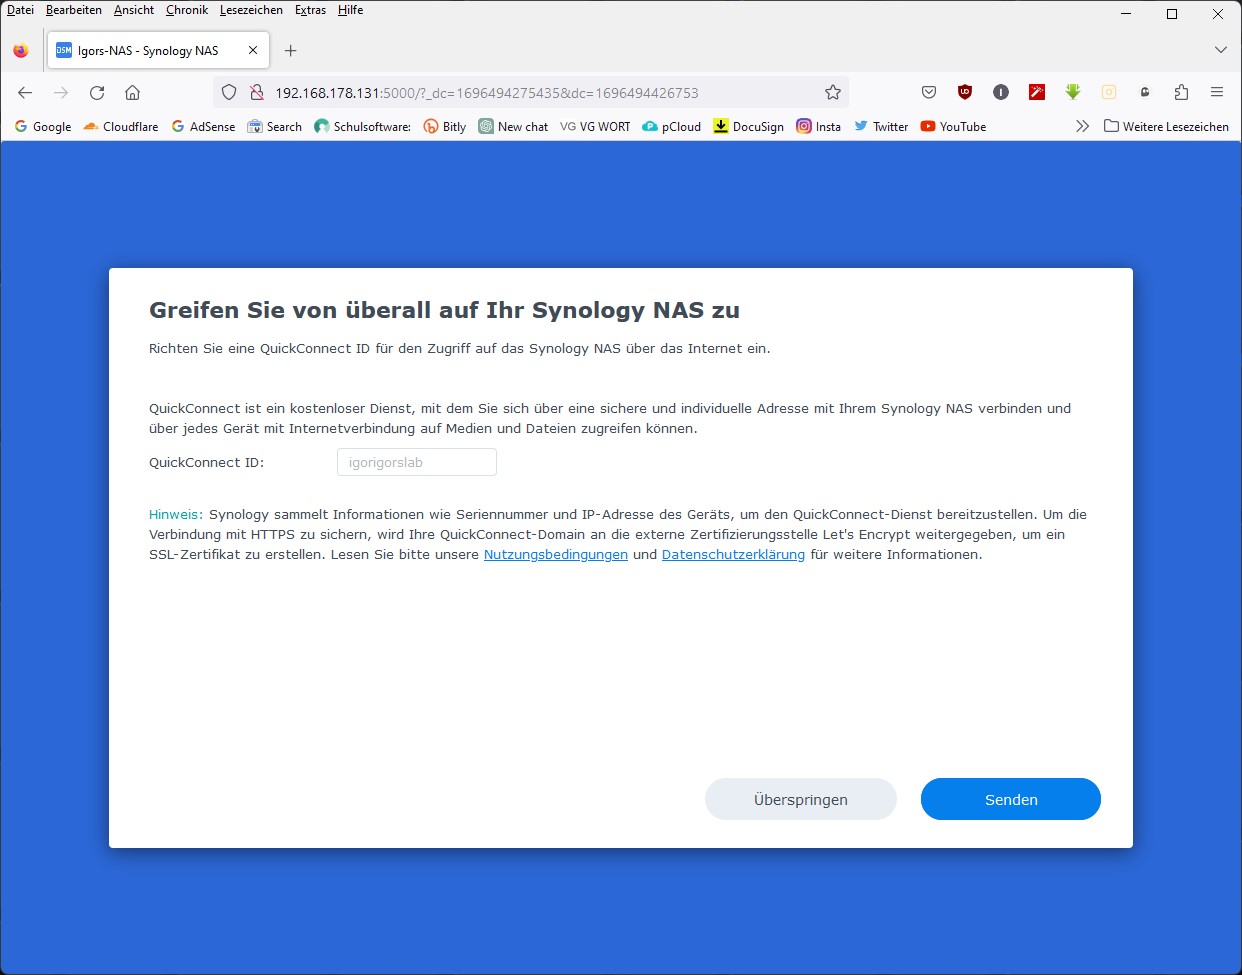
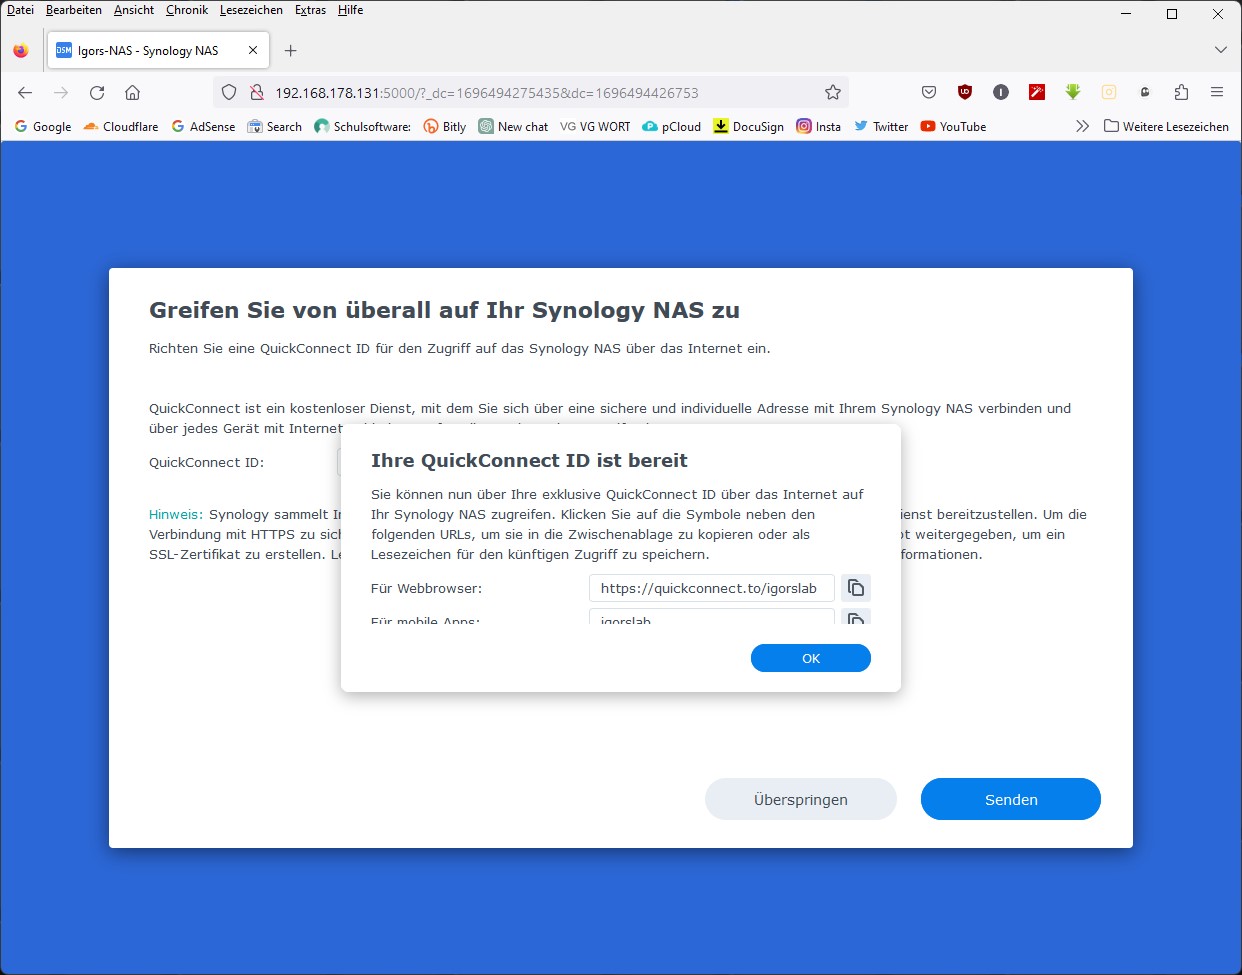
We also quickly set up the DSM and apps, as well as the Synology account. Anyone wondering why the pixels are missing from the ID – it’s an exemplar account, so it’s purely a playground. You can also work locally, but I need it for on the go as well. Keyword iCloud replacement. So close your eyes and go for it:


Set up drives
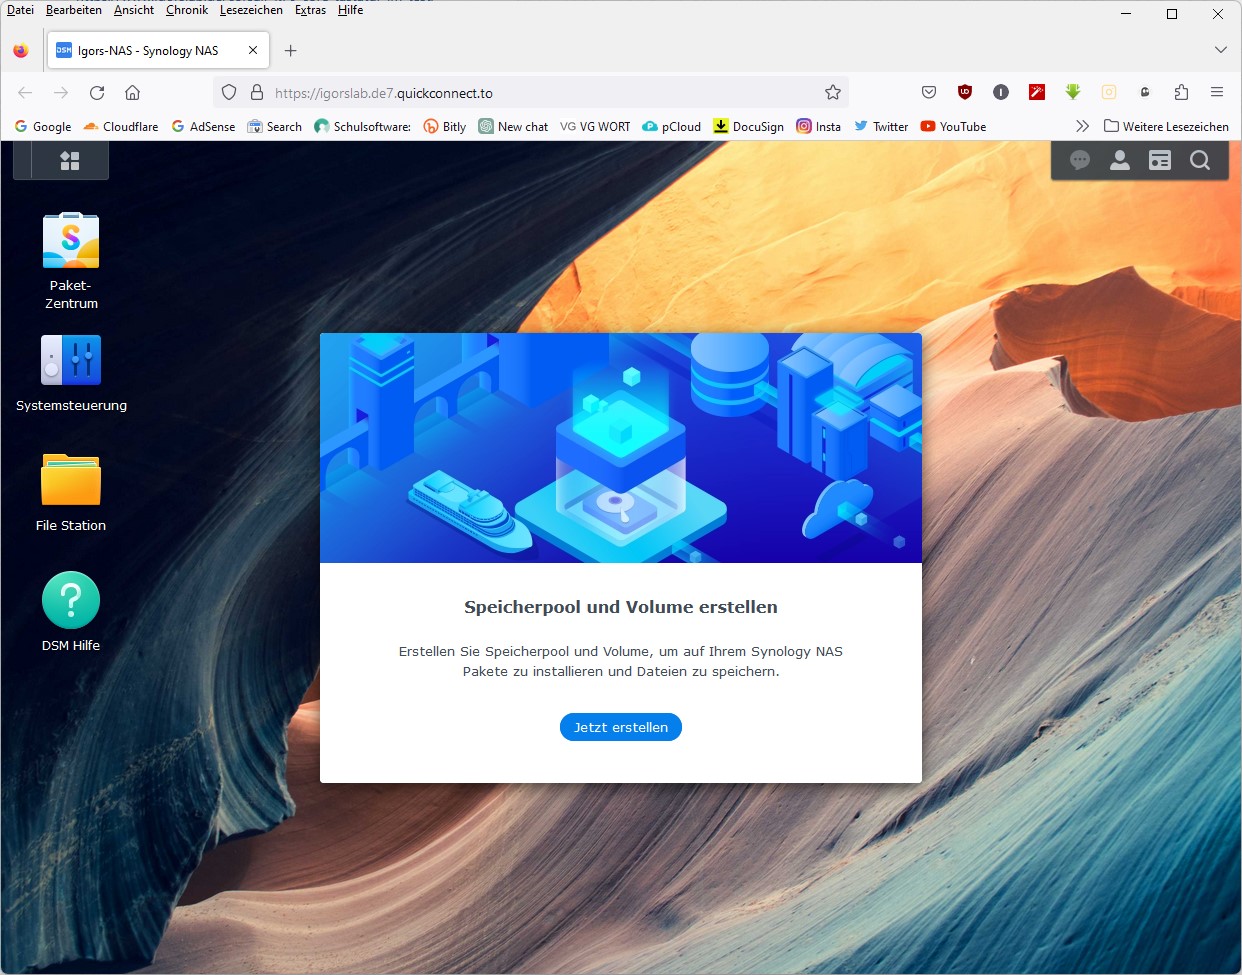
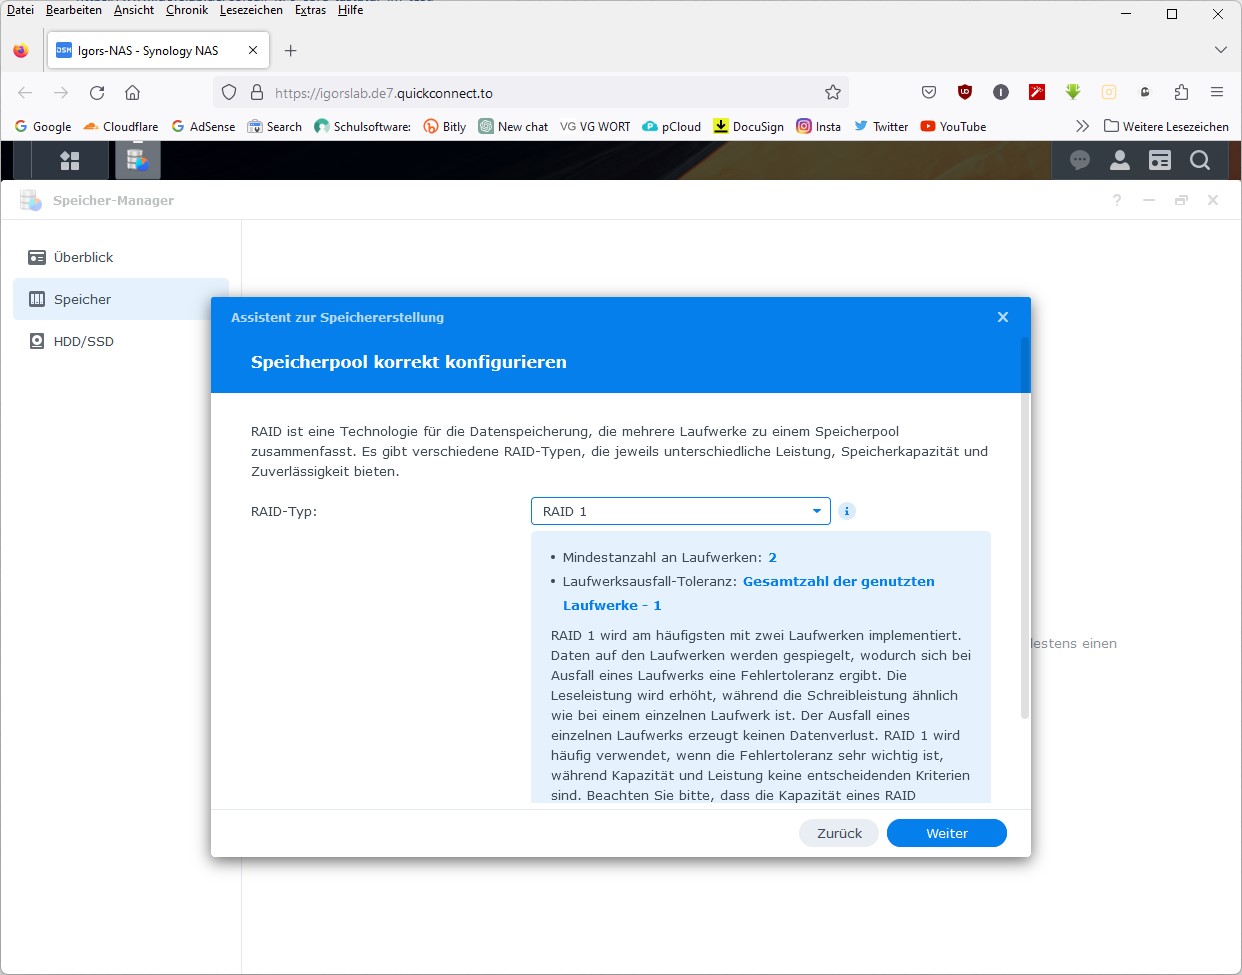
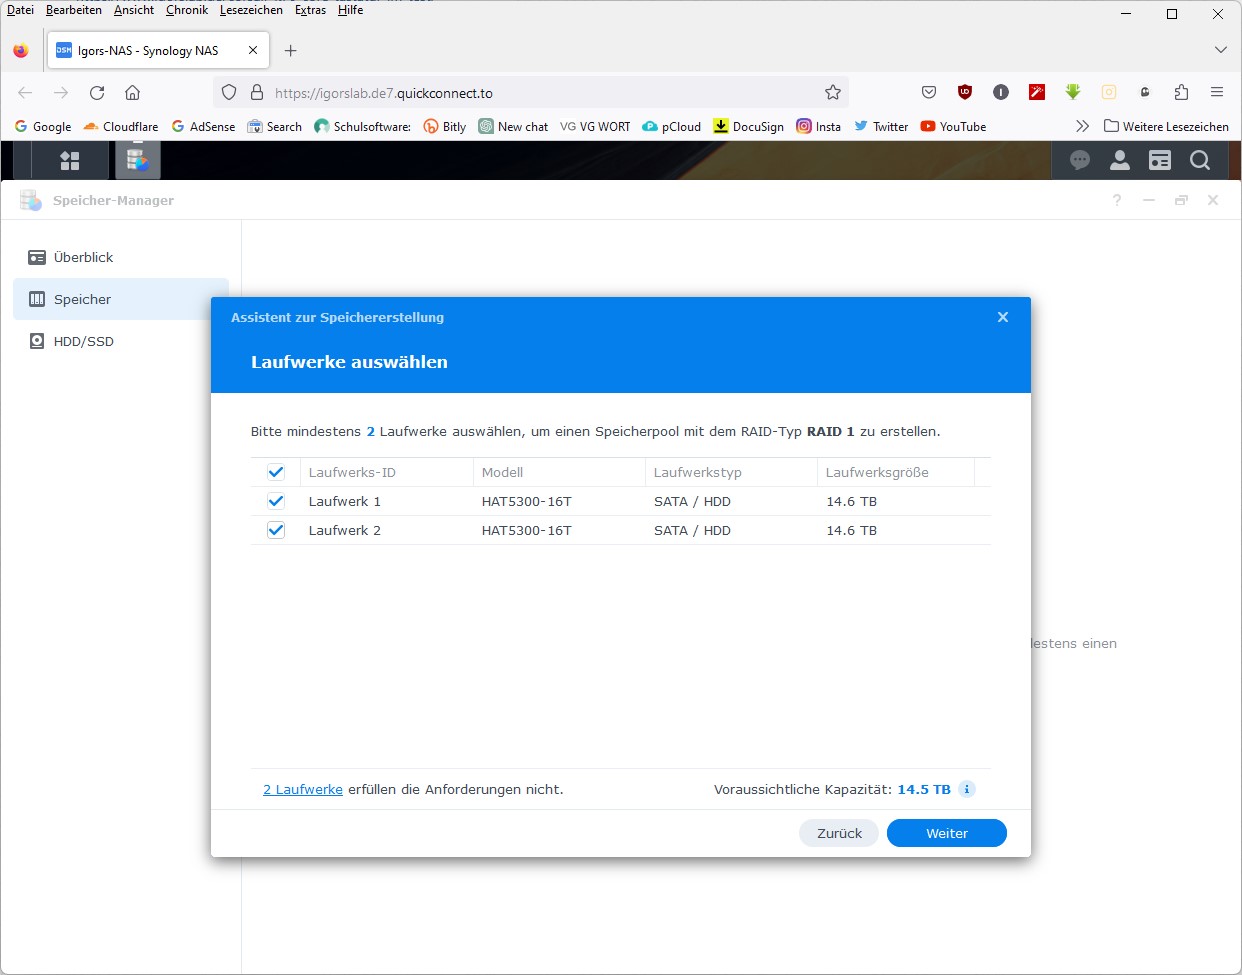
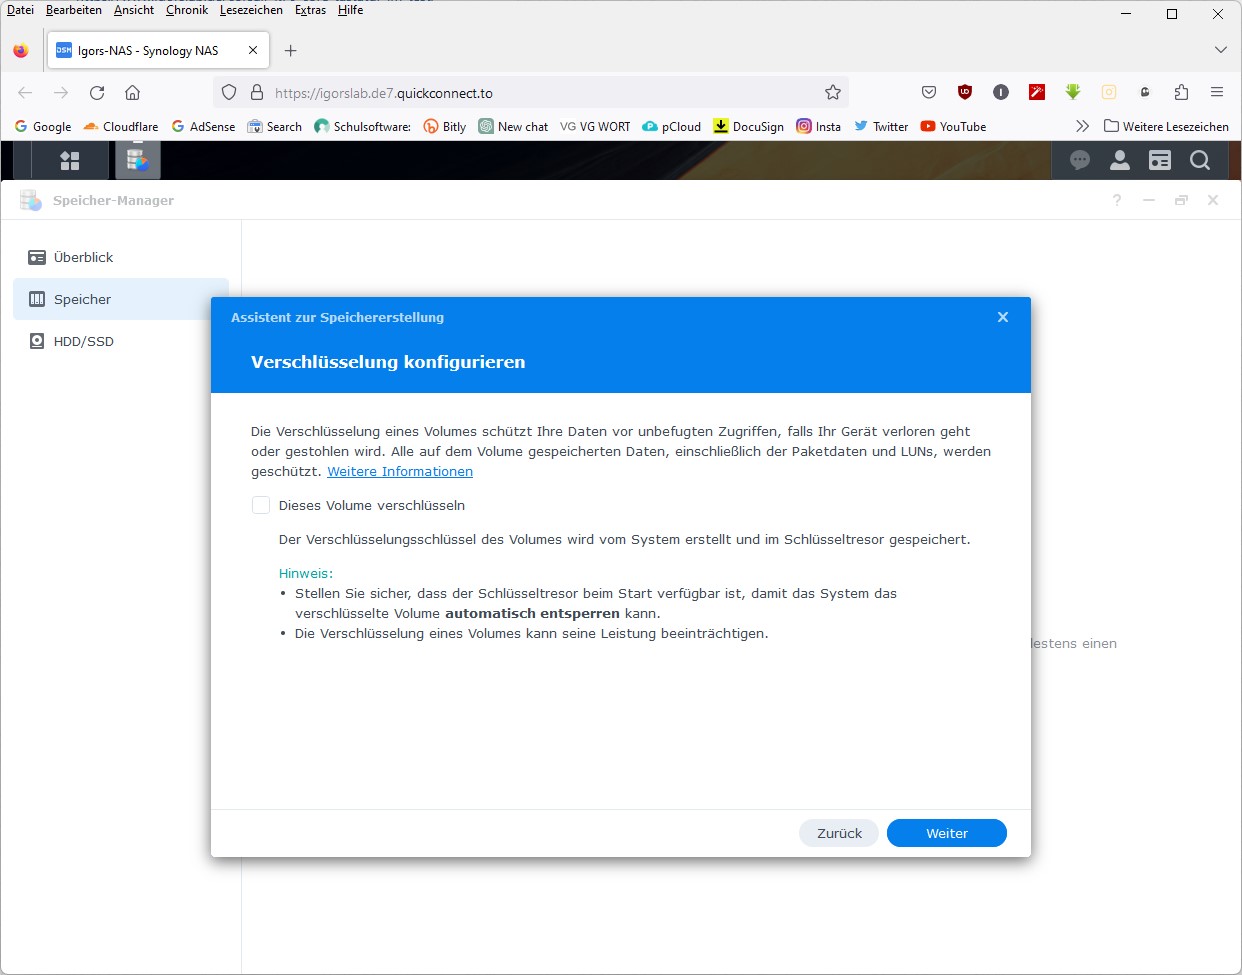
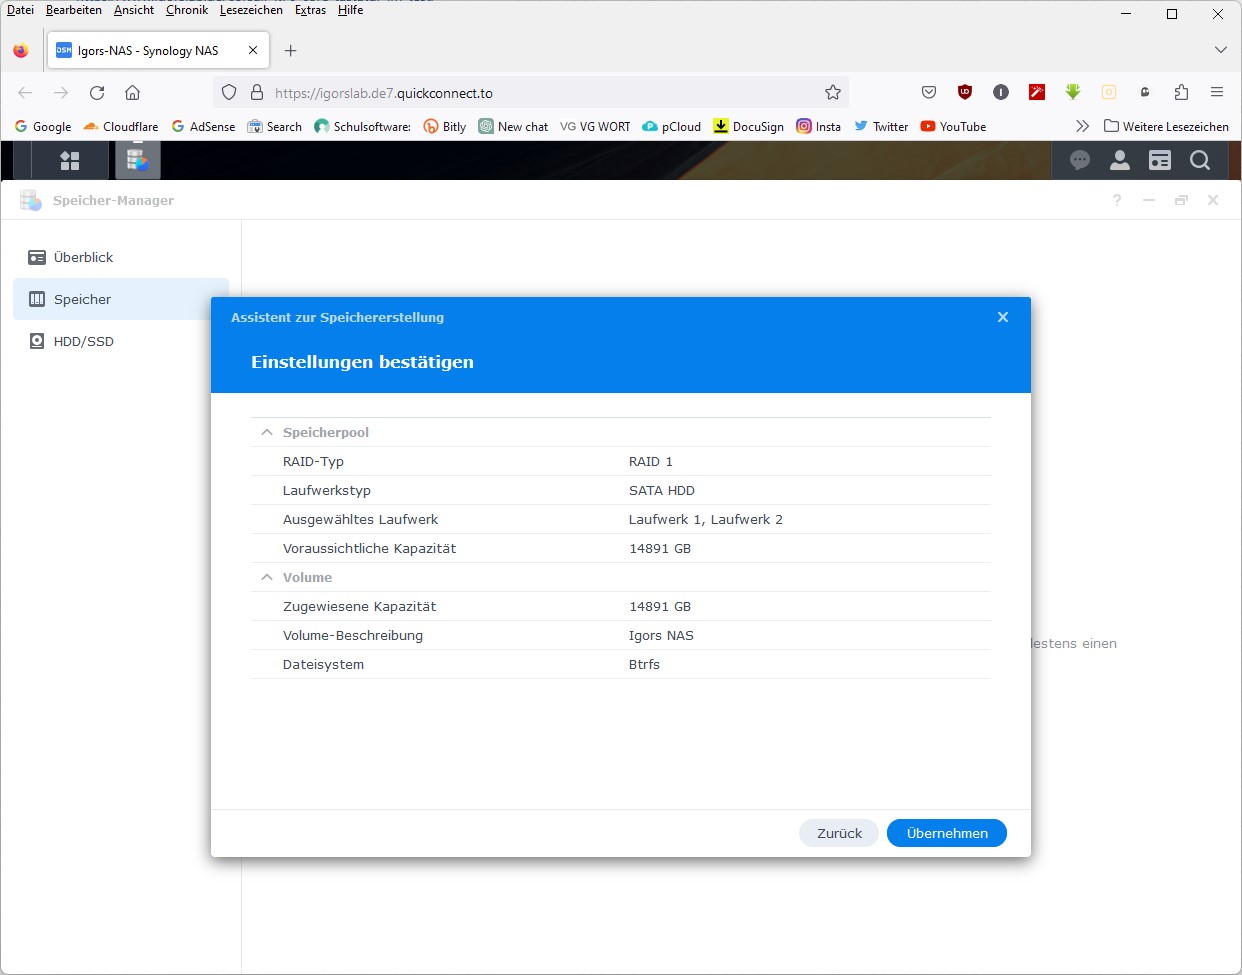
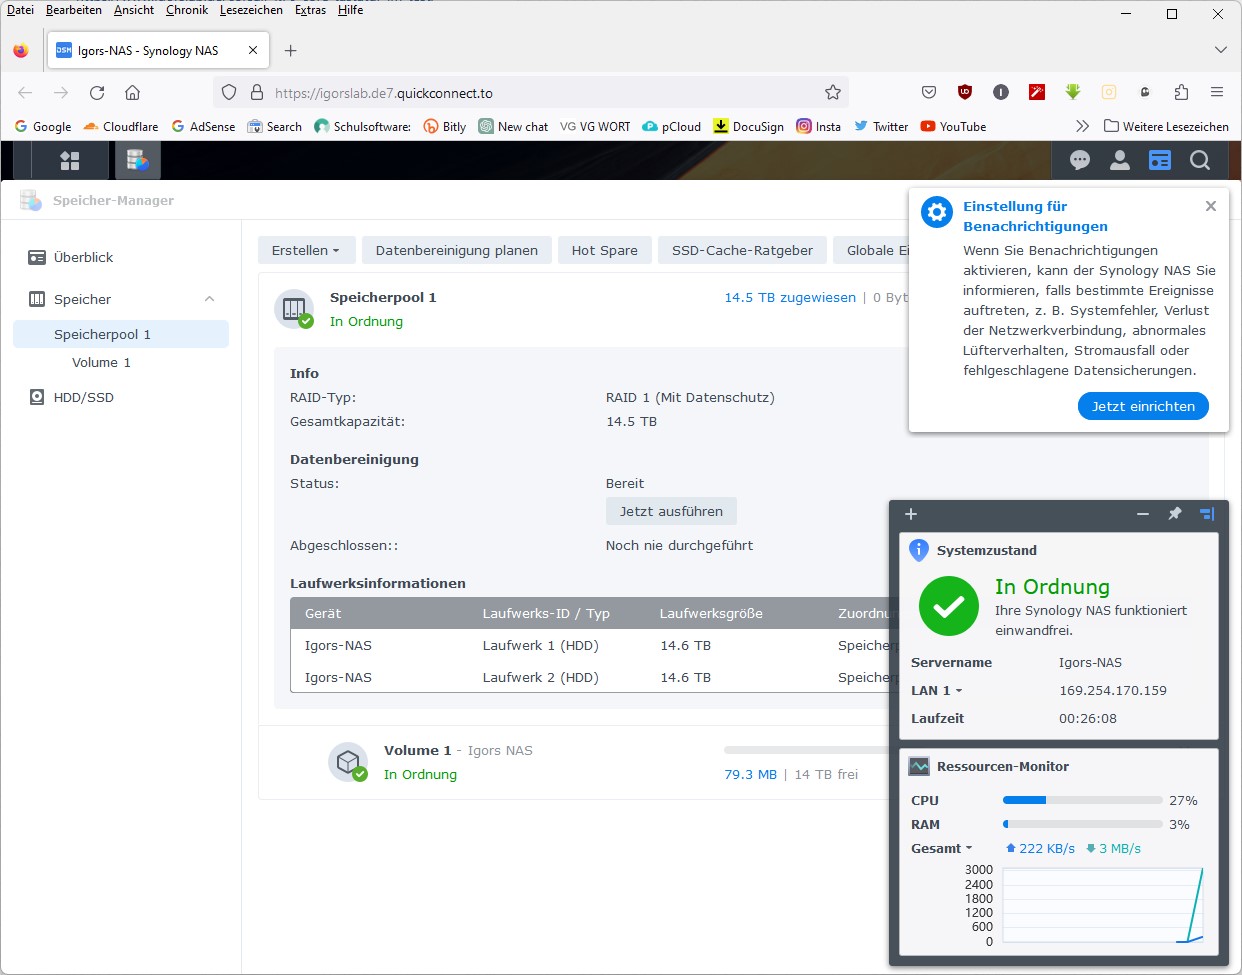
Now the whole thing is almost ready to use and “only” the drives are missing. I have already written about the details, now it’s just about the practical side in the DSM. And even these steps can hardly be beaten in simplicity – we start with the hard disks:
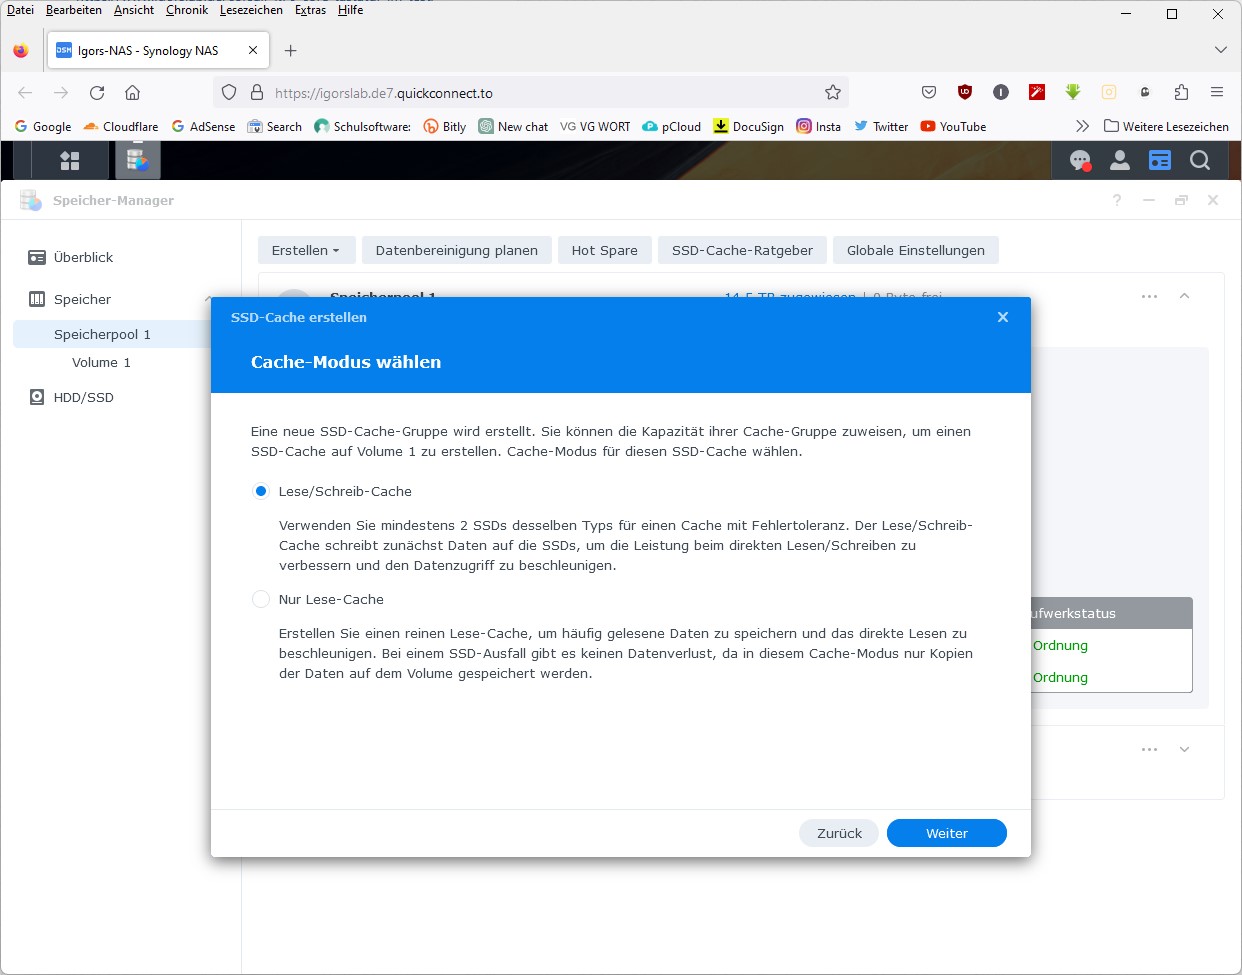
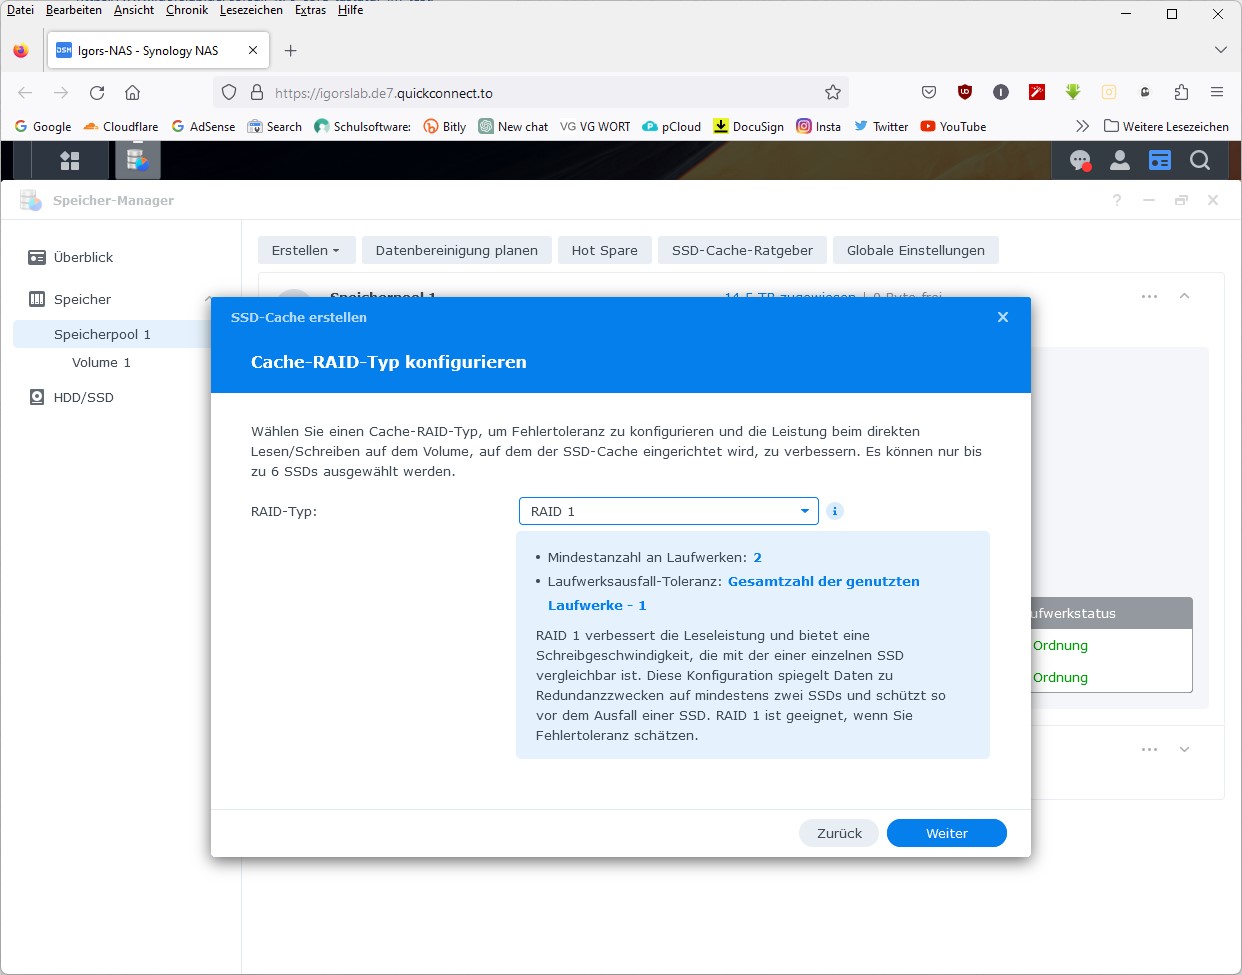
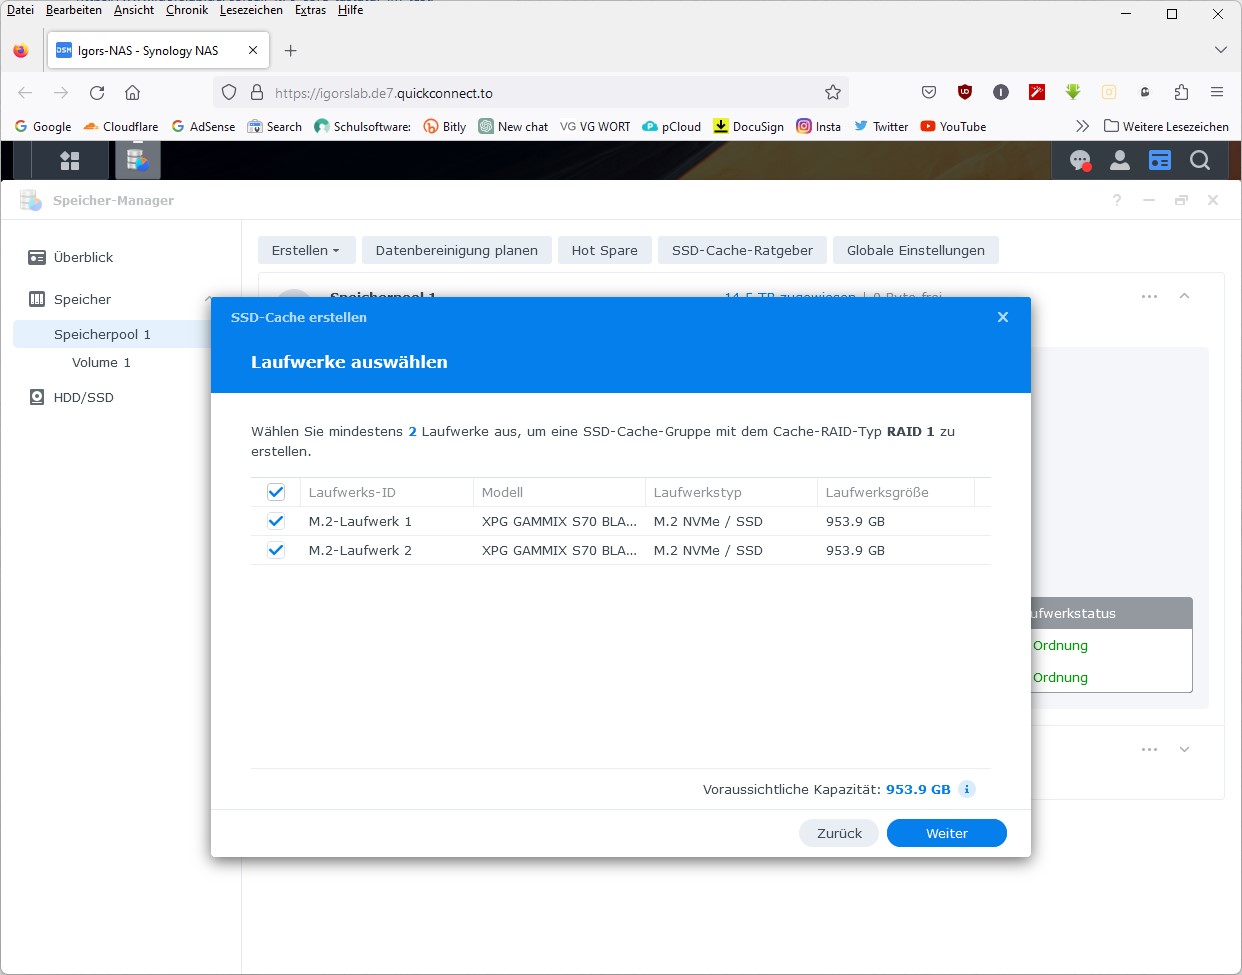
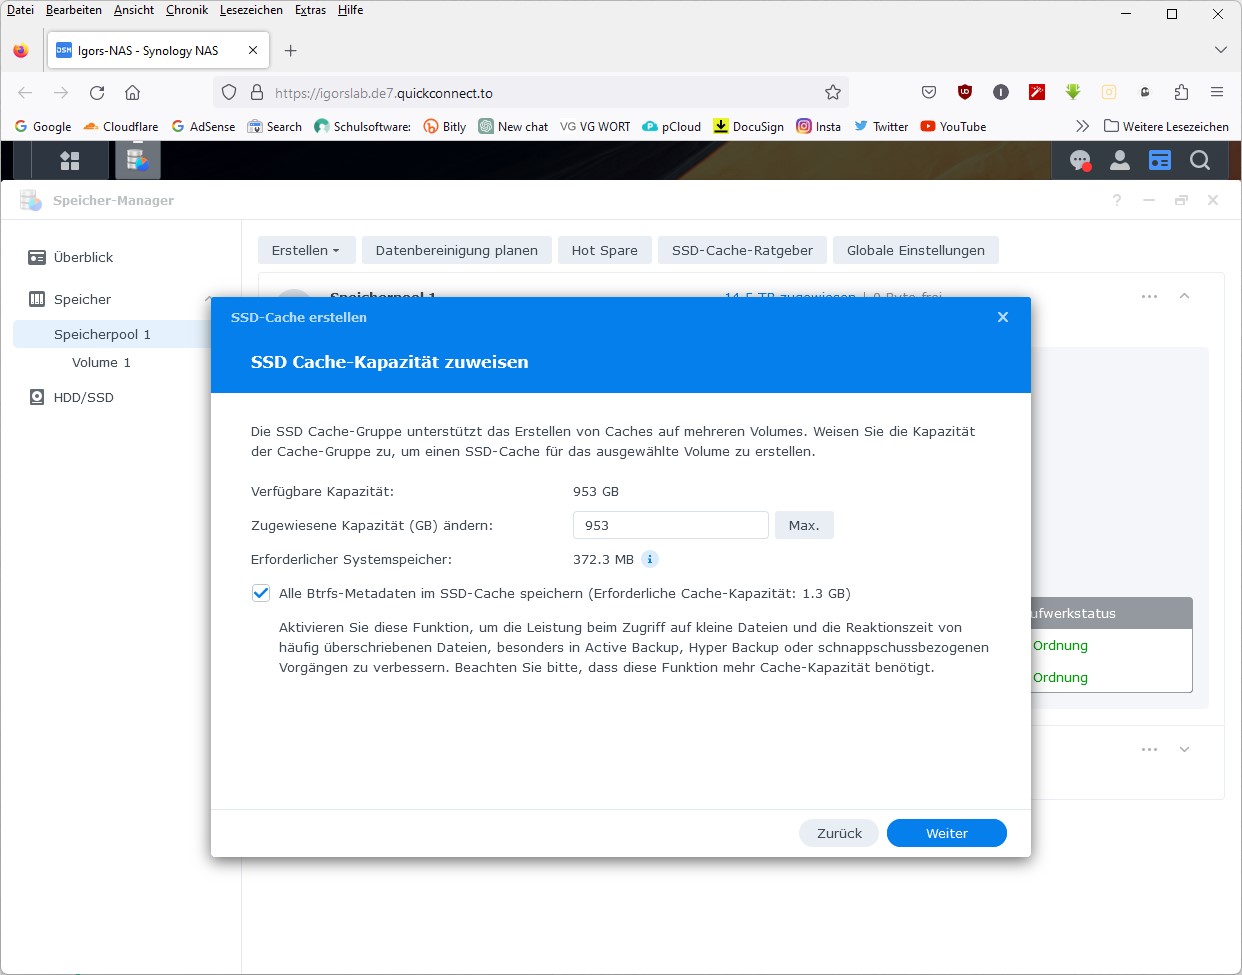
And now the SSD cache and you’re done:


82 Antworten
Kommentar
Lade neue Kommentare
Urgestein
Urgestein
1
1
Mitglied
Veteran
1
Veteran
1
Mitglied
Mitglied
1
Veteran
Urgestein
Mitglied
Veteran
1
Urgestein
Mitglied
Alle Kommentare lesen unter igor´sLAB Community →