


A little bit I now put up the horse from behind, after we have already reached and published the overclocking results of the Radeon VII with exactly this cooler, but especially the assembly of this cooler in general and the peculiarities of the Radeon VII when tightening the screws in particular, a second, more precise look is also worthwhile. And so this review is almost a must for all those who want to water a Radeon VII.
I have to make some small limitations on scope in this review, because it is a pre-broadcast. where an intern has probably forgotten a few parts. But the will alone counts, because EKWB was the first manufacturer to send a usable product and not just rendering images. The official launch and launch of the pre-order is on 21.03.2018, the delivery to Germany then sometime from the beginning of April.
Scope of delivery and unboxing
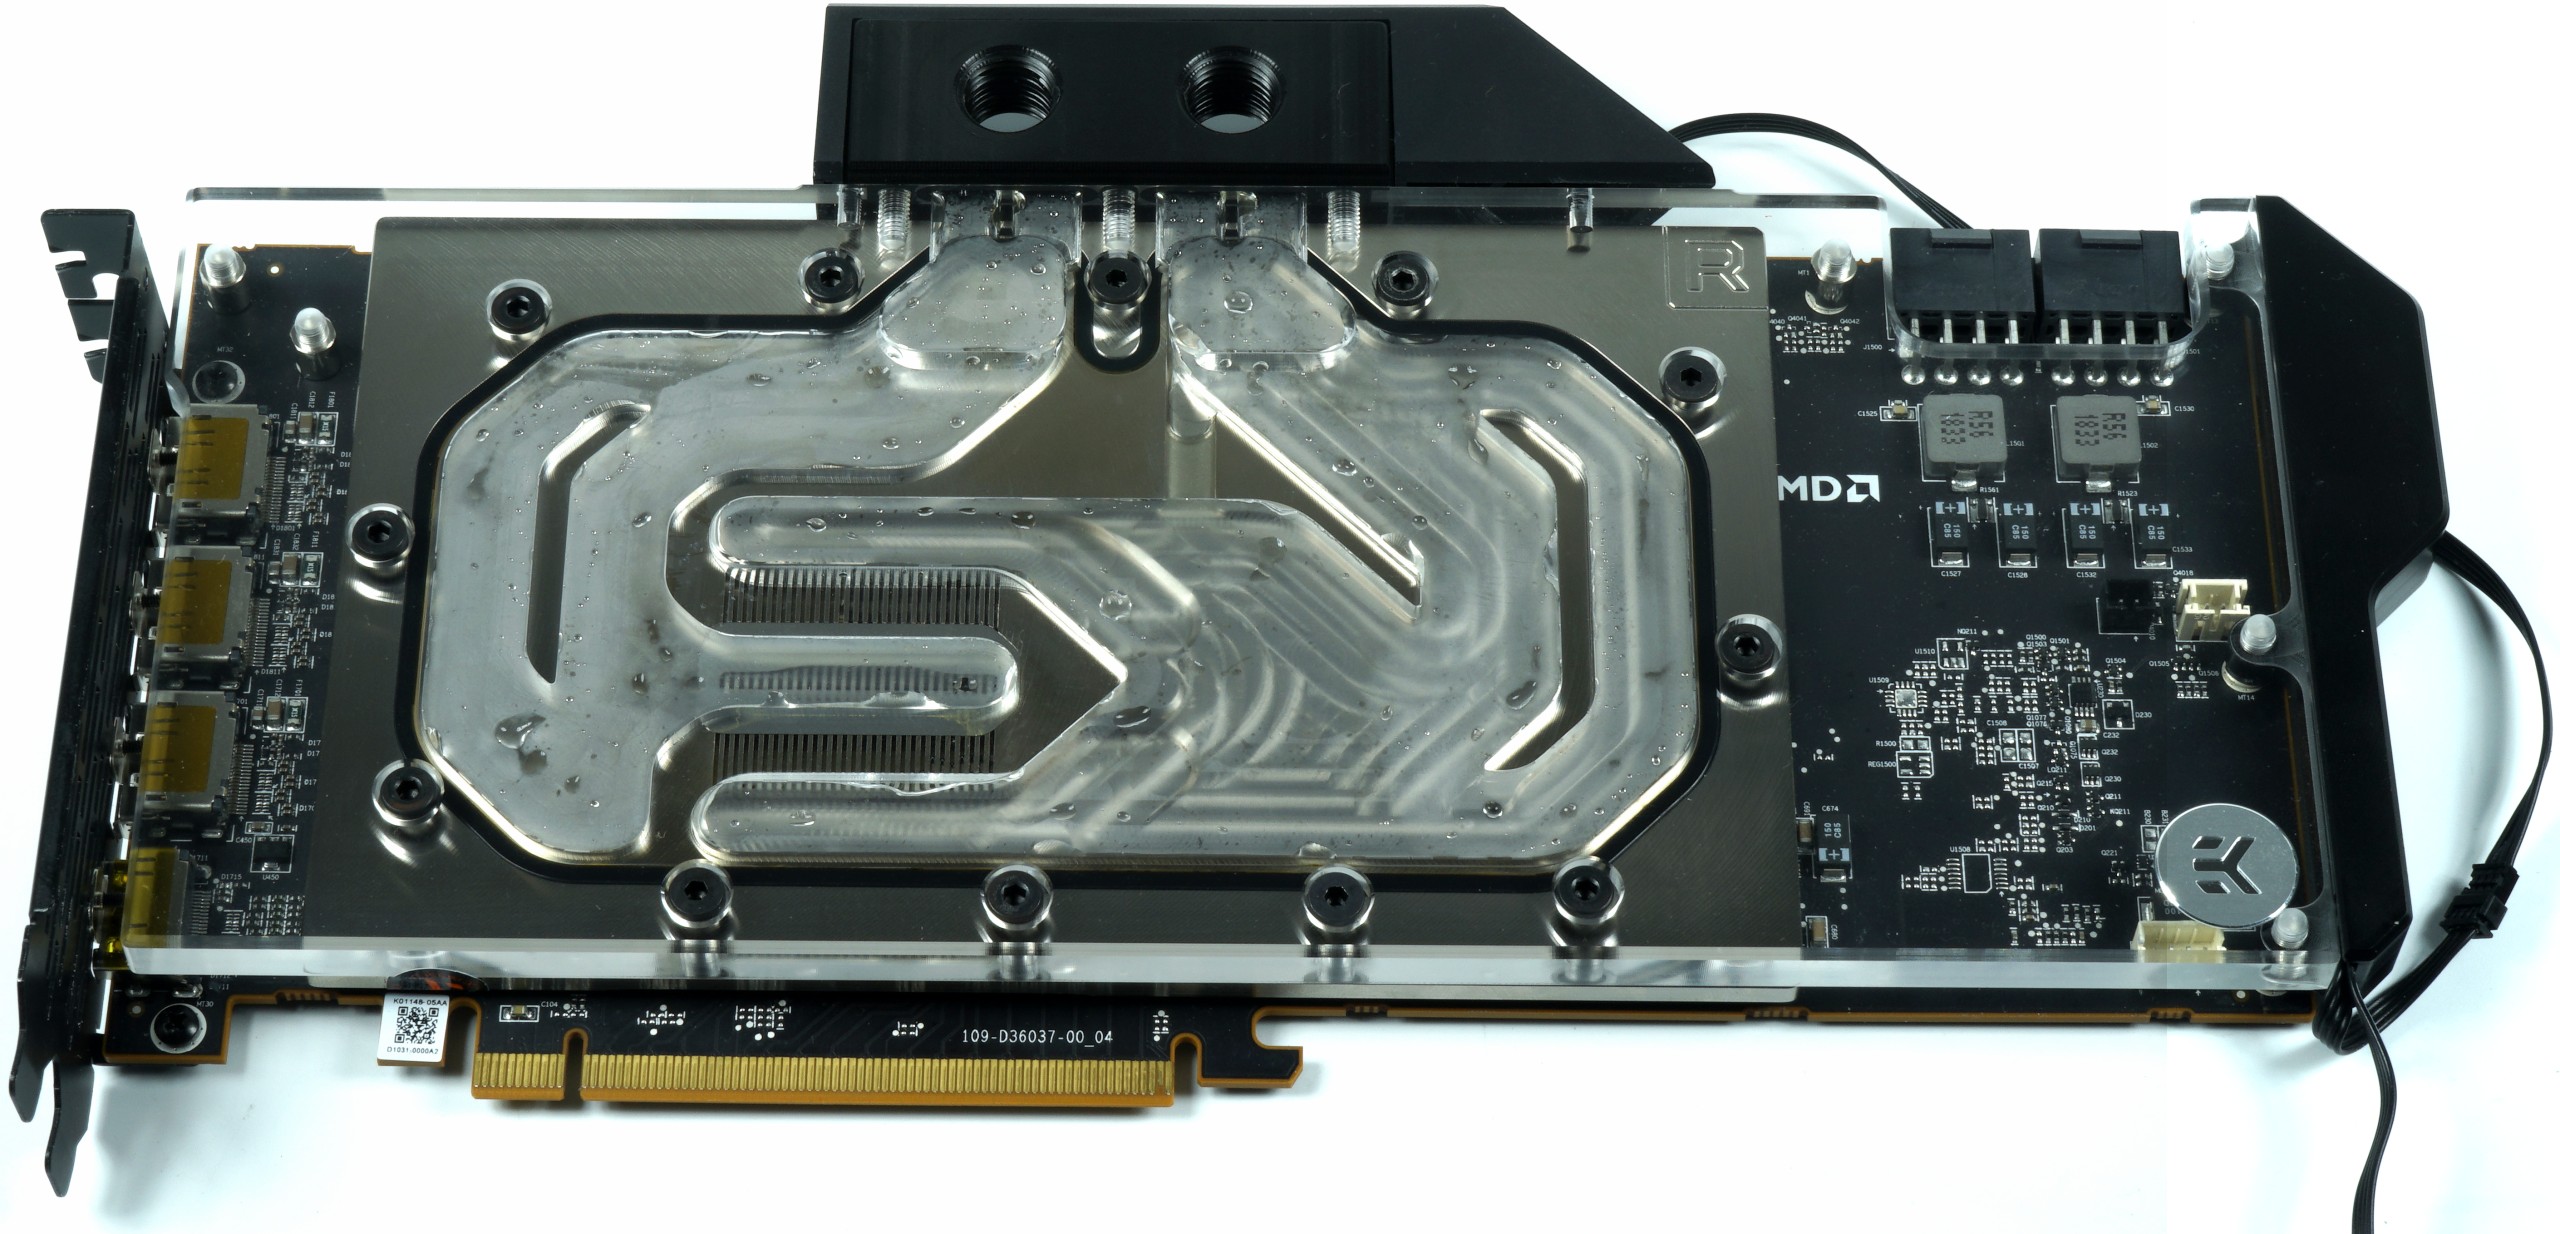
This is precisely where what has already been mentioned. You get the pre-assembled water block (nickel-plated copper block with acrylic cover) with integrated RGB lighting (12V standard) for the also pre-assembled terminal, along with the appropriate thermal pads (here my criticism of the misleading packaging was justified by the pre-delivery), two hexagonal plugs (without socket wrenches), Kryonaut thermal paste and screws including acrylic washers. The manual should then also be included in the final packaging.
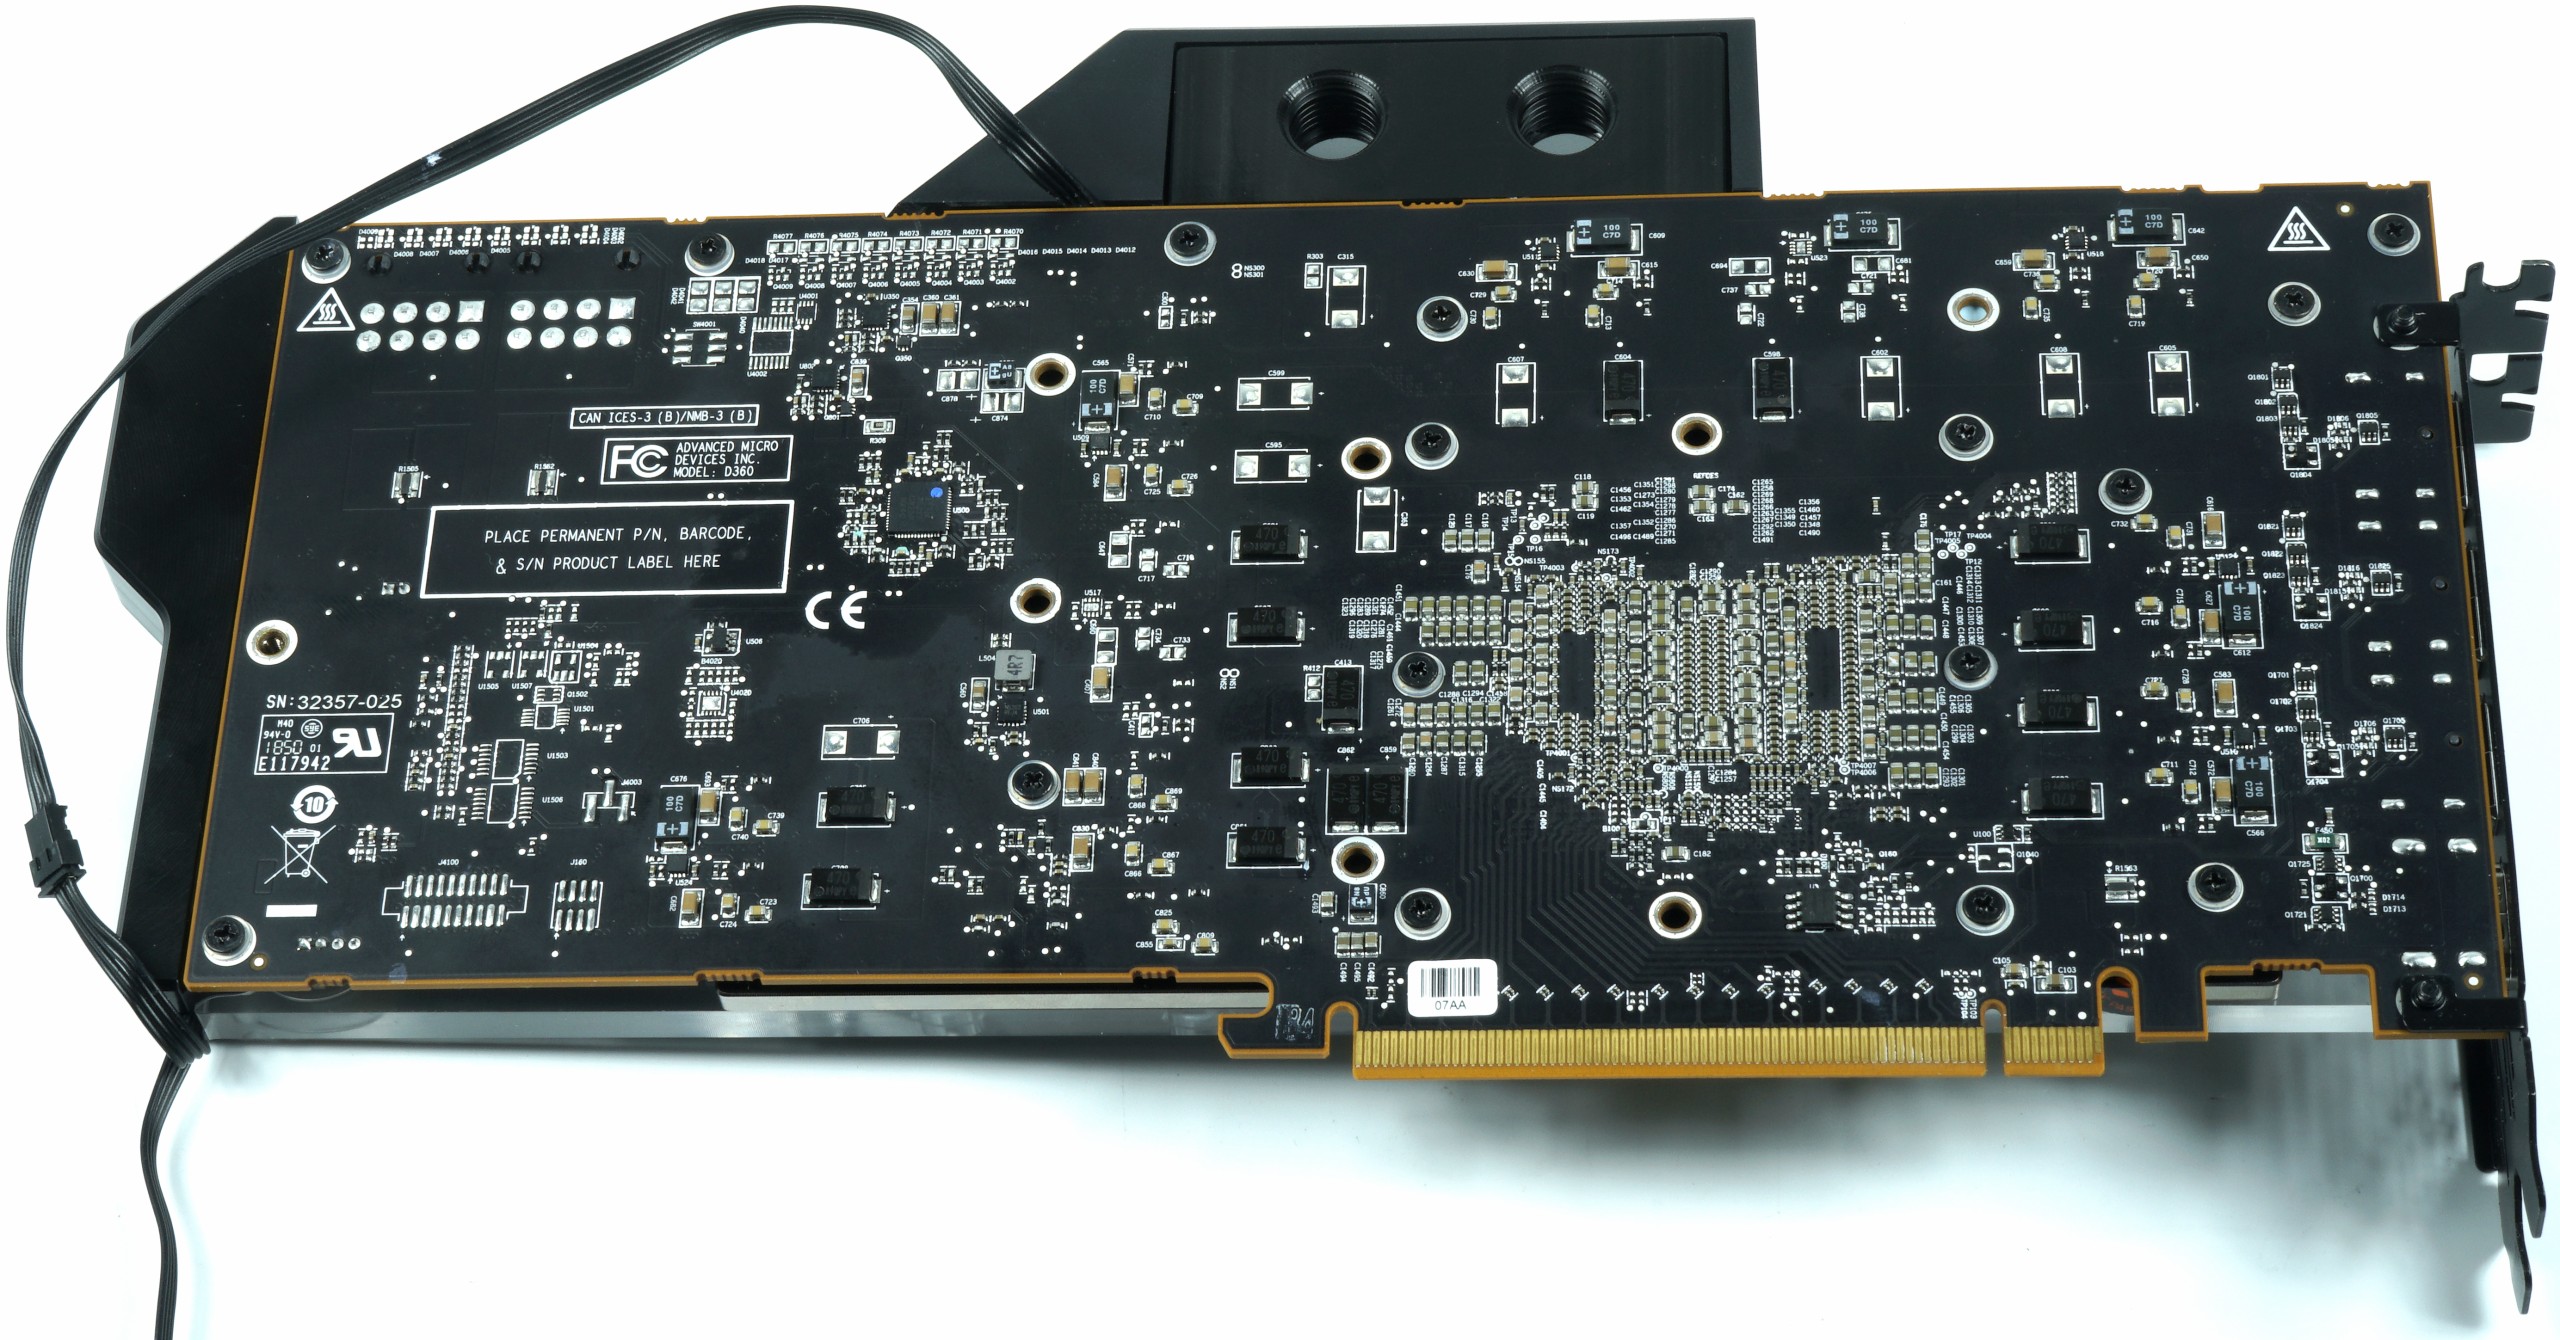
The entire radiator and mounted Radeon PCB have a length of 26.7 cm from the outer edge of the slot panel to the end of the acrylic cover and a maximum installation height of 15 cm from the top of the PCIe motherboard slot to the top edge of the terminal. There is no alternative slot bezel in single-slot design, but optionally a backplate, which is not really needed for cooling, even if EKWB provides it that way.
I captured the unboxing in a YouTube video, because moving pictures also have their charm:
Assembly and commissioning
The assembly itself is self-explanatory and the screwing is purely technical as well. Wouldn't it be Vega II, because the order of screwing has quite a lot of disadvantages if you get it wrong. EKWB uses a total of 6 screws around the interposer, which was a good decision, so much in advance without spoiling big. Why this is so, I show in the video, which can and should also serve as a guide.
If you have done it correctly, the hotspot (tjunction) of the Power Virus is a maximum of 32 degrees above the GPU temperature, with liquid metal you could probably scratch the 30 degree mark easily, but the distance should hardly be extreme. Because we will see later that you can also save yourself all the liquid metal troubles. The only important thing is that everything is properly tightened. The workmanship of the nickel-plated copper block is ok and all the spacers were, unlike the Vector for the GeForce RTX 2080 Ti, also neatly and tightly screwed.
How exactly I did this and why some things are as it is, is now shown by the special video, which I will of course deliver to you as a service:
Technical data and specifications
Here I have to refer to my above dimensions, because I have not received any further information for the time being. Both the data sheet and the manual were not yet available as PDF. But of course I will submit it immediately after availability, because without it it is only half the truth. The assembly (without backplate) was done in less than 15 minutes, because apart from the order of the screwconnection there are no further stumbling blocks. That's why I'm coming to the next page for the result of my tests with the EKWB Vector Radeon VII.
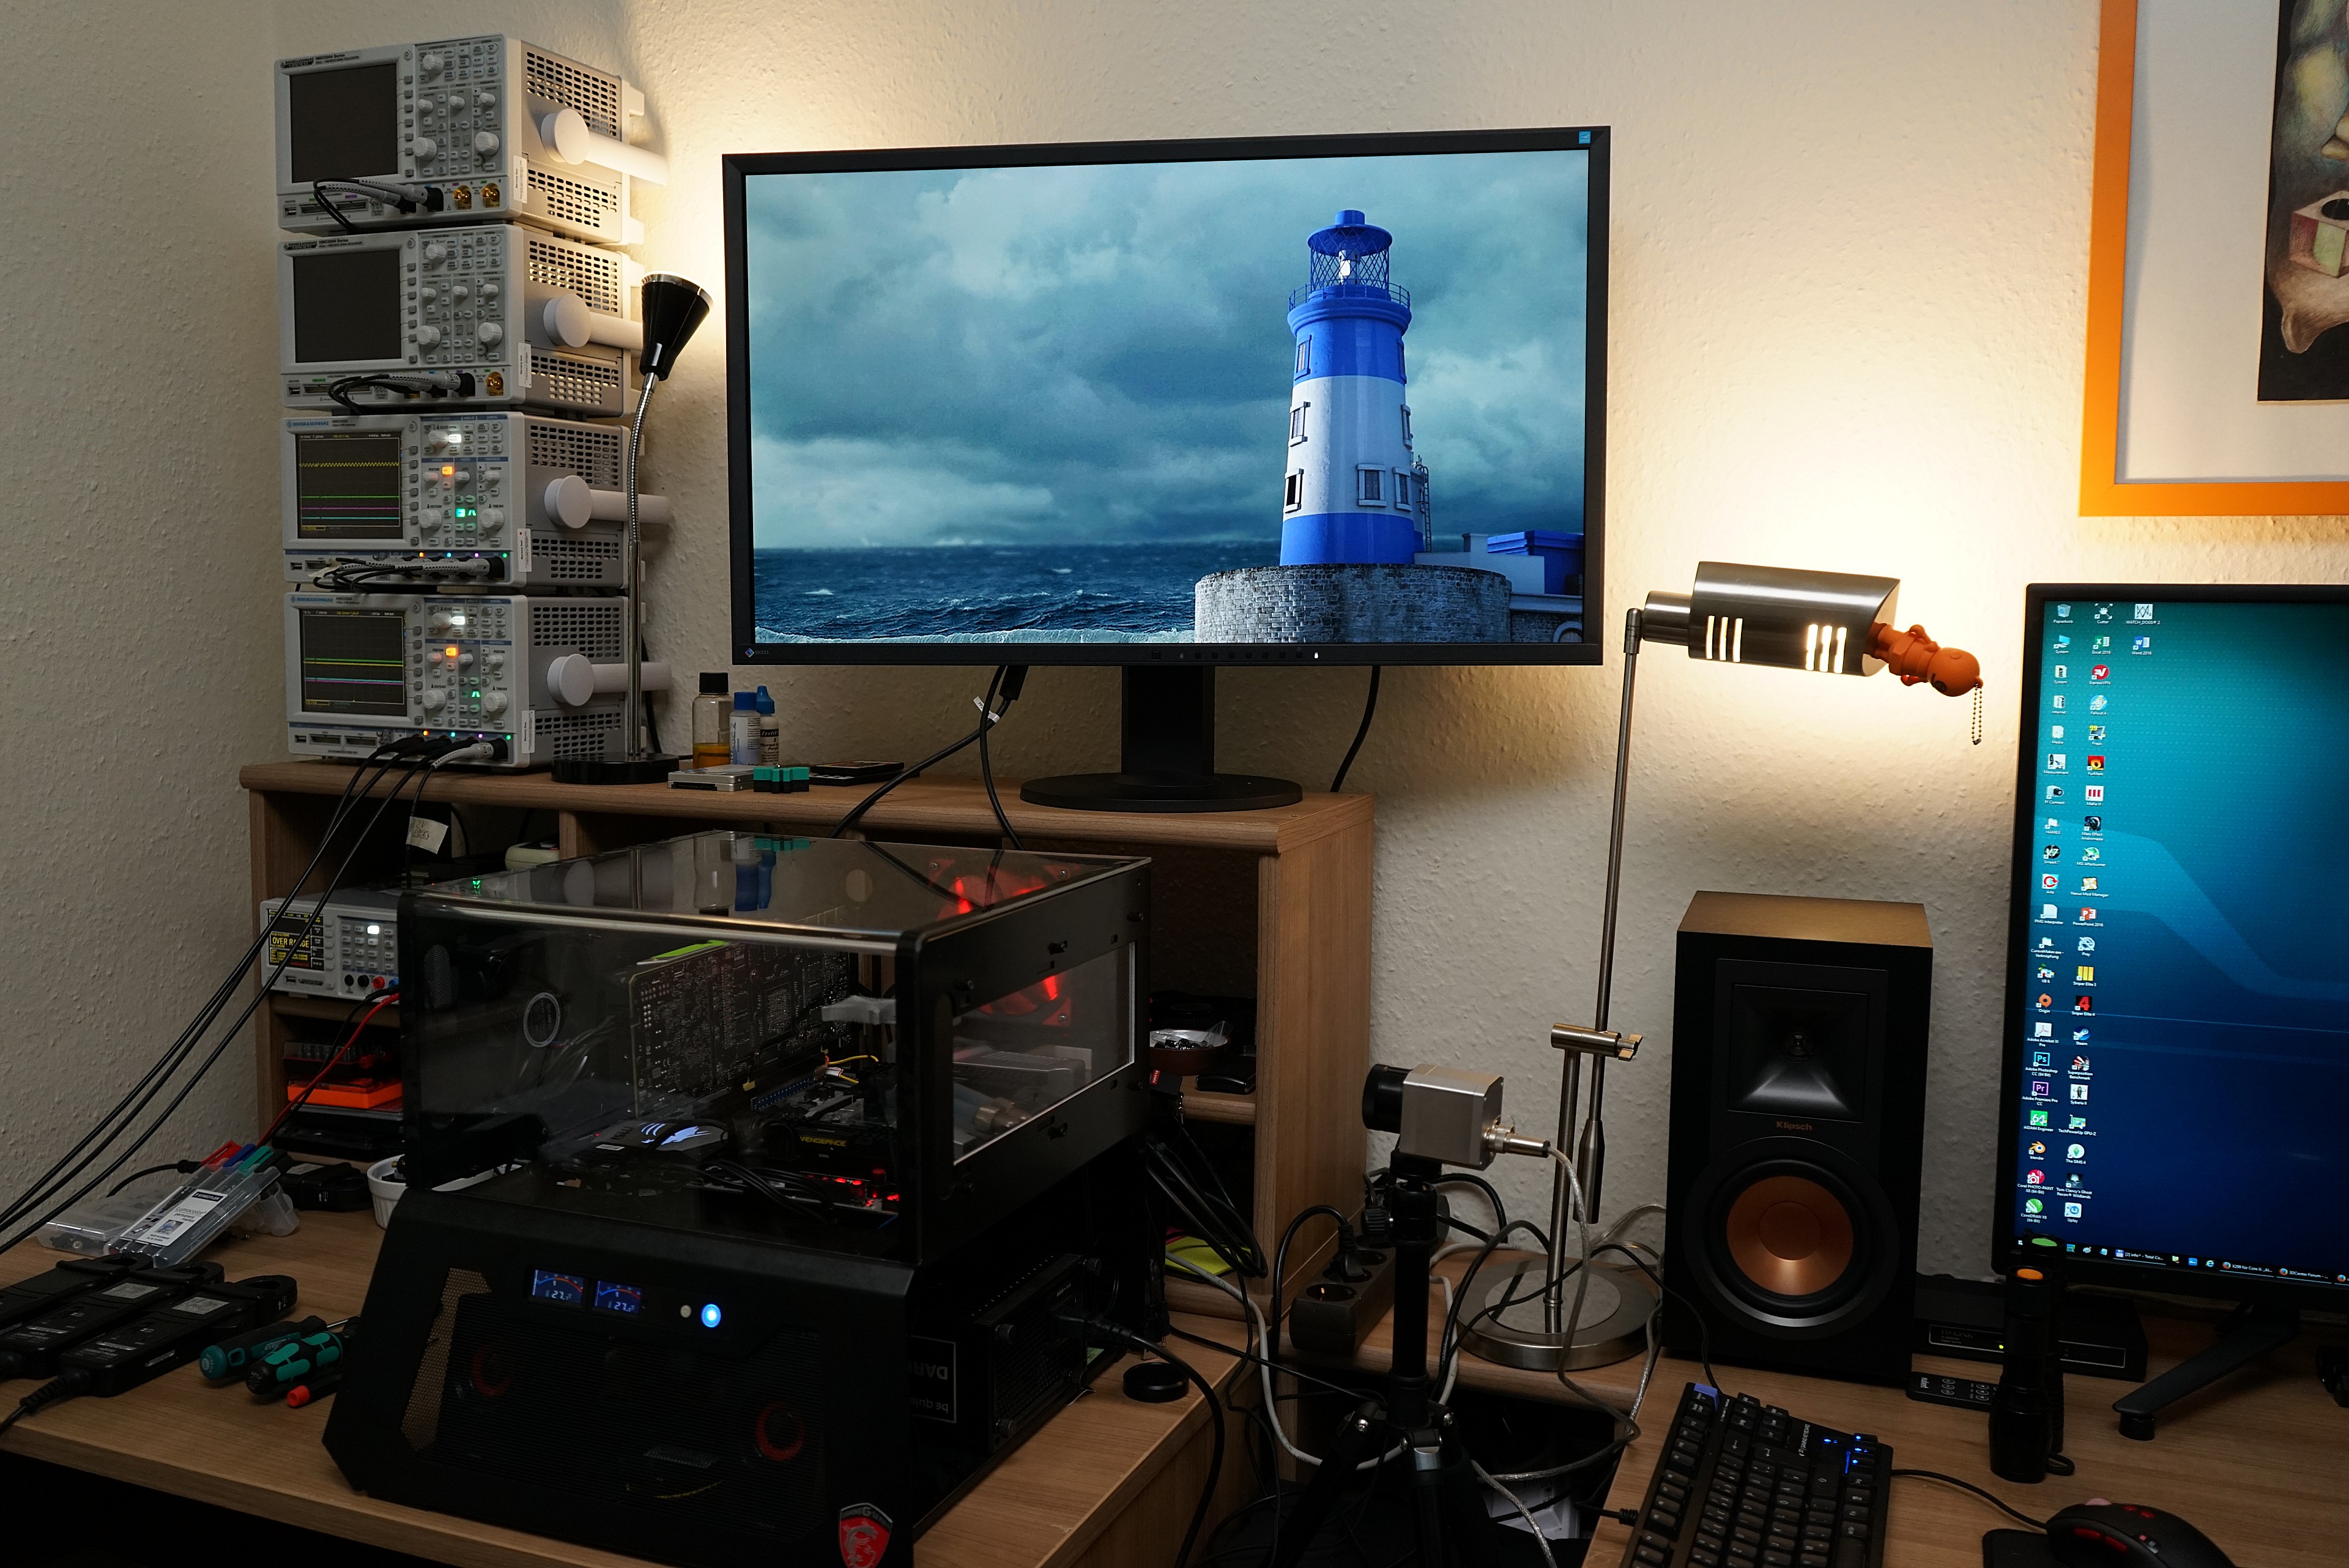
Test system and measurement methods
The new test system and the methodology have already been described in great detail in the basic article "How we test graphics cards, as of February 2017" (English: "How We Test Graphics Cards") and therefore, for the sake of simplicity, now only refers to these detailed description. So if you want to read everything again, you are welcome to do so.
If you are interested, the summary in table form quickly provides a brief overview:
| Test systems and measuring rooms | |
|---|---|
| Hardware: |
Intel Core i7-8700K x 5 GHz MSI Z370 Gaming Pro Carbon AC G.Skill TridentZ DDR4 3200 1x 1 TByte Toshiba OCZ RD400 (M.2, System SSD) 2x 960 GByte Toshiba OCZ TR150 (Storage, Images) Be Quiet Dark Power Pro 11, 850-watt power supply |
| Cooling: |
Alphacool Ice Block XPX 5x Be Quiet! Silent Wings 3 PWM (Closed Case Simulation) Thermal Grizzly Kryonaut (for cooler change) |
| Housing: |
Lian Li PC-T70 with expansion kit and modifications |
| Monitor: | Eizo EV3237-BK |
| Power consumption: |
non-contact DC measurement on the PCIe slot (Riser-Card) non-contact DC measurement on the external PCIe power supply Direct voltage measurement on the respective feeders and on the power supply 2x Rohde & Schwarz HMO 3054, 500 MHz multi-channel oscillograph with memory function 4x Rohde & Schwarz HZO50, current togor adapter (1 mA to 30 A, 100 KHz, DC) 4x Rohde & Schwarz HZ355, touch divider (10:1, 500 MHz) 1x Rohde & Schwarz HMC 8012, digital multimeter with storage function |
| Thermography: |
Optris PI640, infrared camera PI Connect evaluation software with profiles |
| Operating system | Windows 10 Pro (current build, all updates) |


Kommentieren