


Installation report
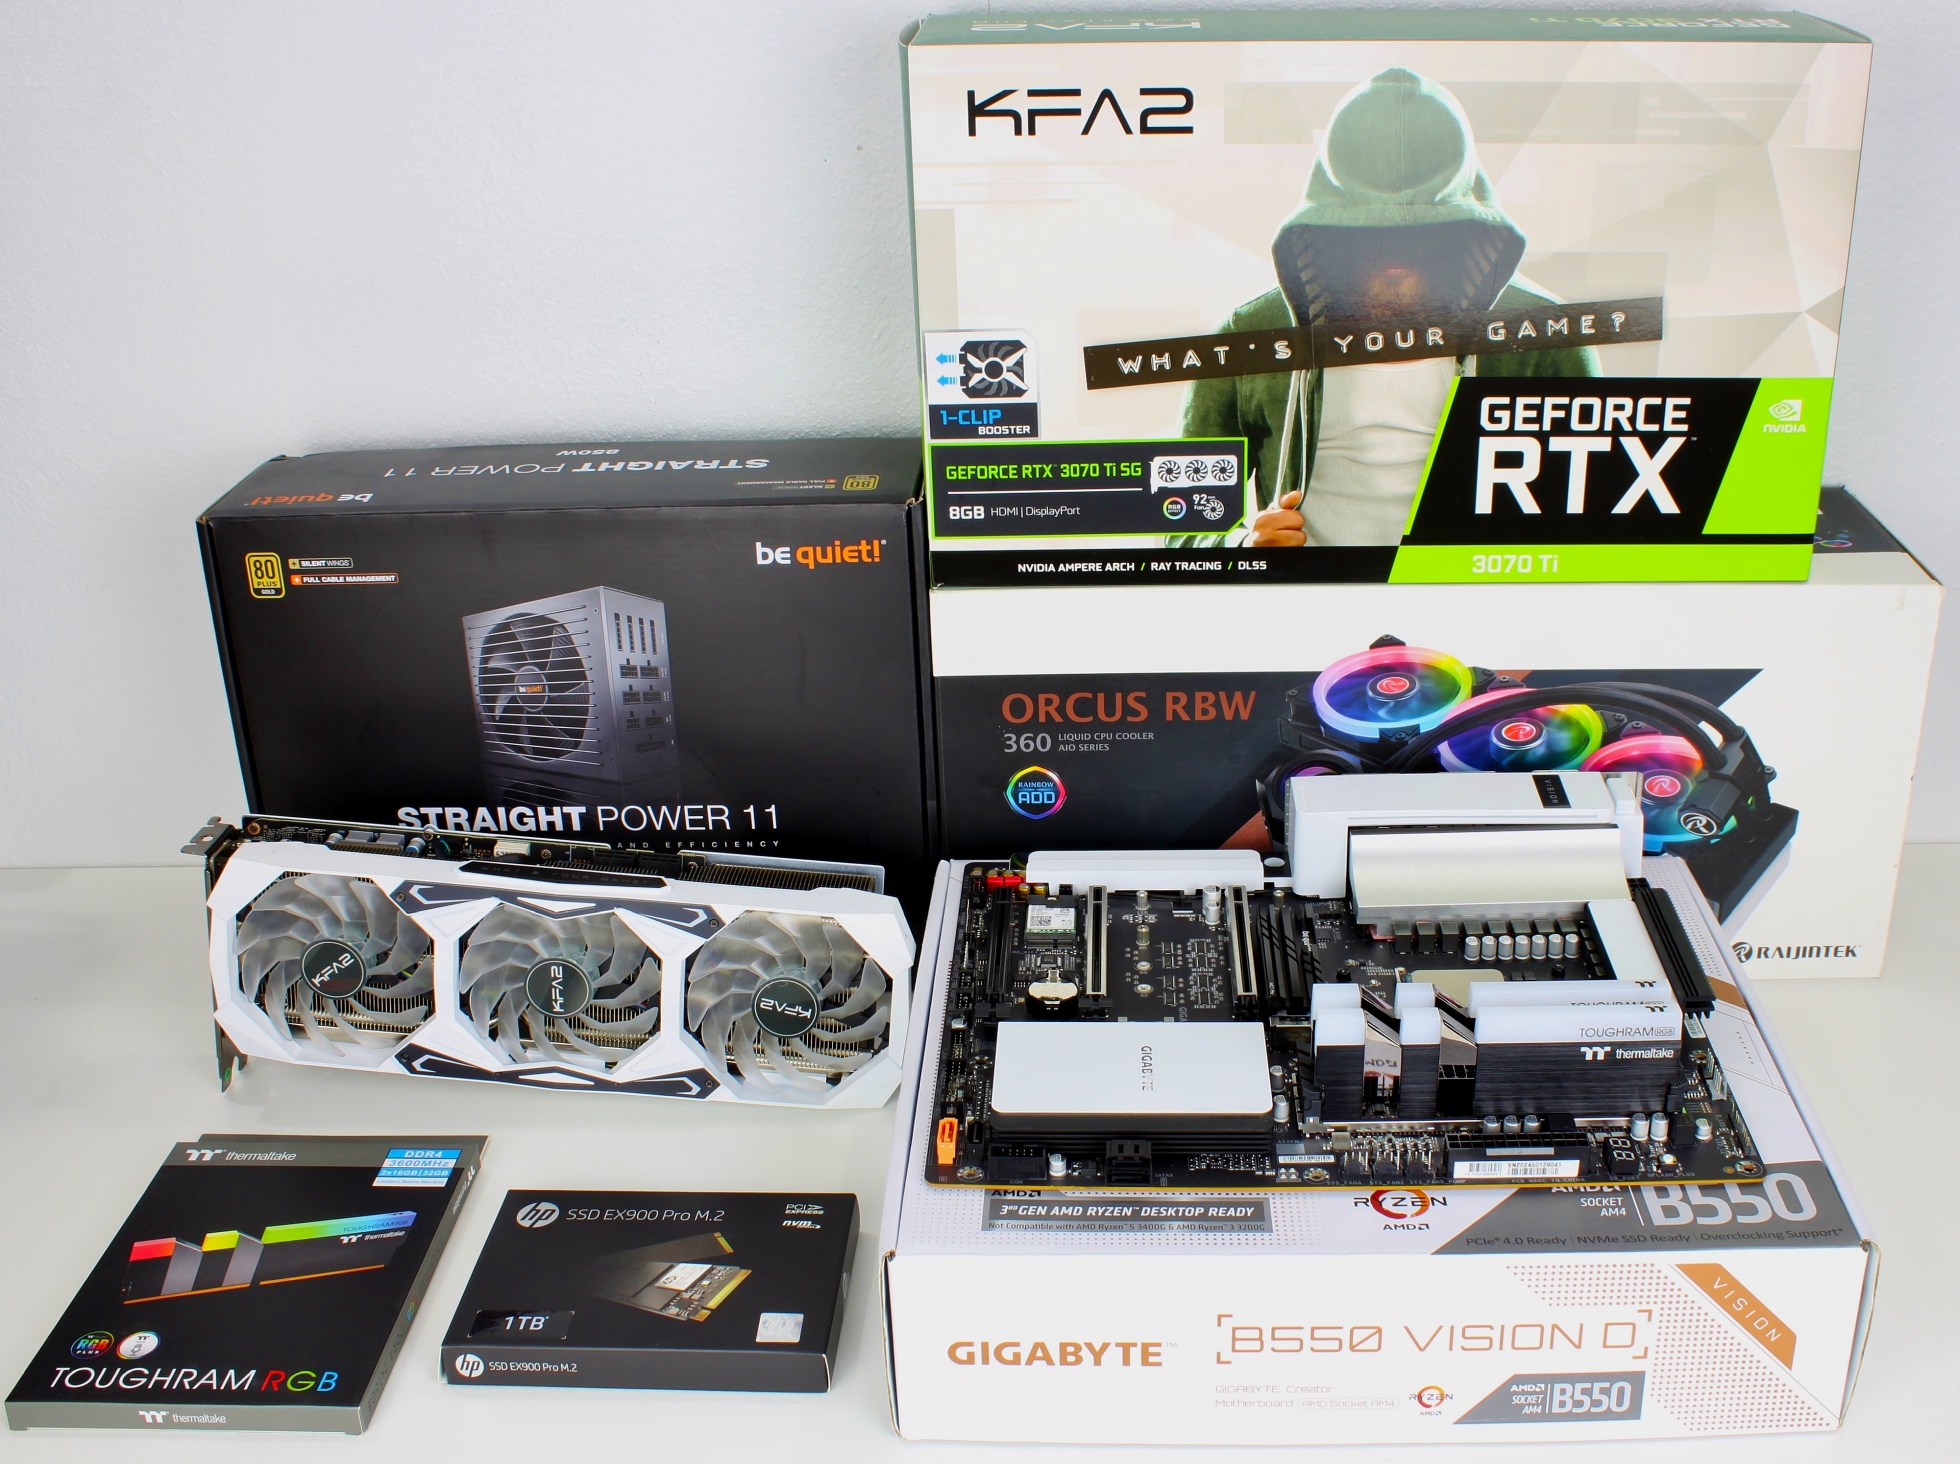
Now we come to the practical test and thus to the installation of the system. First of all, I can say that there were no problems and it was fun to install hardware in the Ponos Ultra despite the limited space available for cable management. The following already known hardware should be installed:
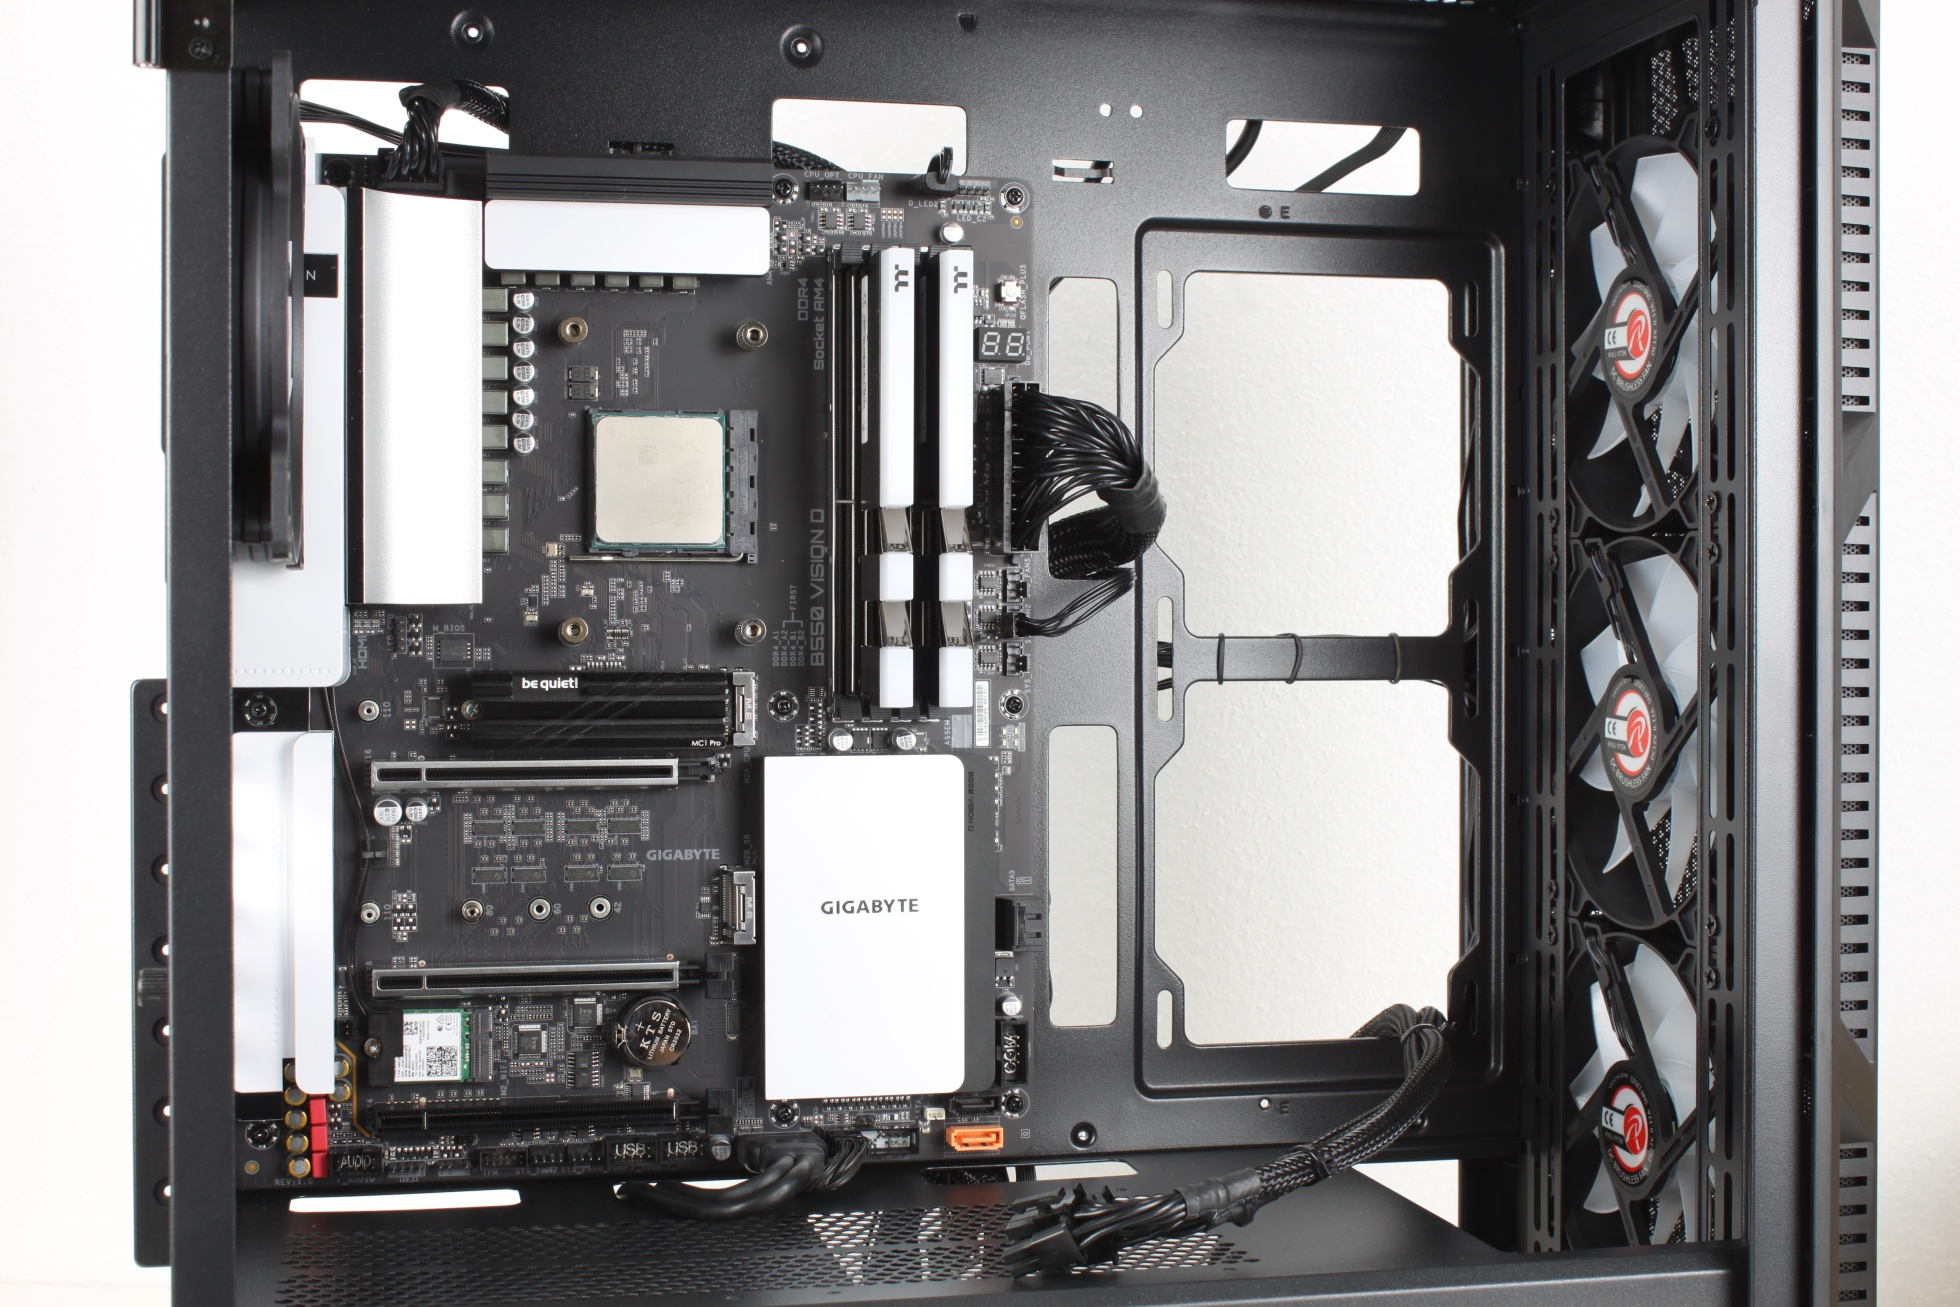
Nice to see that Raijintek also includes the spacer with centering for easy installation of the mainboard.
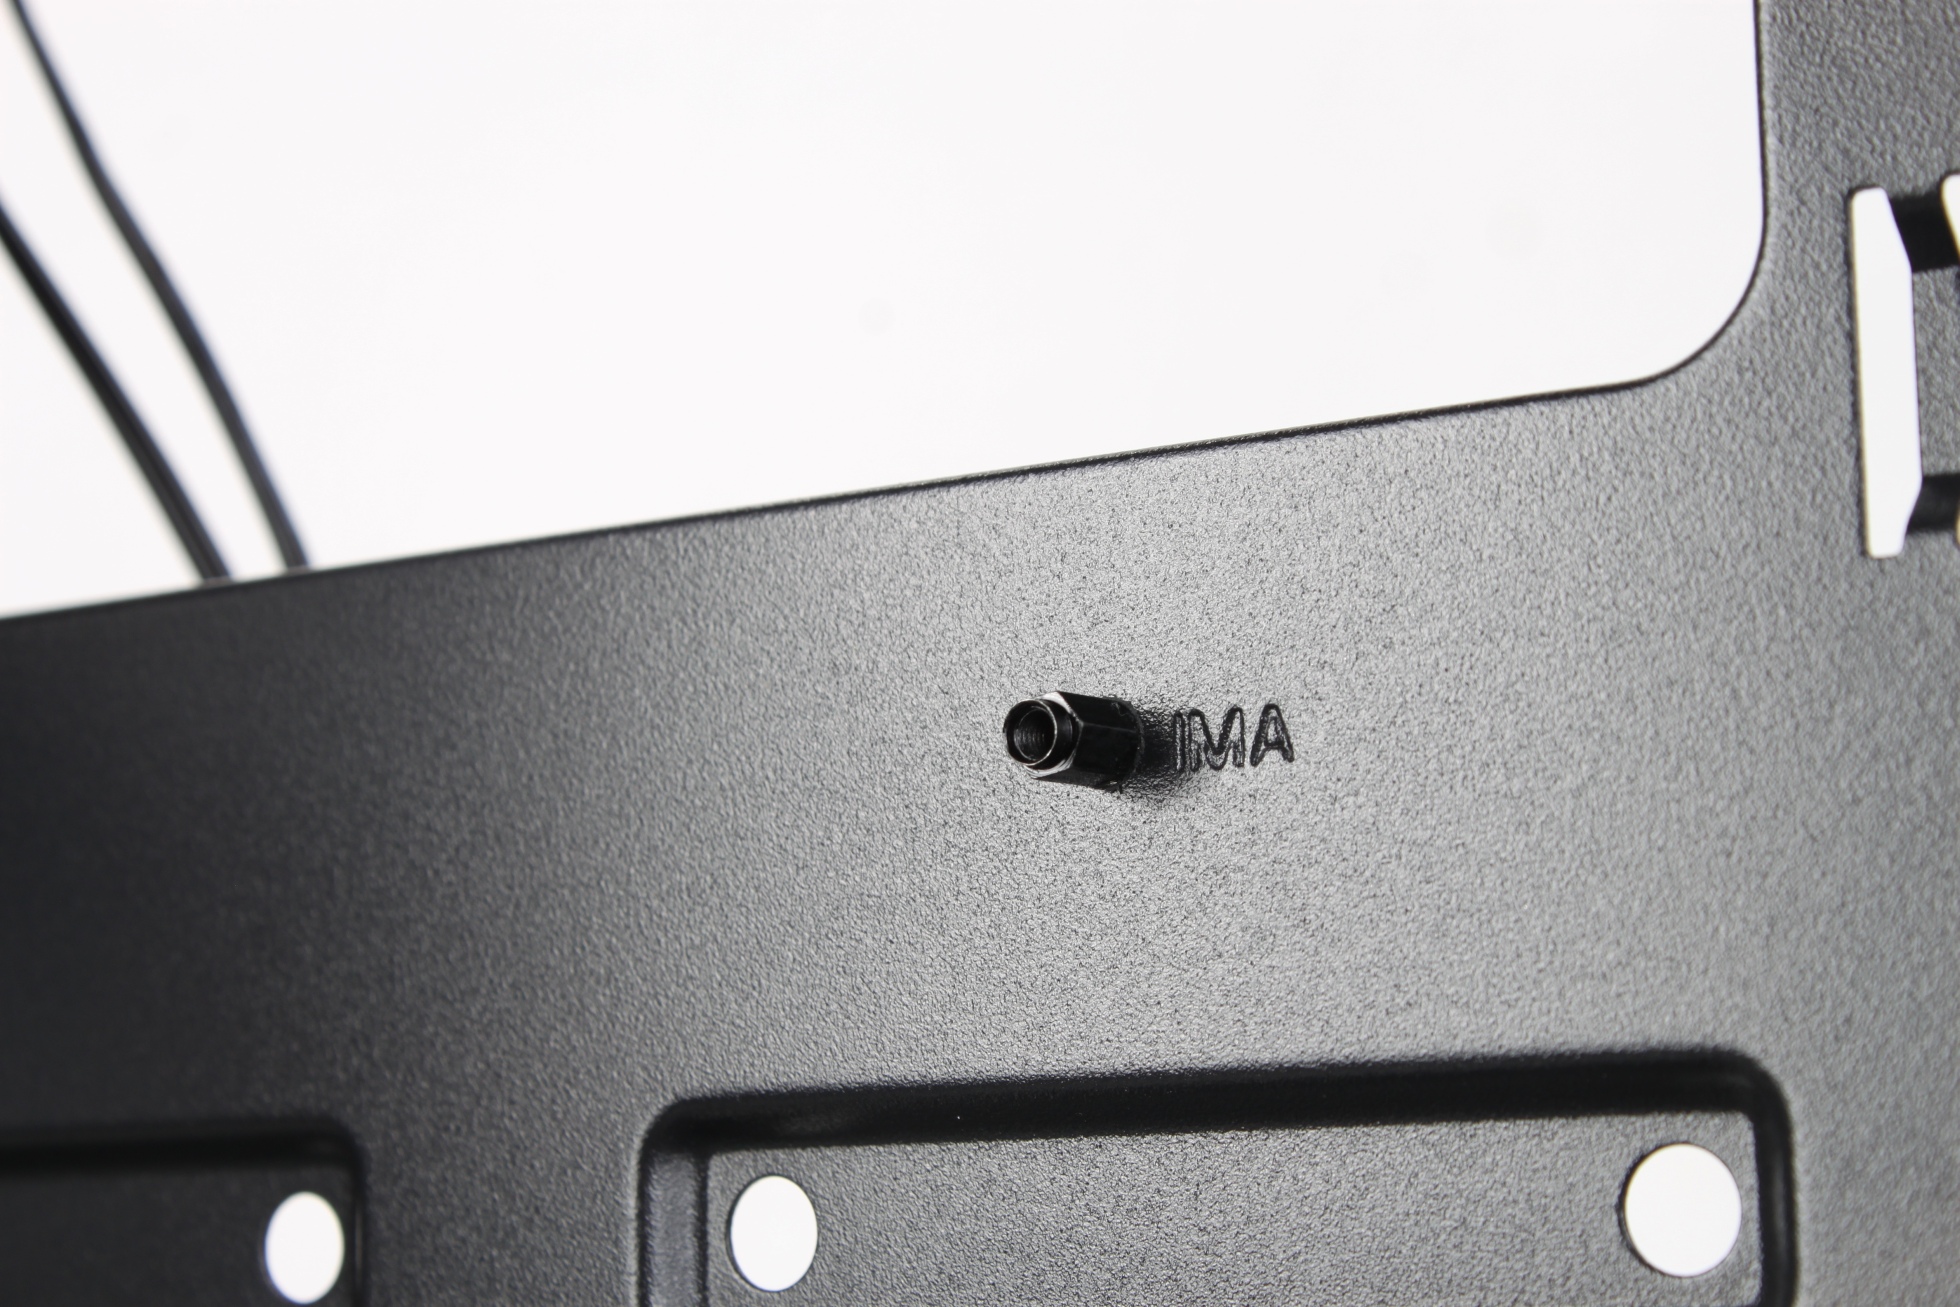
This allowed us to install the board in no time at all and, thanks to the pre-assembled CPU, SSD and RAM, we were able to install half of all components in a single step.
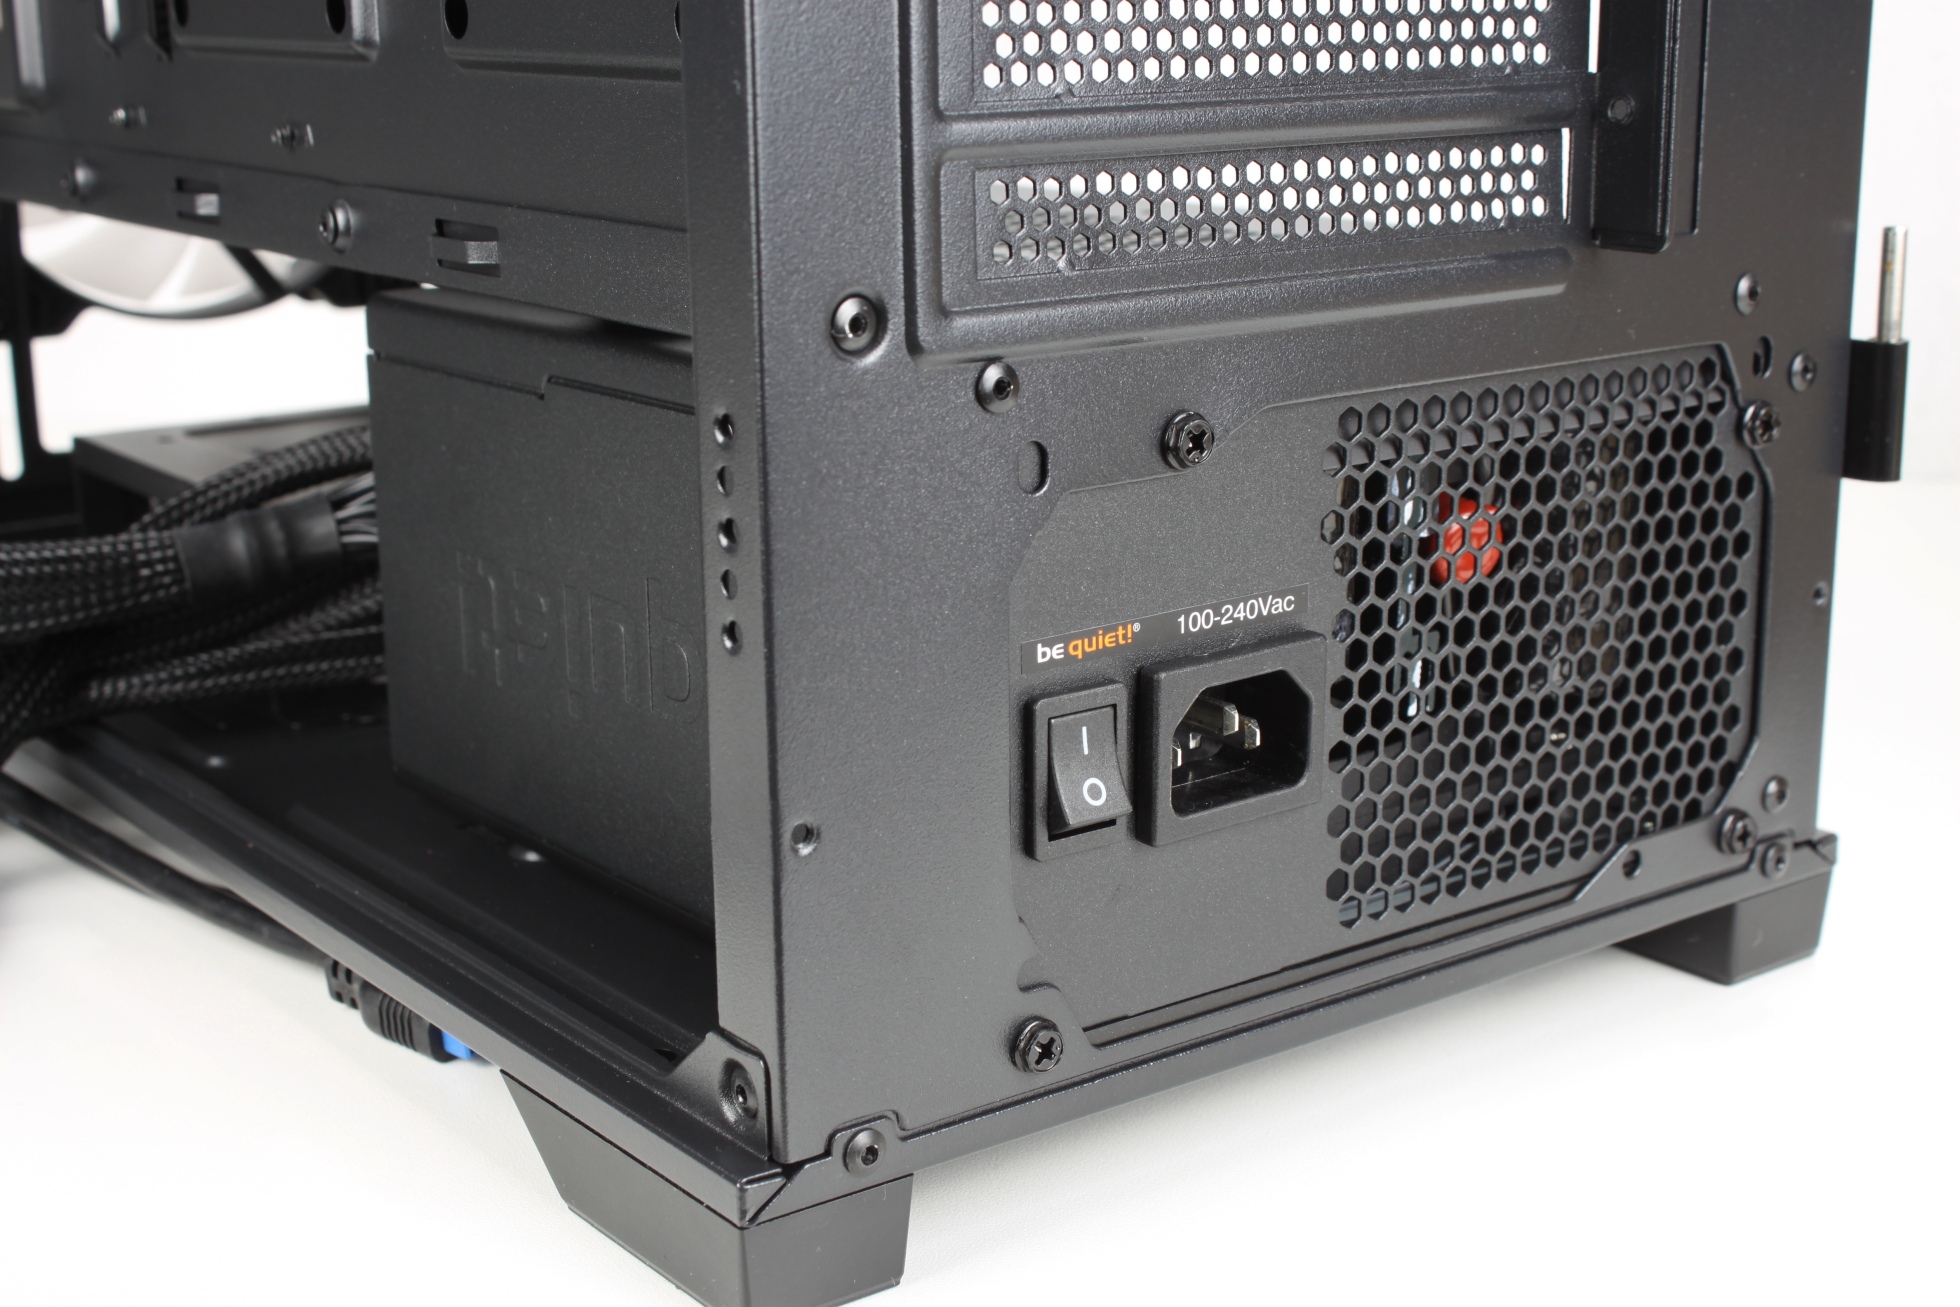
Next came the power supply unit. This step was also super easy because you don’t have to fiddle around with some stupid adapter – just slide the power supply in from the side, screw in the screws and you’re done.
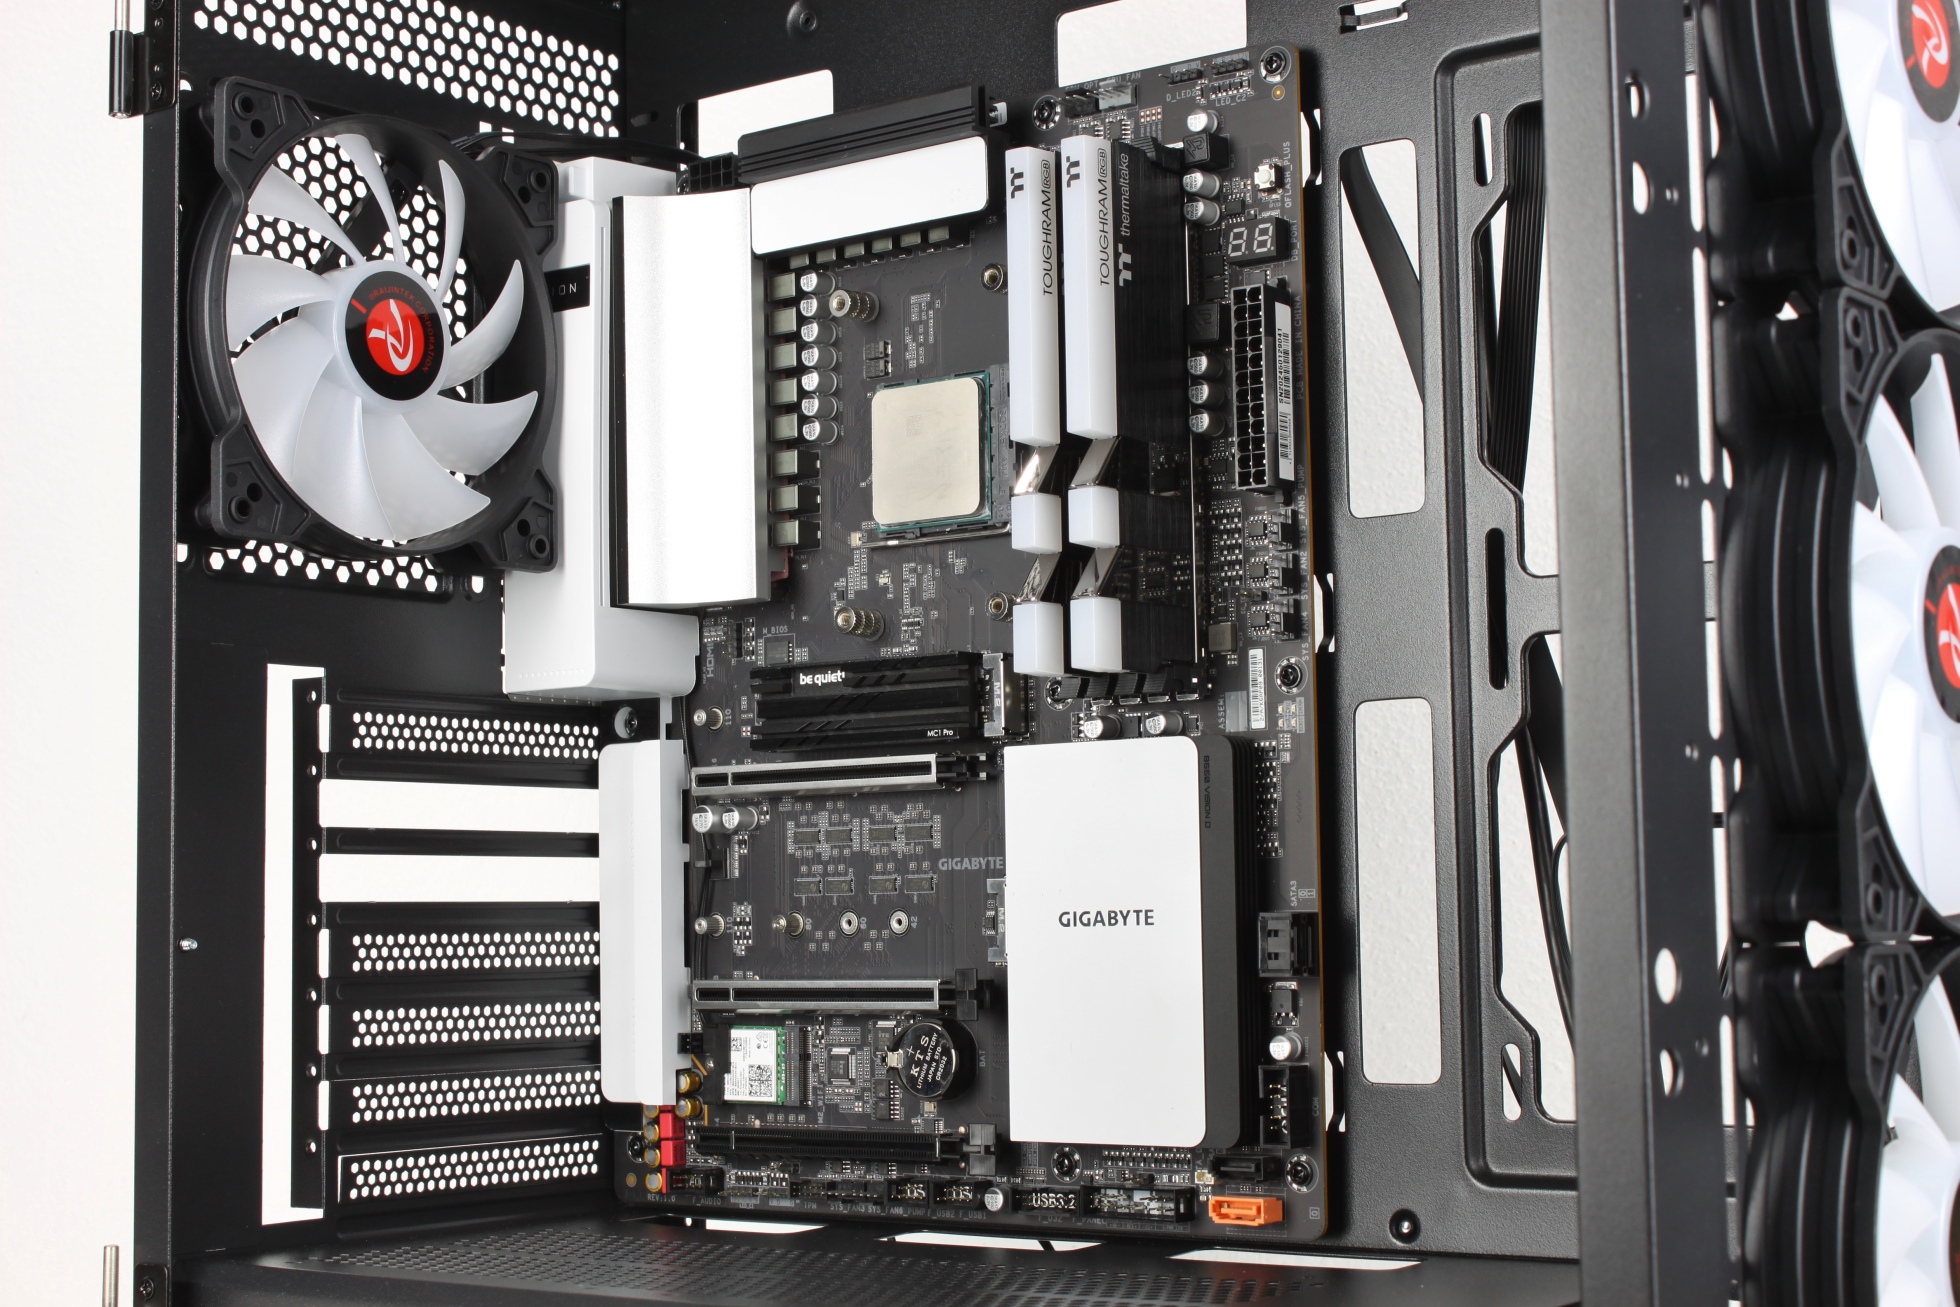
The cable routing was very simple and the Ponos Ultra has cable grommets in all relevant places – even if they are not rubberized.
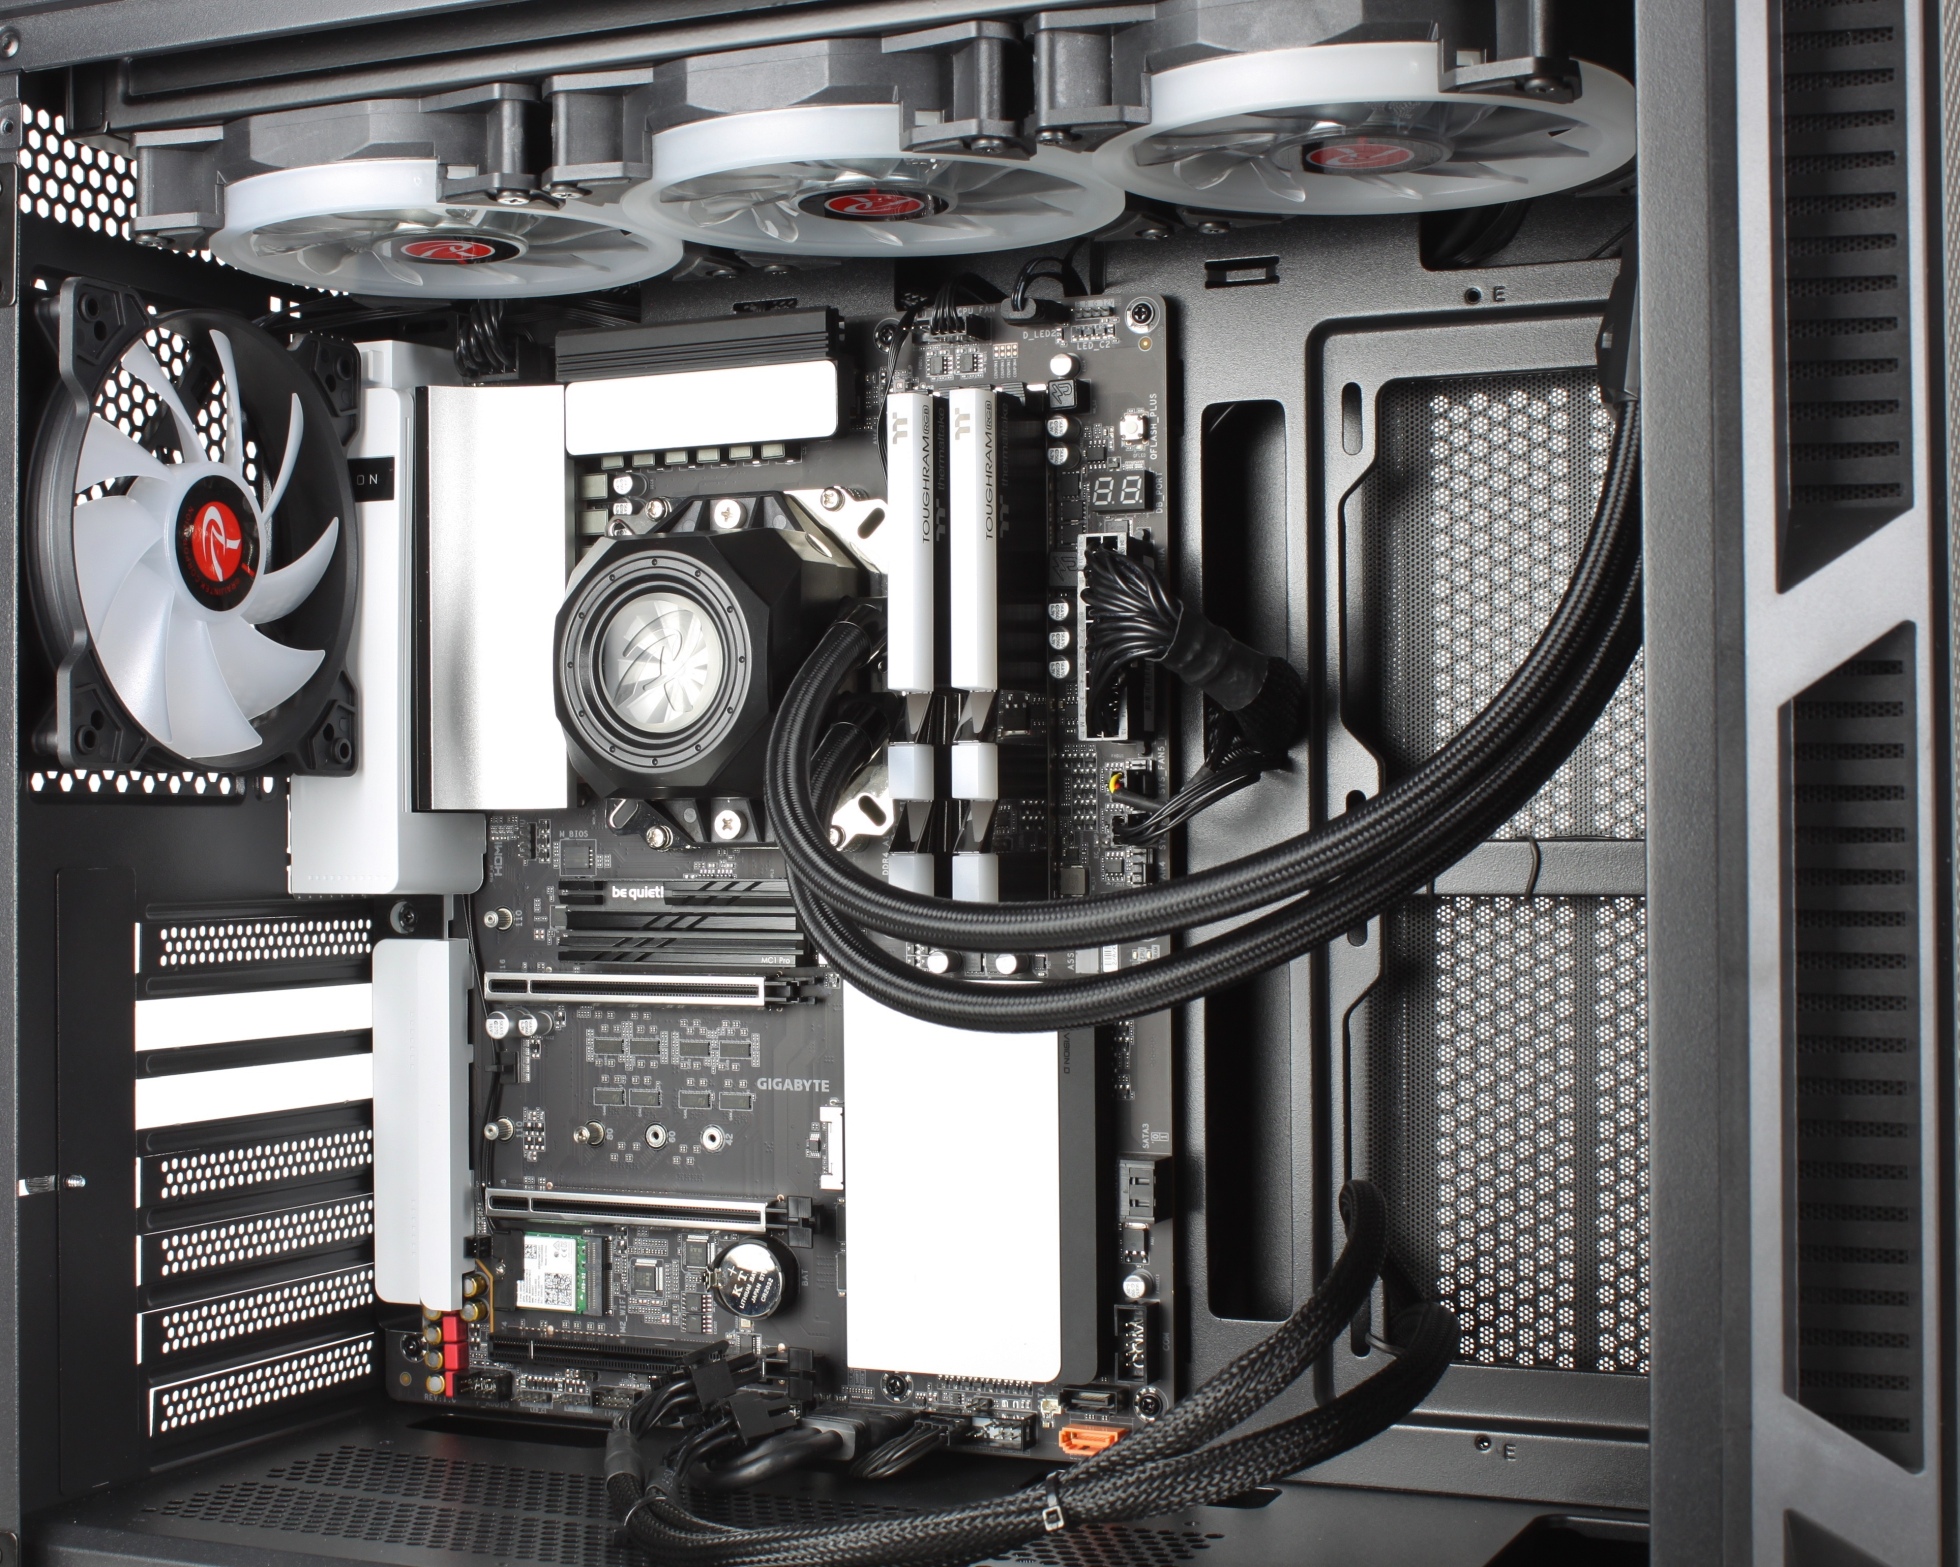
With the AIO, a few more cables were added, but they were easy to hide in the main chamber:
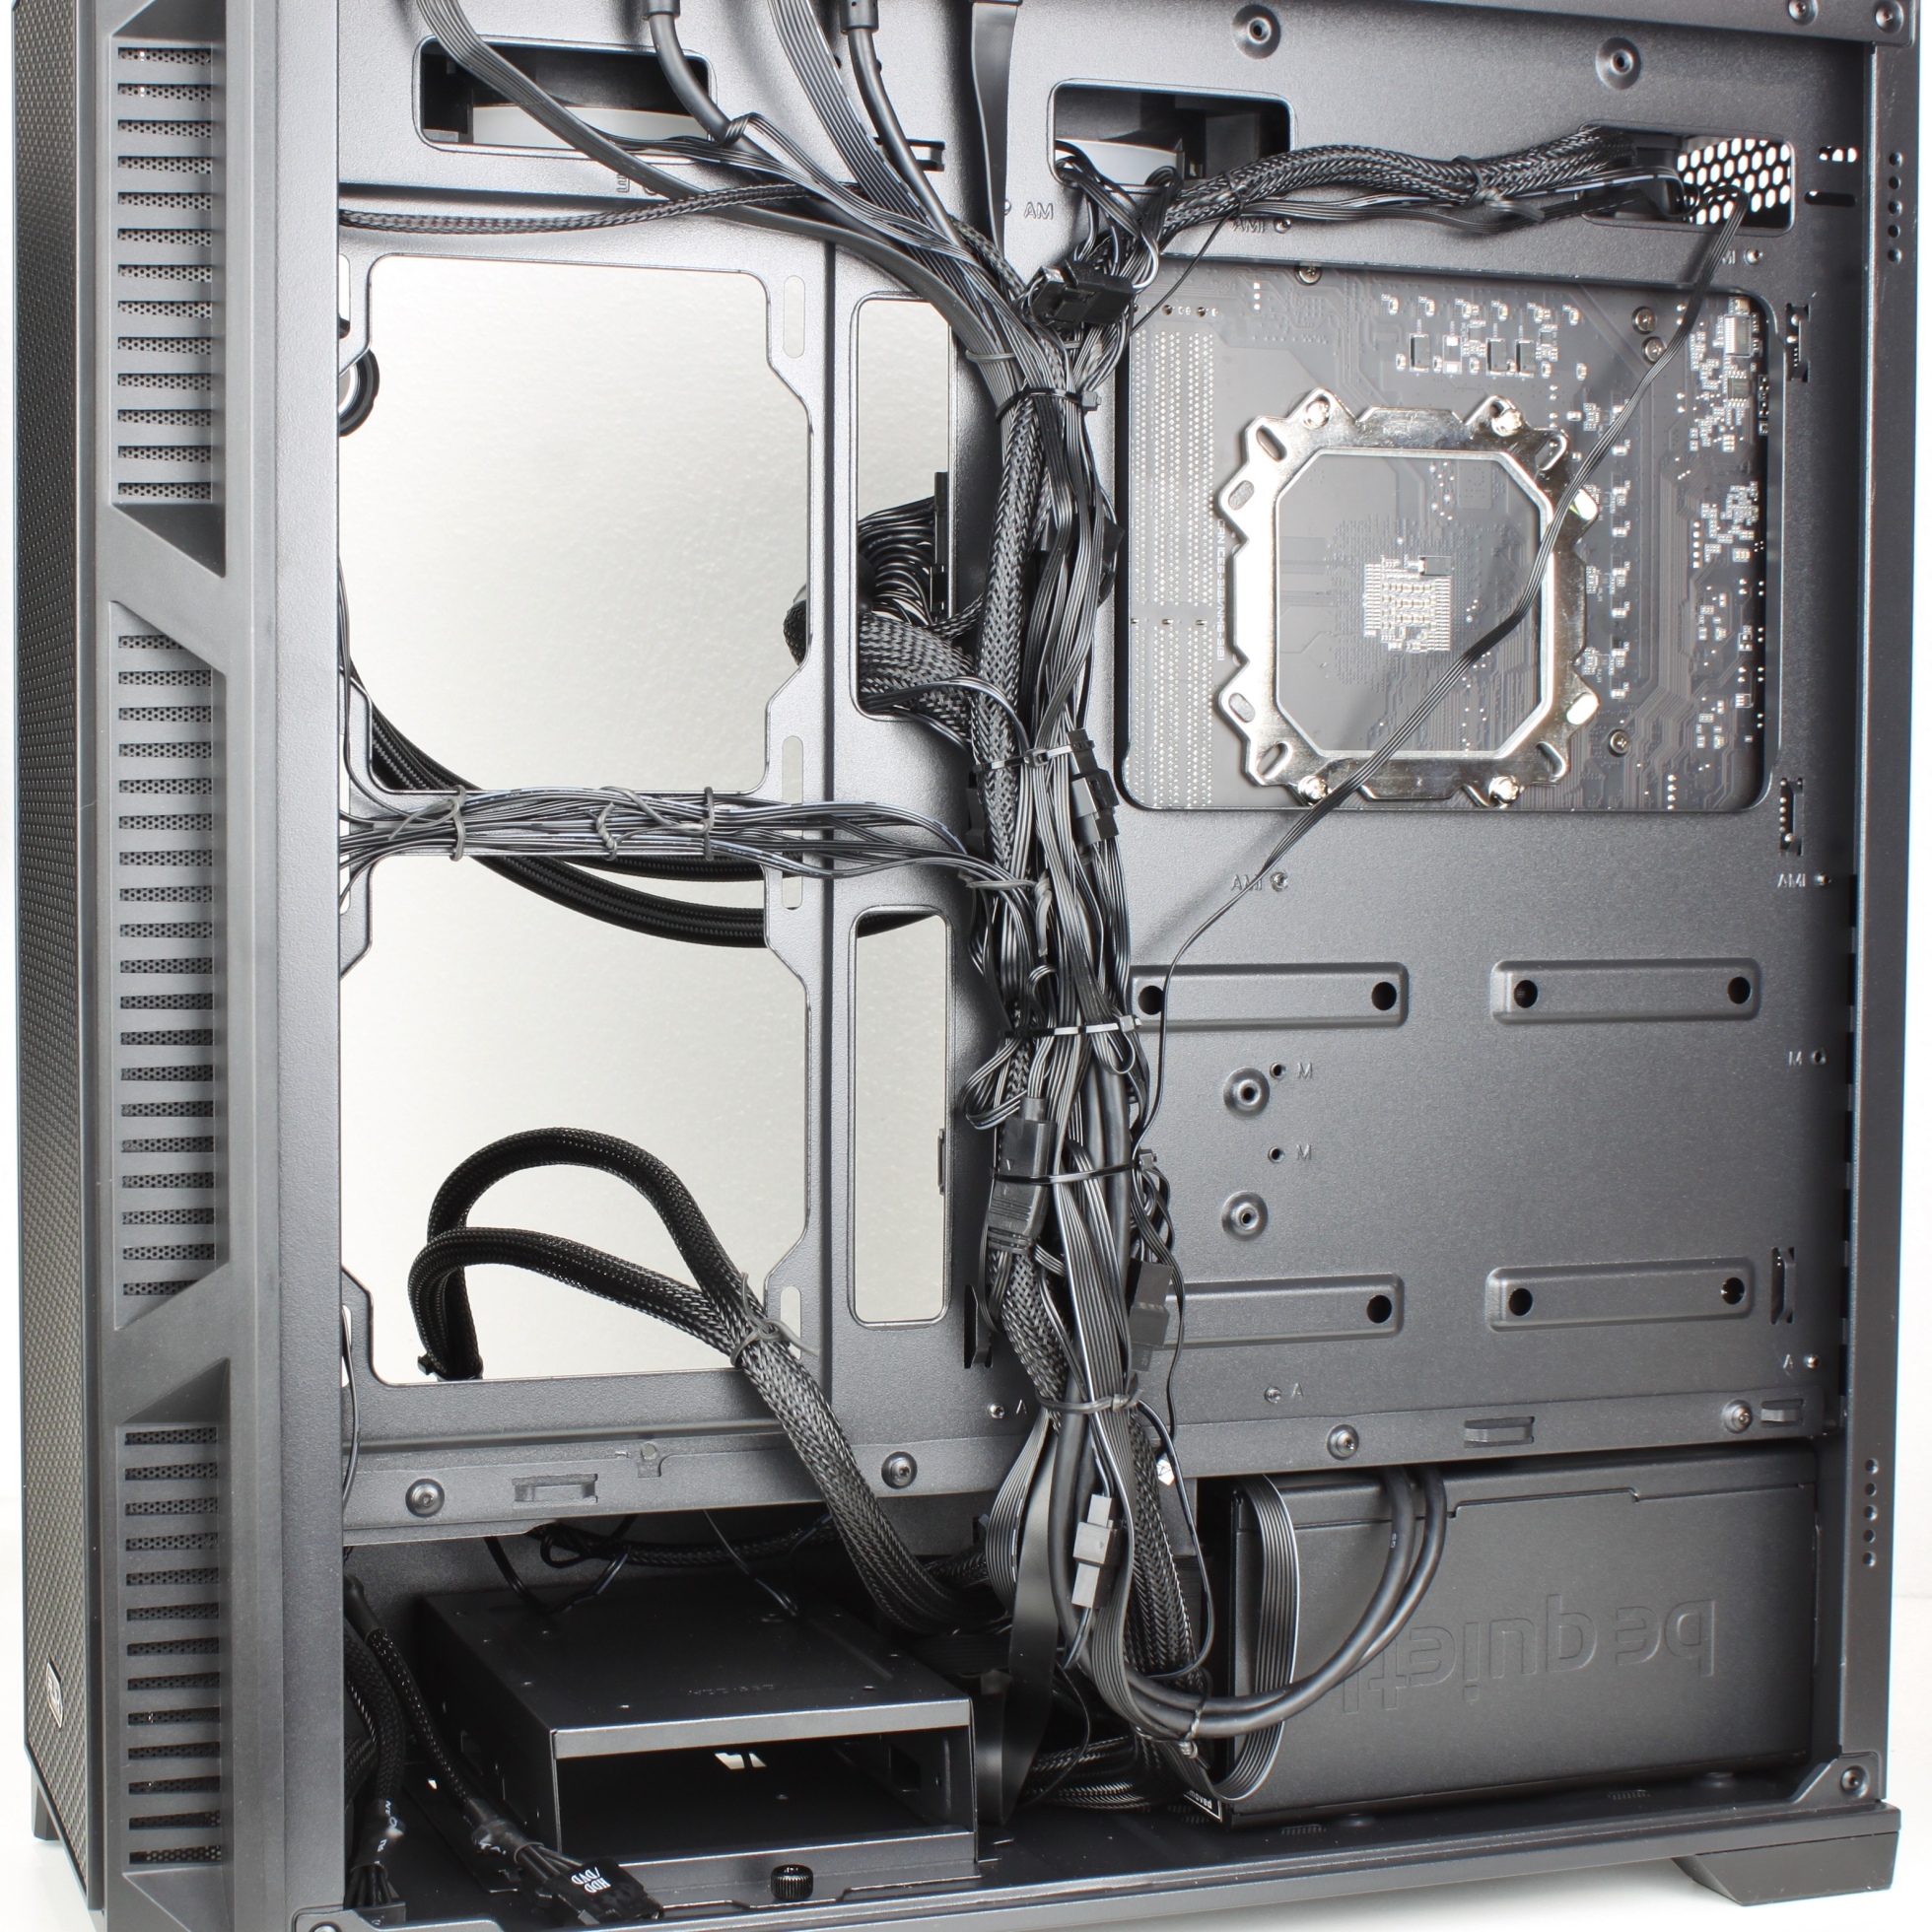
It’s a bit chaotic at the back due to the lack of space, but in the end I managed to accommodate all the cables, including all the RGB clutter from the AIO and case fans. However, attaching the side panel requires a little patience.
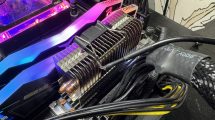
Finally, just insert the graphics card:
Check everything again:

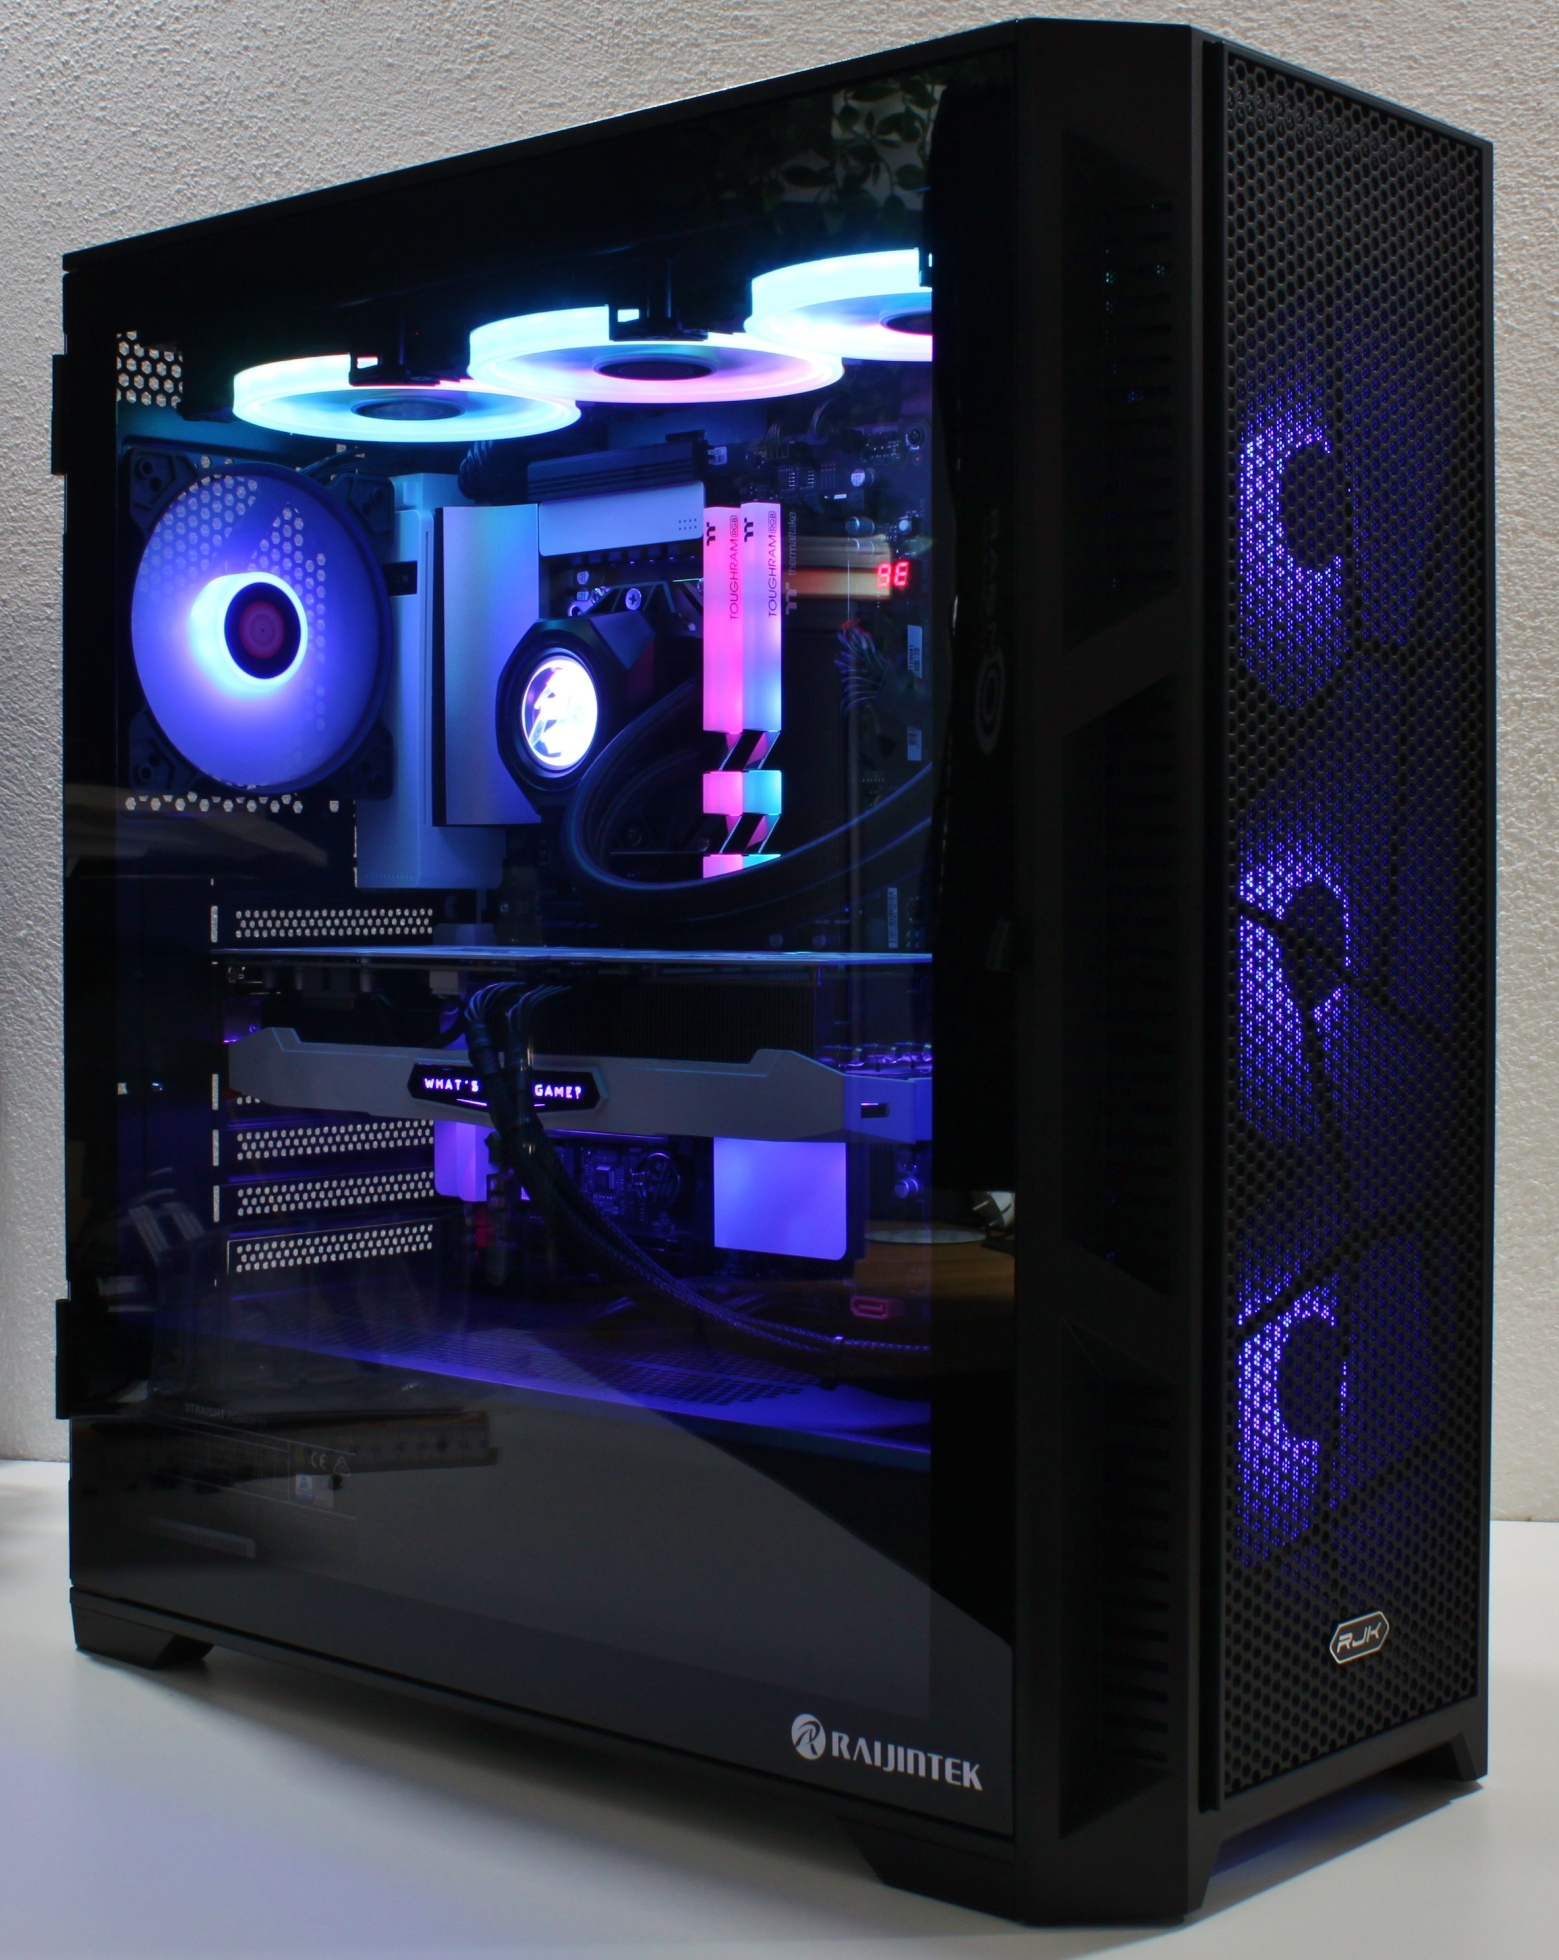
And then close the lid and test run!


10 Antworten
Kommentar
Lade neue Kommentare
Mitglied
Veteran
Urgestein
Urgestein
Veteran
Urgestein
Mitglied
Veteran
Urgestein
Alle Kommentare lesen unter igor´sLAB Community →