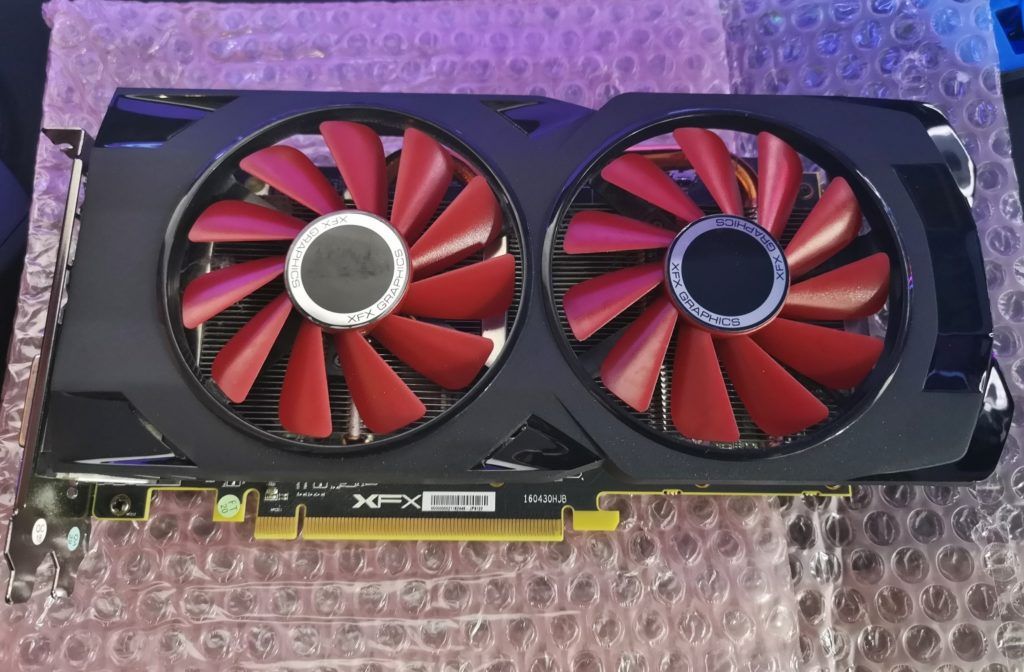
After the choice of the platform and the components has been made in the first part, this part is now about the assembly of the system. This is not a perfect step-by-step guide with the claim of absolute completeness, but only a loose summary in the order in which I usually mount my systems. At this point, of course, I also refer to the first part with the component selection and description:
Low-Budget Gaming PC 2020 | Part 1 – Compilation
Low-Budget Gaming PC 2020 | Part 3 – Overclocking and Benchmarks
Cleaning the graphics card(s)
Before it starts to install, all second-hand parts must first be cleaned. Both graphics cards were completely disassembled, cleaned and provided with fresh thermal paste (Gelid GC Extreme). For older graphics cards, this usually results in a measurable reduction in temperatures and is therefore recommended to anyone who trusts it by hand. So little Radeon arrived at me. At first glance, at least not a hair-raising condition.
- 1 - Reinigen der Gebrauchtteile
- 2 - GPU-Kühler abschrauben
- 3 - GPU-Kühler lösen und abnehmen
- 4 - Platine vorbereiten
- 5 - GPU richtig säubern
- 6 - Spannungswandler kontrollieren
- 7 - Lüfter und Abdeckung entfernen
- 8 - Lamellenkühler reinigen
- 9 - Lüftermodule prüfen
- 10 - Laufen die Lüfter frei?
- 11 - Wärmeleitpaste auftragen und fertig!
- 12 - Die Montage des PCs beginnt
- 13 - CPU richtig einsetzen
- 14 - Wärmeleitpaste auf CPU auftragen
- 15 - CPU-Kühler montieren
- 16 - Vorbereiten des Gehäuses
- 17 - Frontlüfter einbauen
- 18 - RGB oder nicht? Es werde Licht!
- 19 - Abstandshalter nicht vergessen!
- 20 - Motherboard einsetzen und anschließen
- 21 - SSD einbauen
- 22 - Kabelmanagement
- 23 - Grafikkarte einbauen
- 24 - Systemstart und Funktionstest
- 25 - Temperatur-Check
- 26 - Besseren TowerKühler einbauen


Kommentieren