


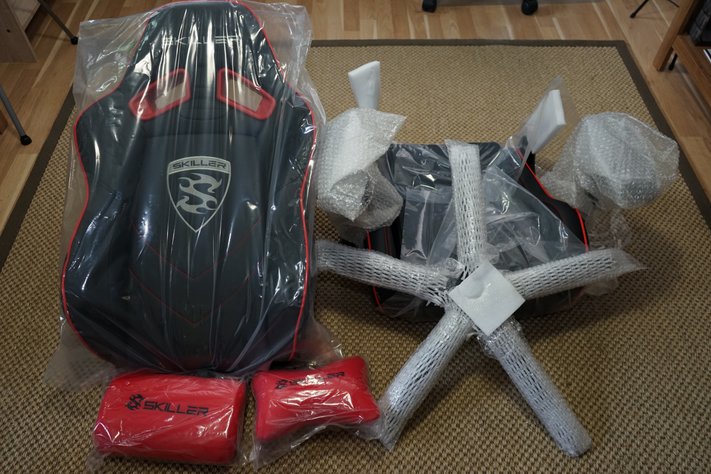
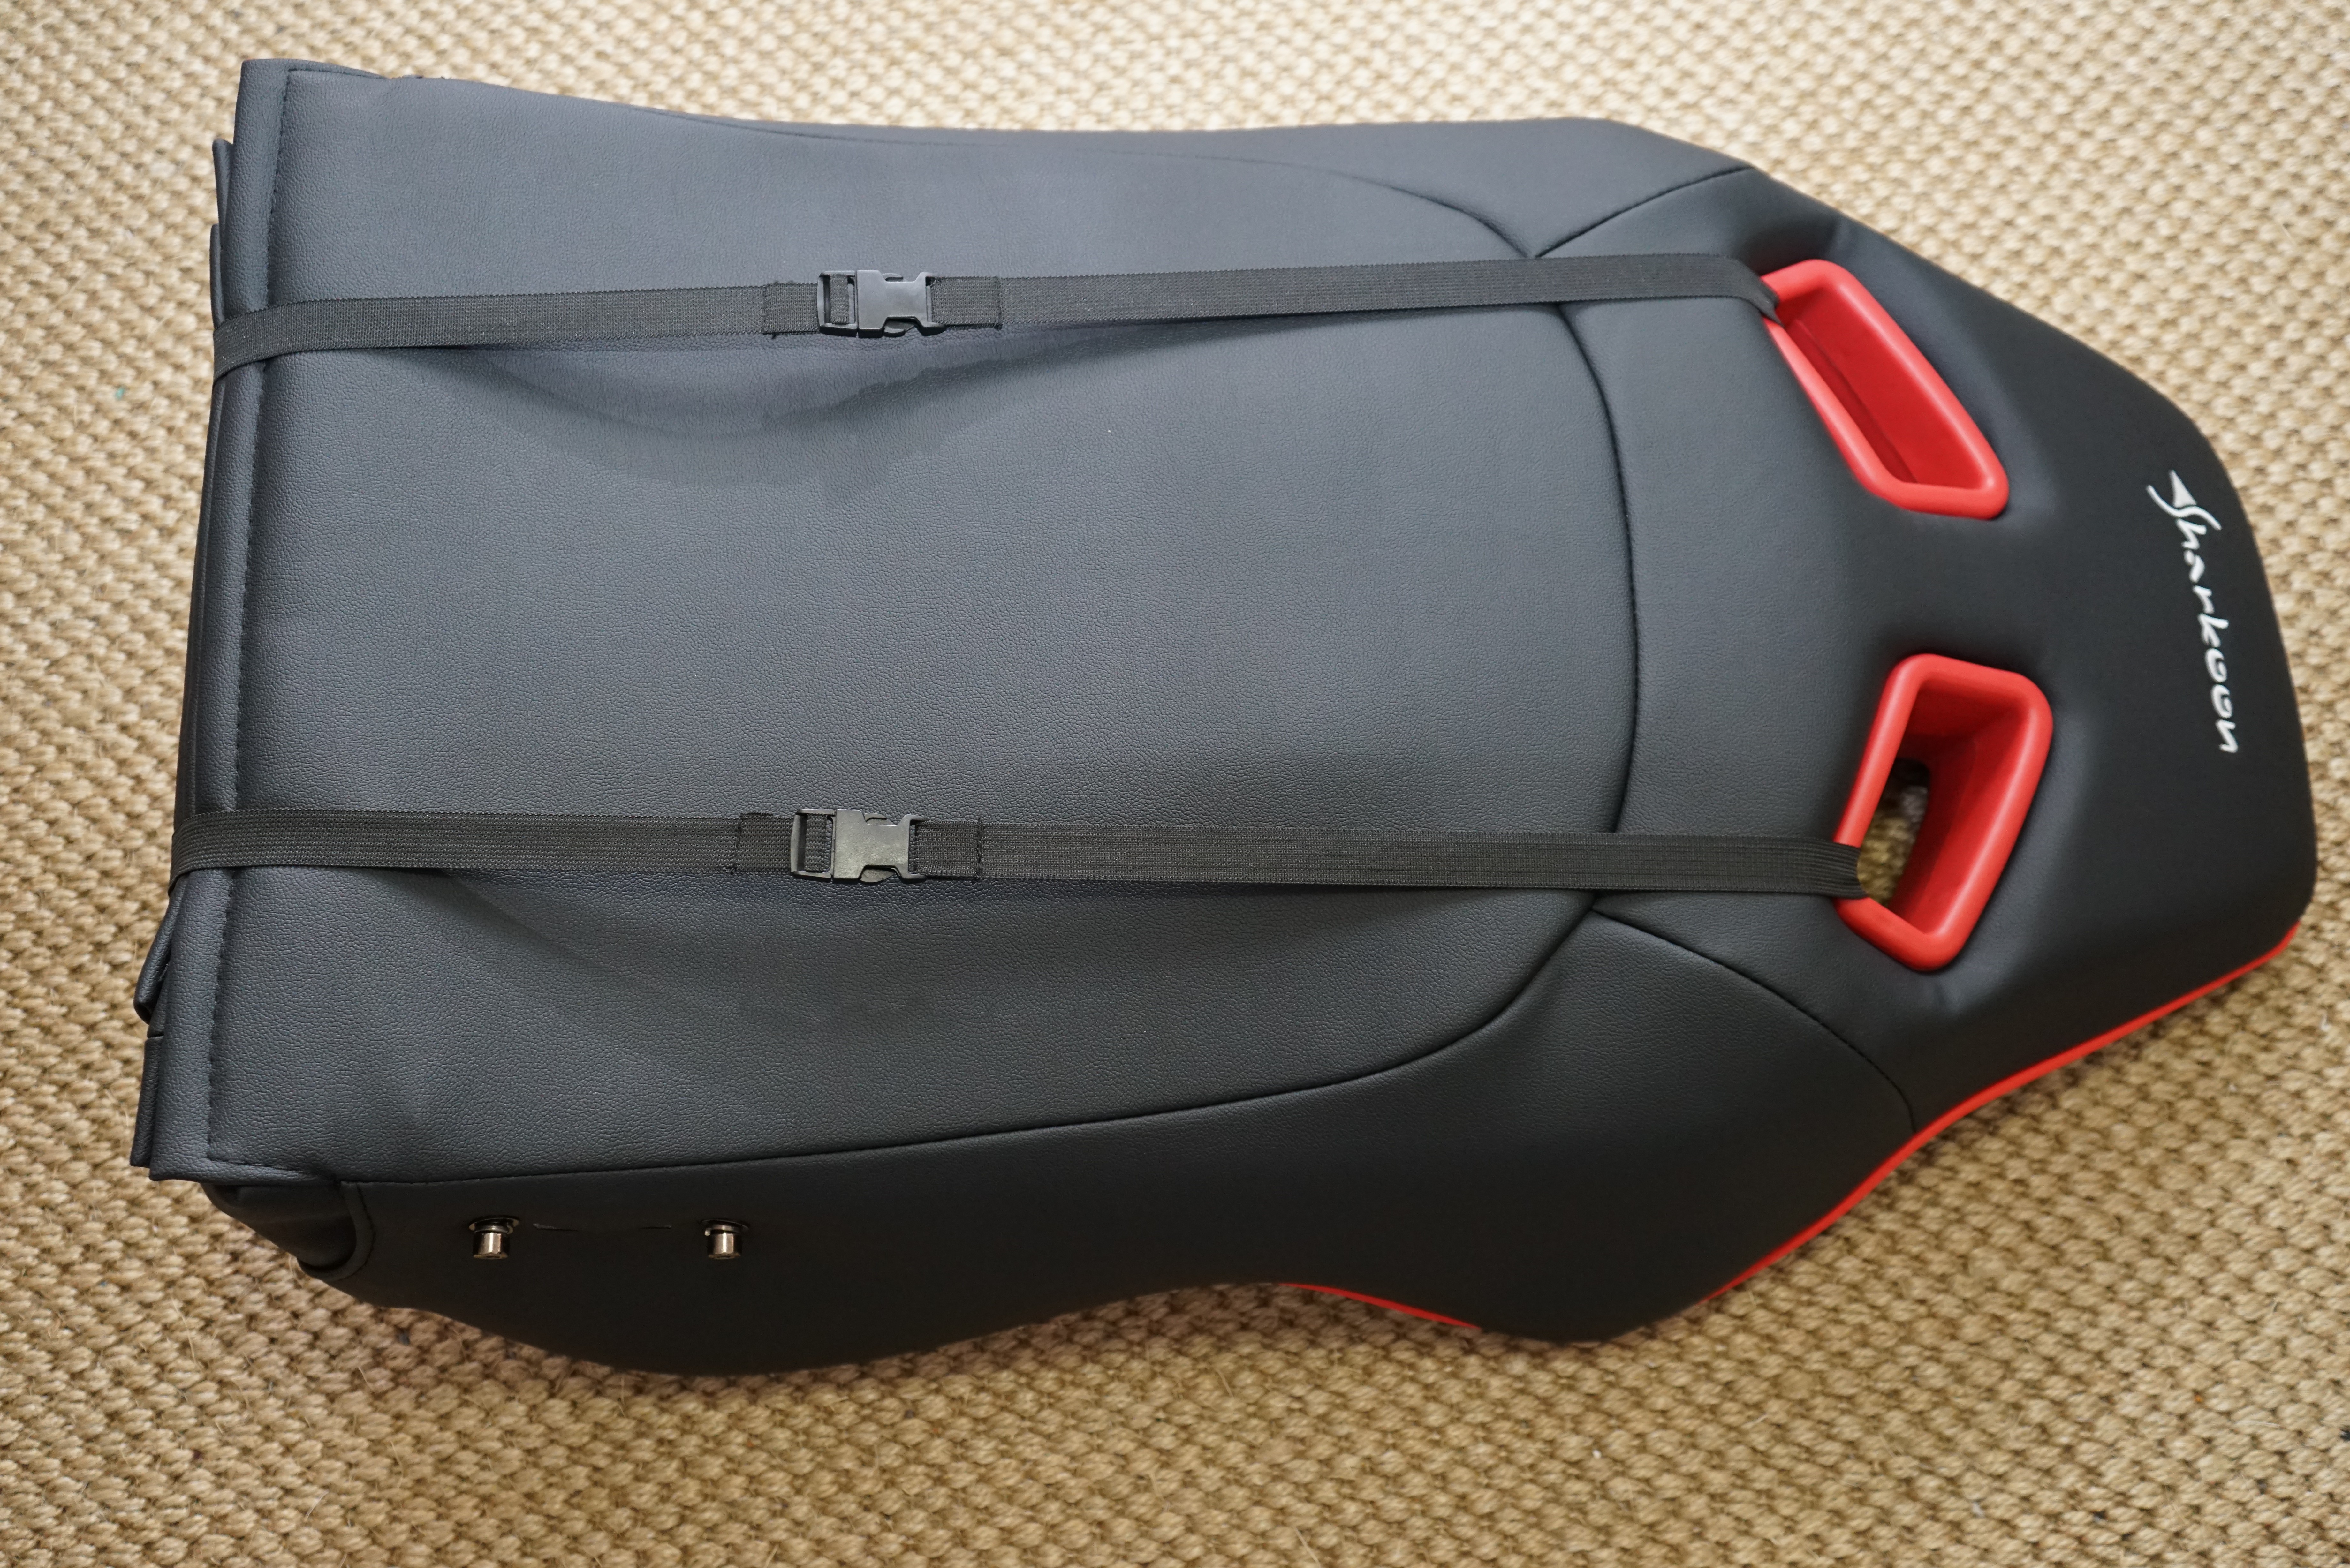
Let's unpack the Boliden once and start assembing in the next chapter. A lot of things are pre-assembled, but not everything. But here, too, the manufacturer has come up with a little more than just a bag of norgy.
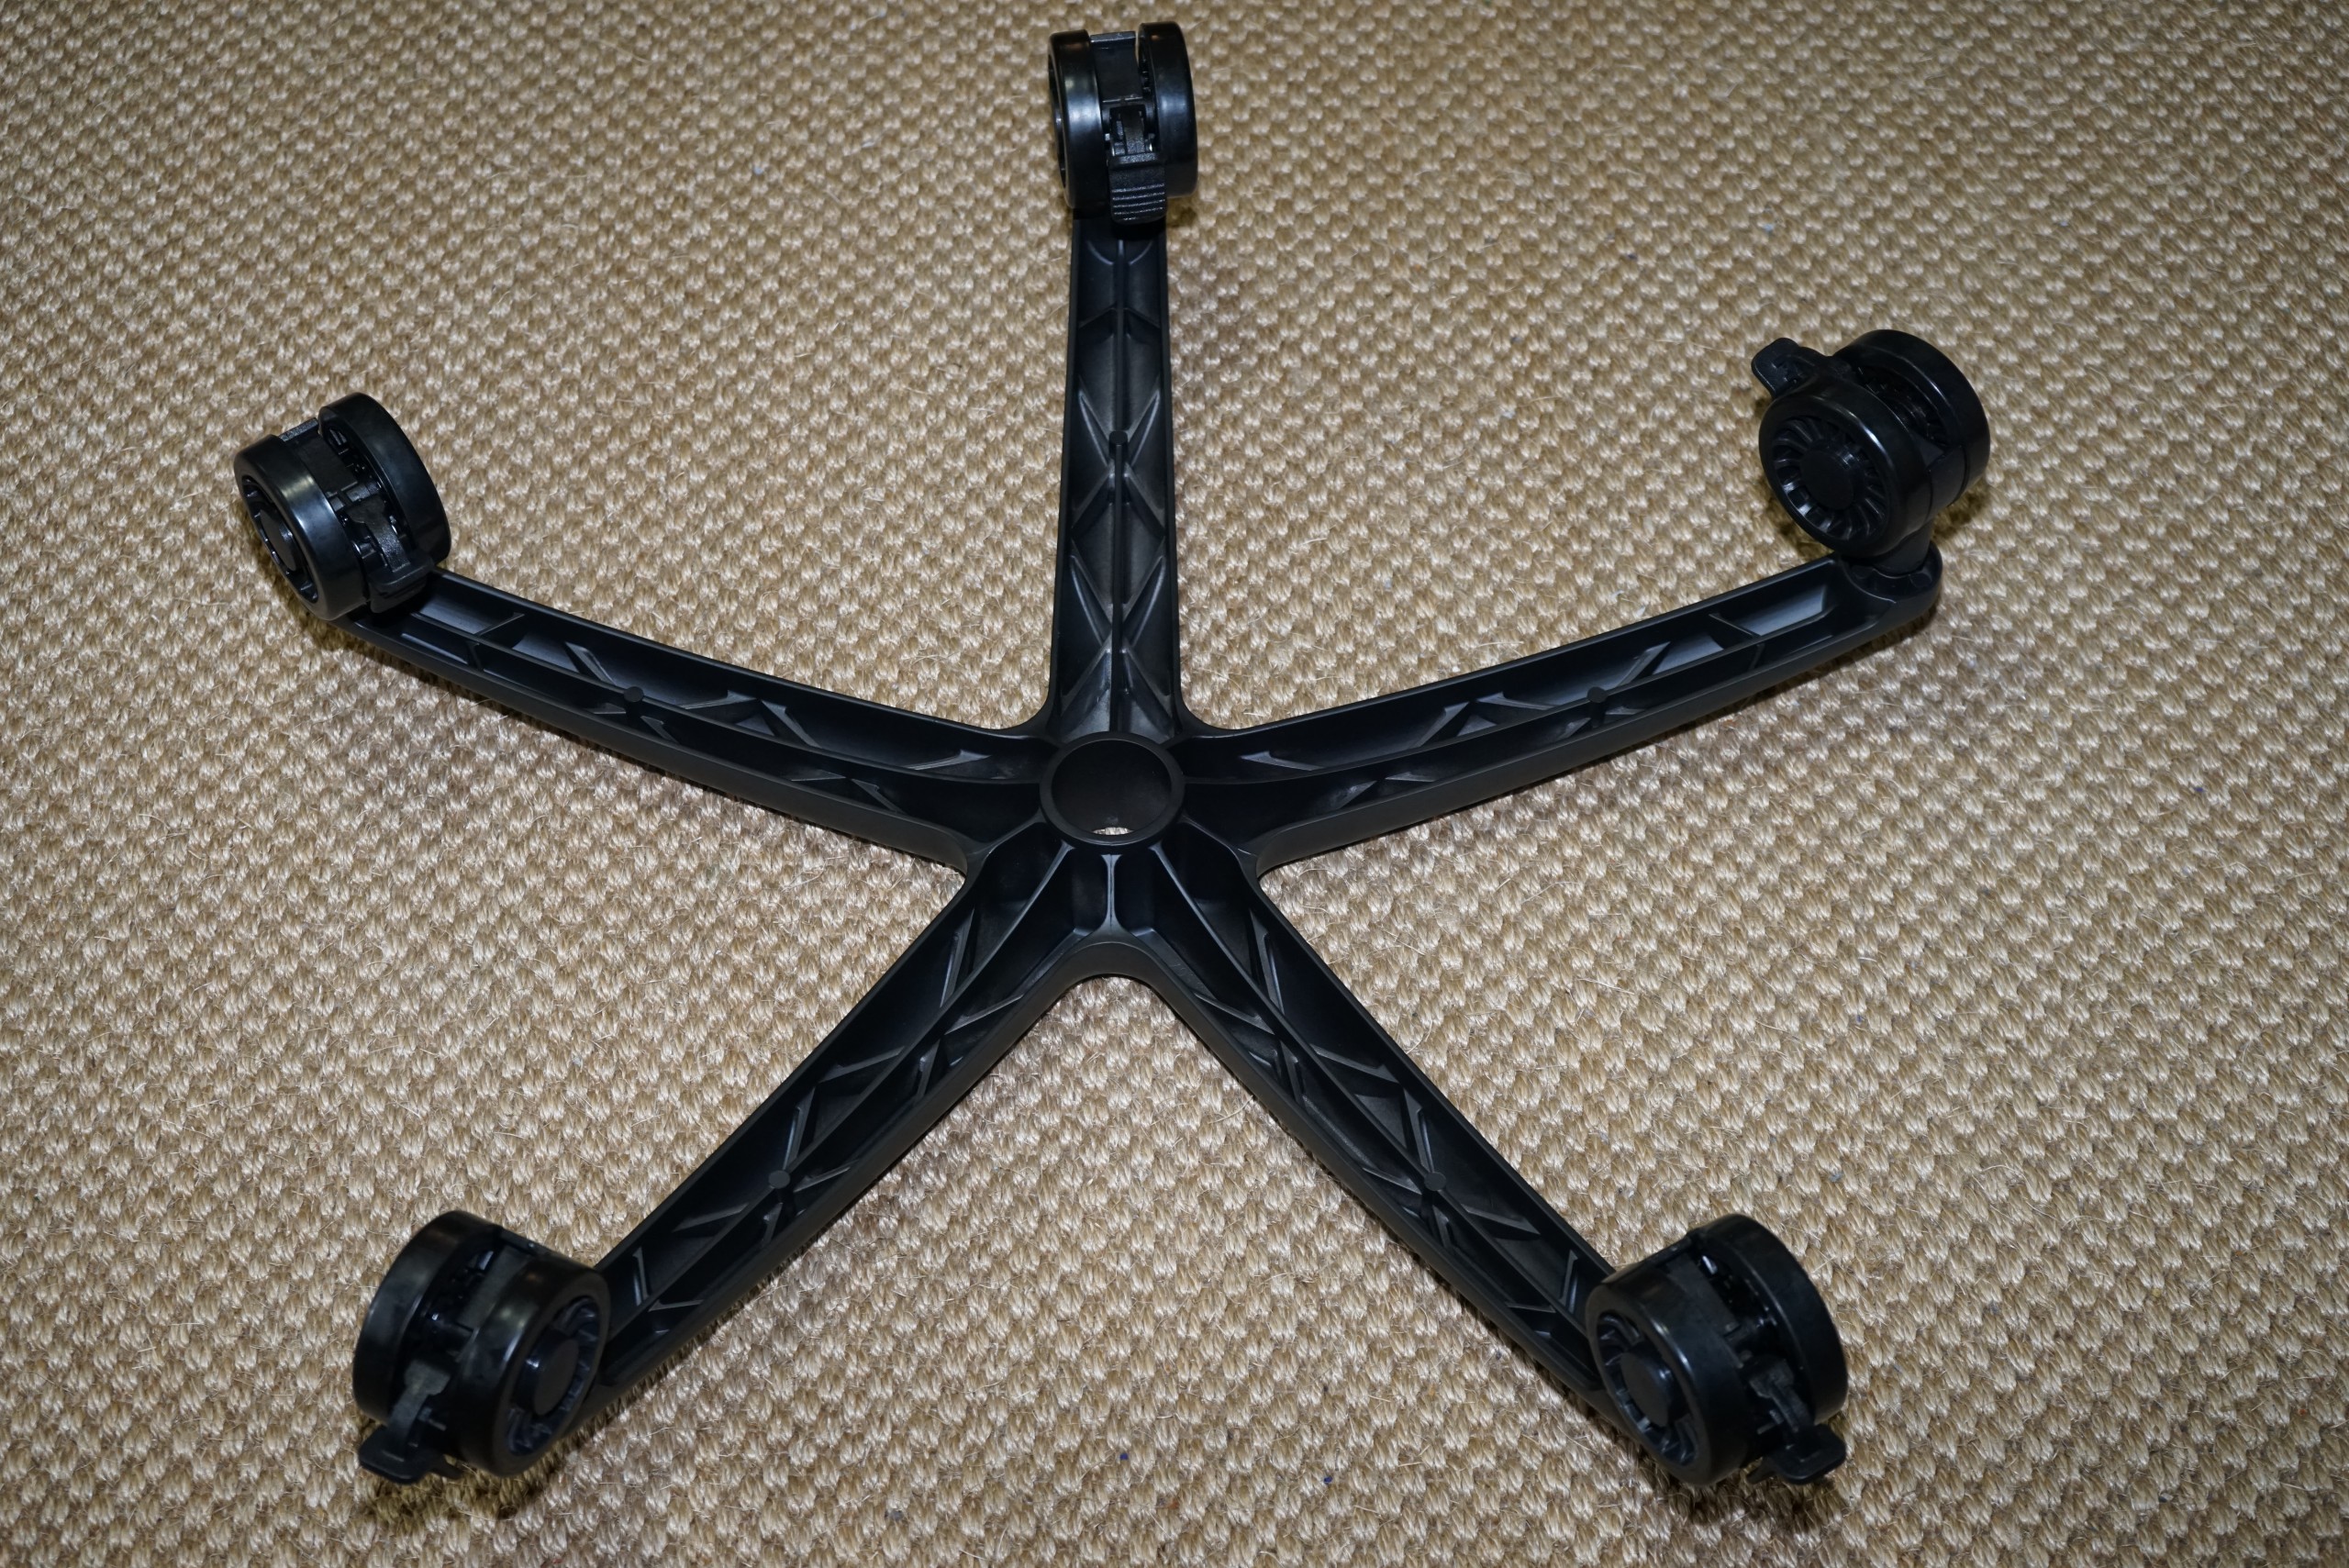
The rollers are easy to plug in. If you want to change later, you can also use standardized laminate rollers. Almost everything fits.
 |
 |
The gas pressure spring is quickly plugged in and the visual protection is not exactly witchcraft.

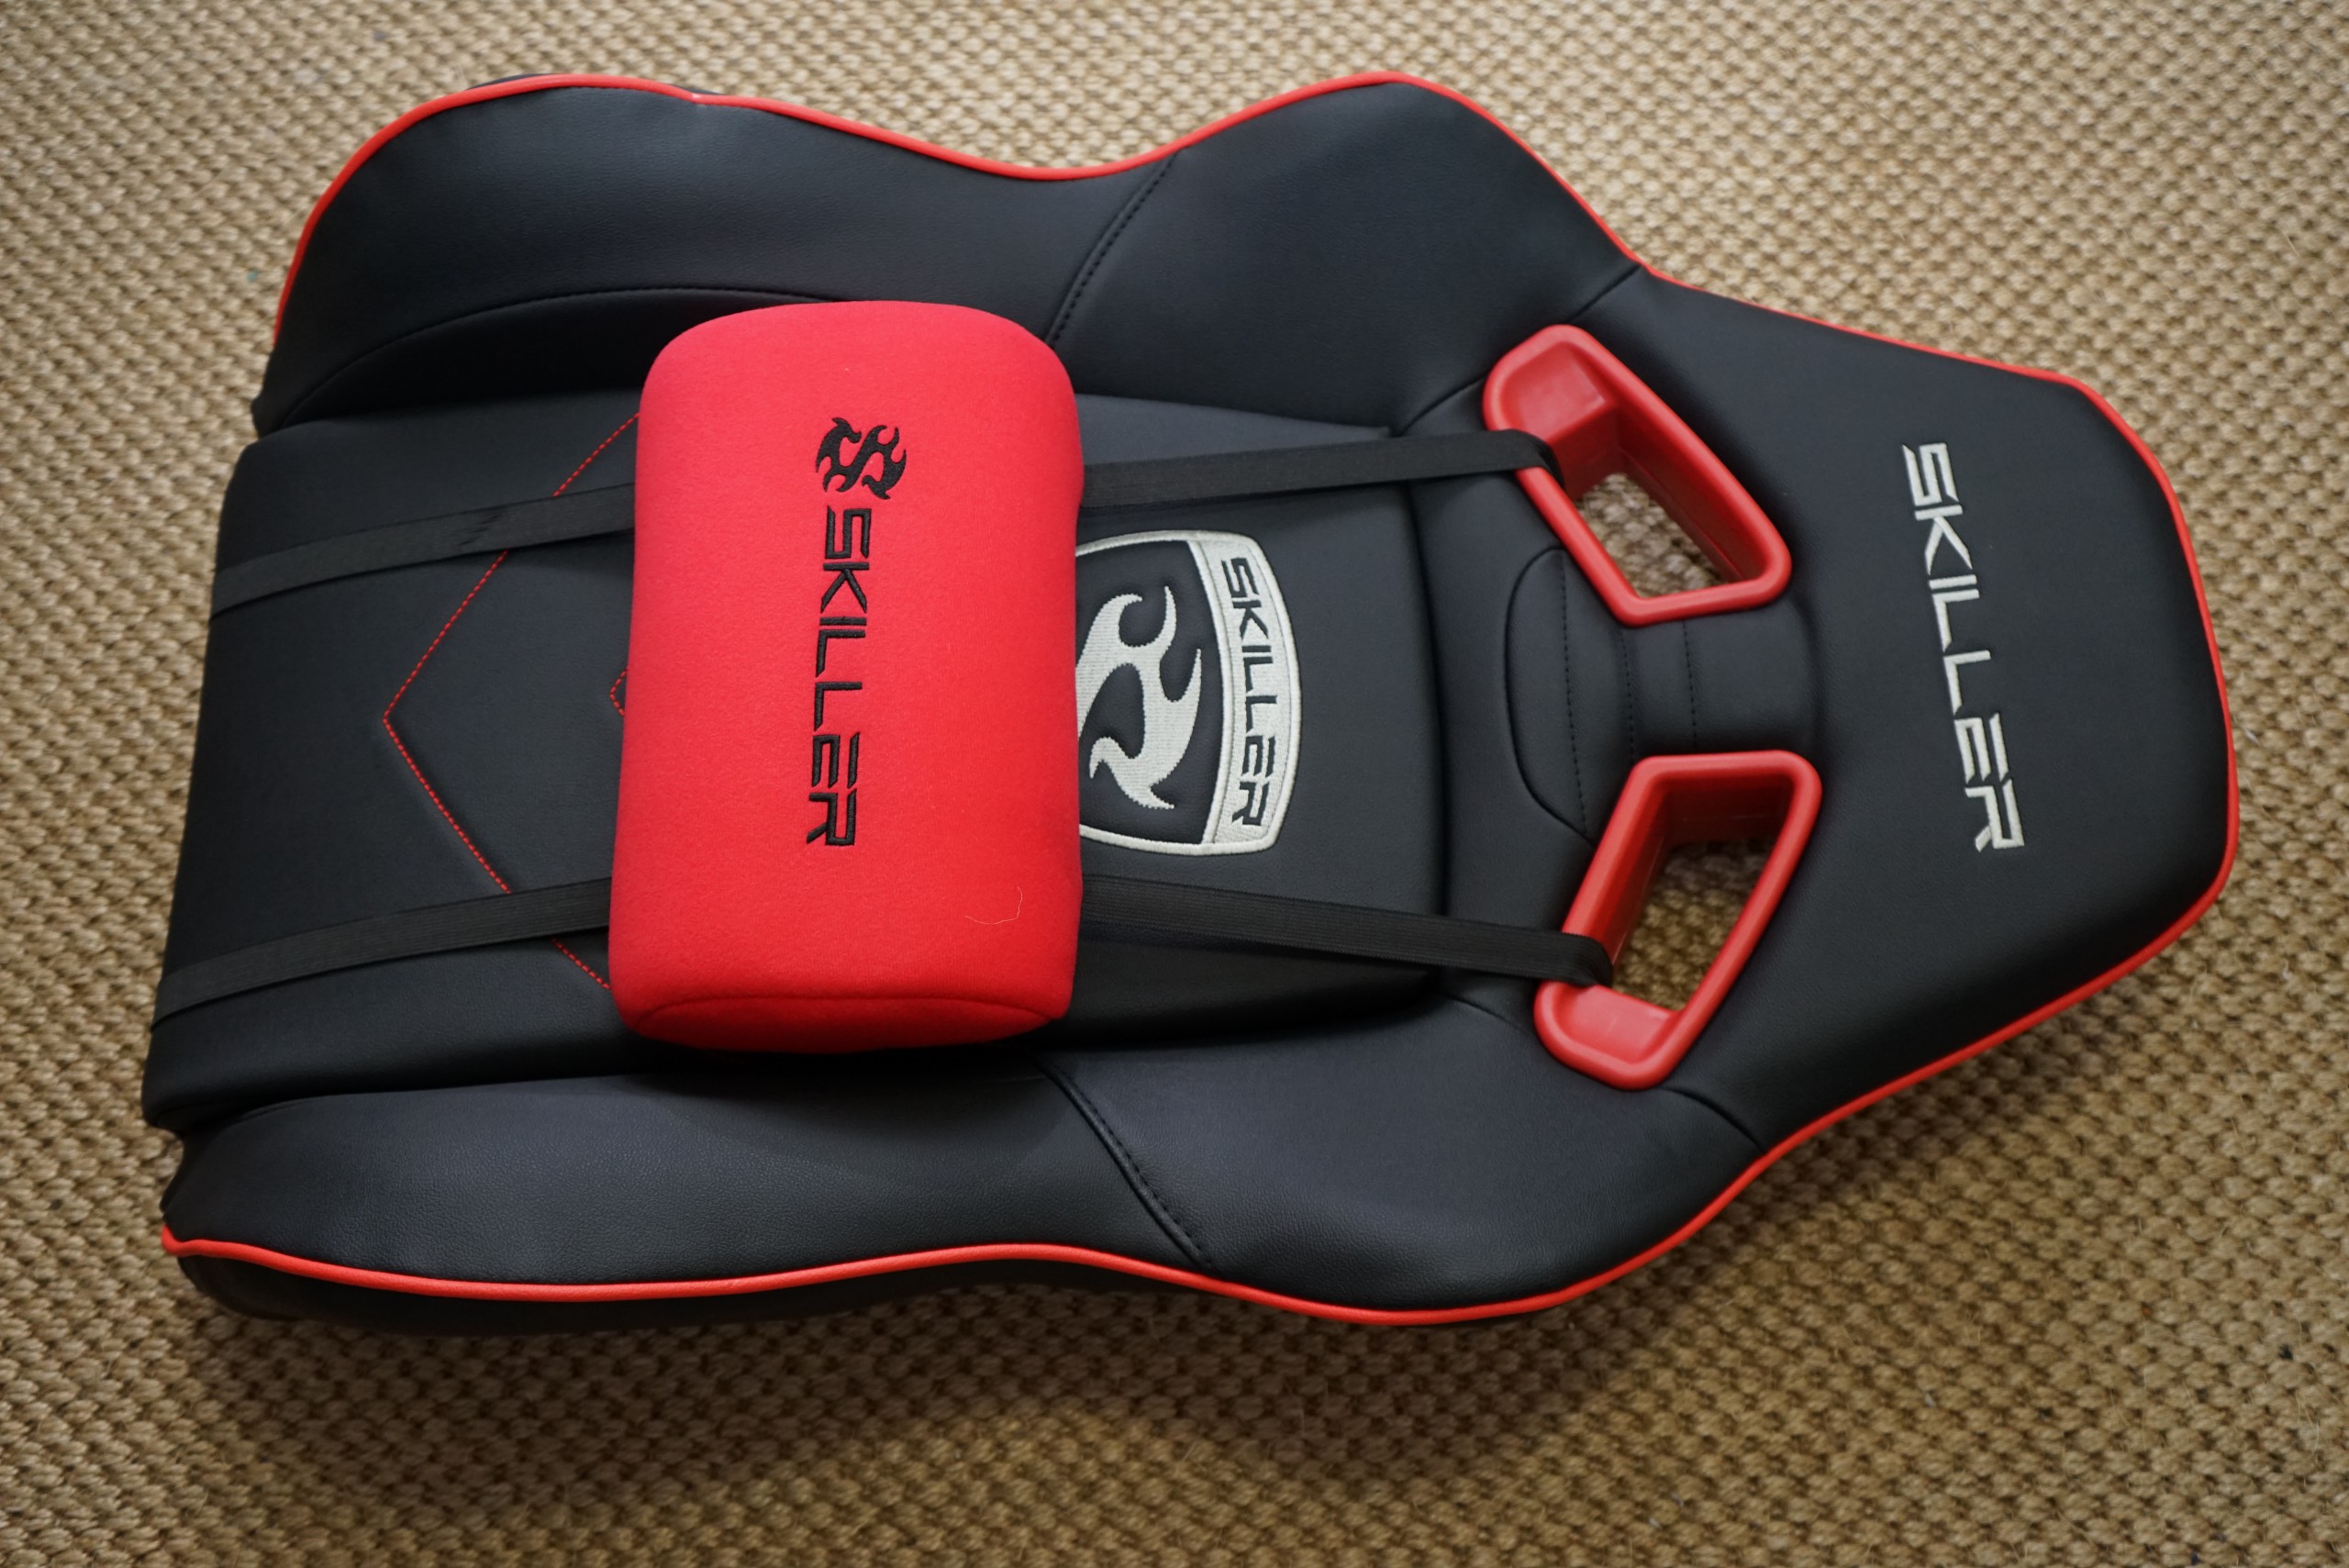
If you don't want to miss the Lordose pillow, you should install it before mounting the backrest. Otherwise it will be tight for plugging through the belts.
 |
 |
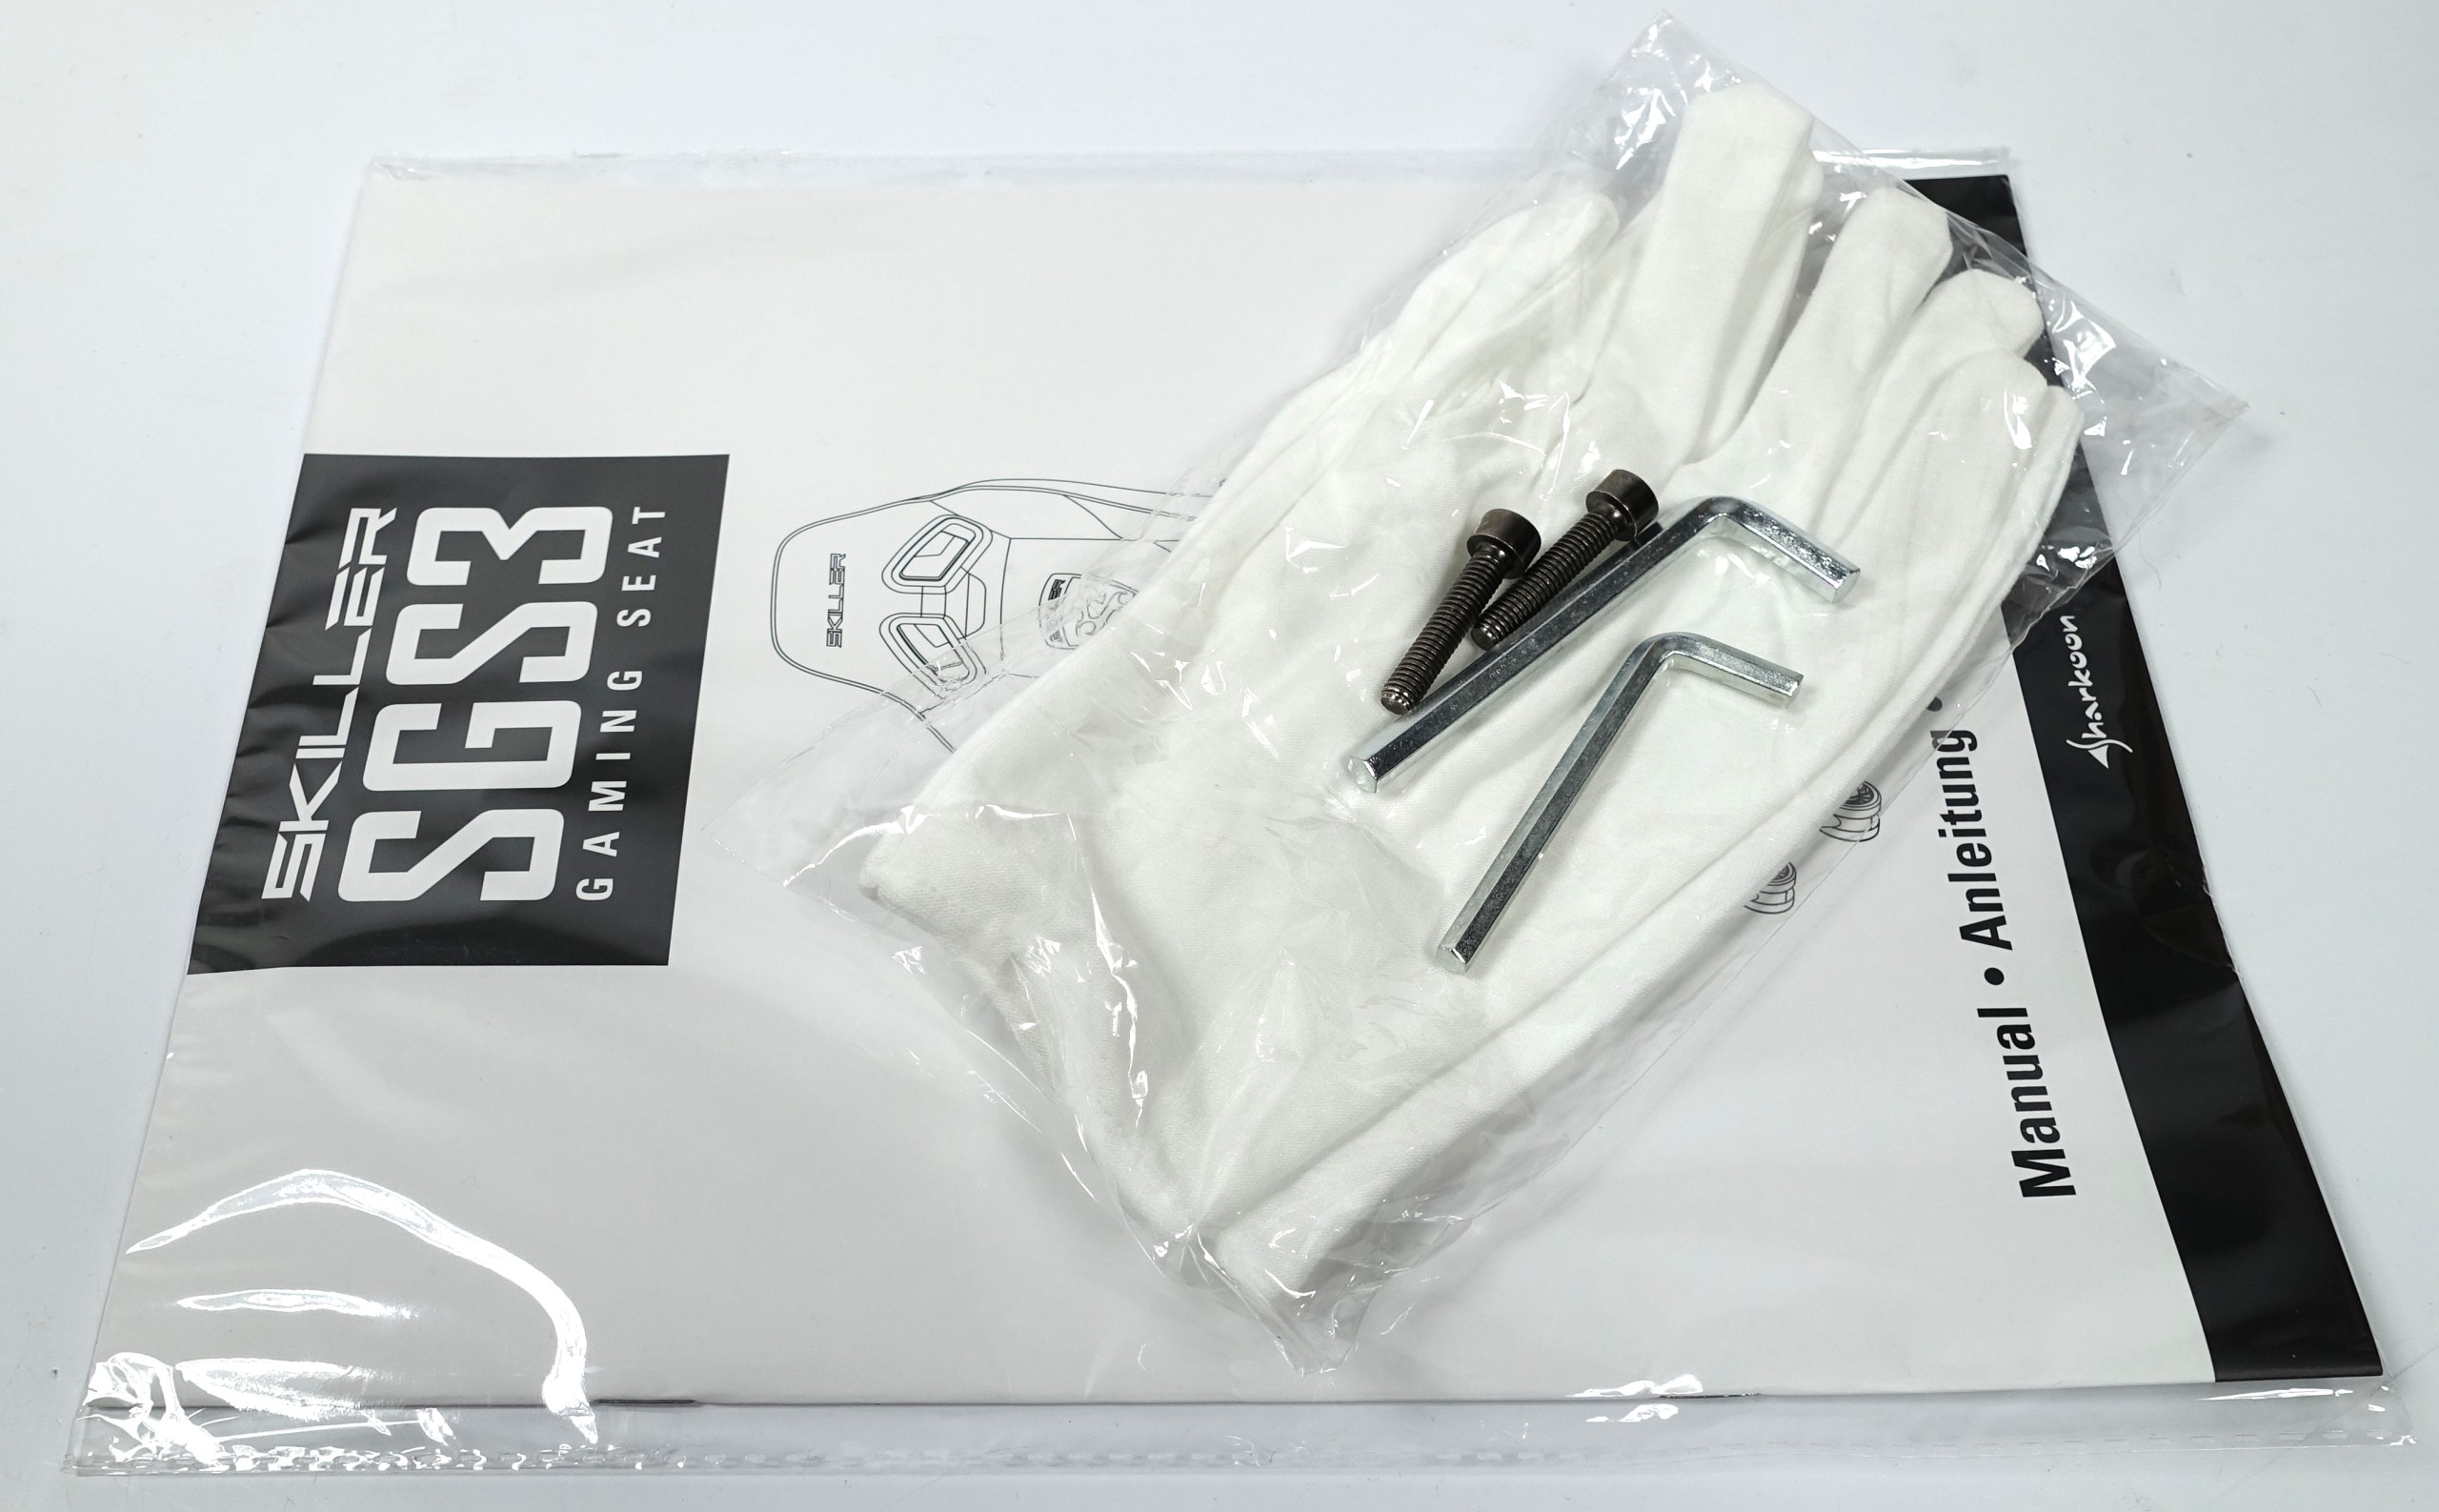
Accessories such as screws are few and most found. The manufacturer has already slightly pre-assembled all screws, explosive rings and washers in the appropriate places. This saves searching and many glances into the manual. All screws are designed as neat hexagon screws with cylinder head.
Screwing the backrest is easy, but you should be careful that with the enclosed tool when screwing tightly with the edges you do not scrape the bead of the upholstery.
Finally, apertures are mounted on both sides. These two screws were, by the way, the only ones that lay loosely in the accessory bag.
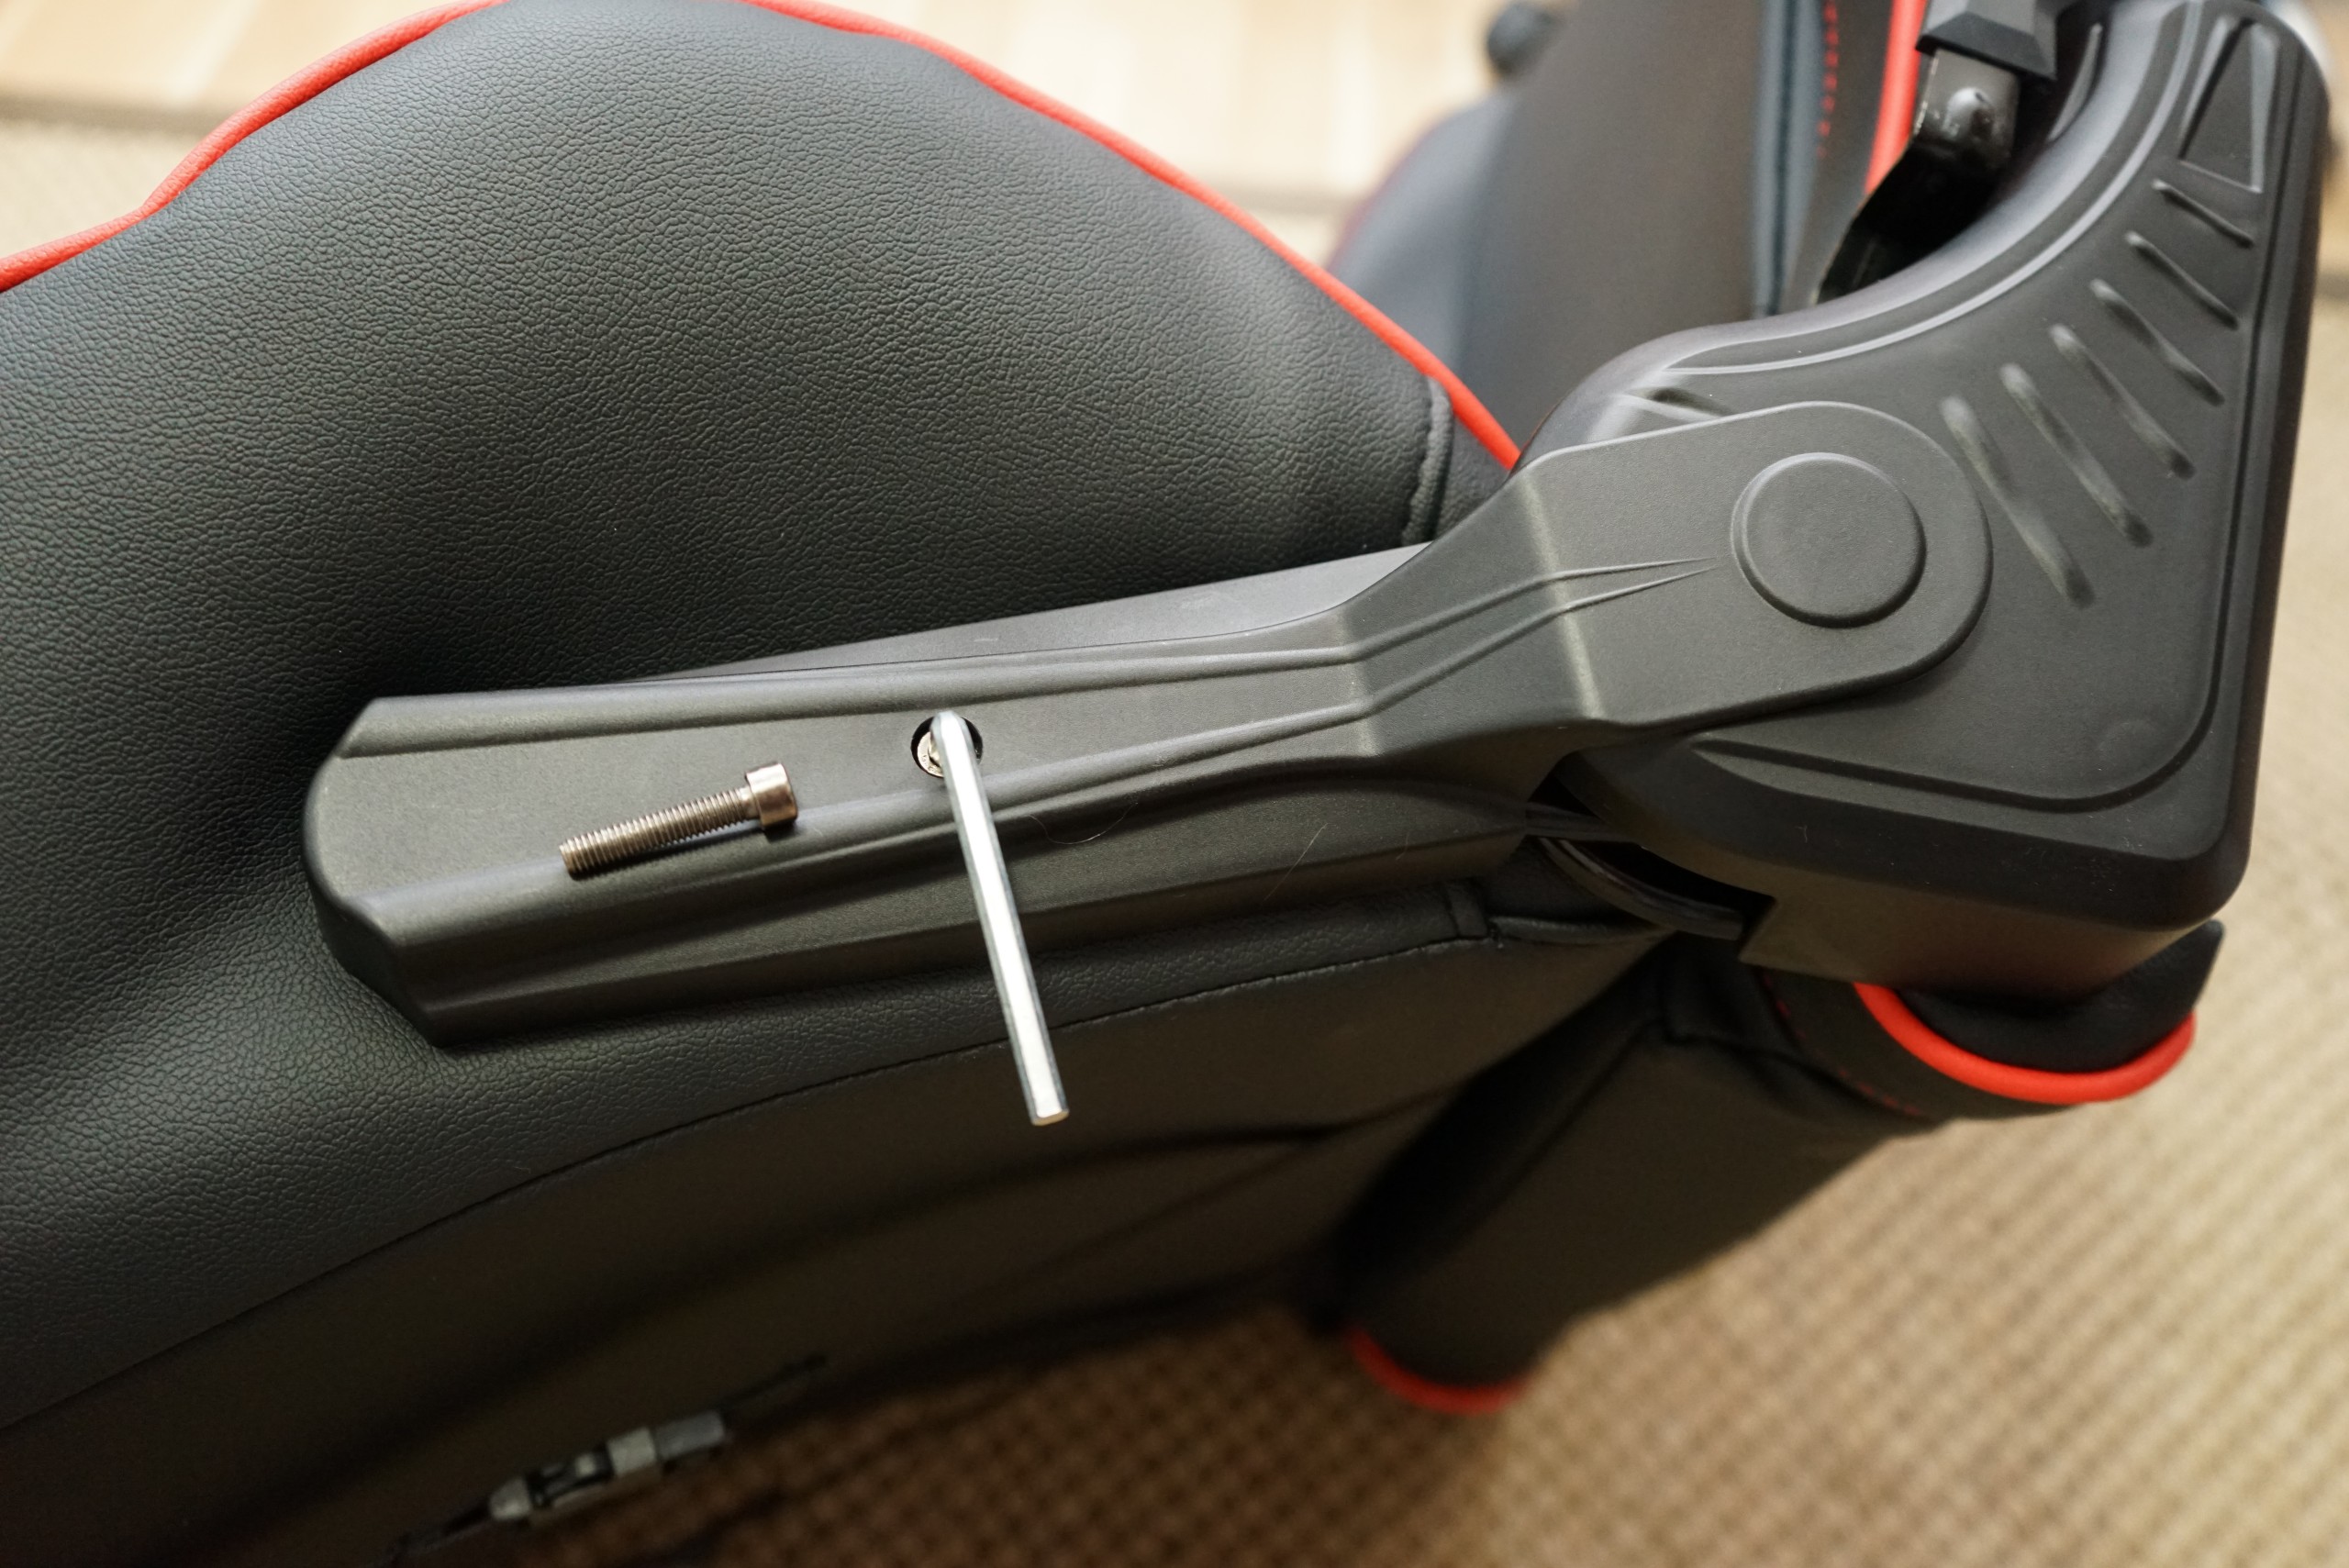
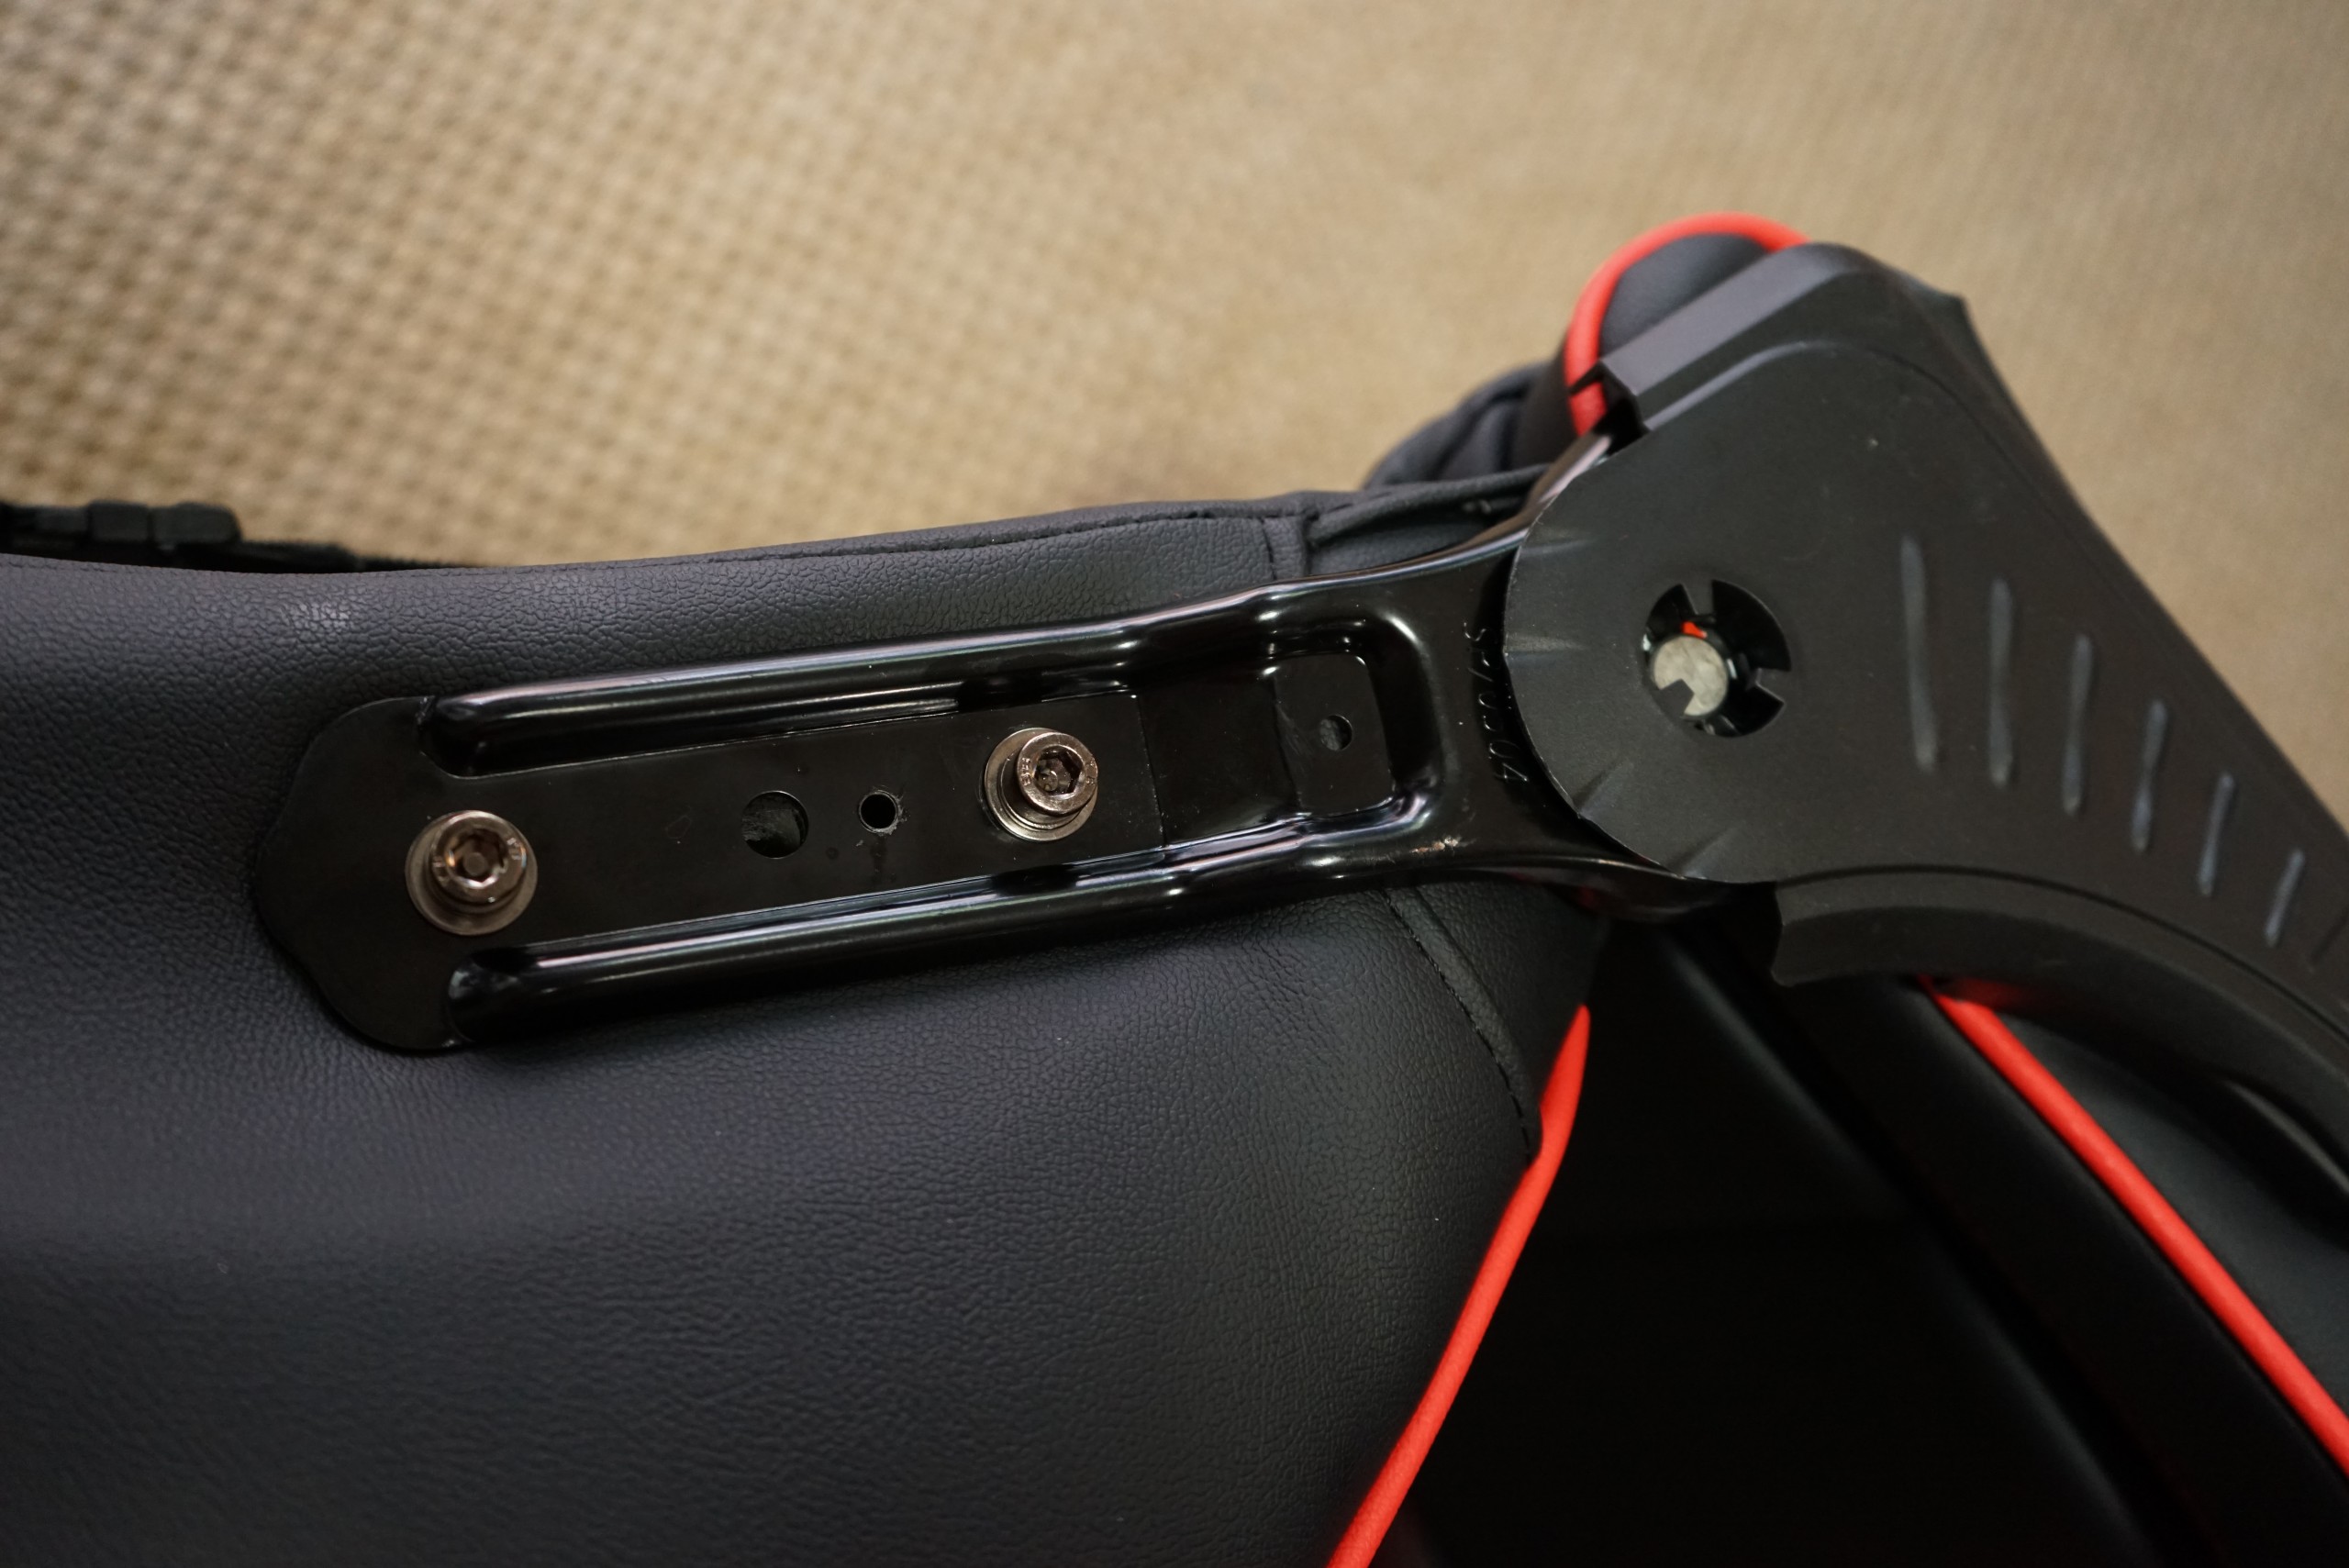
We see on the ground the solid screwing of the armrests. If the side adjustment is not enough, the slots can optionally also be used as a further correction aid.
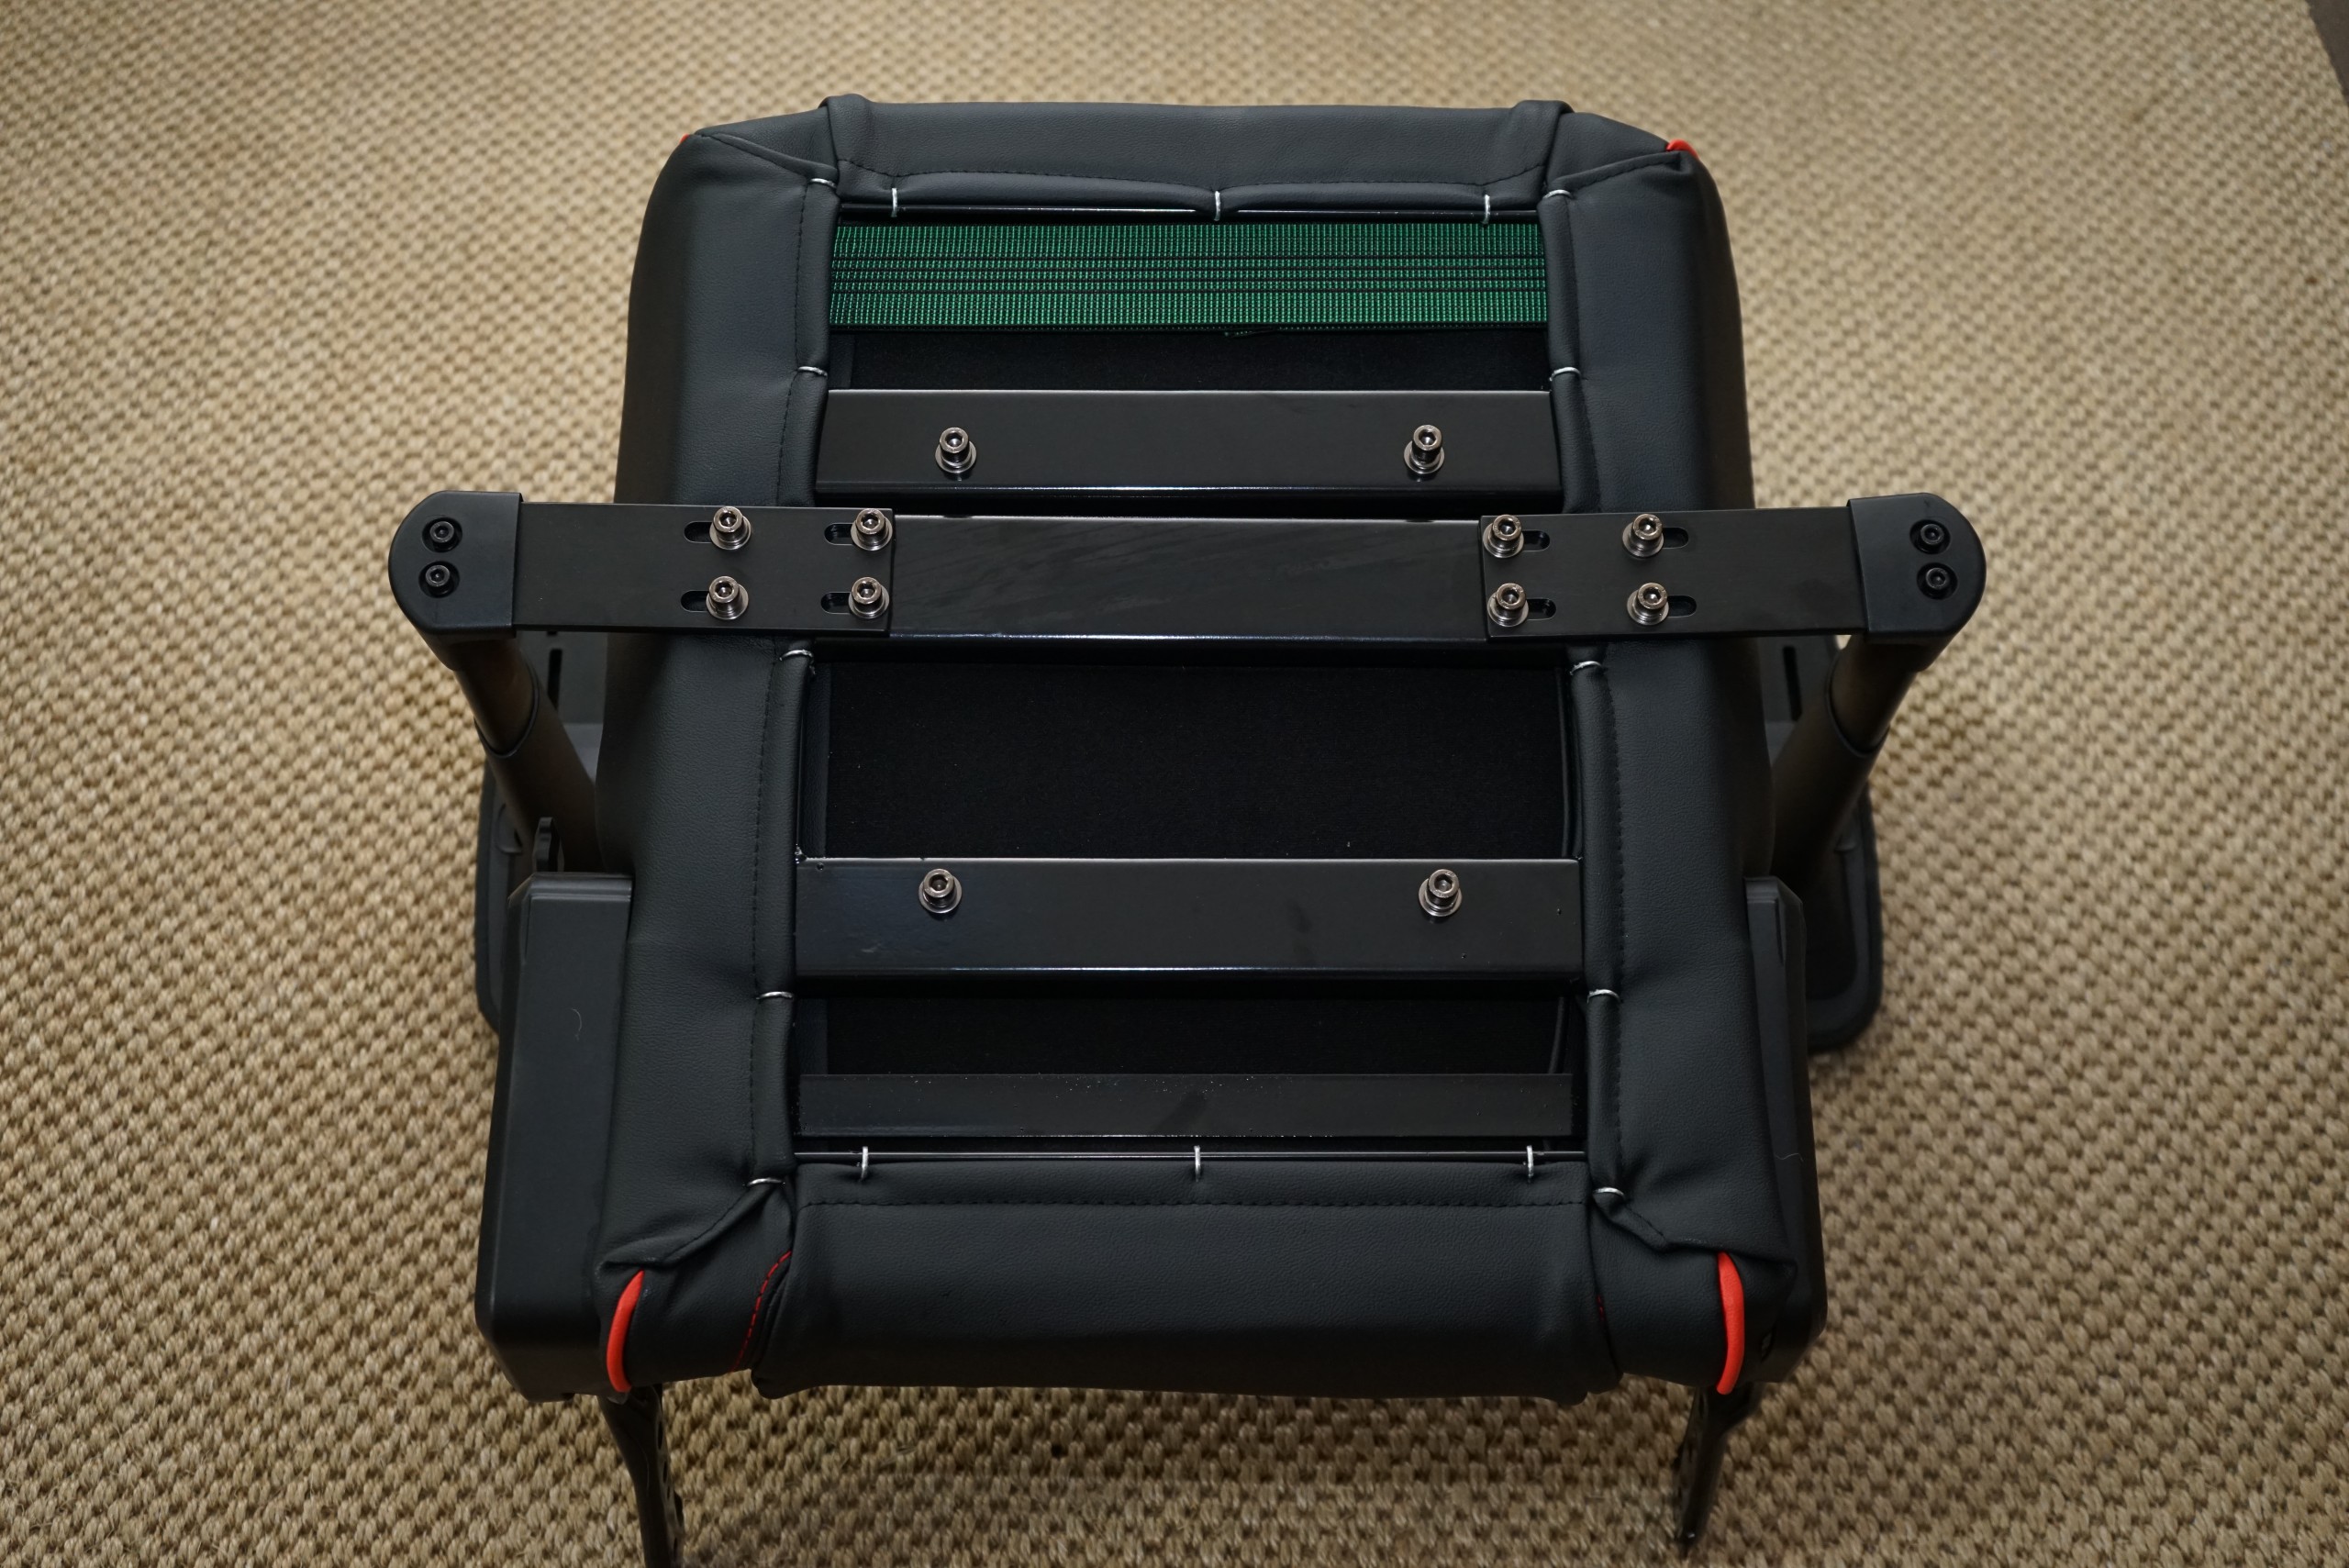
The mechanics are quickly fixed with the four screws. Here you have to pay attention to the correct installation direction and, in case of doubt, consult the manual. There is no direction arrow to help.
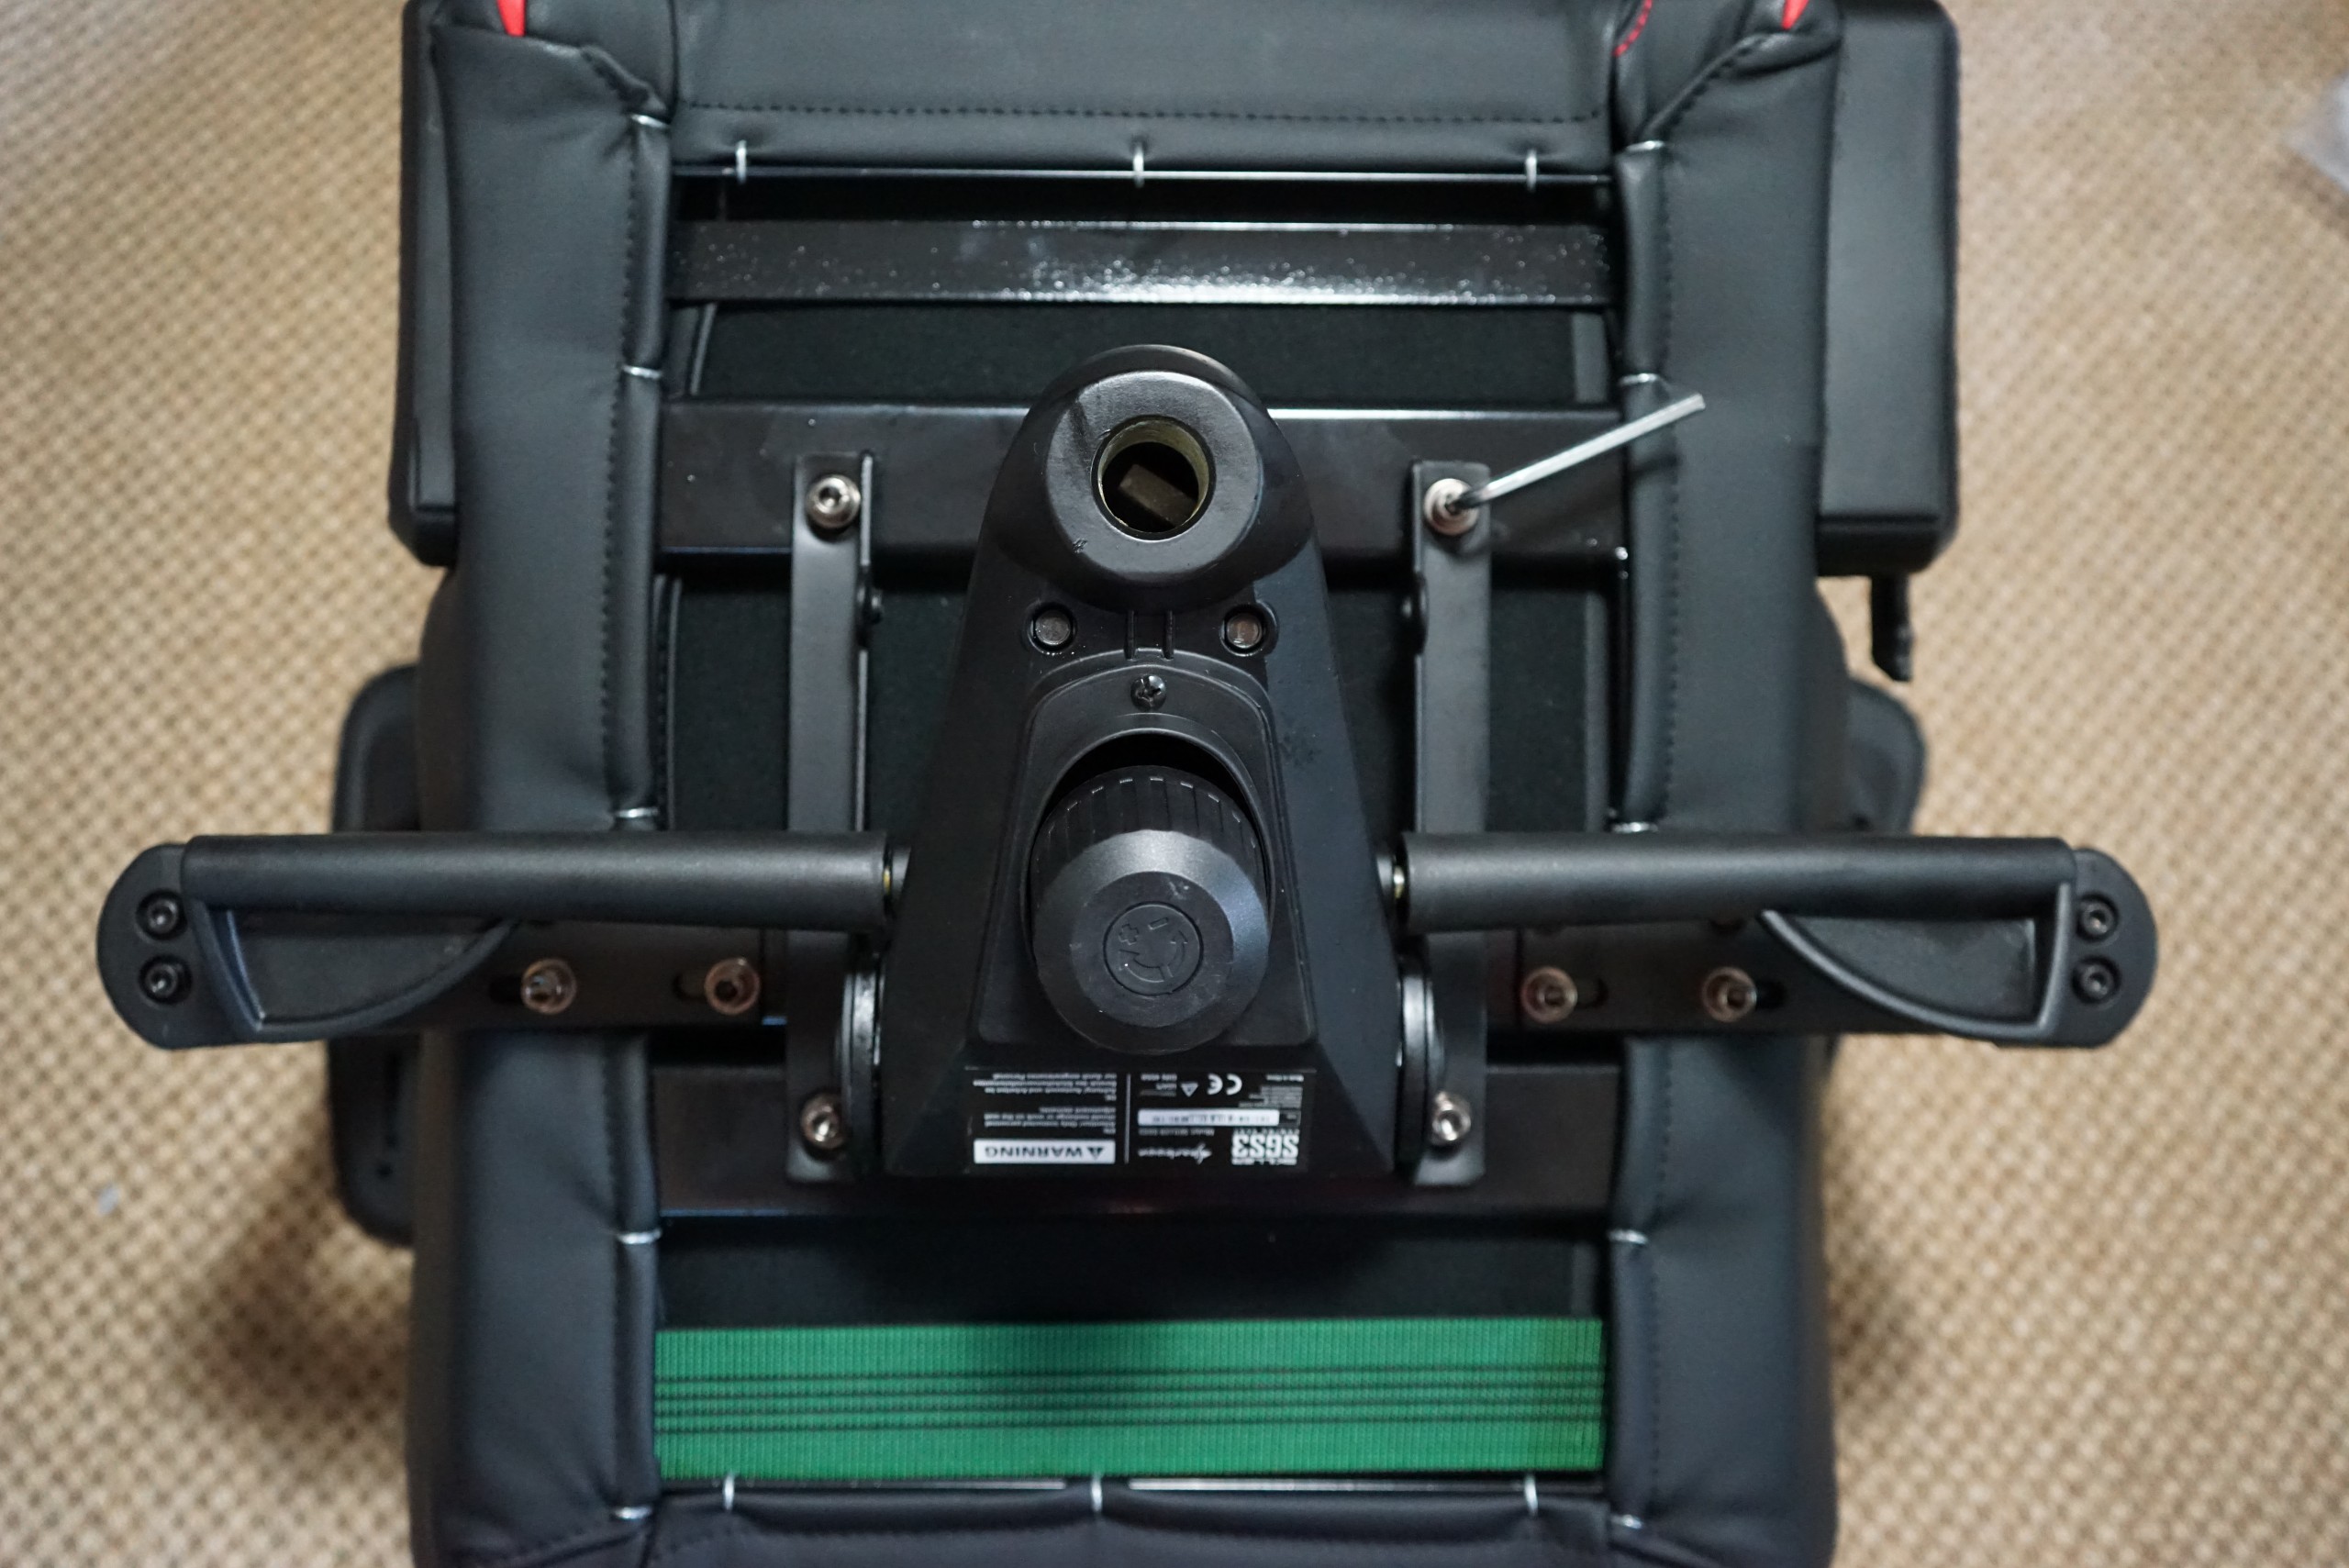
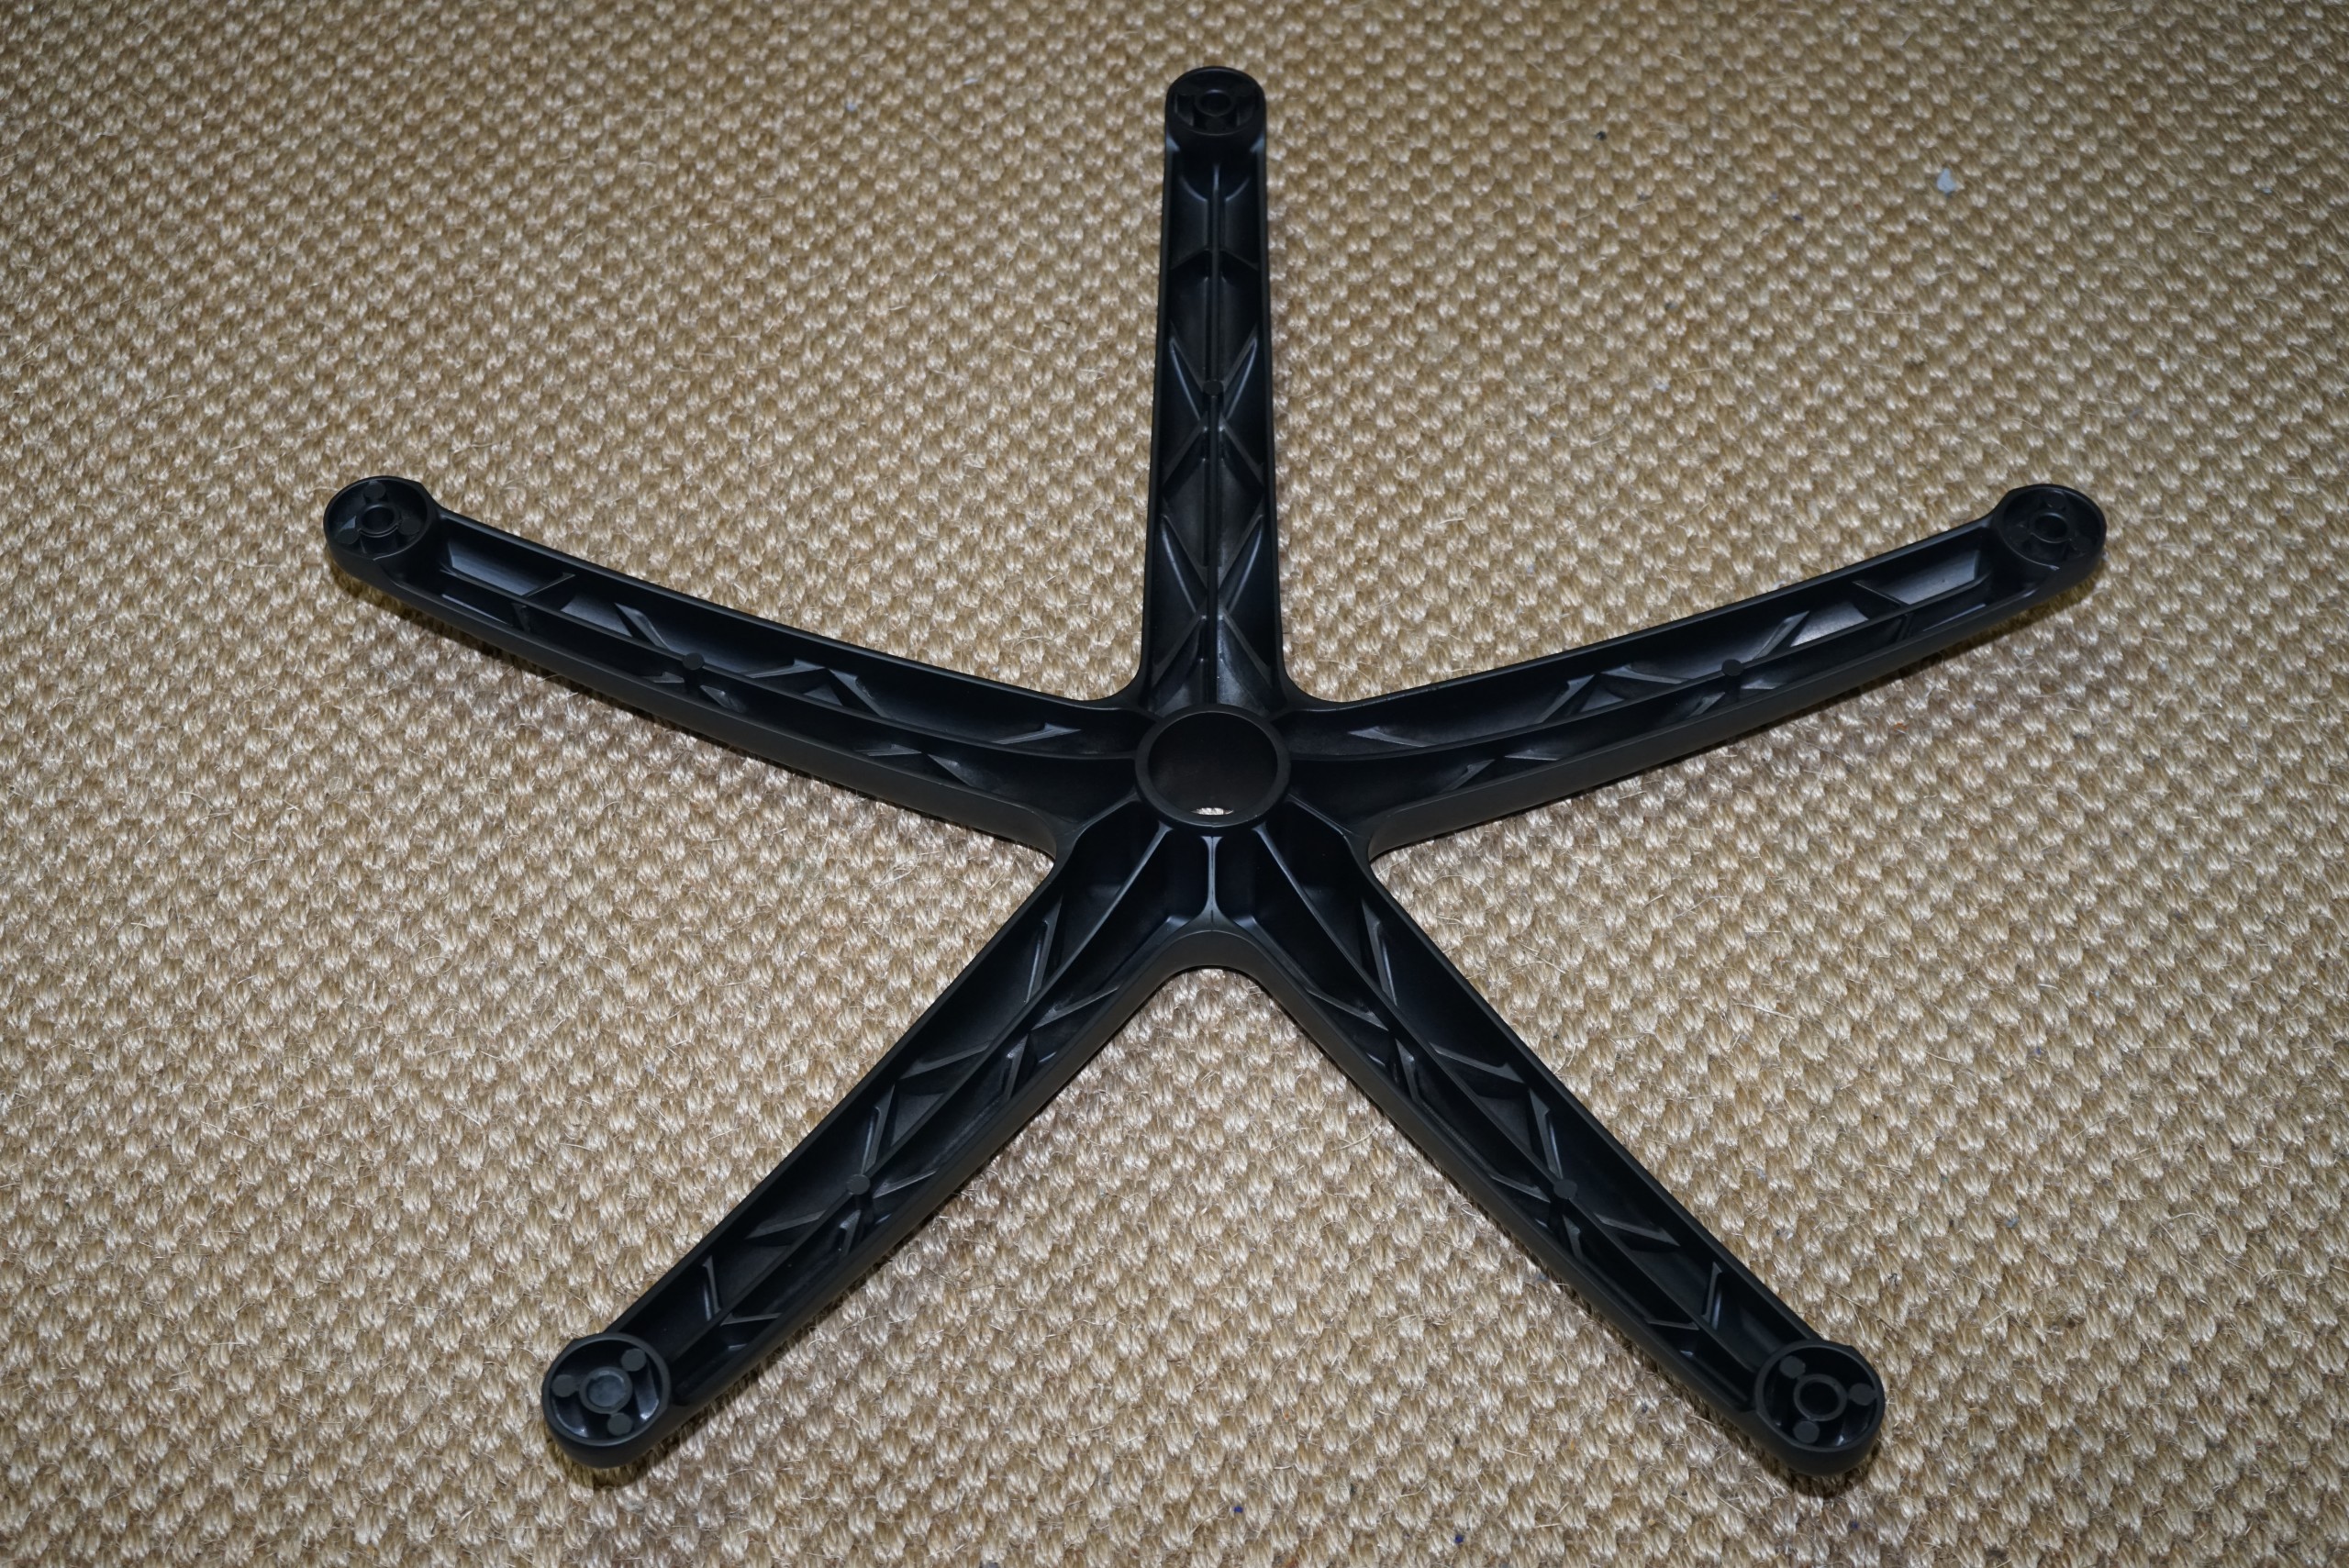
Finally, we simply put the foot cross and gas pressure spring into the mechanics and the chair is ready.
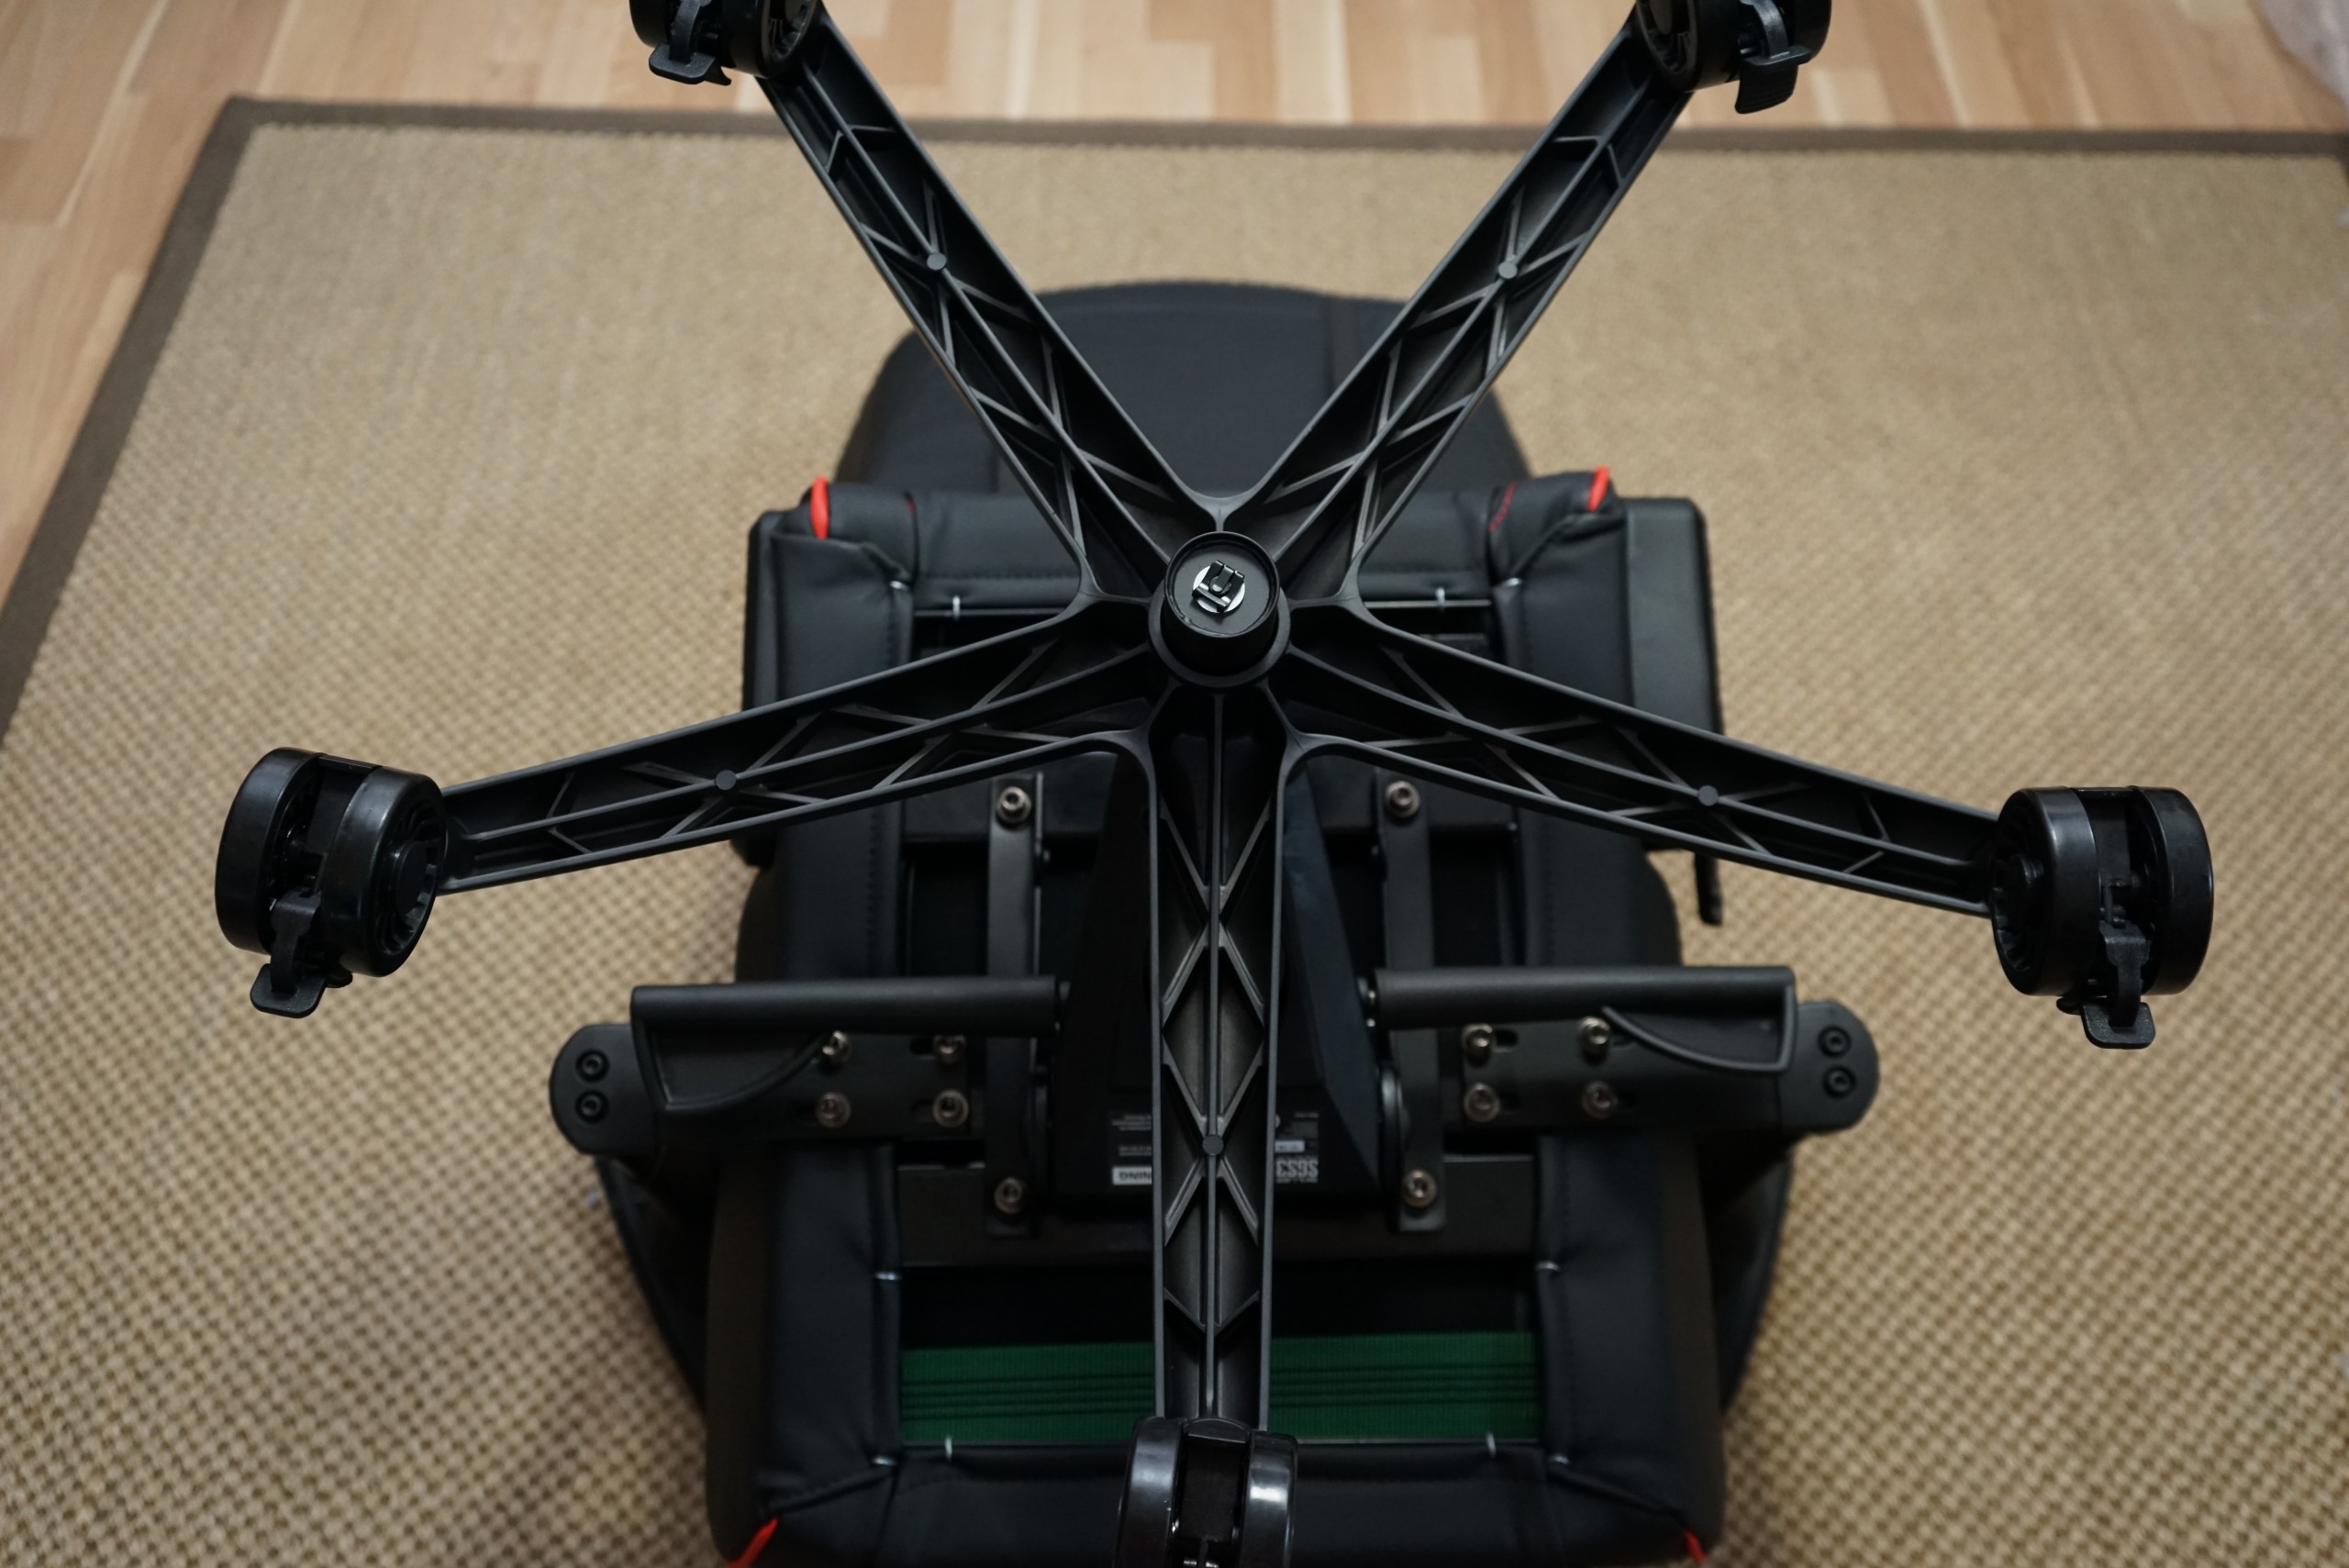
Even the untrained should get such a montage in less than 30 minutes – without fear sweat, screams of anger and broken bones.


Kommentieren