


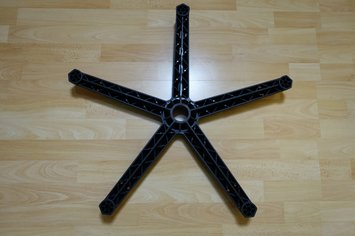
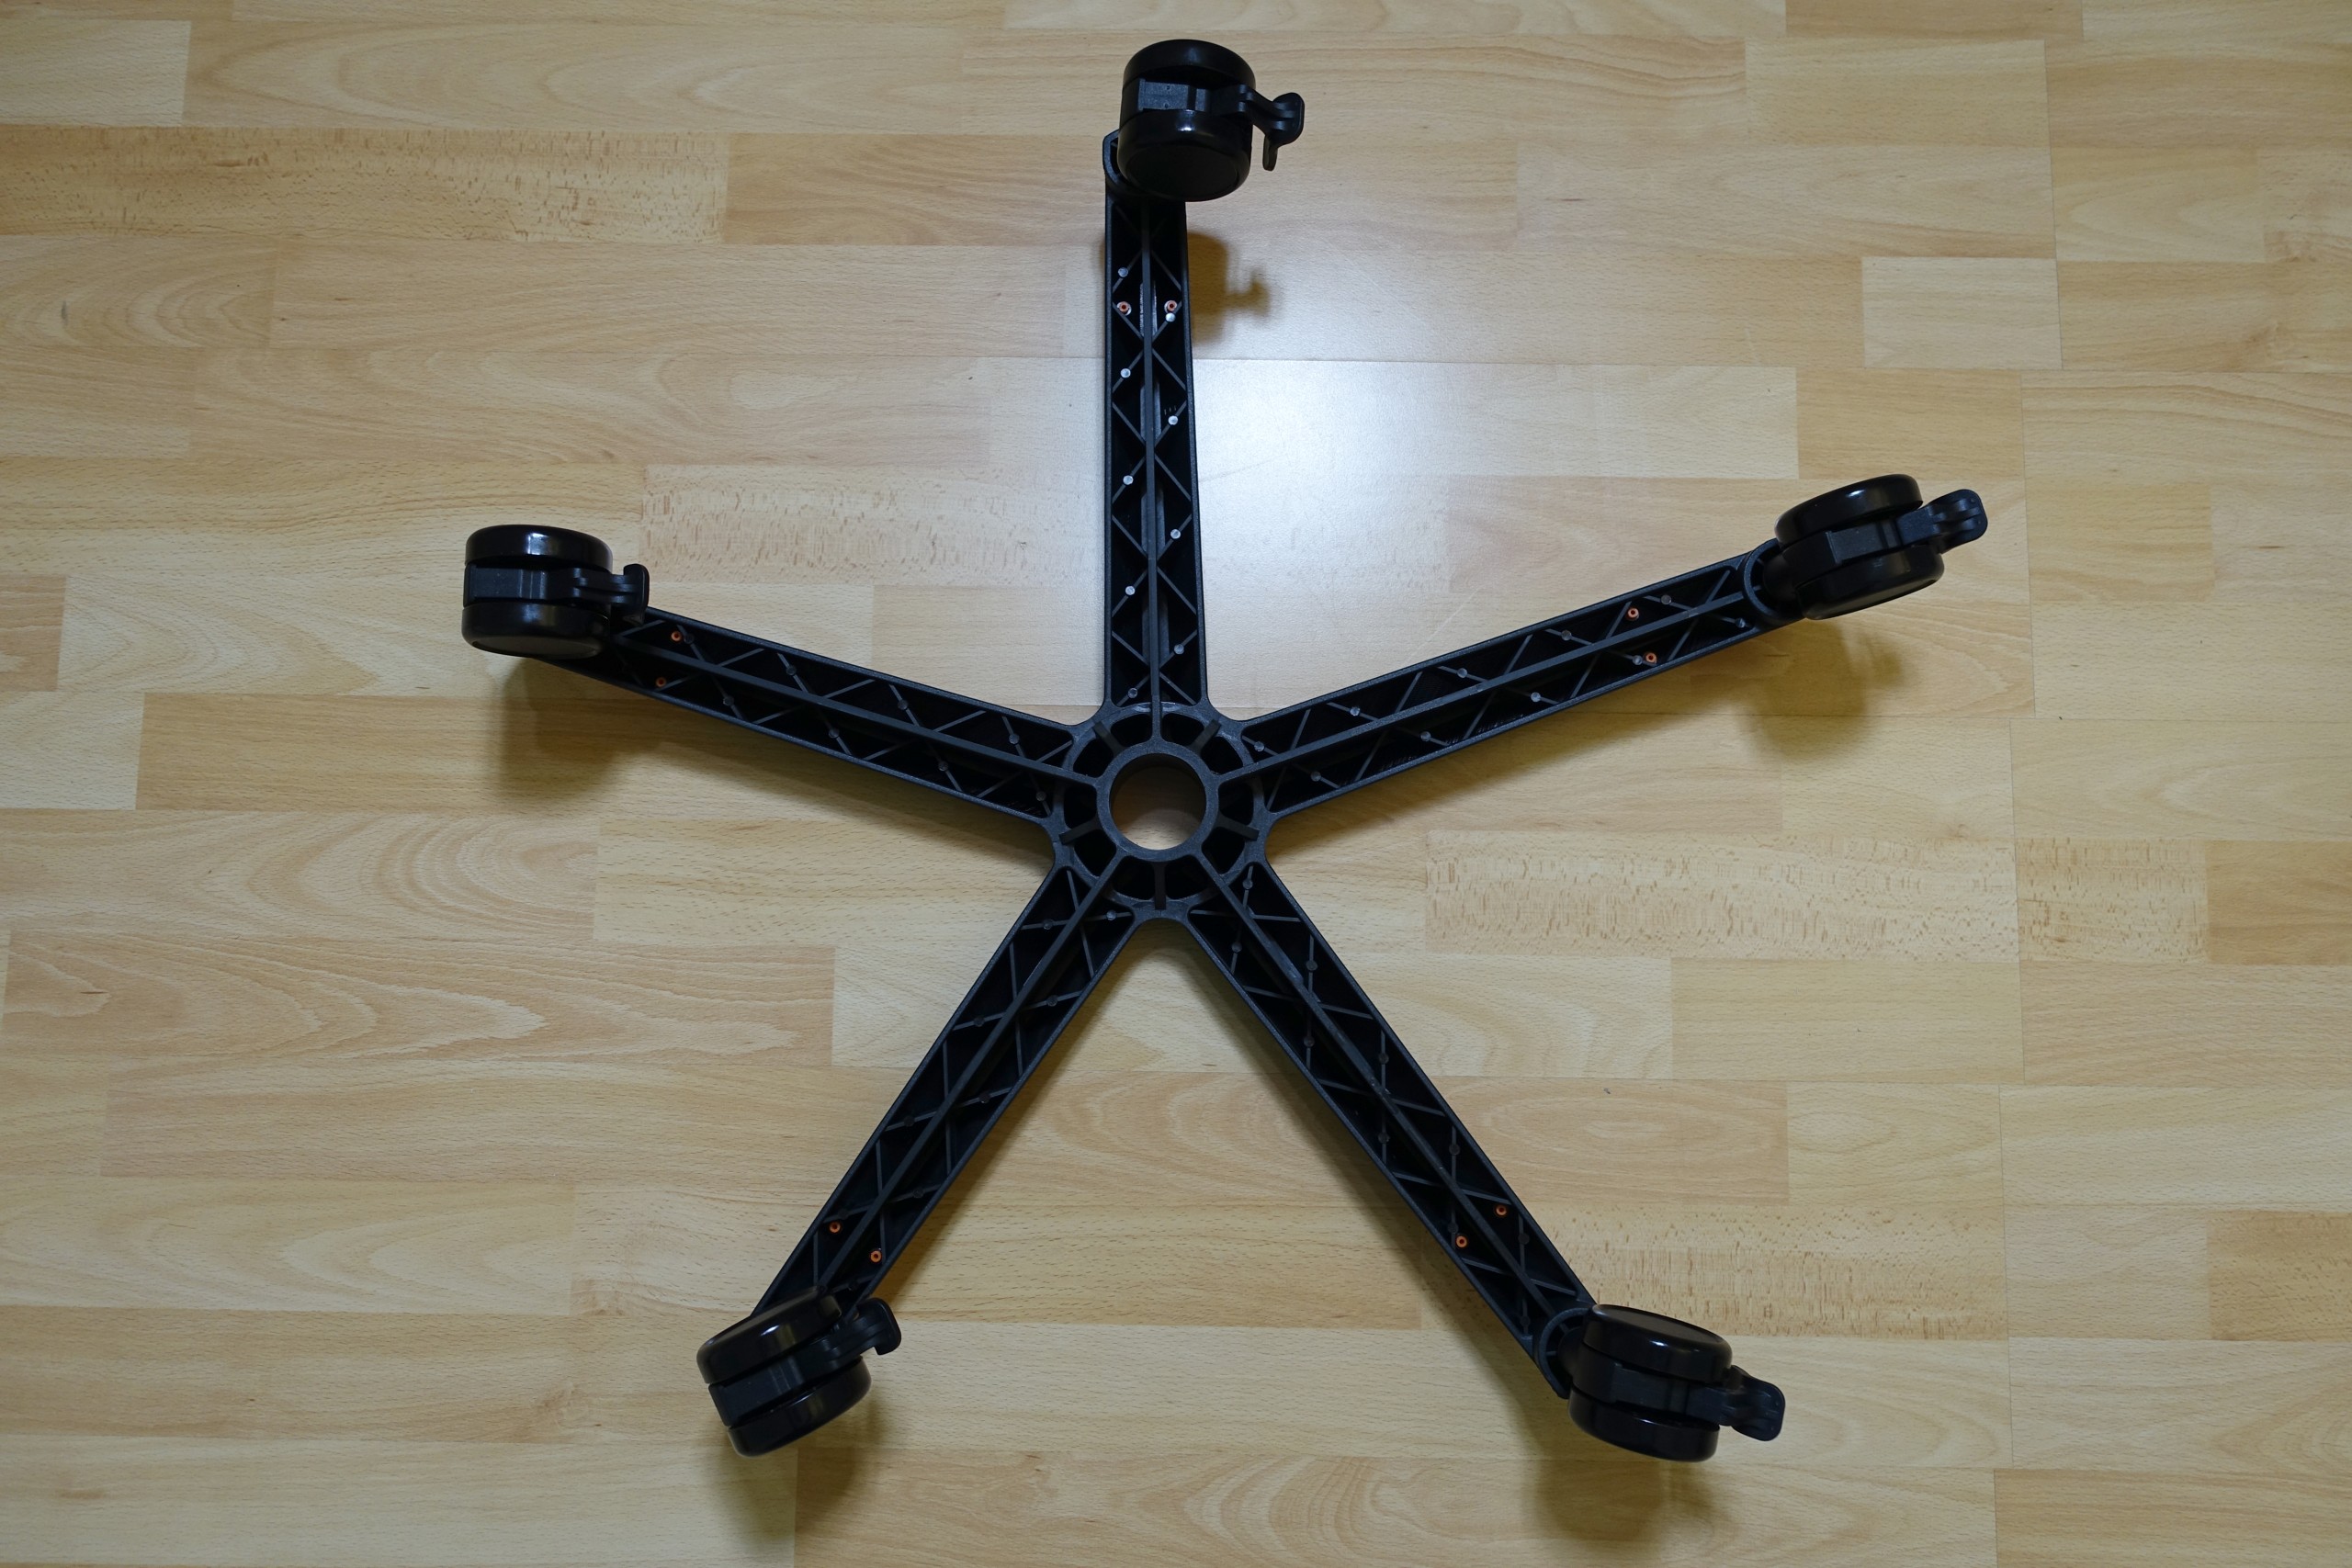
Assemin is not a witchcraft, but even the simplest instructions can mislead. Therefore, we break the specified order again, which turned out to be useful. However, the beginning with the foot cross and the rollers is still fully in the frame and important.
 |
 |
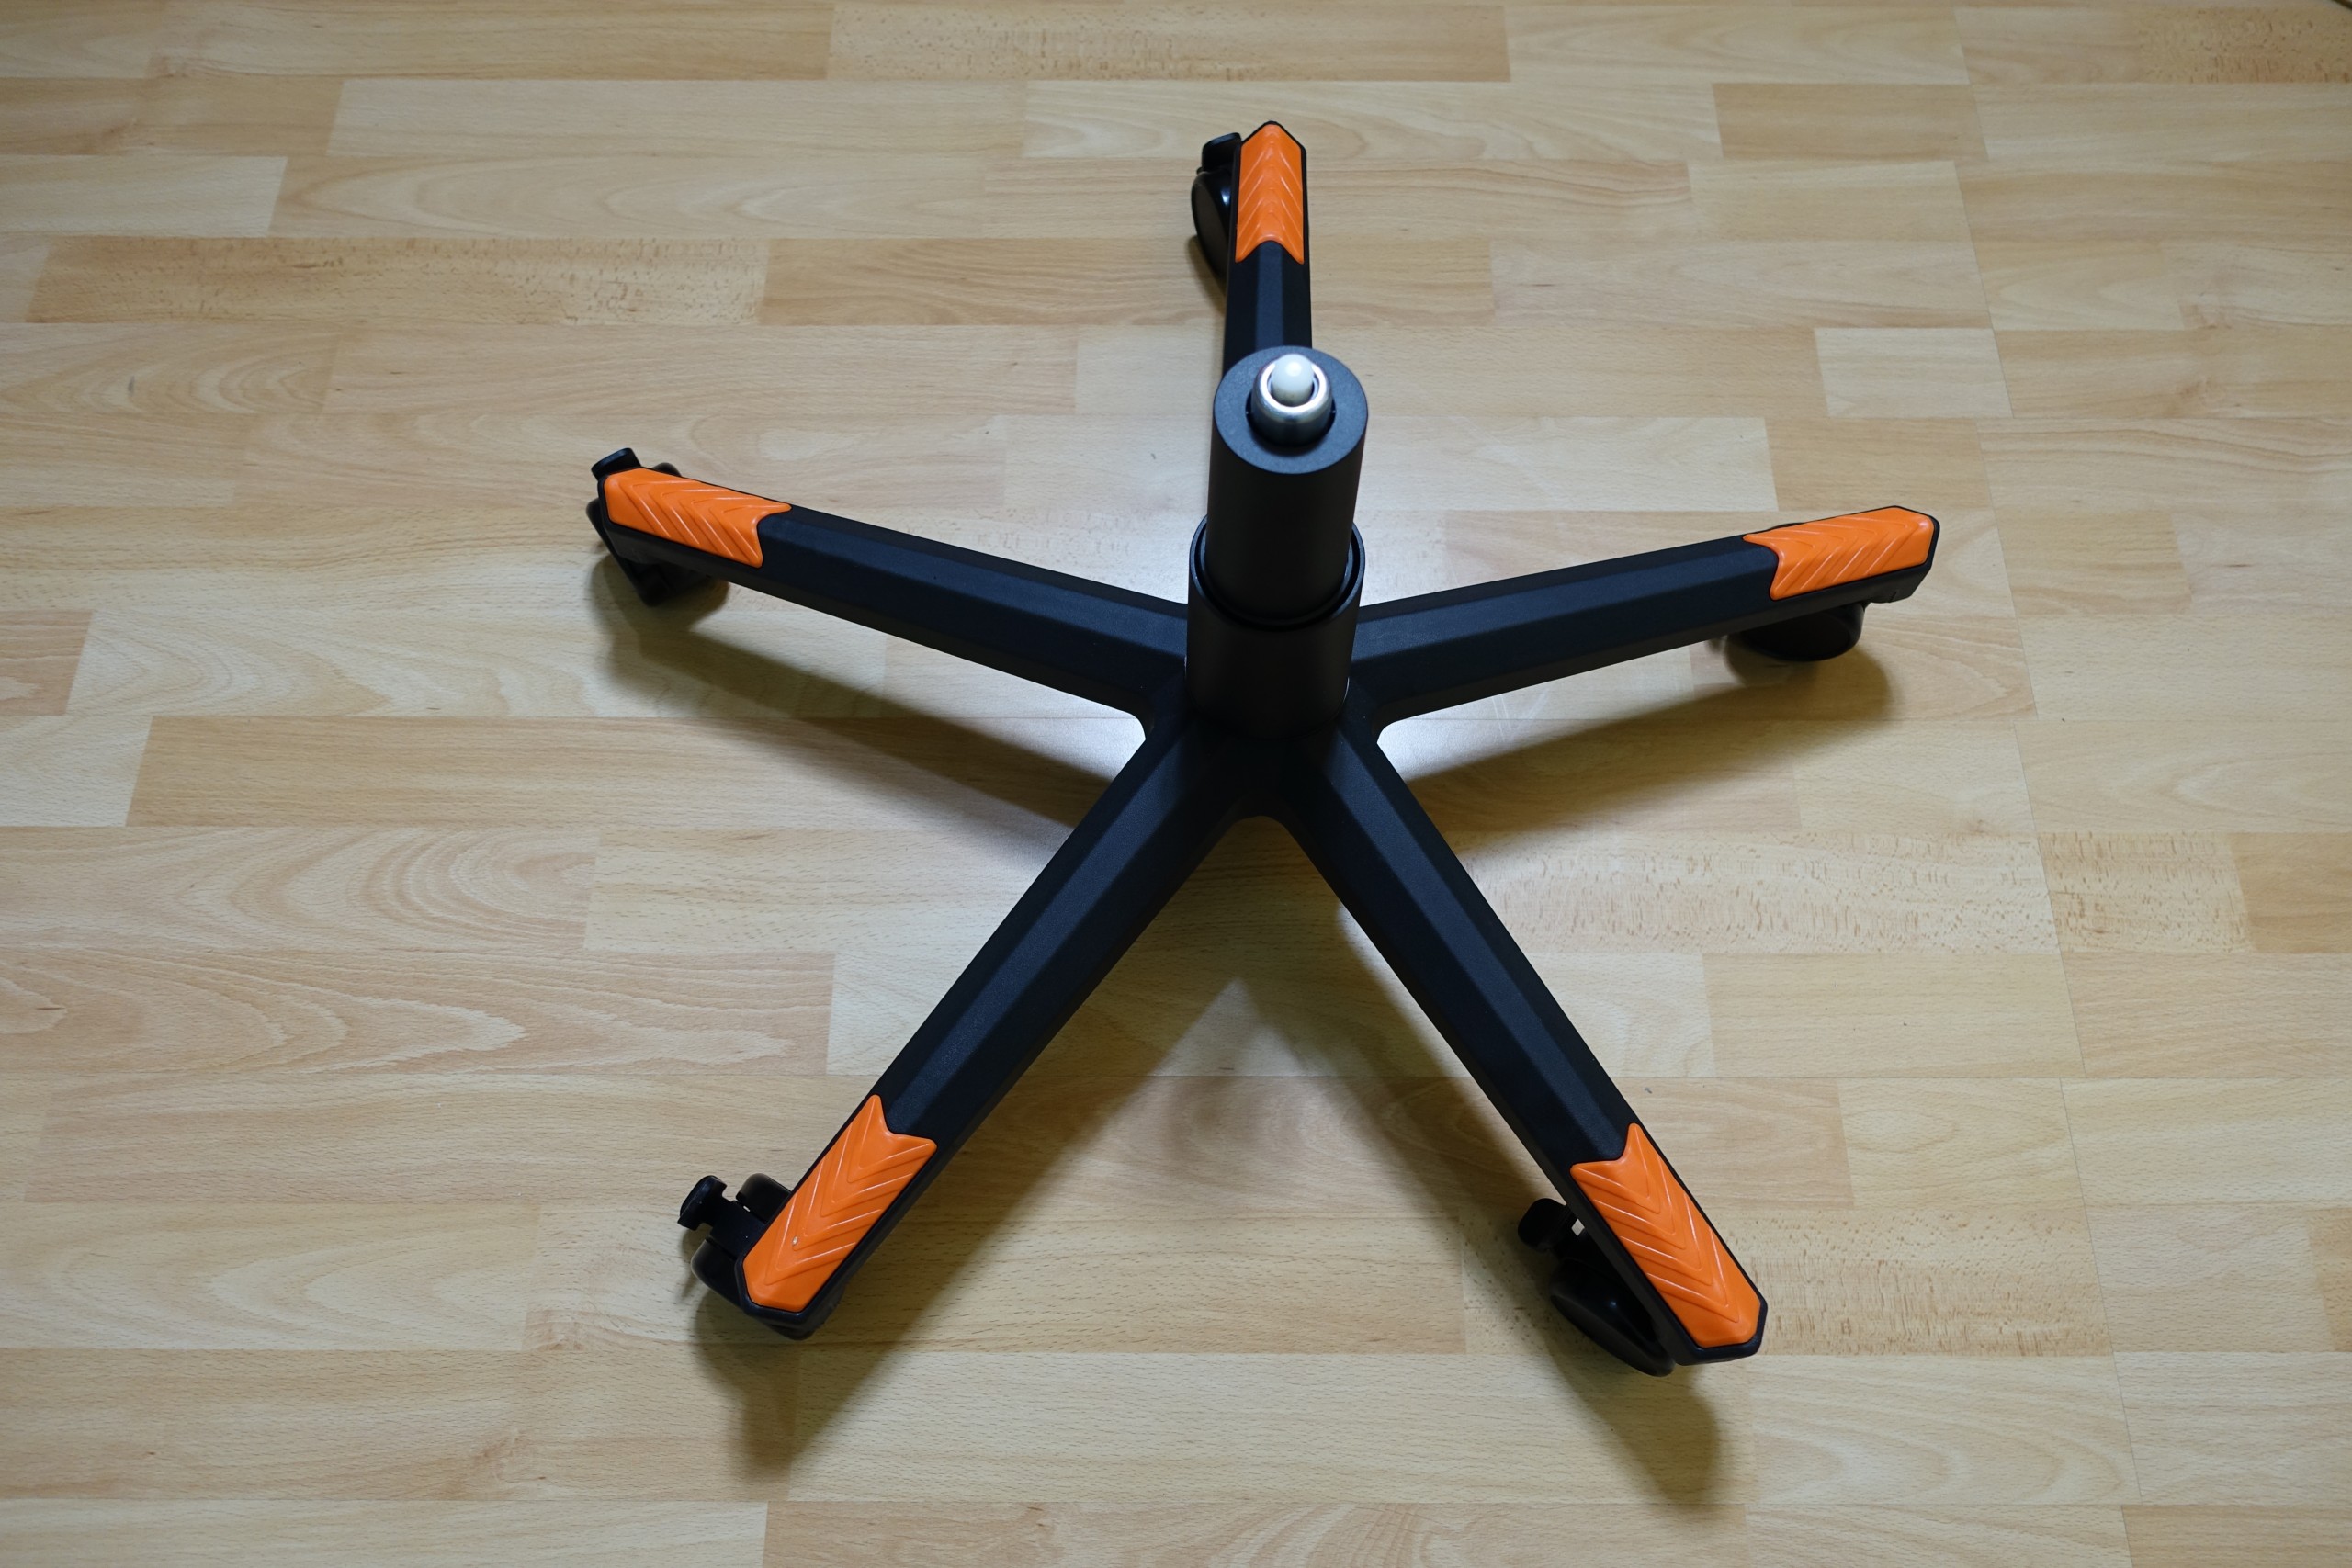
This is followed by the insertion of the gas pressure spring and the installation of the covers. This chapter is thus closed and we roll the foot part aside.
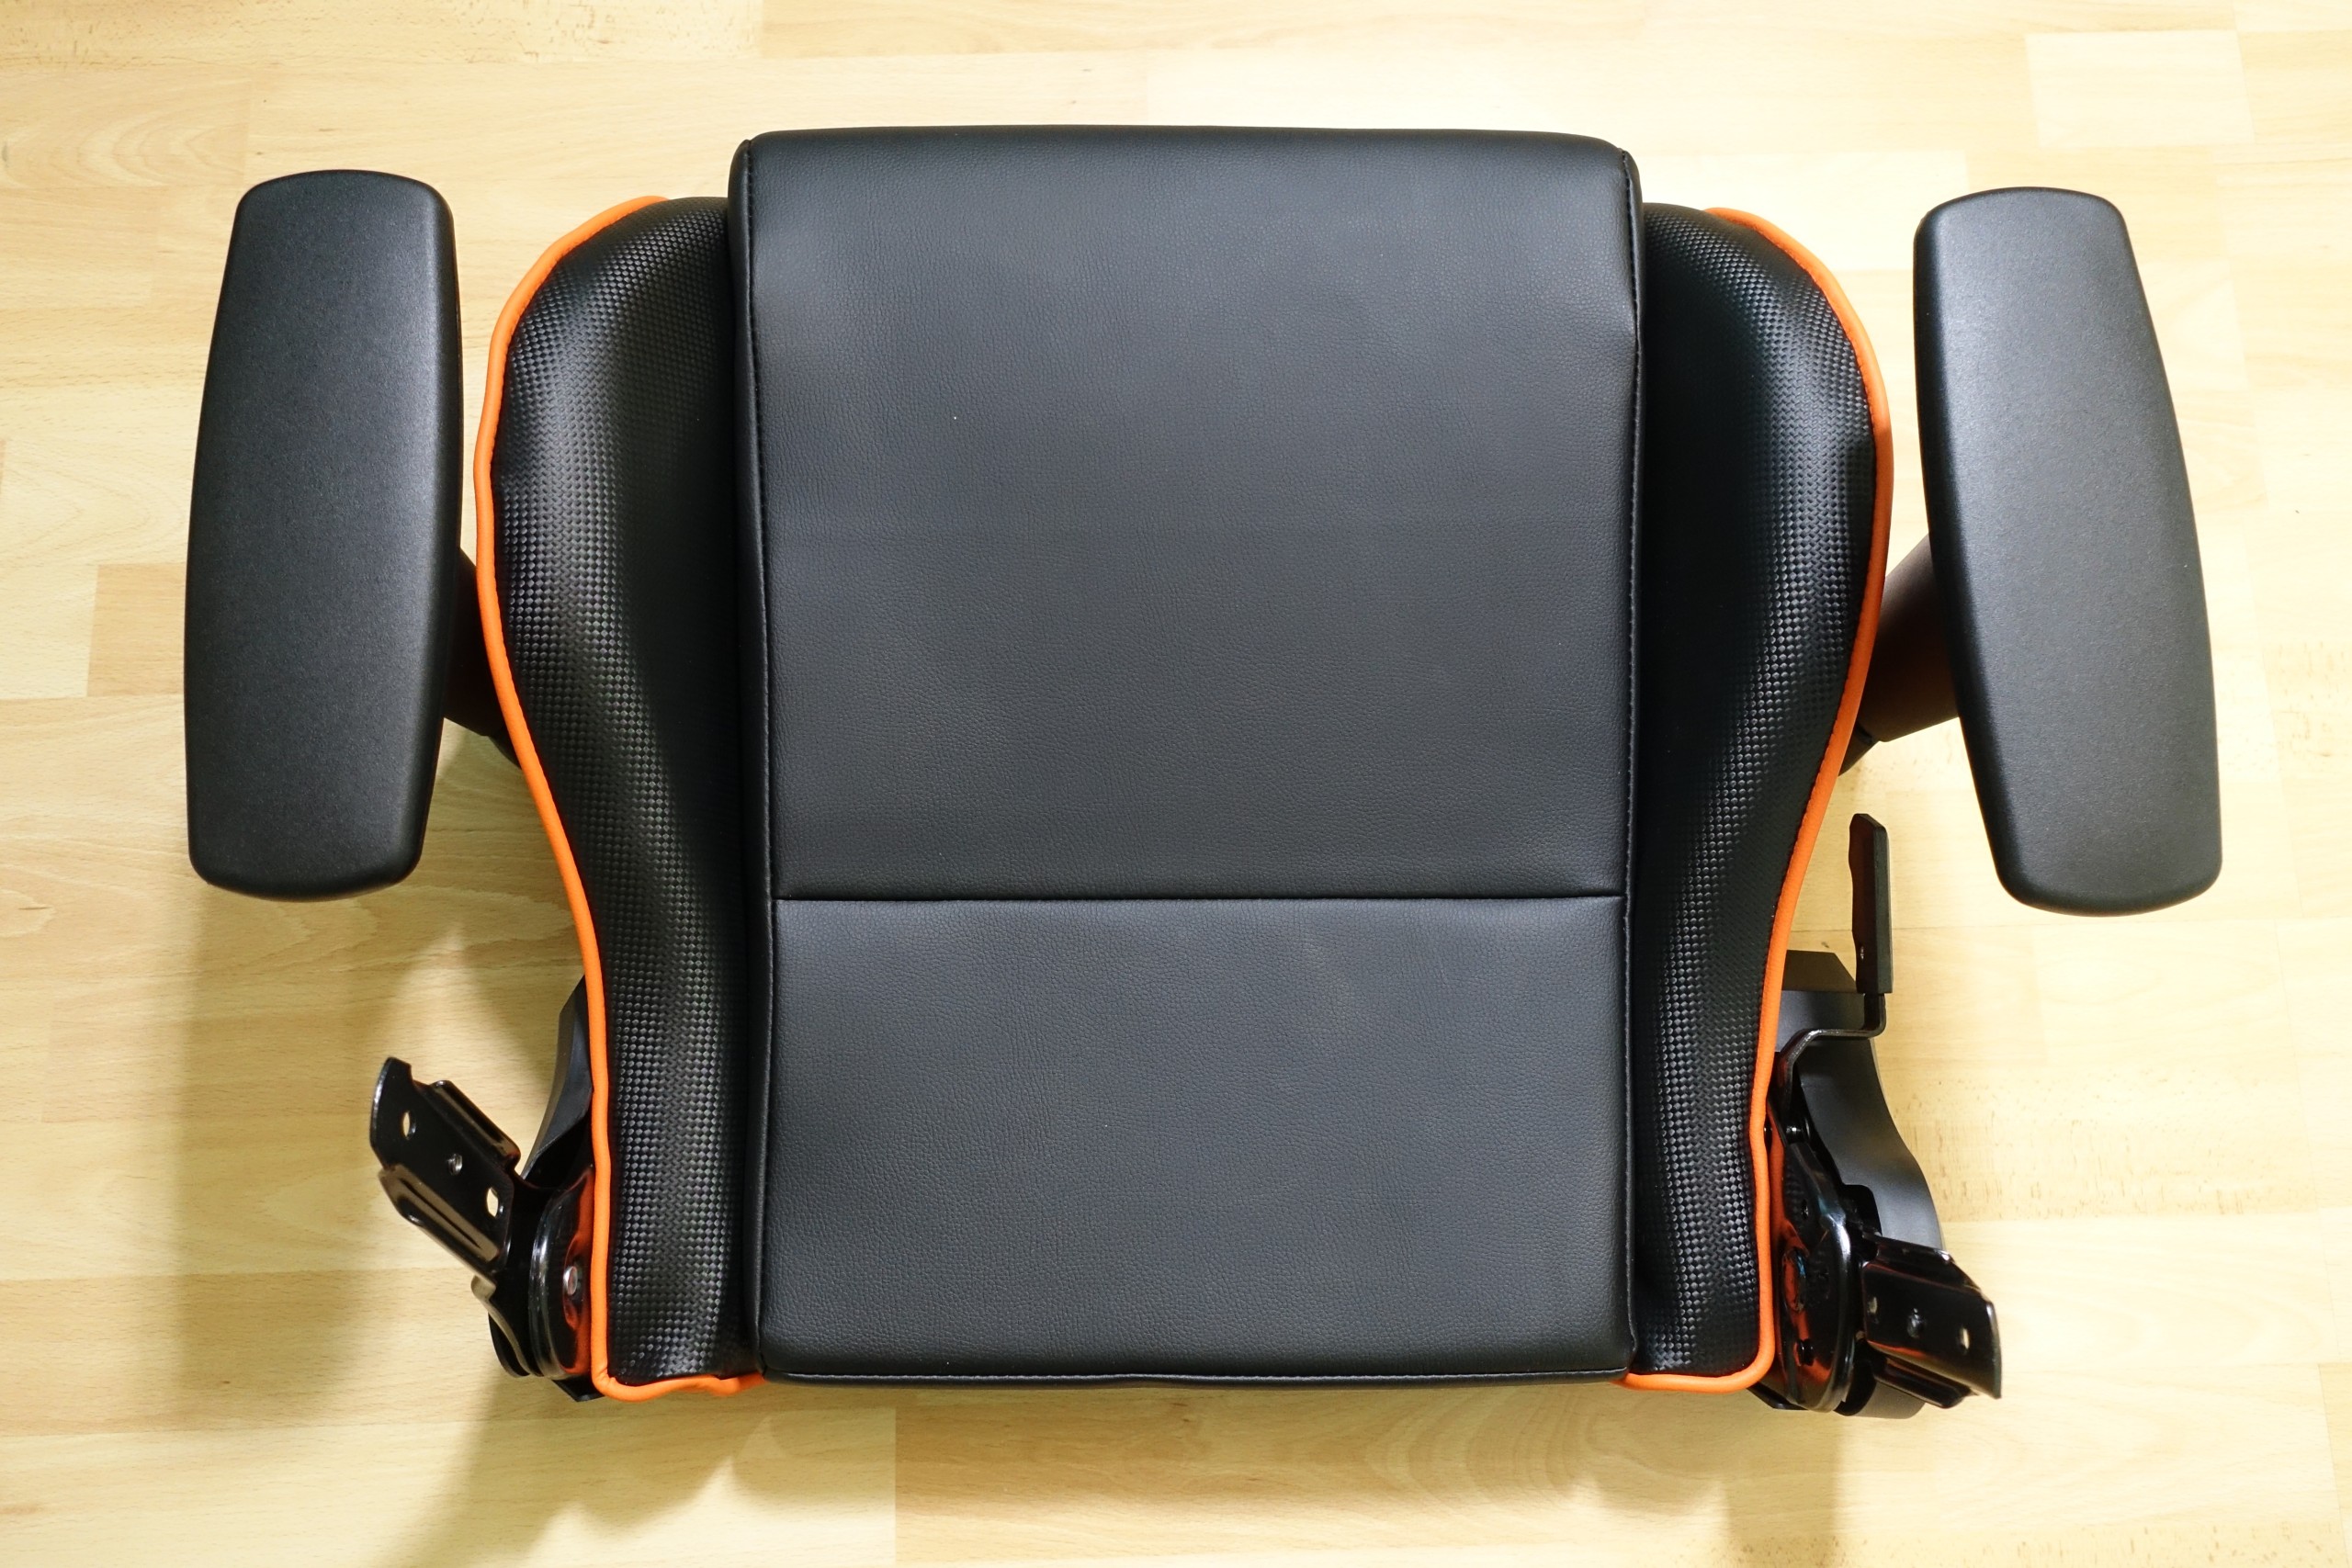
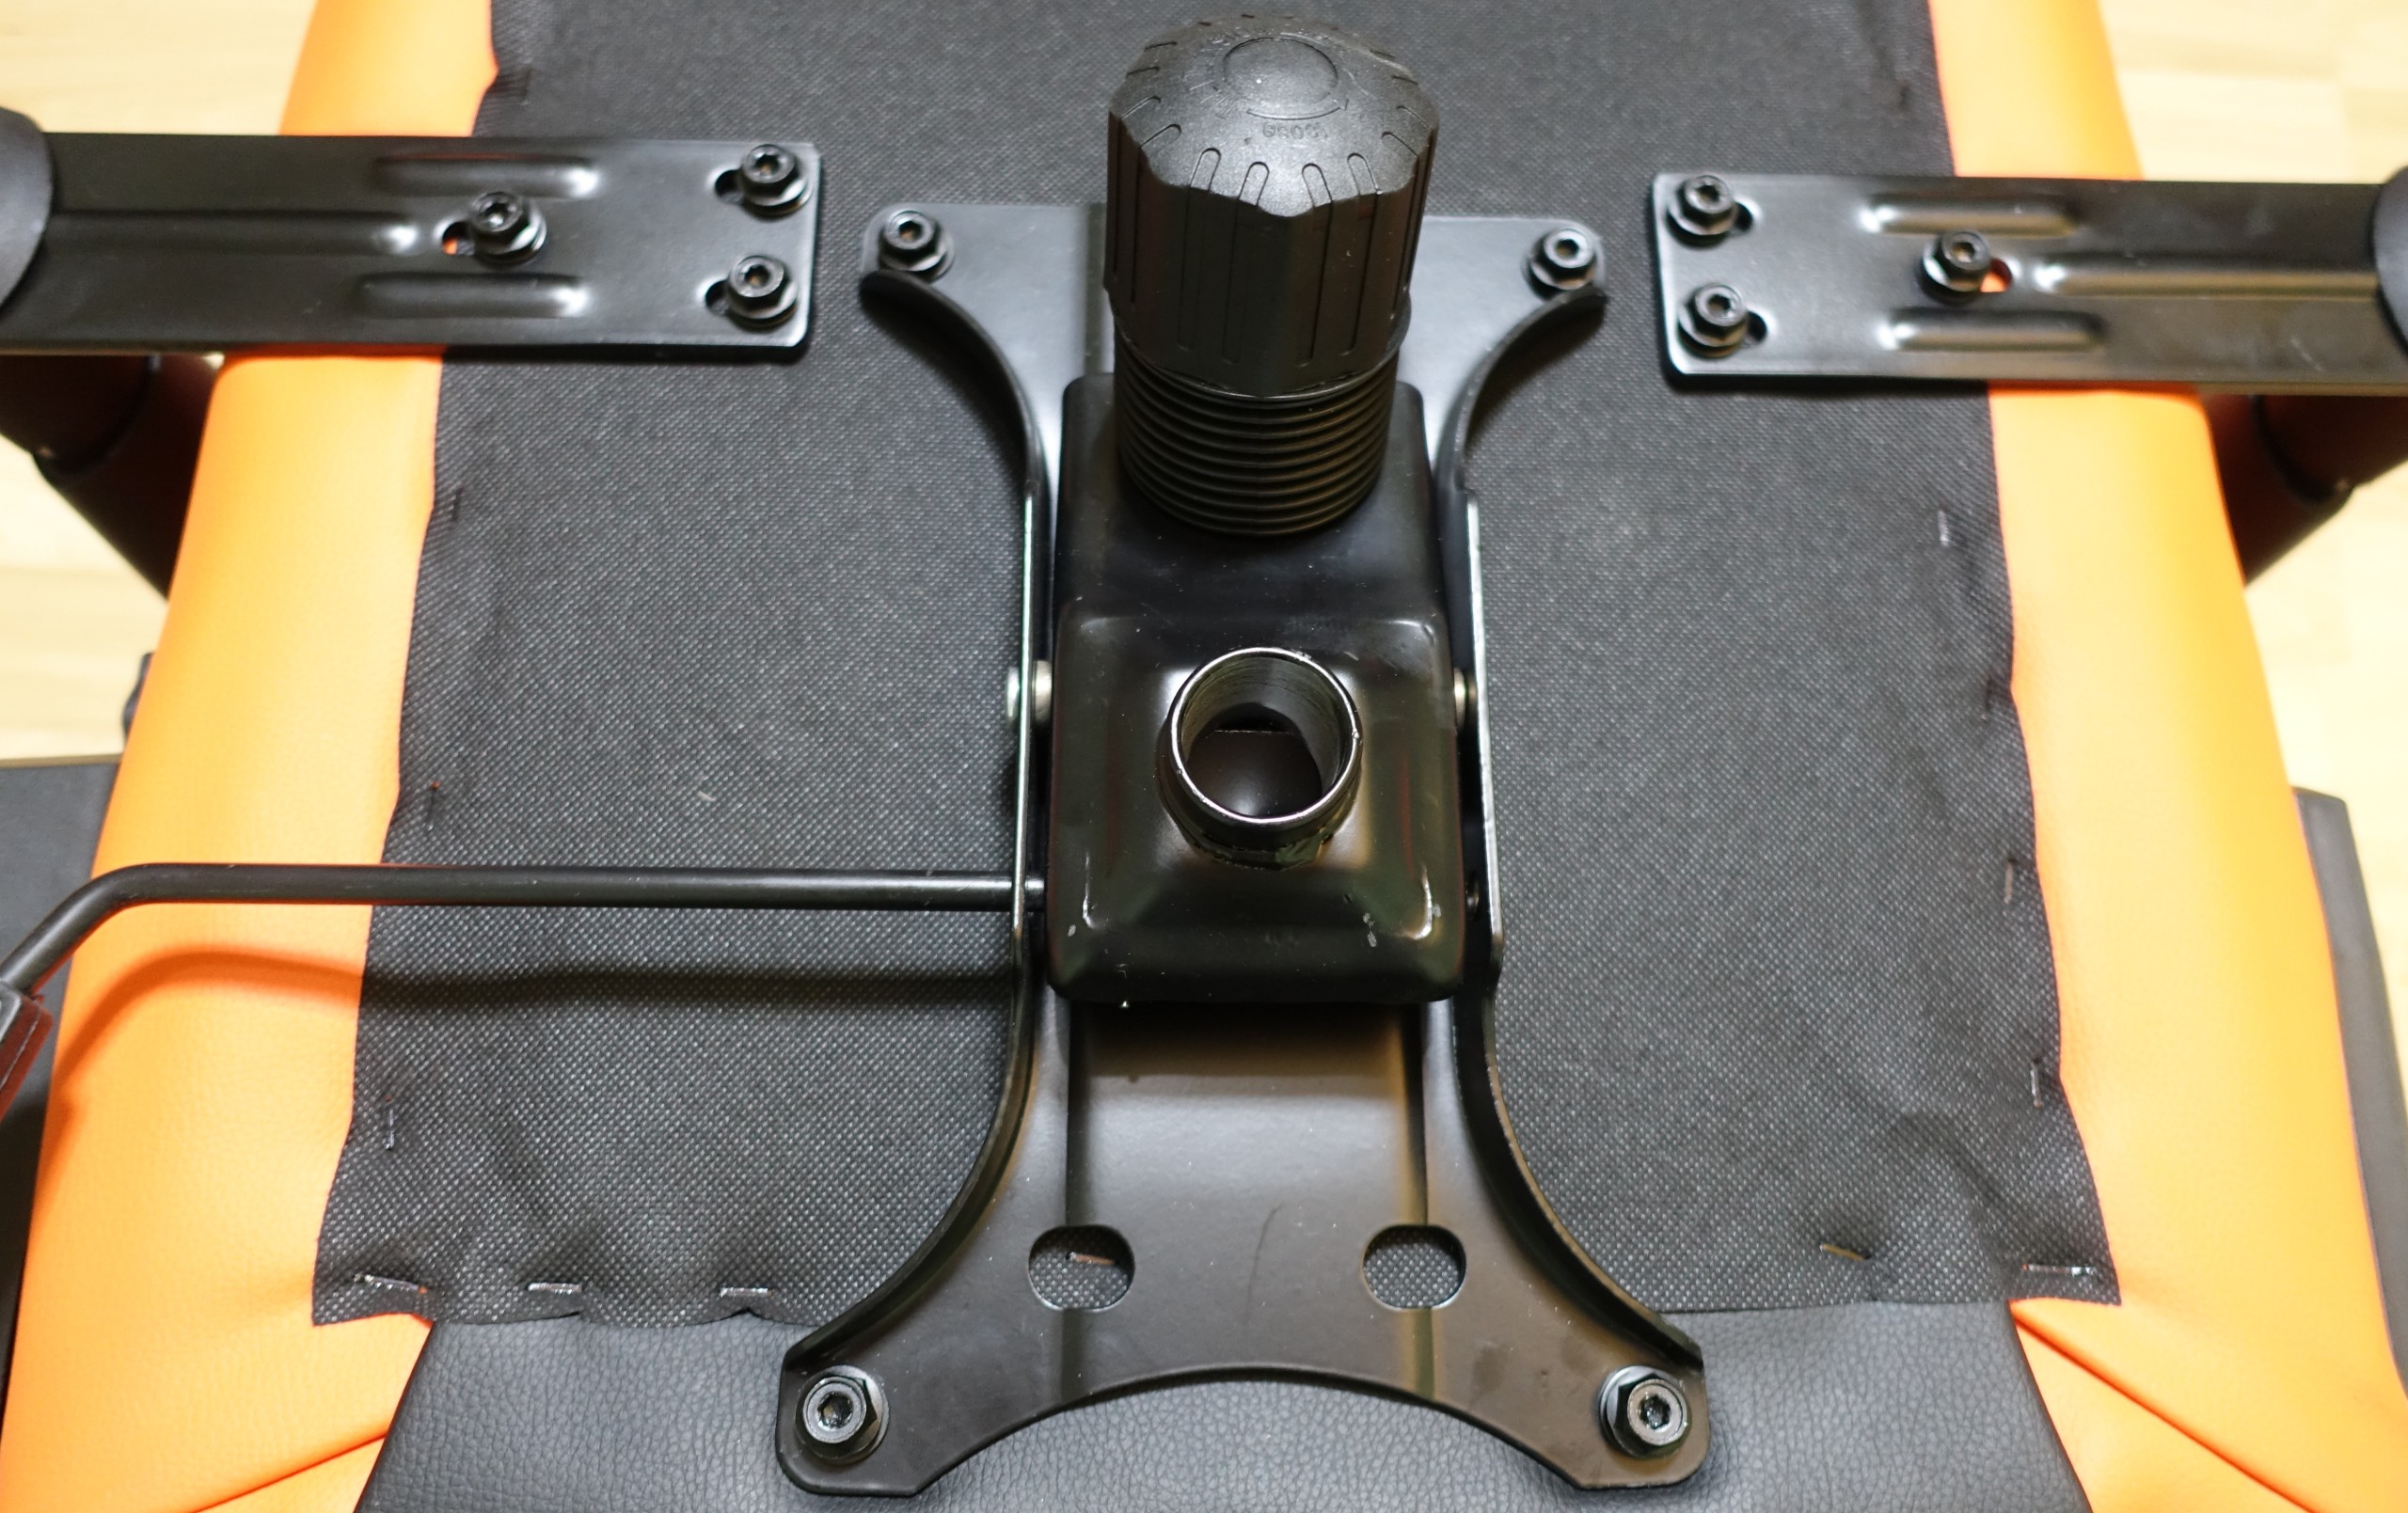
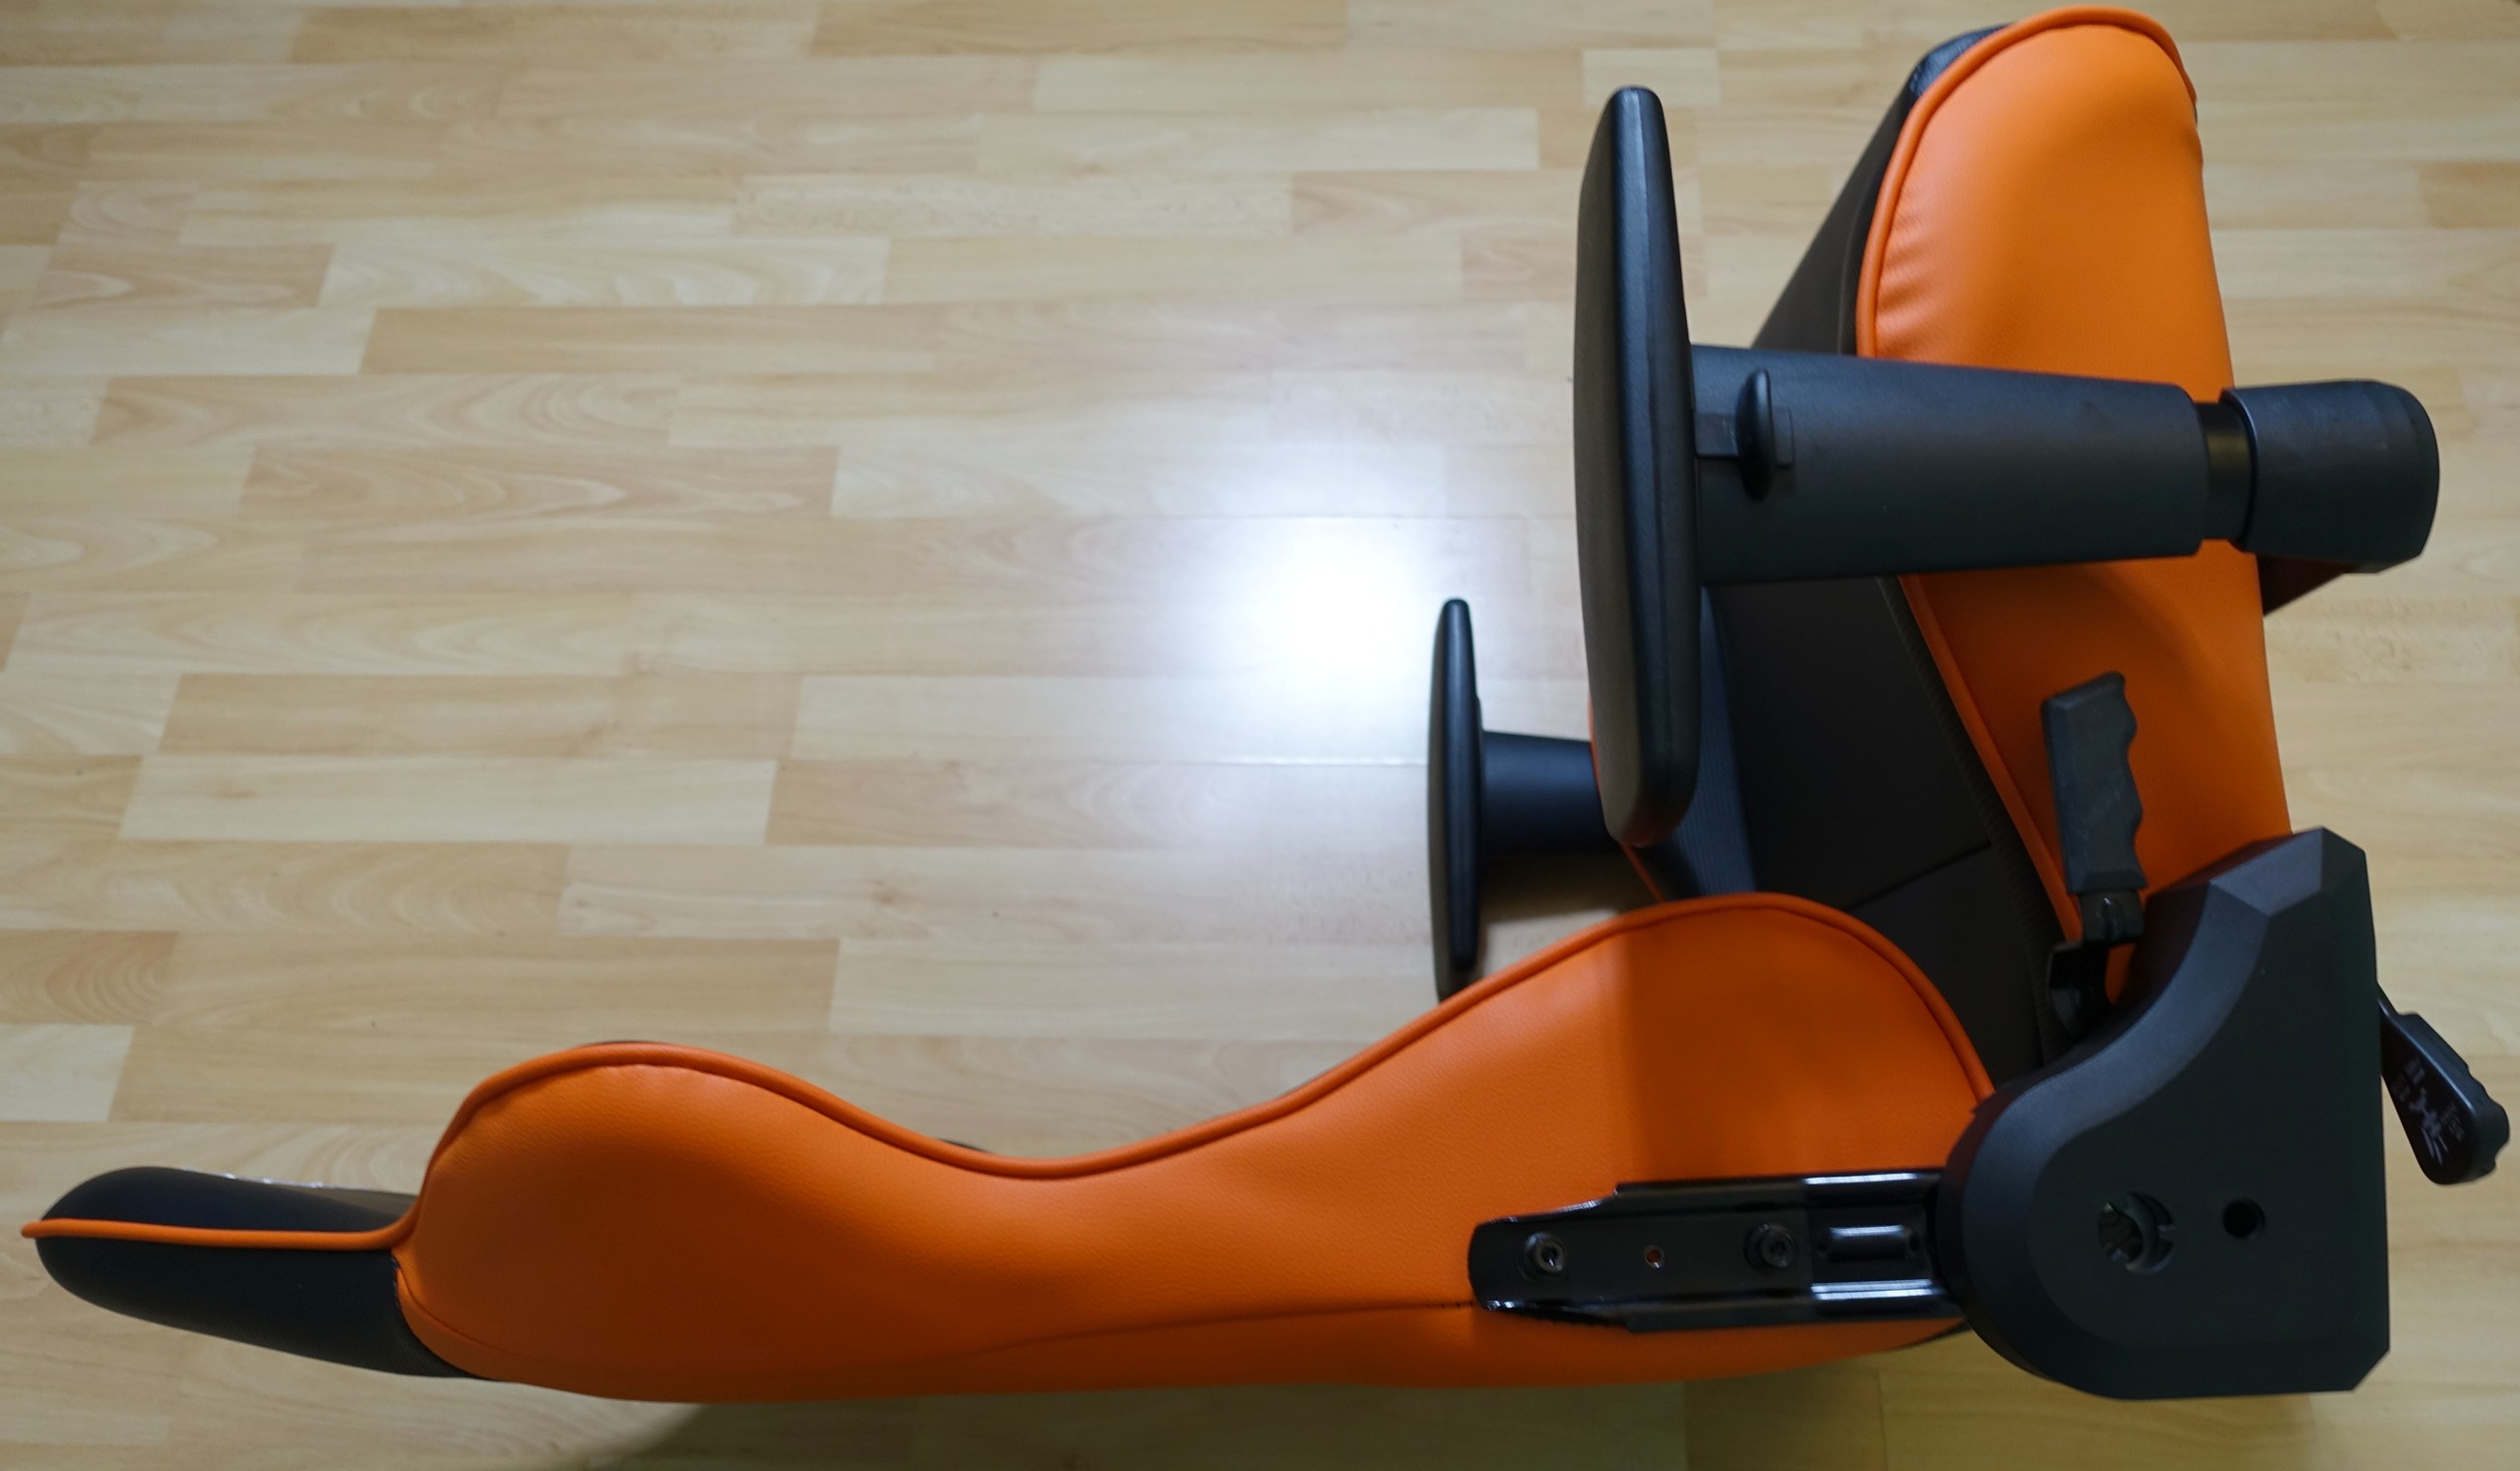
Next, we grab the seat with the already pre-assembled armrests. Before you later (!) screw the mechanics to the bottom, you should already have a good time.
The two nozzles are pre-assembled and offer only a pure height adjustment. If it gets too narrow or too far, you have a few millimetres of air to move the contra-angle handpieces locked by means of long holes, even outwards or inwards. It is a pity that the manufacturer does not use larger long holes to offer even more possibilities of variation. Once the mechanical unit has been screwed and plugged into the gas pressure spring, it becomes a little uncomfortable for moving.
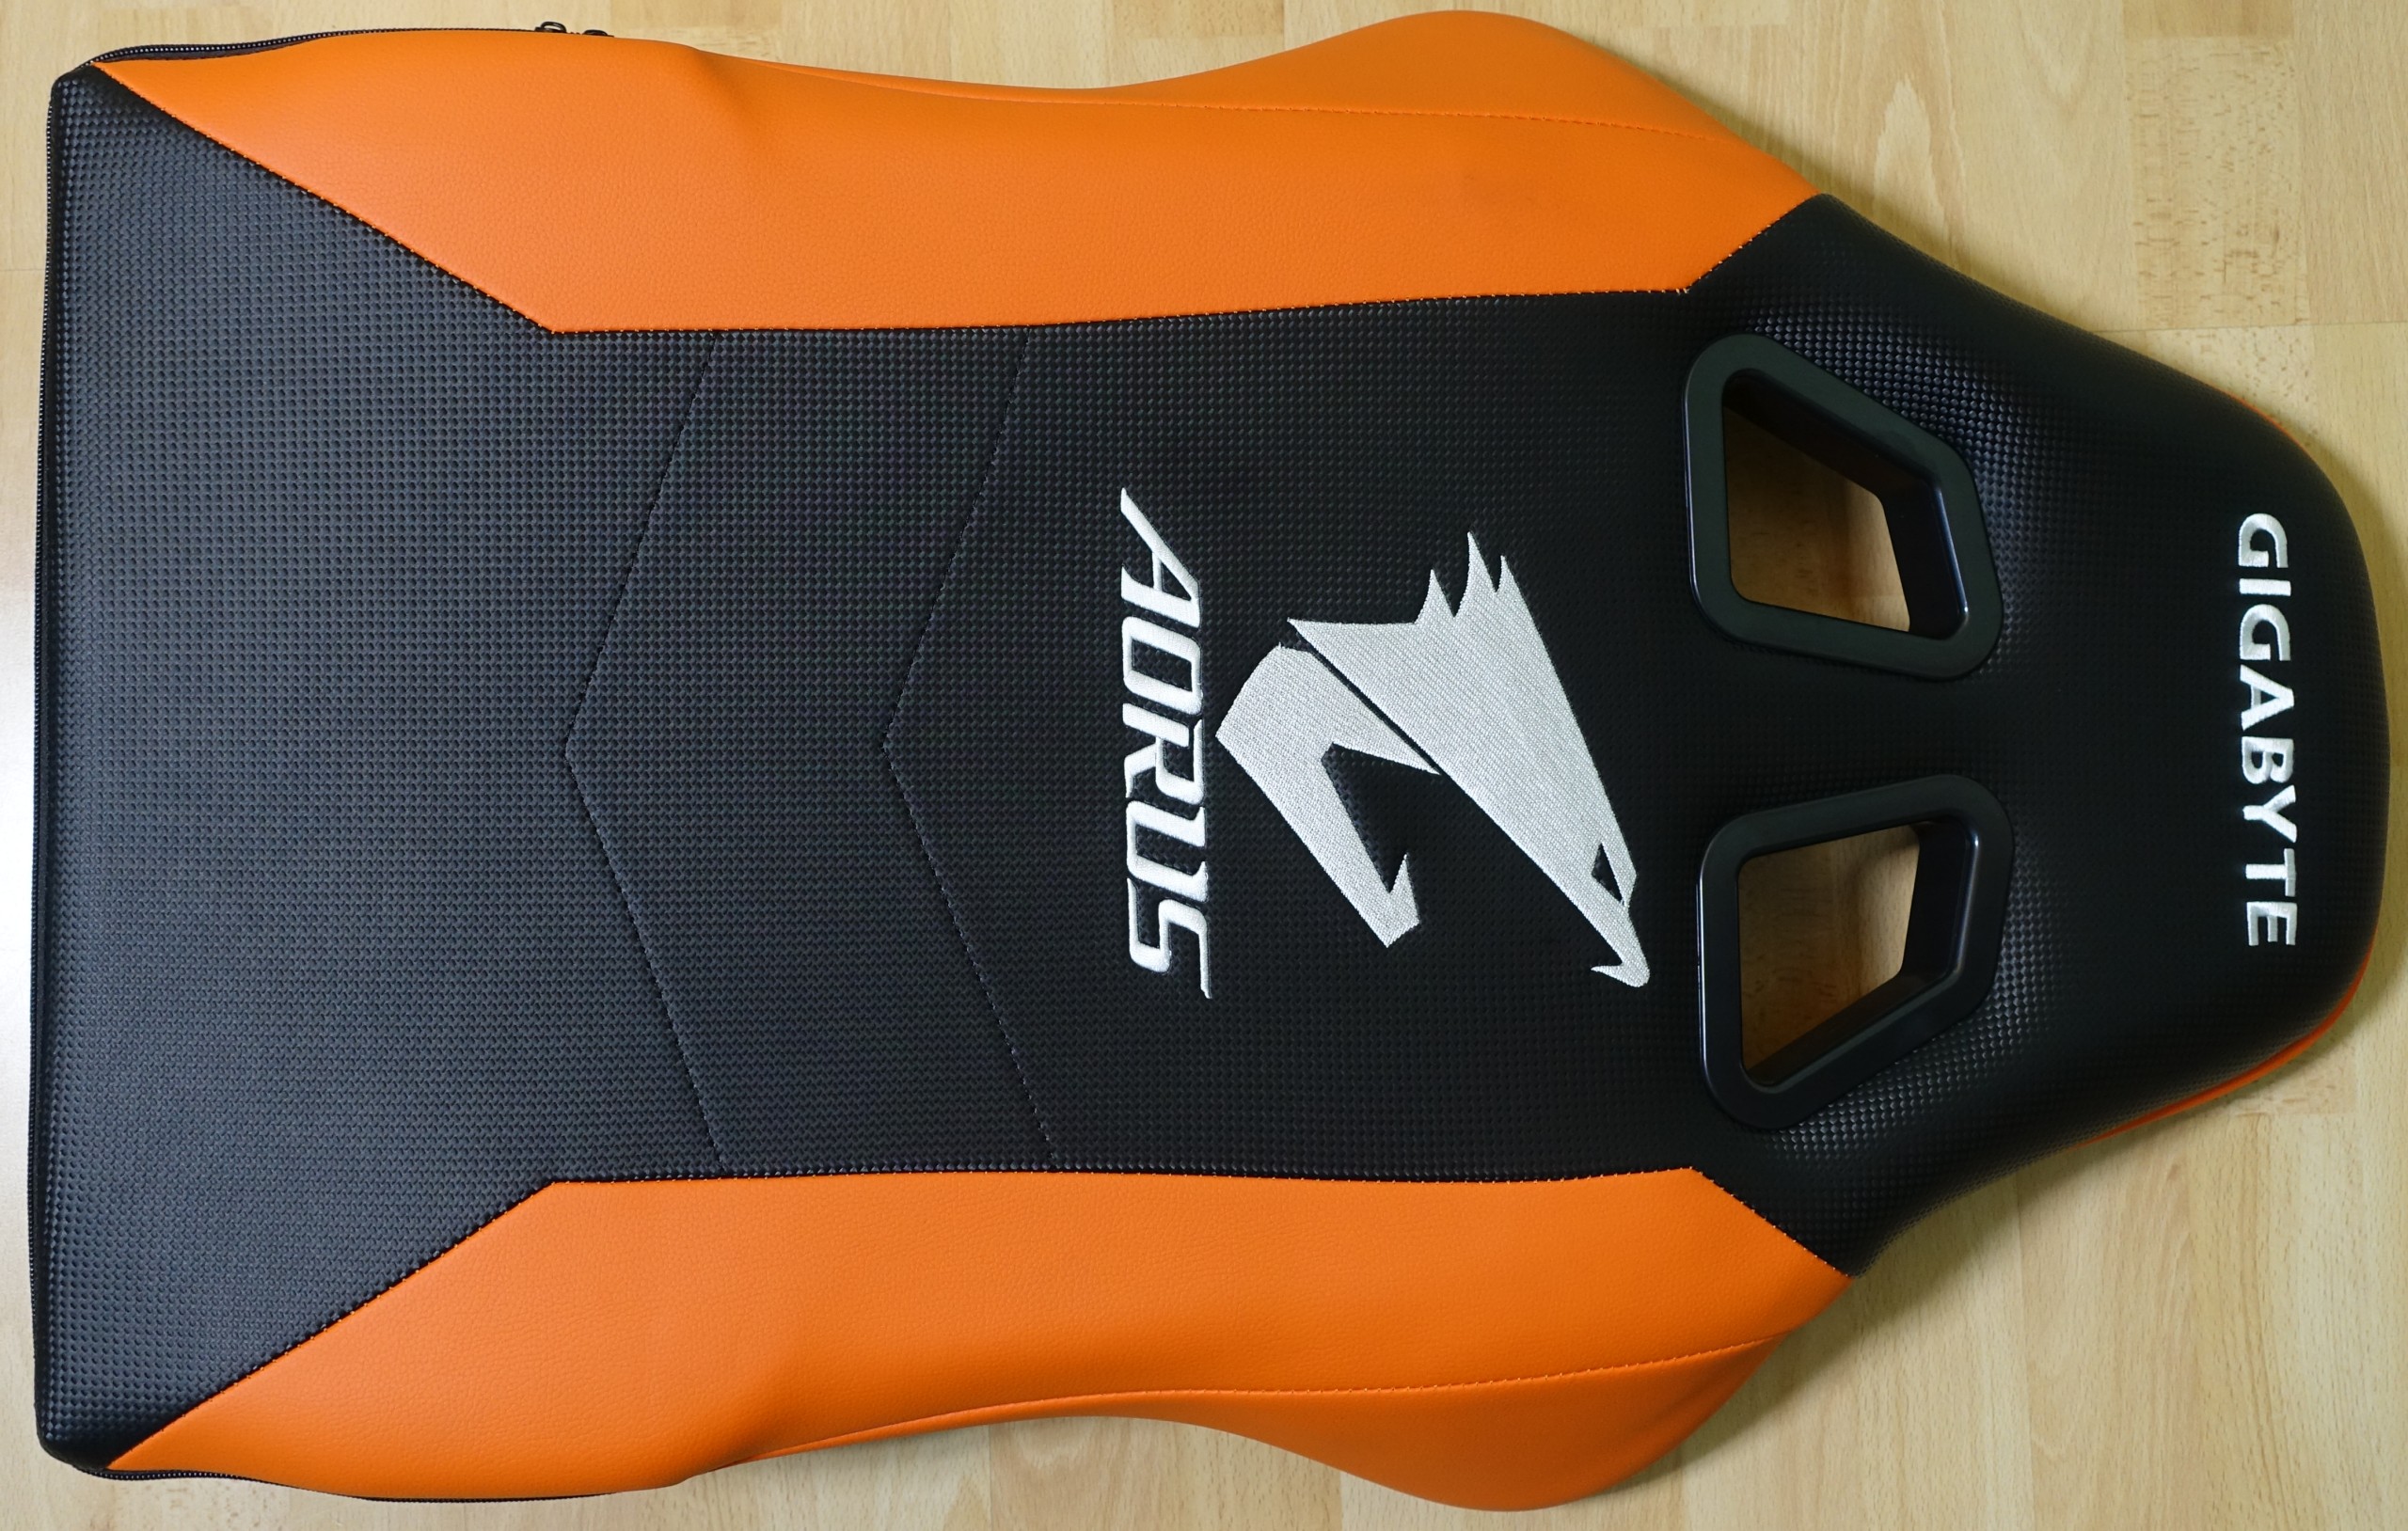
Unfortunately, the underbody consists of a simple MDF plate and no free-supporting steel tube scaffold with shaft springs inserted. Here you can already see the red pencil very clearly, because even the tagged, unturned and sewn leather imitation, as well as the cheap, black fleece testify to drastic austerity measures. It holds, but beautiful looks different.
The mechanism is fastened with four screws, using the four-set with the shorter screws. The longer ones would otherwise be in the most good place later with a little bad luck. The printing of the manual was so miserable and also somewhat blurred that one gets further here with logic rather than with the pure study of literature.
After the seat has been fully assembled, it should NOT be placed on the foot. We can see why this is the case.
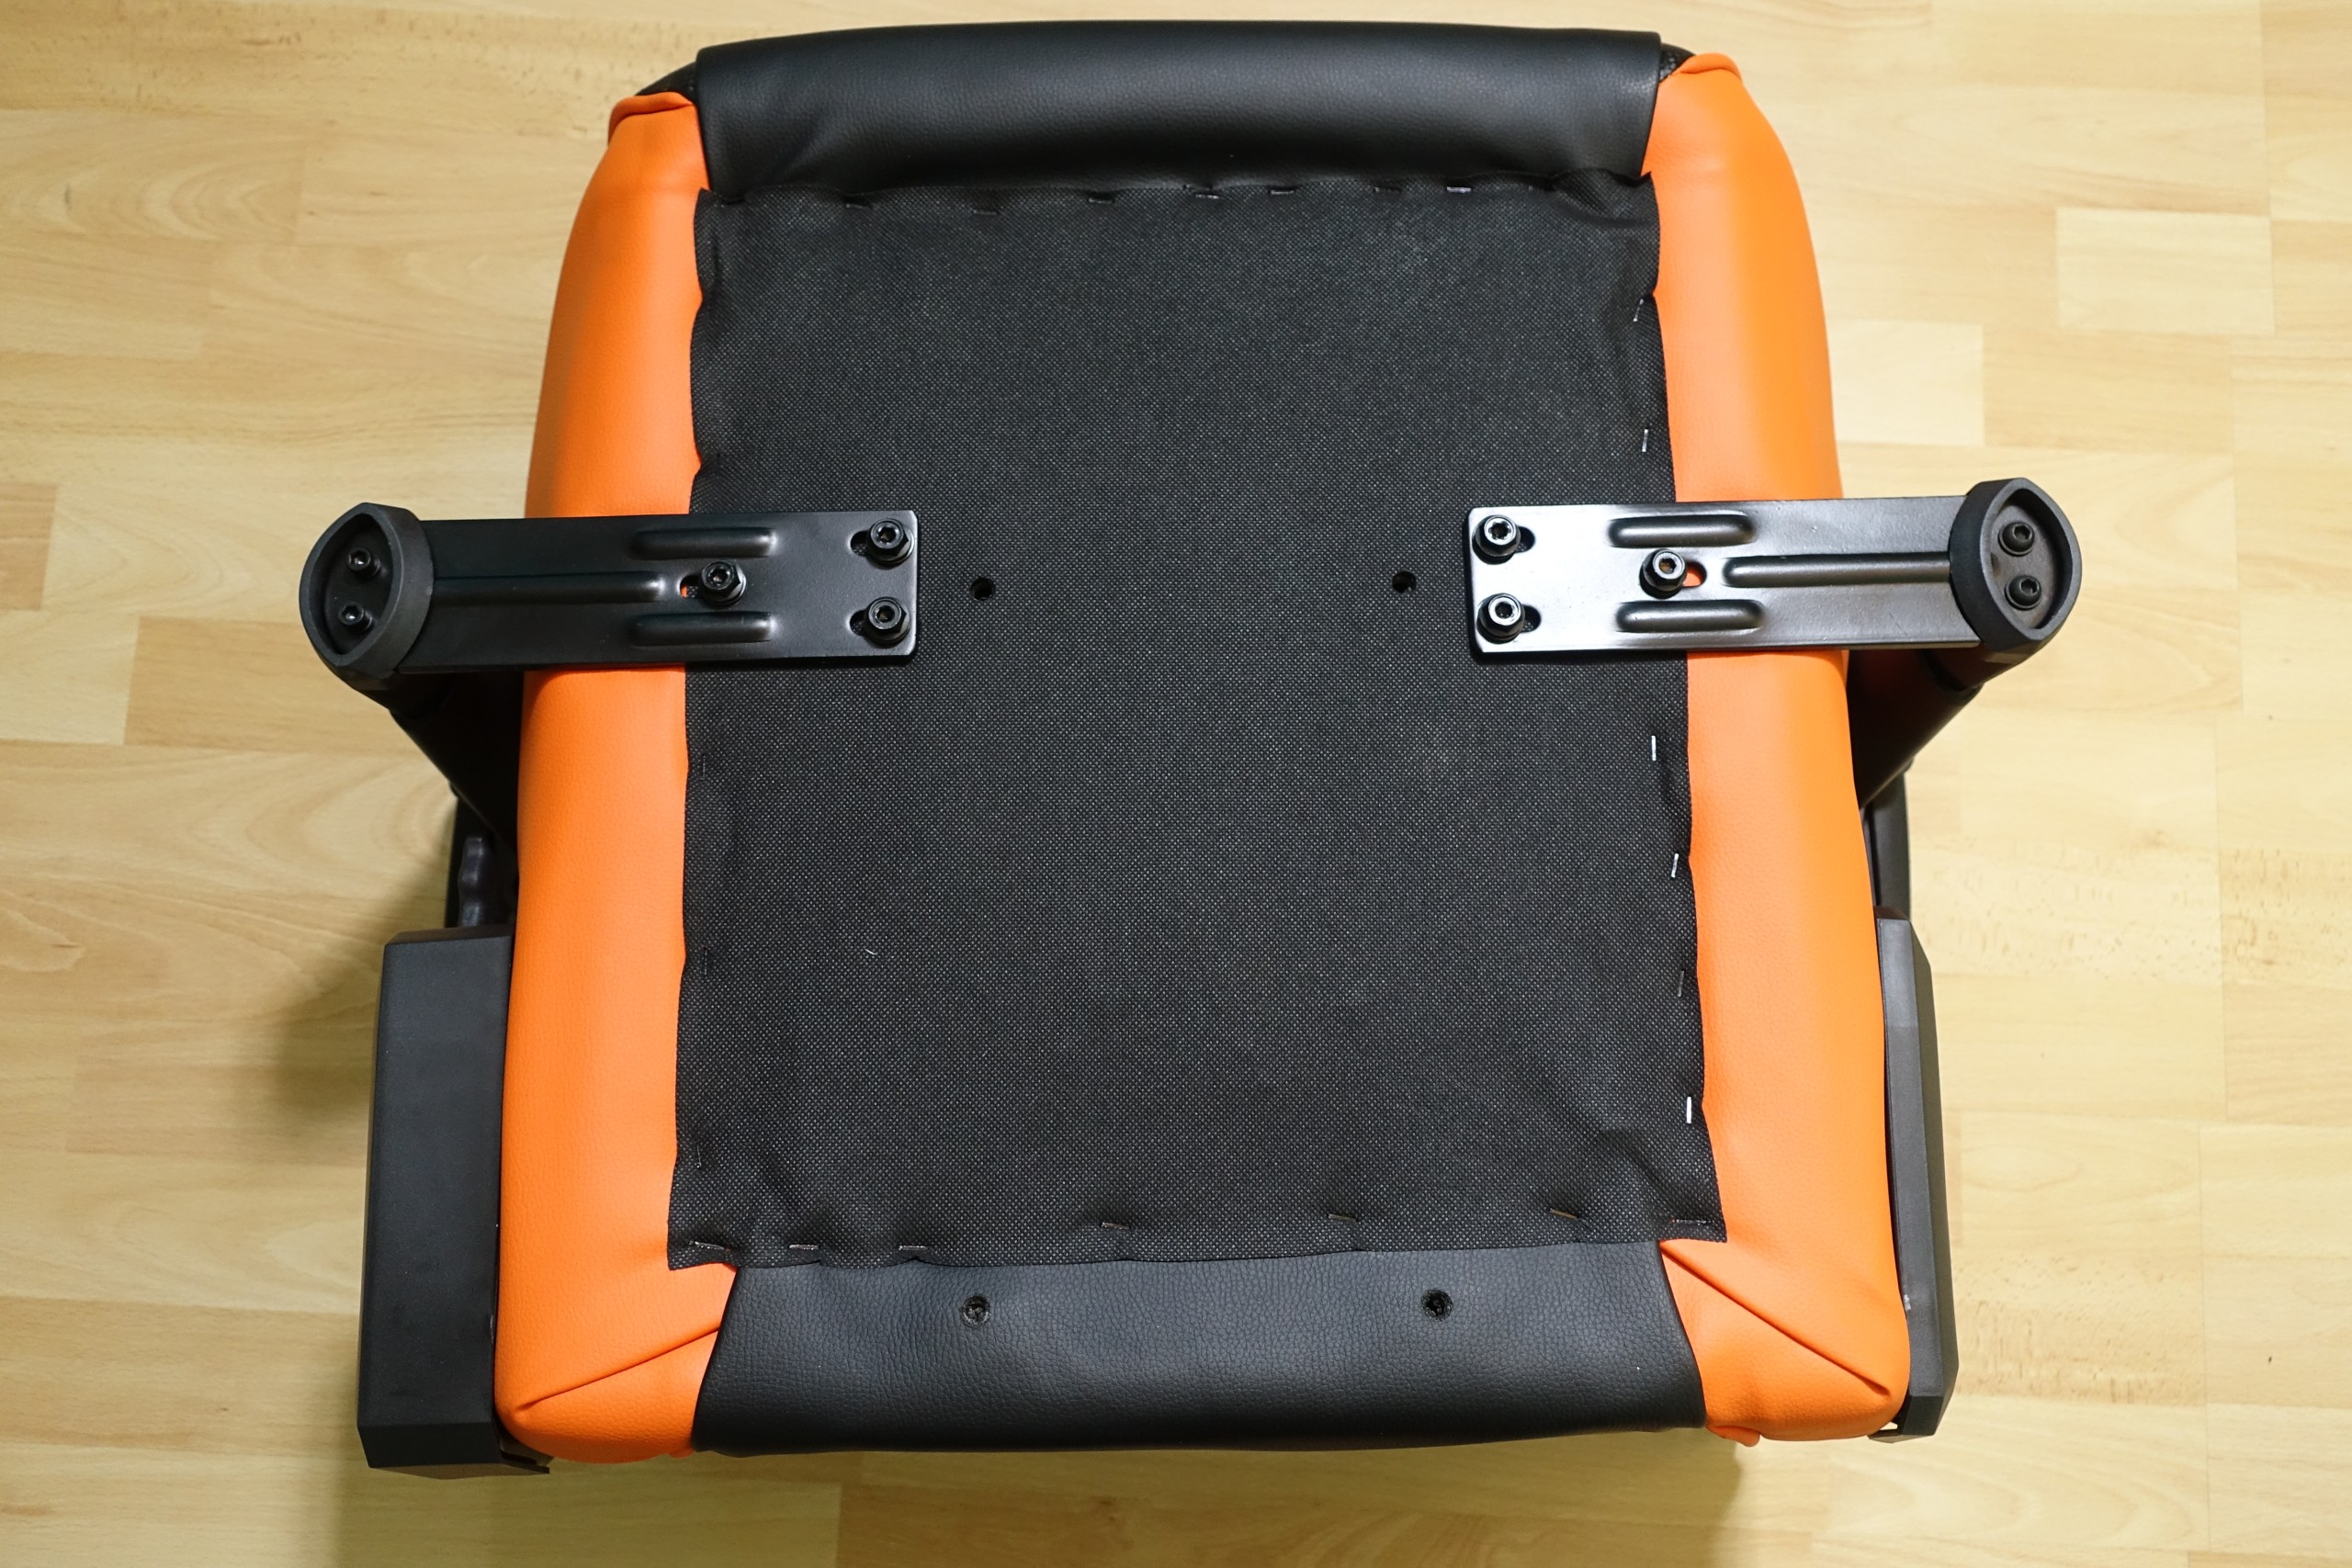
First, we grab the backand and mount it on the side of the seat. This saves nerves and two more helpful hands.
 |
 |
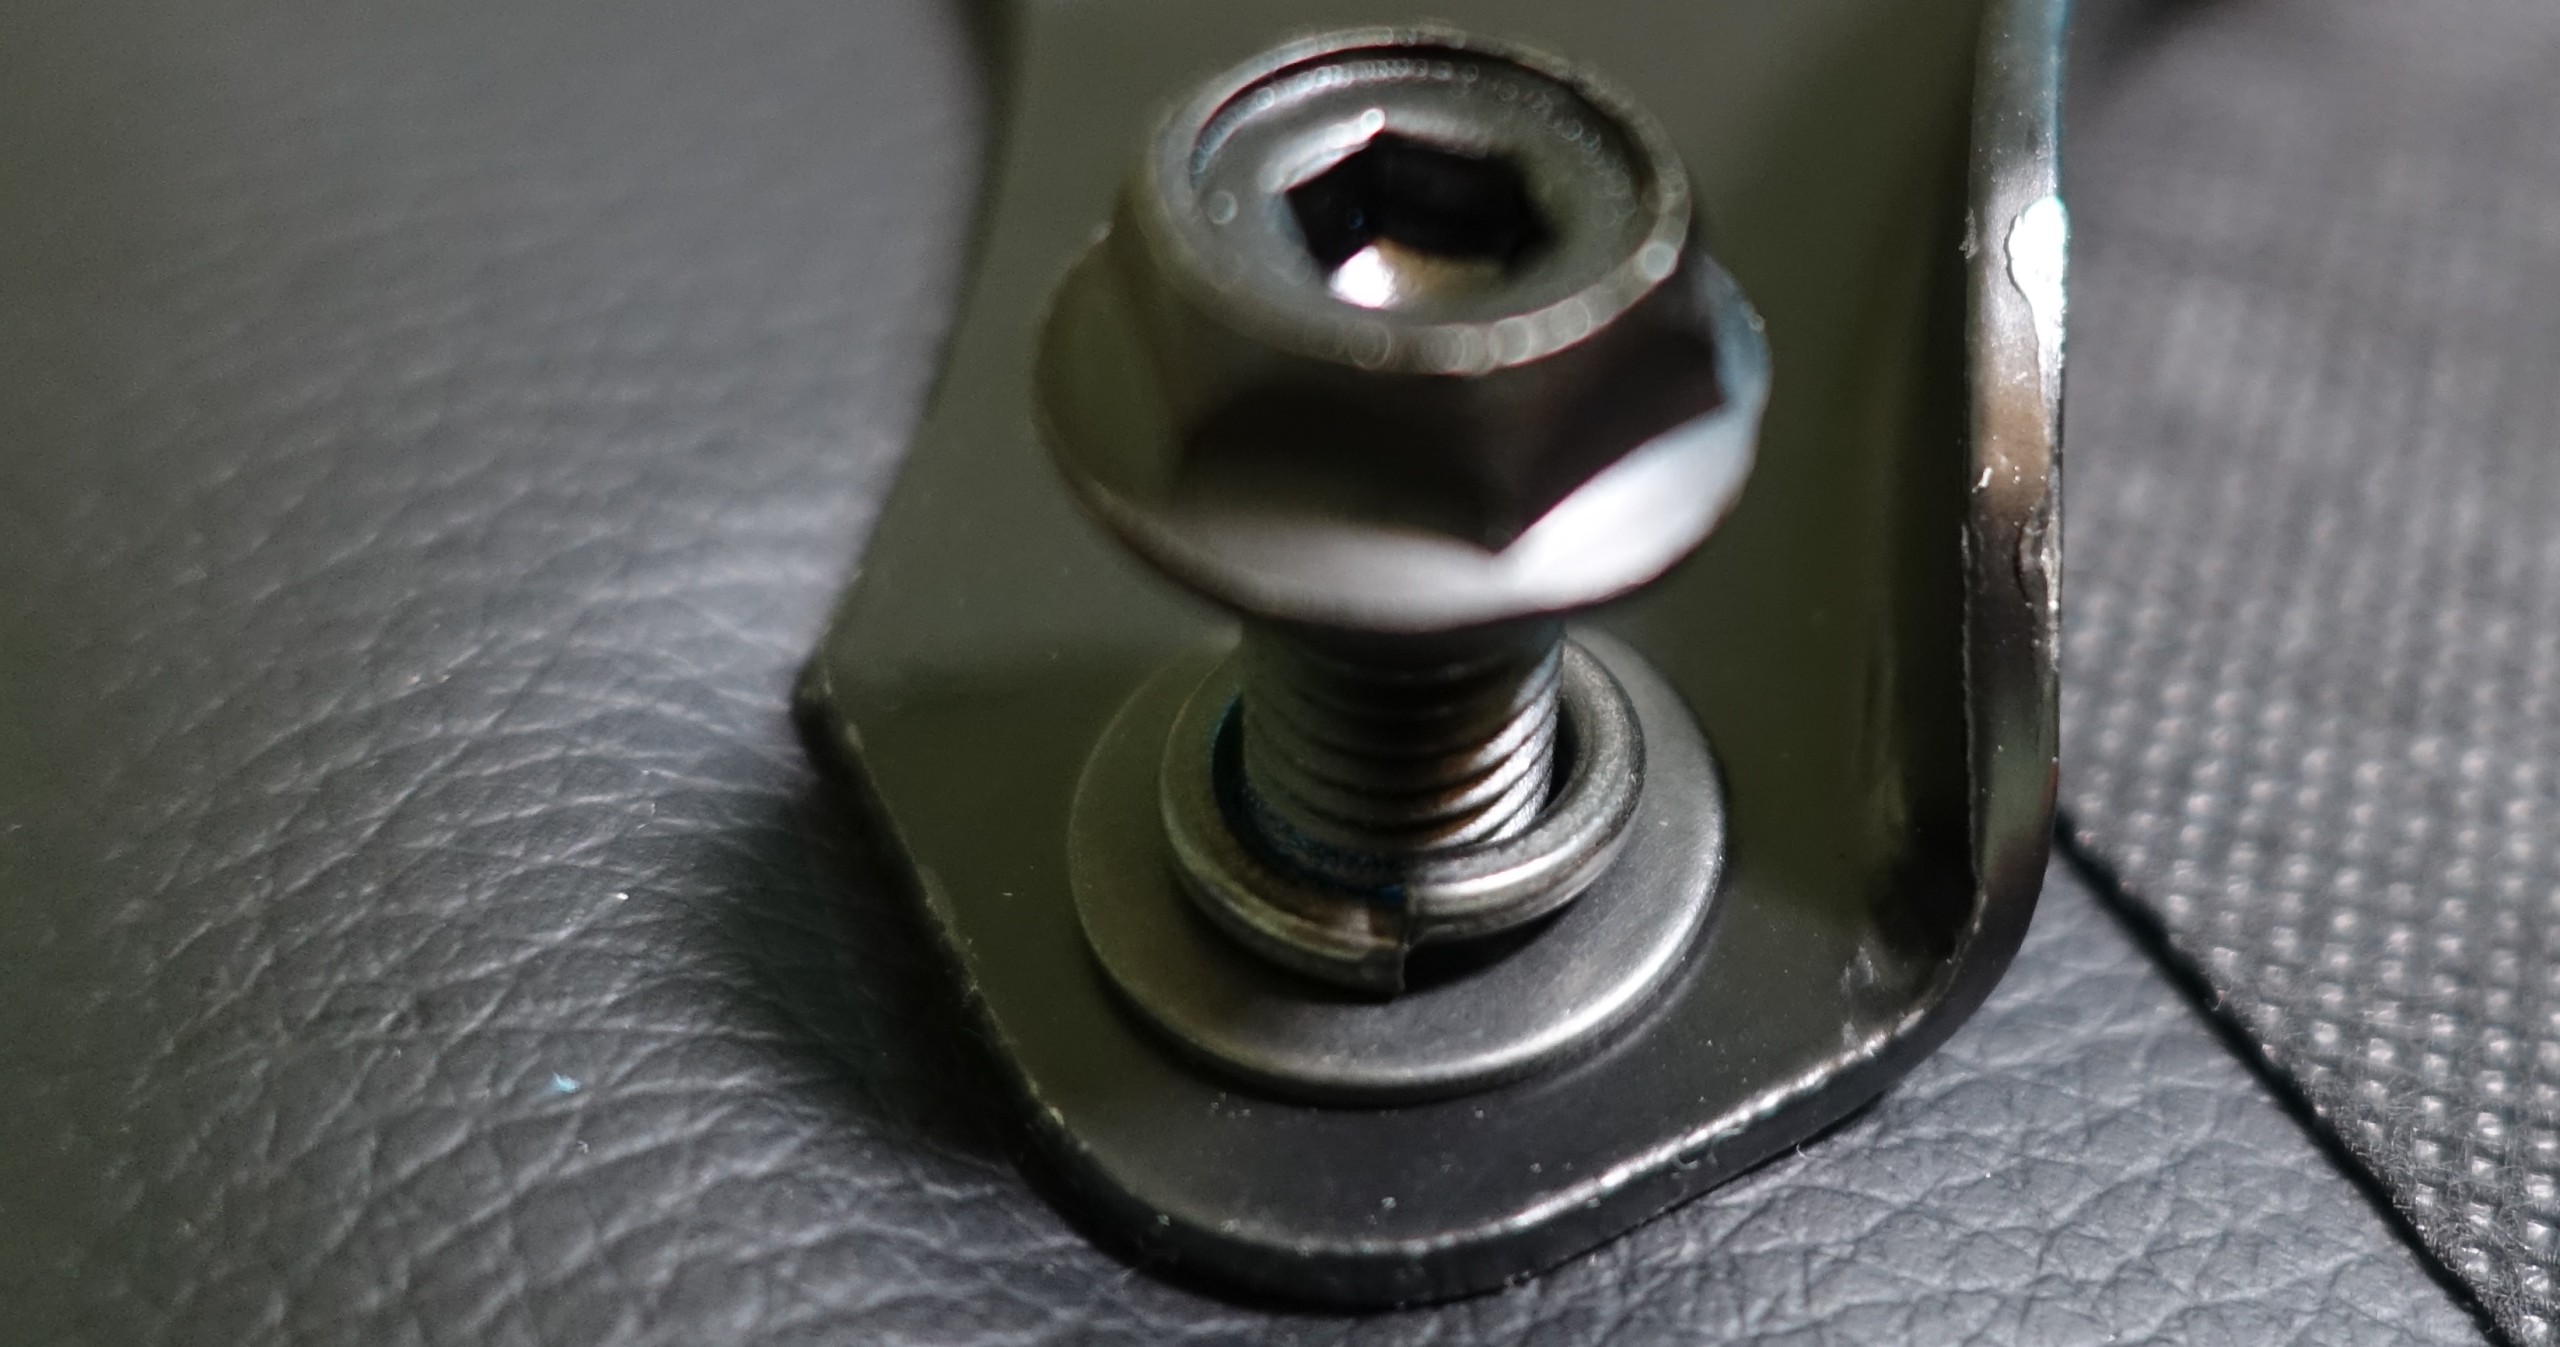
First, we screw the backrest to the tilting mechanism, the loose left side comes last. The screws are quite heavy-duty, because you inevitably also pull a lot of fibers of a filler into the thread. Here you should really be careful and if necessary work with a pointed knife.
The sanding of the cover is well solved, because the thread is in the metal bracket and not in the seat.
Also the cover of the holes is almost perfect. Only out you can't get them later without scratches.
Now we just put the mechanics on our feet, turn everything over and the seat is completely ready for use.


Kommentieren