


The software for hardware calibration
The first step is to download and install the LG Calibration Studio software from the LG homepage (click here!). Next, you have to make sure that the monitor is connected to your PC via USB Type-A on B. And, you need a tool: a colorimeter or better a spectrophotometer.
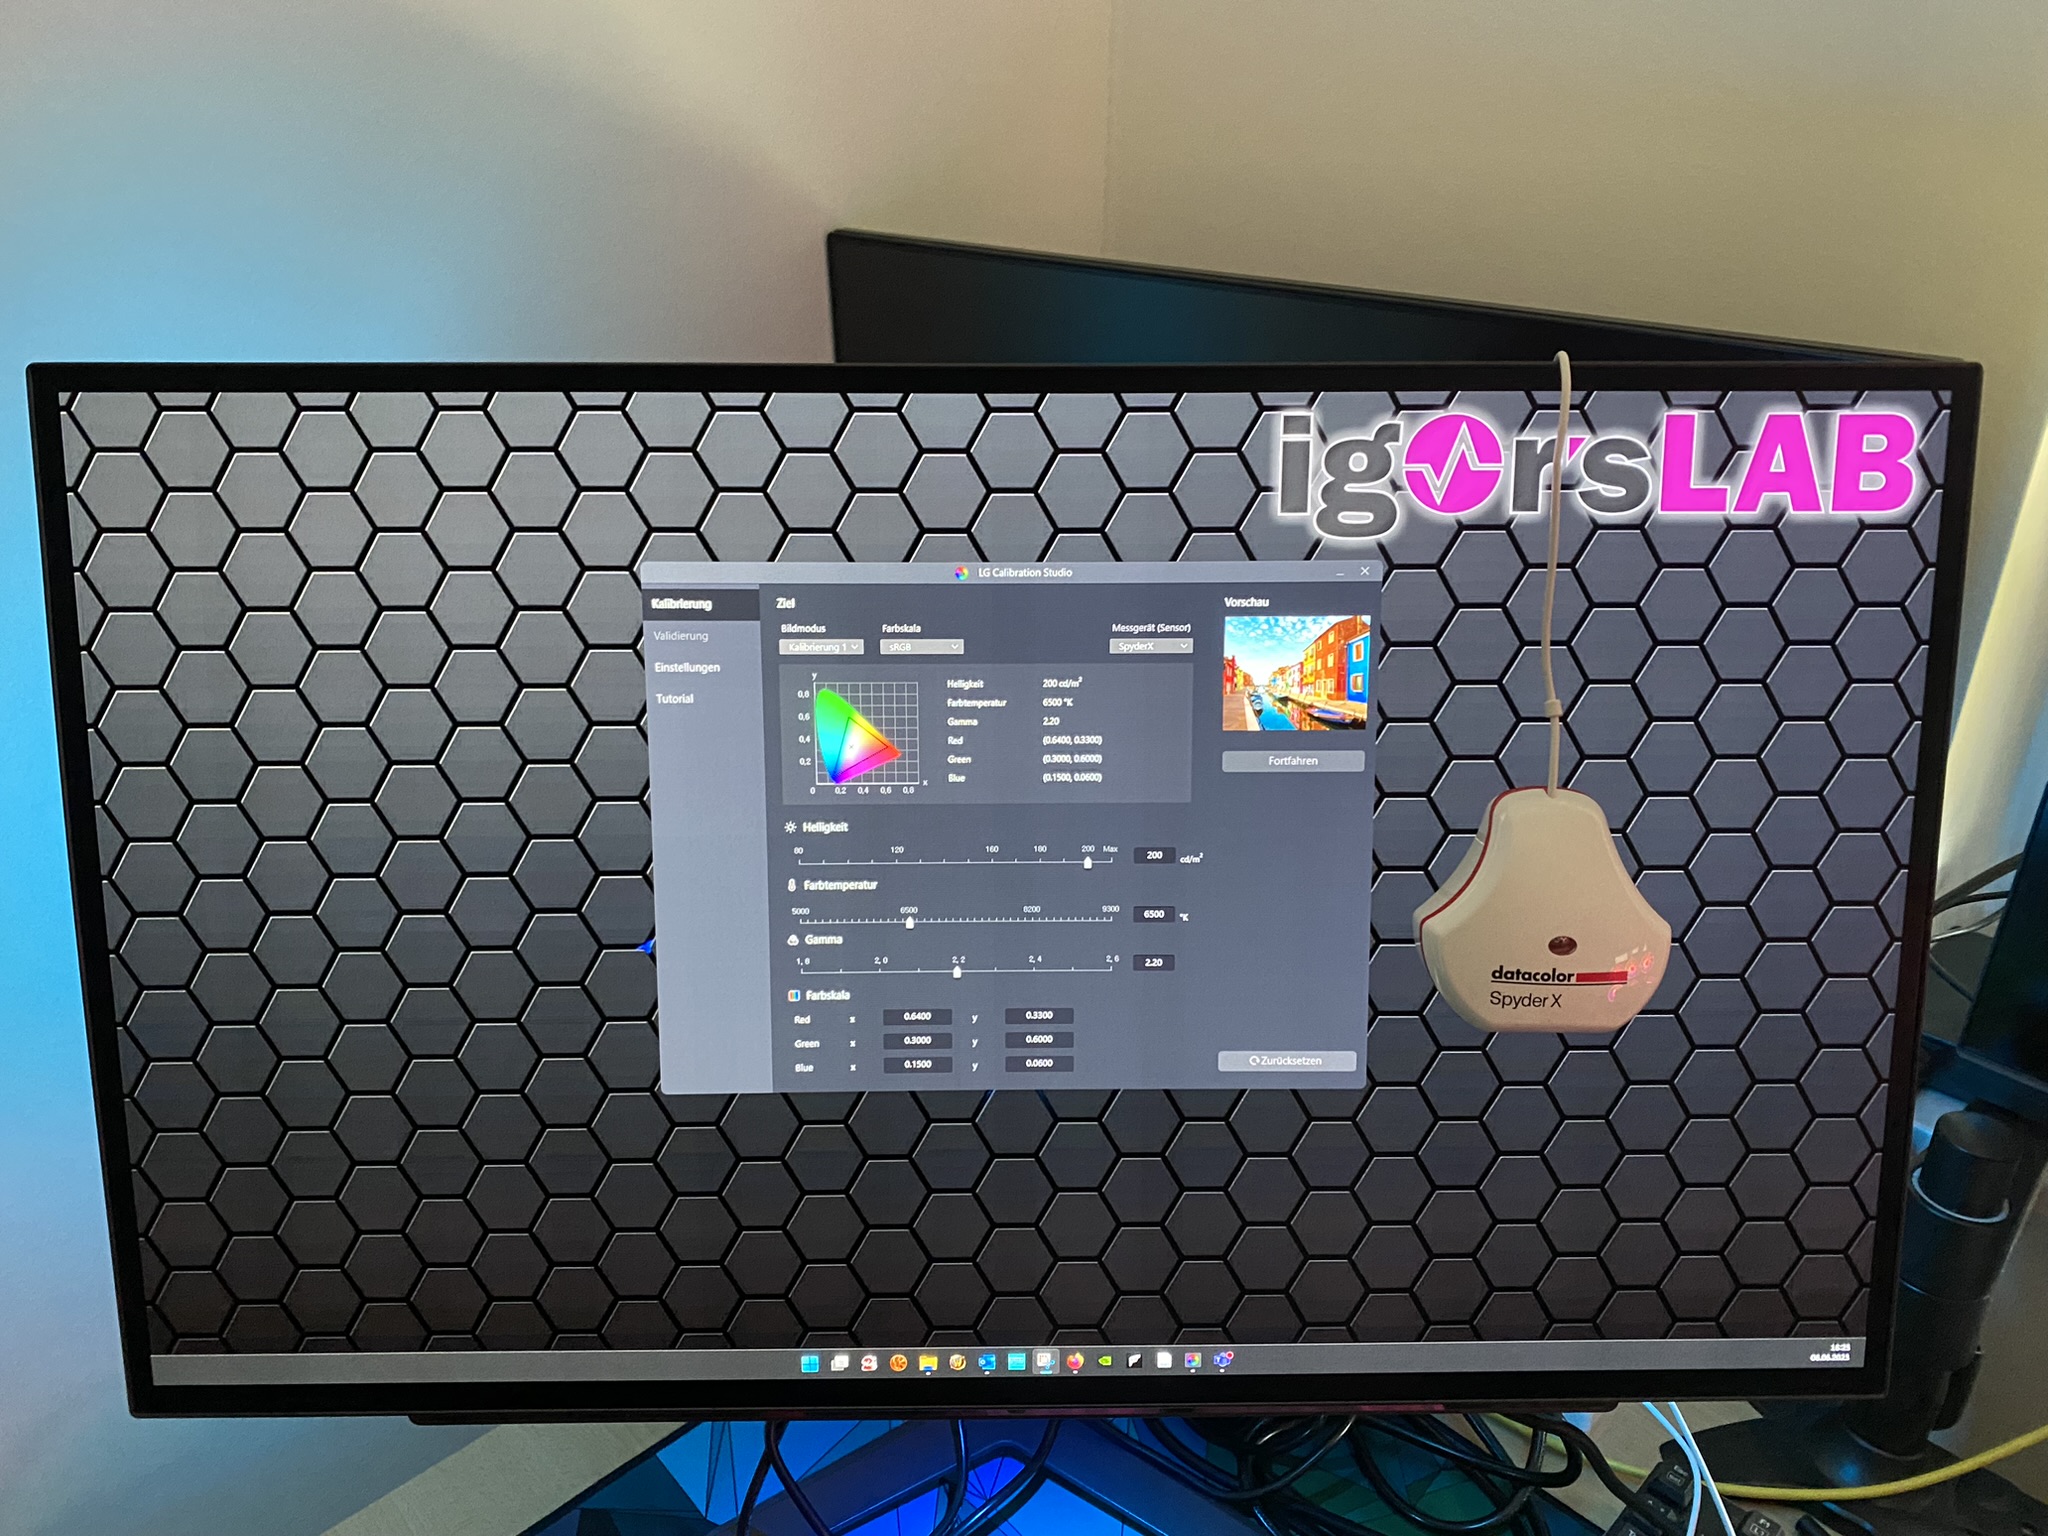
How many tools are supported by the software, I can’t tell you. There are several tools listed under the link above. Fact is that the following colorimeters work: the ColorChecker Display Plus (Calibrite), i1 Display Pro (X-Rite) and the SpyderX (DataColor). As well as the spectrophotometer from Calibrite ColorChecker Studio (not listed) and the spectroradiometer MK550T (not listed) from UPRtek. So you see that non-listed tools also work.
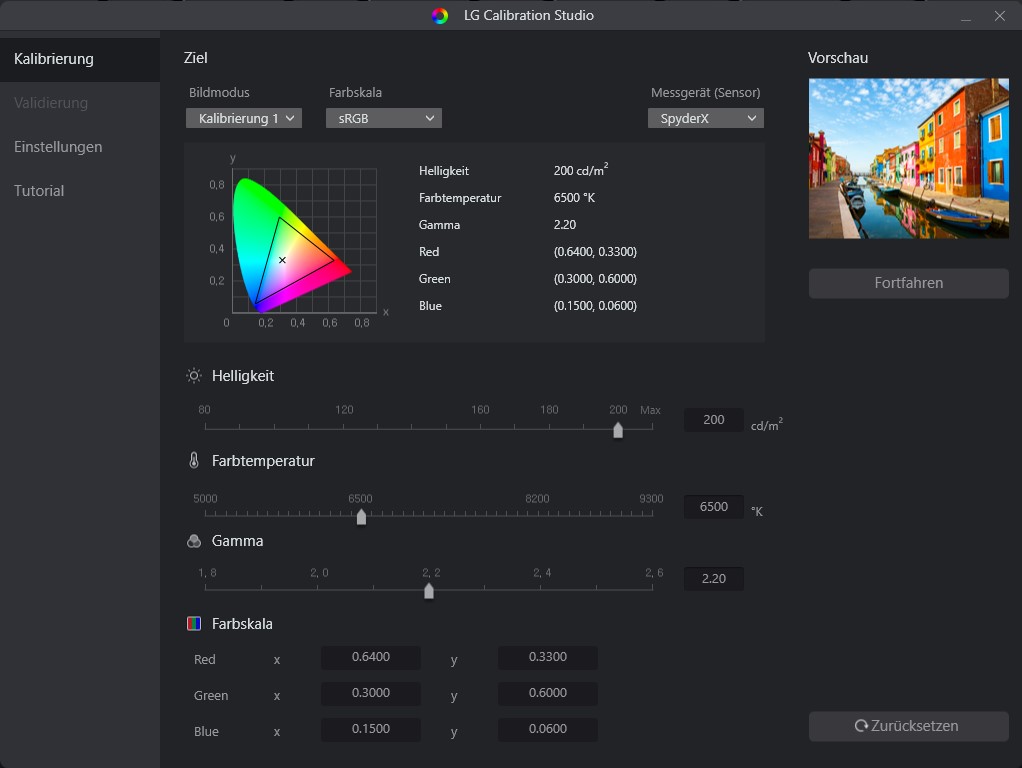
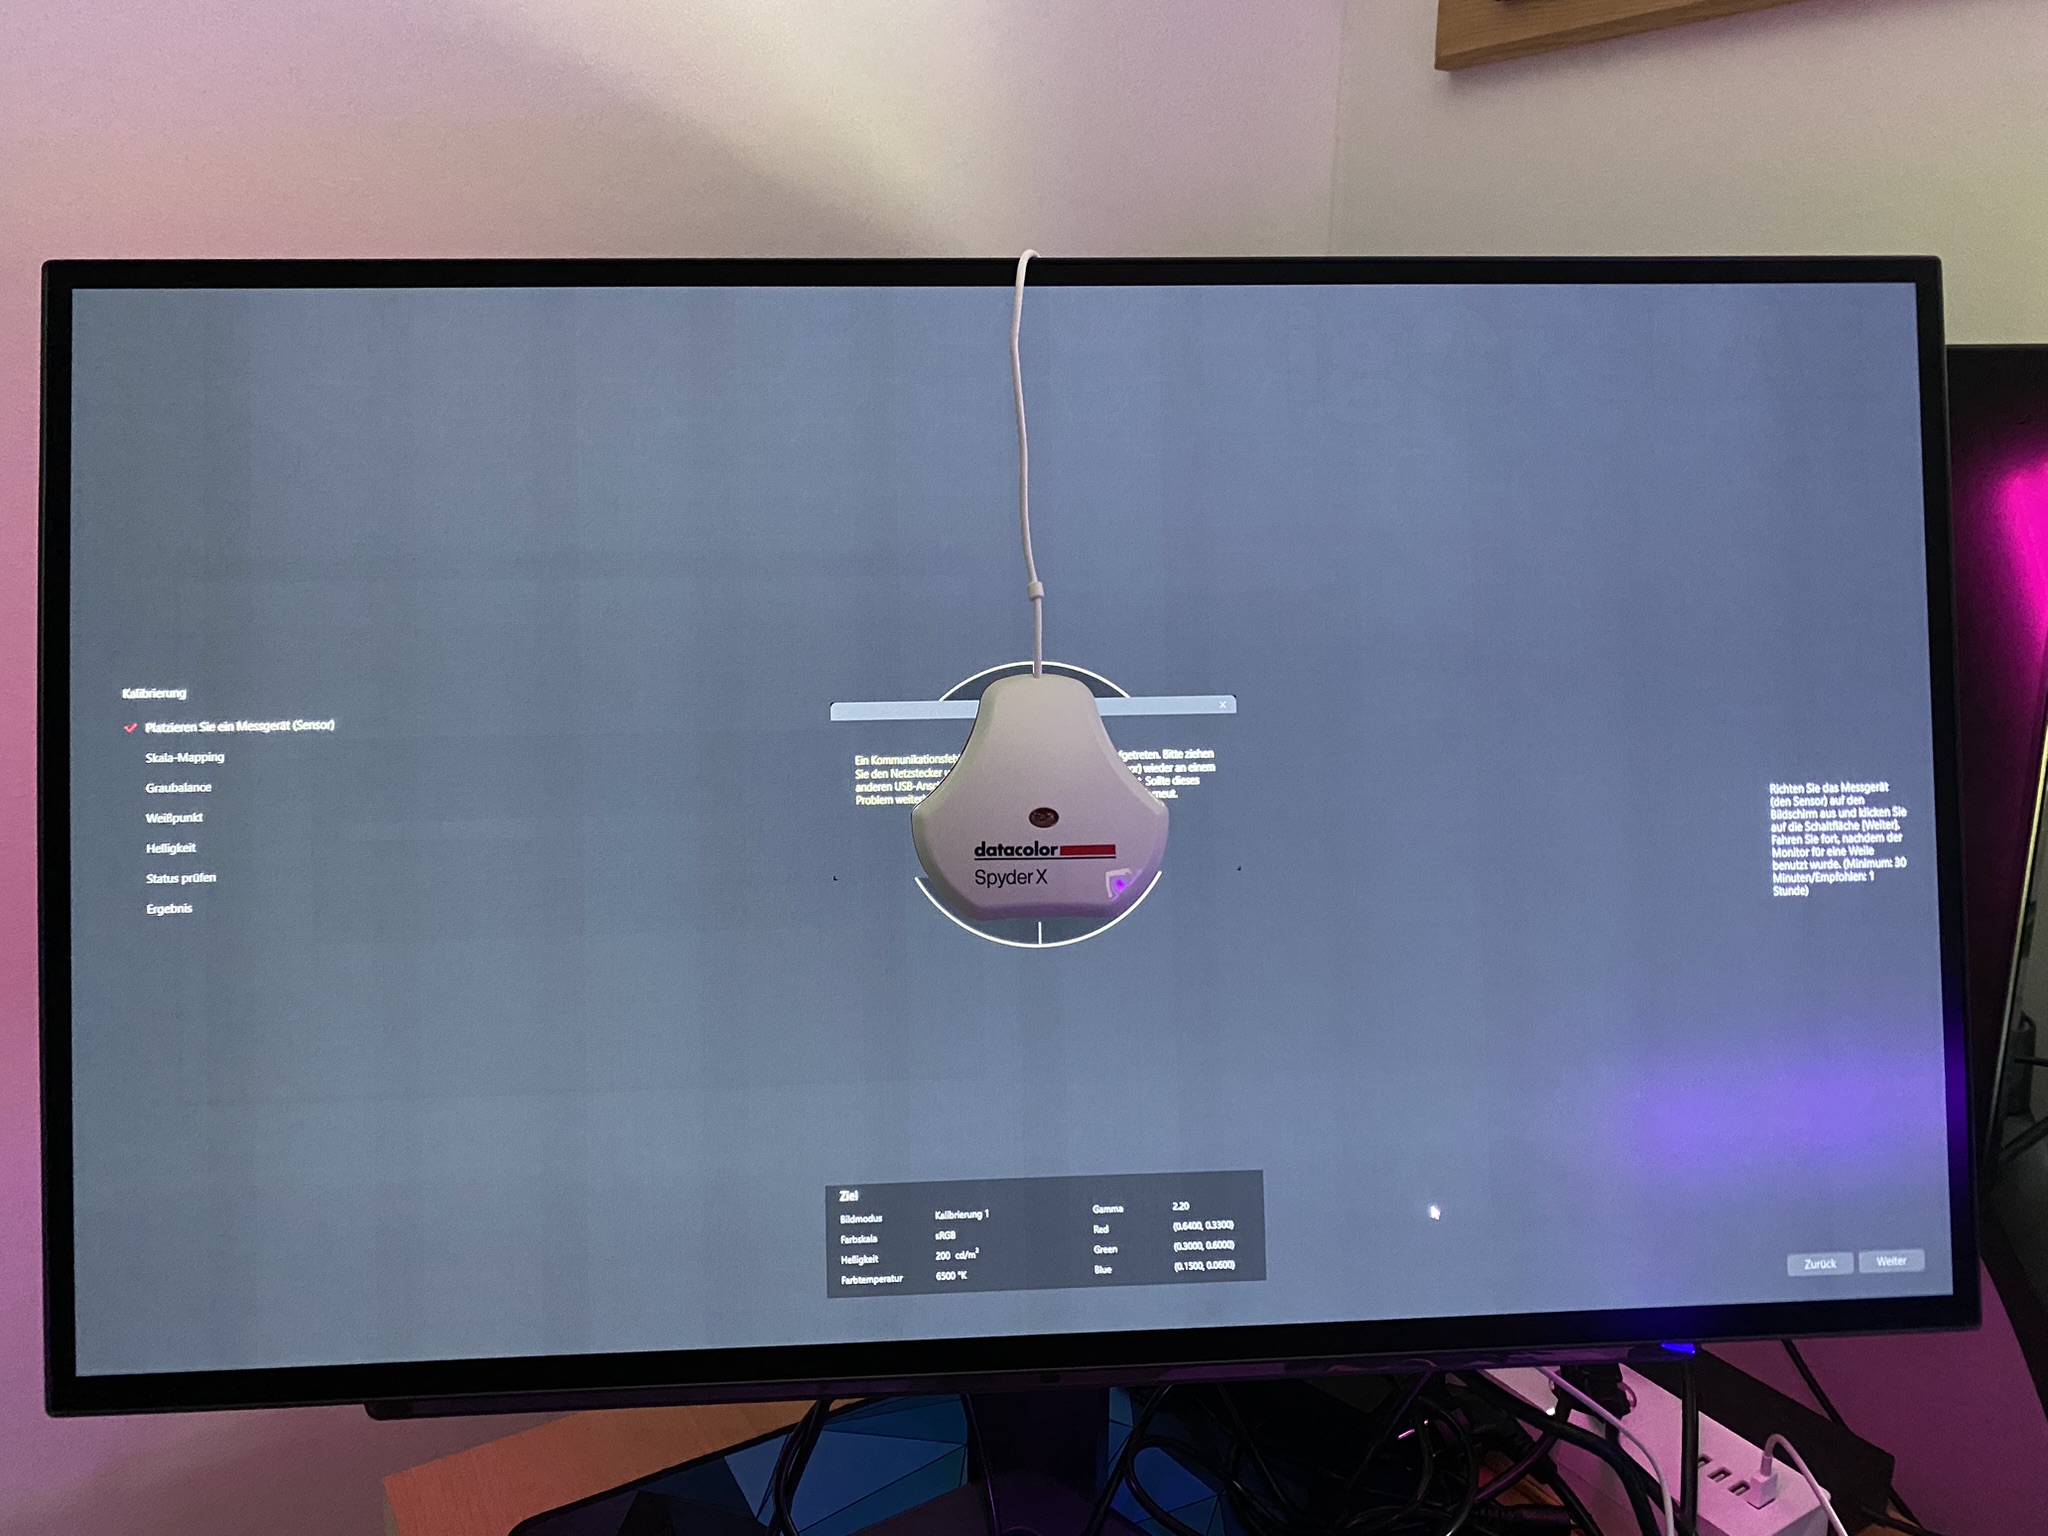
The software is basically self-explanatory. After the start, you are directly in the calibration menu and can now select whether you want to make the calibration 1 or calibration 2 (in the OSD) or overwrite. I did calibration 1 with the SpyderX on sRGB with 200 nits @D65.
This is what the basic settings look like, which I also left as is for my test.
Attention: The sensor (Colorimeter/Spectro) must run as USB device under Windows. If you run the sensor as Argyll, you will get an error message later. You can change this via the driver settings in the device manager!
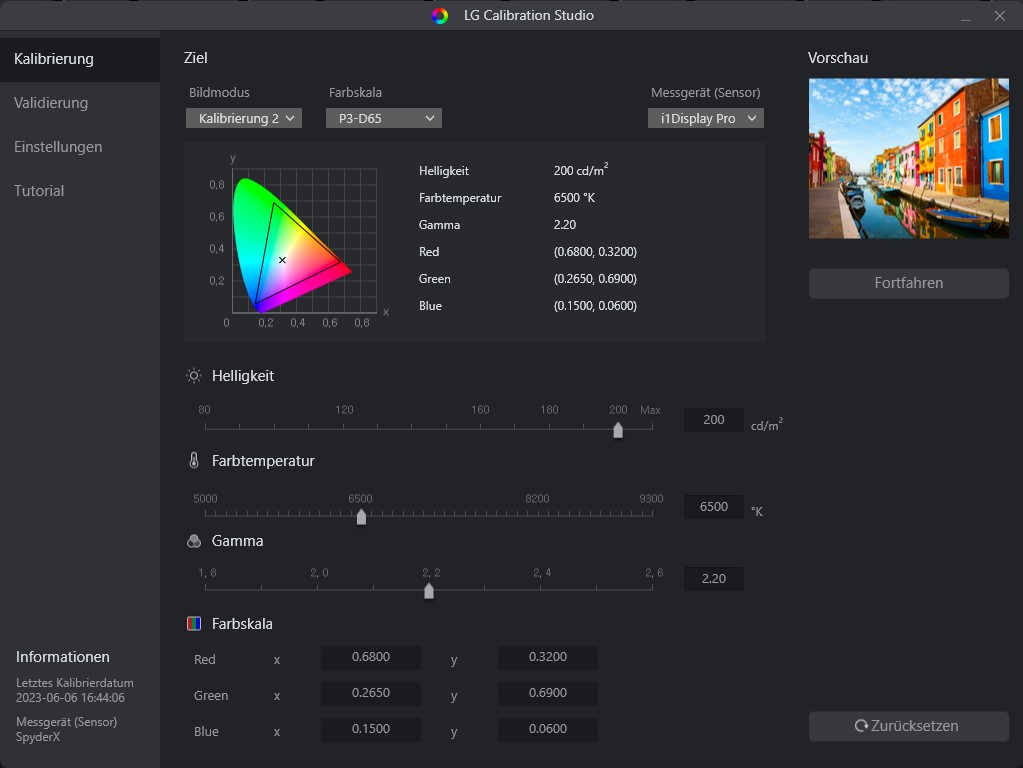
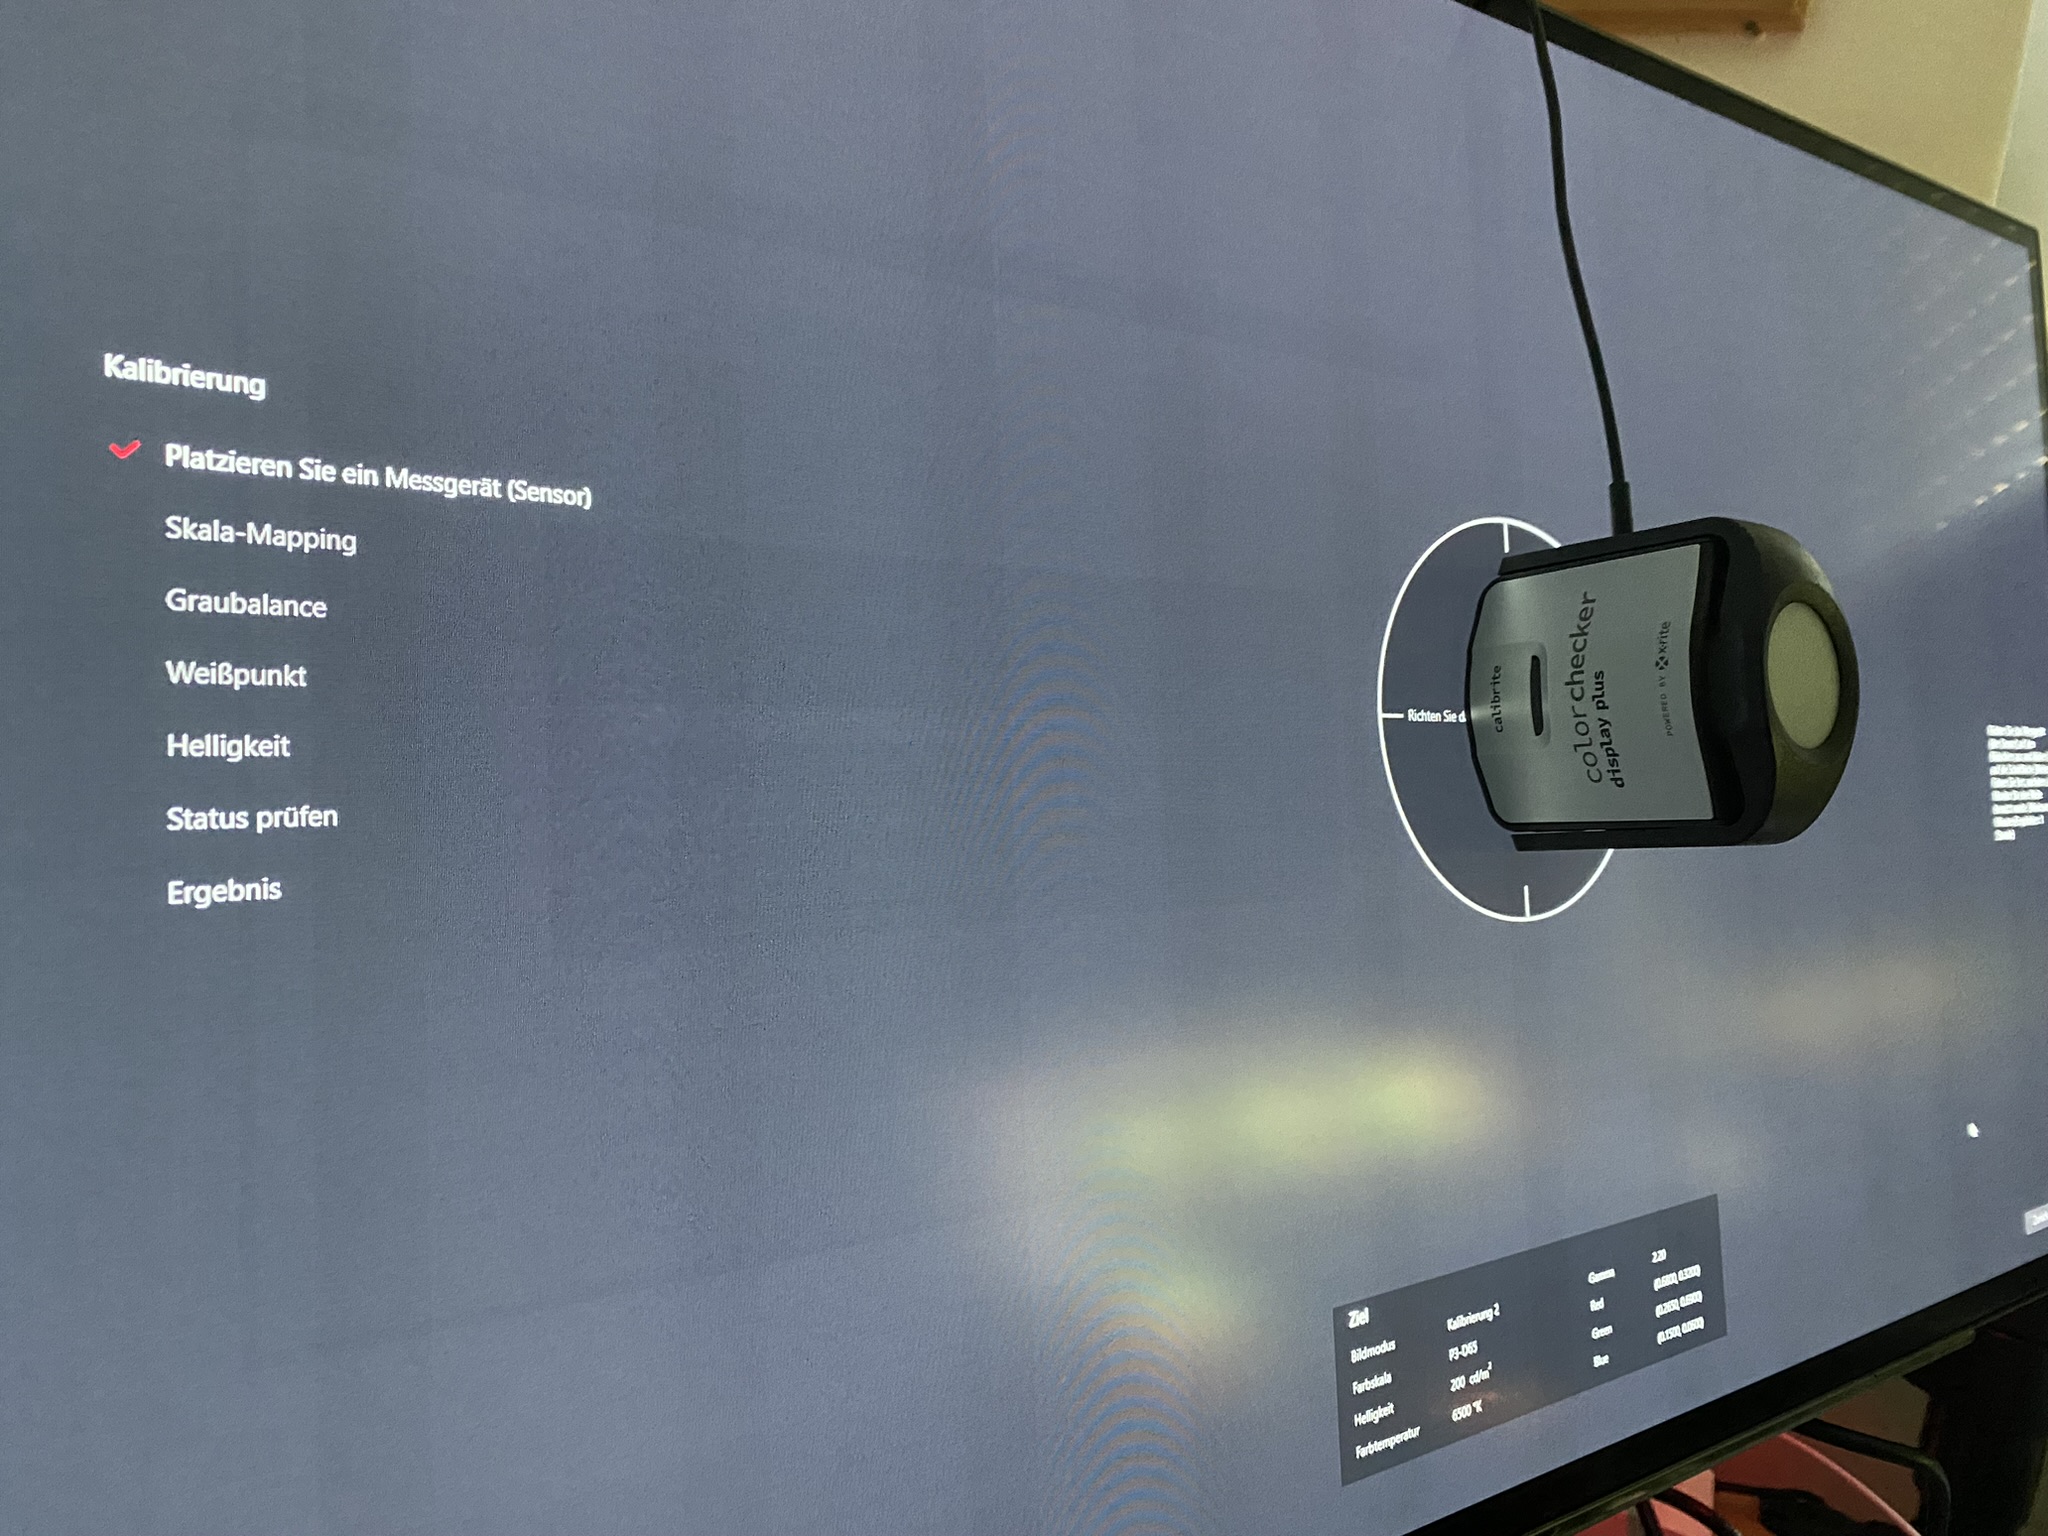
With the ColorChecker Display Plus I did the calibration 2 on P3-D65 at 200 Nits and Gamma 2.2. When you have made your settings for brightness, white point and gamma, click on Continue.
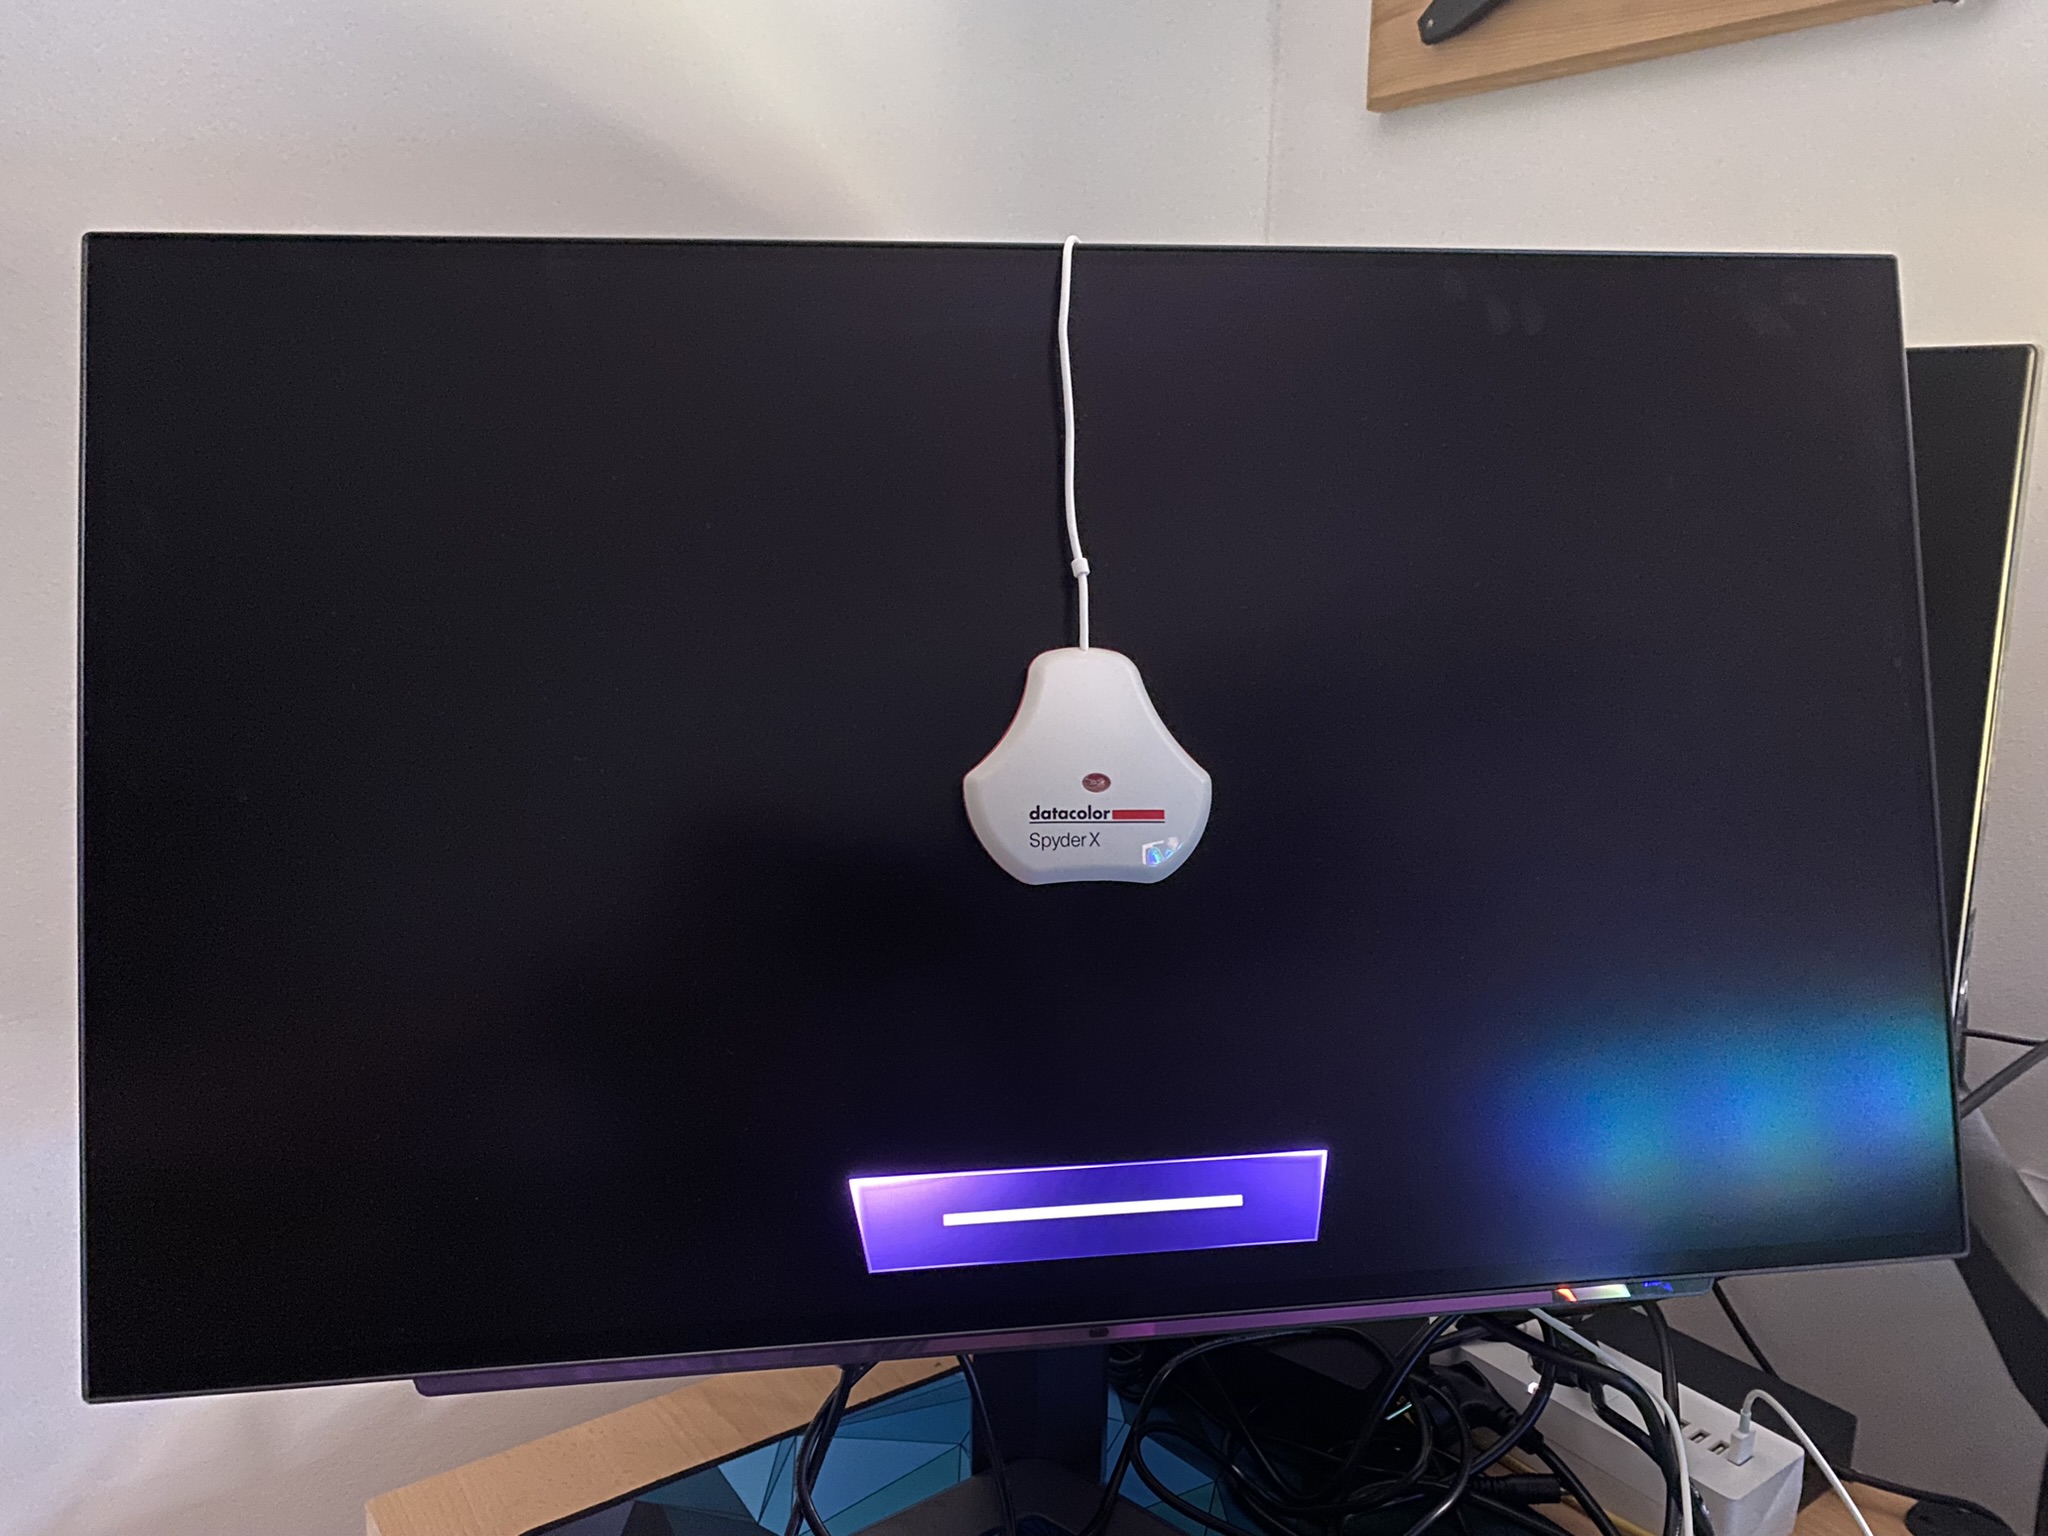
You place the sensor on the monitor and click continue, then it takes about 30 minutes until the calibration is finished. You disconnect the USB connection and connect it again. Then you continue with the validation. Next page please.


14 Antworten
Kommentar
Lade neue Kommentare
Urgestein
Mitglied
Urgestein
Moderator
Urgestein
Urgestein
Moderator
Urgestein
Urgestein
Moderator
Urgestein
Neuling
Mitglied
Mitglied
Alle Kommentare lesen unter igor´sLAB Community →