


A GeForce RTX 4090 FE is not only expensive, but also still highly sought-after. The original air cooler is almost oversized and as a buyer you hardly have a valid reason to disassemble and rebuild this collector’s item. Well, almost, because the weight and space requirements of this card are the other side of the coin, although the board itself turns out to be quite small. Exactly at this point, however, such a card becomes really interesting for the water cooling fraction, especially since it is one of the somewhat cheaper specimens of this high-end family (assuming a bit of luck).
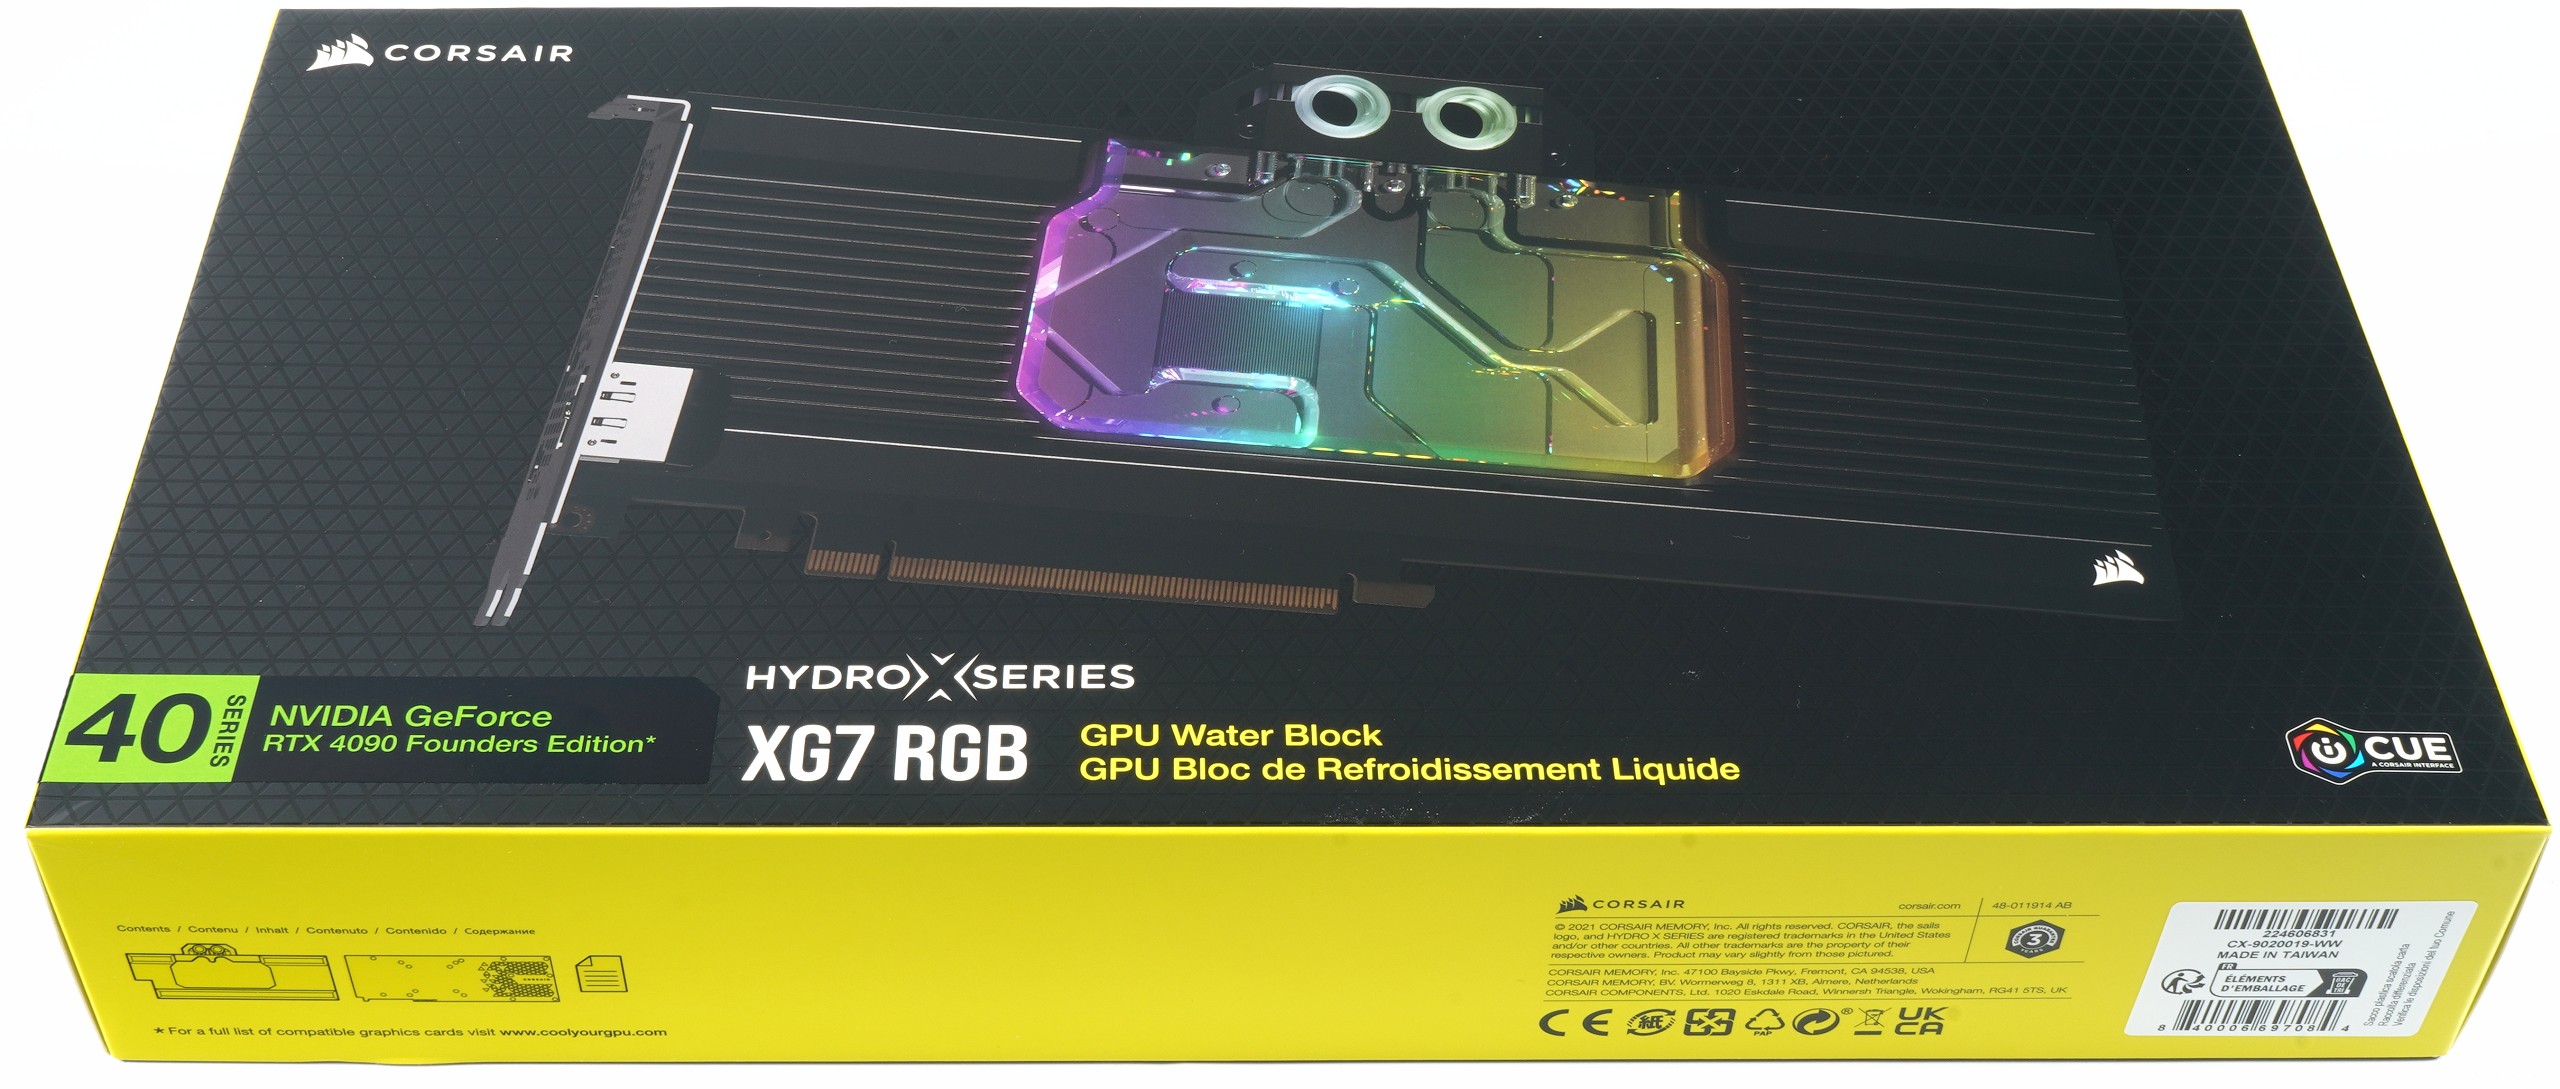
This is where the internally named Corsair CX-9020019-WW water block comes into play as the first of several ordered water blocks (so there will be follow-ups), which comes with self-confident prices starting at about 240 Euros. That’s not a small amount, and you have to be tough to add such a topping to a card that’s already very expensive. We’ll see later today that it’s worth it, of course for the customer and not only for Corsair. There is a three-year warranty anyway.
Scope of delivery and accessories
Let’s unpack the cooling block first and see what Corsair packs in and out of it. You get the fully assembled water block including acrylic cover and light metal cover, along with the terminal already screwed in place and the integrated ARGB LED light bar, plus a few other things.
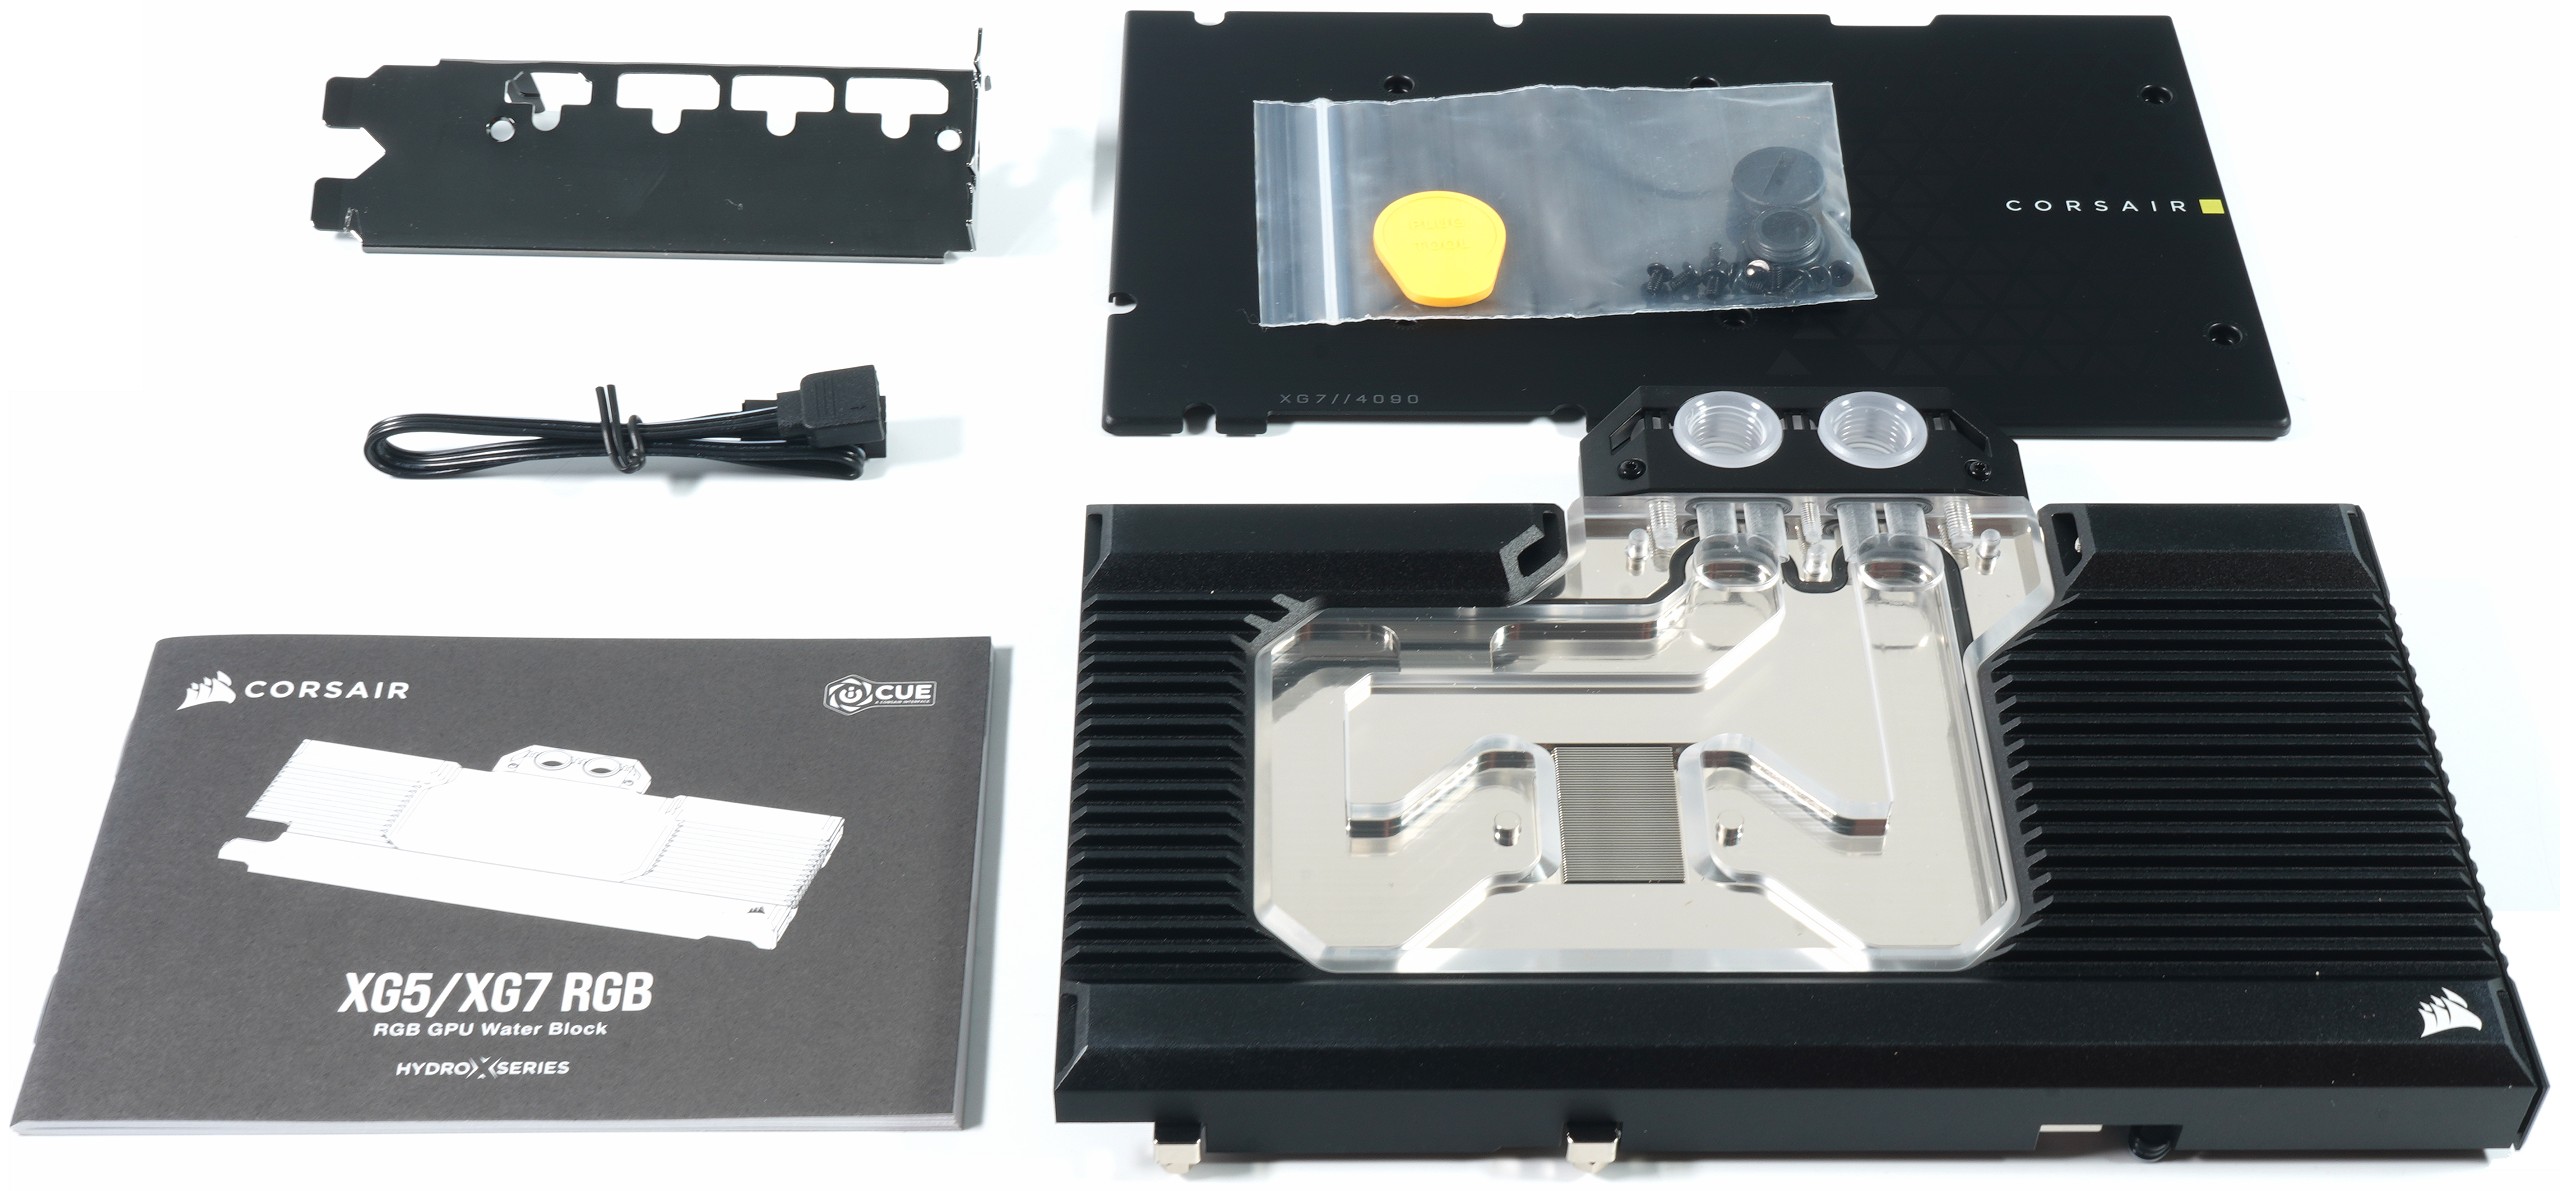
The loose parts include two blind plugs, a tool for screwing in the plugs, a splot bezel (unfortunately dual-slot), a backplate, the necessary screws, an adapter for connecting to the motherboard’s digital ARGB, PreciDip header, 5V) and a short manual. With this, the story of the accessories is also already told, because everything that I have not yet mentioned, but is still needed, is already firmly stuck to the water block.
Unboxing and key data
Unfortunately, the homepage hardly gives out any detailed information, so I will of course make up for and add to that in the course of this chapter with tape measure and scales. The entire cooler weighs 796 grams without the backplate and screws, but with the plugs. With the screws, it’s about 800 grams and with the backplate fully assembled, it’s 870 grams. However, that’s only about a third of the original air cooler. So it’s well worth it.
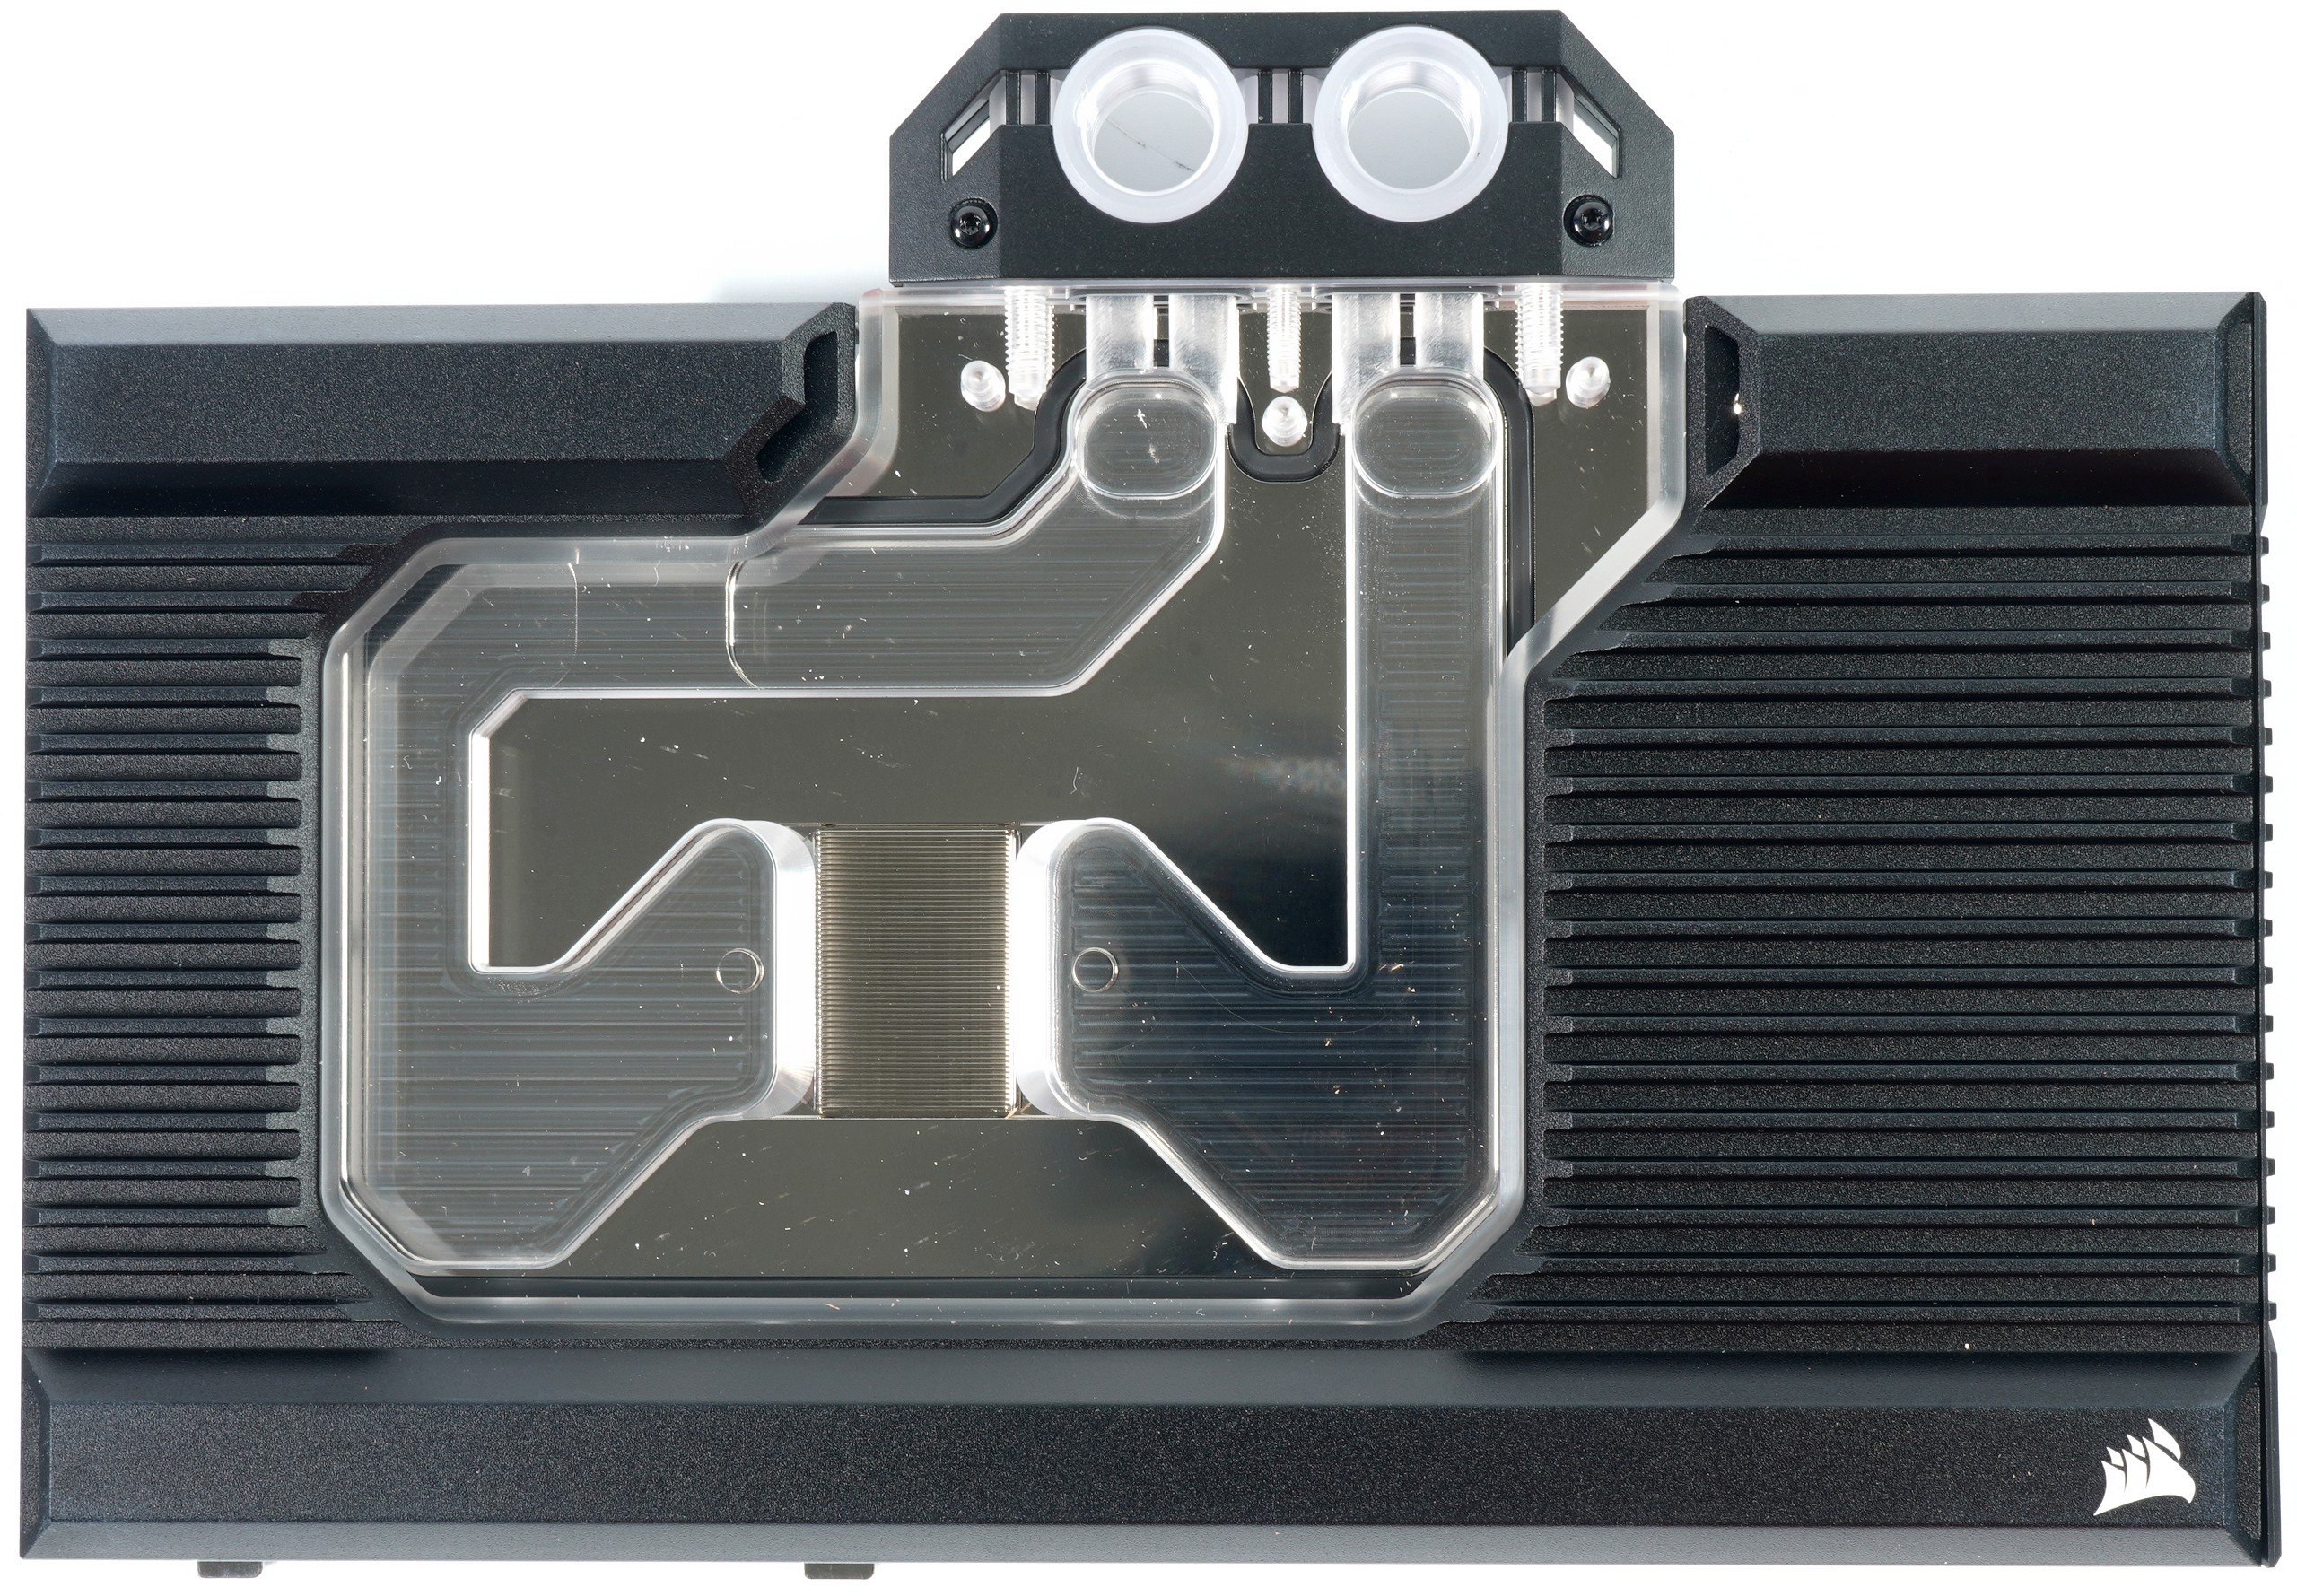
Since the PCB is nice and short by design, the water block mounted on the PCB, including the slot bracket, measures only 21 cm in length. The height of the water block is also moderate at around 12 cm and 14.5 cm including the terminal. The thickness including the backplate is less than 2 cm. Corsair does not specify the copper block itself, but it should be the usual nickel-plated electrolytic copper. The cover is made of acrylic glass, i.e. PMMA (polymethyl methacrylate). I’ll show you in a moment that there was some (legal) trickery with the thickness.
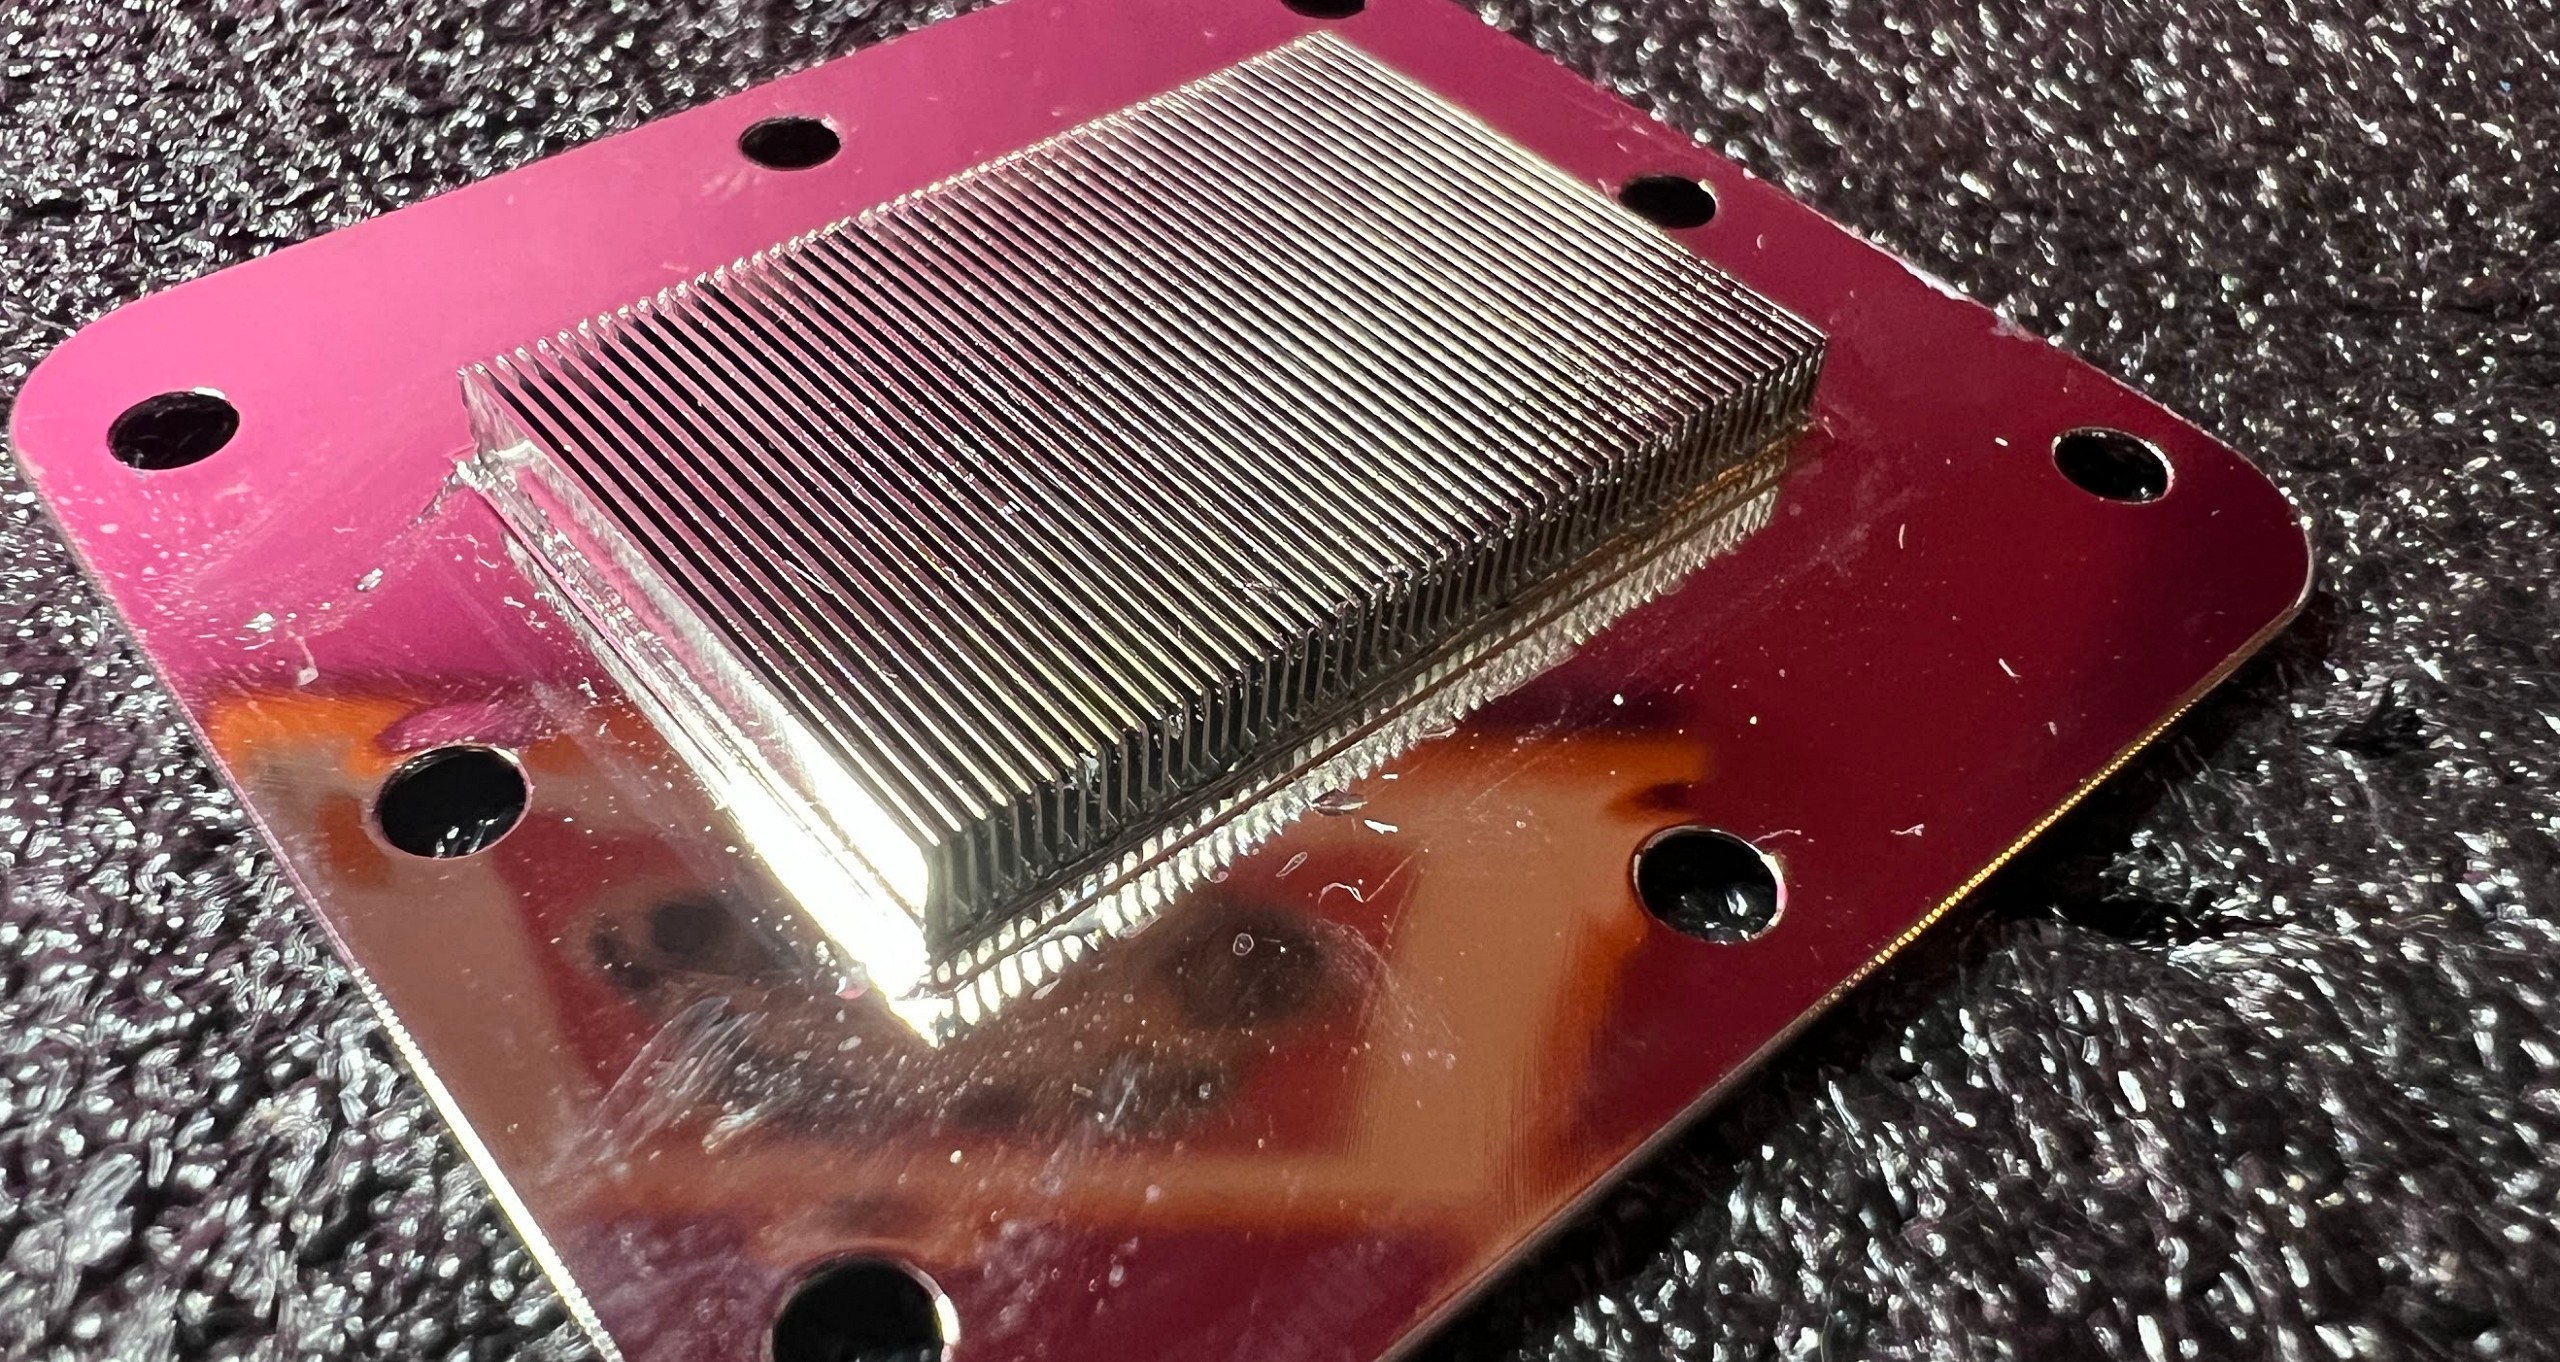
If you were wondering where all the things like thermal paste and thermal pads went when you looked at the accessories, the cooler is like a lazy housewife’s soup: Everything is already in there and you really can’t do anything wrong. The pre-assembled pads are already in the right places and the paste is also already applied and protected by a cover. That’s all you need to ensure successful assembly here.
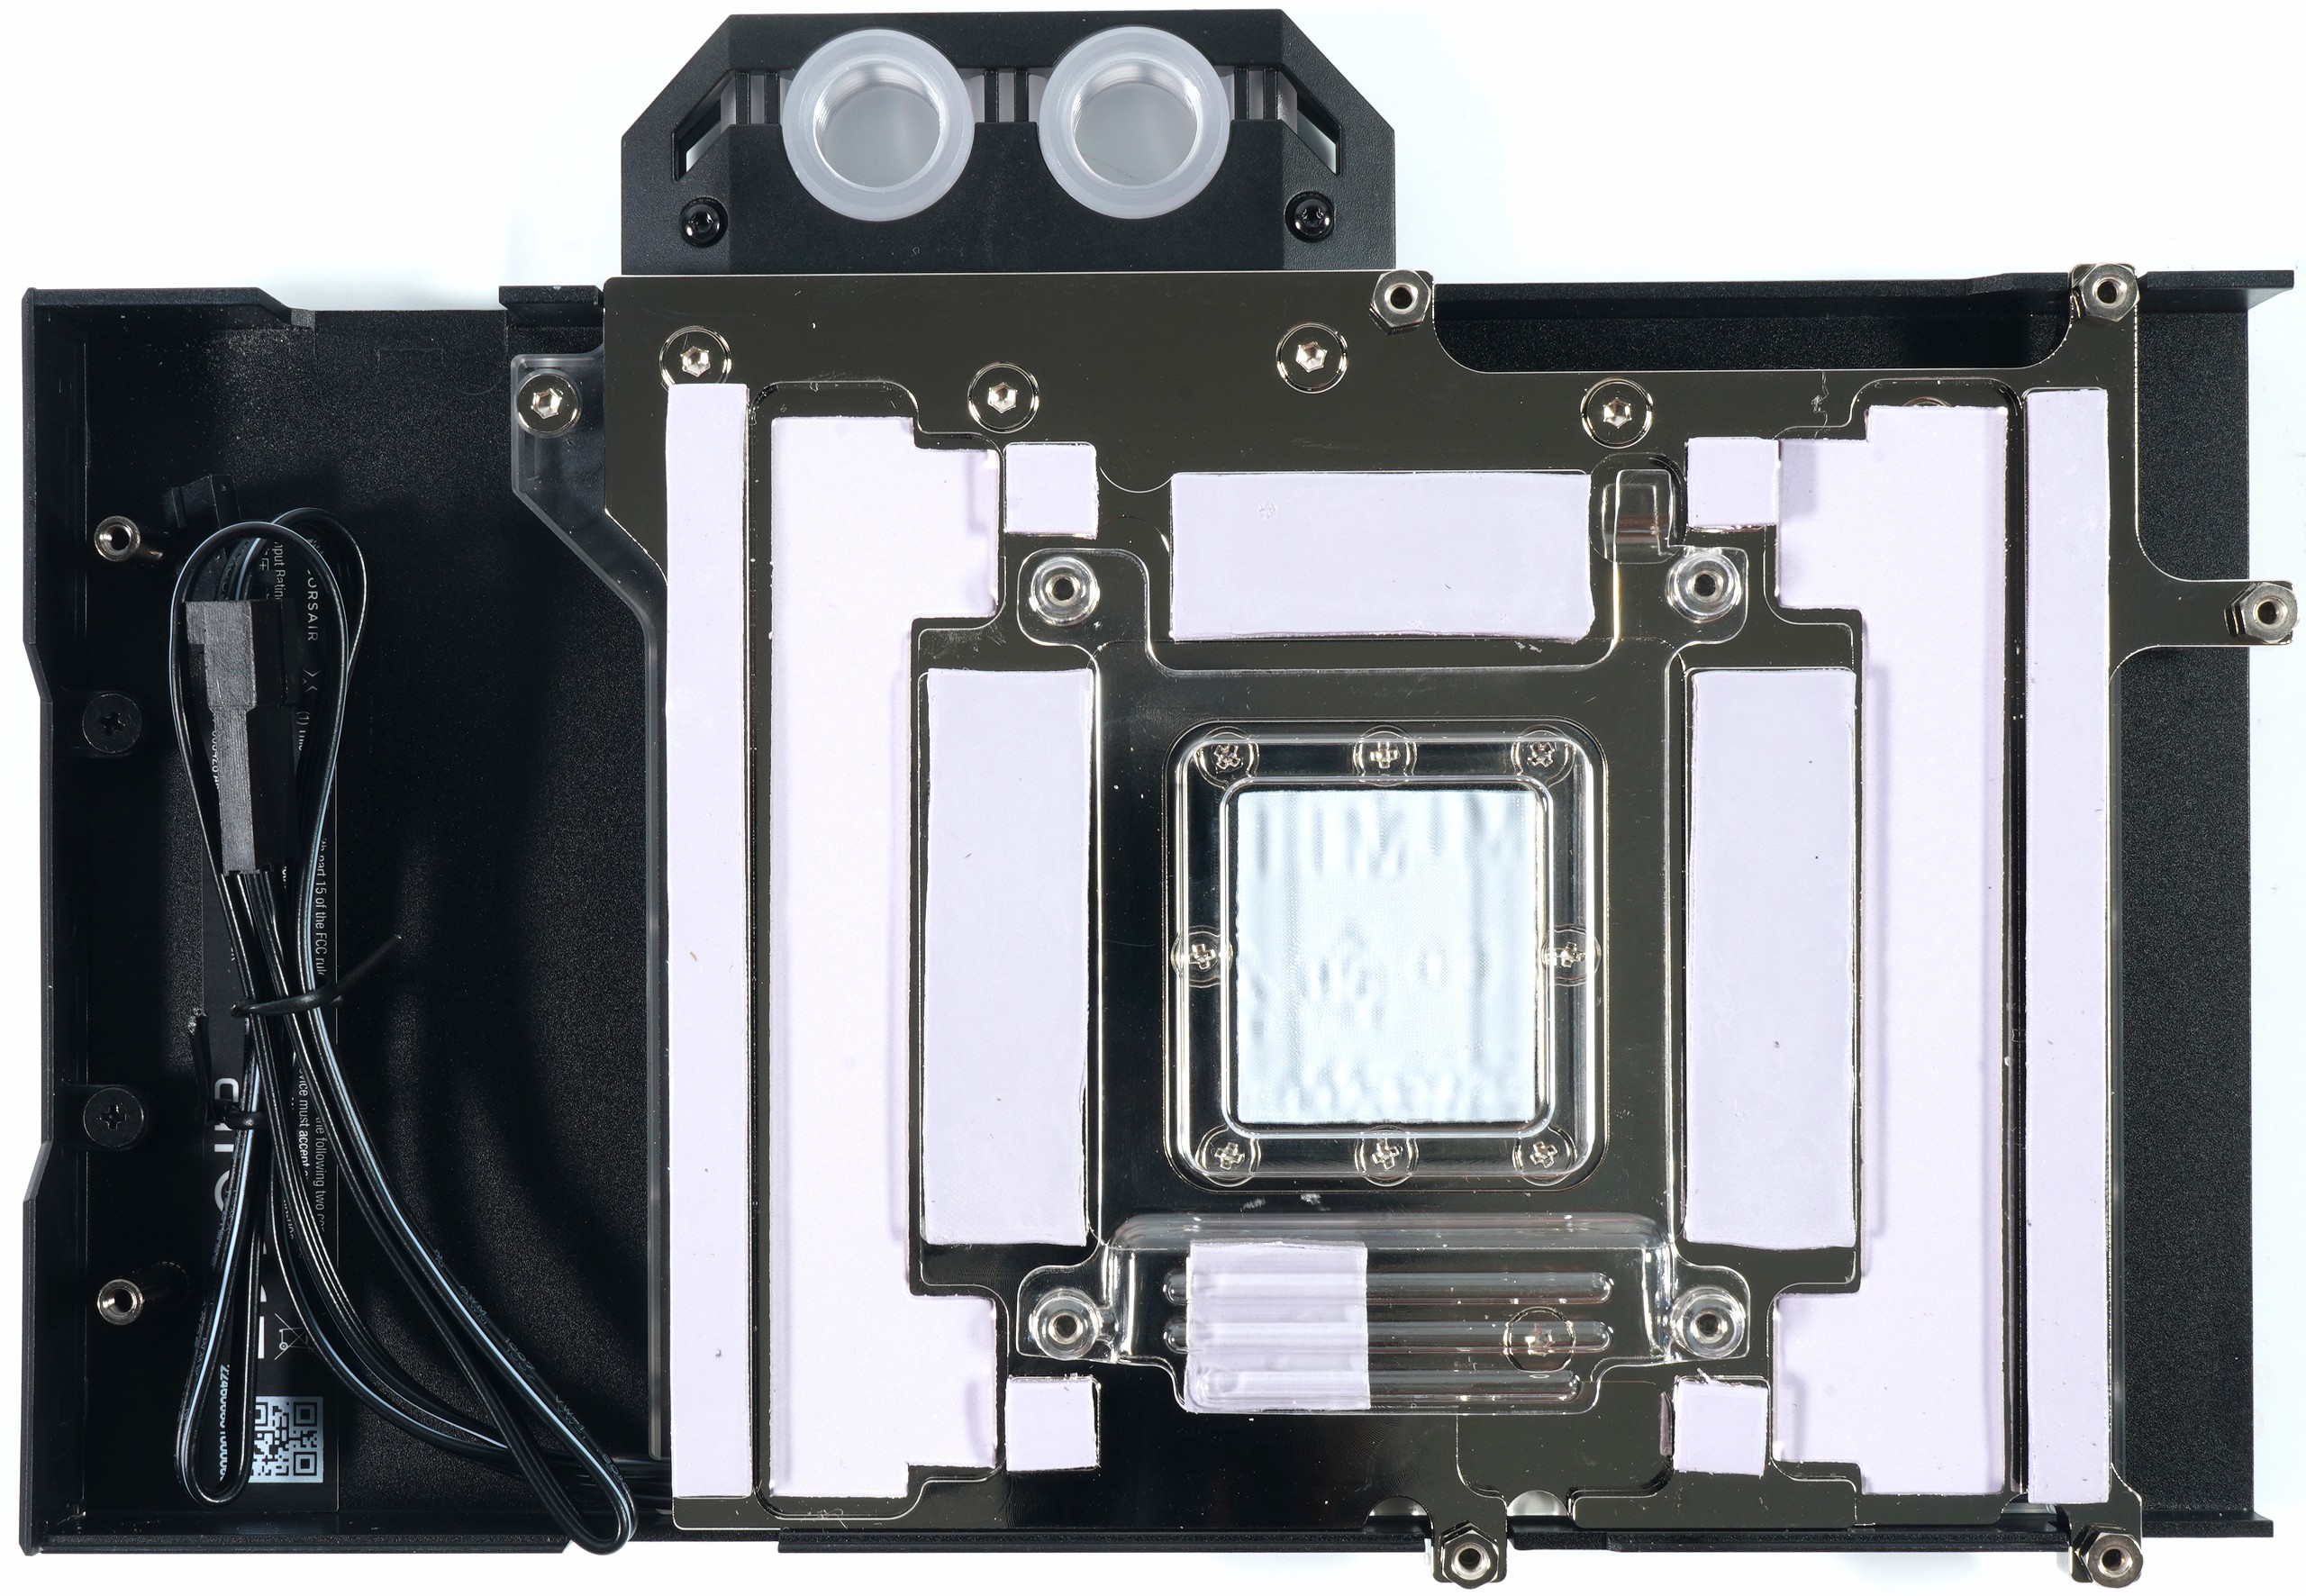
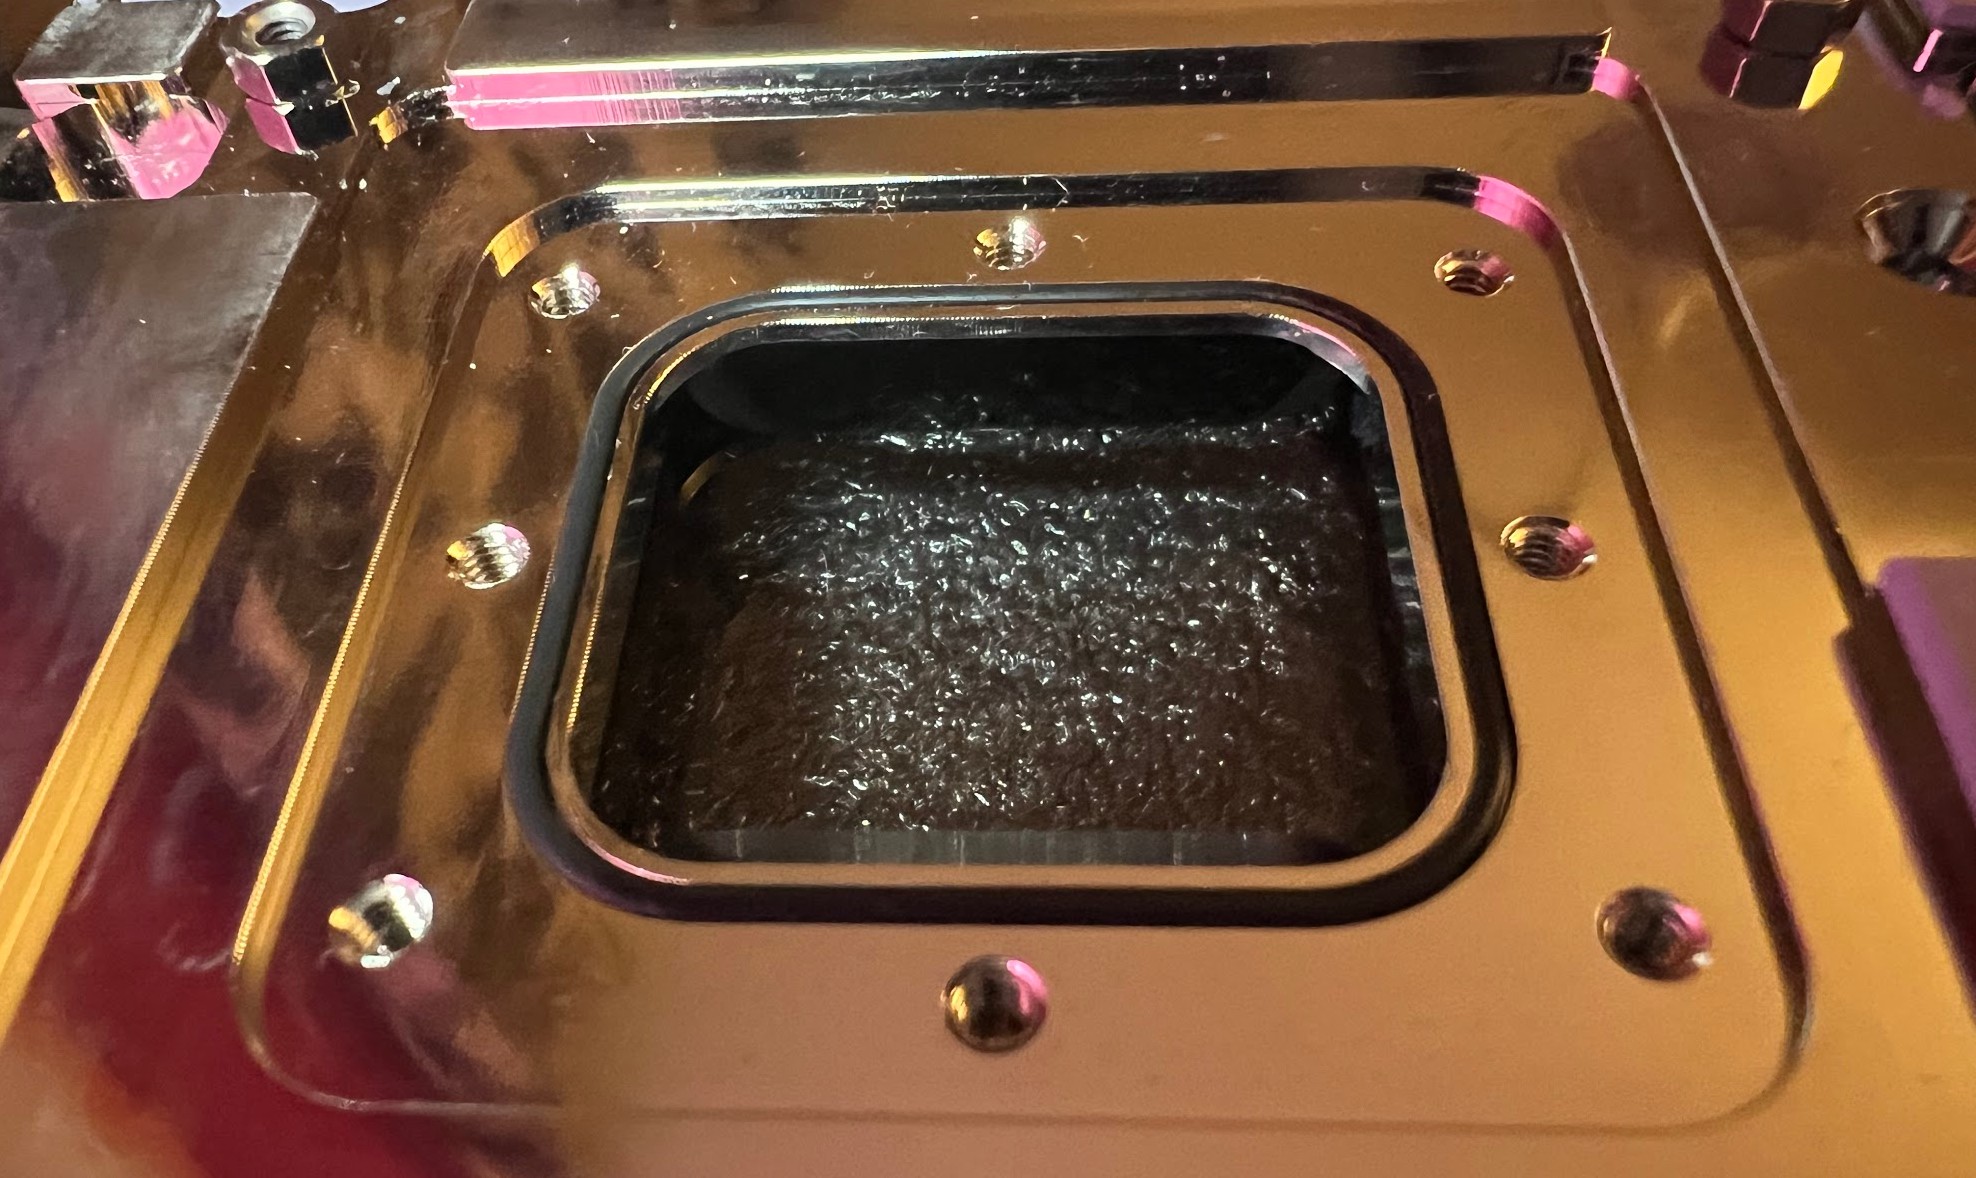
However, the trick with the over 50 and really high cooling fins would not work in this form with a solid panel, unless you made it almost 1 cm thick, which is pointless. Expensive and extremely long processing time during removal. For this reason, a coldplate sealed with an additional O-ring and eight screws are used as a separate insert.
In the picture we can also see the O-ring and the positioning of the coldplate insert. You can do it that way as long as the results fit. So why not?
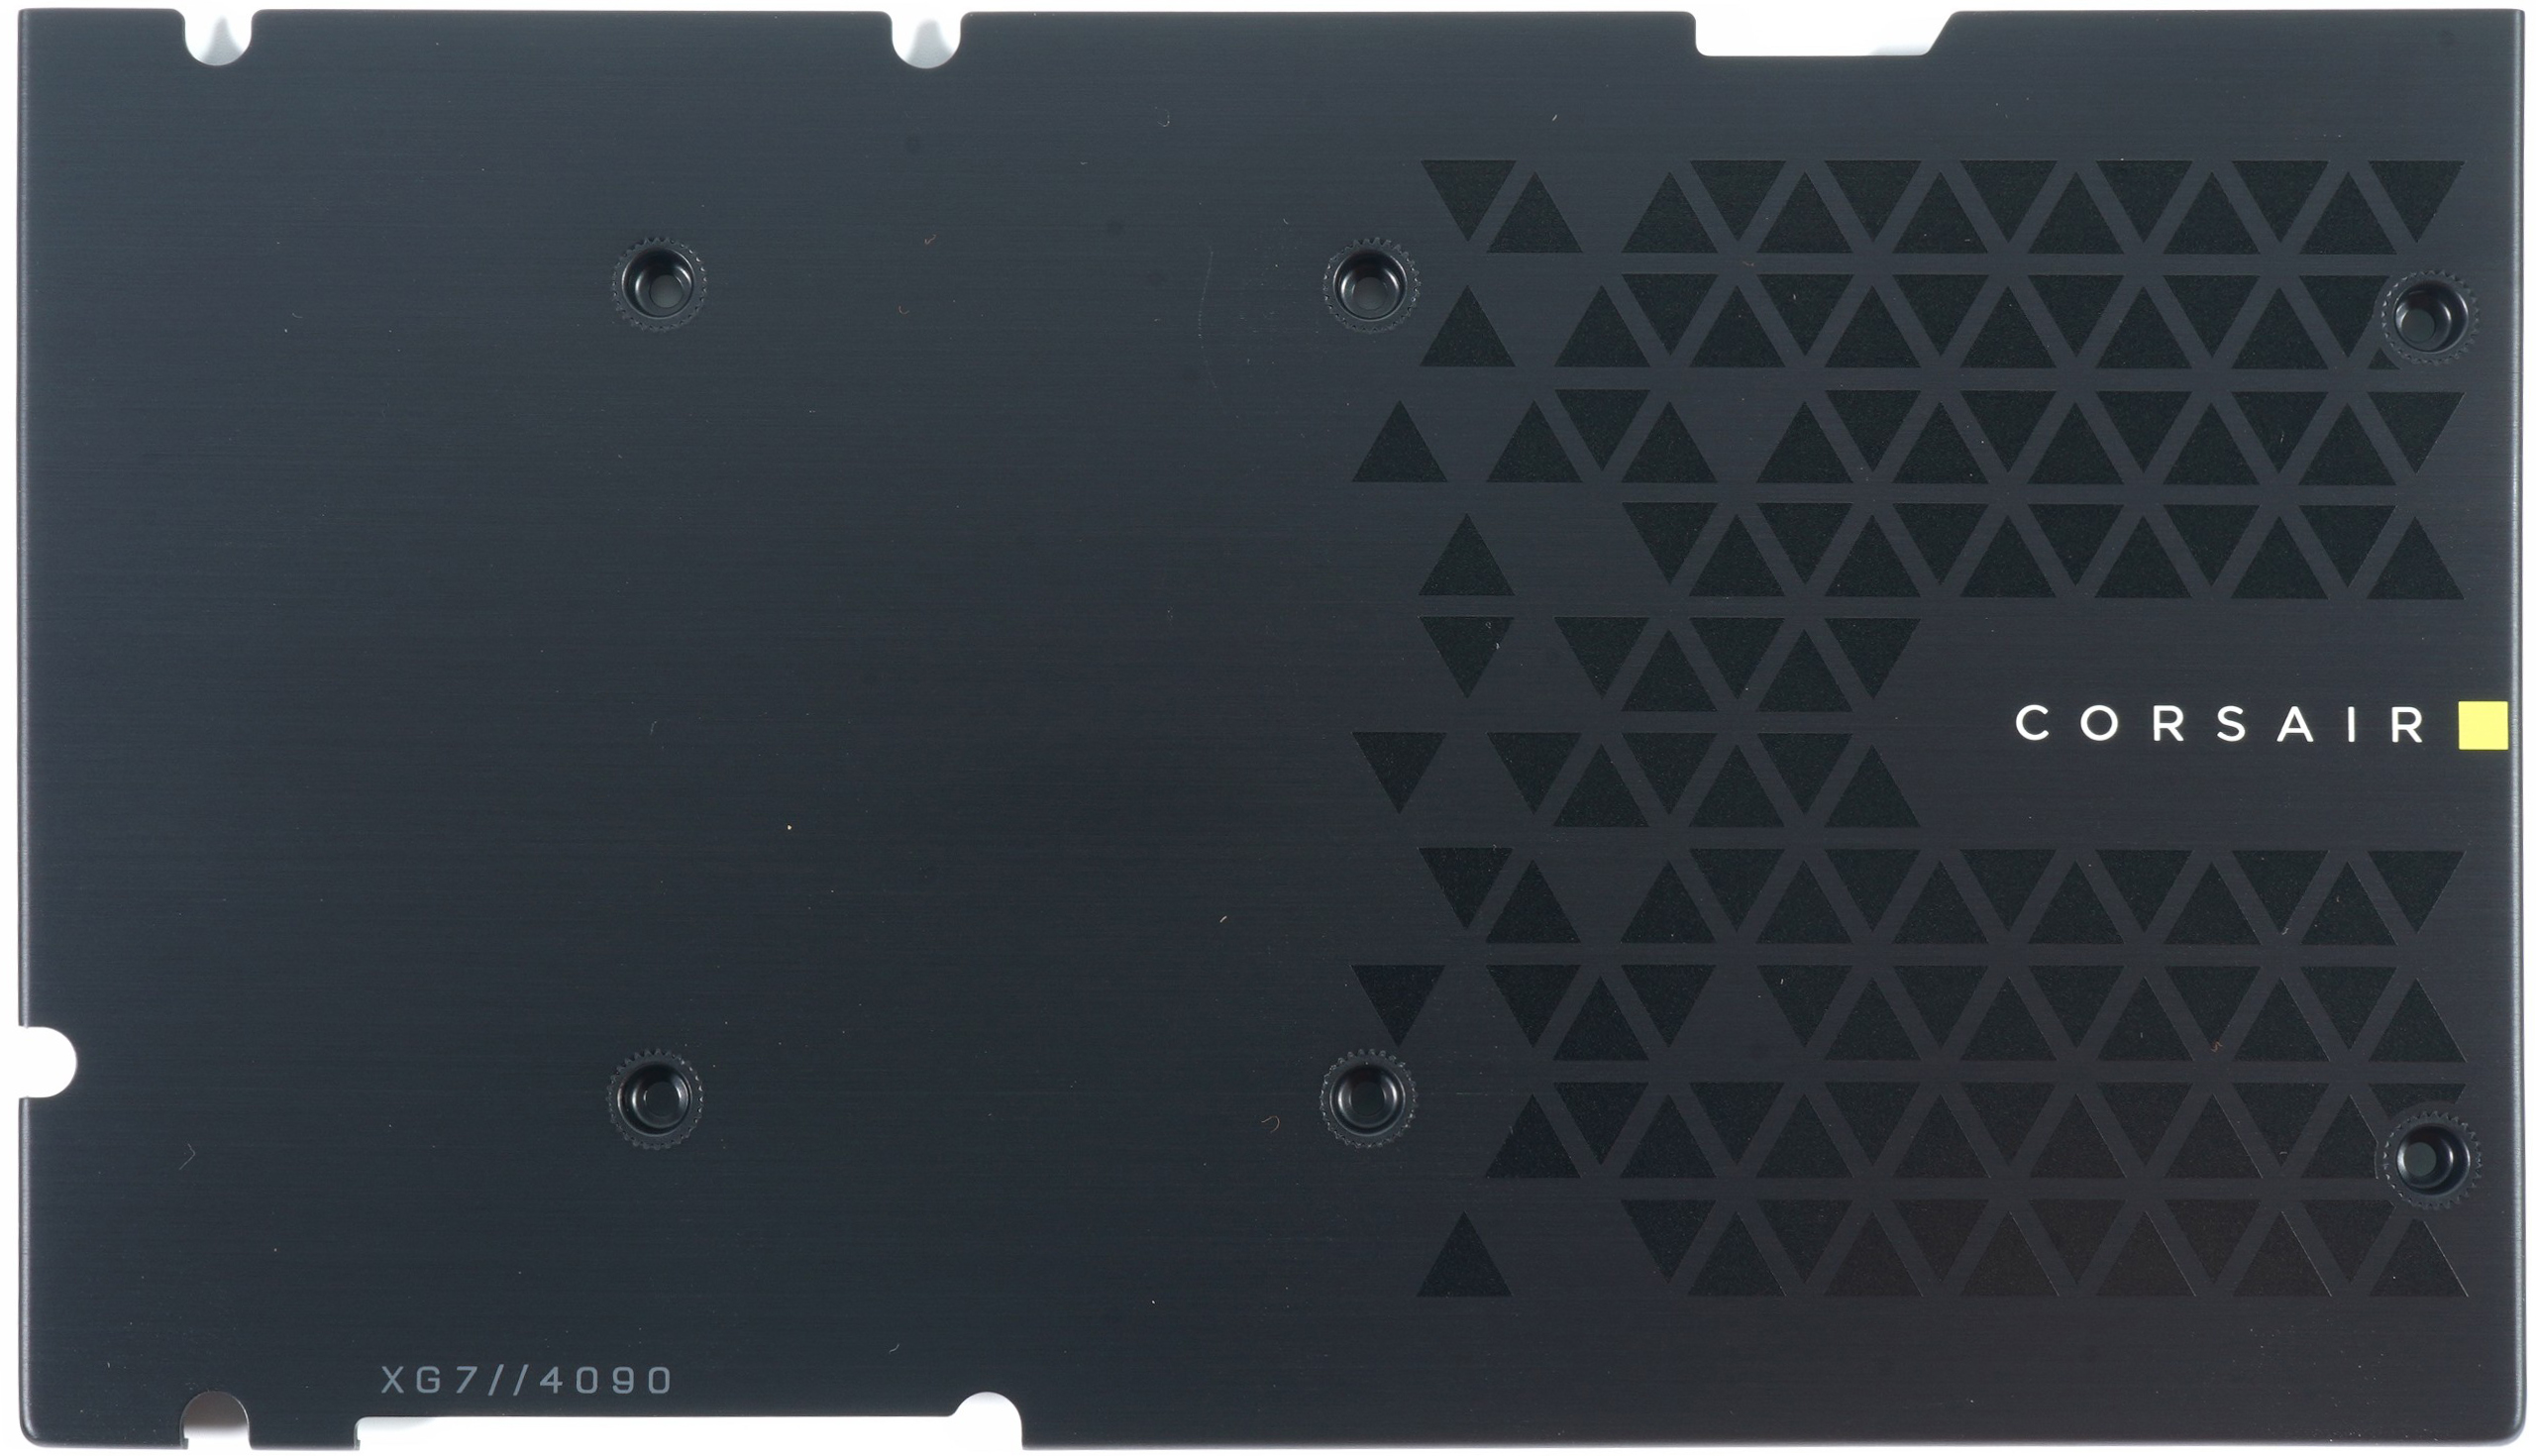
The backplate, on the other hand, is quasi purely optical and also serves as stabilization. I’ll go into more detail about the three small cooling pads during assembly, but that’s rather marginal. The supply line to the RGB stripe is long enough to be connected to the RGB header as well. Otherwise, the plug fits directly to the CORSAIR Commander PRO, Commander Core XT or Lighting Node PRO without adapter, of course. After all, there are 11 screws in total, 6 of which carry the backplate.
How the whole thing can be assembled now, you will see after the next page.


35 Antworten
Kommentar
Lade neue Kommentare
Mitglied
Veteran
1
1
Urgestein
Urgestein
1
Urgestein
Veteran
Veteran
Mitglied
1
1
Mitglied
Urgestein
Mitglied
Urgestein
Urgestein
Veteran
Alle Kommentare lesen unter igor´sLAB Community →