


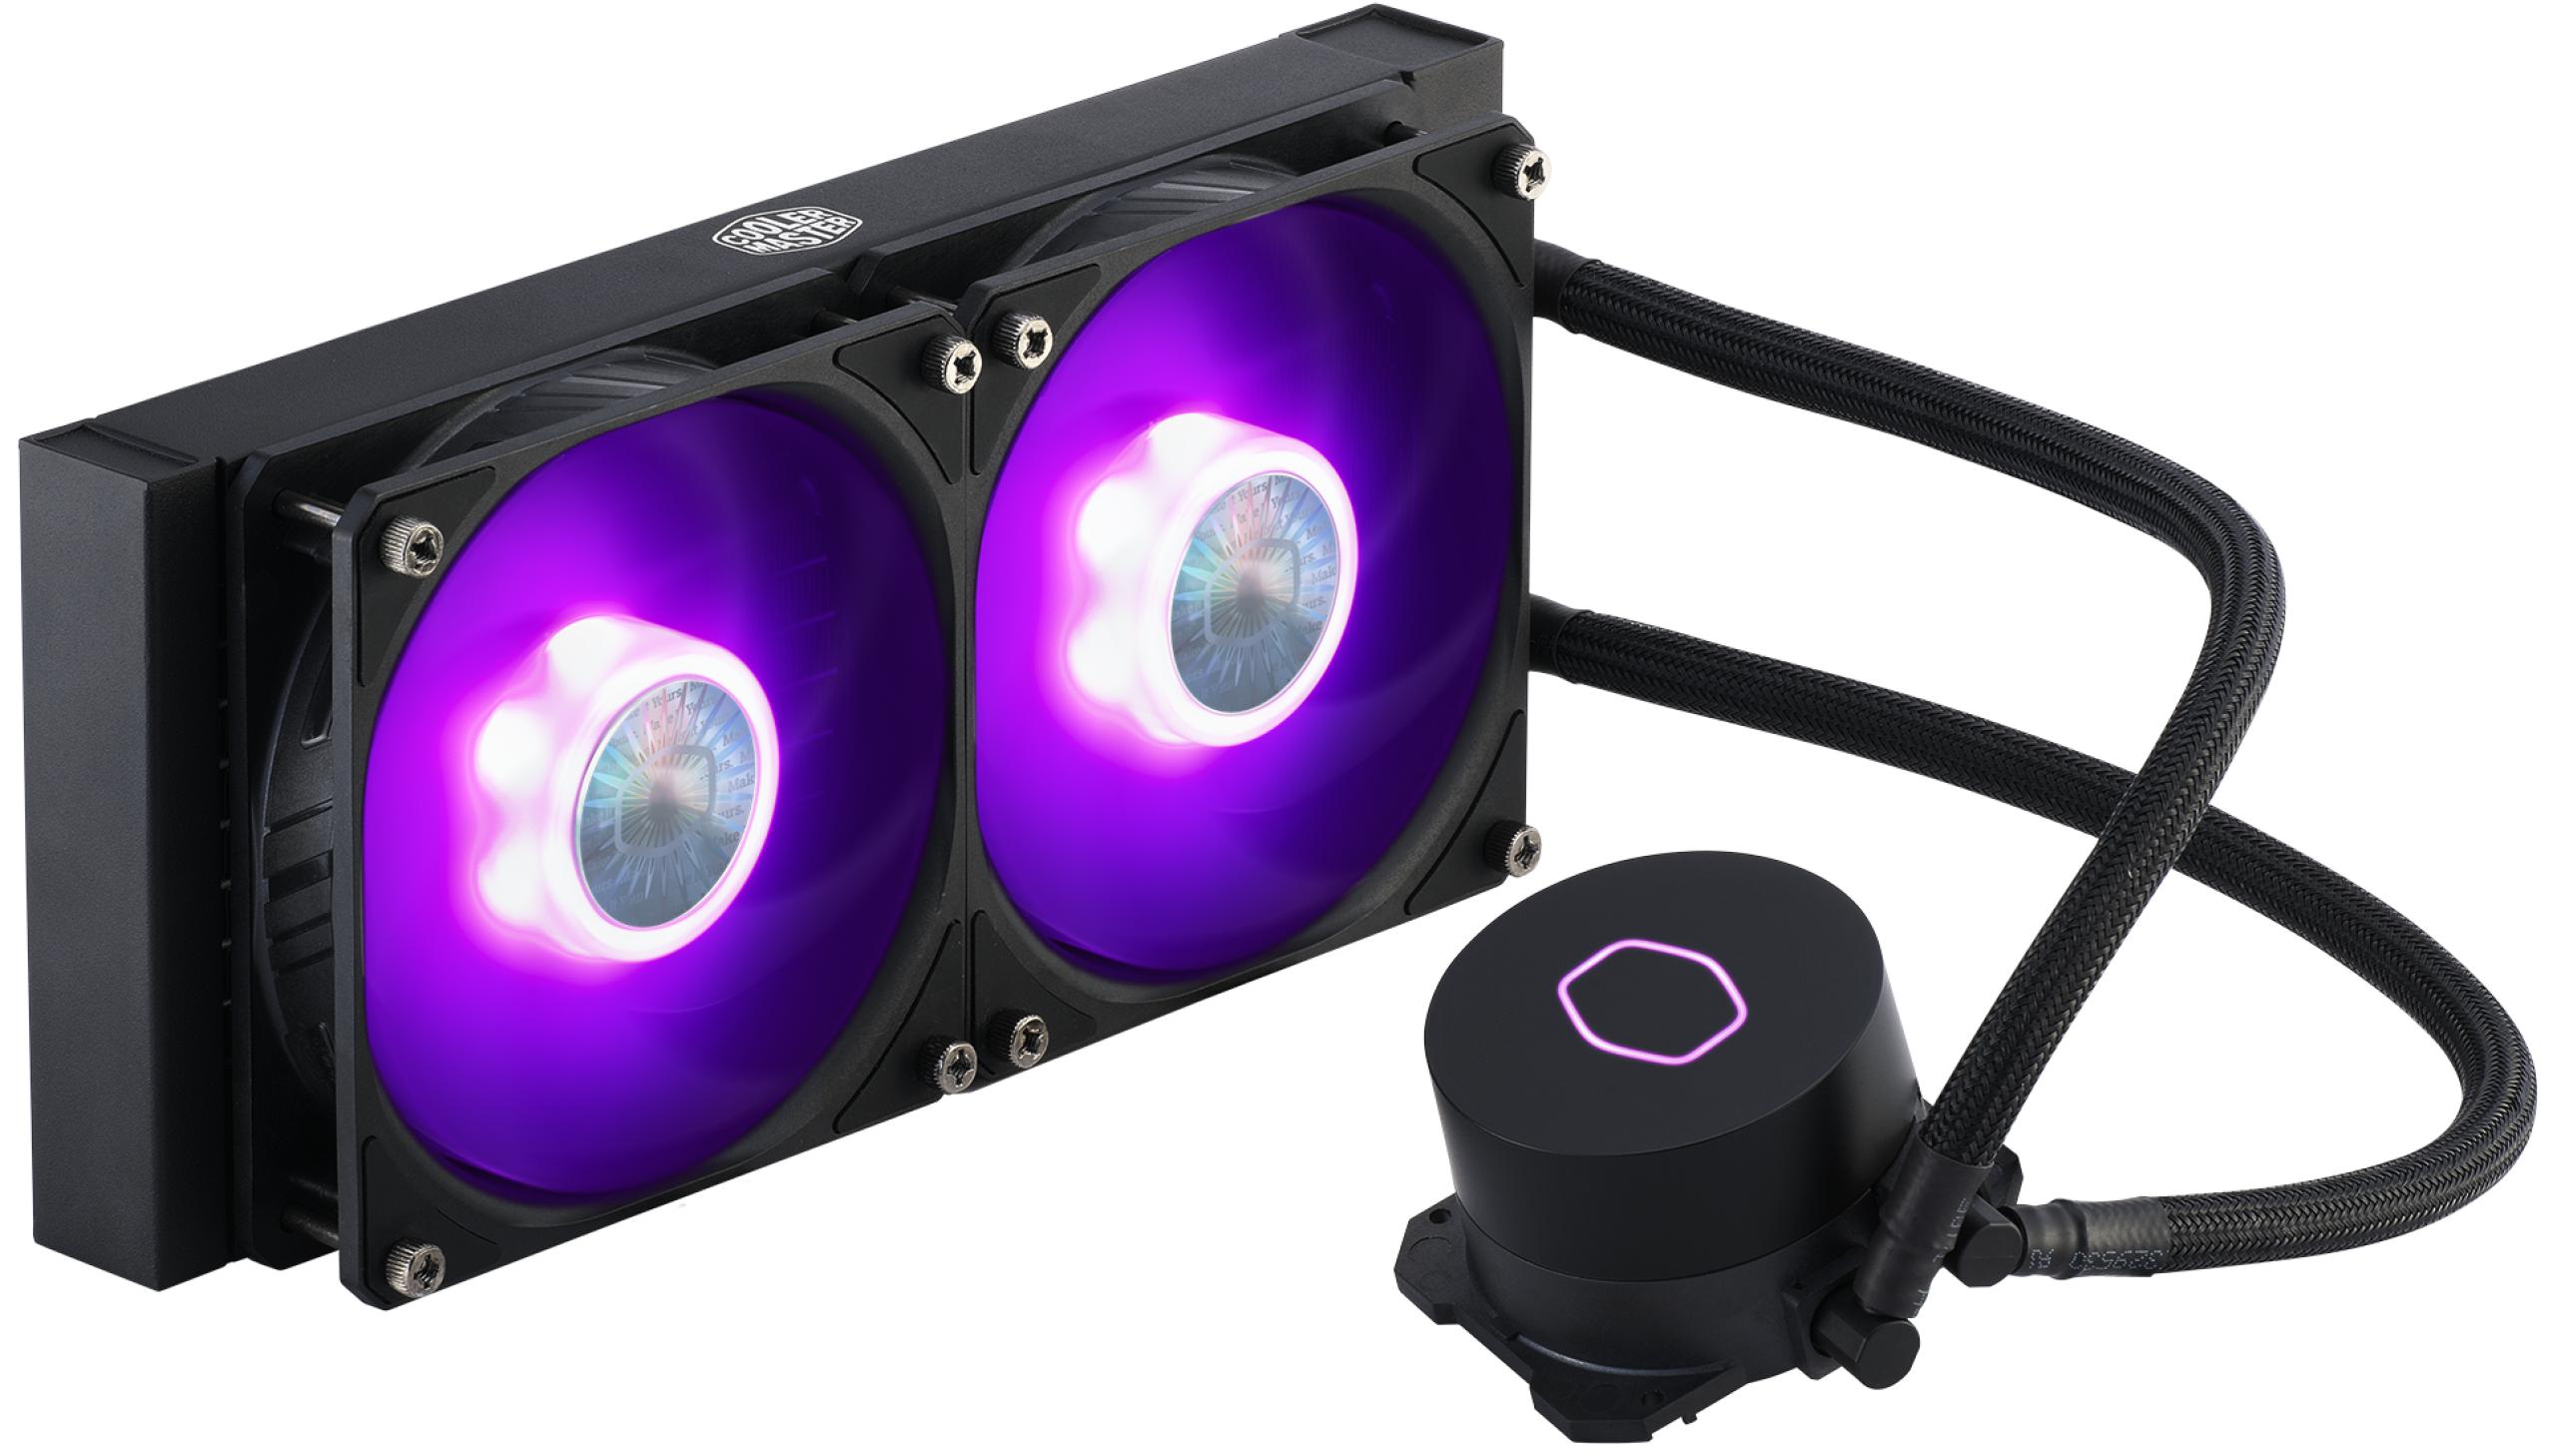
Even 3 years after release, the ML240L RGB is still one of the most popular (and cheapest) 240mm AiO watercoolers on the German market. Now Cooler Master is releasing a revised version with the V2, which is supposed to offer more performance for the same price in addition to a new look. If you want to refresh your memory, here is the link to the review of the ML240L “V1” RGB. Before we go into detail, I have compared the two versions with the specs in a table.
| ML240L | ML240L V2 | |
| Pump | 2100 RPM / Copper | 2300 RPM / copper |
| Fan | 650 – 2000 RPM | 650 – 1800 RPM |
| Radiator | 27 mm / aluminum | 27.2 mm / aluminum |
| Airflow | 113 m³/h | 105 m³/h |
| Air pressure | 2,34 mm H2O | 2,50 mm H2O |
| Noise level | 30 dBA | 27 dBA |
| Hose length | 300 mm | 300 mm |
Further information can be found on the product page
Packaging / scope of delivery
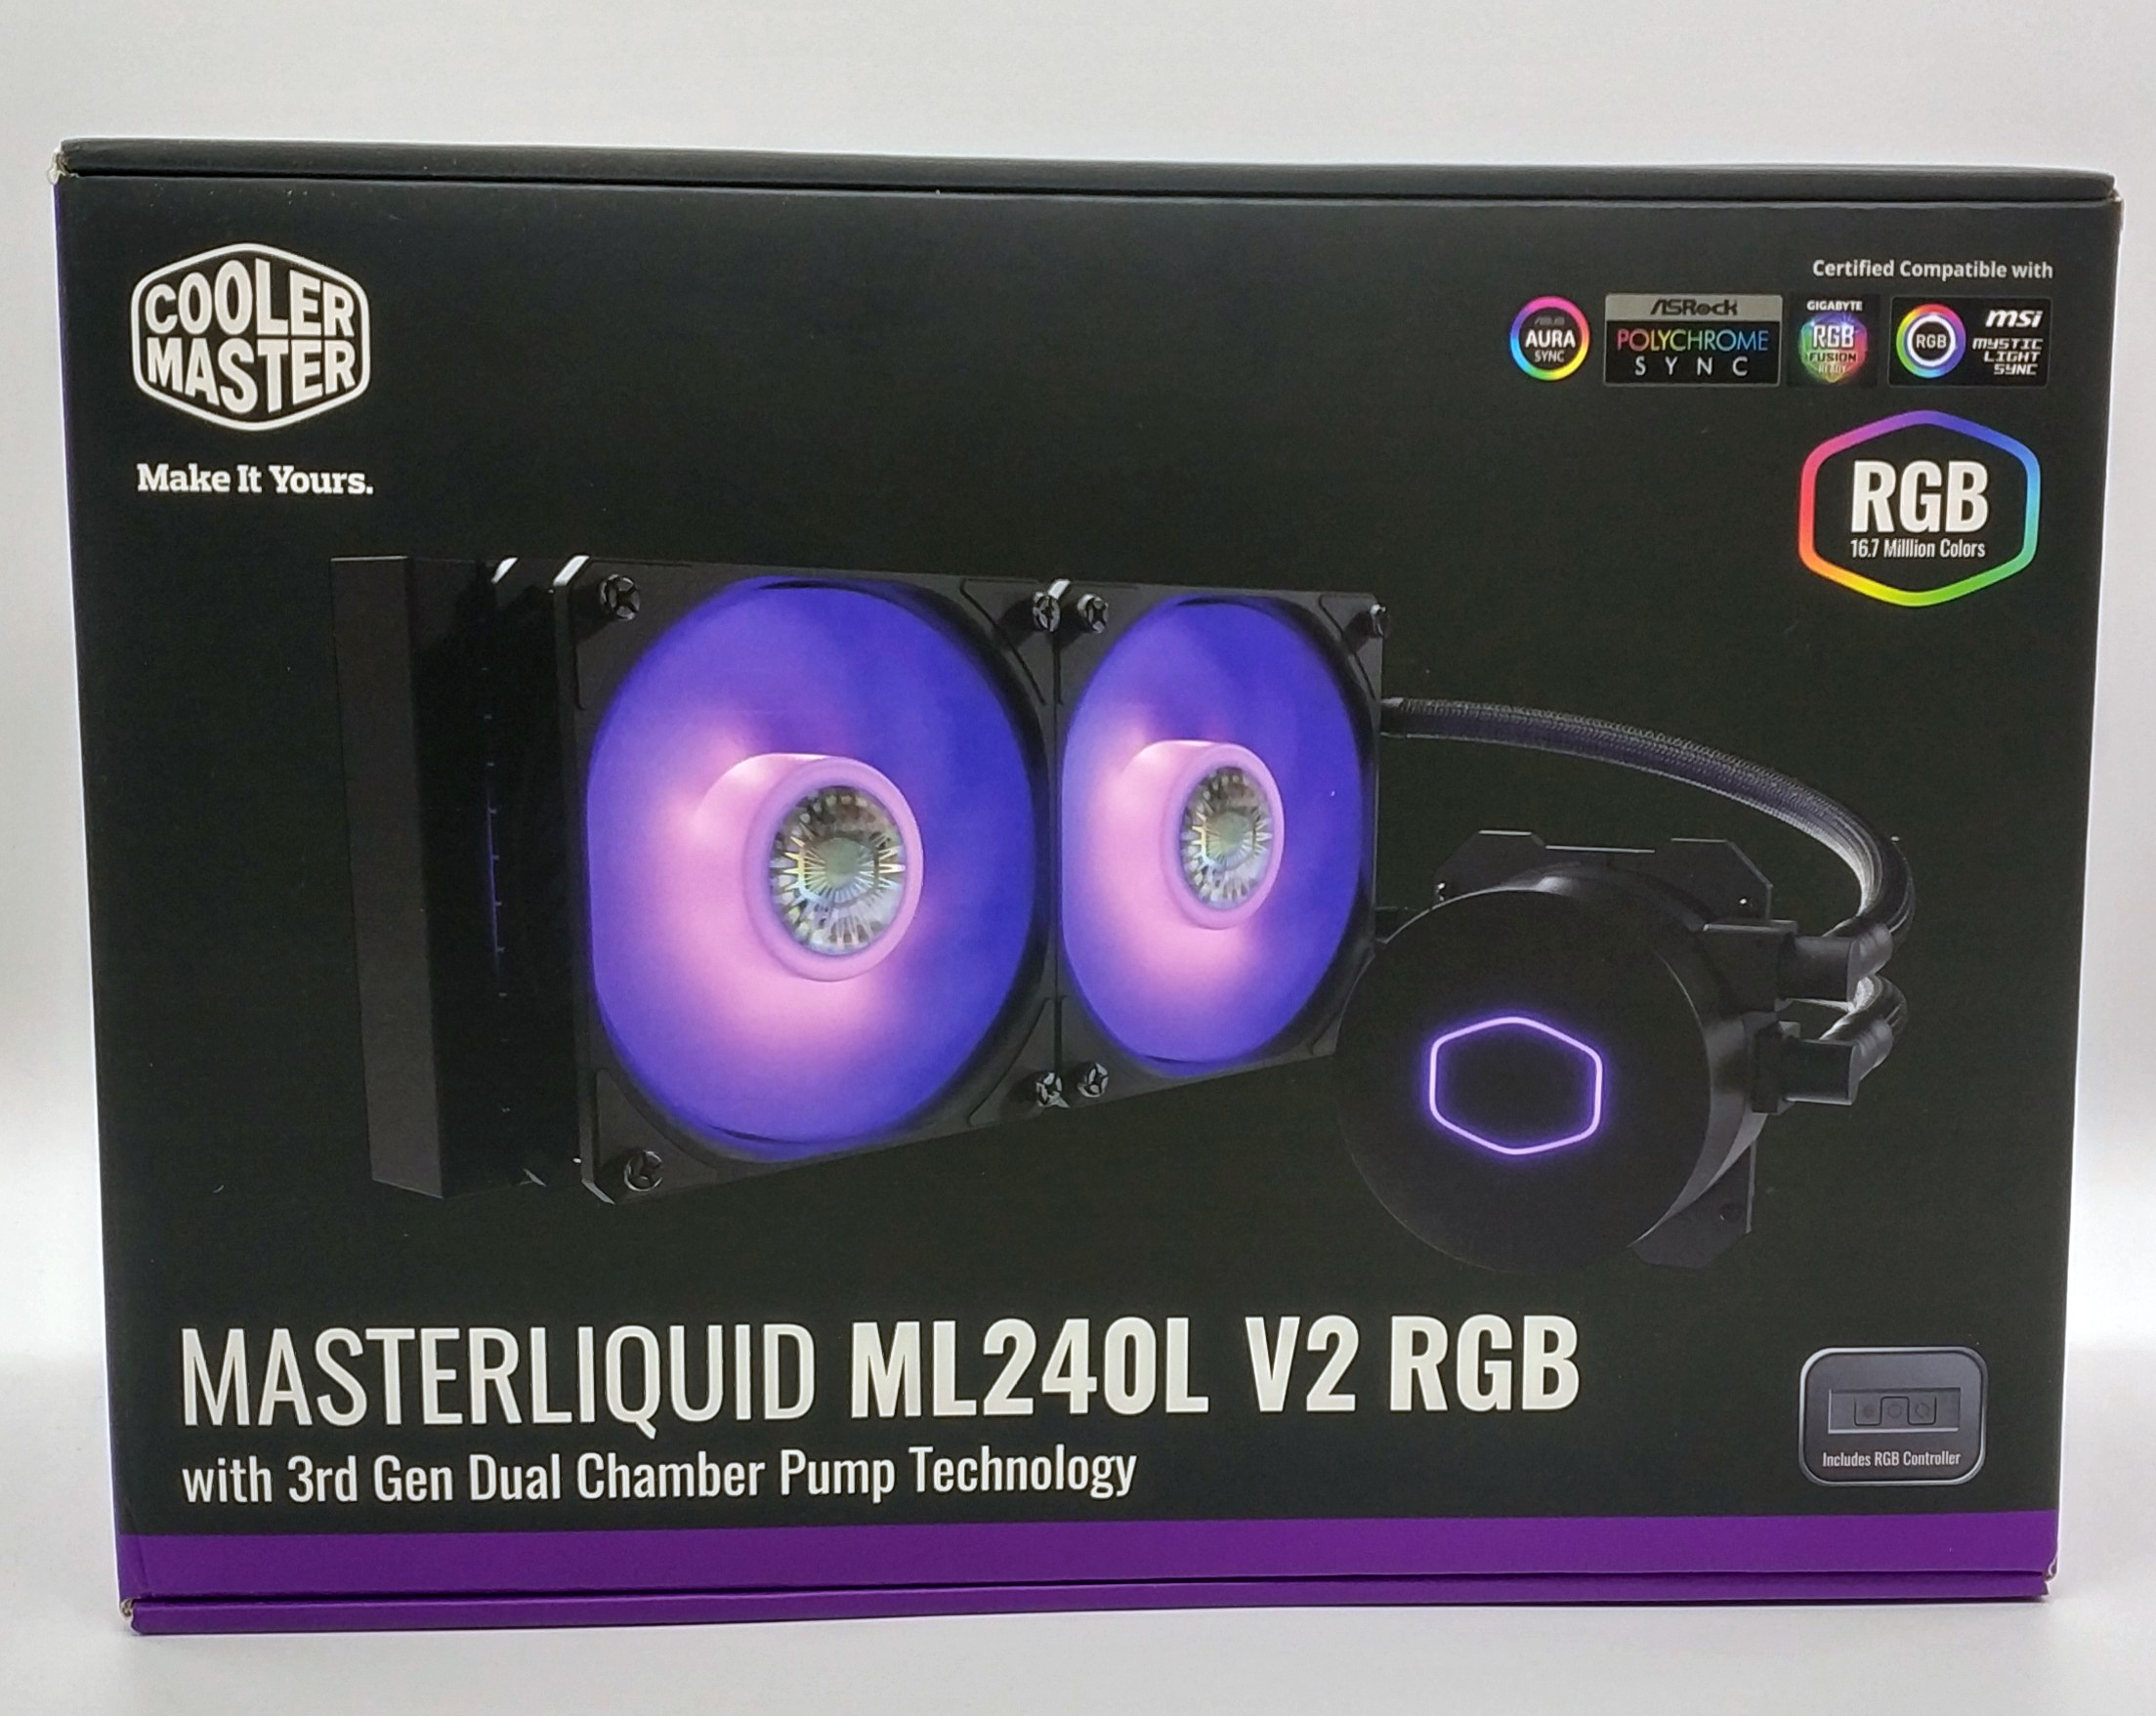
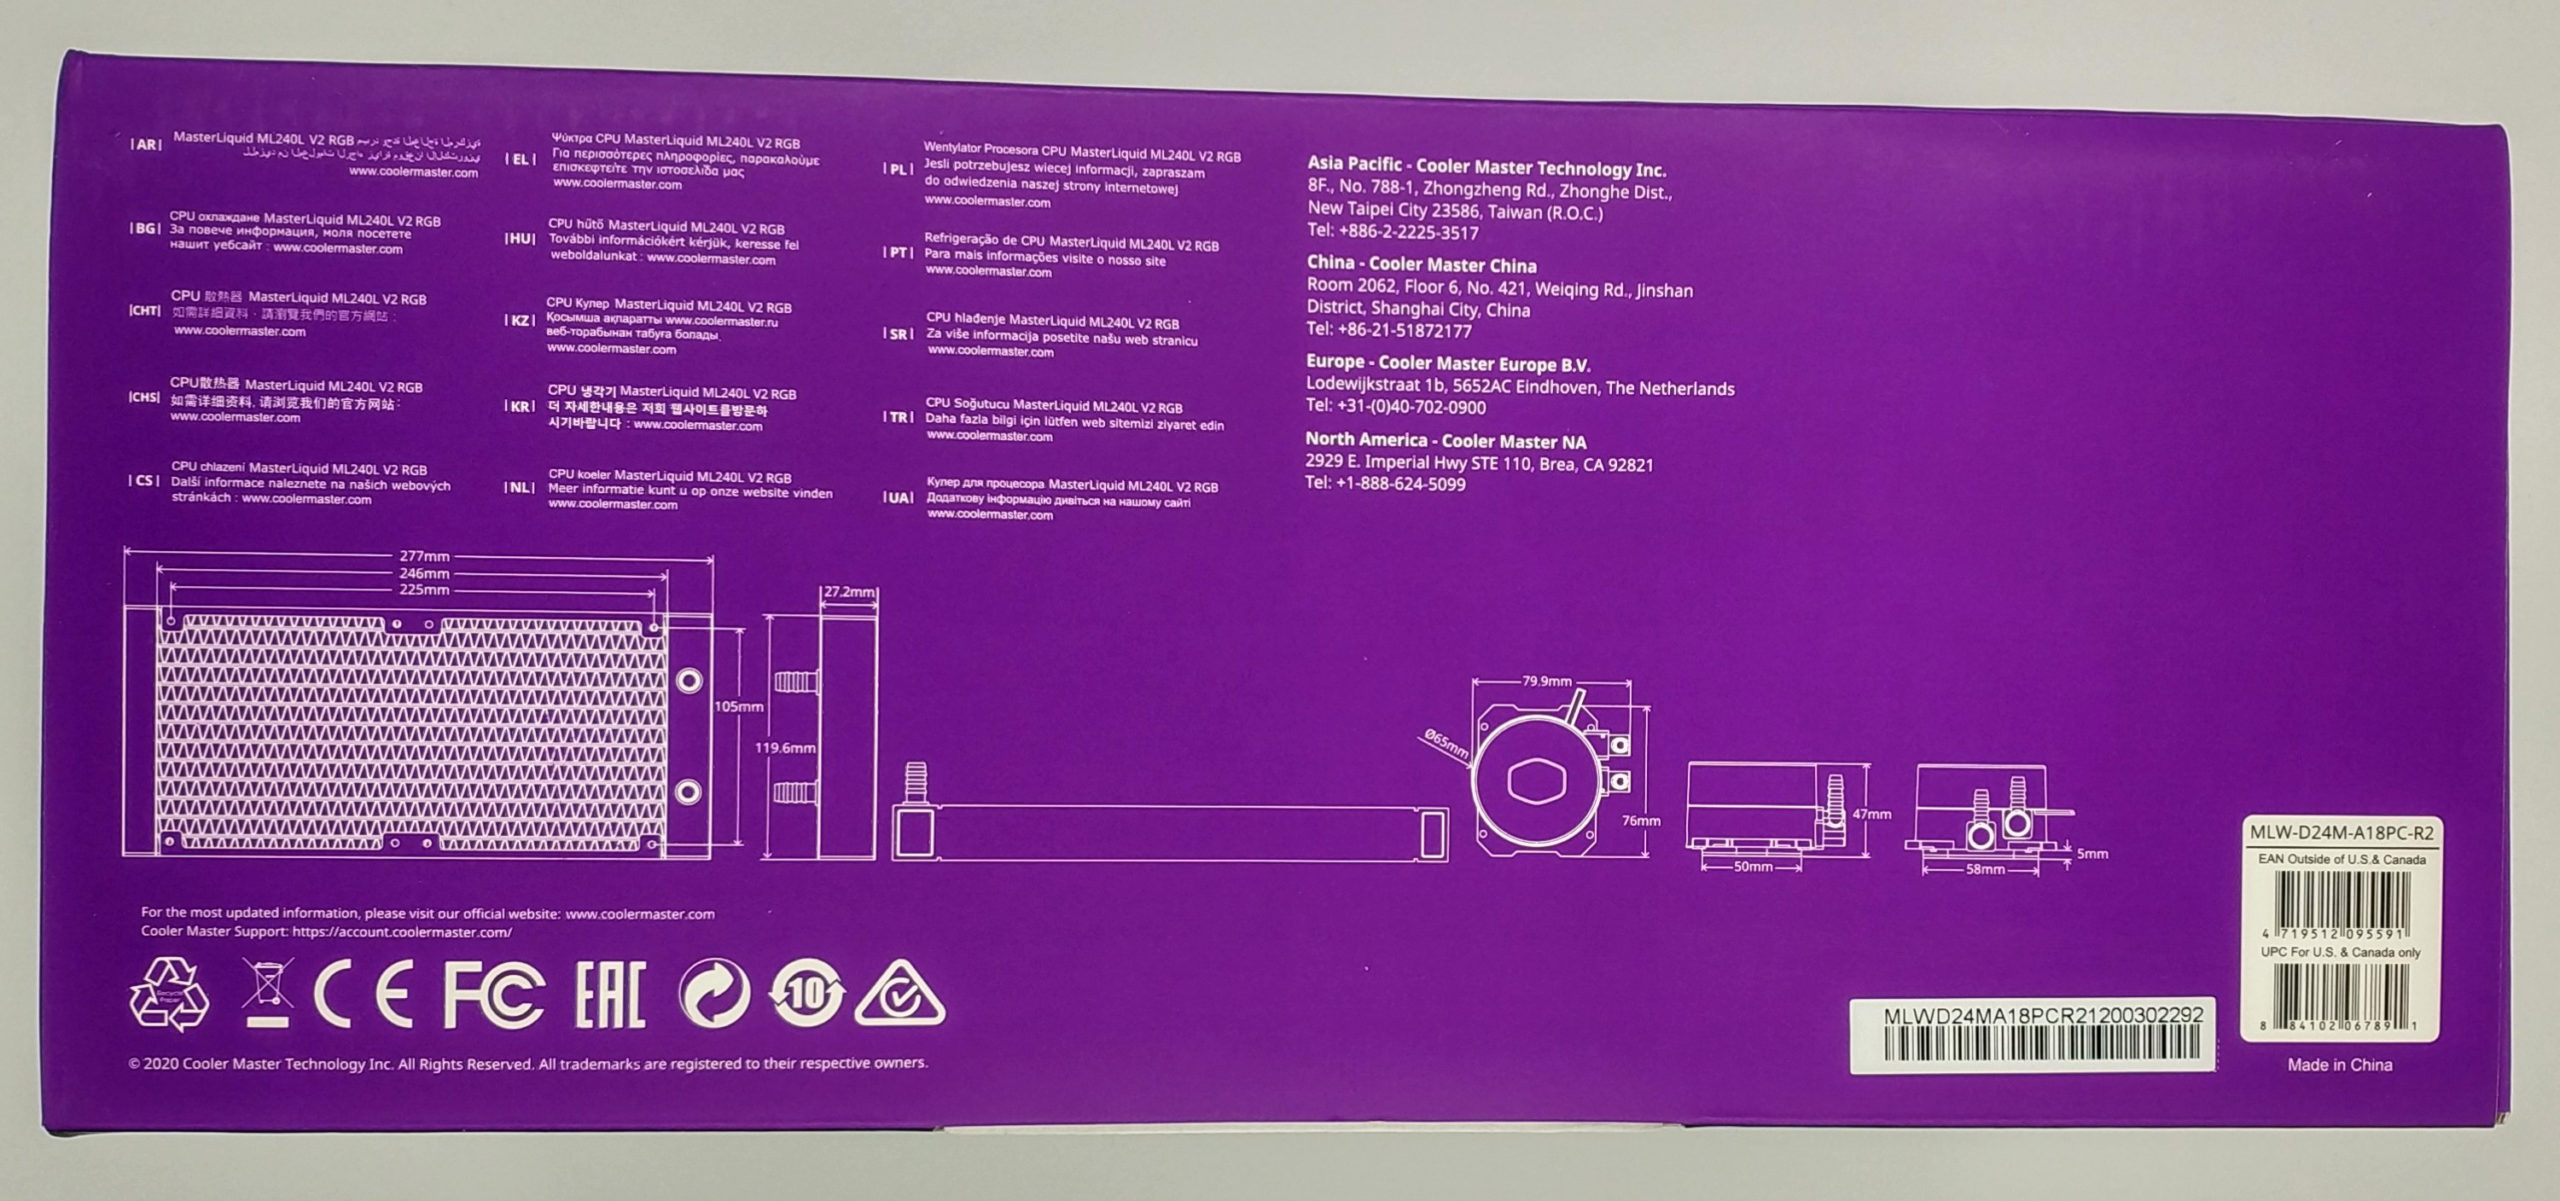
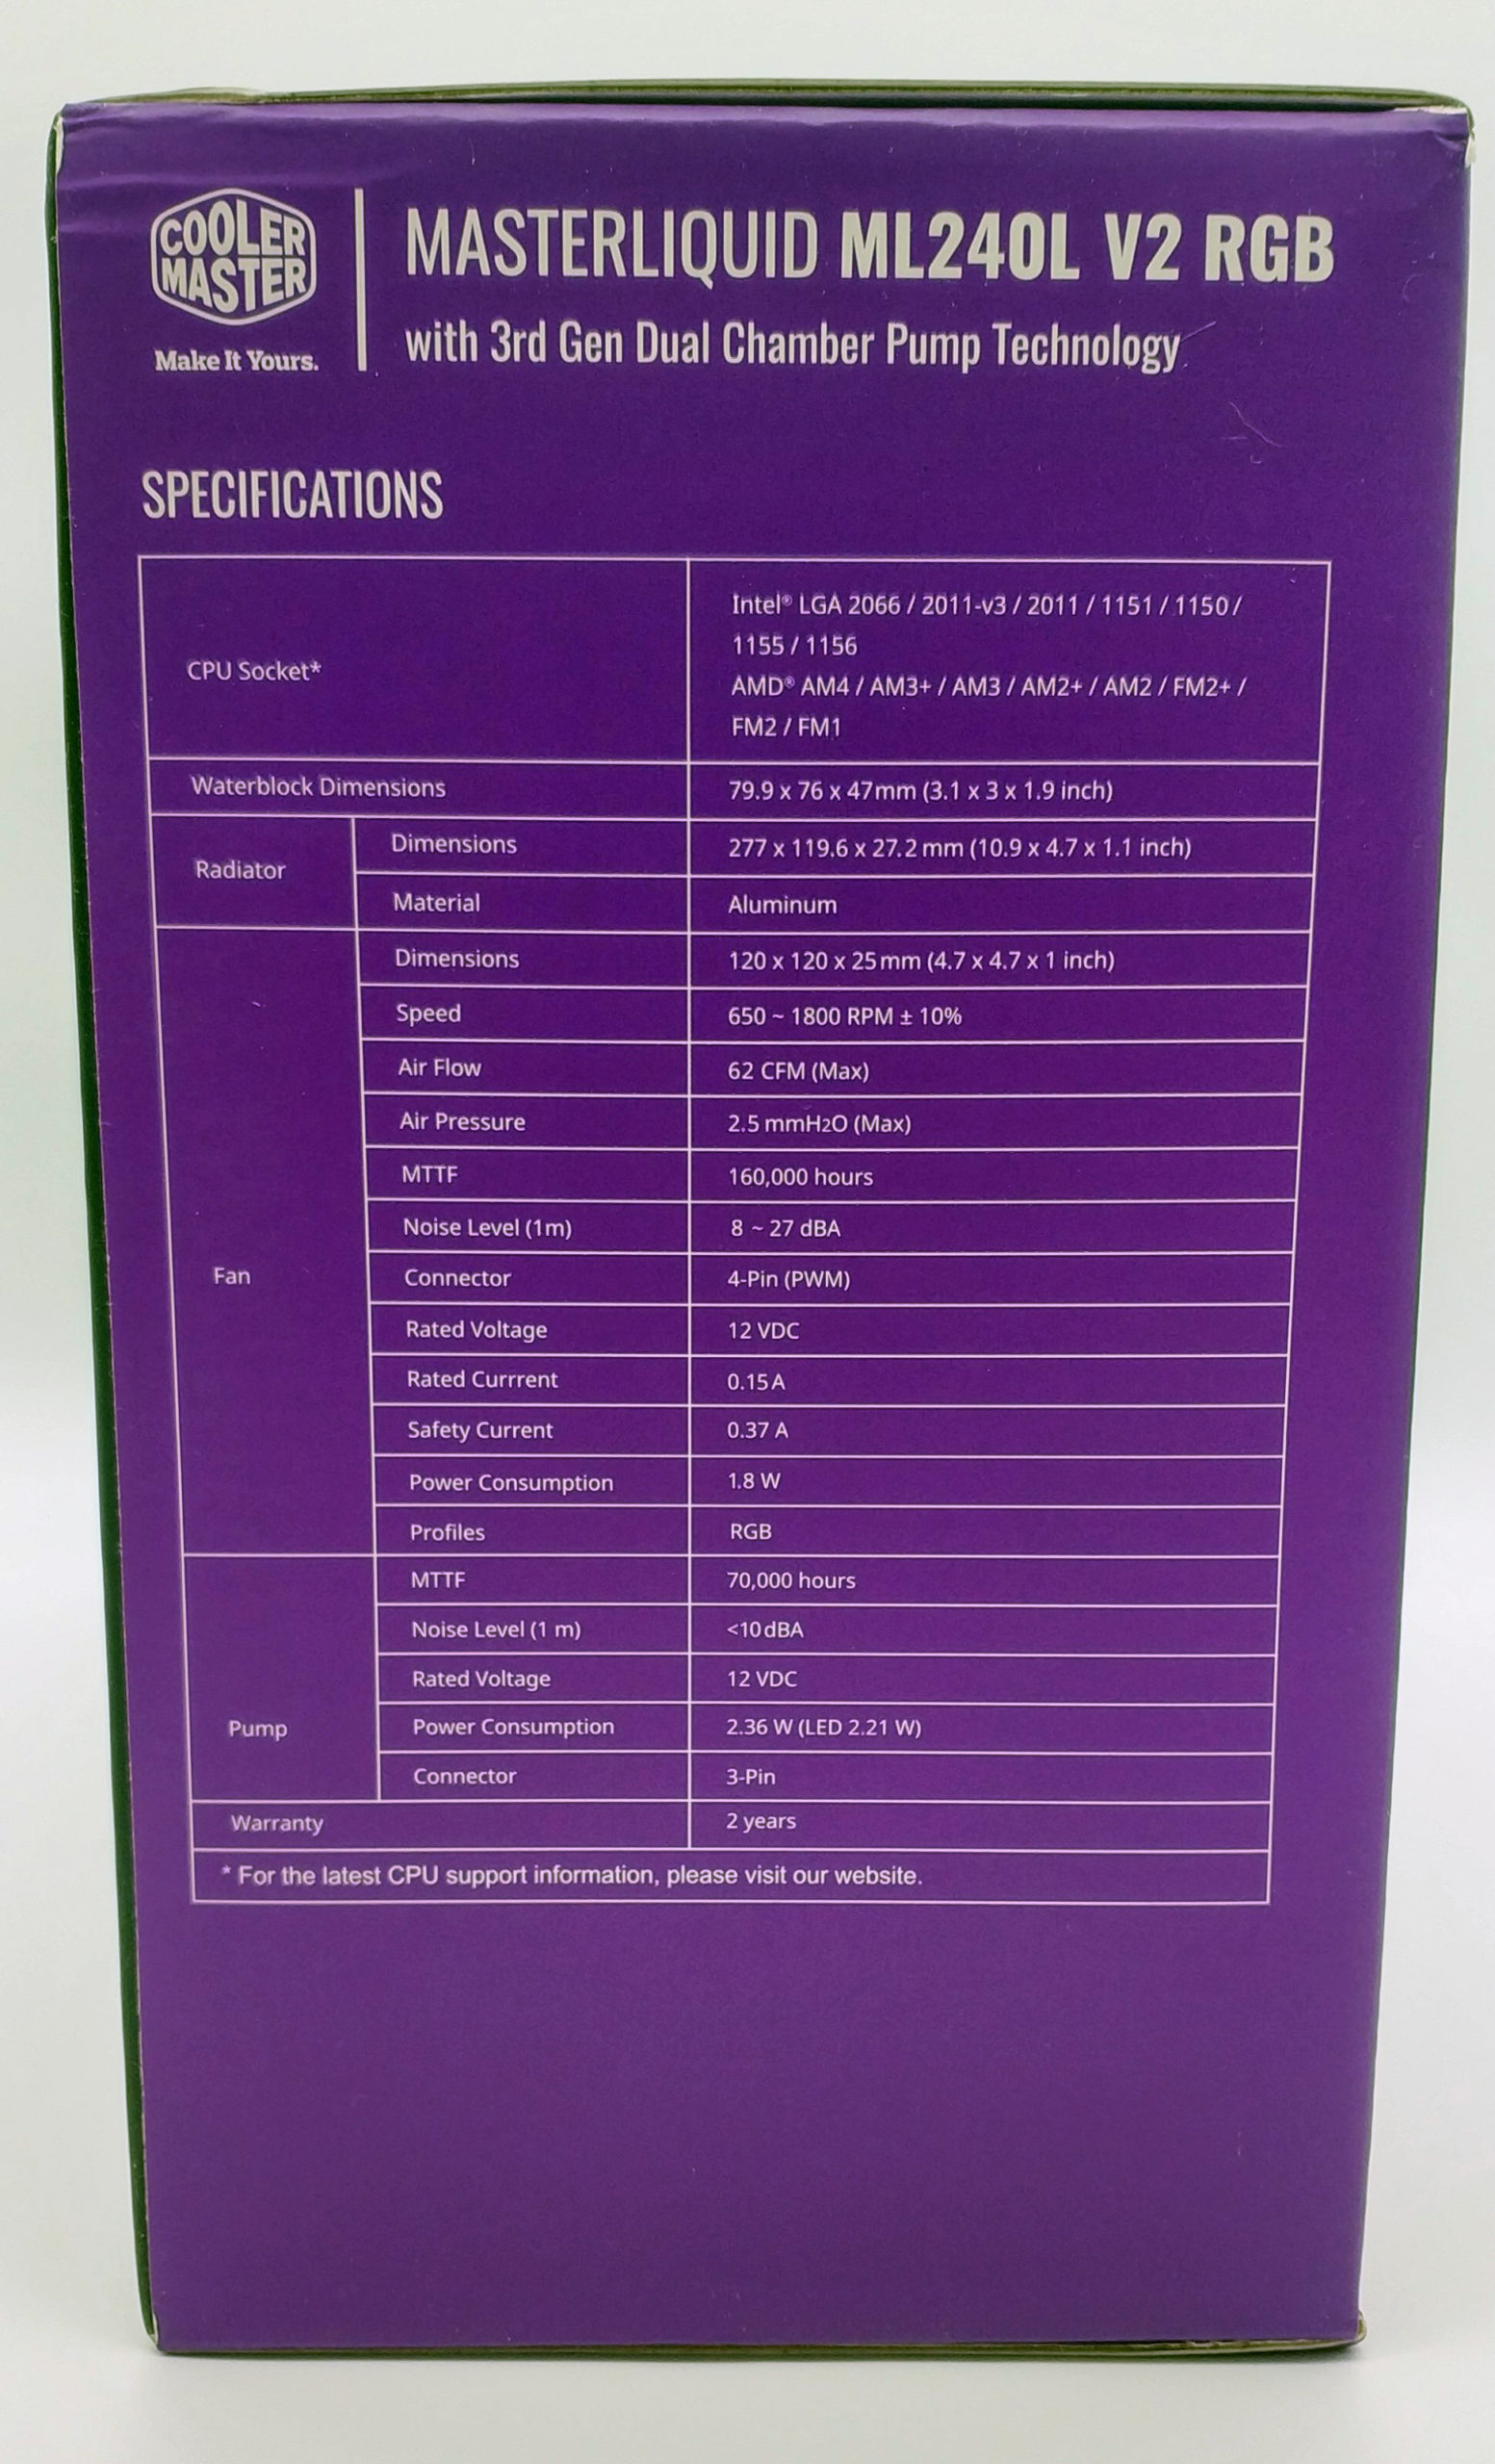
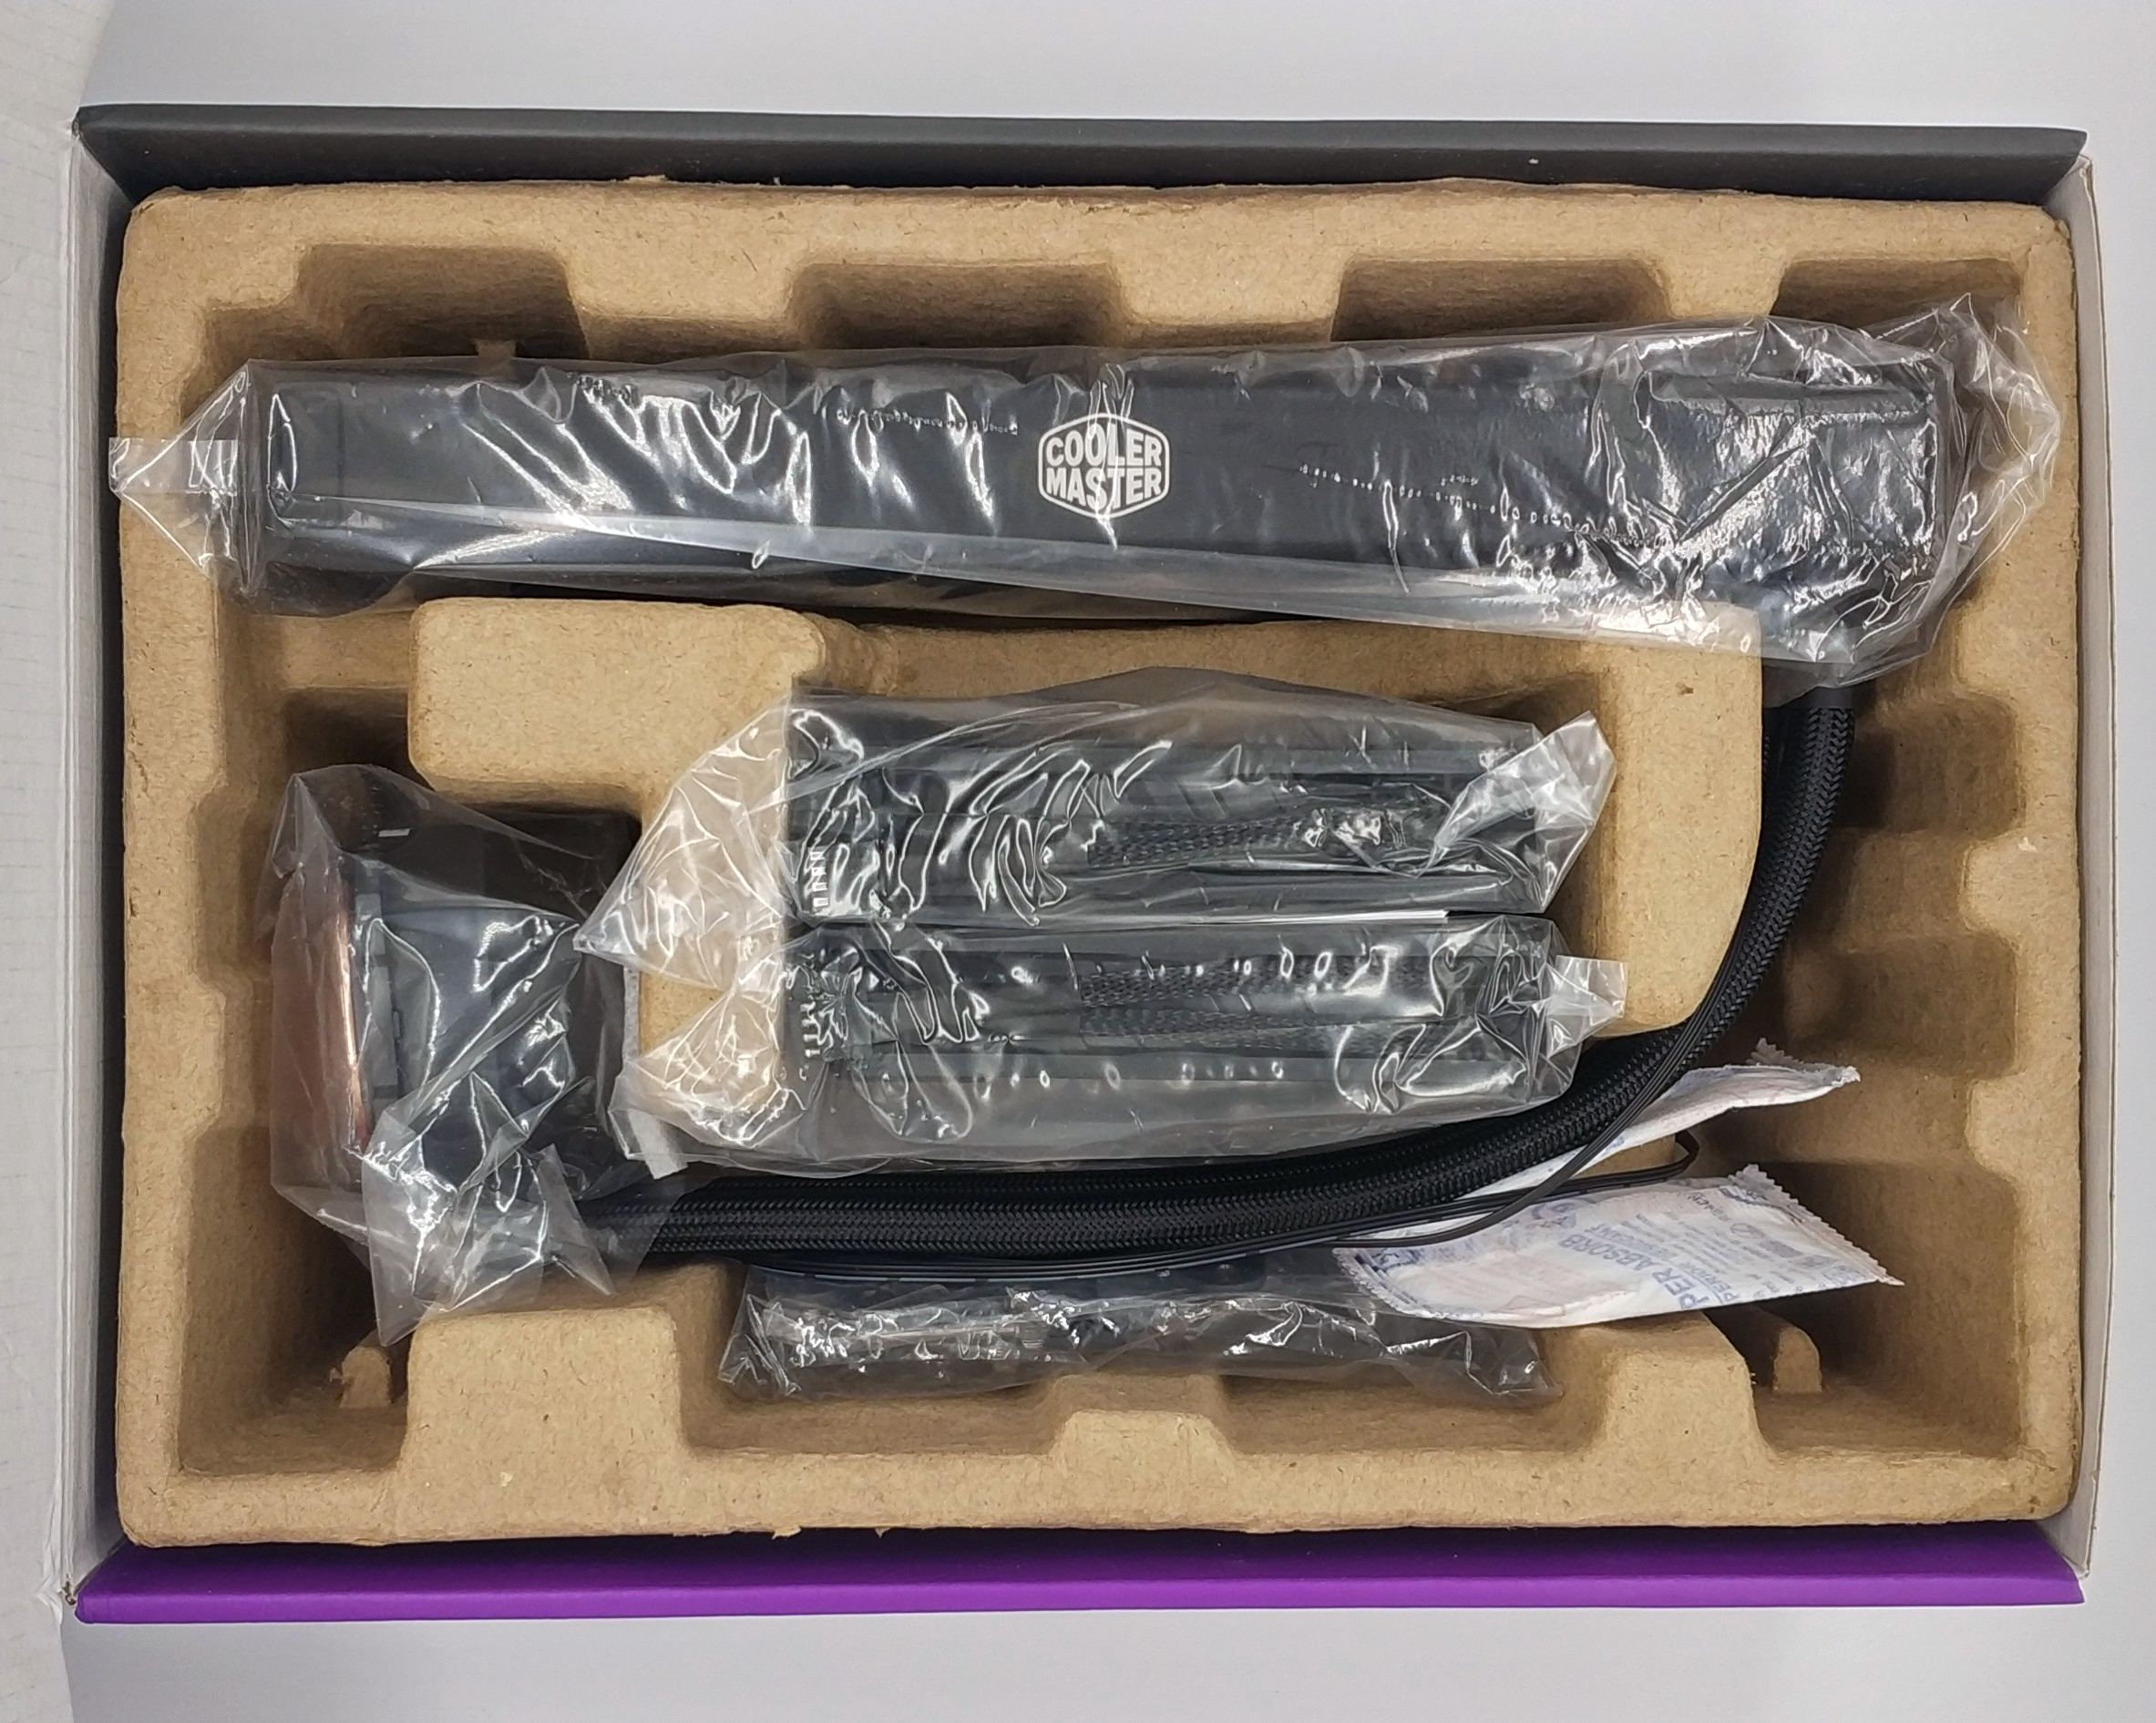
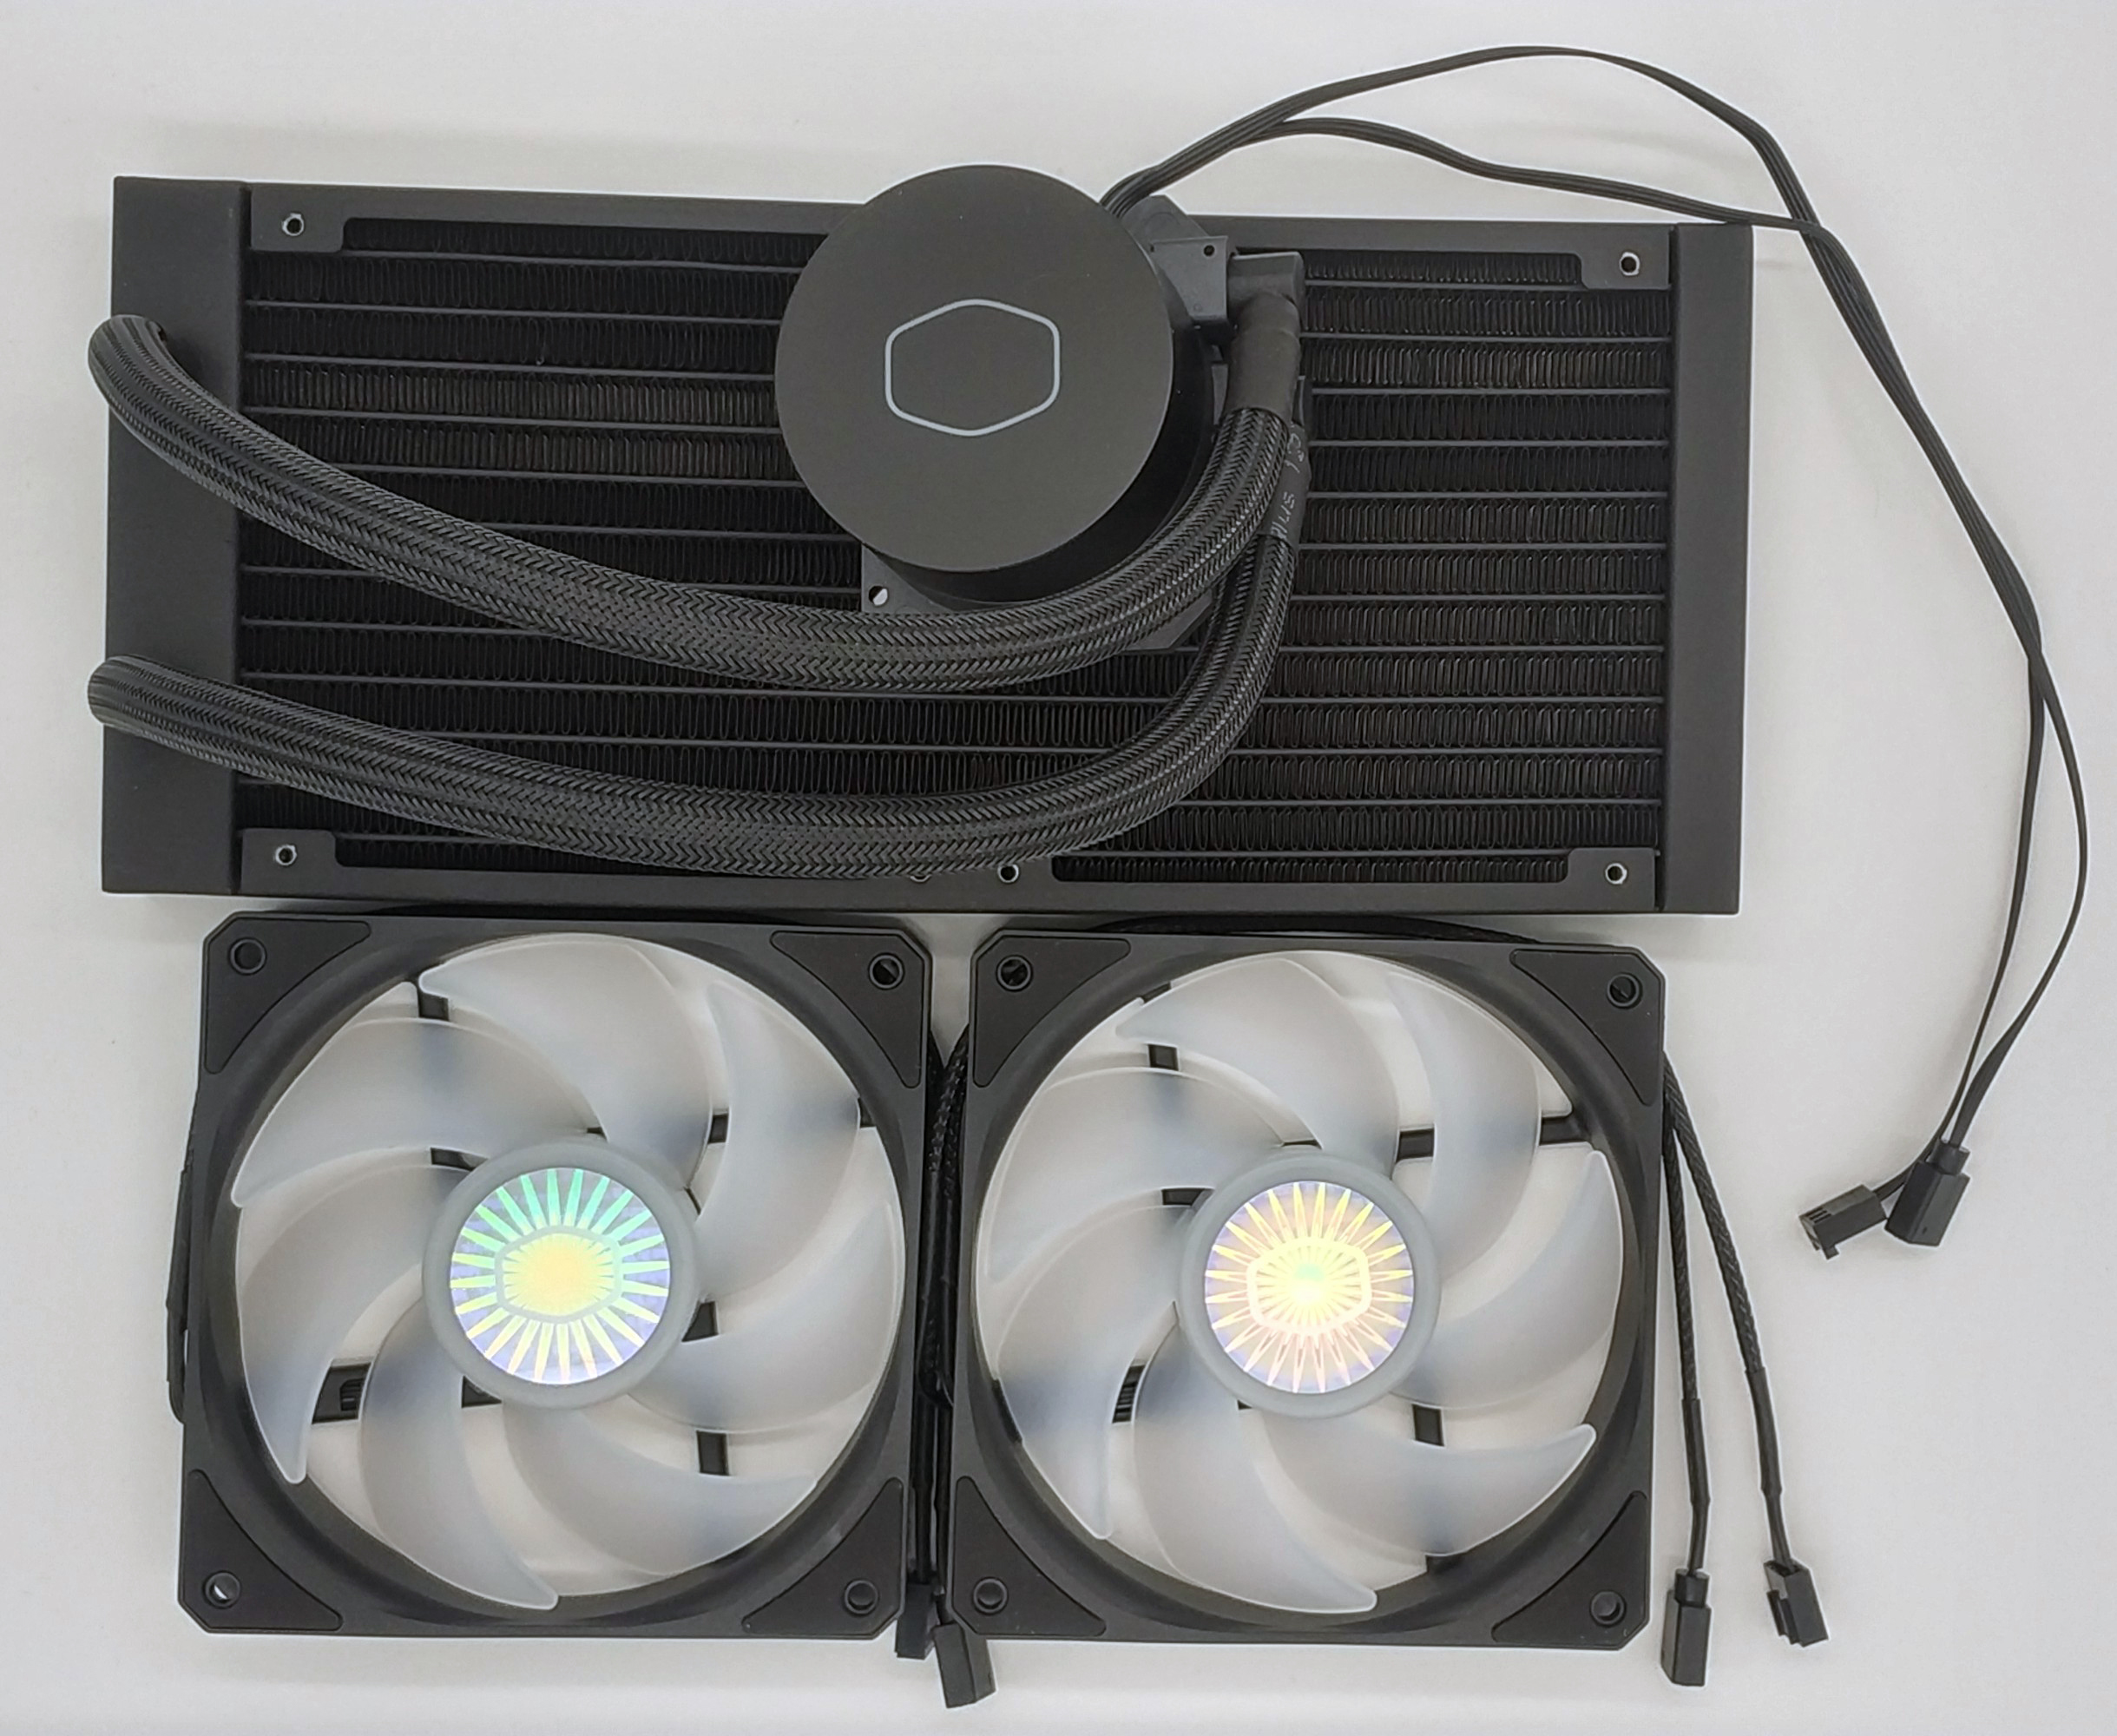
The box keeps very close to the “original”, Cooler Master continues to use a full black printed cardboard box with purple sides. Aside from the width and a few updated logos, the front is actually identical. One side is printed with an extensive specifications table, the bottom shows exact dimensions of the radiator as well as pump block, and the back lists differences from the V1 version. Inside, you’ll find AiO’s typical casing of brown cardboard, with the radiator, pump block, fan and accessories individually wrapped in plastic bags. The shape and cutouts have been modified so that the hoses bend less in the box.


The accessories have remained largely identical. RGB splitter cable, RGB controller with buttons, fan Y-cable as well as a tube of the in-house thermal paste Mastergel Pro:
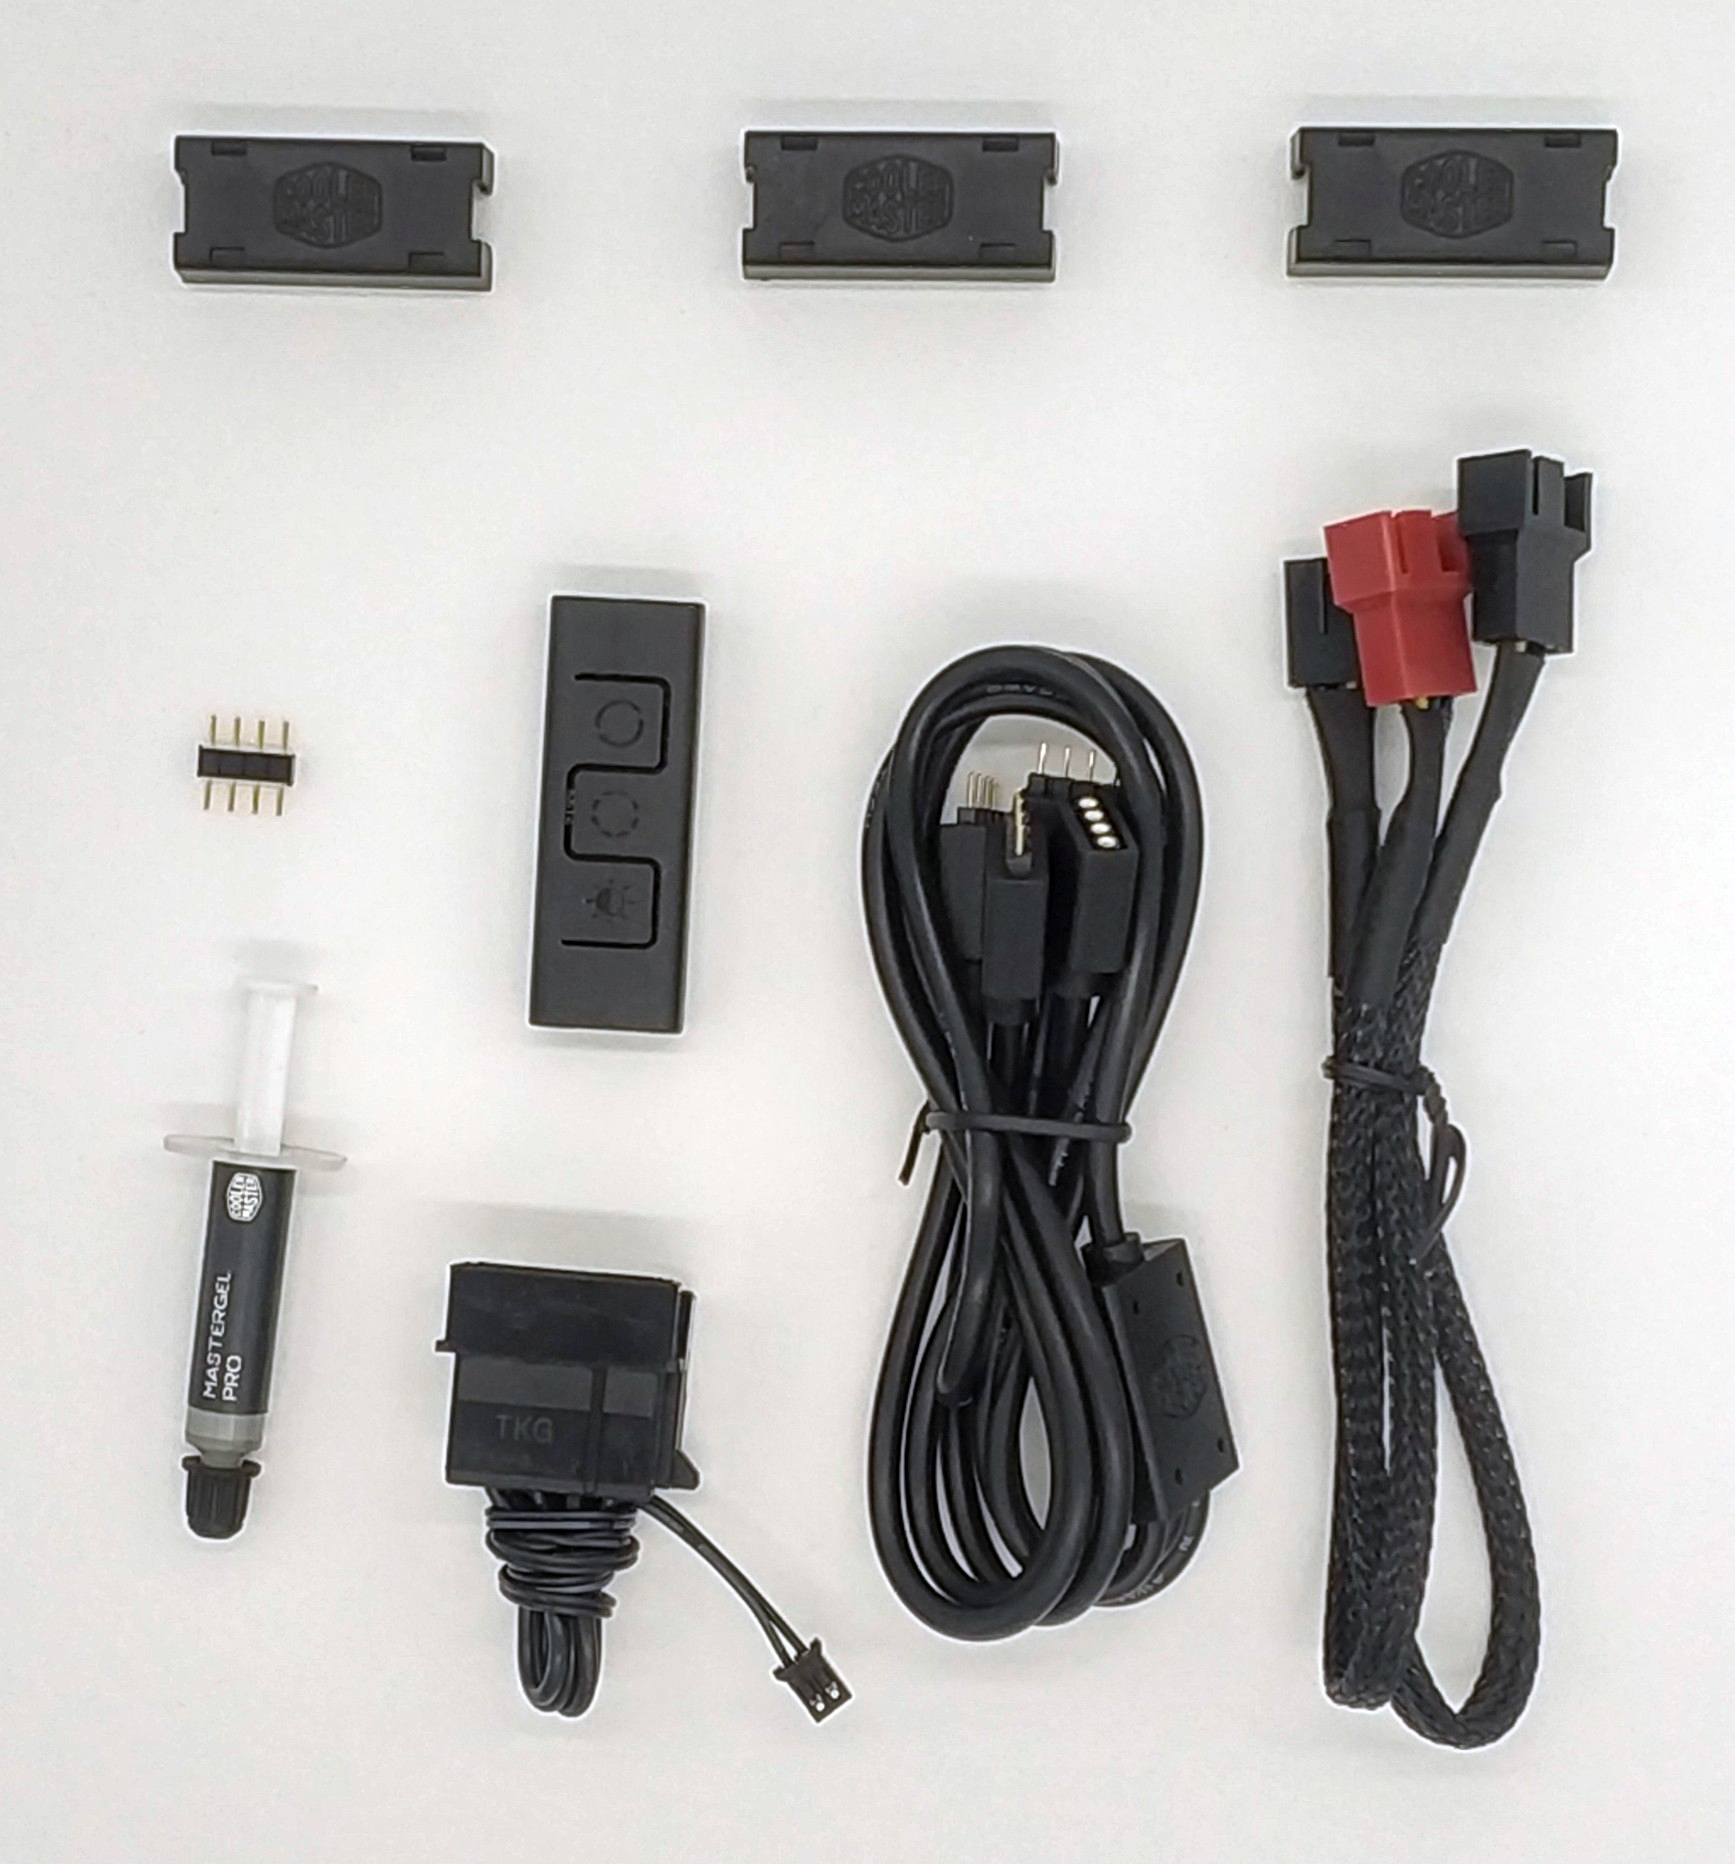
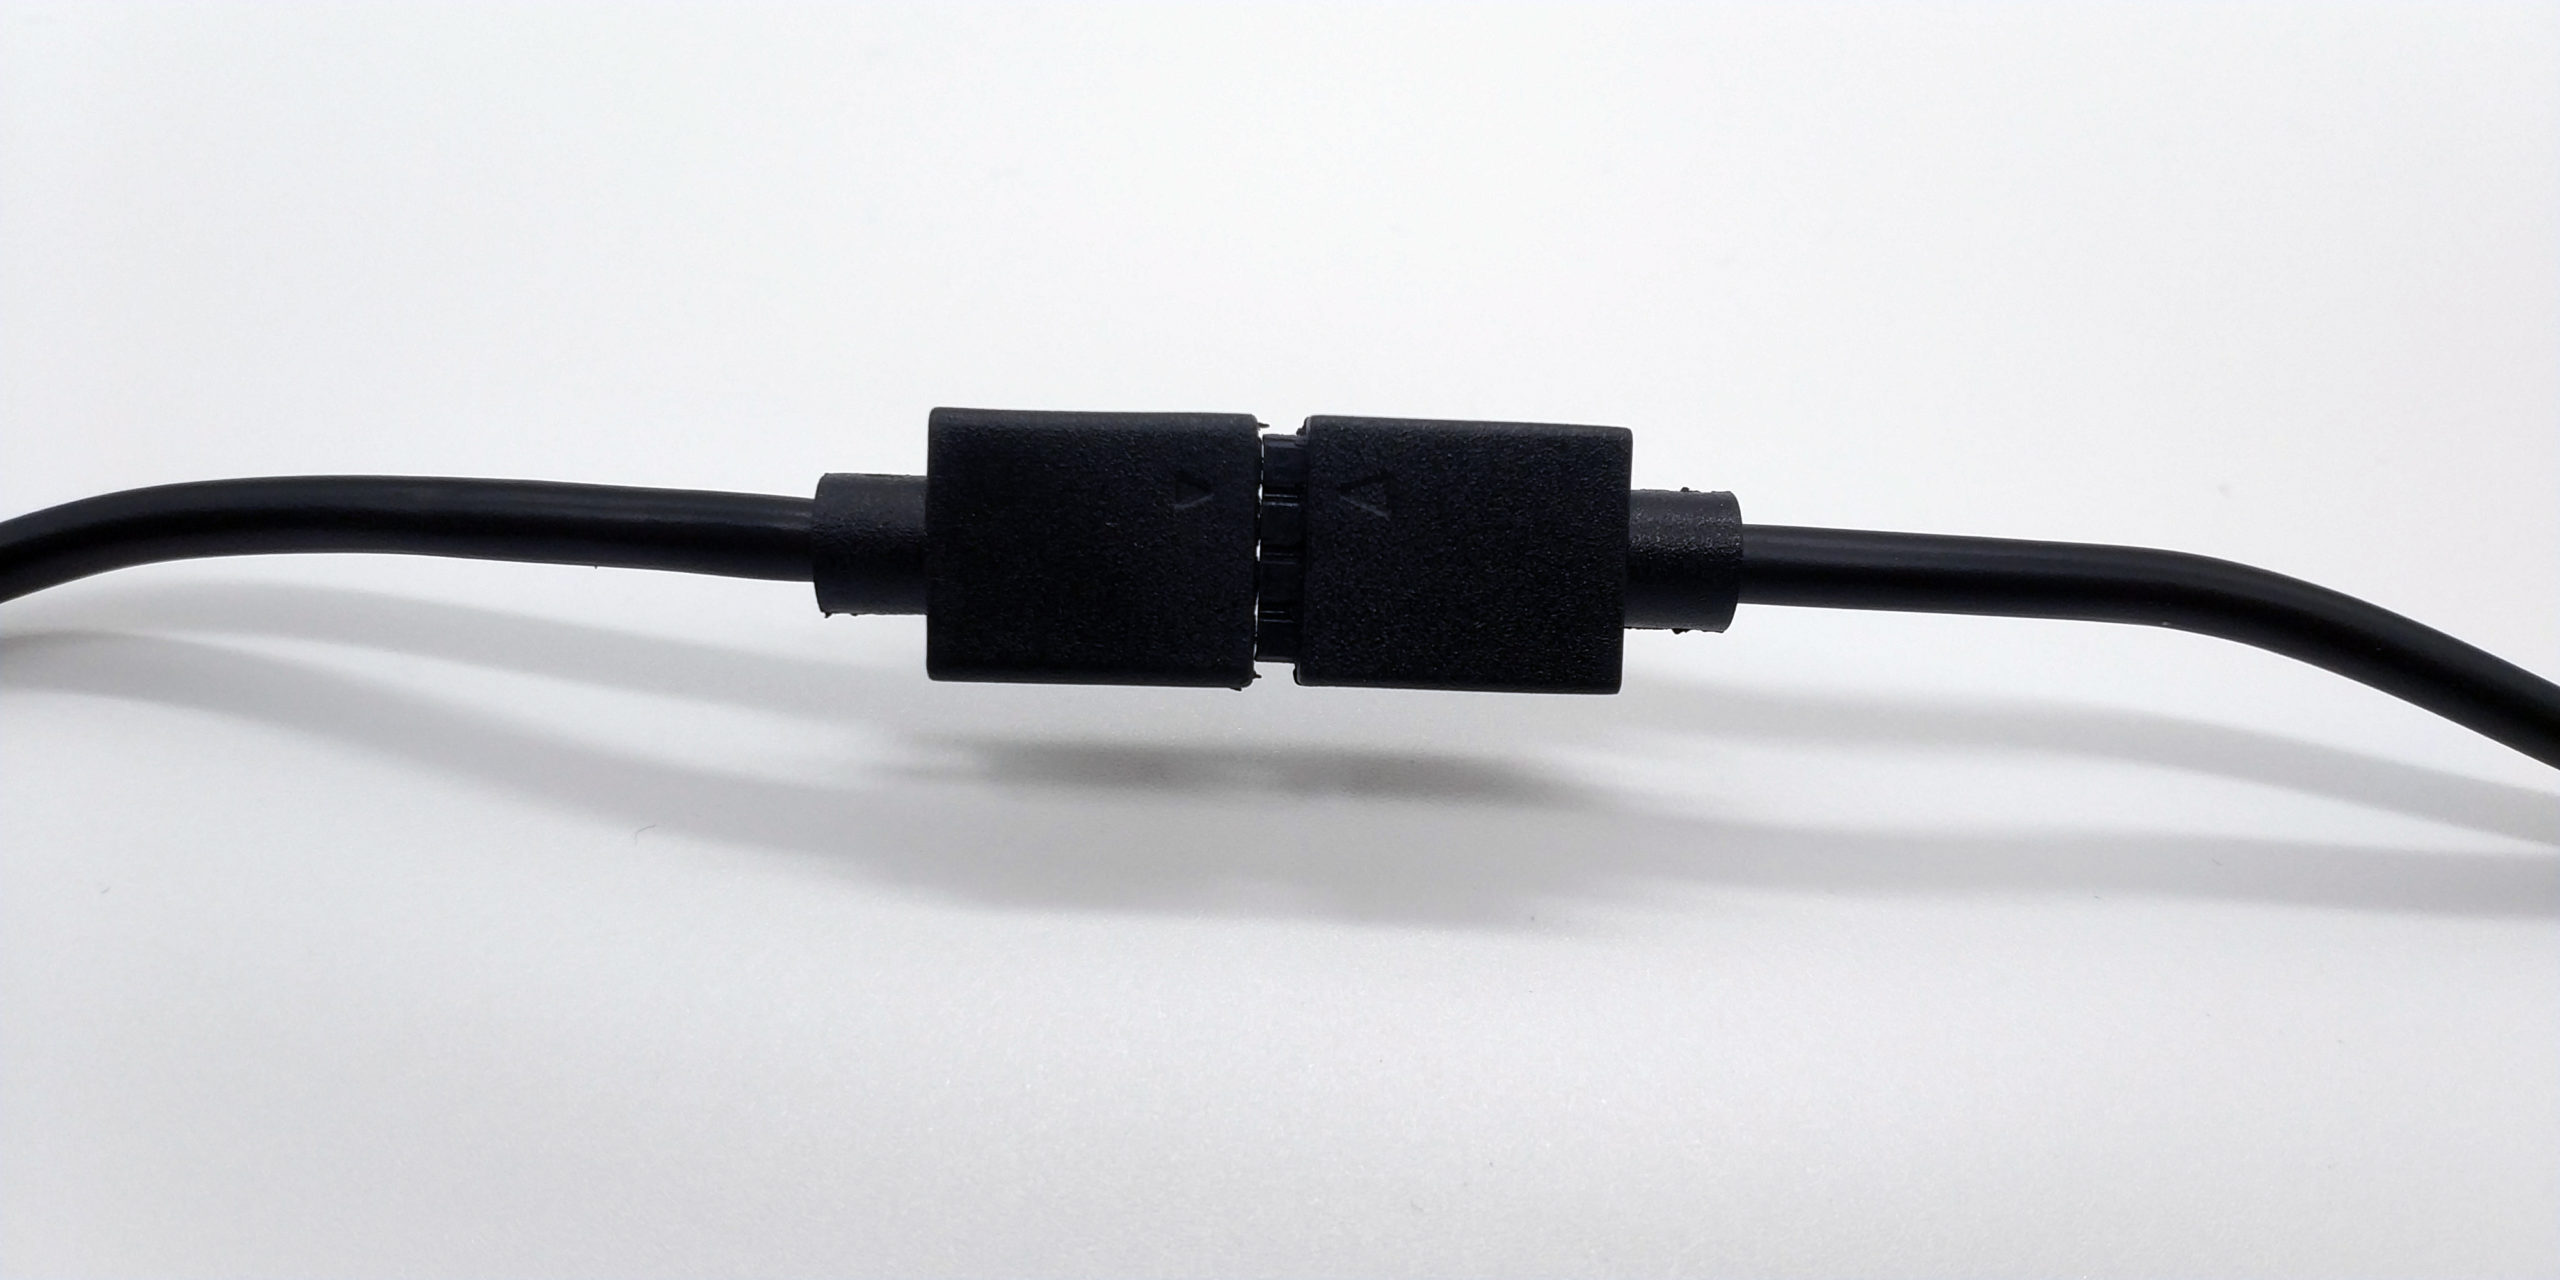
New additions are 3 small plastic sleeves that hold the RGB connectors securely together. A really useful addition, it has happened to me several times when gently plugging the various RGB cables in different cases that the connections loosen.

Assembly / Installation
The installation for the AM4 socket is thankfully identical to the V1 version, so still very simple: The pre-mounted backplate and brackets on the boards should remain and the brackets are mounted to the cooling block with 4 screws. The eyelet of the brackets is then hooked into the pre-mounted brackets next to the socket and tighten the thumbscrews by hand.
After mounting the radiator and some cable management, you can start testing after a few minutes!
PRODUCT SHEET - ML240L V2 RGB_200224


Kommentieren