The name Hyper 212 should ring a bell with many, especially enthusiasts from the Sandy Bridge era. And even though the dusty Evo variant is soon approaching its 10-year anniversary and still actively sold, the roots of this cooler series even go back to 2007. In order to meet the modern demands (namely optics and RGB), Cooler Master has added a fresh version with the two Black Editions a while ago.
At the request of the community, the latest addition now has to prove itself in a test. Whether the tradition of a good standard recommendation can be maintained or whether you should break new ground, you will find out in the following article.
Packaging and scope of delivery
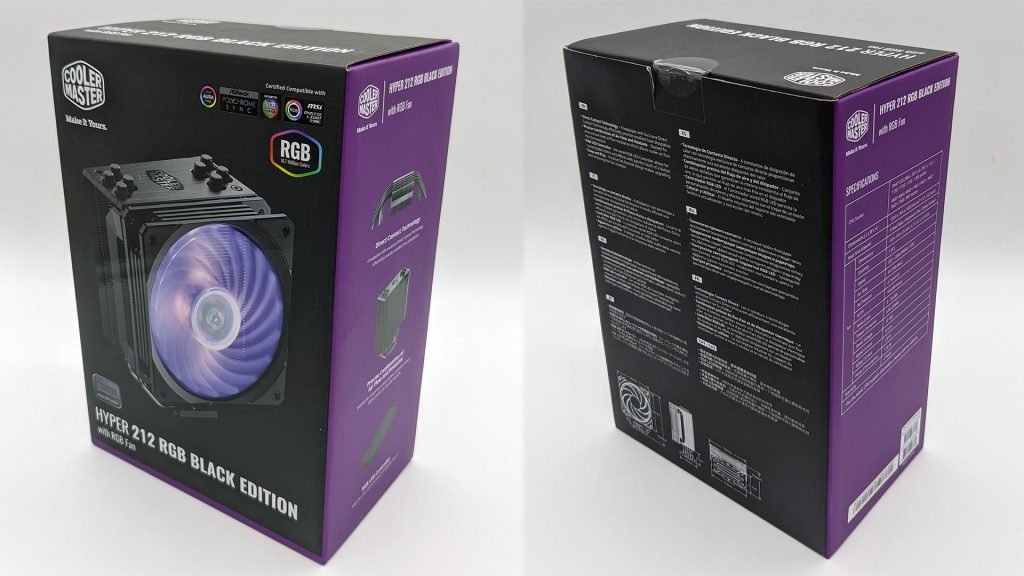
The exteriors have definitely already arrived in the modern era and the typical design for Cooler Master. Front, back, lid as well as bottom are in black, the sides then in purple. The illustration also adheres to the unofficial industry standard with a large product picture on the front, feature brief description on the back, and a table of specifications and a few pictures on the side.
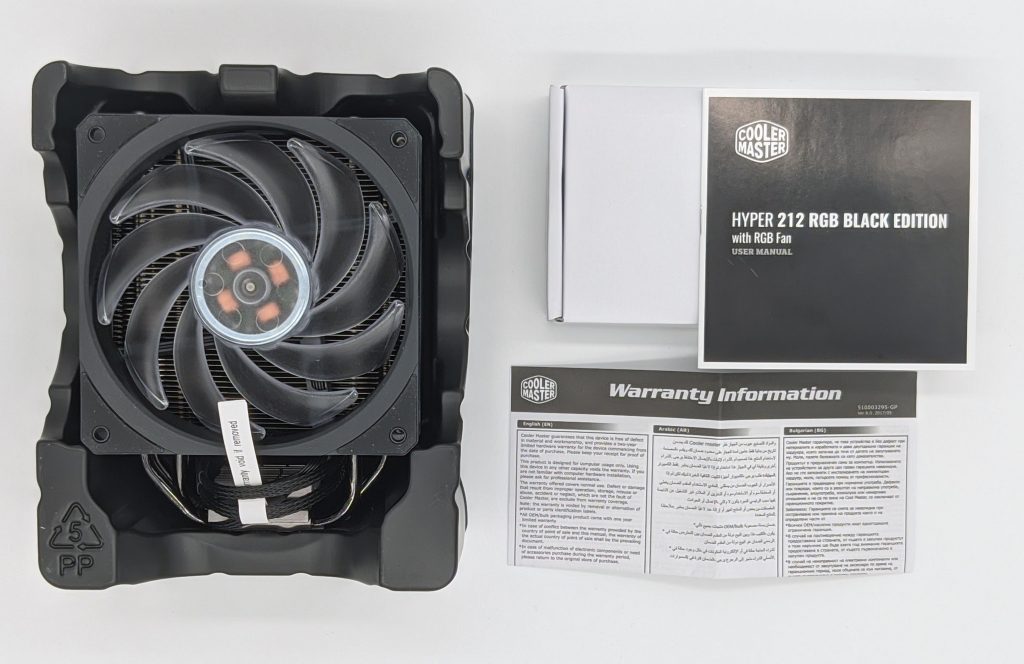
Inside the compact box there is an unusual type of transport protection in the form of a plastic casing. Included accessories come in a small cardboard box that opens. Unfortunately, this has been bagged again, here would have been potential to save plastic waste.
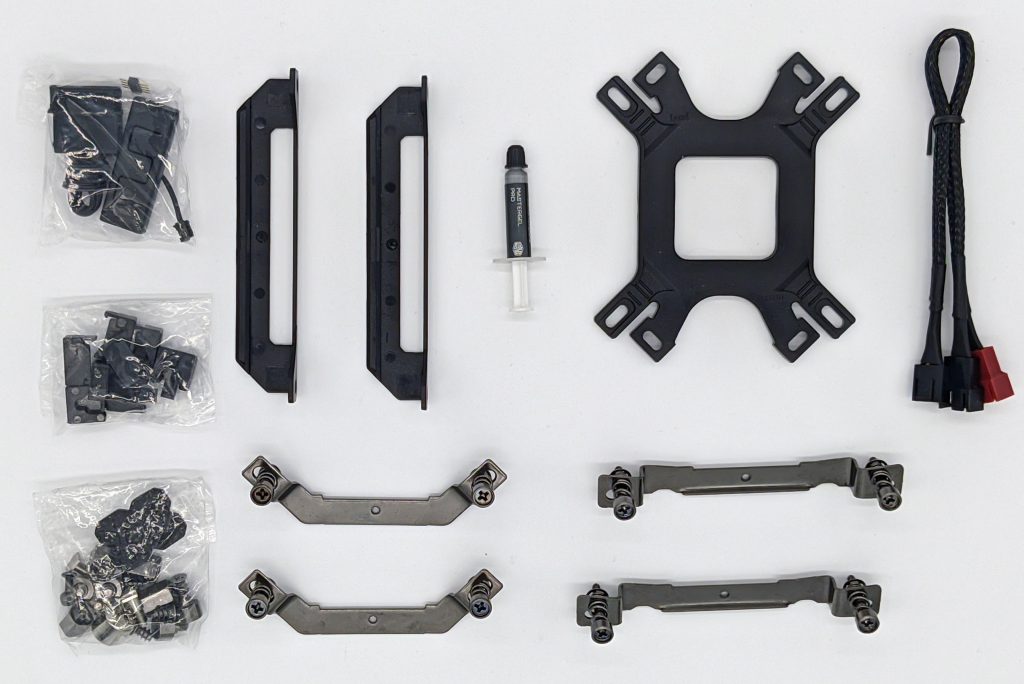
For a relatively small and inexpensive cooler, the Hyper 212 Black Edition comes with a lot of accessories and small parts. I’ll get to the various screws, spacers and nuts later, the completely optional (and mostly unnecessary) accessories stand out: Y-PWM splitter and frame for a second, non-existent 120mm fan. Besides the not-so-optional tube of thermal paste, there’s also a small RGB controller included, which can control the color play of the SF120R RGB fan via buttons or the reset button.
Assembly and installation
Although Cooler Master manufactures the Wraith coolers that come with Ryzen CPUs and thus should have some experience with mounting them on the AM4 backplate, they also rely on their own backplate for the coolers under their own name. Four small threads are fixed in the backplate with plastic clips and pushed through the mainboard from behind. On the front side you then screw on the spacers and can let go of the backplate. Of course, this facilitates the subsequent installation immensely, but is associated with significantly more small parts and some preparatory work.
On the cooler itself, the corresponding mounting brackets have to be fixed with two screws, before the pre-mounted fan is removed and the heatsink is mounted on the processor with four spring-loaded screws. Due to the narrower diameter of the above mentioned threads in contrast to the mainboard holes, the cooler can still be moved a few millimeters in all directions until the final tightening. If you want to place it exactly in the middle, you need a bit of intuition.
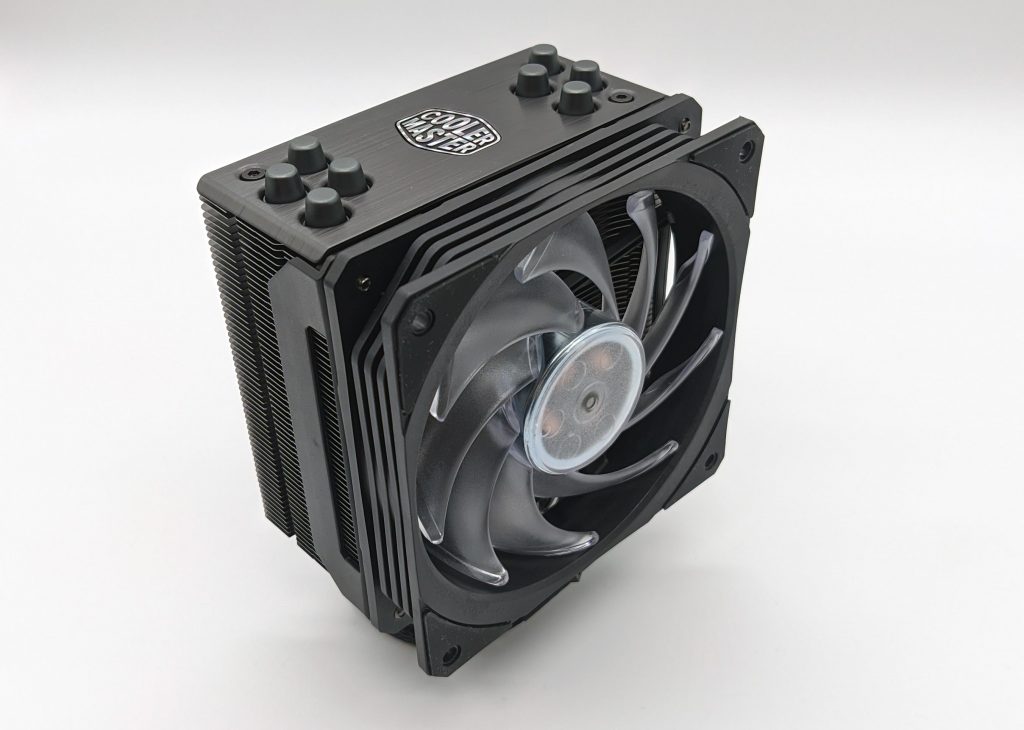
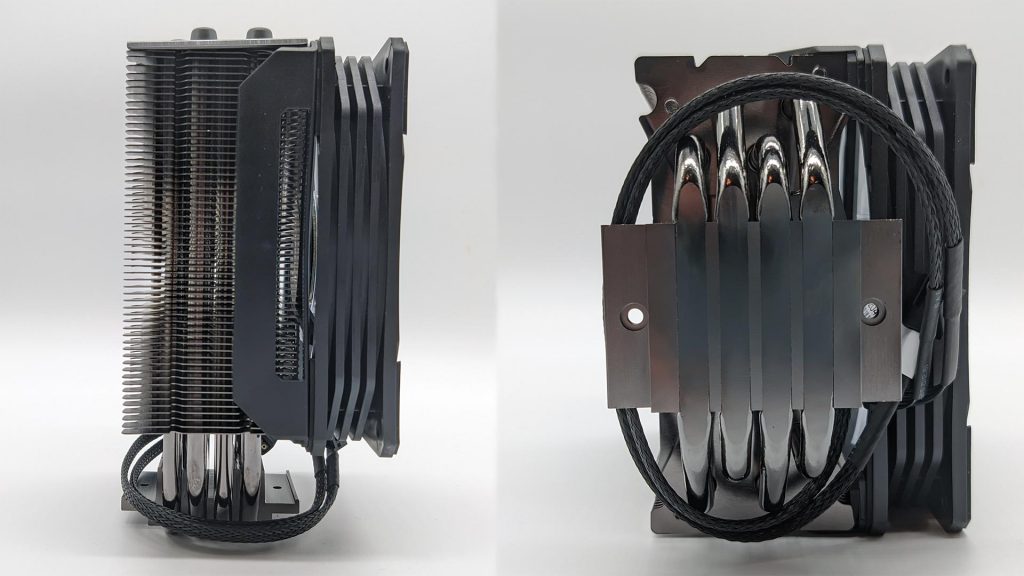
The narrow side profile of the Hyper 212 doesn’t get in the way of even the highest RAM. For the heat transfer of this budget cooler, we rely on the Direct-Touch principle with four heatpipes and thus save the “expensive” coldplate.
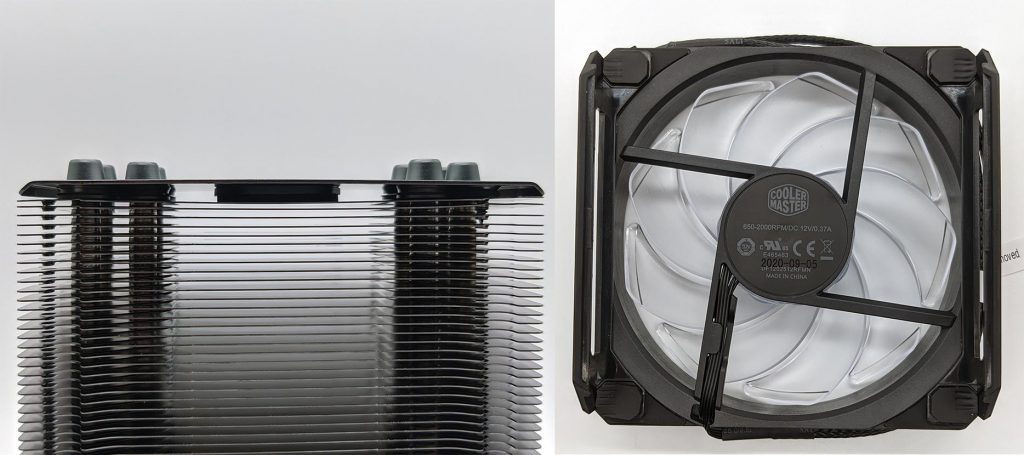
Under the brushed aluminum cover on the top are a couple of pads with unknown function. In order not to disturb the black optics by silver fan clips, one reached deeply into the overengineering box for the attachment of the fan at the heat sink. Two plastic parts are screwed to the fan and decoupled at the corners by rubber pads. You then hang the whole thing in recesses in the slats as usual and can enjoy the unbroken black of your Black Edition.
Specifications
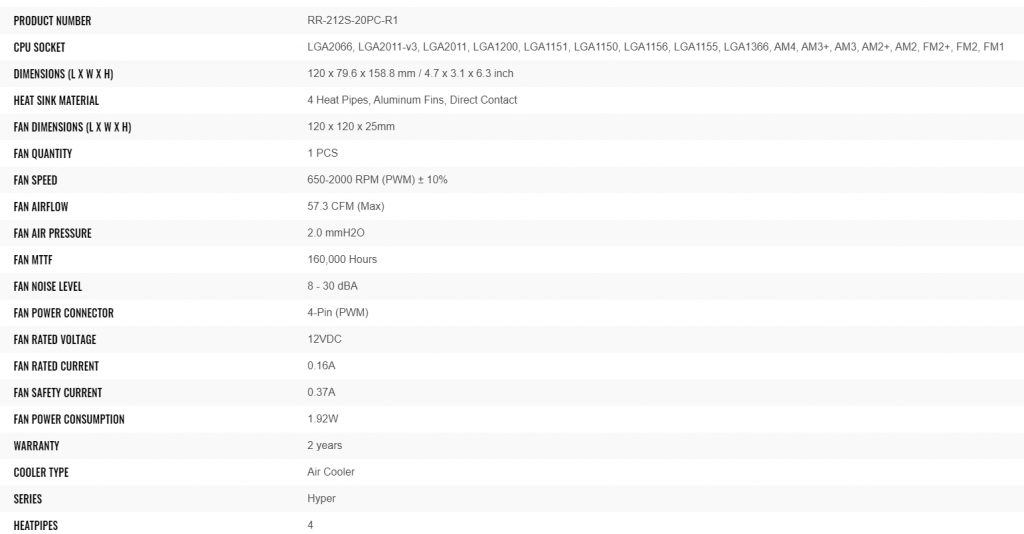
Here is a short overview of the technical data, everything else as usual on the manufacturer’s page.
Cooler Master Hyper 212 RGB Black Edition (RR-212S-20PC-R1)




Kommentieren