


Overclocking has become a true popular sport, but with the AMD cards of the last few years it has always been a bit difficult. So now Navi comes and suddenly everything changes. Well, almost. Provided you change the cooler. And that is exactly what I did today. With a brand new Vector Radeon RX 5700 from EK Waterblocks, some water and a few tricks everything went very fast. Of course, I also logged and measured all the steps. Because you can say a lot.
Said done, because you don't always get a prototype in your hands before everyone else is allowed to run. Whereby – at the Radeon VII I also had the first test with a real water block online. And now it's Navi's turn and I was at least as curious as the normal reader.
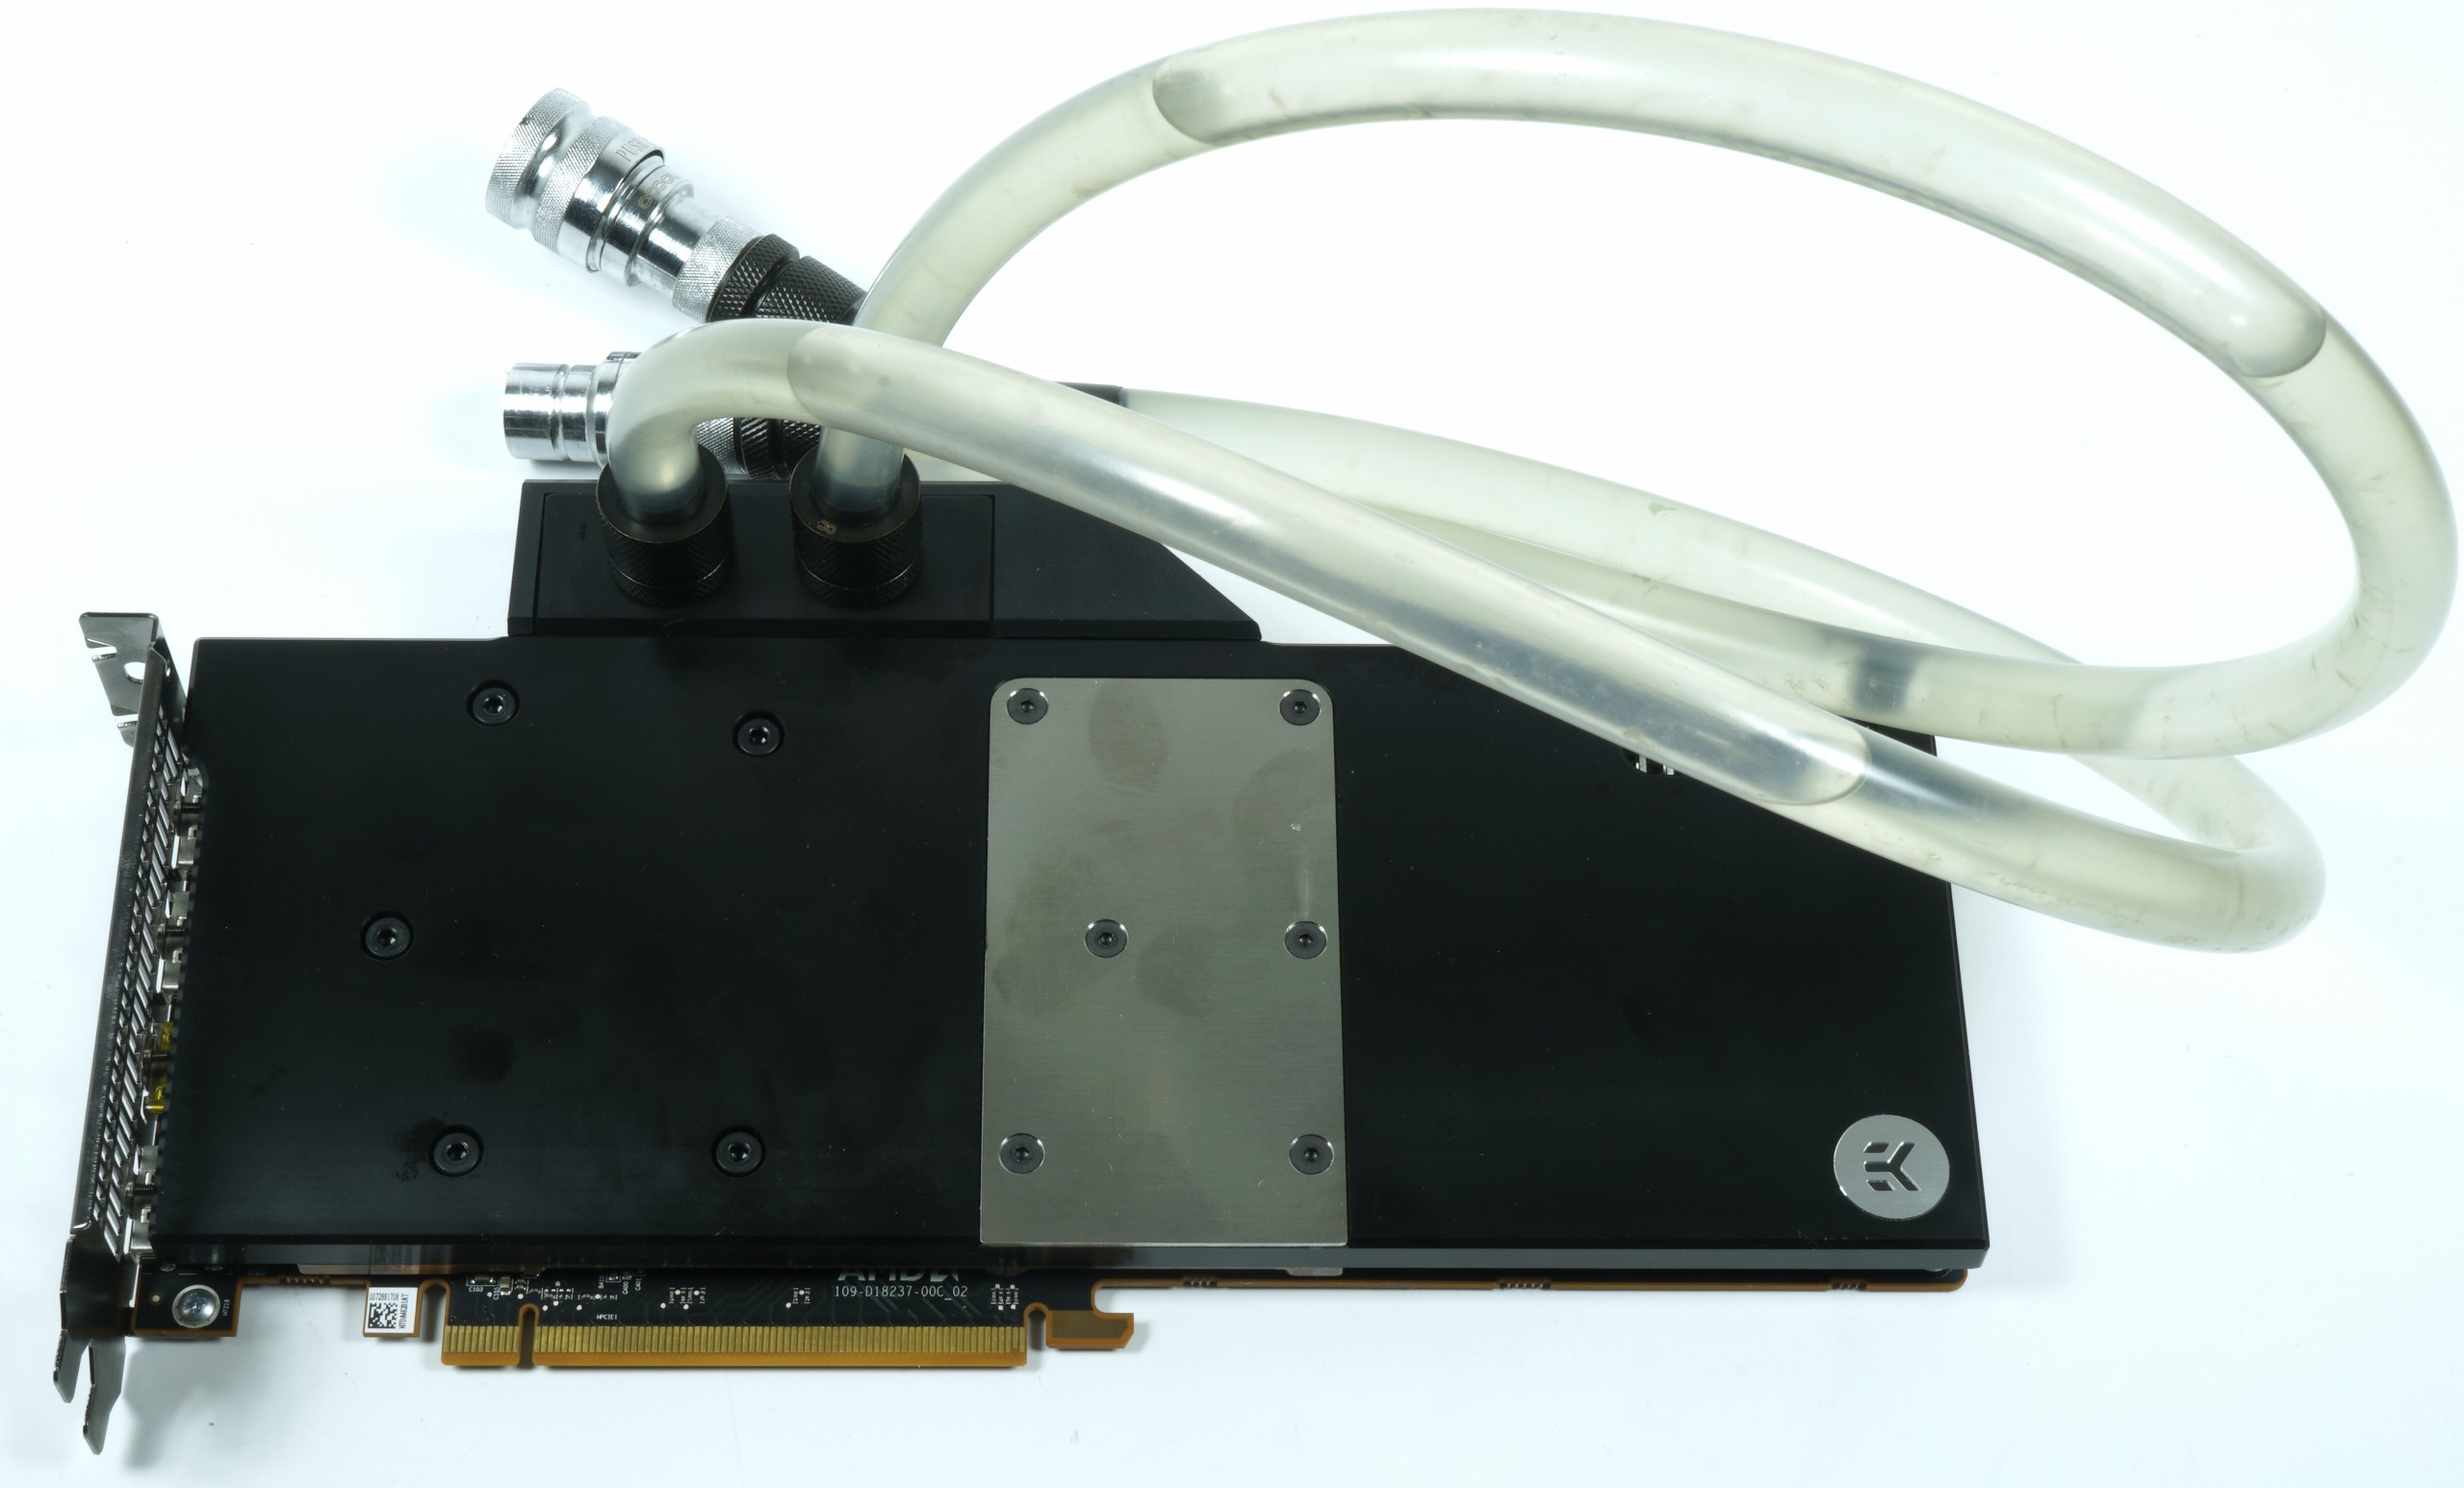
The EKWB Vector Radeon RX 5700 is usually nickel-plated, but the block I could use here came overnight directly from Slovenia from the manufacturer and is in fact still a kind of one-of-a-kind. In addition, there was the usual miracle bag with matching screws and the OEM Kryonaut as thermal paste.
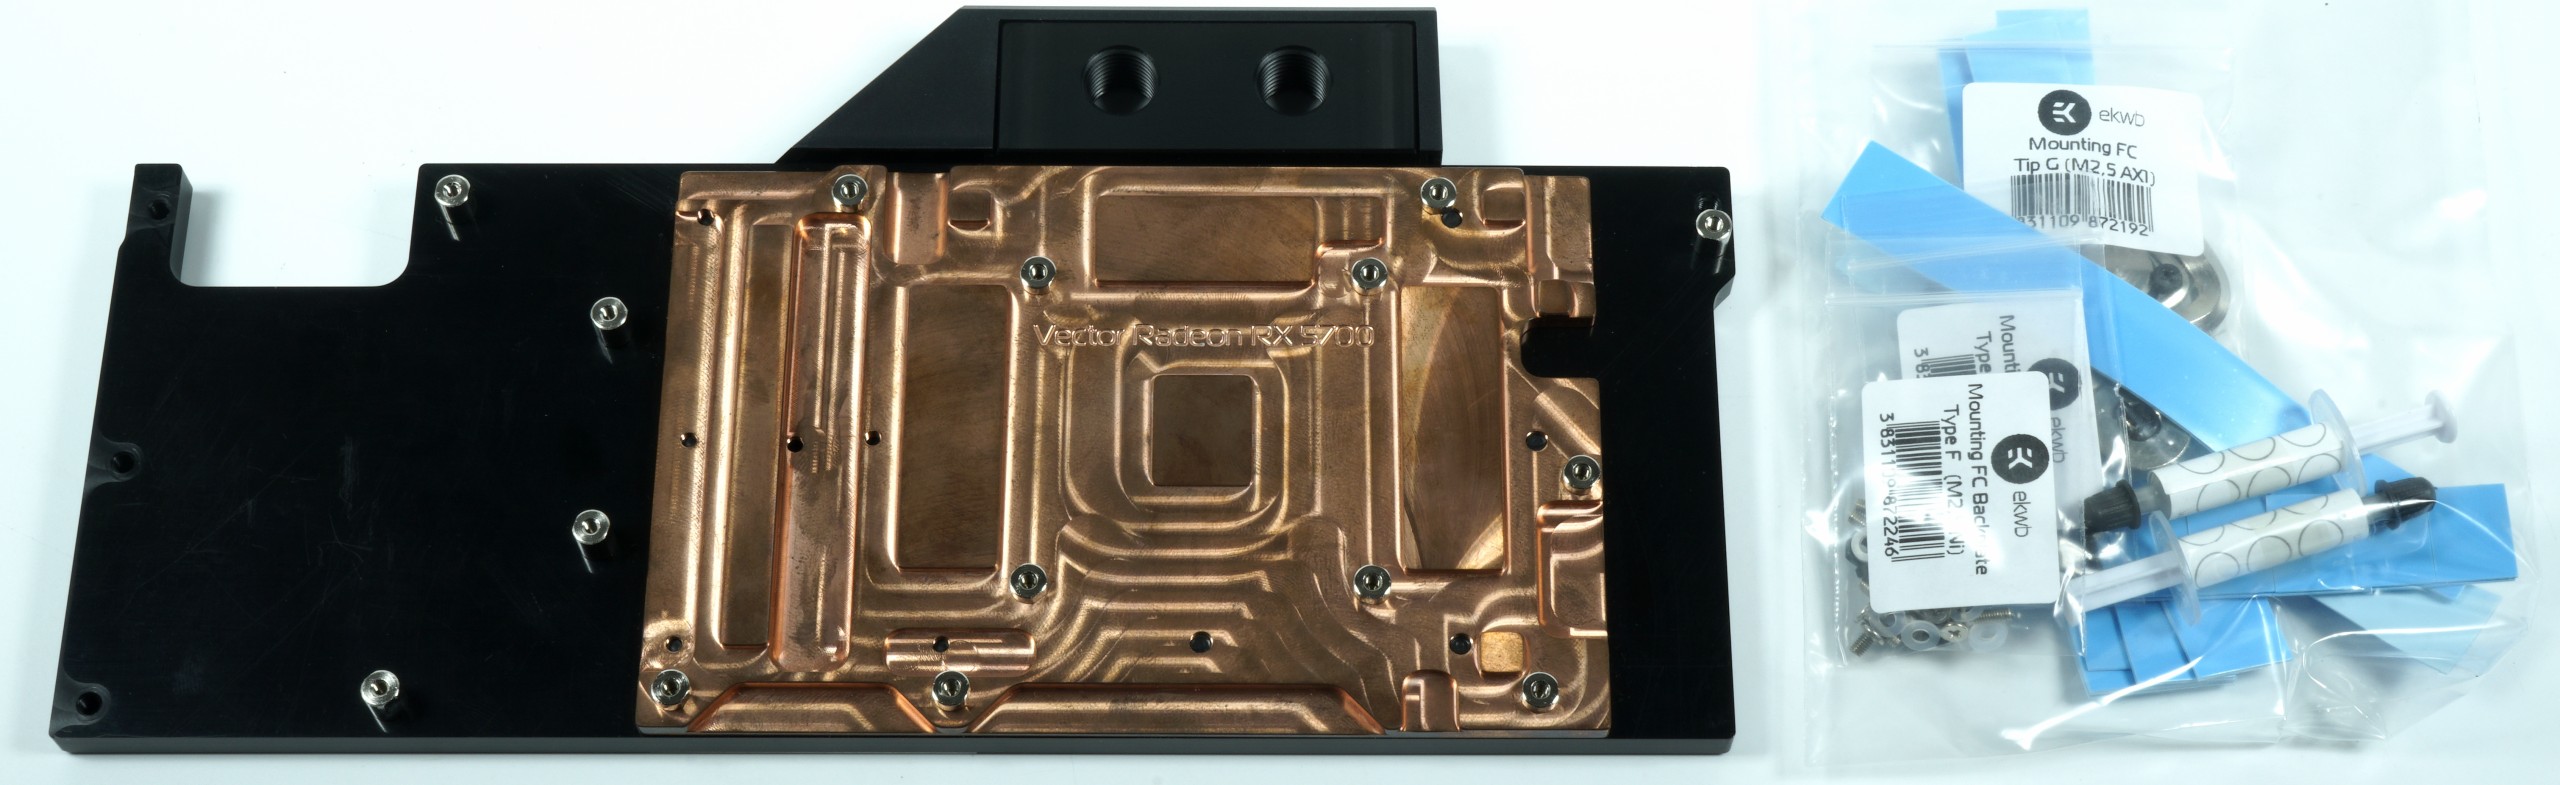
The block is made of copper, the complete cover is made of acetate. Rgb? Misdisplay, because the cooler also works without. Logical and thank God. Who will want to spend with such an exciting topic with colorful trivialities? And since I still had the Radeon RX 5700 XT disassembled on the table, the assembly was then rather deeply relaxed.
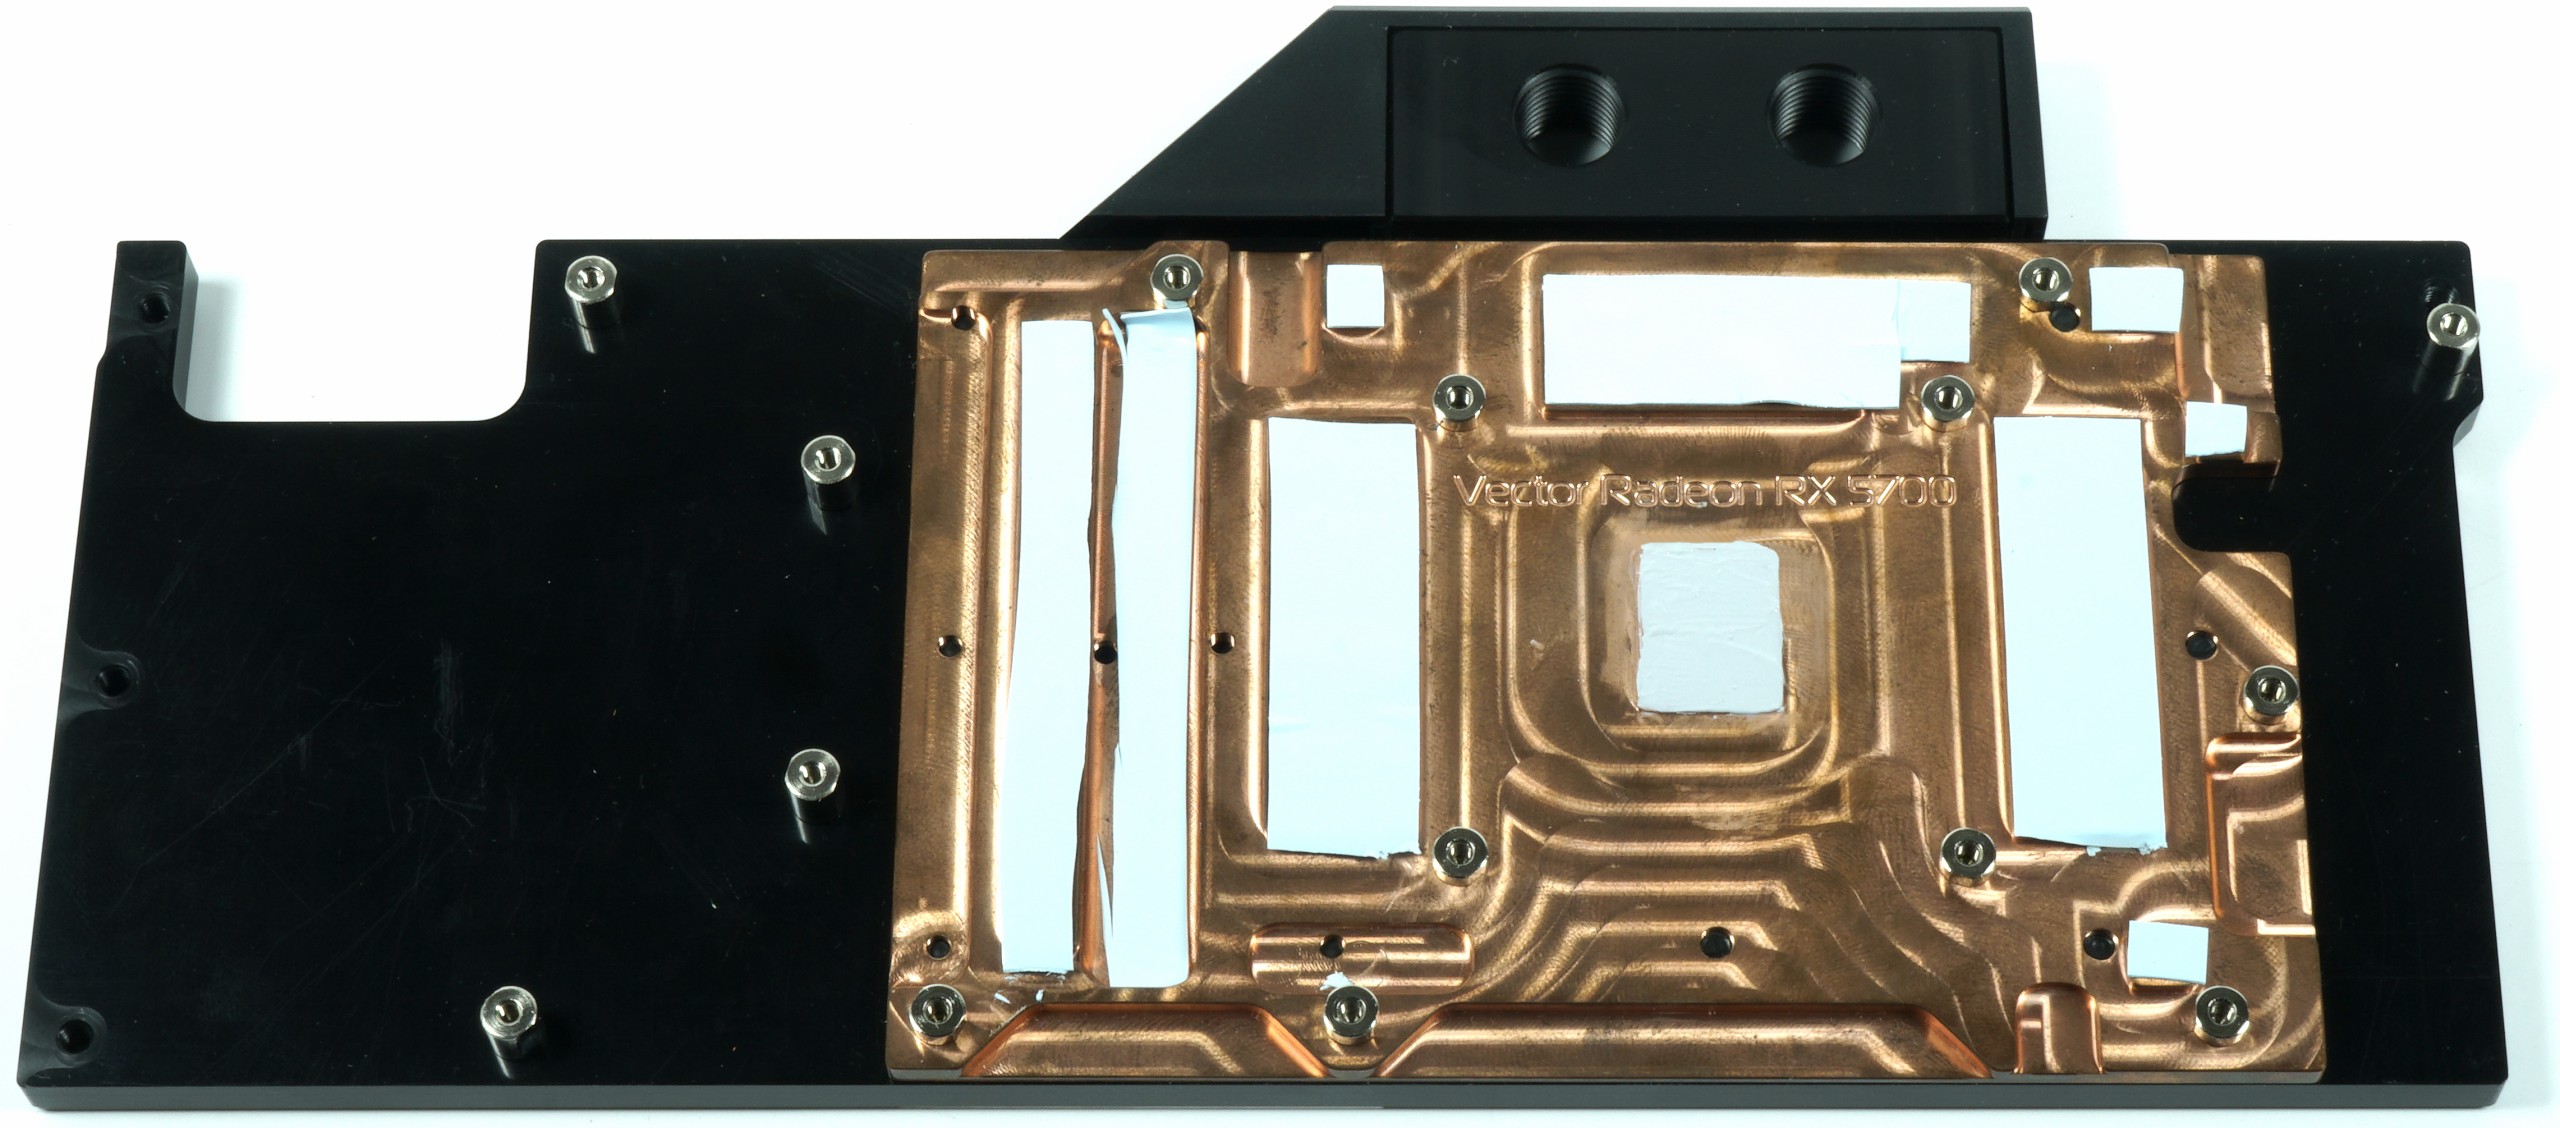
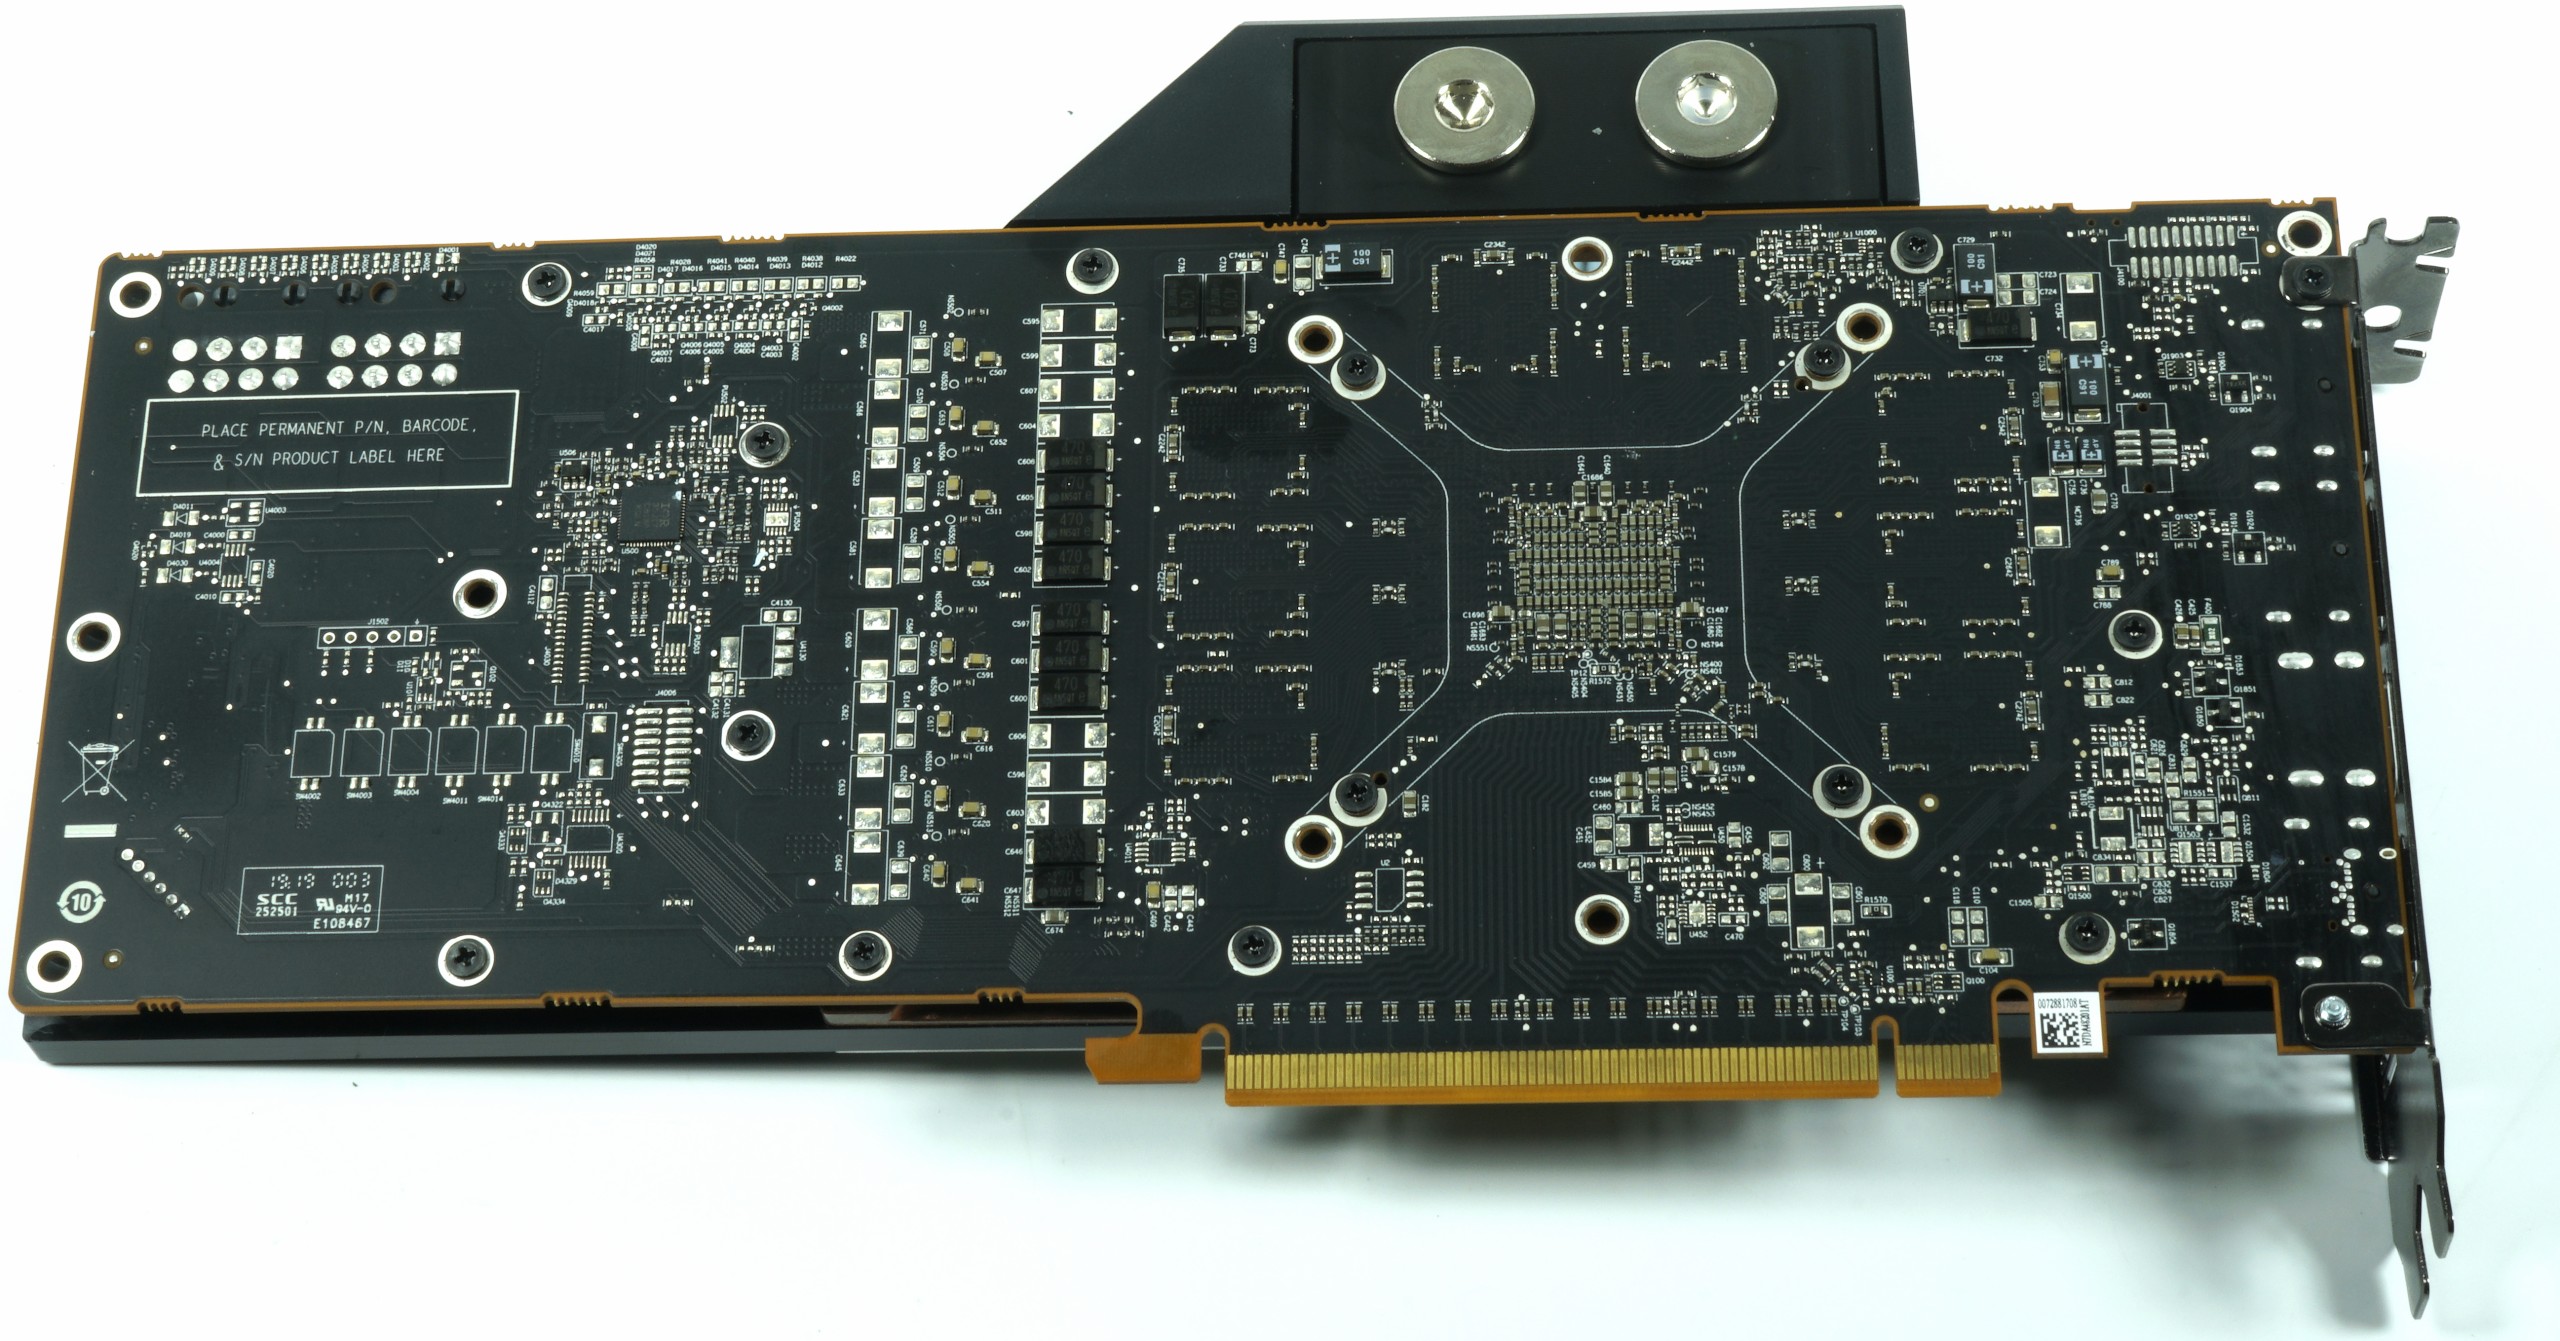
Since Navi no longer uses a fragile interposer, but again a normal BGA, which only carries the chip, the assembly has become much easier again. In addition to the chip, we also see the RAM modules, voltage converters and coils that are thermally connected to the cooler by means of a pad. By the way, EKWB uses pads with a thickness of 0.5 mm throughout. That's the right thing to do.
What is aggravating with NAVI, however, is the thermal density. Same waste heat as the predecessors, but significantly smaller chip area. Air coolers without vapor chambers may have a bit harder. But it's perfect with water. And if you look carefully, I have assembled the thermal pads and the paste directly on the cooler, because you don't really have to scrape around with the spatula on the GPU. And droplet method is unfavorable, as the film usually gets too thick
Then simply screw the board together with the cooler – starting with the graphics card. It is sausage, whether diagonally over cross or from one side to the other. The only important thing is that you screw each screw only in small steps and alternately with the others to avoid tensions and not crack anything. Then it also works with the SoC temperature, which is often also marked as HotSpot.
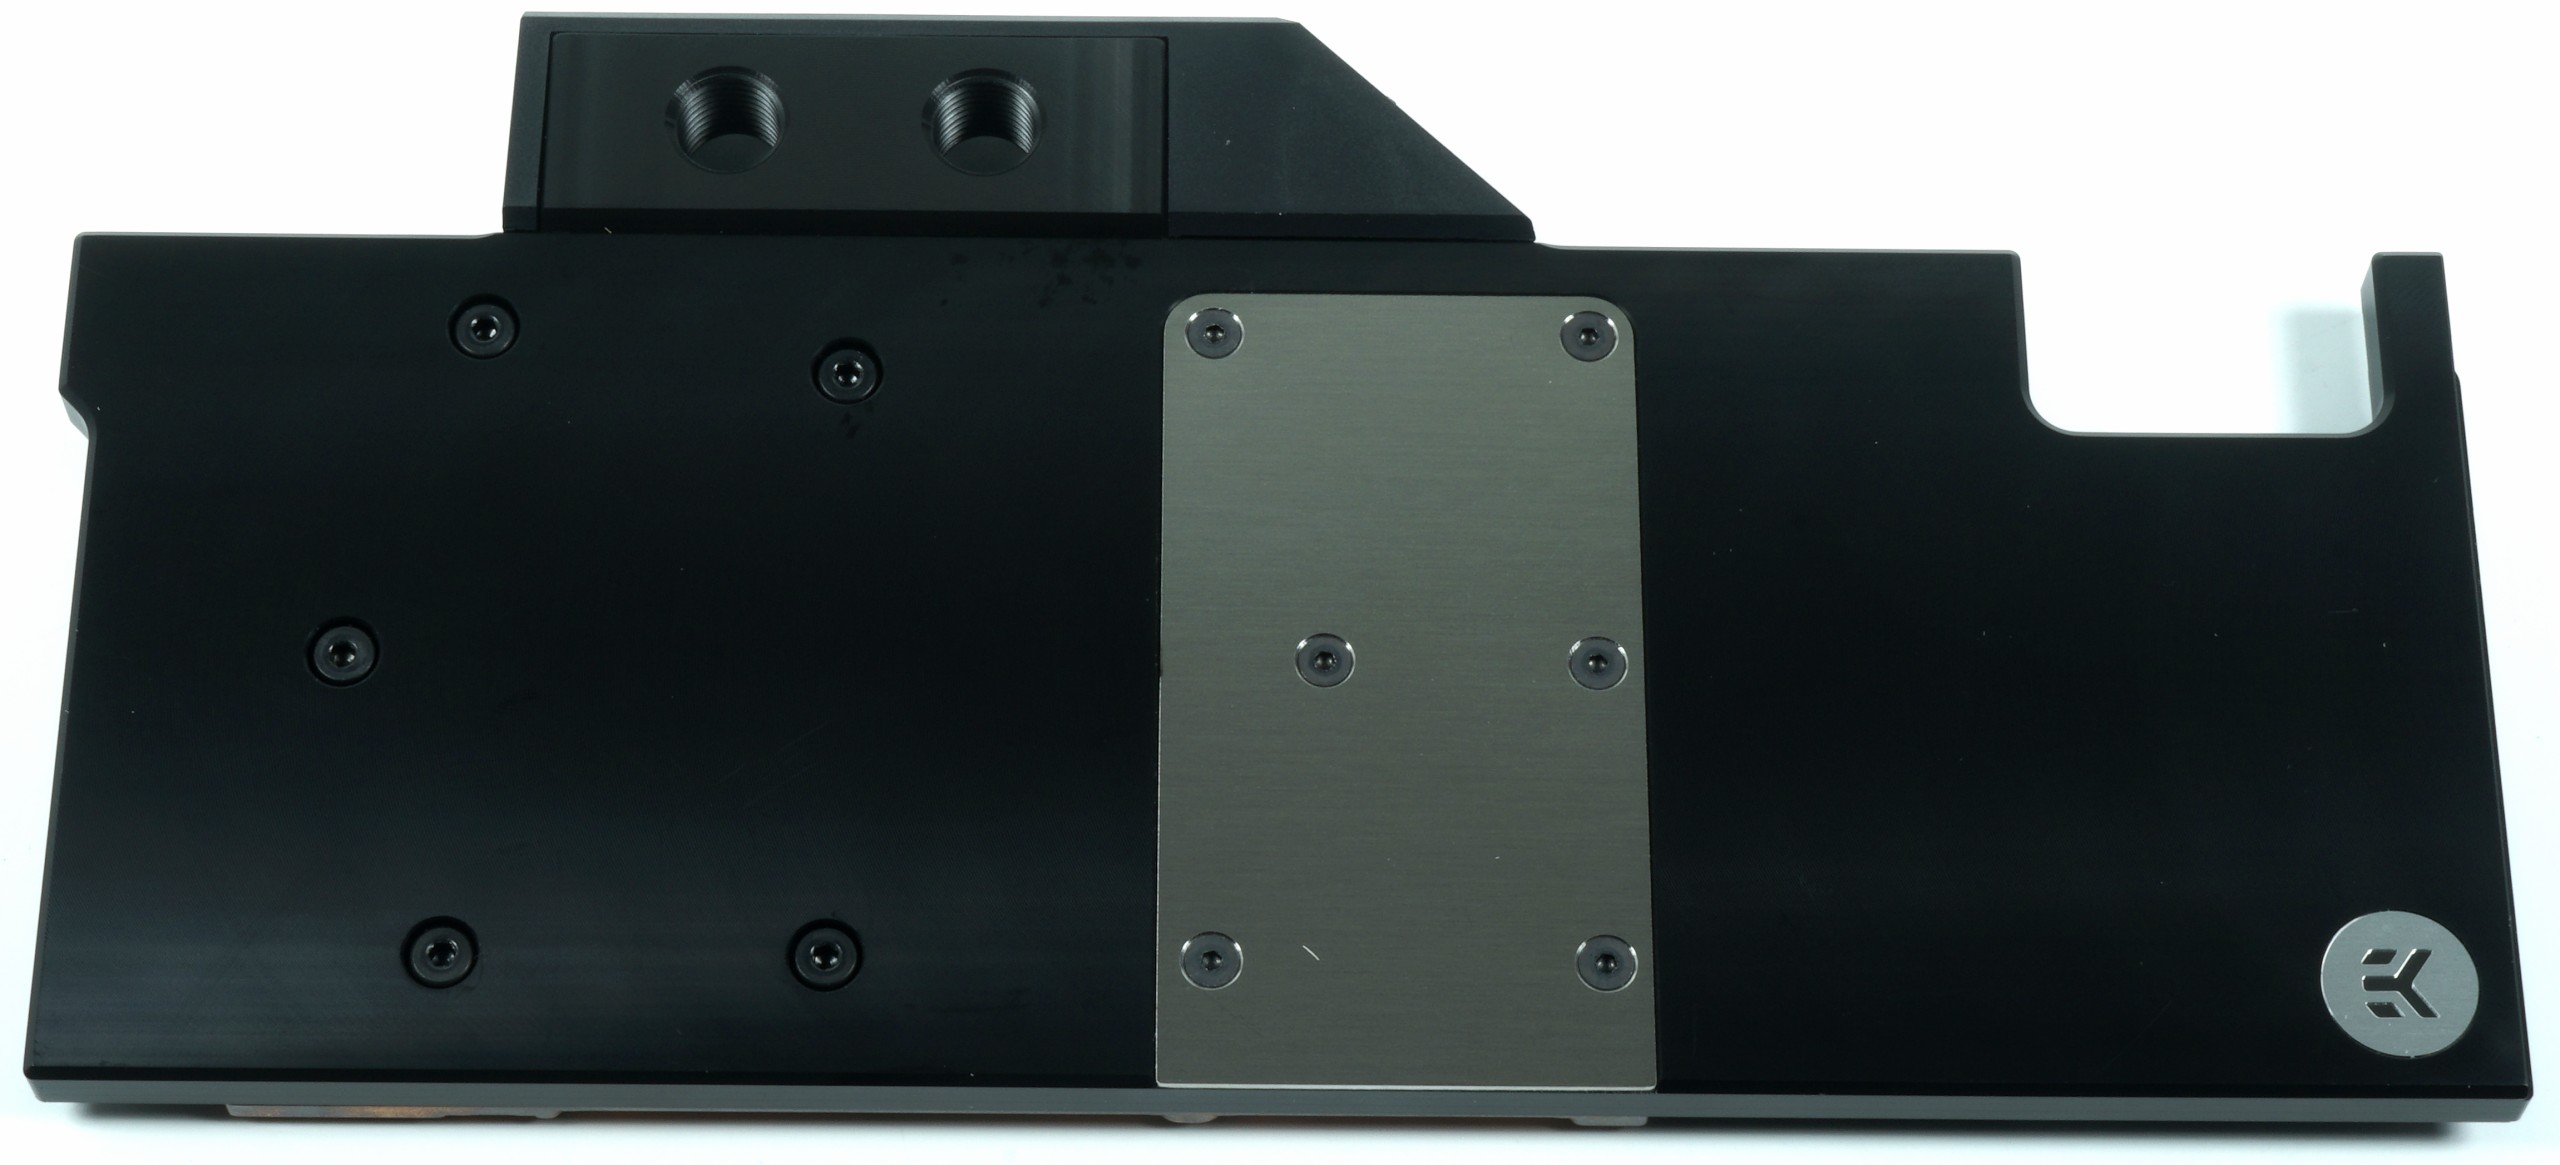
At the terminal, of course, I screwed on my two hoses with the quick-release fasteners again, so that I could integrate the whole thing into the cooling system without any problems or problems. And whether with Chiller or the two radiators, the result was the same. Mainly water, the rest almost comes by itself.
Test system and measurement methods
The new test system and the methodology i have already described in great detail in the basic article "How we test graphics cards, as of February 2017" (English: "How We Test Graphics Cards") and therefore for the sake of simplicity now only refers to this detailed Description. So if you want to read everything again, you are welcome to do so.
If you are interested, the summary in table form quickly provides a brief overview:
| Test systems and measuring rooms | |
|---|---|
| Hardware: |
Intel Core i7-8700K x 5 GHz MSI Z370 Gaming Pro Carbon AC 16GB KFA2 DDR4 4000 Hall of Fame 1x 1 TByte Toshiba OCZ RD400 (M.2, System SSD) 2x 960 GByte Toshiba OCZ TR150 (Storage, Images) Be Quiet Dark Power Pro 11, 850-watt power supply |
| Cooling: |
Alphacool Ice Block XPX + EKWB Vector Radeon RX 5700 8x Be Quiet! Silent Wings 3 PWM, 2x 480mm Alphacool Nexxos UT60 480 mm Thermal Grizzly Kryonaut (for cooler change) |
| Housing: |
Lian Li PC-T70 with expansion kit and modifications Modes: Open Benchtable, Closed Case |
| Monitor: | Eizo EV3237-BK |
| Power consumption: |
non-contact DC measurement on the PCIe slot (Riser-Card) non-contact DC measurement on the external PCIe power supply Direct voltage measurement on the respective feeders and on the power supply 2x Rohde & Schwarz HMO 3054, 500 MHz multi-channel oscillograph with memory function 4x Rohde & Schwarz HZO50, current togor adapter (1 mA to 30 A, 100 KHz, DC) 4x Rohde & Schwarz HZ355, touch divider (10:1, 500 MHz) 1x Rohde & Schwarz HMC 8012, digital multimeter with storage function |
| Thermography: |
Optris PI640, infrared camera PI Connect evaluation software with profiles |
| Acoustics: |
NTI Audio M2211 (with calibration file) Steinberg UR12 (with phantom power for the microphones) Creative X7, Smaart v.7 own low-reflection measuring room, 3.5 x 1.8 x 2.2 m (LxTxH) Axial measurements, perpendicular to the center of the sound source(s), measuring distance 50 cm Noise in dBA (Slow) as RTA measurement Frequency spectrum as a graph |
| Operating system | Windows 10 Pro (1903, all updates) |


Kommentieren