


Touchscreen Driver & UI Software
If you want to use a touchscreen in addition, the first thing to do is to install the appropriate driver. This is either available from the manufacturer or a generic driver for displays with GPIO connection is used. So again over PuTTY via SSH to the Pi and enter the following commands:
- Download the repository: git
clone https://github.com/goodtft/LCD-show.git - Customize the permission:
chmod -R 755 LCD-show - Change folder:
cd LCD-show/
The next step then depends on your exact display, here is an overview.
For all the cheap 3.5″ screens just use sudo ./LCD35-show, should usually work.
If you see a cp: cannot create regular file error right at the beginning, do the following after a restart:
sudo apt-get update && sudo apt-get install xserver-xorg-video-fbturbosudo apt --fix-broken installsudo apt-get update && sudo apt-get install xserver-xorg-video-fbturbocd LCD-show/sudo ./LCD35-show (or appropriate command for your display, see list)
If the font is the wrong way round after restarting, the following commands can be used to adjust the rotation:
cd LCD-show/./rotate.sh 90, 180 or270
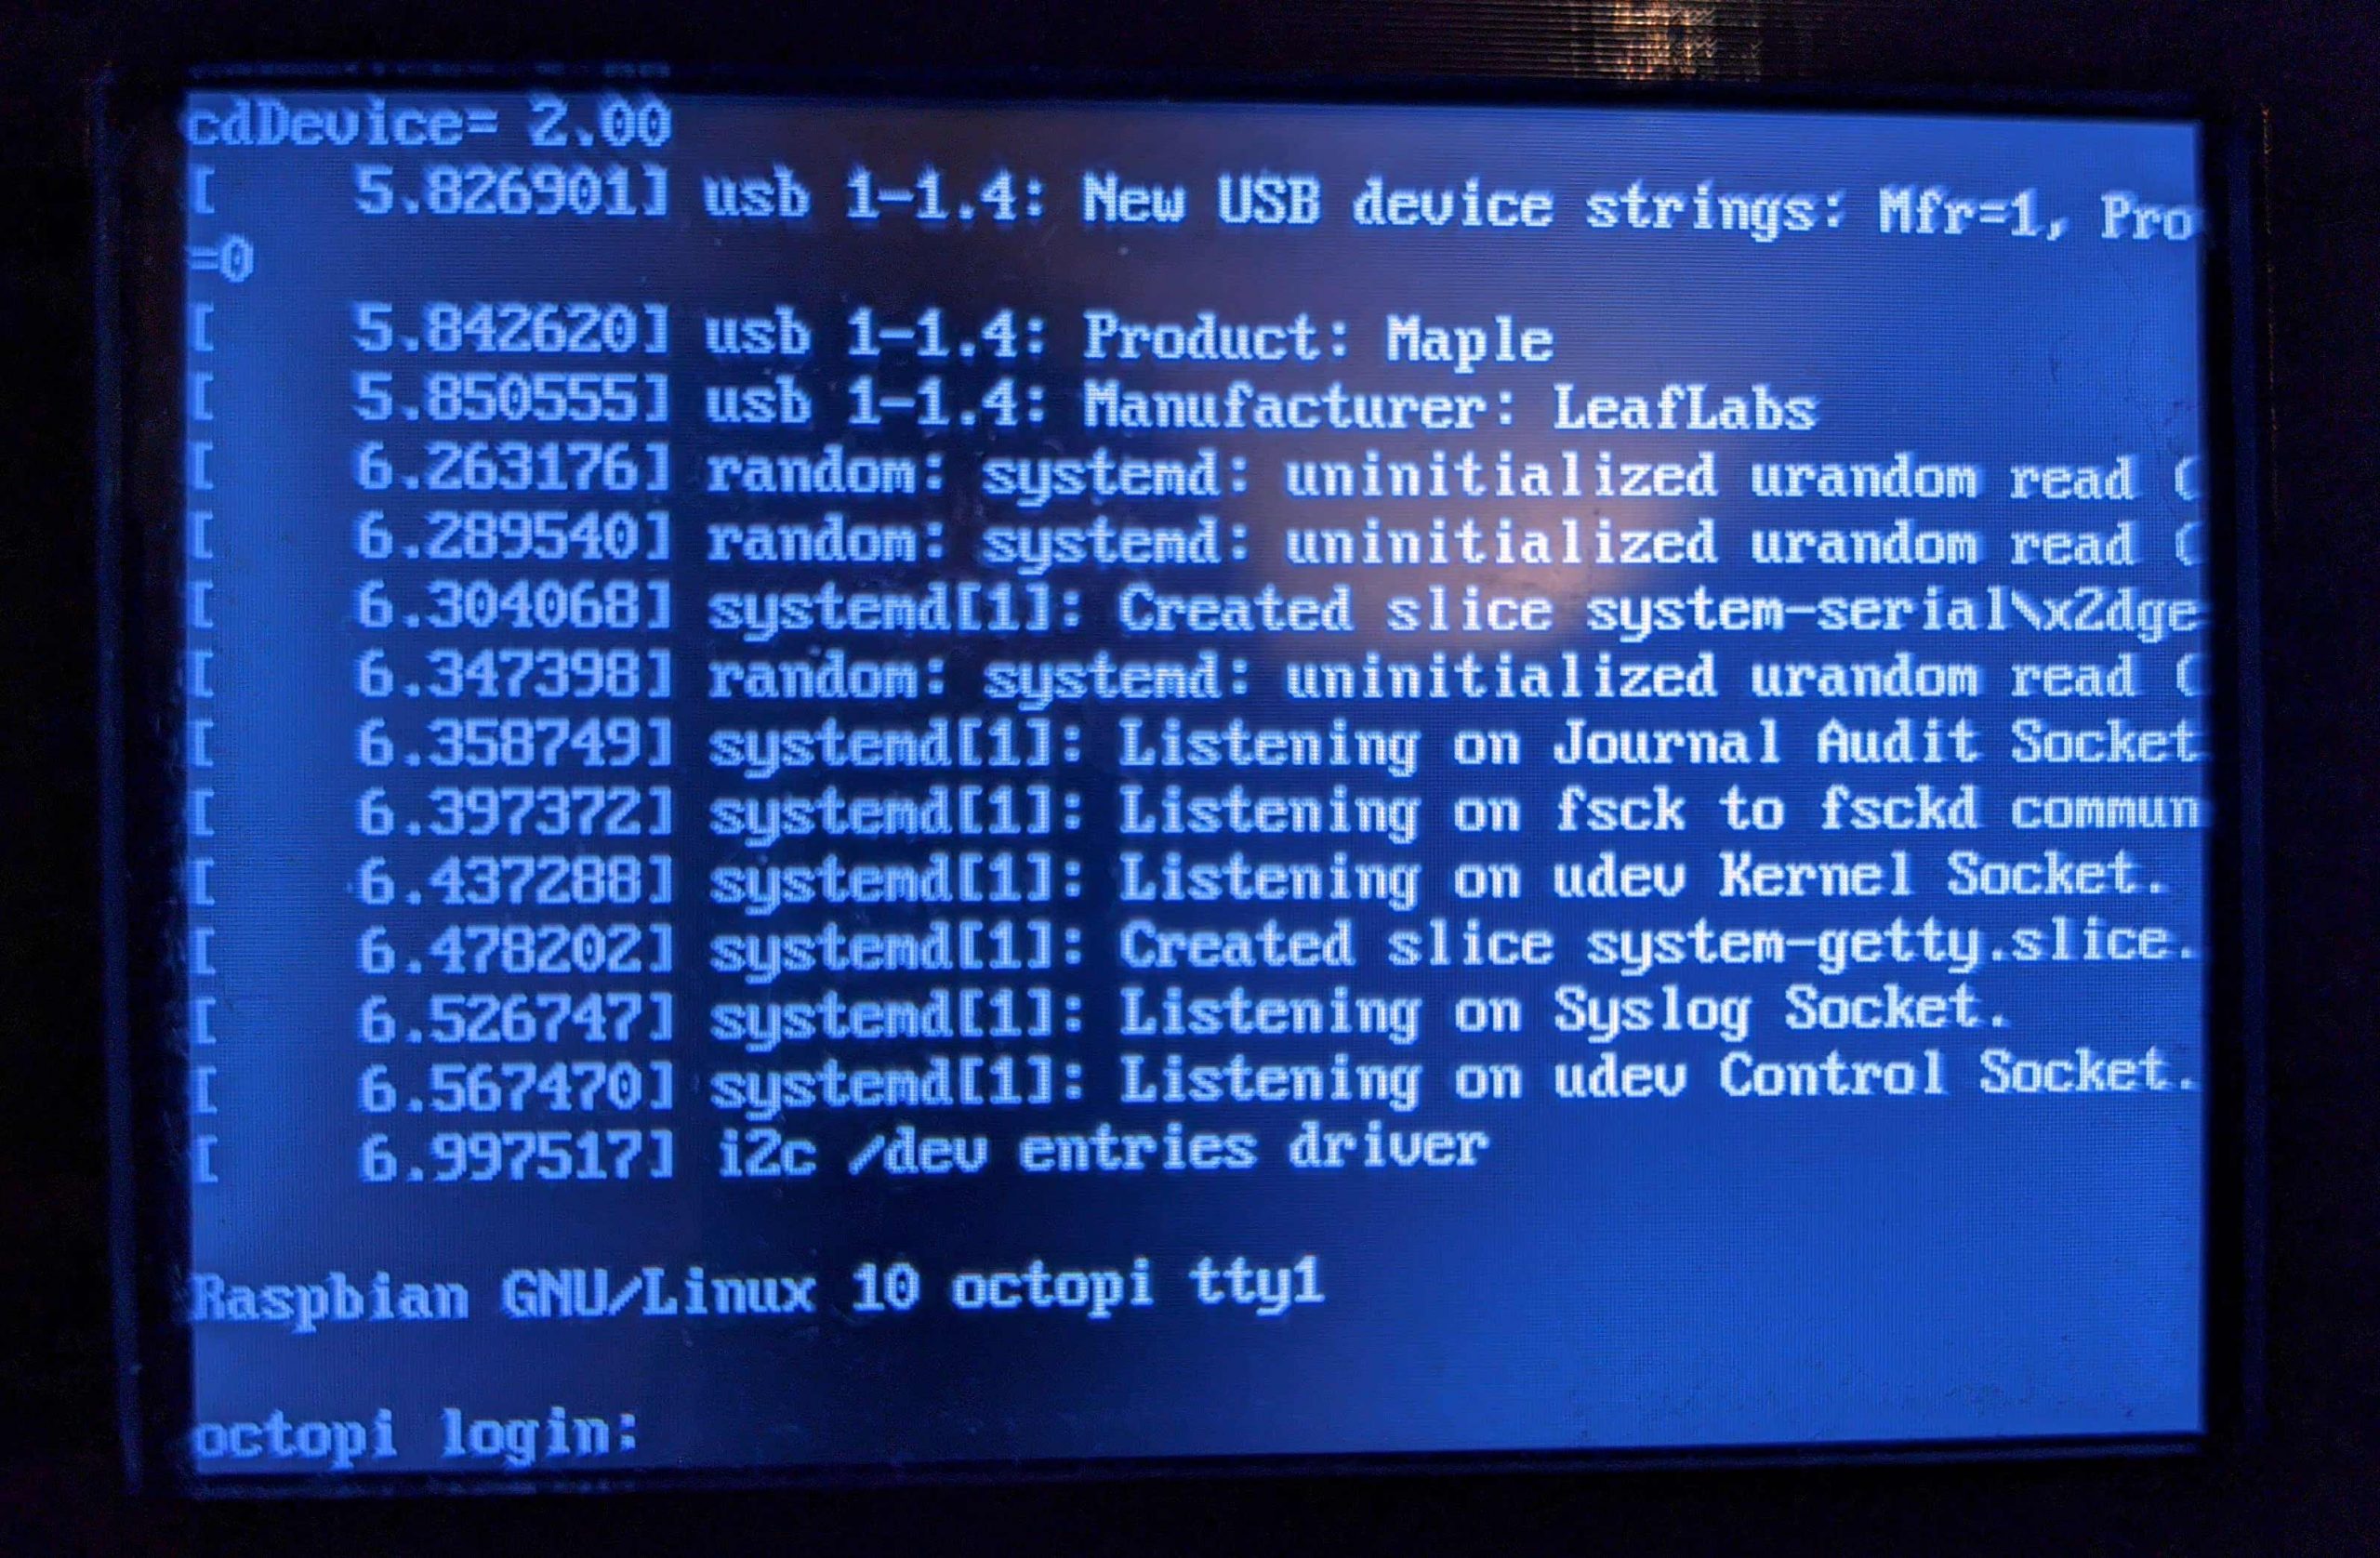
The display should now simply show the console:
To be able to interact with OctoPrint now, we need a suitable interface.
Good candidates for this would be:
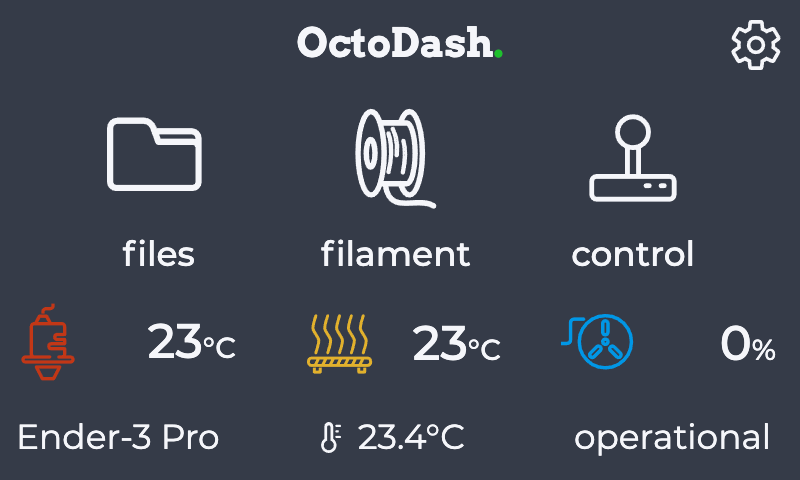
- OctoDash – Modern surface, especially good for small 3.5″ displays
- TouchUI – Comprehensive surface for medium-sized TFTs / tablets / smartphones
- OctoScreen – Simple surface with low resource consumption
I’ve tried all the UIs and would advise OctoDash, as it is also still under very active development. The installation is possible with one command:
bash <(wget -qO- https://github.com/UnchartedBull/OctoDash/raw/master/scripts/install.sh)
In case of problems, take a look at the OctoDash Troubleshooting.
During the installation a selection comes up, which plugins should be installed. Display Layer Progress is absolutely necessary, the Preheat Button and Print Time Genius would be my optional recommendations. Use the arrow keys and space bar to make the selection and confirm with Enter. After the installation is complete, the autostart / autologin must still be activated. So again go to the configuration via sudo raspi-config and then there 1 System Options &; S5 Boot / Auto Login &; B2 Console Enable Autologin. After a restart OctoDash should automatically start and ask a few general questions about your printer, you may have to enter the API key again via keyboard.
And that would be the end of the little weekend project!
In case of problems, the easiest way is to look for a solution on the respective linked Github page. If you have any suggestions for improvements, your own comments or anything else, feel free to comment in our forum post linked below.


Kommentieren