Even if I can’t hold a candle to Alexander’s grandiose renovation of his basement, I was at least able to please a good friend and conjure up an equally fresh setup for his computer in the freshly moved apartment. Height-adjustable desk, matching monitor holder, high-quality chair and generous mouse pad as well as protective mat for the floor. Generous is a good keyword, because all of this was provided by Endorfy, formerly known as SilentiumPC.
If you don’t know Alexander’s basement conversion yet, it’s worth clicking through:
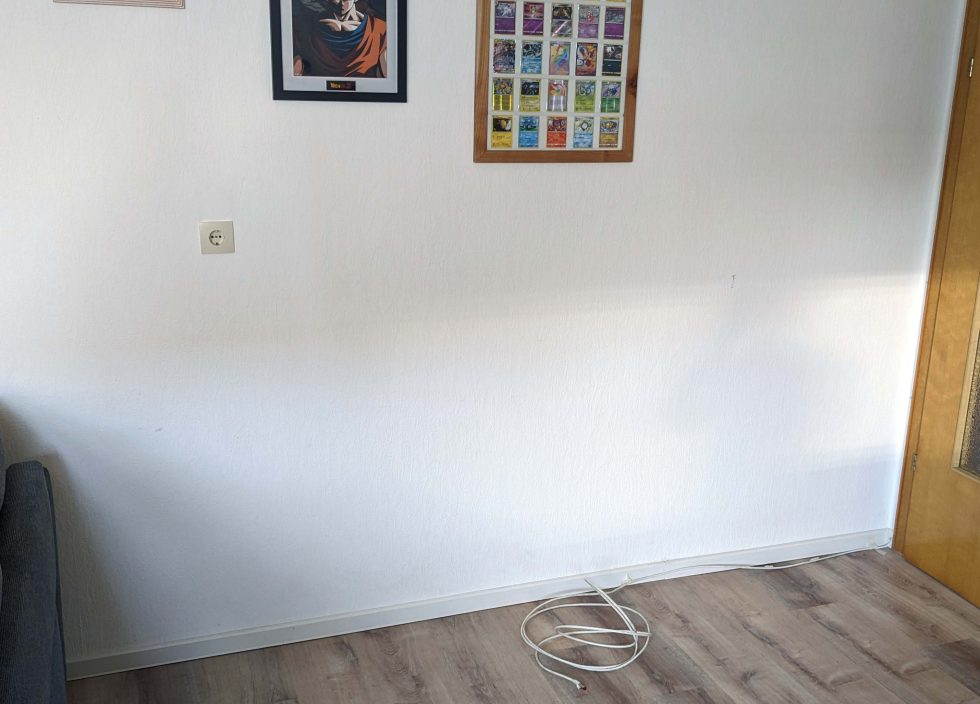
A corner in the living room was chosen as exactly suitable, a LAN cable quickly professionally over the door frame and then it can actually start.
The socket in the middle of the room is just right now, after all.
Endory Atlas L Electric
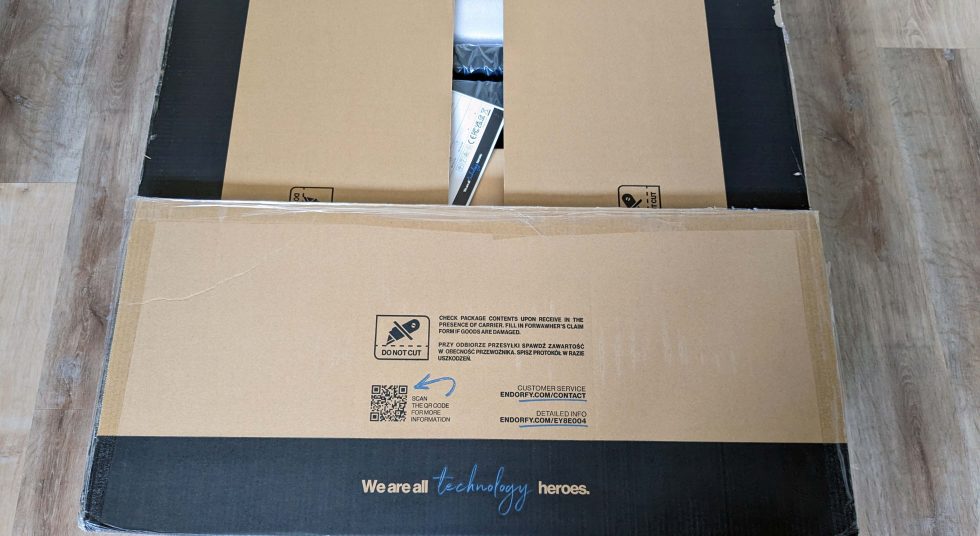
Starting with the table seems to be the most sensible thing to do, the rest will either go on it or under it. So the big box is heaved into the room and opened. I’m not quite sure how to do that without a knife.
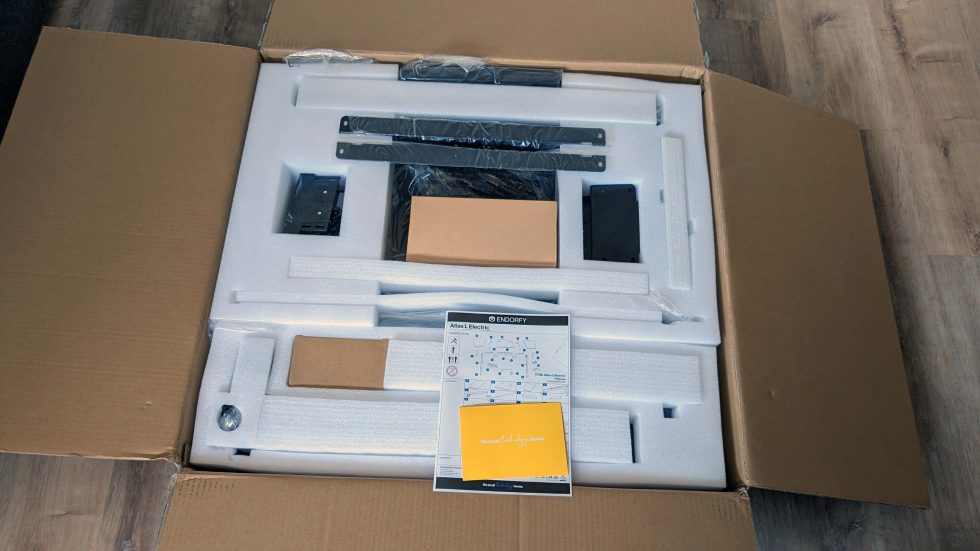
So still carefully cut open with a knife, the contents are carefully packed in a large block of solid foam. With the weight and value also appropriate.
About a yellow bag of packaging waste later, the first important parts for the table are then in front of us.
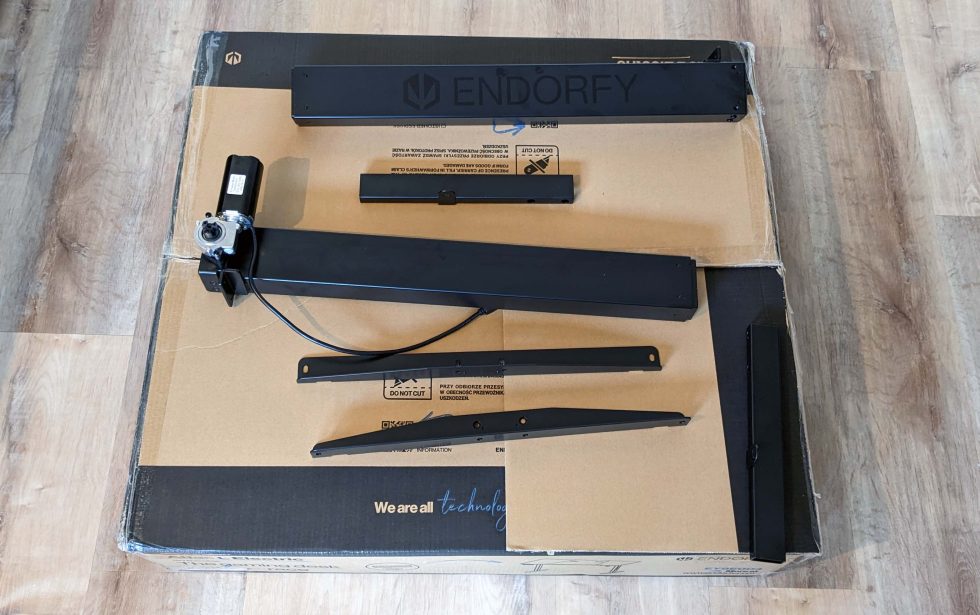
The two legs are somewhat susceptible to fingerprints, as can be seen particularly well around the Endorfy lettering.
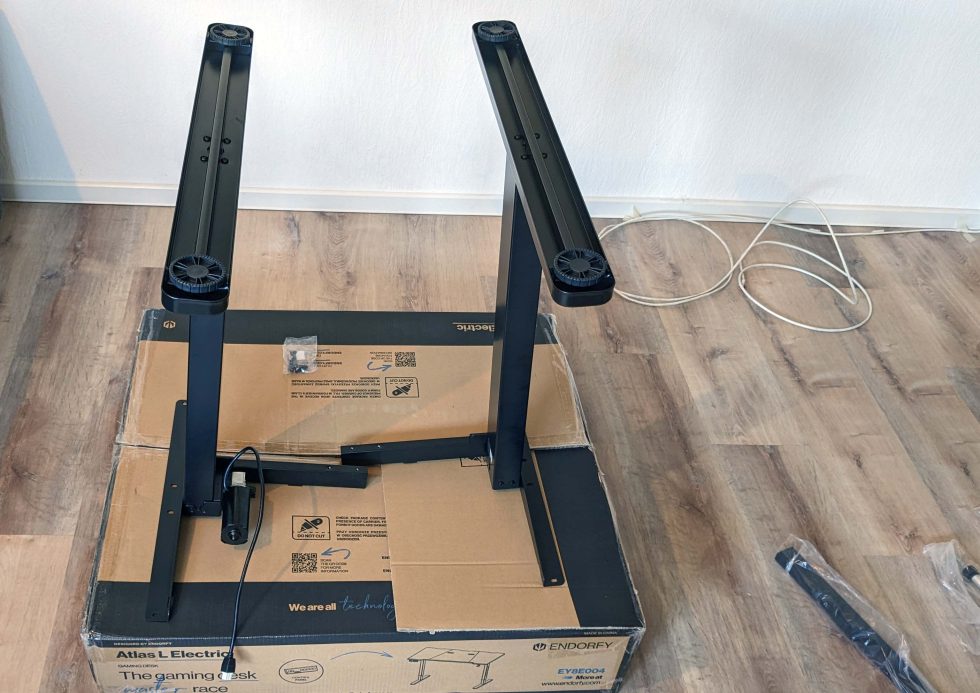
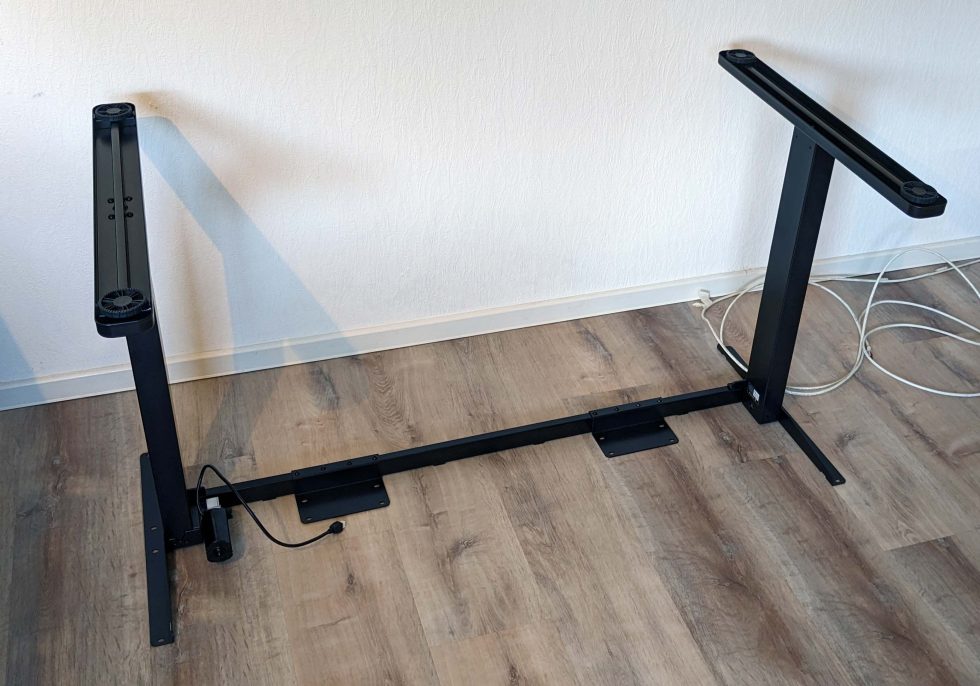
To avoid scratching either the parts or the floor, I tried to build on top of the cardboard boxes whenever possible. The table legs including the holder for the middle part and the table top are already finished.
The whole thing will then be extended by struts and other brackets.
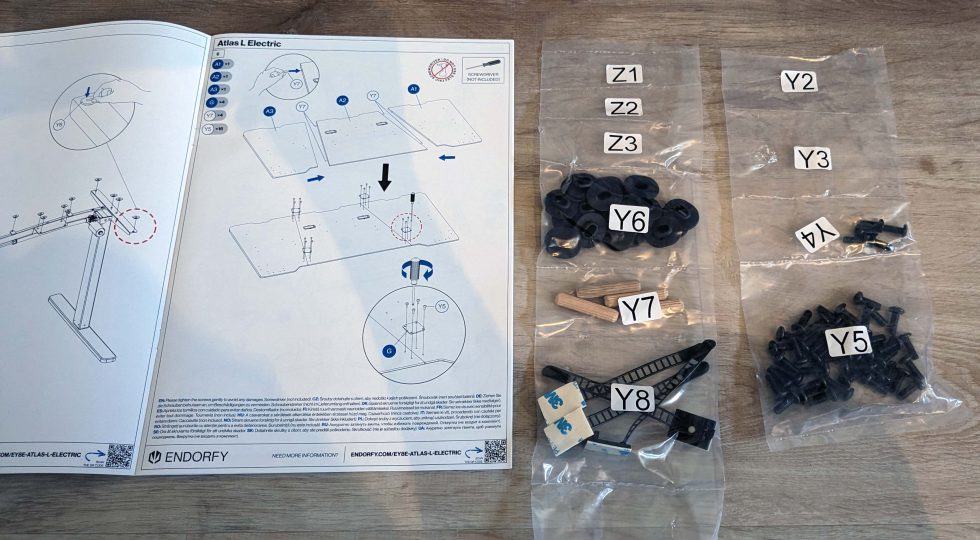
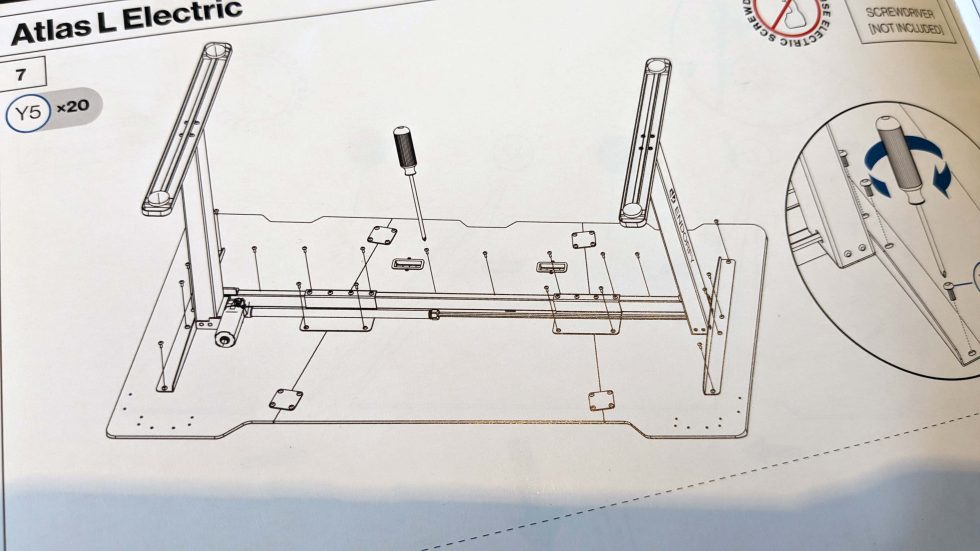
At this point, by the way, I would like to praise the really good instructions, labeling and sorting of the various small parts. Nothing has to be searched for long, little by little you just cut the required parts of the bag.
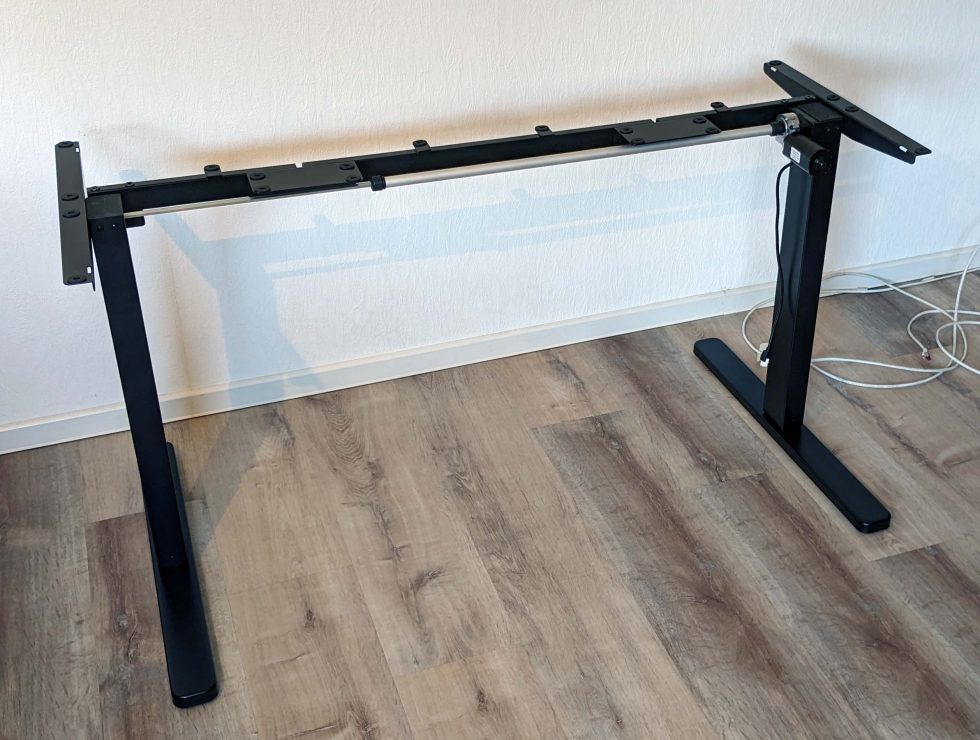
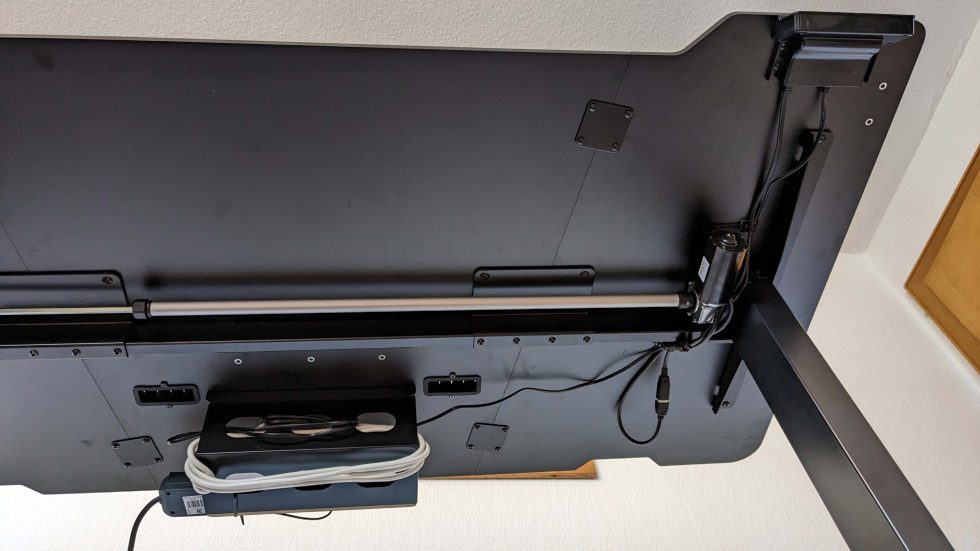
A single motor is responsible for the height adjustability of the table, but this also moves the thread in the second leg via a rod.
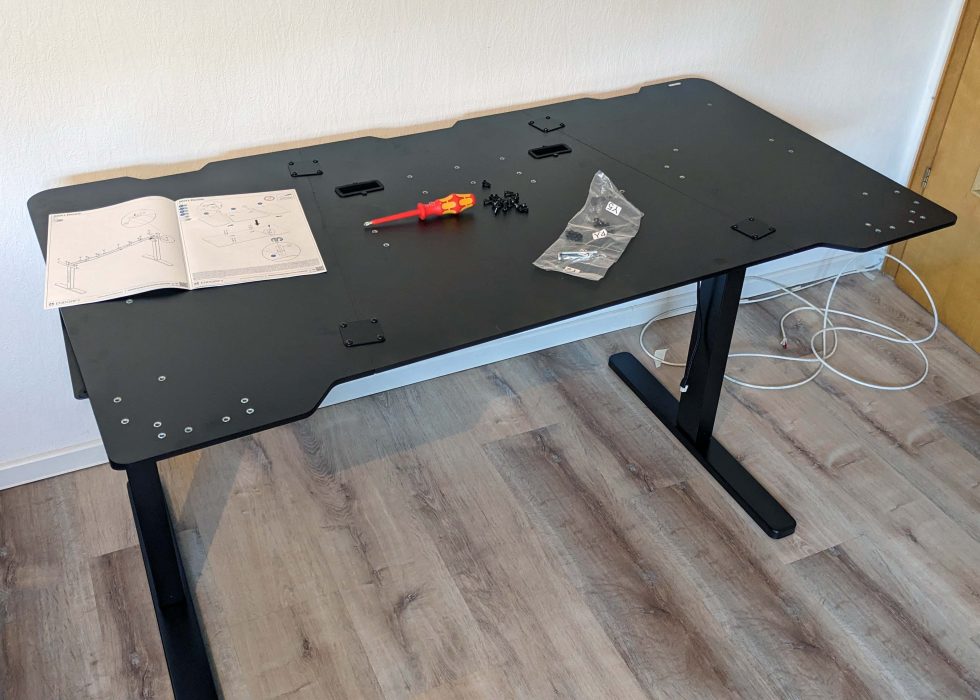
The tabletop consists of three smaller sections, which are connected on the underside with a total of four metal pieces.
With 20 more screws, the assembled plate is then screwed to the frame of the table, there is definitely nothing more moves by itself.
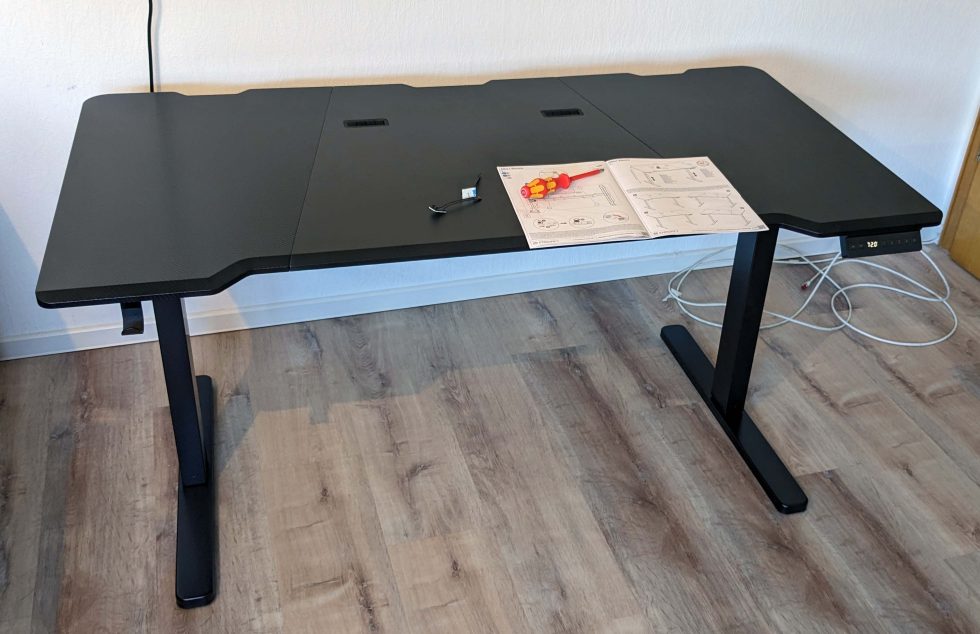
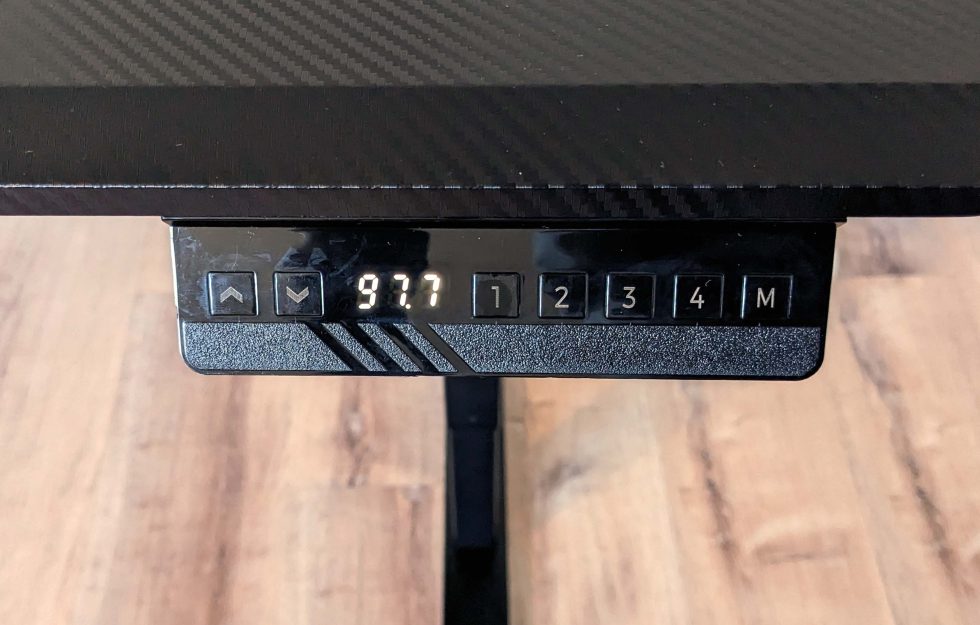
So or so similar the table should look then finished assembled. We decided to mount the controller on the right side and the headset holder on the left. But this can be changed as you like, there is also another place on the side.
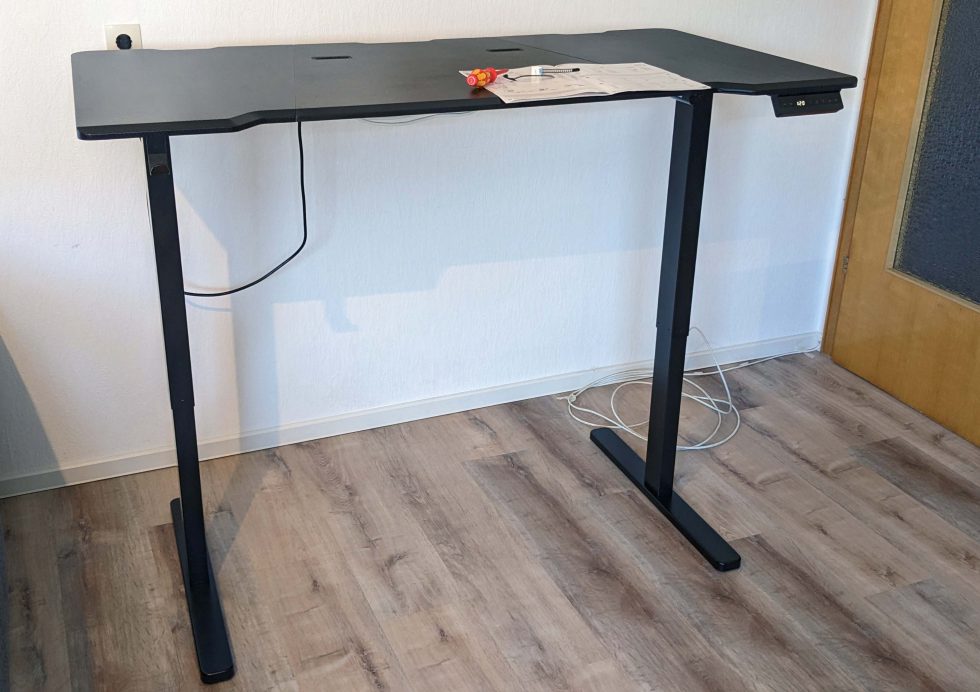
Here you can see the table again in the highest position, which makes the next steps a bit easier.
The first cables have to be stowed away, small adhesive pads with cable ties are included.
And before we move on to the next part, here’s an example of why piano lacquer shouldn’t be used on control panels. Hardly installed, already fingerprints on it.
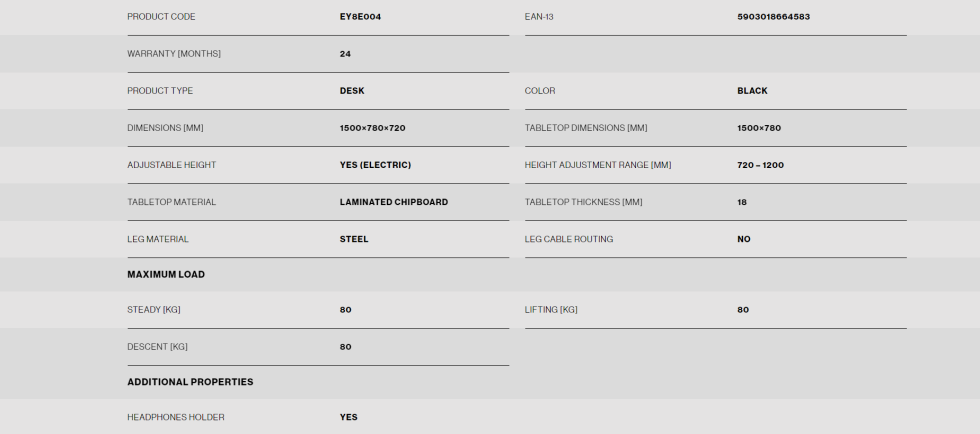
And in case you miss the hard facts and figures, these are the key data for the Endory Atlas L Electric. More information is available on the product page from the manufacturer.
[affbox_geizhals_id=”2879308″]




29 Antworten
Kommentar
Lade neue Kommentare
Urgestein
1
Urgestein
Urgestein
Veteran
Urgestein
1
Urgestein
Moderator
Moderator
Mitglied
Moderator
Mitglied
Neuling
Urgestein
Urgestein
Neuling
Urgestein
Neuling
Alle Kommentare lesen unter igor´sLAB Community →