


TechN who? TechN GmbH is an innovative start-up of technology-loving enthusiasts, sits in Berlin, manufactures everything from a single source and in-house – something like this still exists. In addition, Nvidia's 10 series was something of an insider tip for exclusive solutions. So in fact a small series manufacturer for initiates. Now you are re-endoing the RTX 2080 Ti and Today I can introduce you to the first water block from the zero series exclusively. And without spoiling all this in advance: Made in Germany now occupies the first three places in a direct comparison of all coolers tested so far. Any questions?
All assemblies (except the accessories and the unavoidable LED bar) are still manufactured in their own rooms in Berlin, although one currently even works in a two-shift system. And this circumstance can be noticed later in the haptics and the accuracy of the fit. But I don't want to pre-empt the test. An elaborate packaging has been saved. Brav, because it only drives up the costs, but in the end it doesn't cool down. And I can say it: the tension curve was quite steep.
In my two articles "GeForce RTX 2080 Ti – Why water cooling is more important than manual overclocking and this does not bring much" and especially "Nvidia GeForce RTX 2080 Ti Founders Edition water-cooled? Forget it, here's the much faster alternative!" I used to go into very detailed detail about the cooling problem and the advantages of a potent water cooling system. This is exactly the idea I always take up with such tests, because better than a good cooling is always an even better cooling. The mouse does not bite off a thread.
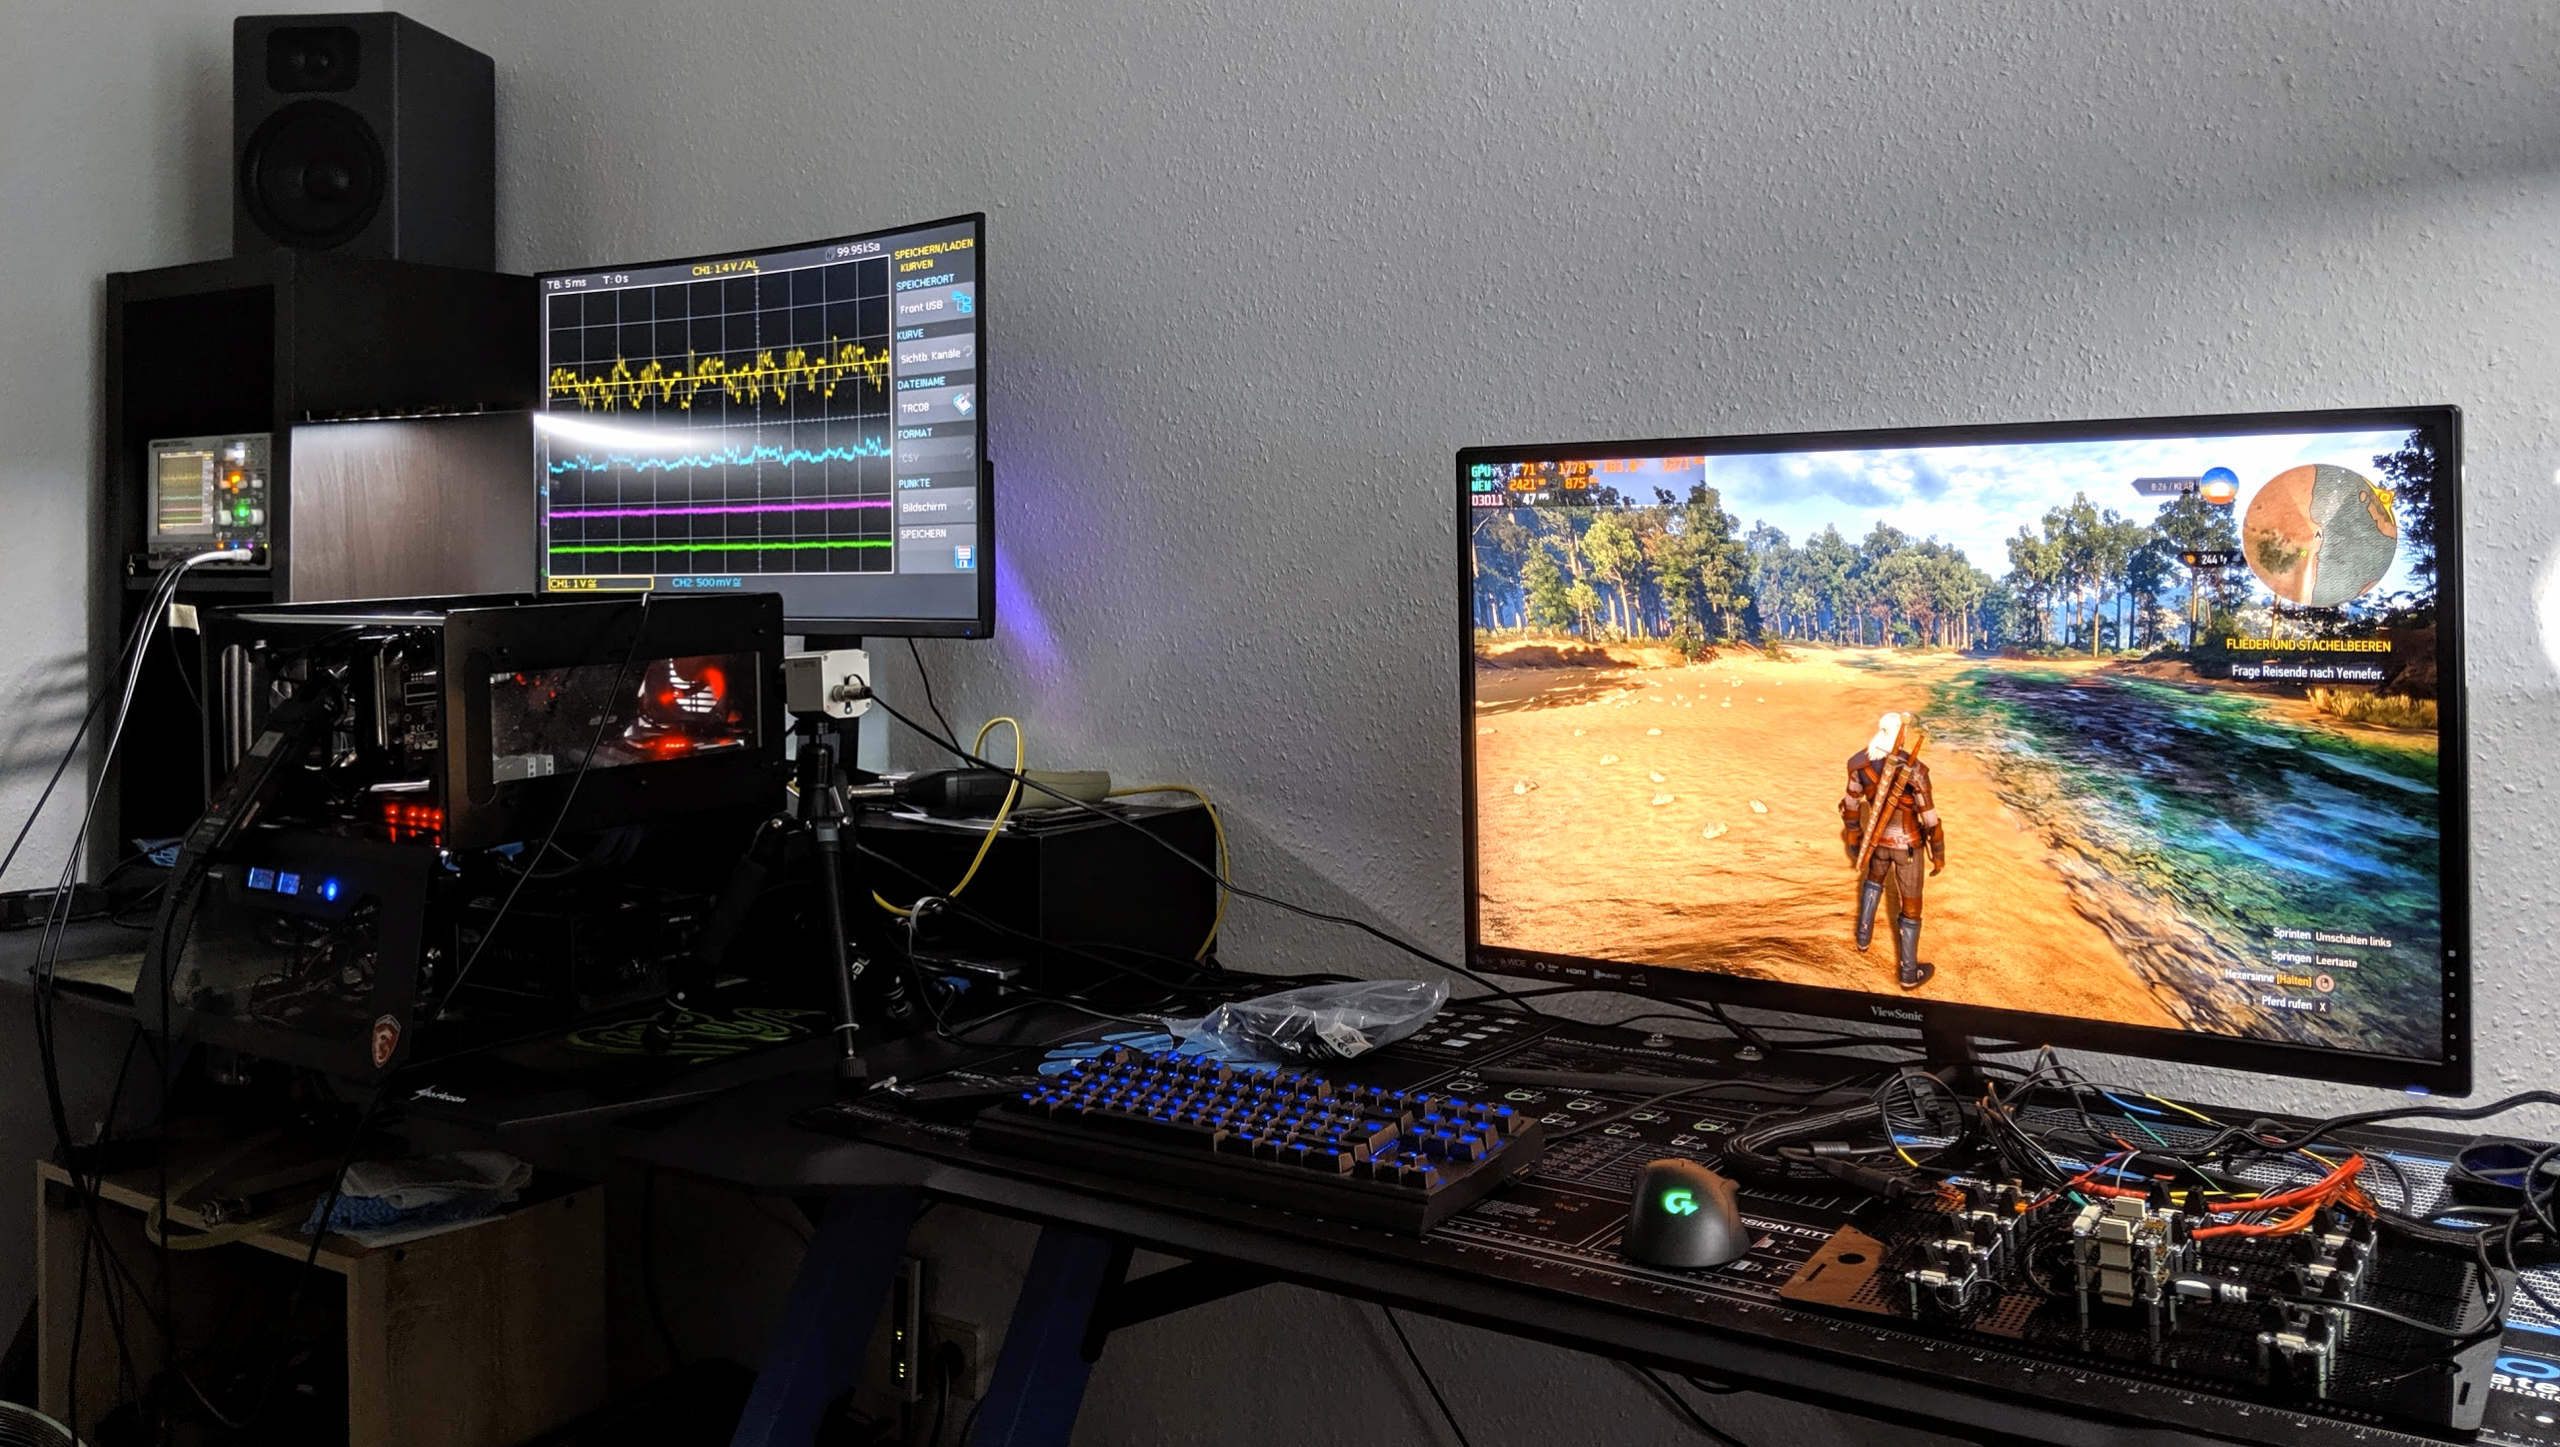
Since the Otto Normal customer can check the GPU temperatures with selection tools at most, I offer in this article a usual elaborate infrared test with the video of the heat flow and the temperature development, because at the latest with the memory and the There are sometimes extreme differences in voltage converters, which are difficult to determine with normal tests. Testing is always carried out with a maximum power consumption of just under 380 watts for the graphics card board and a constant water temperature of 20 °C, as well as a room temperature of 22 °C and the same Witcher 3 gaming loop in Ultra HD.
All the companies requested have also delivered test samples so far, even if it sometimes took a little longer. Unfortunately, Bitspower has so far, in contrast, and despite direct contact to Asia, completely refused to test. The cooler offered should work equally for all RTX models with reference board, which would have been quite interesting. However, it can at least be assumed that due to such a wide range of supported layouts, the performance may have fallen a bit by the wayside. Perhaps this is also the reason why sampling was not carried out in the end.
Scope of delivery, quality of workmanship and assembly
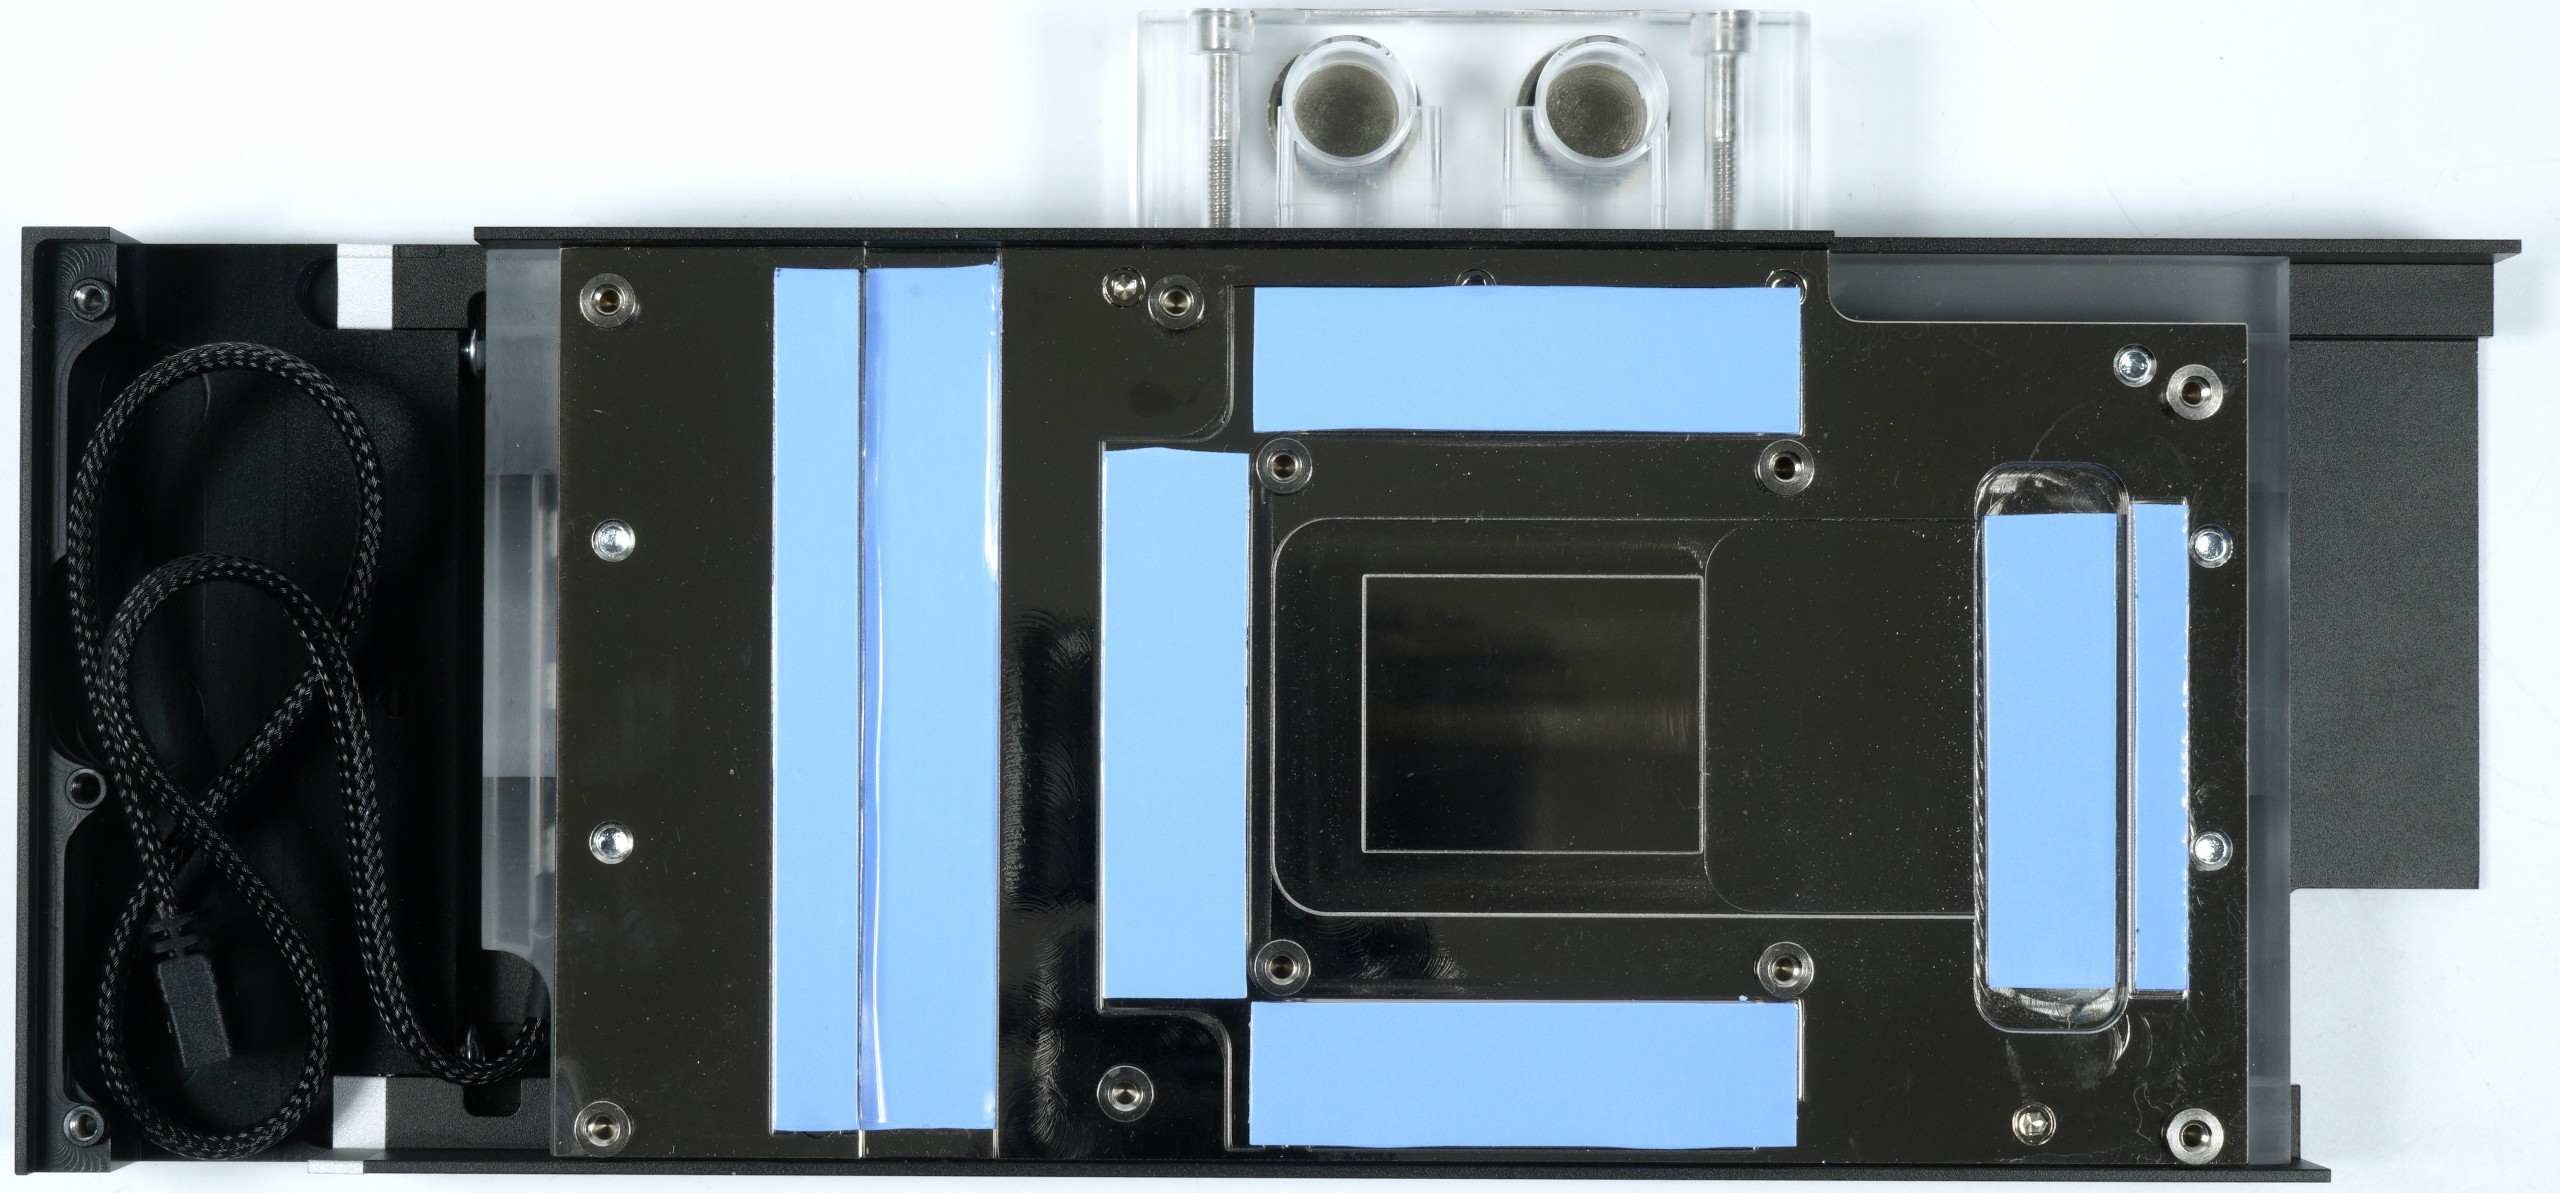
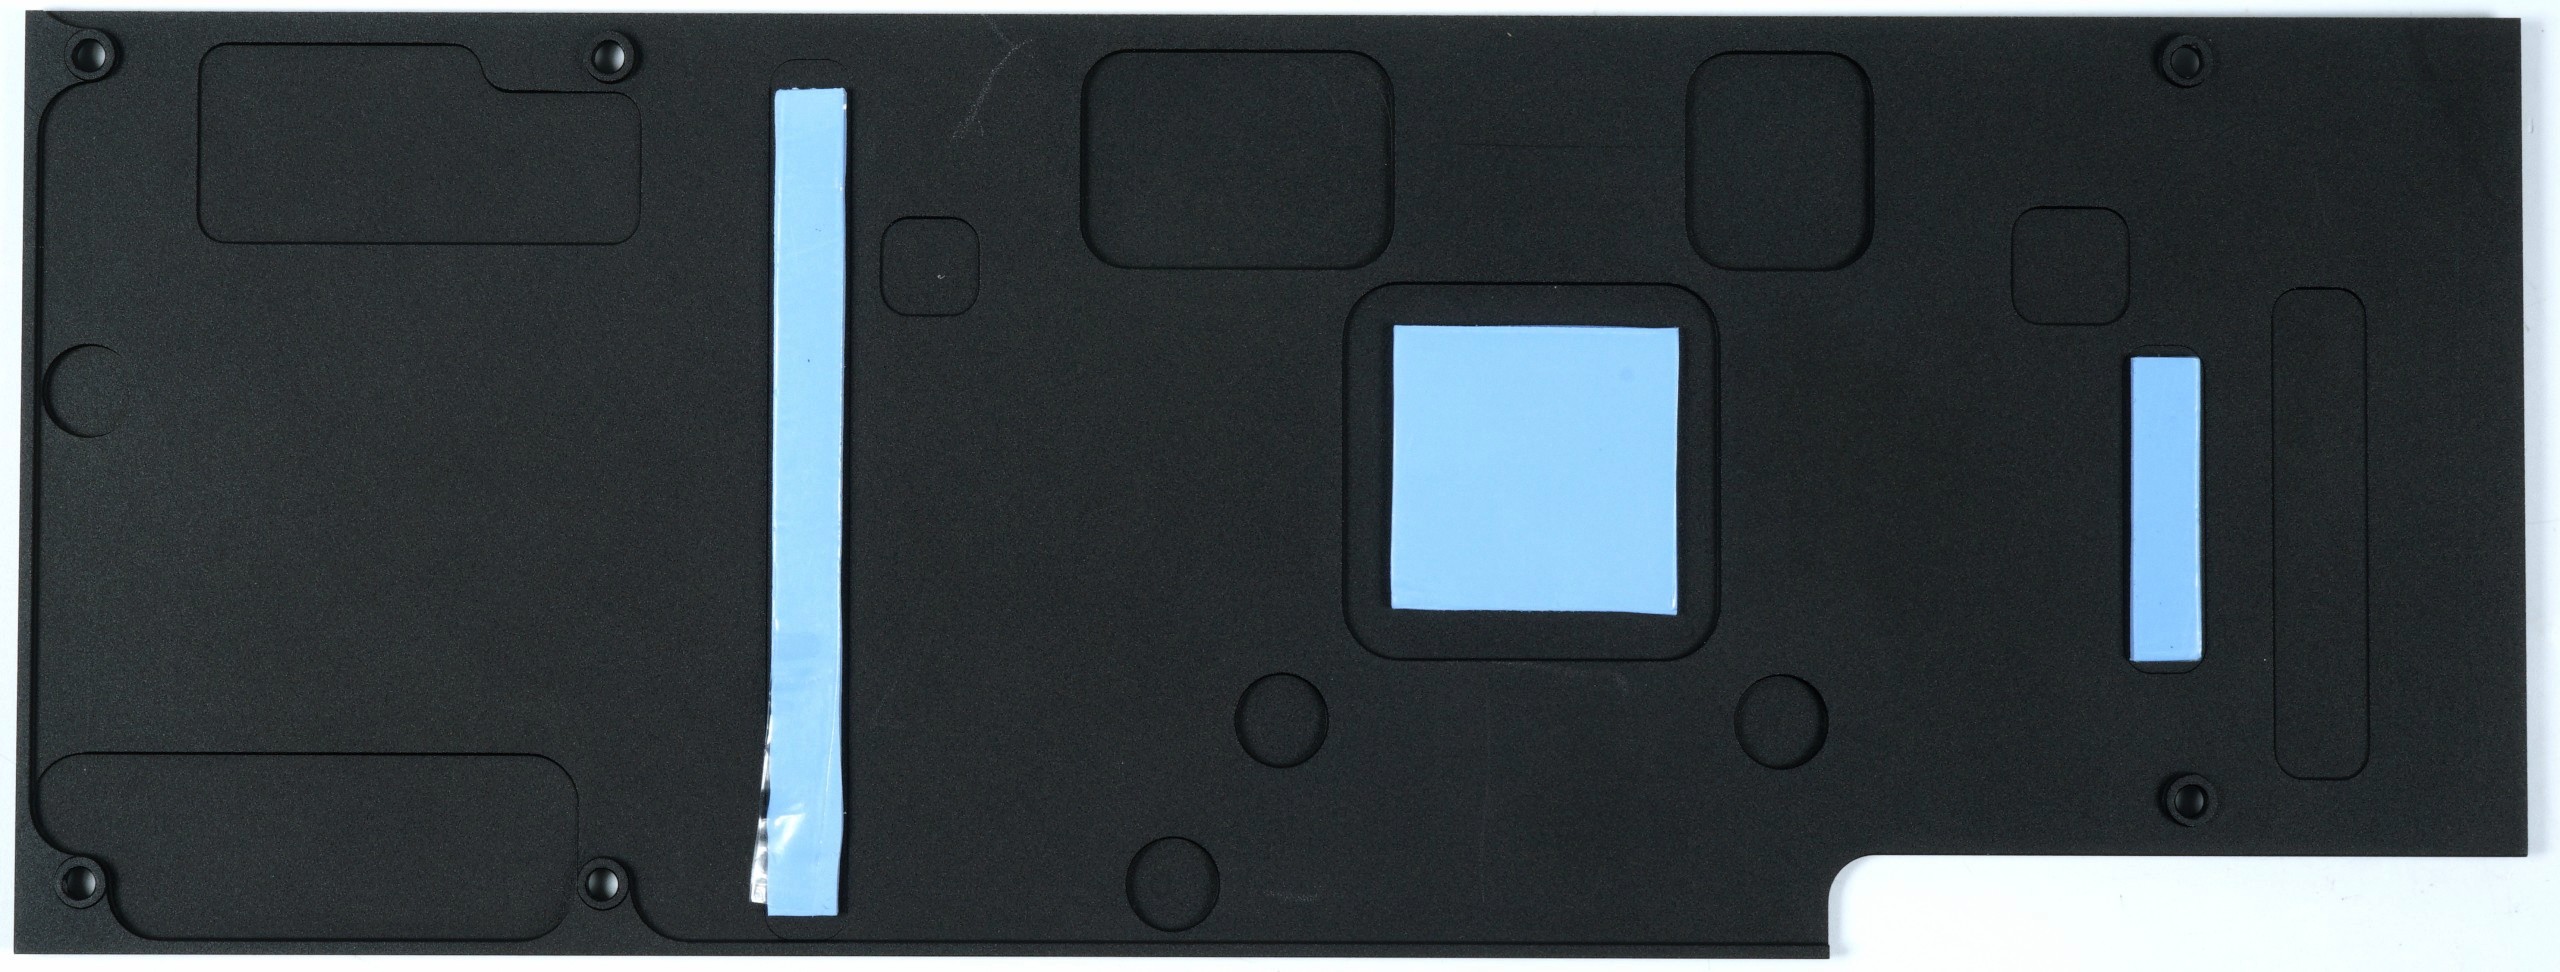
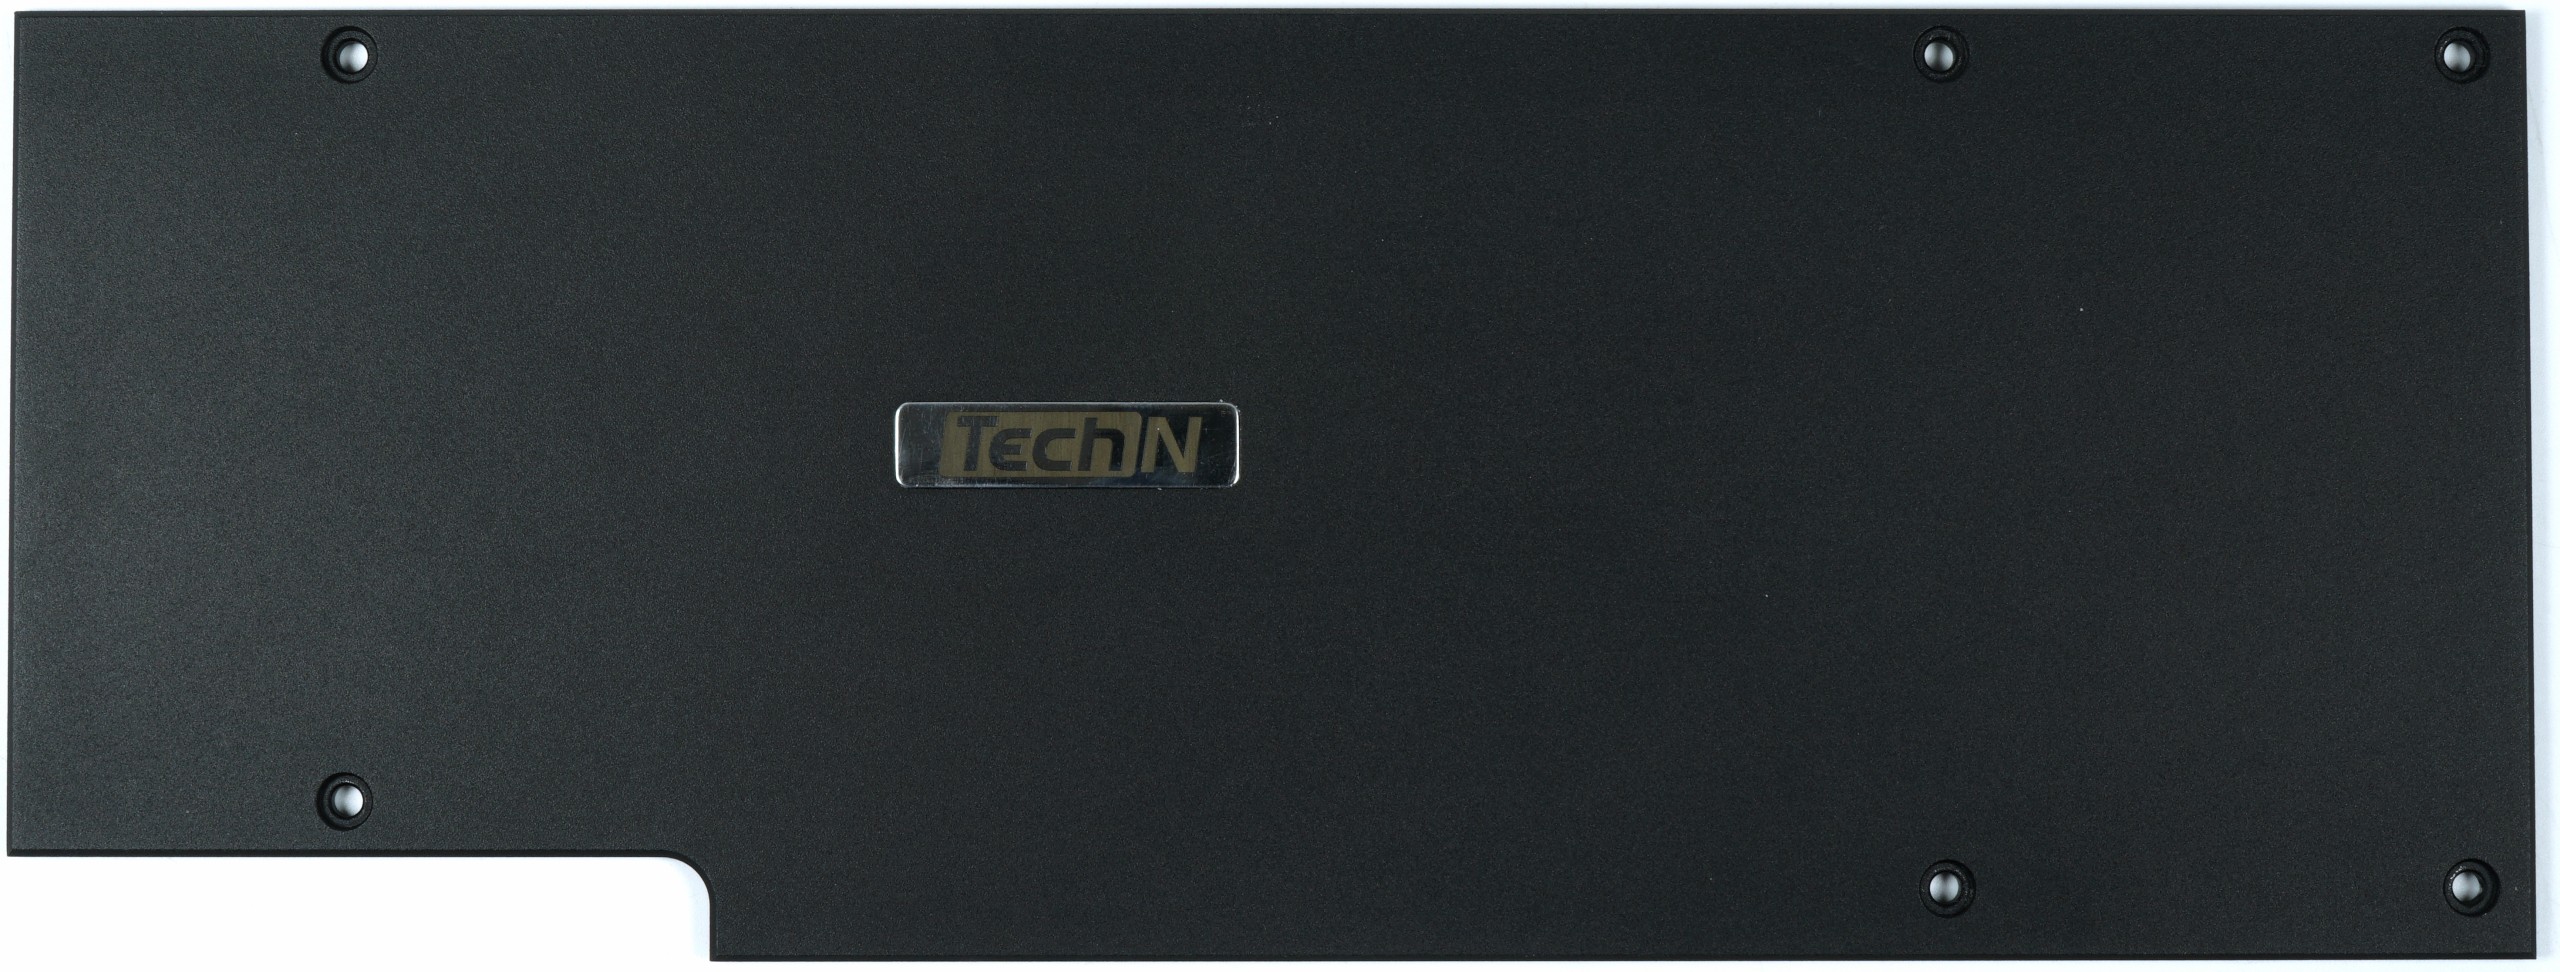
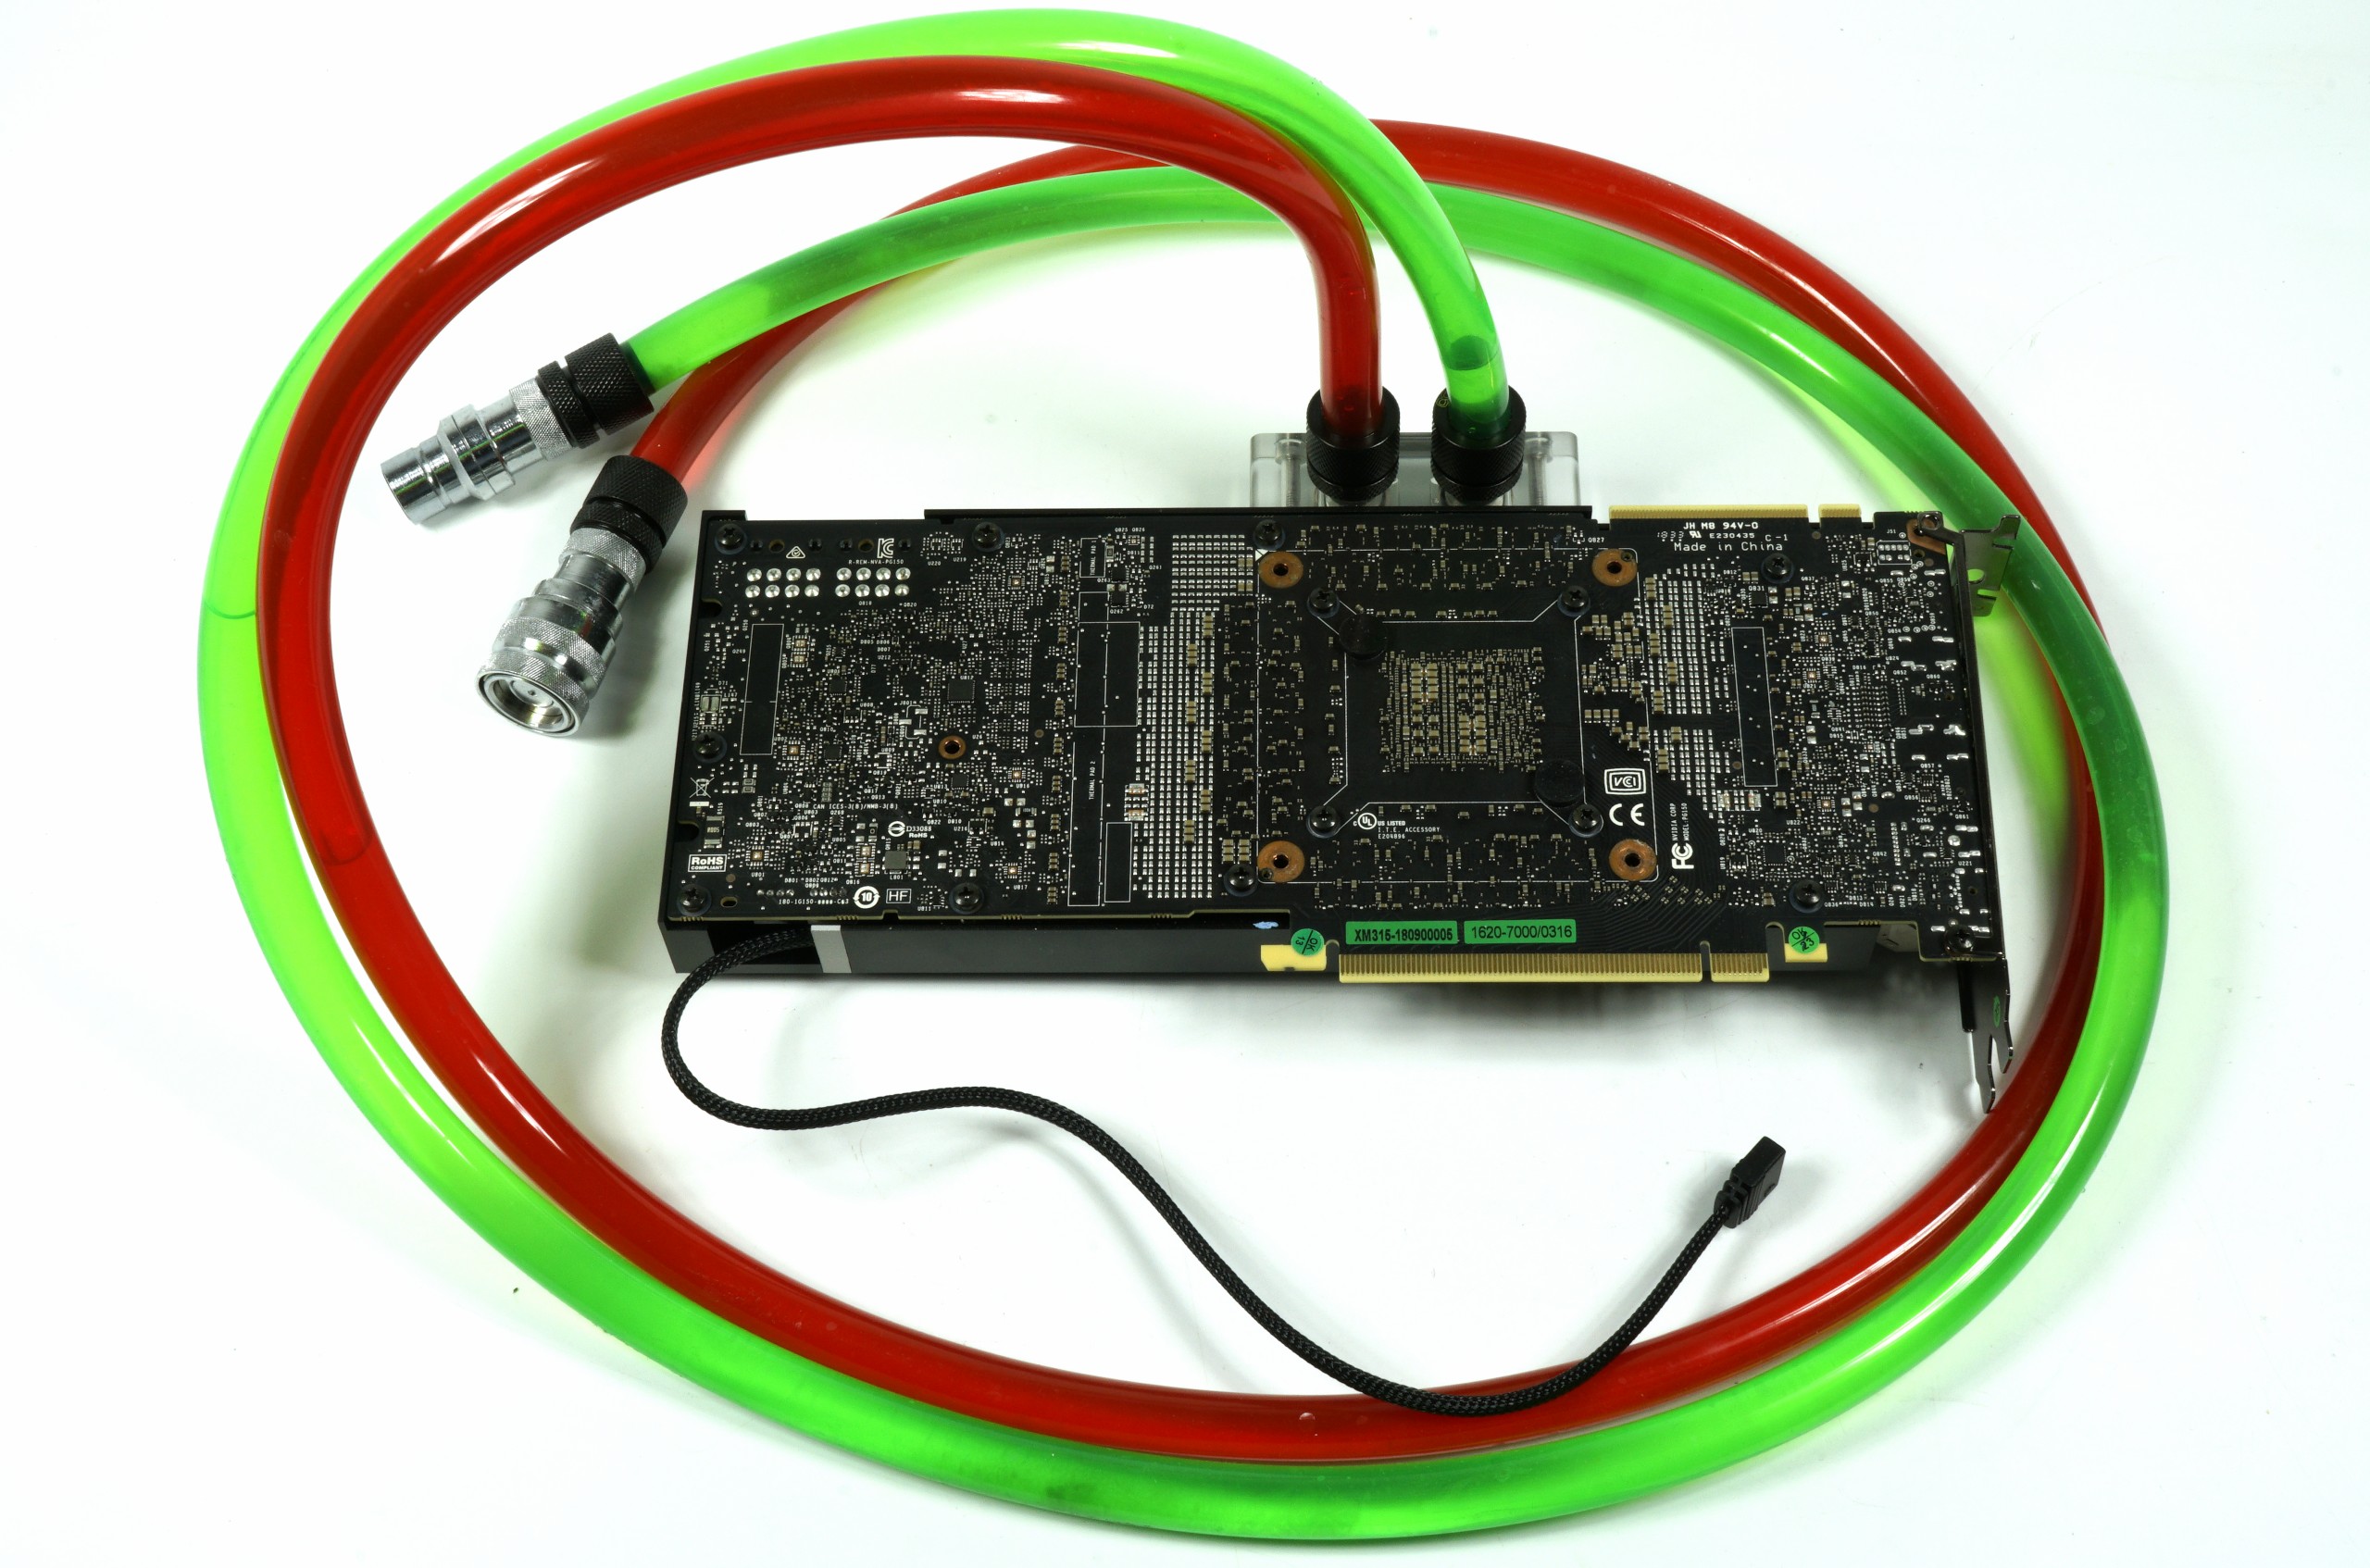
The completely assembled water block with all assembled and already applied thermal guide pads, a very cleanly worked backplate (with cooling function), the matching screws and thermal paste in the bag are supplied. The 12V RGB lighting is already integrated. You rely on the normal 12-volt RGB connector, which is to be connected to each motherboard, but cannot control individually addressable LEDs. Whether one finds this good or bad, the subjective preference for bling-bling or restraint decides.
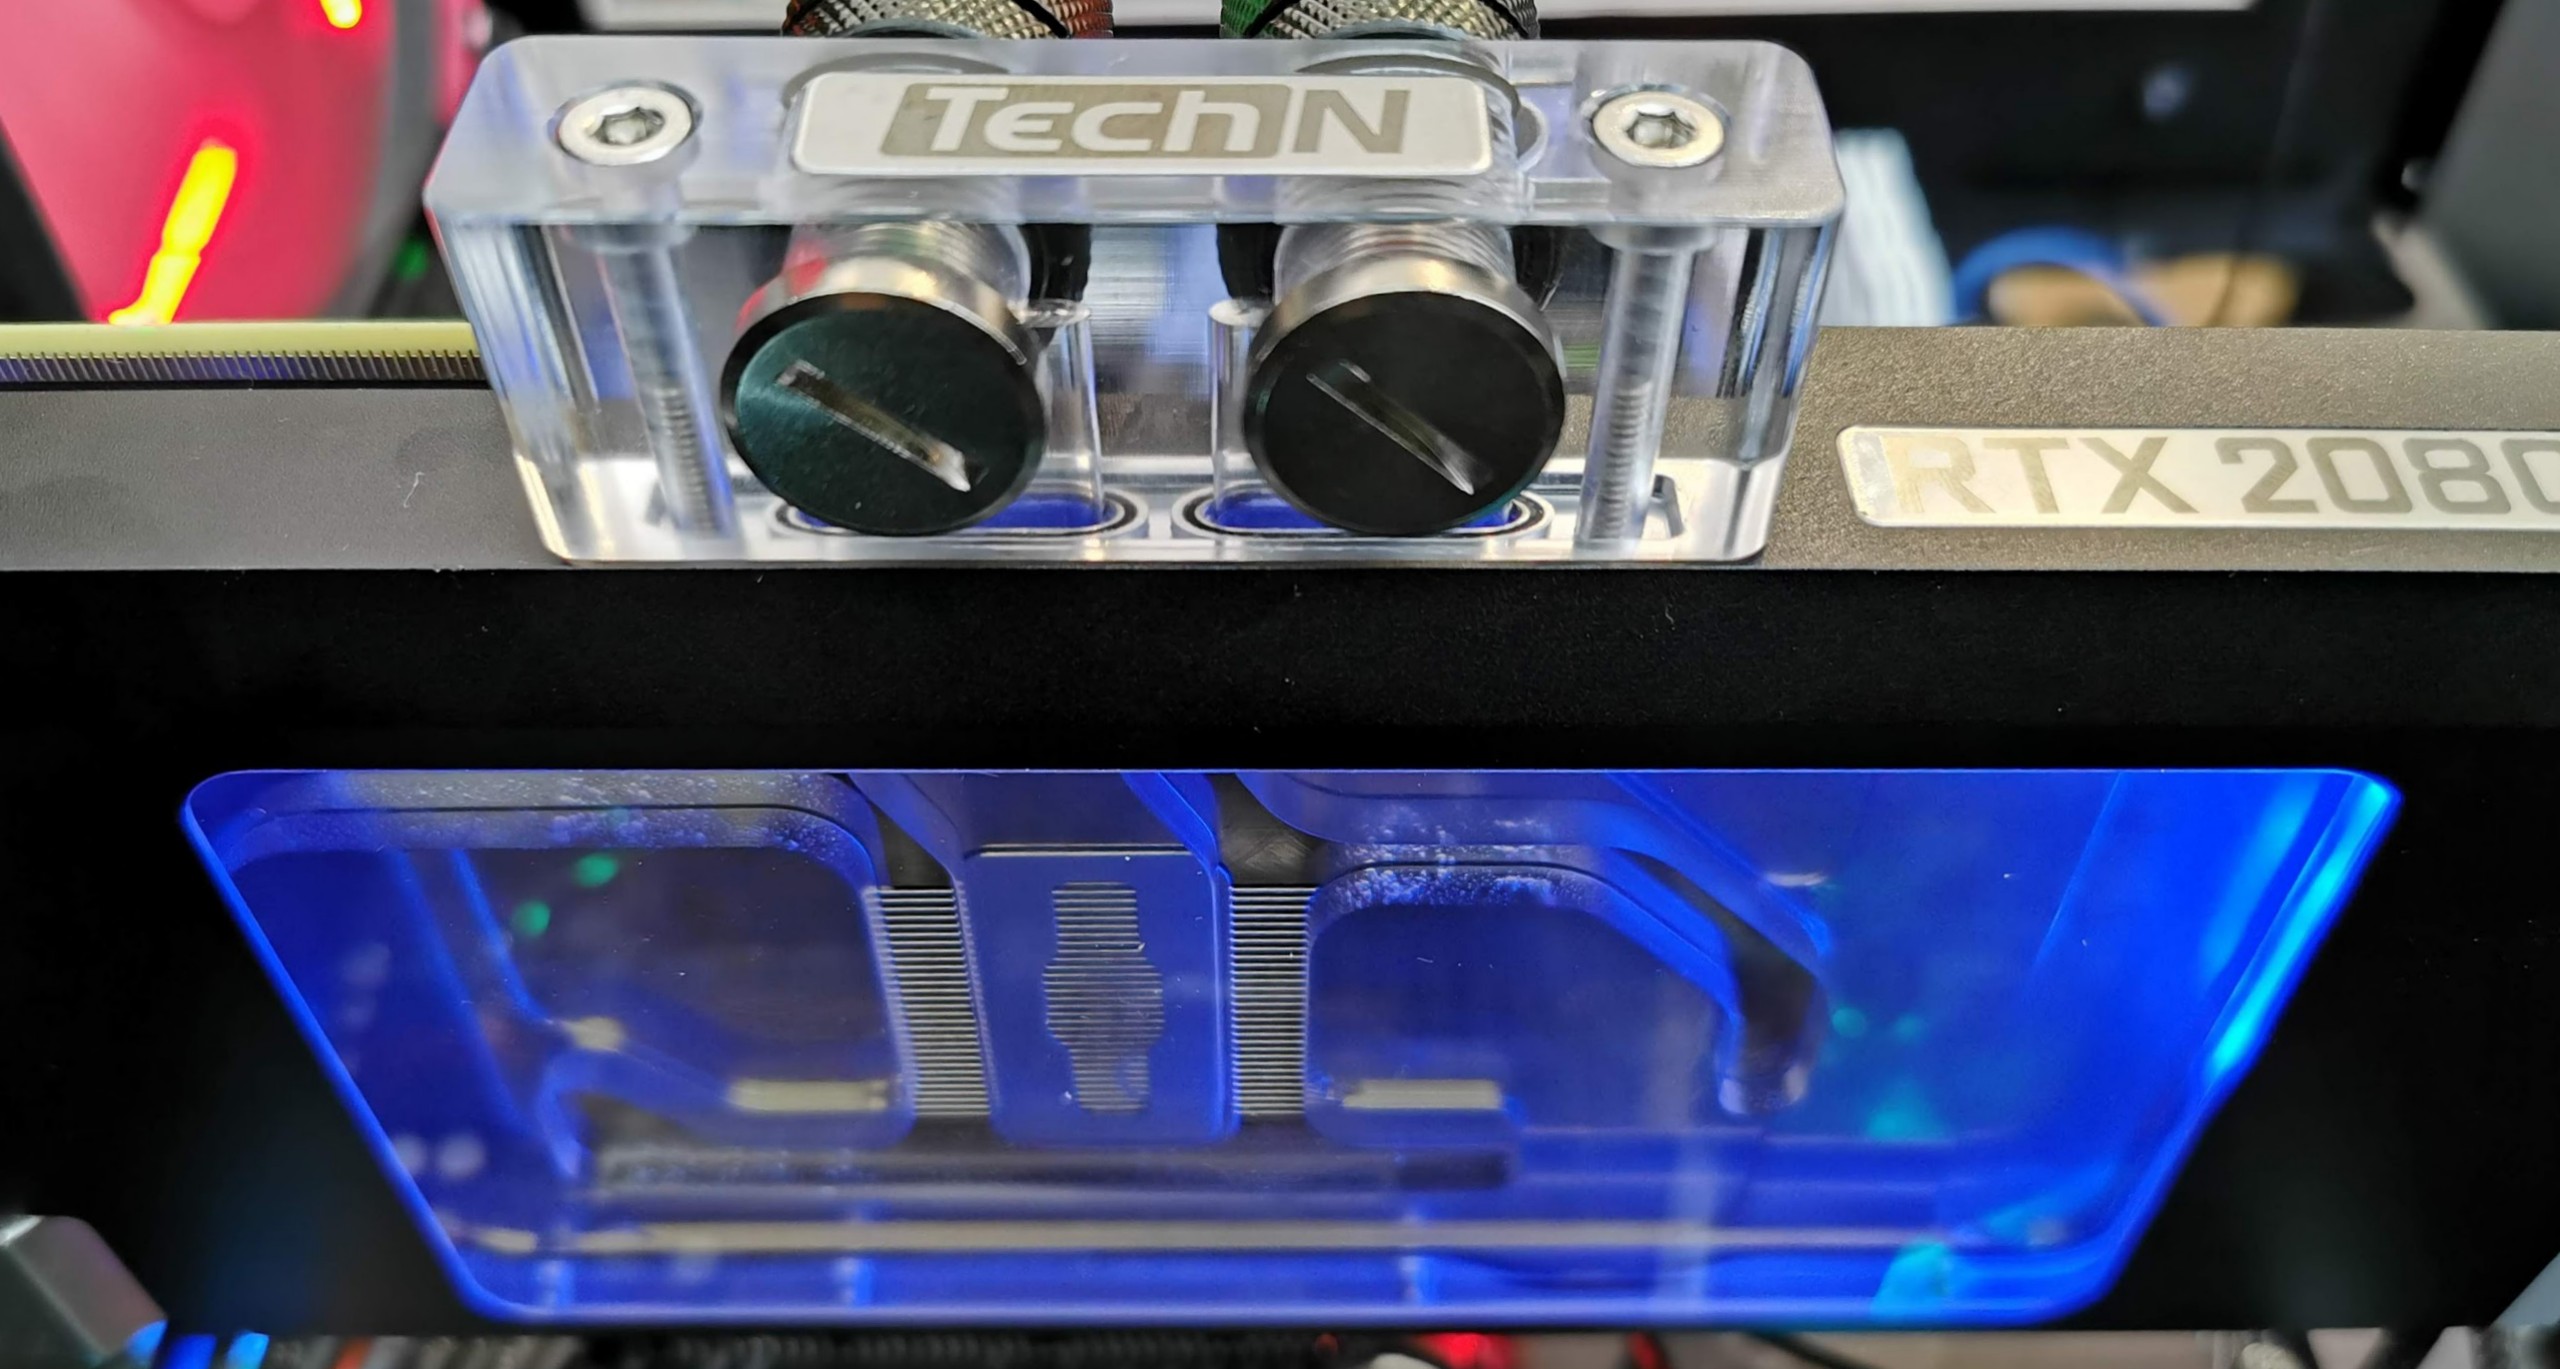
The required plugs on the rather massive acrylic terminal are already assembled and in the end the customer only has to apply the thermal paste to the GPU and screw the board. Thankfully, the manufacturer is already taking everything else from him.

The used, quite soft 1 mm pads are the usual suspects with 3 W/mK thermal conductivity, but this does not have to mean anything, as we already know. Numbers are sound and smoke, because it is much more important not to put too much strain on the fragile RAM and also to fill in the gaps. There is still potential with real soft pads and 6 W/mK for the flyover mode, but then also in terms of price. Because really good pads are small, extra-nasty price drivers.
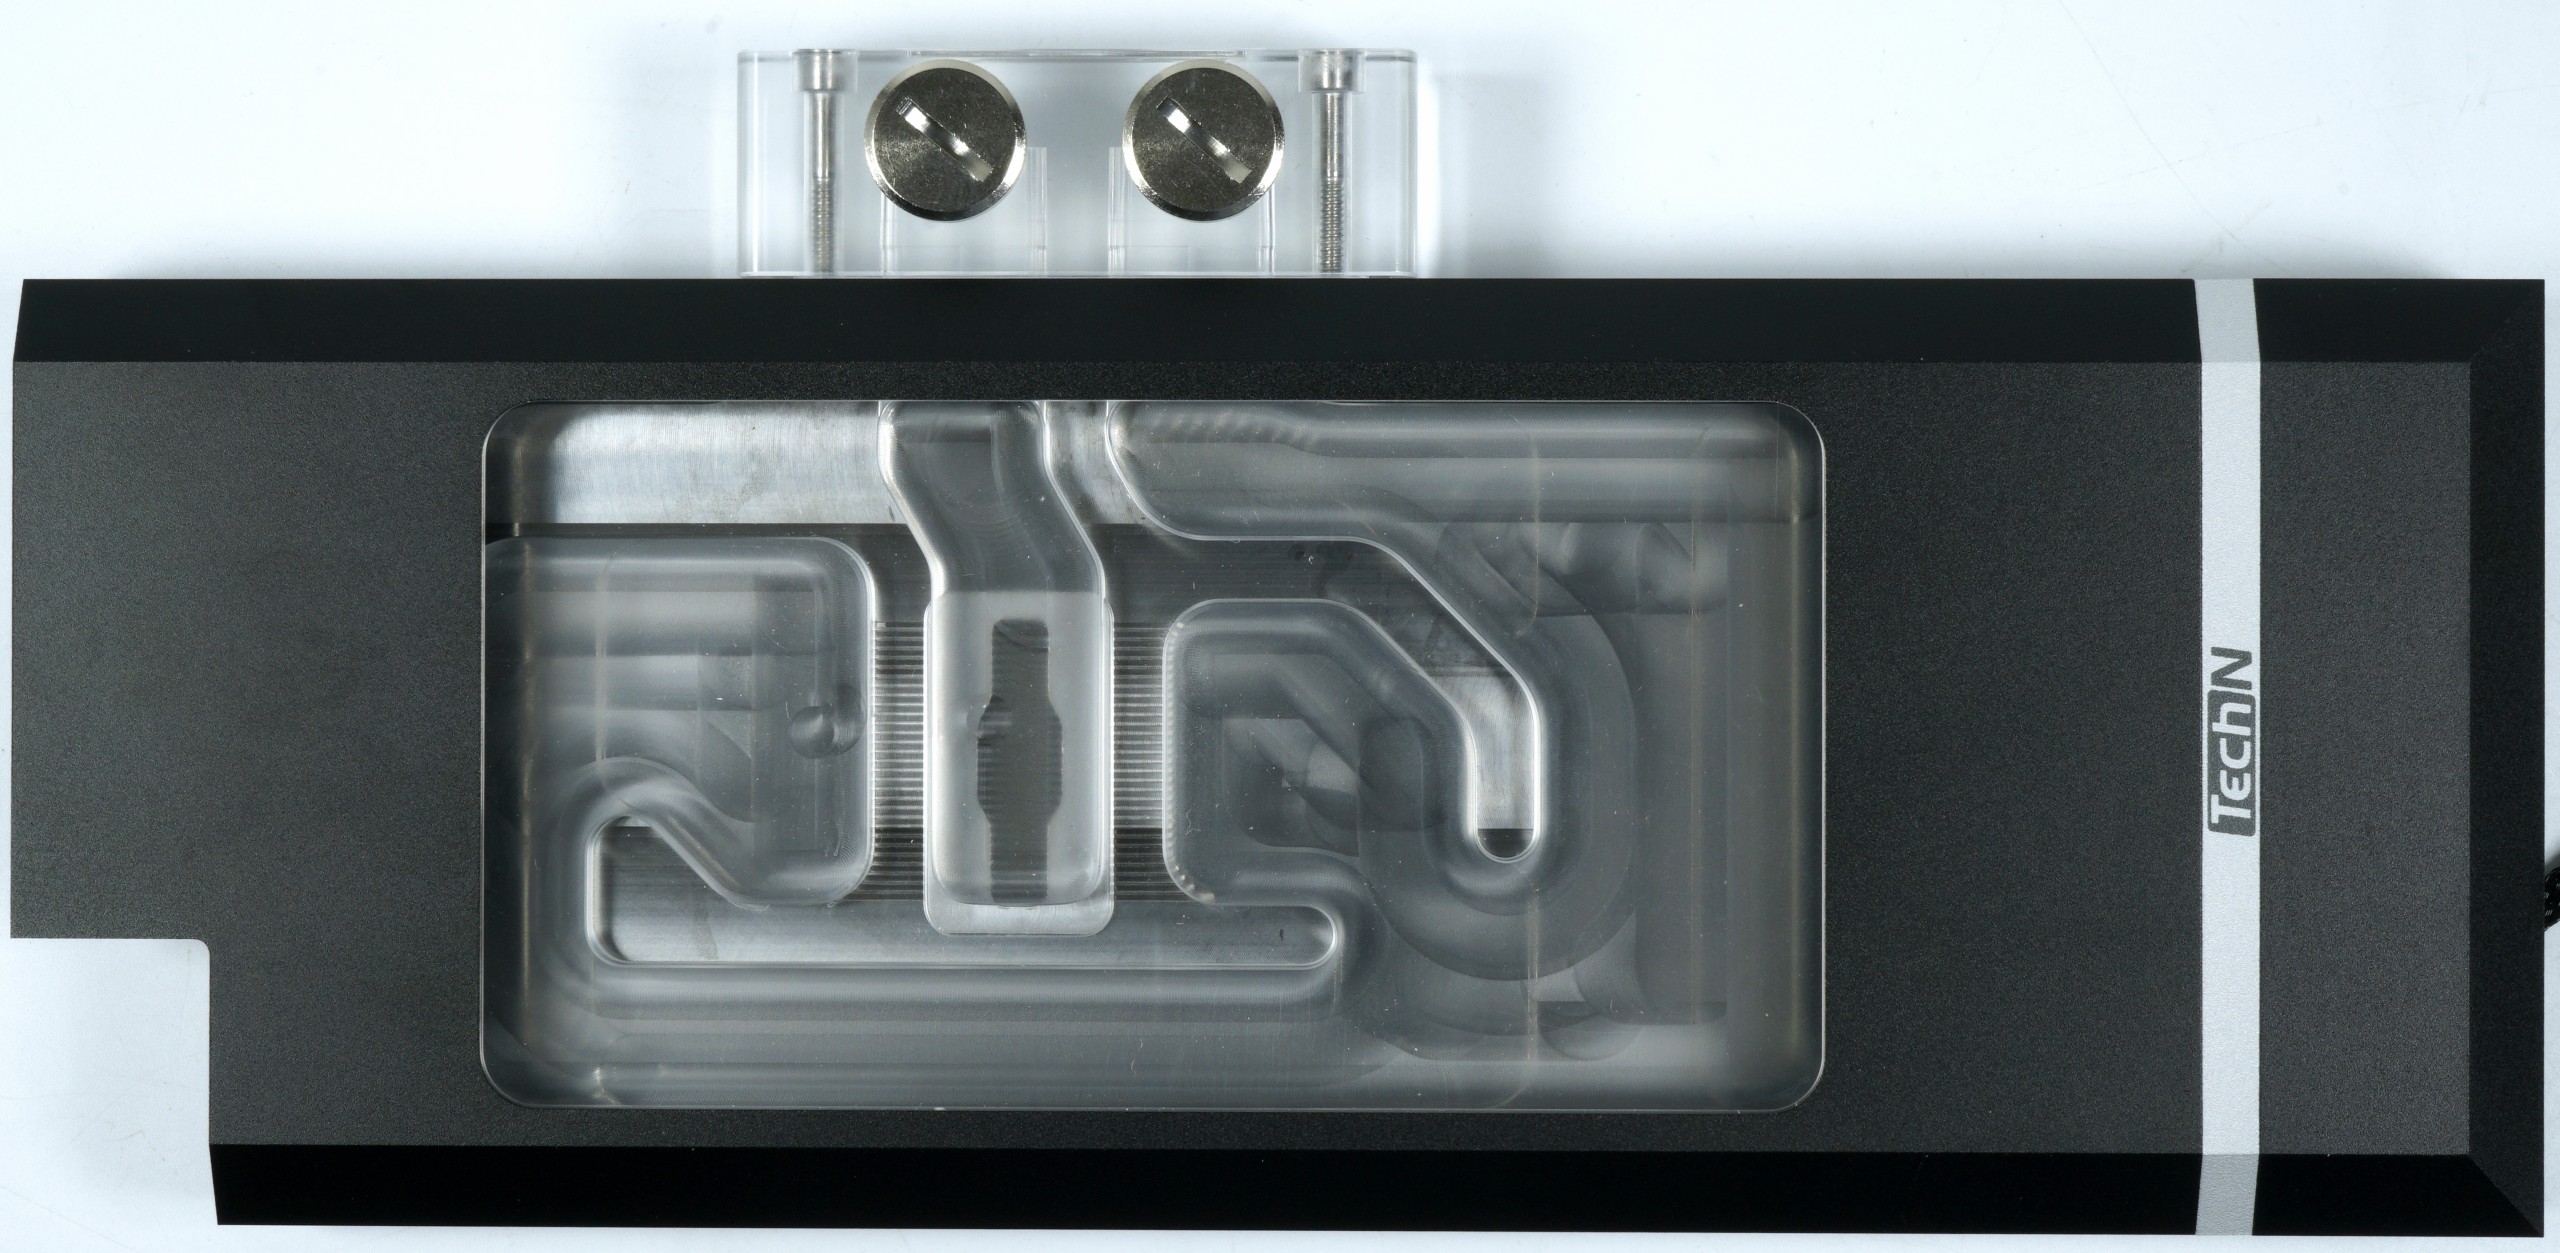
The water block is interestingly designed and relies on a central inlet, whose channel leads directly into the center of the GPU cooling surface with the micro channels. The water flow is part here and the larger circulation on the left serves for the smaller voltage converter block us two memory rows. The rest flows directly over the third memory block between the GPU and the large VRM block, below which the two circuits are also merged. You can already see here that it is a special low-flow design that should play to its strengths with a casual gesture, especially at flow rates of less than 60 l/min.
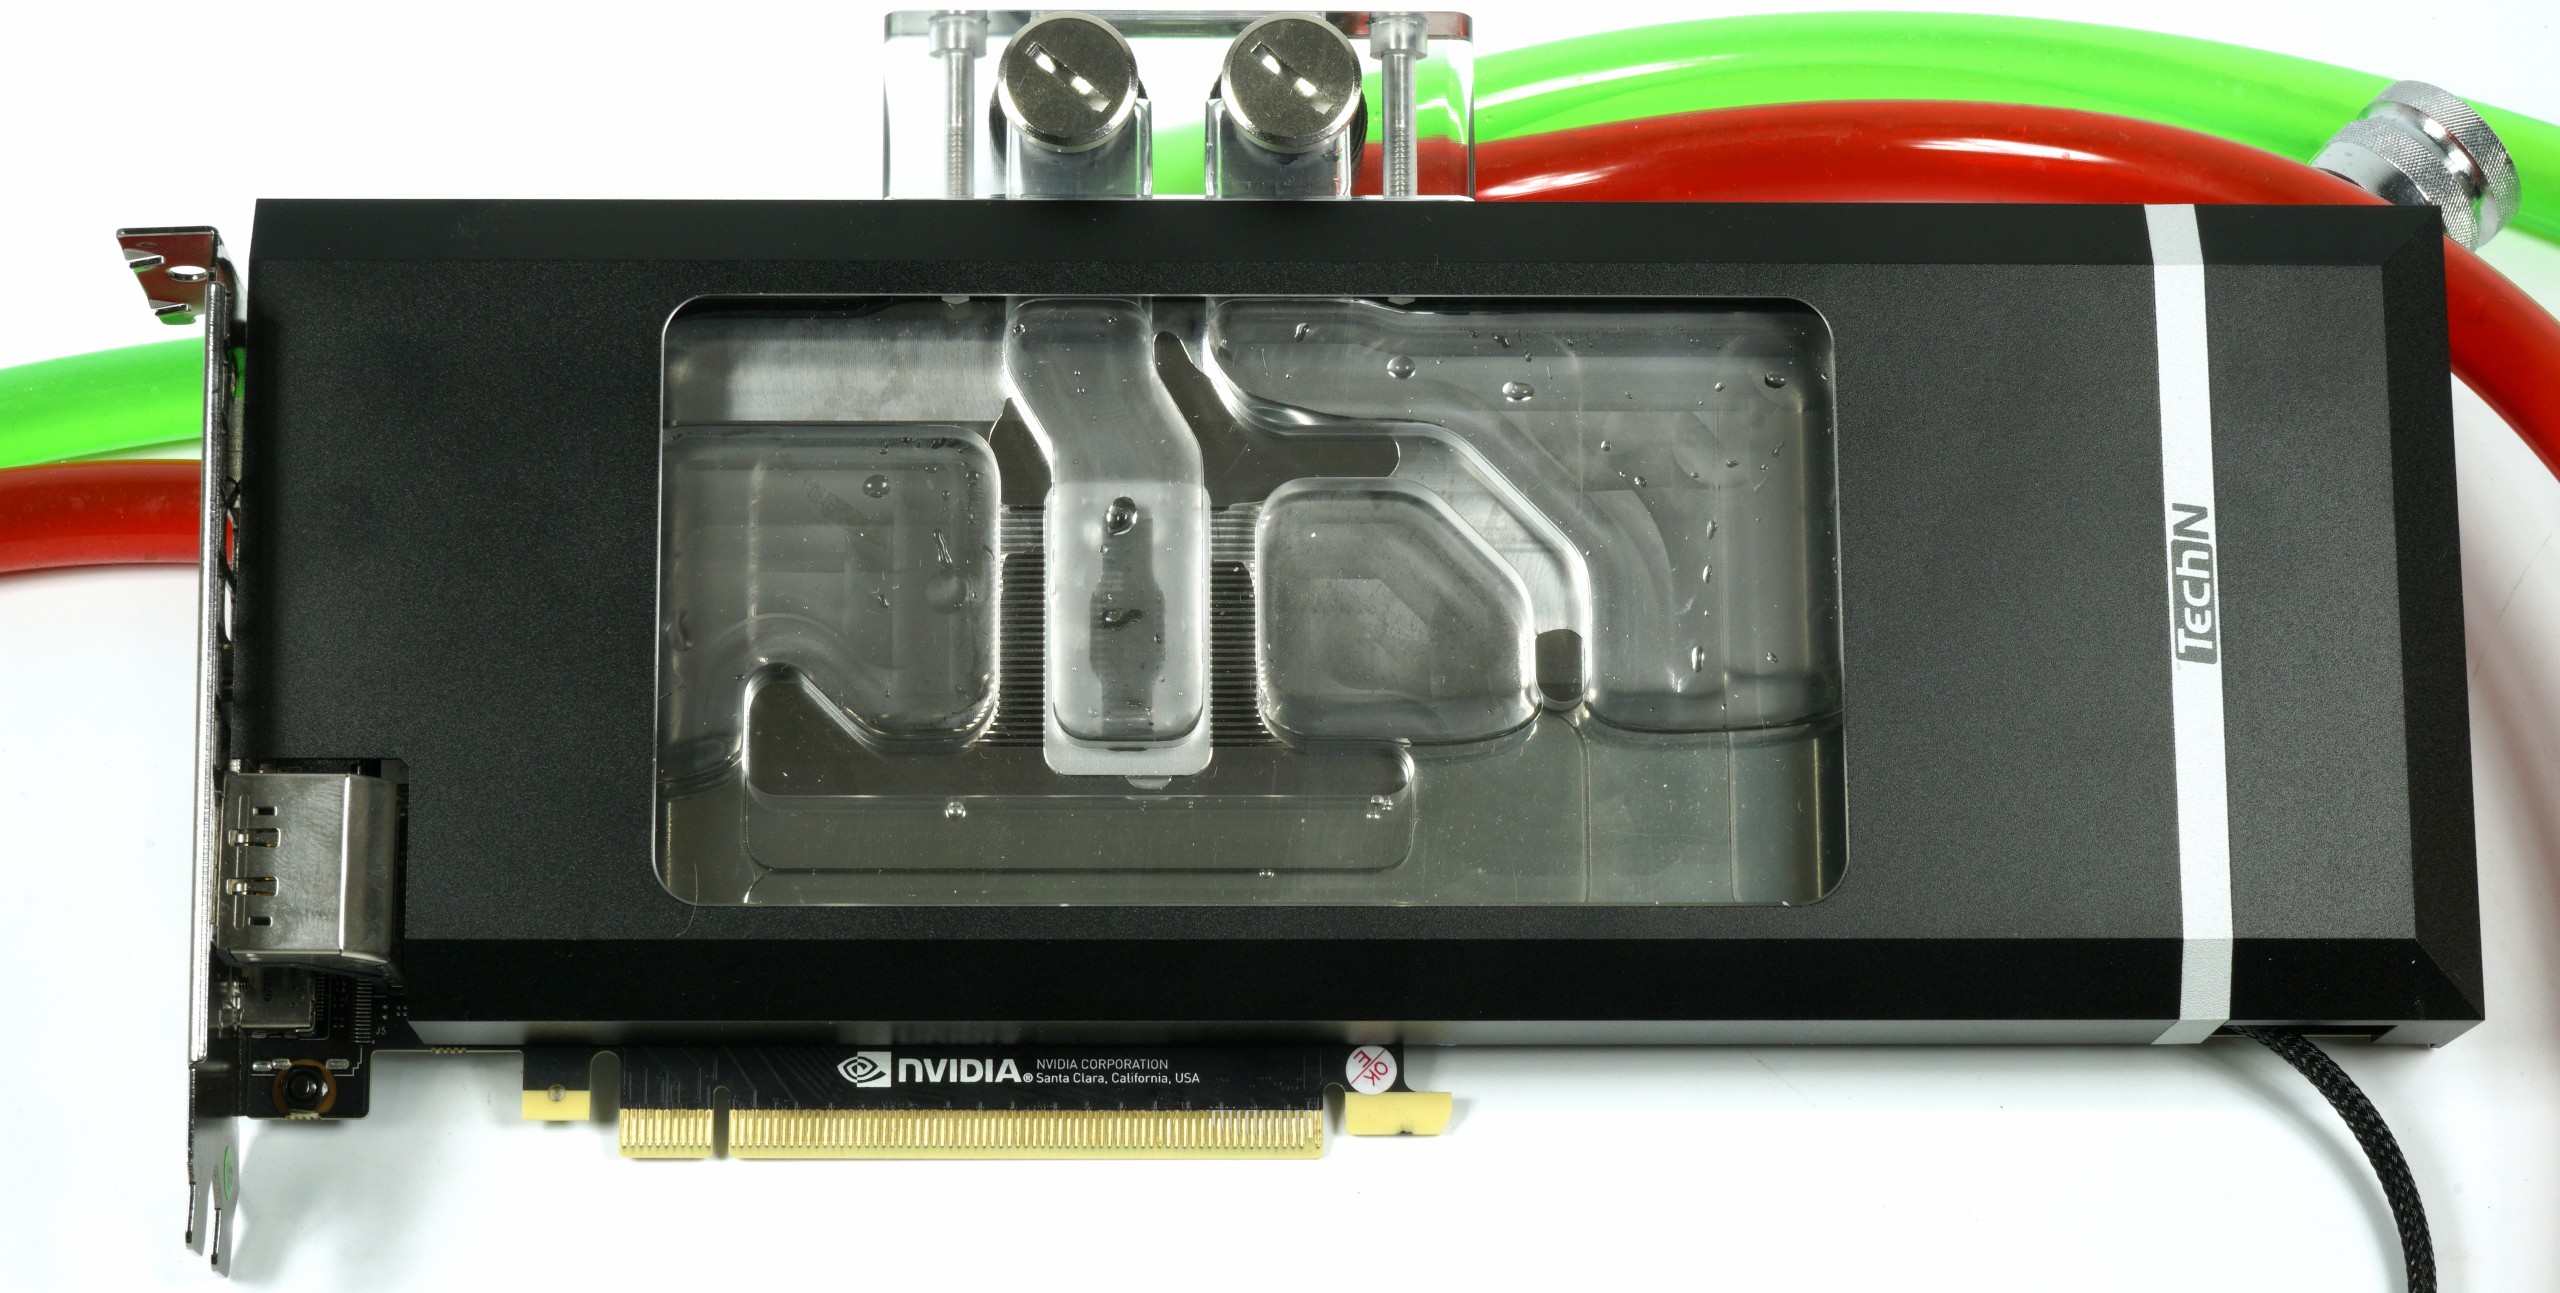
Nevertheless, I still have to write a sentence about the processing quality of the cooler, which weighs just over 1 kilo. Visually and haptically, the quality is beyond doubt! I have rarely seen such smooth and neatly worked out CNC-worked surfaces where the tool tracks were so discreetly visible. Also the cover is beyond doubt and you get a quality feel that you can see and feel. Let's just call it value, that's certainly a good thing.
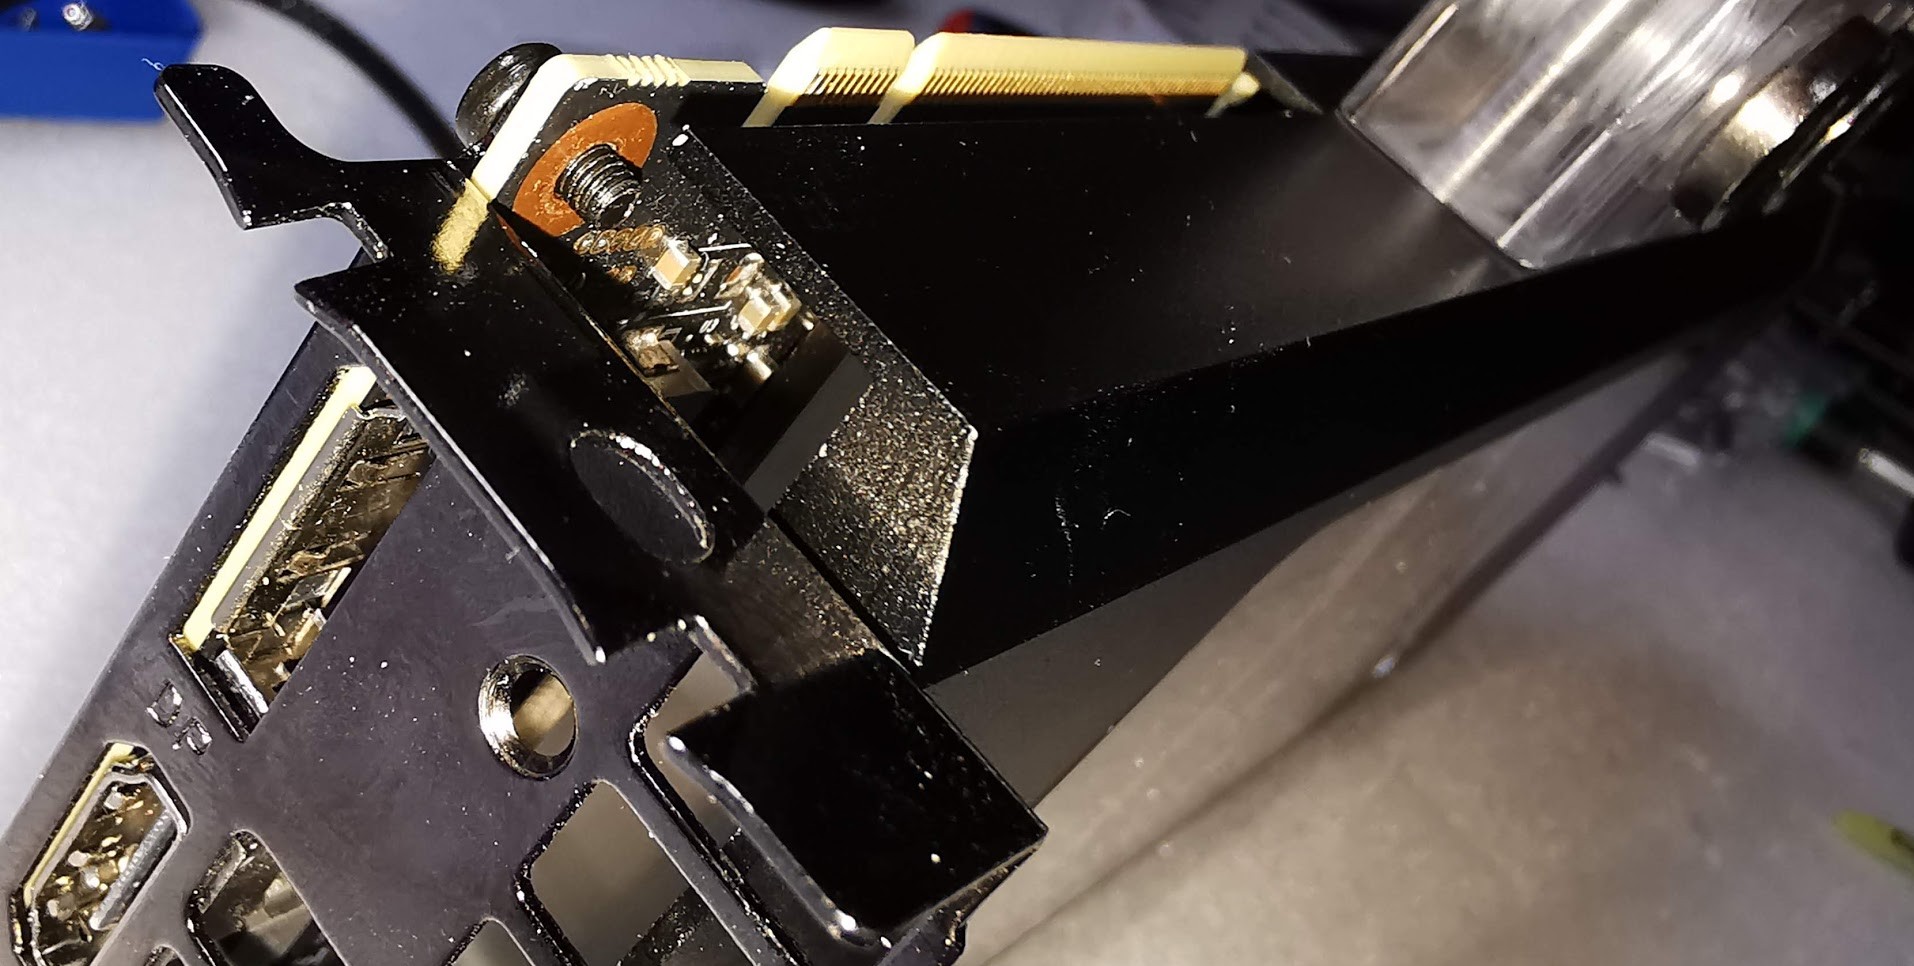
This also extends to the neatly inserted and non-loosely fitting threaded sleeves as well as the supplied screws. These are pretty much the best and most durable thing I've seen on the water blocks so far. A neat head with a very well contoured cross slit and a screw, the material of which is hard and torsion-stiff enough, so that you can not turn the head off even at 1.5 Nm. I didn't have to test any more, because the thread length is perfectly calculated if you take the supplied acrylic washers.

Only the one screw with nut at the top of the slot aperture requires some dexterity when screwing. With a thin, magnetic slotted screwdriver as a base, however, this is quite easy. Unfortunately, it is only possible with tool help. By the way, you can save all this by screwing them before the actual radiator assembly. But we must not forget it.
The backplate has a certain cooling function, but you could only cool the areas of the voltage converters and do without the pad for the GPU socket.
With reasonably good skills, you've done everything in less than 15 minutes. The connection to the terminal and the RGB output of the motherboard are not a witch's work either.
Test system and measurement methods
The test system and methodology are known to the regular readers, but I will still (have to) come back to it on the next page.
If you are interested, the summary in table form quickly provides a brief overview:
| Test systems and measuring rooms | |
|---|---|
| Hardware: |
Intel Core i9-9900K MSI MEG Z390 Ace G.Skill TridentZ DDR4 3600 1x 1 TByte Toshiba OCZ RD400 (M.2, System SSD) 2x 960 GByte Toshiba OCZ TR150 (Storage, Images) Be Quiet Dark Power Pro 11, 850-watt power supply |
| Cooling: |
Alphacool Ice Block XPX 5x Be Quiet! Silent Wings 3 PWM (Closed Case Simulation) Thermal Grizzly Kryonaut (for cooler change) |
| Housing: |
Lian Li PC-T70 with expansion kit and modifications |
| Monitor: | Eizo EV3237-BK |
| Power consumption: |
non-contact DC measurement on the PCIe slot (Riser-Card) non-contact DC measurement on the external PCIe power supply Direct voltage measurement on the respective feeders and on the power supply 2x Rohde & Schwarz HMO 3054, 500 MHz multi-channel oscillograph with memory function 4x Rohde & Schwarz HZO50, current togor adapter (1 mA to 30 A, 100 KHz, DC) 4x Rohde & Schwarz HZ355, touch divider (10:1, 500 MHz) 1x Rohde & Schwarz HMC 8012, digital multimeter with storage function |
| Thermography: |
Optris PI640, infrared camera PI Connect evaluation software with profiles |
| Acoustics: |
NTI Audio M2211 (with calibration file) Steinberg UR12 (with phantom power for the microphones) Creative X7, Smaart v.7 own low-reflection measuring room, 3.5 x 1.8 x 2.2 m (LxTxH) Axial measurements, perpendicular to the center of the sound source(s), measuring distance 50 cm Noise in dBA (Slow) as RTA measurement Frequency spectrum as a graph |
| Operating system | Windows 10 Pro (1809, all updates) |


Kommentieren