


Board analysis
The board of the MSI GTX 1660 Gaming X is basically the same as with the already introduced MSI GTX 1660 Ti Gaming X, but the differences are, except for the memory, rather hidden. So I took a closer look. Of course, the board also relies on the Nvidia base layout PG161 and has 6 layers. The power supply also relies on a 4+2 phase design, similar to Nvidia's default and the Ti version, with Nvidia optionally leaving up to 6 phases open to manufacturers.
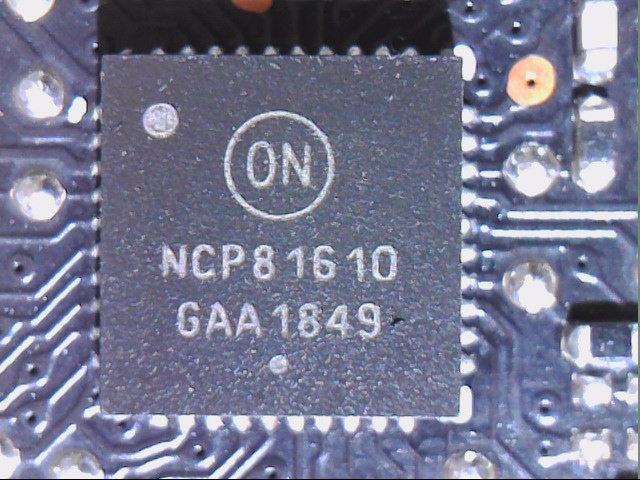
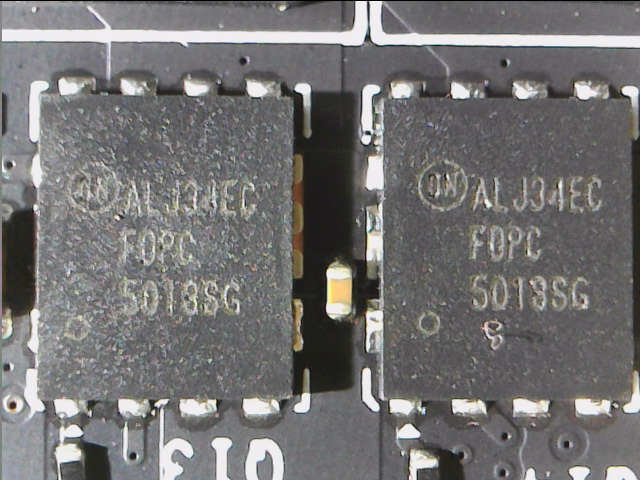
In our case, an NCP81610 from ON Semiconductor is used for the four GPU phases and the two phases for memory. However, the voltage converters differ in the assembly. As with the GTX 1660 Ti, the two phases for memory are set on an FDPC5013SG of the same manufacturer per phase. This is an asymmetric dual-N-channel MOSFET that combines high- and low-side with Schottky diode and gate drivers.
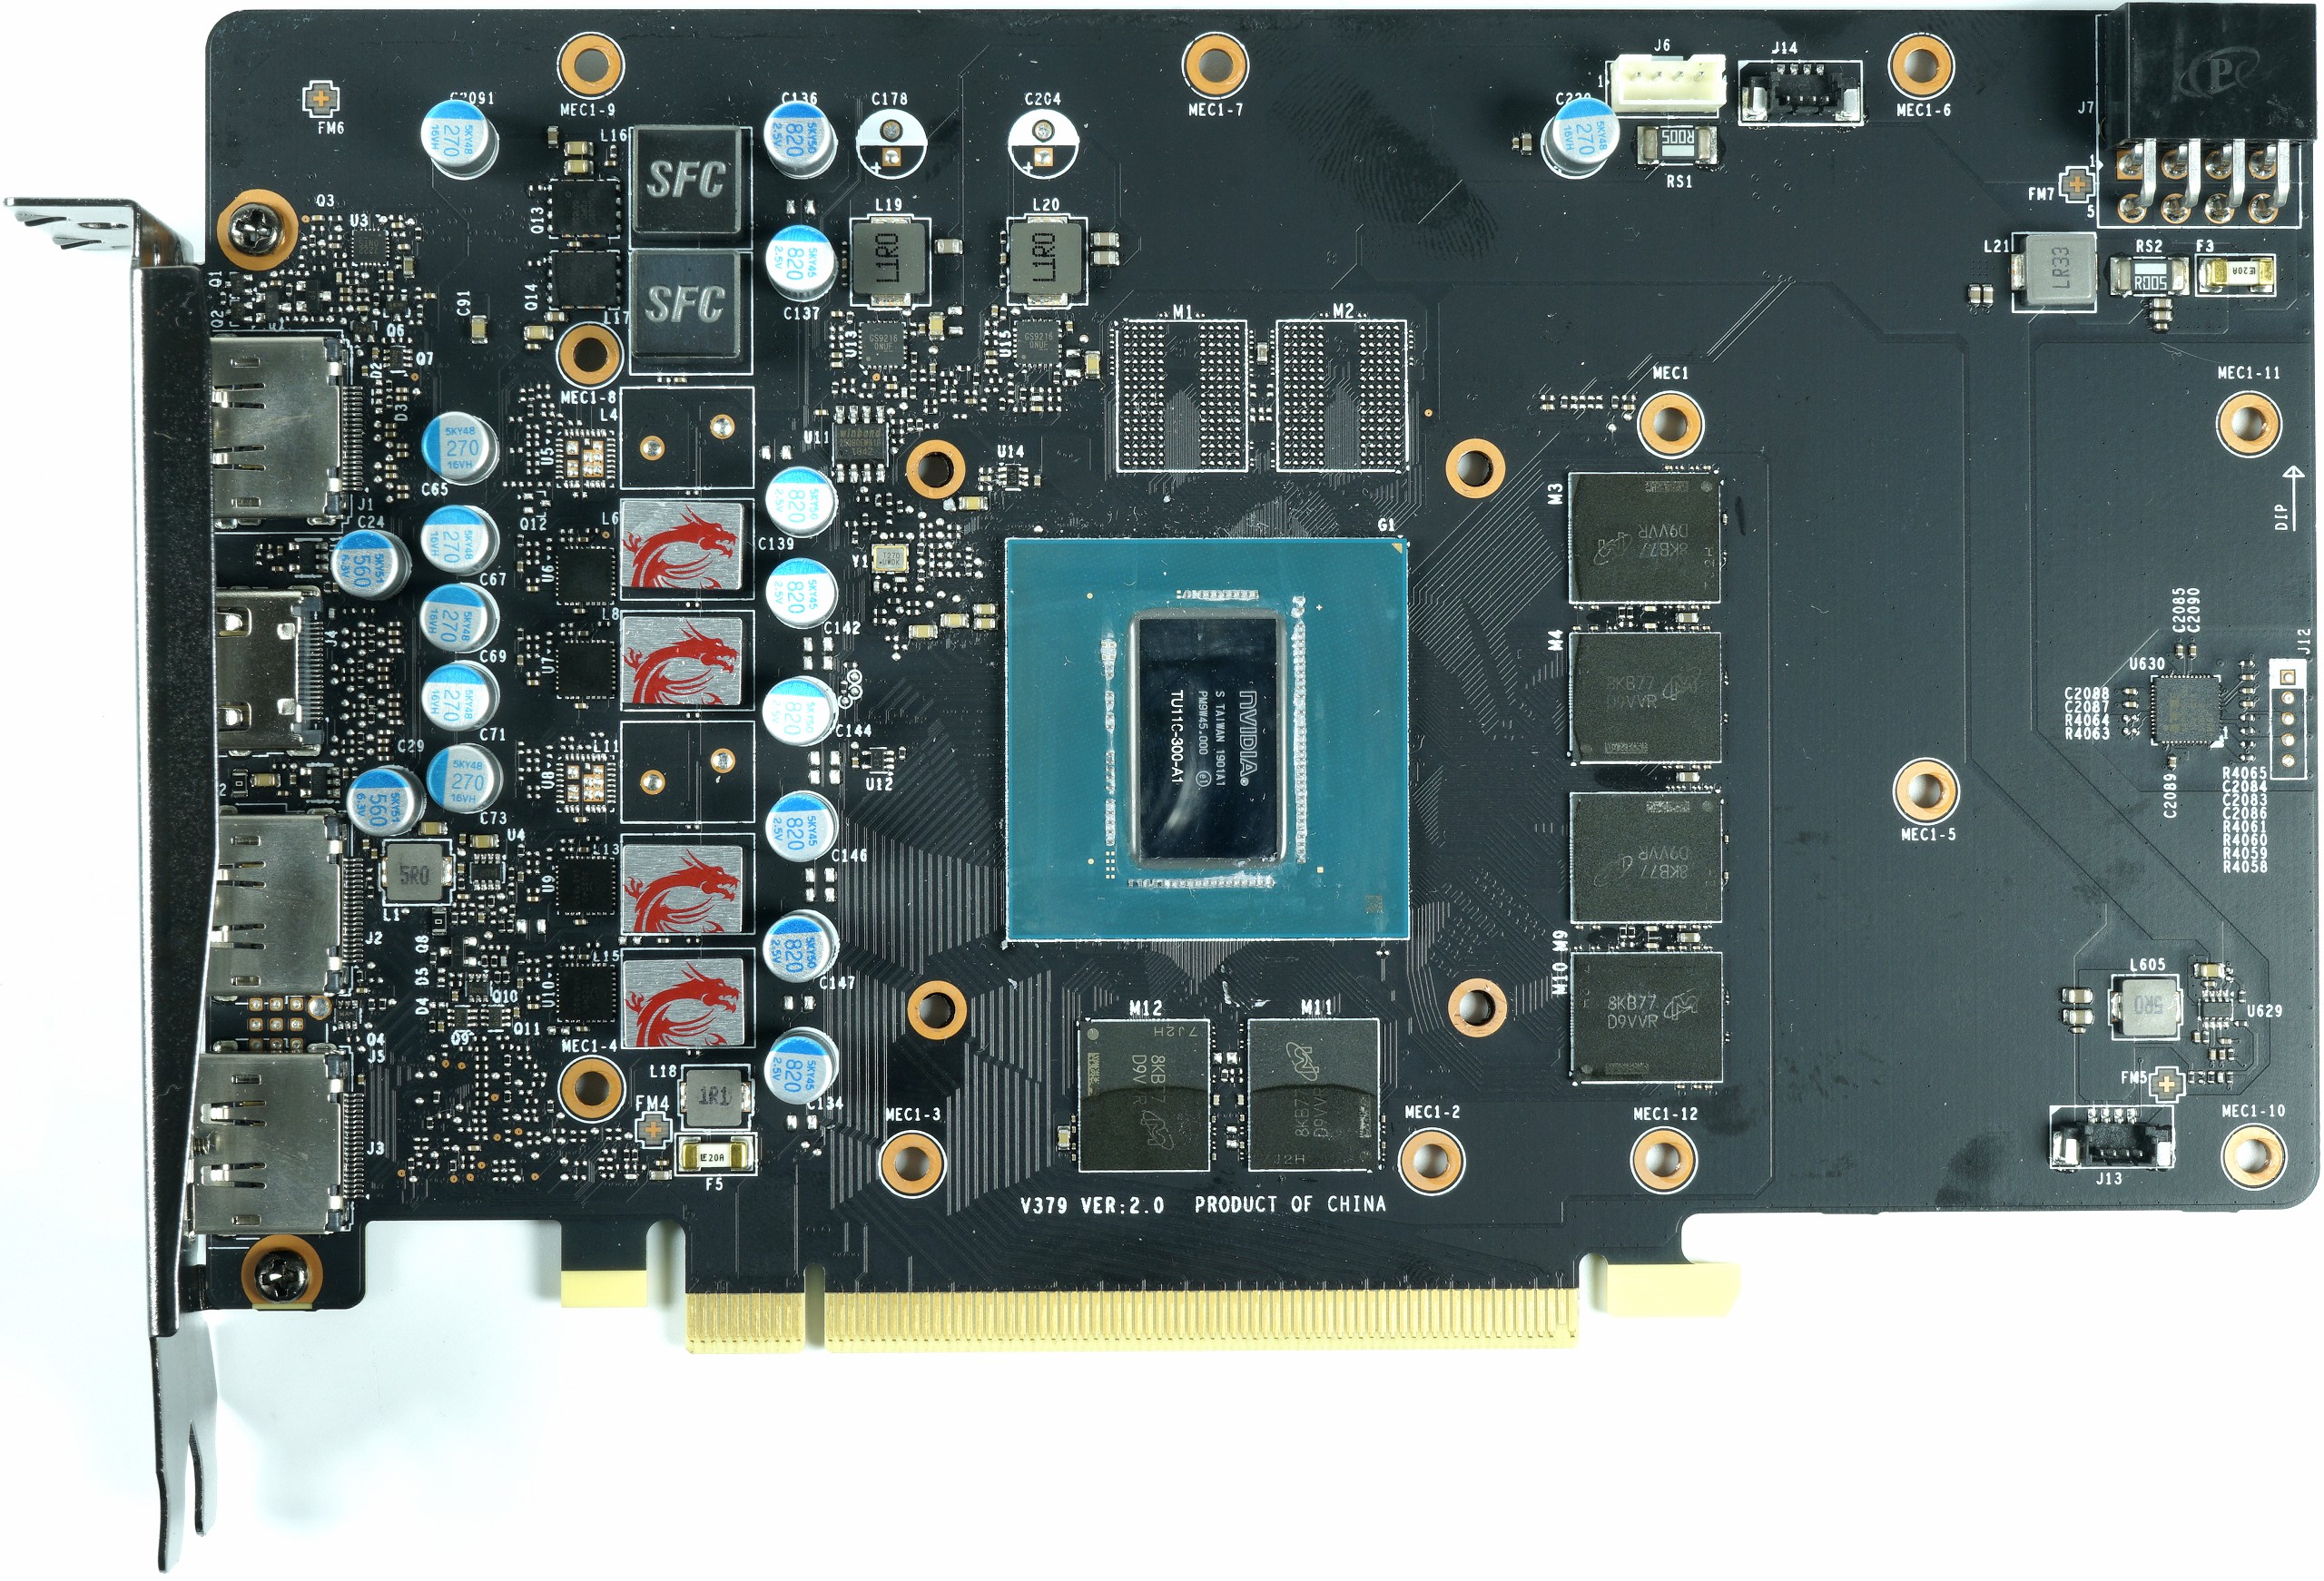
However, the GPU uses a slightly stronger NCP302045 from ON Semiconductor instead. Also this double MOSFET almost combines all components of the voltage converter including high- and low-side, as well as the gate drivers in one package. However, on paper it already manages a few more amperes per phase. We will see later in the power consumption why this is so.
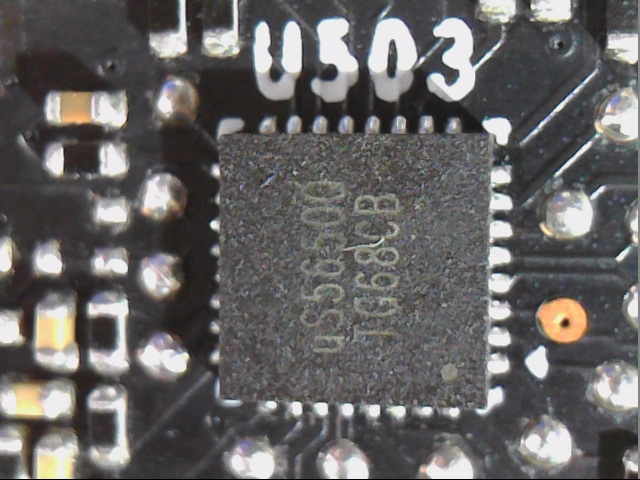
At a good 30 to 35 watts per GPU phase, this placement is quite useful. One of the four GPU phases is also powered by the 12V motherboard connector. It is interesting to monitor the board power to meet the power limits. Instead of on Semiconductor's NCP45491 with THE uS5650Q from UPI, the uS5650Q is also based on a different chip, which is pin-compatible and also measures the voltage drop via the shunt (for determining the current) and the voltages. can be recorded. In addition, MSI packs a fuse per rail and a coil for input filtering. Finished.
The following table contains the most important components:
GPU Power Supply |
||
|---|---|---|
| PWM Controller | NCP81610 ON Semiconductor 4 +2 Phases PWM Controller |
 |
| Gate Driver | Integrated | |
| Vrm | 4x NCP302045 ON Semiconductor Dual-N-Channel MOSFET |
 |
| Coils | 4x Ferrite Choke (Encapsulated Ferrite Core Coils) | 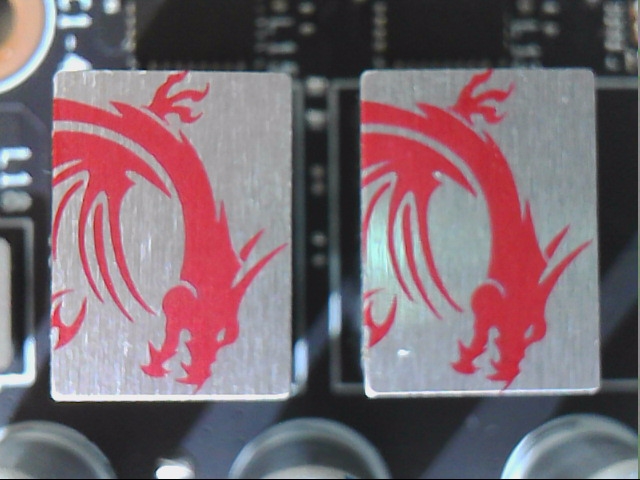 |
Memory and power supply |
||
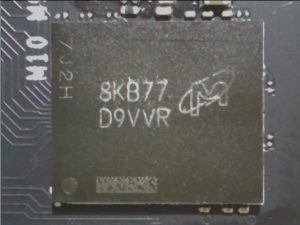
| Modules | 6x MT51J256M32HF-80:B Micron 1GB GDDR5 SGRAM Modules |
 |
| PWM Controller | See GPU | |
| Vrm | 2x FDPC 5013SG ON Semiconductor Asymmetric Dual-N-Channel MOSFET |
 |
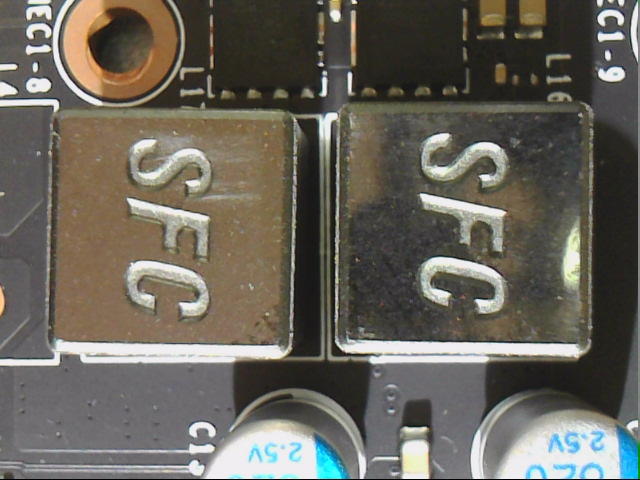
| Super Ferrite Choke (Encapsulated ferrite core coils) |
 |
|
Other components |
||
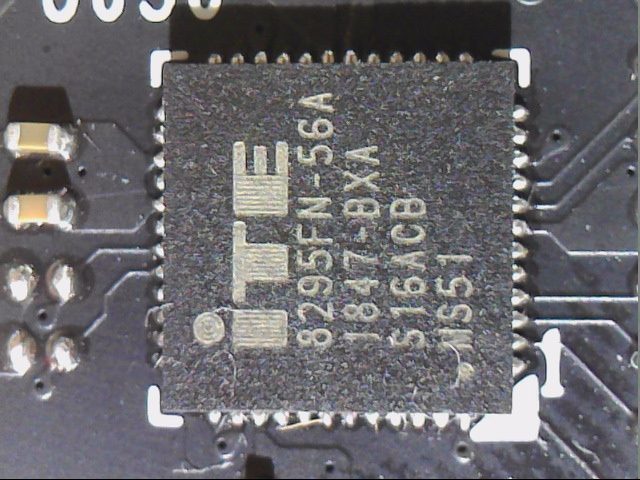
| Controller | 8915FN Ite Integrated embedded controller |
 |
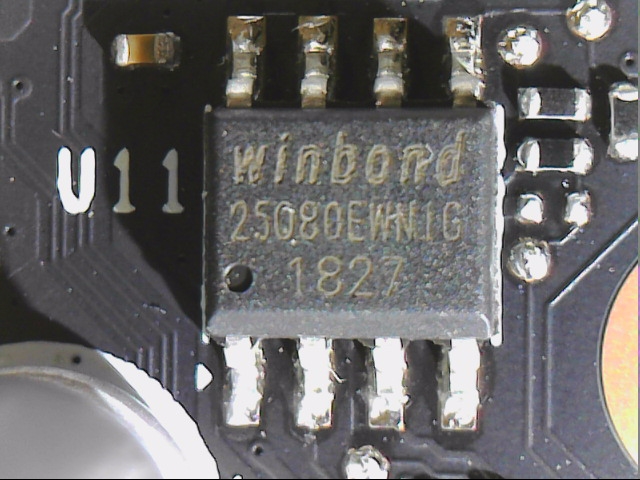
| Eeprom | 25Q80EW Winbond EEPROM, Single BIOS |
 |
| Shunts | Coil (smoothing), shunt and fuse per 12V rail (2x) | 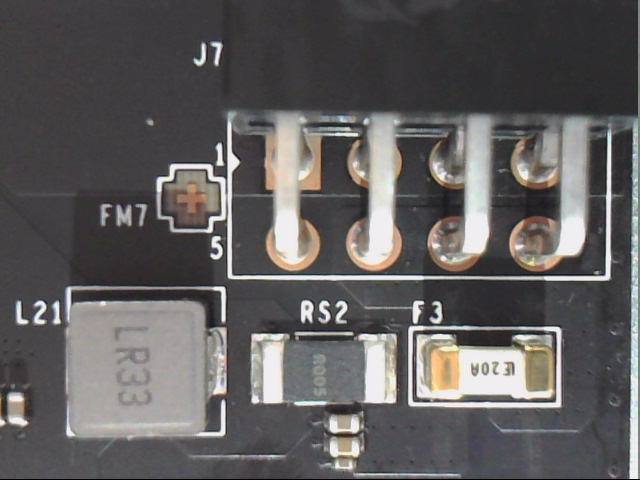 |
| Shunt Controller | uS5650Q Upi Shunt Controller (Voltage/Current Monitor) |
 |
More details |
||
| Other Features |
– 1x 8-pin PCI-Express connection to power supply – Filter coil and fuse in the input area |
|
Cooler and backplate in detail
I have already recorded the complete disassembly of the MSI GTX 1660 Ti in the video, so that interested parties can watch again. Here I have set the mark on exactly this section:
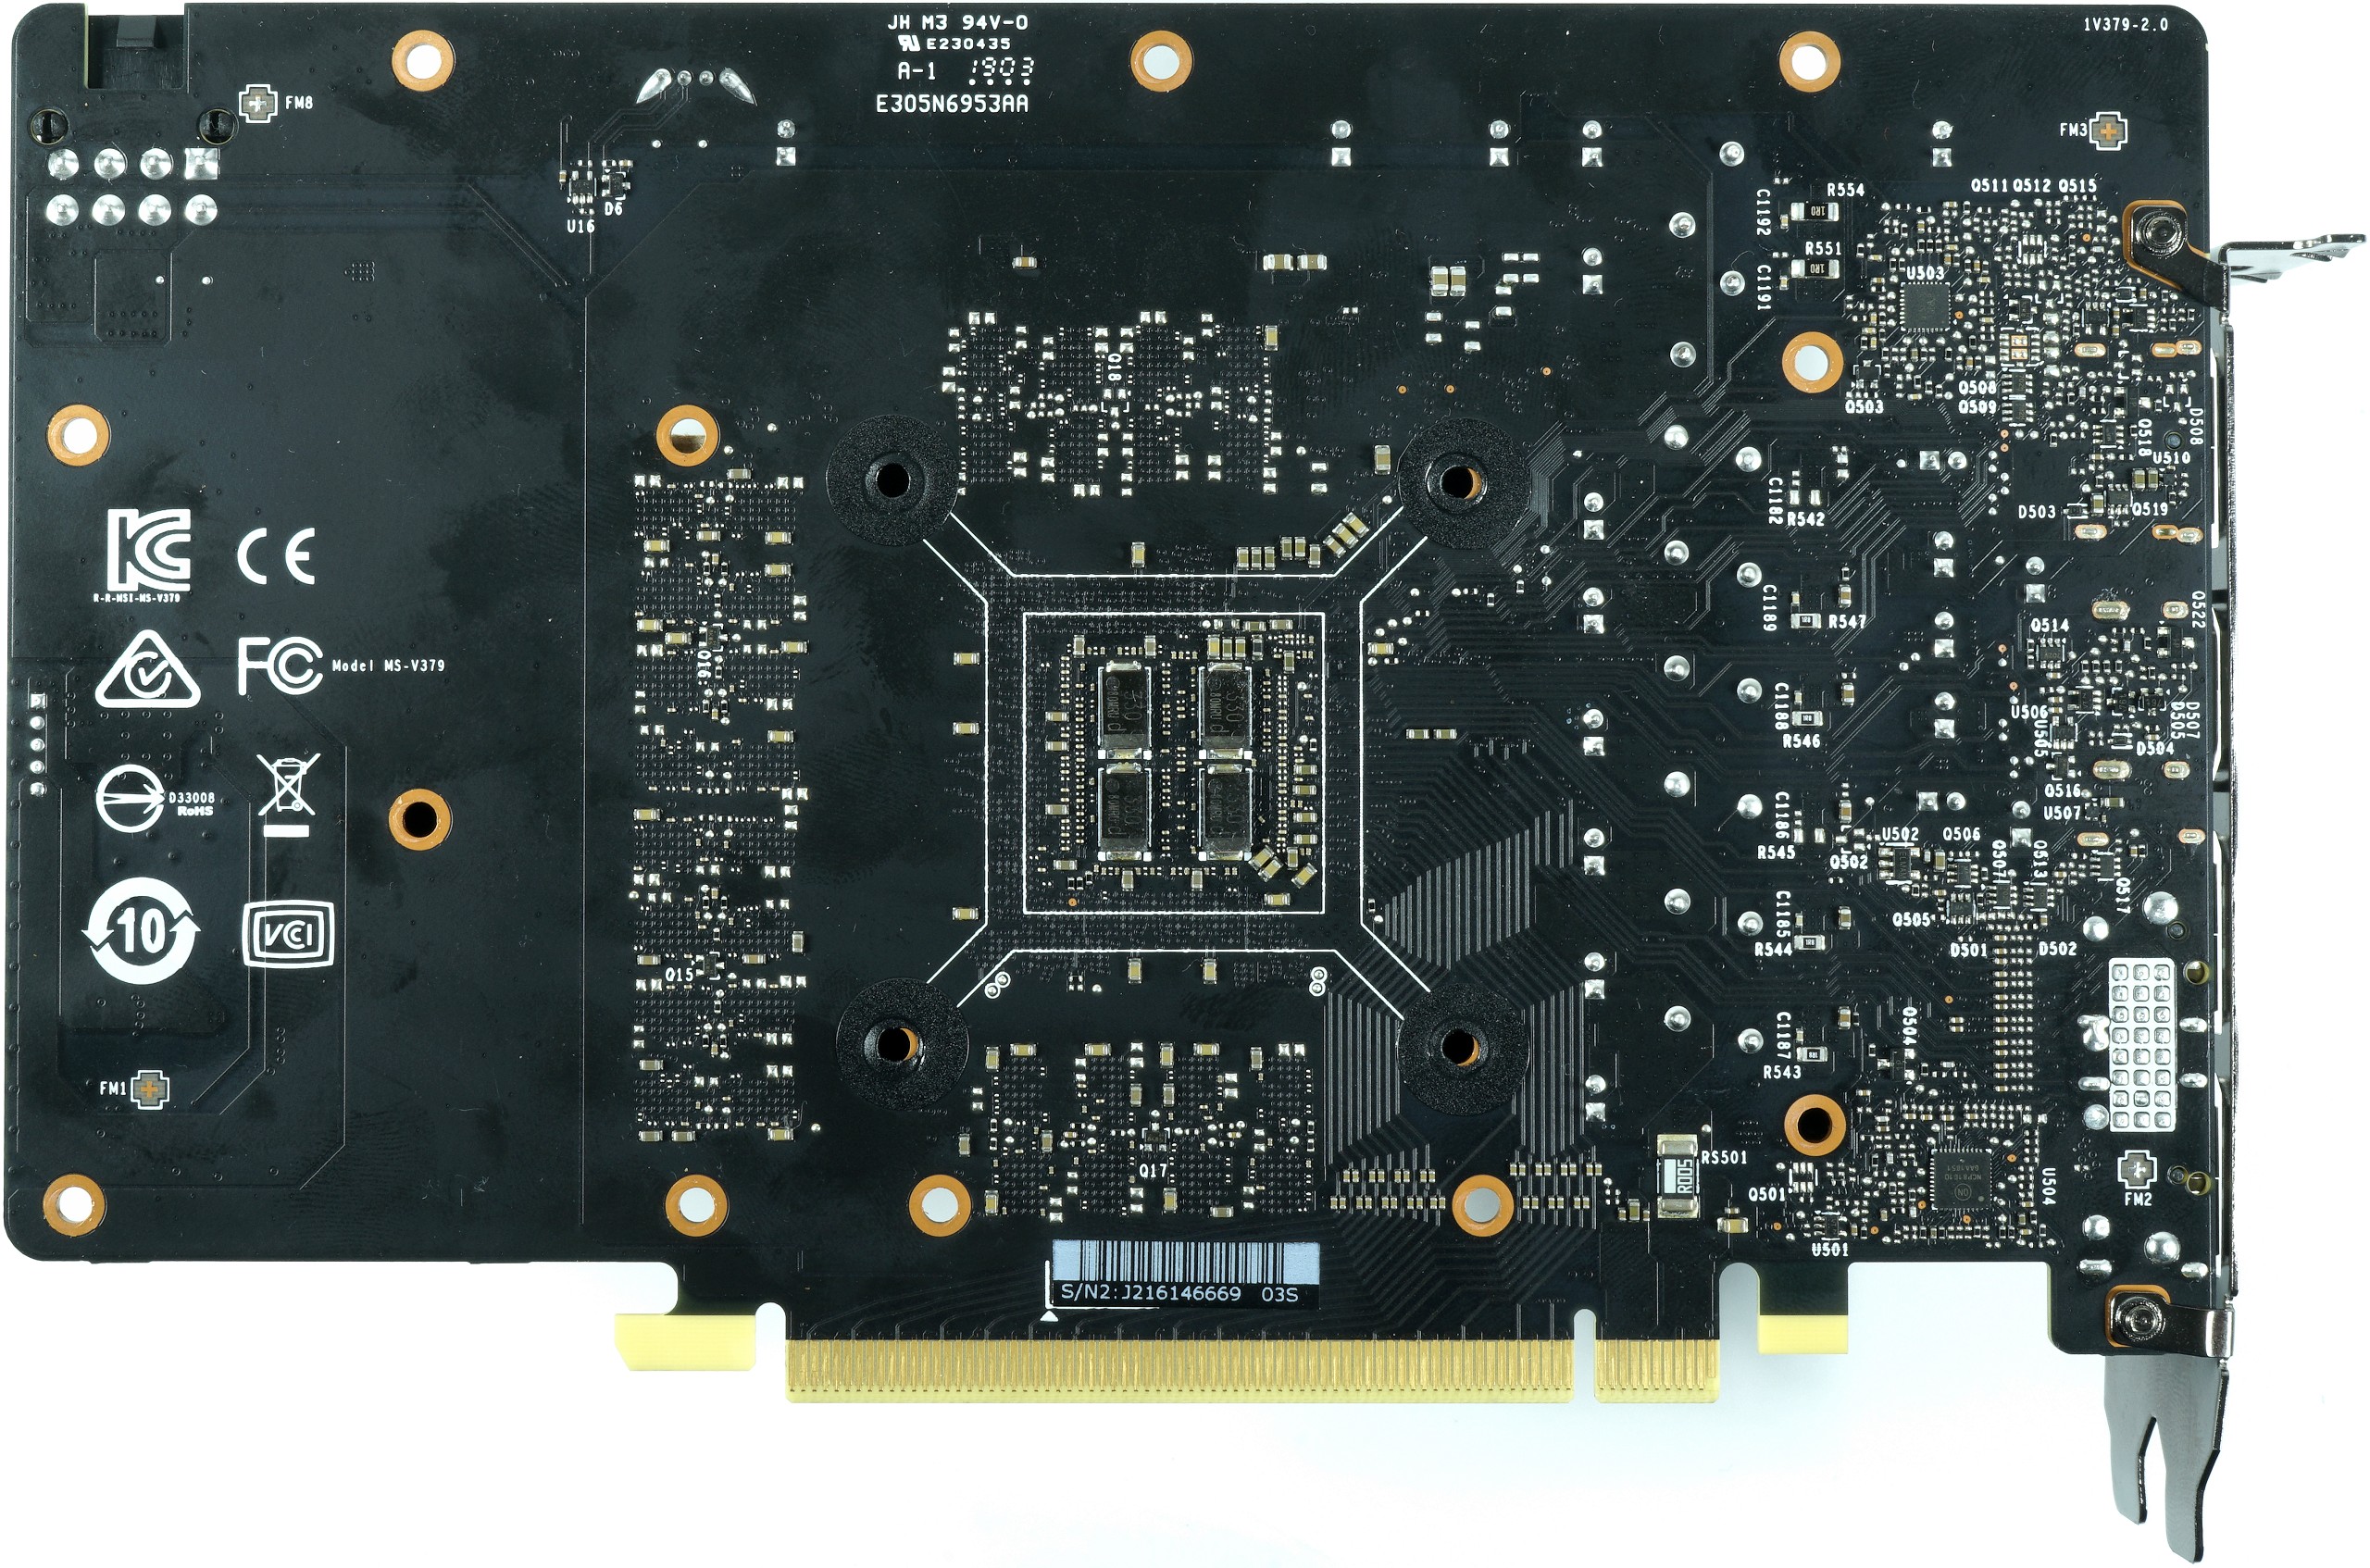
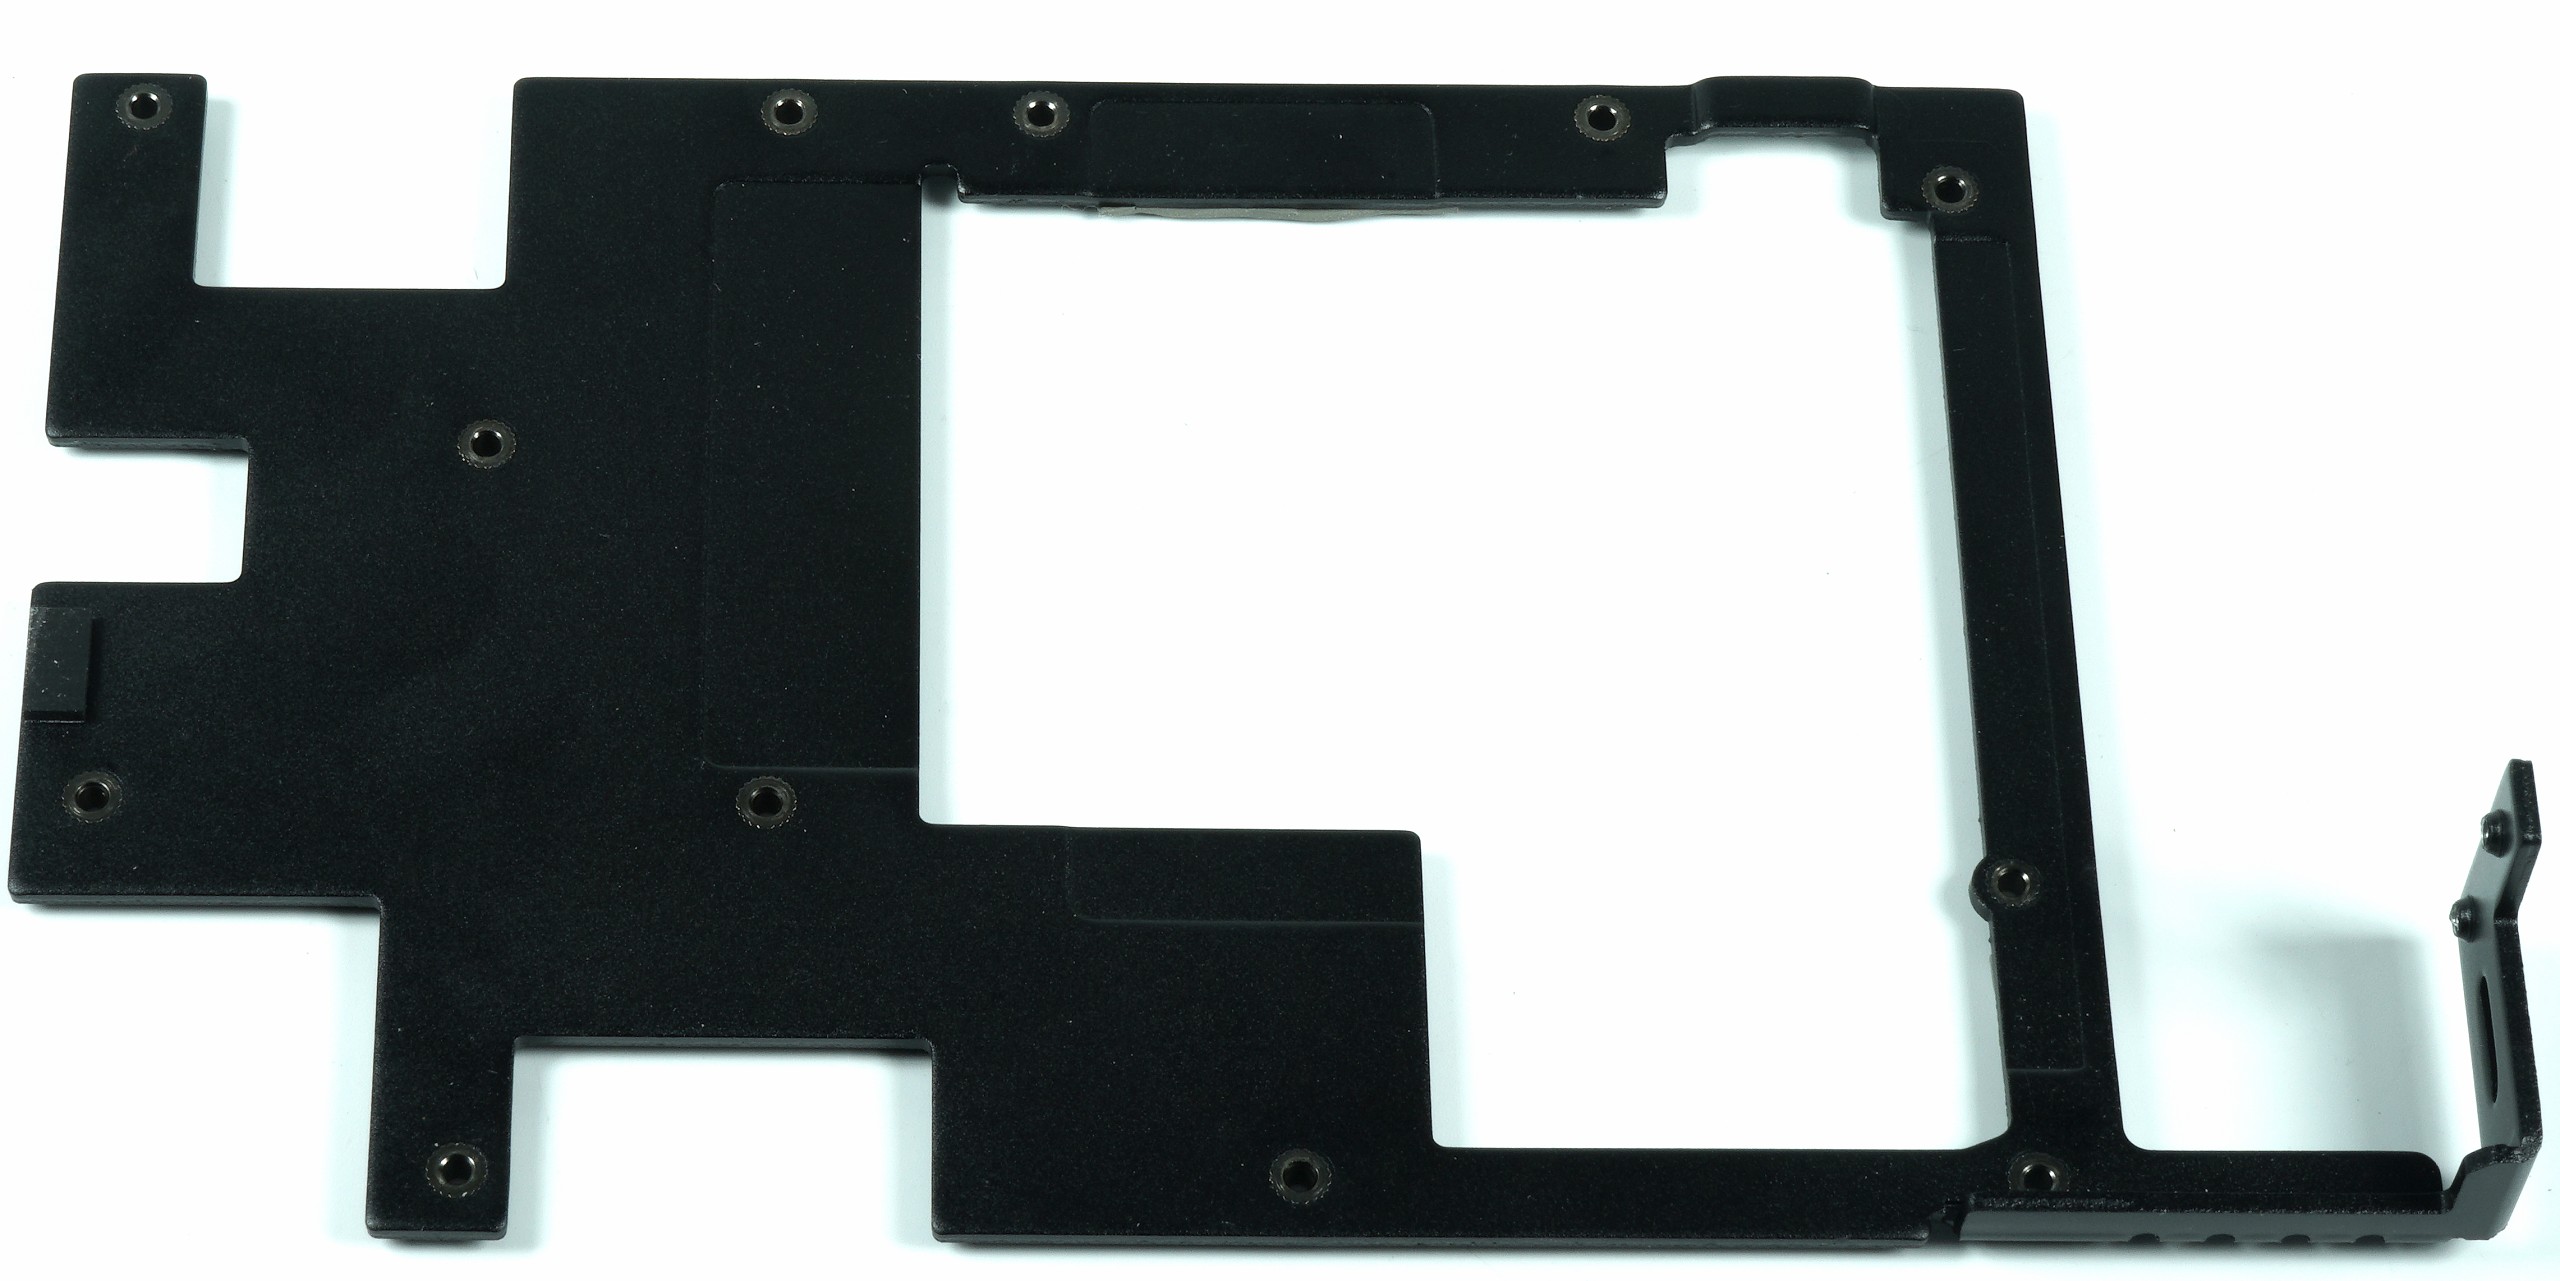
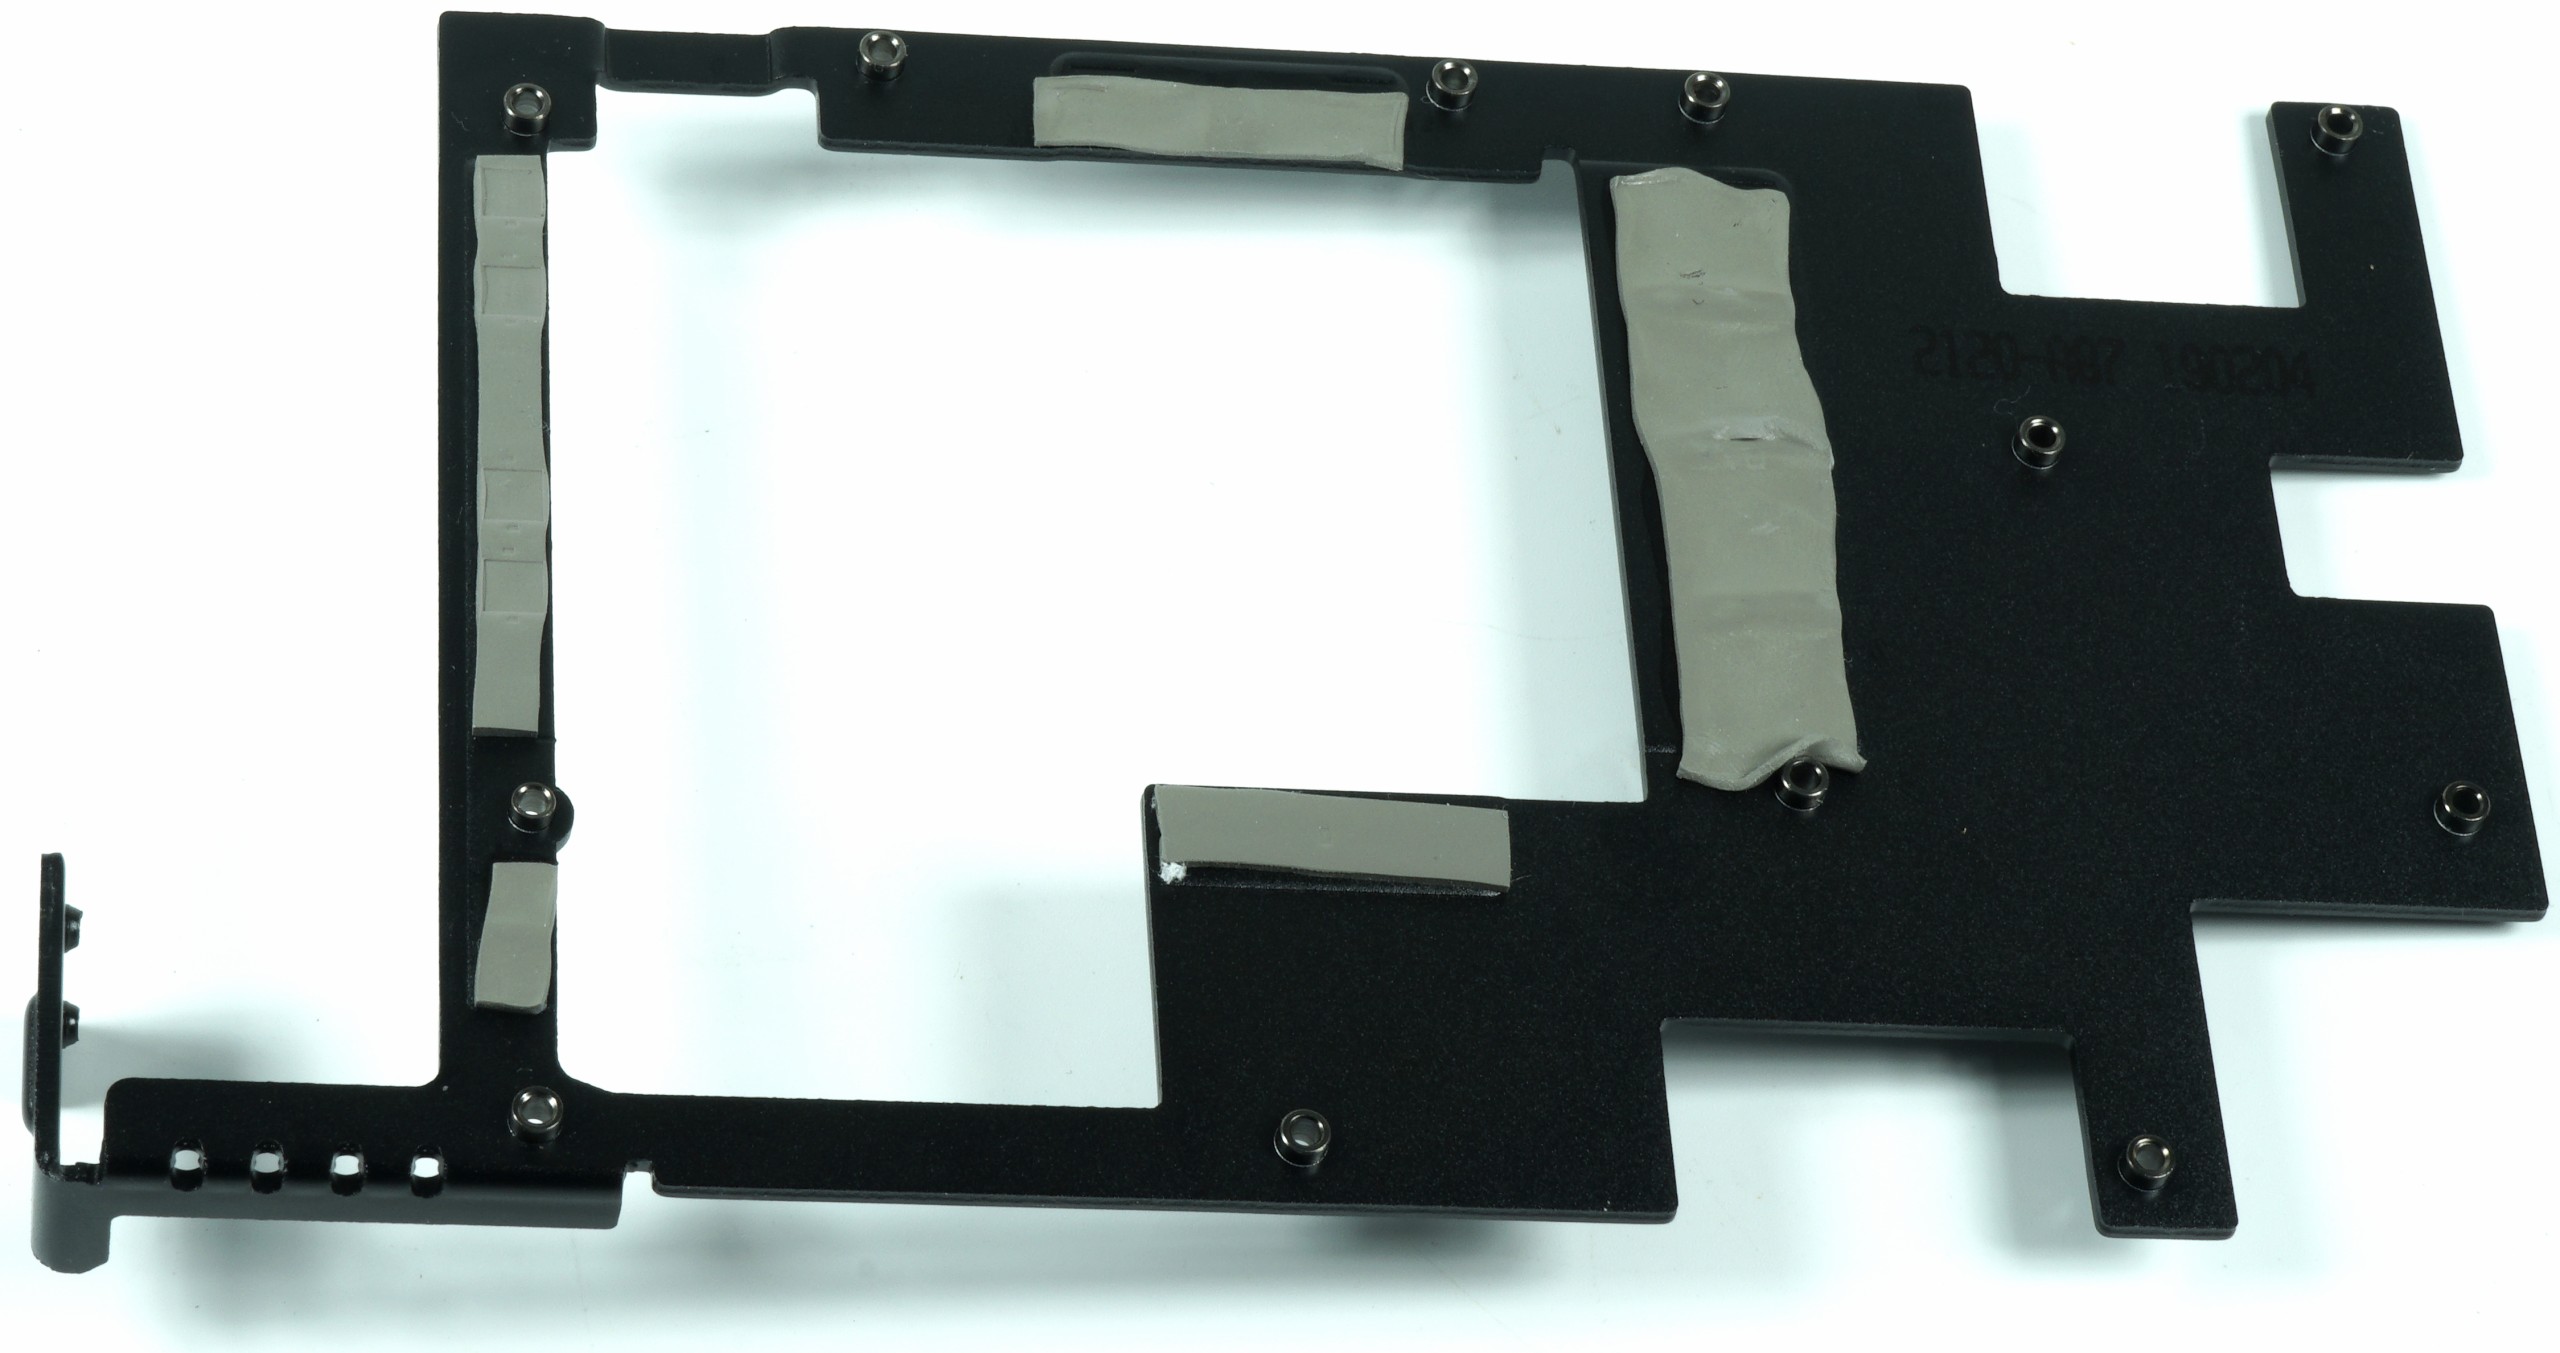
The overall structure of the entire cooling construction is absolutely identical. A large cooling frame permanently inflated by the two fans additionally stabilizes the board and provides cooling of the memory and voltage converters. The 11 screws attach the backplate with the threaded inserts. The entire cooler is held only by the 4 spring screws on the heatsink.
MSI relies on high-performance thermal pads for RAM and VRM, which are only 0.5 mm thick. Funny is the fact that you can also find a pad on the empty area, where two memory modules are missing. Since the GPU can only use 6 modules and the board is not RTX residual utilization, here you leave free RAM to the variability, where you put the RAM now – up or down. Depending on the radiator design, this can even make sense. Eight modules on a 192-bit interface would also be quite unworldly.
The lamella heat sink with its narrow, horizontally aligned cooling fins relies on a total of three nickel-plated 6 mm heatpipes made of copper composite material. These are flattened behind the heatsink and connected to it. A total of two 87 mm fans, each with 14 rotor blades in the 90 mm openings, ensure decent throughput and turbulence.
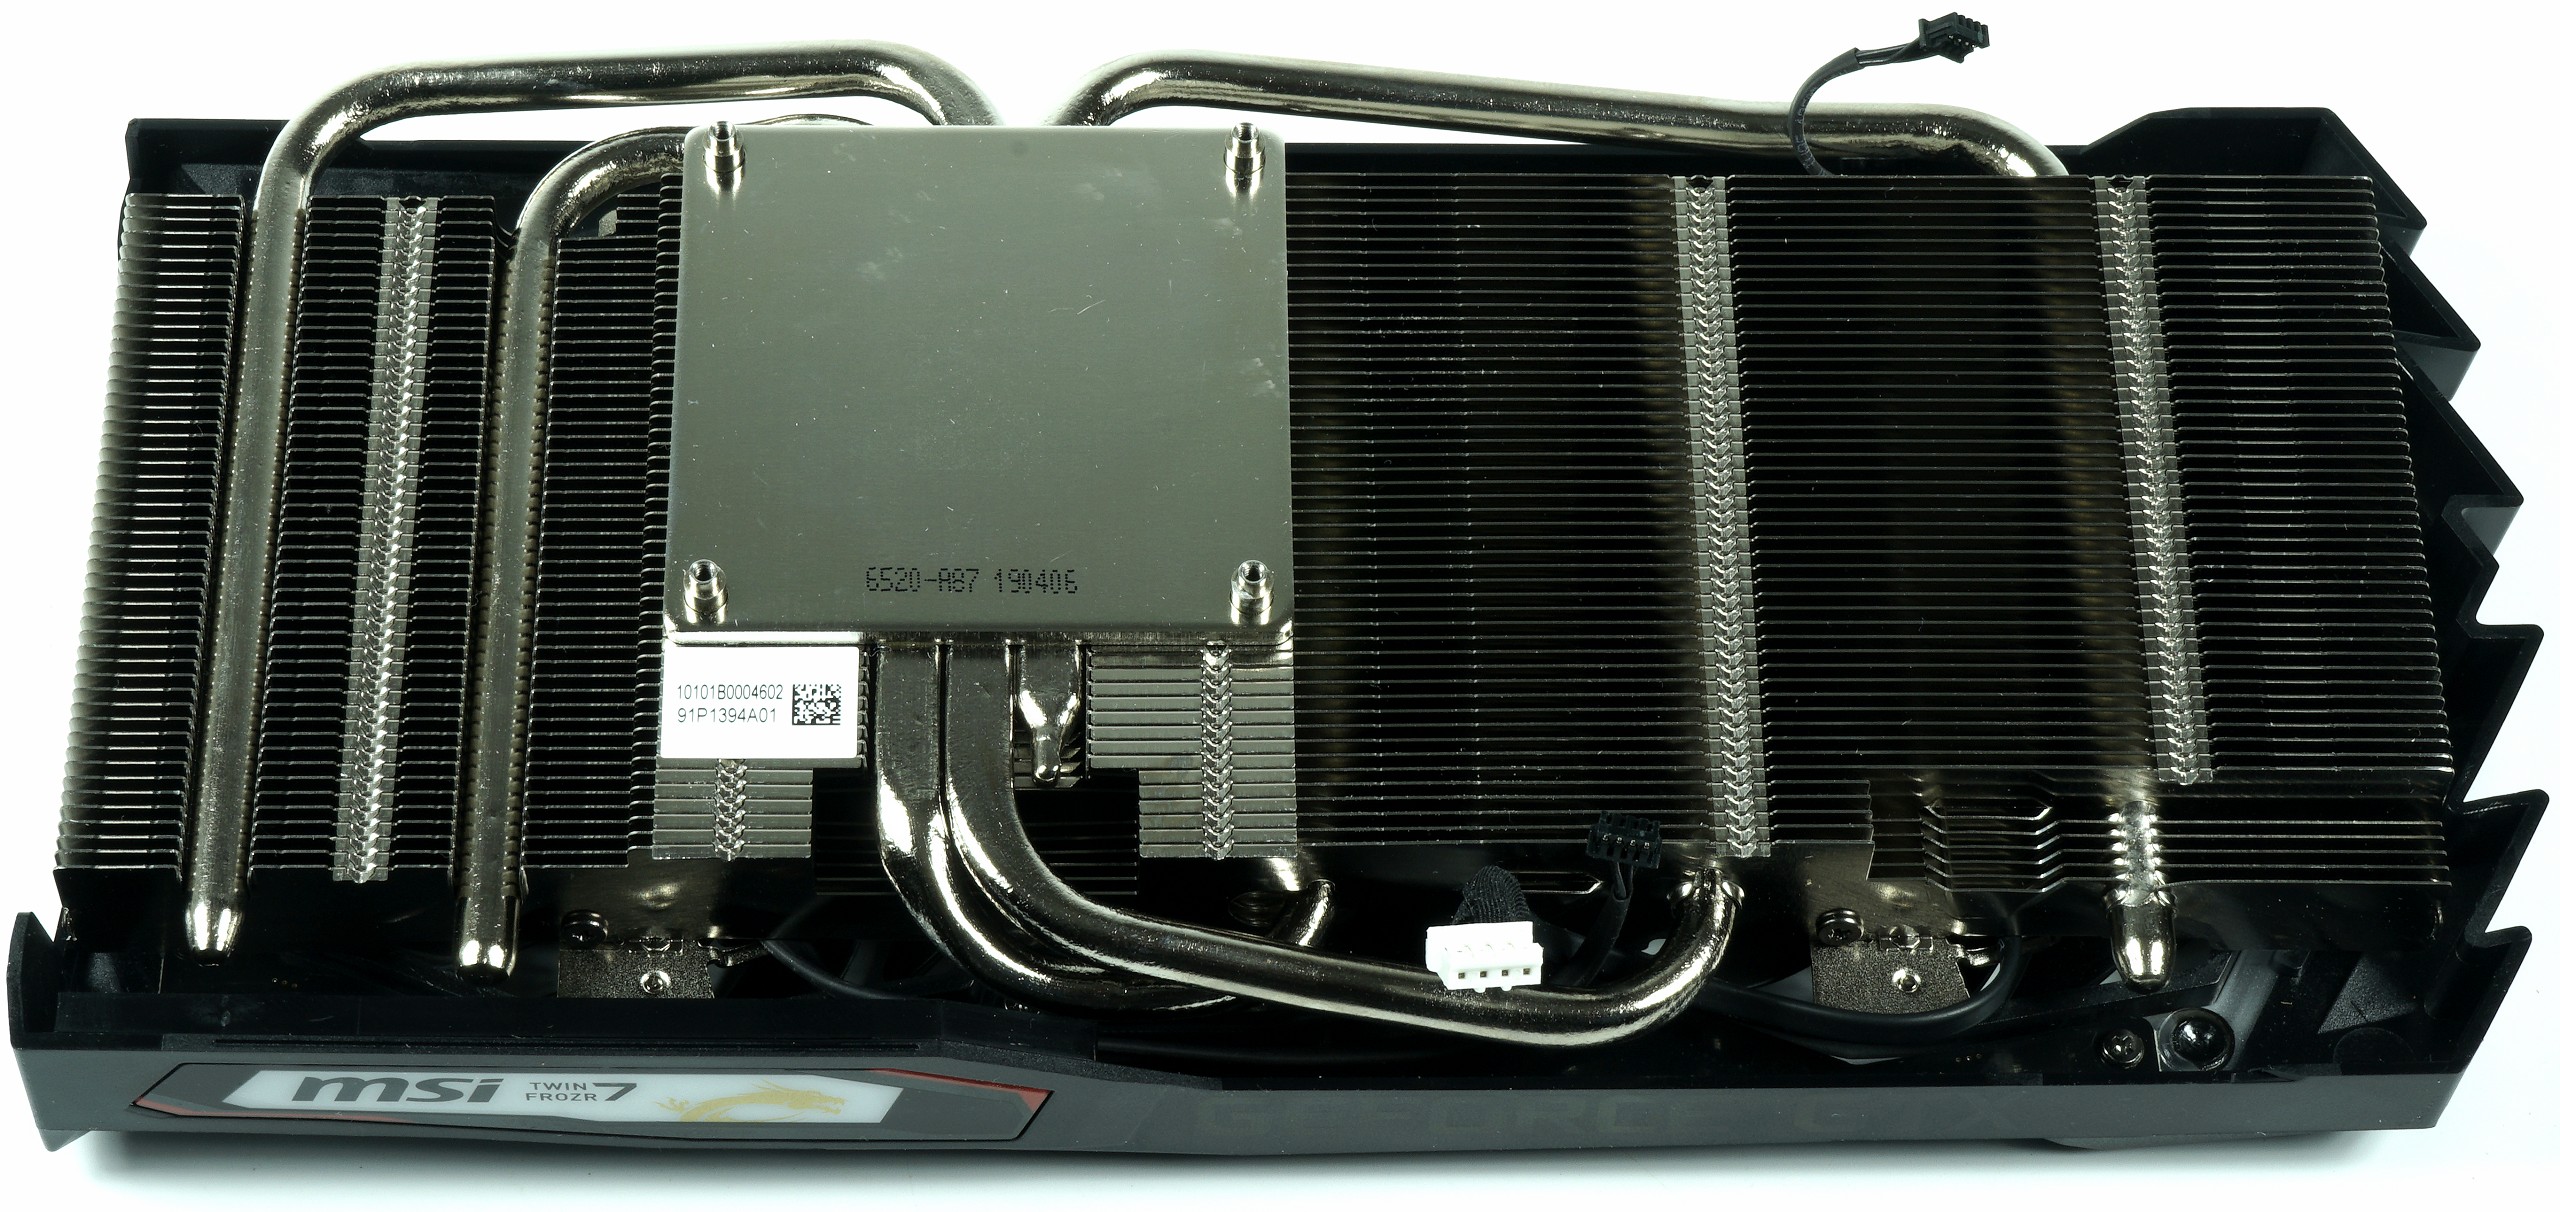
The brushed aluminium backplate does nothing for cooling and, like the assistant at the magician, has only one task: to look beautiful. The cooling system briefly summarized in a tabular overview:
| Cooling system at a glance | |
|---|---|
| Type of cooler: | Air |
| Heatsink: | Nickel-plated heatsink, GPU |
| Cooling fins: | Aluminum, horizontal alignment related |
| Heatpipes | 3x 6 mm, nickel-plated copper composite |
| VRM cooling: | via cooling frame |
| RAM cooling | via cooling frame |
| Fan: | 2x 8.5 cm fan, 14 rotor blades semi-passive lyrised |
| Backplate | Brushed aluminium, no cooling function |
- 1 - Architektur, Testmuster, Testsystem
- 2 - Teardown und Analyse
- 3 - Benchmarks bei 1920 x 1080 (Übersicht)
- 4 - Benchmarks bei 1920 x 1080 (Einzelergebnisse)
- 5 - Benchmarks bei 2560 x 1440 (Übersicht)
- 6 - Benchmarks bei 2560 x 1440 (Einzelergebnisse)
- 7 - Leistungsaufnahme im Detail
- 8 - OC, Taktraten, Temperatur, Infrarot
- 9 - Lüfter und Lautstärke
- 10 - Zusammenfassung


Kommentieren