


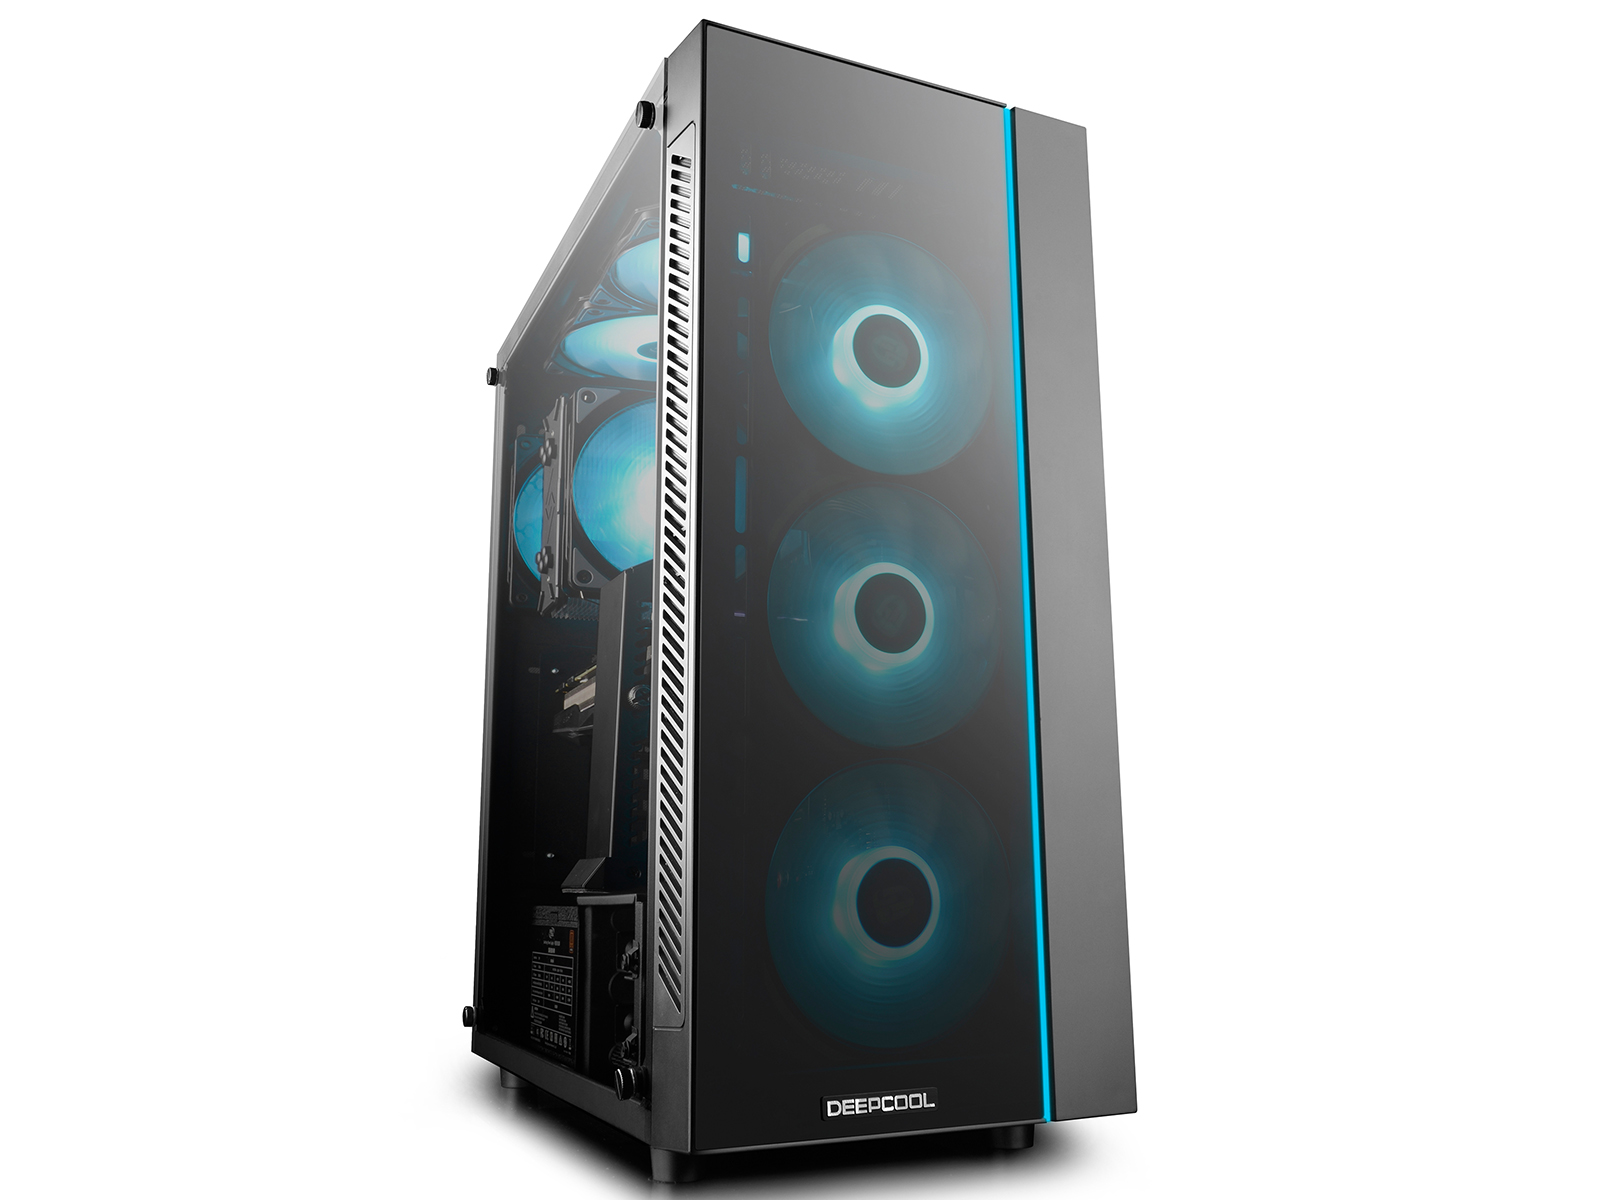
No, good things don't always have to be extremely expensive, you can also be happy with the clever management of your rather limited budget and still drive it quite colorfully. And I mean that quite literally, because Deepcool has also equipped everything with RGB LEDs. Of course, you can see that now as you like, but above all in the dark. Then you pay a completely stocked slightly over 65 Euros, which is actually still fair, because the fans are not among the worst.
If not, the Deepcool Matrexx 55 is also available without RGB fans and also from 45 to 50 euros. The model I tested came without a fan and I eventually retrofitted the fans myself. But it could also have been any other photon-free quirle with optical restraint. But what's the point? RGB On so that I can see something in the dark! But as already written, it is only one option of many.
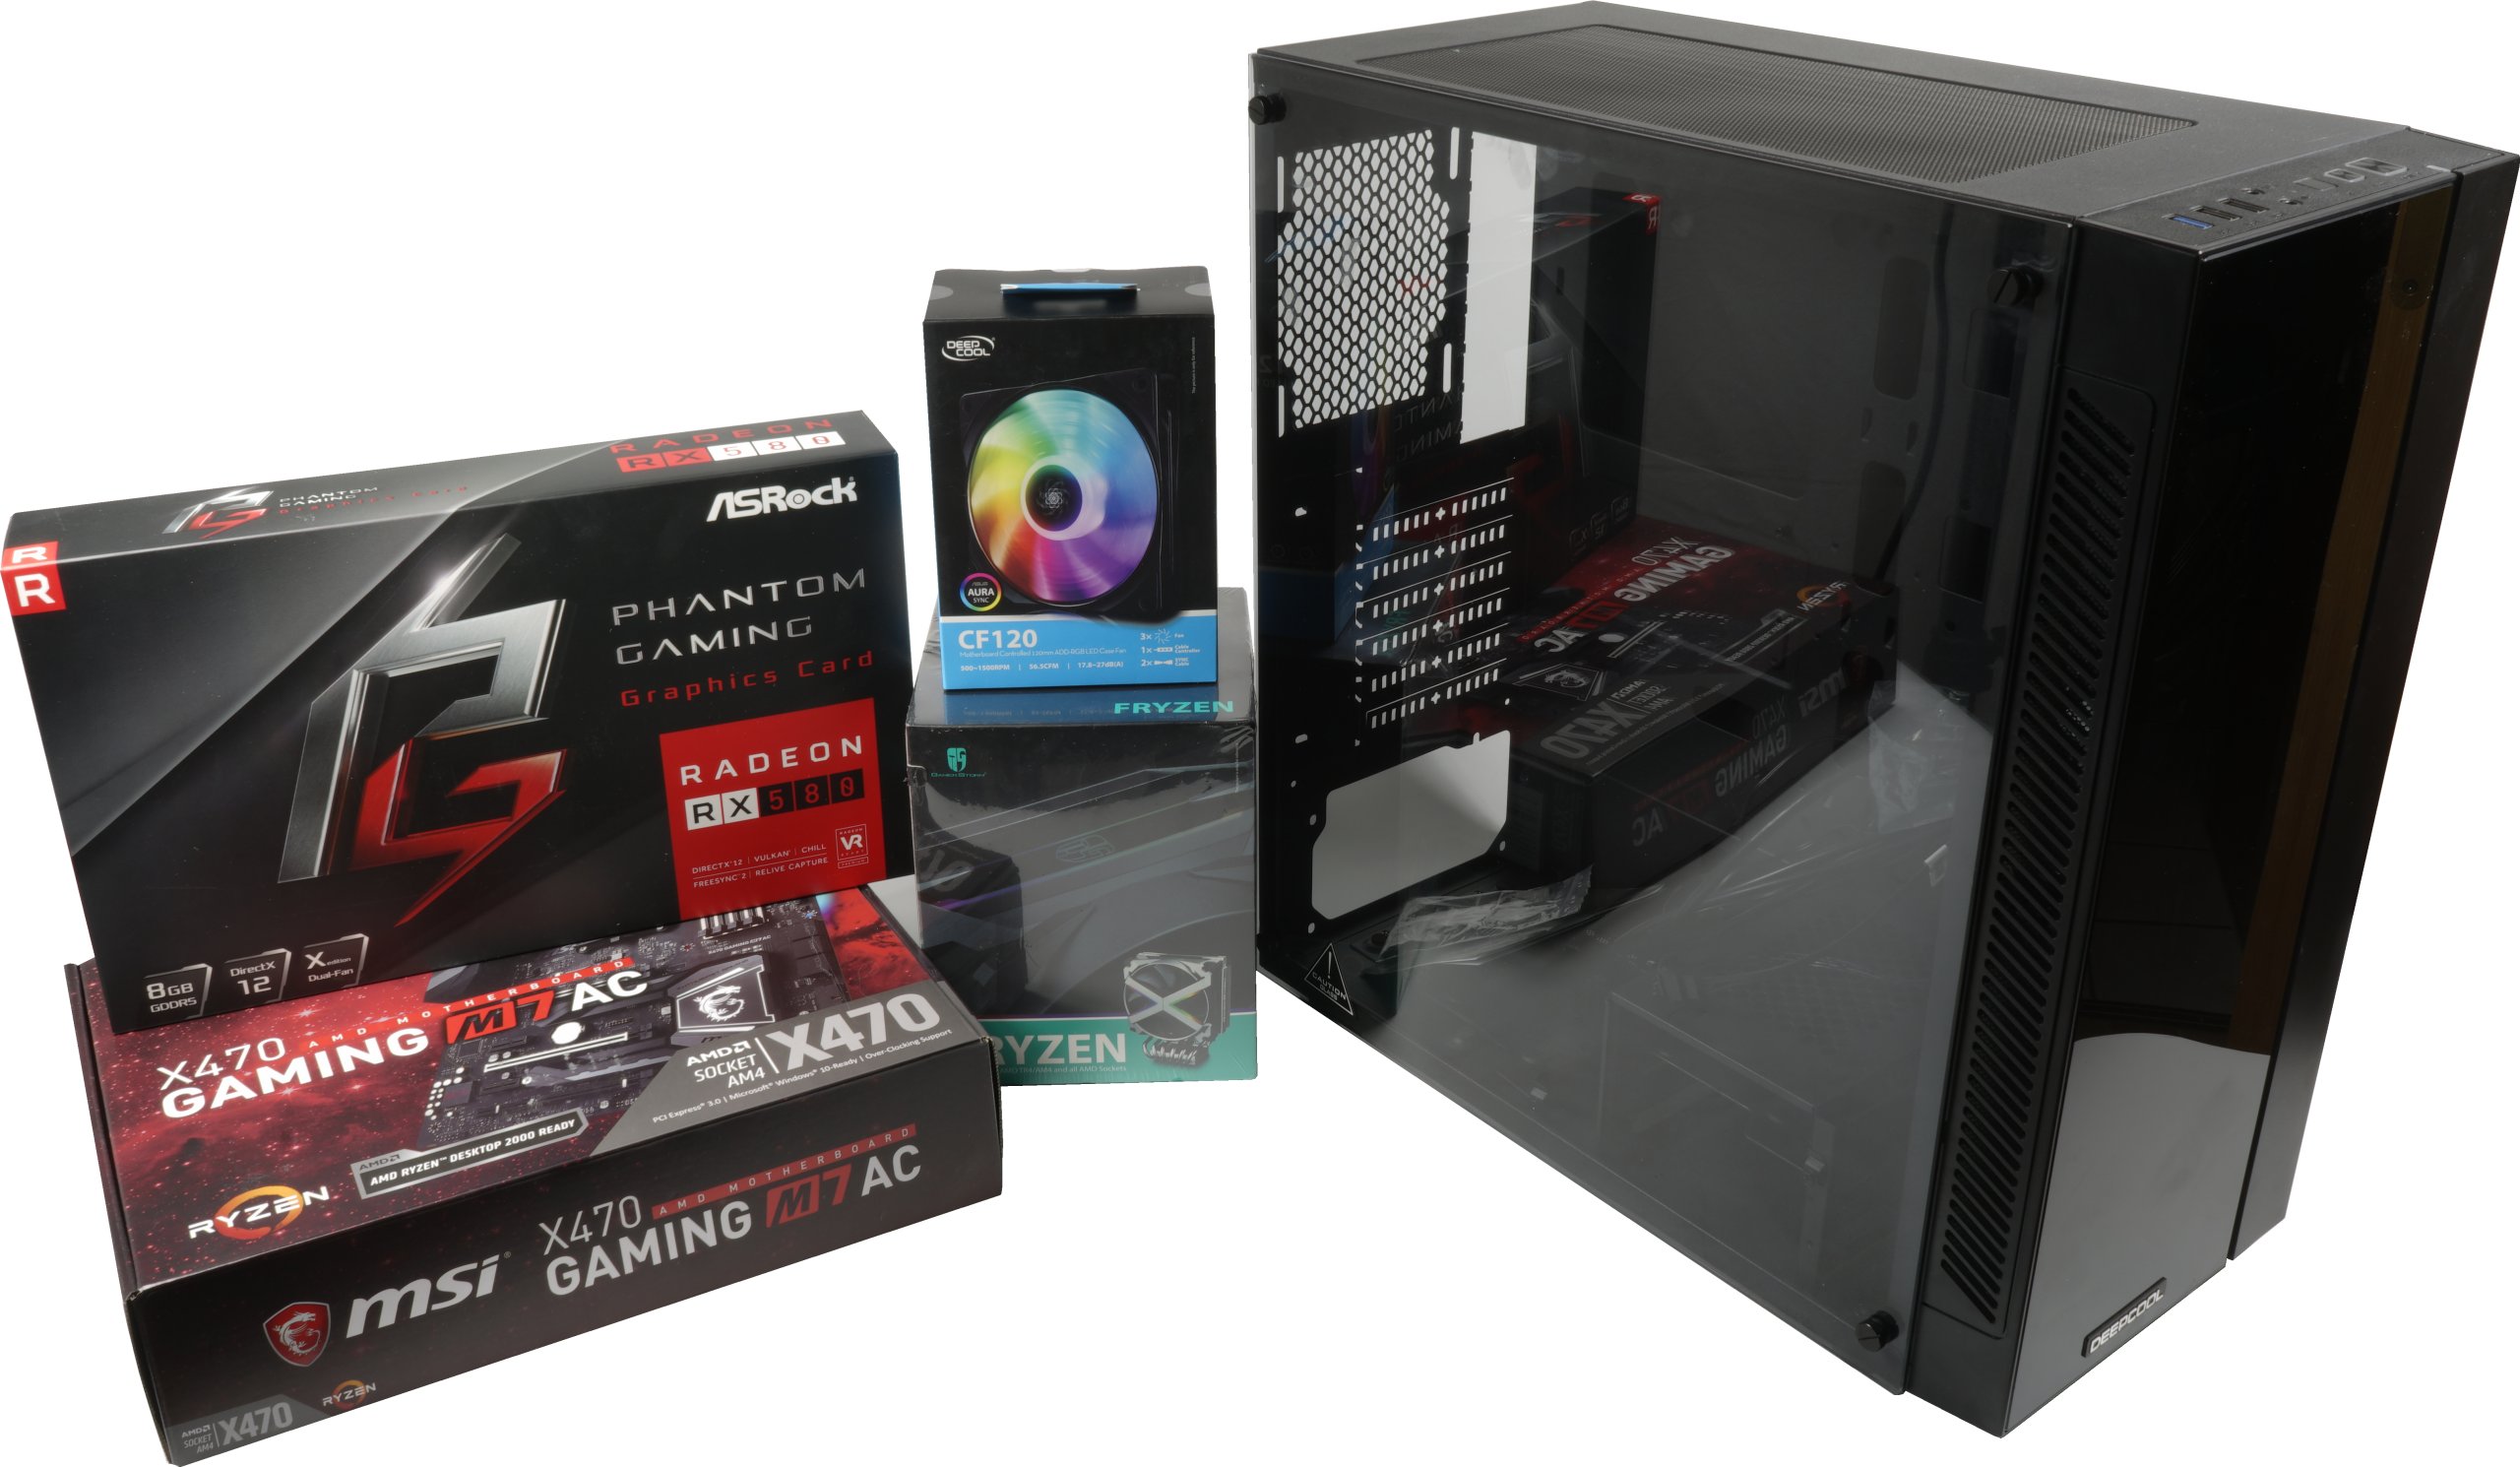
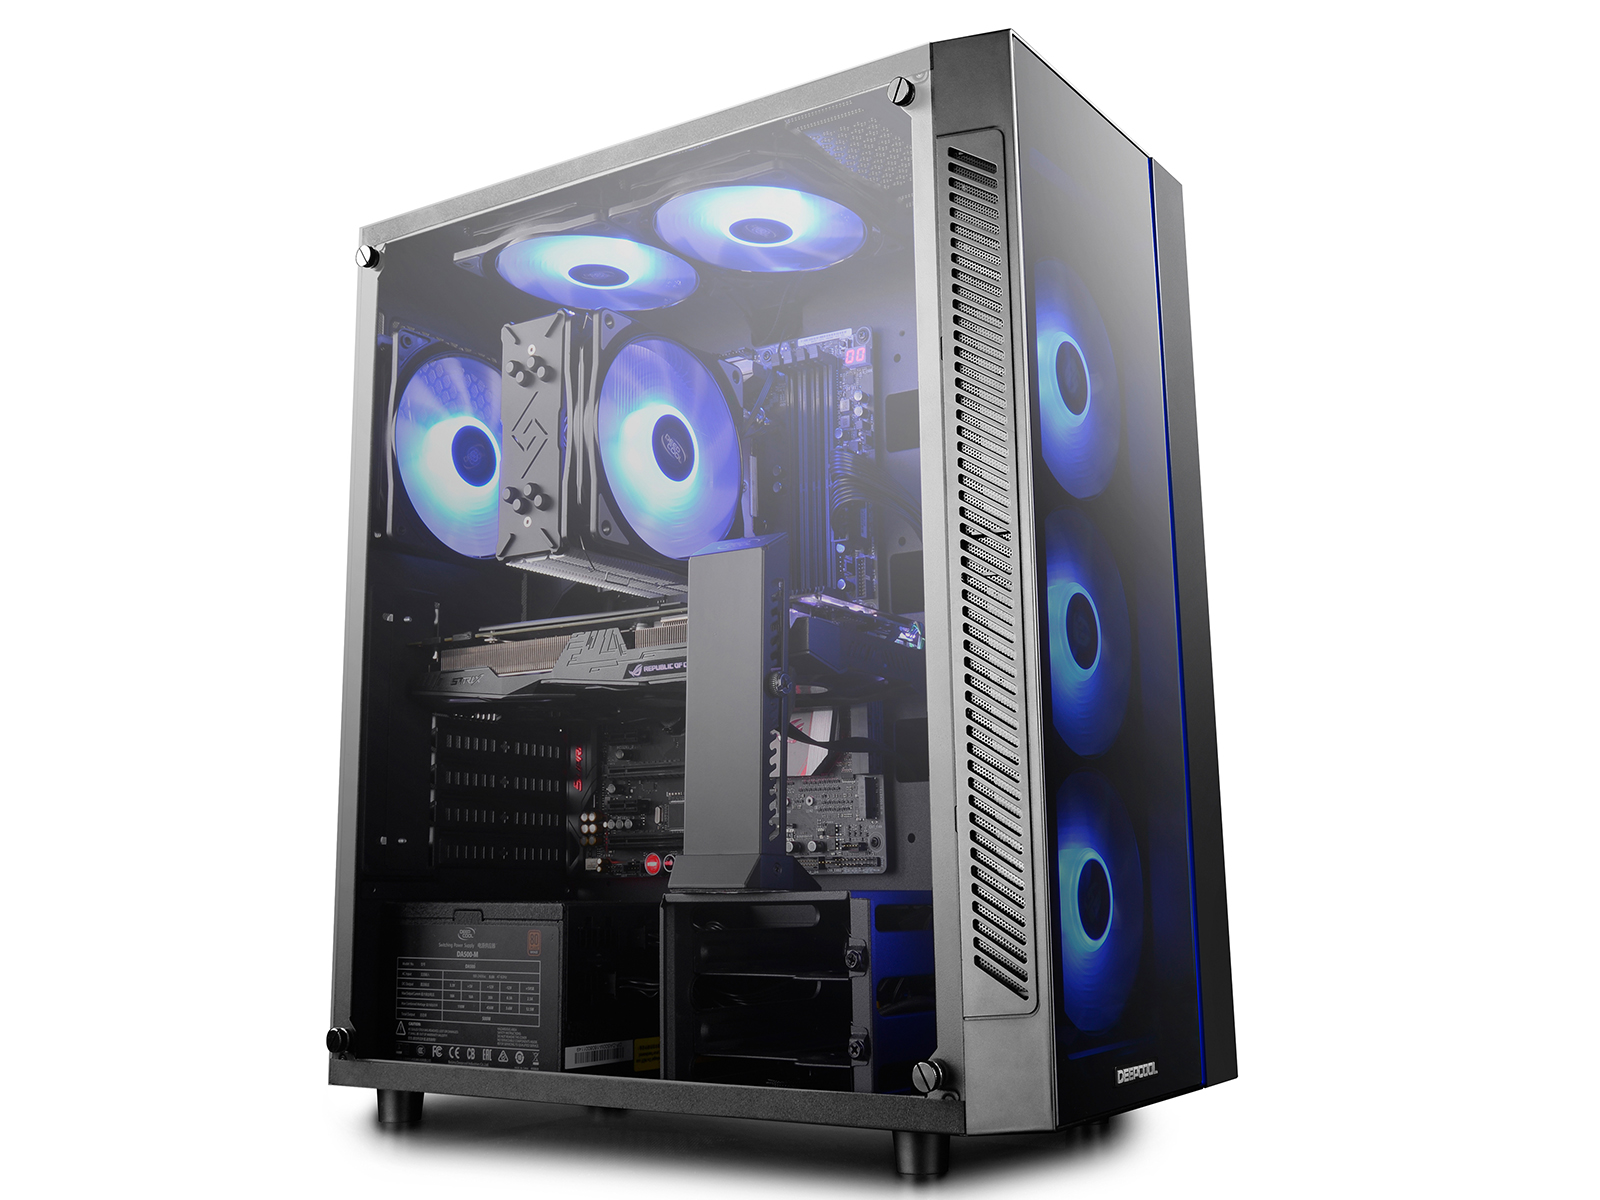
For this I pack an X470 board from MSI, whereby it would certainly have made a smaller and cheaper version loose, but unfortunately I don't have any at hand right now. So let's look at the board as an example. The AMD Ryzen 2 2700 is certainly a real price tip in many ways, because it runs fast enough to sufficiently fuel the cheap ASRock RX580. But here, too, the Ryzen 2600 (X) would be a cheaper alternative to the hand. an SSD is a matter of honour and otherwise? Fits, does not wobble and almost always has enough air.
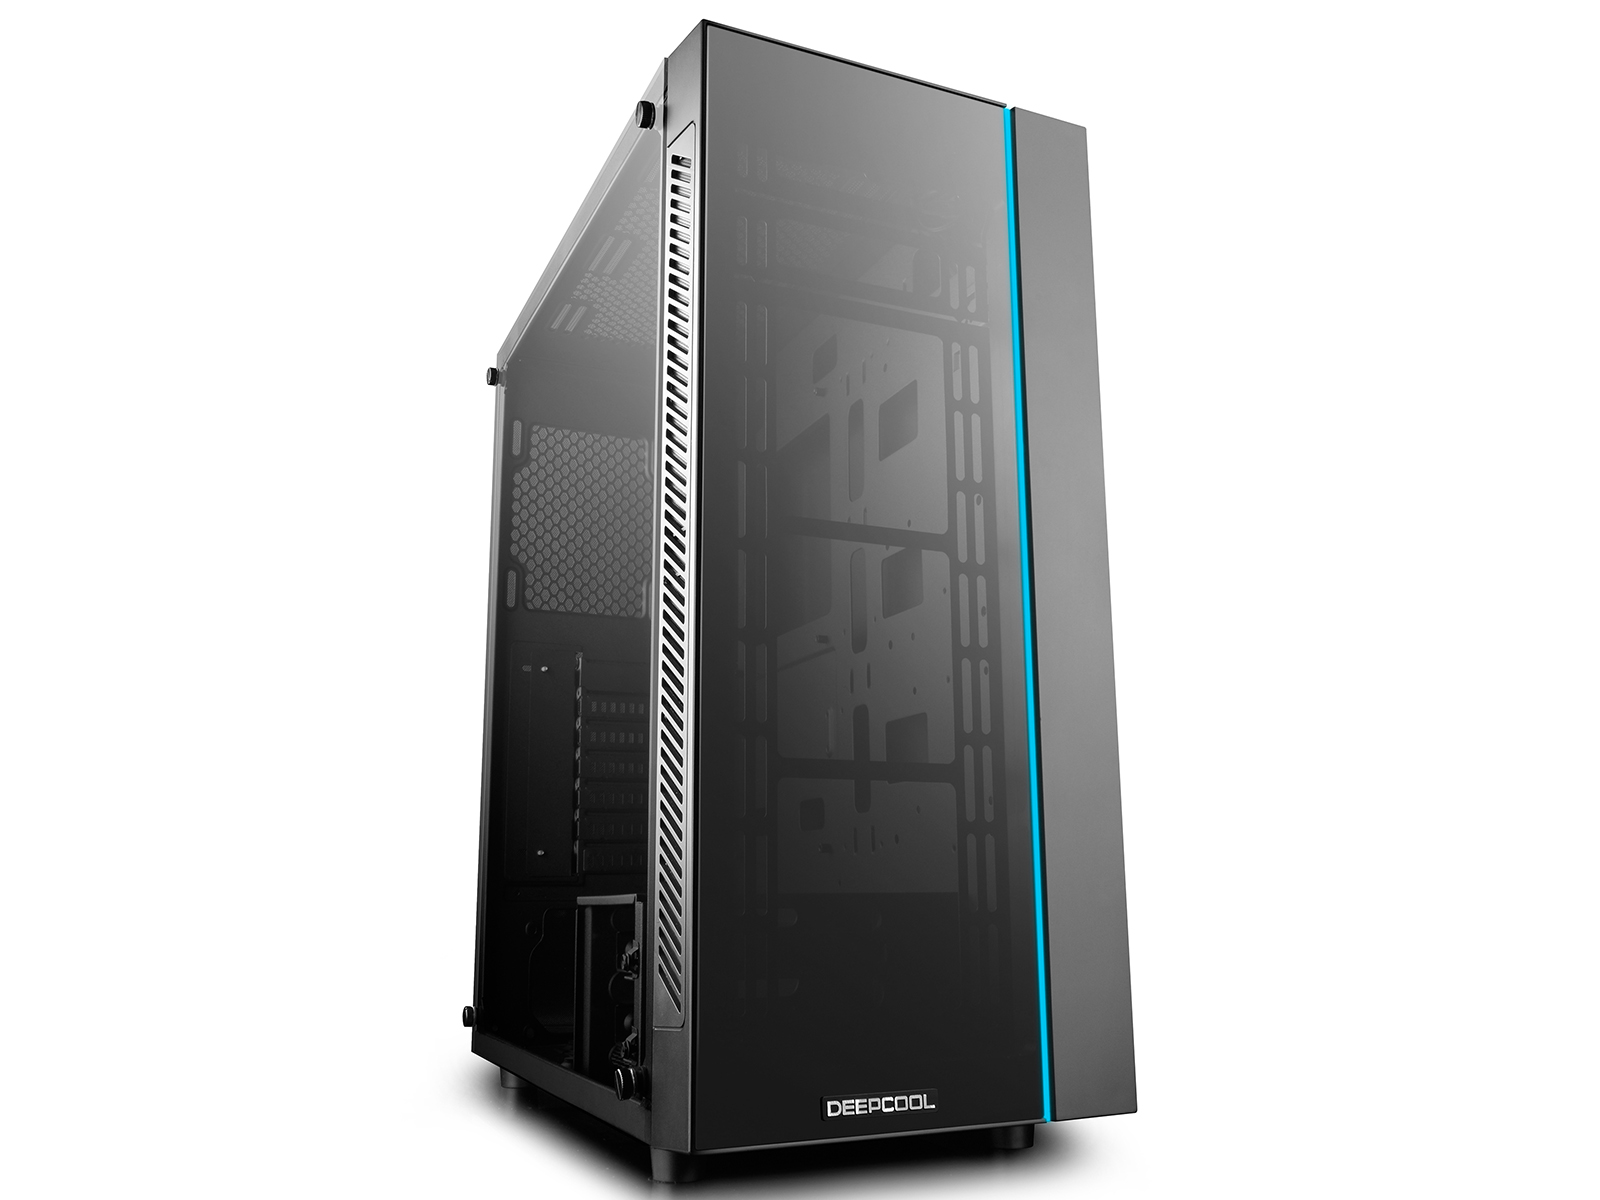
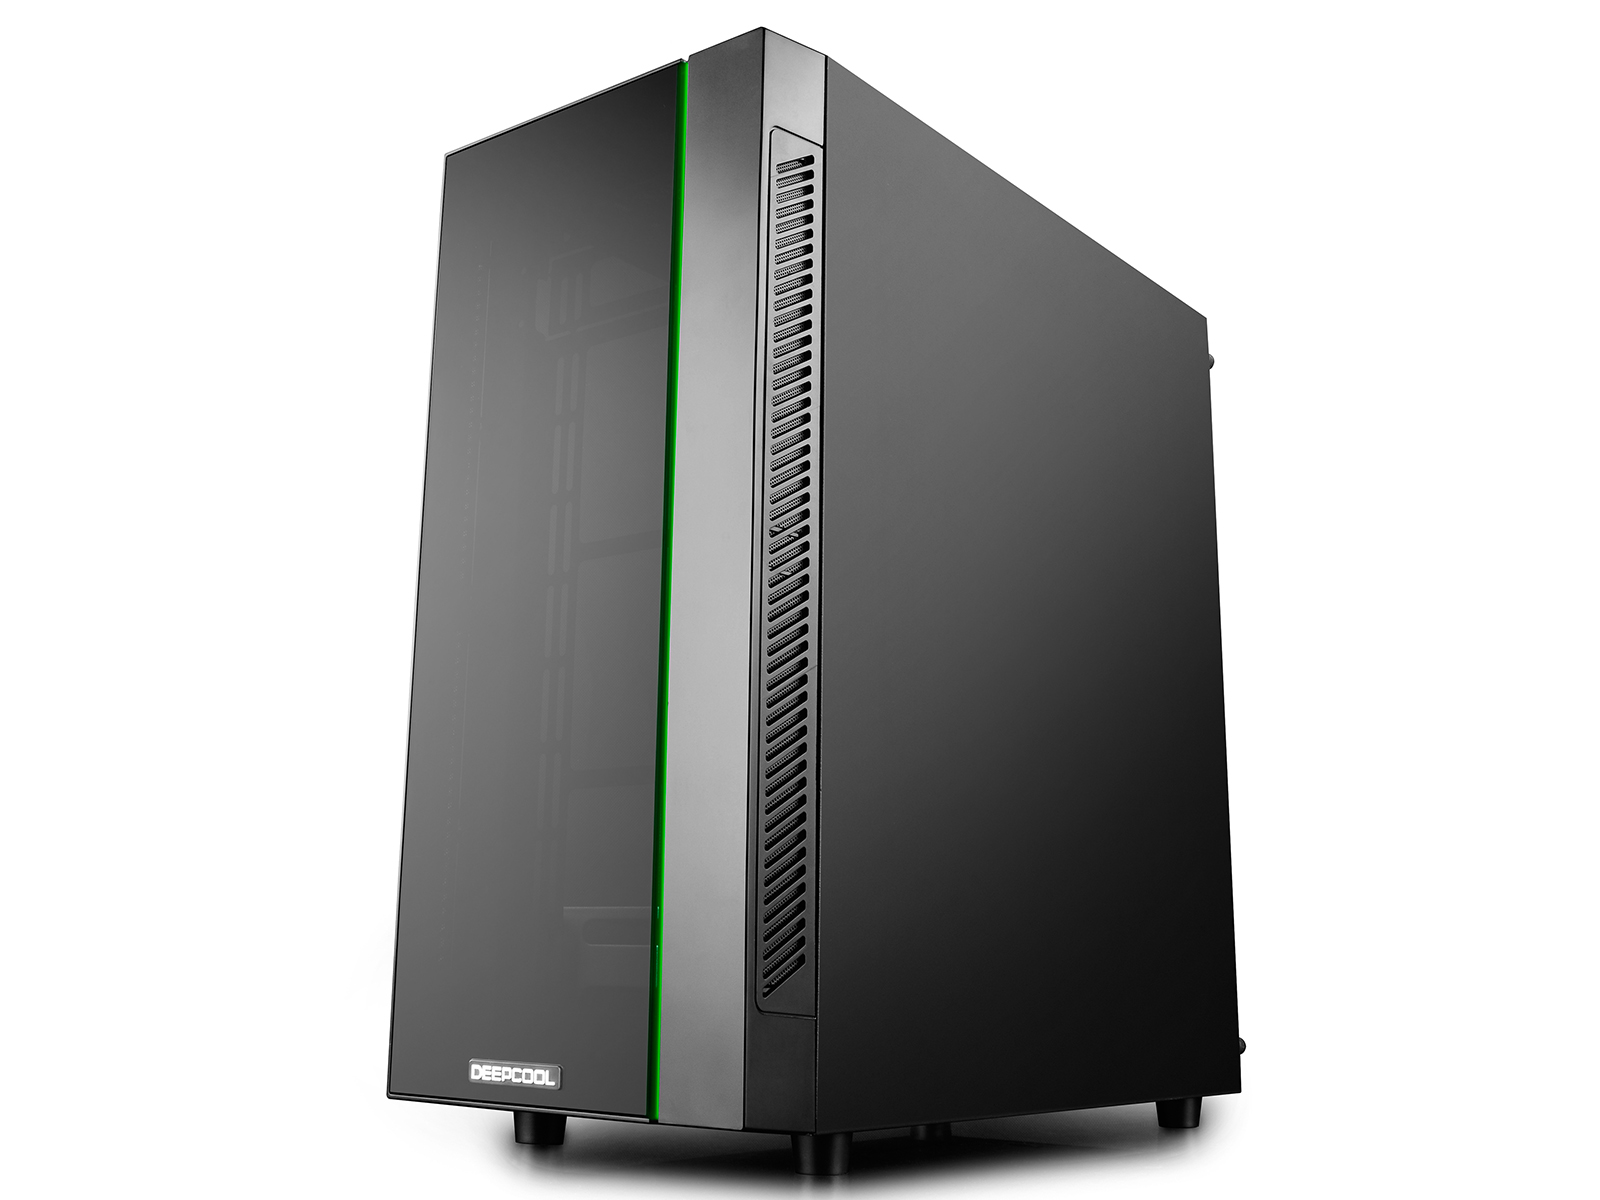
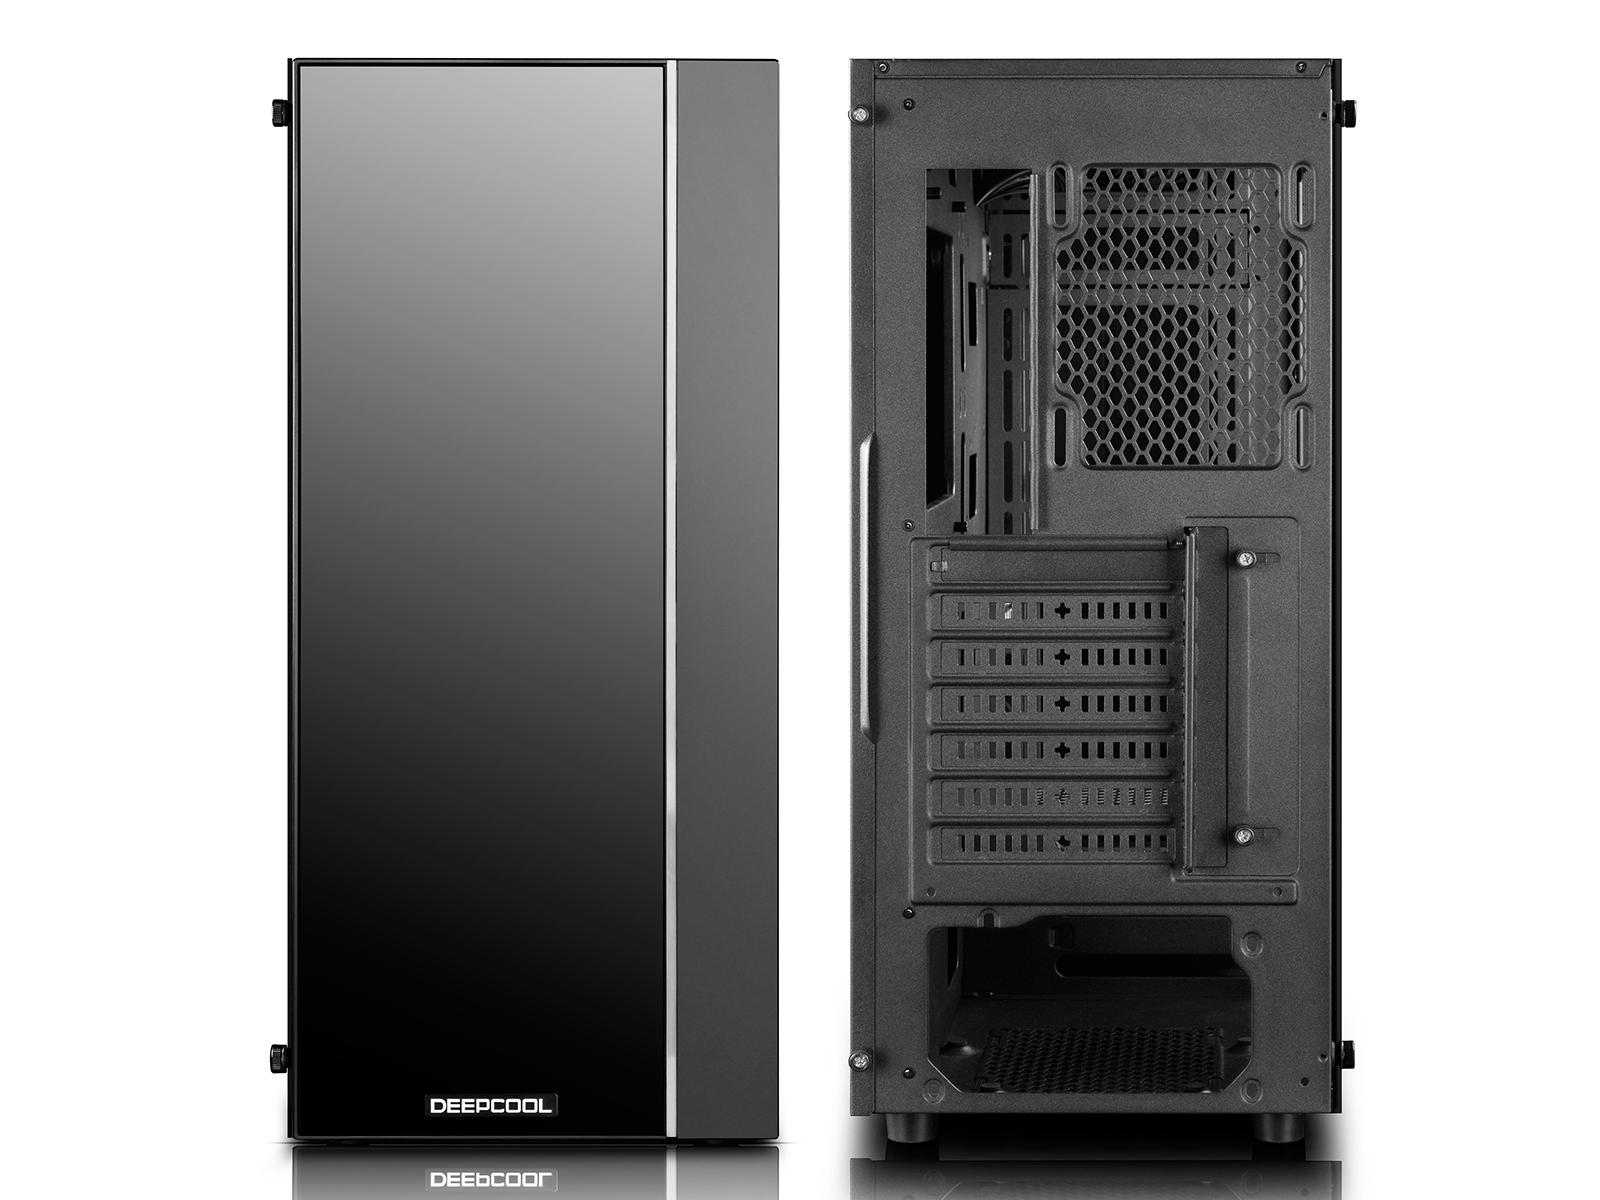
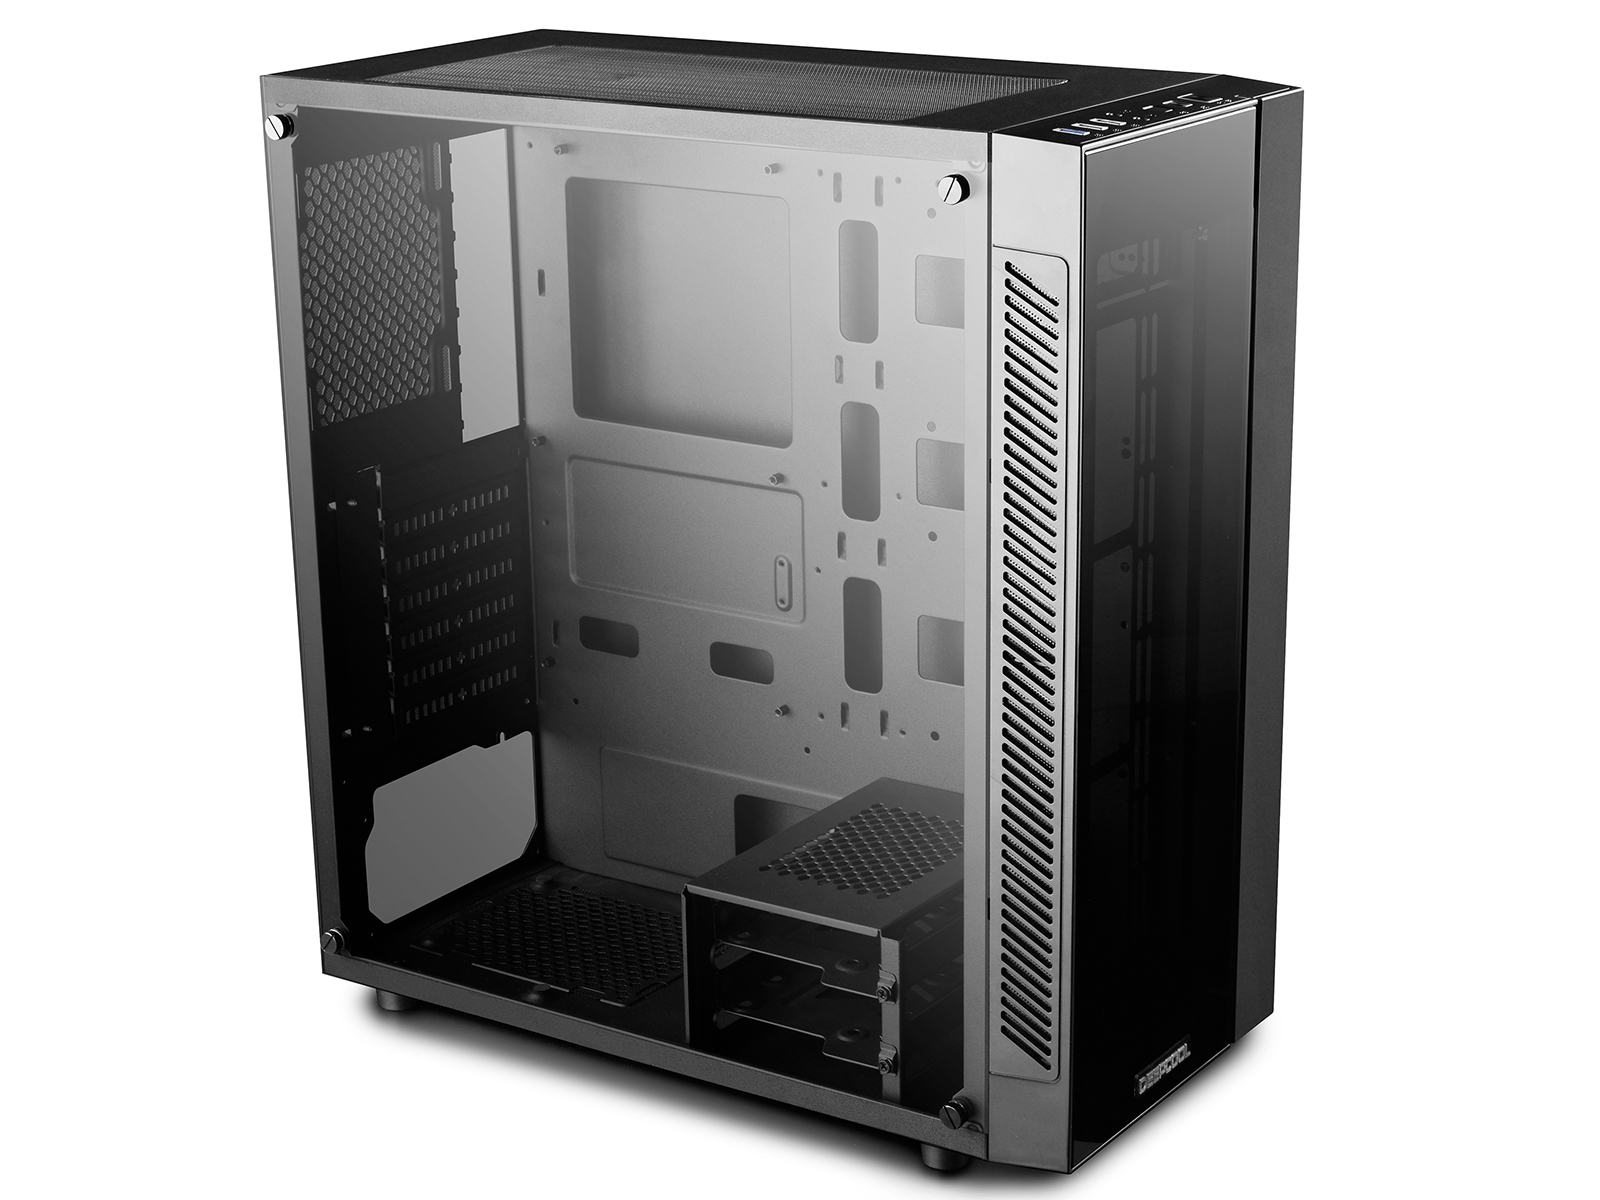
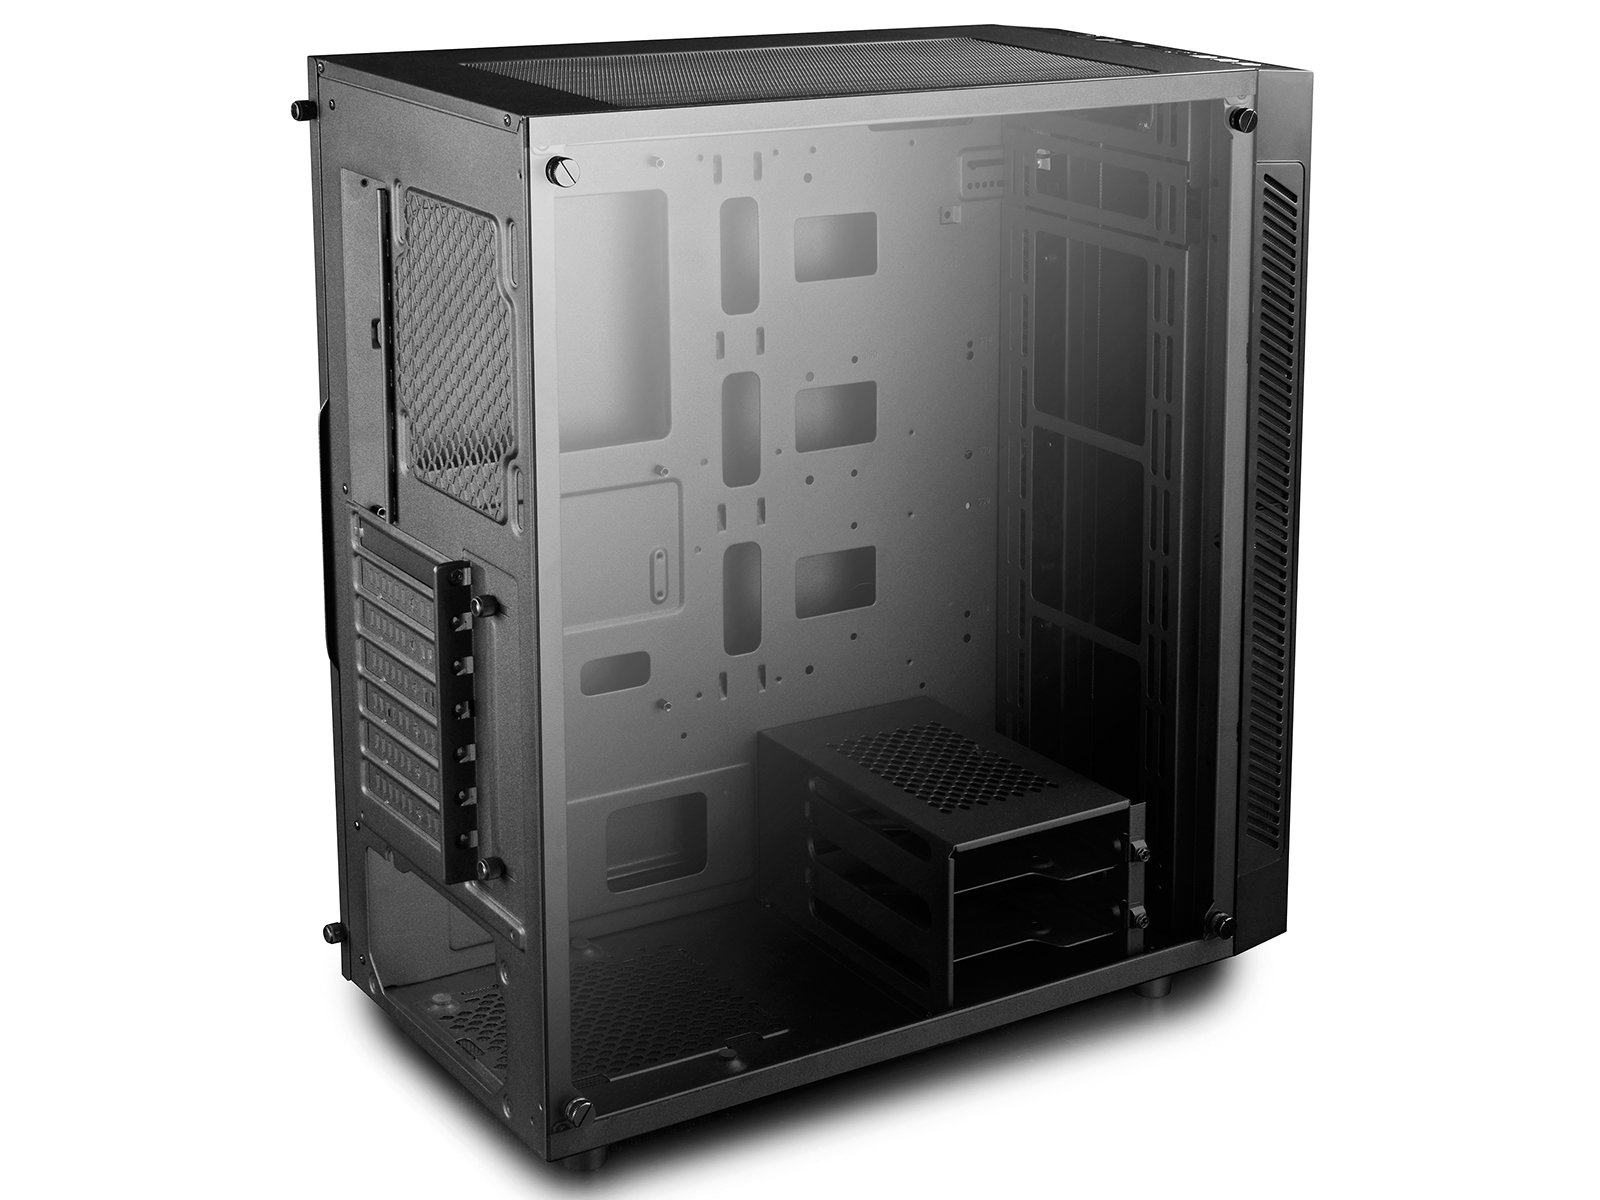
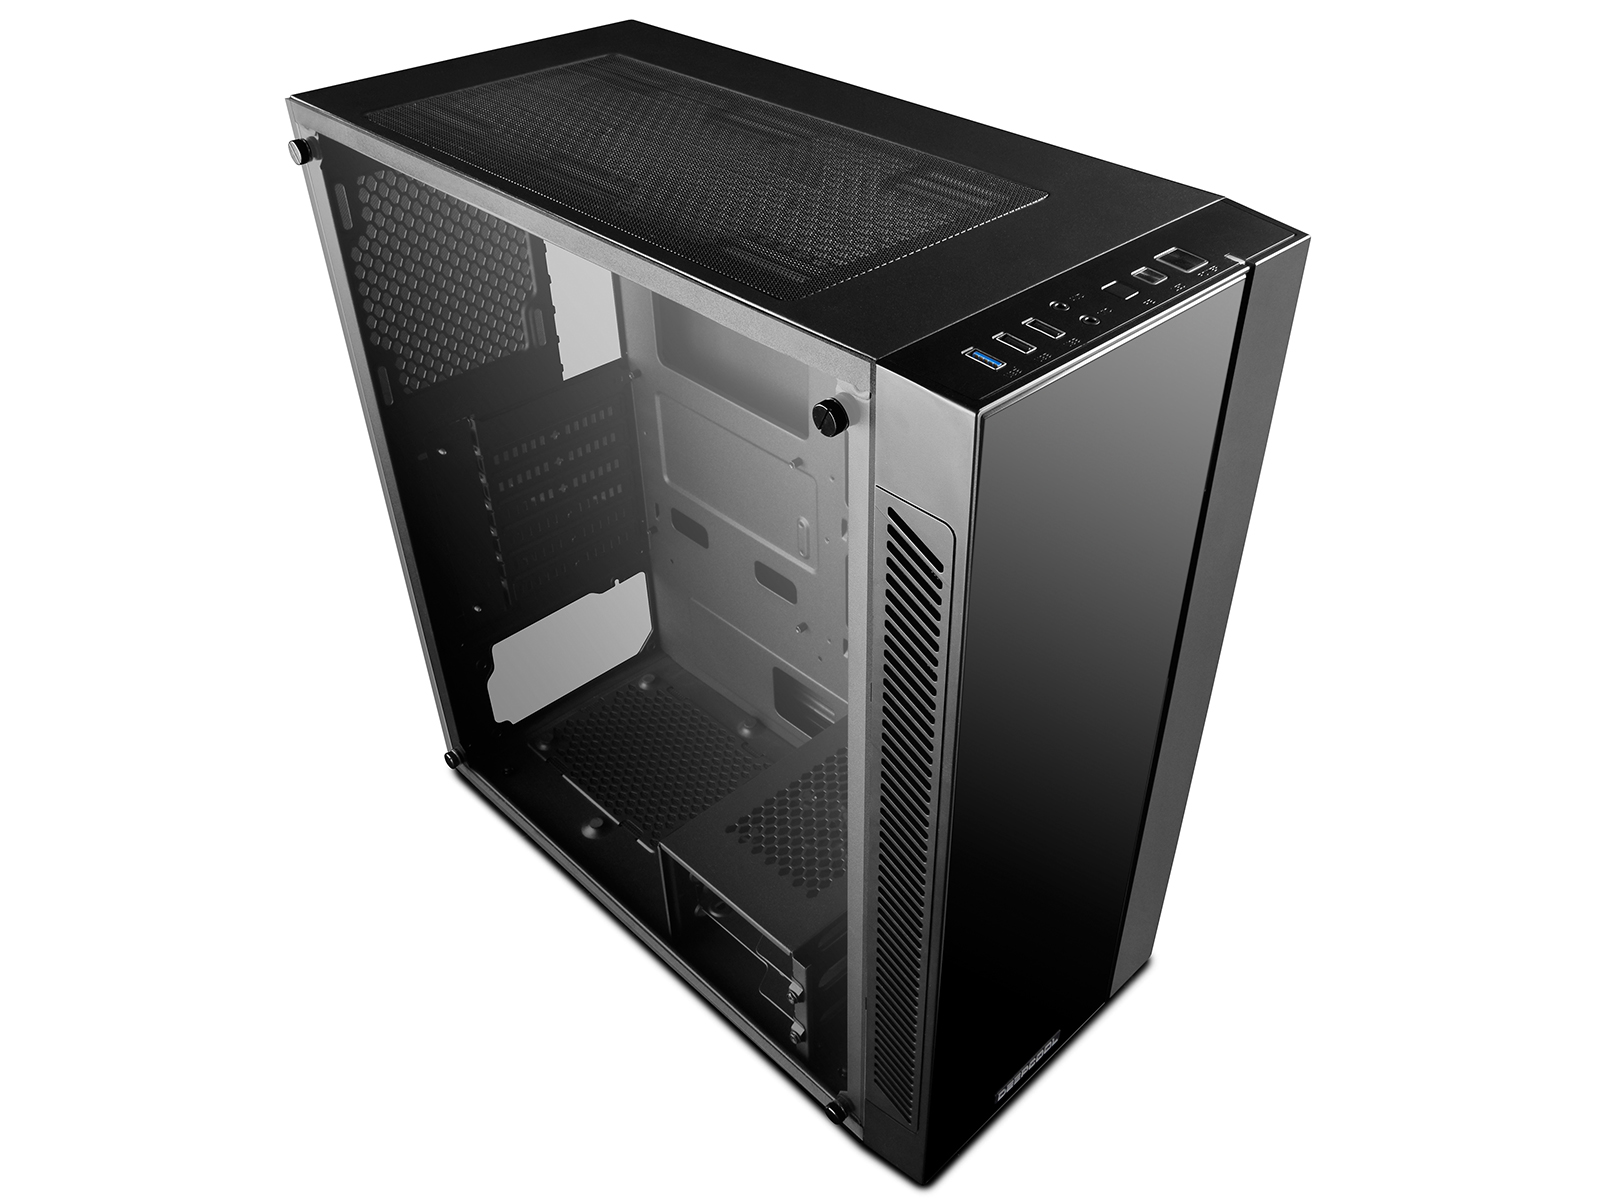
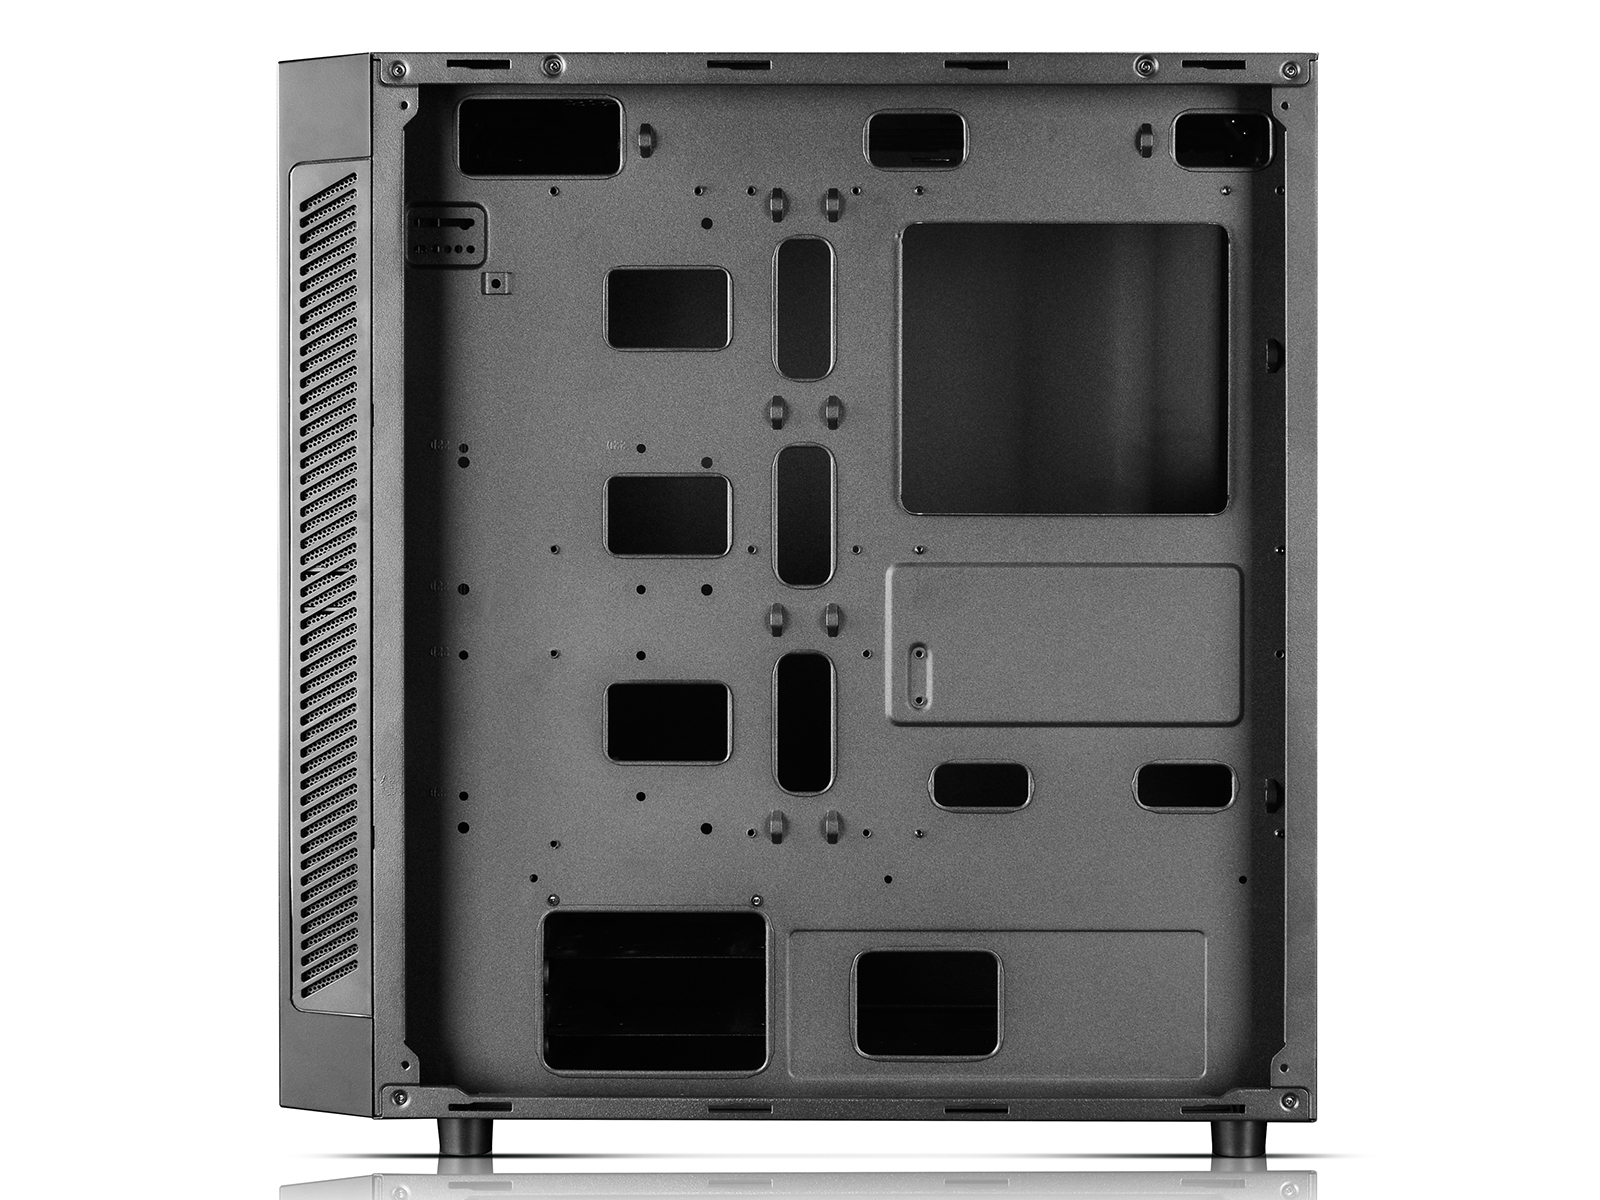

The nearly 7.7 kilogram housing (with glass part) itself is kept simple. The width of 21 cm is class standard, the height of 48 cm classifies it as a classic midi tower and the depth of 44 cm is also nothing out of the ordinary. Powder-coated steel with 0.6 mm is due to the price, but due to the size and the only 44 liters of internal volume is still sufficient stiffness. It's not a bunker, but it's not shaky either. The rest must then be shown by the installation and the remaining data I have added again tabularly below.
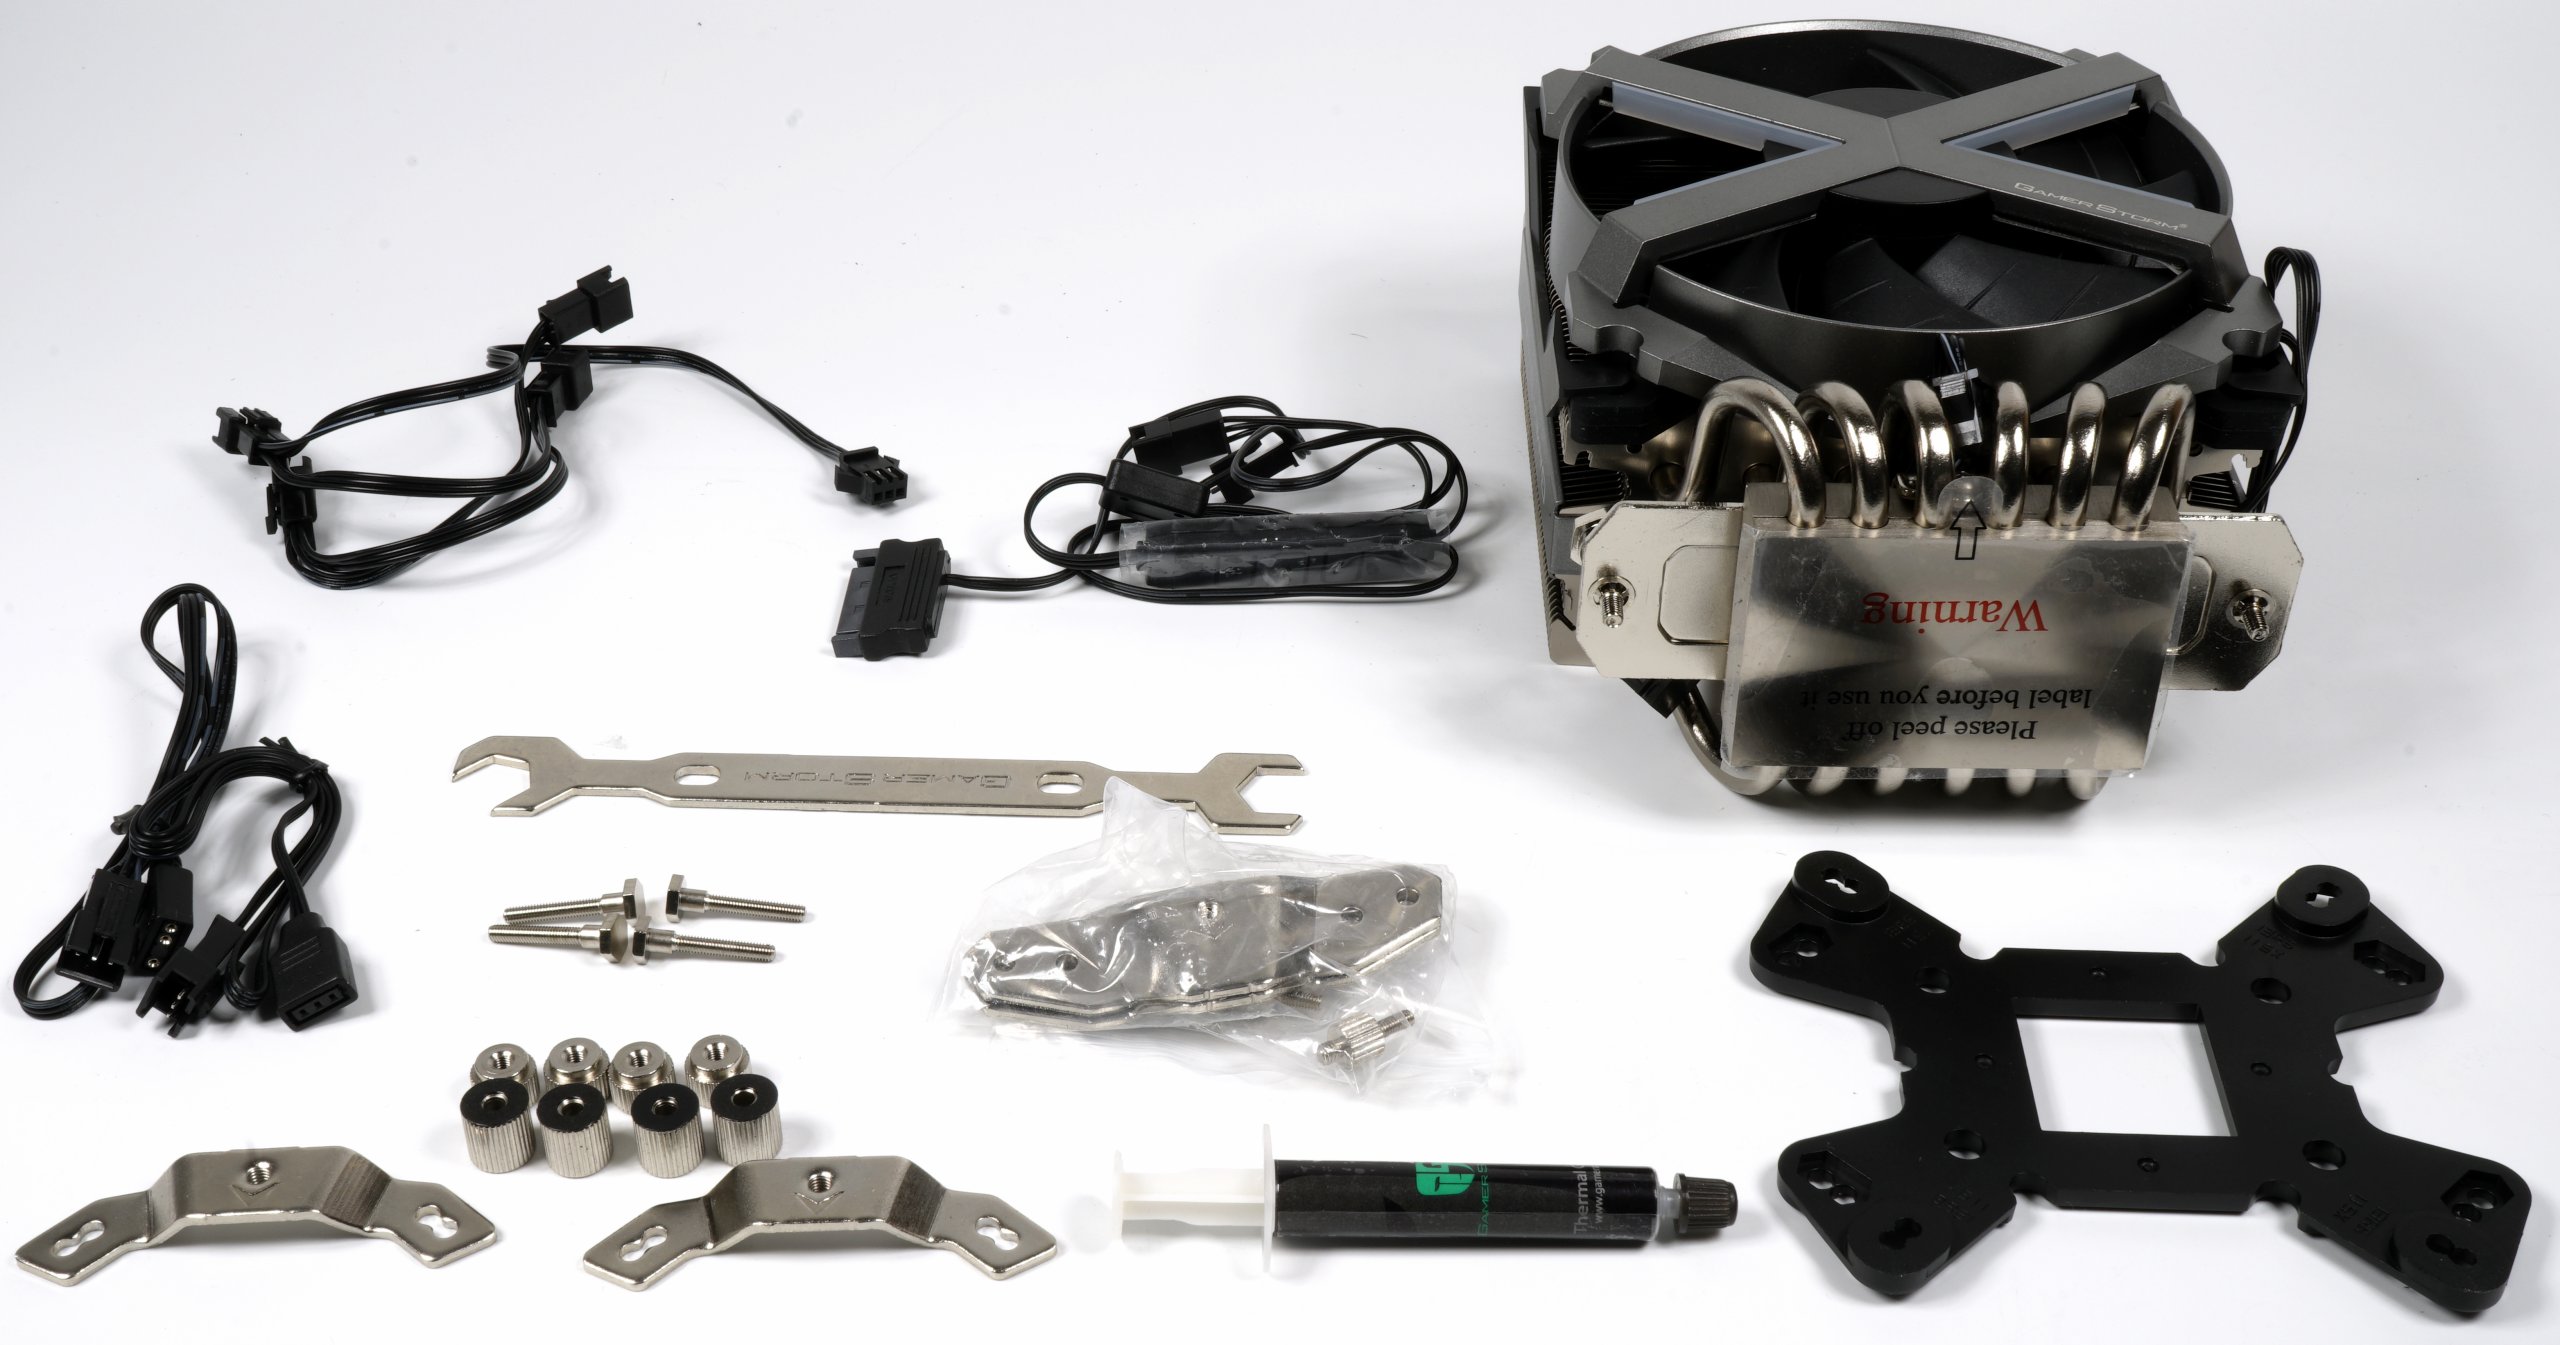
An air cooler, which I also fished from the Deepcool shelf, is enough for the proper overclocking. Designed for the AM2 to AM4 base and weighing 1.2 kilograms, the Gamerstorm Fryzen not only cools well, but – tada – also shines. This makes the whole pot a whopping 5 degrees cooler. Ok, joke aside, the cooler is also so loosely sufficient and also quite quiet.
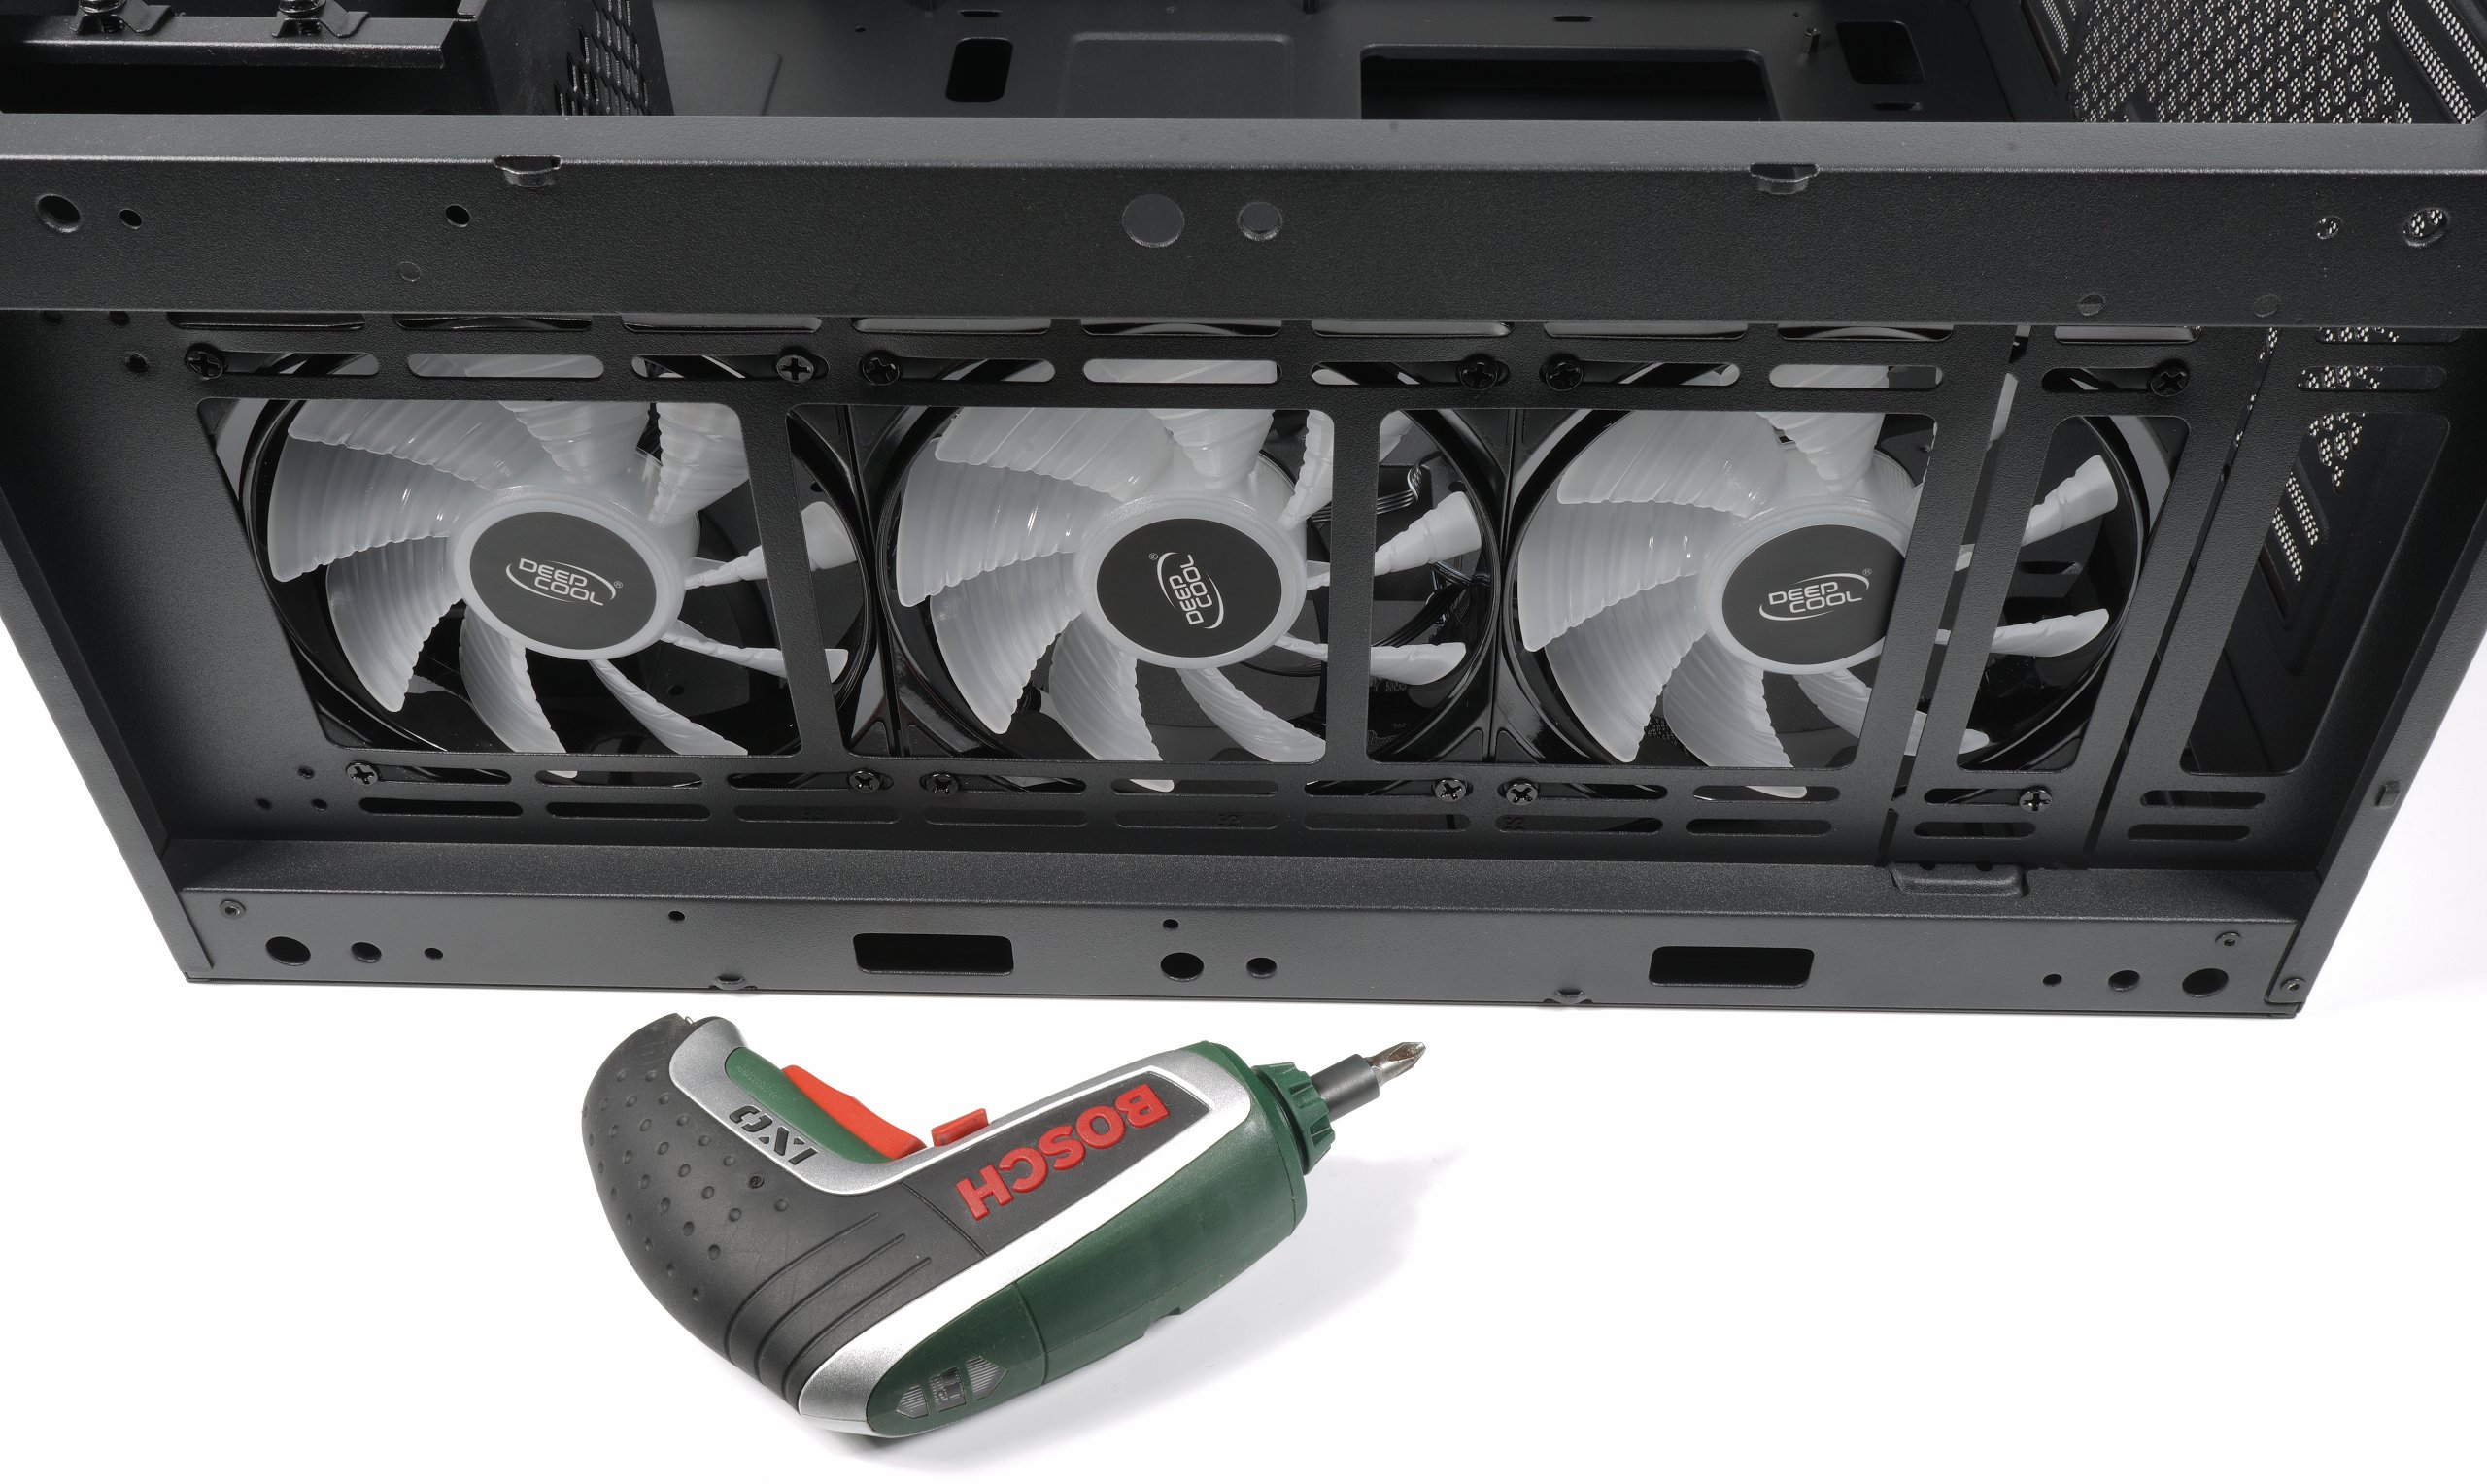
However, the price of 77 including fans is quite optimistic, despite the very good performance. This would also be much cheaper. But no matter, the focus is on the housing. And i have to add fans to this first, otherwise it quickly becomes a stuffy bunny barn, because the Radeon RX 580 also takes its toll on the socket if you knead it properly. But back to installation. The fans, including the rear one, should be installed first before completing the rest with hardware. It's easier to assemble.
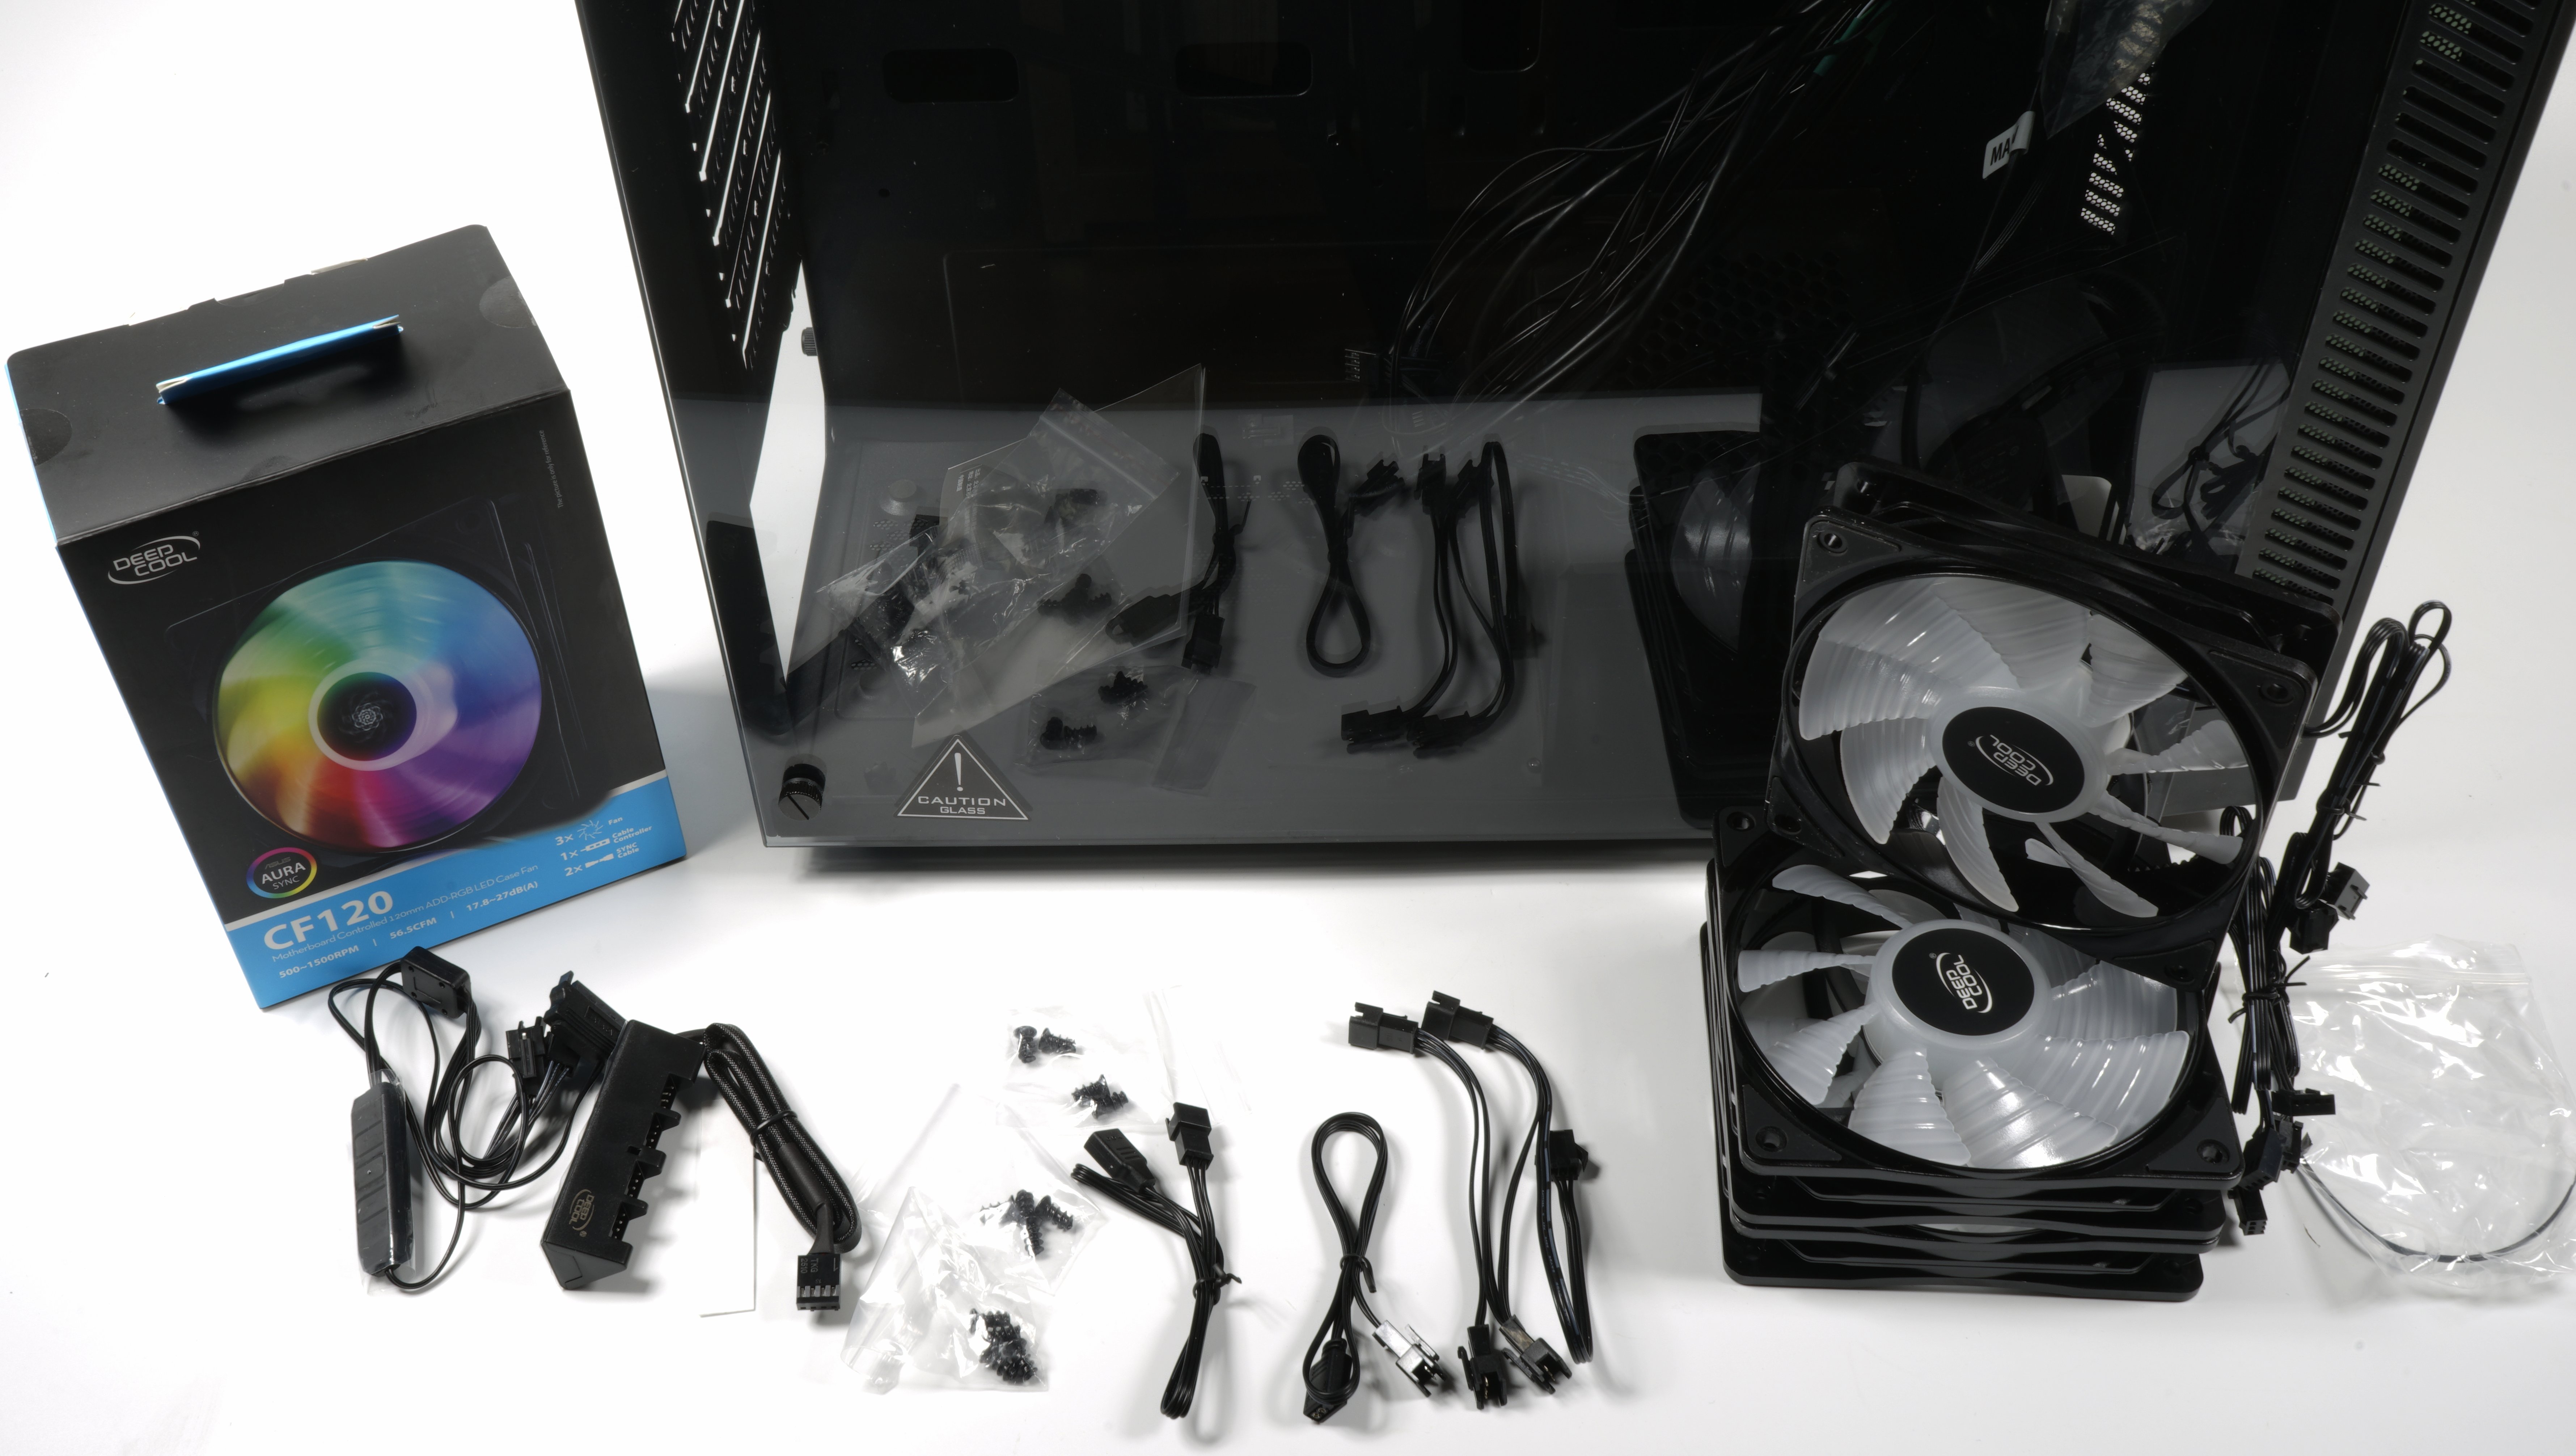
I use, so a coincidence, a three-pack CF120 from Deepcool, if we are already at the manufacturer of the Gamerstorm products. They have a 5V RGB header, which is no longer completely fresh, but could be connected to this motherboard. It's at this point that you really need to research what the motherboard gives, if you're planning RGB effects. Otherwise, one has ruckzuck made a mis-purchase and the oven remains dark. You really are spoilt for choice between the old 5V, the newer 12V and the addressable RGB connectors of the brand new motherboards.

So first look, then buy or do something without light. But PWM-controlled they should already be. By the way, you also need a simple hub or a triple cable to connect the fans to a motherboard fan connector. This is penny-grain, but necessary if it is not supplied immediately, as in the pack with the CF120. This creates order and also reduces the cable throughput in the housing.
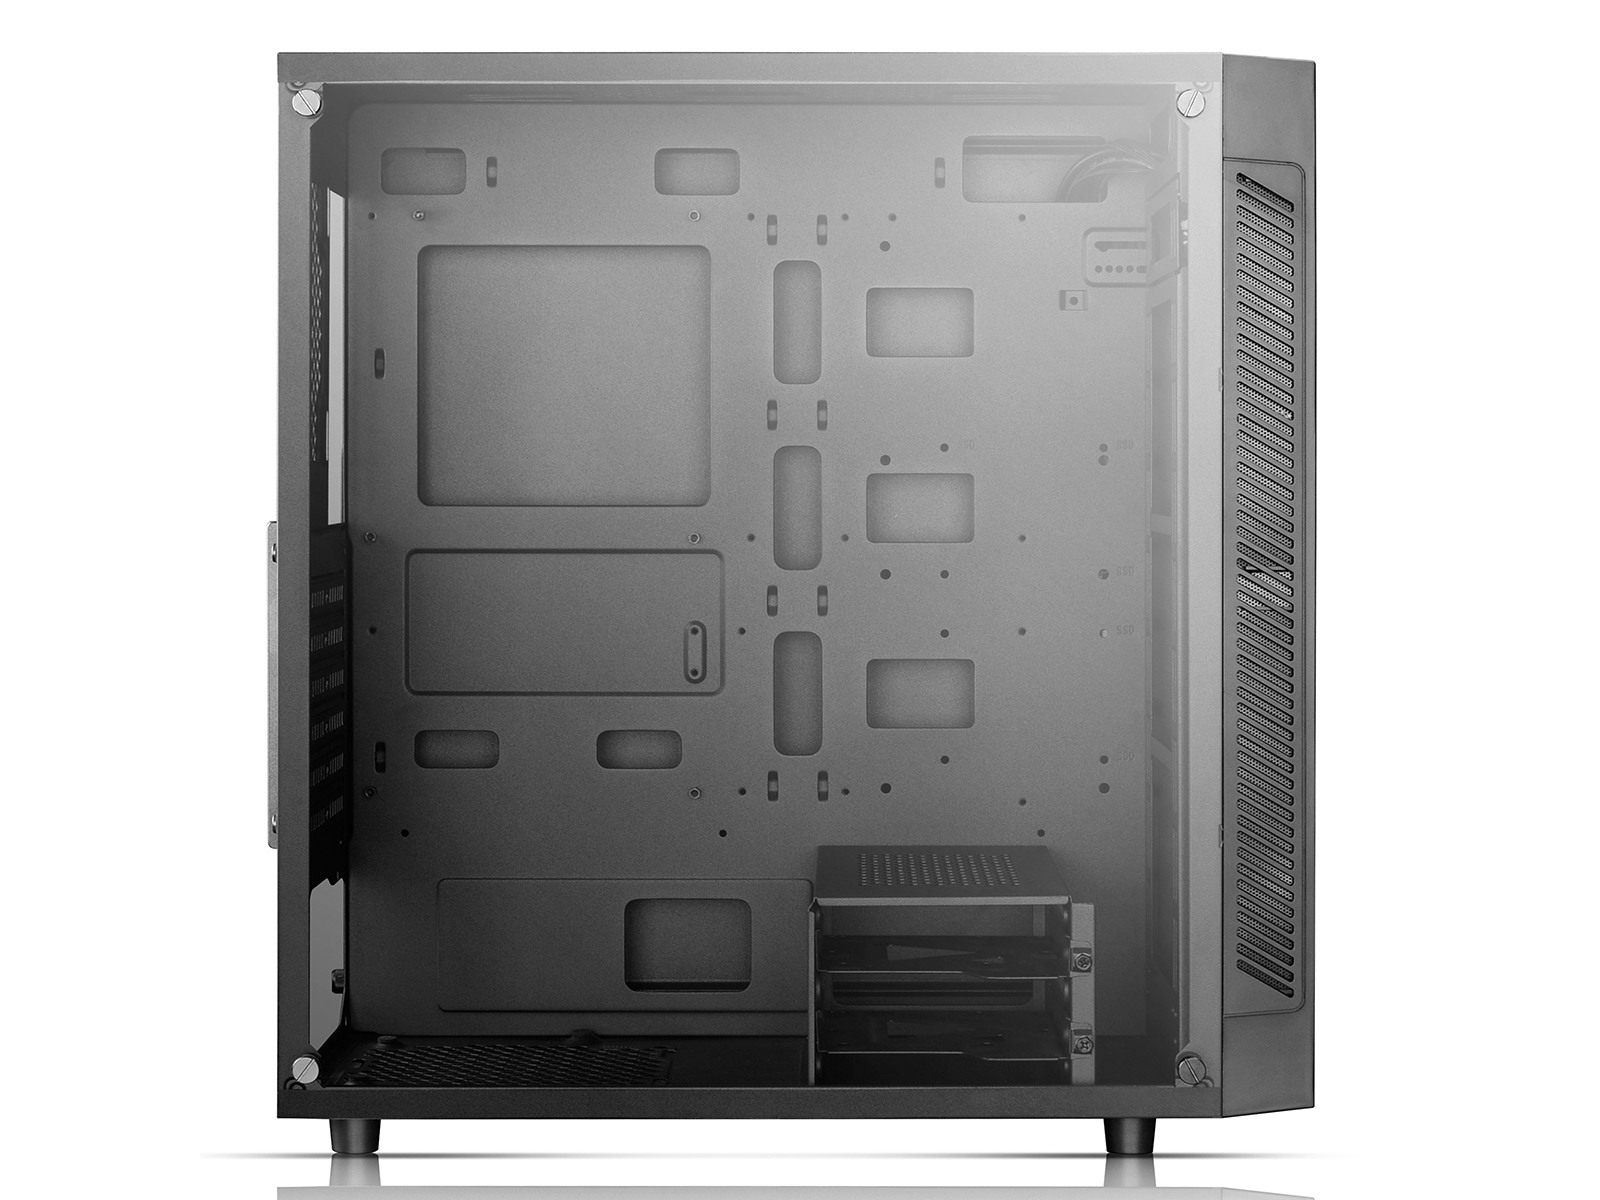
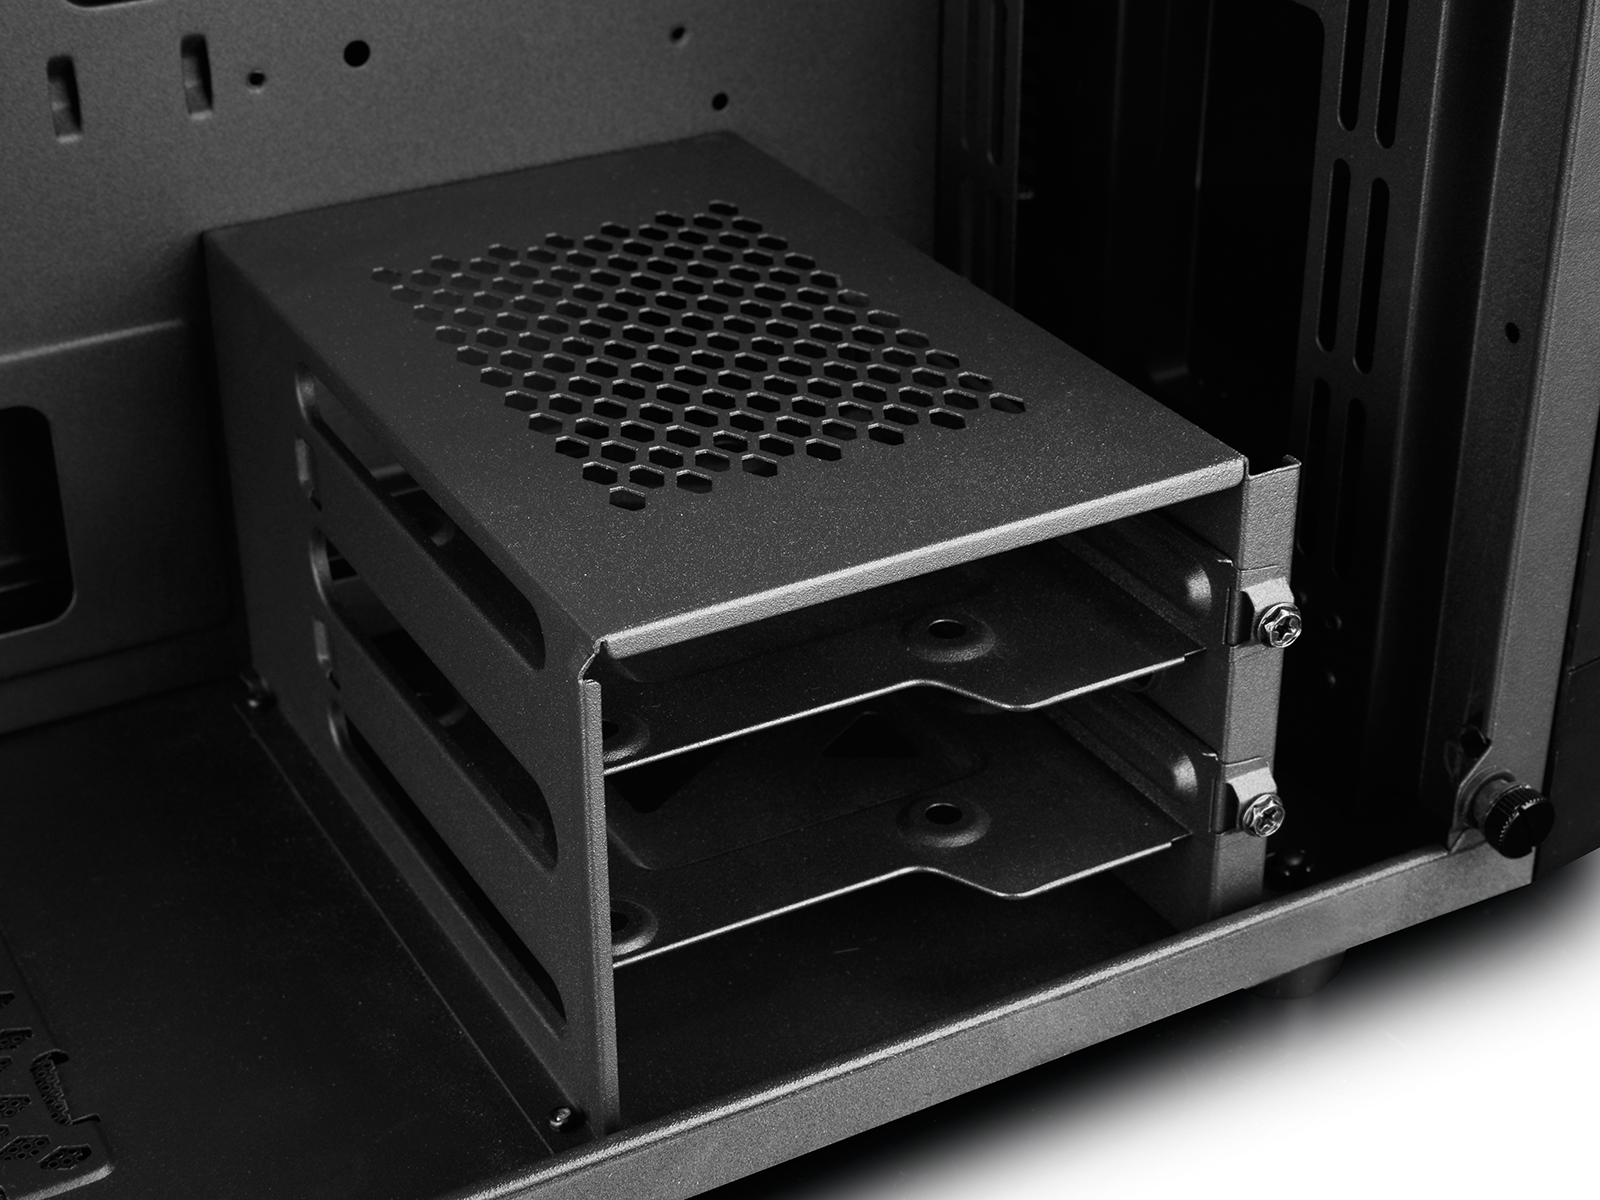
Screwing in the front is easy, but at least with the lowest fan due to the hard drive cage a bit tricky. Because even if you attach all the fans as high as possible, it gets very tight under a lot of tight. The distance to the closed front is completely sufficient and the air is sucked in sideways and from below. However, there are no retractable air filters. In case of a dust emergency, the front must be completely removed in order to be able to clean the fans.
When all these things have been assembled, the housing can be assembled as usual. And you should really start with the motherboard with this half-height case later, but I'll come to that right away.

But before I install the actual hardware and power supply, I quickly have the technical data for the very correct ones and then the manual:
| External drives | N/ A |
|---|---|
| Internal drives | 2x 2.5"/3.5" (cross, hard drive cage), 2x 2.5" |
| Front I/O | 1x USB-A 3.0, 2x USB-A 2.0, 1x headphones, 1x microphone |
| PCI slots | 7 |
| Fan (front) | 3x 120 mm (RGB illuminated) or 3x 140 mm (optional) |
| Fan (rear) | 1x 120 mm |
| Fan (left) | N/ A |
| Fan (right) | N/ A |
| Fan (top) | 2x 140 mm (optional) |
| Fan (bottom) | N/ A |
| Fan (other) | N/ A |
| Radiator sizes | 120/ 140/ 240/ 280/ 360 mm front, 120/ 140/ 240/ 280 mm top |
| Motherboard | to E-ATX |
| Power supply | ATX (max. 170 mm deep) |
| Power supply position | Below |
| CPU cooler | up to max. 168 mm height |
| Graphics | up to max. 370 mm |
| Color | white, inside white |
| Dimensions (WxHxD) | 210 x 480 x 440 mm |
| Volume | 44.35 l |
| Weight | 7.65 kg |
| Specifics | Cable management, dust filter, integrated RGB LED illumination, RGB header 3-pin (+5V/ DATA/ GND), integrated LED control, glass viewing window |
MATREXX_55_PDF
DeepCool Matrexx 55, Glasfenster (DP-ATX-MATREXX55)


Kommentieren