


Telemetry in high form
But how and where do we want to start? In order to understand our concern, we first have to delve a little deeper into the theory and first take a quick look at how Power Tune works. Power Tune checks the most important performance data of the GPU in real time, simultaneously queries the thermal sensors and of course incorporates the telemetry data of the voltage regulator. All these values are permanently transmitted to the pre-programmed DPM Arbitrator (Digital Power Management).
This arbitrator (mittler) knows the power, thermal and current power limits of the GPU (BIOS, driver), as well as the changed preferences via the driver software. Within these limits, it now controls all voltages, clock frequencies and fan speeds, always trying to get the maximum performance out of the card. If even one of the input variables is exceeded, the arbitrator can reset voltage and/or bar.
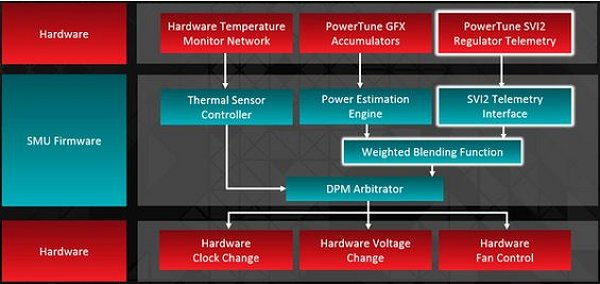
The core idea is therefore that one is able to adjust the voltages to the actual requirements at very short intervals – i.e. in fact in "real time" – via suitable VR circuits (voltage regulation). AmD's second-generation SVI2 protocol, which is now dominated by all popular ICs and is also used for APUs (where the processor part is also controlled via the Northbridge), now also applies here.
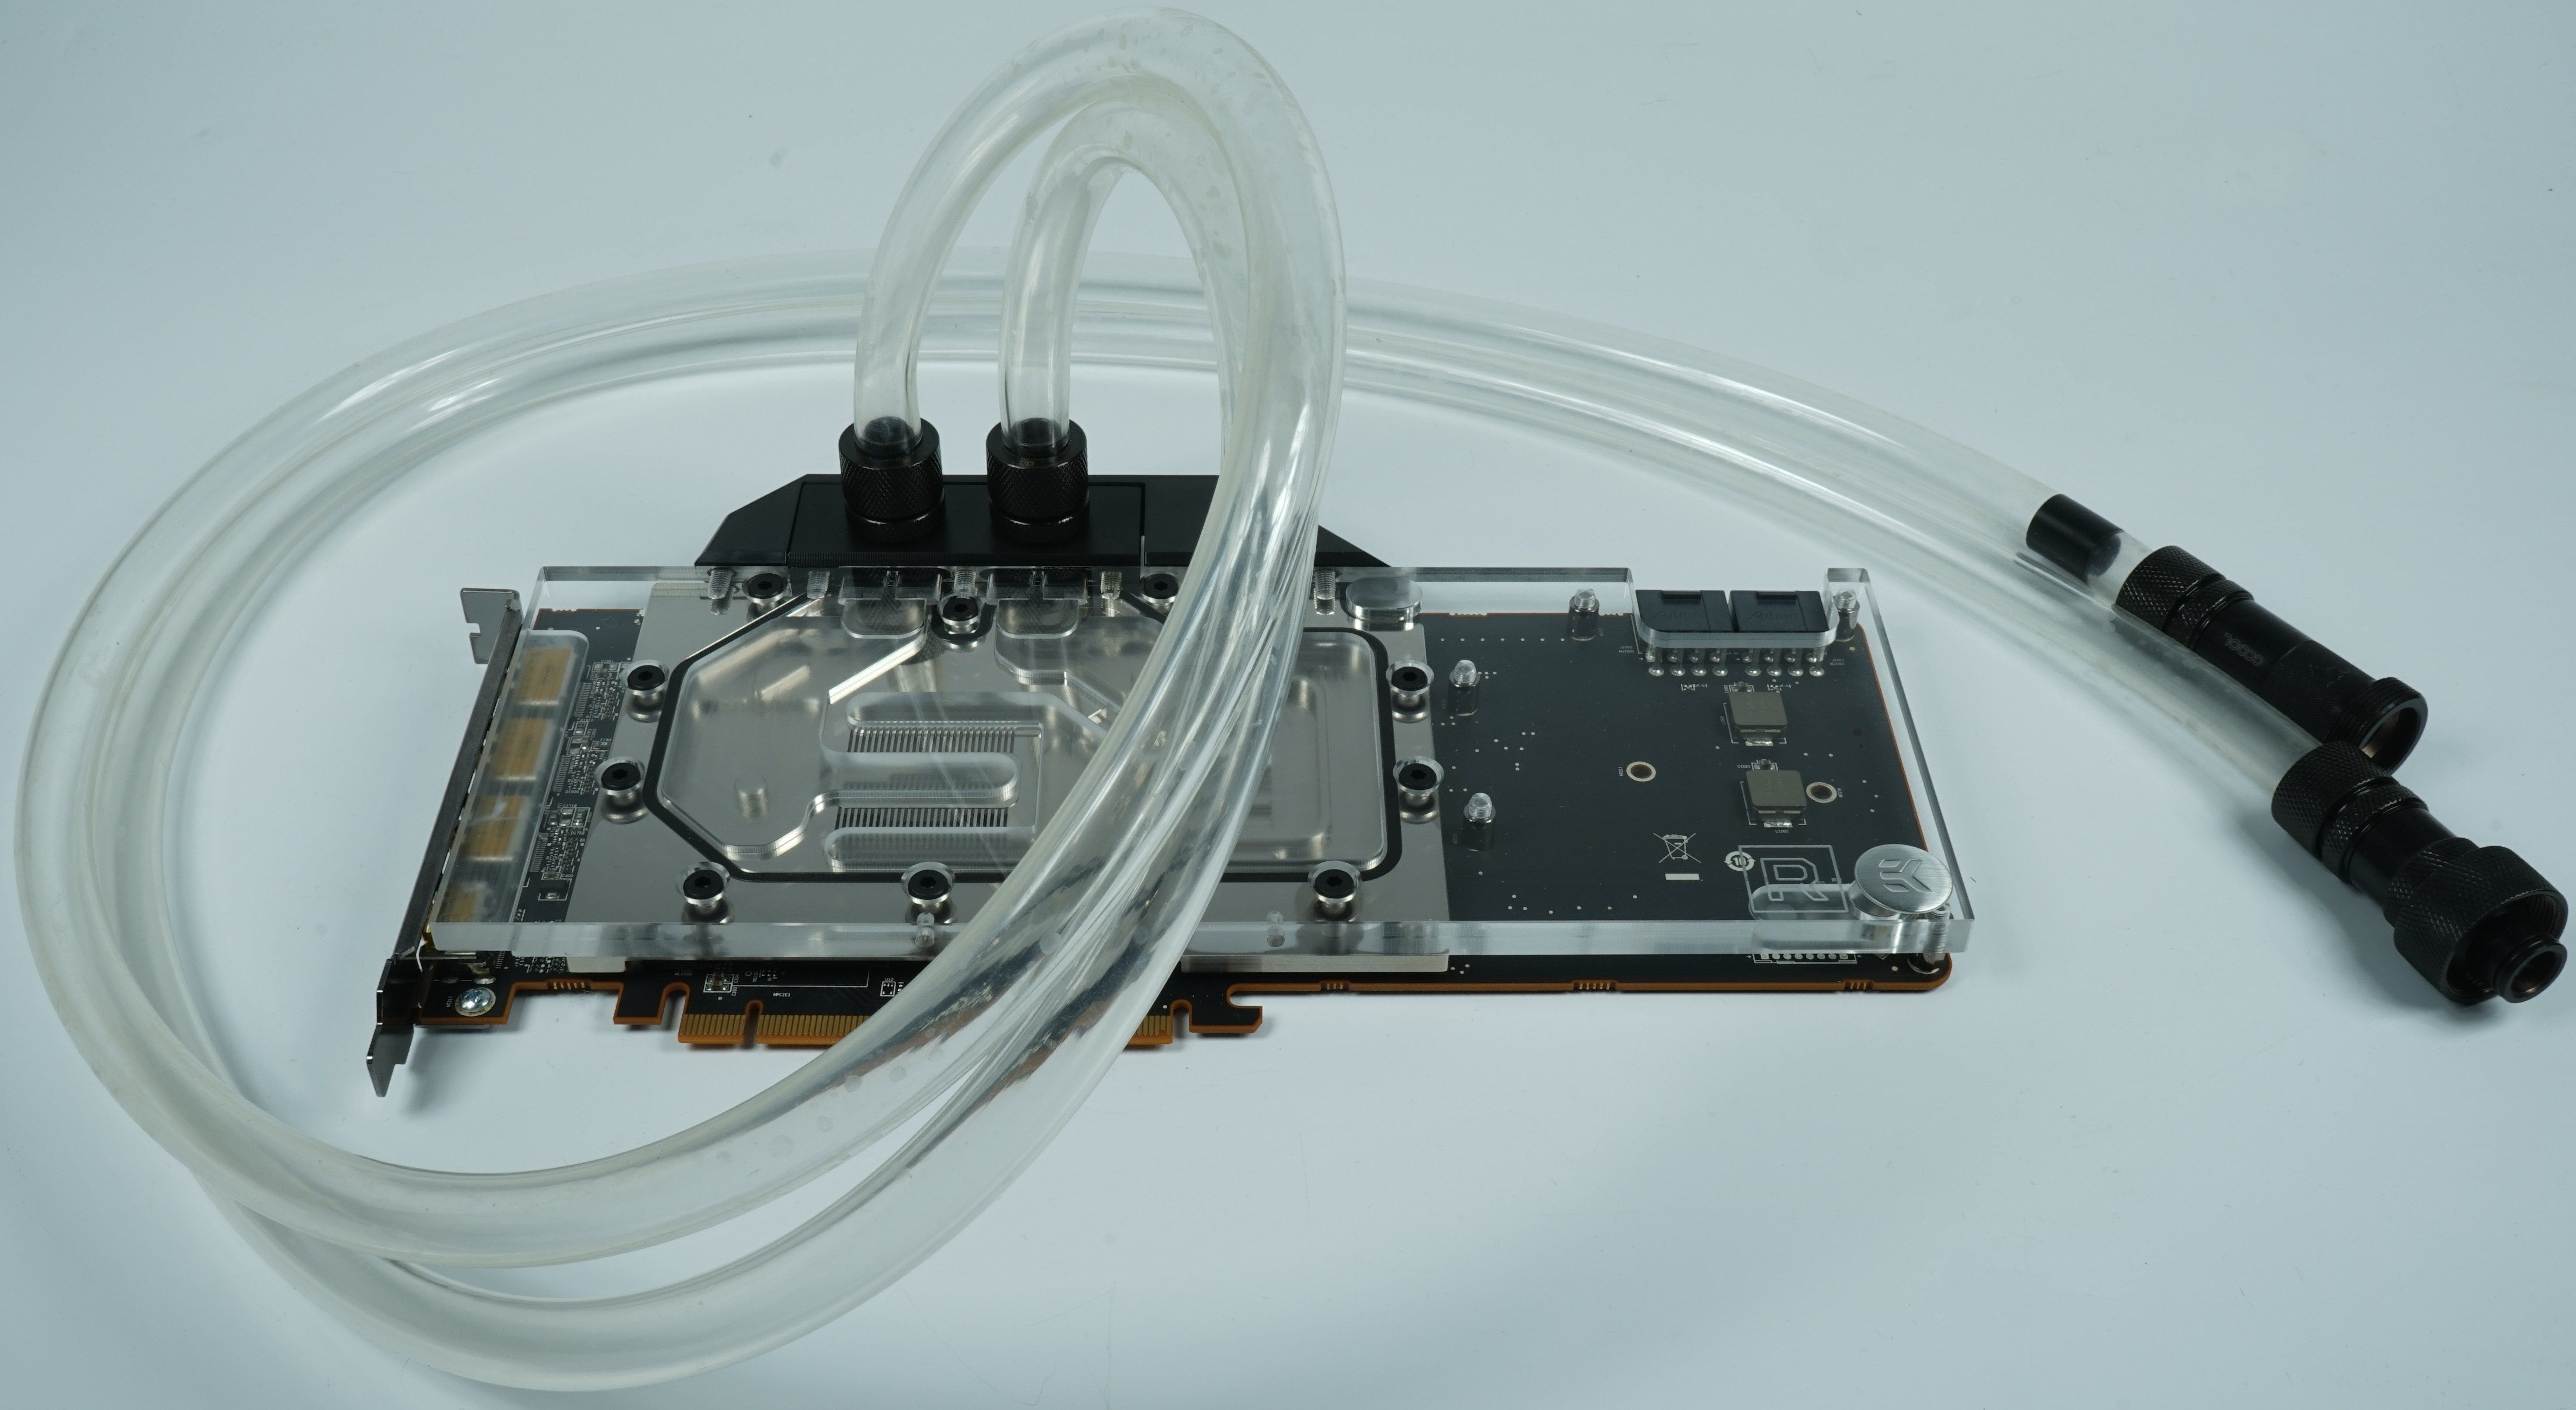
By using superior cooling (EKWB fullcover water block EK-FC Radeon Vega + Alphacool Ice Age 2000 Chiller) we realize the cooling with a constant water temperature of 20°C, we have succeeded in excluding the temperatures as a limiting factor .
As a game, with "The Witcher 3: Wild Hunt" in Ultra HD, we also use the maximum of what you can ask for average power consumption in a real gaming loop.
Thus, at the end of the clock limit, everything is only subject to the voltages and currents, as well as to the maximum attached, quite constant graphics load, which comes into effect via the Power Estimation Engine.
Voltages: AMD's Power Tune vs. Nvidias Boost
The RX Vega64 also uses the AVFS (Adaptive Voltage and Frequency Scaling), also known from the last APUs and Polaris. This function is designed to ensure (similar to Nvidia's Boost) that each chip can individually offer the maximum possible performance for each wafer quality that occurs at the end. Thus, there is also an individual load line for each GPU for the voltage specifications. But with Vega 10 a lot of things have been solved differently than with Polaris.
Unlike Nvidia's Boost, where manual voltage changes can only be made via a kind of offset and you can never really force full voltage control even through the Curve Editor, an AMD's Wattman allows the two highest DPM states to be able to voltage to a large extent firmly. However, this can be both a blessing and a curse, as we will see later, because the set voltage per DPM state fundamentally counteracts AVFS and even almost completely prys this automatic with a little bad luck.
We were able to measure how the voltages behave with and without power limitation by monitoring and directly on the map; with interesting findings by the way, because it differs very much from the behavior of the Polaris maps. Which also means that we want to prevent a little of the formation of legends, because all the clock increases that we could achieve by subvolts were based only on temperature reductions in air-cooled maps. However, if one excludes the temperature as a limiting factor from the outset, as we do today, then the cards are suddenly completely reshuffled (word game box) and so many alleged sensations become urban legends.
What exactly we want to test
For better understanding and optimal comparability, we have set ourselves a total of five different settings, but these are sufficient to perfectly represent the respective extreme values:
- Factory preset "Balanced Mode"
- Subvolts to 1.0 volts at standard power limit
- Overclocking by increasing the power limit by +50%
- Overclocking by increasing the power limit by +50%, 3% GPU clock increase
- Overclocking by increasing the power limit by +50%, 3% GPU clock speed increase and 1.0 volt voltage specification
A sub-voltage of the two possible DPM states by values lower than 1.0 volts became unstable in many situations, with 0.95 volts still running, but the clock already breaking disproportionately high. In return, lowering the voltage targets at a maximum power limit below the 1.0 volt value has already caused a crash once a 3D application is launched.
We build optimal cooling
 First of all, we have to realize a potent cooling system that still allows almost the same temperatures at 400 watts as with the standard factory specifications. In the end, only a good water cooling with chiller helps, which can guarantee us constant 20°C at the Cold-Plate on the GPU.
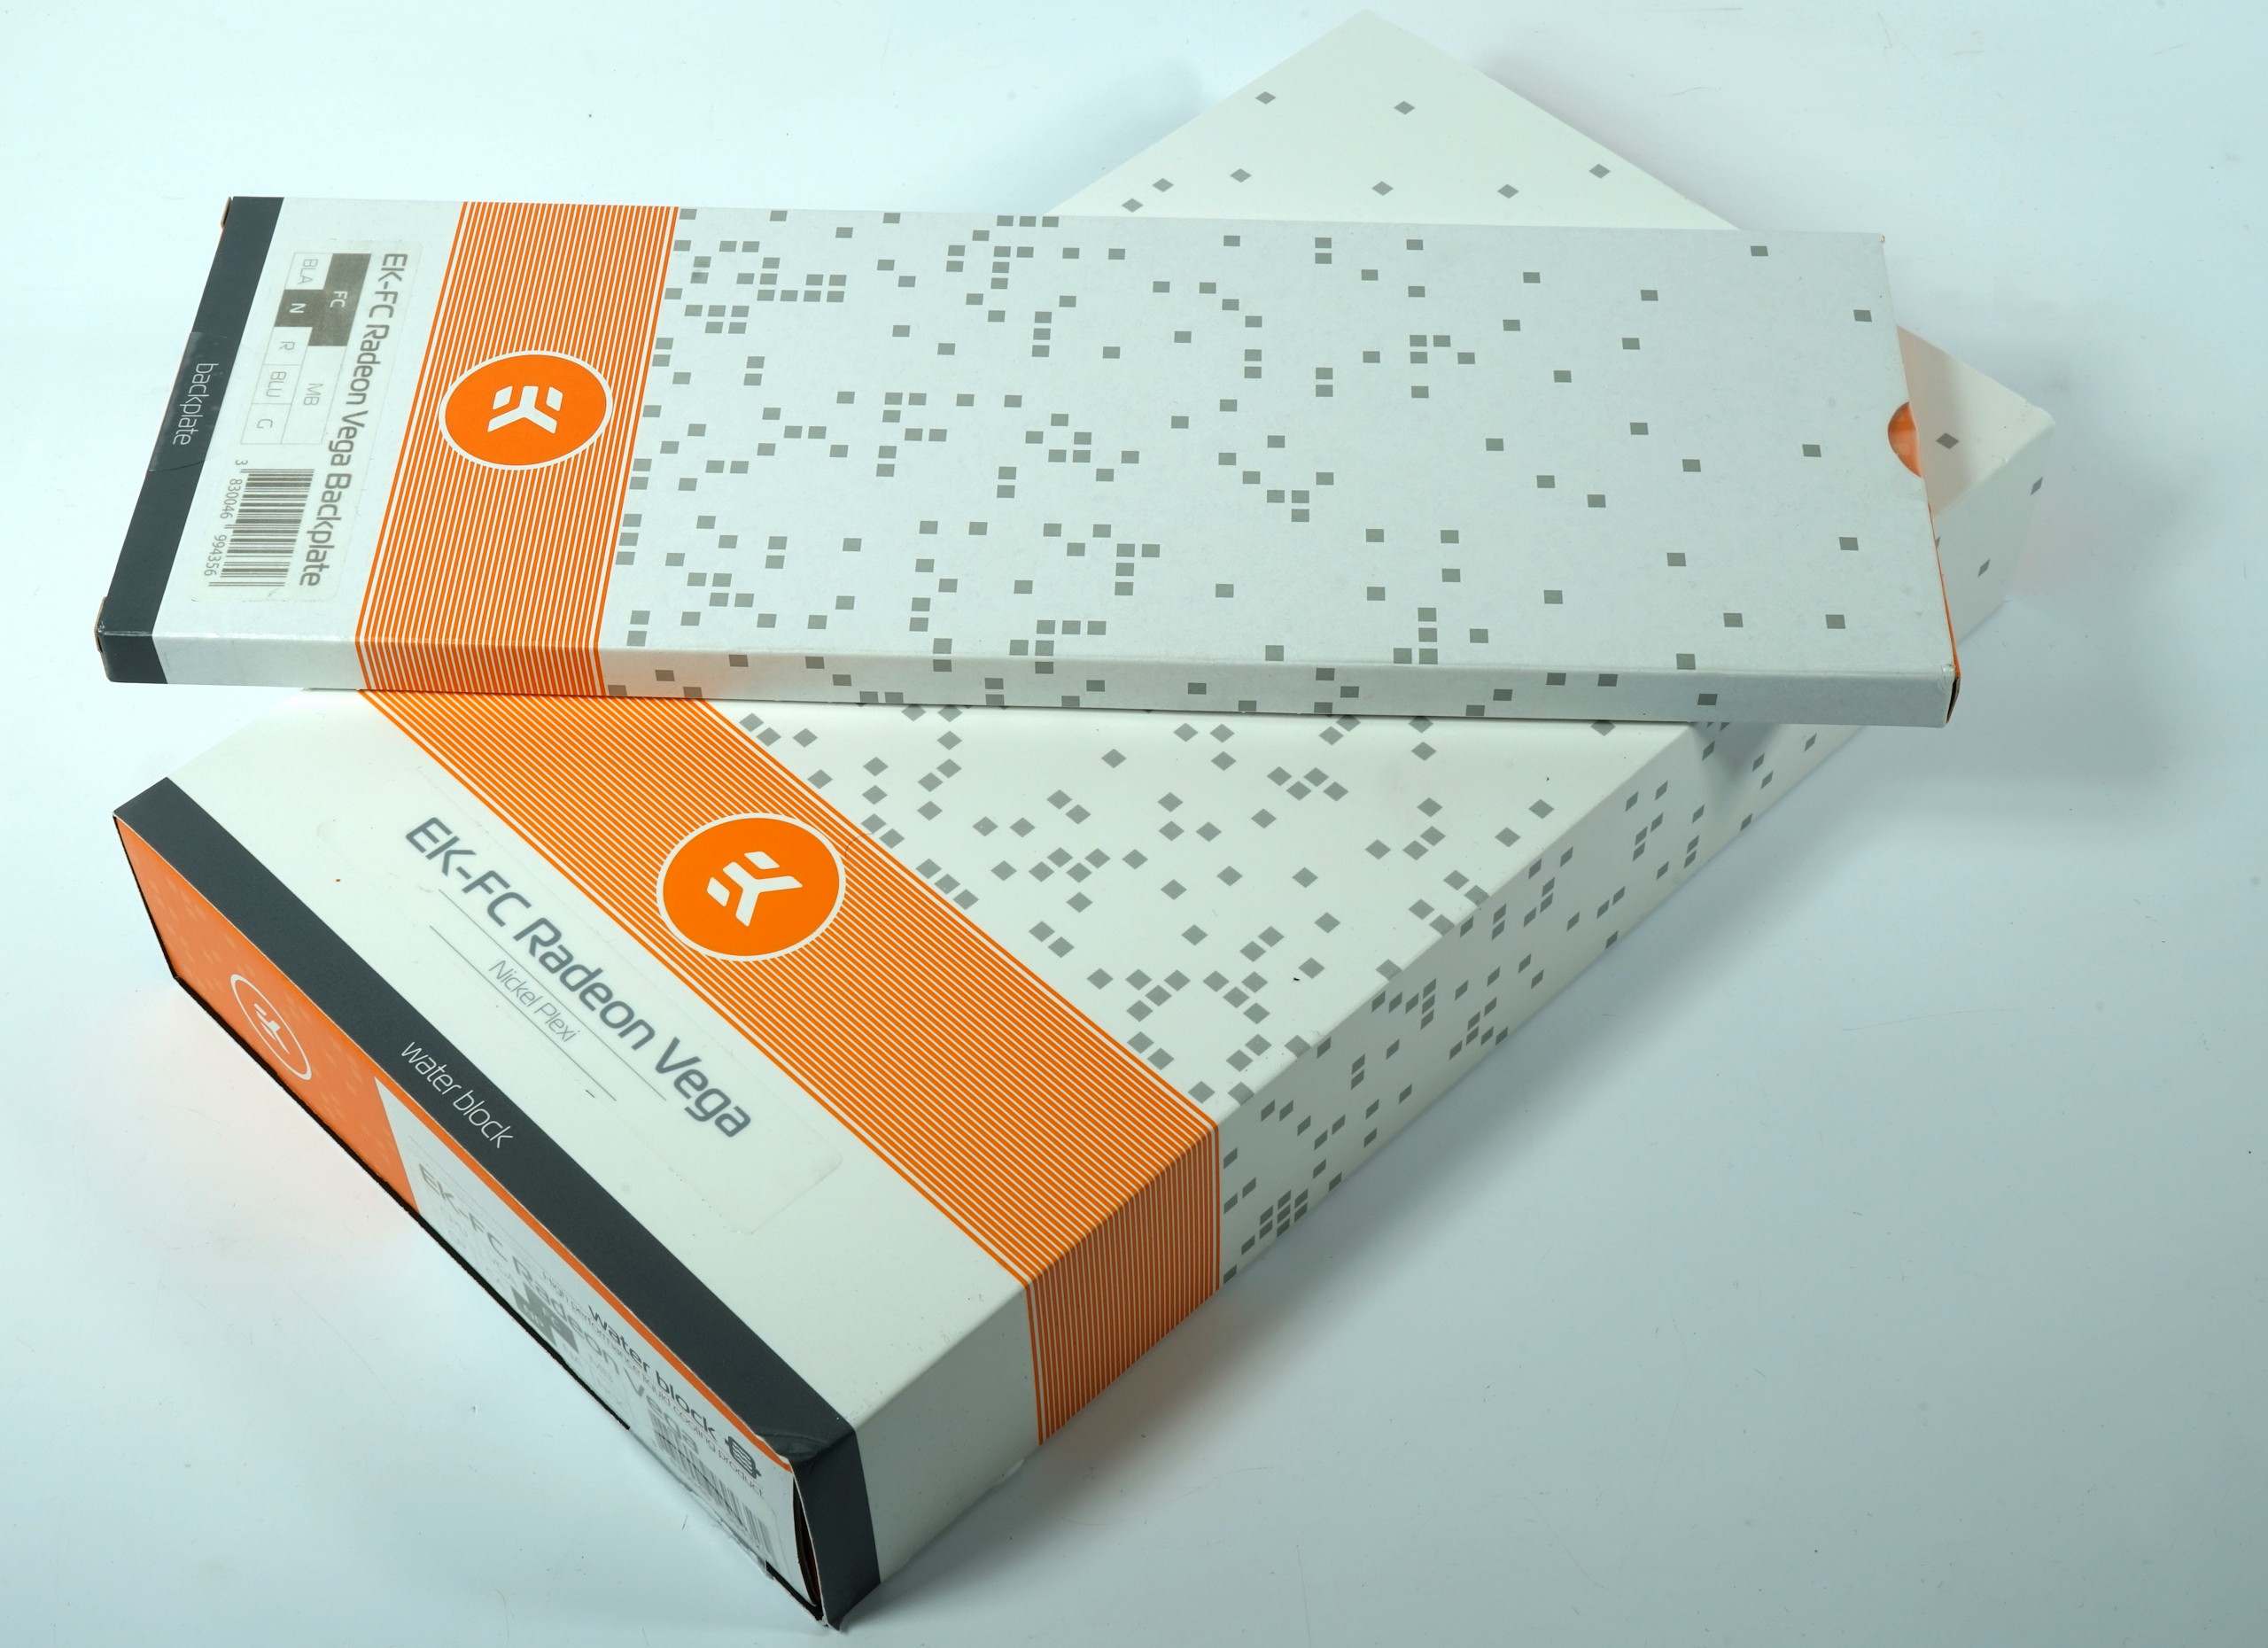
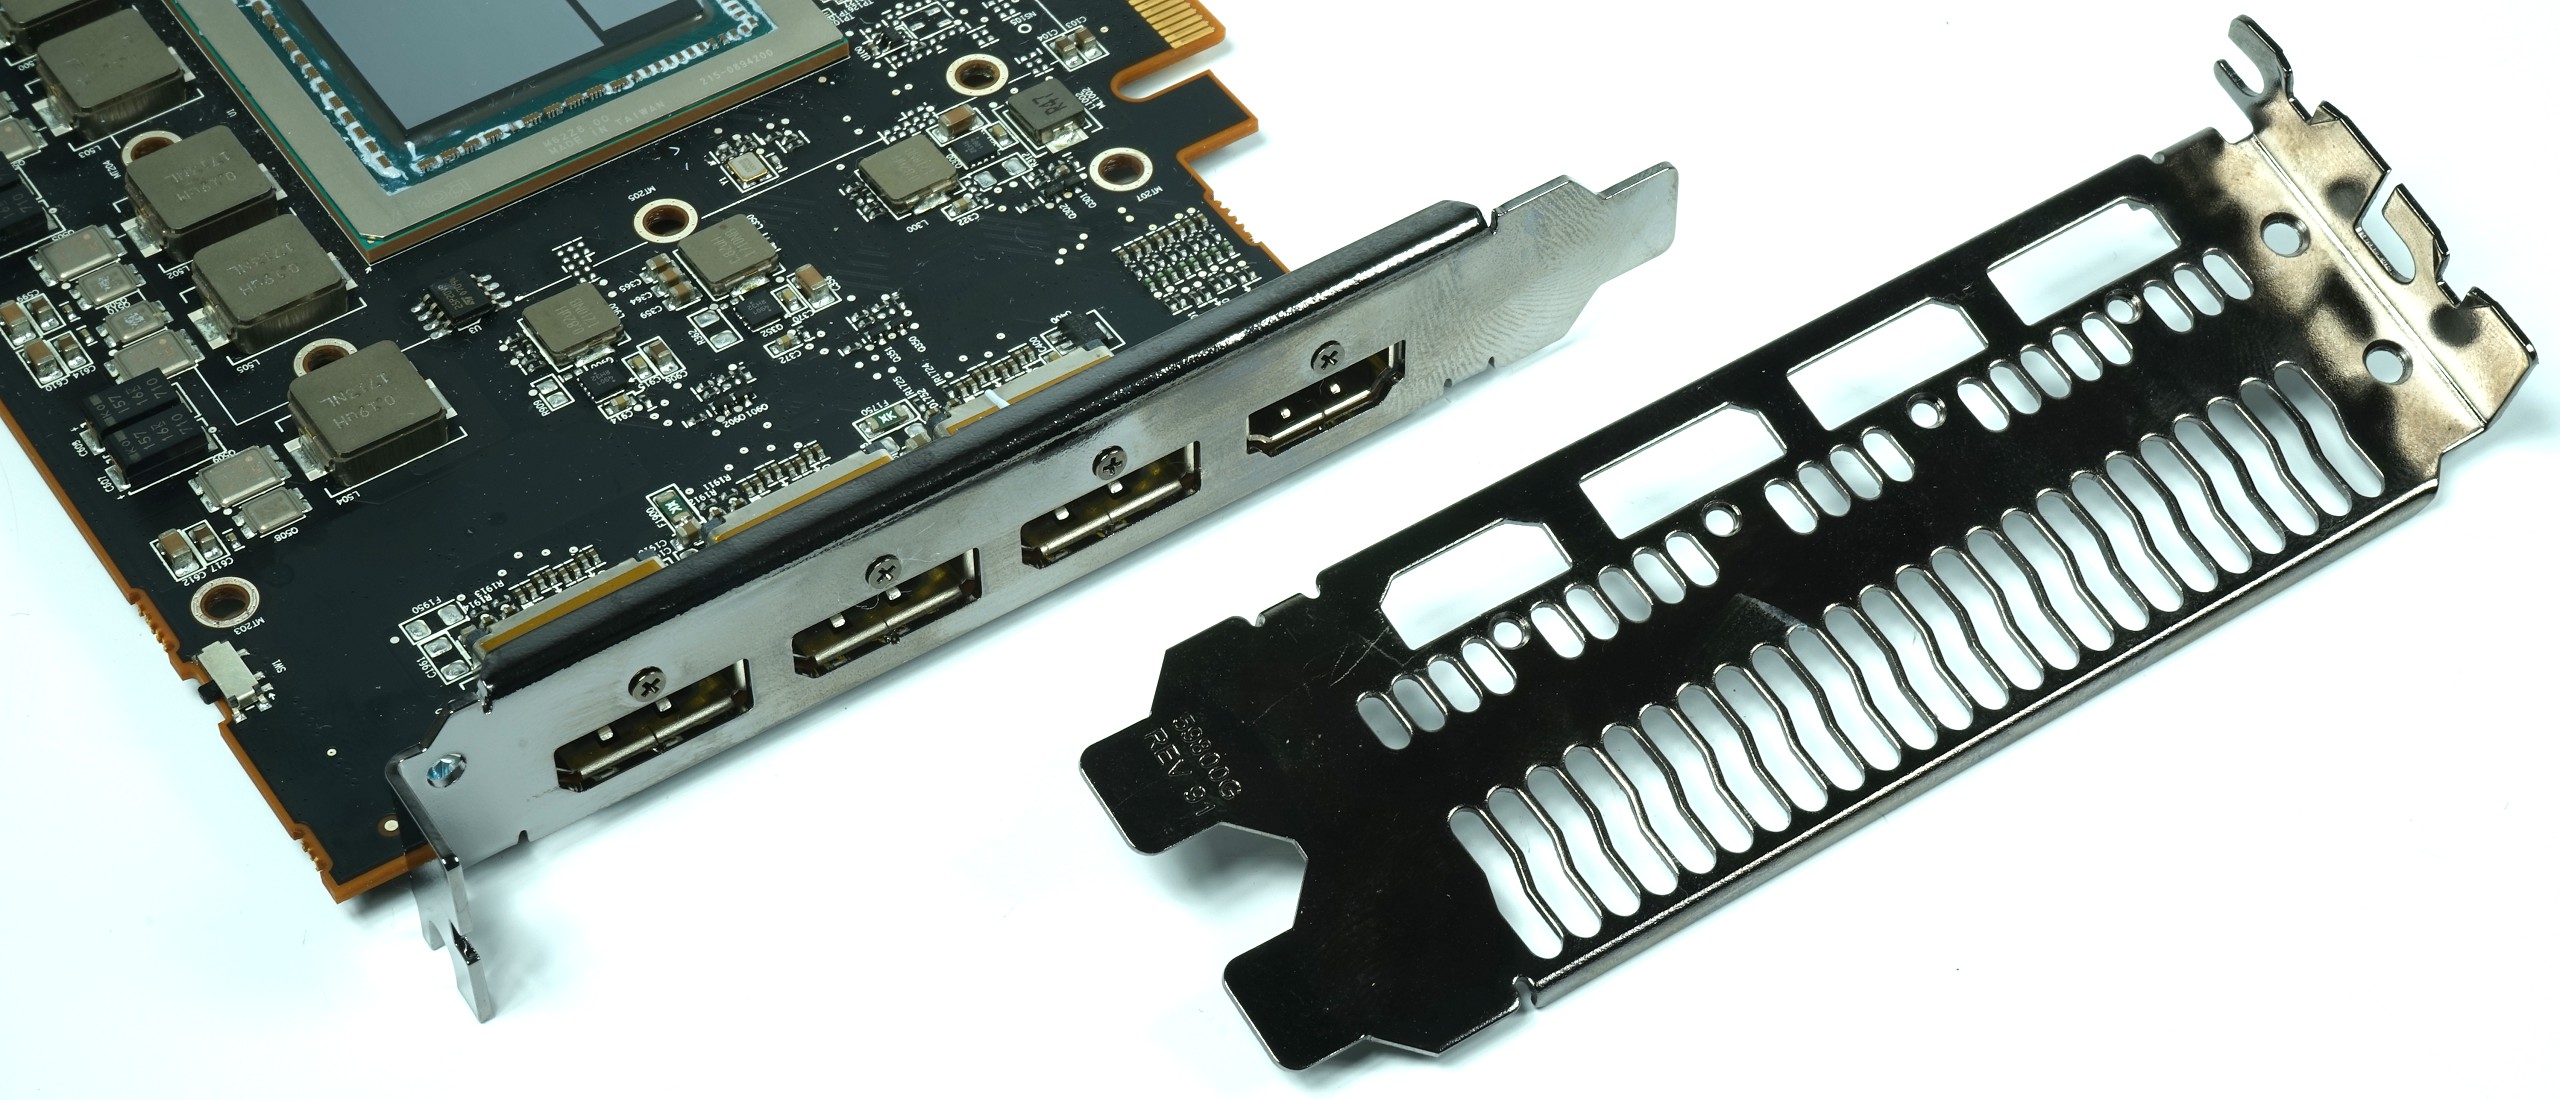
In addition to the Alphacool Ice Age 2000 Chiller from EK-FC Radeon Vega from EK Water Blocks, the nickel-plated copper plate cools the GPU with memory, the voltage converters and the coils in front of it. To start with, this cooler has mastered the task entrusted to him magnificently.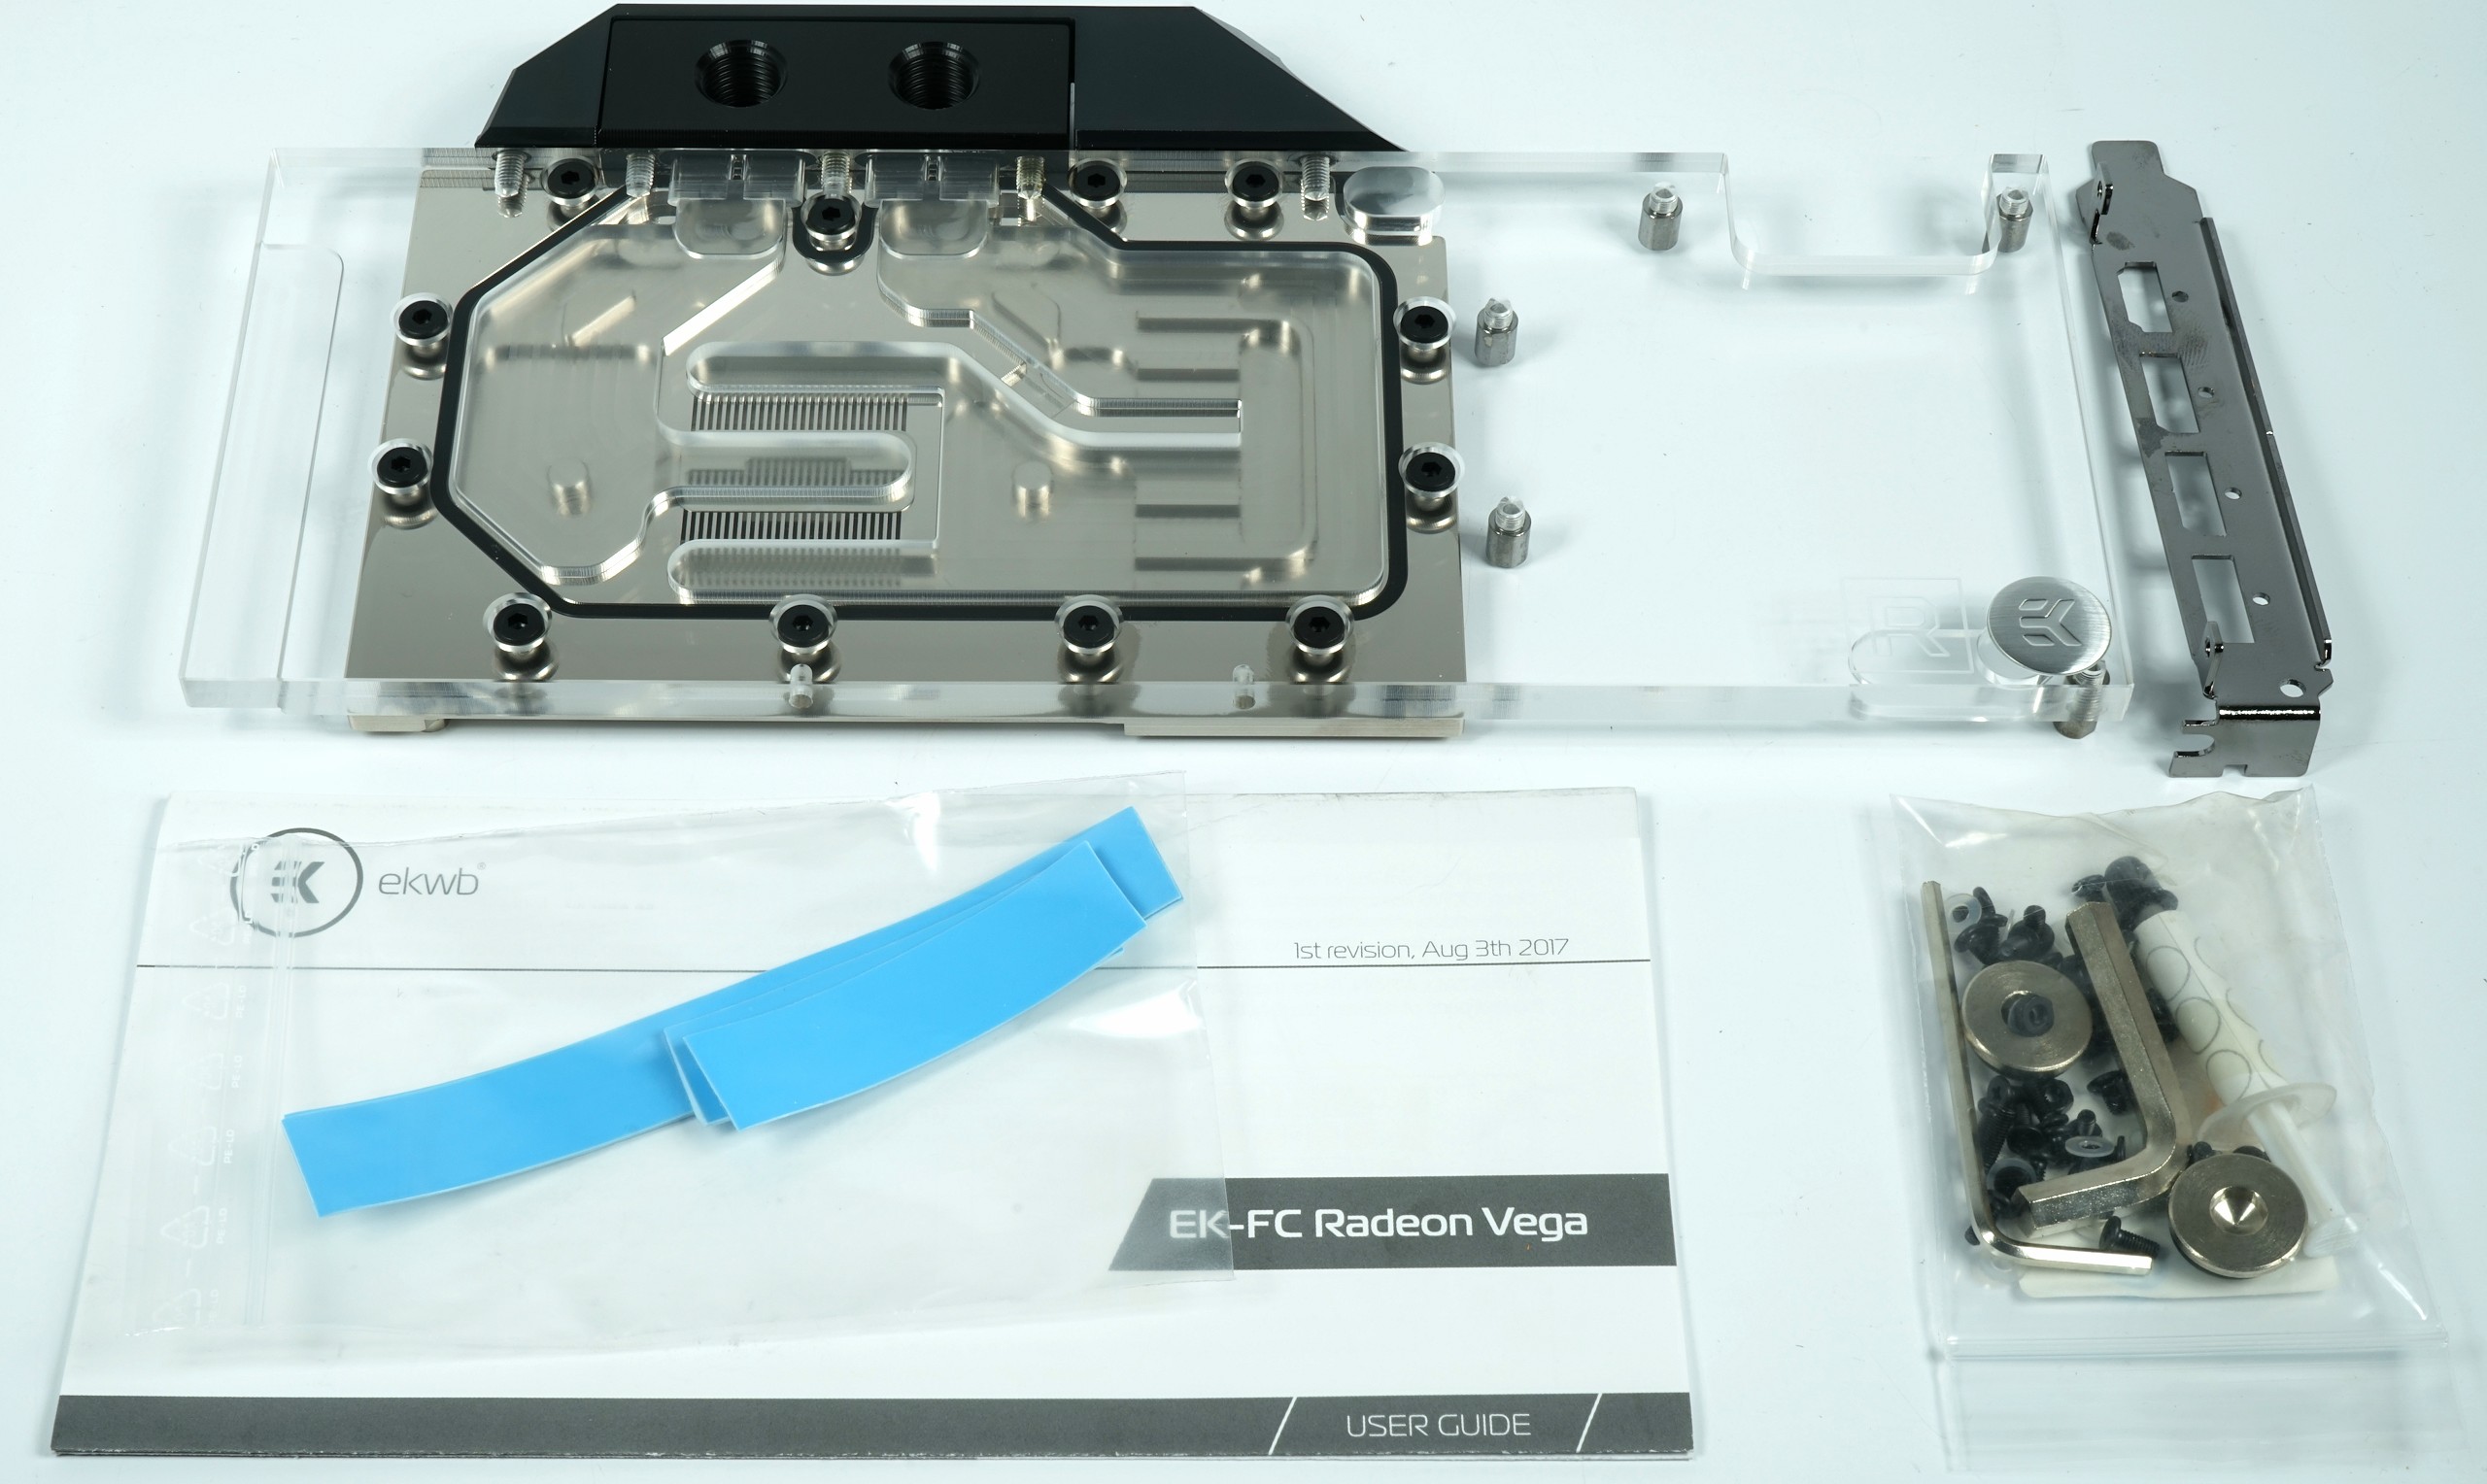
So that the whole construction of the single-slot water cooling does not look so silly, we first use the enclosed, narrower slot aperture and simply replace the original aperture. Unfortunately, the vertical head screws sit in the simple holes on the sheet metal outside, but this is only a small optical lapsus.
After cleaning the interposer carefully (!) from the old very tough paste, the new paste is applied with a spatula all over the surface, but as thin as possible. Possible thermal paste residues are certainly not a highlight visually, but too much cleaning with too much pressure can also permanently damage the package.
 Thermal Compound
We distribute the thermal pads directly on the appropriate surfaces of the cooling block and not on the components of the board as described in the instructions. Since we prefer to place the board on the reclining radiator block (and not the other way around), at least nothing can fall off prematurely.
 Thermal Tape
After screwing, the graphics card can be used again in just a few minutes. The assembly is really easy if you pay attention to the interposer.

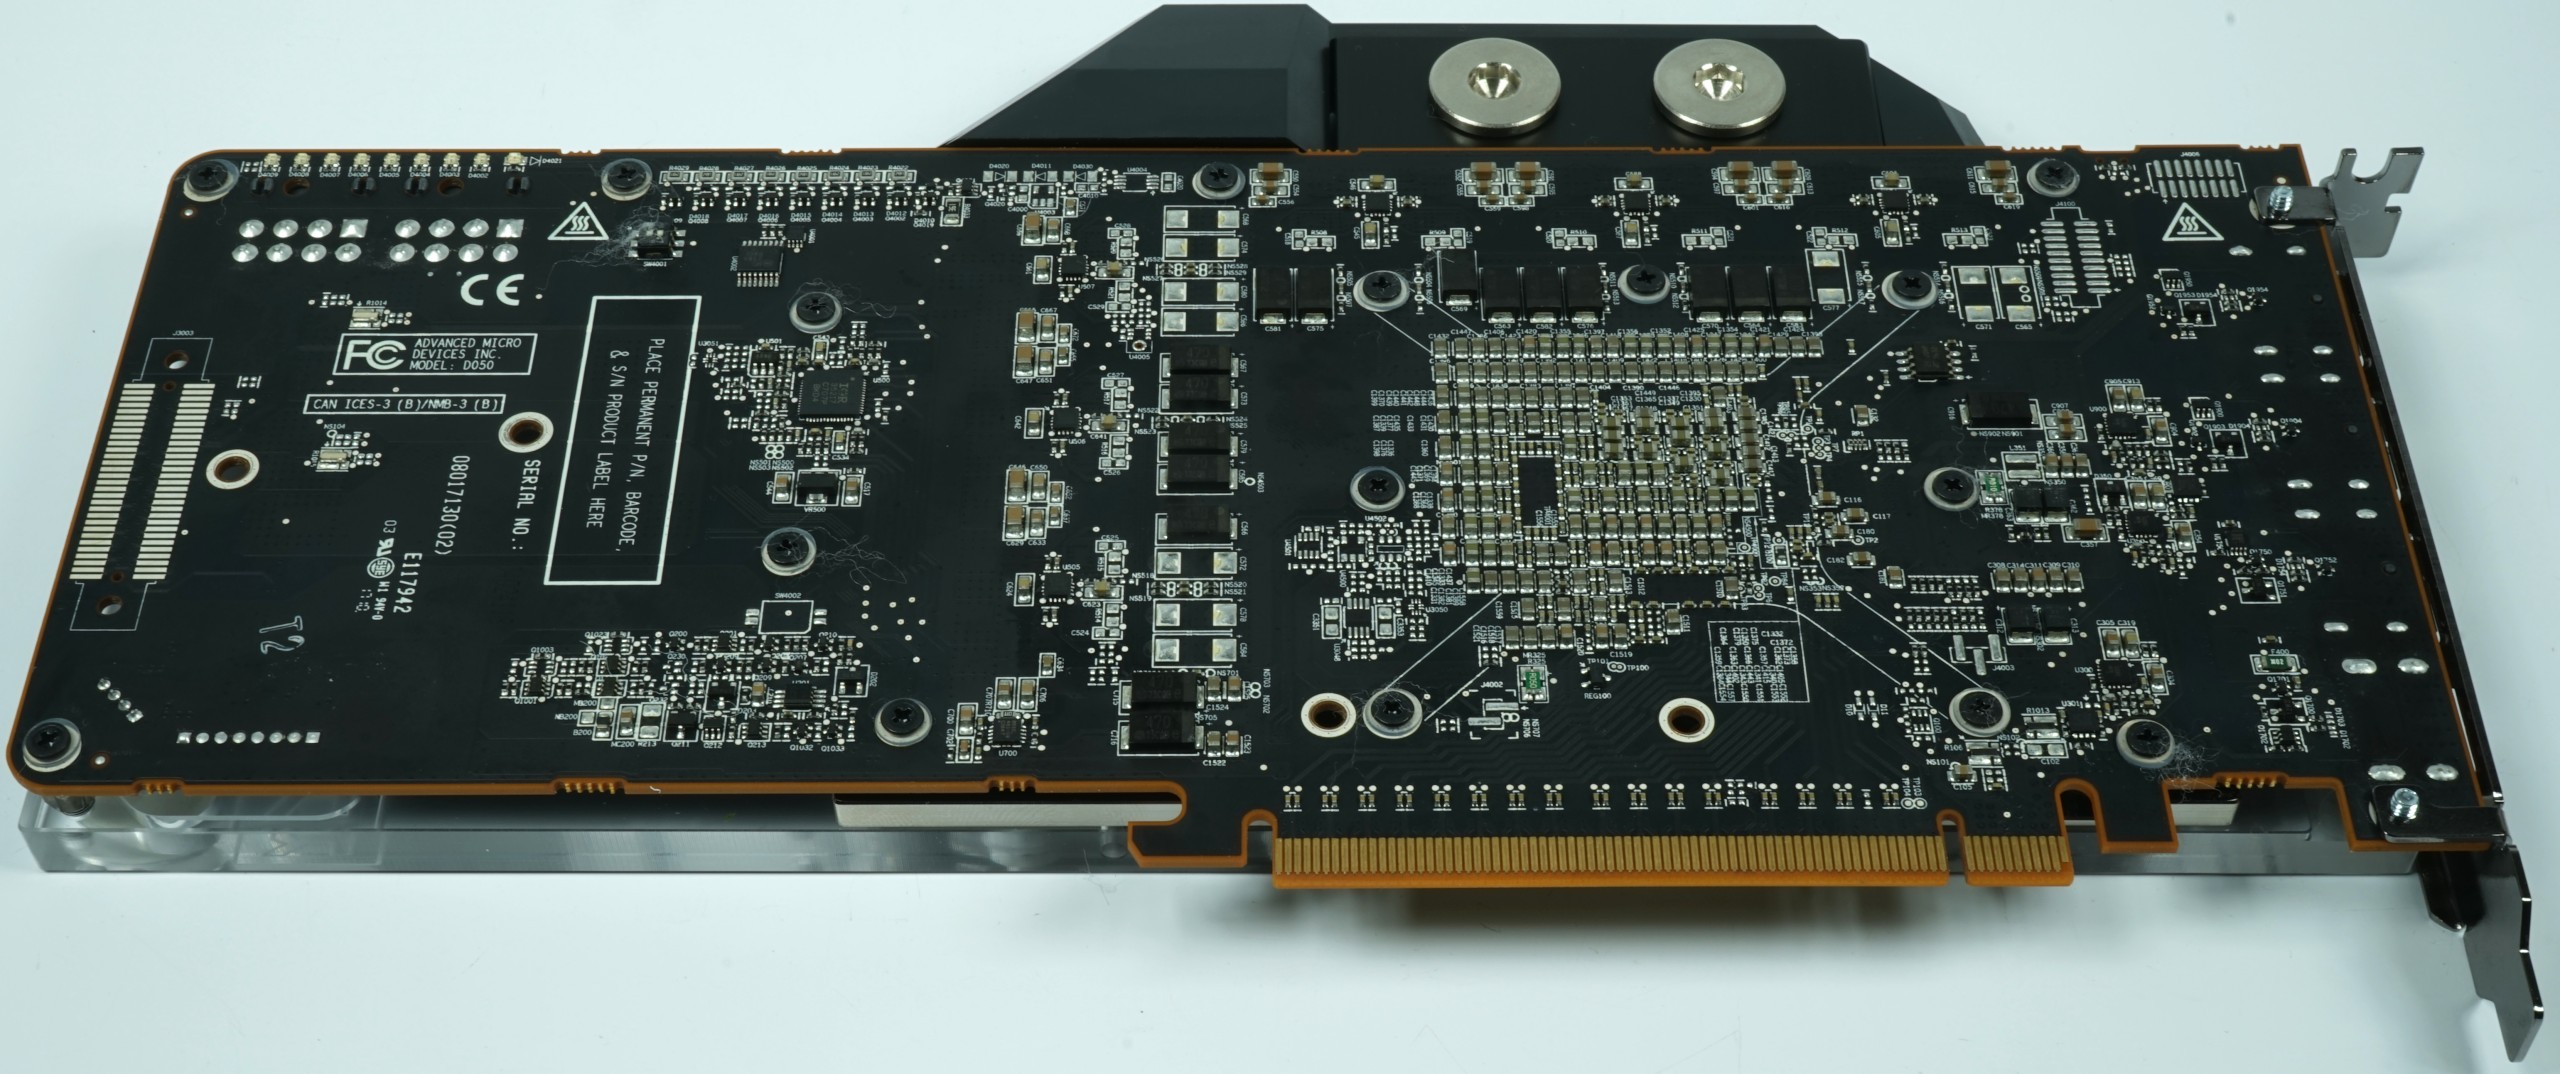
The bare back shows the many screws that we have screwed in together with polyamide washers for fastening. The PCB around the package alone is fixed all around with seven screws.
If you want it a little nicer and also cooler (doubler chips!), you should screw the matching back plate right away. It is a feast for the senses and the potential hate object of any cleaning housewife. But the old wisdom applies: whoever wants to be beautiful must suffer.
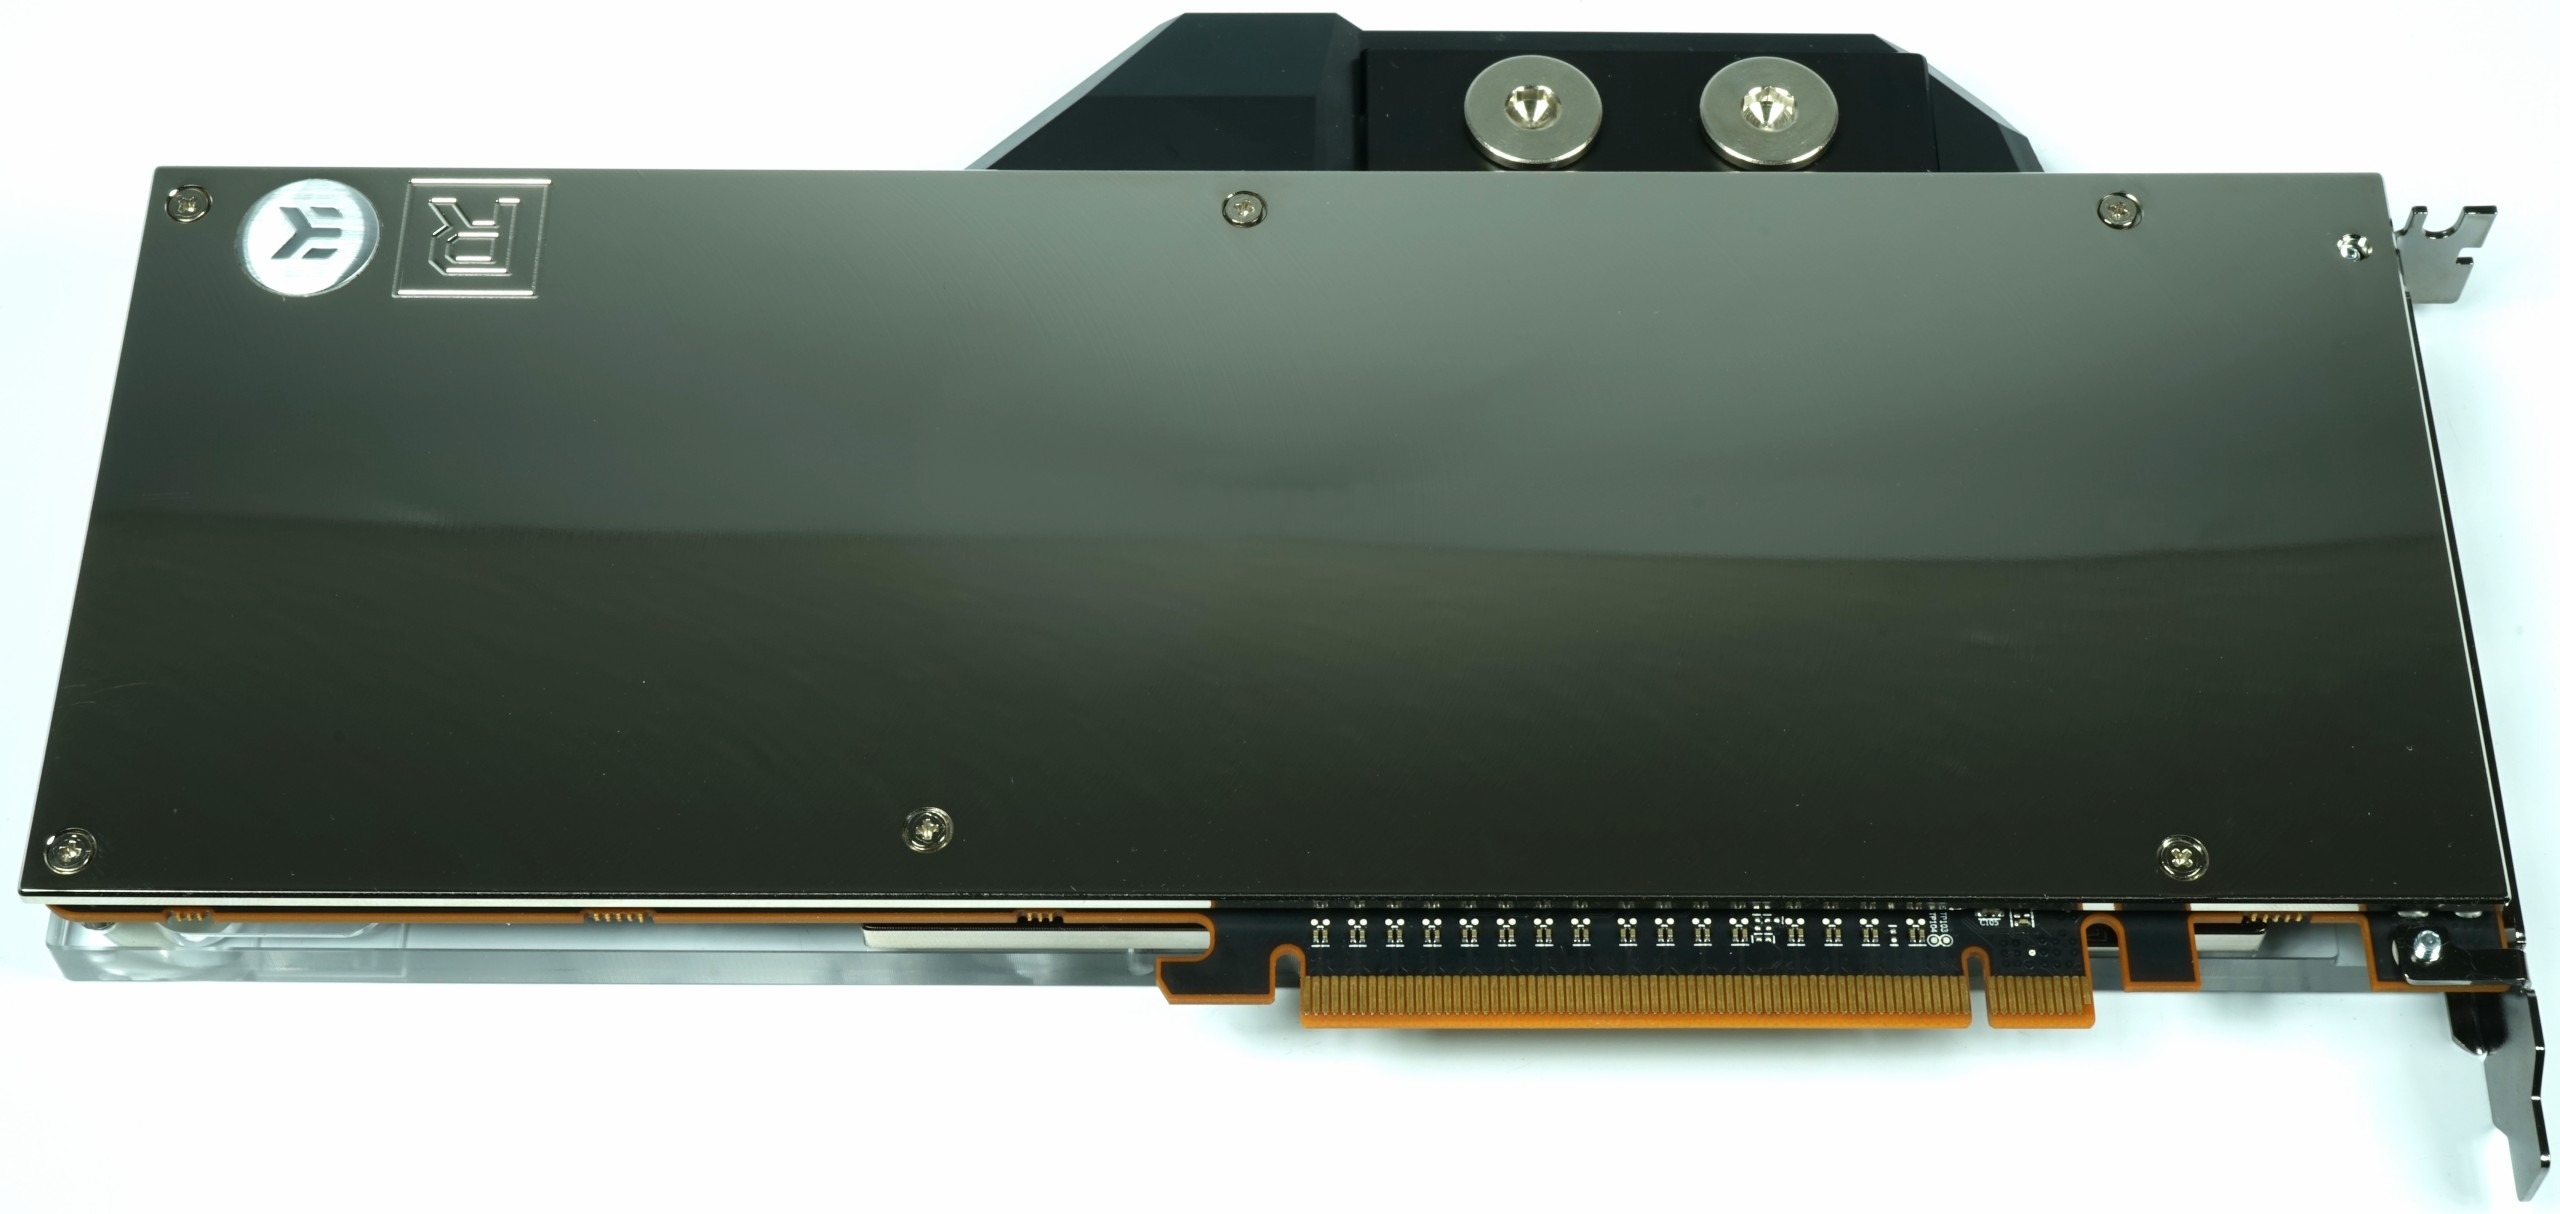
For our measurements, however, we removed the plate. To drill them was too bad for us.
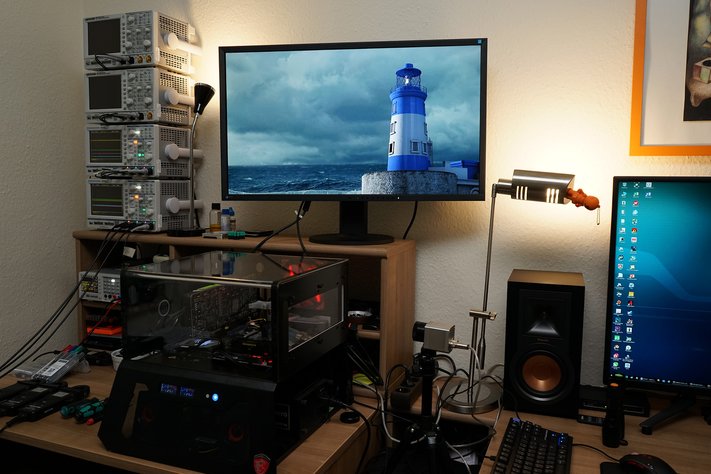
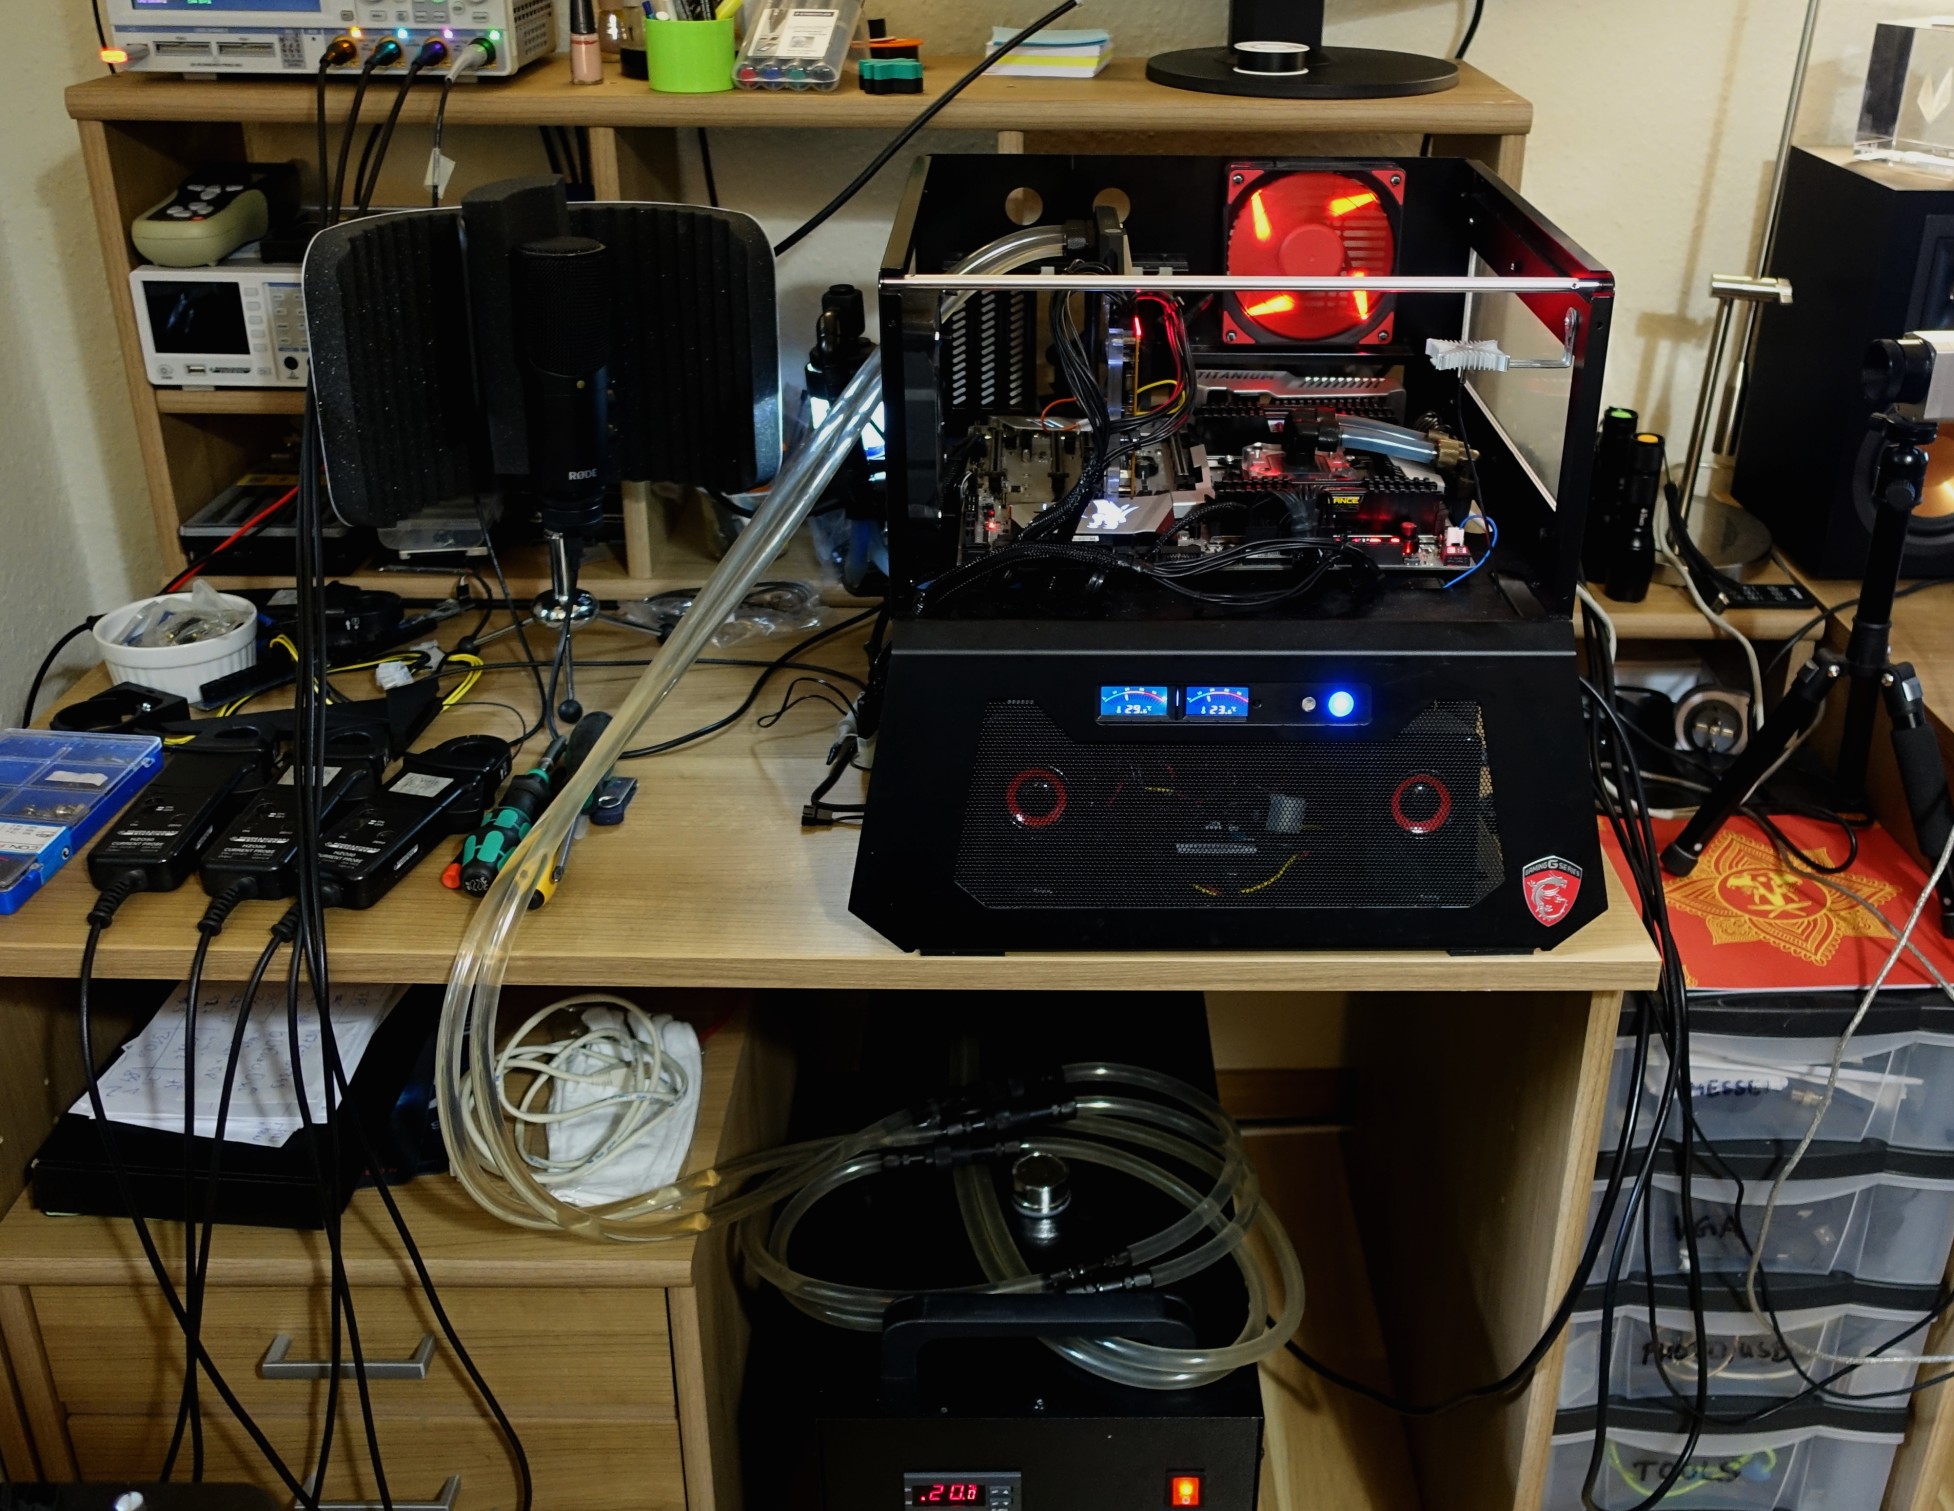
Test system and measurement methods
The new test system and the methodology have already been described in great detail in the basic article "How We Test Graphics Cards" (English: "How We Test Graphics Cards") and therefore, for the sake of simplicity, we now only refer to this detailed Description. So if you want to read everything again, you are welcome to do so. However, we have again improved CPU and cooling to largely exclude possible CPU bottlenecks for this fast card.
 |
 |
If you are interested, the summary in table form quickly provides a brief overview:
| Test systems and measuring rooms | |
|---|---|
| Hardware: | Intel Core i7-6900K -4.3GHz MSI X99S XPower Gaming Titanium Corsair Vengeance DDR4-3200 1x 1 TByte Toshiba OCZ RD400 (M.2, System SSD) 2x 960 GByte Toshiba OCZ TR150 (Storage, Images) Be Quiet Dark Power Pro 11, 850-watt power supply |
| Cooling GPU: | EK Water Blocks EK-FC Radeon Vega Alphacool Ice Age 2000 Chiller Thermal Grizzly Kryonaut (for cooler change) |
| Ambient temperature: | 22°C (air-con) |
| Housing: | Lian Li PC-T70 with expansion kit and modifications |
| Monitor: | Eizo EV3237-BK |
| Power consumption: | non-contact DC measurement on the PCIe slot (Riser-Card) non-contact DC measurement on the external PCIe power supply Direct voltage measurement on the respective feeders and on the power supply 2x Rohde & Schwarz HMO 3054, 500 MHz multi-channel oscillograph with memory function 4x Rohde & Schwarz HZO50, current togor adapter (1 mA to 30 A, 100 KHz, DC) 4x Rohde & Schwarz HZ355, touch divider (10:1, 500 MHz) 1x Rohde & Schwarz HMC 8012, digital multimeter with storage function |
| Thermography: | Optris PI640, infrared camera PI Connect evaluation software with profiles |


Kommentieren