


Project objective: More transparency and a reality
One thing cannot be denied to the readers, who have given me this feedback in the meantime: that their displeasure would be unfounded. We are aware of the circumstances that the results in the open structure almost always differ significantly from those in a closed PC housing, of course for a long time. But where can you find a clean solution that really makes all sides happy?
For almost six months, I have developed a concept that allows the advantages of open design (keyword: quick and uncomplicated component change) to be linked to exactly the requirements that readers have written to me in the specifications. The devil is in the detail, however, because in addition to the gaming benchmarks and sensor recordings, a lot of equipment has to be integrated that goes beyond the standard tests.

After all, our infrared measurements, power consumption and other things must also be included in the concept, which would not have been feasible with conventional products on the market. That's why I already sought contact with manufacturers at Computex 2016 and finally found a partner in Lian Li who once listened to what you really need as a reviewer.
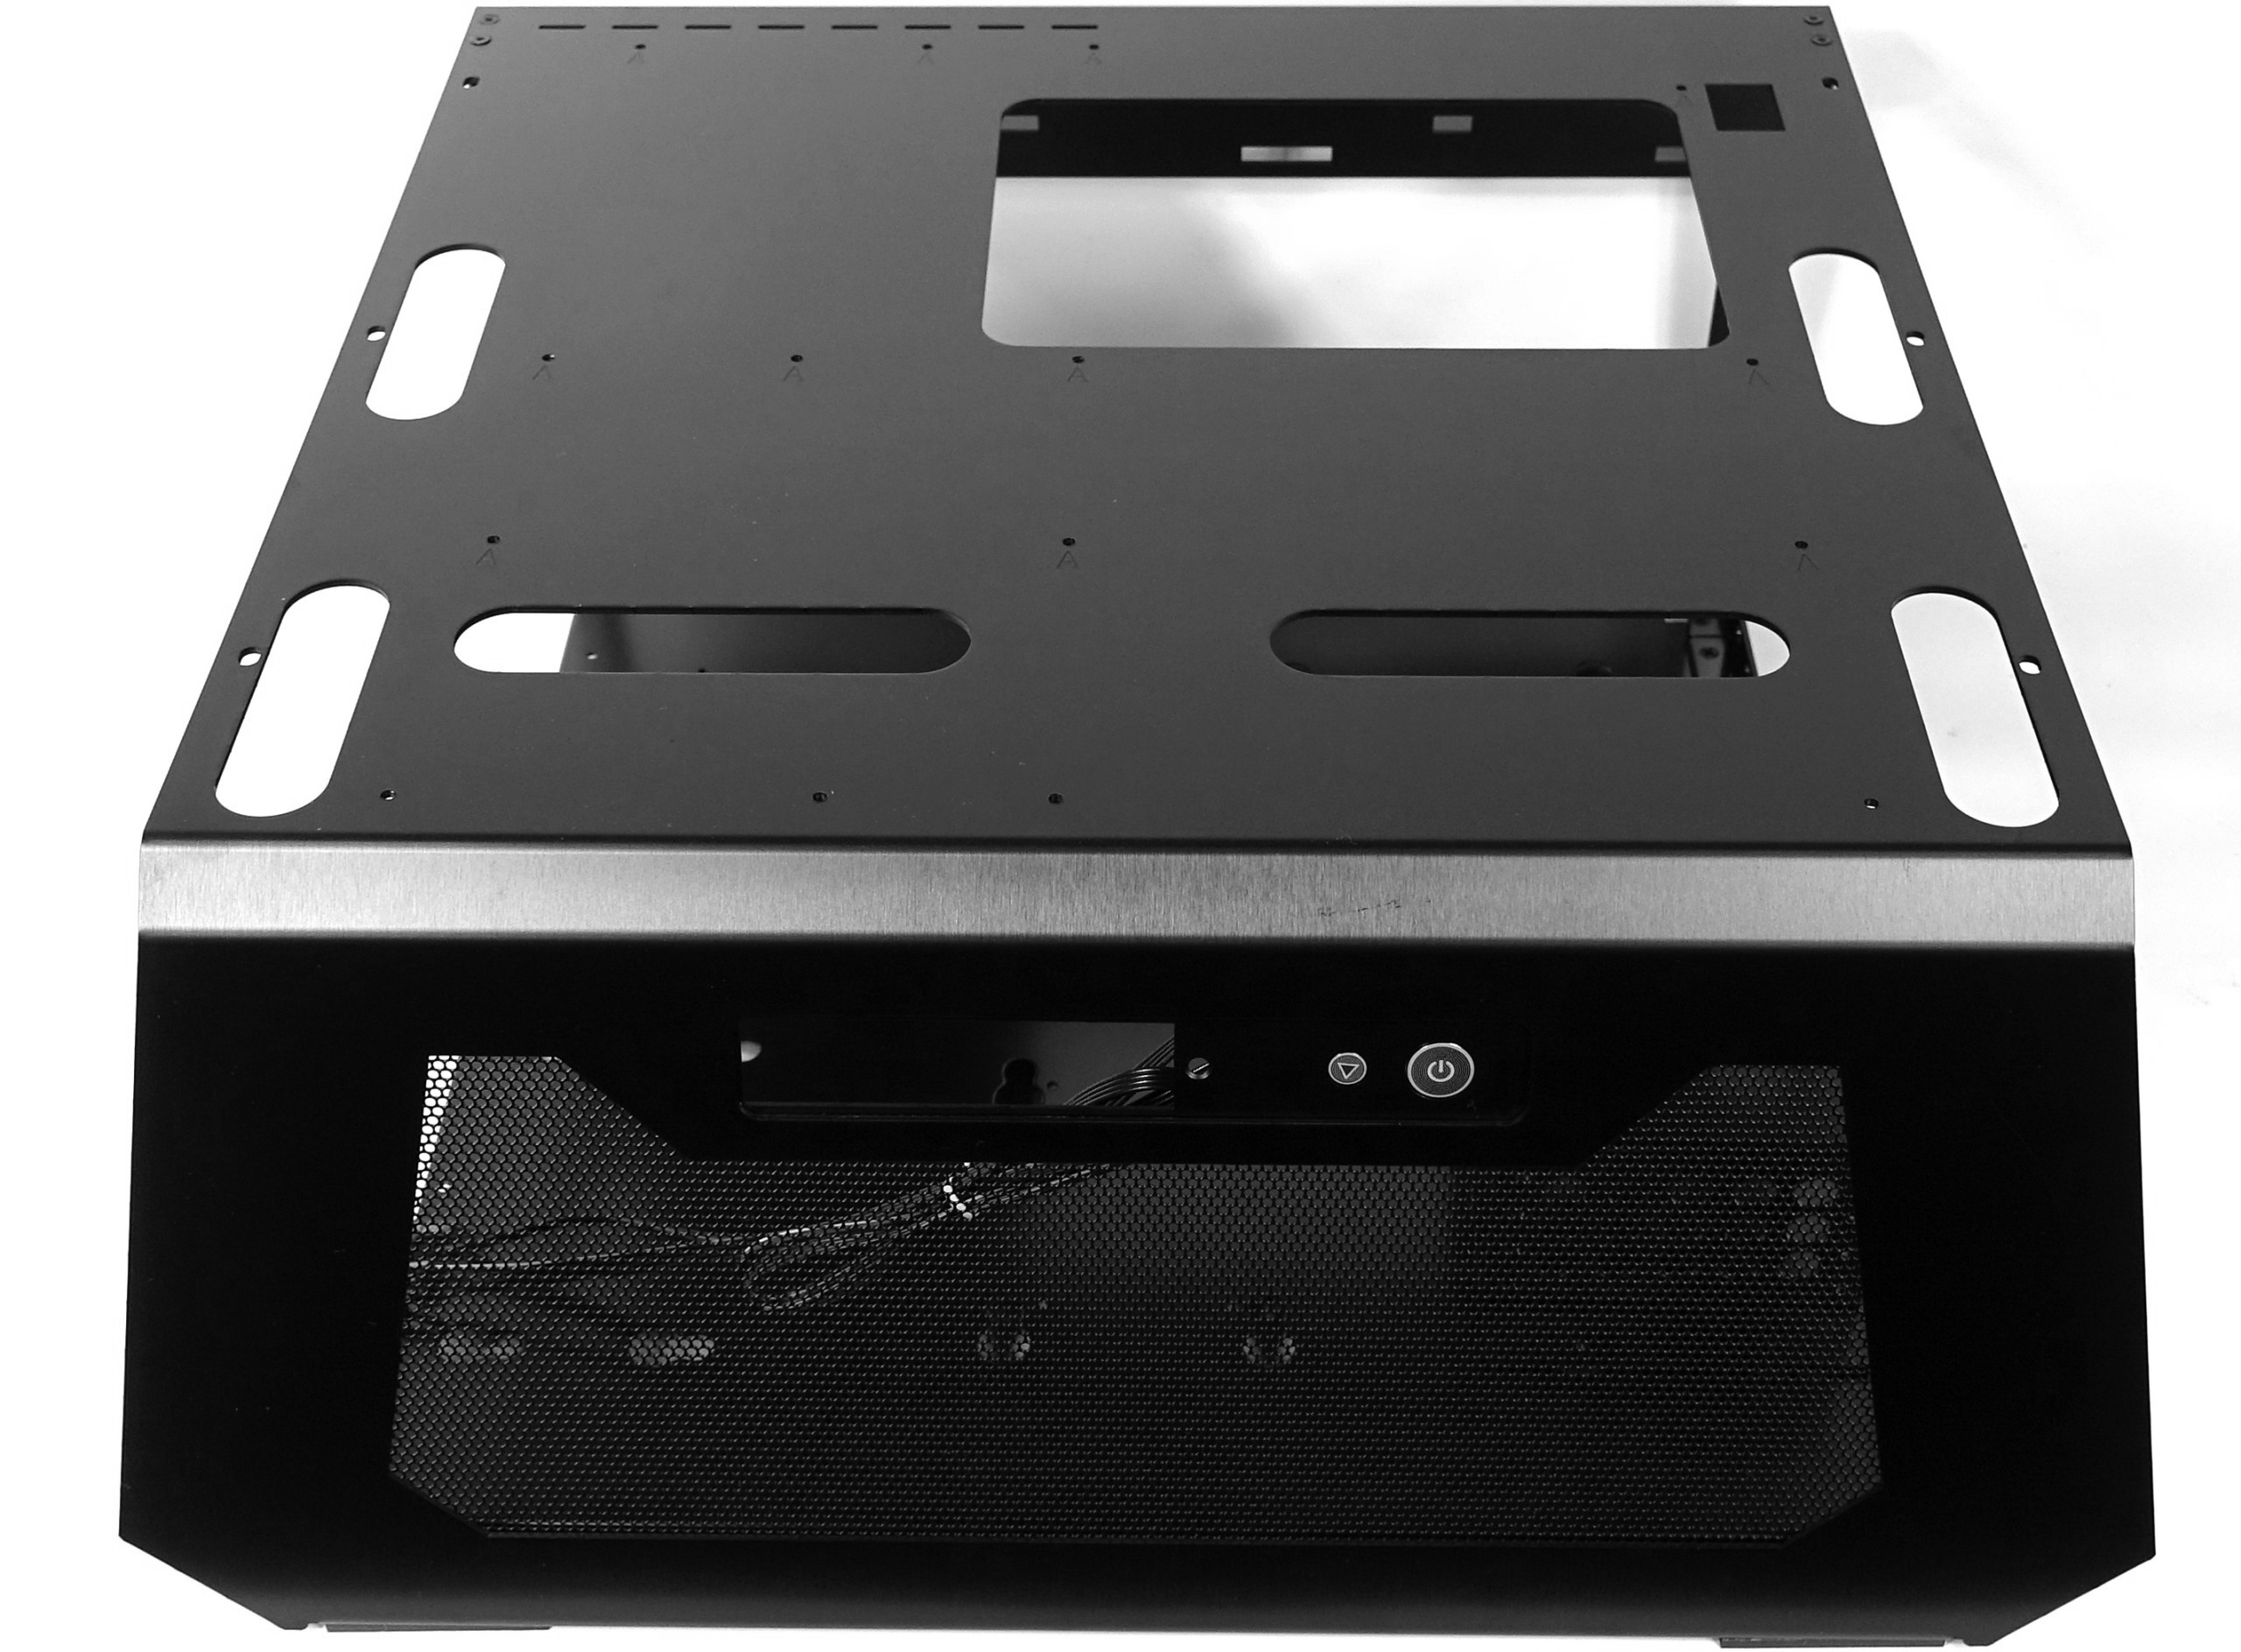
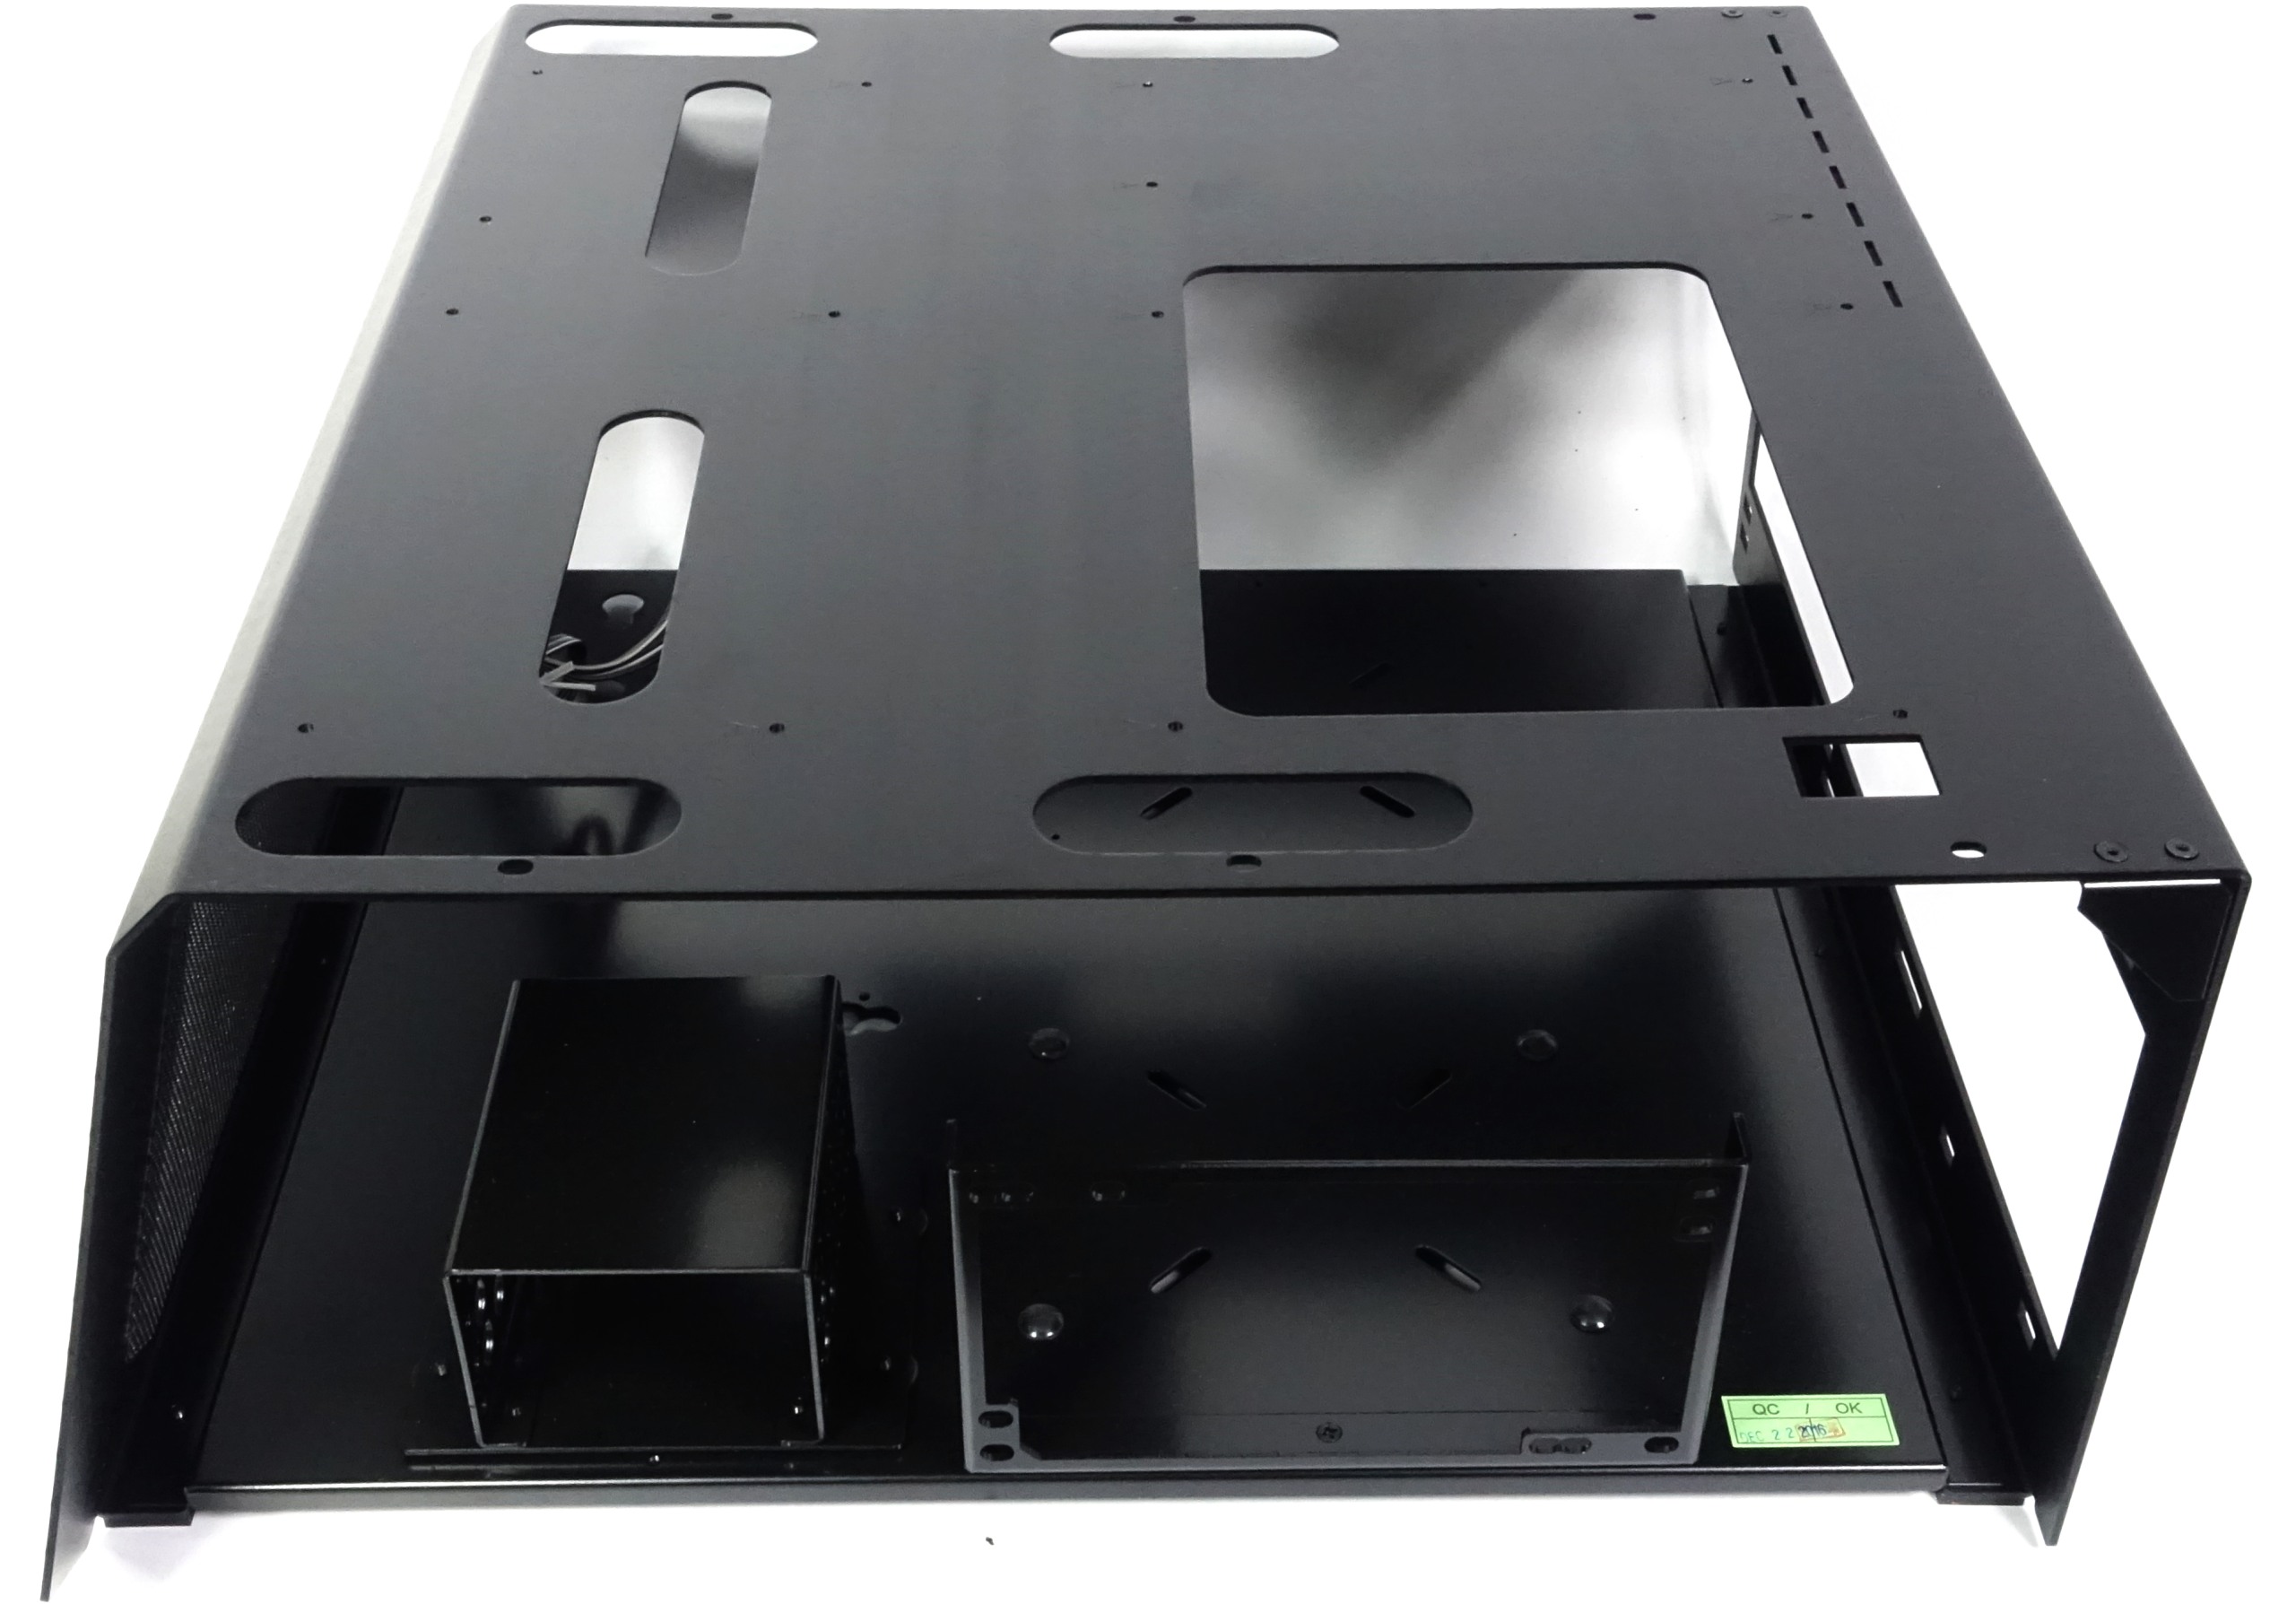
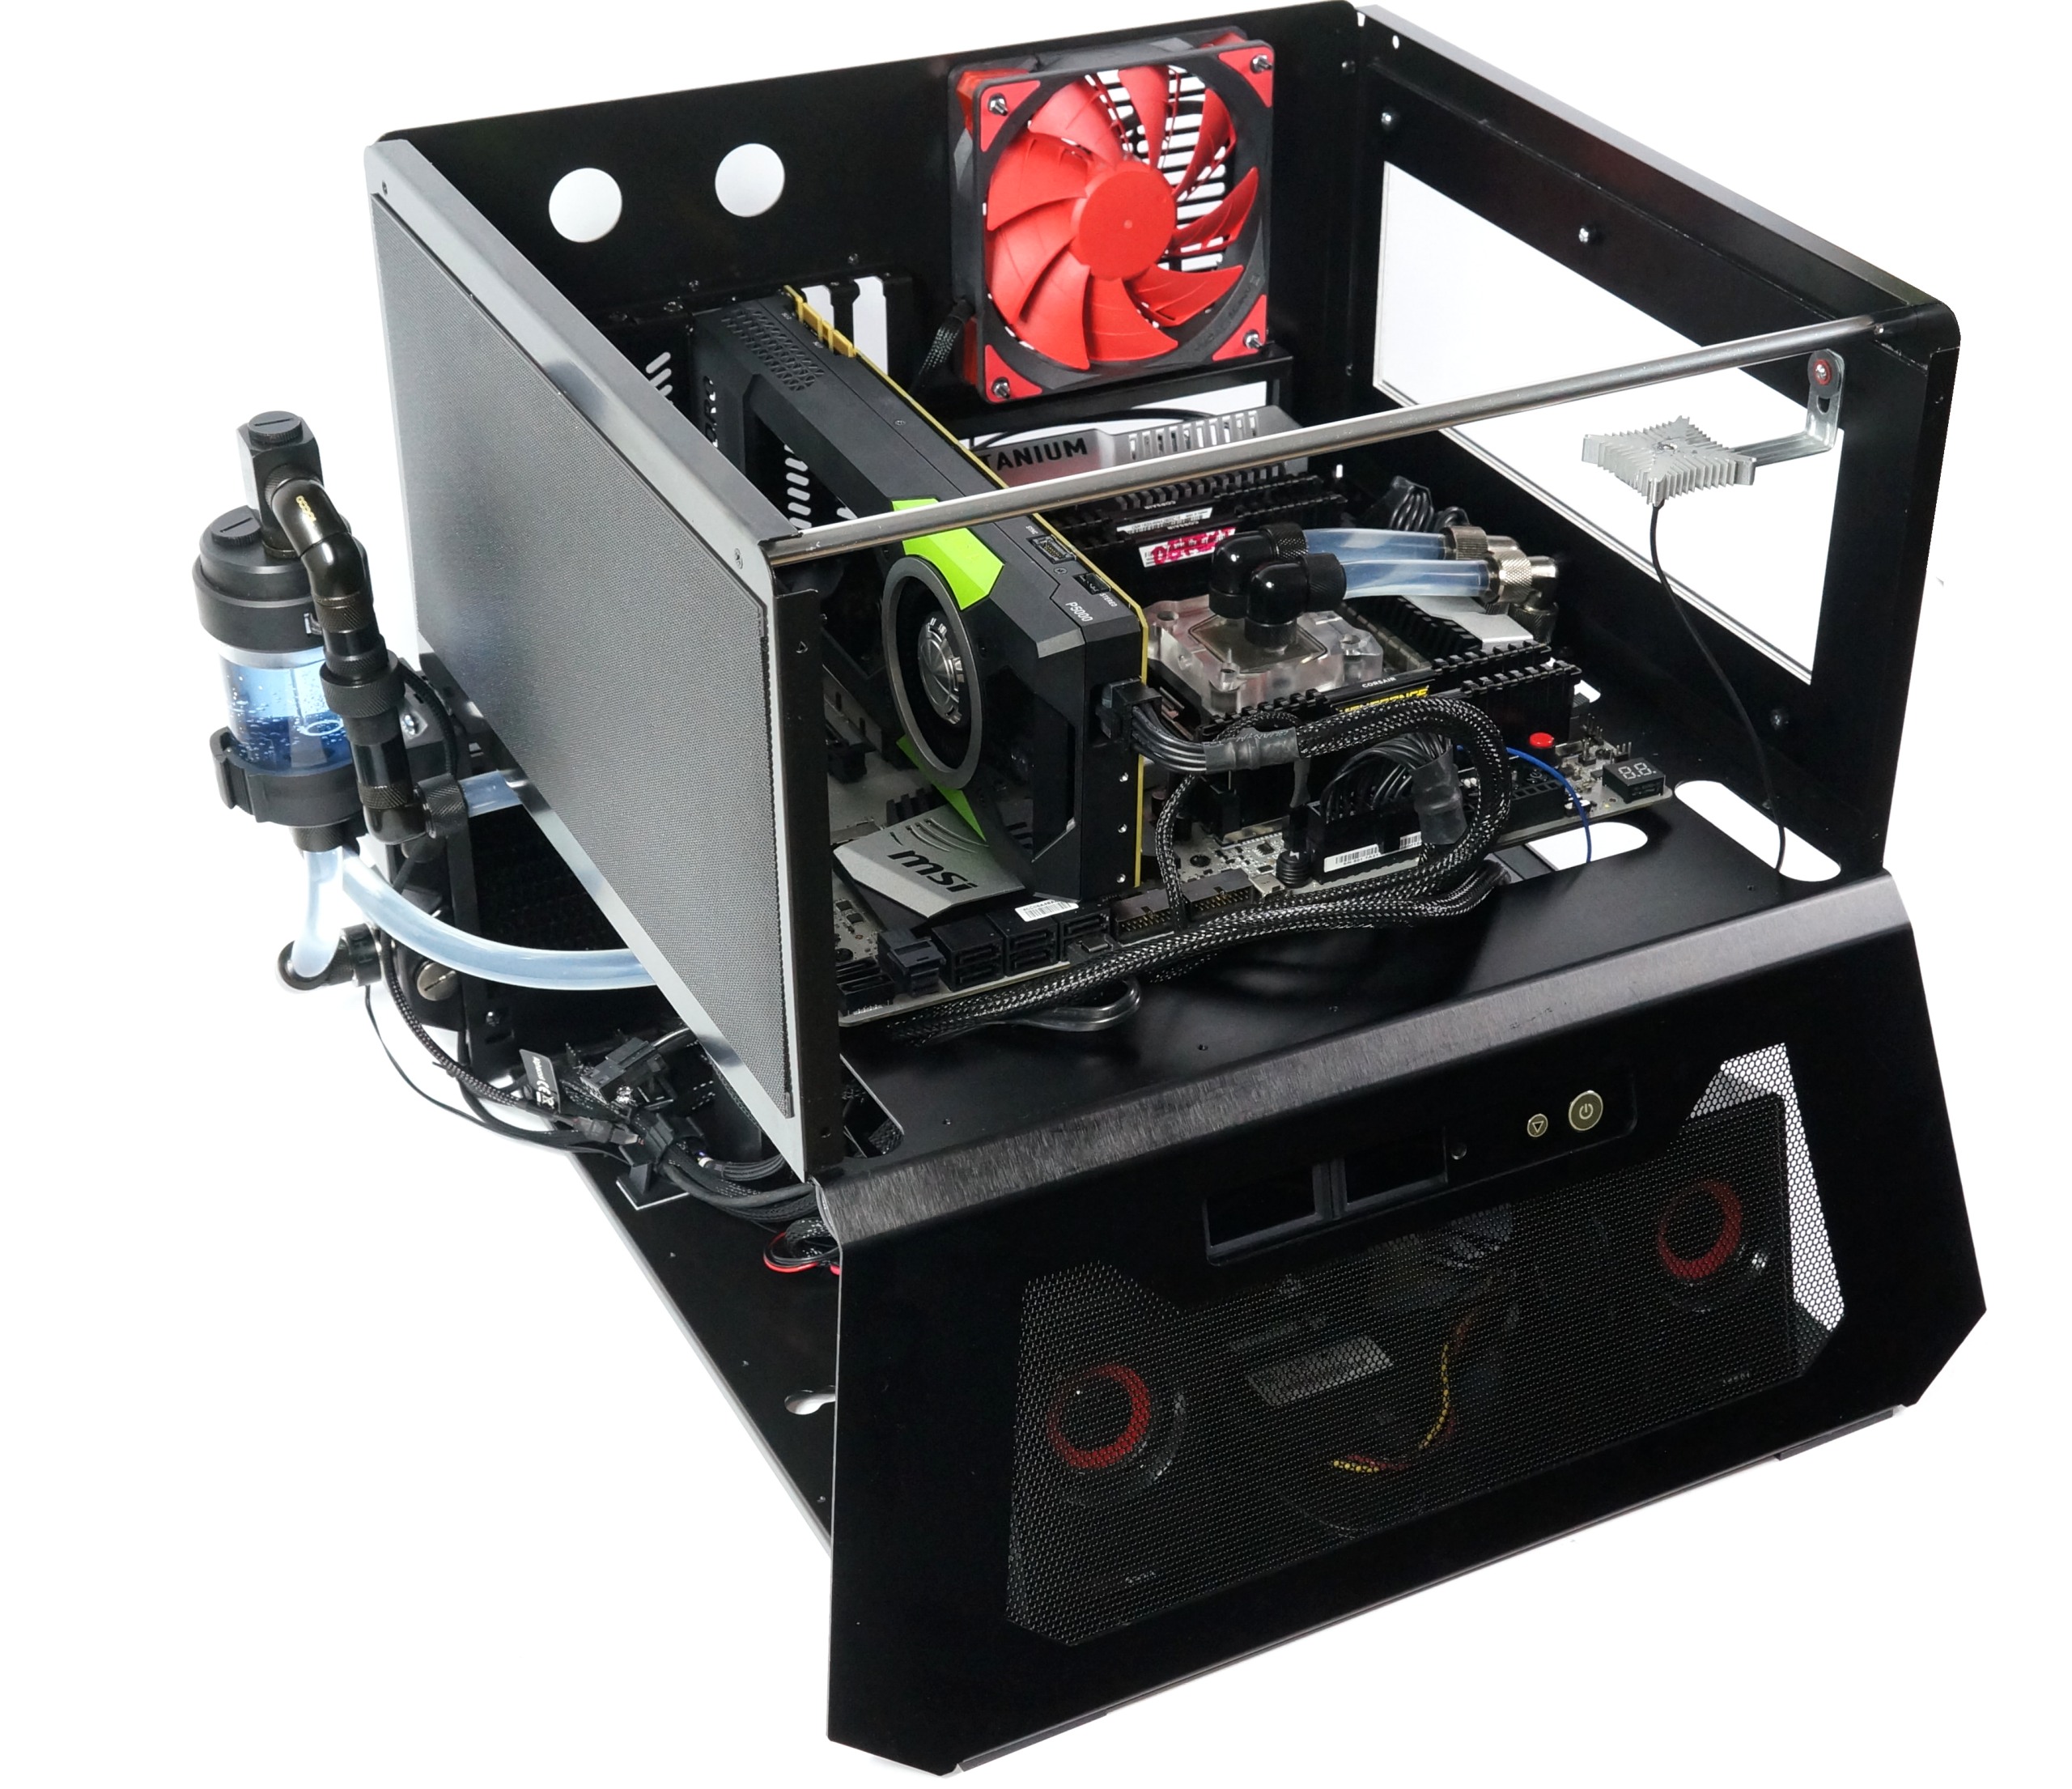
The original PC-T70 – as we see it here in the first pictures – is the classic Bench Table par excellence and thus as a basic module afflicted with exactly the same problems that I actually wanted to avoid. Therefore, there will be an extension for the PC-T70, which I was able to adapt quite exactly to my requirements in advance.
 |
 |
 |
Assembly and conversion of the Lian Li PC-T70
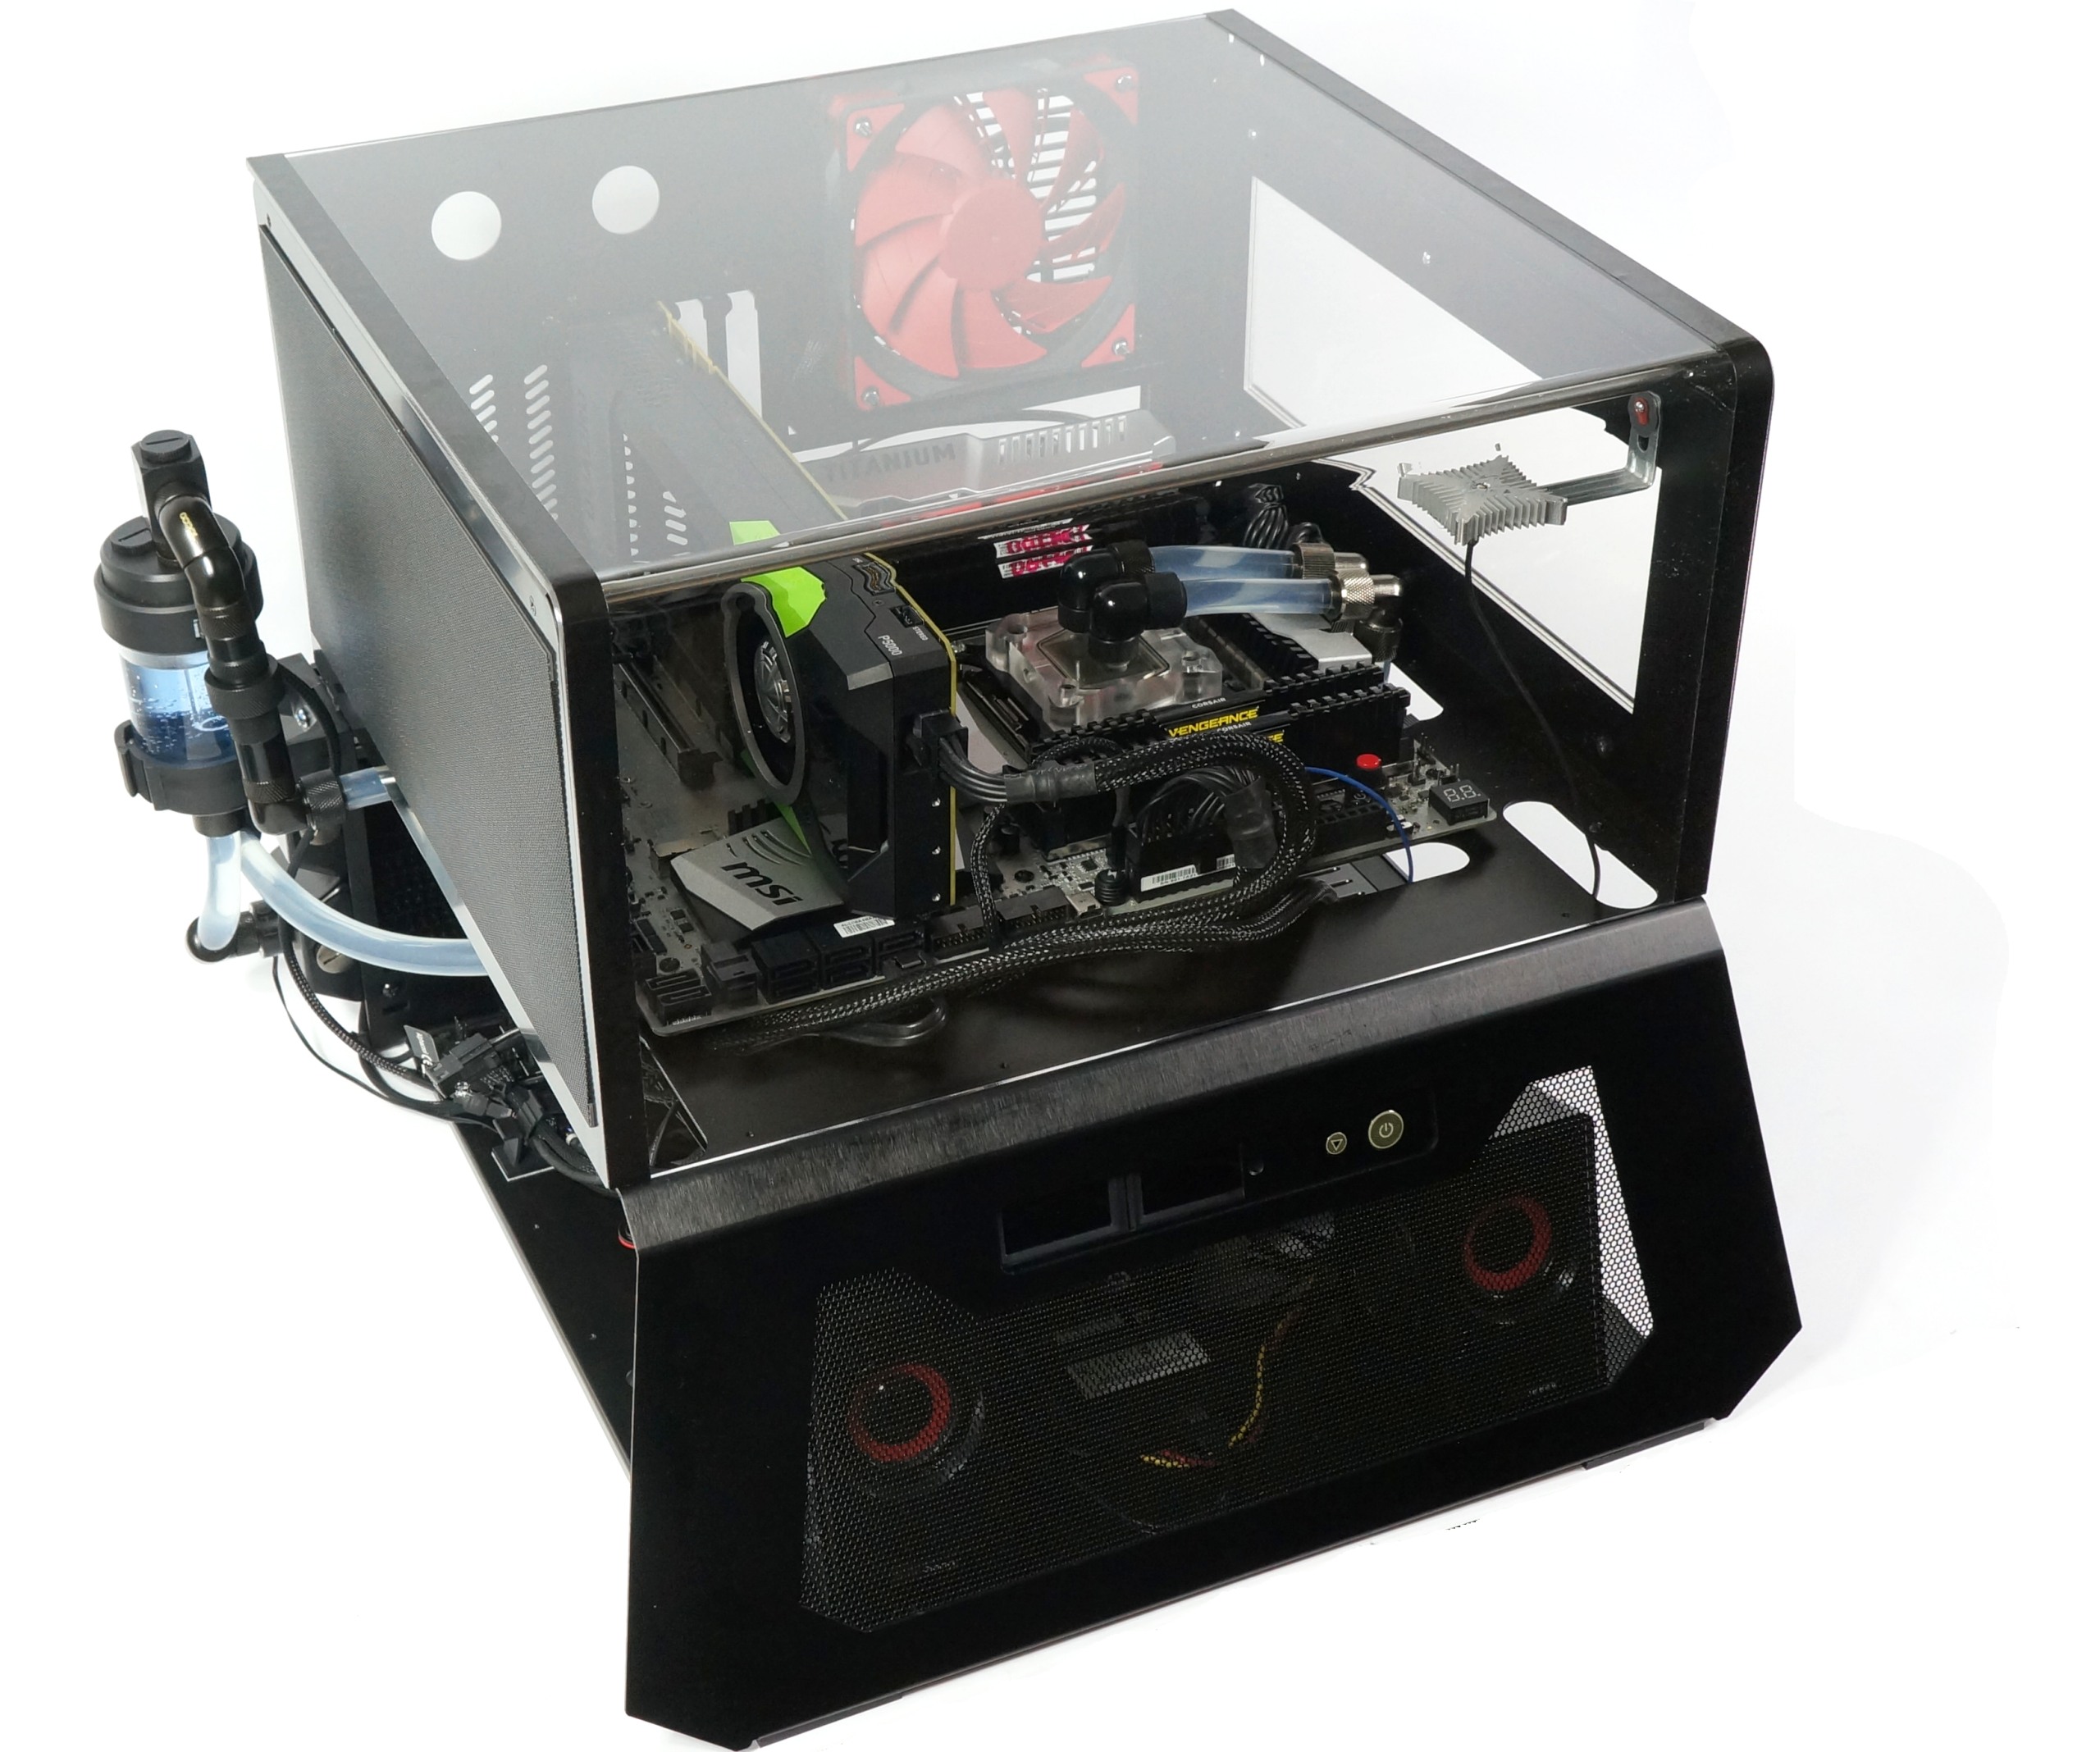
In order to obtain a closed housing, an optional set of side parts, a rear panel modelled on the normal PC housings including I/O shield (ATX aperture) and an acrylic cover will be available.
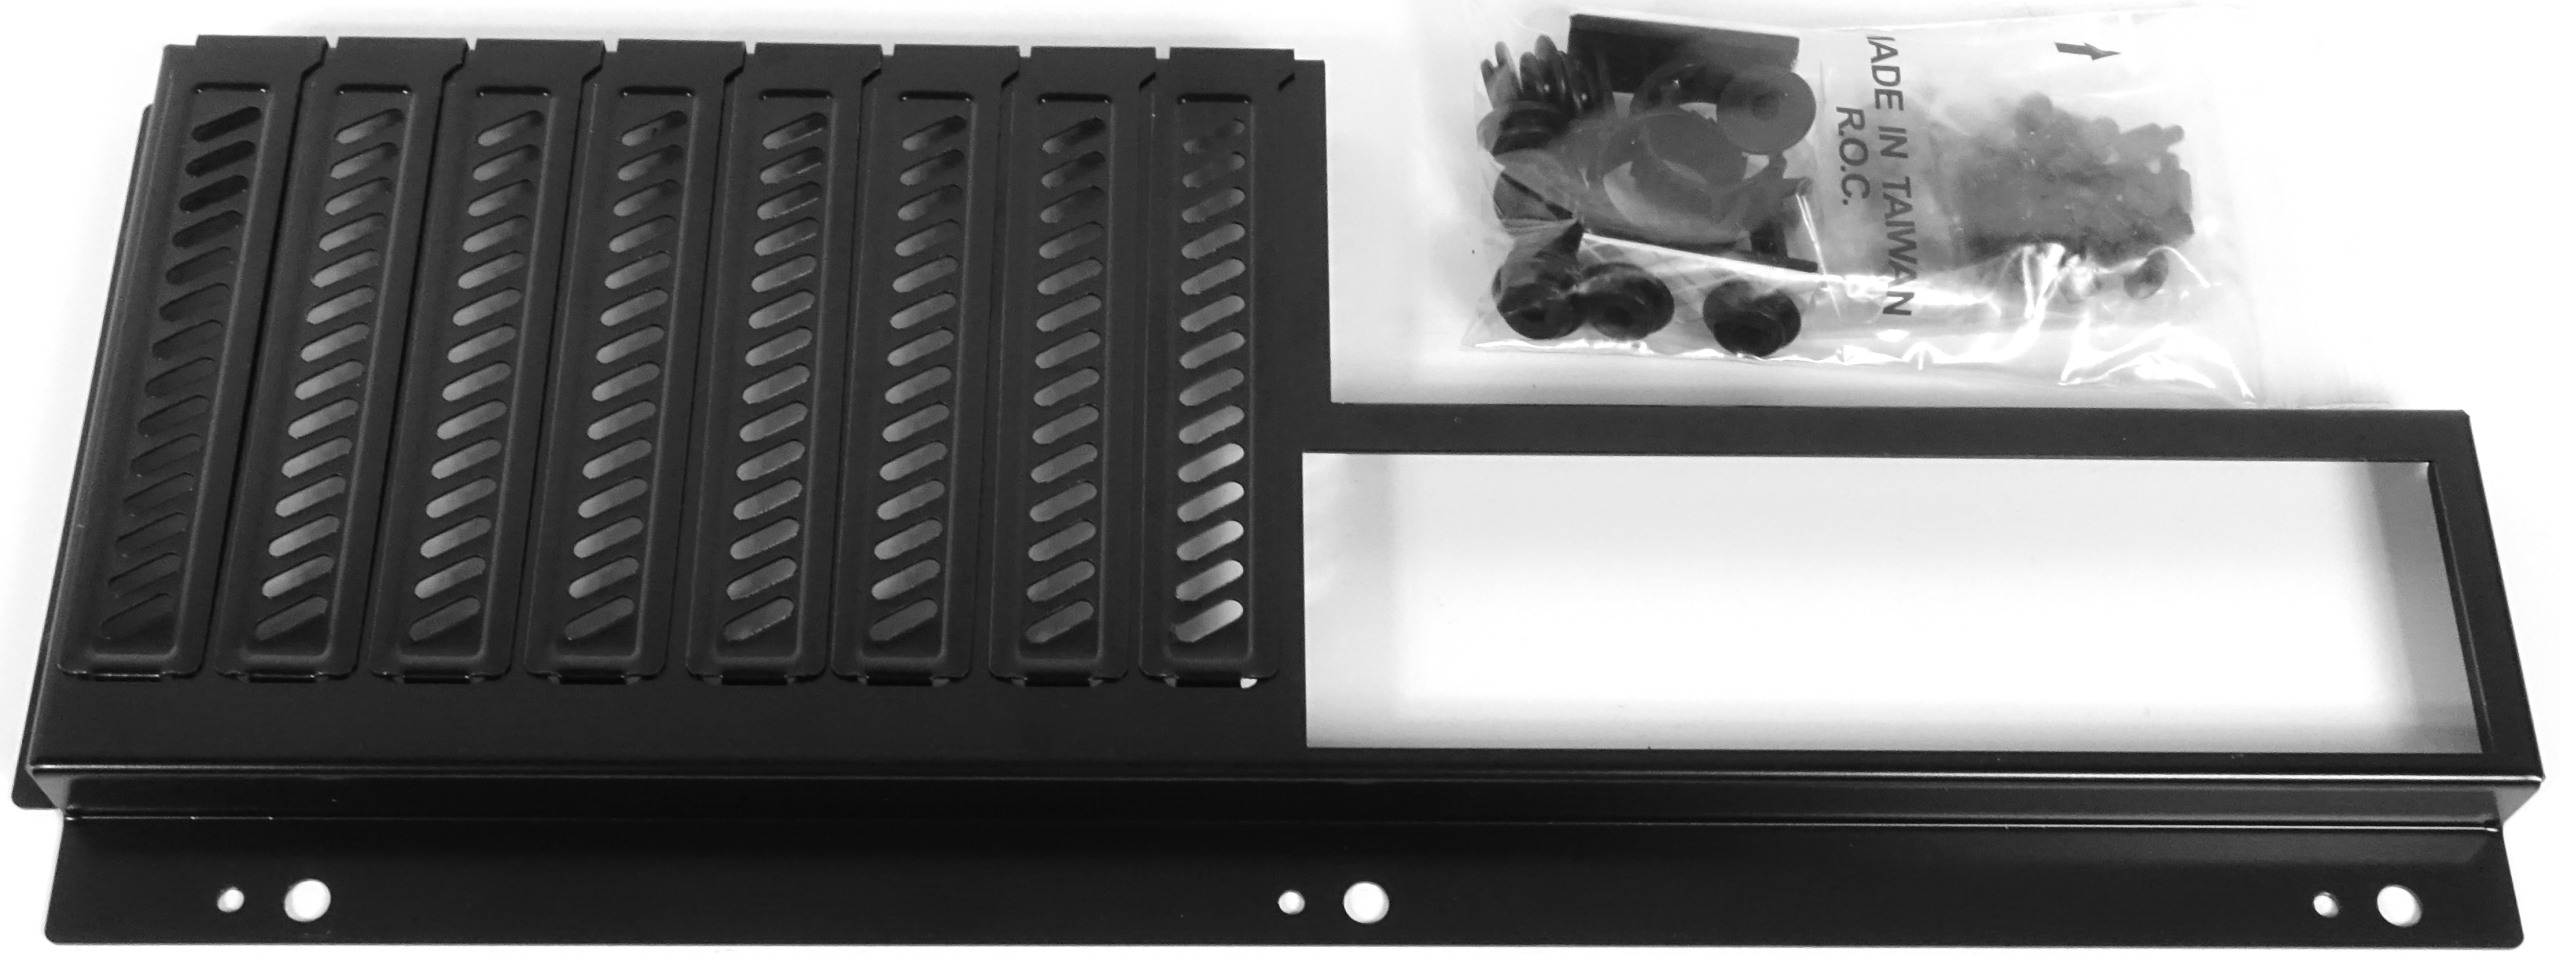
The side panels, each with two 12- or 14 cm fans and each with a magnetically adhering dust filter, are made of black lacquered steel and are quite stable. But Lian Li actually produces with aluminium, right? For the table we have explicitly opted for steel parts, because here both lower costs (for the manufacturer) and the extended possibilities harmonize quite well for me.
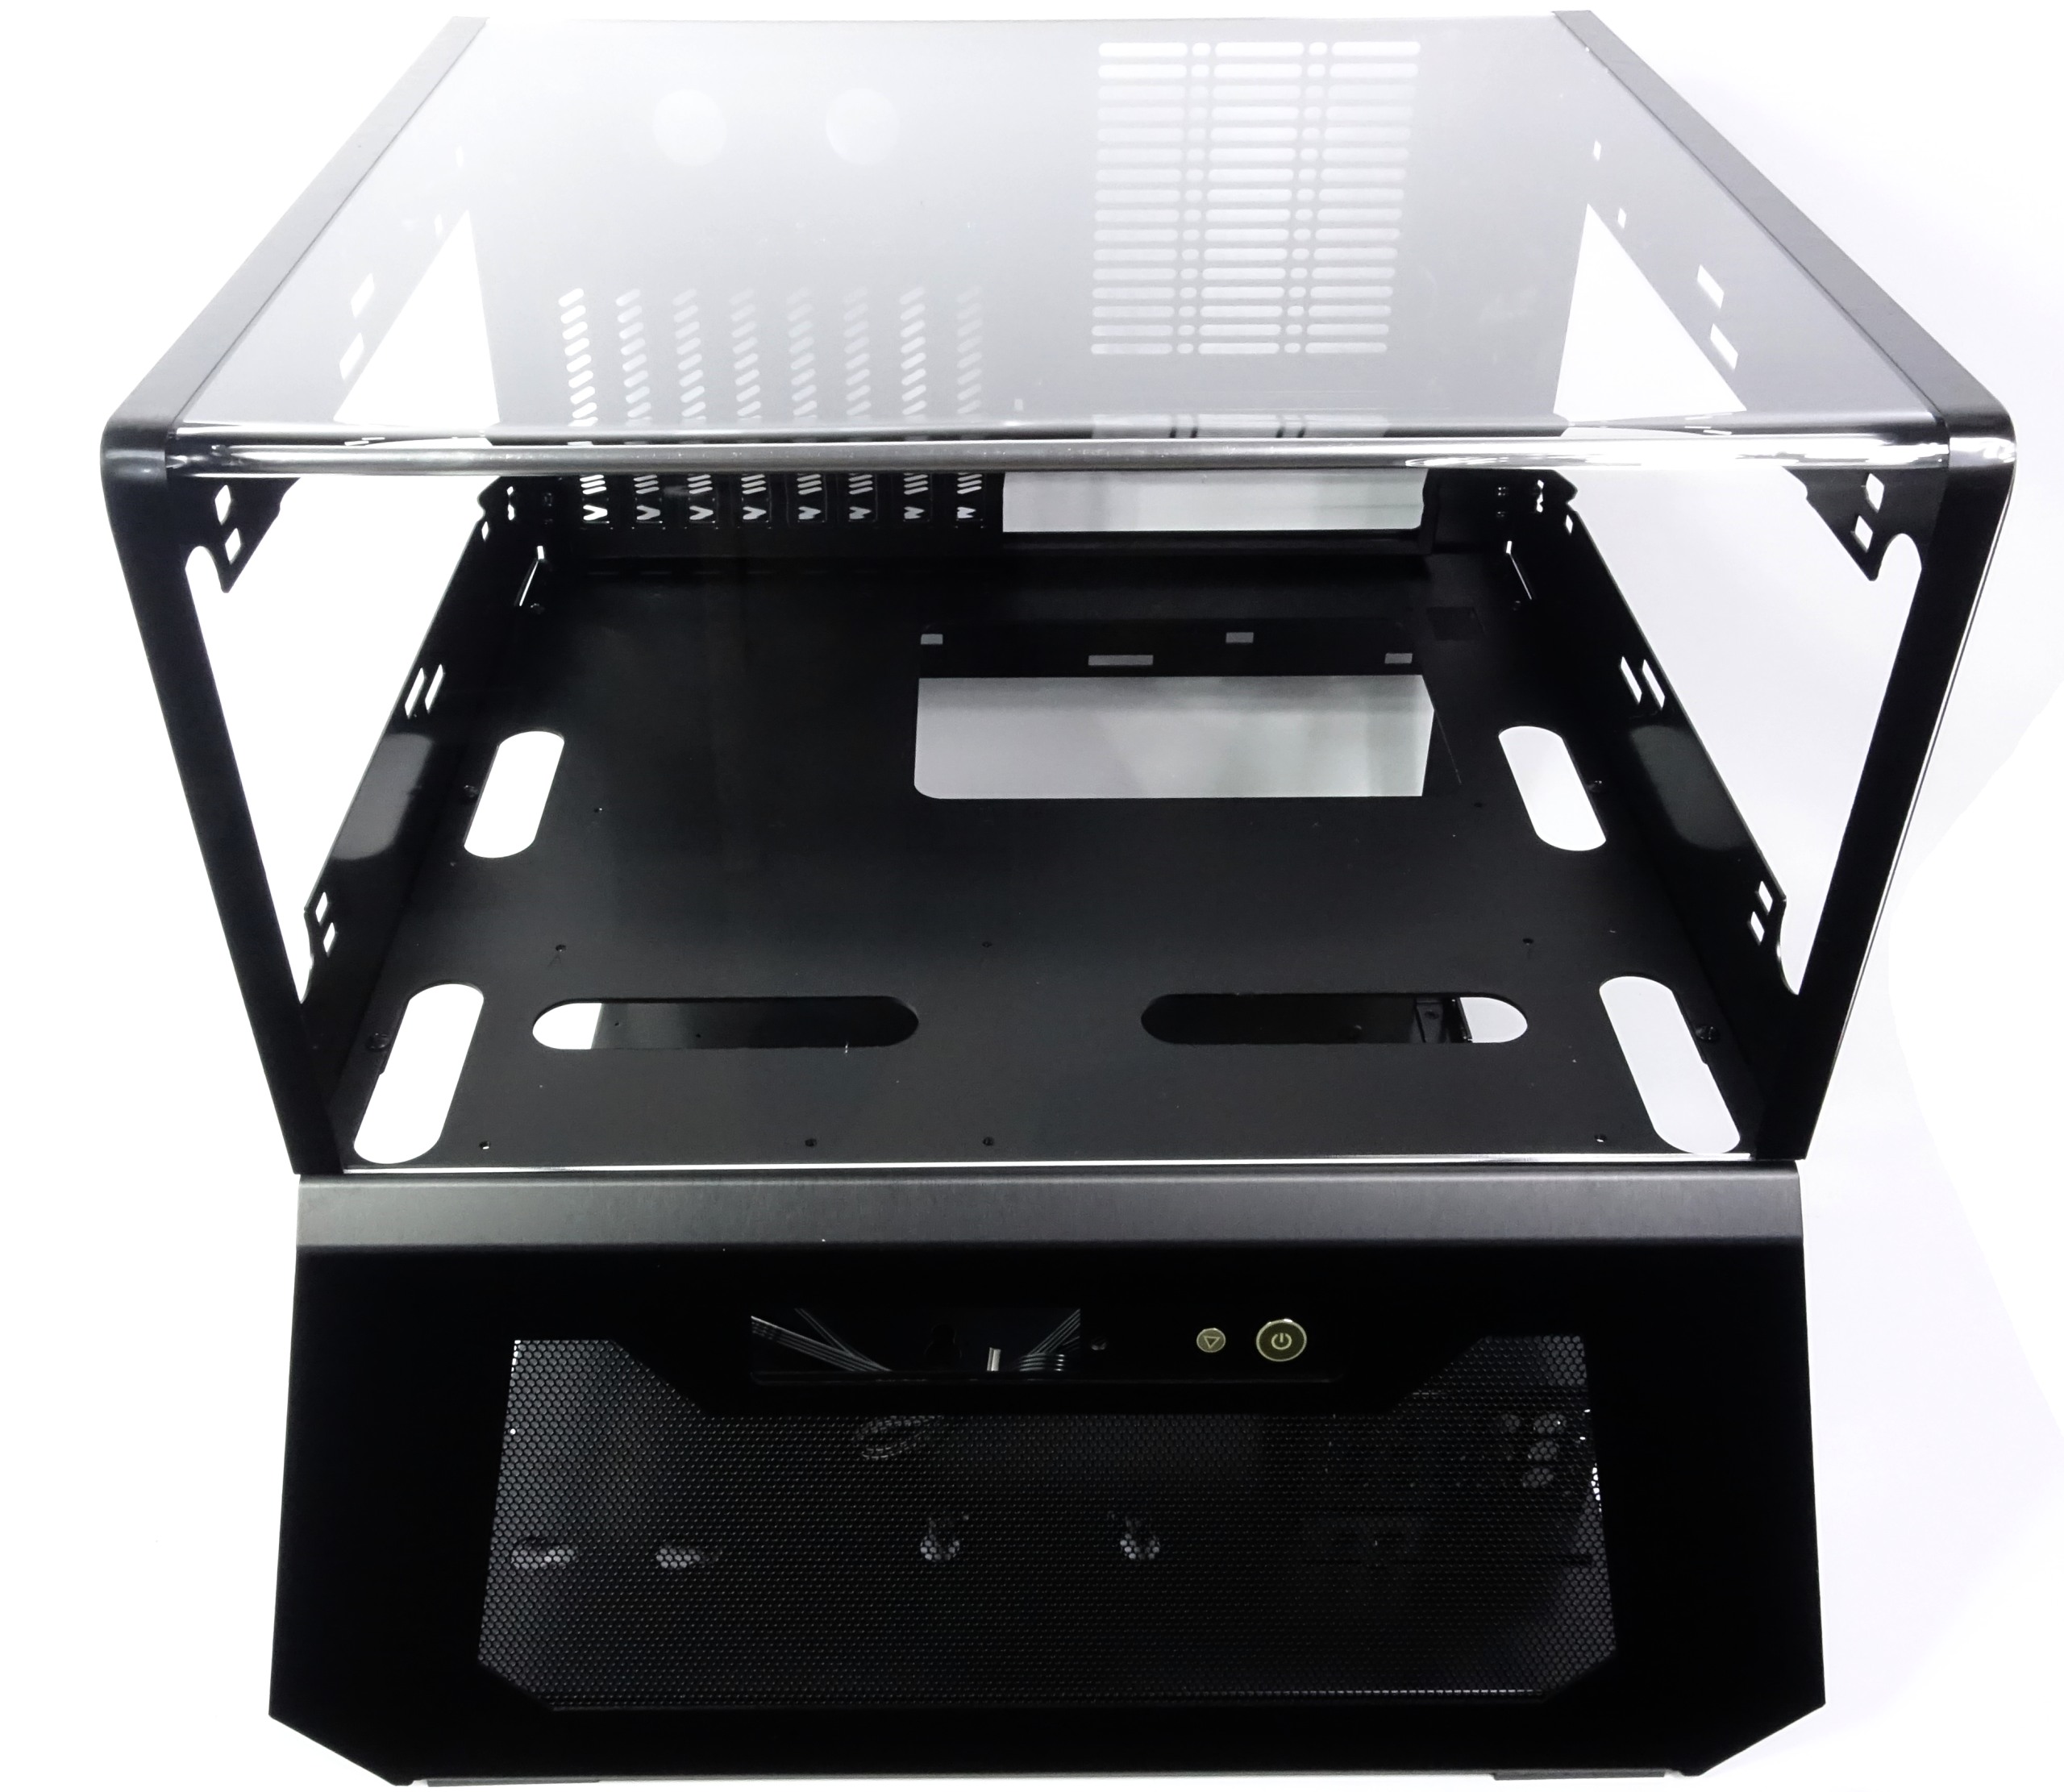
In order to be able to close the whole thing properly, I need a lid. And since you want to look into it, it finally became a solution made of acrylic. This, in turn, can be easily attached to the body with magnetic stripes and removed just as easily. I deliberately omitted a hinge during the planning, because one would need far too much space when opening.
 |
 |
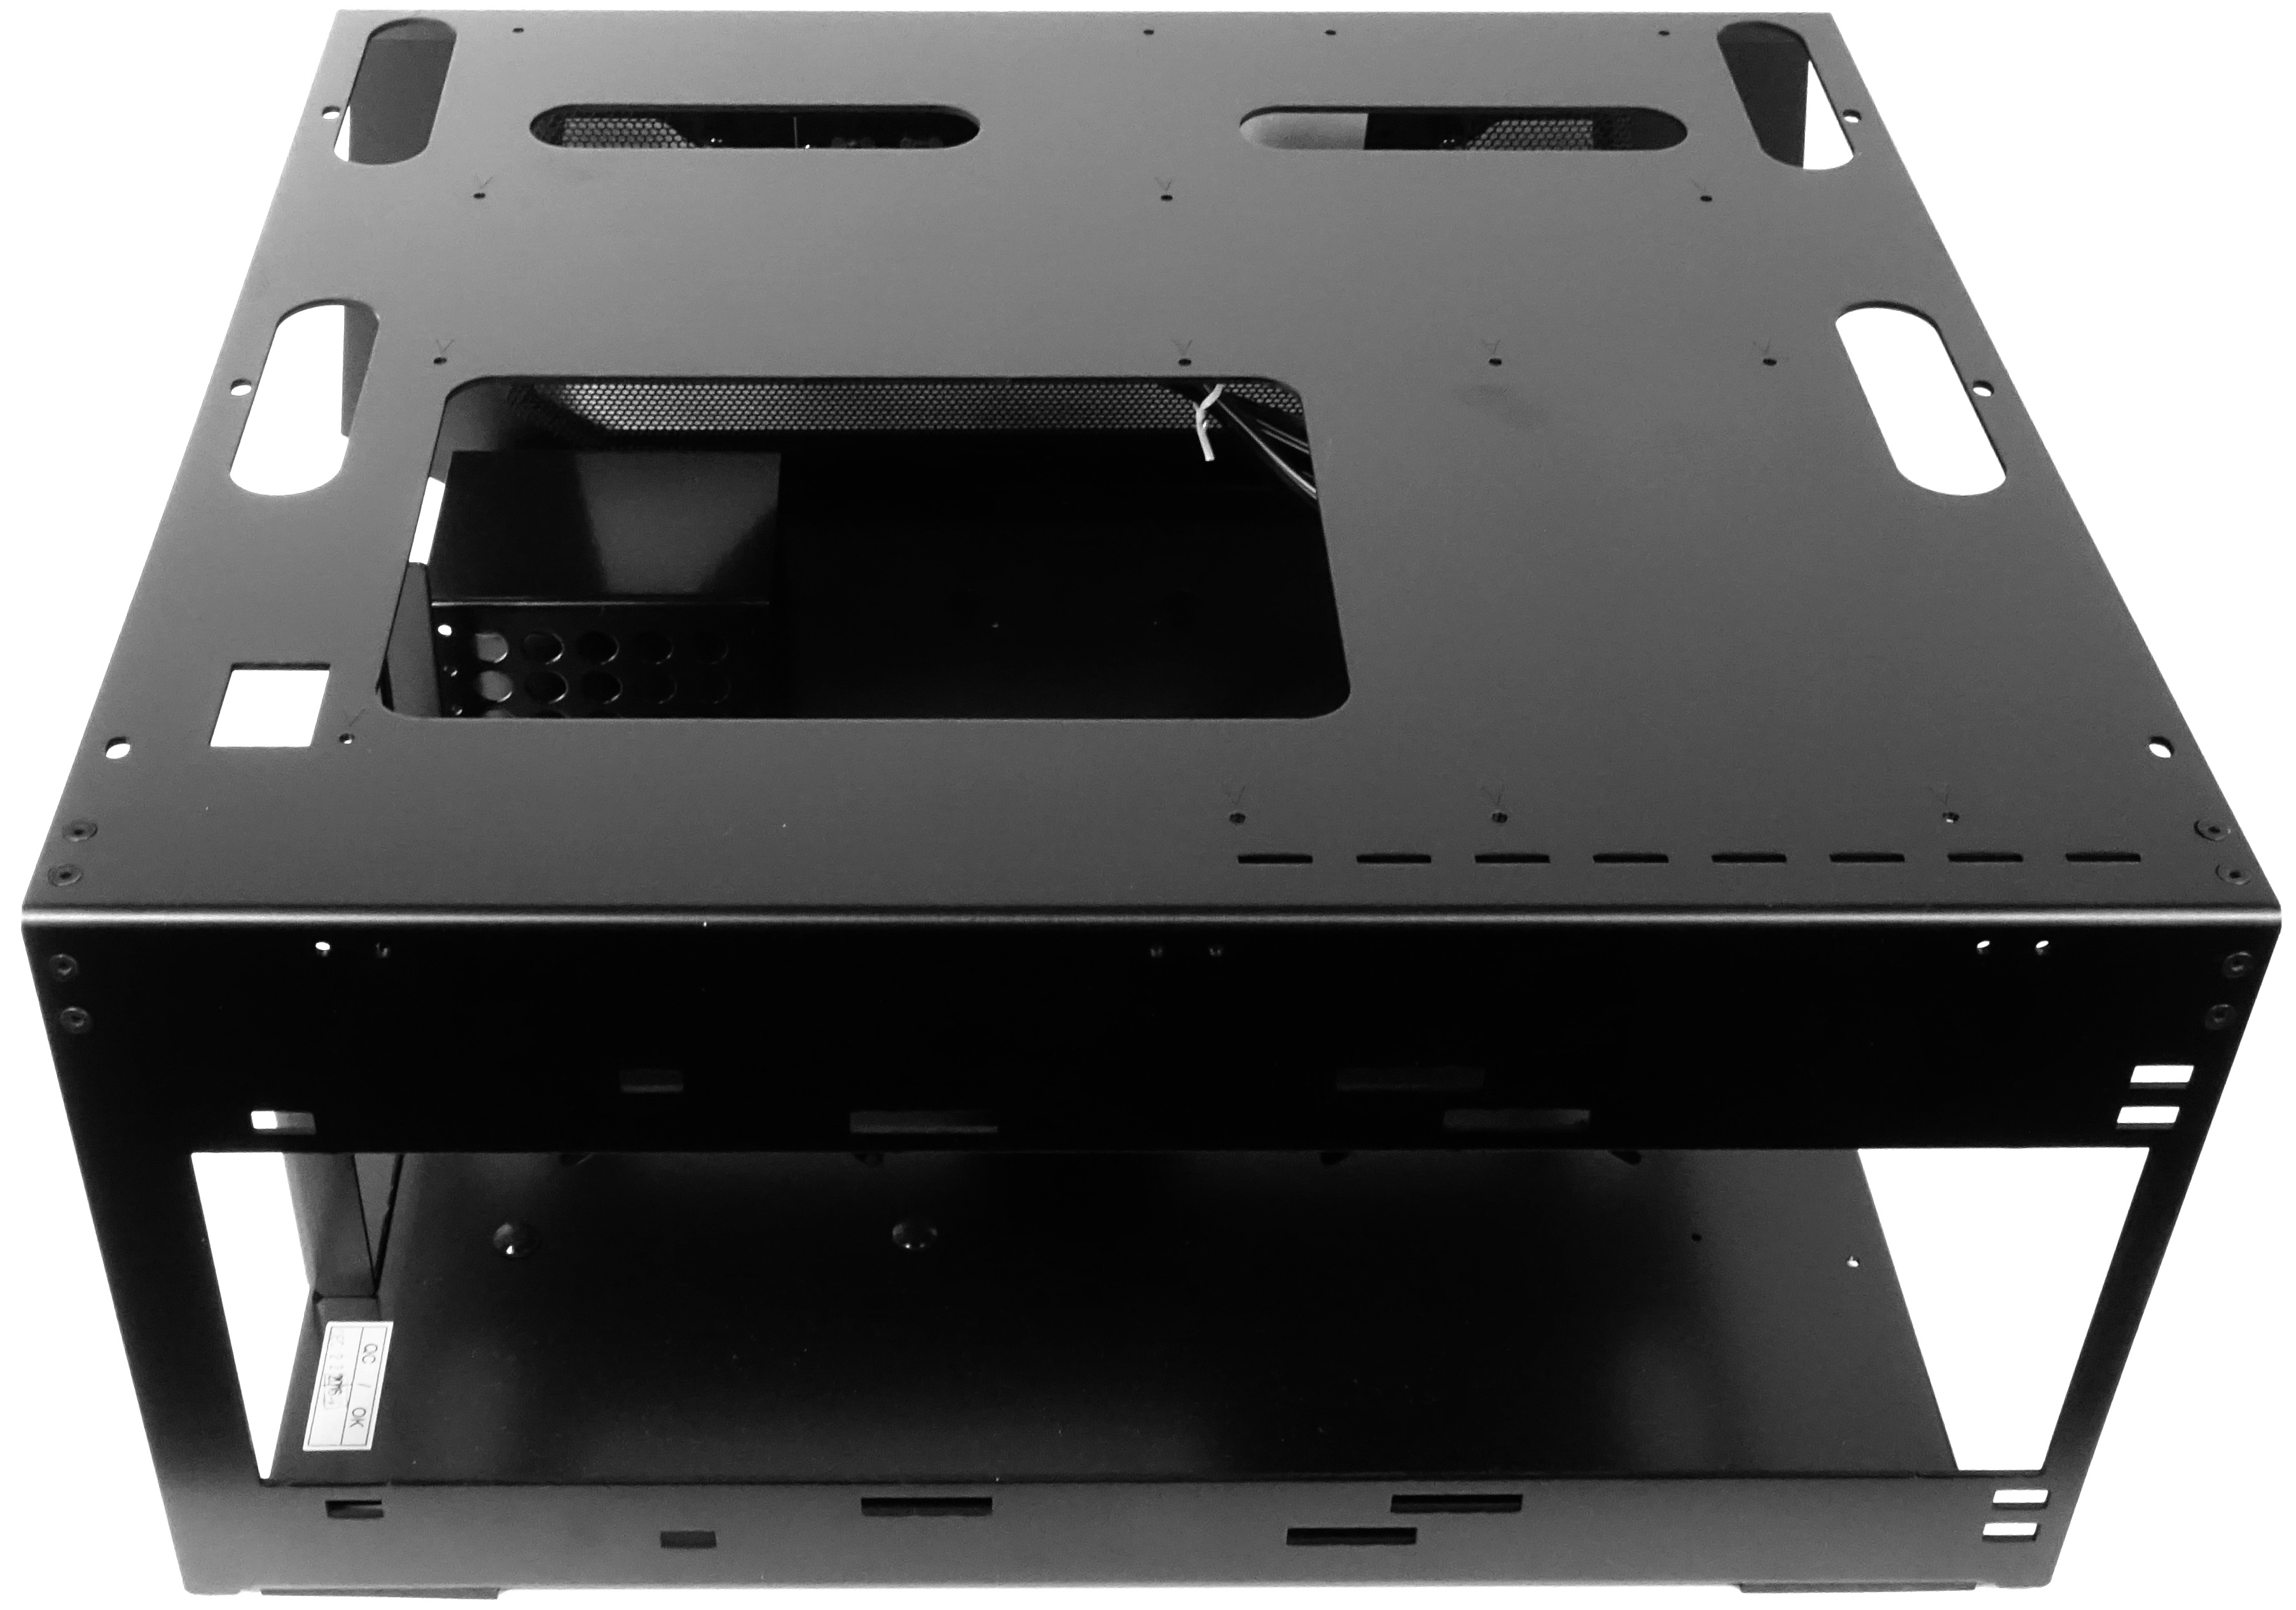
This is exactly where the part ends, which will be available as an additional option in the extended scope of delivery for all customers. But in order to really use all the options of my measuring equipment, a lot more has to happen.
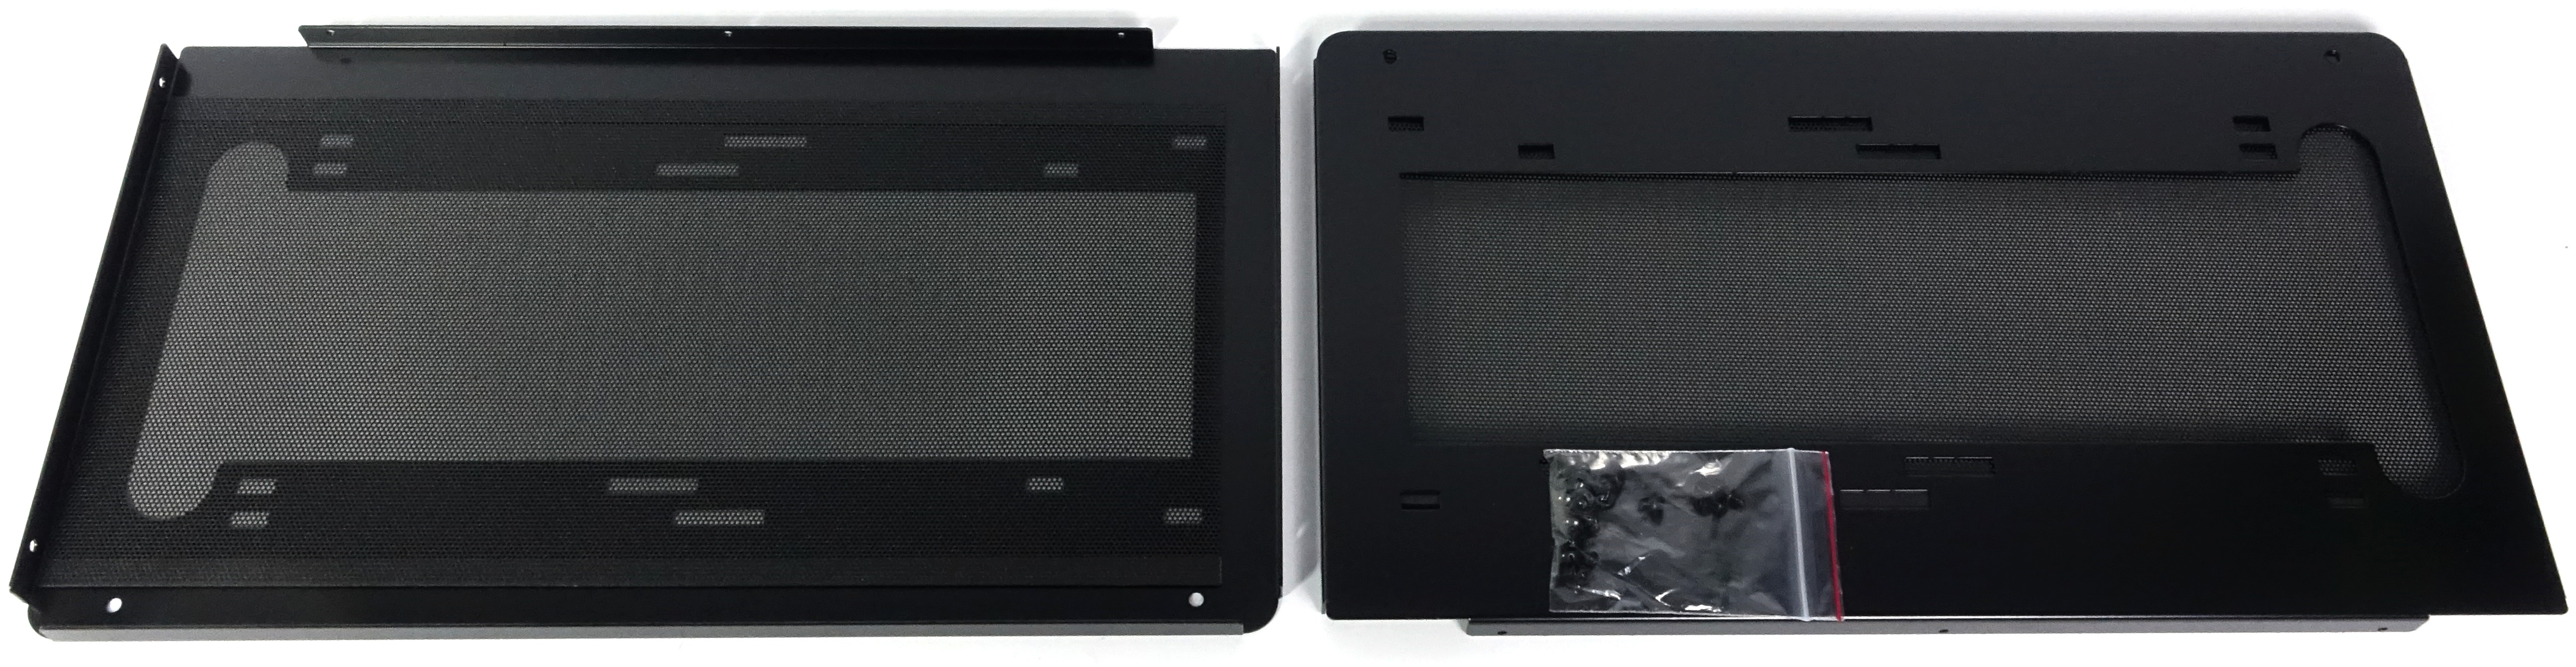
First of all, there is my high-resolution IR camera PI640 from Optris, with which you can not easily measure into a closed housing. Since I don't need the whole fan armada, I designed two more side panels that can be attached to the side opening instead of the fans. Both parts are placed on top of each other and a special film is stretched in between, which is permeable for the infrared range and whose degree of transmission I know.

In the end, you beat two birds with one stone, because the IR measurement can be done from the outside, while the warm air remains in it – that is exactly the point of this closed event. More details are available.

Since I want to stay compatible with the older results, I rely on the same hardware configuration as the current system, but I have had to replace the motherboard with electrostatic charging after a damage. This, too, was a good reason to switch from a non-conducting bench table made of acrylic to a grounded case.
After the defect from the MSI X99S XPower AC, an MSI X99S XPower Gaming Titanium has now become, but this makes no difference in performance. With RAM, however, I had to switch to four modules Corsair Vengeance DDR4-3200, which we run with the same 2400 MHz as with the old system.
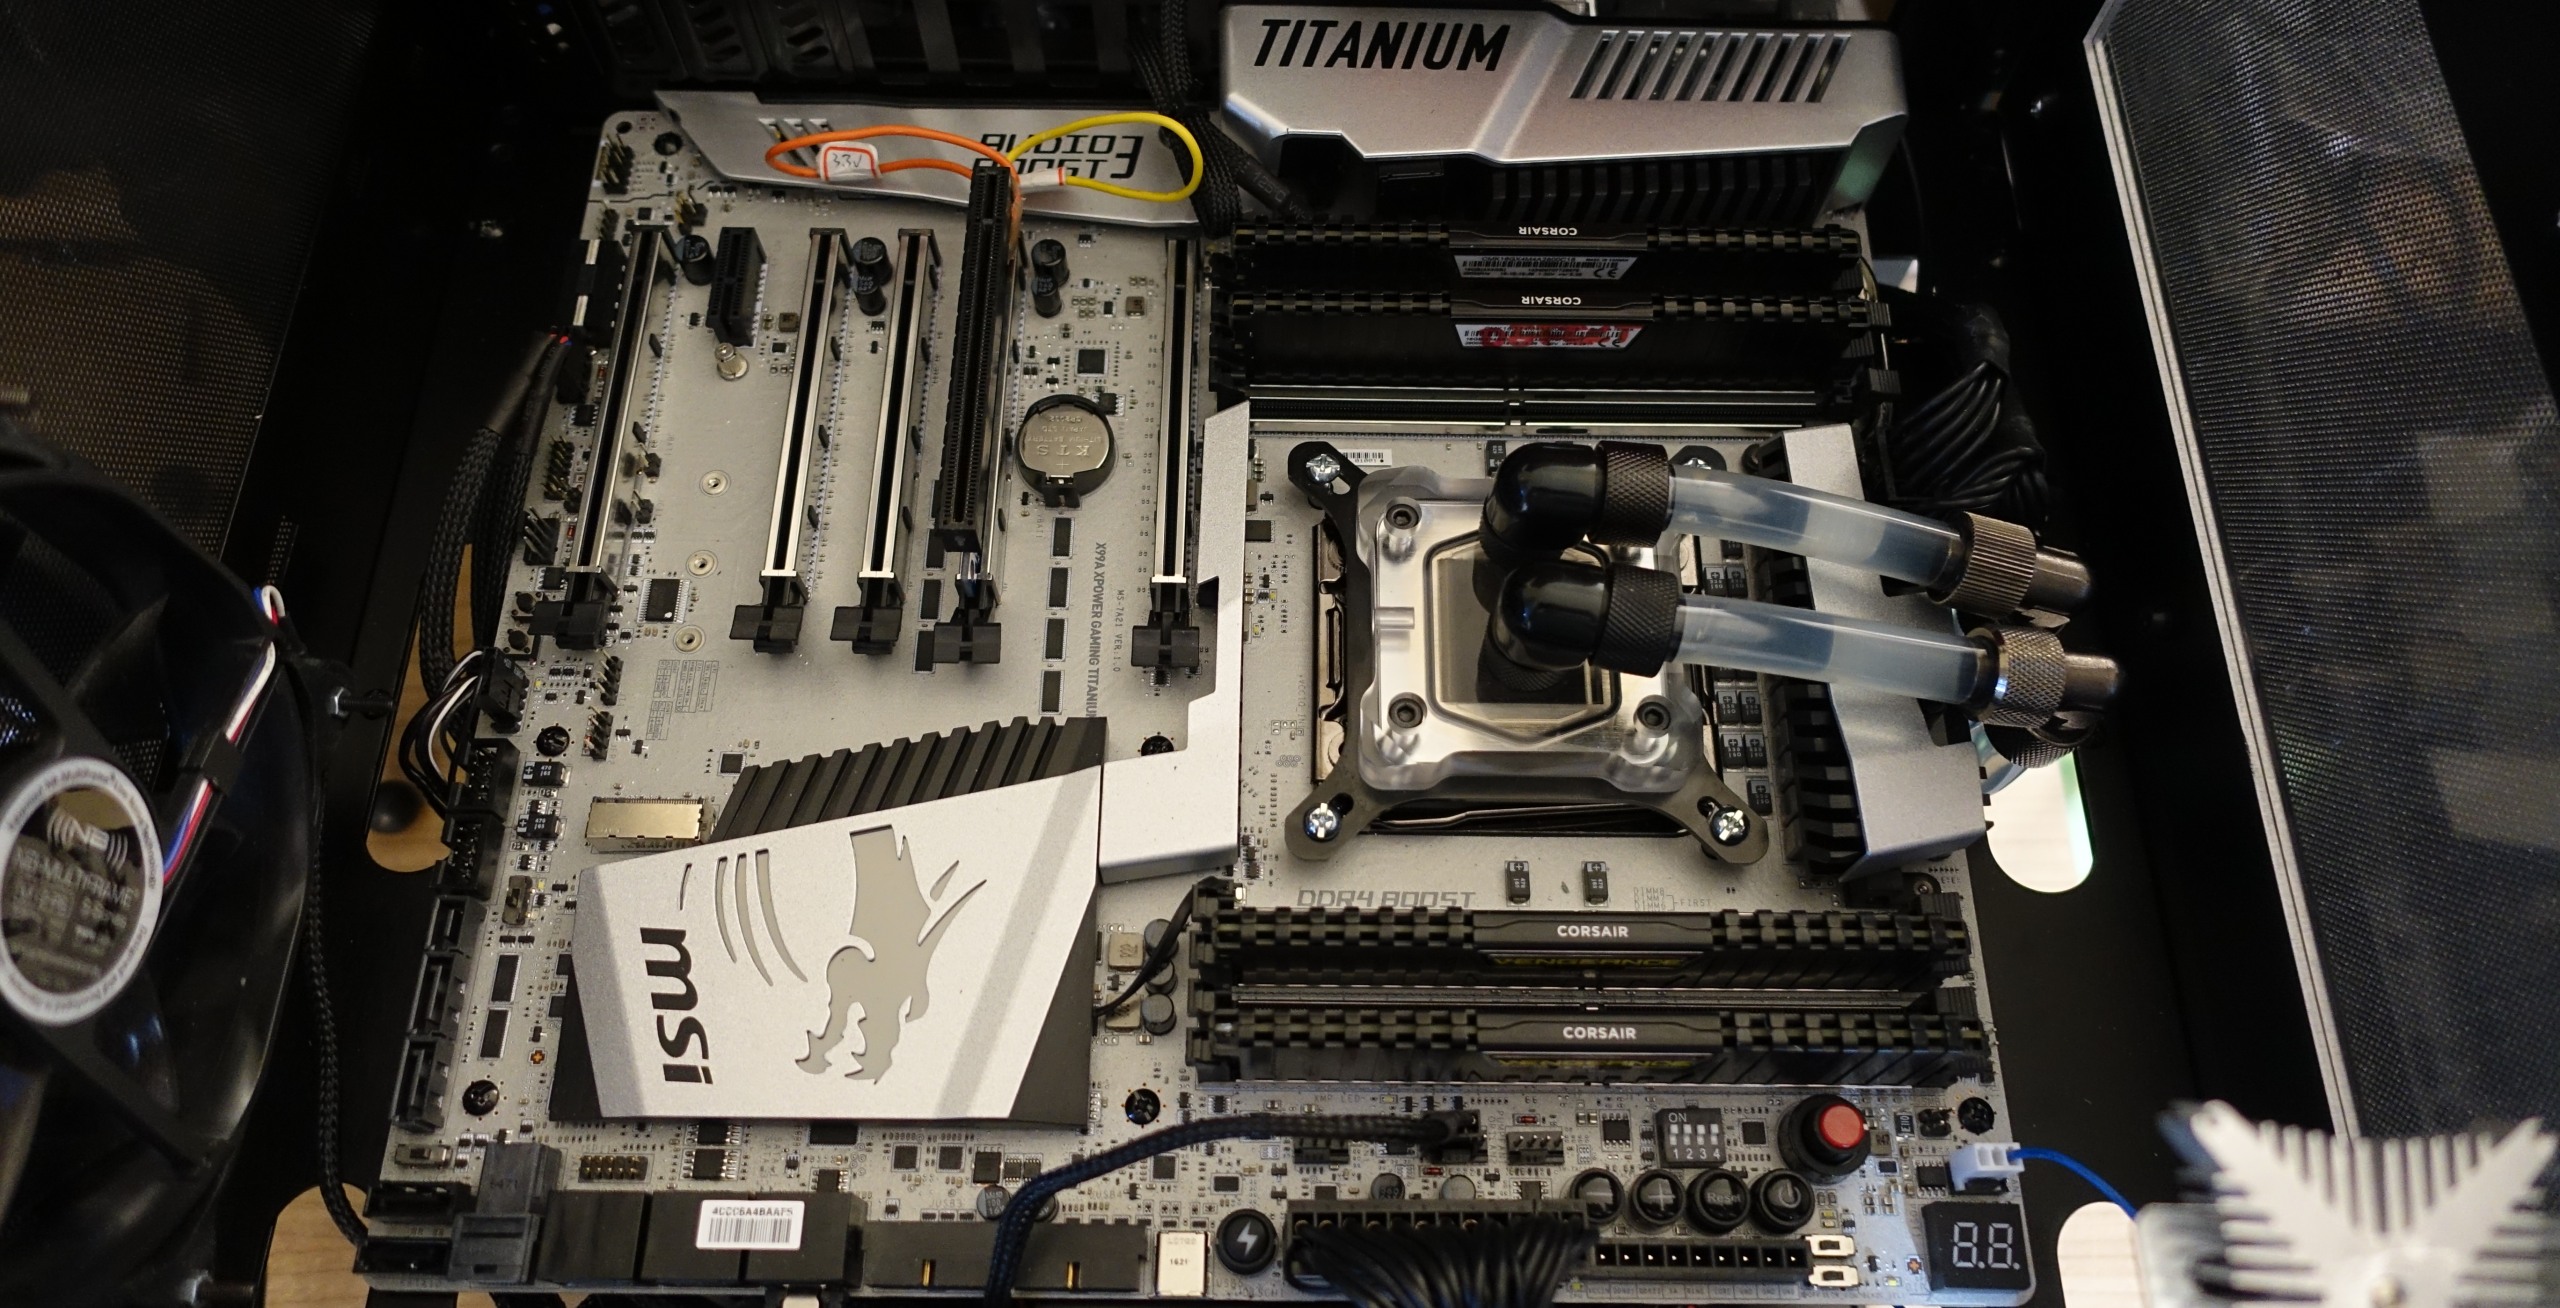
The reason is the reflective heatspreader of the Crucial Ballistix, while the Corsair modules are matt black. Initial pobe measurements had shown that the old modules could distort the IR results in this structure by mirroring – albeit only marginally.
Watercooling
In order to remain flexible here as well, the water cooling system was designed accordingly, because air cooling falls flat for many reasons. On the one hand, a large tower cooler would block the view of the IR camera and would also distribute the waste heat in this rather small housing in such a way that smaller graphics cards with low TDP would be thermally submerged in terms of measurement results.
 |
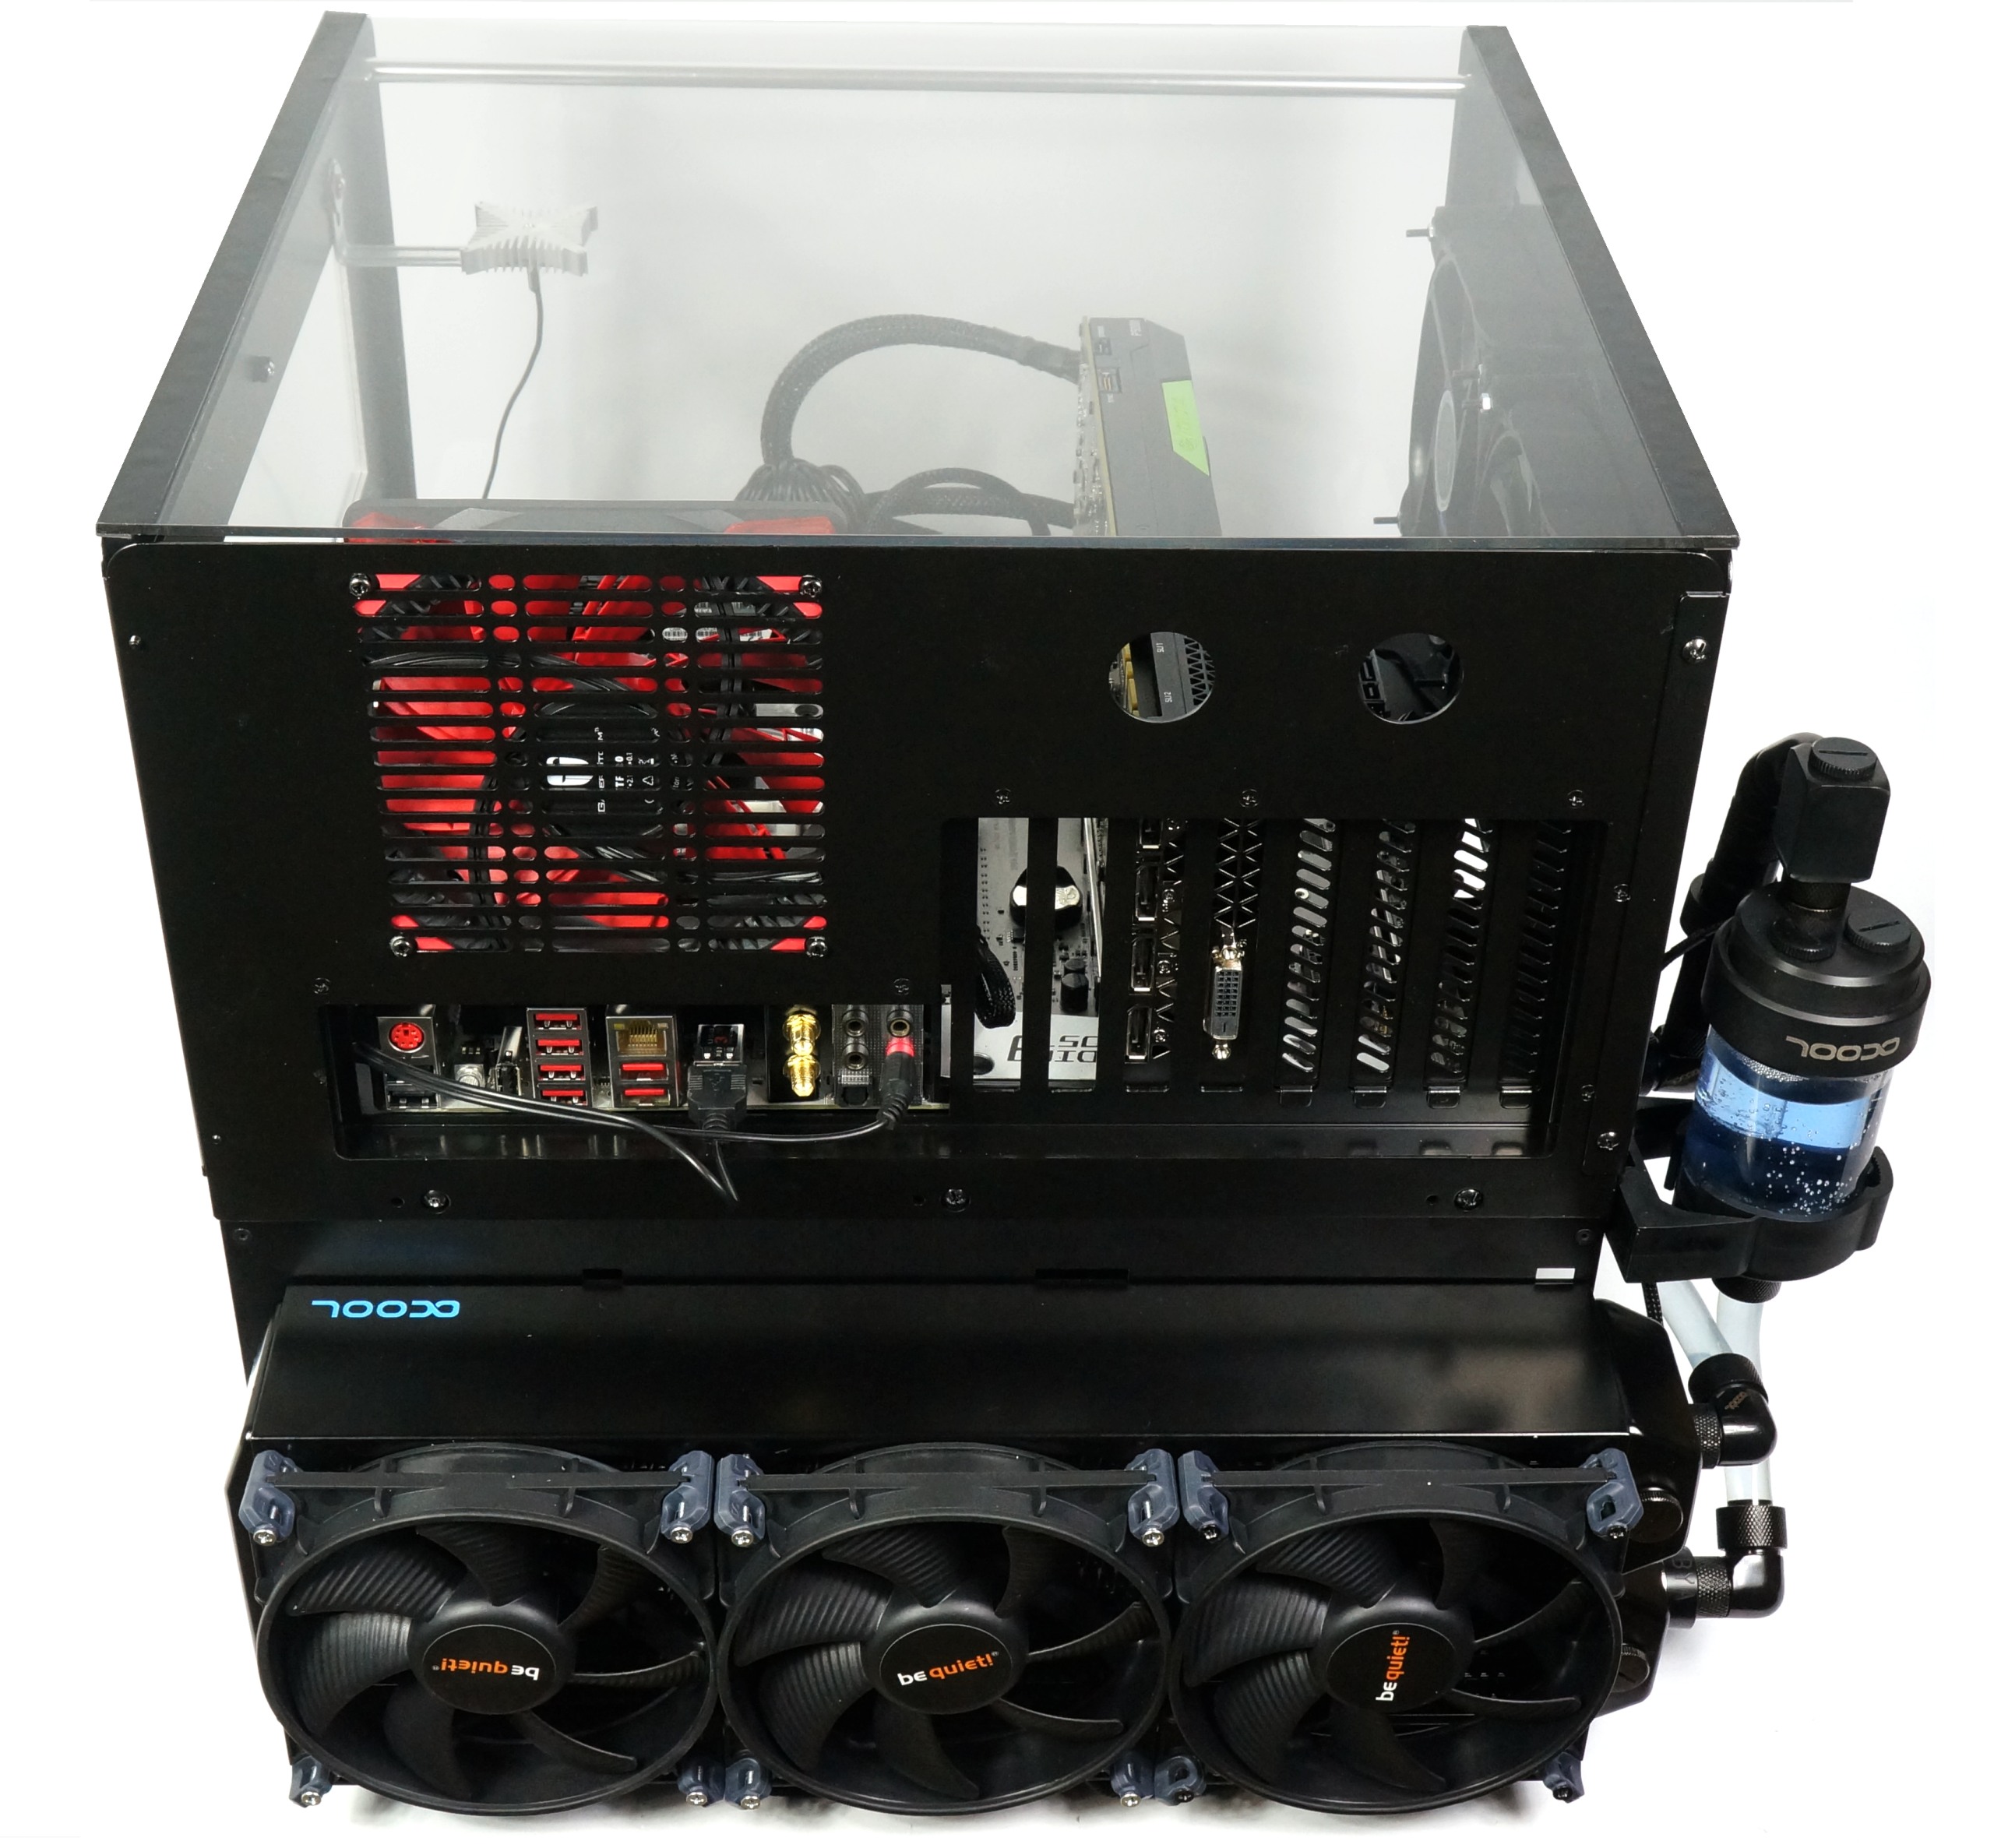 |
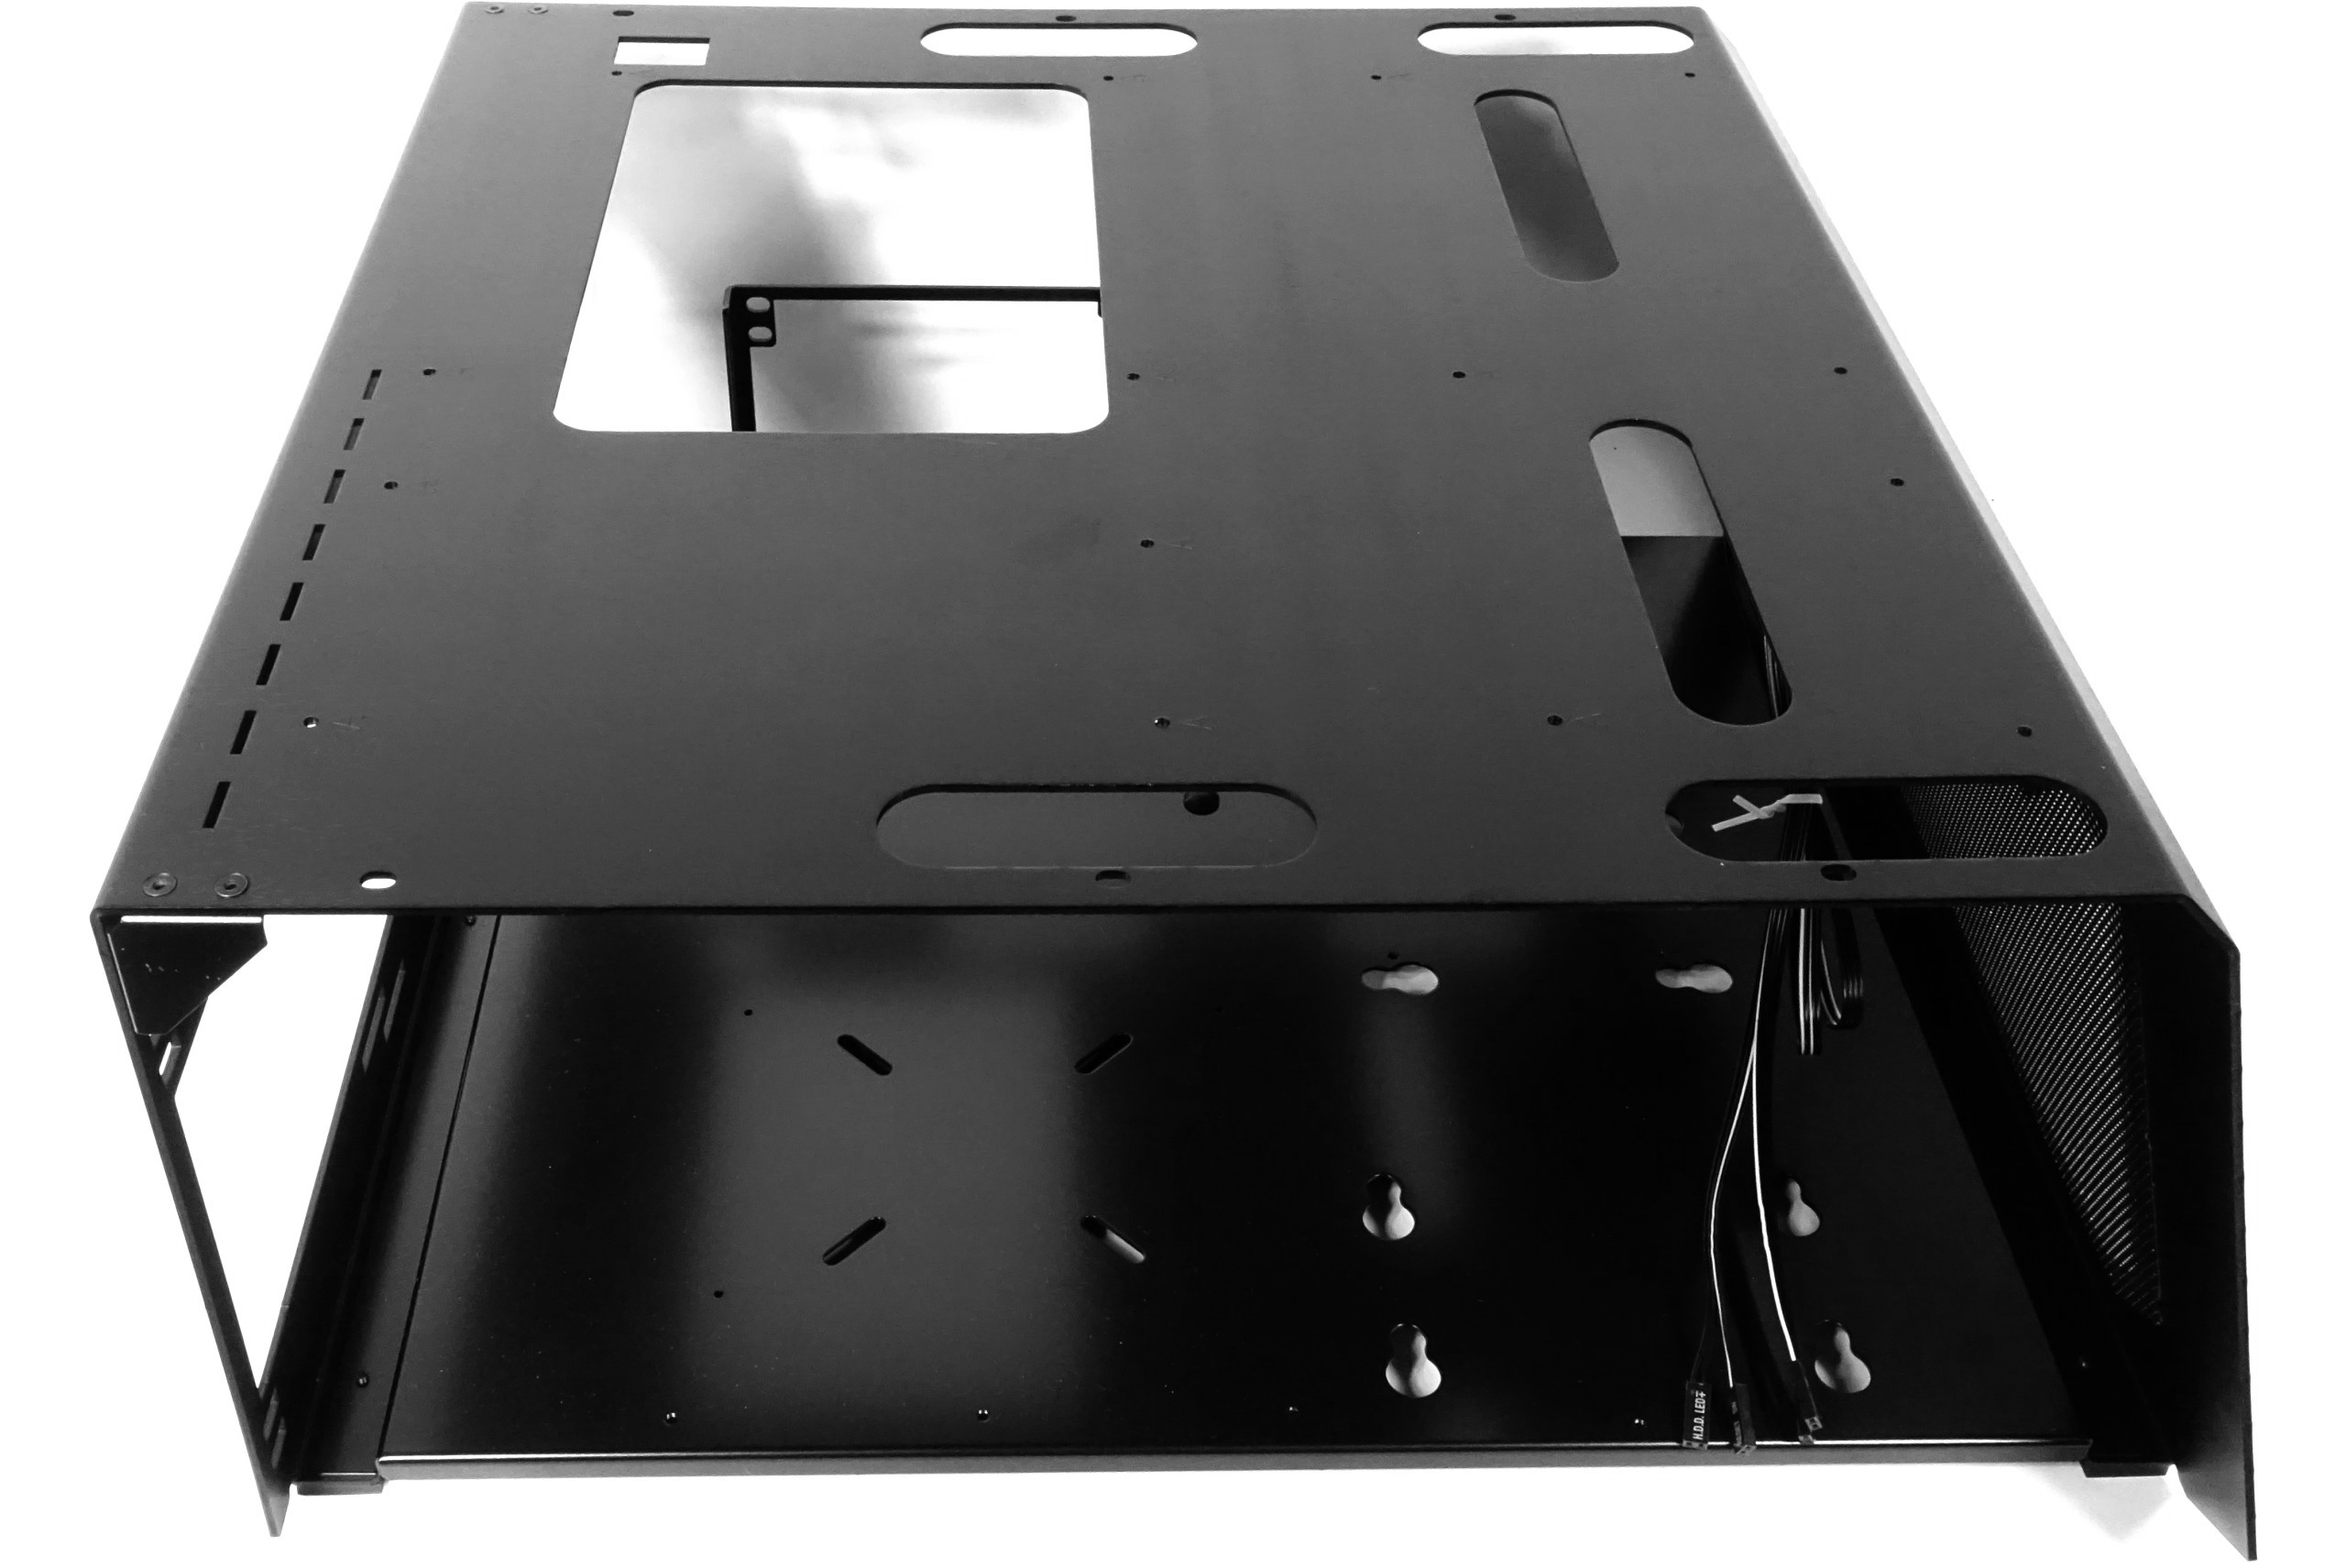
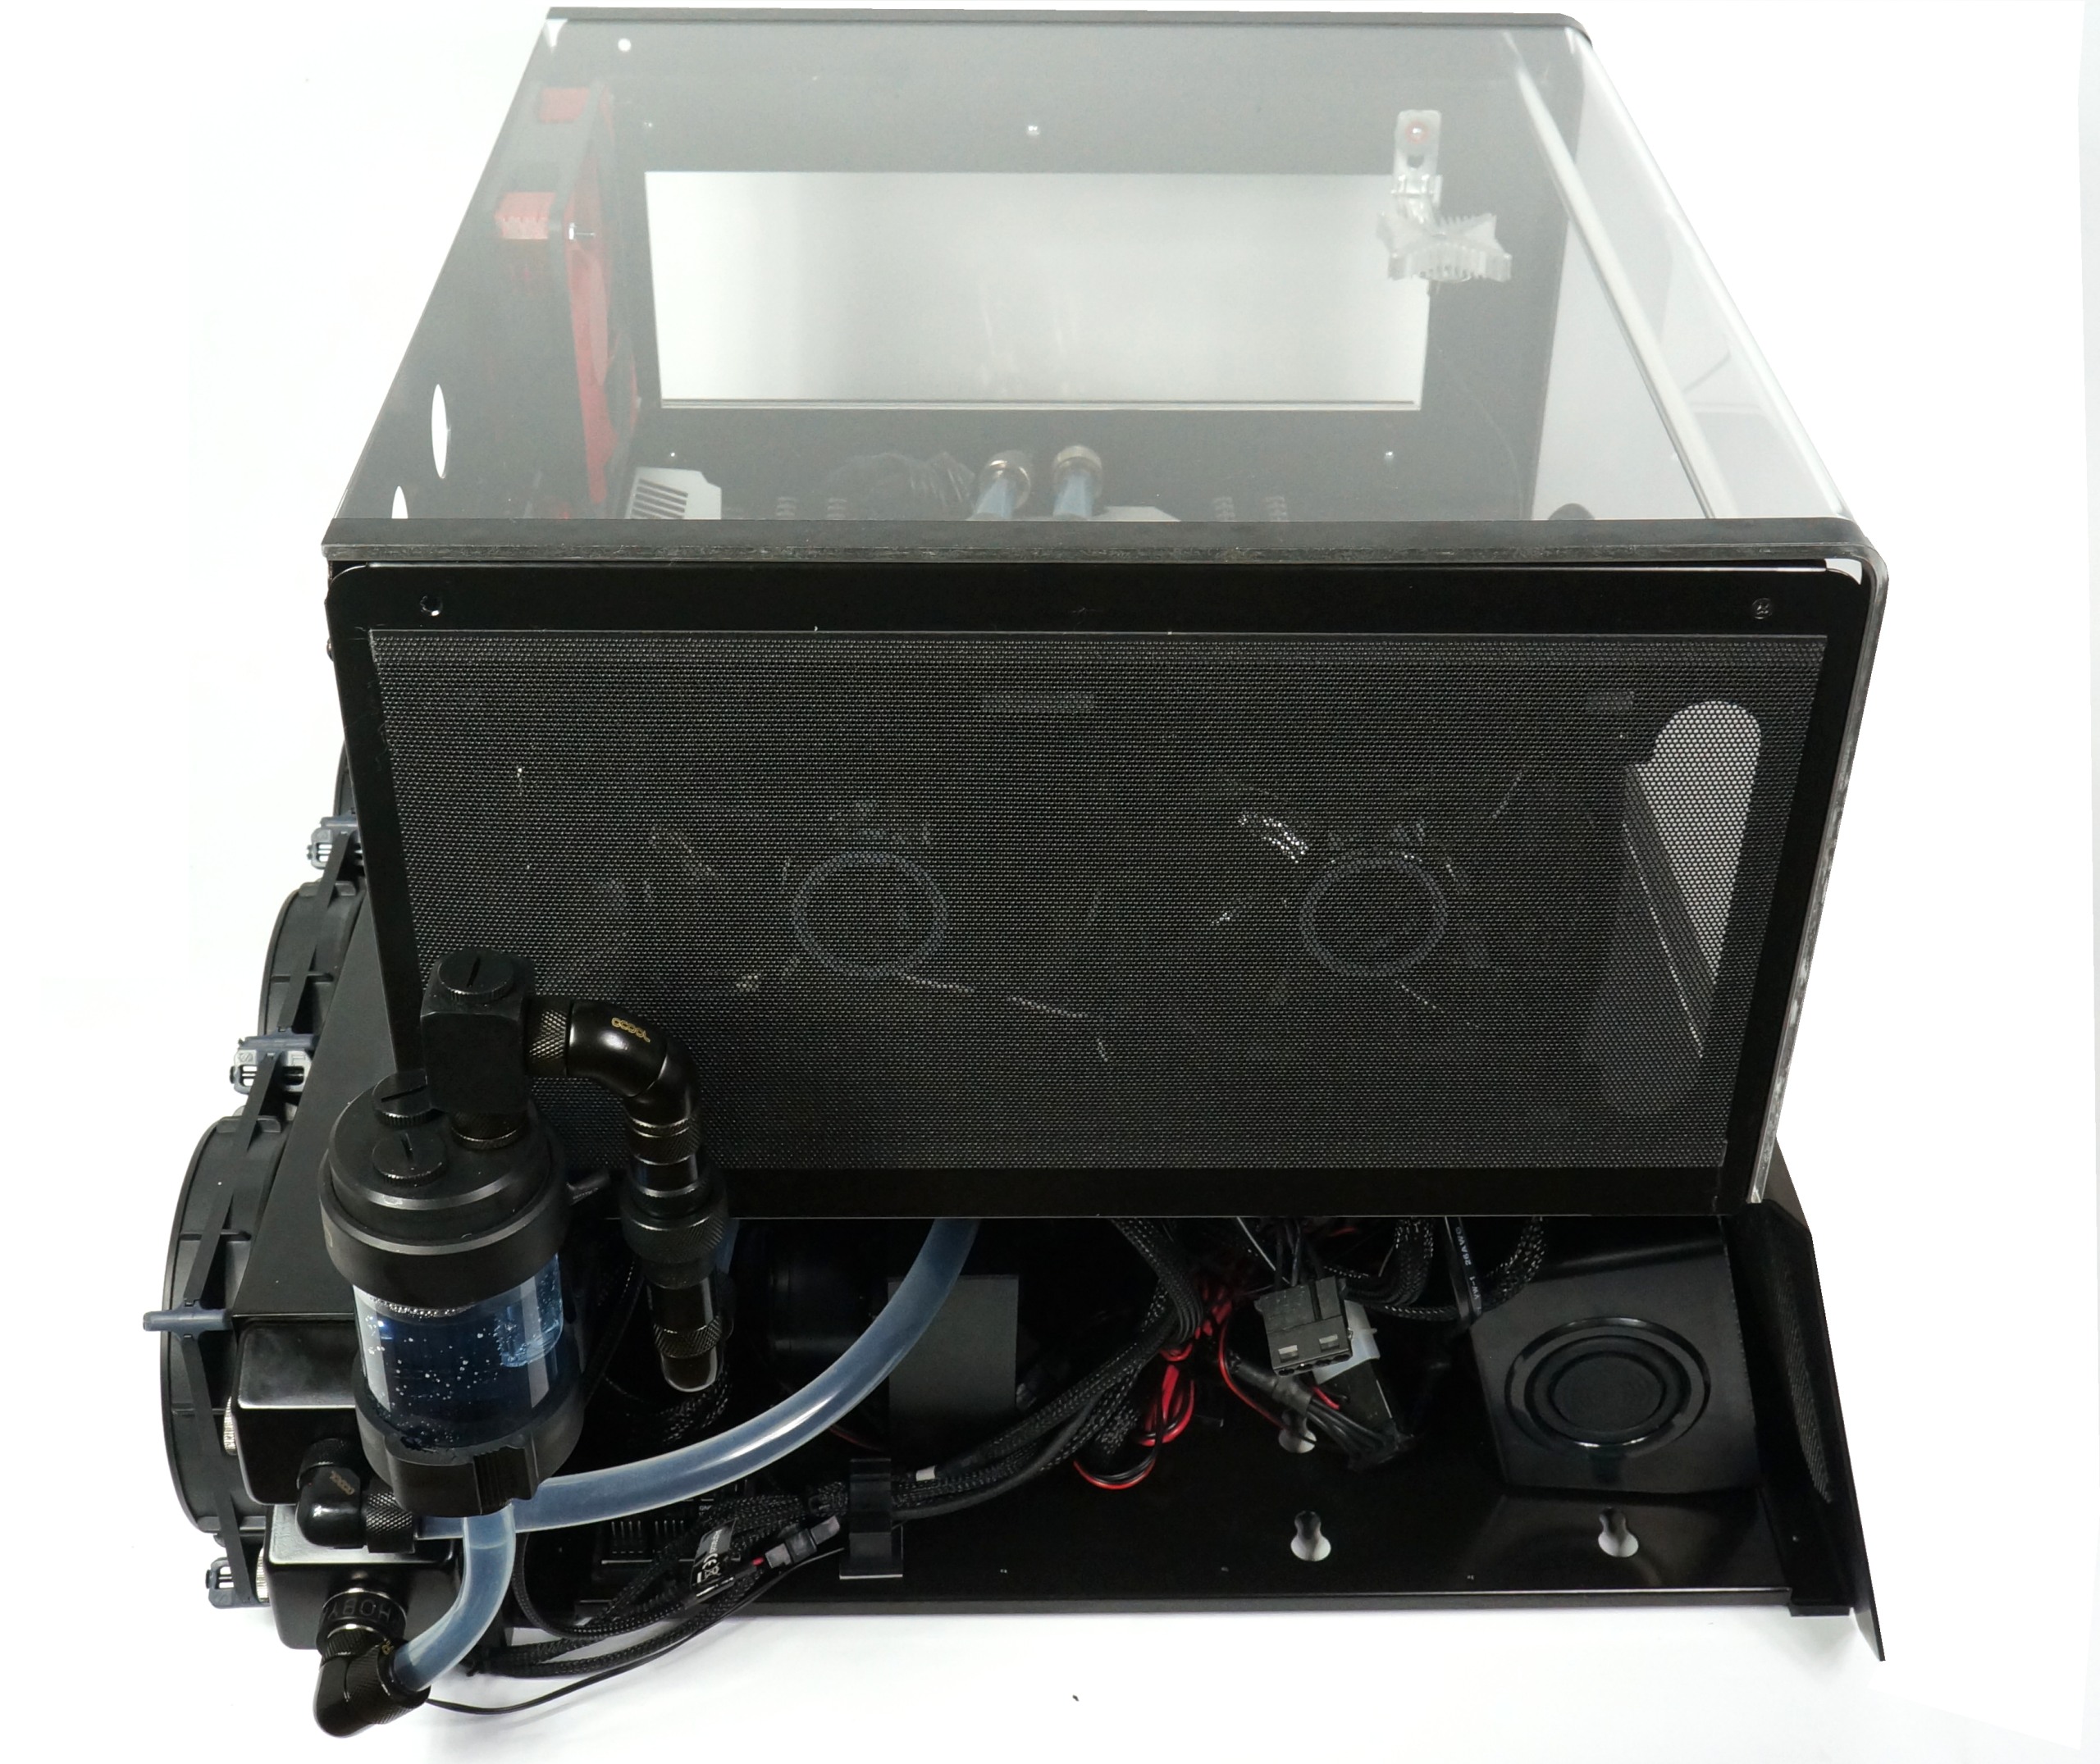
For water cooling, I rely on a classic open-loop solution with individual components, in which the pump (Alphacool ice pump VPP755) is decoupled and mounted on foam in the lower part of the system. The heat exchanger is a 36 cm radiator (Alphacool Nexxxos UT60 Full Copper) with a thickness of six centimetres, on which three PWM-controlled Be Quiet! Silent Wings 2 in push principle.
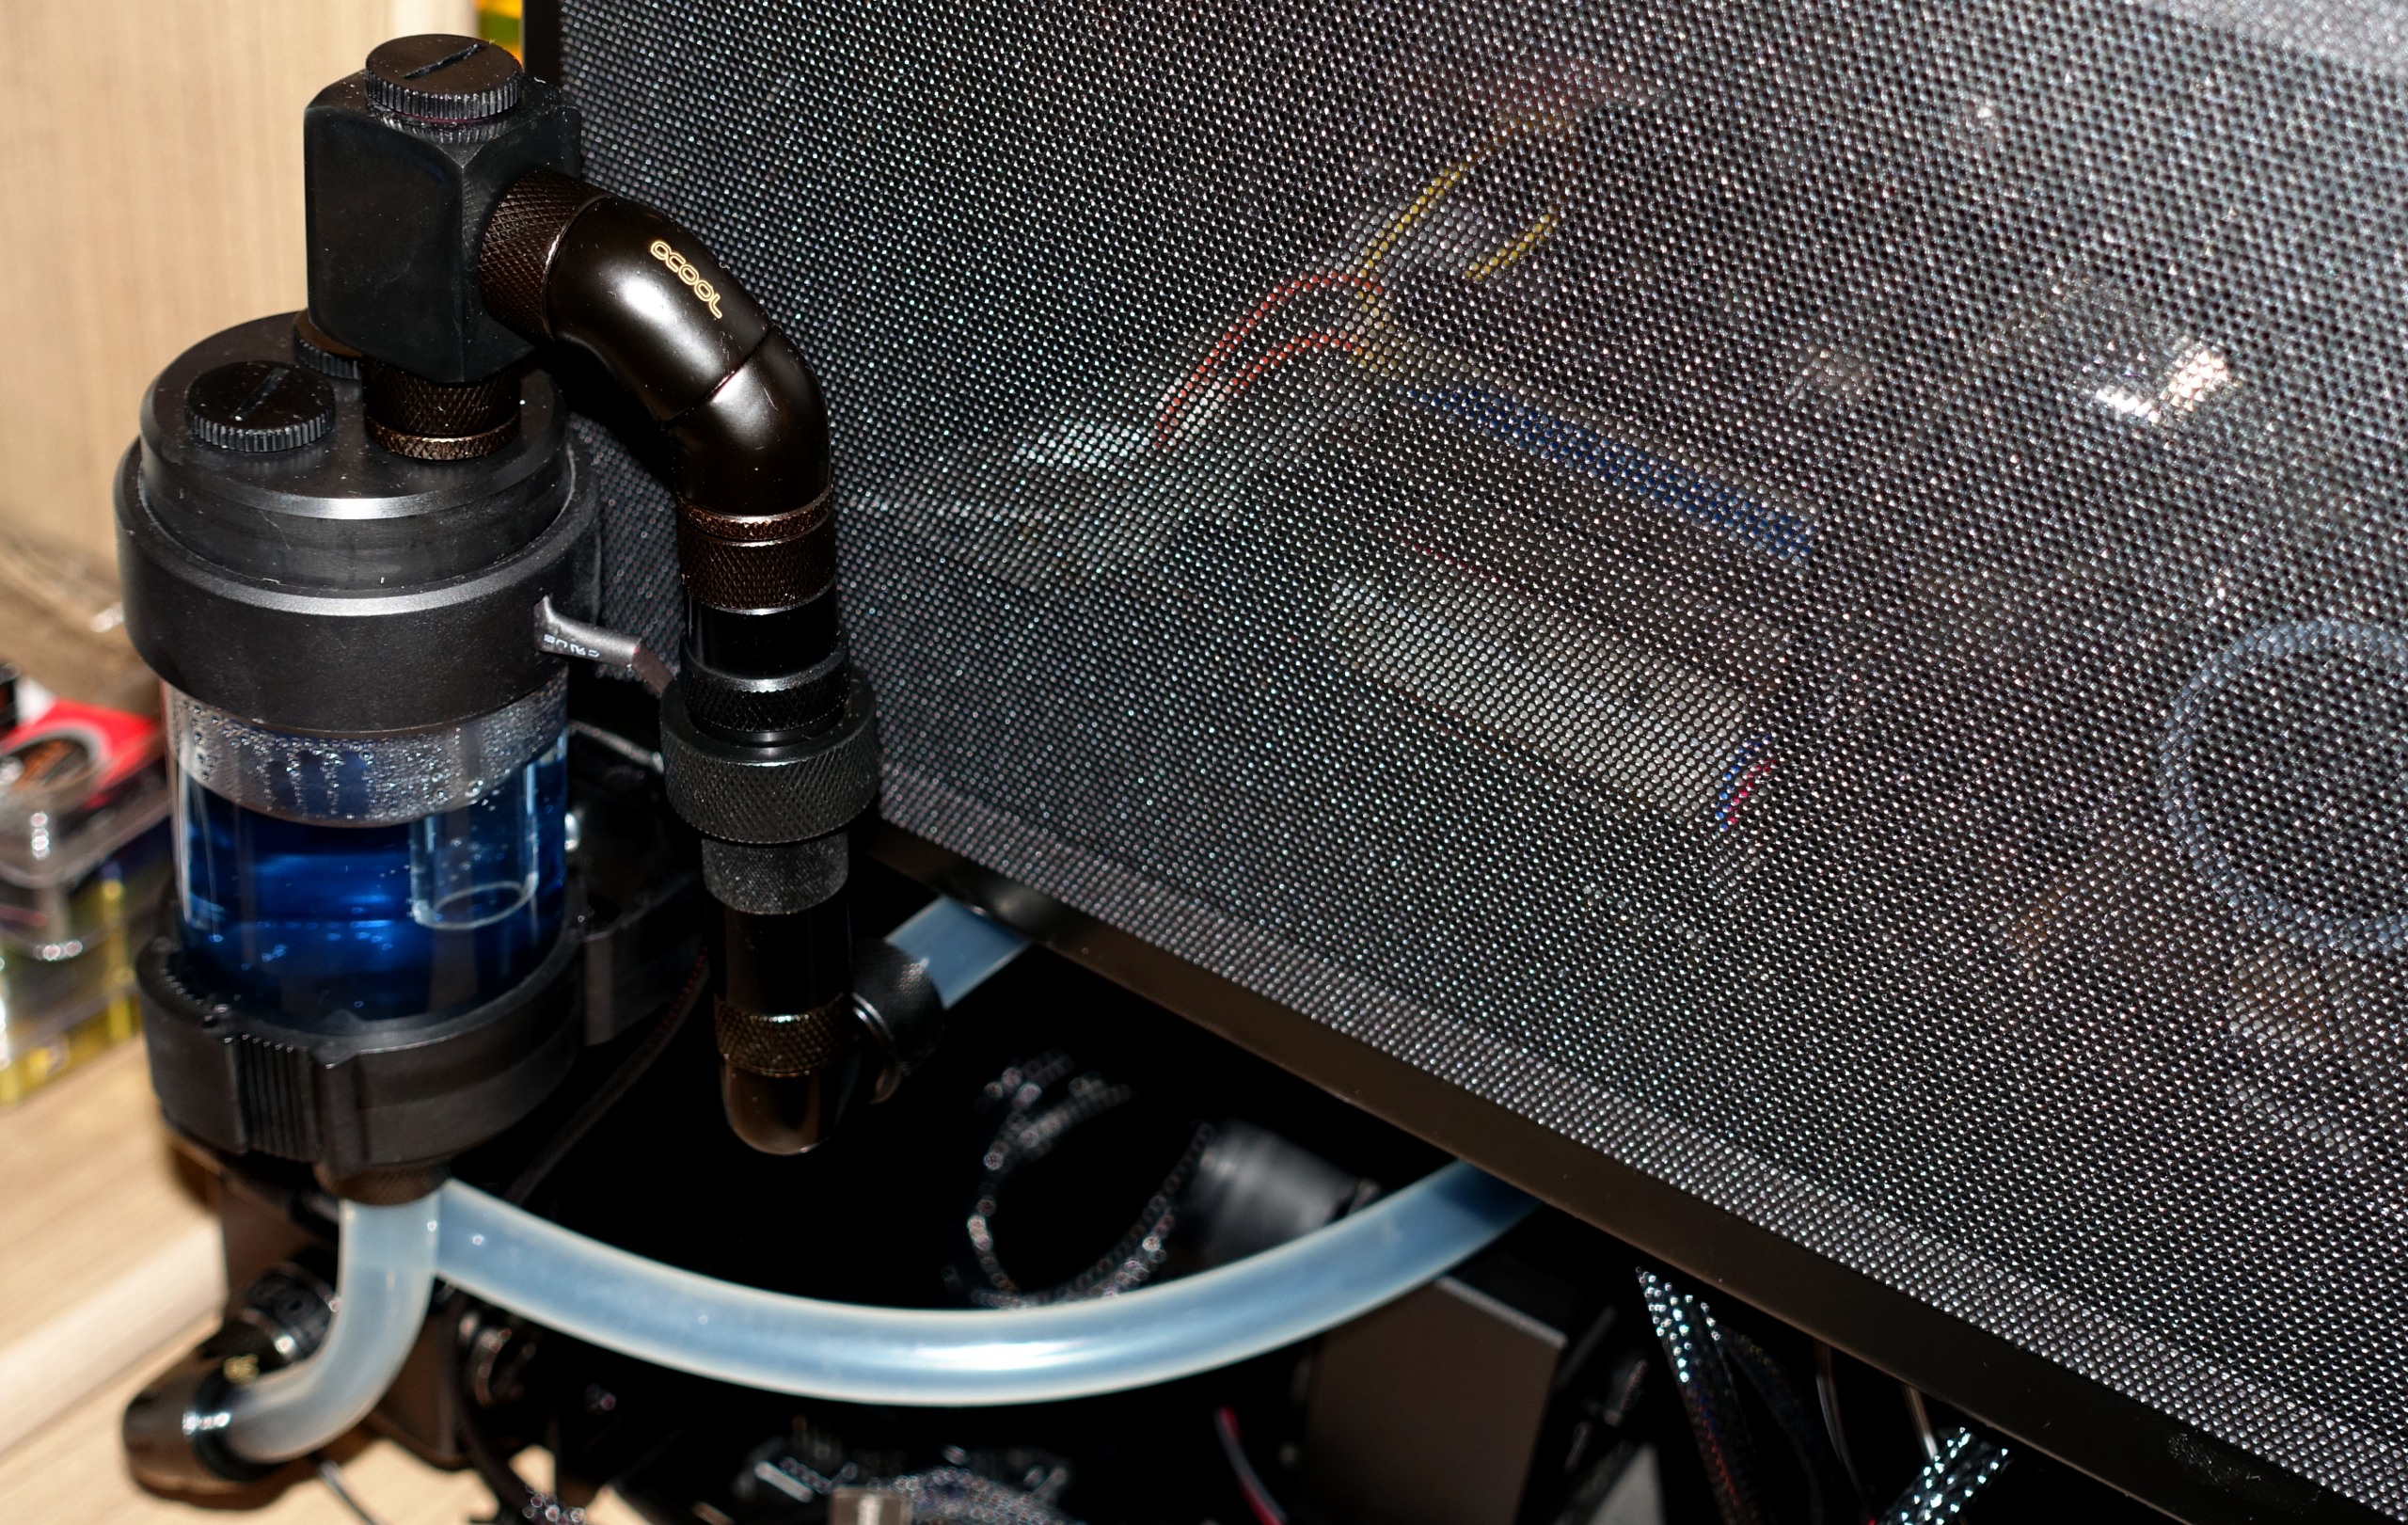
The compensating container has been designed on the side so that it can be easily reached at any time. In addition, it also has a T-piece on the top, through which further liquid can be refilled at any time by means of a screw-on funnel.
But why all this effort? Right now, the quick release comes into play, through which other components such as a graphics card with fullcover waterblock can be connected. The picture at the bottom left shows that I was able to persuade Lian Li to realize two hose openings exactly at the point above the graphics cards.
 |
 |
Fans, sensors and other components
I first used a midi tower (Be Quiet! Silentbase 800) and logged the temperature development with a hot Asus Radeon R9 290X Strix. The temperature values determined for the indoor air as well as for graphics card and motherboard then served as the basis for the presetting of the fan speeds in the test system.
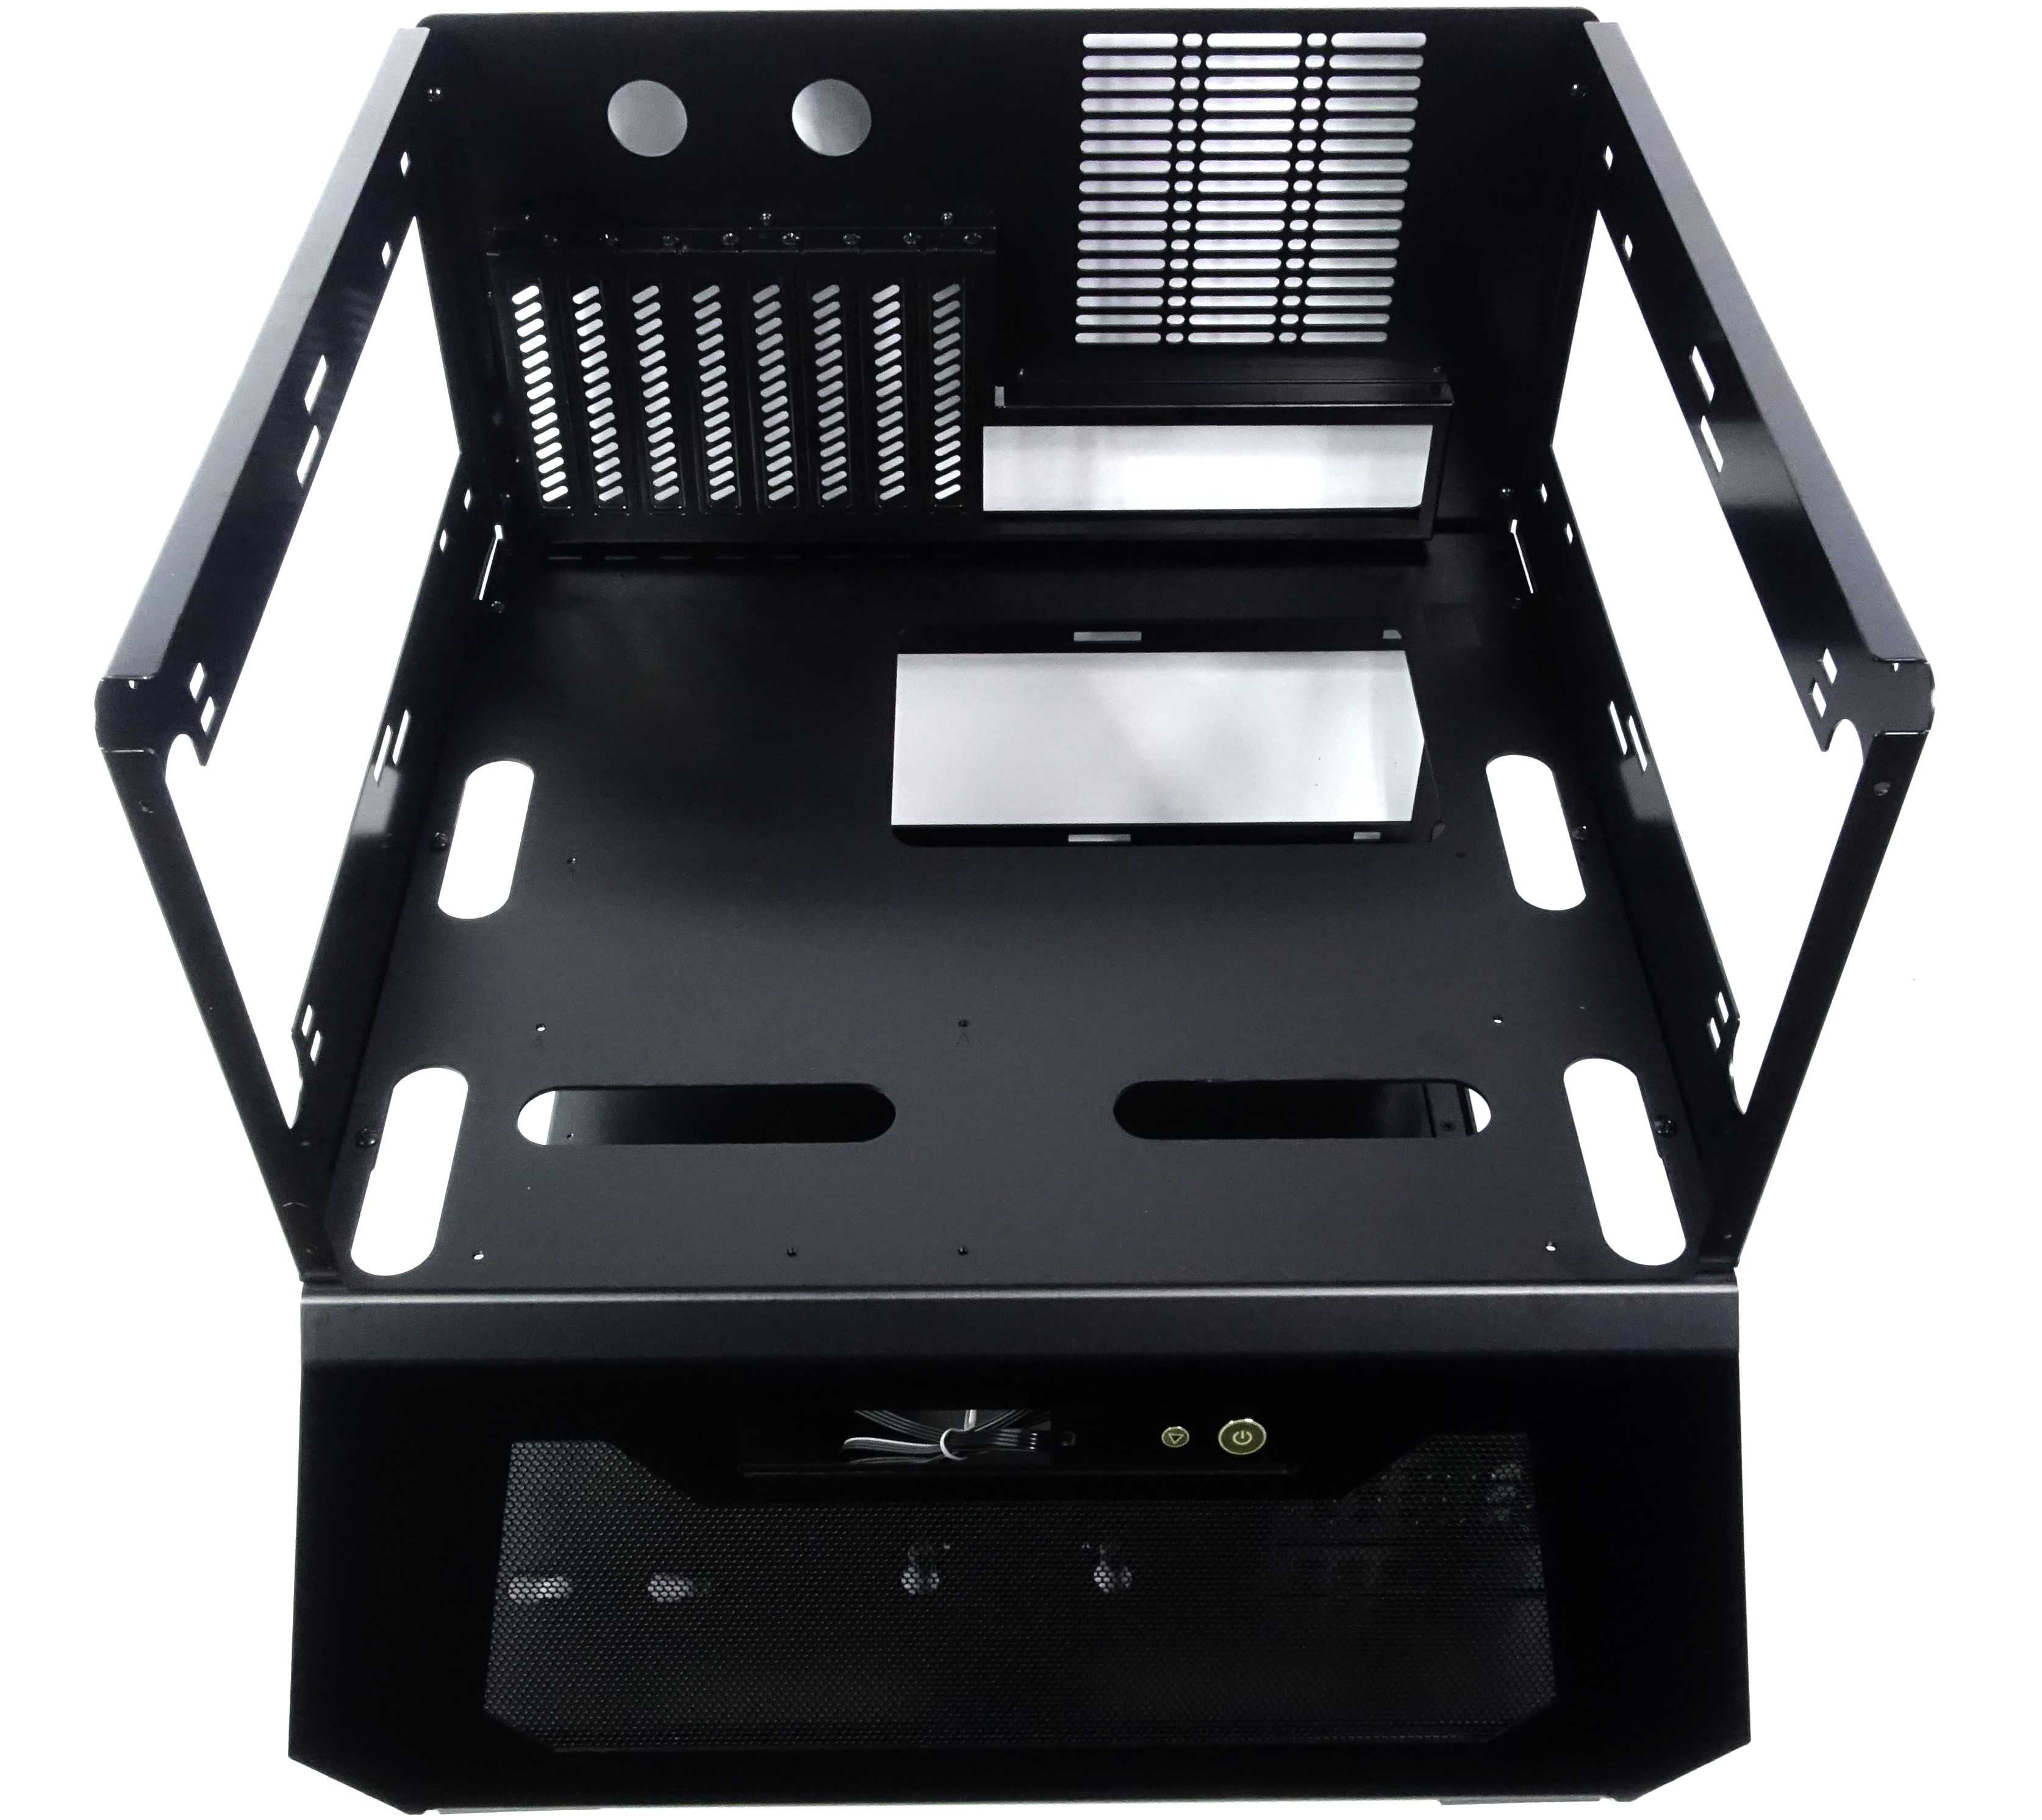
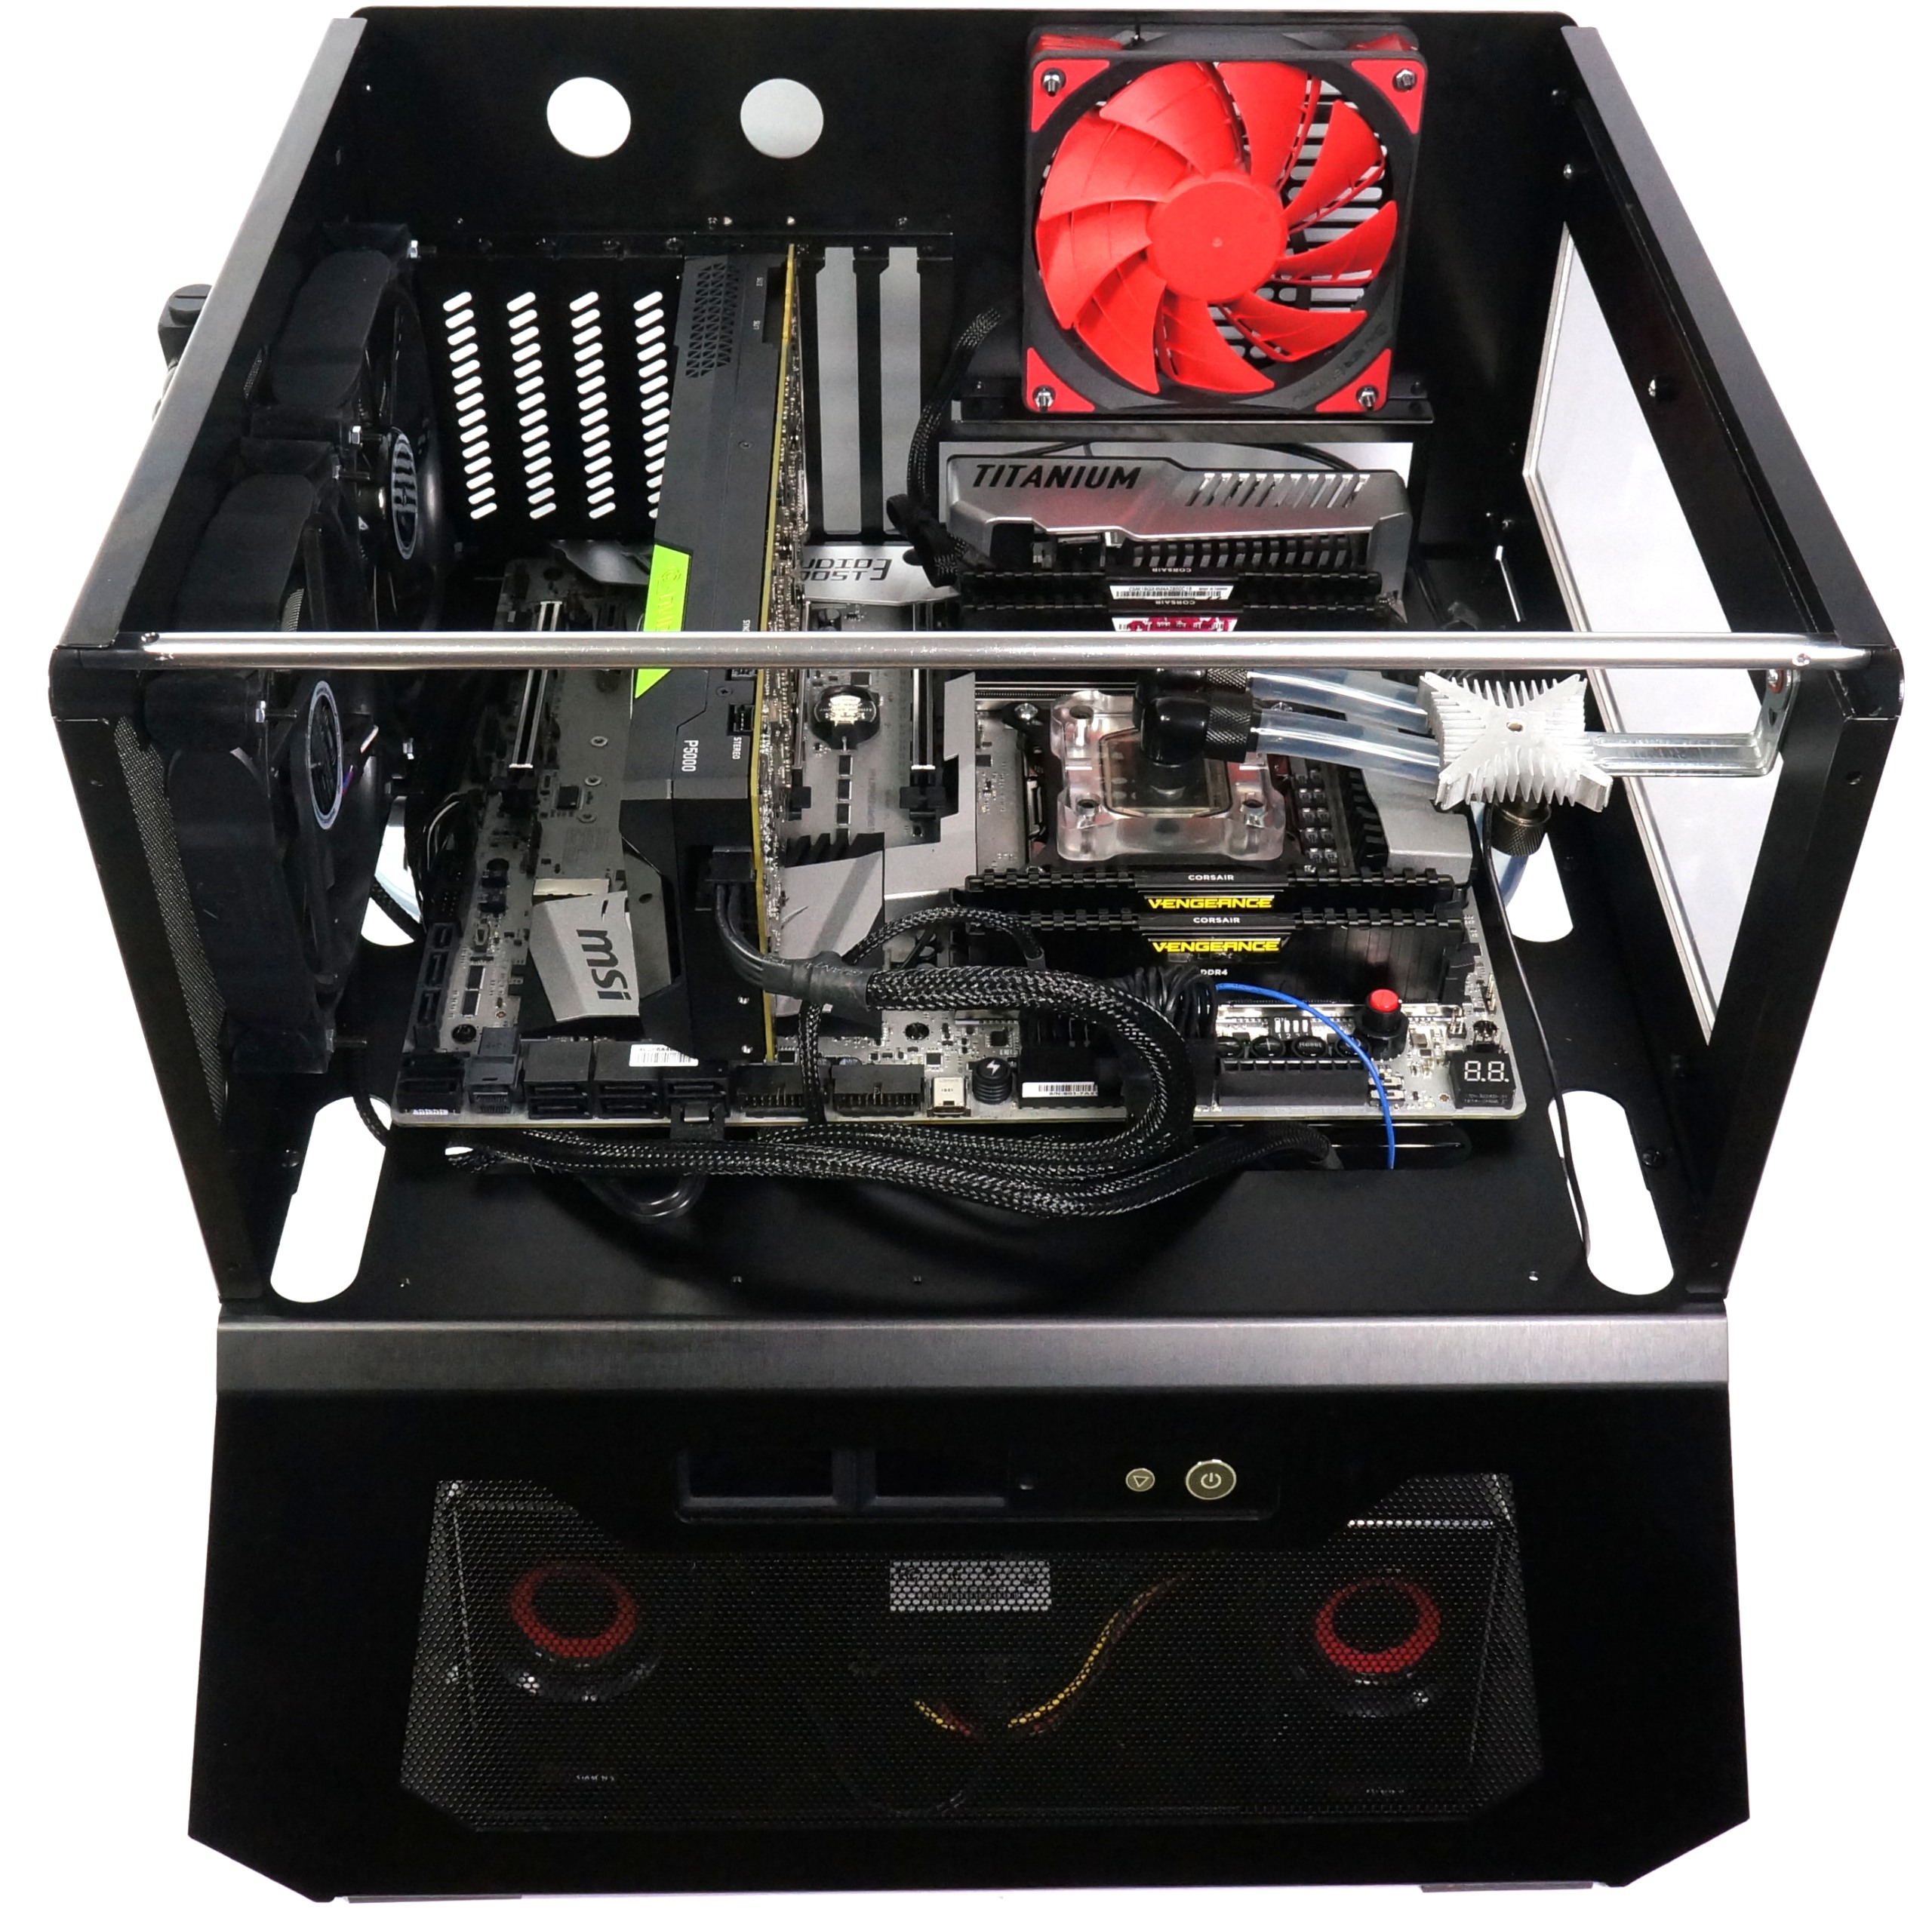
As usual, I realize the airflow of a standard PC housing by means of a pull-out via the rear fan and a feed via a controllable fan on the other side of the housing. In the end, Too, I was glad that Lian Li adapted the production to suit the wishes. The rear fan runs at a fixed 700 rpm, the front fan on the right side at 800 rpm. The rear fan on the right can be easily removed and replaced with a closed lid.
 |
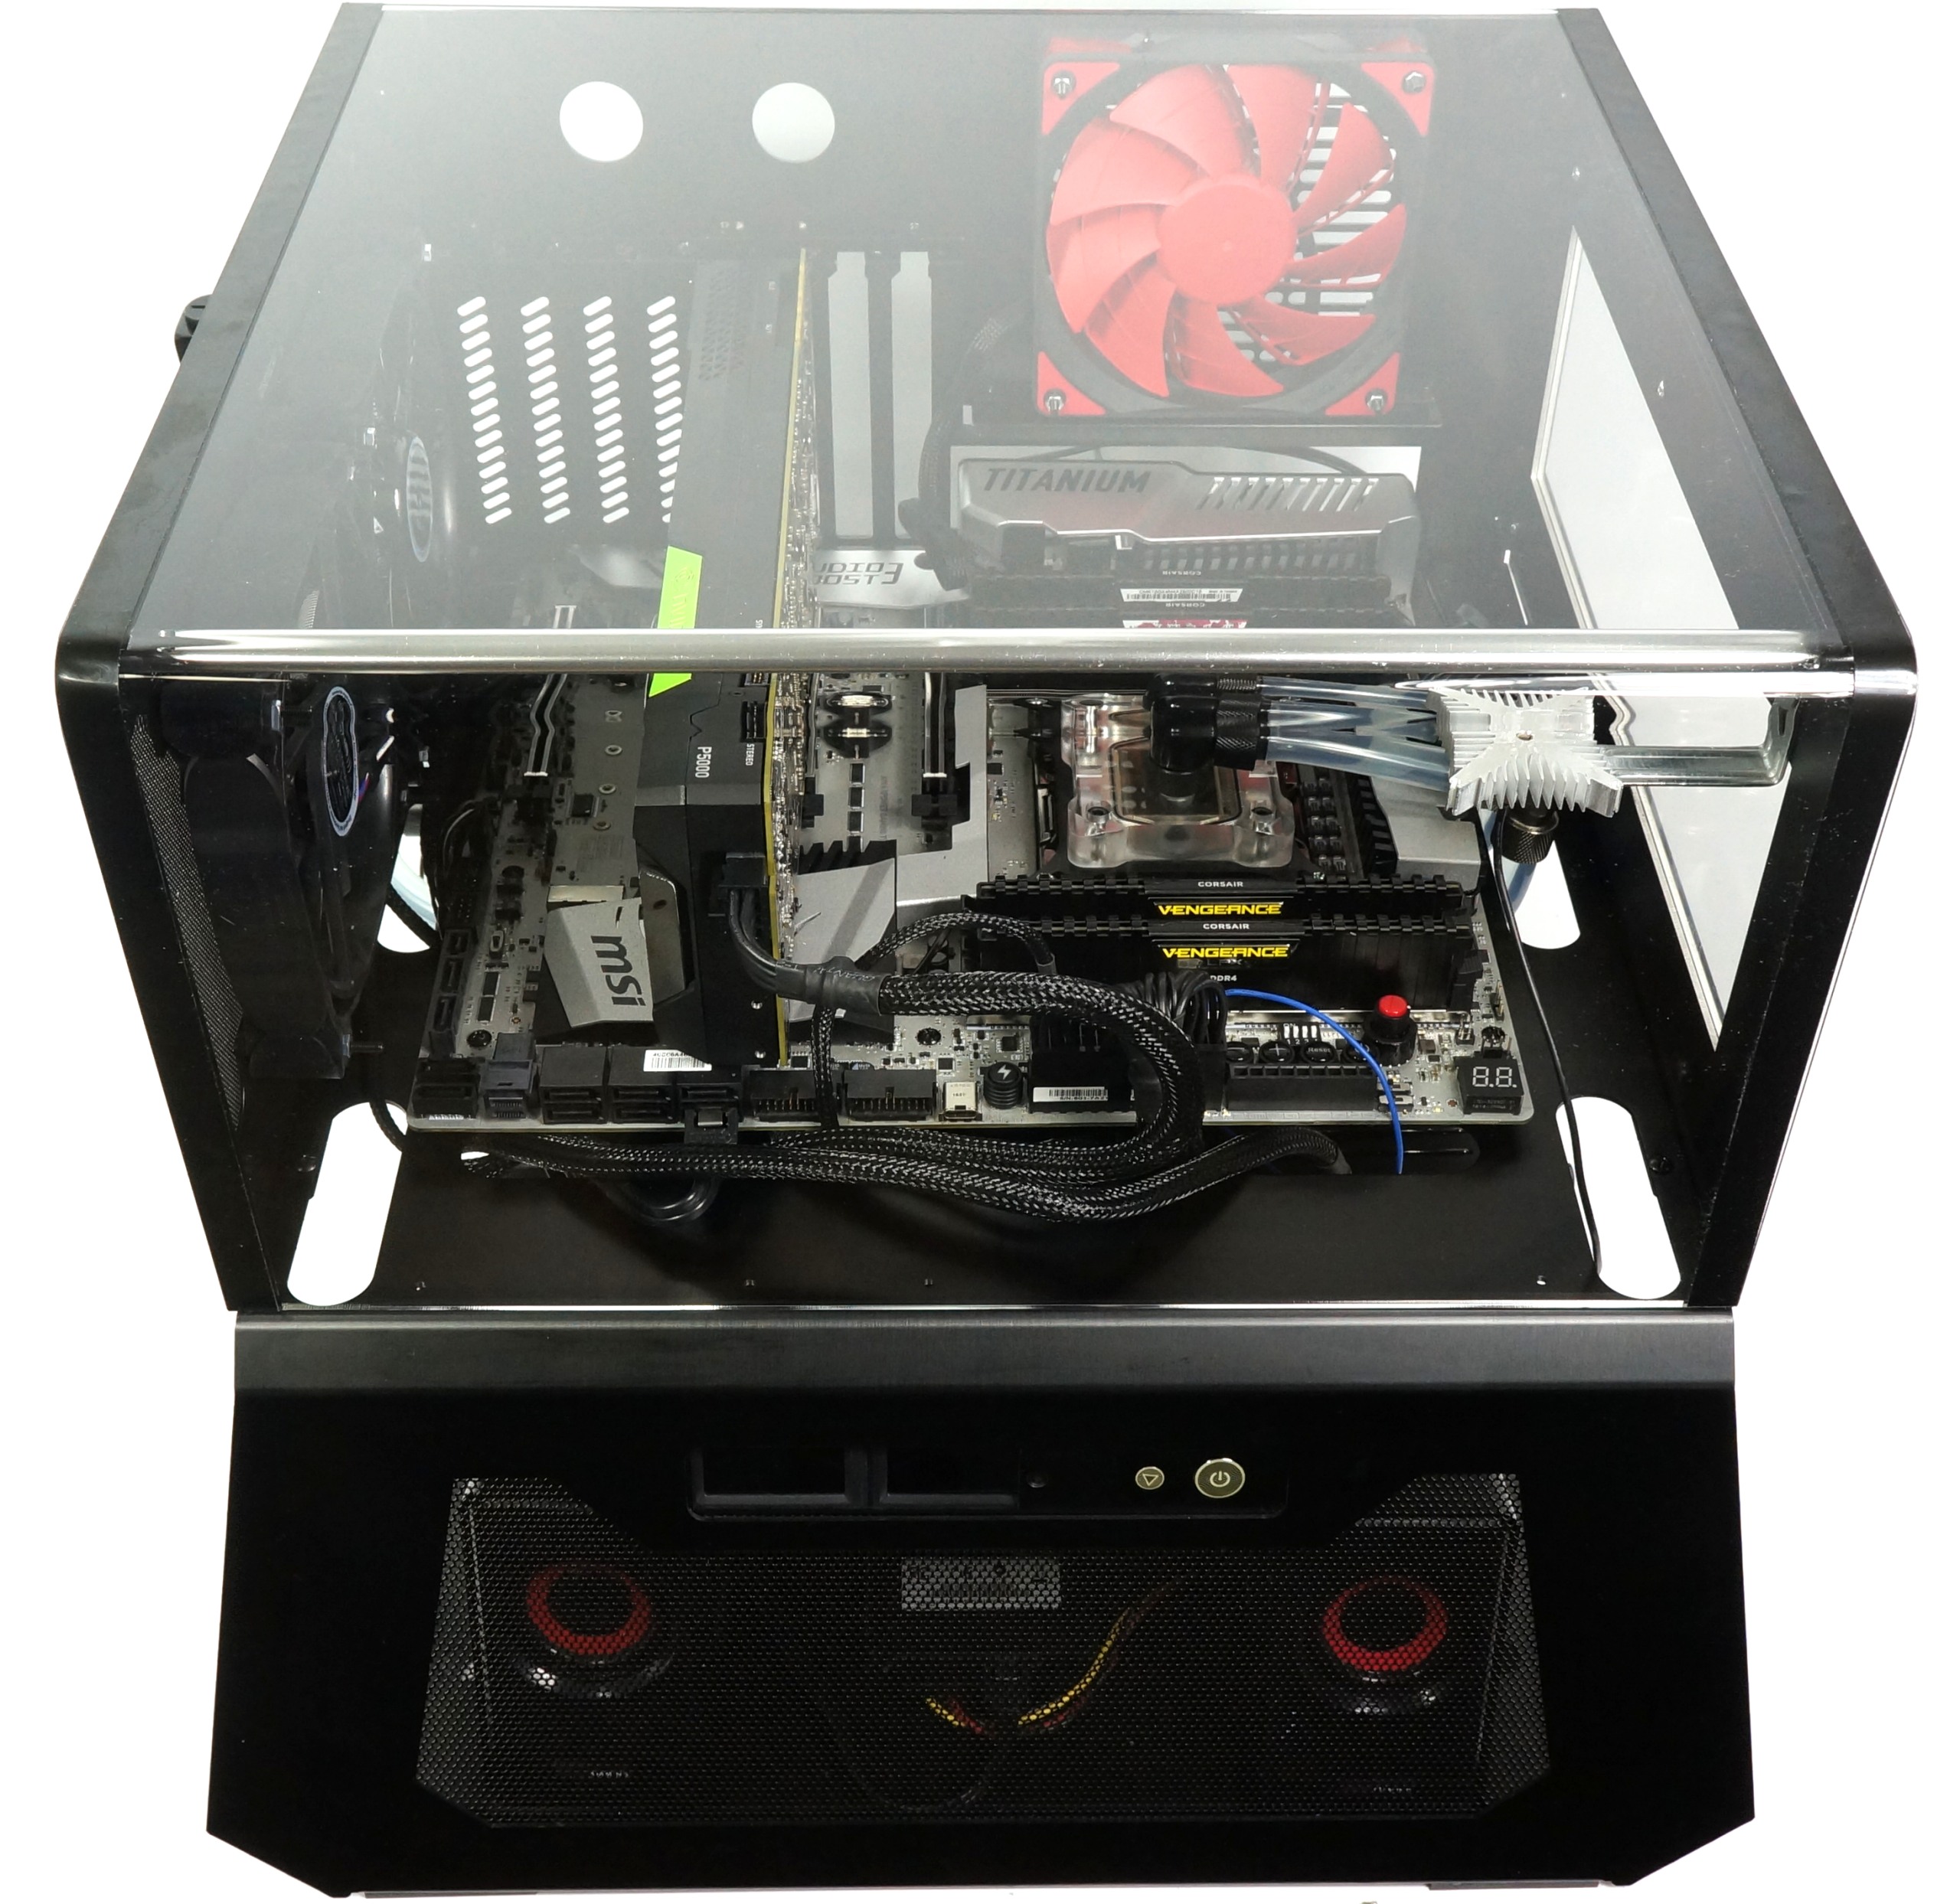 |
To the right front you can see a kind of aluminum heat sink, which was placed at the warmest point of the closed structure and into which I inserted a temperature sensor. But even more on that later. In addition, I have attached two small USB speakers to the ground behind the front, which you want to hear from time to time.
For the power supply I use a slightly modified Be Quiet! Dark Power Pro 11 with 850 watts capacity. Among other things, the modular cables were modified in order to optimally adapt them to the current towed adapters of the oscilloscopes and to obtain stable voltage taps. The housing itself serves as a wrestler; various mass points were connected accordingly or even soldered in places.
Commissioning and technical data
The test system is physically a little smaller than its predecessor, which of course suits the desktop. Step by step, I also integrated the rest of the equipment, calibrated it and retested it over a long period of time. Exactly what can be tested now and how follows immediately.
First, however, the test setup in tabular form:
| Basic system | |
|---|---|
| Hardware: |
Intel Core i7-5930K -4.2GHz MSI X99S XPower Gaming Titanium Corsair Vengeance DDR4-3200 en 2400 MHz Be Quiet Dark Power Pro 11, 850-watt power supply Windows 10 Pro (all updates) |
| Storage: | 1x 1 TByte Toshiba OCZ RD400 (M.2, System SSD) 2x 960 GByte Toshiba OCZ TR150 (Storage, Images) |
| Watercooling: |
Alphacool Ice Pump VPP755 Alphacool NexXxoS UT60 Full Copper 360mm Alphacool Cape Corp Coolplex Pro 10 LT |
| Housing: |
Lian Li PC-T70 with expansion kit and modifications |


Kommentieren