


Unboxing
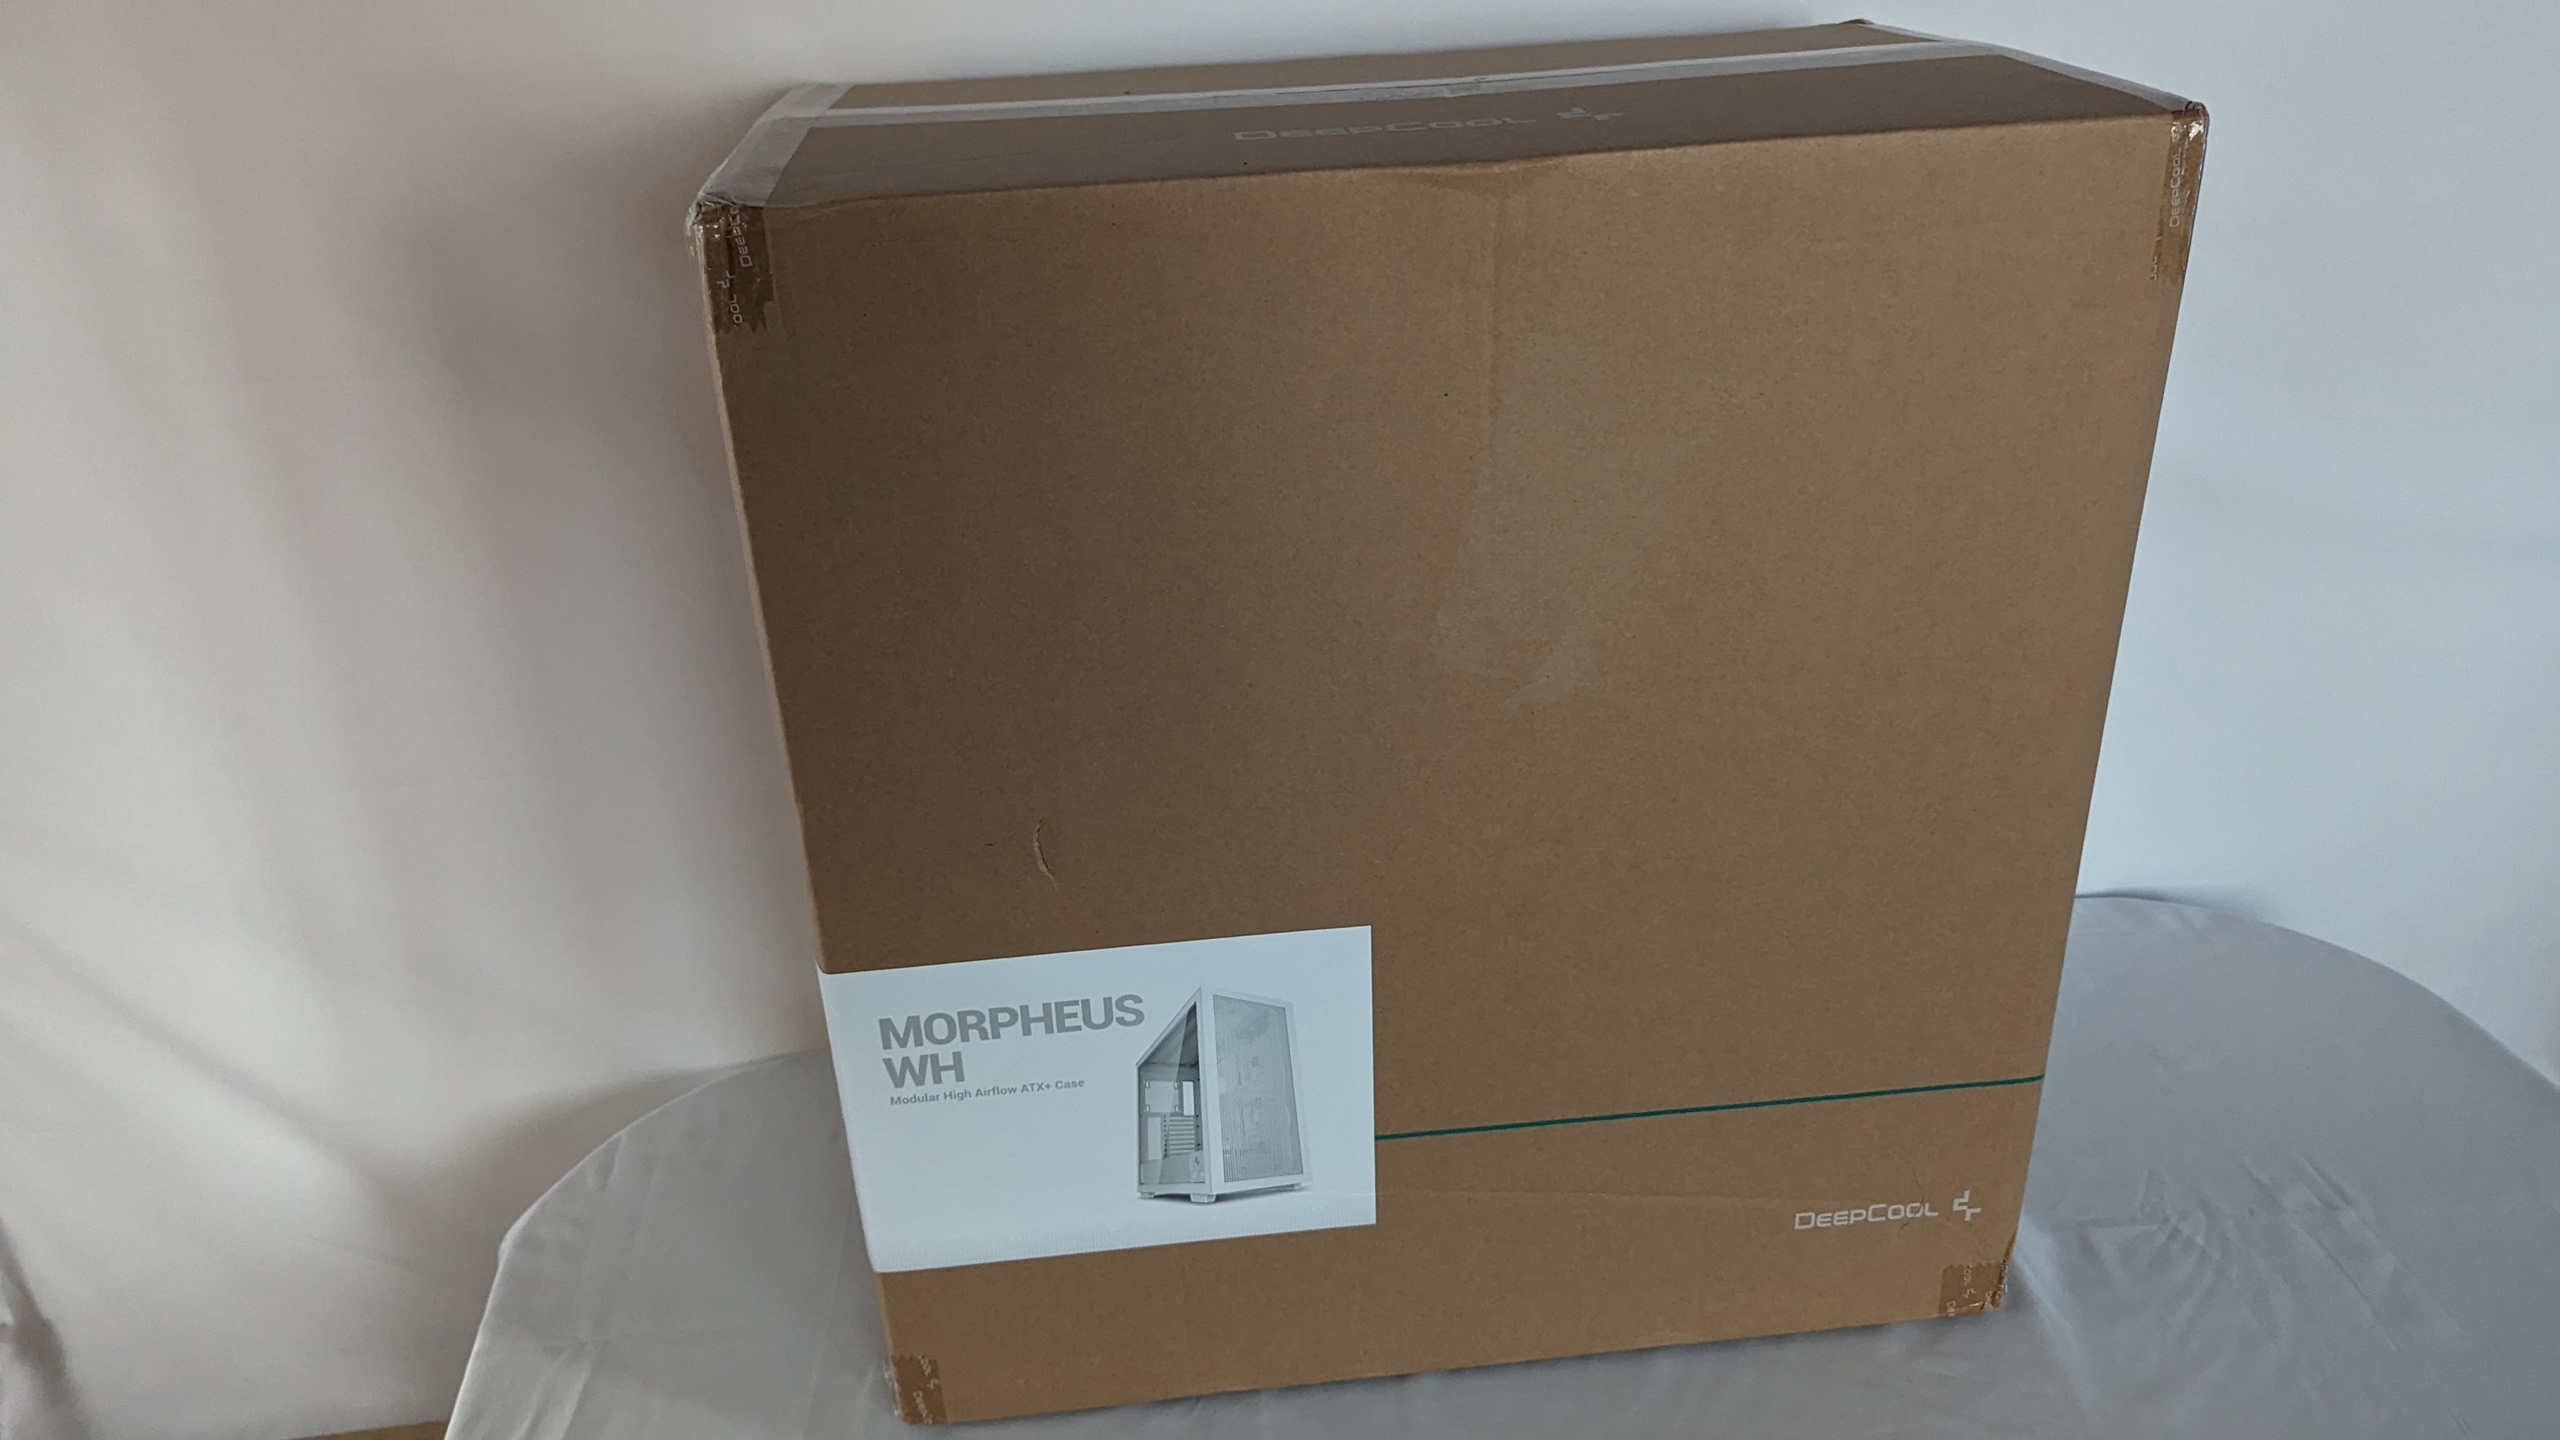
The Morpheus is delivered in a rather plain cardboard box, but the photo of the case on the box already gives you an idea of the contents. Much to the delight of the throwing craft.
When you open the box, you can see that the housing is wrapped in foam mats to protect it from knocks. This in turn takes some of the joy out of throwing.
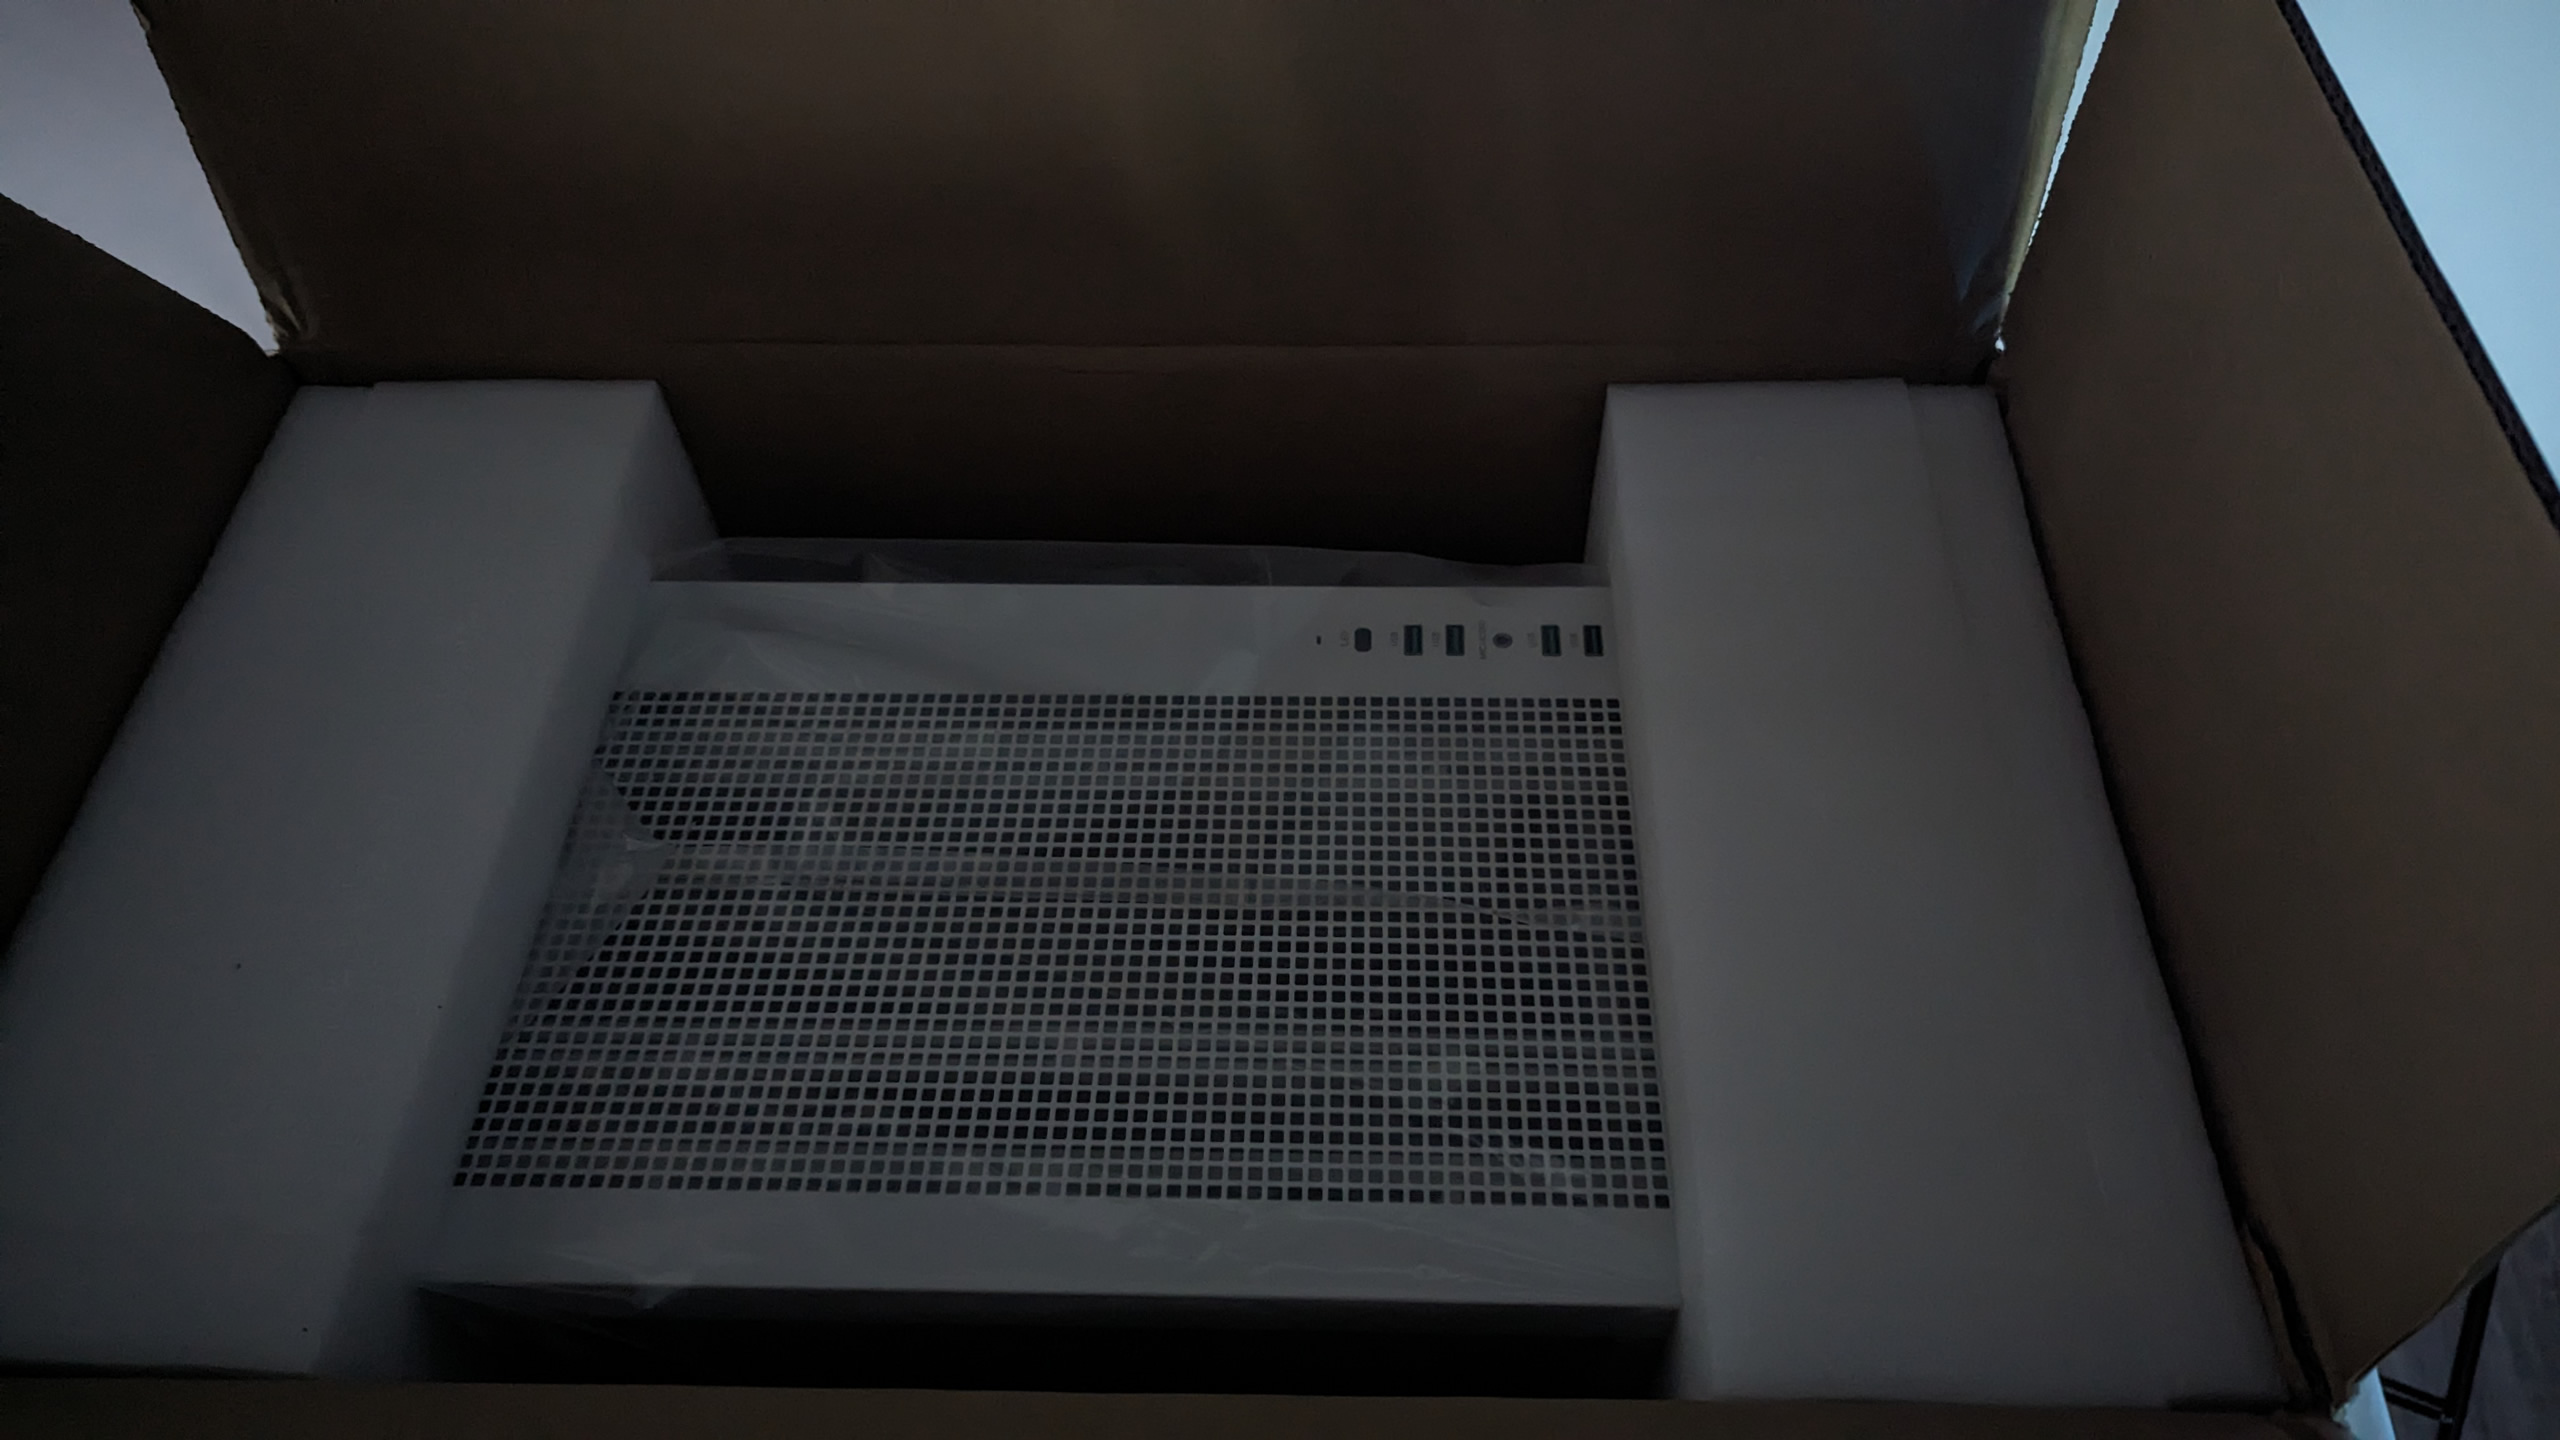
The case is otherwise packed in a bag and also contains the accessory box. Hallelujah!
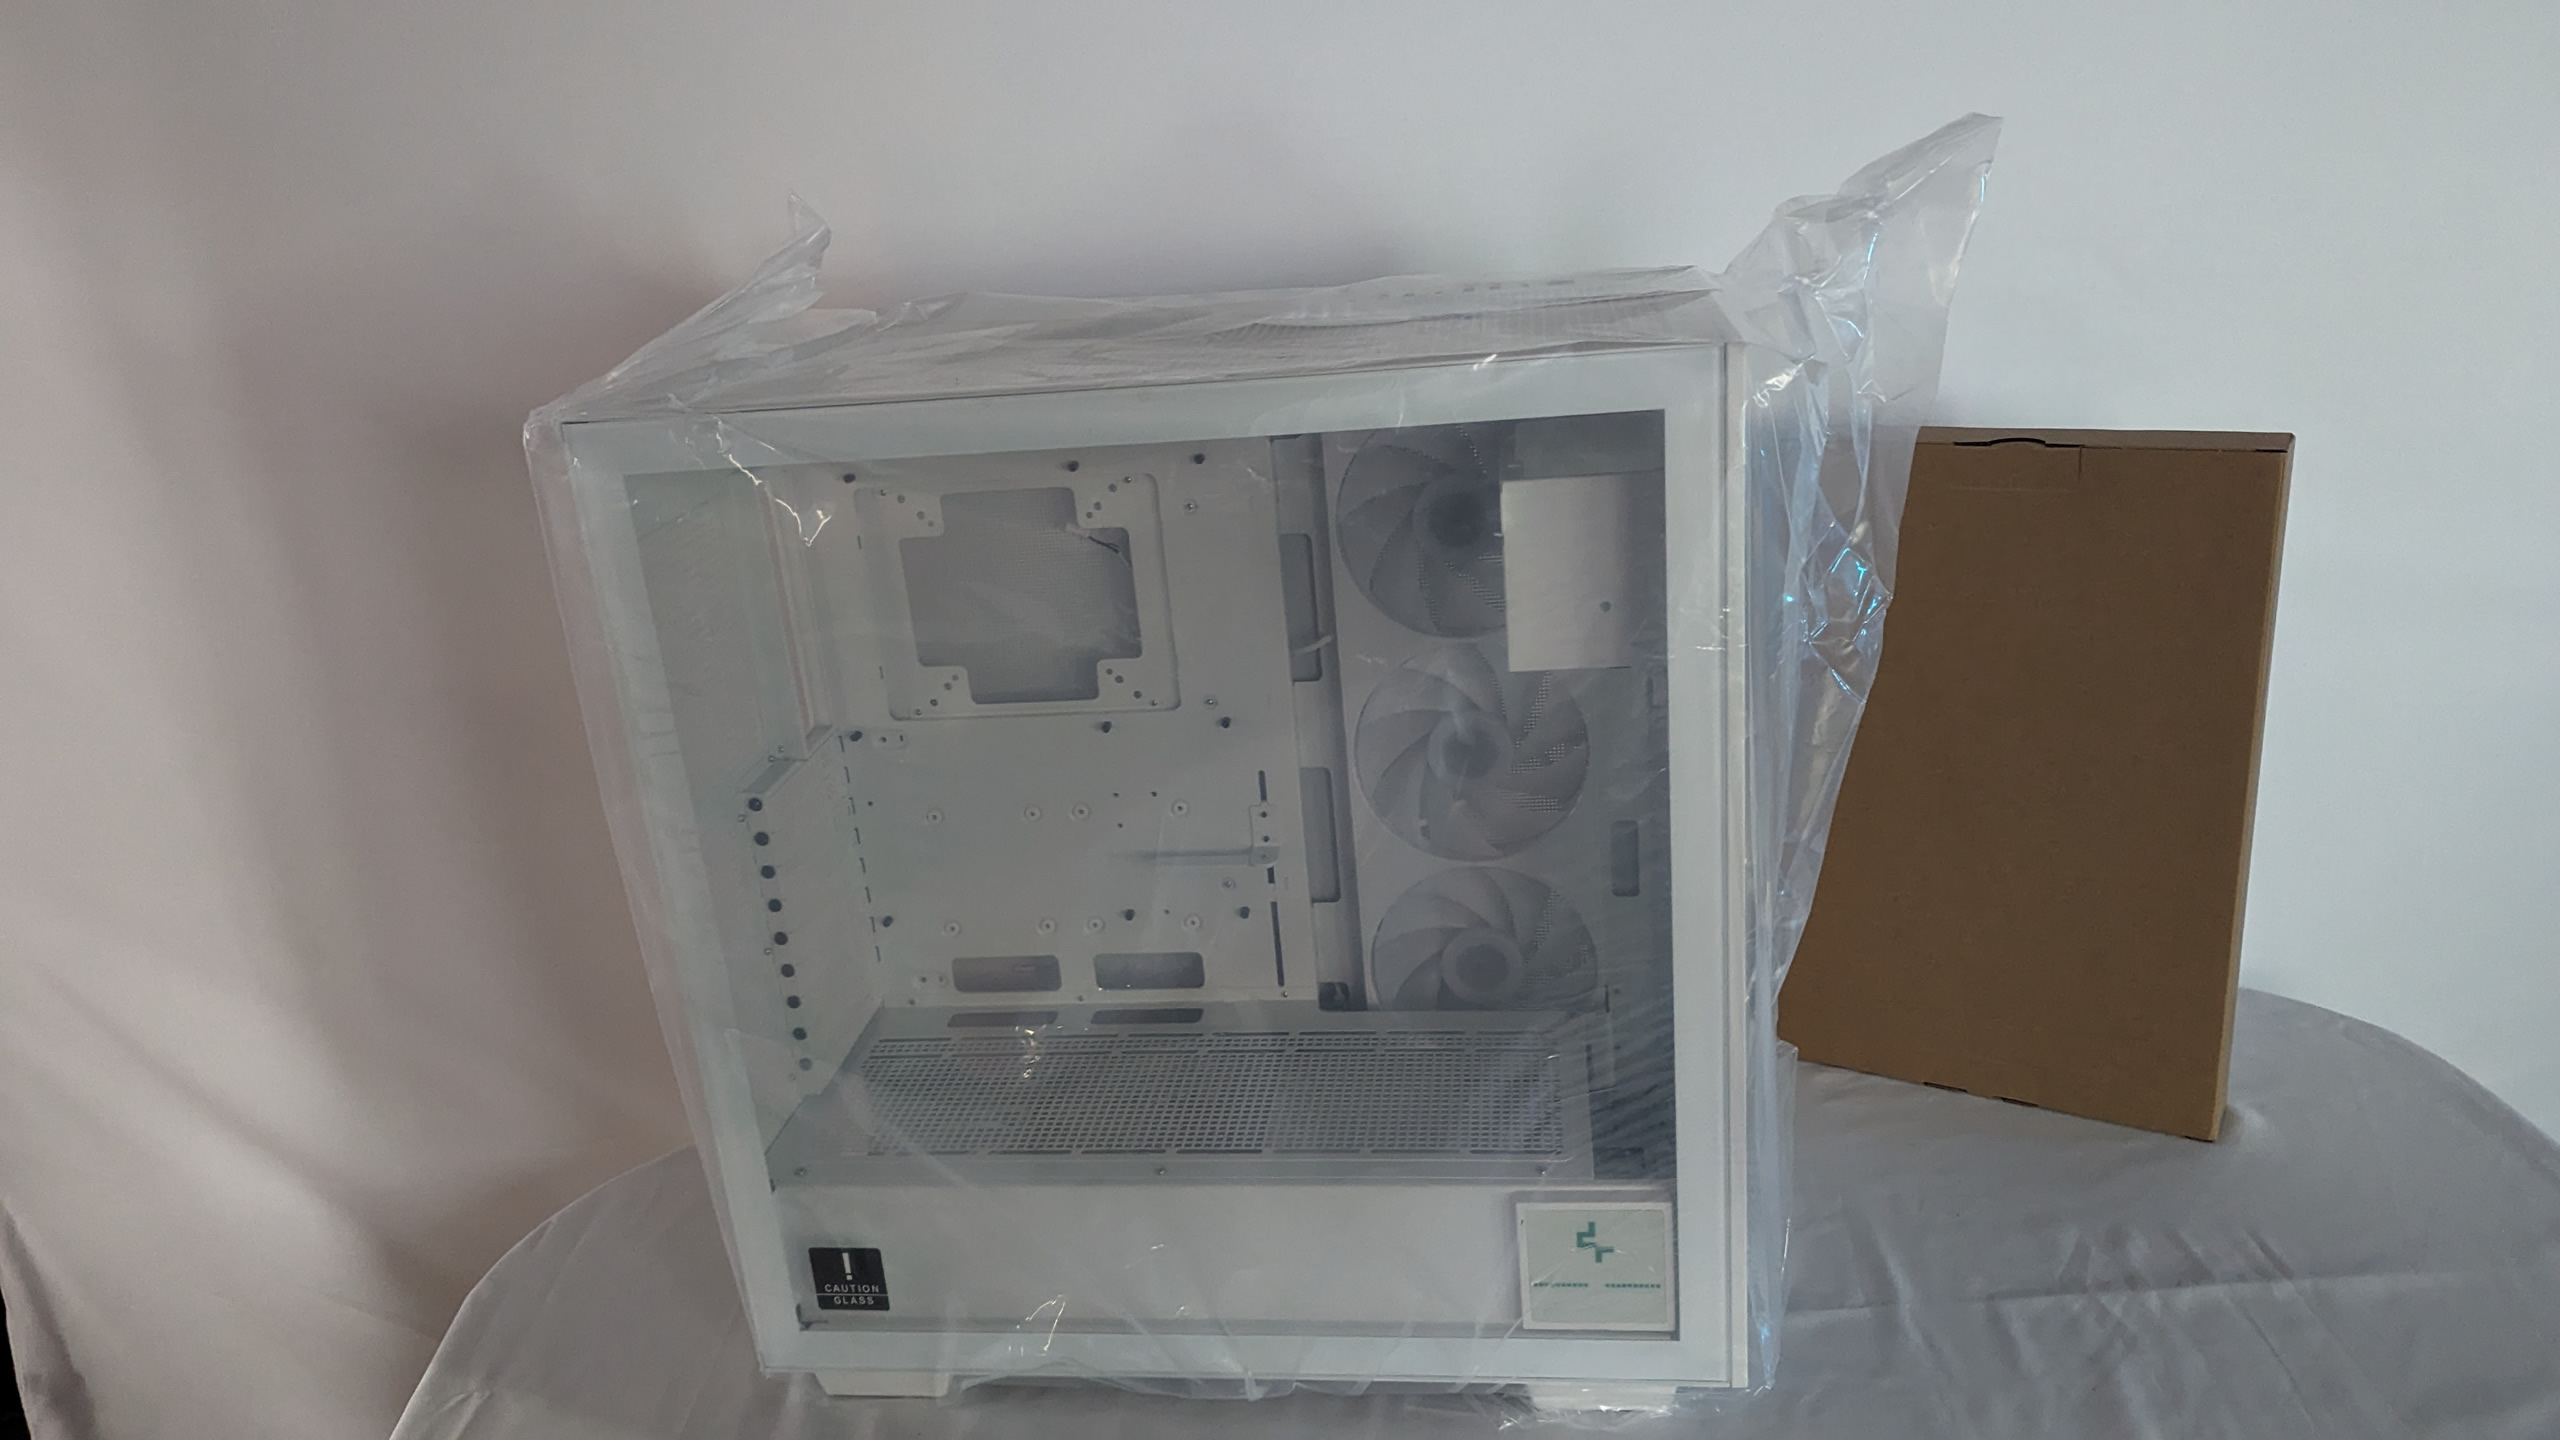
First impression: It is a case with a complete sheet steel design. Only components such as the dust filter and other small parts are made of plastic. As soon as you feel the case, you notice that it has no sharp edges and is very cleanly finished. This makes it very high quality. Every sheet, even for the modular construction, is painted white. The paint was applied cleanly and neatly. Powder coating deluxe.
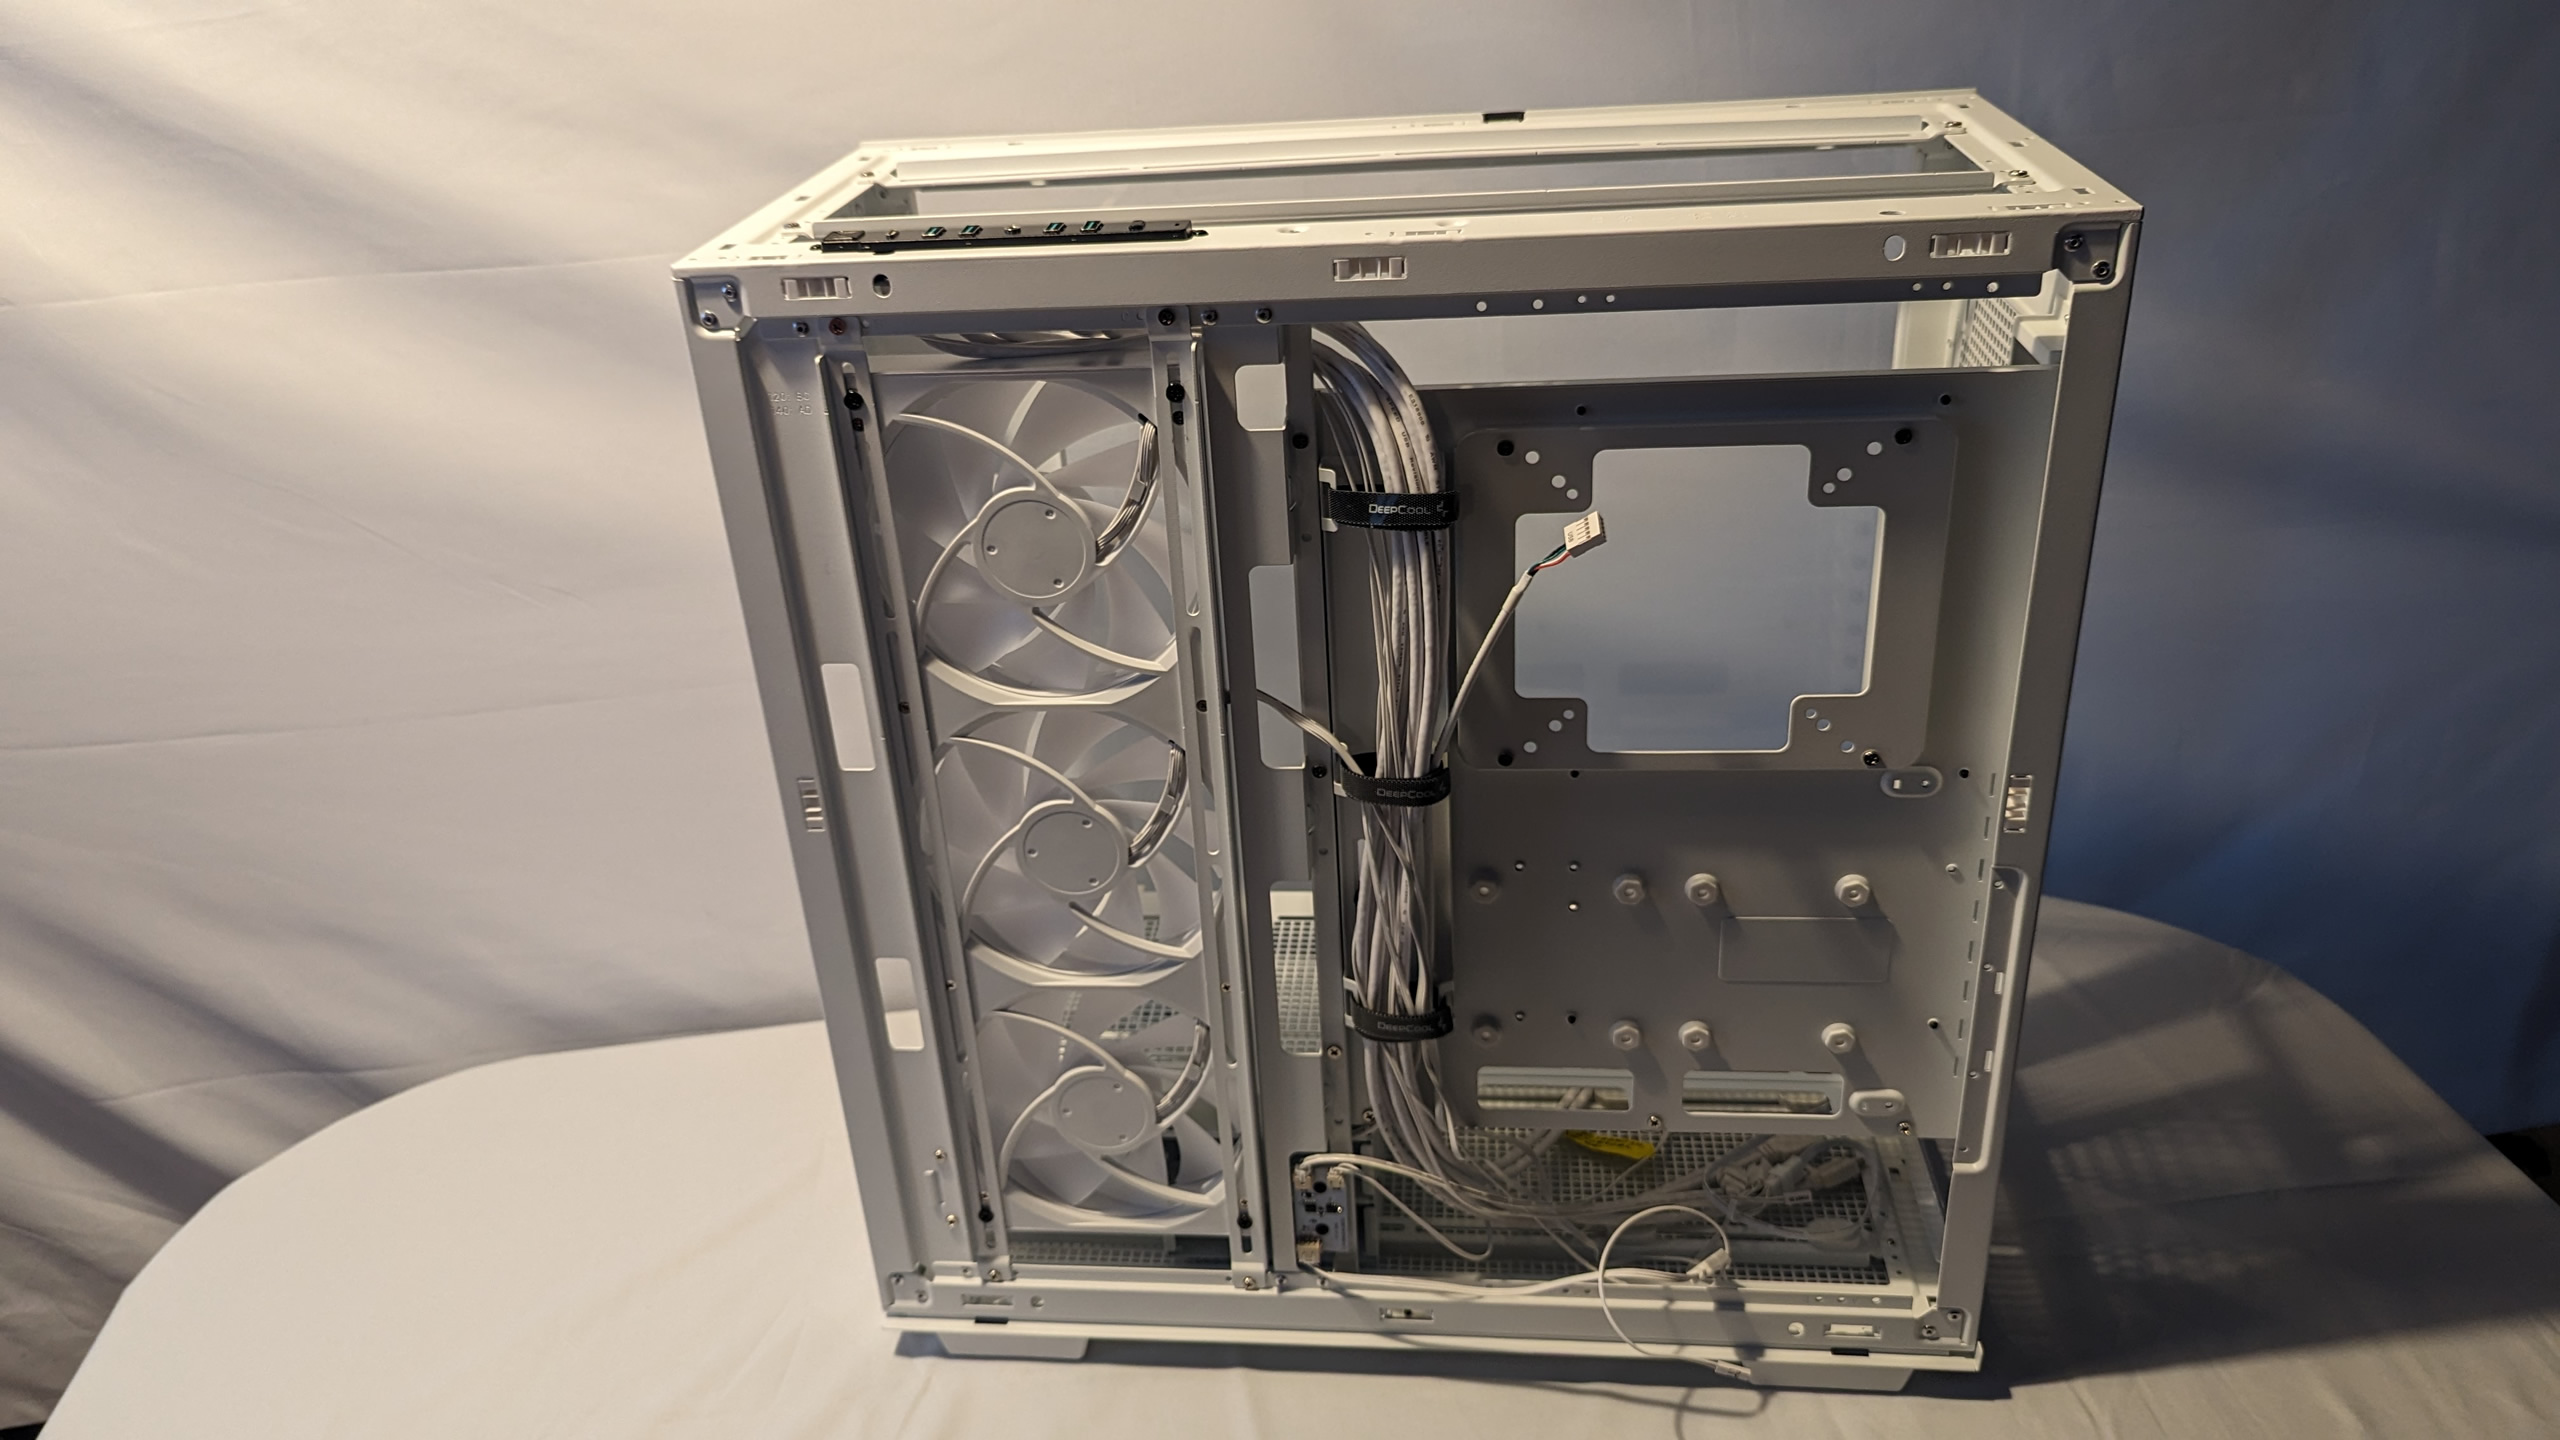
I’ll start with the right-hand side, where the cabling is hidden behind the mainboard tray.
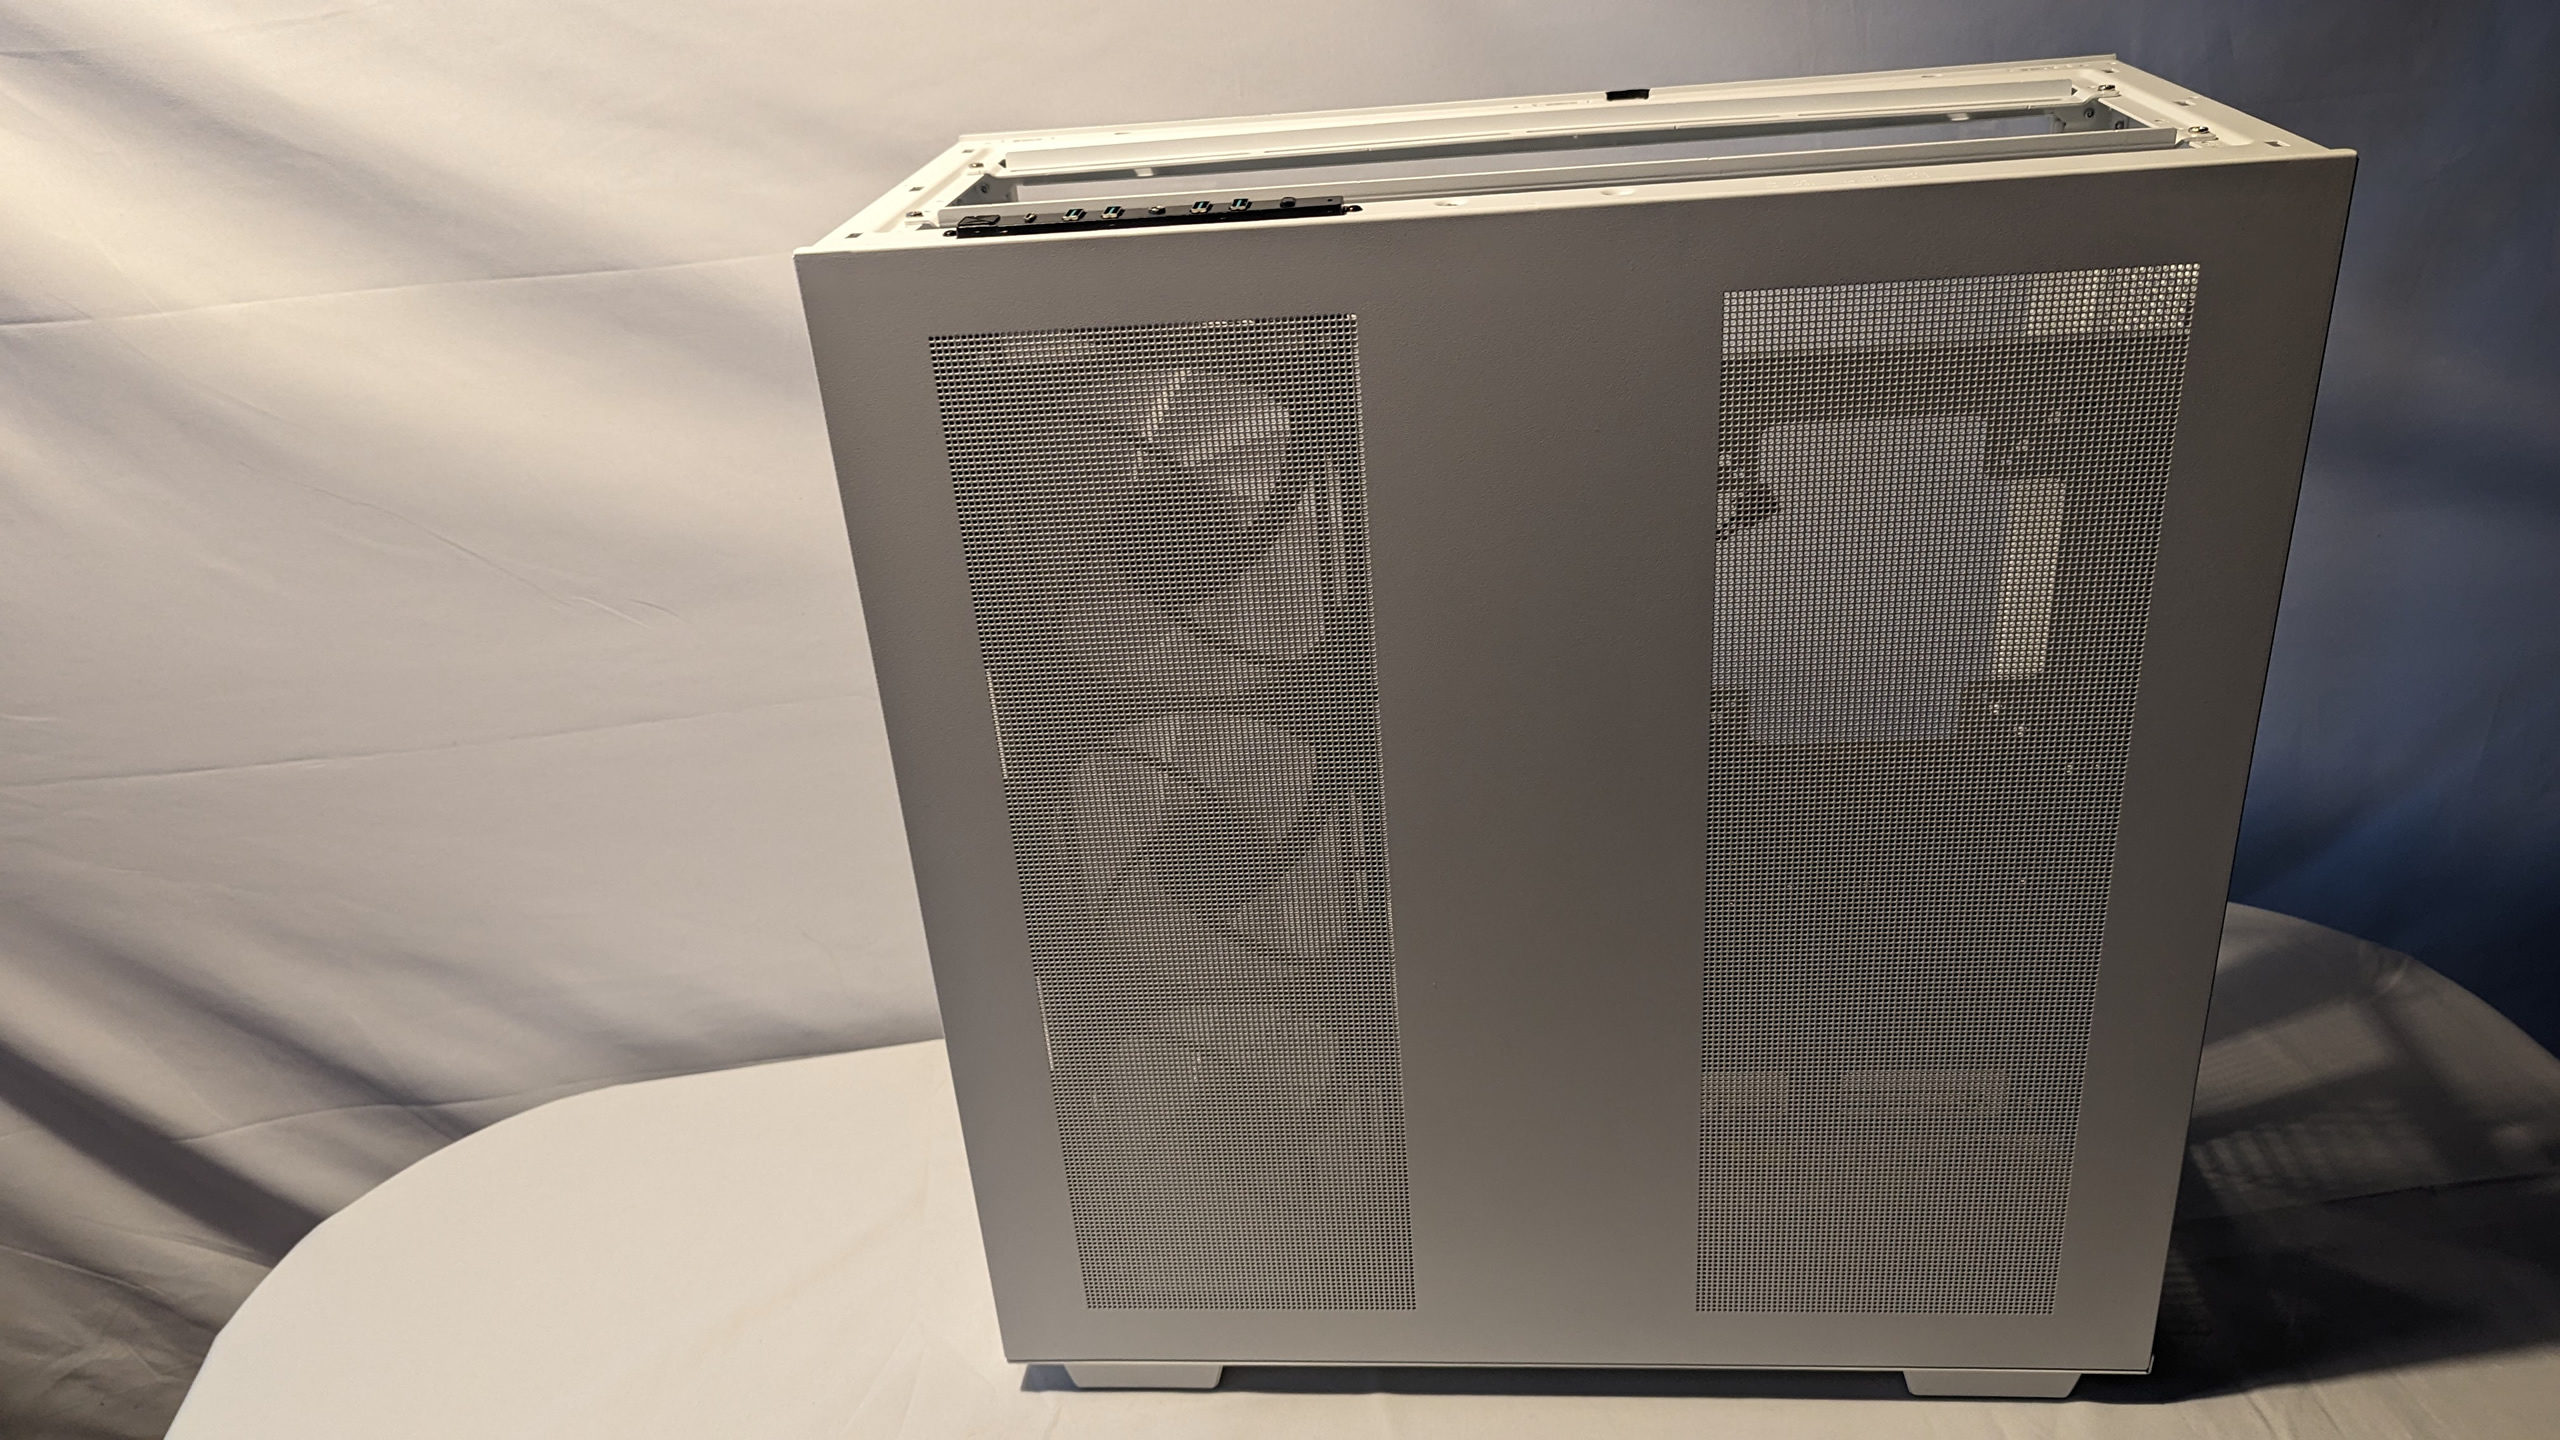
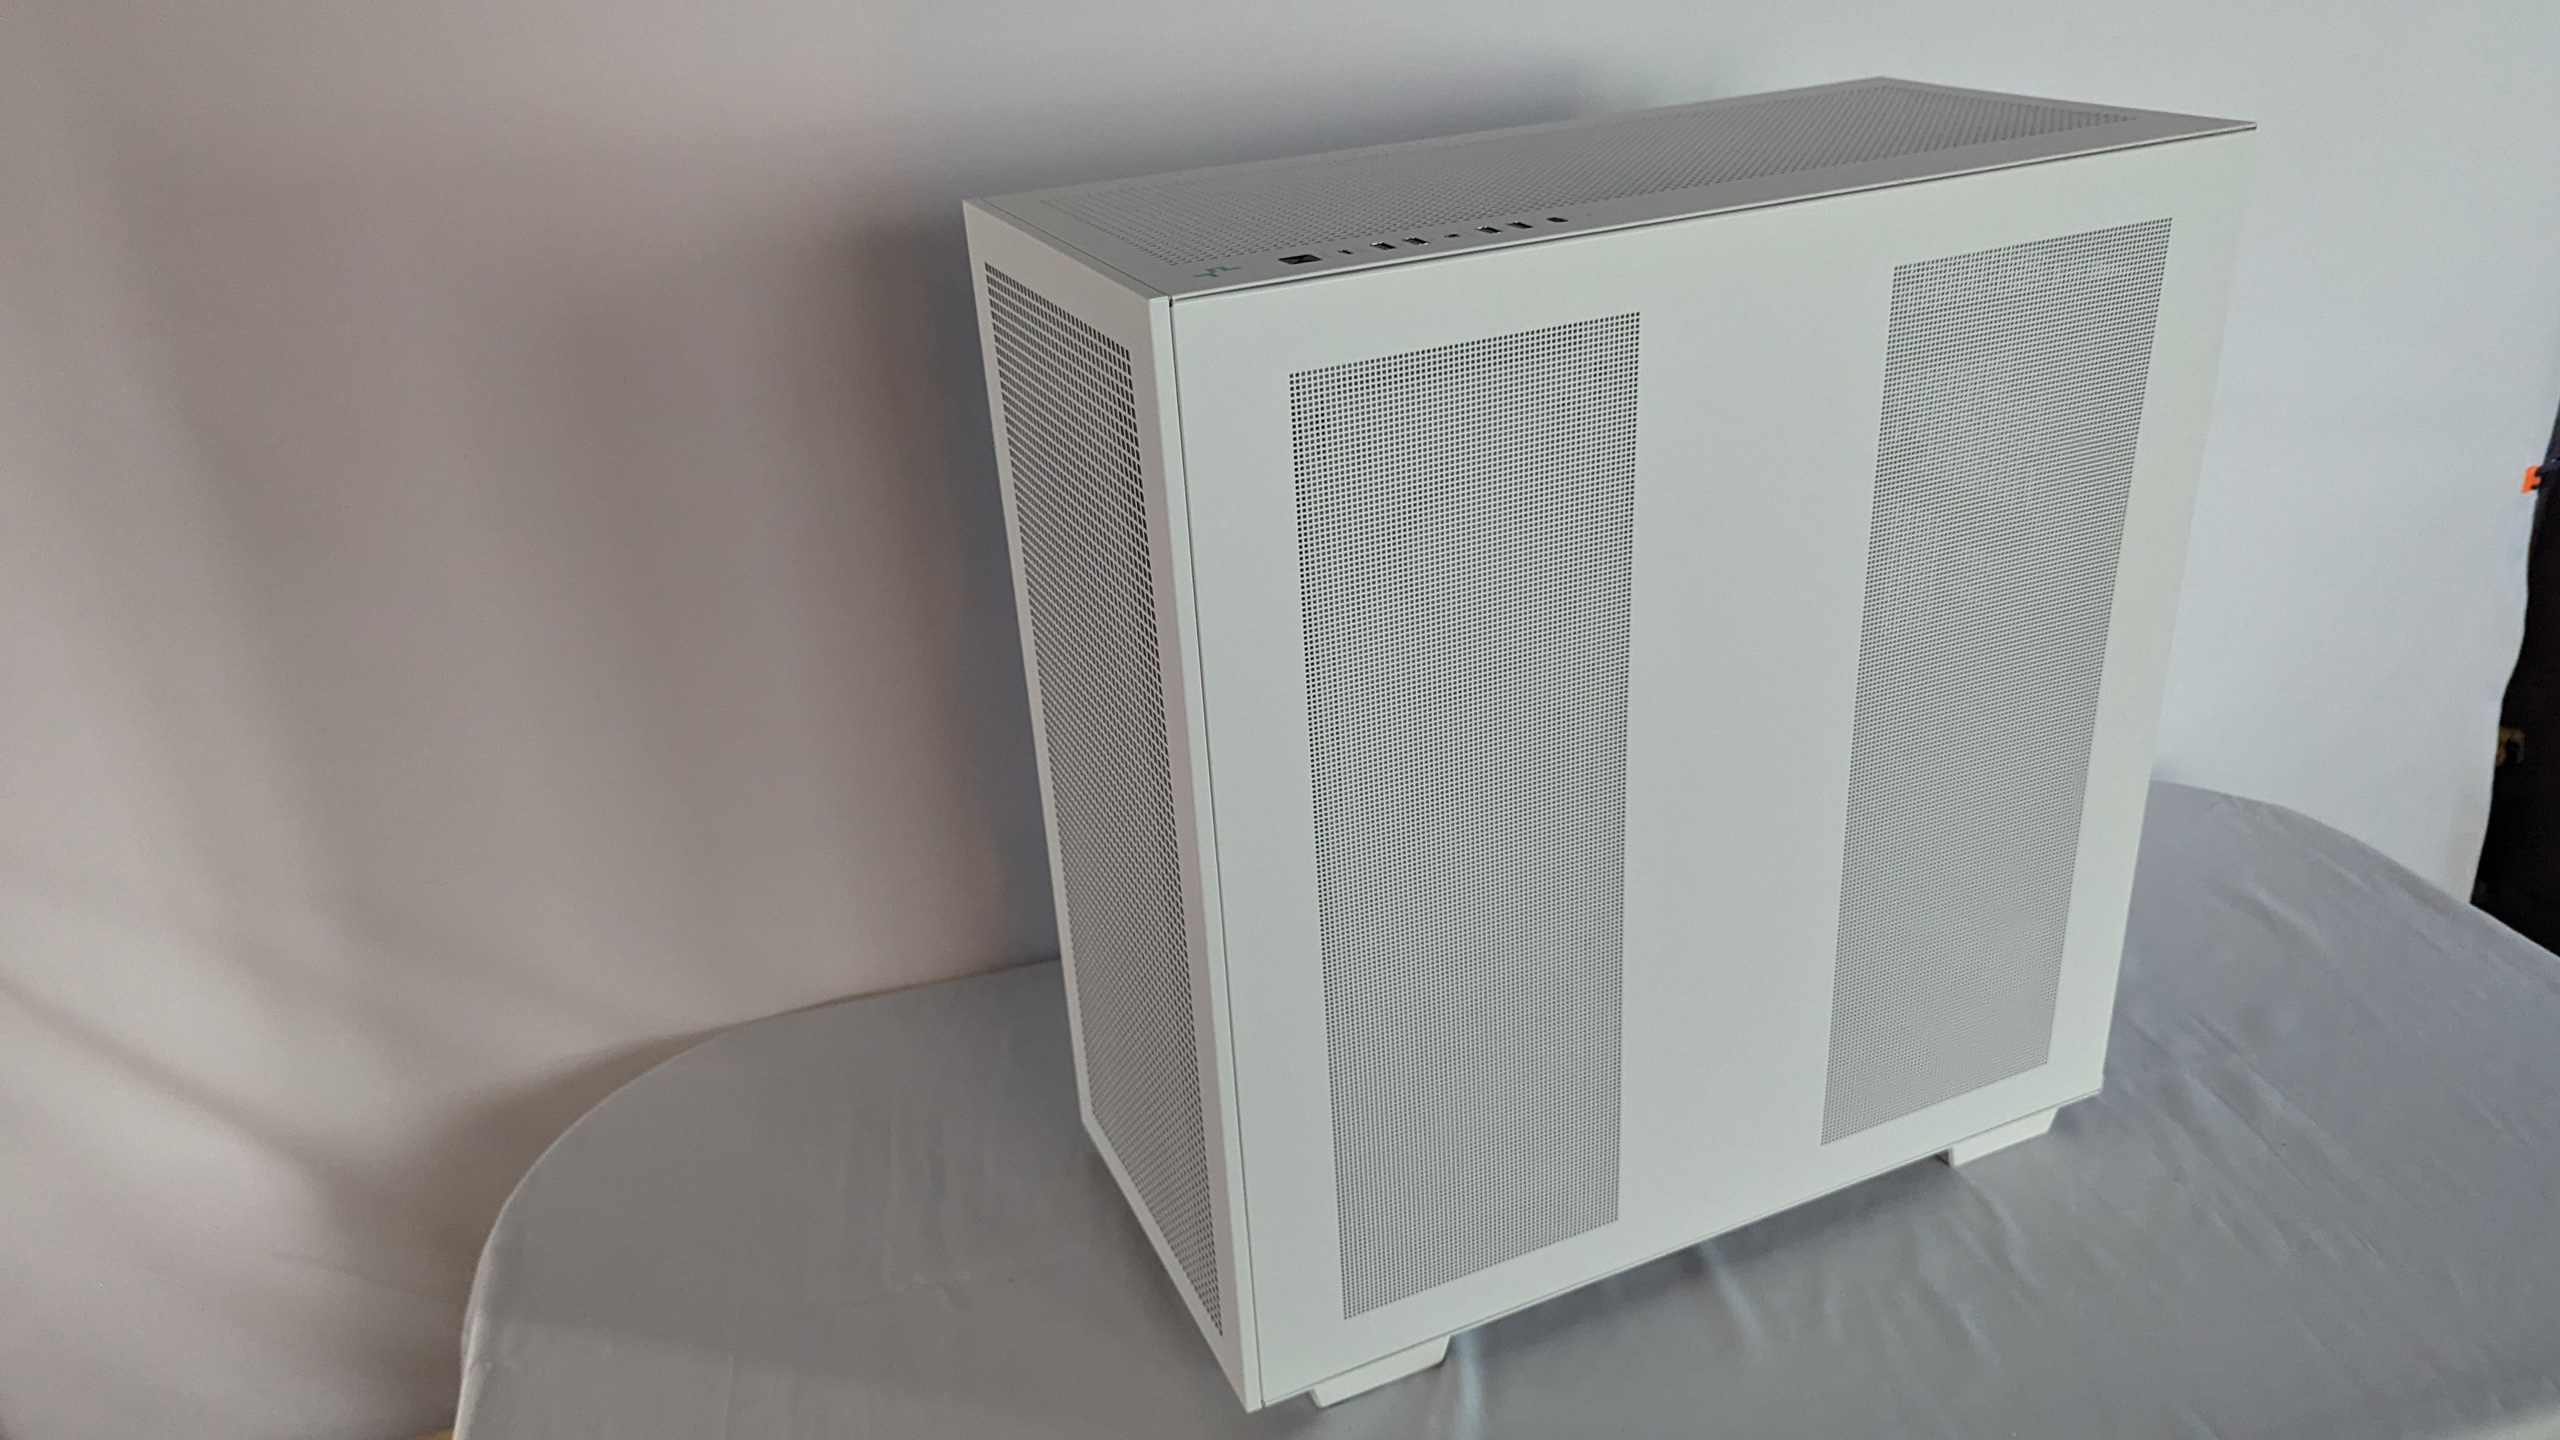
The side panel has two mesh cut-outs that can dissipate warm air. Like the front and glass window side, it is simply opened with a click system that is connected to the case with plastic lugs. Ideal for lazy people.
This side is the only one without a separate mesh grille. However, the perforation is finer and the feather duster is happy.
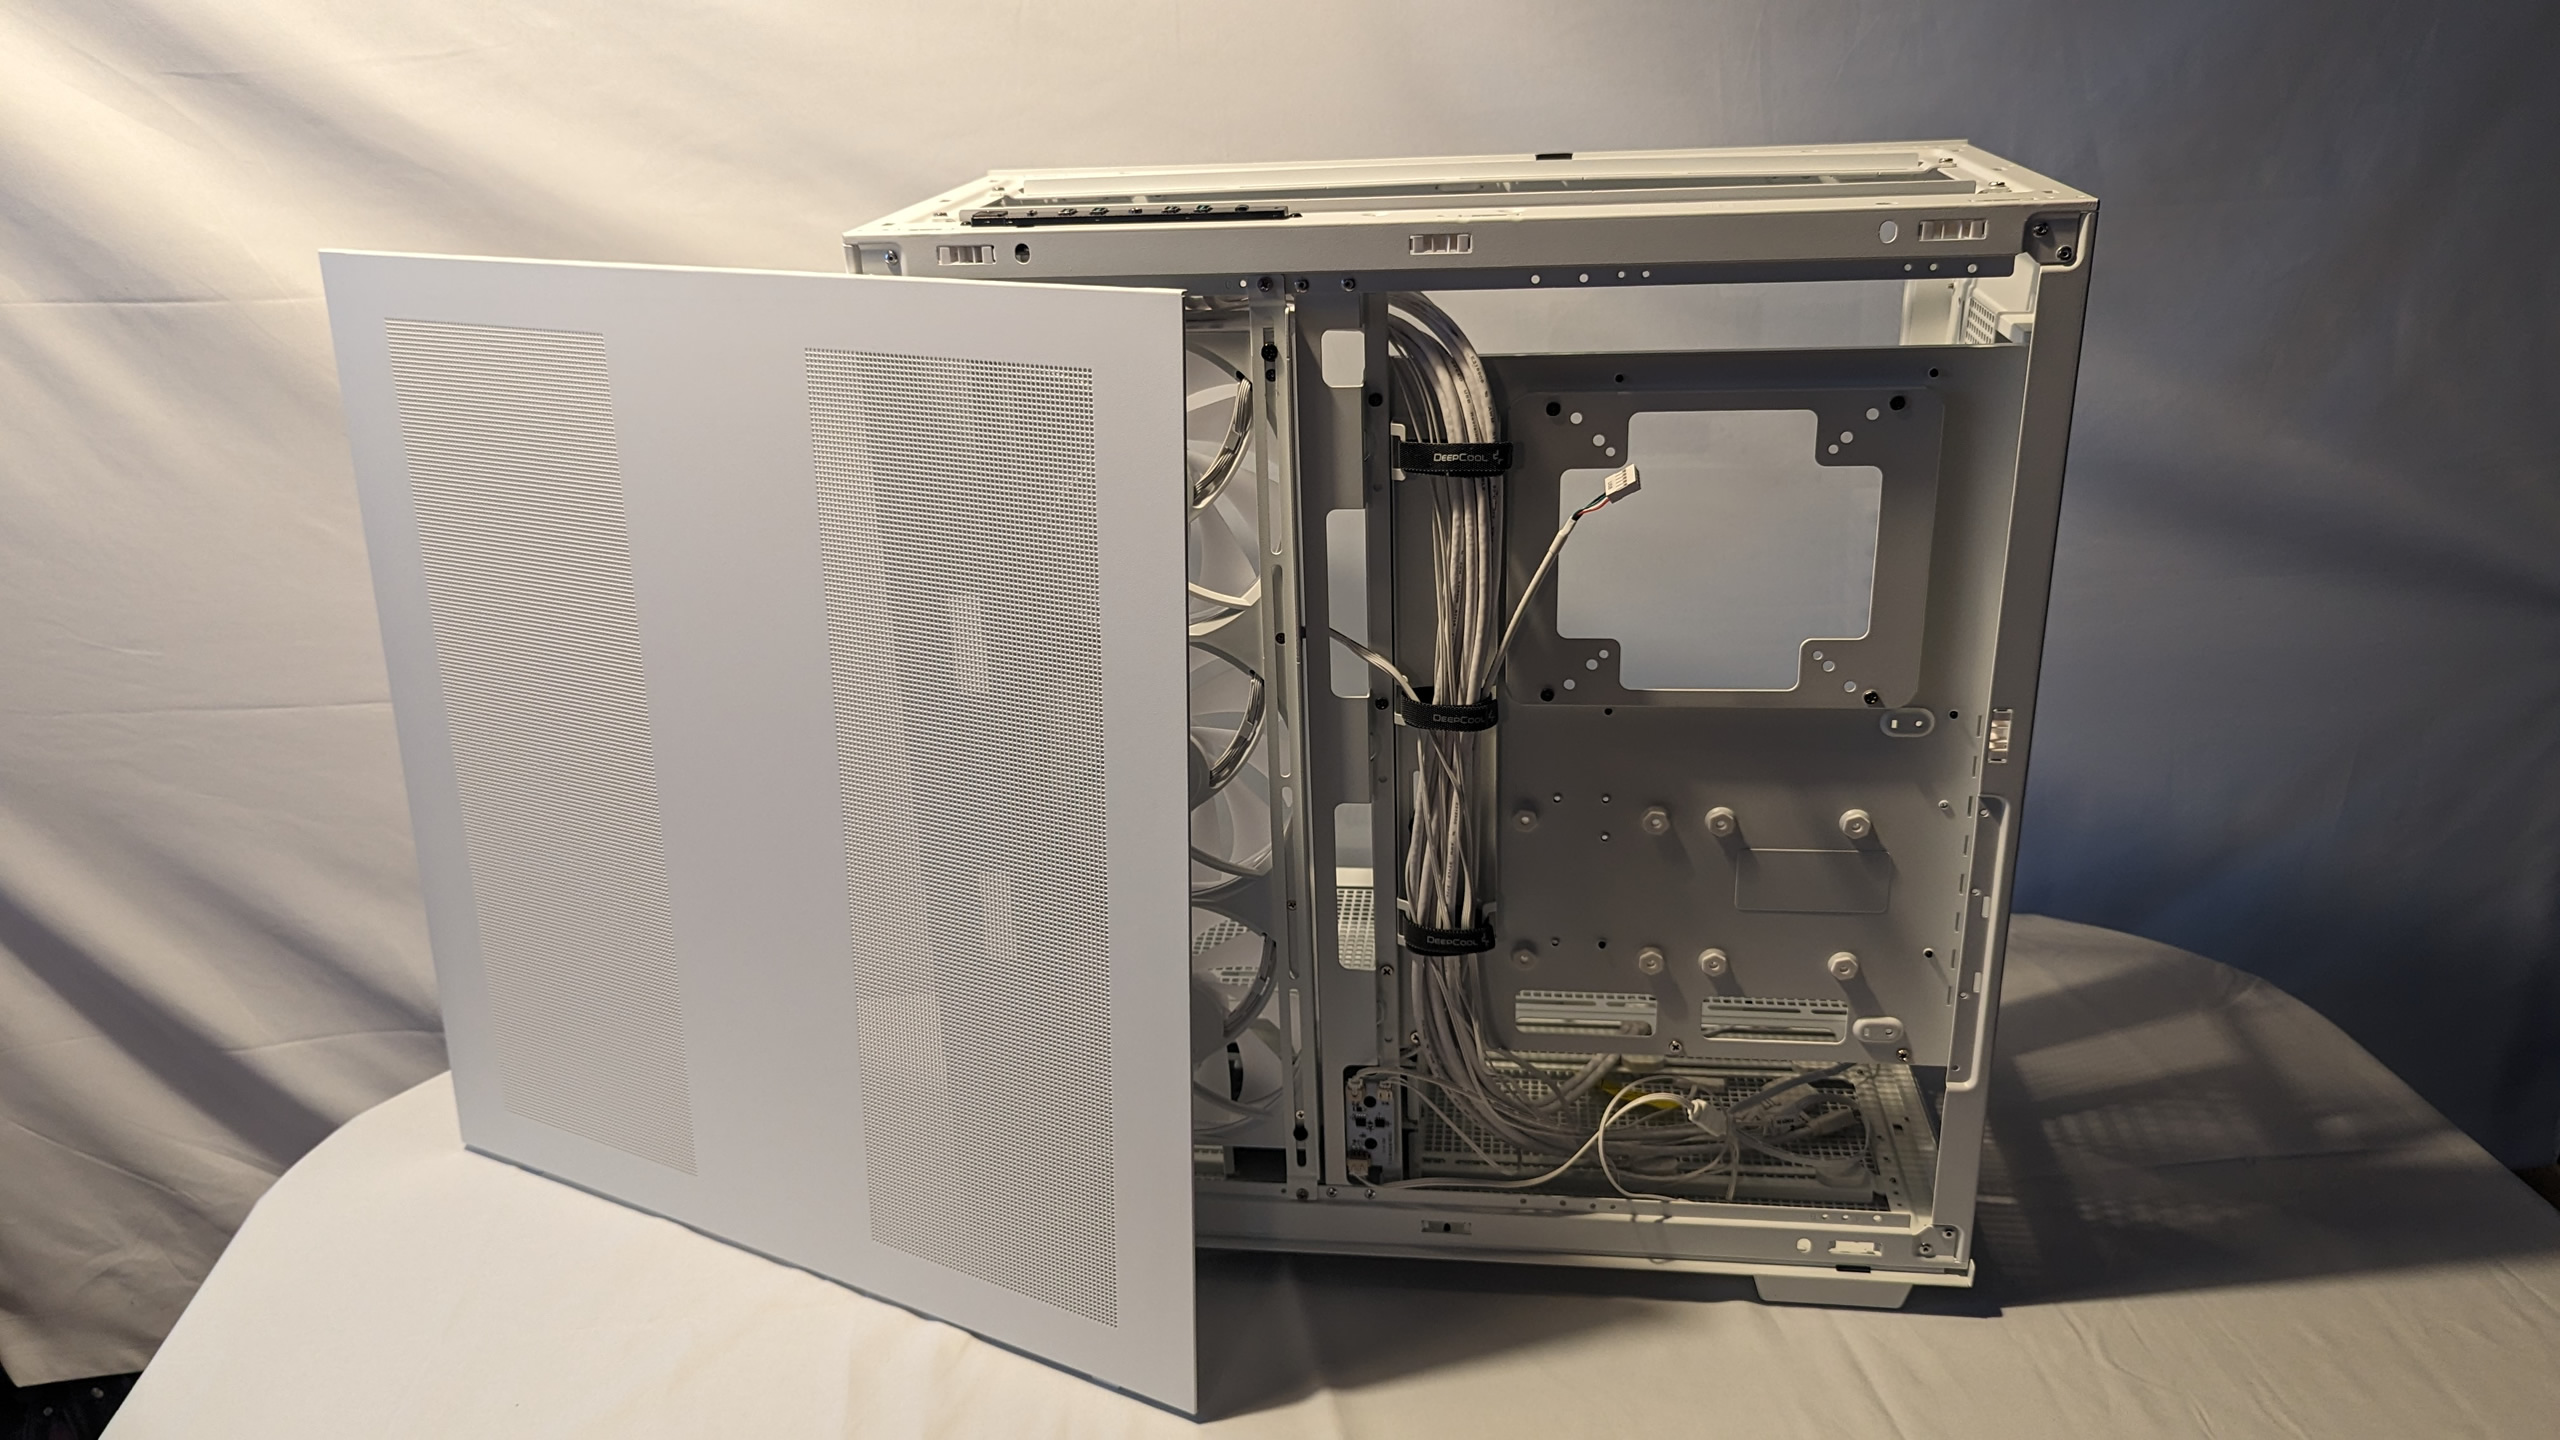
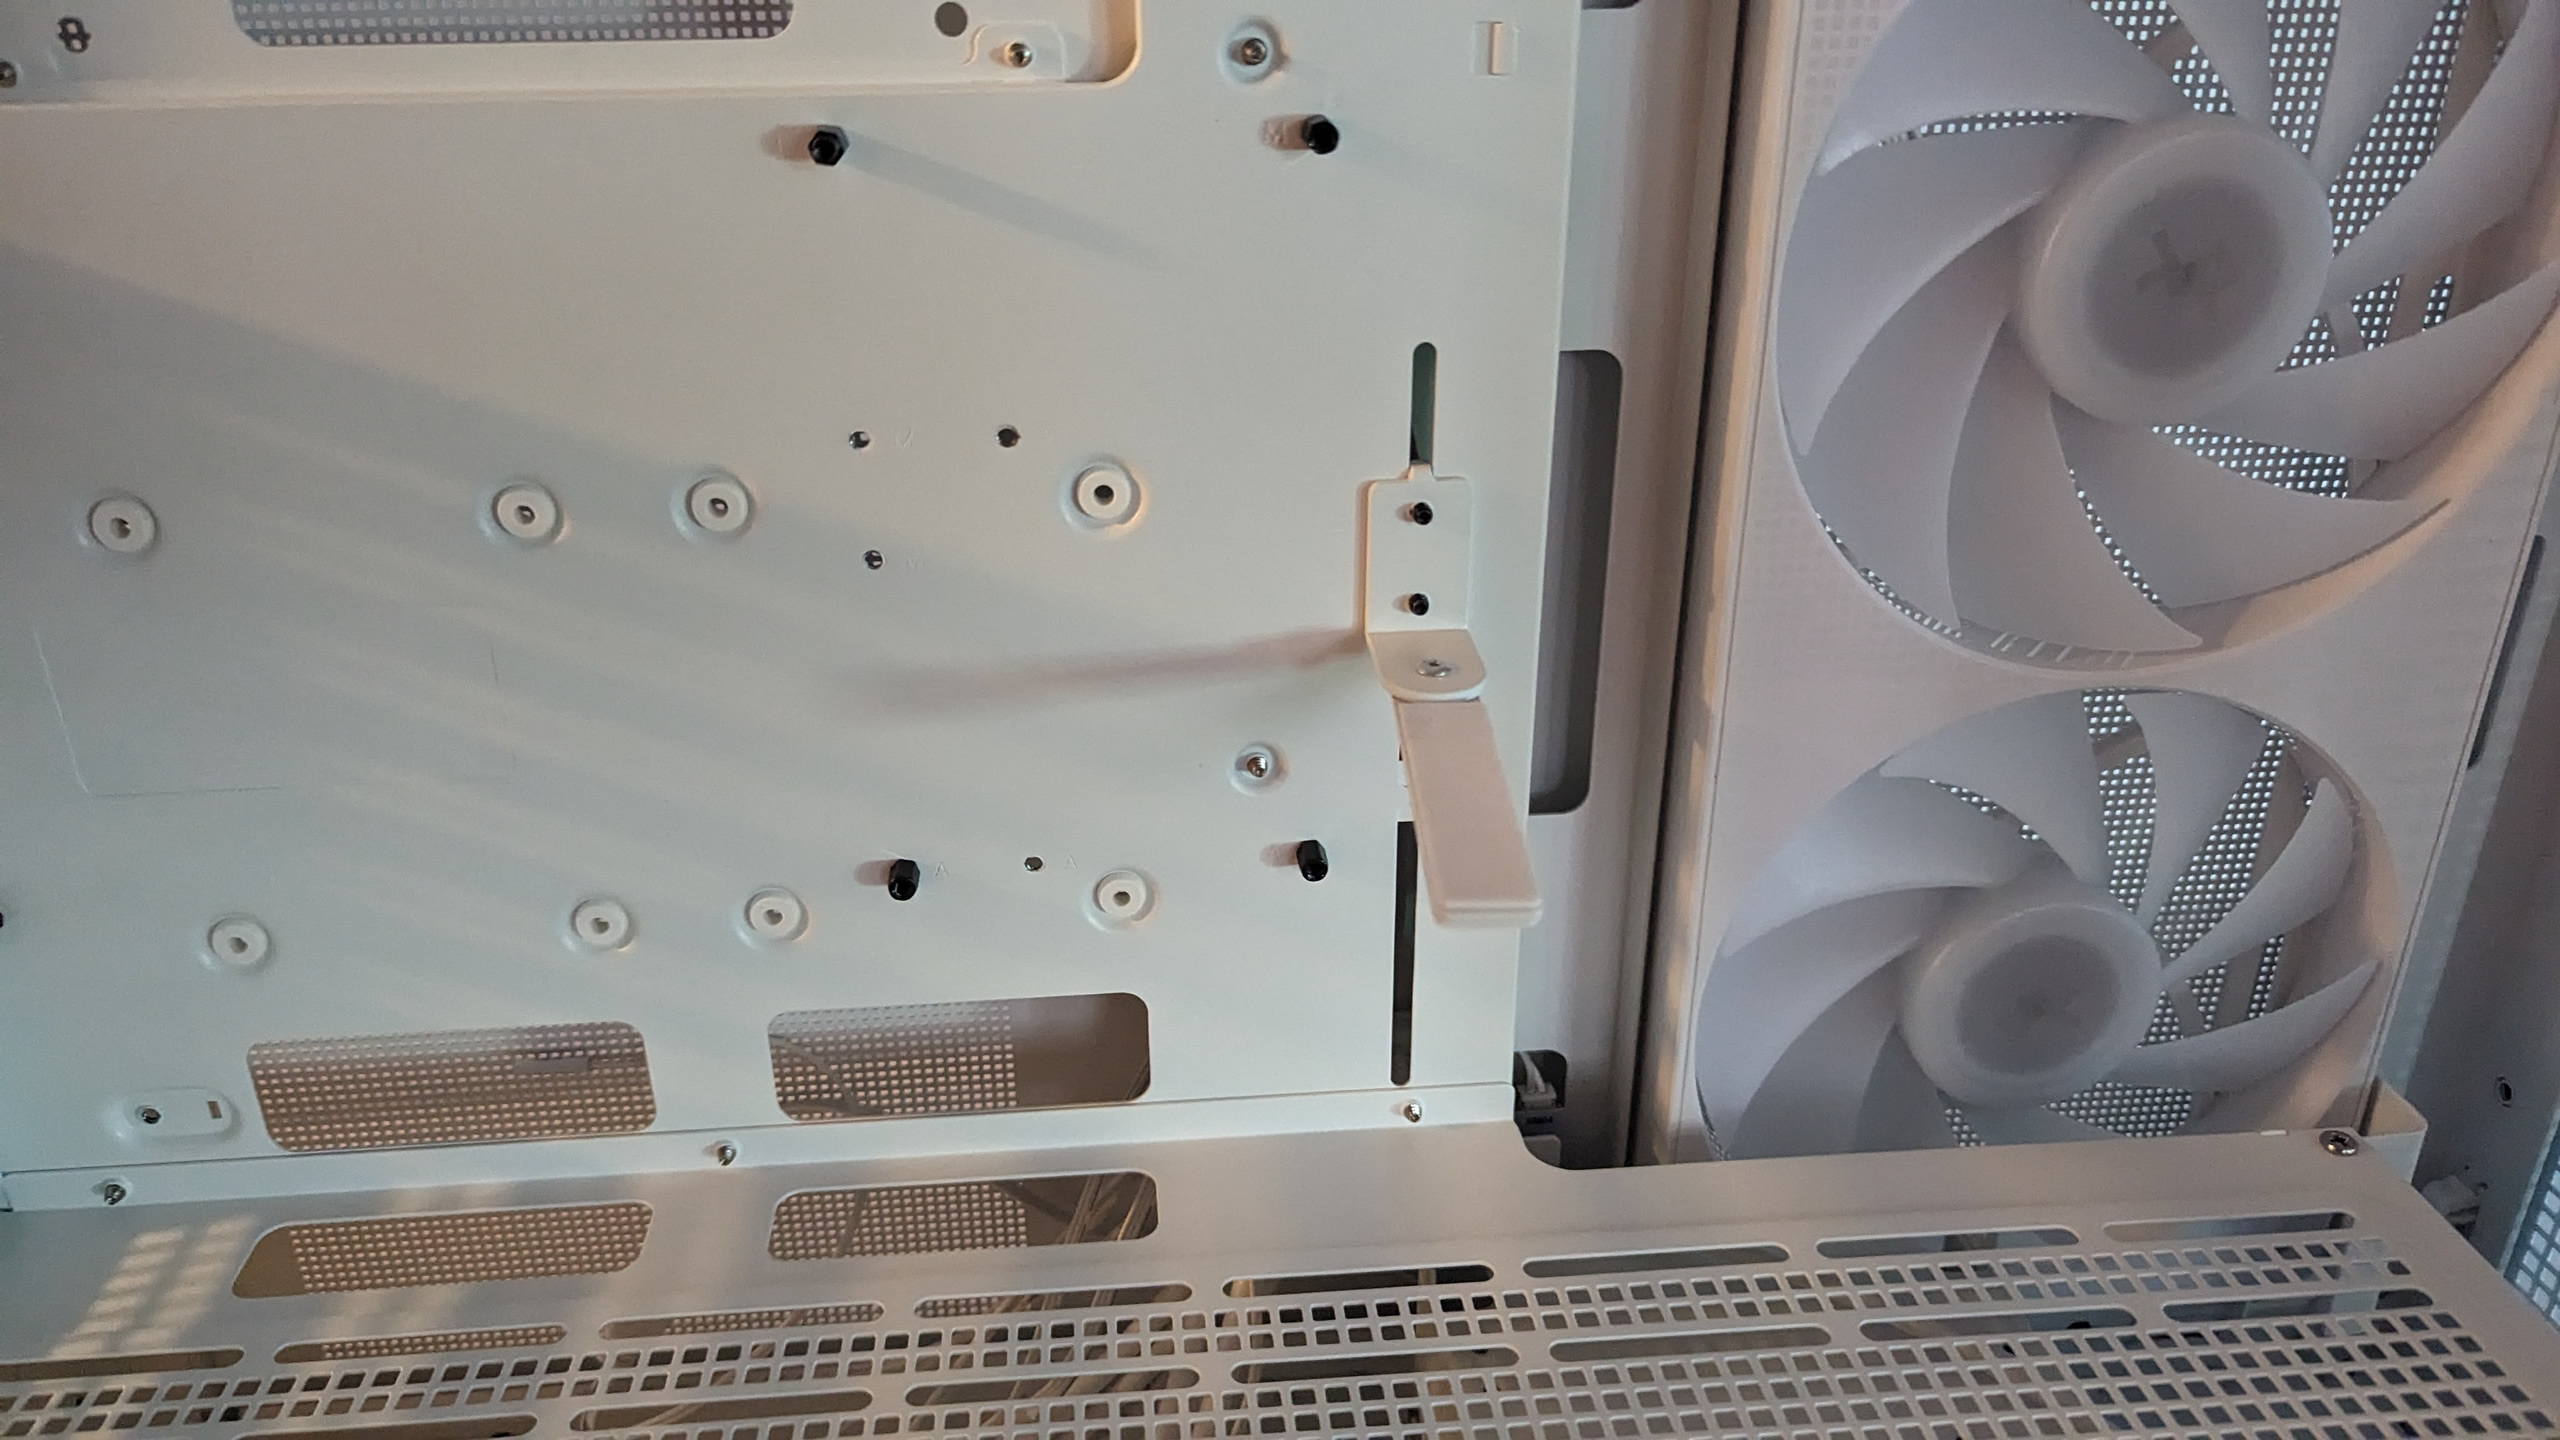
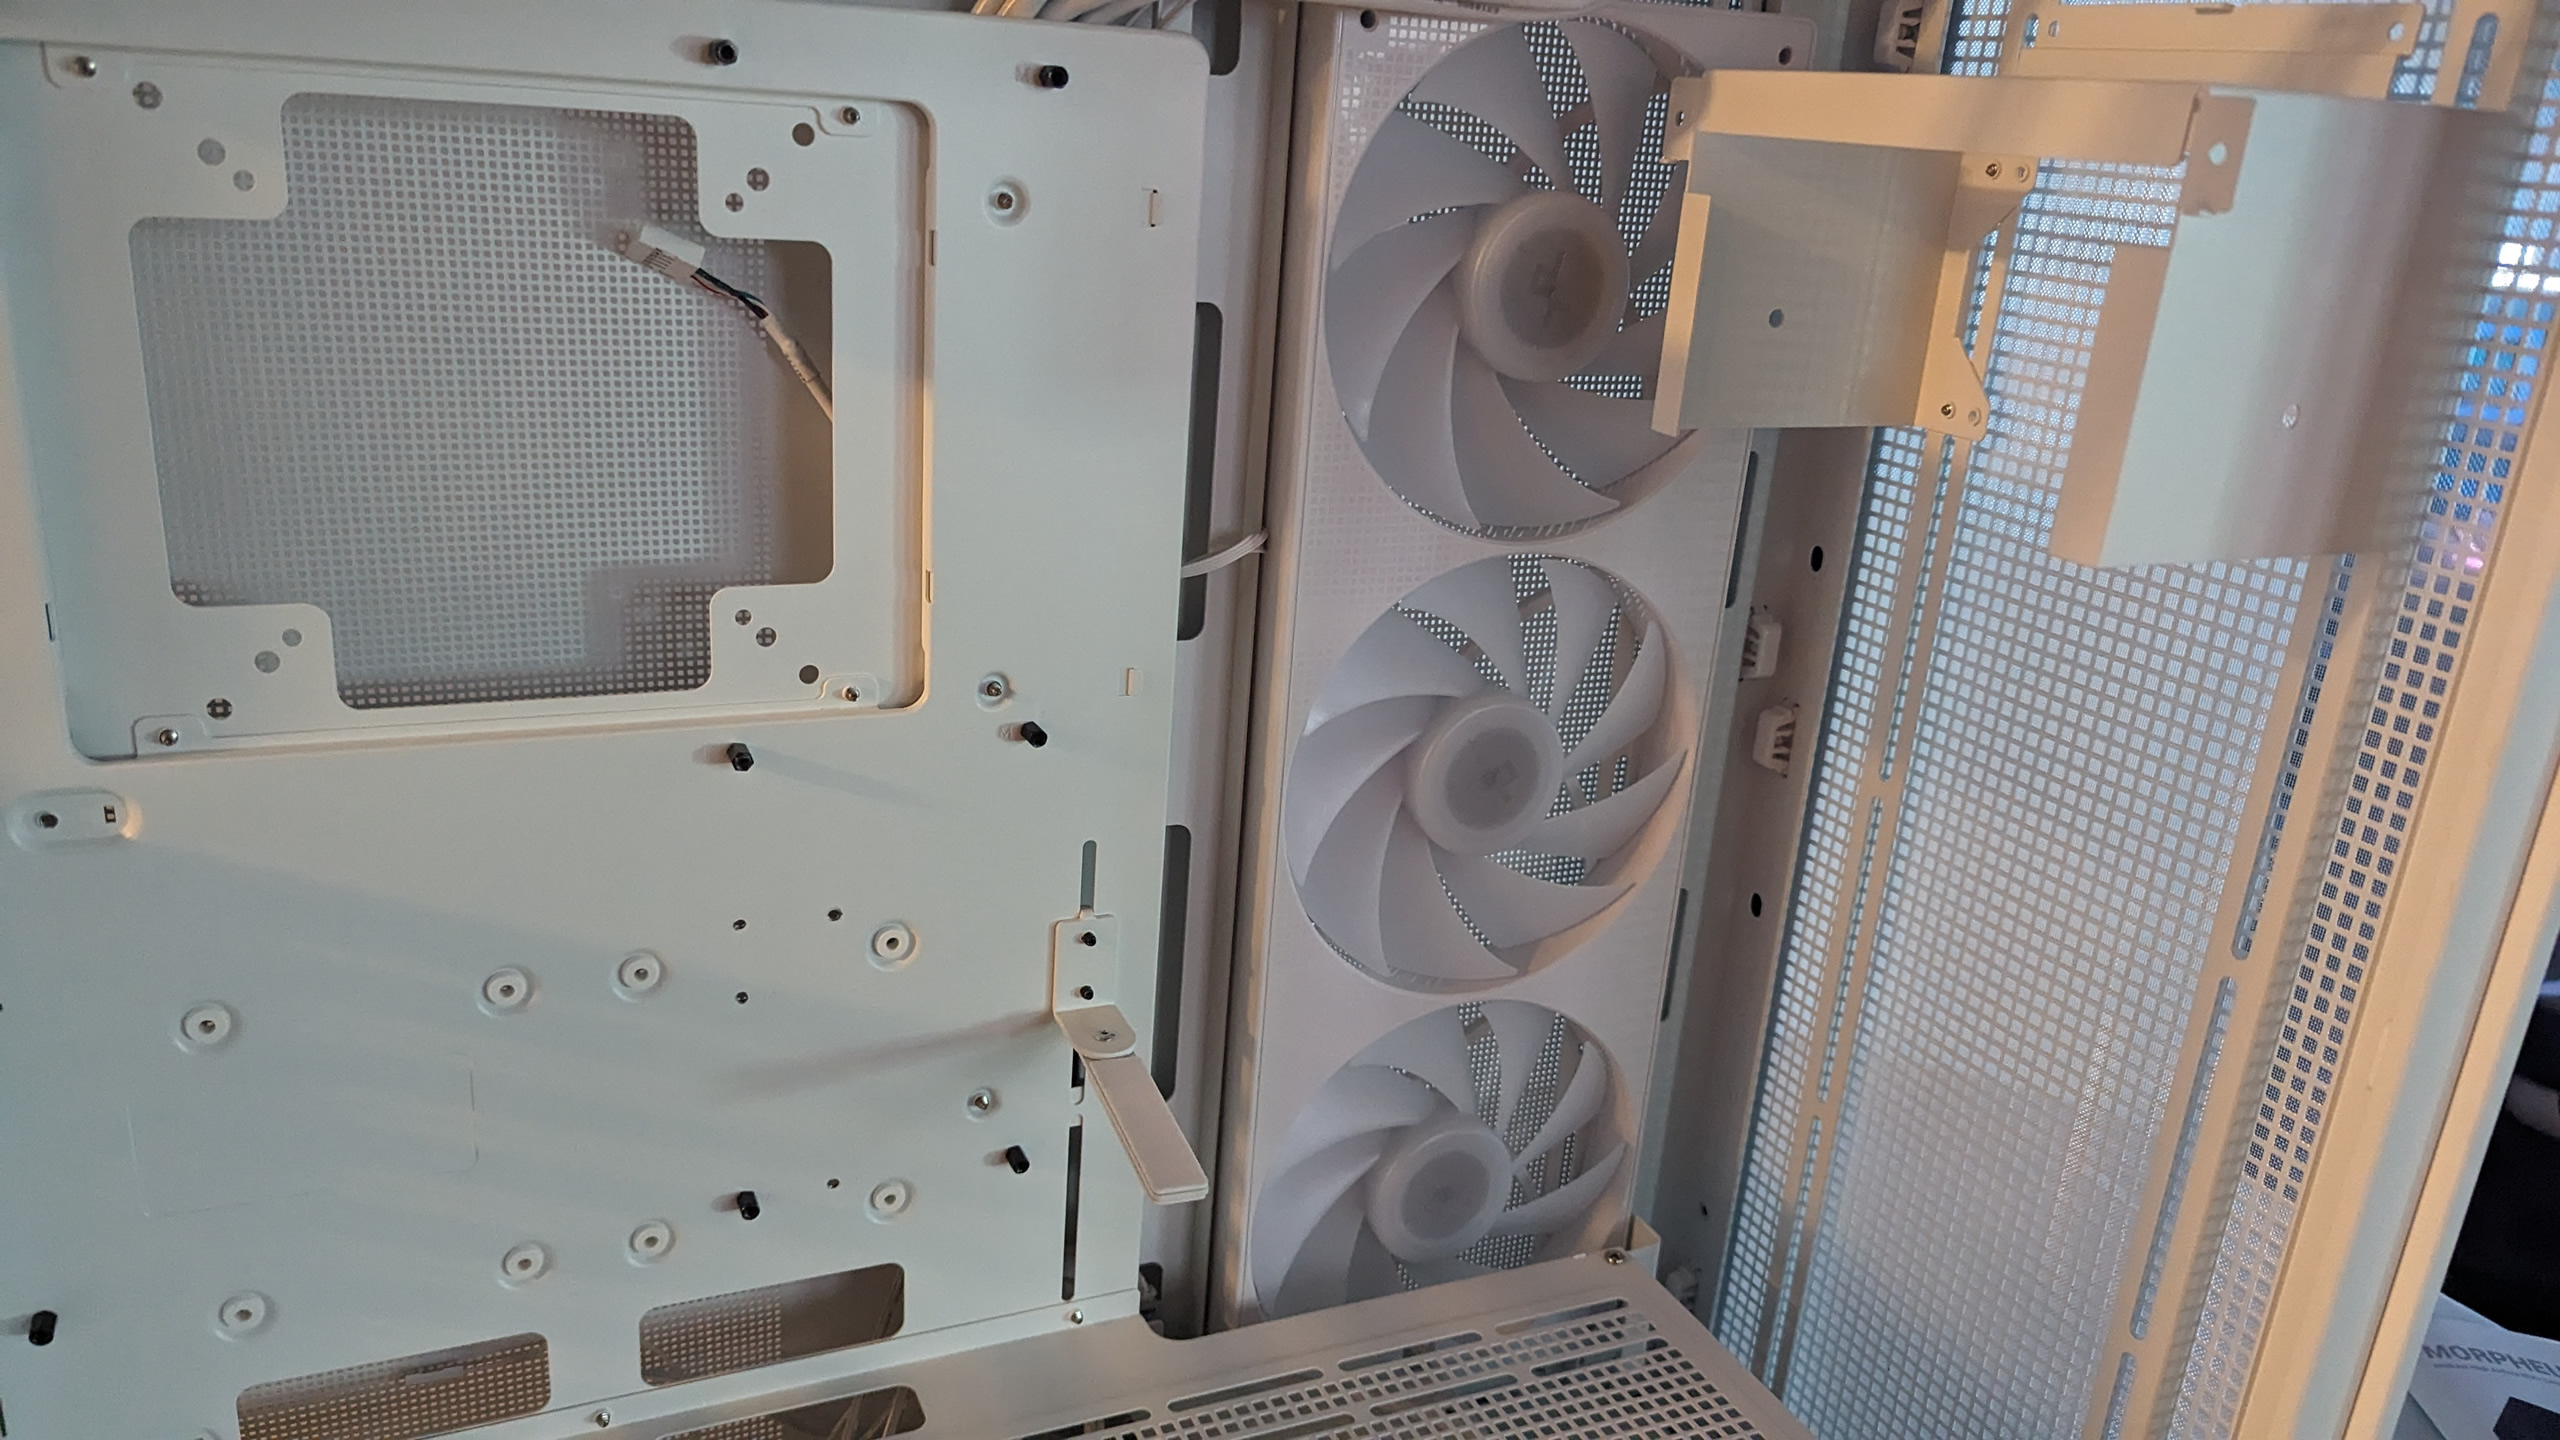
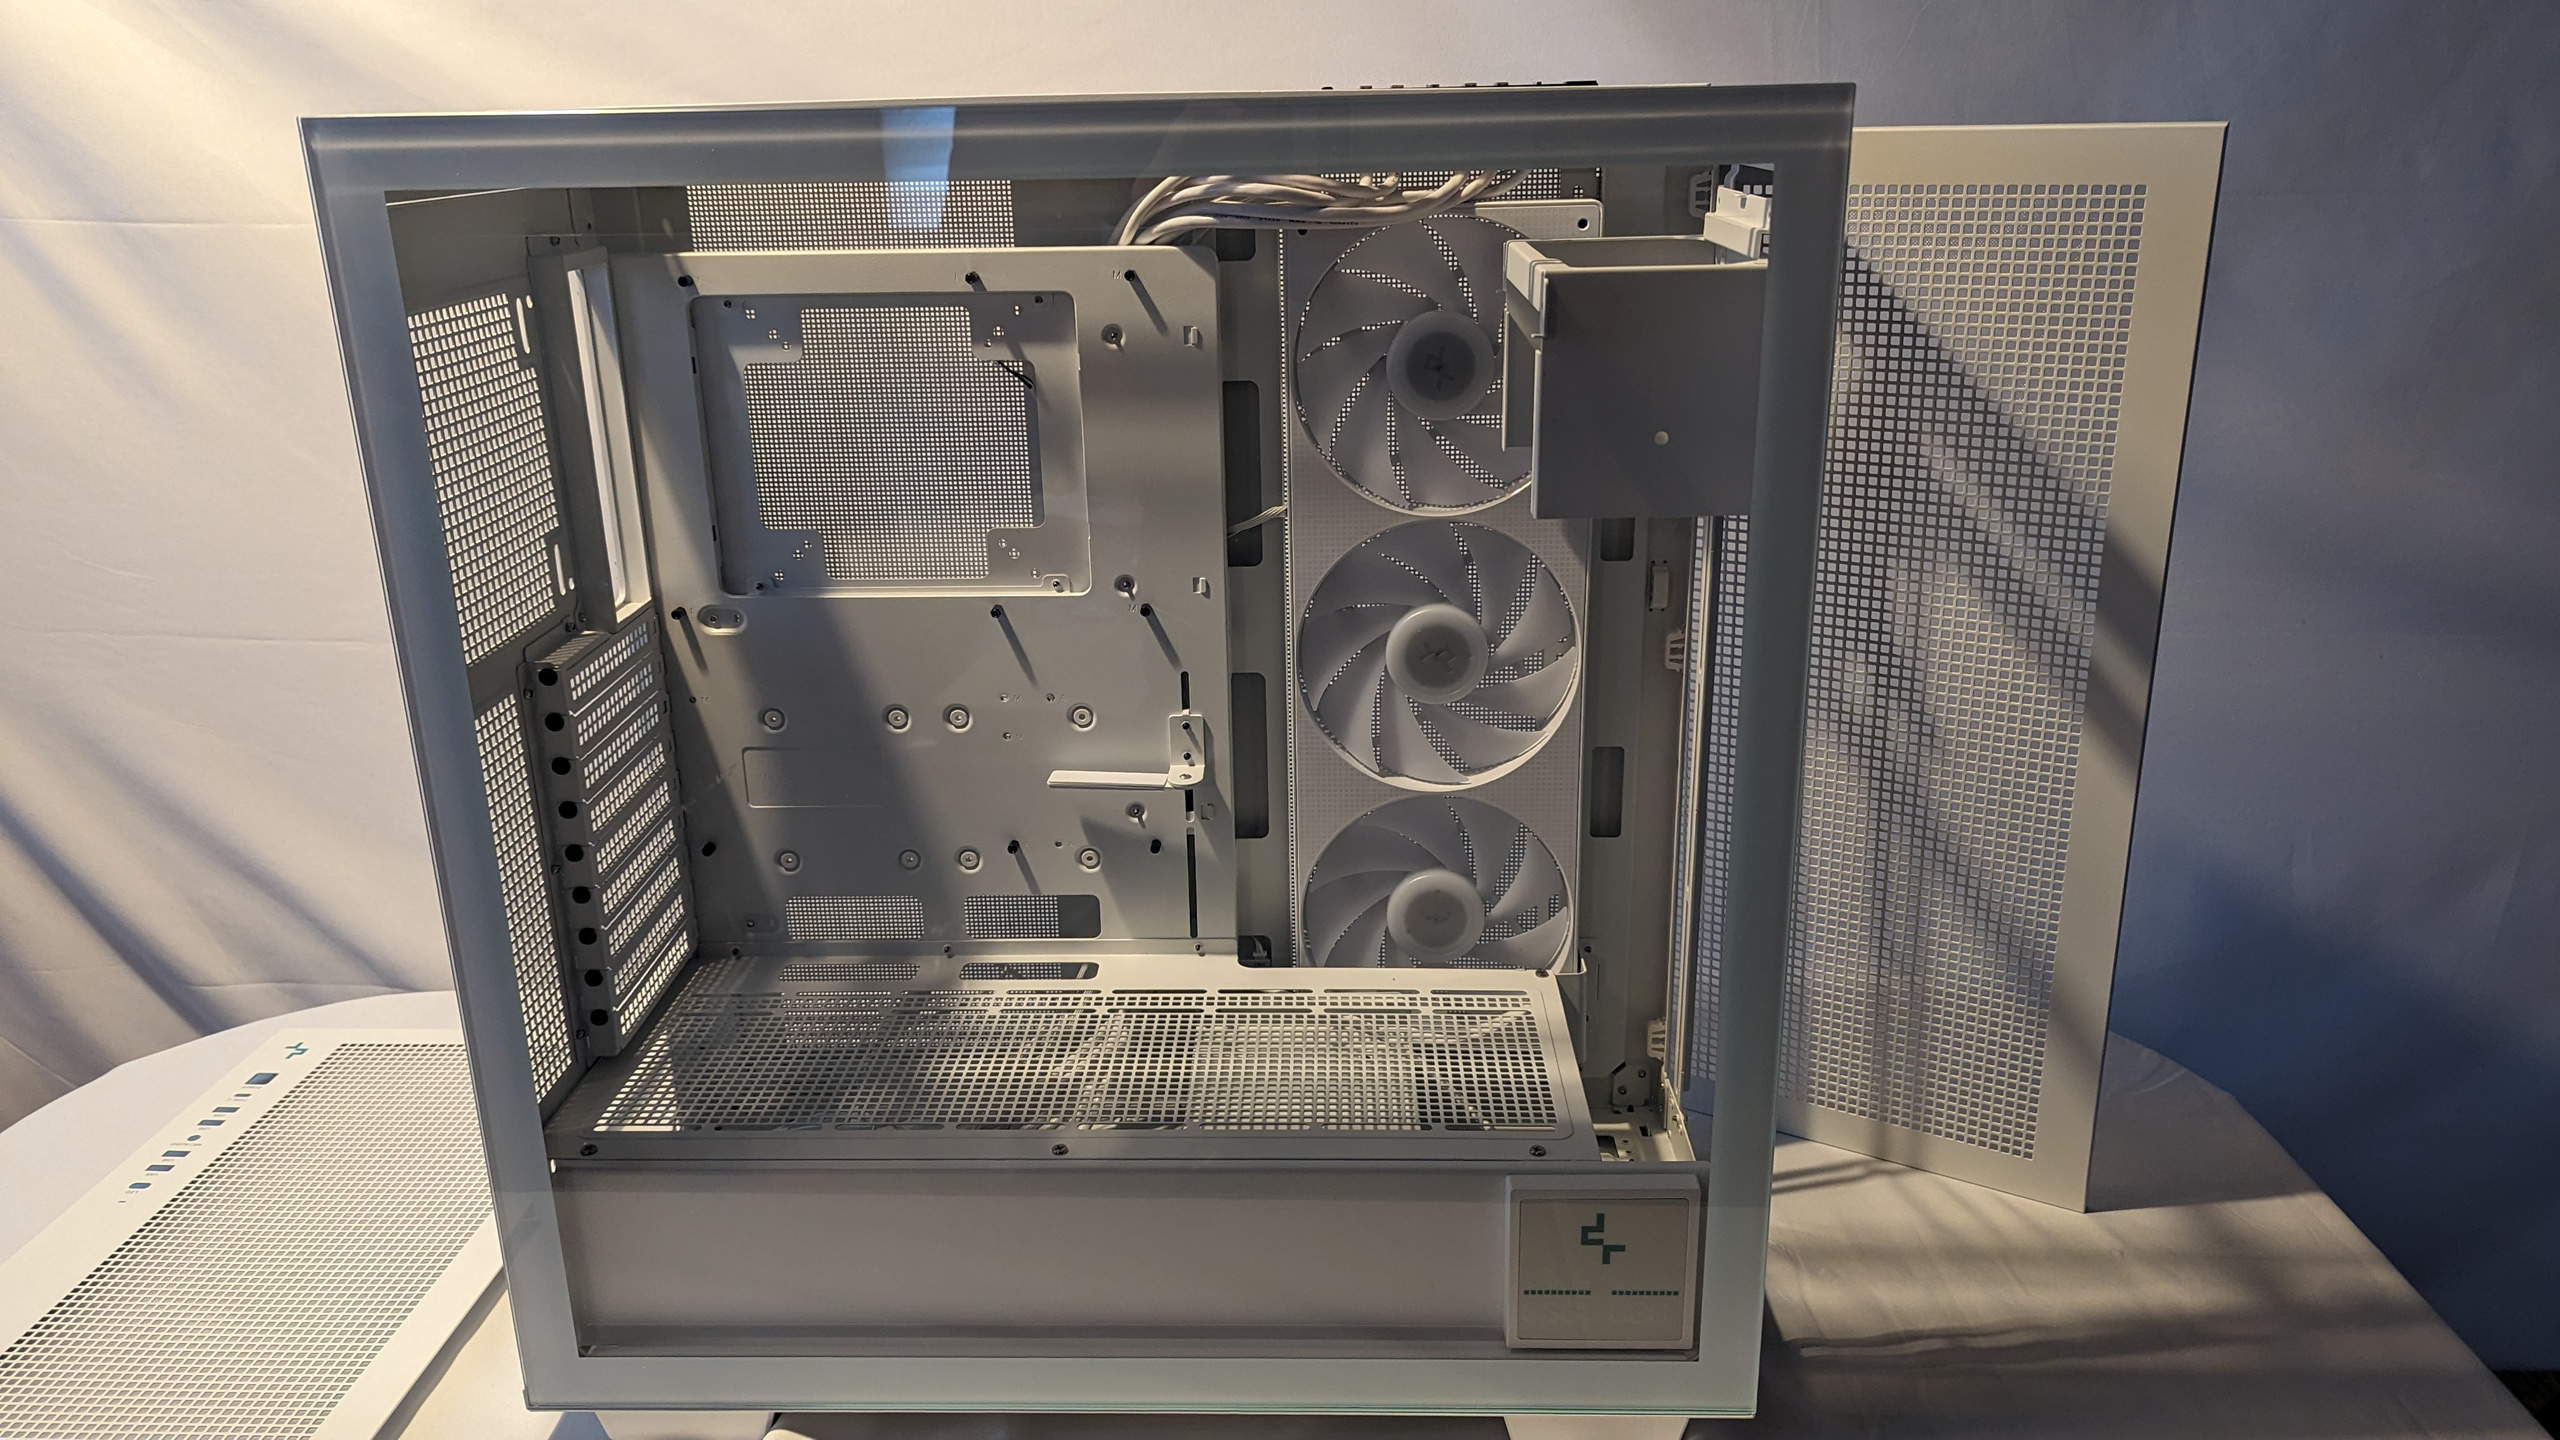
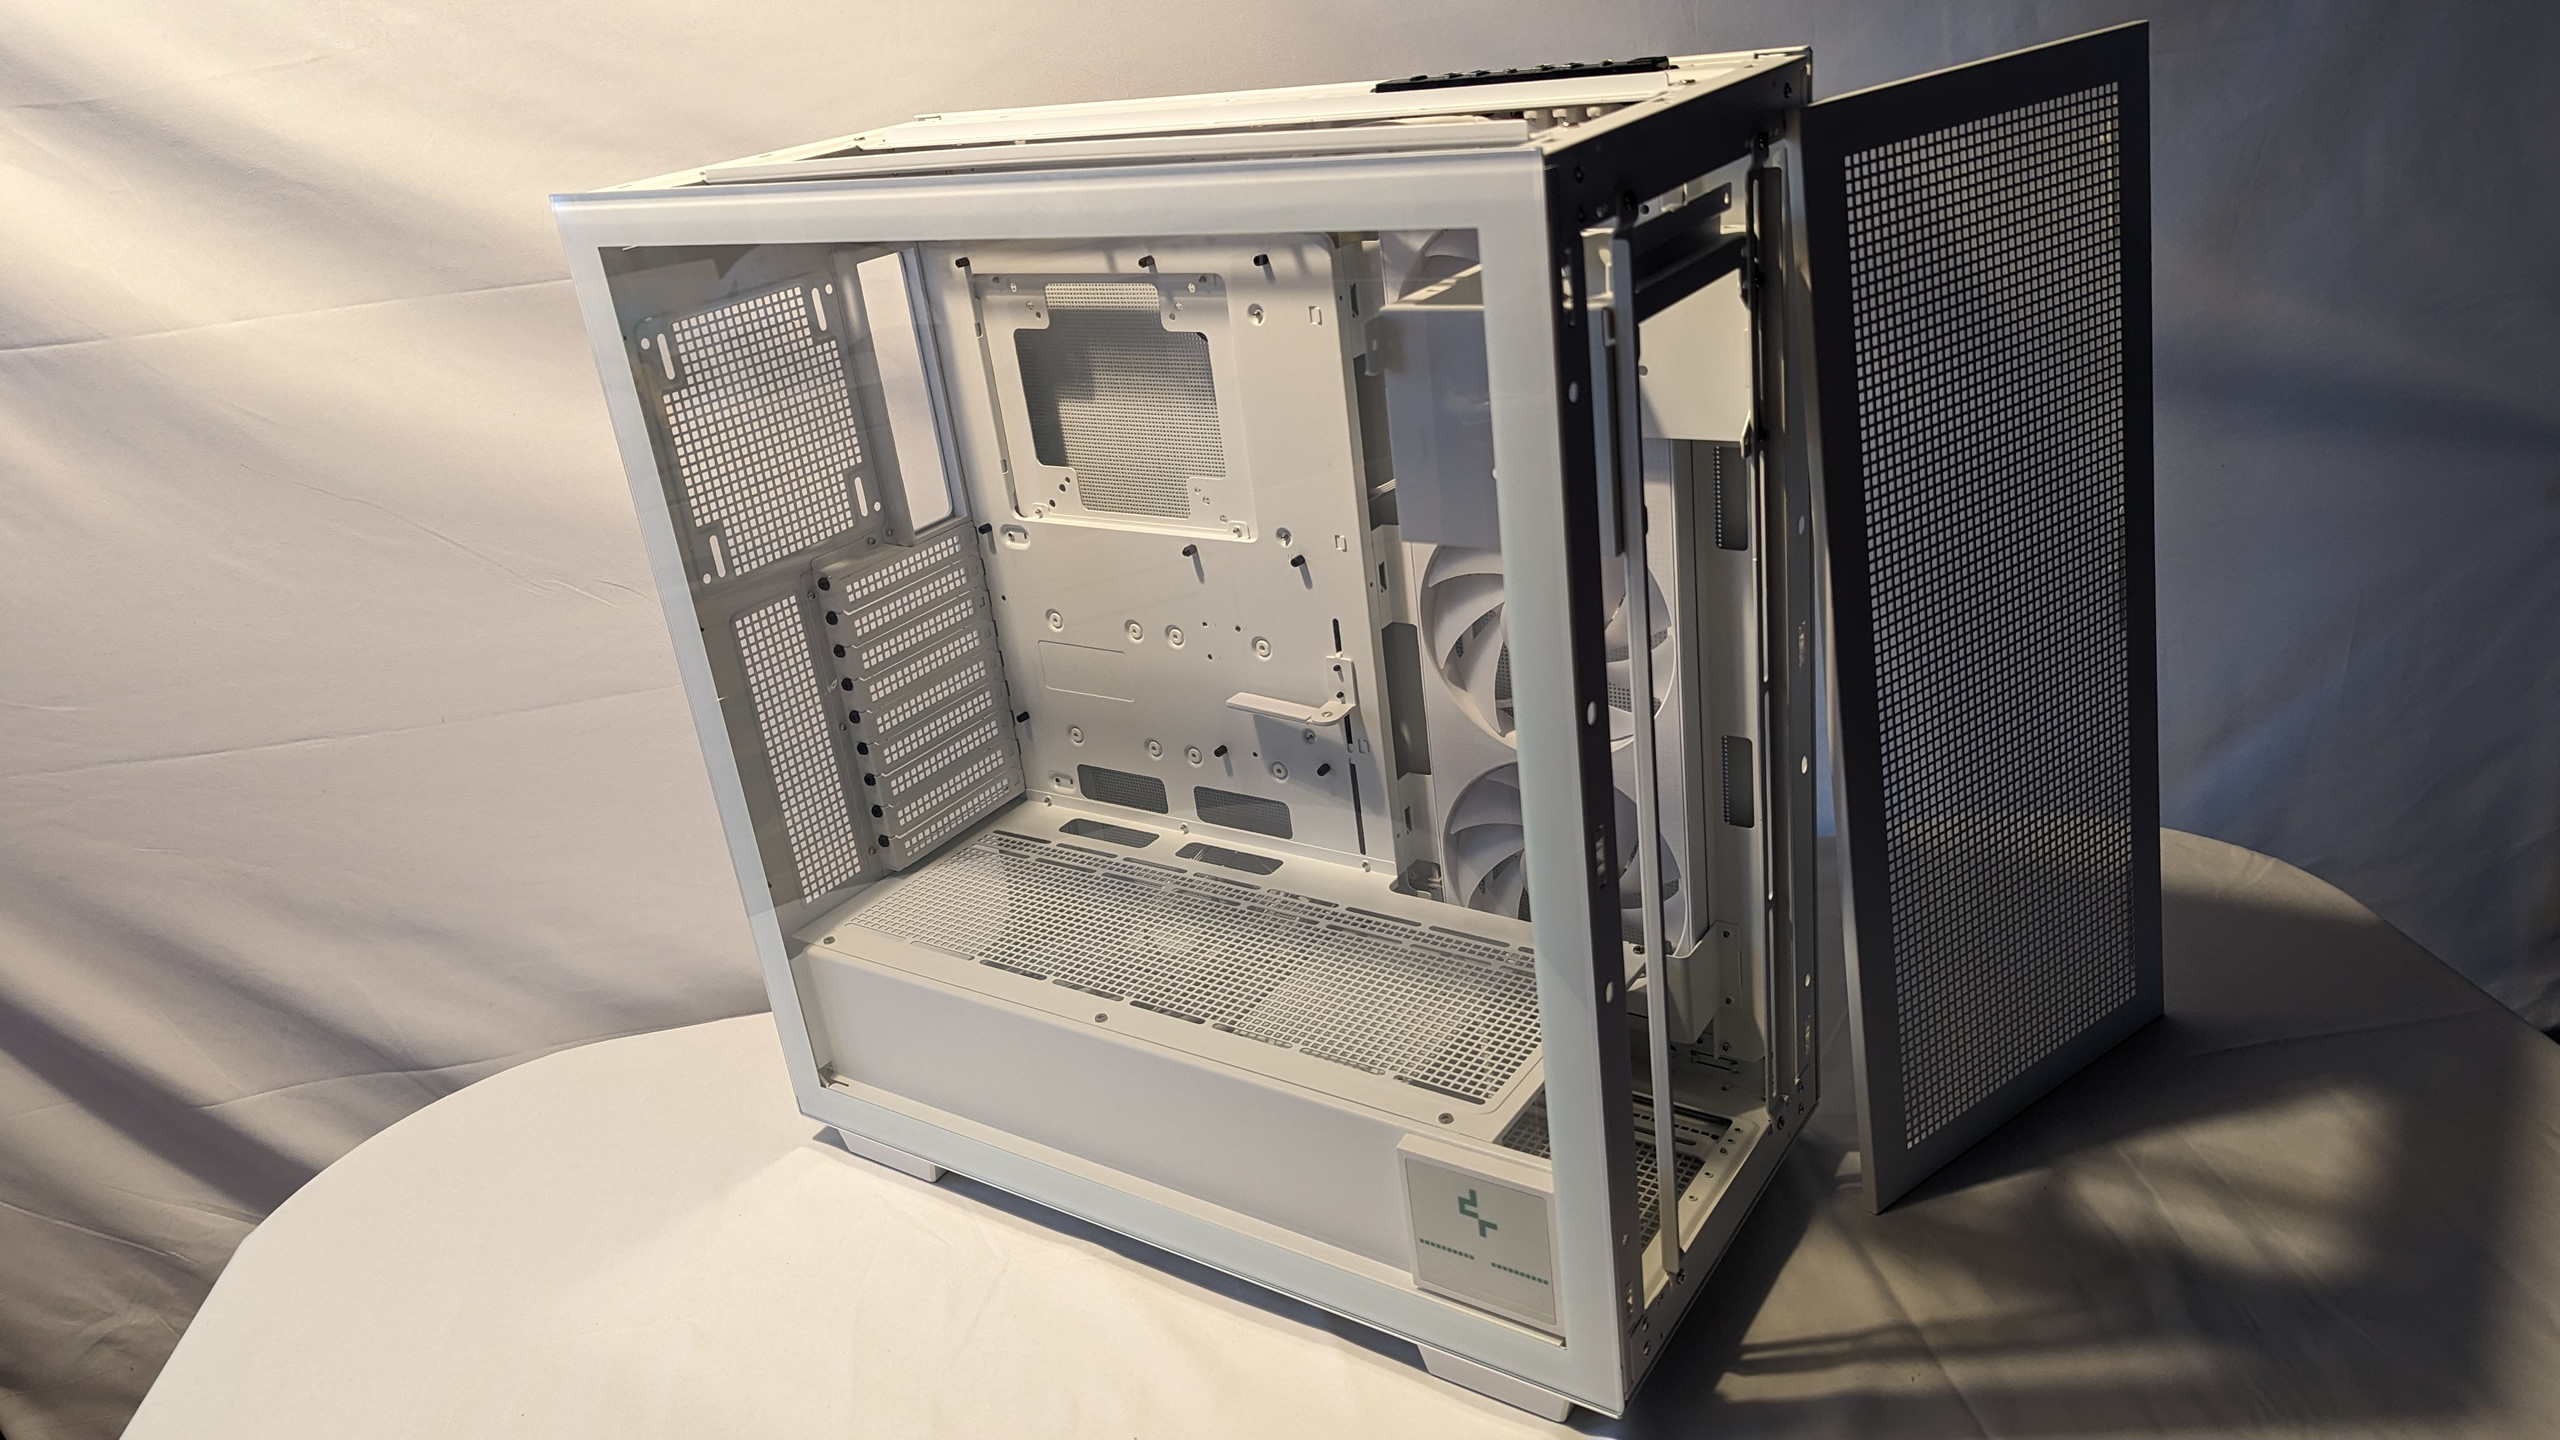
The 3 supplied ARGB fans (Trinity), which are installed as triple components, are located behind one side. This means that they can only be completely replaced if one is defective or even fails. The complete cabling of the case and the small ARGB controller of the pre-installed fans are also hidden in this area. As in the other areas of the case, these are connected with an adjustable rail system that adapts to the fan size.
The left side of the glass window is opened in the same way as the right side. However, there is a small screw under the top side as a safety feature that must be loosened to open this side. To do this, the top side, which is secured with 2 knurled screws, must first be opened. It should also be noted that each side requires some force to remove the lugs from the housing.

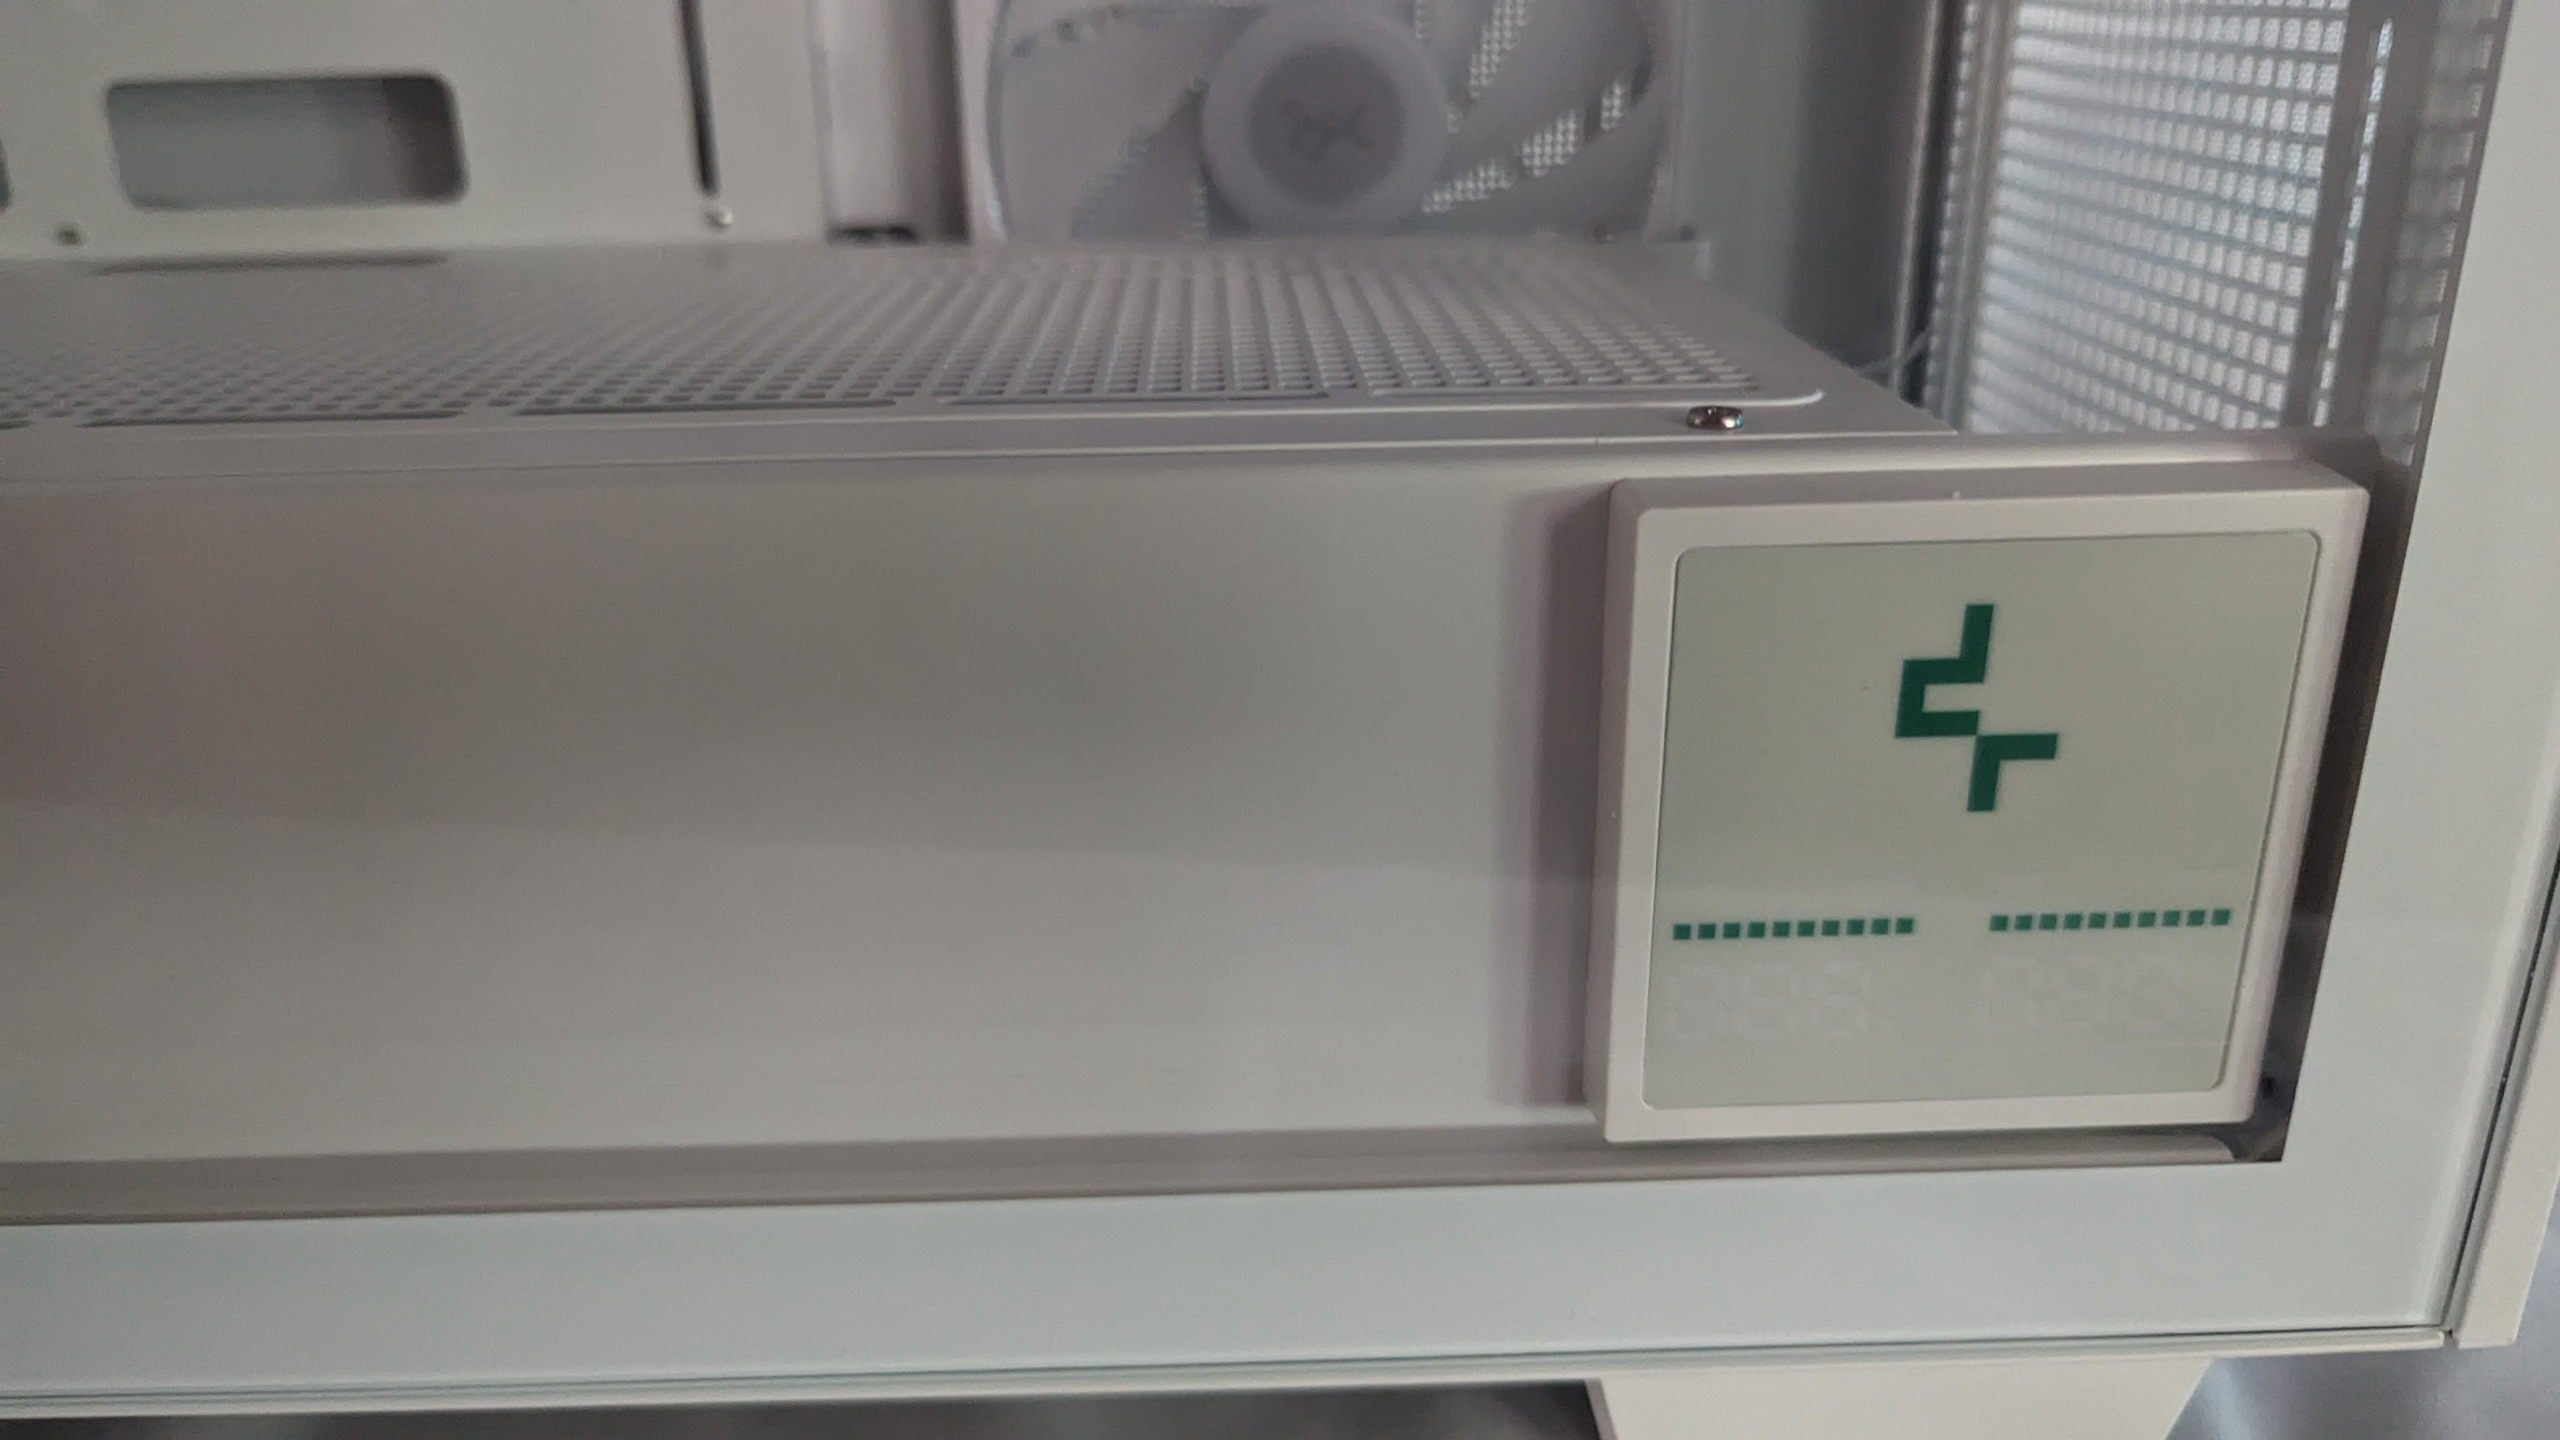
There is a nice little display on the bottom right-hand side that shows the temperature of the processor and graphics card. Smart side kick.
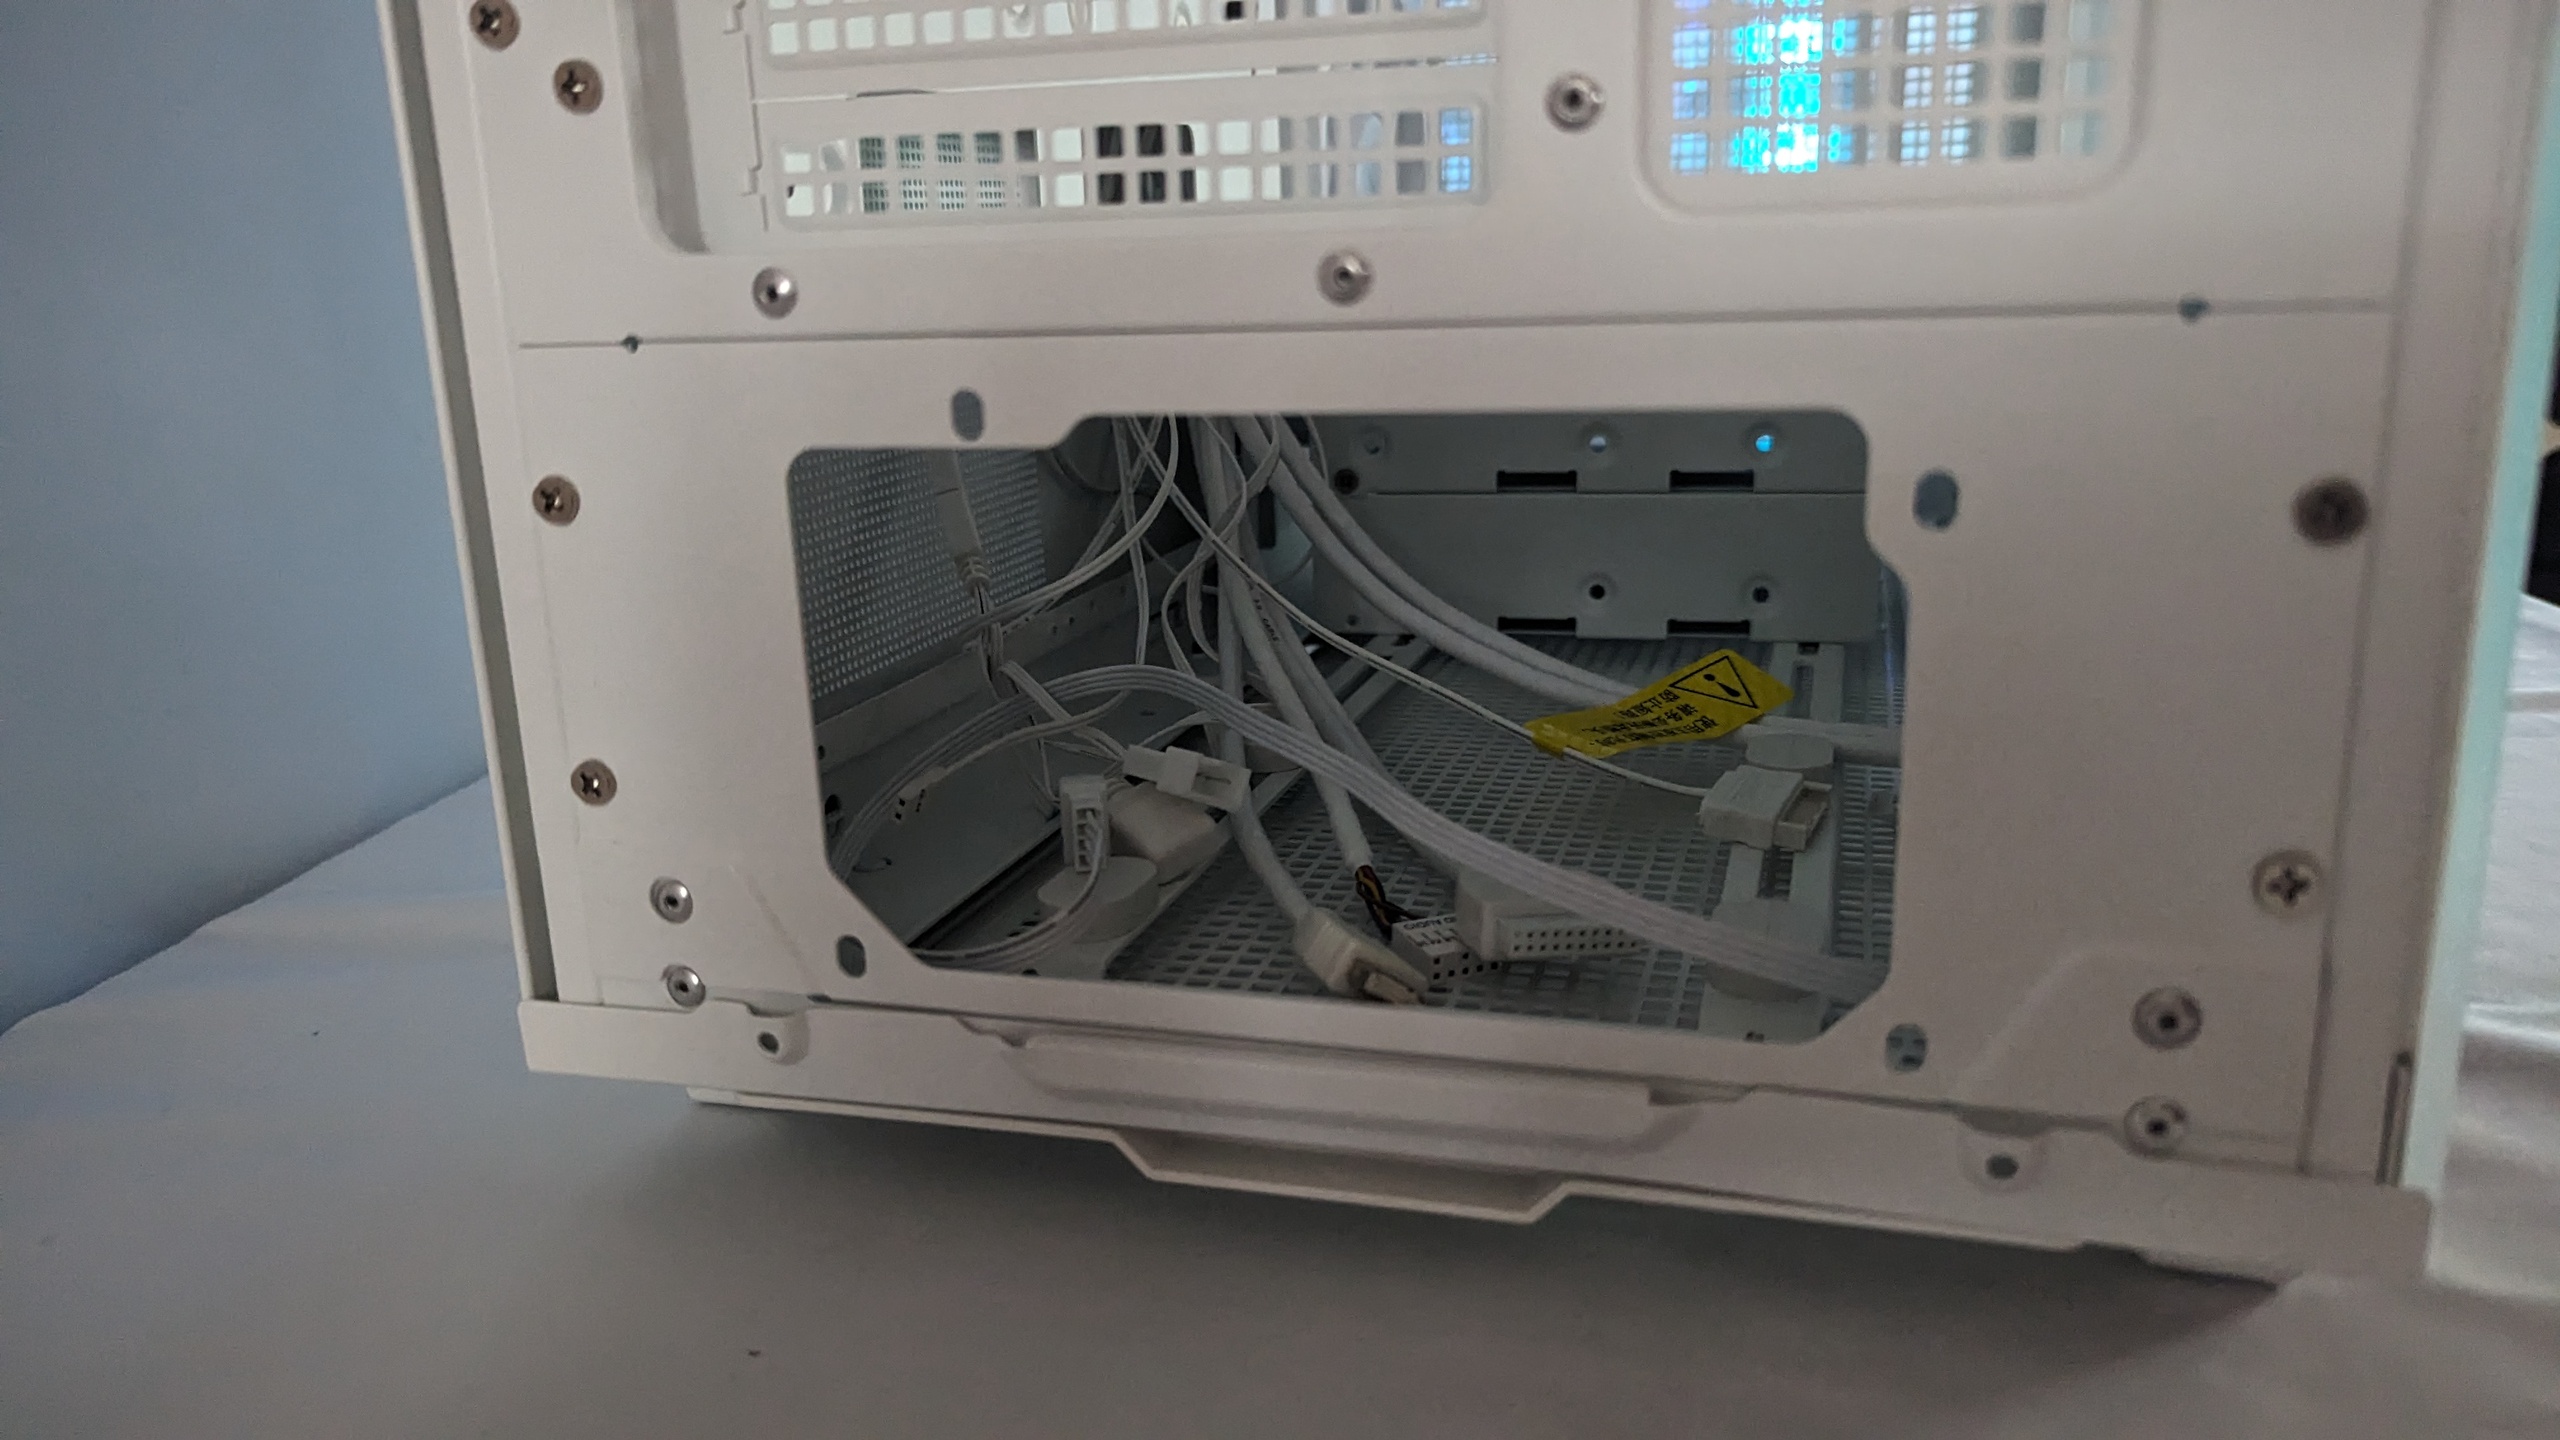
The mainboard tray is prepared for the ATX format with the spacers. The cabling of the I/O panel is beautifully solved with thick cables and plugs underneath. Nevertheless, some cables could have been provided with shrink tubing to make the whole thing appear even more valuable. These include: the power button, the audio connection and the connection to the ARGB controller. Nevertheless, I think it is very neatly finished.

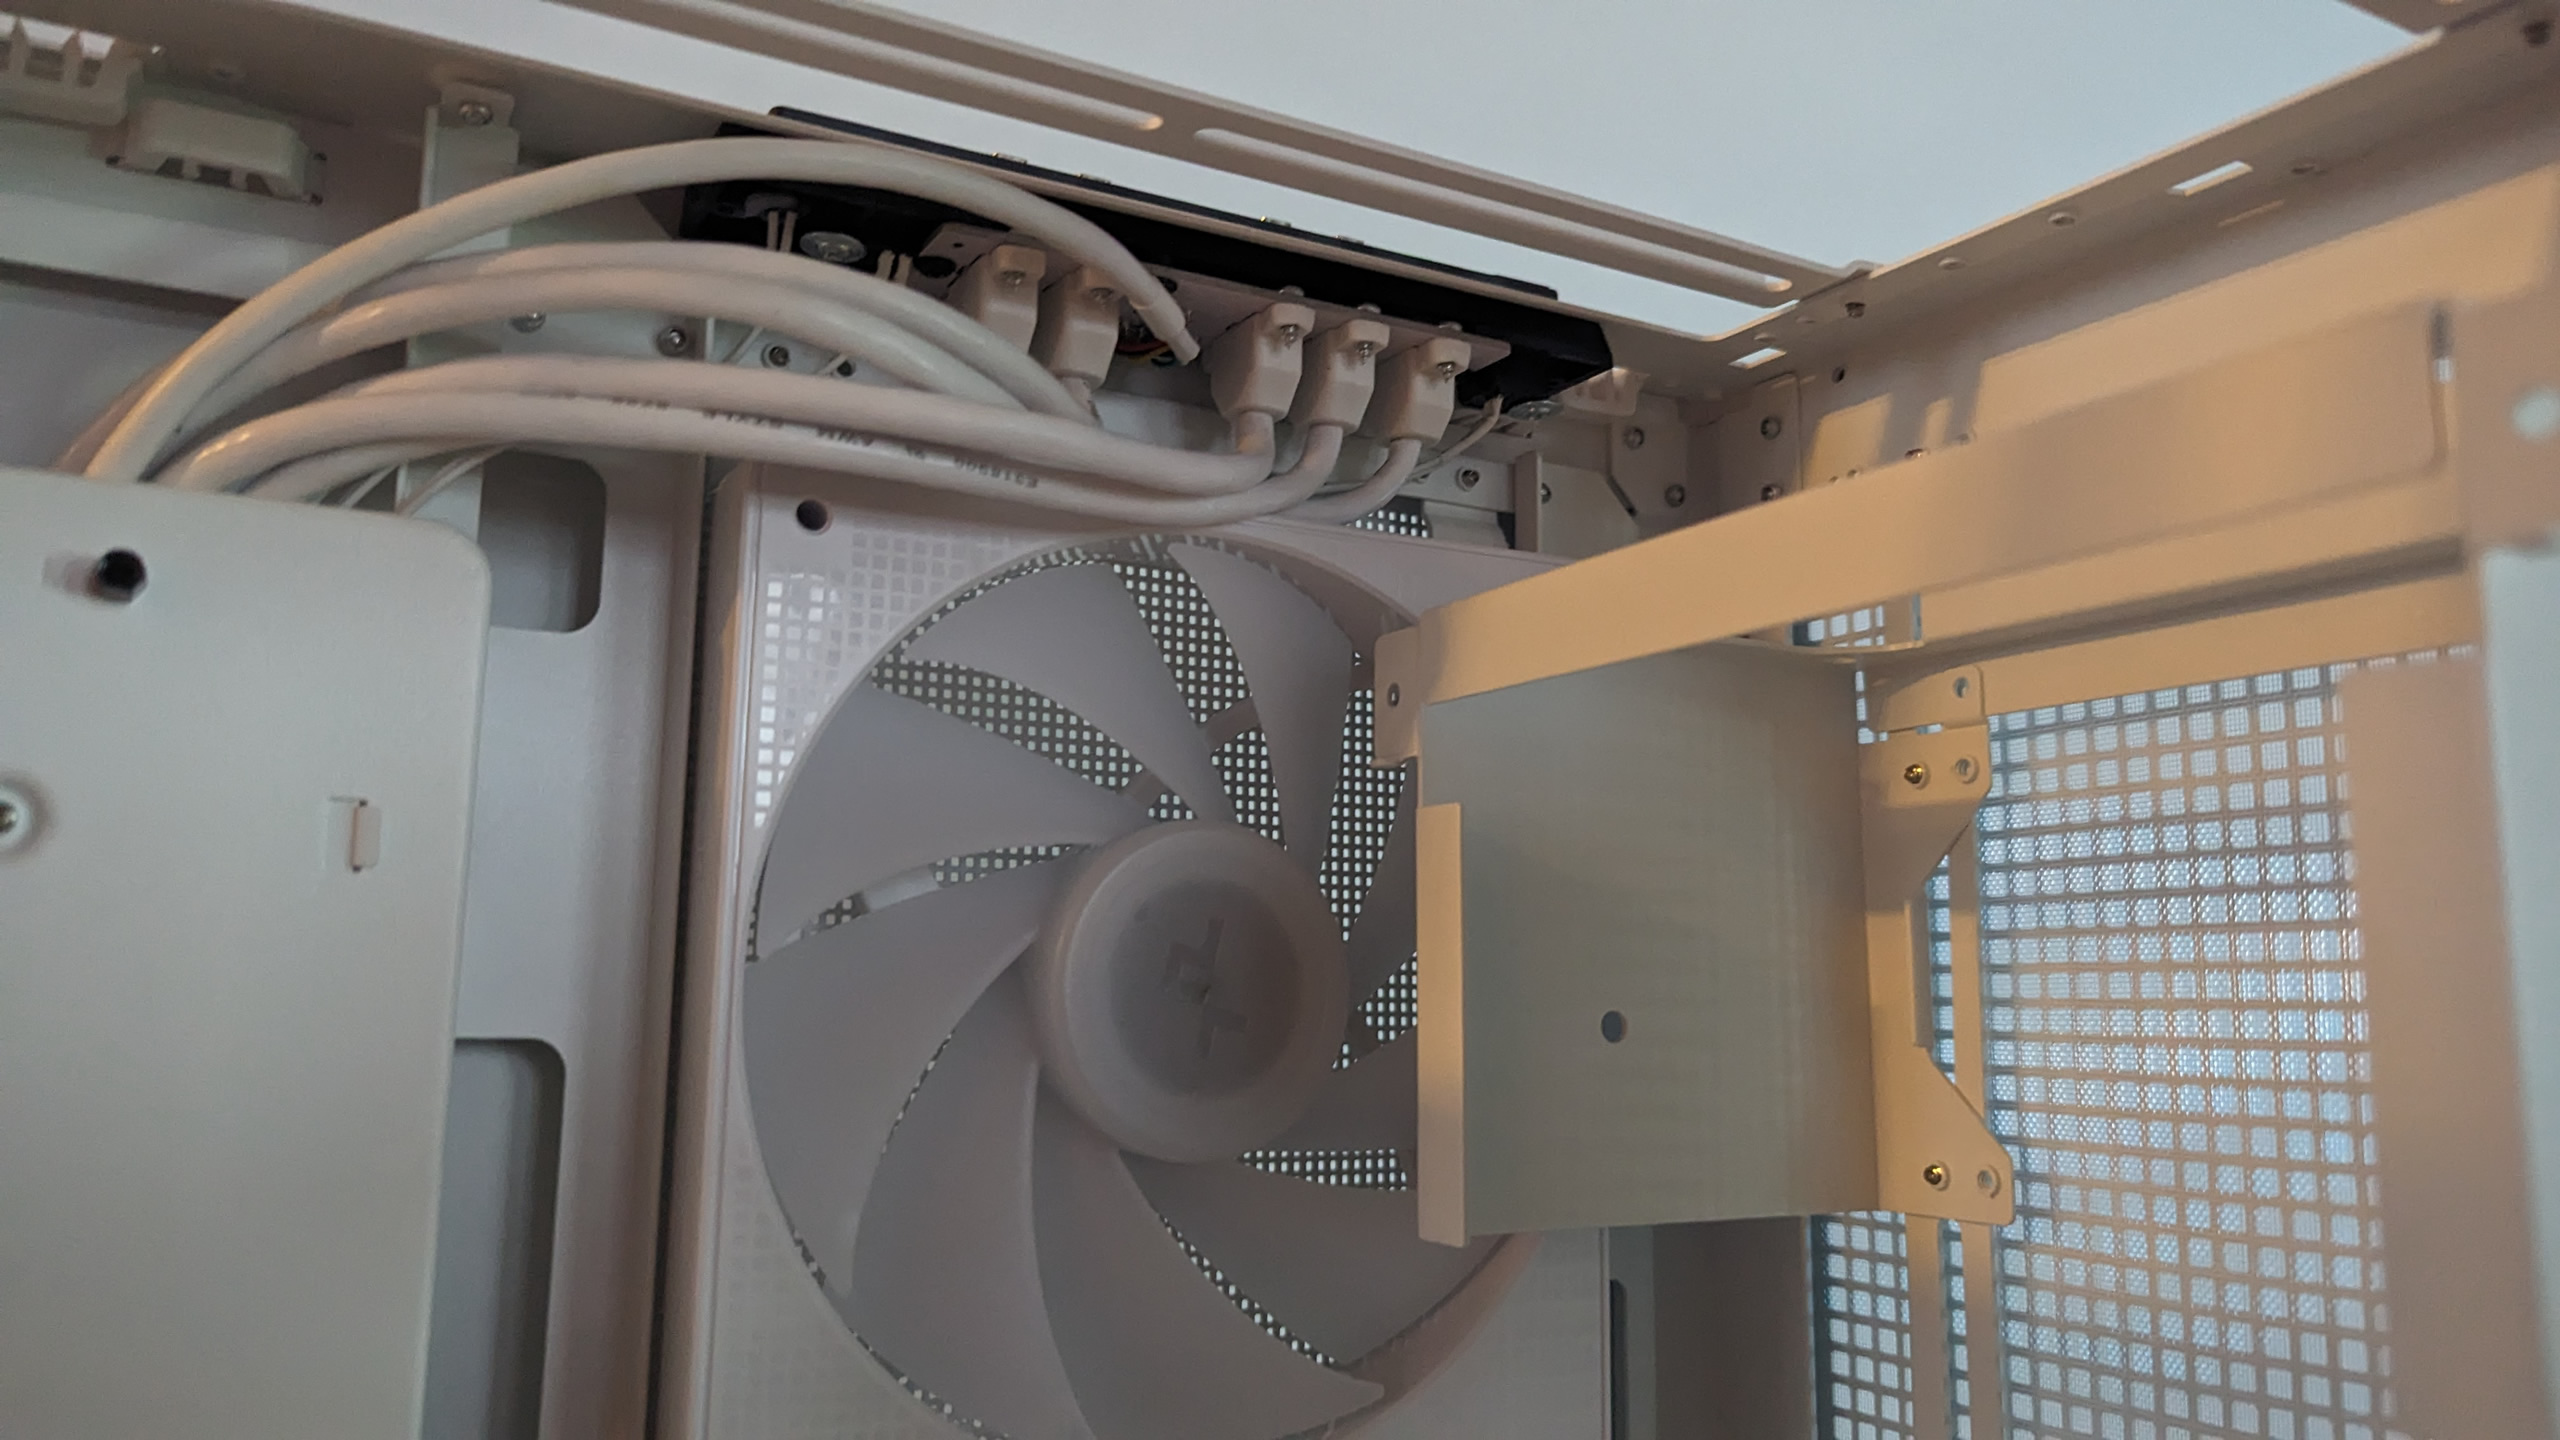
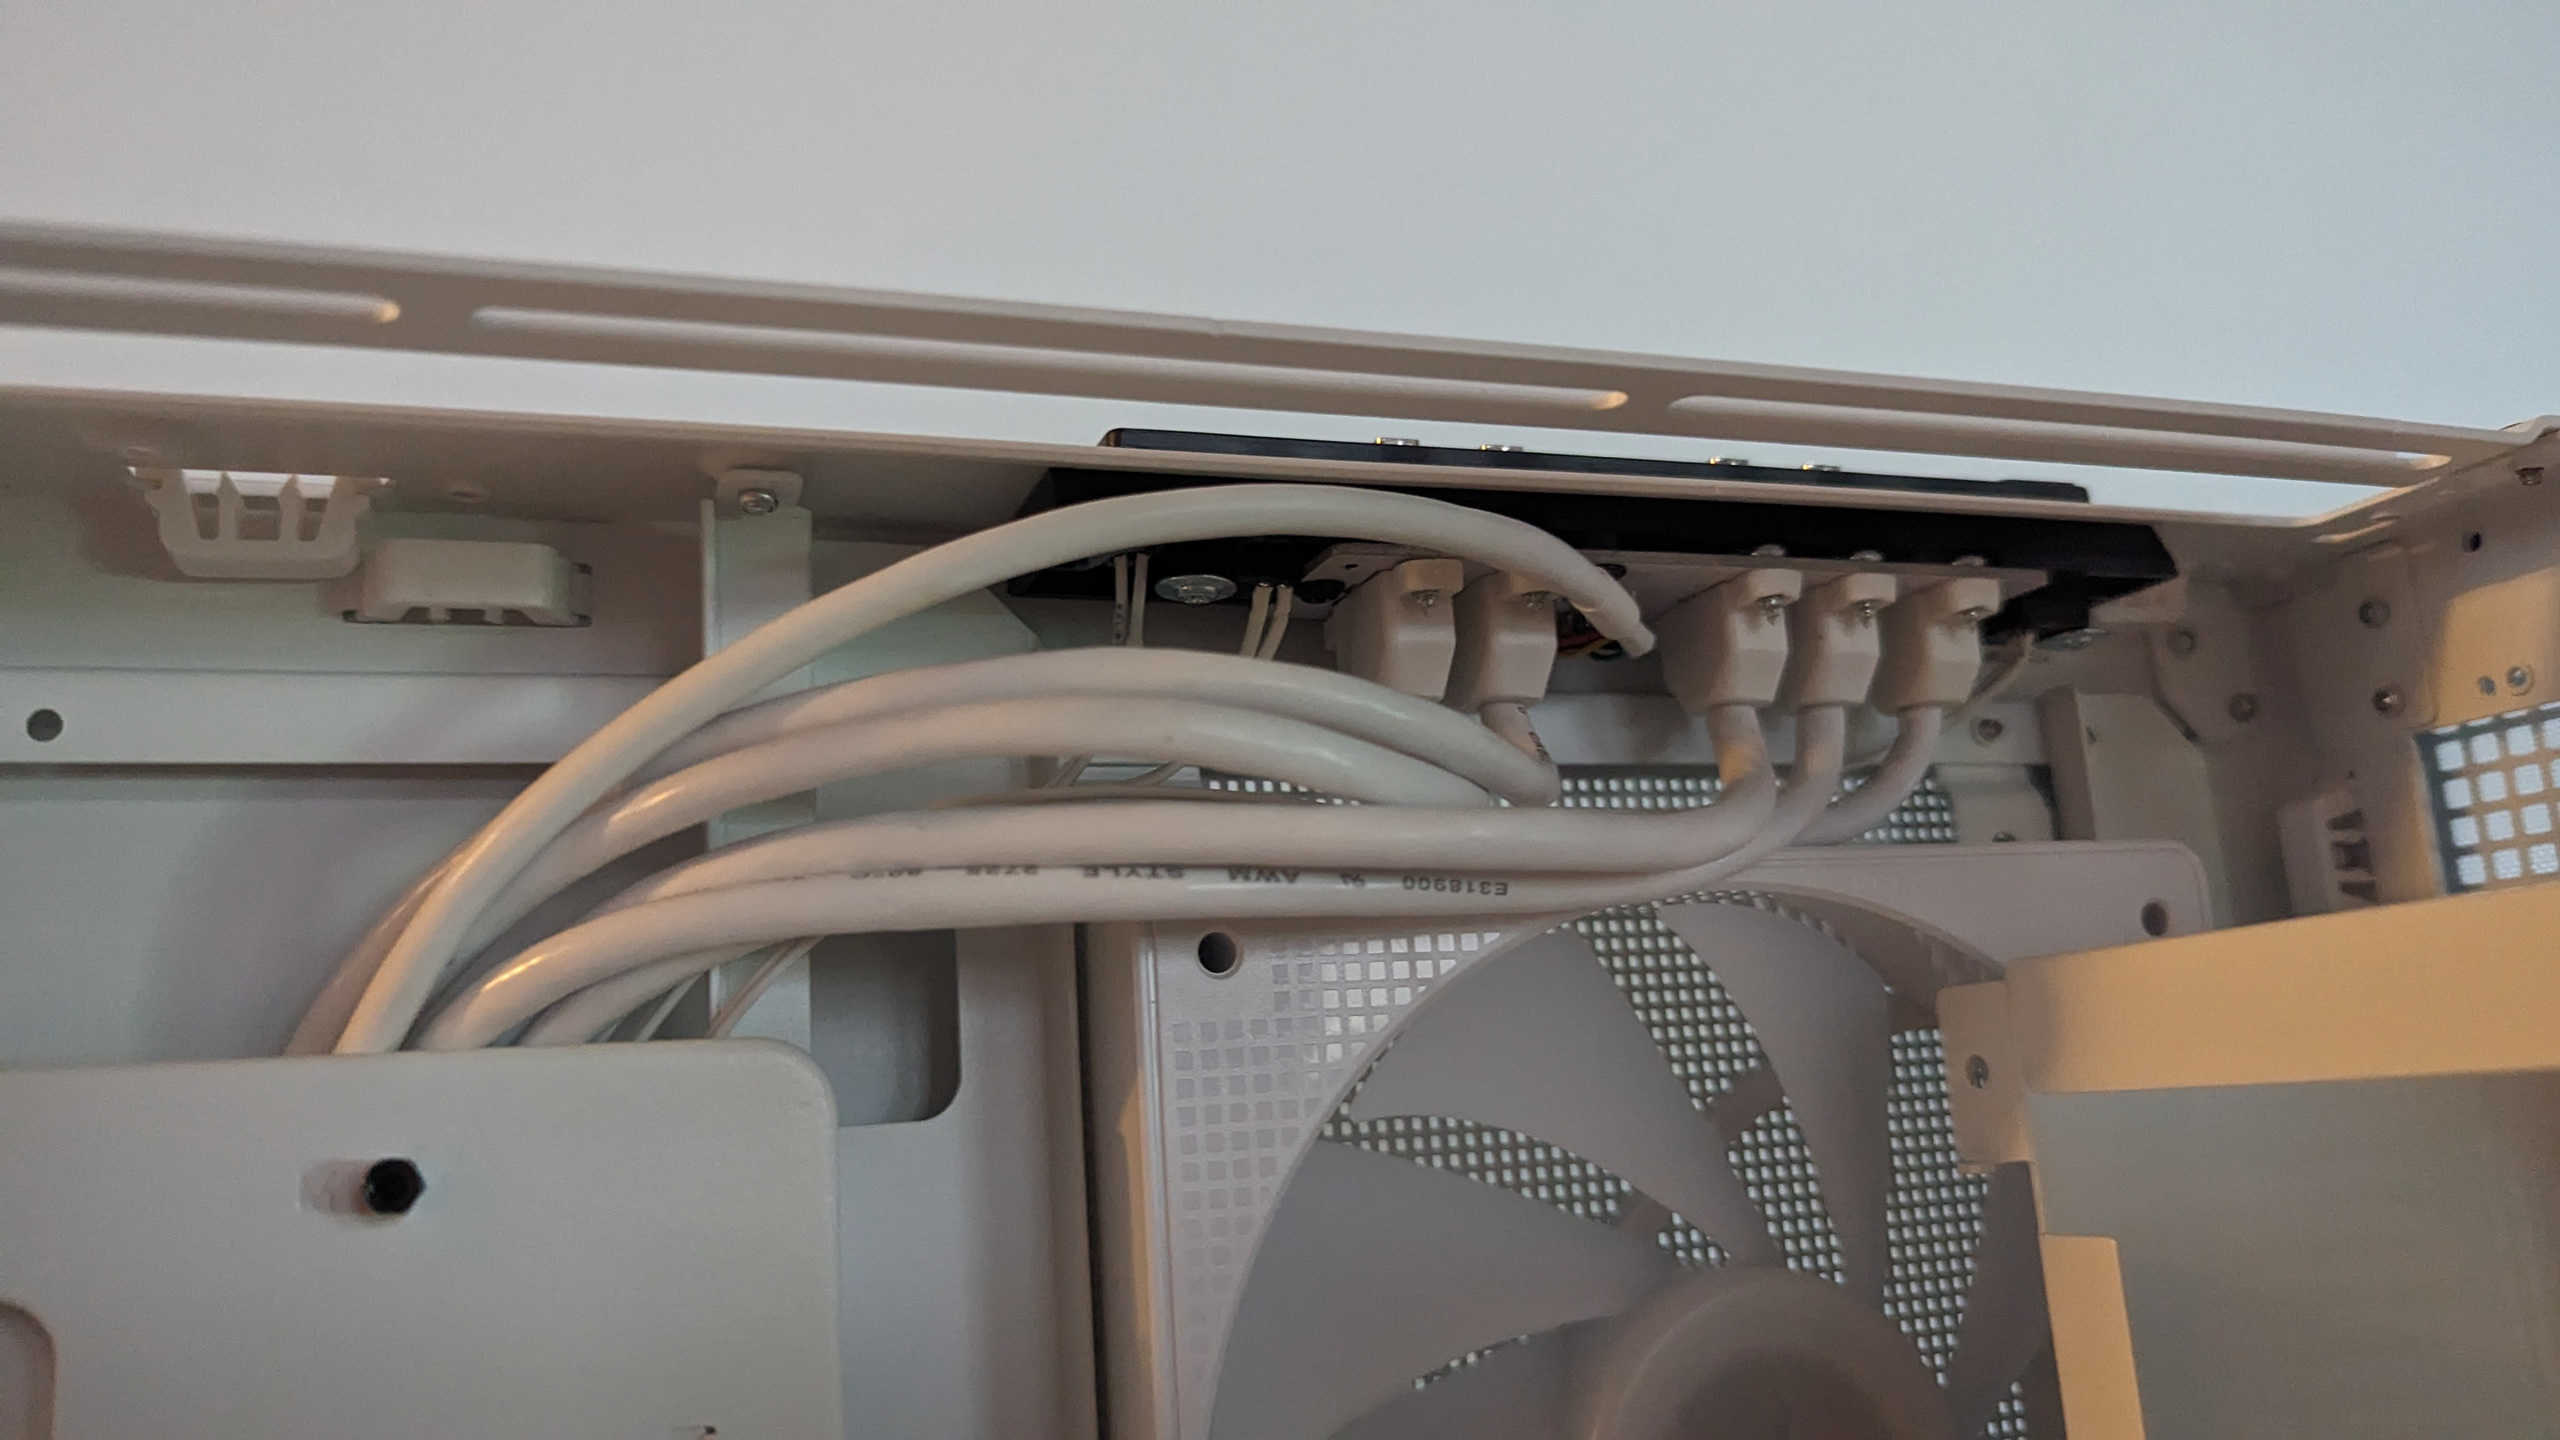
Sufficient cable ducts are provided for cable management, which are also generously cut out.
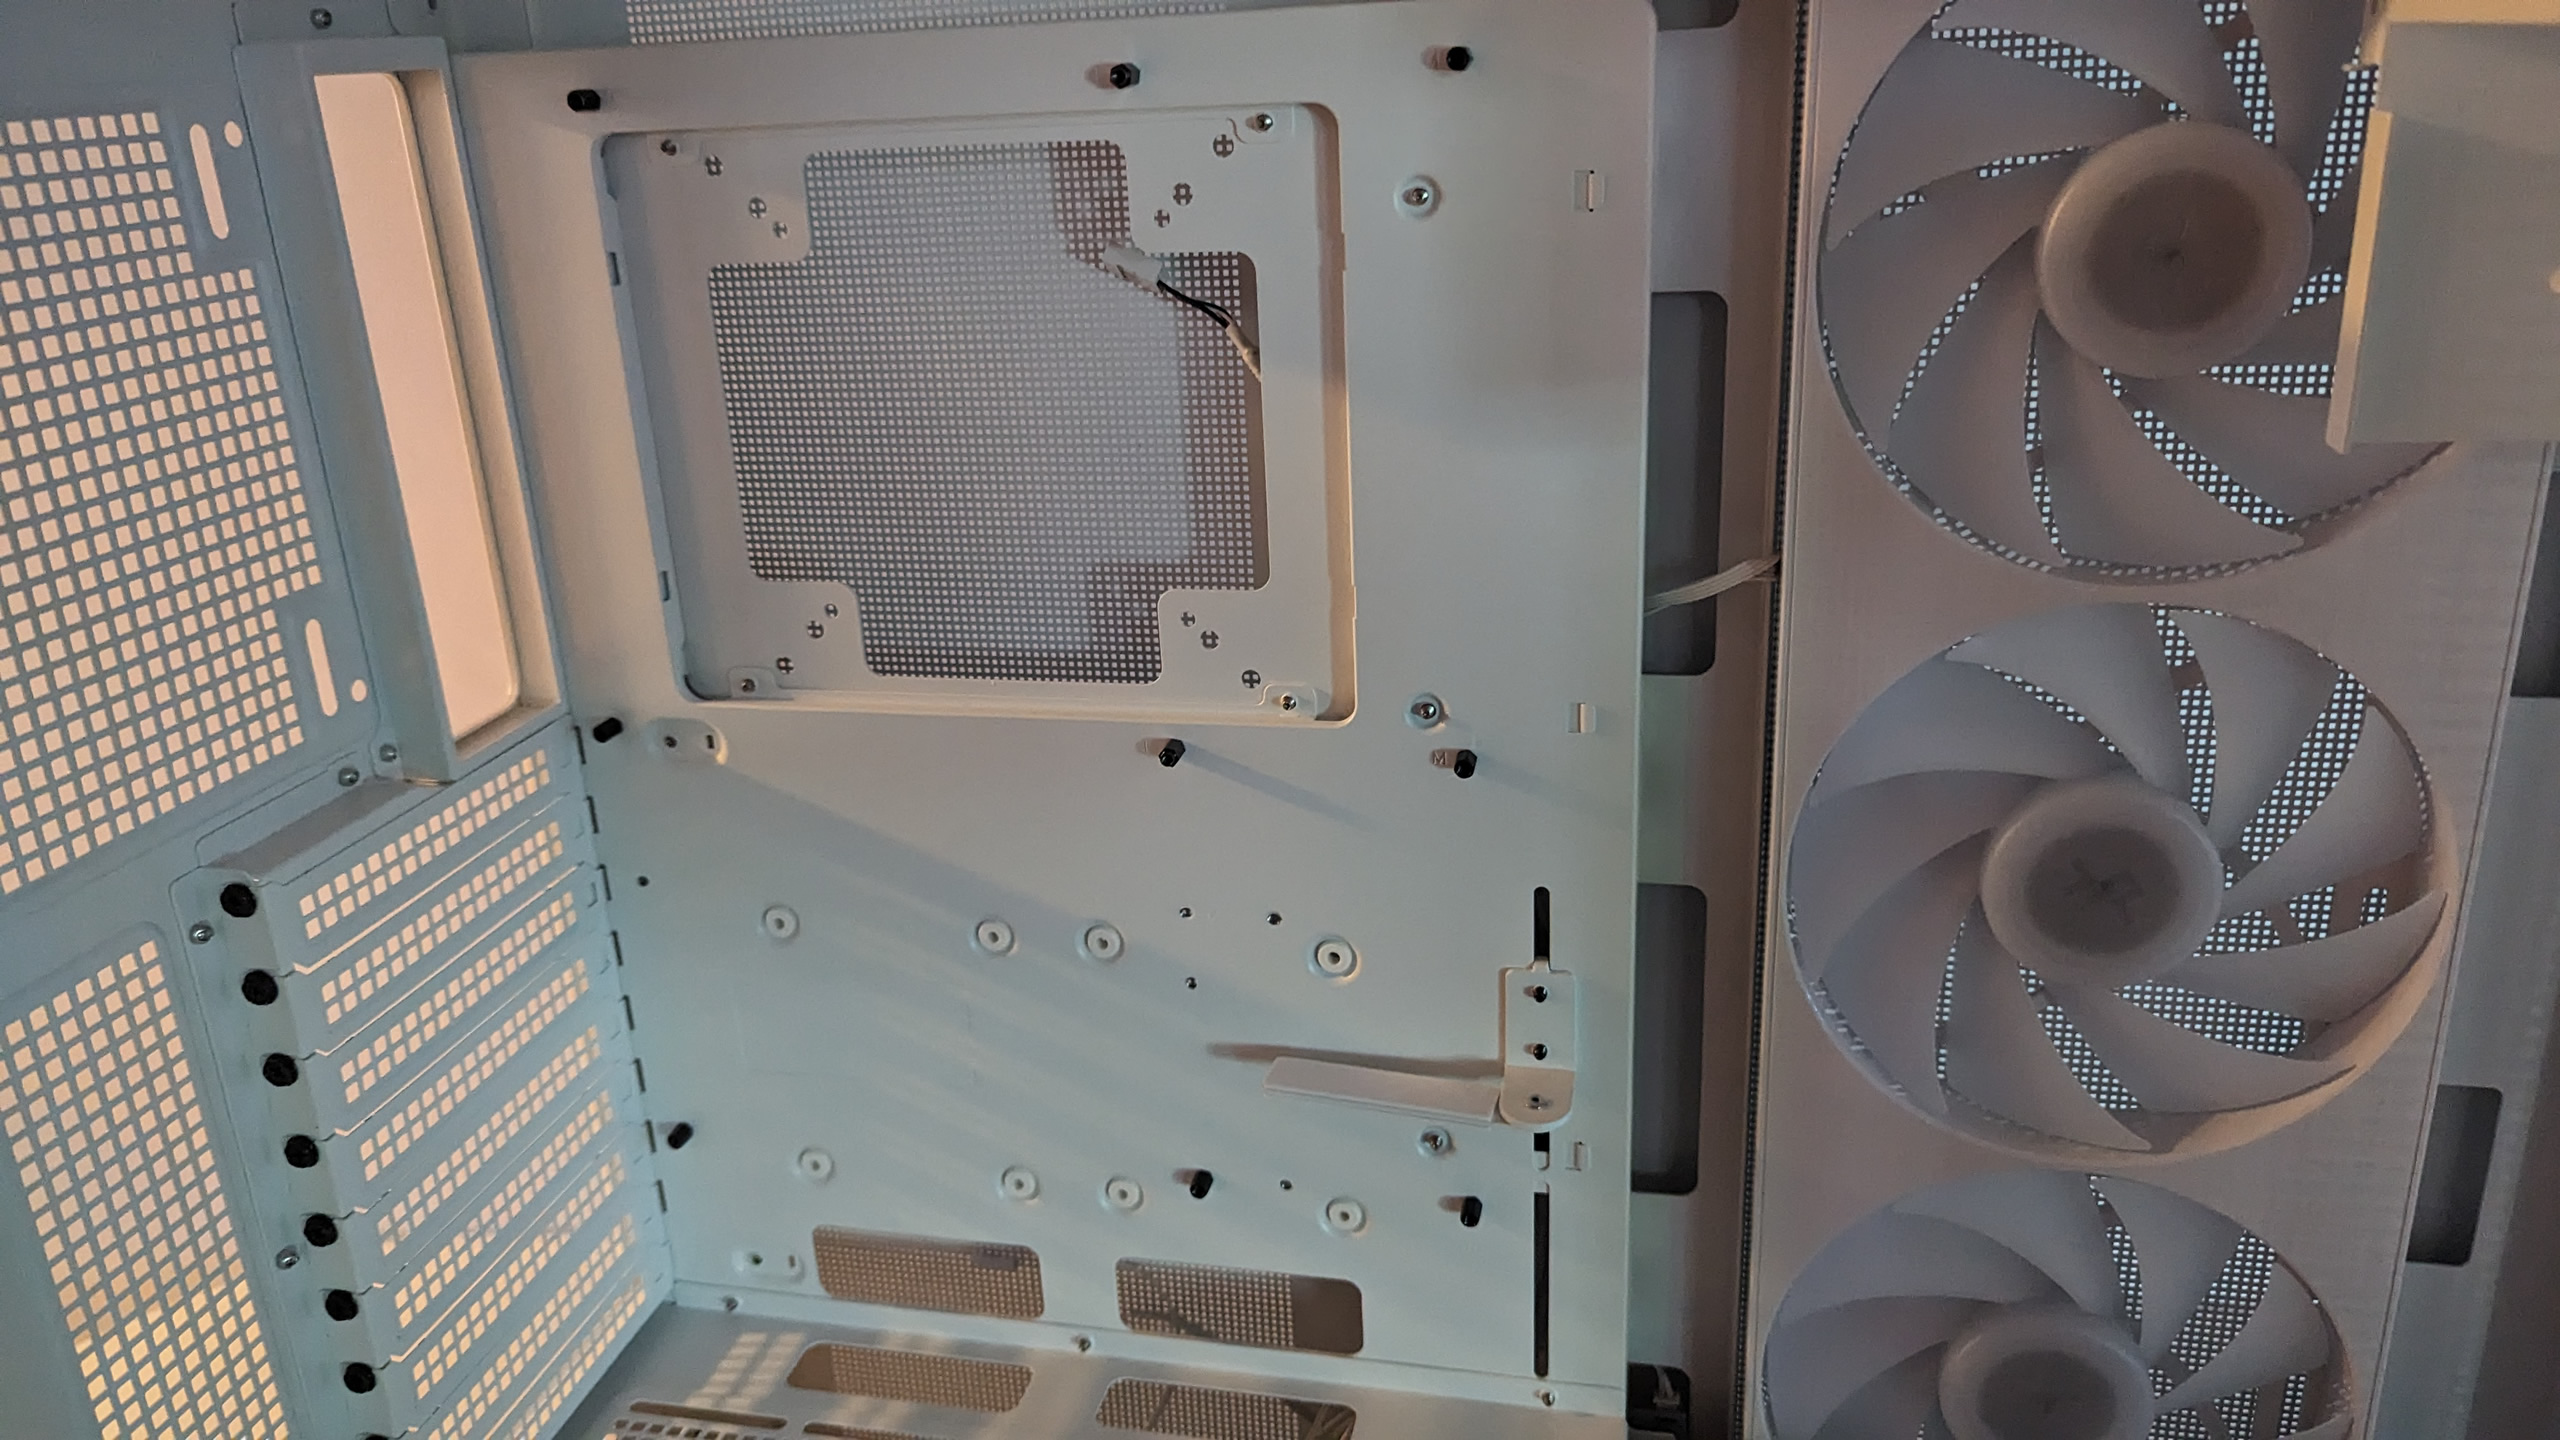
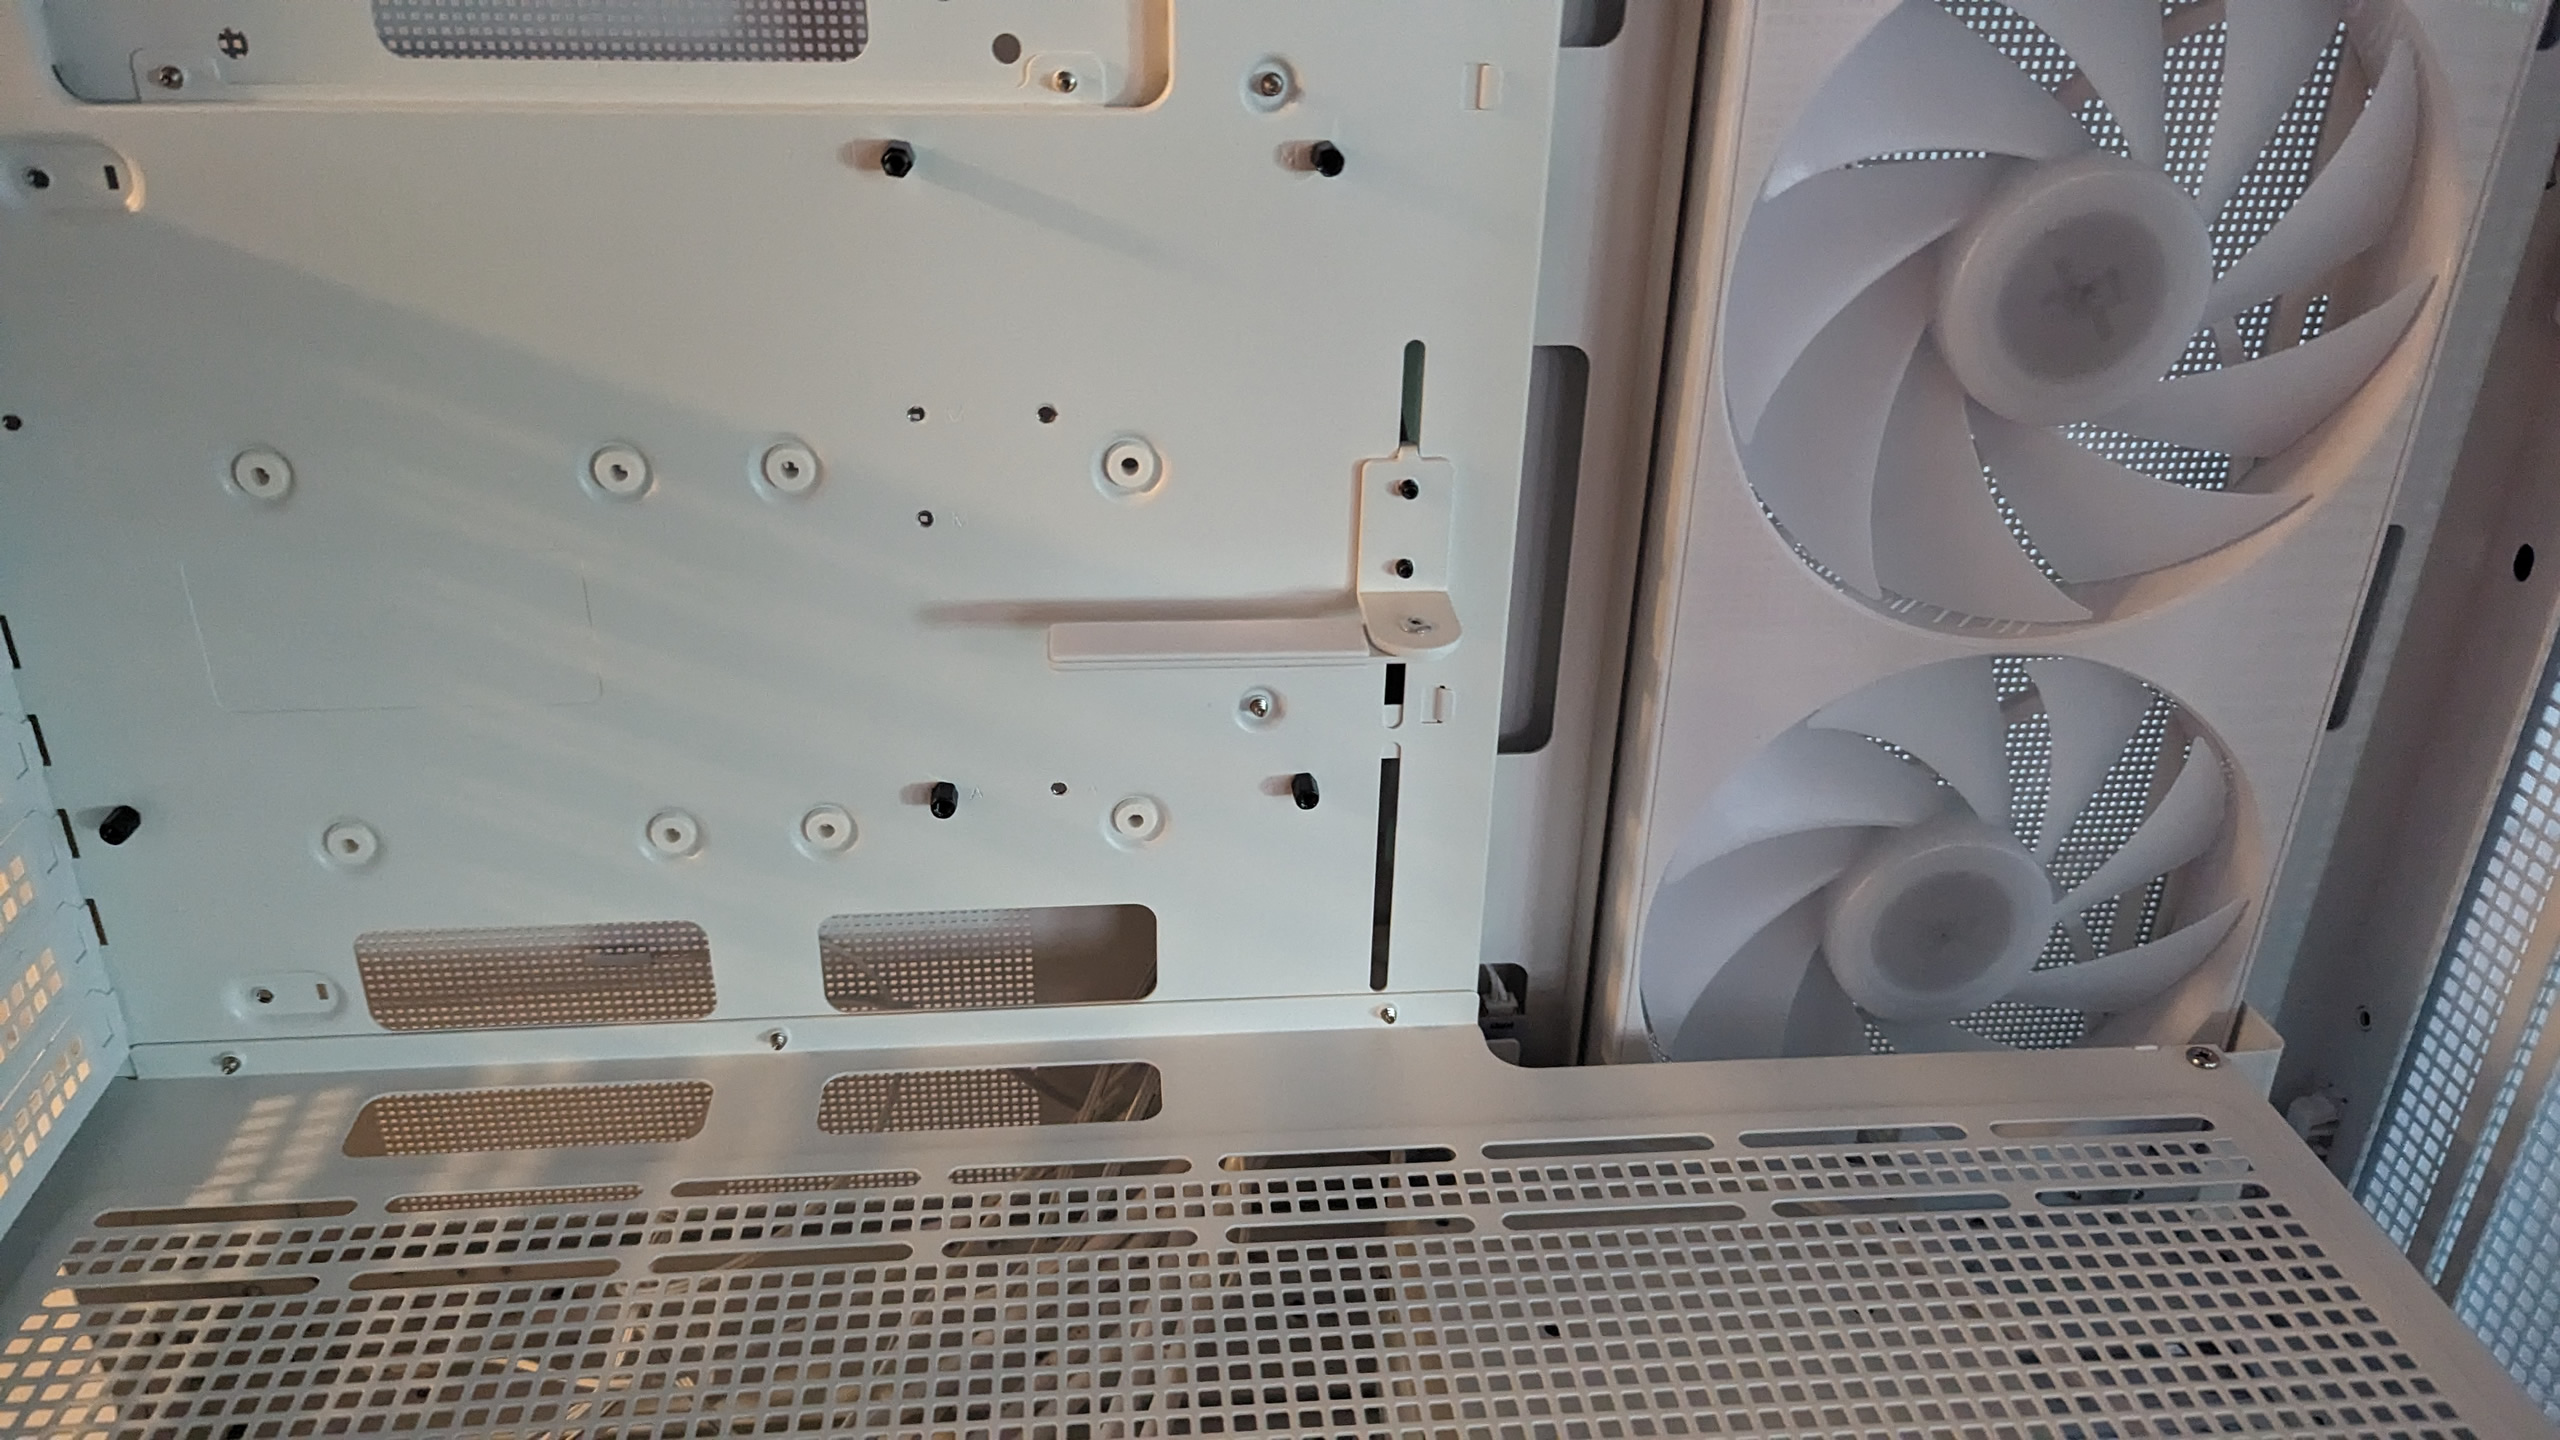
A foldable graphics card support is also available, which can be variably locked onto a rail for each graphics card. There are also plenty of cable ducts for cabling under the power supply cover. The front is also removable and has a glued-in mesh grille. The adjustable rail for the fans is located under the cover.
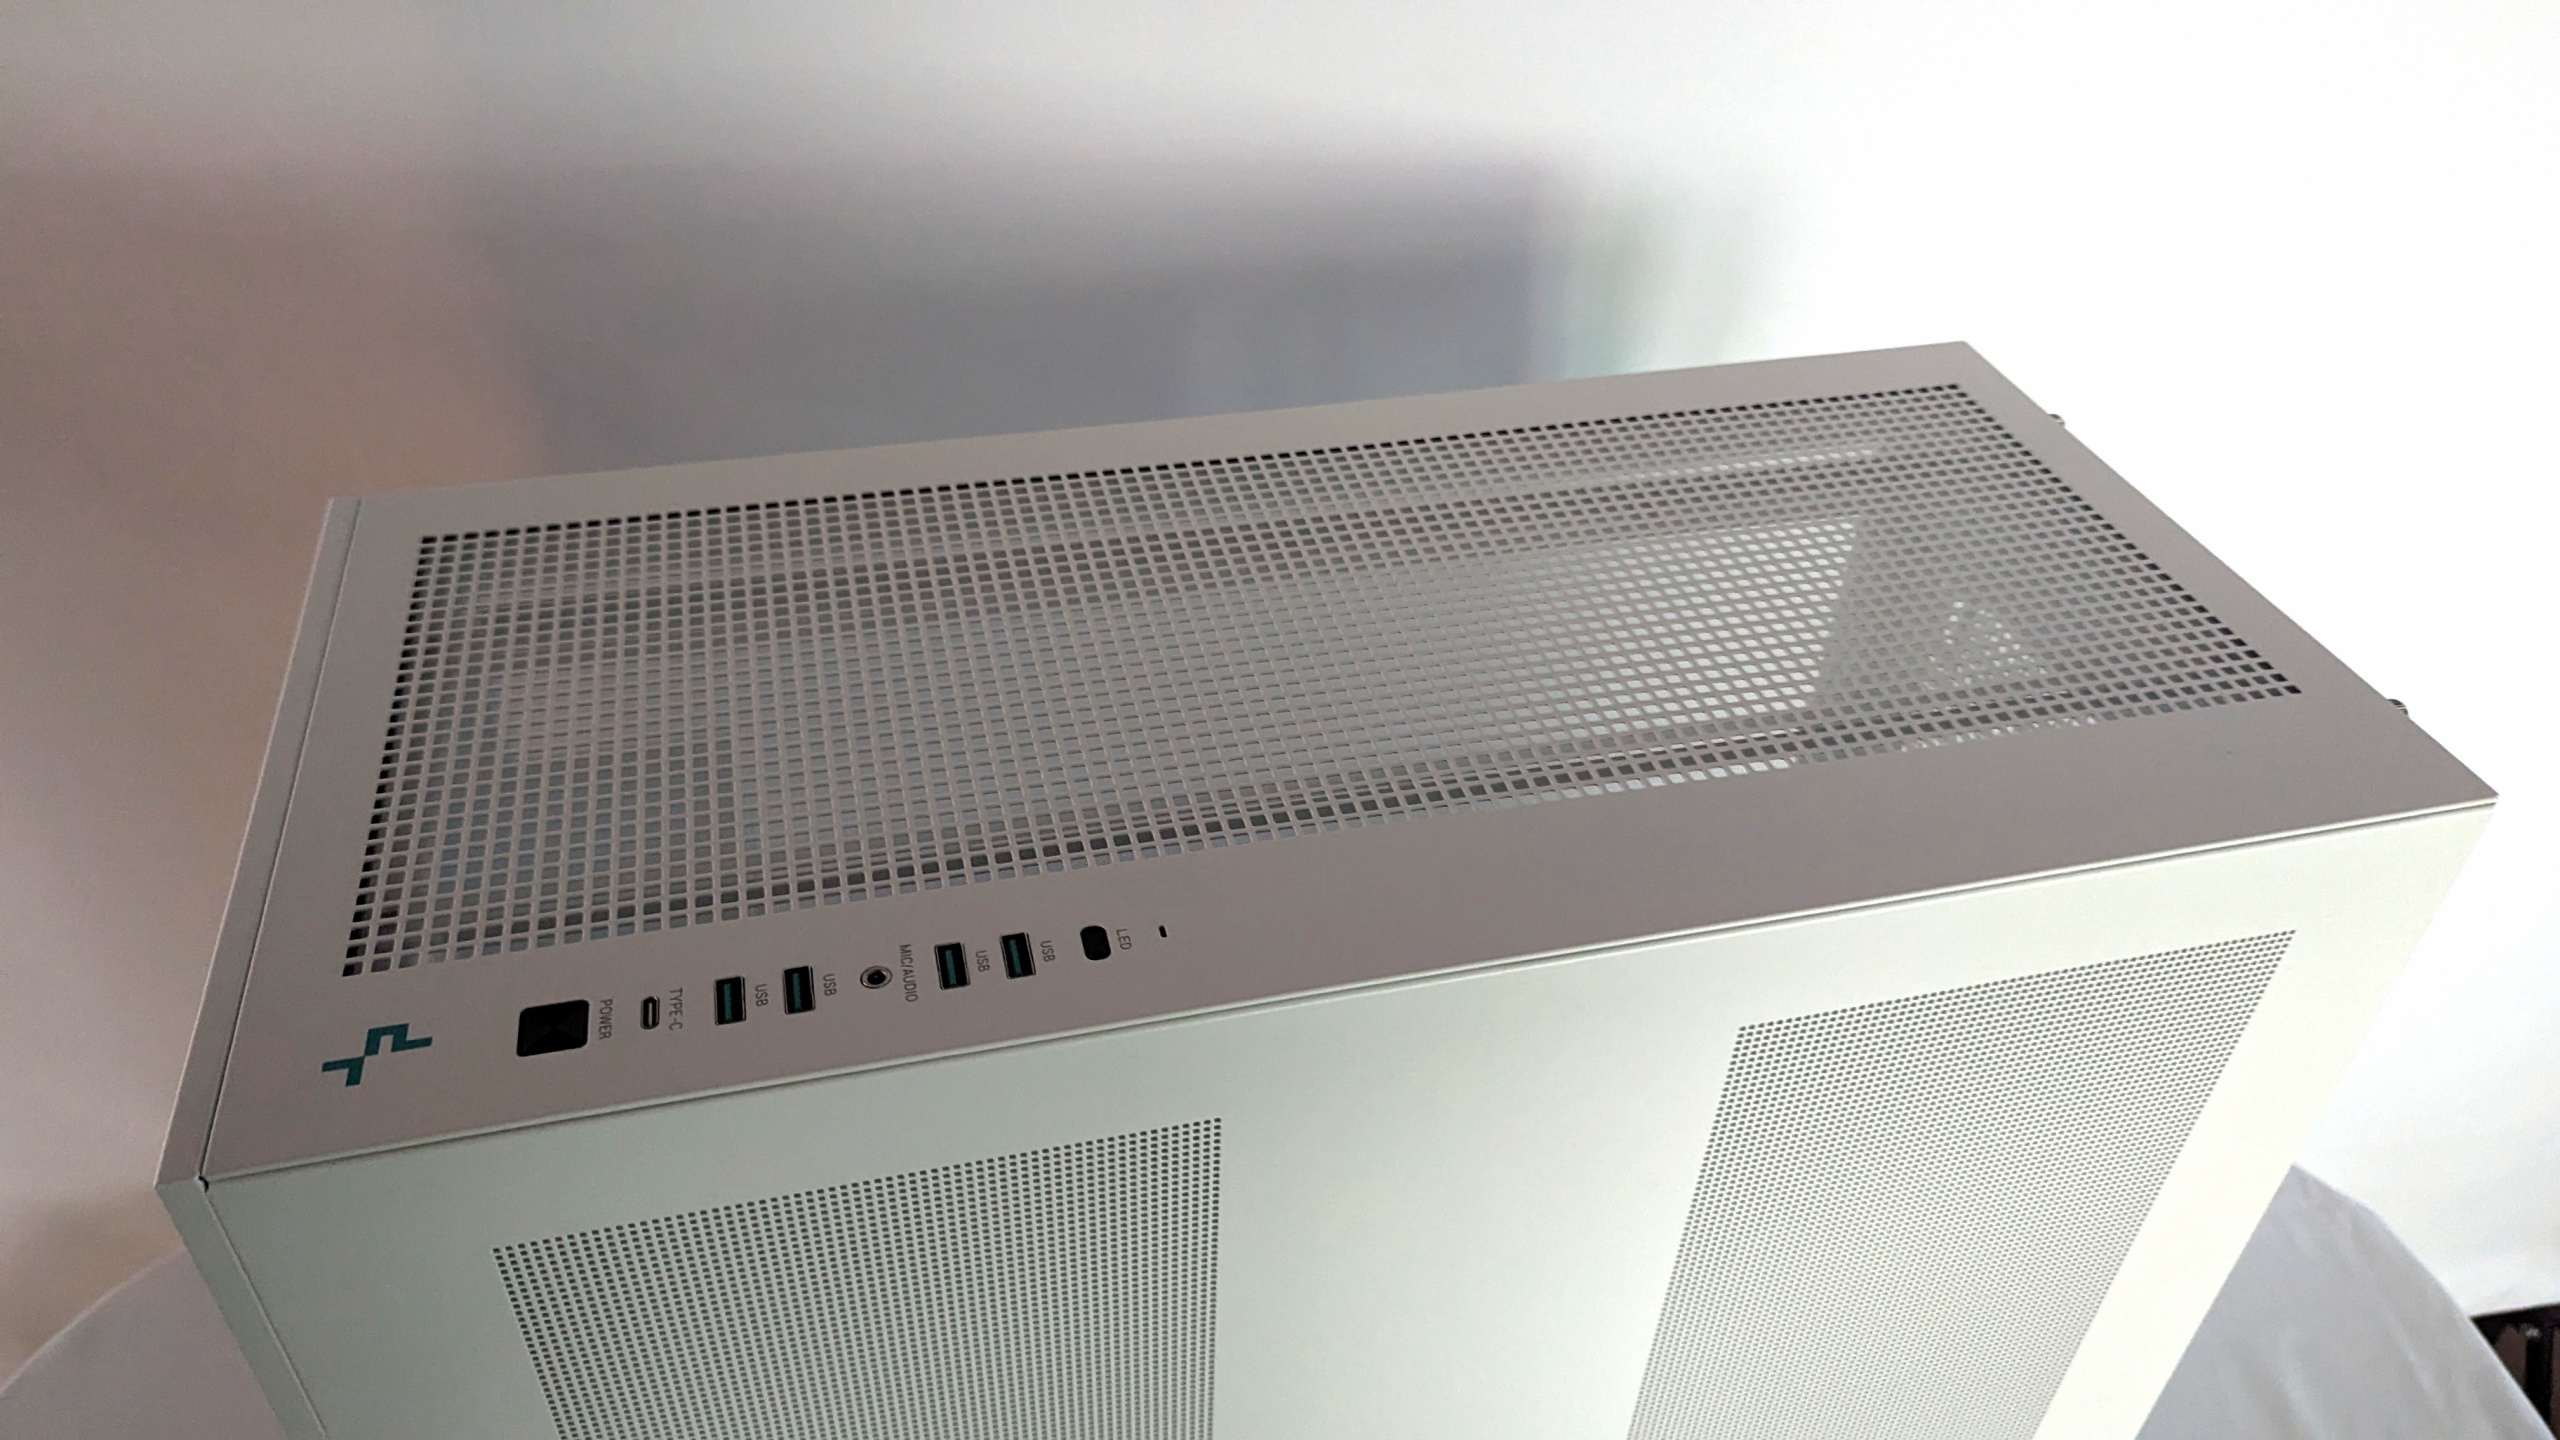
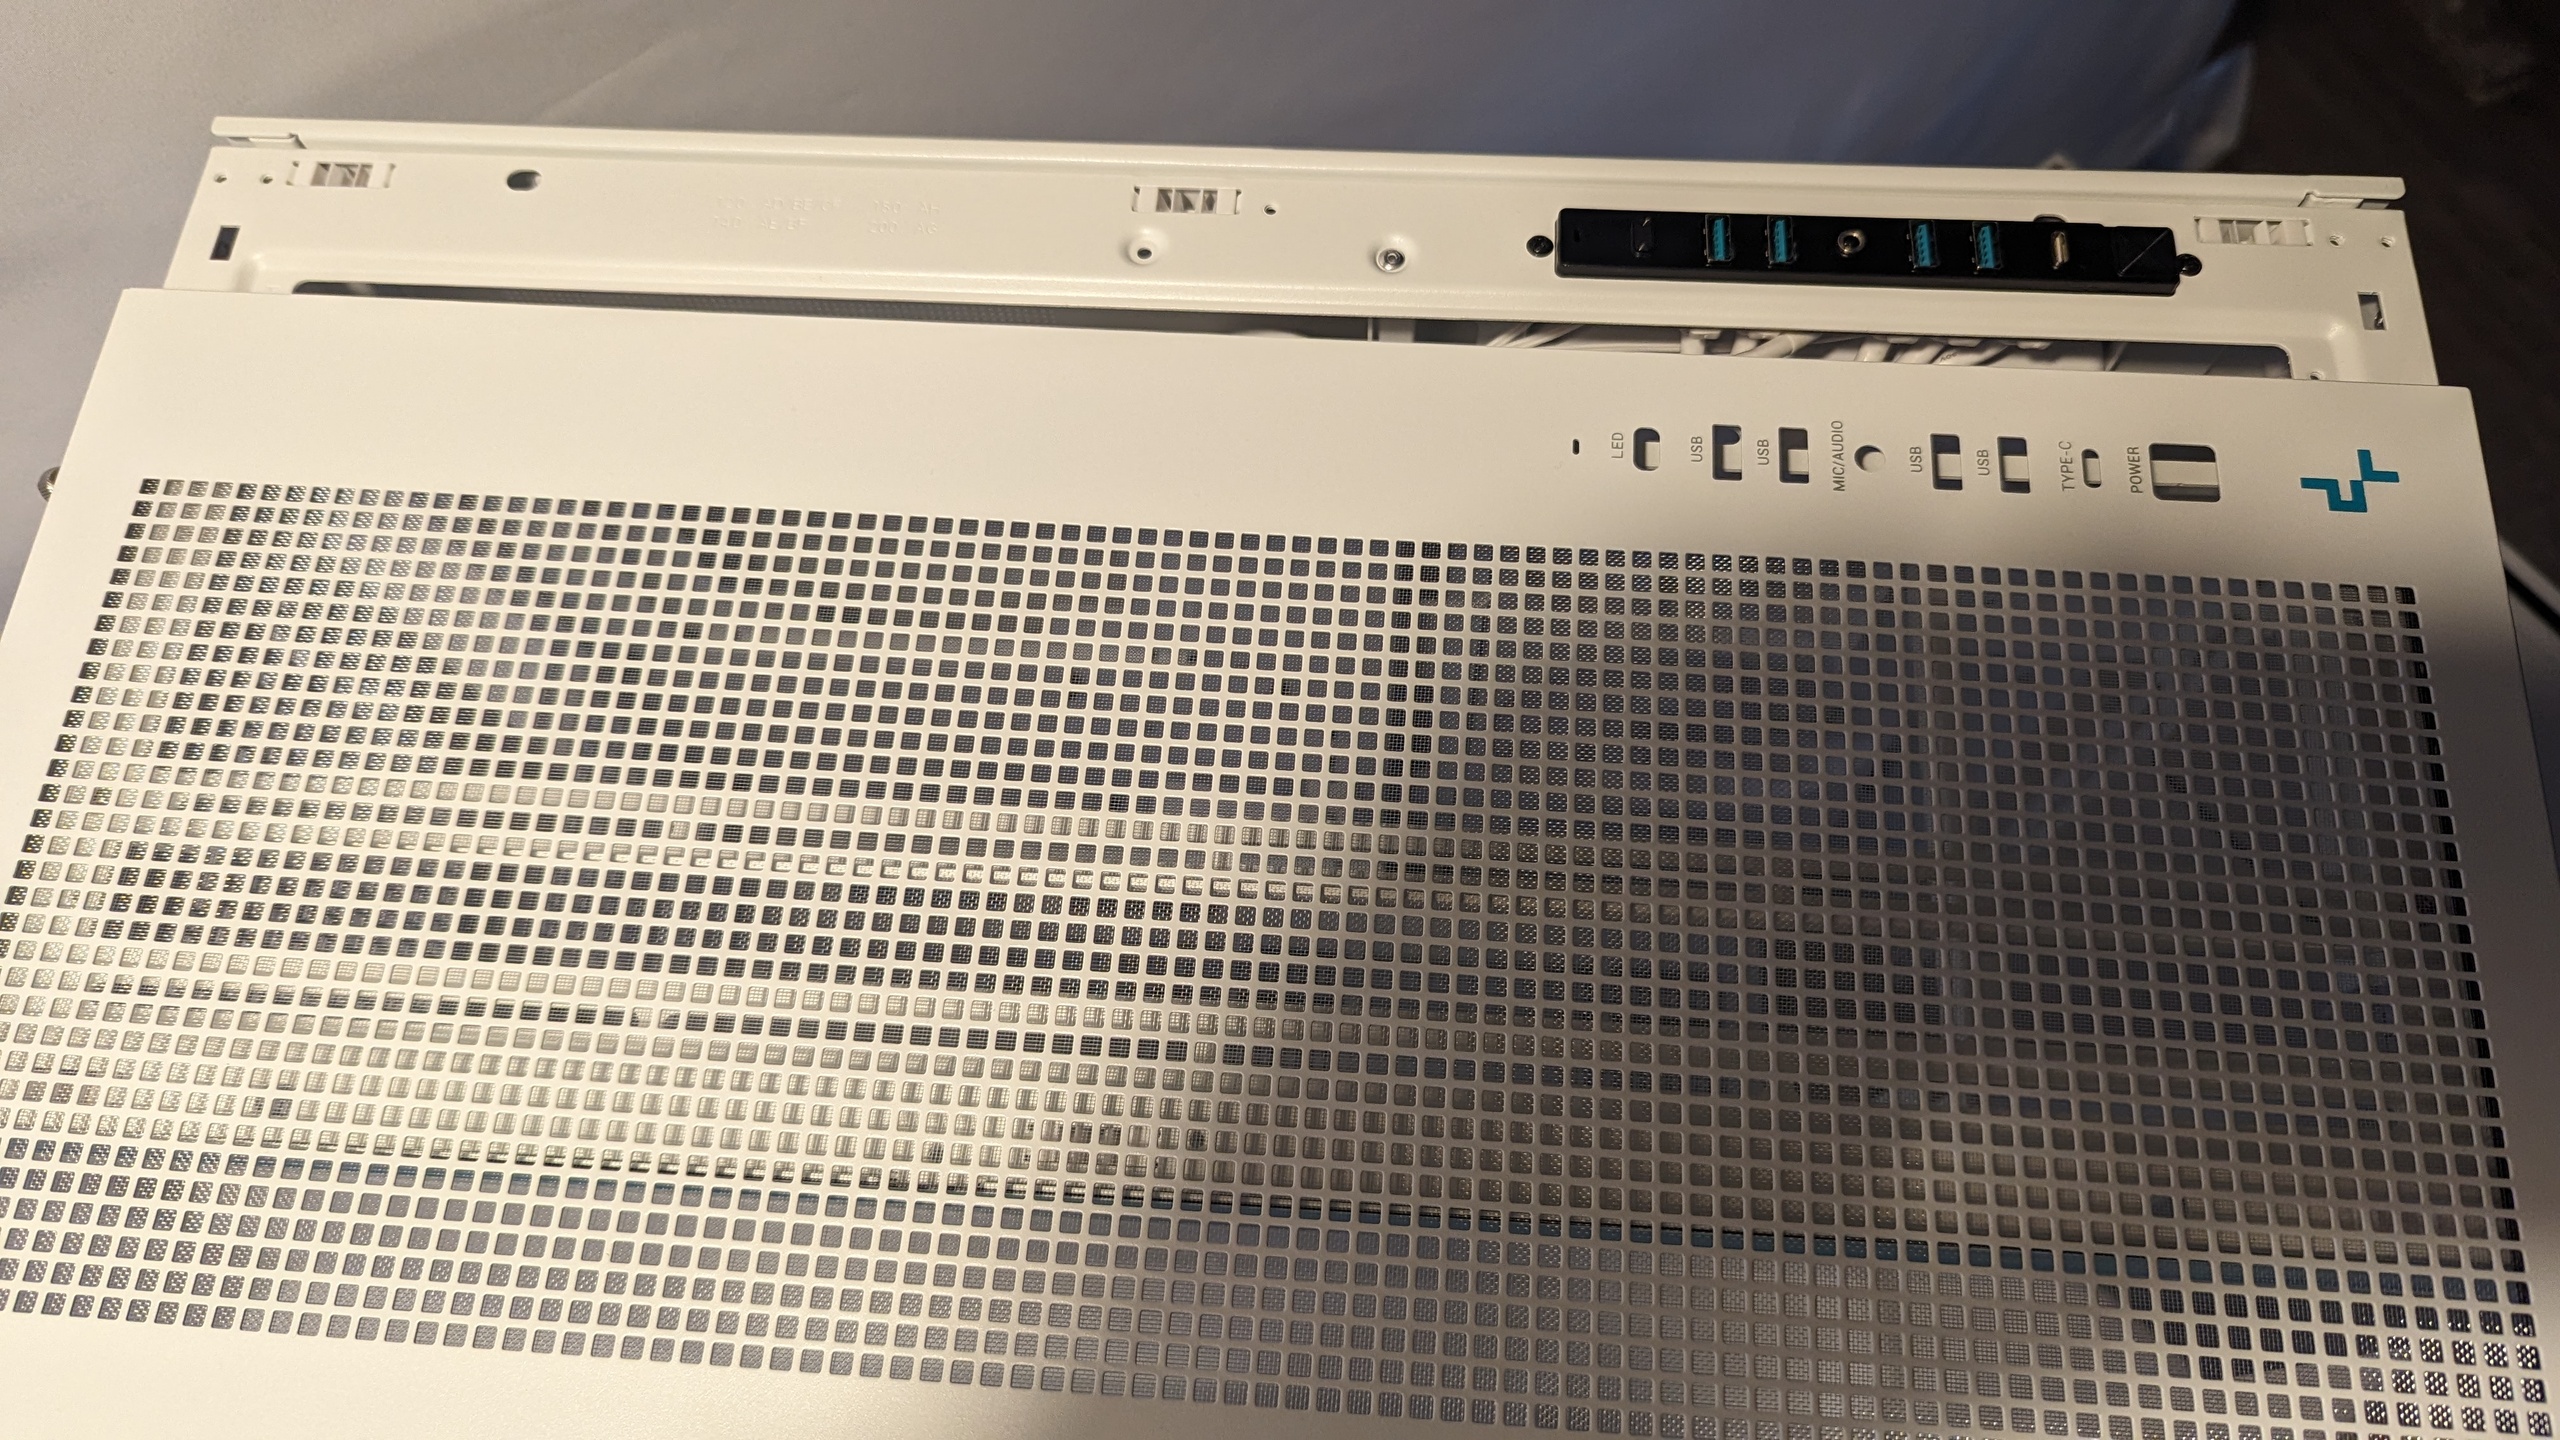
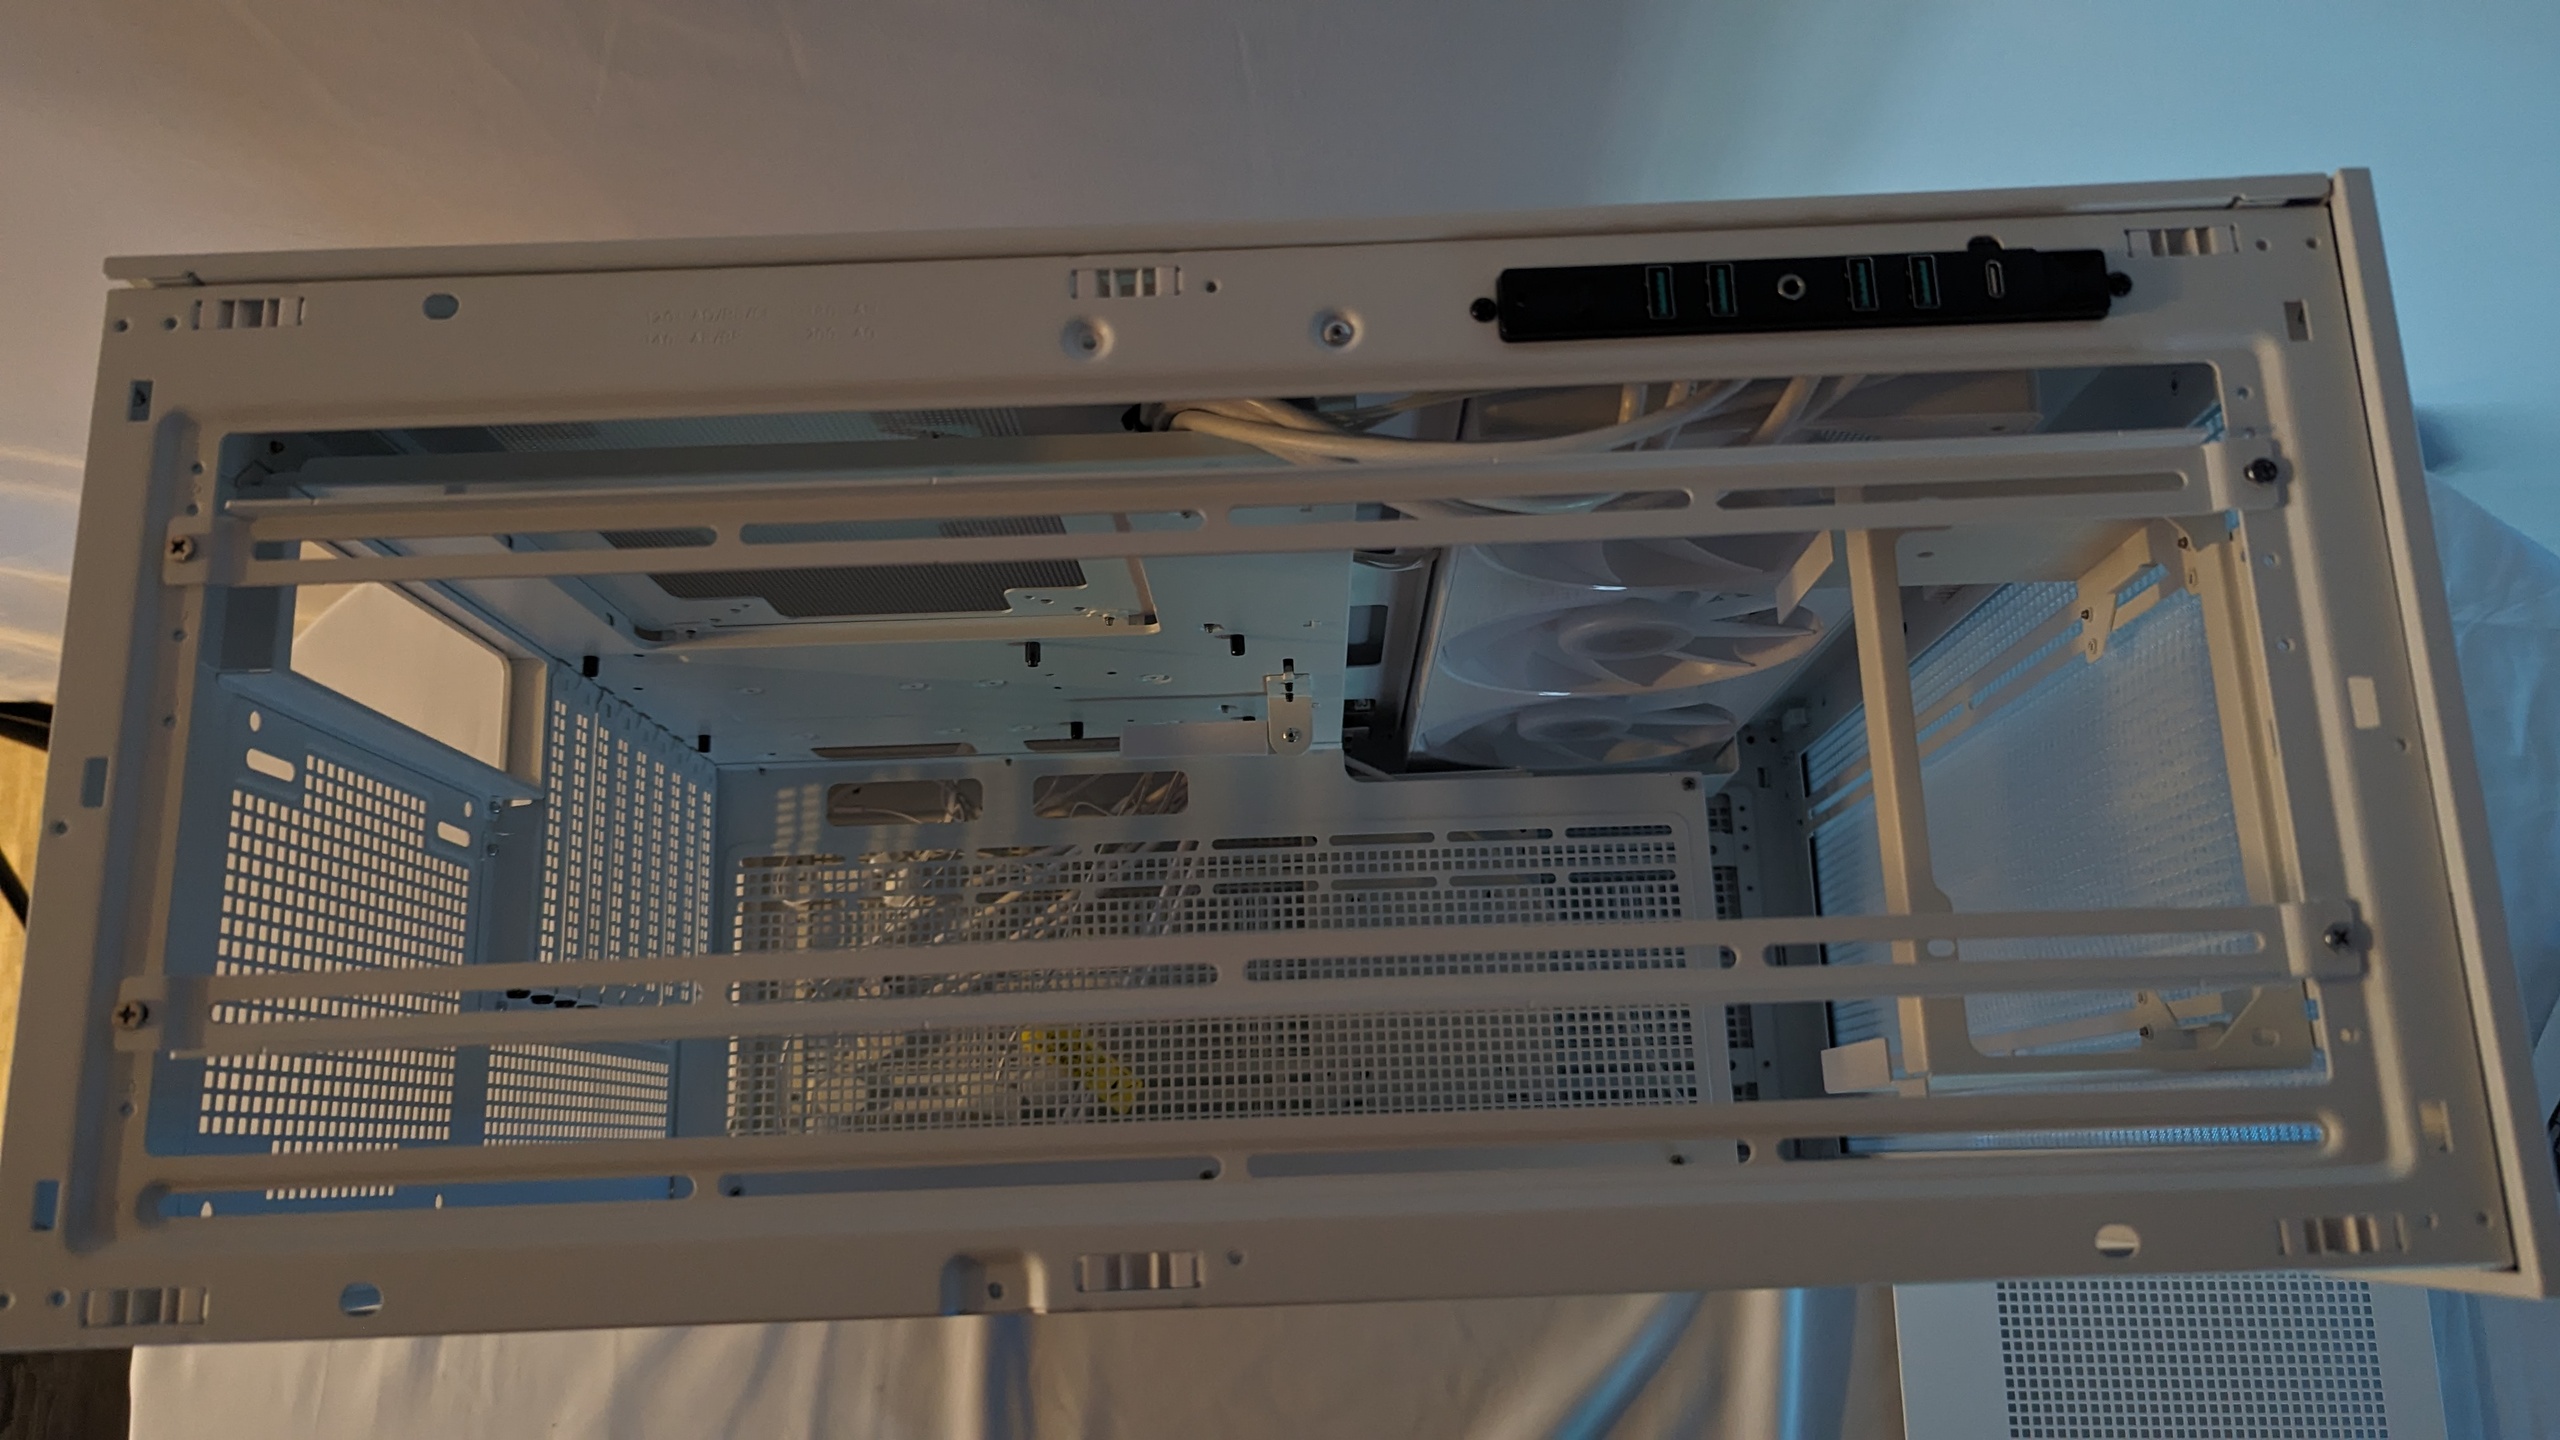
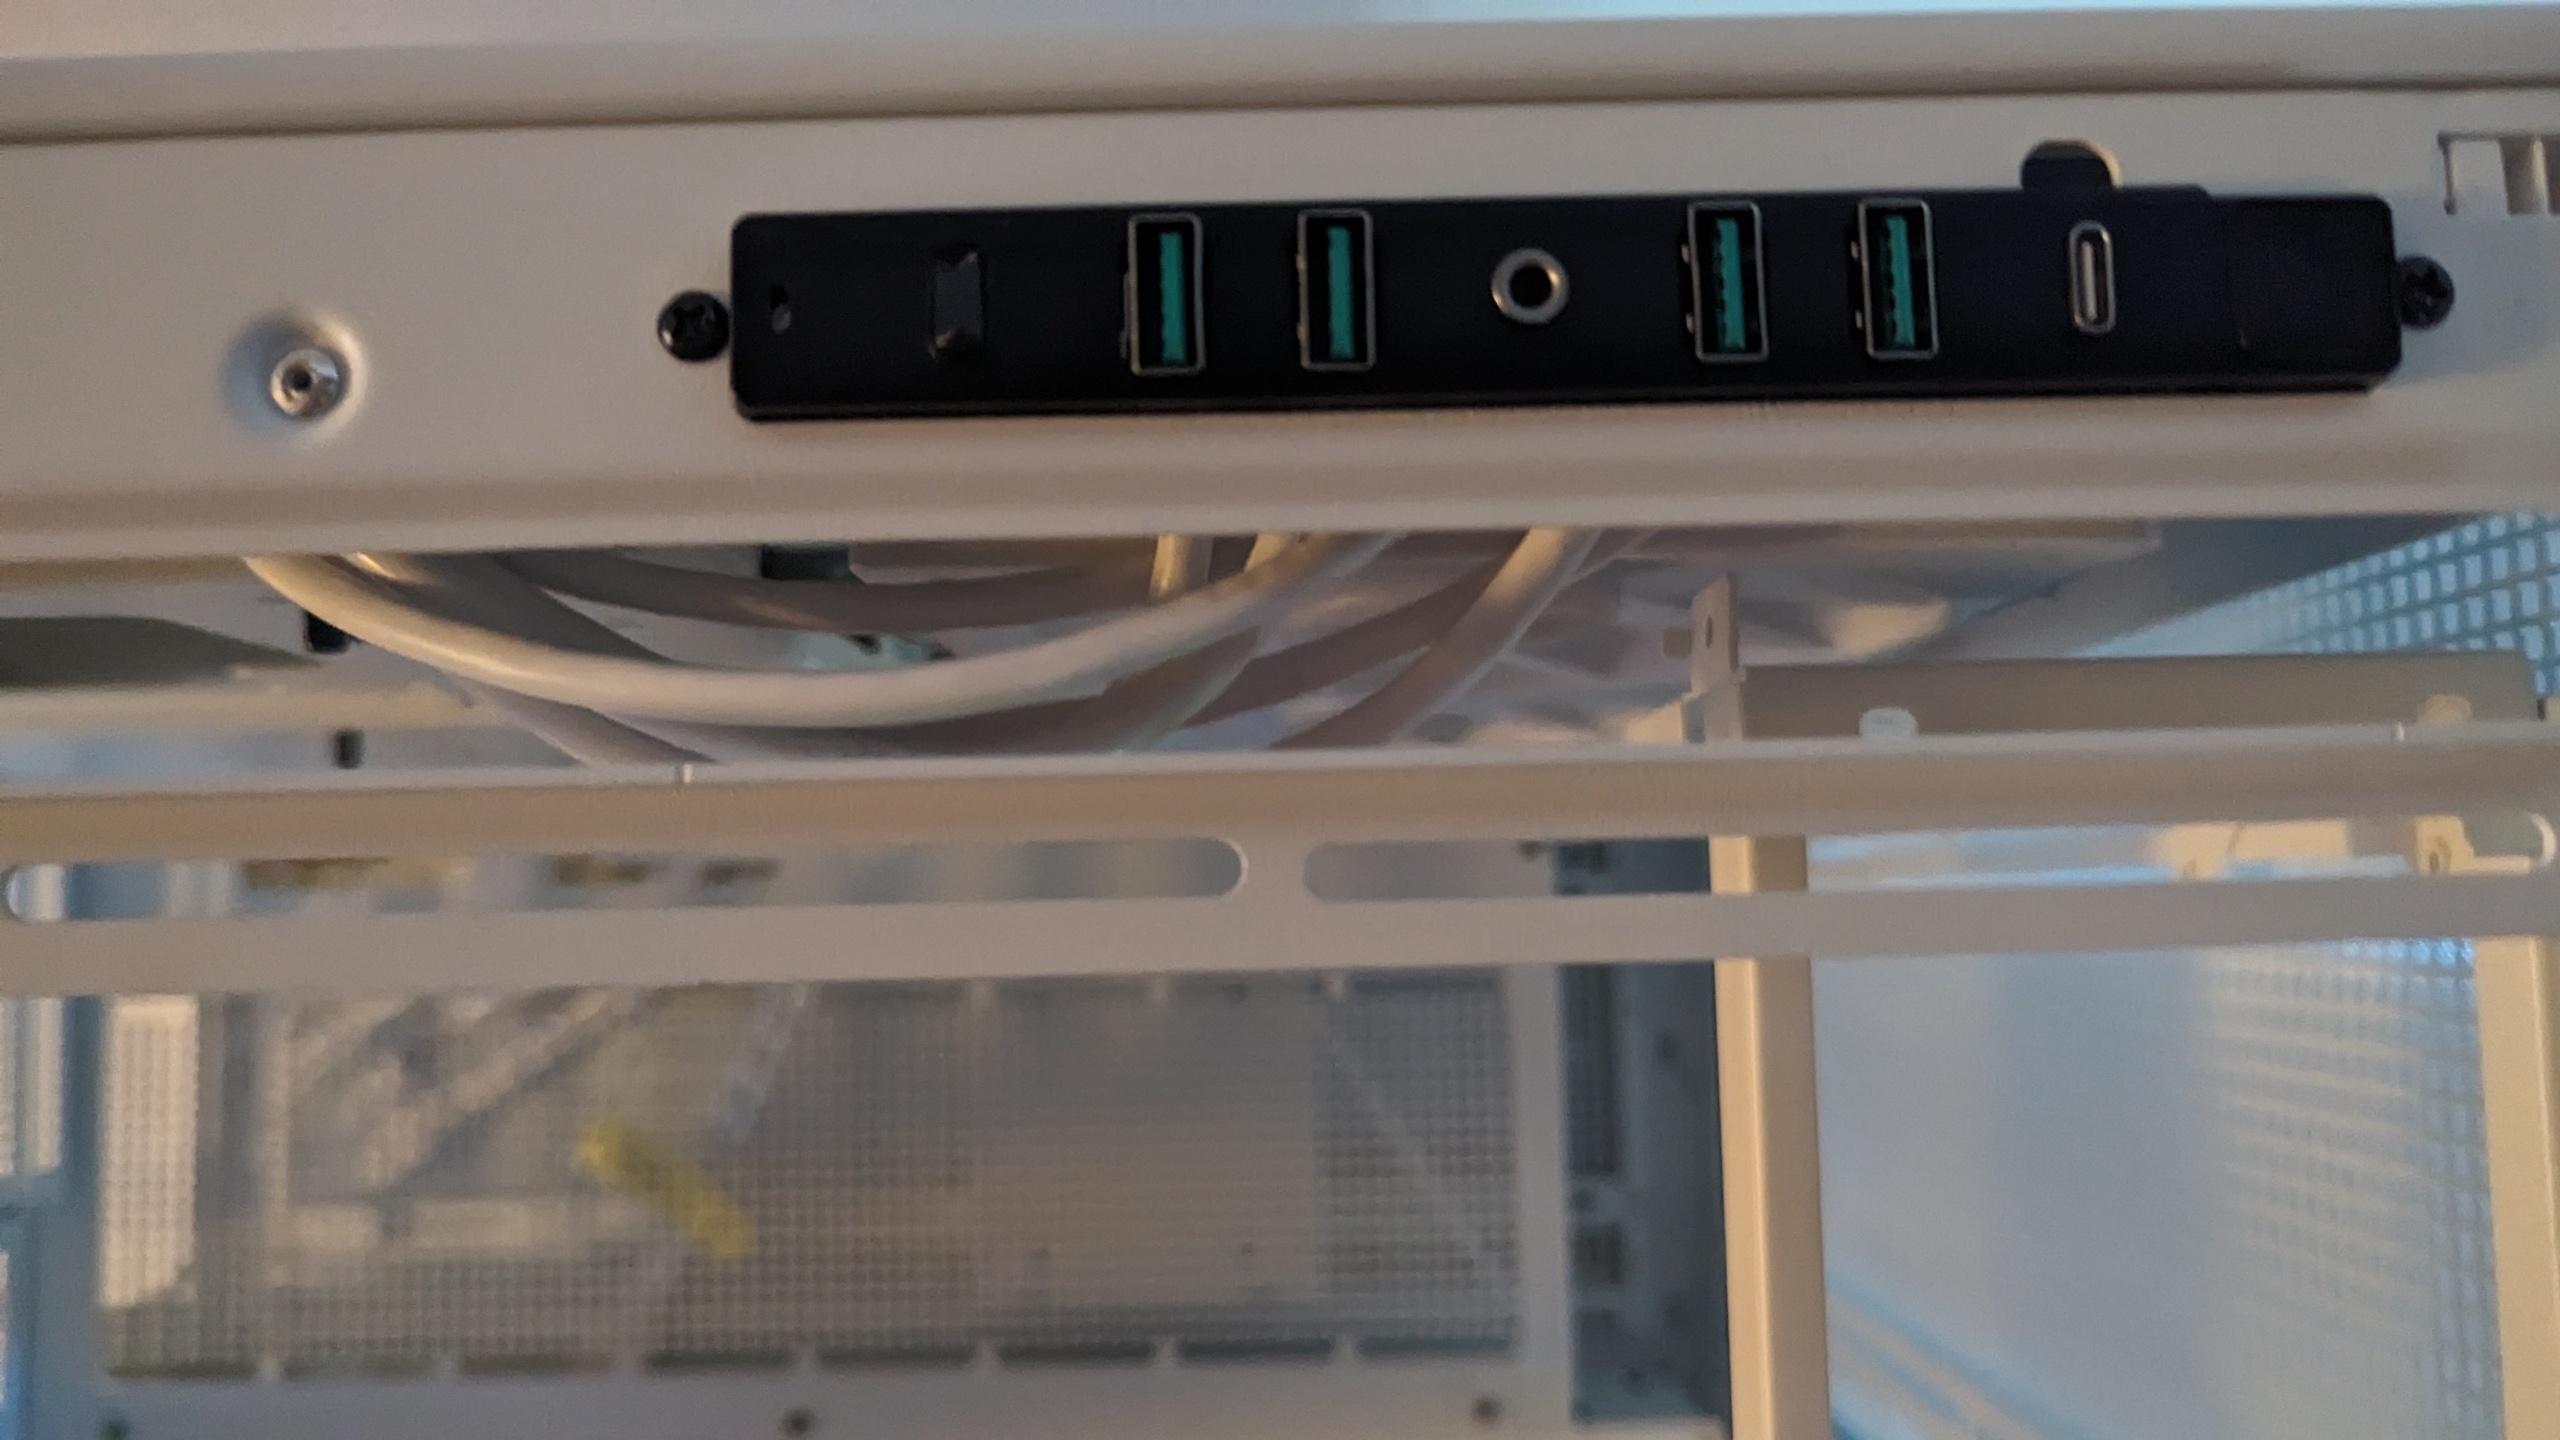
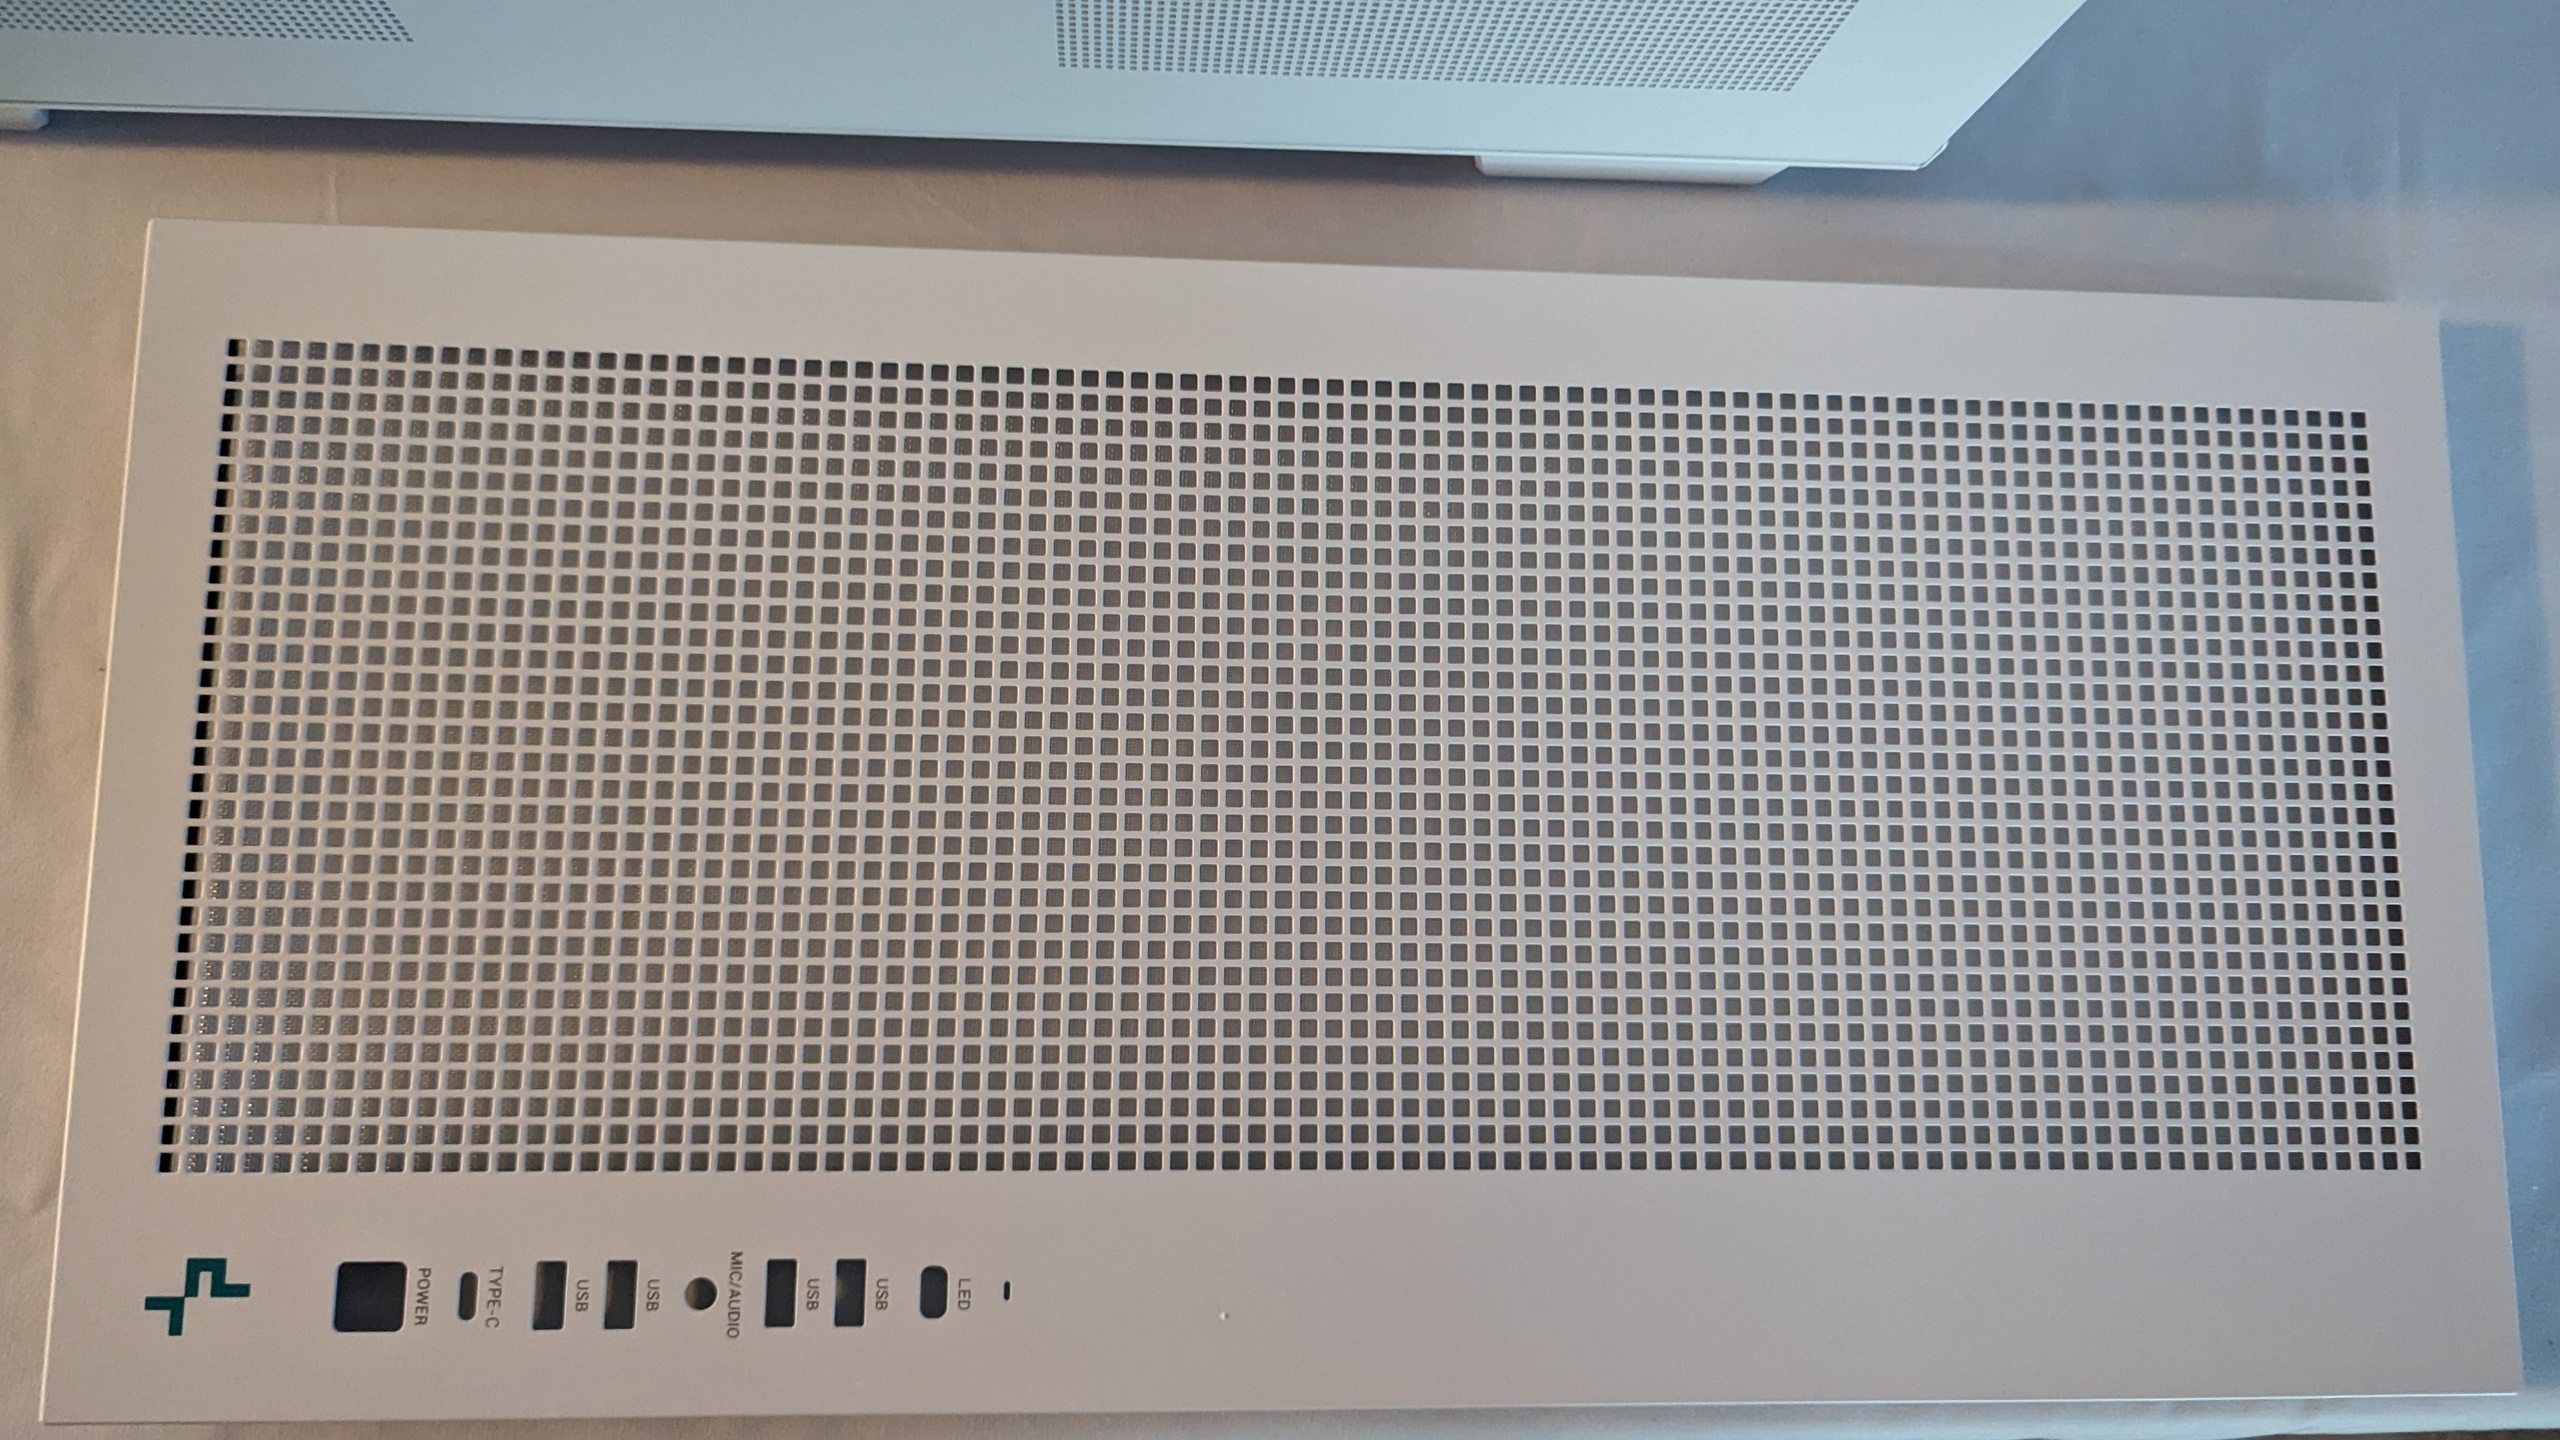
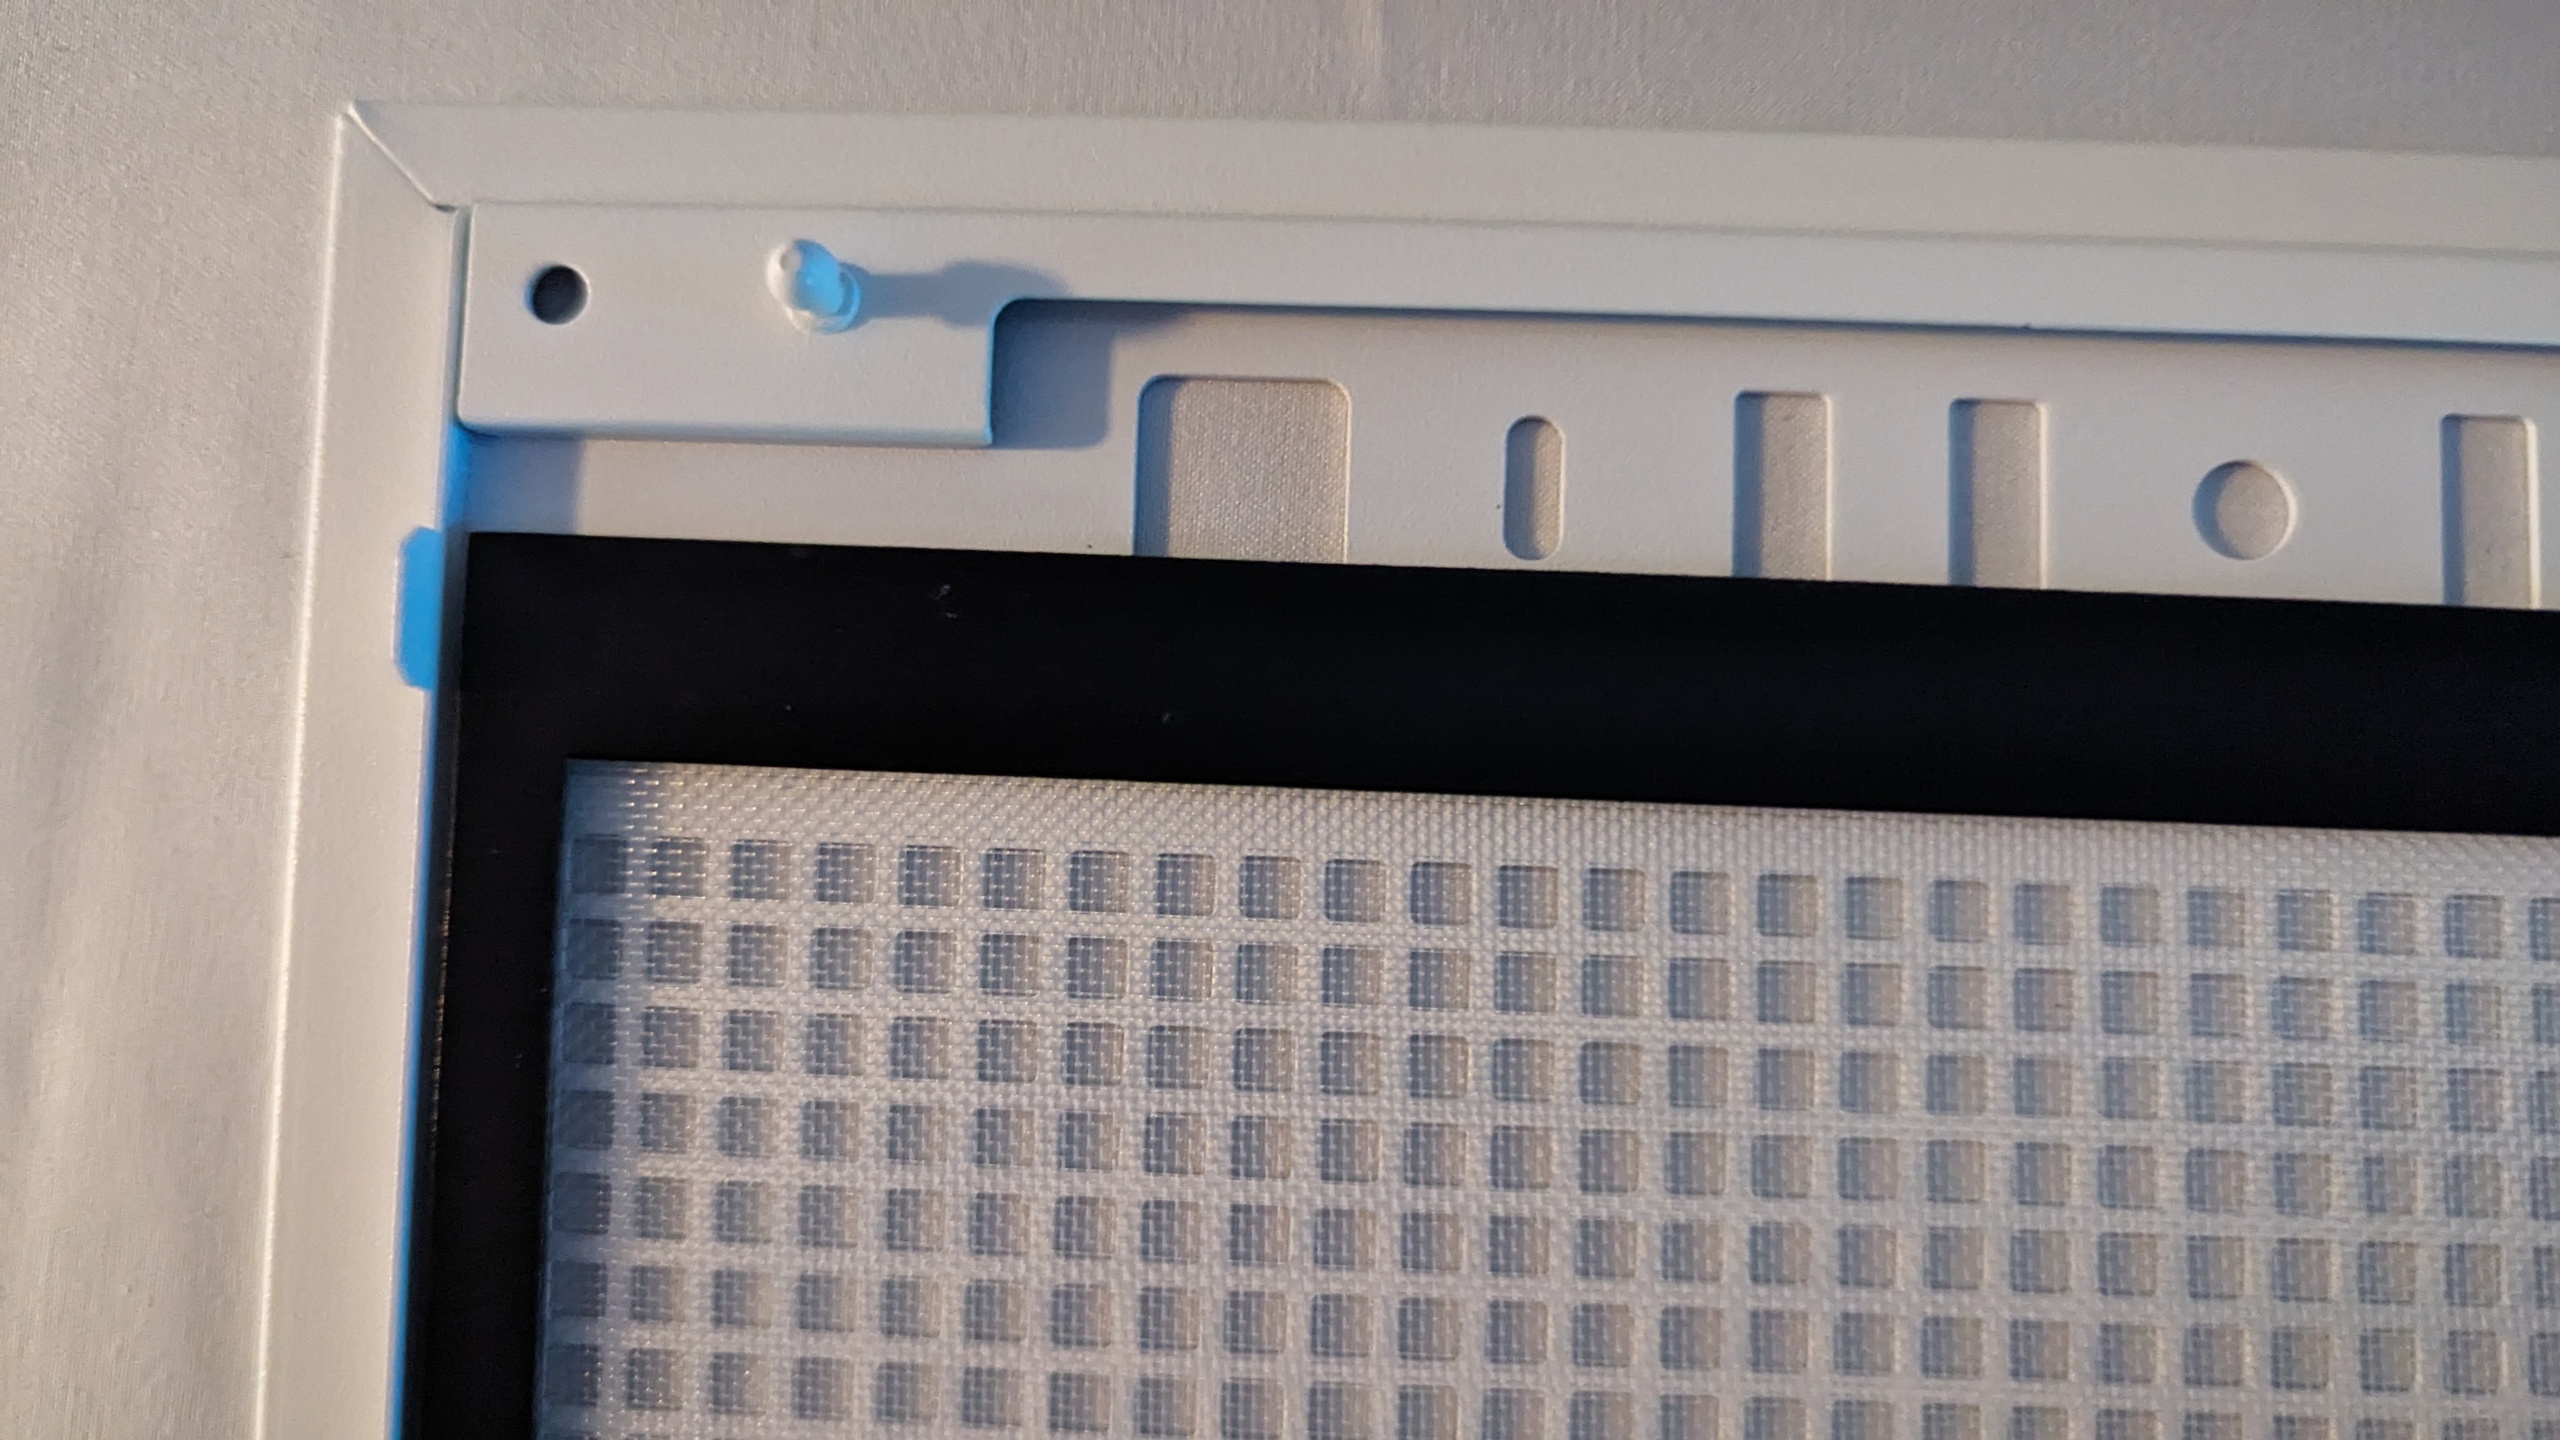
The top is adorned with a beautiful I/O panel with the Deepcool logo. This contains the power switch, 4 USB 3.0 slots, a USB-C slot, power and HDD LED and a headphone jack. If you remove the cover, you can see that the naked I/O panel is built to a high standard, in which it is neatly screwed in and the connectors are nicely integrated into a flat plastic housing. The adjustable rails for the fans can also be found there again.
The mesh grille with the lugs is also firmly anchored in the housing on the top and a mesh grille is also glued to the underside. In addition, 2 knurled screws hold it in place at the rear. This prevents the glass side and the right-hand side panel from falling out. At first glance, the back looks like a normal case, unless you know that you can also convert everything there. But more on this in the installation report. It is only superficially recognizable that the rear area of the housing does not consist of one, but of several sections that can be removed with screws. This is where the cut-out for the power supply unit, the cut-out for the mainboard and the screw-in covers for the PCI Express slots are located. I like the fact that the slot covers are screwed in and can therefore be reused.

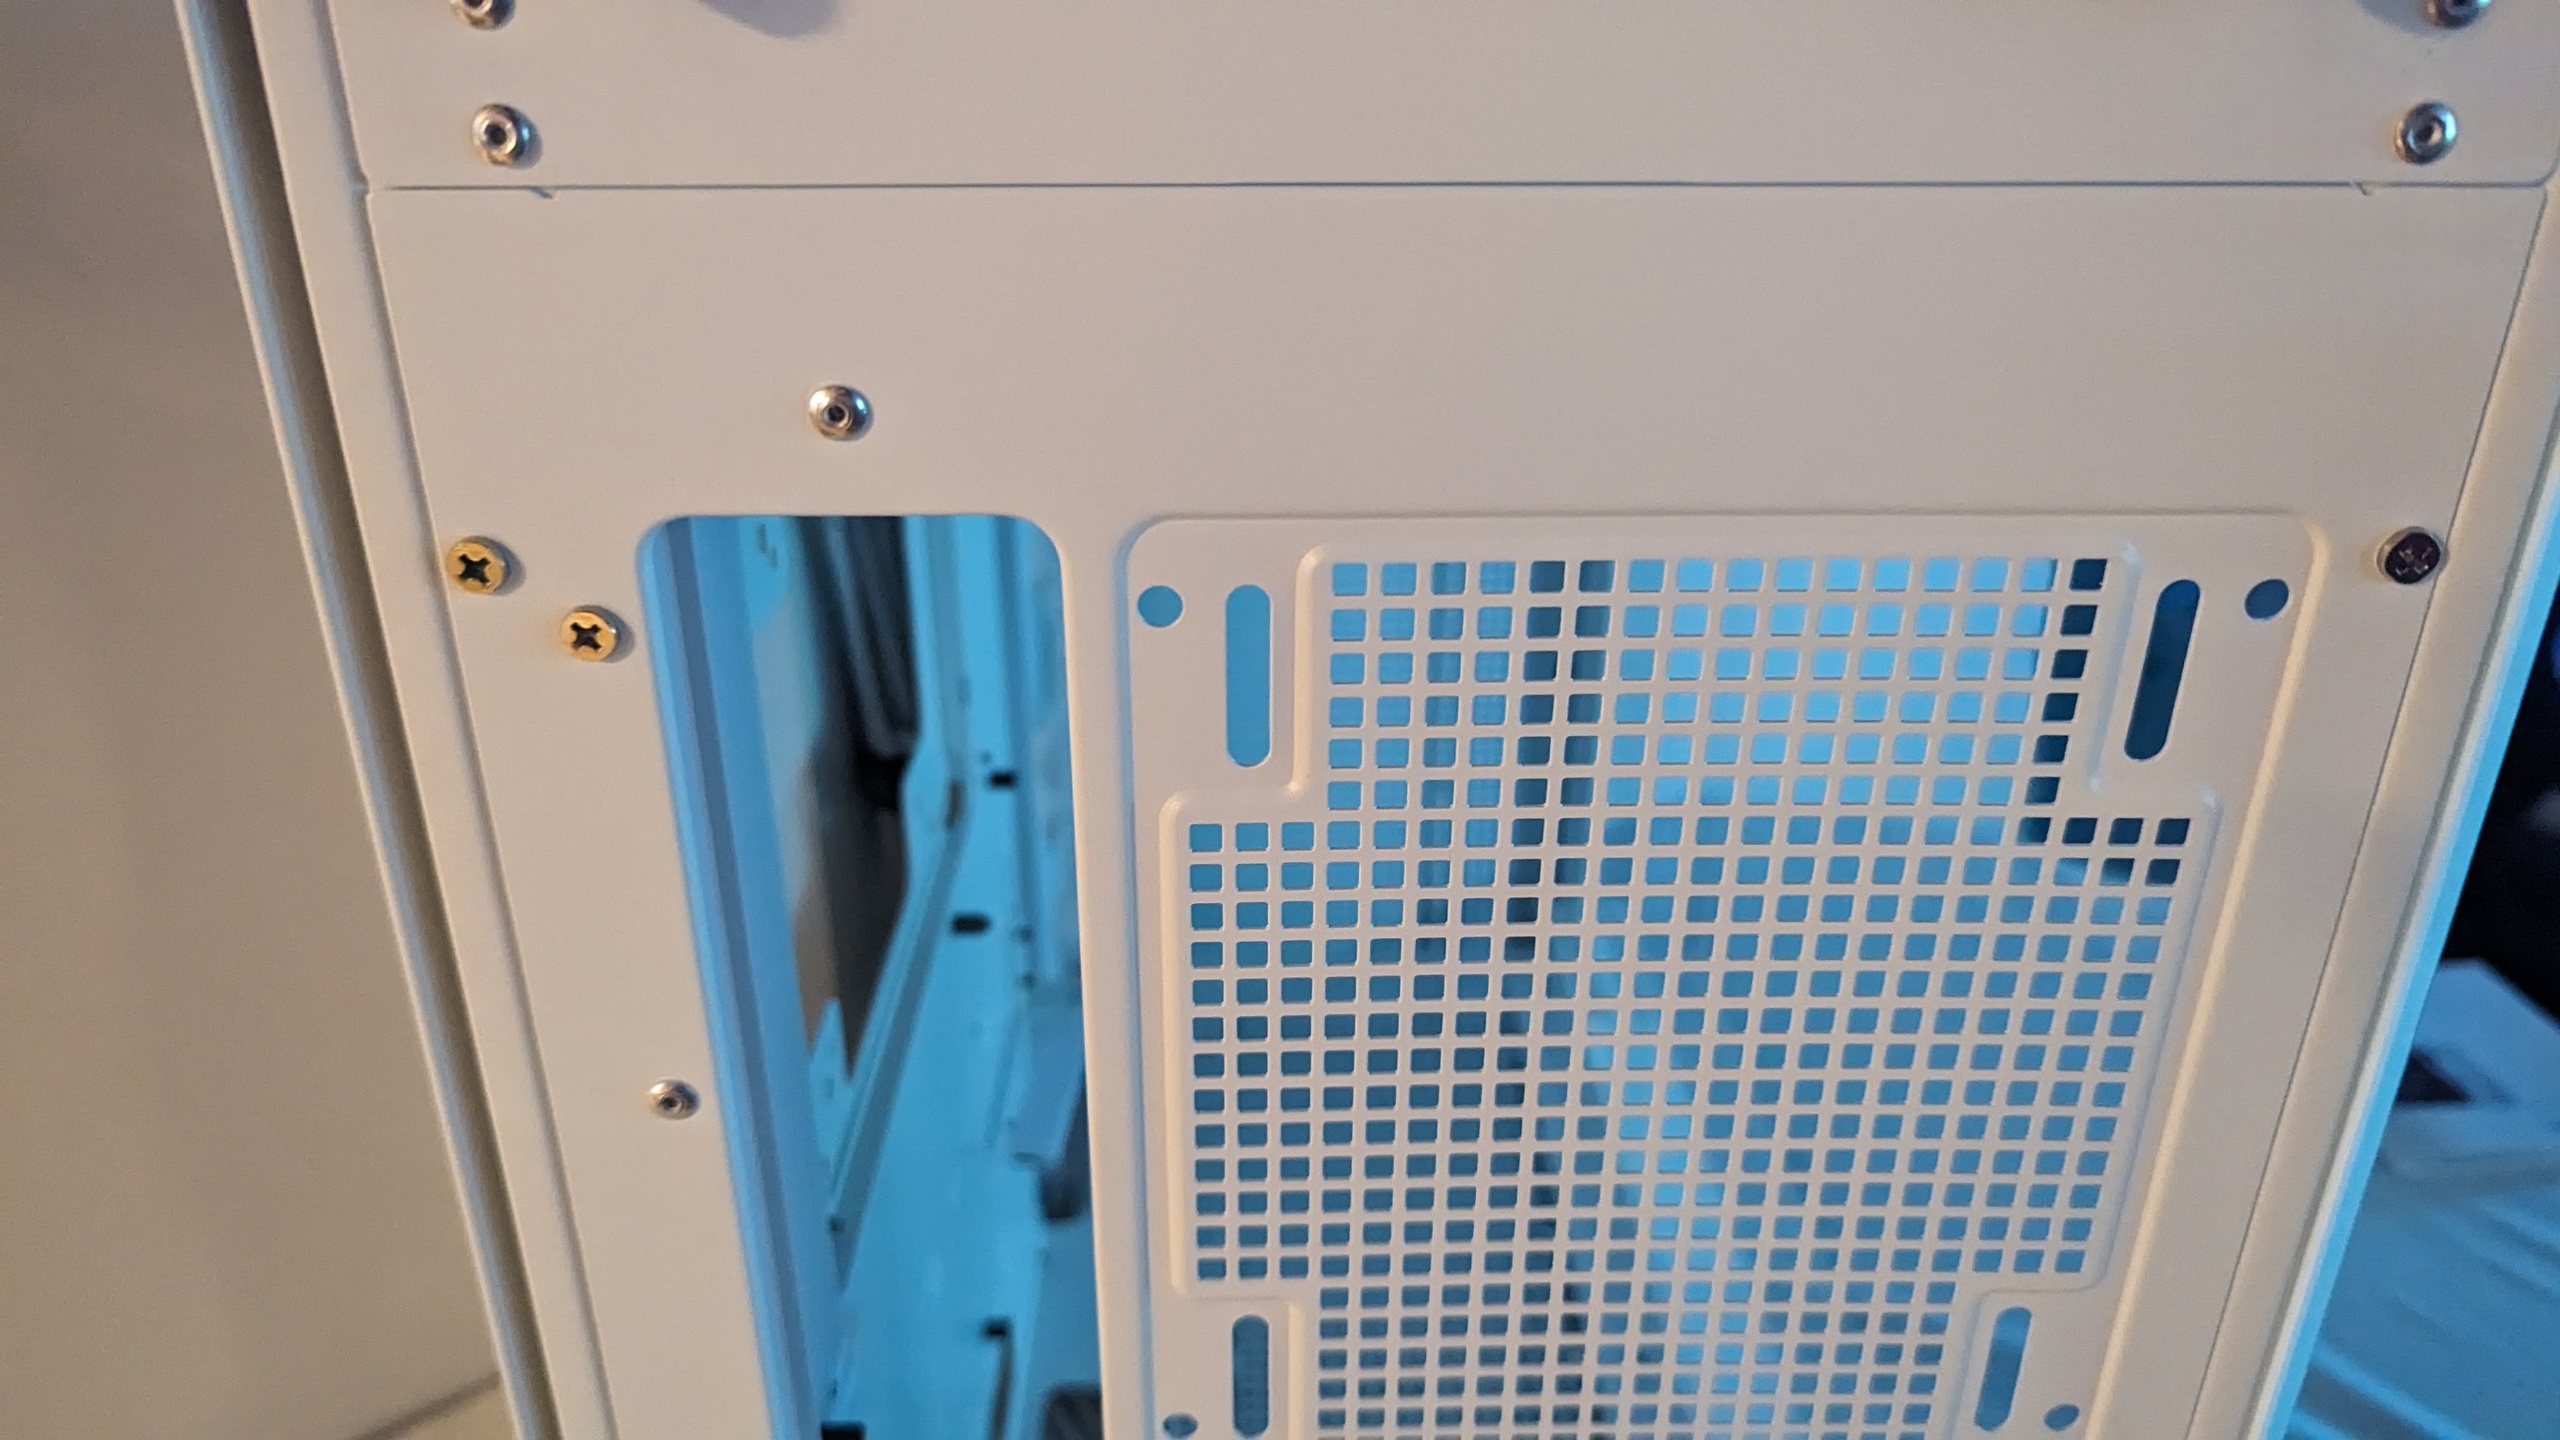
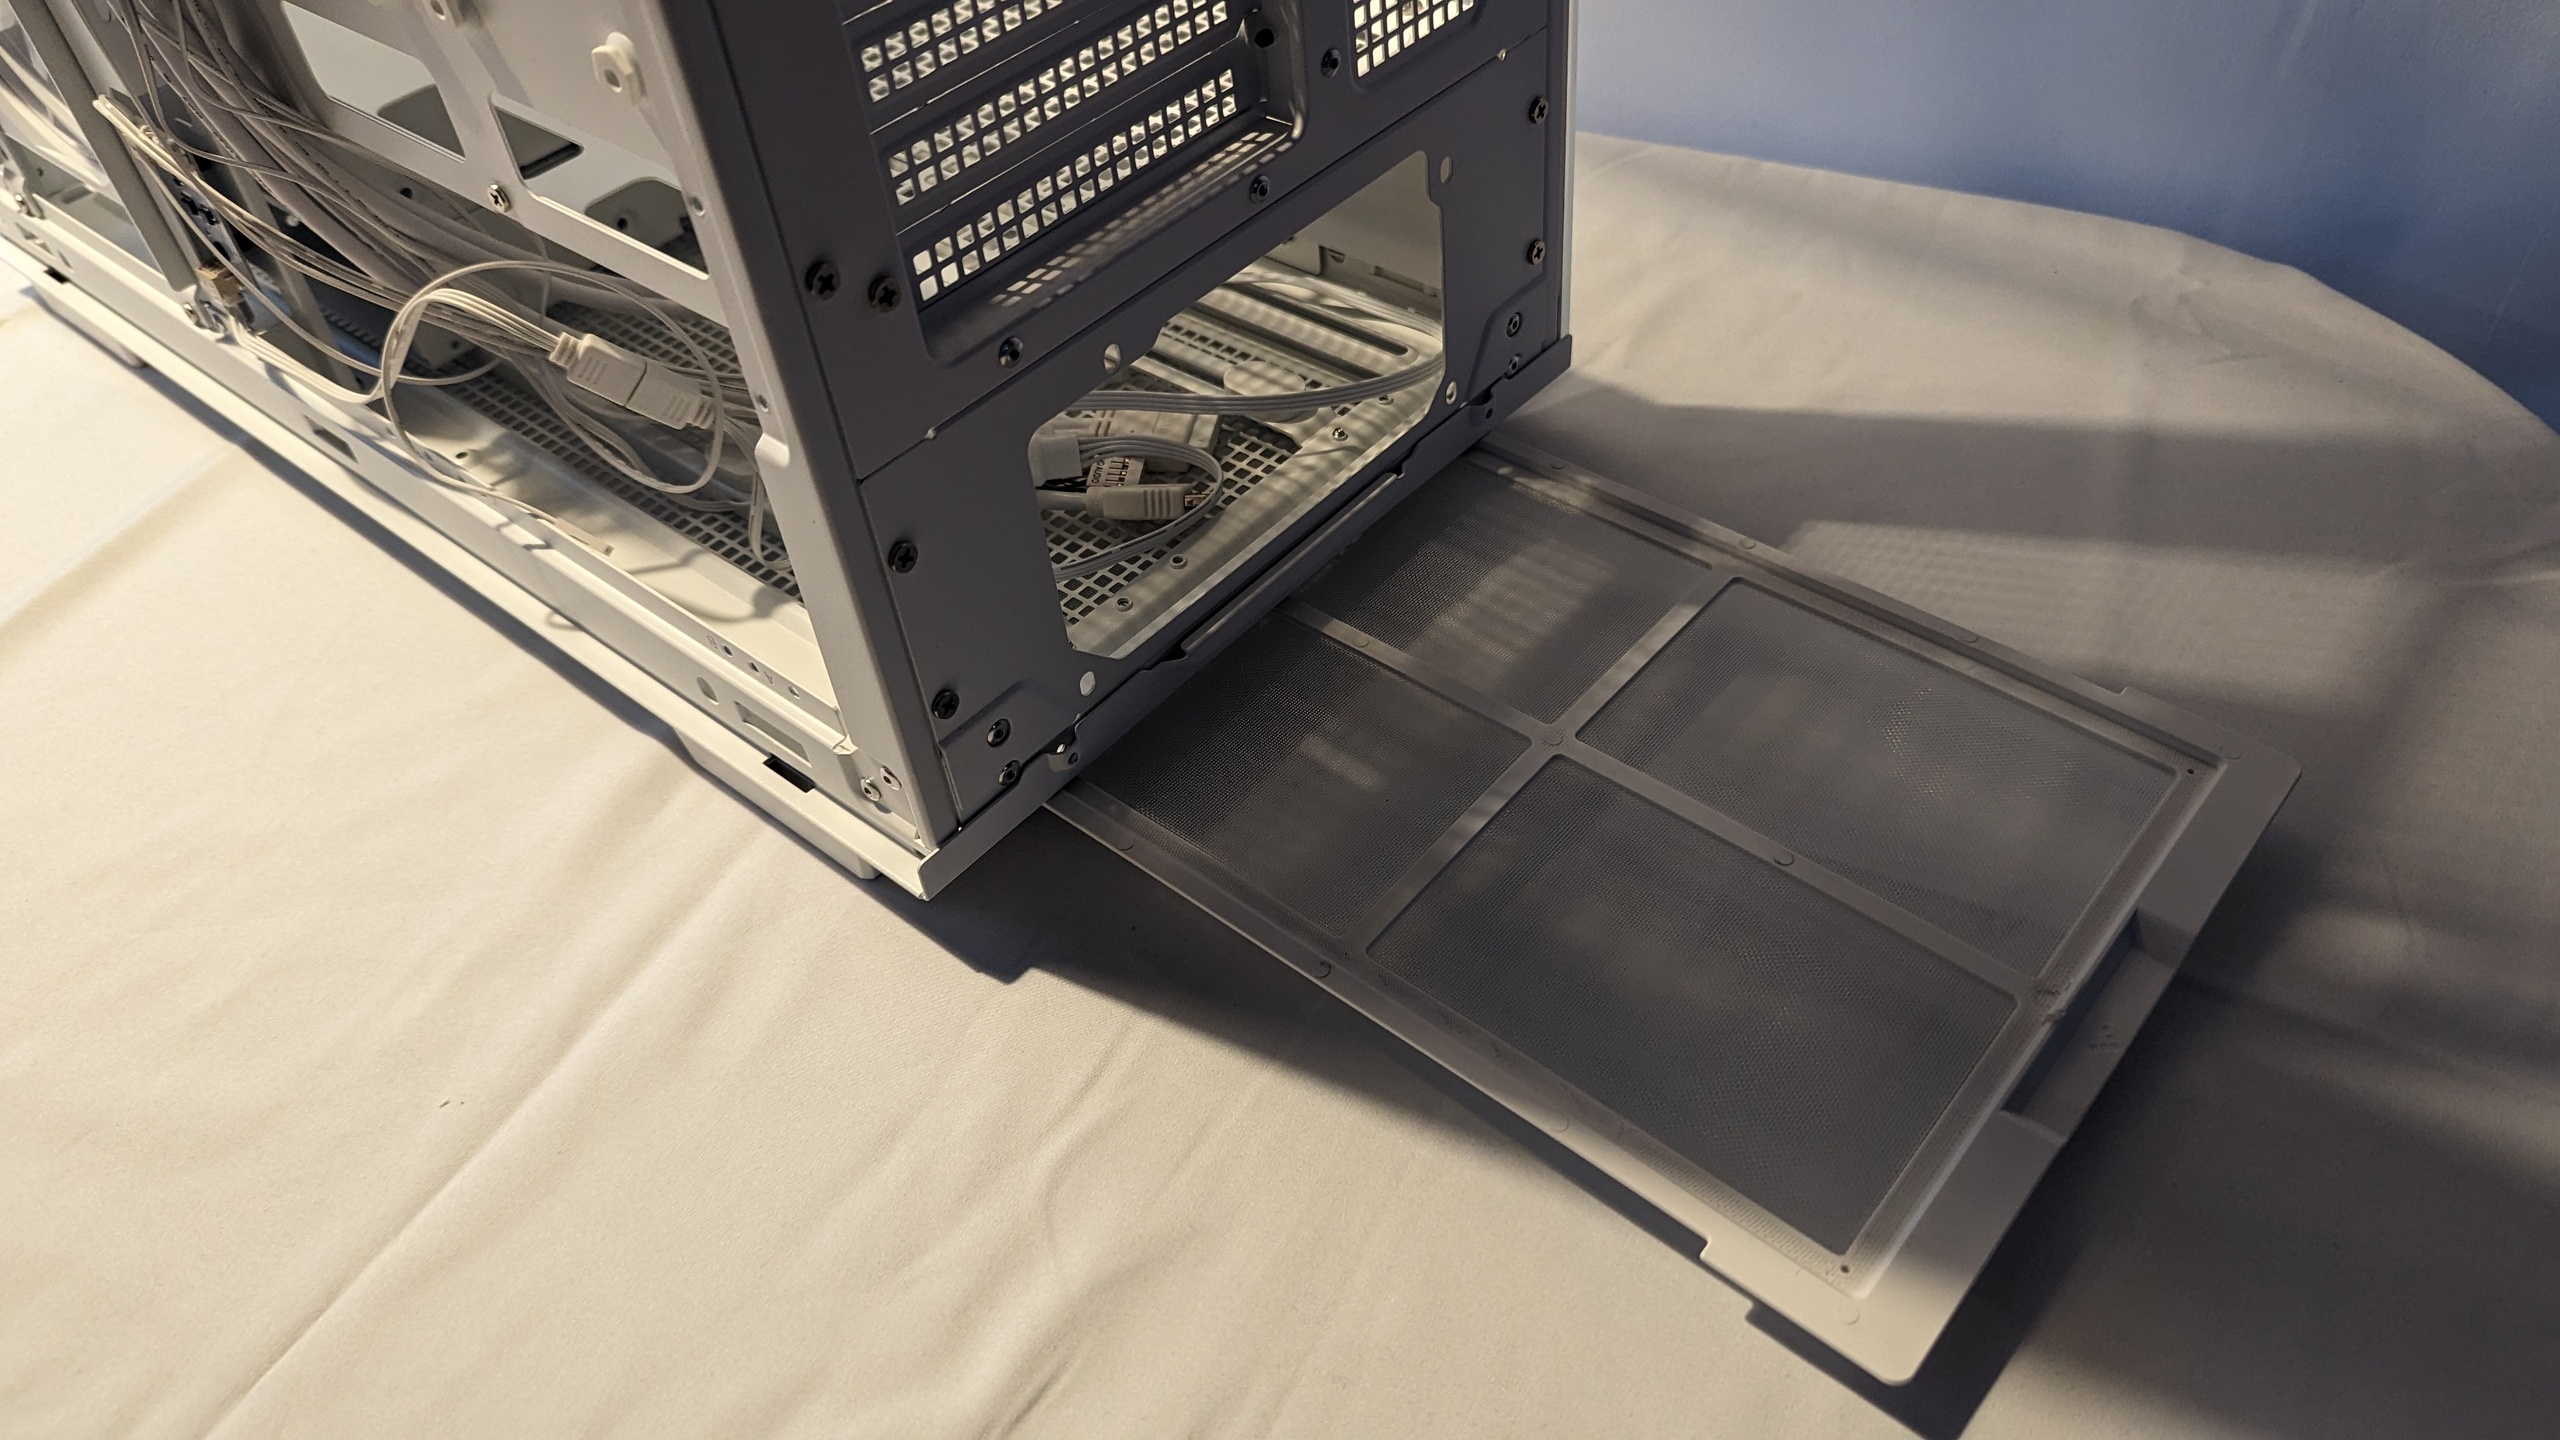
There is also an inserted dust filter on the underside, which protects the entire lower area from the effects of dust. This can be pulled out through the back. Fiddly, but practical.


28 Antworten
Kommentar
Lade neue Kommentare
Veteran
1
Neuling
Mitglied
Mitglied
Mitglied
Mitglied
Urgestein
Urgestein
Veteran
Urgestein
Urgestein
Urgestein
Urgestein
Mitglied
Urgestein
Mitglied
Urgestein
Mitglied
Alle Kommentare lesen unter igor´sLAB Community →