The asymmetrical arrangement of the chiplets on the one side and the I/O die on the other side of the Ryzen CPUs of the third generation has it quite in itself. In a first video I had already captured the heating of the CPU as a top view in a special infrared video, which you should have seen before for a better understanding. One of the findings found there was that the hotspots are really no longer located in the middle of the CPU, but (also measurable from the outside) above the areas of the chiplet.
However, the heatspreader did exactly what its name implies and so I could only measure maximum temperature differences of 3 to 4 Kelvin between the hottest spot (hotspot) and the coolest area (coldspot) in a second measurement. By the way, the video contains an annoying slip of the tongue, which slipped through my mind in a hurry, because I mentioned a 180-degree turn. Correct would have been 90 degrees, but to edit the video afterwards was unfortunately impossible. On the next page, however, I’ll go into the differences in the rotation in more detail.
We are building a Ryzen-optimized water block!
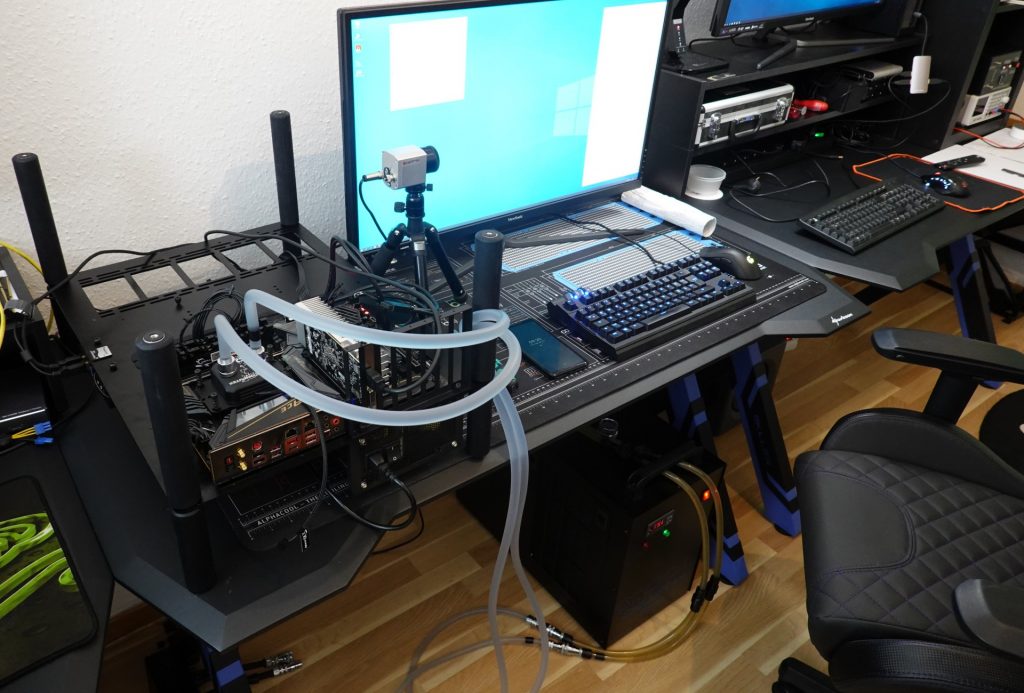
The test system is no secret and this time I consciously use an AMD Ryzen 9 3900X with two chiplets instead of the Ryzen 5 3600 X with only one chiplet. The test software (Prime95 with AVX and Small FFTs) generates exactly 125 Watt Package Power, which could be adjusted very well via Precision Boost Overdrive (PBO) on the MSI MEG X570 Ace as Package Power Tracking (PPT). Who knows my test with the three X570 motherboards to the readout values, will remember that the boards from MSI belong at least with the performance data to the most reliable on the market. And since I want to be able to trust sensor values even with higher CPU loads, this time it wasn’t a beginner board either.
Of course I have also measured directly on the EPS to be sure. What I noticed during the tests with several different water blocks and also AiO compact water cooling systems is the fact that the differences in the positioning of the water blocks on the CPU also depended on the flow of the coolant, if differences were measurable at all. Of course there are always tolerance ranges and so I generally rounded all temperature data to a full degree.
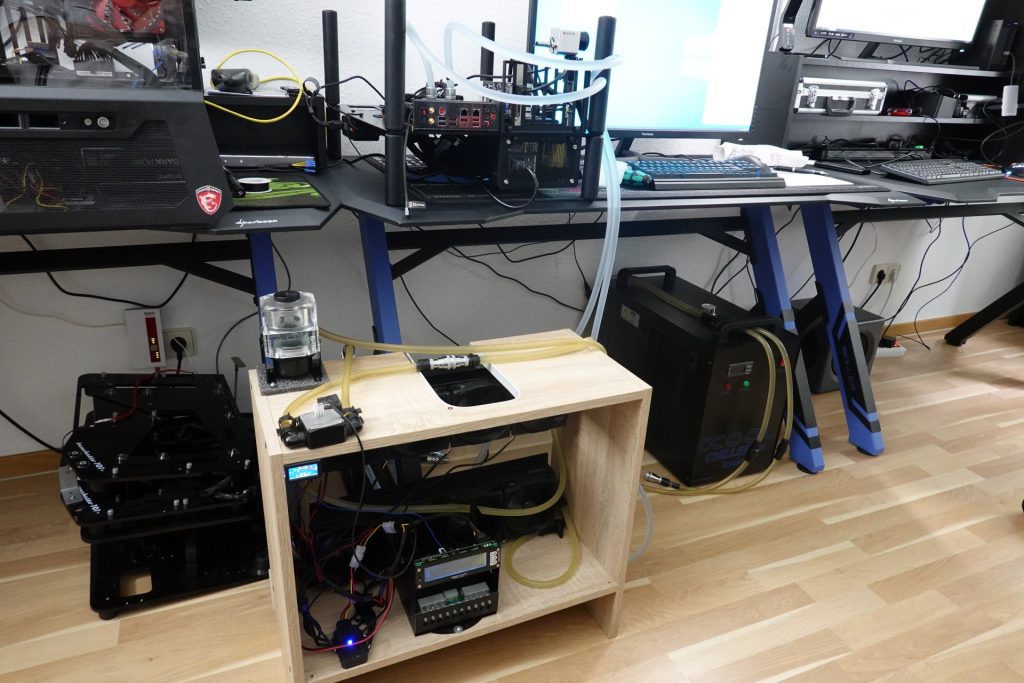
The chiller delivers about 600 l/h in its current state, so I had to use an additional solution for lower throughputs. I switch off the pump of the chiller (own modification) and use a separate pump with cooling circuit and the chiller as a simple “compensation tank” with cooling function. So I can make measurements with 40 l/h, 80 l/h and 120 l/h in addition. I have deliberately avoided further intermediate stages, because all results from approx. 120 l/h within the tolerances were the same.
As cooler I use several Alphacool Eisblock XPX, because the cold plate is big enough for the Ryzen, the cooling performance is convincing and the modification of the blades for the water flow inside is comparatively easy. On request from the manufacturer, it was even possible to obtain the required number of individualisable blades for this experiment in a timely manner. So nothing stood in the way of the orgy of handicrafts and measurements. The room temperature was constant at 22 °C, the water was cooled to 22 °C by the settings of the chiller.
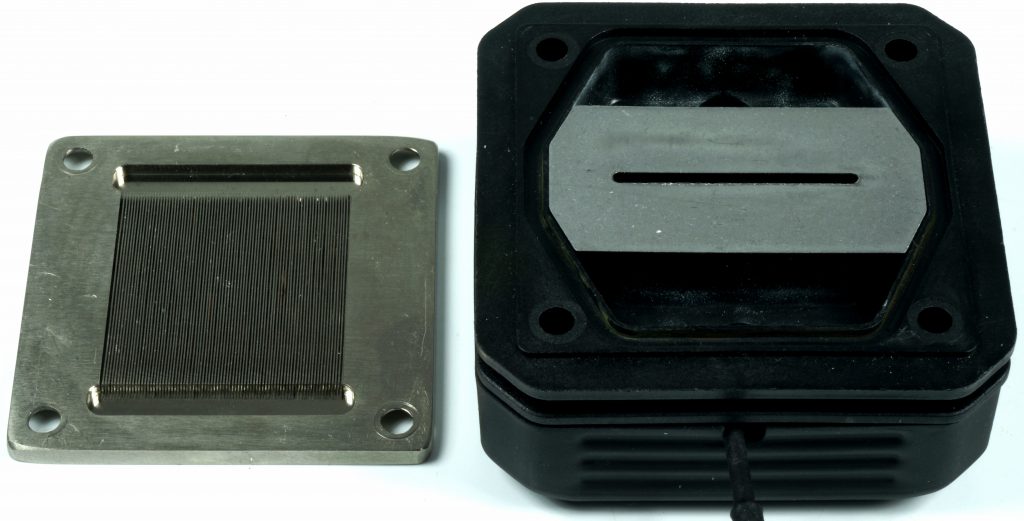
In order to exclude all mistakes over the respective arrangement, I put first of all the exterior with inscription, the interior of the CPU and the position of the microchannels in the Coldplate of the cooler in front, to which I will refer in the following then without any further comment.
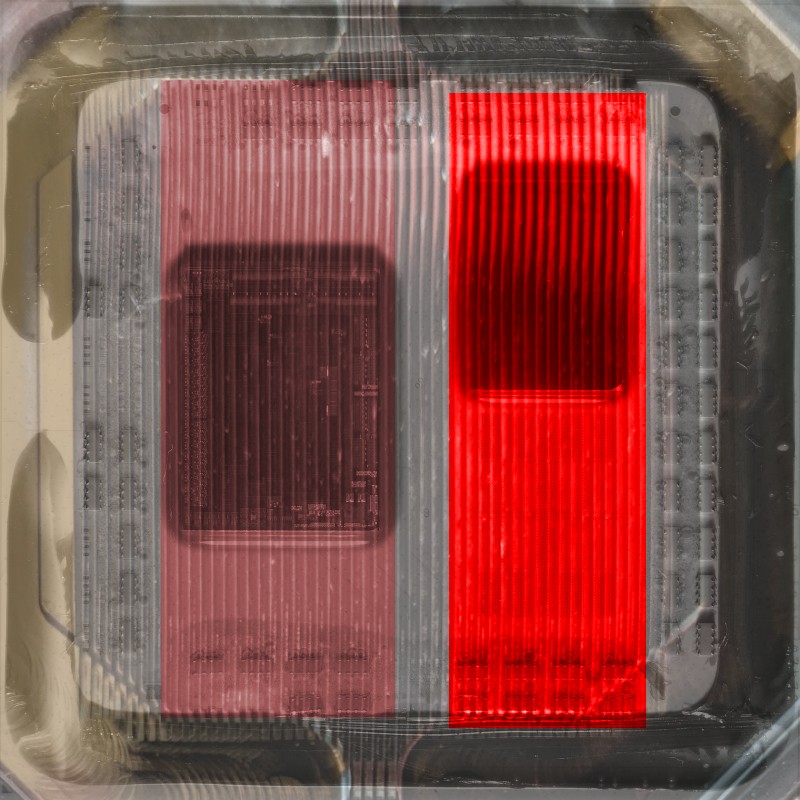
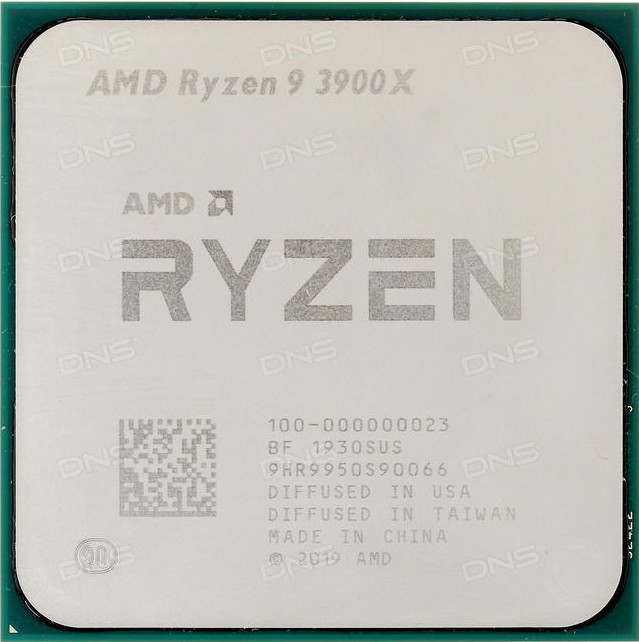
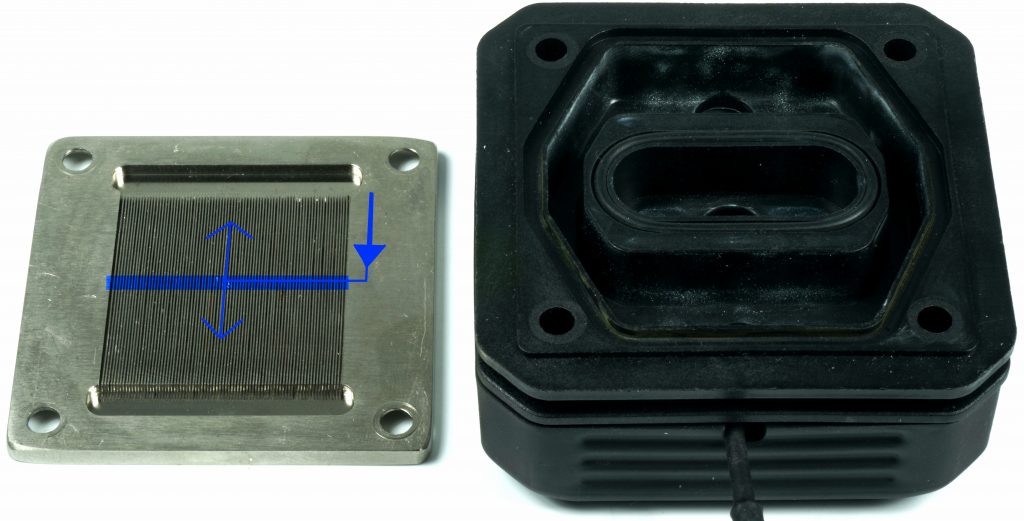
In addition, the following picture once more illustrates the inside of the water block and how it works. The water reaches from the intake of most coolers to the centre of the cooling plate and is distributed there by a special insert (plate). This is exactly where I will start with the conversion.
Let’s just take a look at the open cooler. There we also see the water inlet in the middle and on the left the blue marked injection surface of the water, which then moves through the channels to the two outer sides, where it can escape above again. Will I be able to optimise the cooling behaviour by changing the water supply after all? The test will answer exactly this question and I will also analyze an AiO compact water cooling system including possible problems. But more about that later.
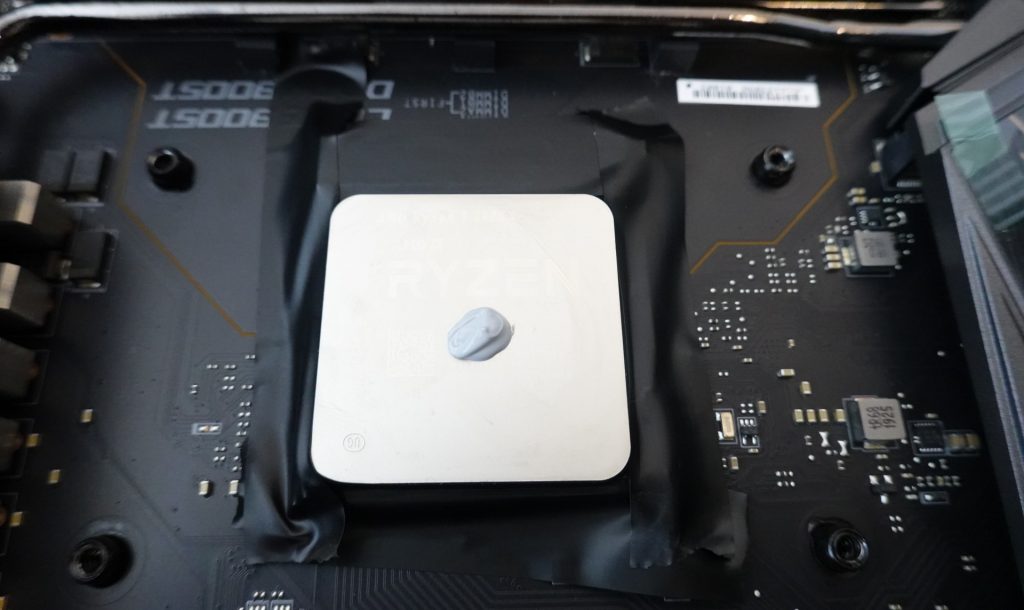
In order to obtain as equal conditions as possible, I use the usual thermal grease, because it spreads very easily as a centrally applied blob through the contact pressure. The surfaces of the CPU and the water block are cleaned with isopropanol before each pass. I taped the base up to the edge of the CPU with black tape.
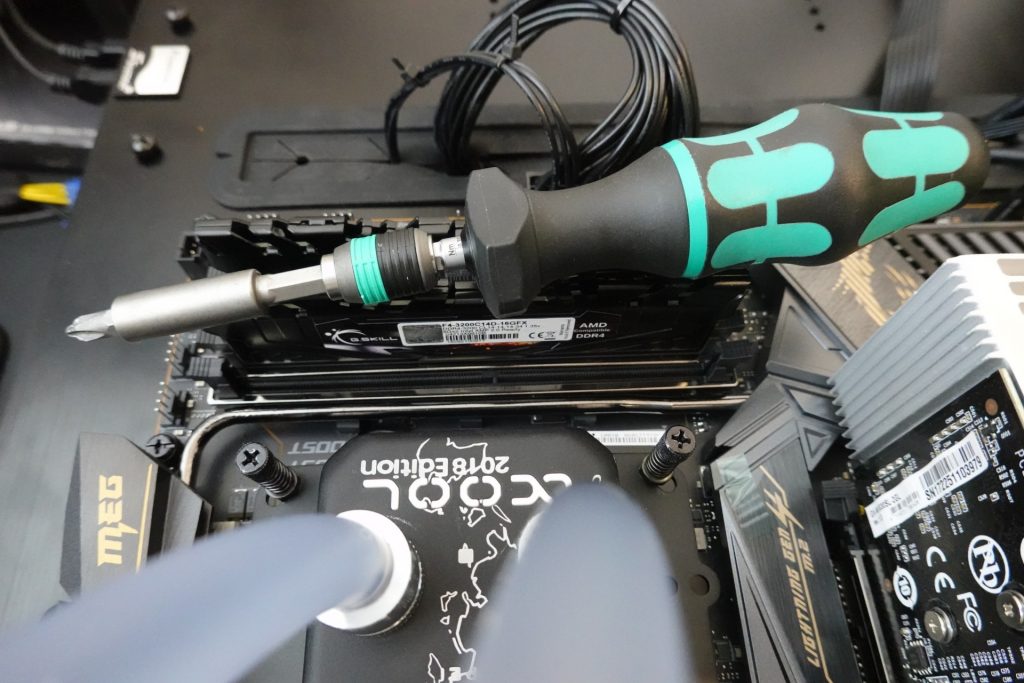
In order to guarantee an identical distribution and the same contact pressure every time, I use a torque screwdriver and exactly 0.35 Nm, which have proved to be completely sufficient in this constellation to avoid bending the holding system. That’s why I deliberately don’t use a system with stoppers, but the exact torque wrench. Multiple assemblies with fixed systems have shown weaknesses after a few runs.
The summary in table form offers interested parties a quick overview before we can finally get started:
| Test System and Methods |
|
|---|---|
| System: |
AMD Ryzen 9 3900X MSI MEG X570 ACE 2x 8GB G.Skill DDR4 3200 1x 1 TByte Patriot Viper (NVMe System SSD) 1x Seagate FastSSD Portable USB-C Seasonic Prime 1200 Watt Titanium PSU |
| Cooling: |
Alphacool Eisblock XPX with modifications Alphacool Chiller Eiszeit 2000 Alphacool Water Cooling (VPP755 V3, as alternate) Aqua Computer Aquaero 5 Pro, Flow Meter, Temperature Sensors Thermal Grizzly Kryonaut Wera Torque Screwdriver (0,35 Nm) |
| Case: |
Open Benchtable |
| Monitor: | Ultra-HD |
| Power Consumption: |
non-contact direct current measurement on PCIe slot (riser card) Non-contact direct current measurement at the external PCIe power supply direct voltage measurement 2x Rohde & Schwarz HMO 3054, 500 MHz multichannel oscilloscope with memory function 4x Rohde & Schwarz HZO50, current clamp adapter (1 mA to 30 A, 100 KHz, DC) 4x Rohde & Schwarz HZ355, probe (10:1, 500 MHz) 1x Rohde & Schwarz HMC 8012, digital multimeter with memory function |
| Thermal Cameras: |
1x Optris PI640, 2x Xi400 Thermal Imagers Pix Connect Software |
| OS: | Windows 10 Pro (1903, all Updates) |




Kommentieren