


Introduction and specifications
Ergonomics at the workplace and especially in the home office are often underestimated, but are becoming increasingly important. Whether it’s about preventing postural pain or simply being able to work more efficiently, it’s essential to perfectly adjust peripheral devices such as mouse, keyboard and monitors to your own needs. Users of large monitors are often faced with a literally big problem, because no matter if 34 inch Ultrawide or 40 inch 4K monitor, if you want to use a large and therefore heavy monitor, it is very difficult to find an aftermarket monitor arm to replace the included stand with its mostly limited adjustment possibilities.
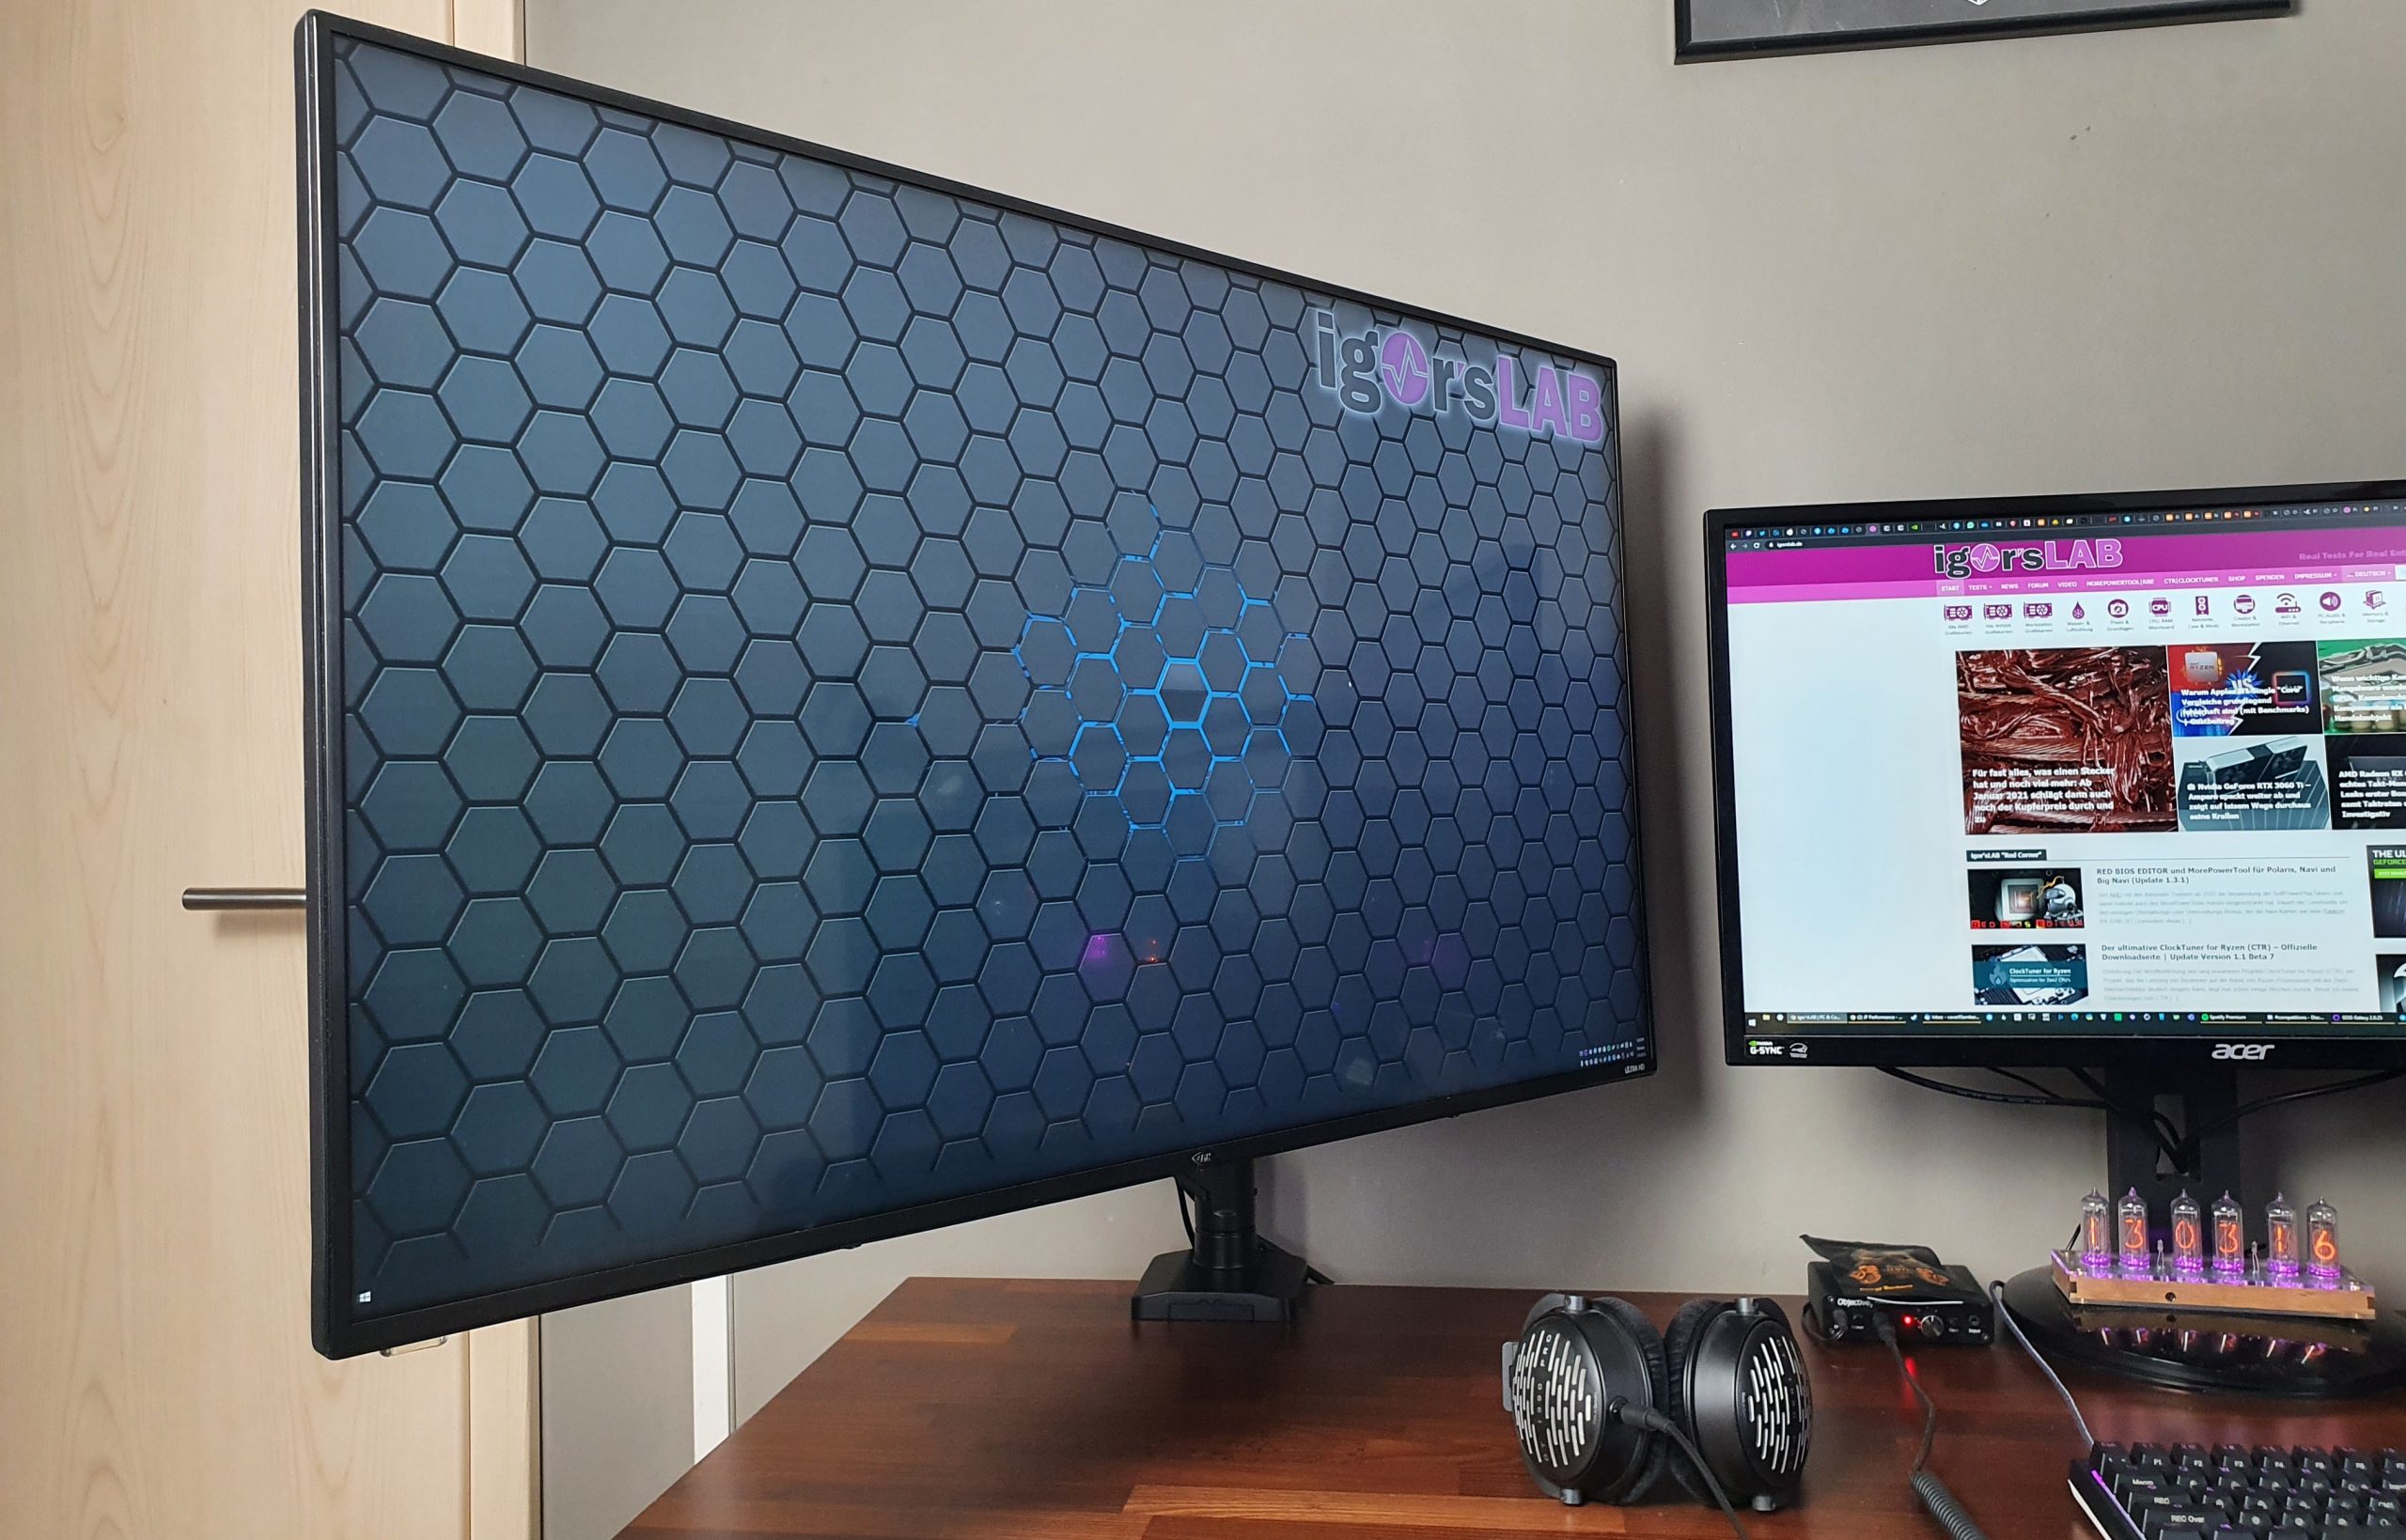
In my case I have been using a South Korean no-name 4K 40 inch monitor for quite some time. Why? The pixel density is almost the same as 1440p at 27 inches and thus offers a lot of workspace without requiring display scaling in Windows. Unfortunately, most display manufacturers put such panels into a TV rather than a monitor and therefore usually only have HDMI inputs, no DisplayPort and therefore usually scalers with a relatively high input lag. When I bought the AMH A409U over 4 years ago, it offered the best compromise of a 4K 40 inch IPS panel with scaler and input characteristics of a PC monitor. The only problem is that the stand is merely a glass plate statically attached to the housing, without any adjustment possibilities. Fortunately, a VESA mount is available, for which I now only had to find a suitable arm.
Exactly, “only finding a suitable arm” took more than 4 years, because there just are not many options in the market. Either the maximum carry weight of most VESA monitor arms is too low, the quality leaves much to be desired, or the price is almost astronomical. In the American market there are a few interesting models, but shipping and importing them to Europe is simply not economical due to their heavy weight. In this country, the best known brand is probably “Ergotron”, but their selection is also rather spartan for this monitor size and weight and the price is still already almost half that of the monitor.
After a long search, in the middle of hundreds of Chinese 8kg 0815 standard monitor arms, I recently stumbled upon the “Halterungsprofi Office-GS512A” on Ebay. The specifications were almost too good to be true: Monitors weighing up to 15kg with a diagonal of up to 35 inches are supported by the gas pressure arm, all imaginable adjustment possibilities are offered, the appearance is plain and mostly matte black, the construction is almost completely made of metal and the price is 49 Euros.
Package contents and assembly
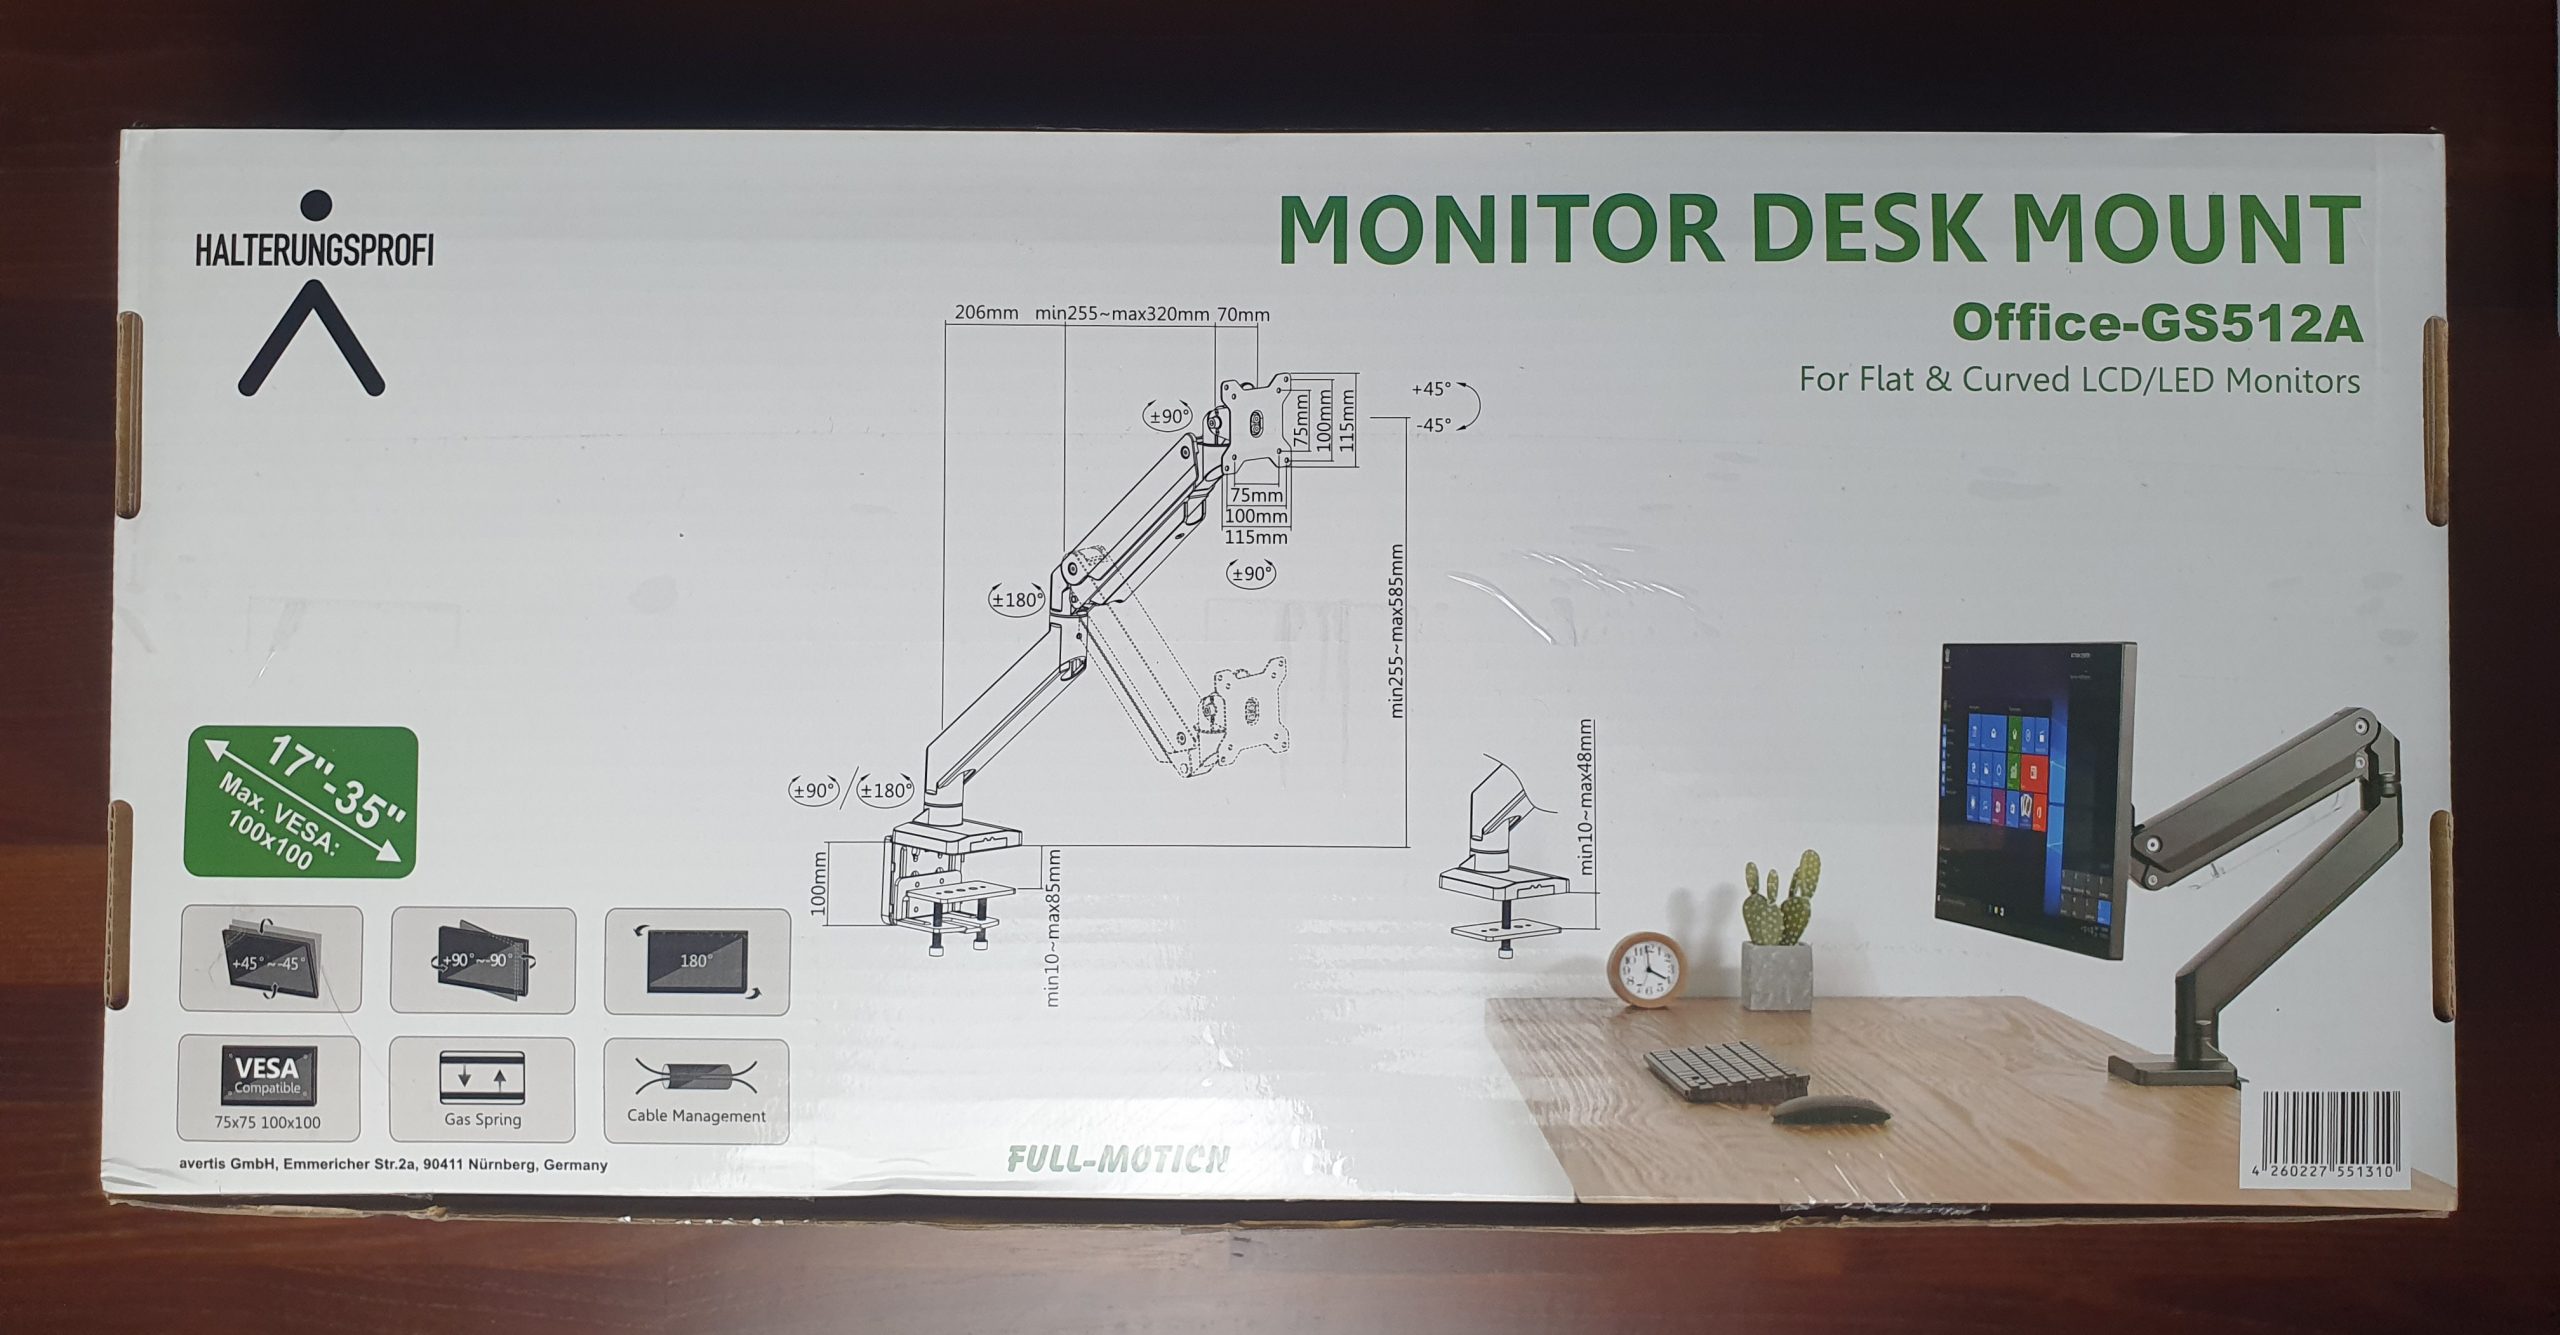
The packaging is kept simple, but lists all important details again and schematically shows the dimensions of the various components and their adjustment possibilities.
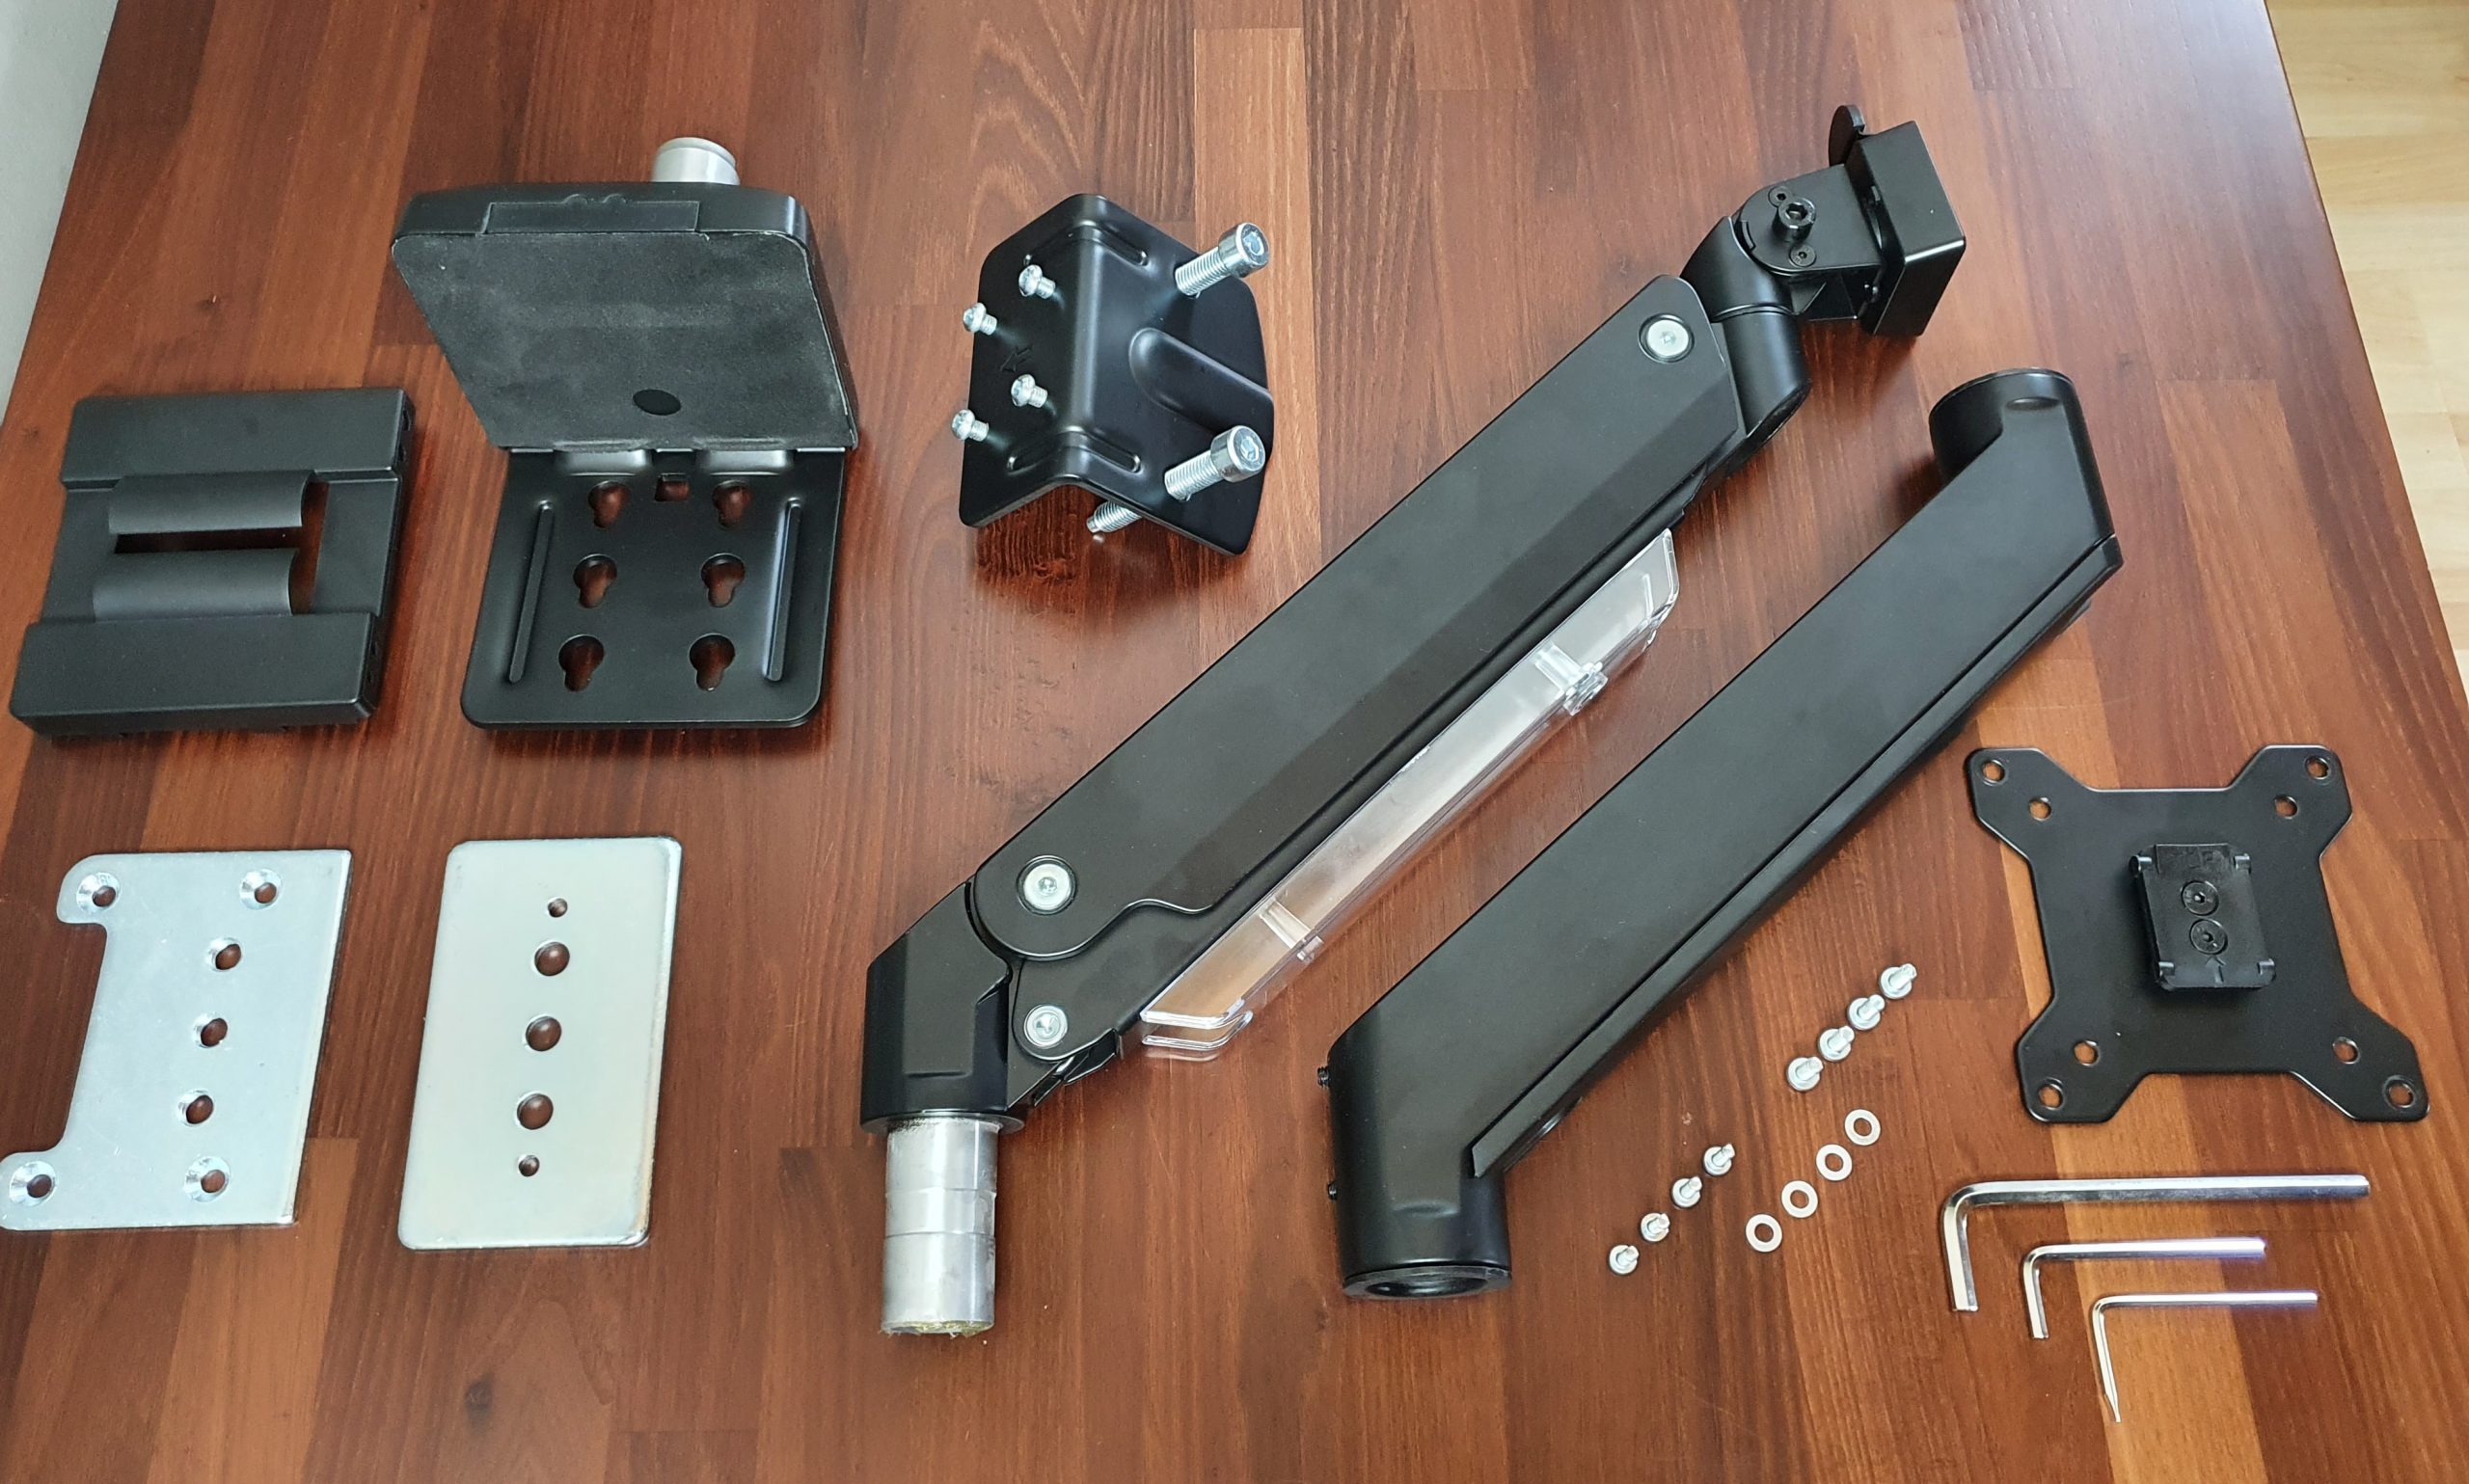
Included are mounting options for the edge and for a hole drilling of a table top. The thickness of the table top can range from 10mm to 85mm. Furthermore, we find the actual arm with integrated gas pressure spring is included, as well as the adapter for VESA 75mm and 100mm monitor mounts. There are 4 M4x12mm and 4 M5x12mm screws and 4 washers to match. The whole thing is completed by 3 screwdrivers, which are used to adjust the various arm joints.
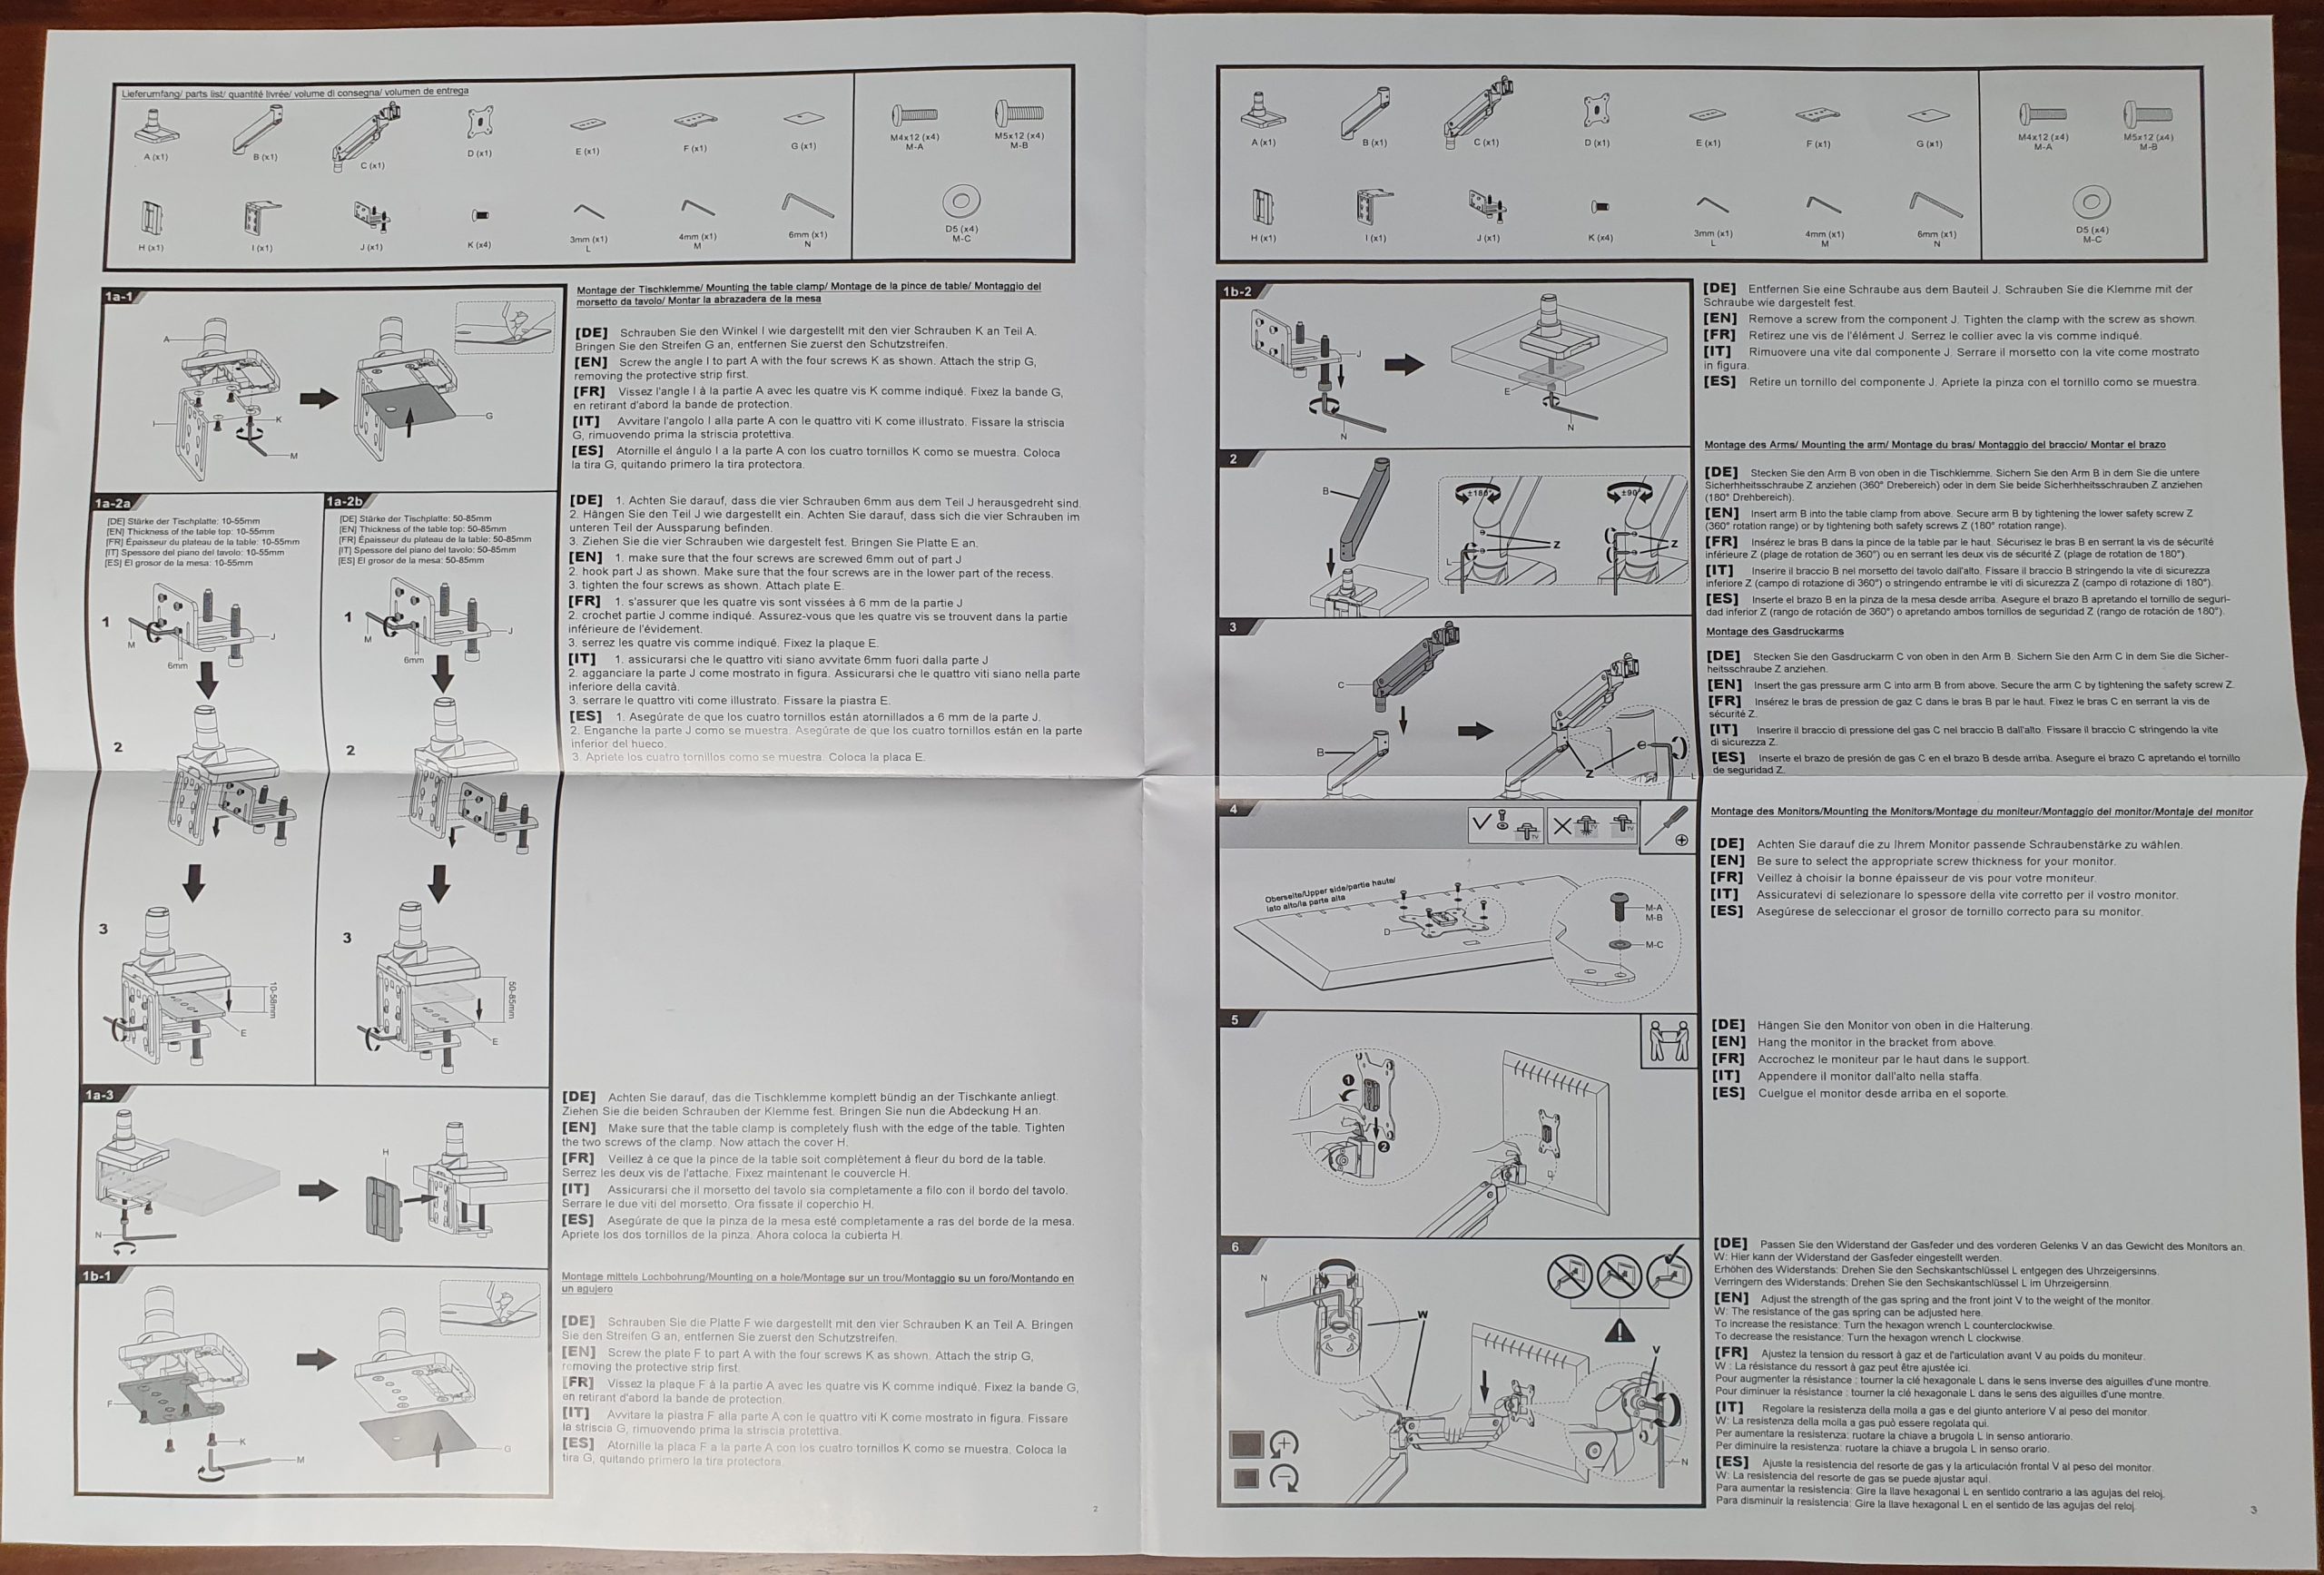
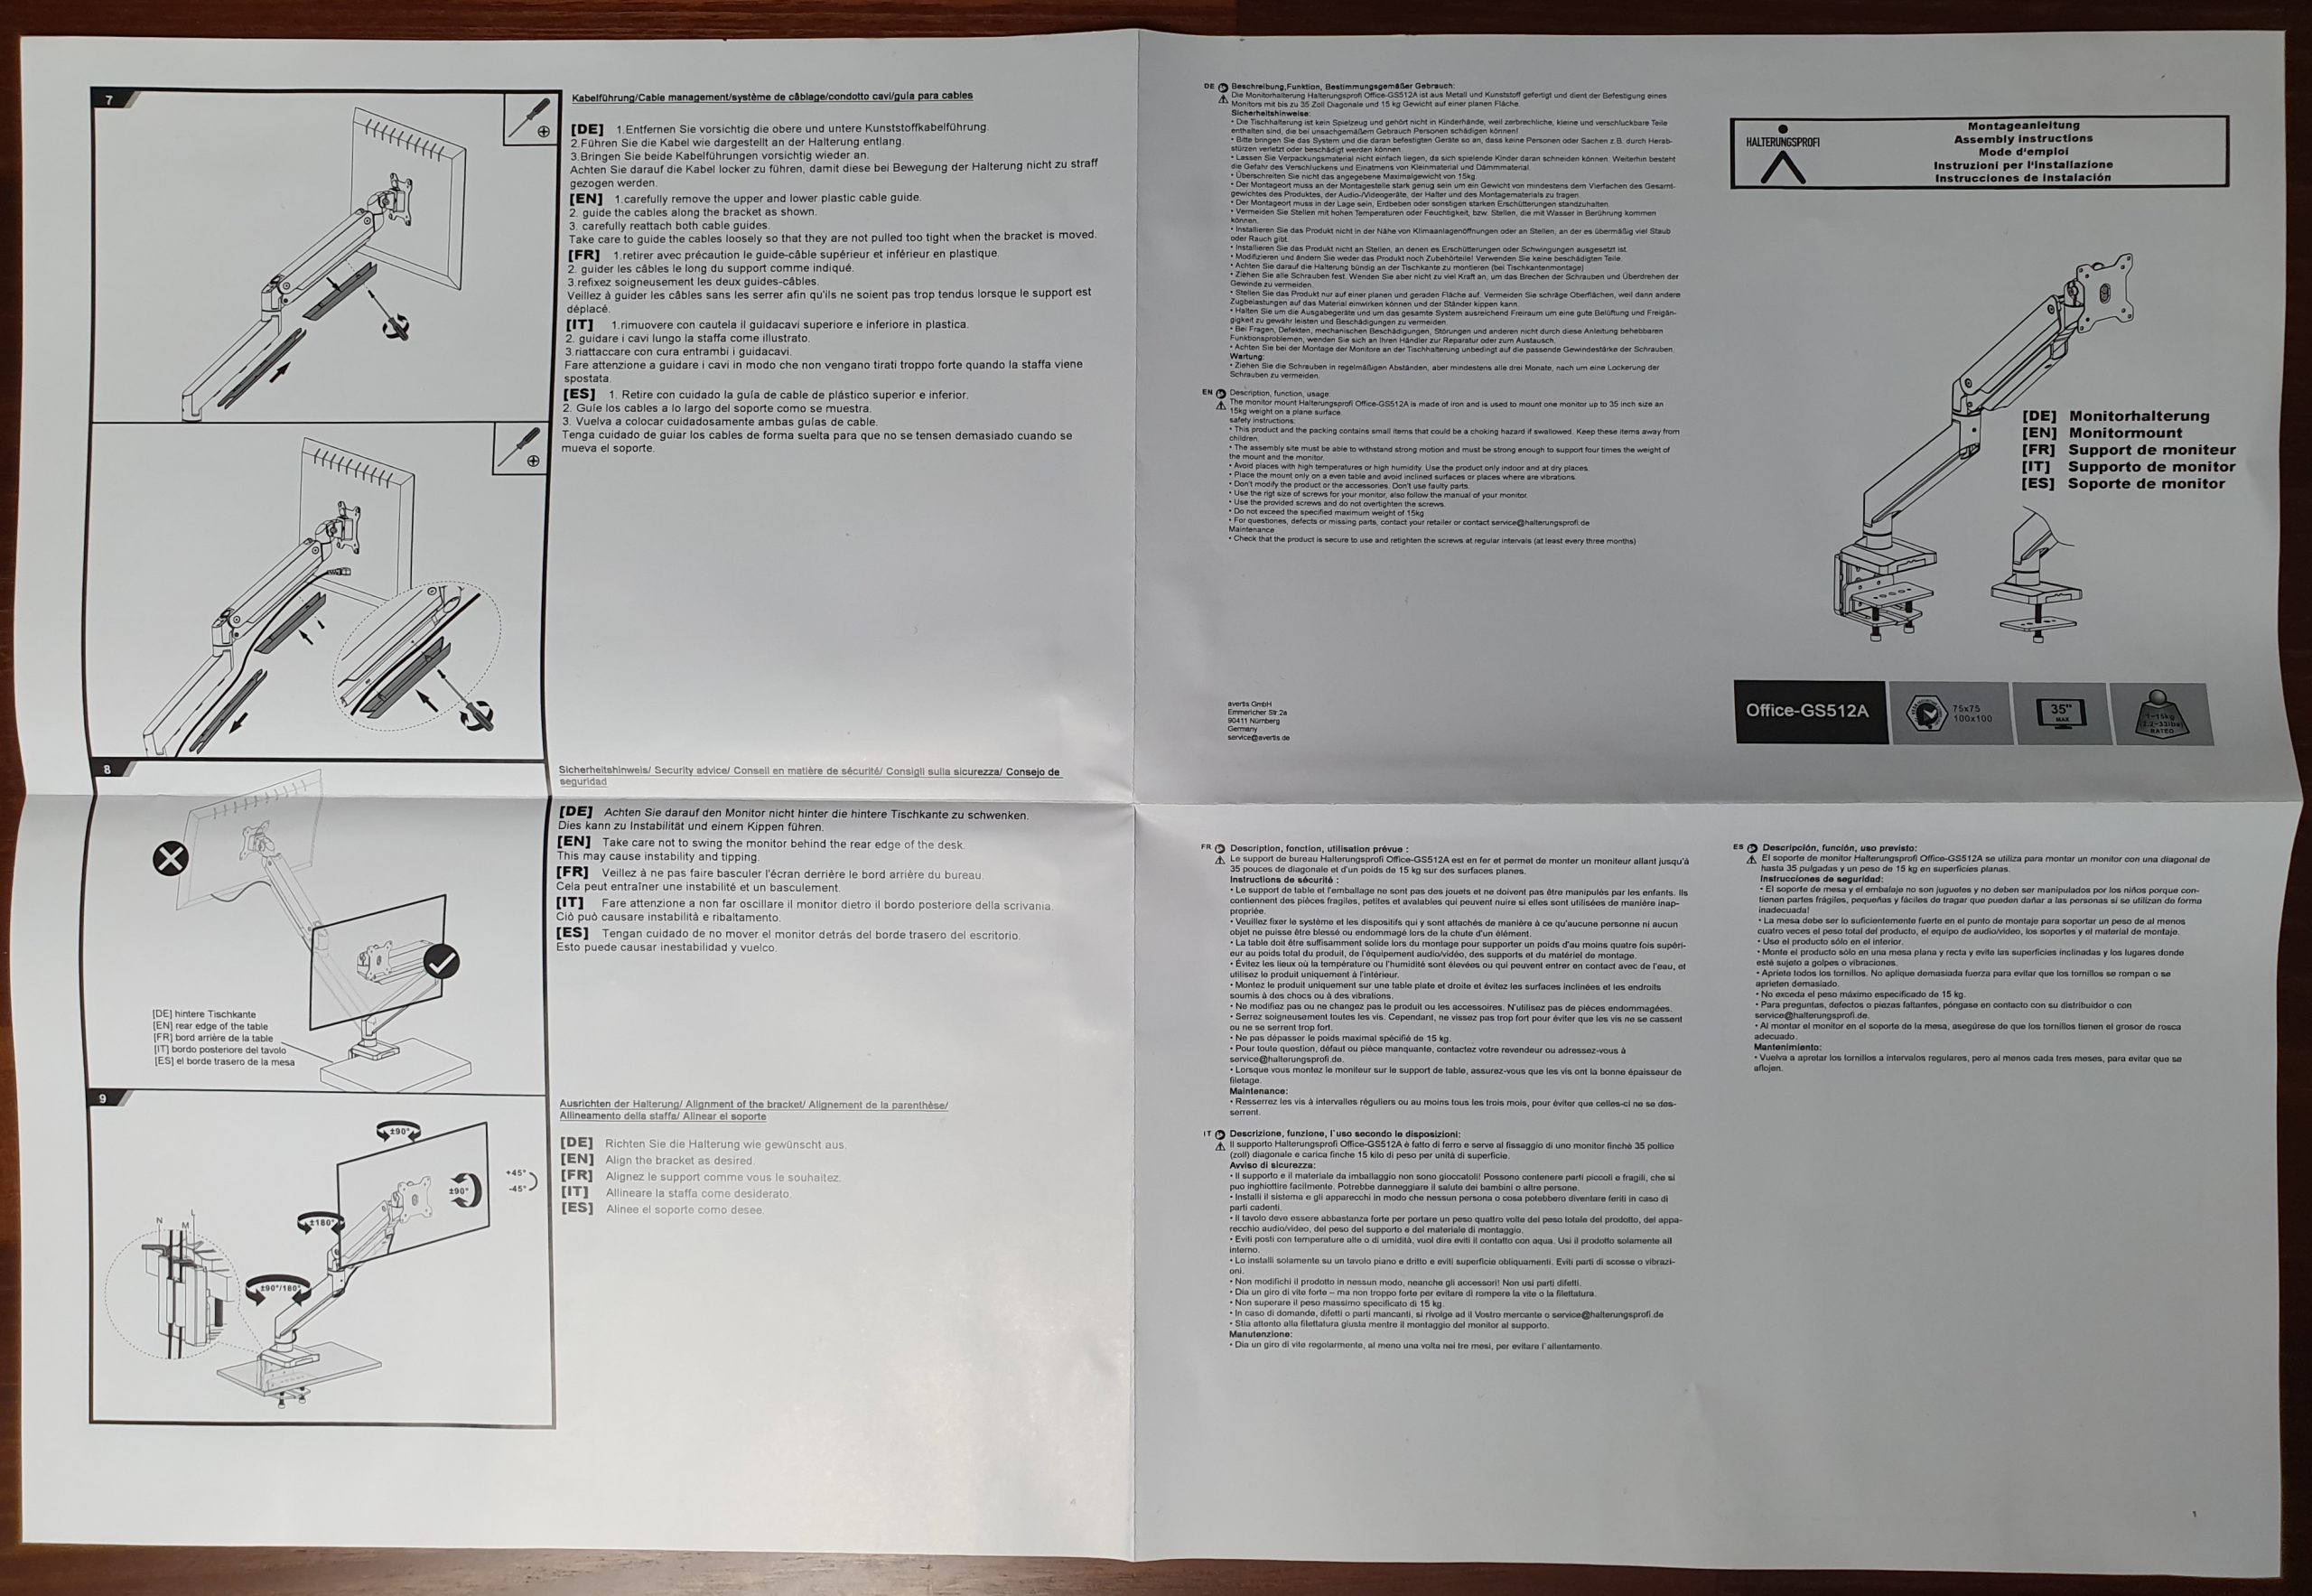
The included manual is clearly arranged, provides both written and schematic instructions and is covers German, English, French, Italian and Spanish.
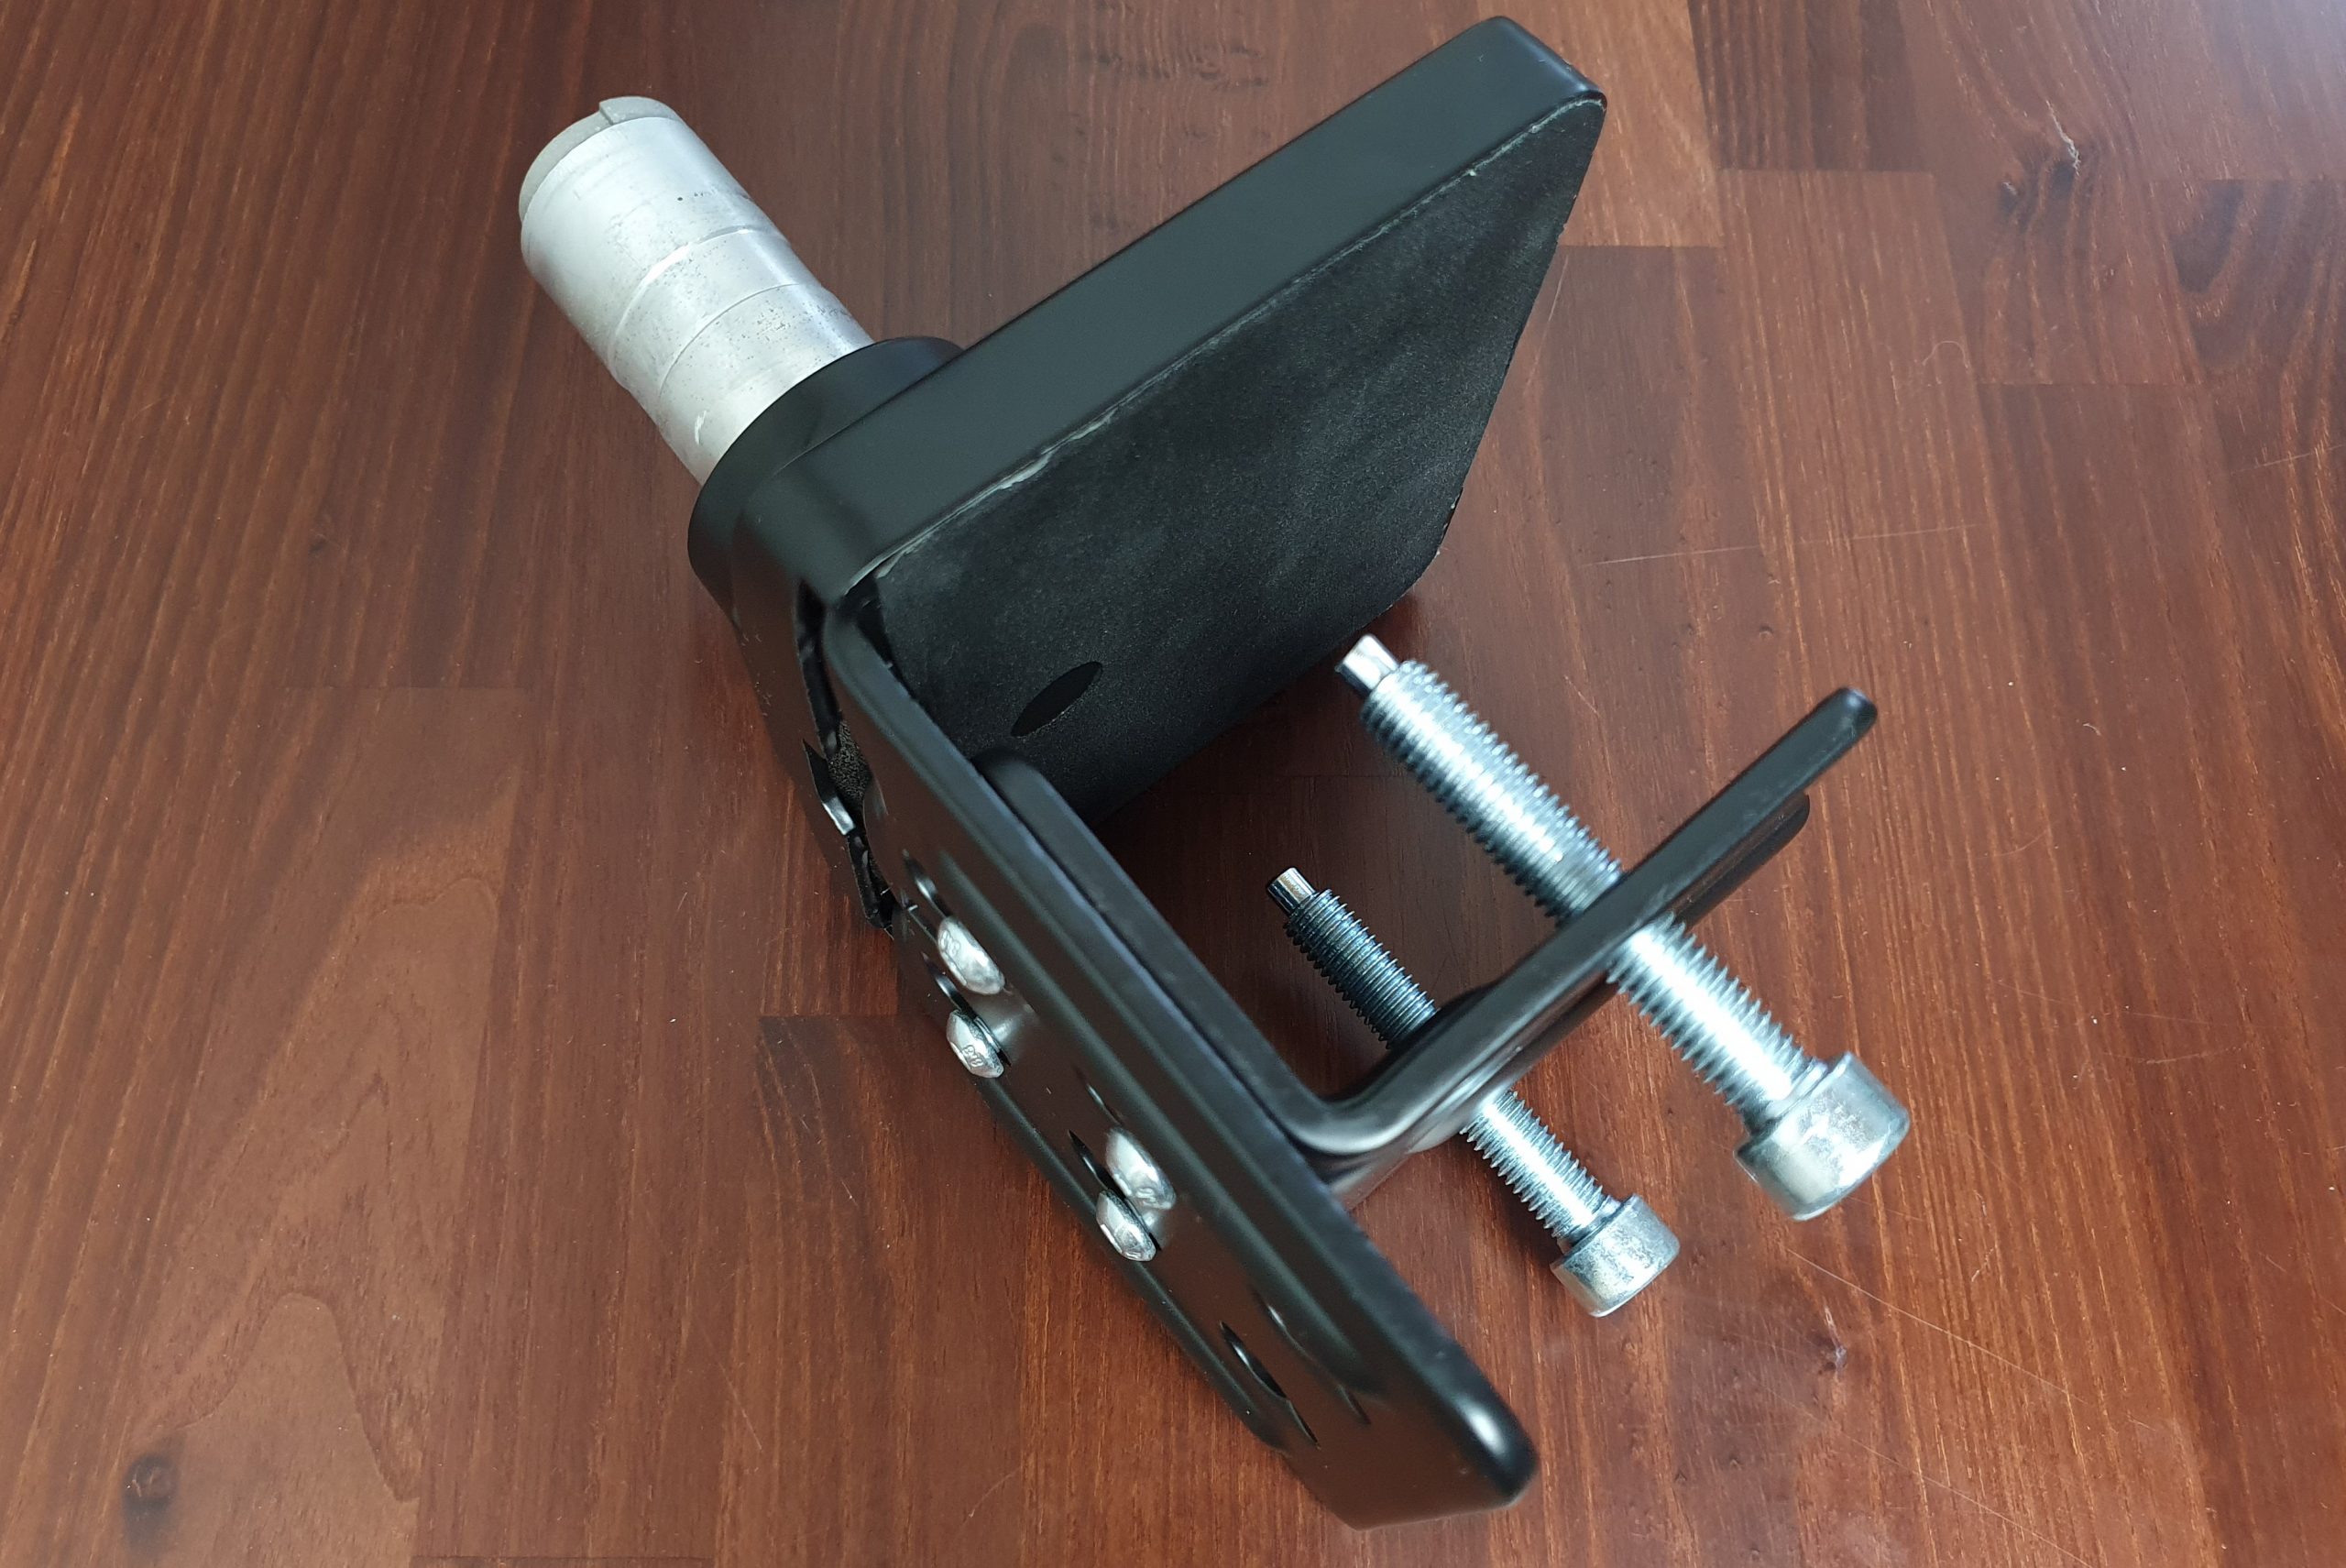
In the case of my table edge assembly, the two L-shaped plates are assembled with the already pre-installed screws. You can choose between two distances for different table top thicknesses. In addition, a 3M self-adhesive foam pad is included which is attached to the underside of the arm base to protect the table top.
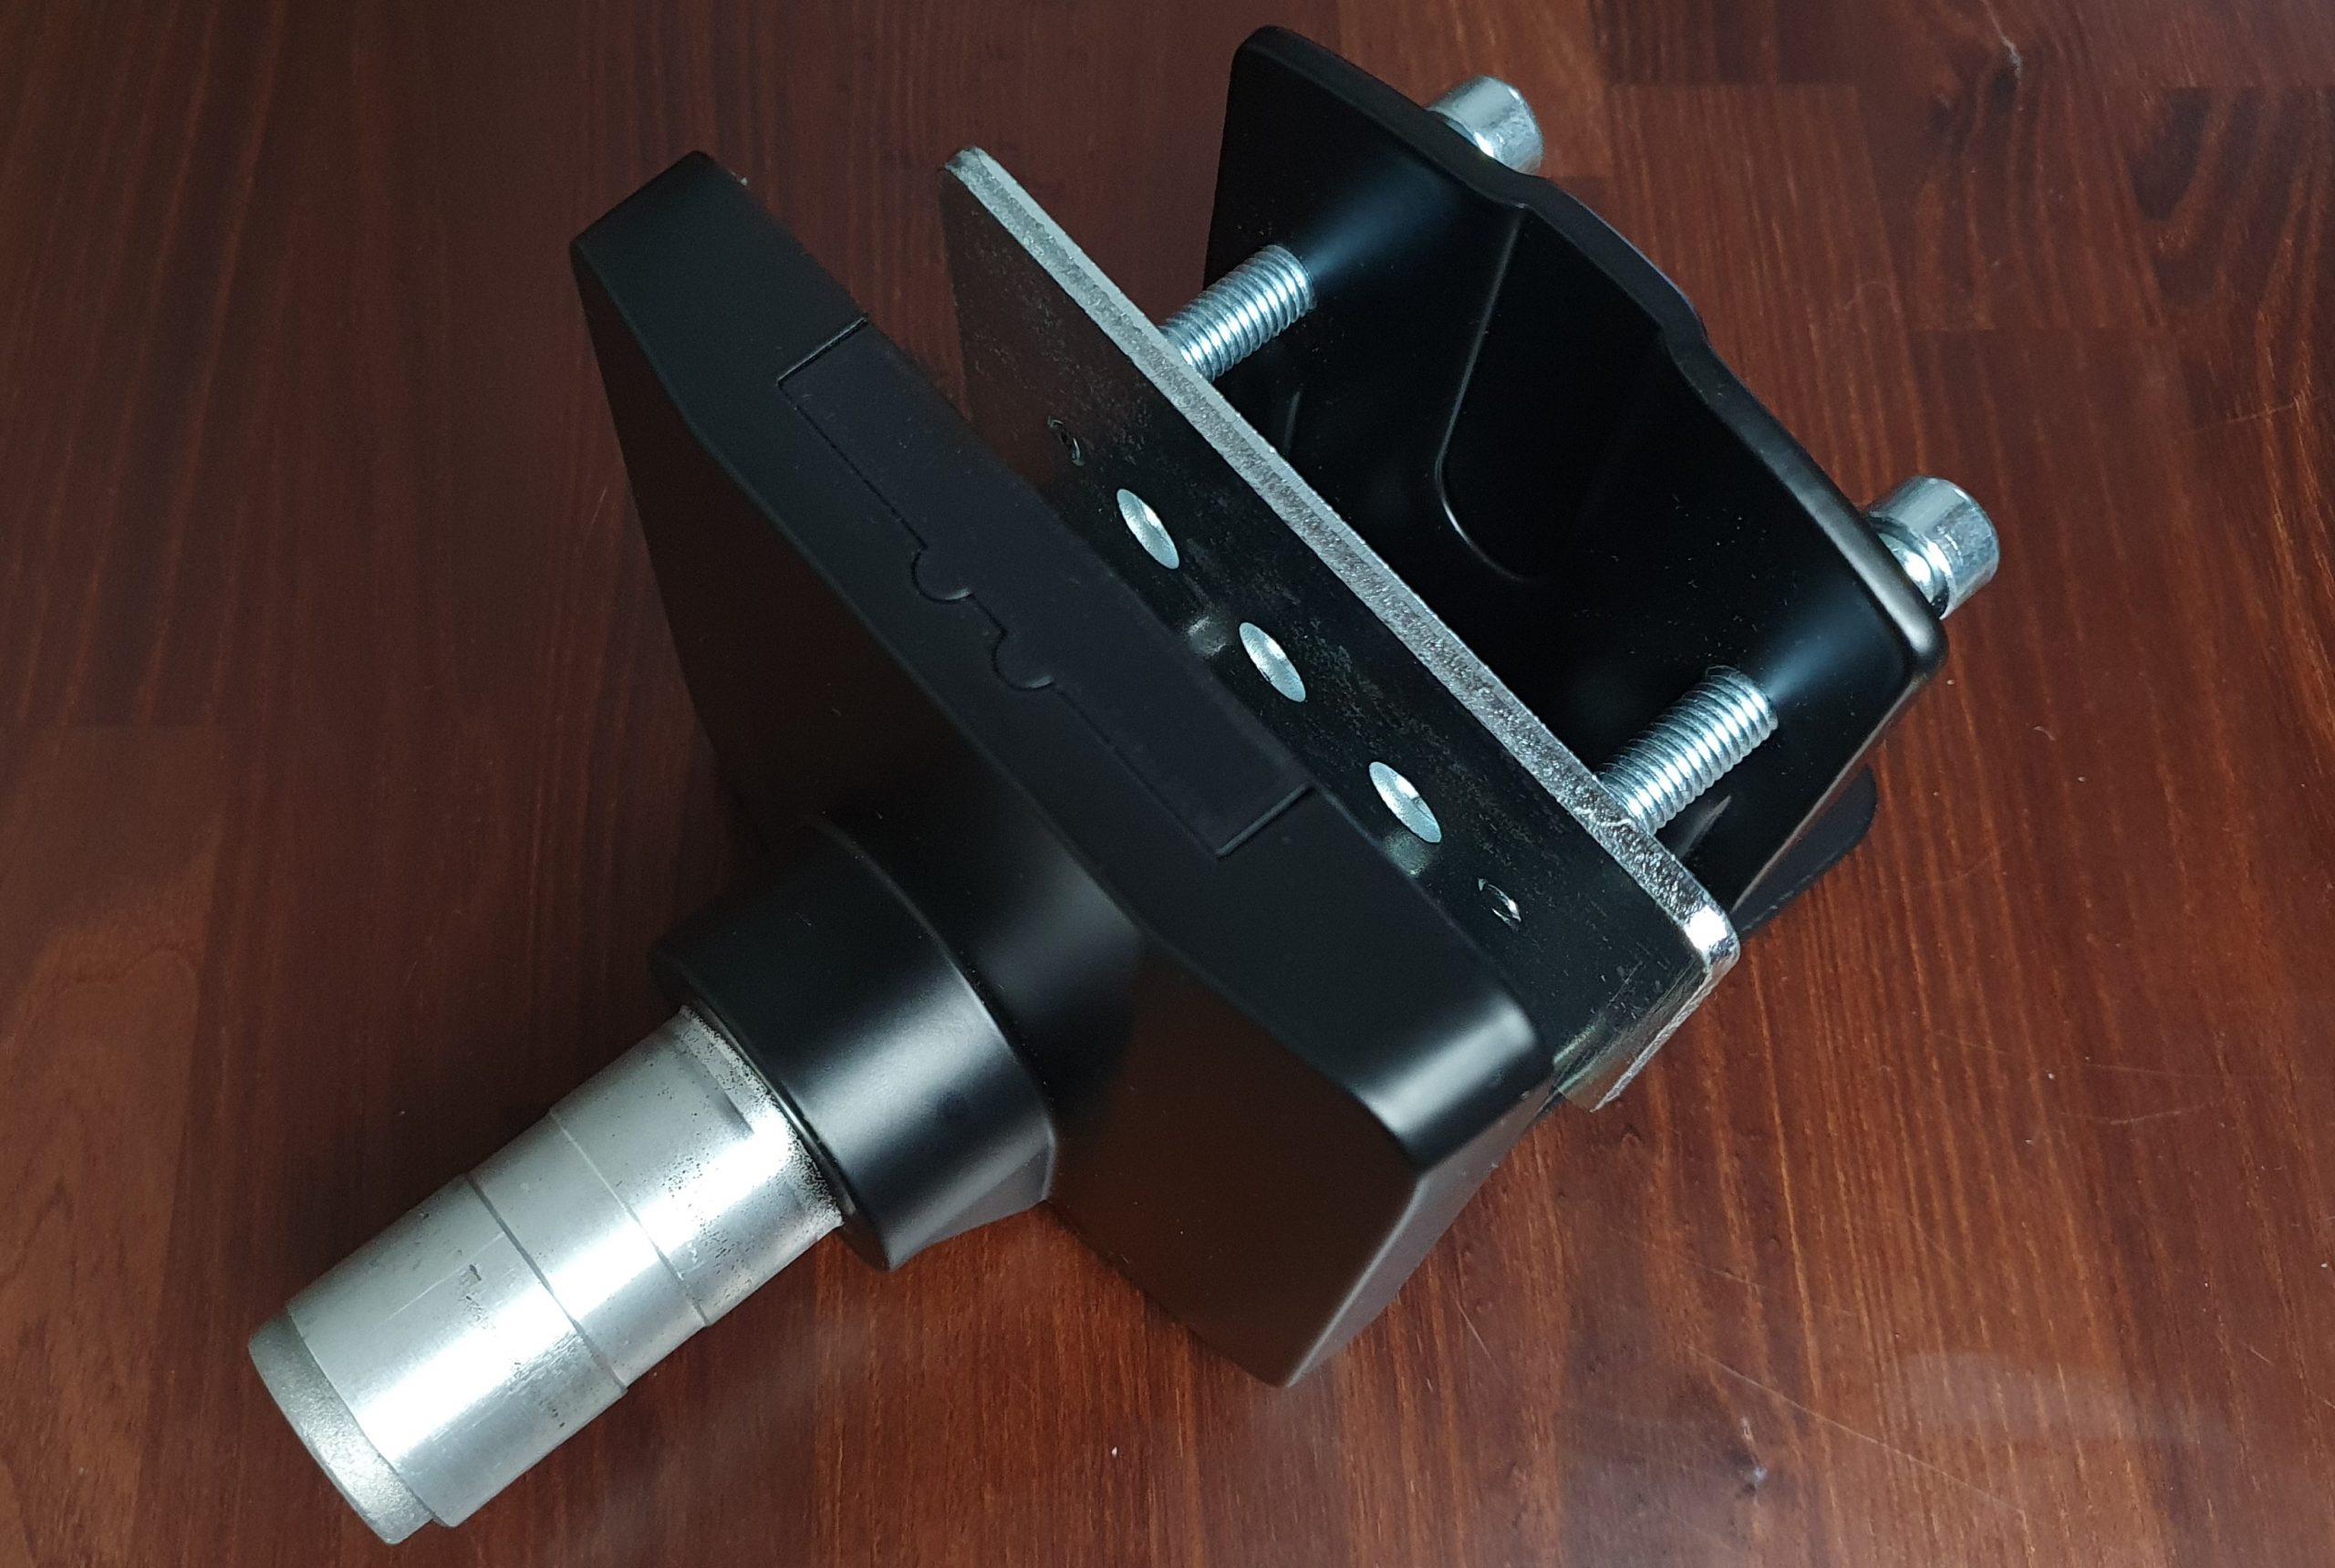
The iron pressure plate for the underside of the table is now hooked in via the ends of the two clamping screws. Here, I also have to mention one of the few deficiencies, as on one hand, this plate is really only hung in and is only held in position by gravity before being mounted to the table, and on the other hand, the two screws protrude minimally over the top of the plate, so that by tightening them, the table could be damaged at the bottom side. Here I put a piece of cardboard between the clamping plate and the underside of the table as a buffer to prevent possible damages or scratches as good as possible.
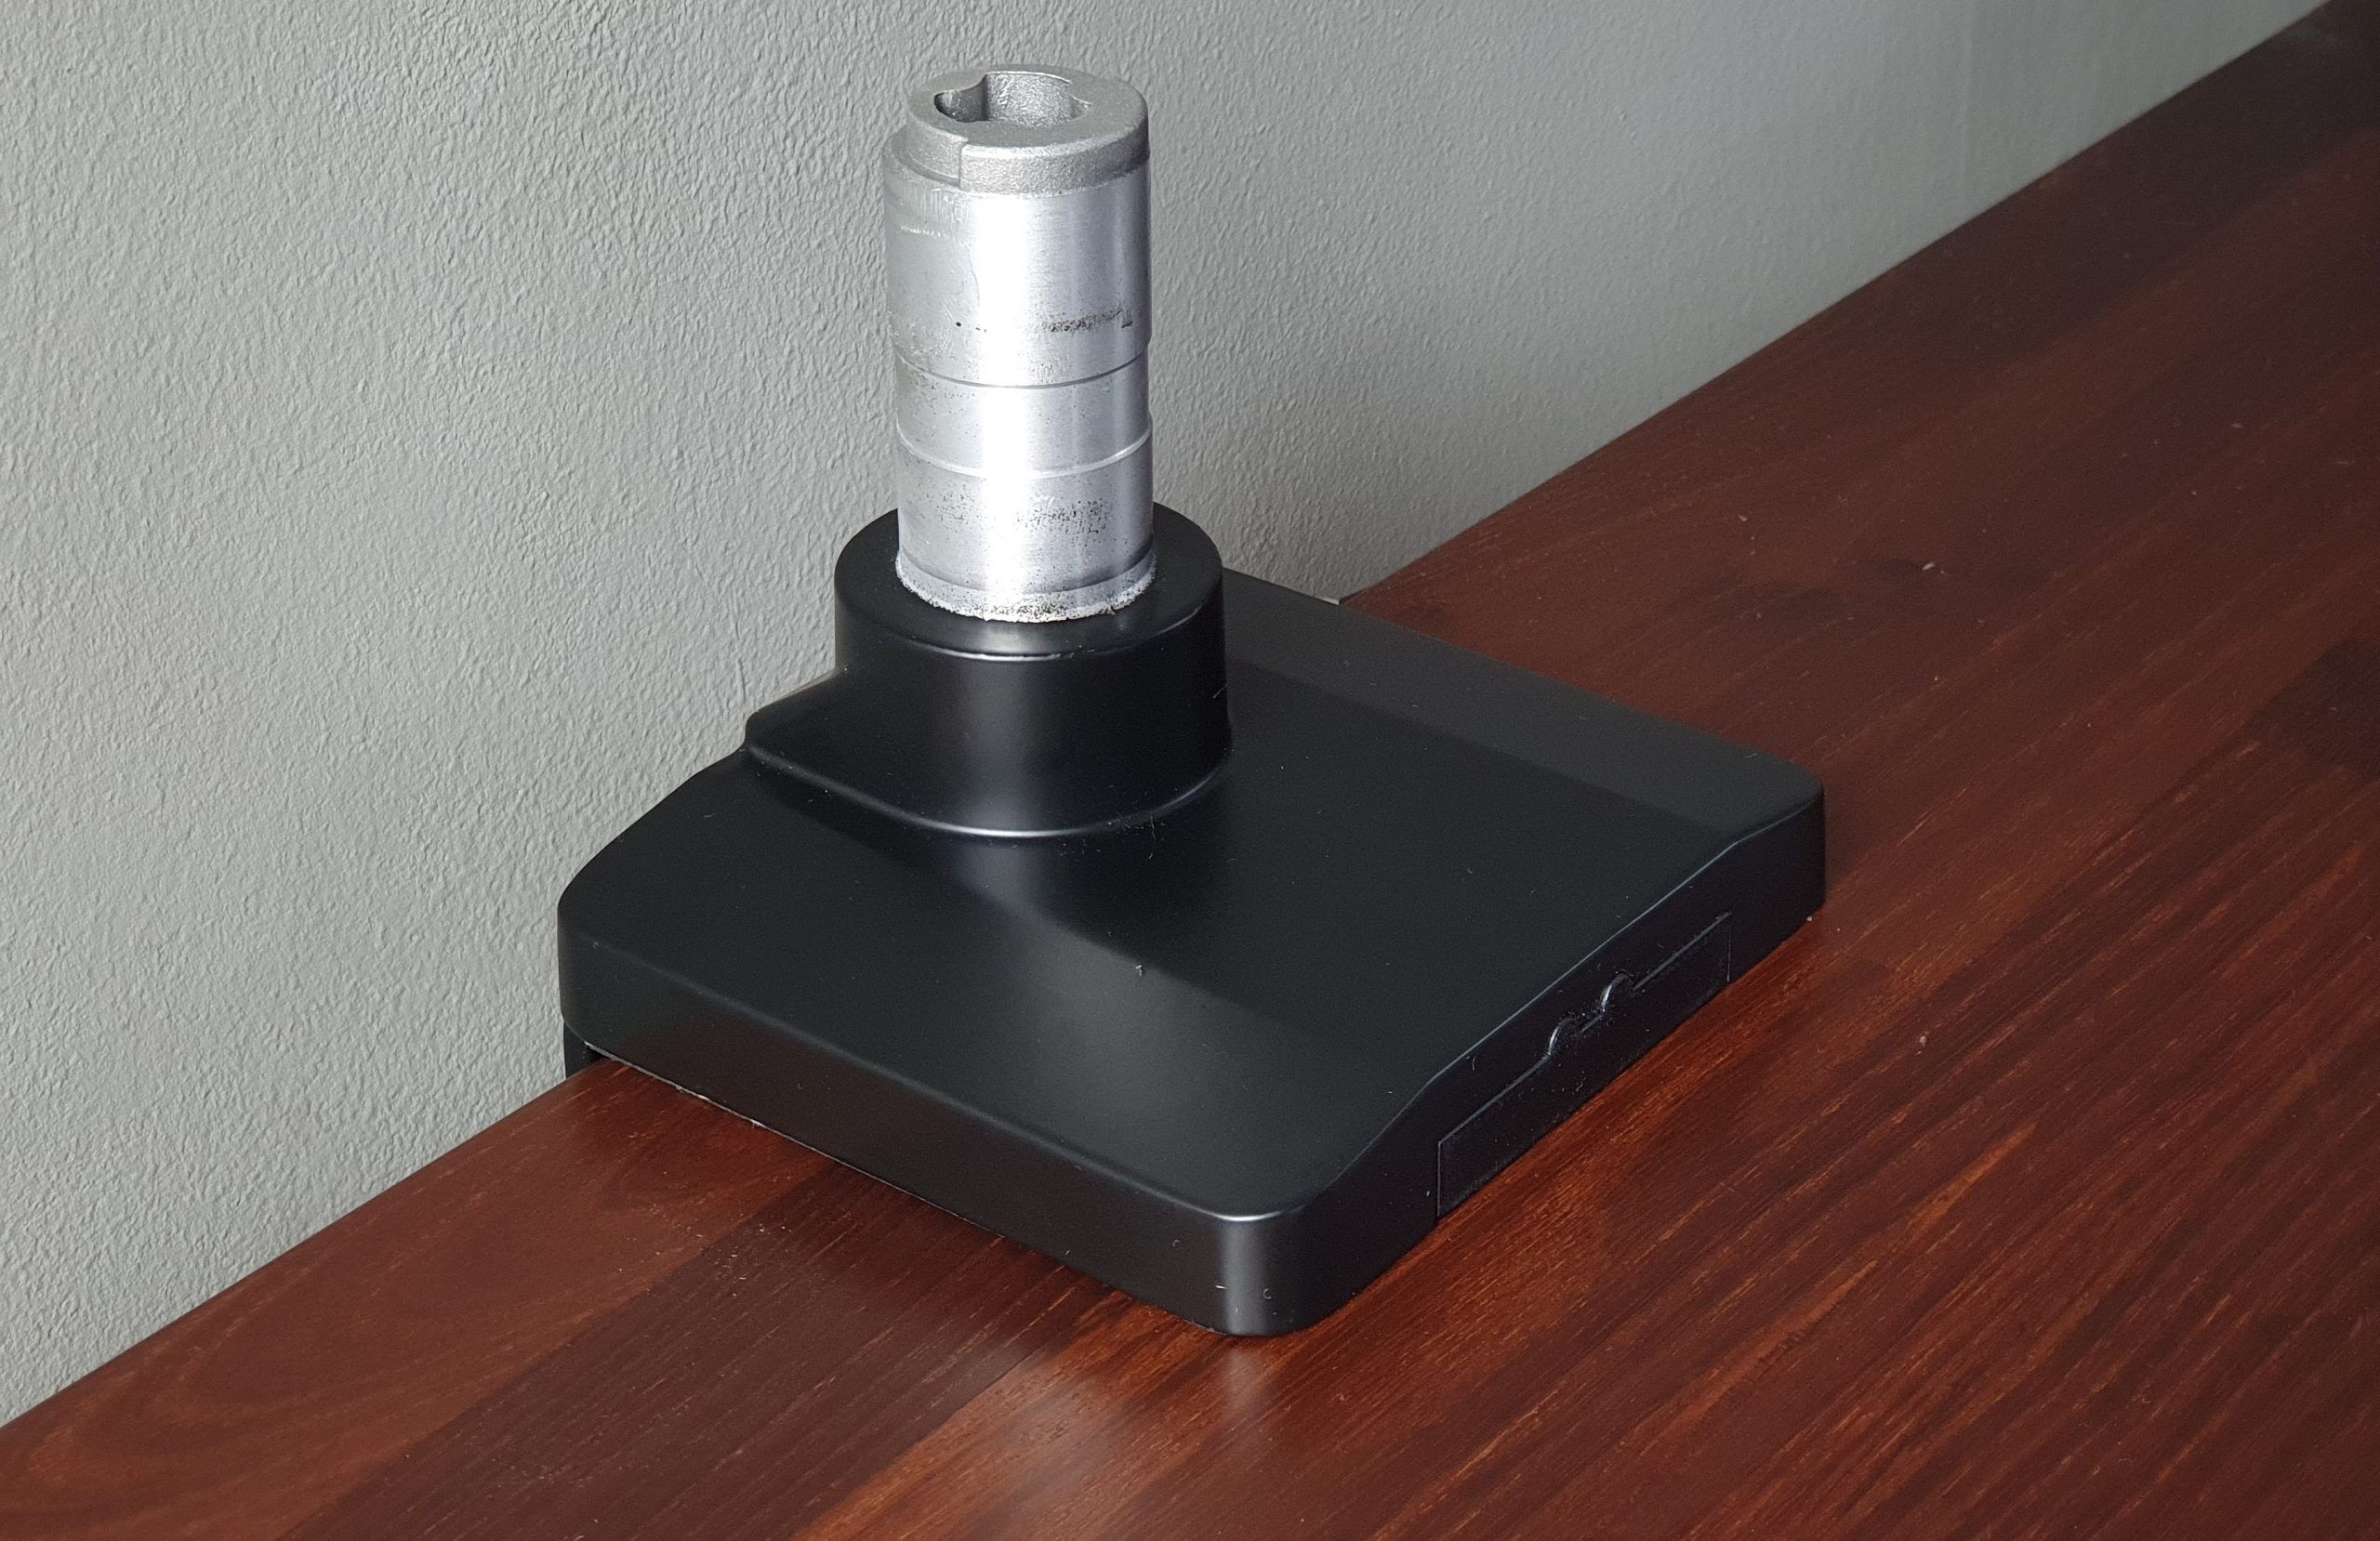
After the base has been positioned at the desired location on the edge of the table and tightened with the help of the clamping screws, the complex part of the assembly is already done. Apart from the plain look and the matt black finish, we only see a covered recess on the front side, in which a USB hub could possibly be mounted. But I could not find anything in the manual about this.
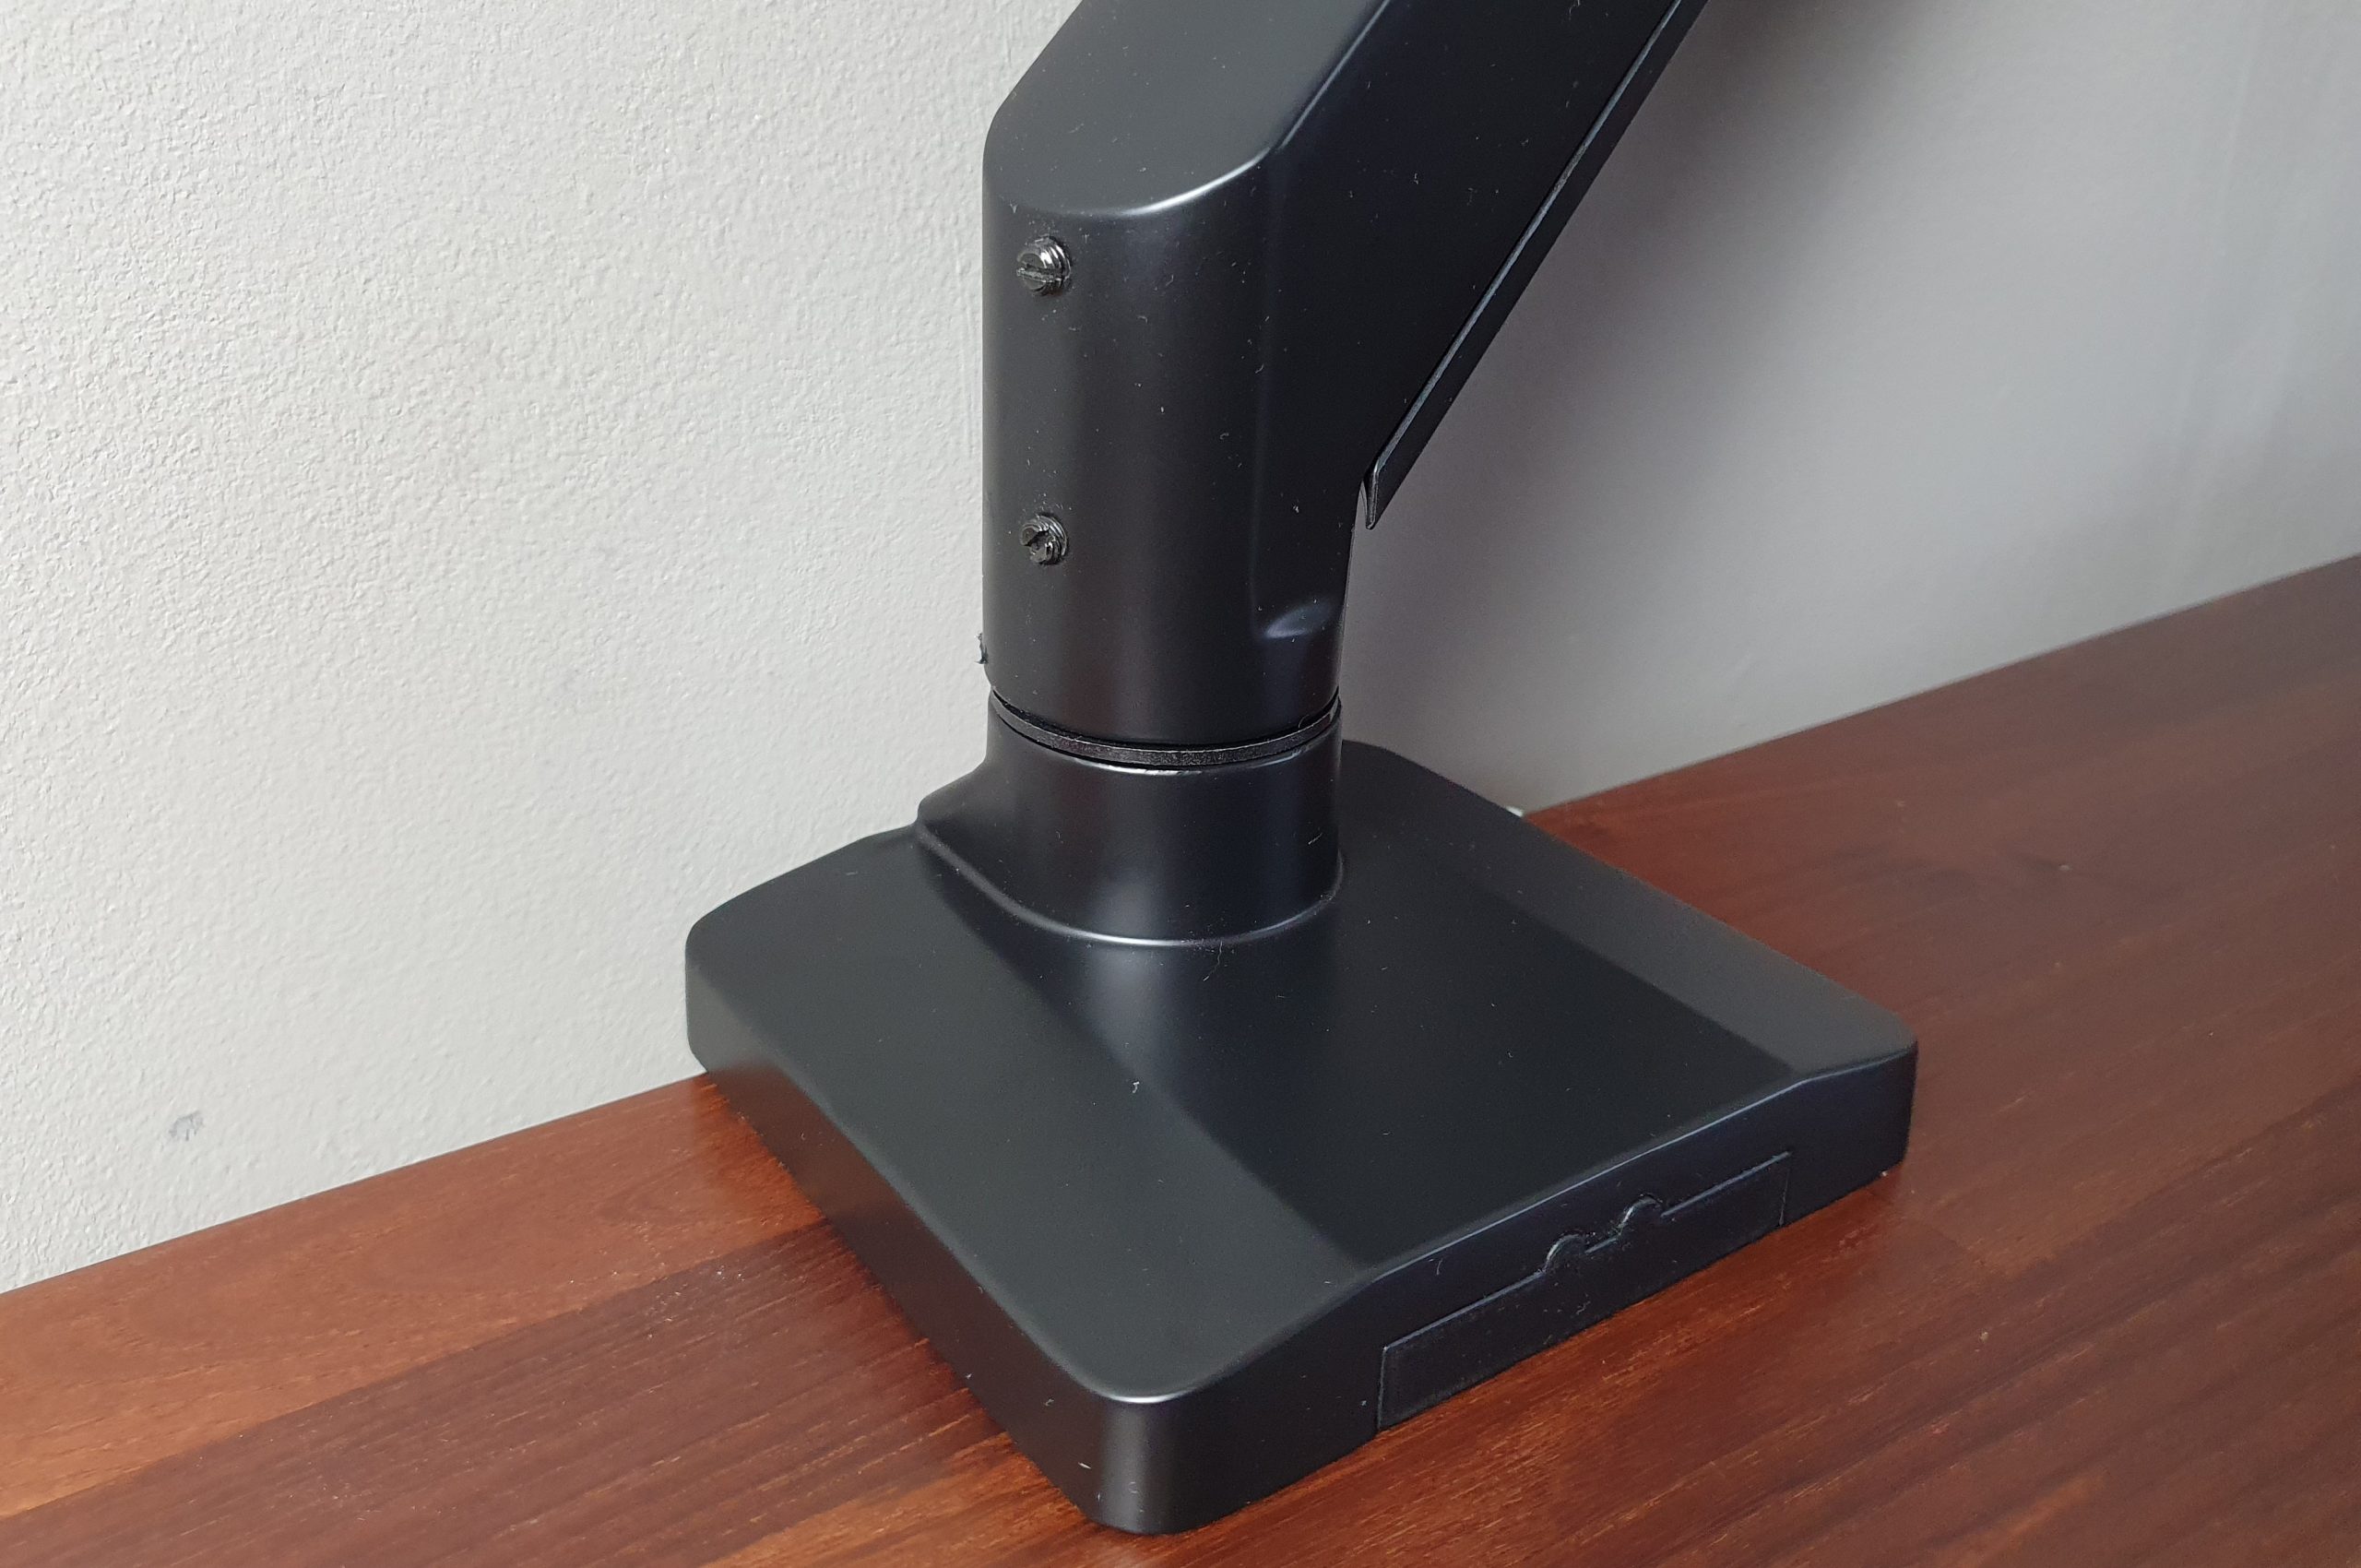
Now the two arm parts are simply attached, starting with the passive lower part. The resistance of the swivel joint can be adjusted at the base with two set screws on the back.
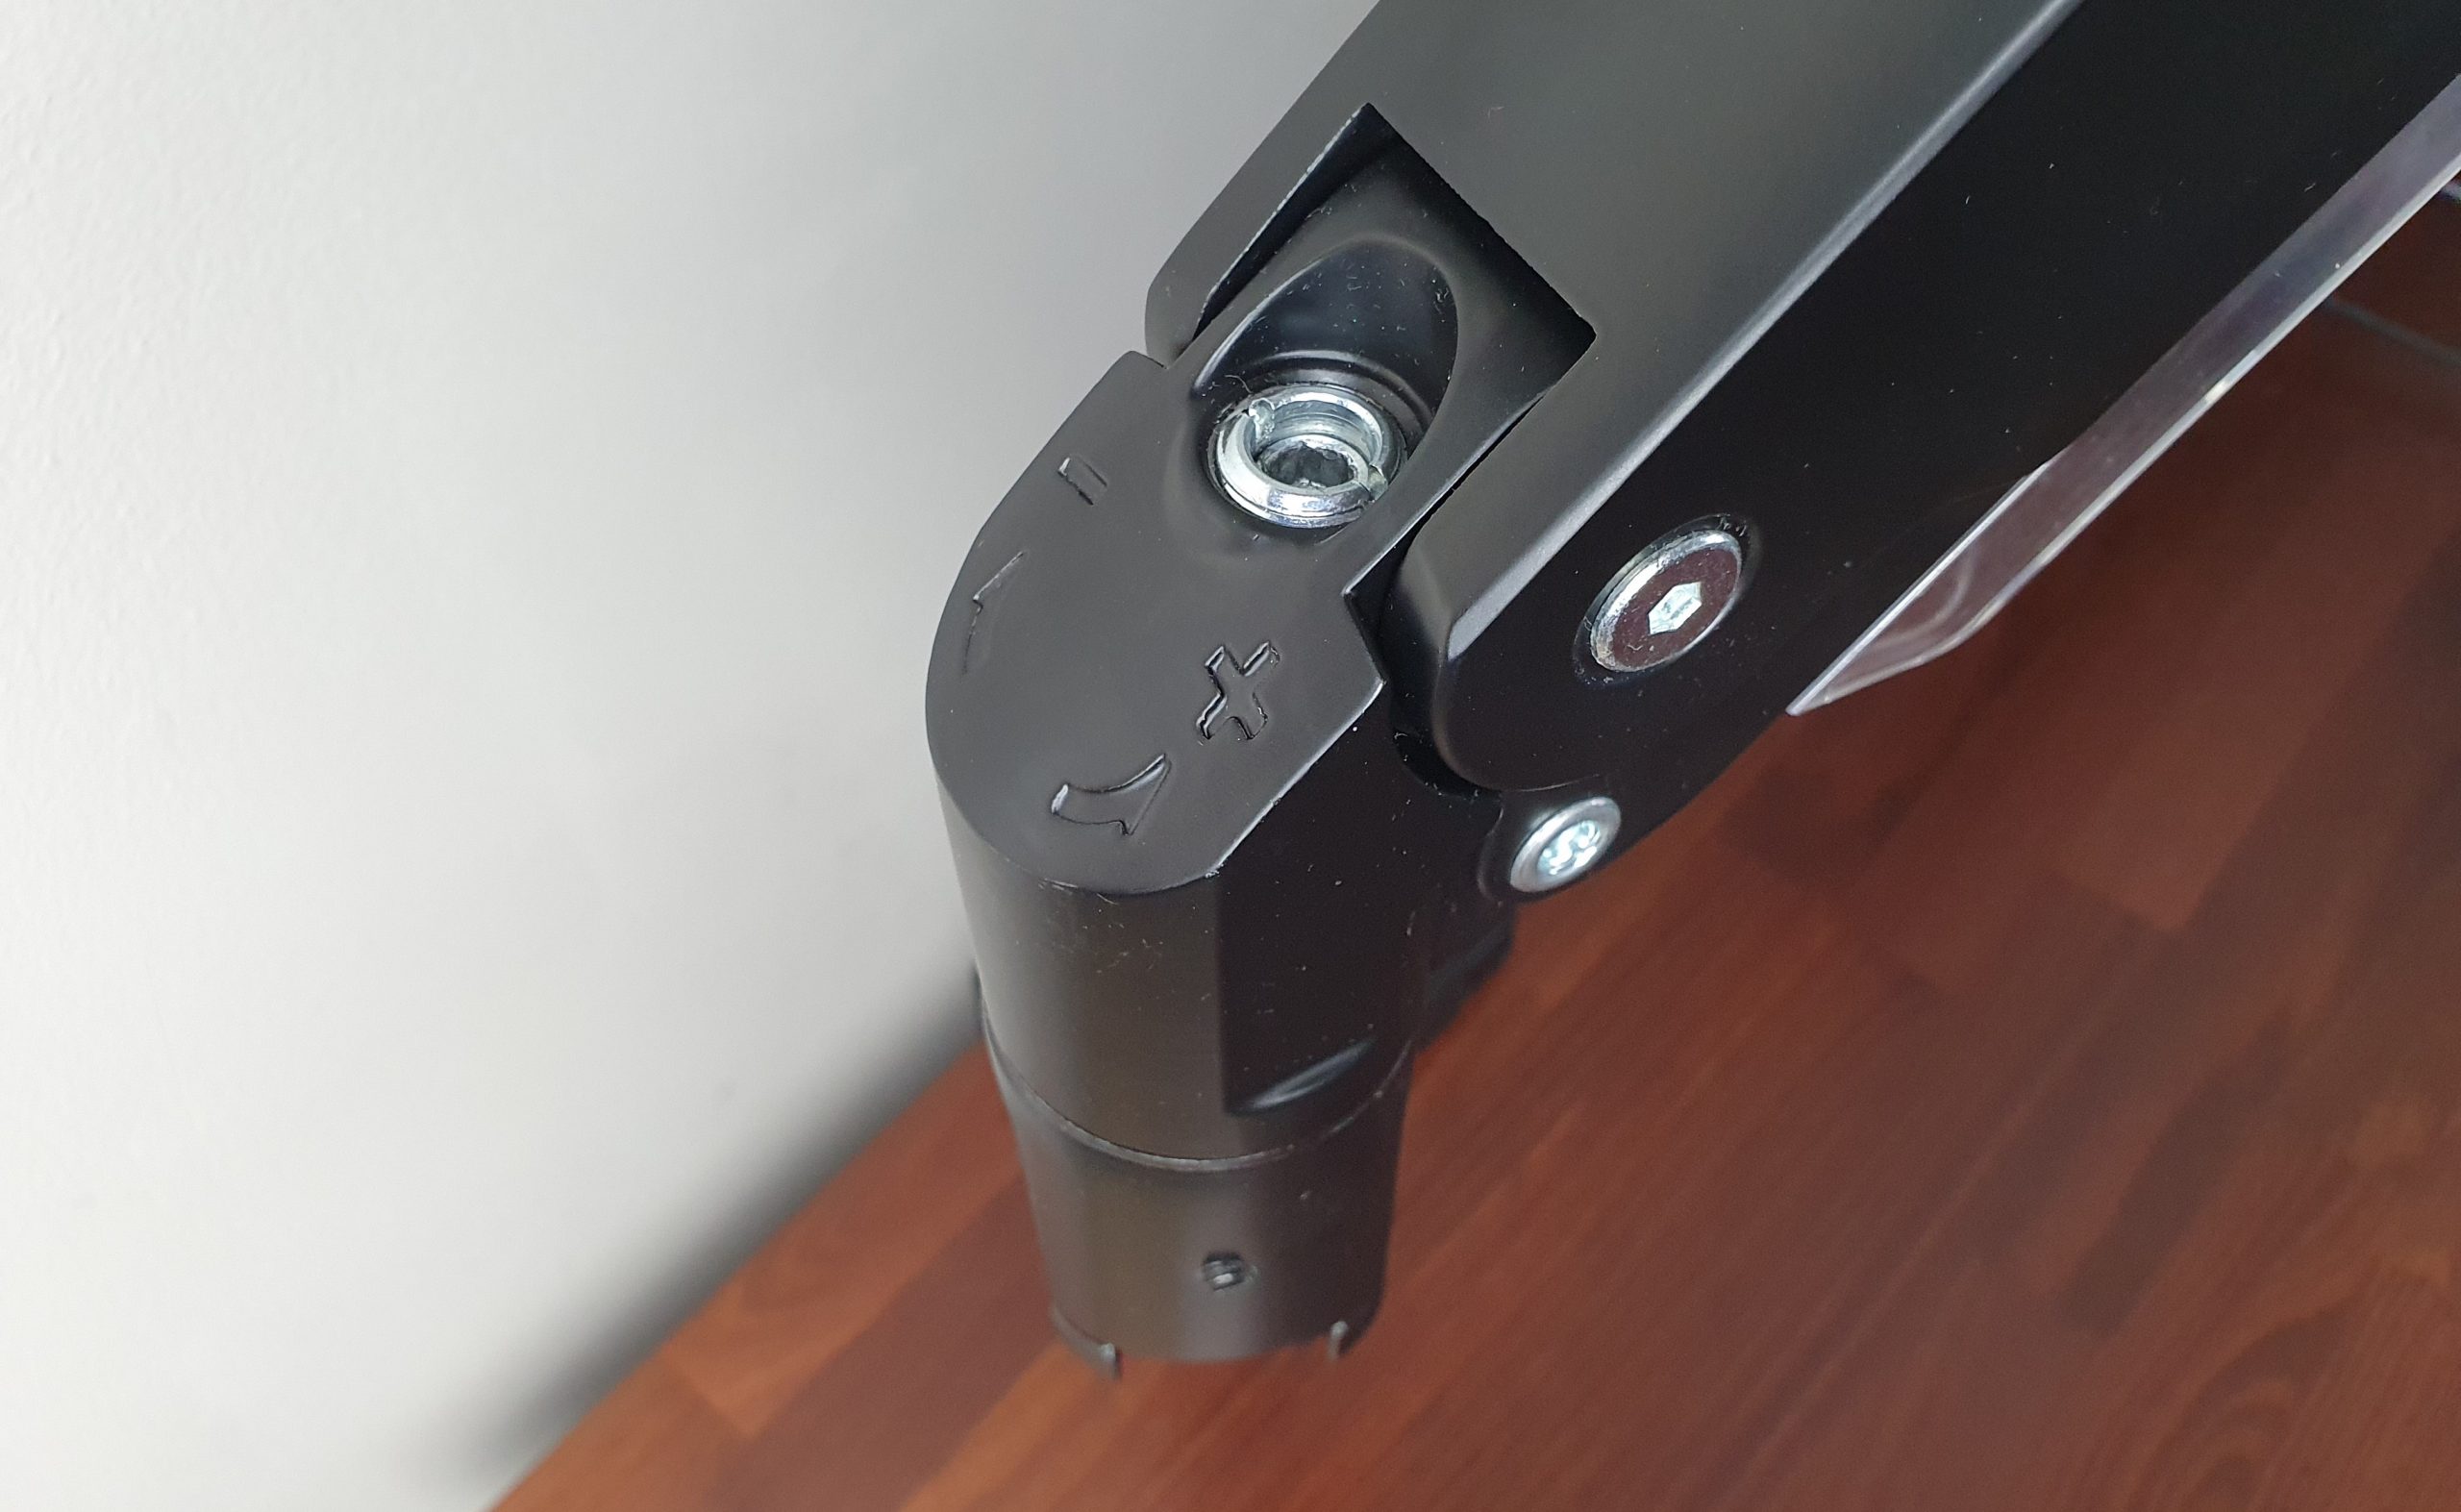
The arm part with the gas pressure element is now placed on it. Again, the resistance of the swivel joint can be adjusted with a set screw on the rear side. Furthermore we find a hexagon socket screw on the upper side, with which the resistance of the gas pressure arm can be adjusted, clockwise for less resistance for lighter monitors, counterclockwise for more resistance for heavier monitors, more about this later.
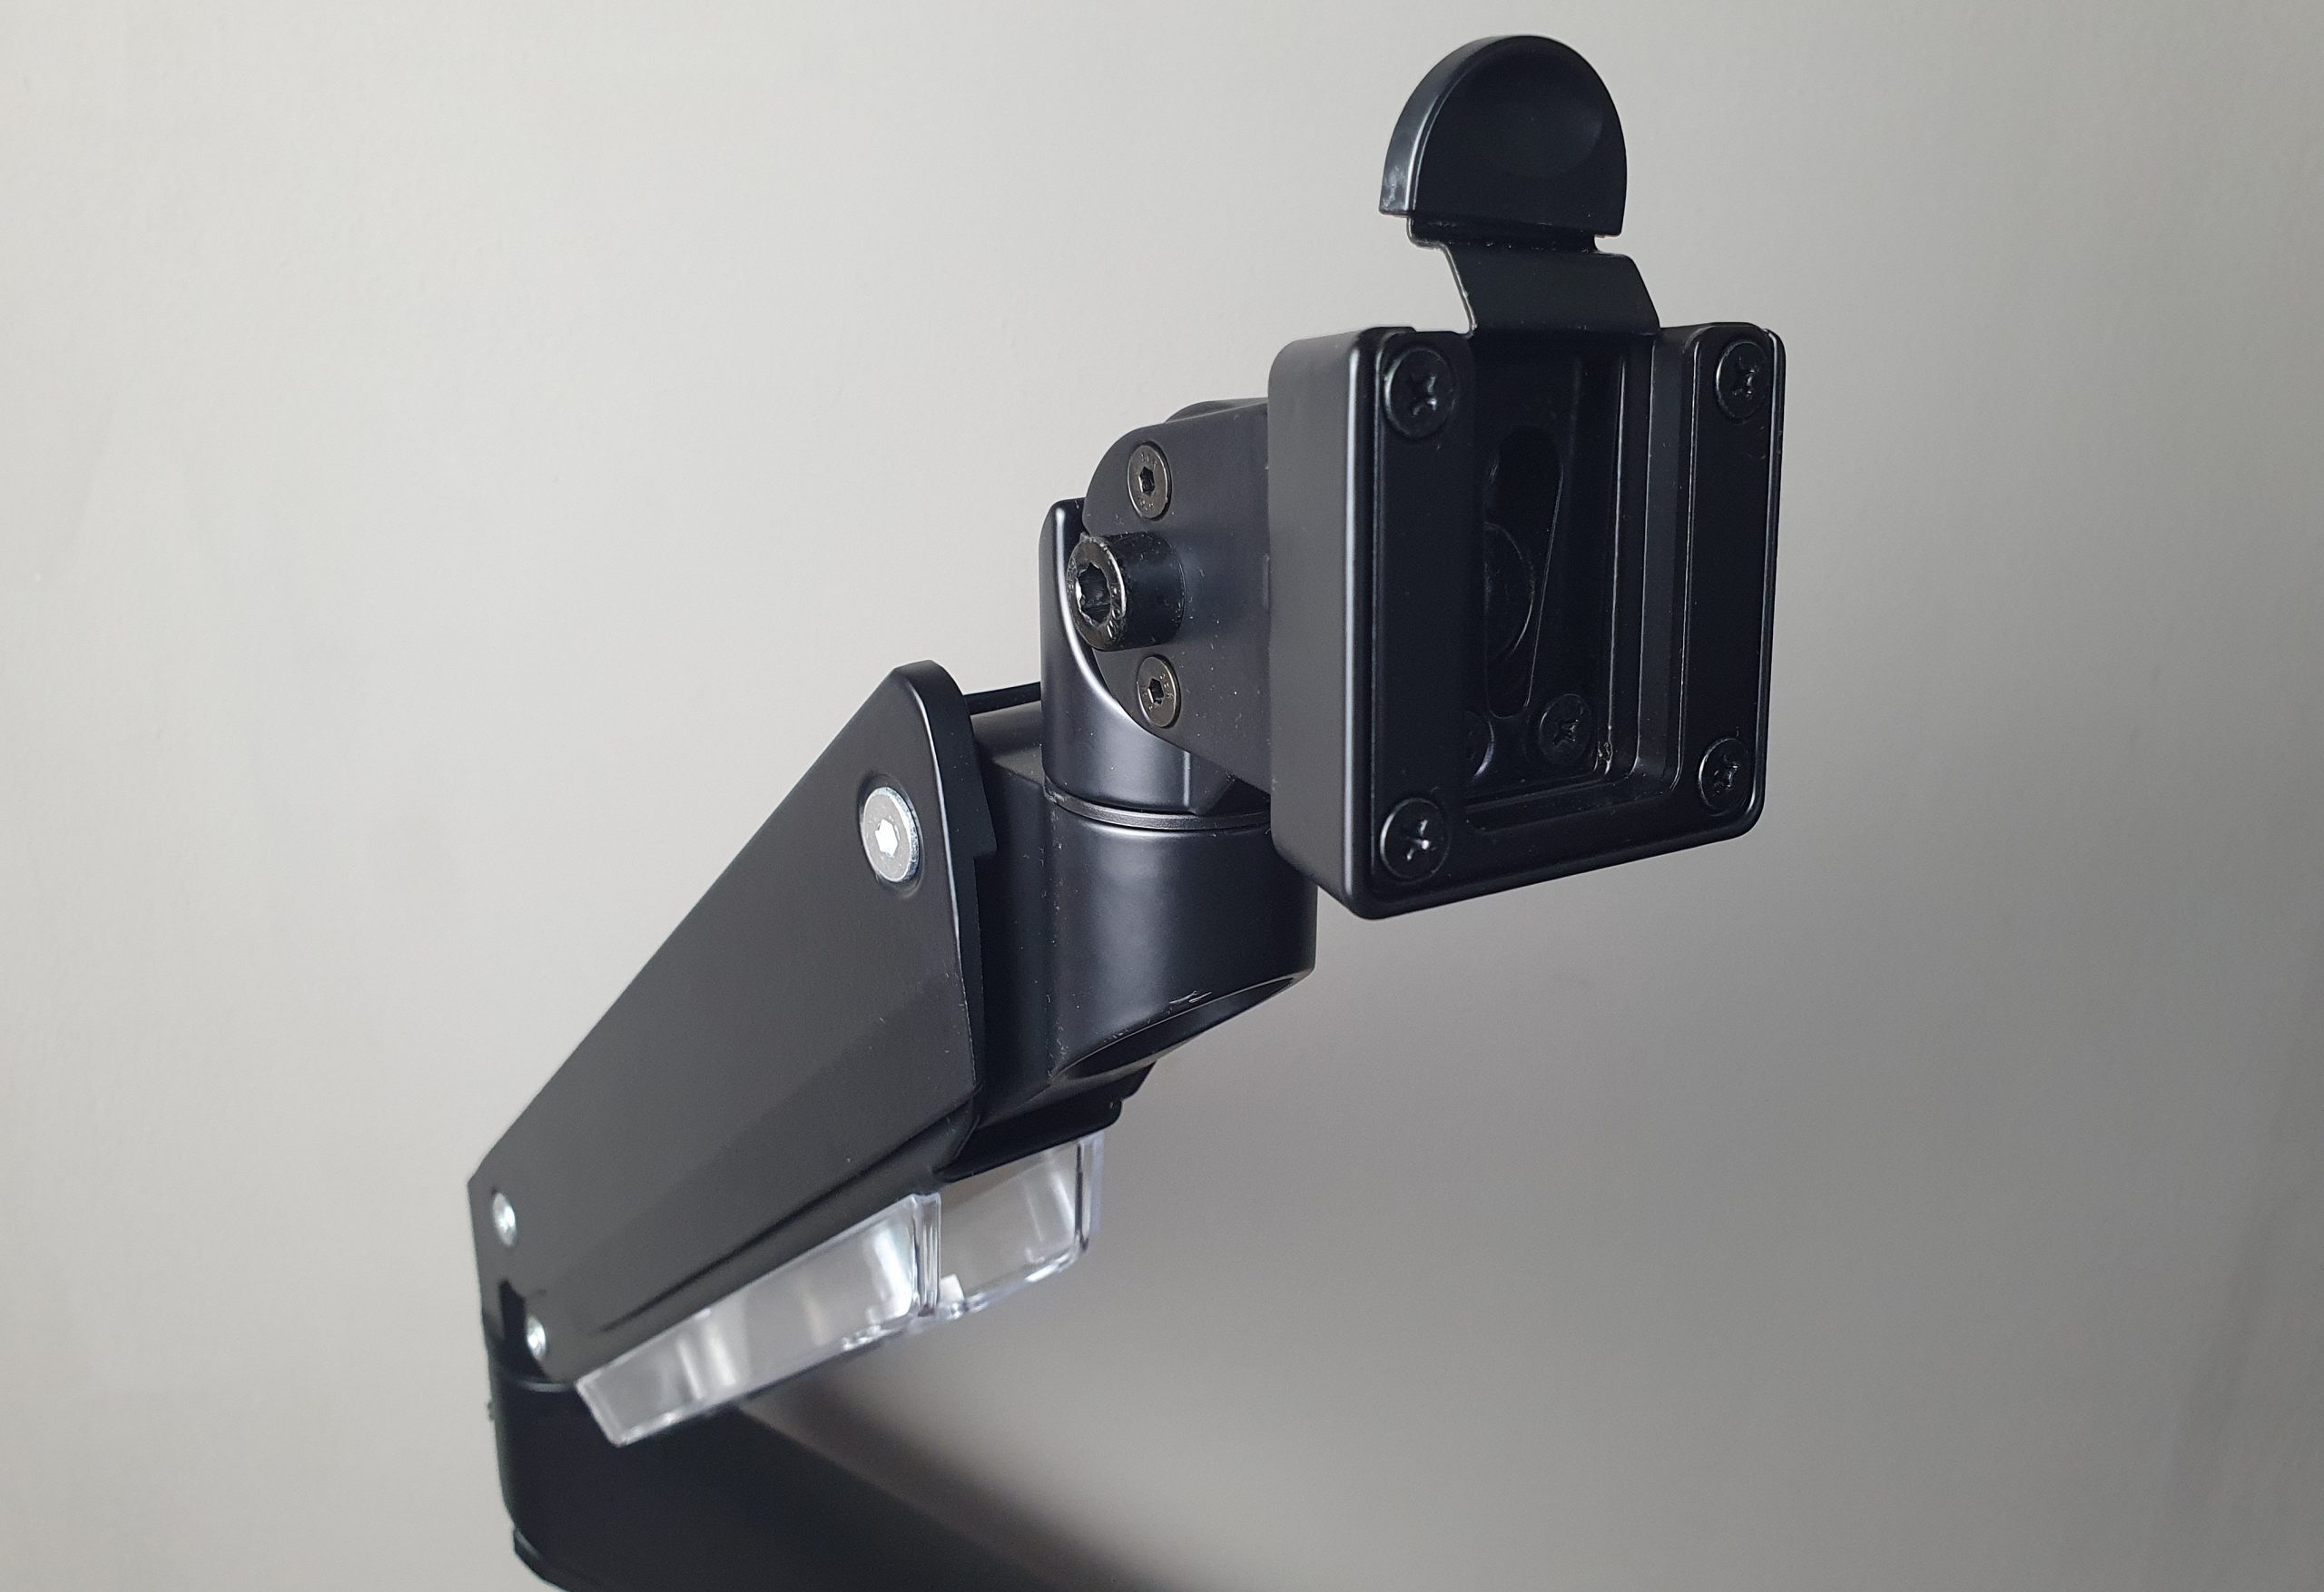
At the end of the arm we find again a swivel joint for horizontal movement, but this time it is not adjustable. There is another joint on top of it for tilting the monitor by 45 degrees up and down, which can be adjusted to the weight of the monitor with the help of the hexagon socket screw on the side. Here, in contrast to the gas pressure element, the resistance is controlled only by the torque of the screw, perhaps somewhat primitive, but functional. Finally, we find the mount for the VESA adapter, mounted on another joint for rotating the monitor around the Z-axis, i.e. switching between portrait and landscape format. The bracket has a groove on both sides and a snap-in function, so that the monitor with pre-mounted adapter can be easily inserted into the bracket from above.
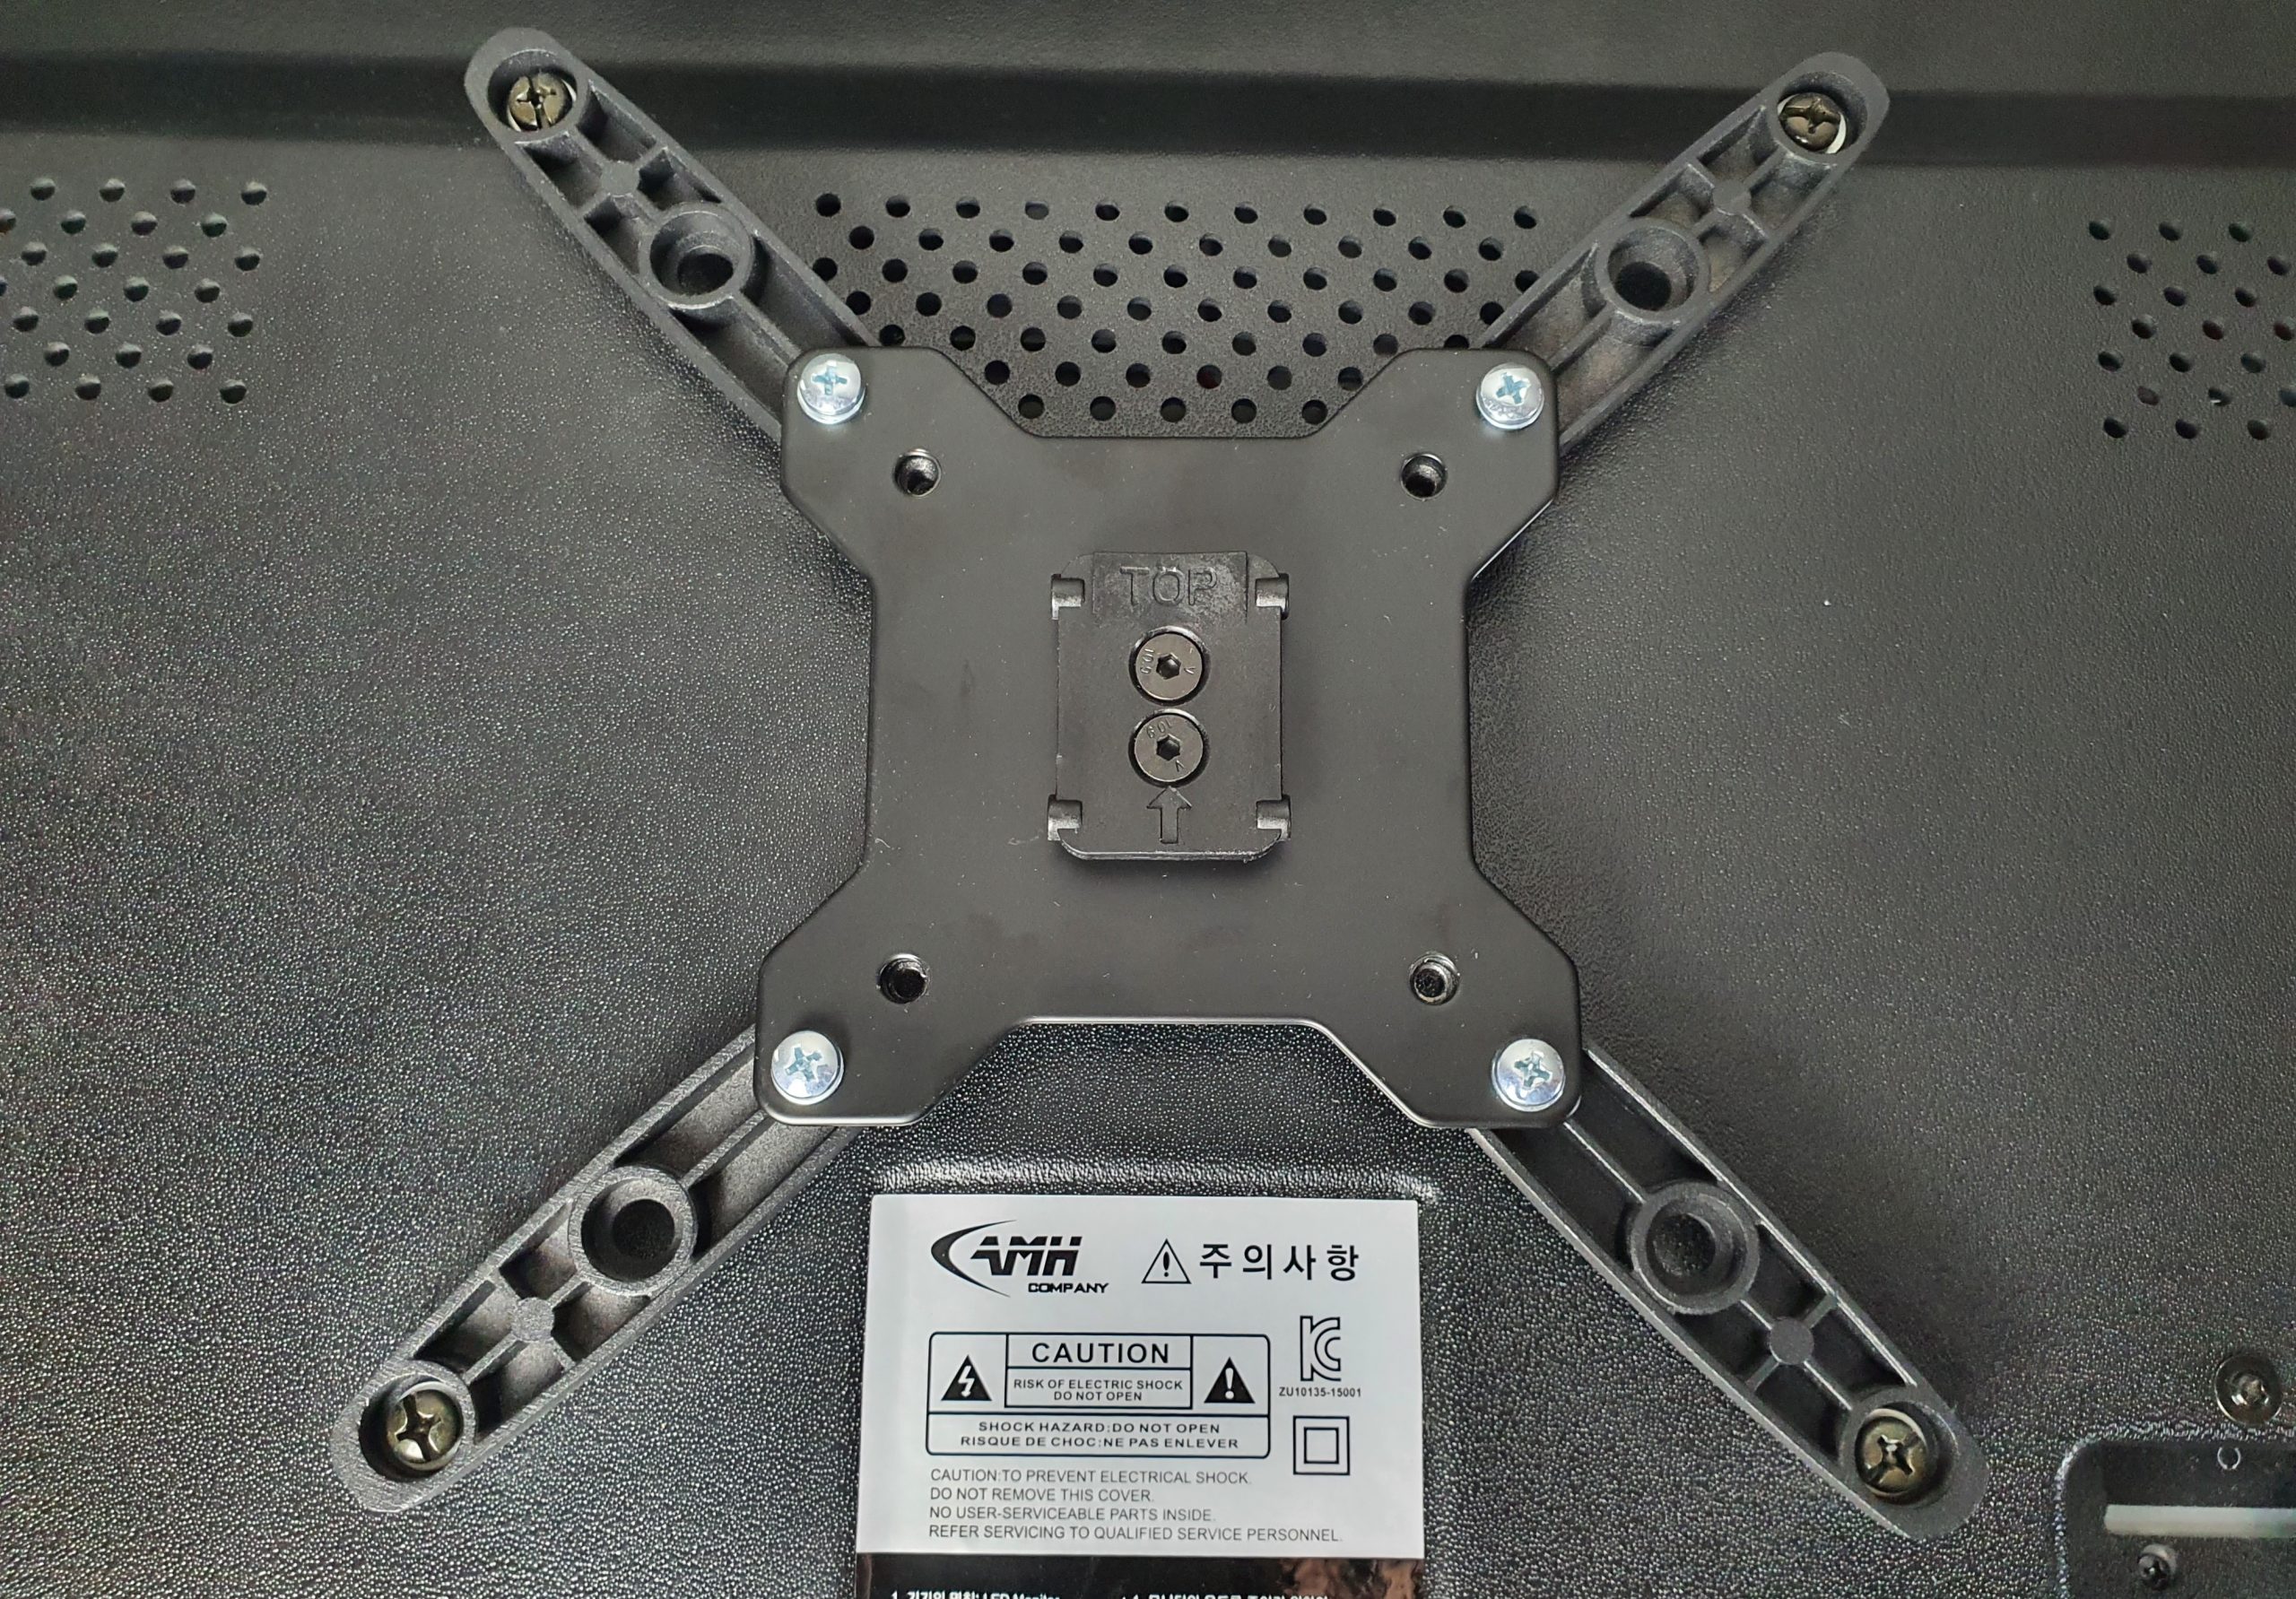
For this purpose, the VESA adapter must now be attached to the corresponding mounting points on the monitor. 75mm and 100mm VESA mounts with M4 and M5 threads are supported as standard. But if you want to mount a monitor with larger distances, like VESA 200mm, you can use adapters – you can get them on Ebay on the cheap. After mounting the VESA adapters with M5 screws and washers, the monitor can now be hung on the arm.
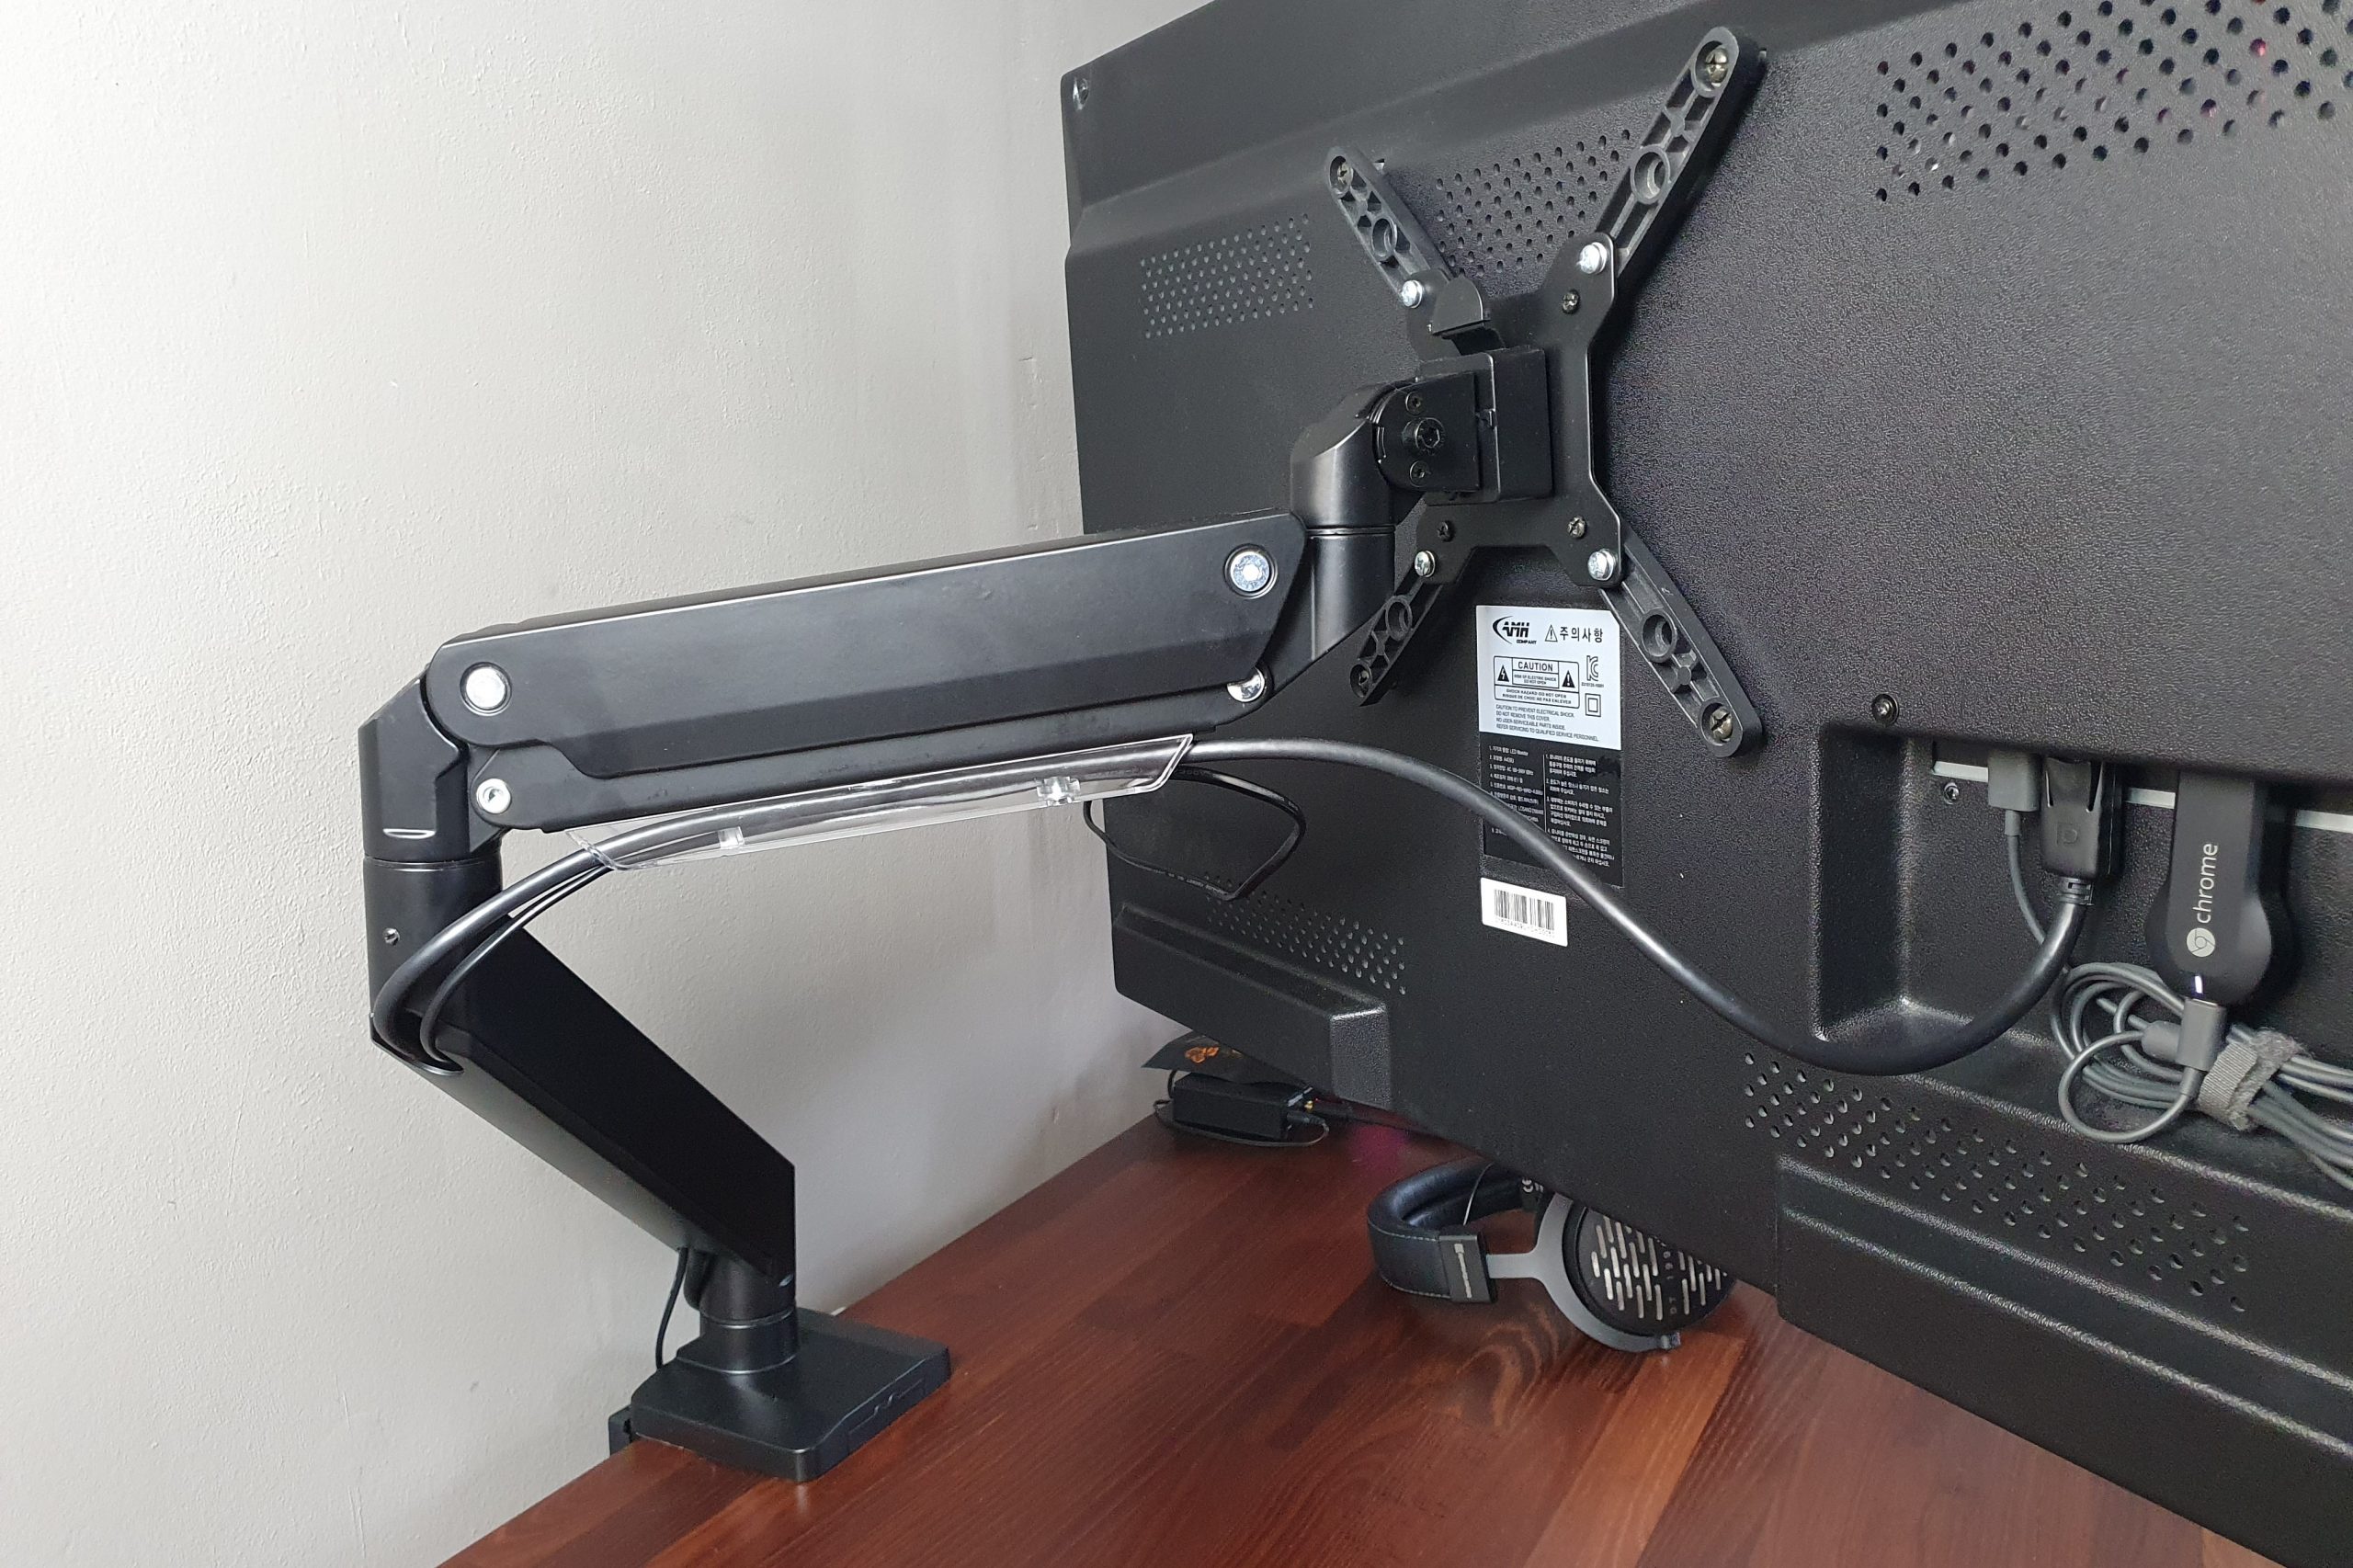
Finally, the required cables to the monitor must be connected and stored in the cable guides. The upper part of the arm has a transparent plastic guide on the outside, which is attached from below and fixed with a single cross screw. The lower part of the arm is hollow and therefore offers internal cable routing, which is completed by a black sliding cover on the bottom, also made of plastic. Finally, there is a third cable guide made of black plastic on the back of the table clamp, if you have decided to mount it on the edge of a table top, which also covers the screws on the back.


Kommentieren