The reason for this test was on the one hand the scan of the bare PCB of a DDR5 module (which made everything easier) including the fitting of various RAM coolers and on the other hand the feedback of various users that very many modules became unexpectedly unstable when overclocking above 60 or 65 °C readout value at the SPD hub. Of course I was happy to follow this story, because you can actually measure everything quite accurately if you put in a little effort. The module was already disassembled, so there is no need to hesitate for long.
Task and measurement setup
Since the memory modules have become significantly smaller, the thermal density has naturally also increased. The silicon also has an elongated and very narrow hotspot in the middle of the respective memory modules, so that thermal sensors for adhesive bonding are ruled out due to the very large contact area for point measurements. For the average temperature, that might be fine, but for small hotspots, it’s really inappropriate. So back to non-contact measurement and proper preparation after all. Because you can’t do it without them.
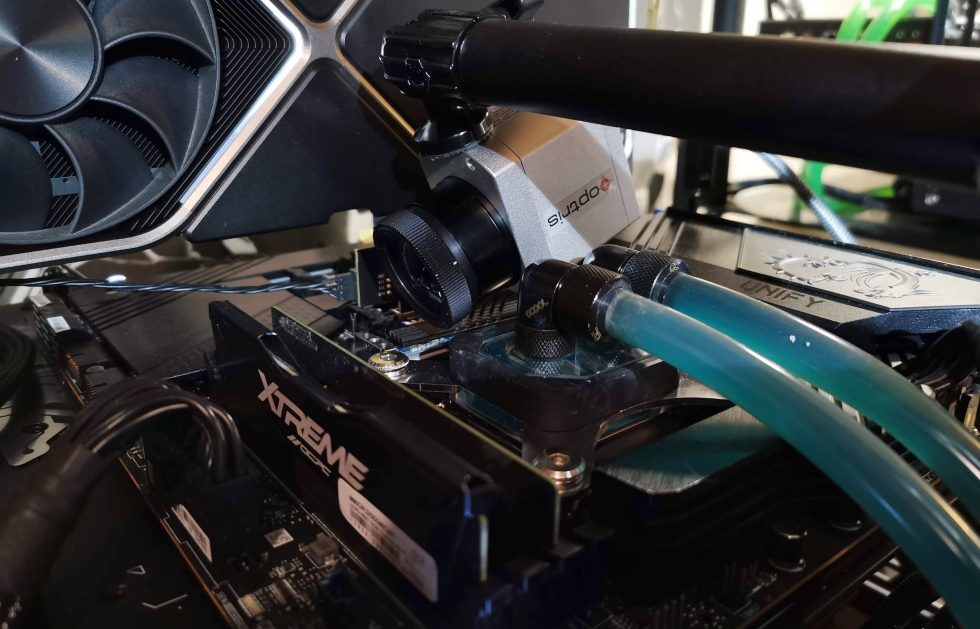
Unfortunately, the sides of the memory bars equipped with modules point towards the cooler, so I had to do some pull-ups with the IR camera here. The remedy was to use a 90° wide angle lens instead of the 33° normal lens, to use a stable gooseneck tripod (Elgato) and to calibrate the camera on a black spotlight. In the following picture you can see the area on which I have set the focus and in which the measured waiting times can also be read out exactly. Due to the curvature, the measurement results at the edges then become somewhat inaccurate. One more reason to position the camera as close as possible and carefully “focus”. I measured the modules with an emissivity of 0.98 (ideal value blackbody = 1.0), which was determined before by comparison measurements. That’s coming along nicely too, so it fits.
Unfortunately I can only measure Micron modules at the moment, because I don’t have any other memory available. But the current values are informative enough for now and after the arrival of faster modules from other manufacturers (SK Hynix, Samsung) everything can of course still be re-measured and supplemented. But we live in the here and now, and everyone will now understand that the GDR and the economy of scarcity belonged together quite well even more than 30 years ago. So now DDR5, albeit rather non-political.
Readout values from the SPD hub
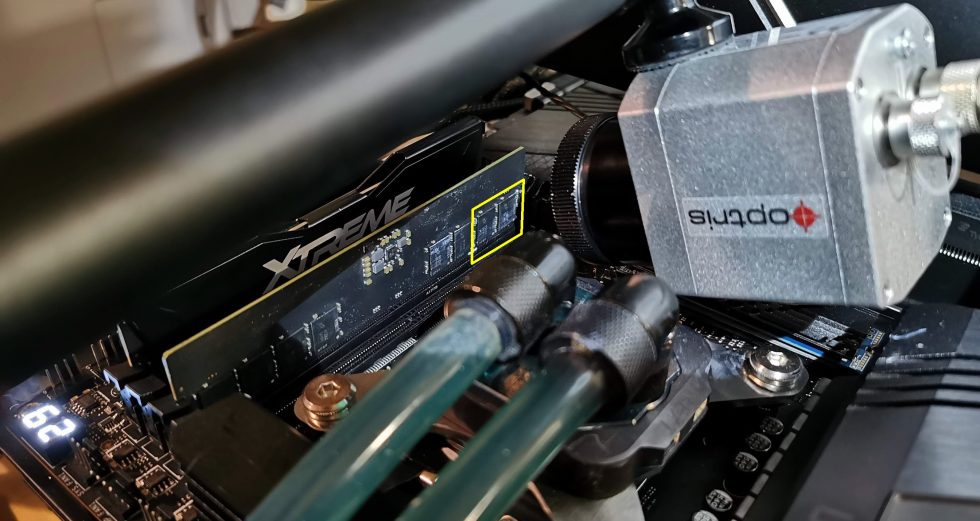
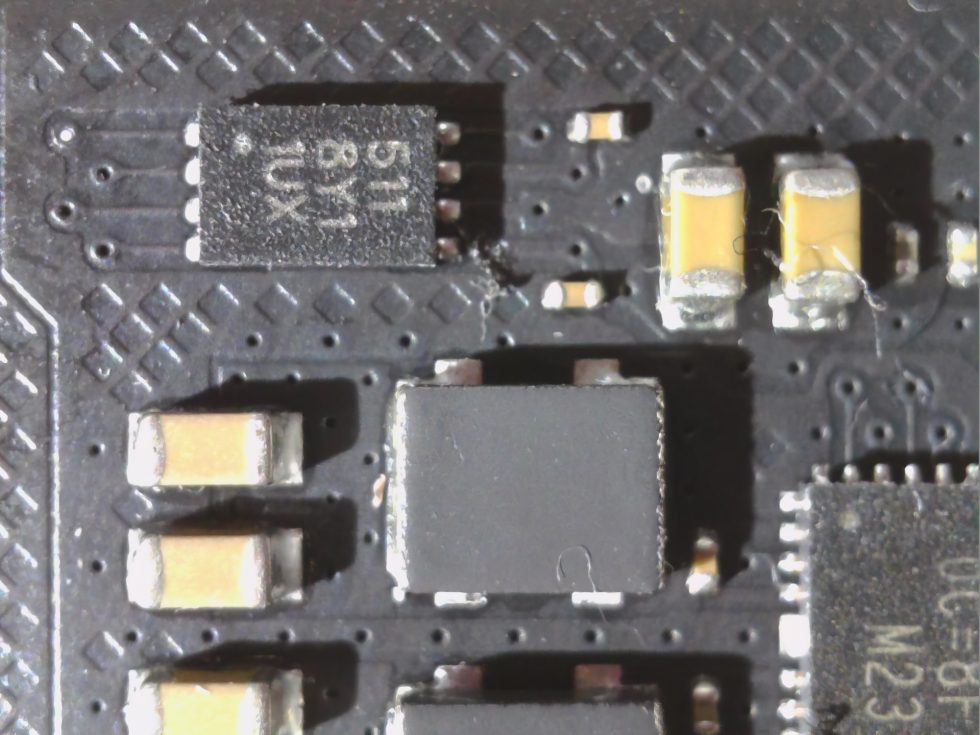
The temperature of the memory can be read out via suitable software (e.g. HWInfo64) and also logged. But what does the so-called SPD hub actually give back? The average temperature, the hotspot or something else? That’s what we’re here to find out. In the following picture you can see the small 8-pin IC for the SPD hub on this 8GB module. Every manufacturer uses different components, but at least everything is pin compatible.
The schematic shows again how you can recognize the chip when you analyze the PCB. Well, many components are not on it, so that the search is actually quite simple.
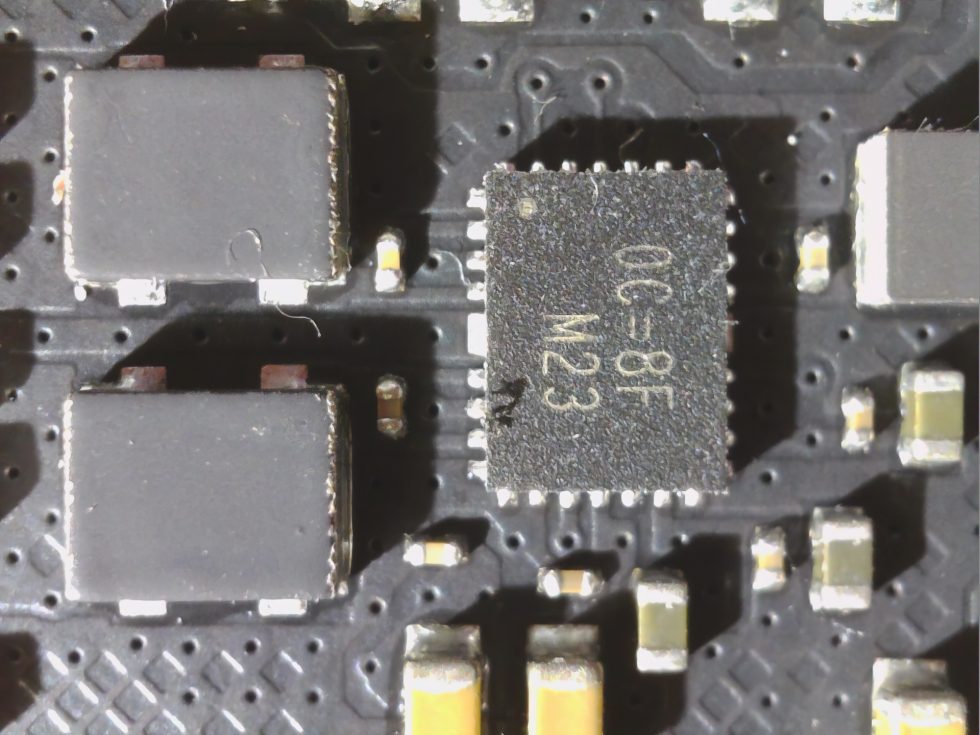
 The PMIC in the middle of the latch, on the other hand, is significantly larger. This is also where the individual supply voltages of the memory are generated, so that each bar can have a self-sufficient system. The flowing currents remain in a manageable range due to the division, especially since the power dissipation per bar usually remains below 3 watts for the entire bar. If this is divided among the modules, there is not much left per module on paper, because the 250 to 350 mW are not critical at first. If it weren’t for the increased heat flux density on the shrunken silicon interior. But we’ll see about that in a minute. There is no need to cool the PMIC separately, its temperature is barely above the average board temperature.
Before we start, I have of course the data of the setup for you, then it is called once turn the page please.
| Test System and Equipment |
|
|---|---|
| Hardware: |
Intel LGA 1700 NVIDIA RTX A6000 1x 2 TB MSI Spatium M480 |
| Cooling: |
Aqua Computer Cuplex Kryos Next, Custom LGA 1200/1700 Backplate (hand-made) Custom Loop Water Cooling / Chiller Alphacool Subzero |
| Case: |
Raijintek Paean |
| Monitor: | LG OLED55 G19LA |
| Thermal Imager: |
1x Optris PI640i Thermal Imager Pix Connect Software Type K Class 1 thermal sensors (up to 4 channels) |
| OS: | Windows 11 Pro (all updates/patches, current certified or press VGA drivers) |


10 Antworten
Kommentar
Lade neue Kommentare
Urgestein
Urgestein
Urgestein
1
Mitglied
1
Veteran
Mitglied
Mitglied
Neuling
Alle Kommentare lesen unter igor´sLAB Community →