


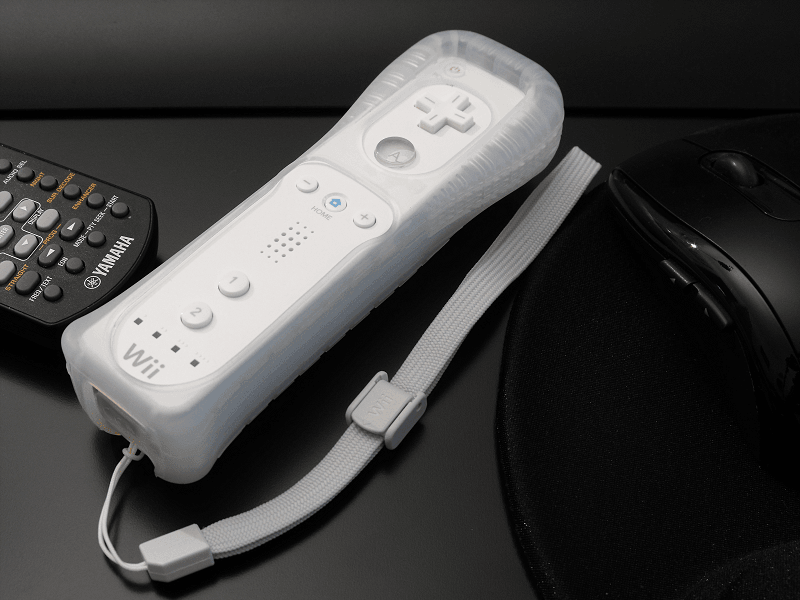
With the release of the Wii and the almost revolutionary control concept, a new and highly interesting input device has taken the hearts of technology enthusiasts by storm – the Wiimote (Wii-Remote). What was originally only intended to control the console quickly became independent thanks to its interesting possibilities. In the meantime, legions of hobbyists and programmers have lived out their lives at the Wiimote, creating a solid basis for taking a little bit of console exclusivity away from this piece of technology.
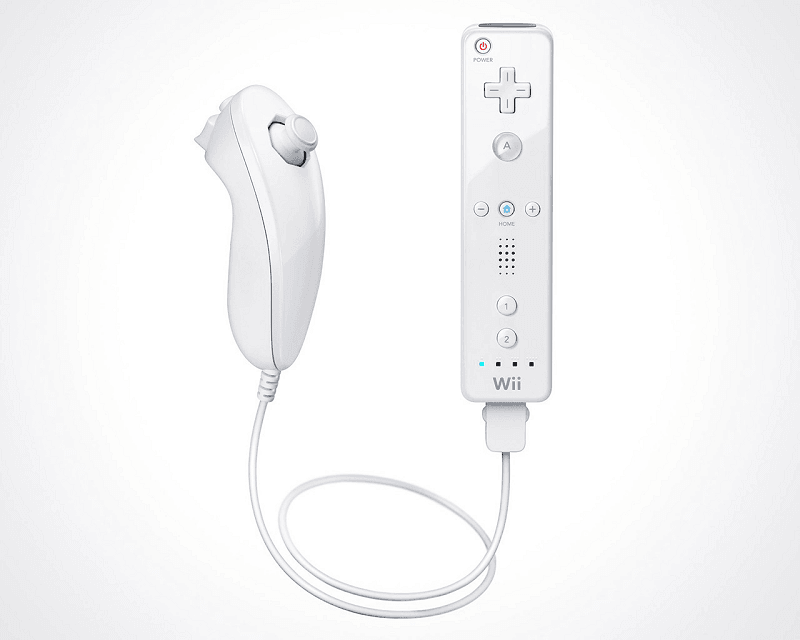
By the way, the Wiimote can be expanded by another input device, the so-called Nunchuck. However, as this is in most cases unnecessary for the intended purpose, we have not taken this into account in this article. In addition, the Wiimote becomes too unwieldy due to the cable-connected nunchuck and a wireless nunchuck is relatively expensive. So I wanted to mention it at least, as a completeness.
In this context, it is important to mention Johnny Lee, a pioneer of the first Wii-hour, who was one of the first to earn the foundations for the overarching use of the Wiimote on the PC and whose ideas and projects are ultimately the basis for this article. At the end of the article, we summarized the reference to his homepage on the Wiimote project and other interesting sources of information on this topic. Thanks to these pioneering works, the Wiimote can now be used almost unrestrictedly on the PC. Of course, assuming you know how.
In this article, therefore, we first want to teach the basics of how to use the Wiimote according to your own needs. This ranges from the correct Bluetooth integration into the operating system, to the self-construction of a sensor bar, to the introduction to programming this ECU with the appropriate software. The aim is to use the Wiimote as a display control or mouse replacement and thus be able to conveniently control games and selected applications.
The Wiimote communicates with our PC via a Bluetooth connection. It contains as a core both gyroscopic sensors, which can detect all changes in position, as well as a sensitive infrared camera with a resolution of 1024×768 pixels at 100 Hz sampling frequency, which can at least track up to four infrared sources simultaneously. Thus, two control principles are available to the interested user, which can of course also be combined.
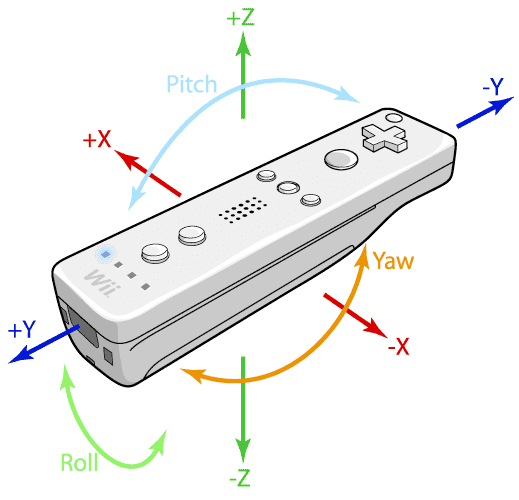
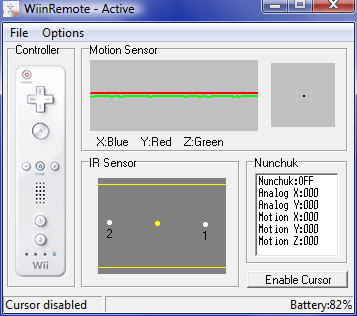
The control axes of the gyroscopic sensor are simply explained (picture above). In principle, the gyroscopic sensor detects every change of direction. However, this variety of functions is not necessary for every application and the programming effort is also much higher than that for the implementation of the infrared control as a mouse replacement. 1 and 2 are the infrared LEDs of the sensor bar, the yellow dot in the middle is the determined position of the Wiimote. The infrared control system requires at least two light sources at first. The built-in camera captures these sources and the Wiimote calculates a two-dimensional position in space as a simple x-y projection depending on this. Similar to the mouse on the desktop.
In addition, the Wiimote also has a control cross, whose four buttons can be used and programmed in the same way as the home and plus and minus buttons, as well as the keys A and B and 1 and 2. A total of 11 buttons are available, which should be sufficient for most applications. The data and actions between Wiimote and PC are transmitted via Bluetooth. The next section will show how to integrate the Wiimote without any problems.


Kommentieren