


With the Watercool Heatkiller IV for RTX 2080 Ti I would like to introduce the third fullcover water block in detail, which has to face my stress test honestly. The fact that the test sample only came now is mainly due to the high demand and the fact that the parts were always sold out as a result. But at some point almost every part ends up here in the lab, you just have to be patient enough.
In my two articles "GeForce RTX 2080 Ti – Why water cooling is more important than manual overclocking and this brings very little" and especially "Nvidia GeForce RTX 2080 Ti Founders Edition water-cooled? Forget it, here's the much faster alternative!" I've already discussed in great detail the cooling problem and the advantages of a potent water cooling. In addition, as already mentioned, I had two more coolers in the test with the EK Waterblocks EK RTX 2080 Ti RGB and the Phanteks Glacier G2080Ti.
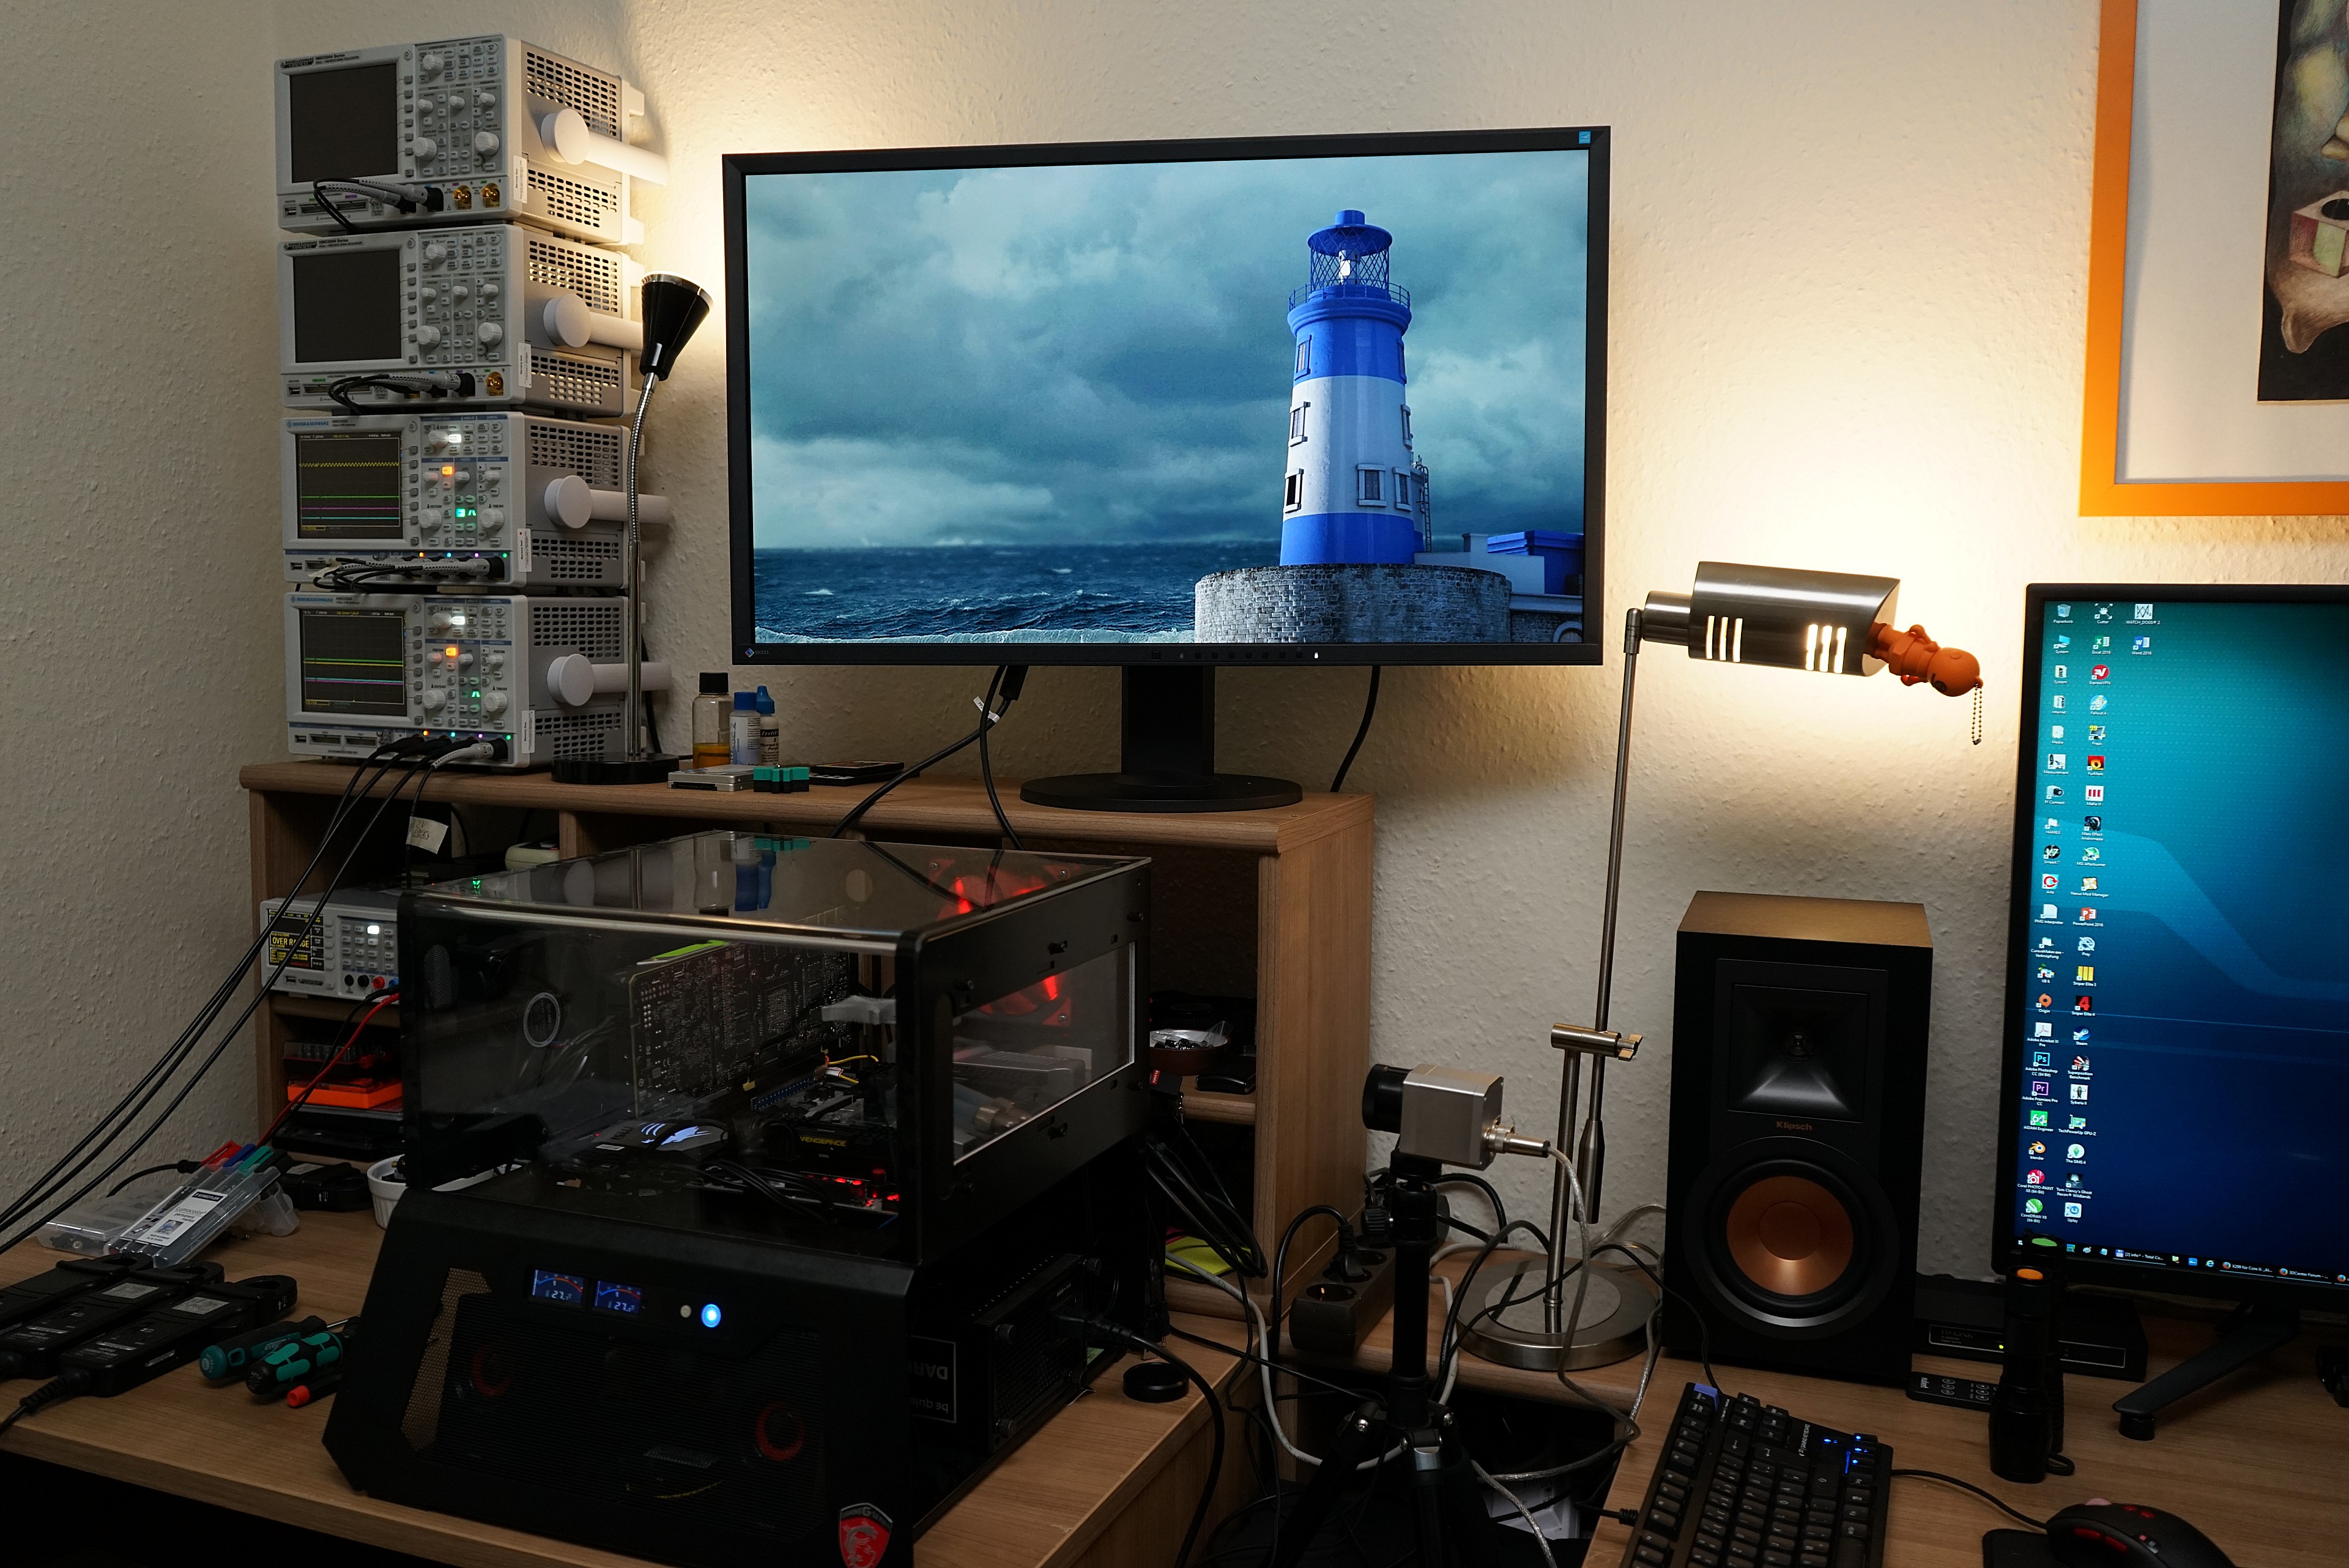
However, since the Otto Normal customer can check the GPU temperatures with read-out tools at most, I offer in this article a usual elaborate infrared test with the video of the heat flow and the temperature development, because at the latest at the memory and the There are sometimes extreme differences between voltage converters, but they can hardly be determined with normal tests. Testing is always carried out with a maximum power consumption of just under 380 watts for the board of the graphics card and a constant water temperature of 20°C, as well as a room temperature of 22°C and the same Witcher 3 gaming loop in Ultra HD.
Unfortunately, some test patterns have been delayed again, so the sequence of these tests will, contrary to expectations, continue a little further. But don't worry, because if someone has something to keep quiet about, I buy the part anonymously if necessary. Unfortunately, Bitspower has so far refused to test and no longer offers the requested model. There will certainly be reasons for this.
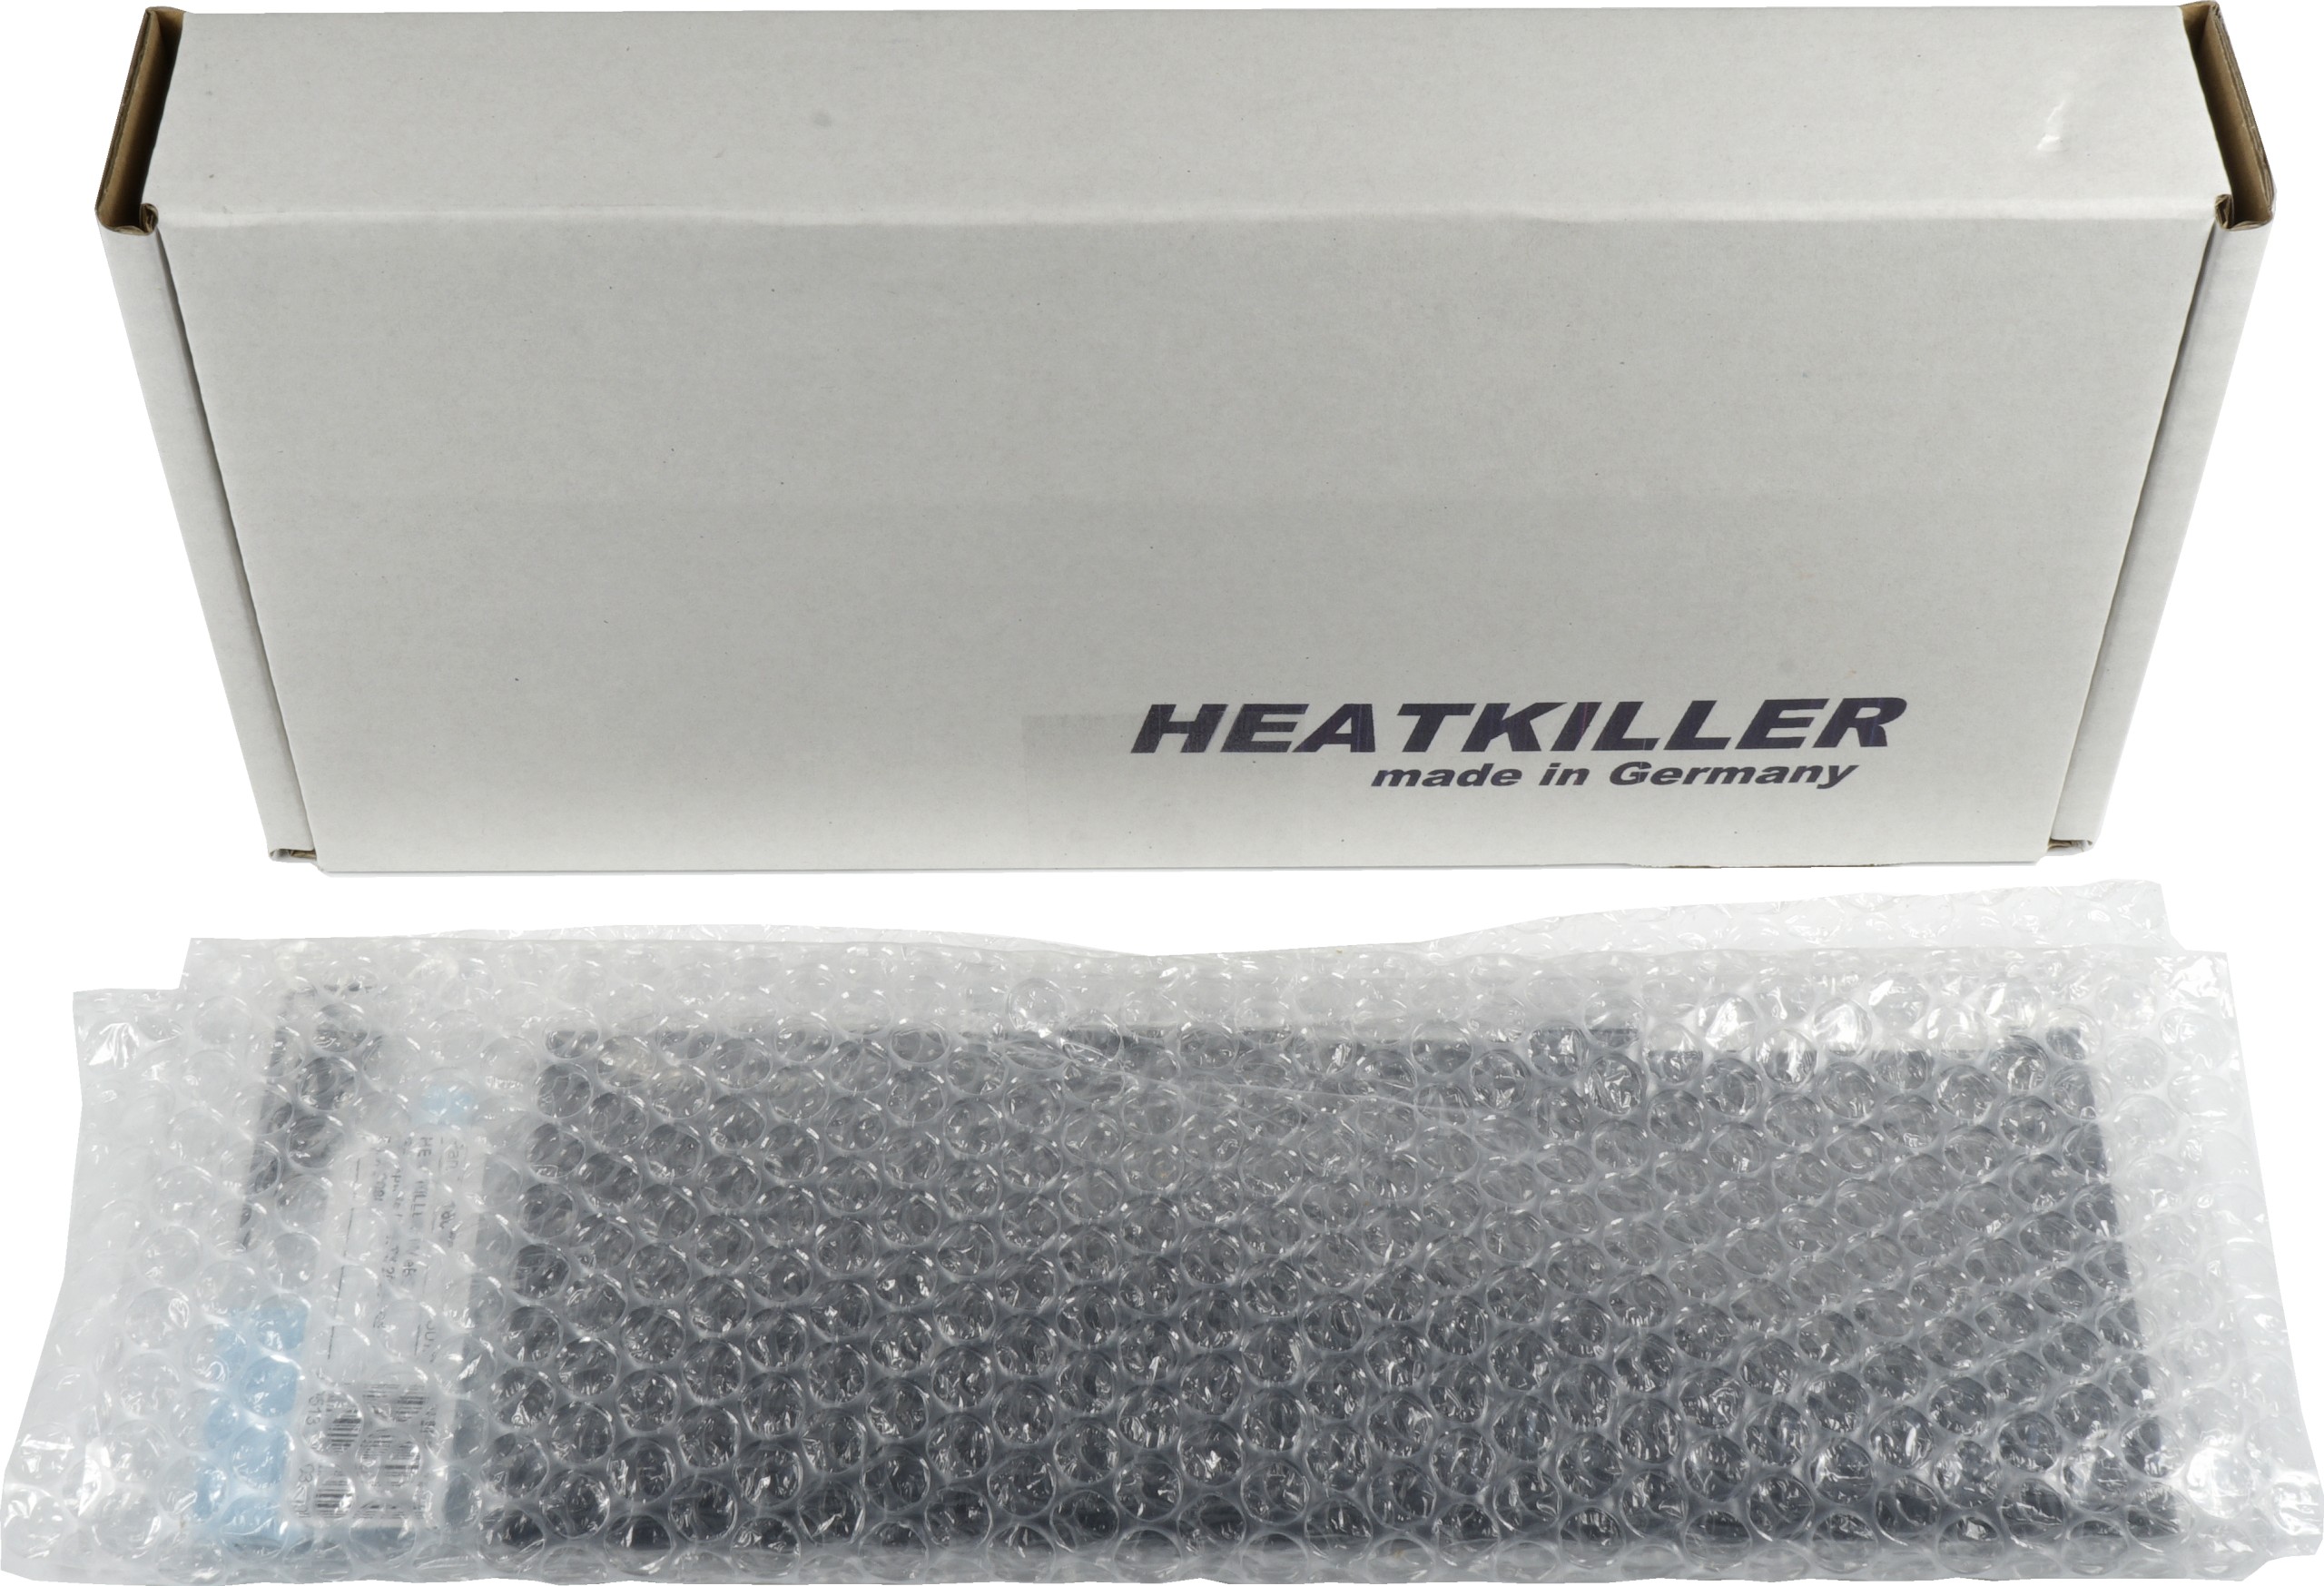
Unboxing, scope of delivery and assembly
The completely assembled water block, screws with acrylic washers, various thermal pads, as well as two plugs are supplied. The RGB light chain is integrated in the acrylic cover. One relies on one of the now more widely used 12V connections for color control, e.g. via the motherboard, which also explains the length of the connection cable.
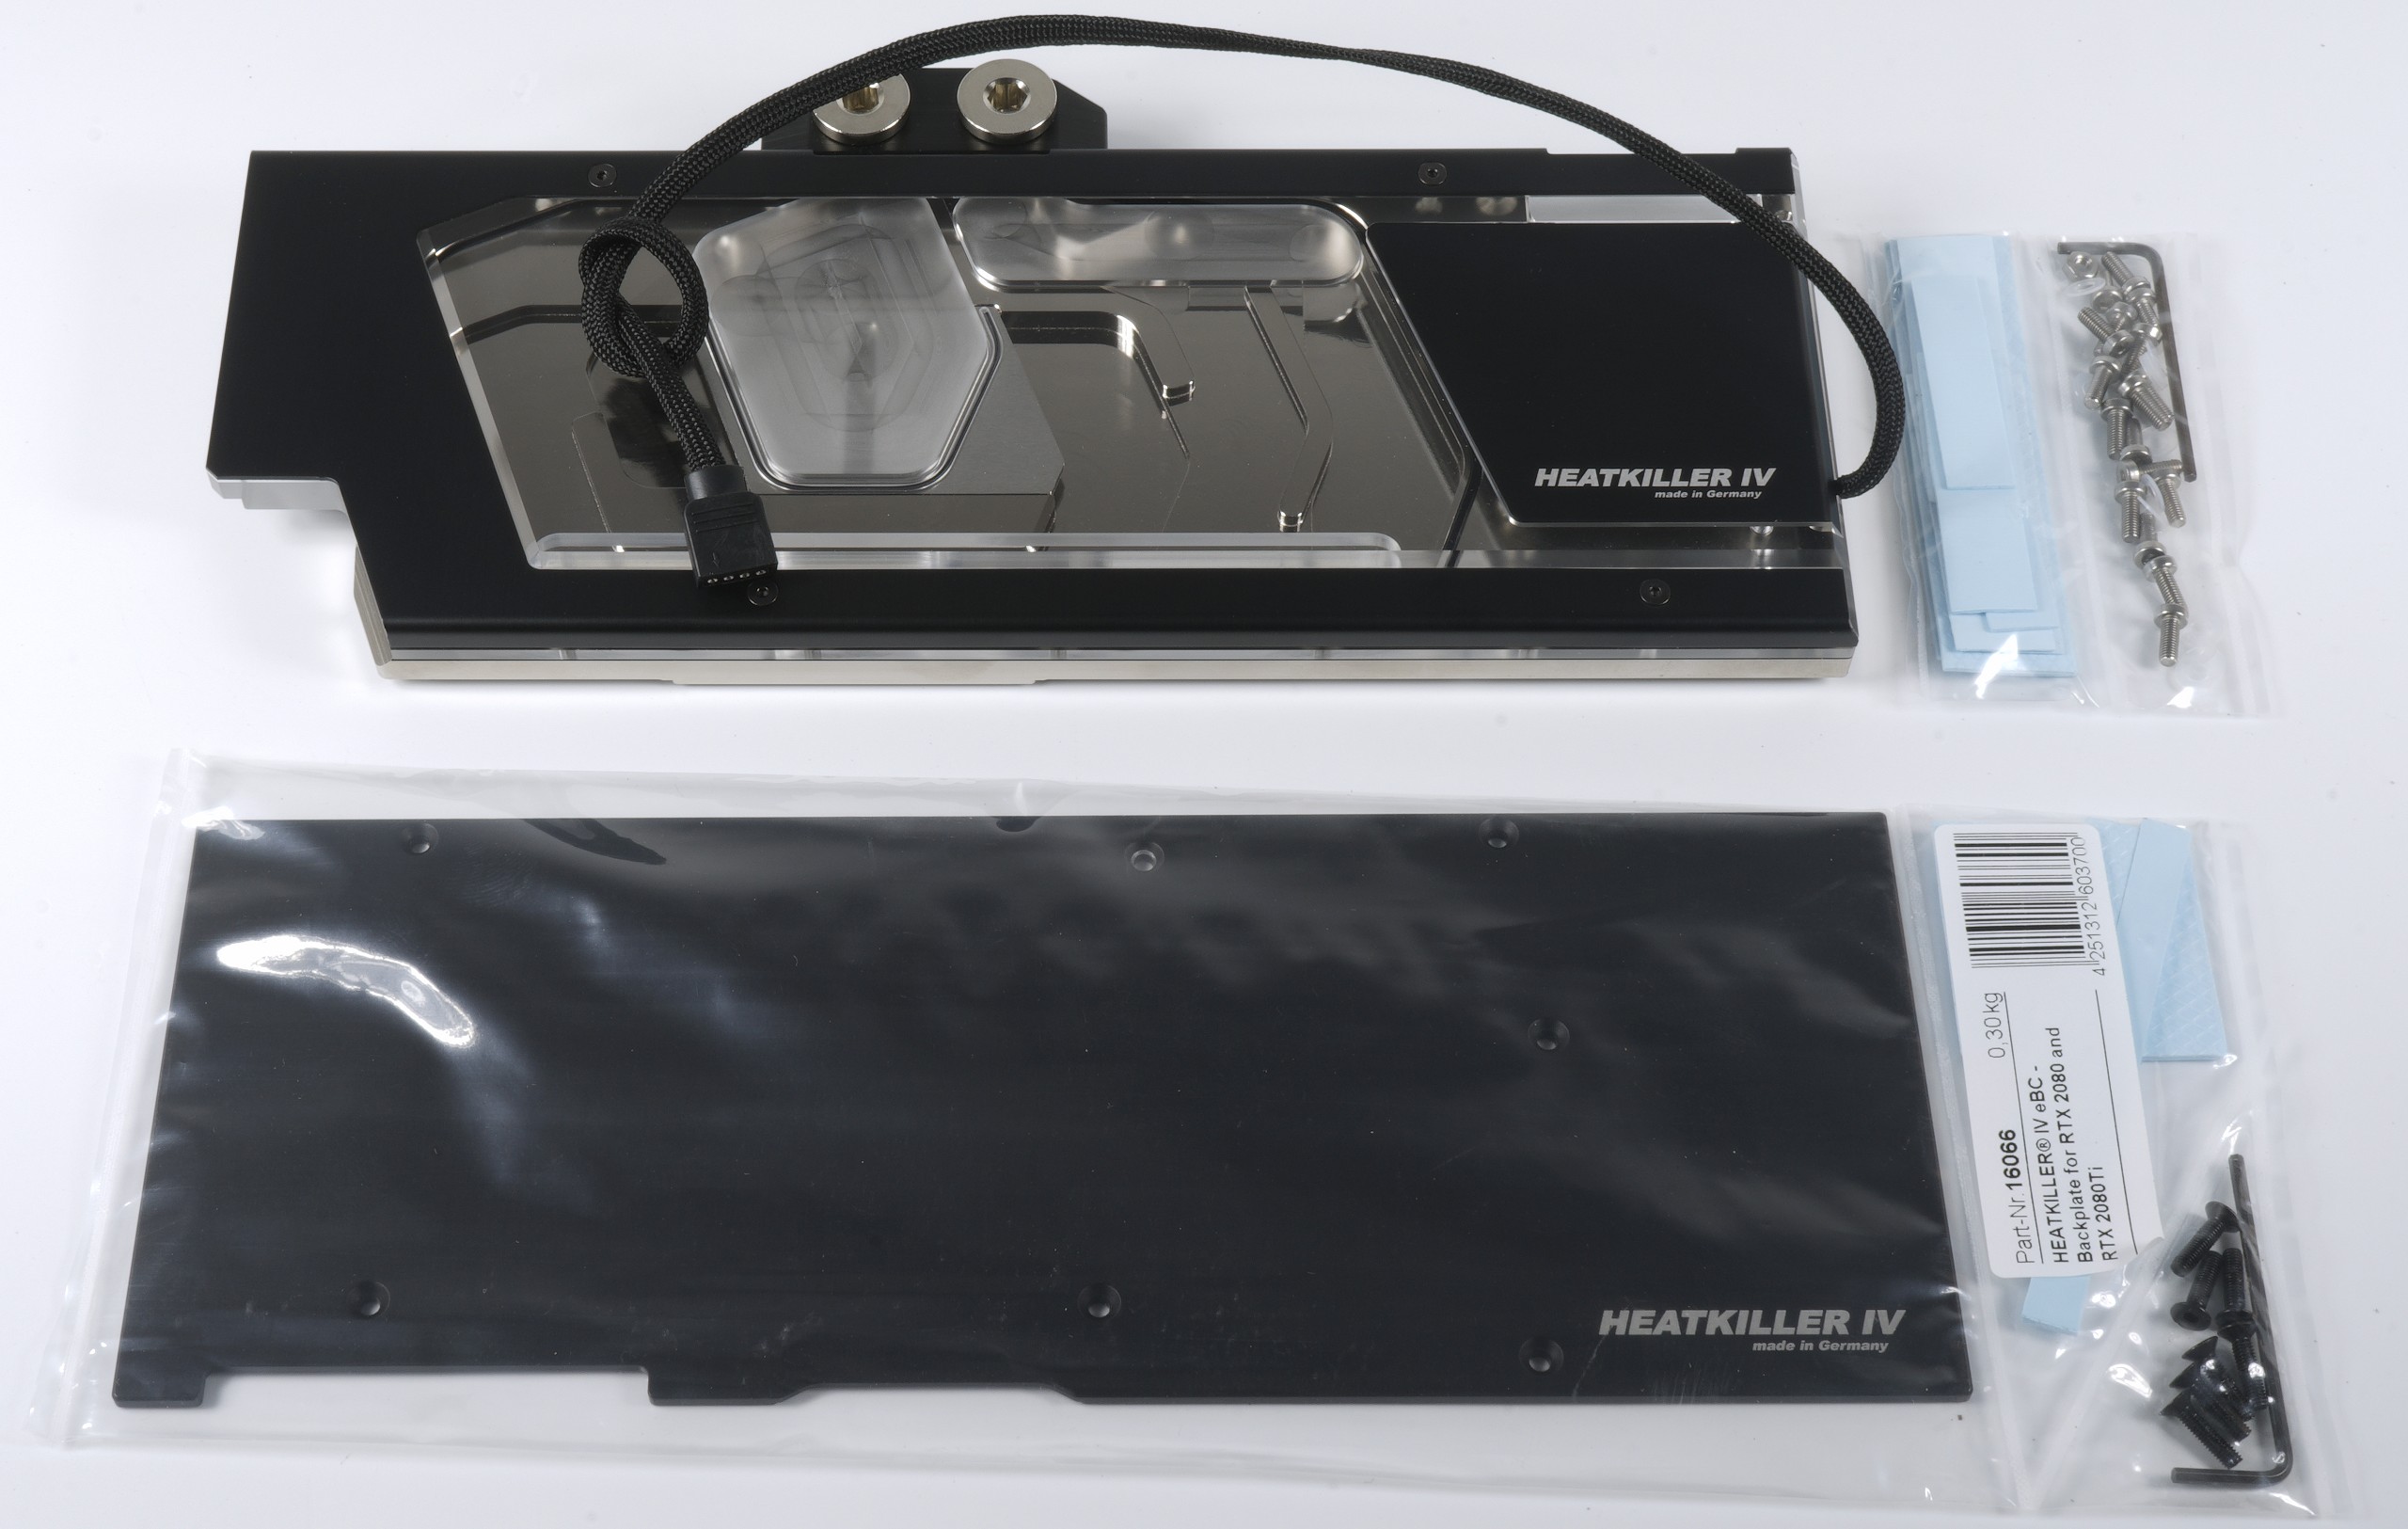
If you want, you can buy an optional backplate, which is also supplied complete with the required screws and pads, which integrates them into the cooling process. For technical reasons, however, I test all coolers without a backplate in order to remain more comparable and to be able to better detect weak points if necessary.
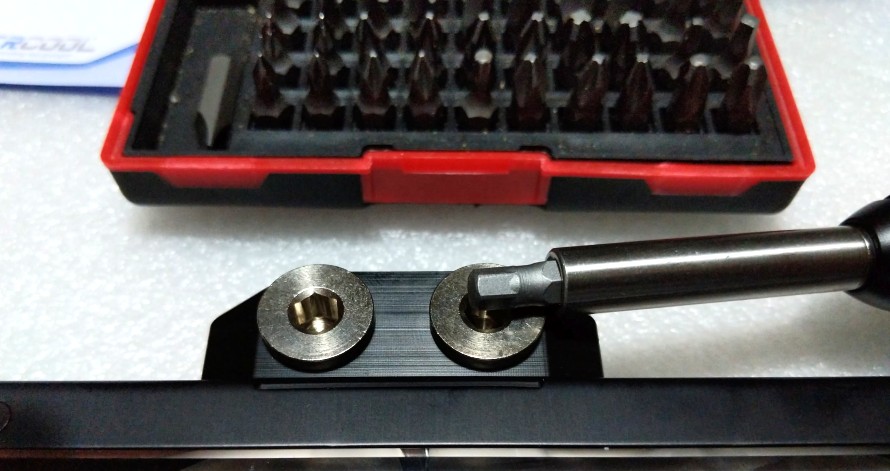
What is missing from the accessories are a good thermal paste and an H6 hexagonal key for the plugs. The supplied screws are also made of a very soft metal and you have to be hellish lycareful when tightening, not to damage the heads. I can only advise everyone to use neat bits and a good (torque) screwdriver instead of the supplied tool.
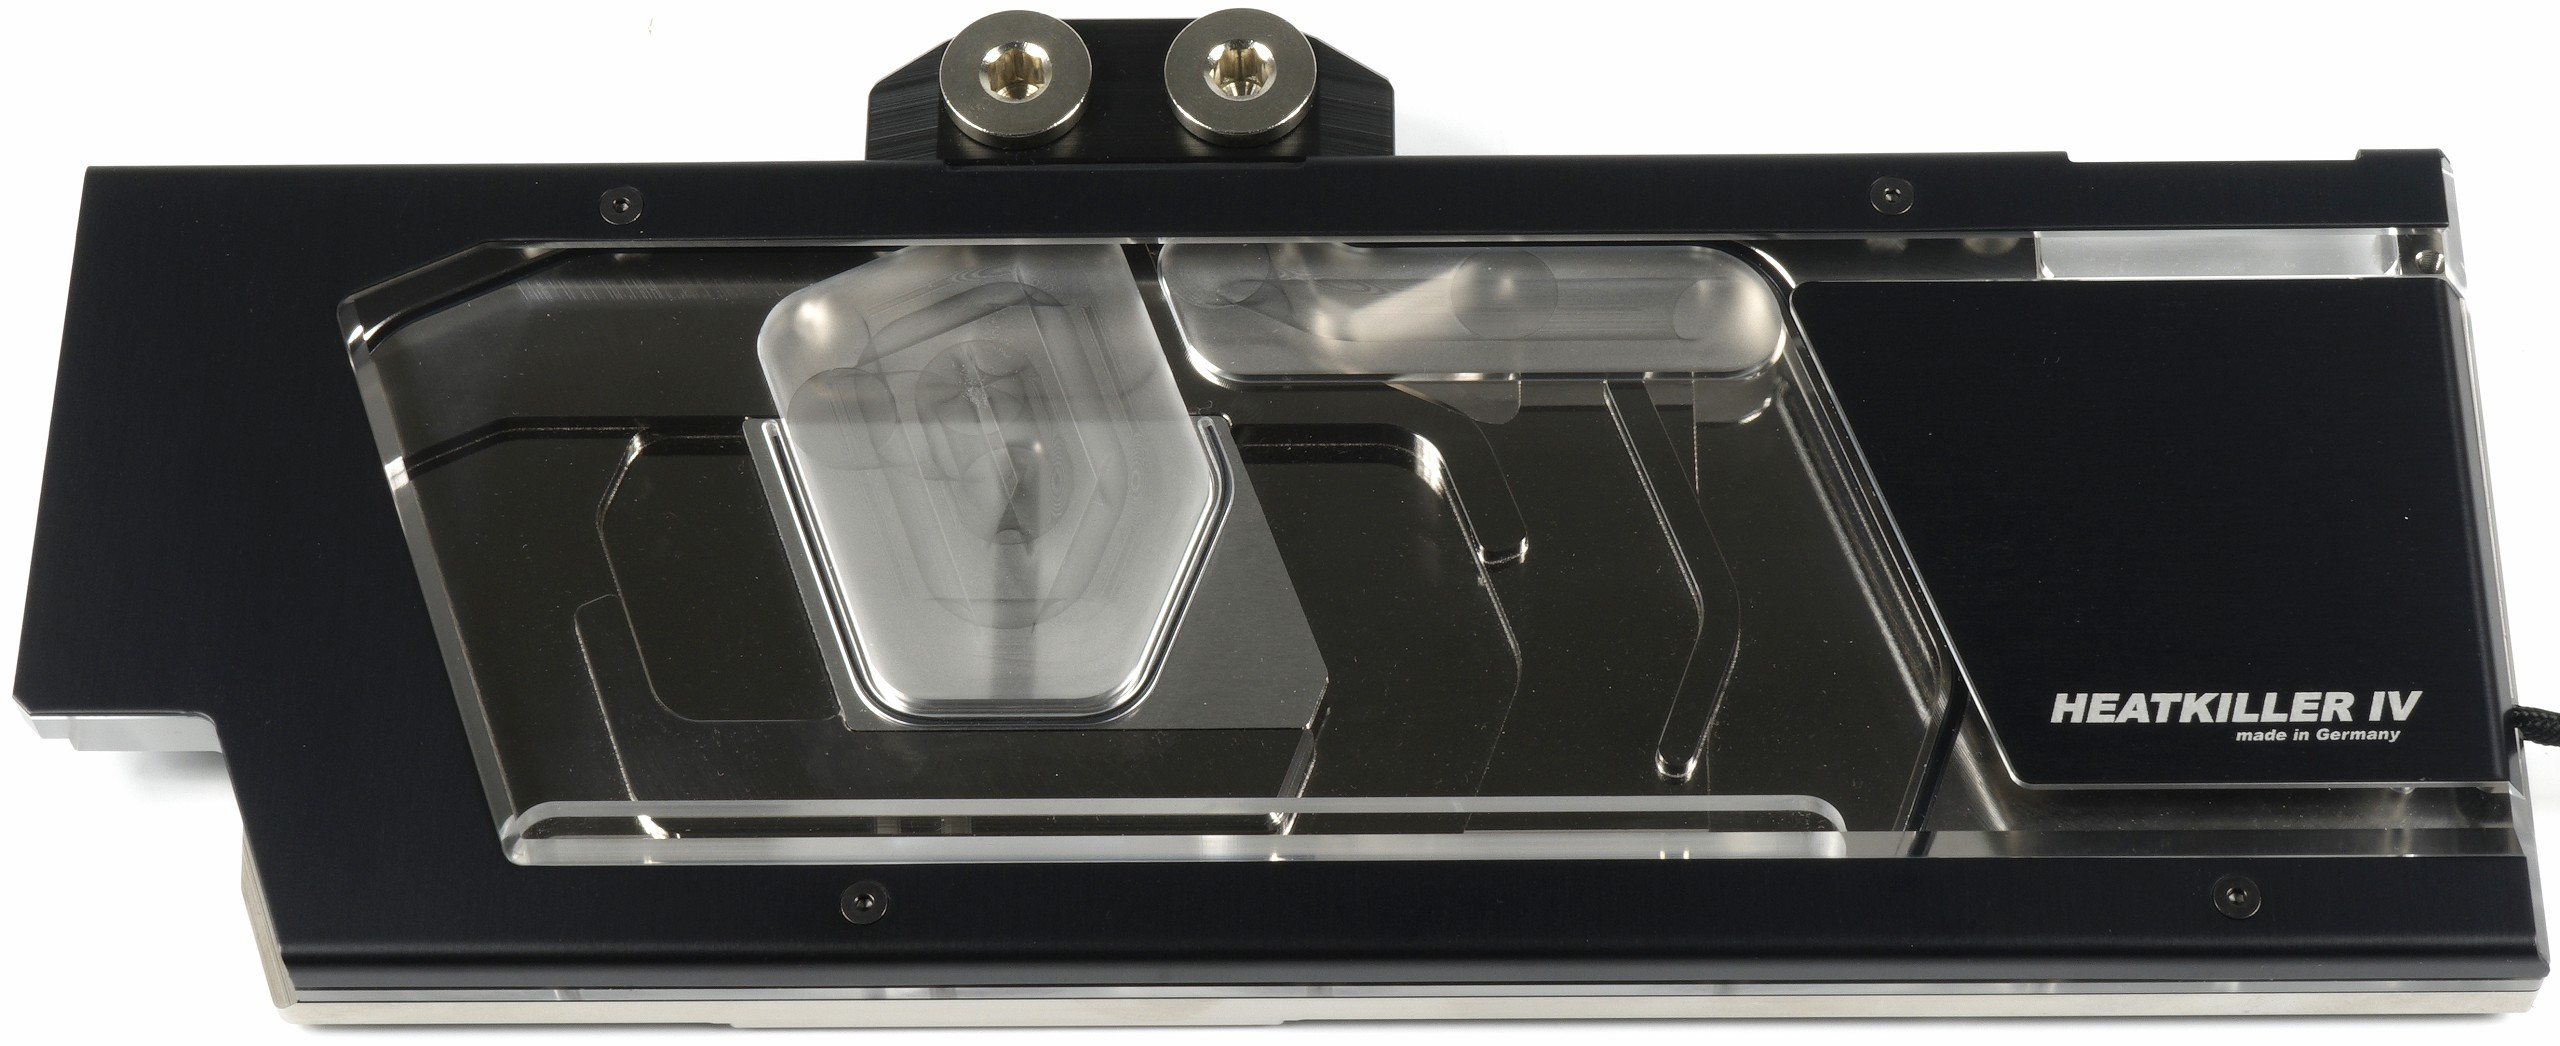
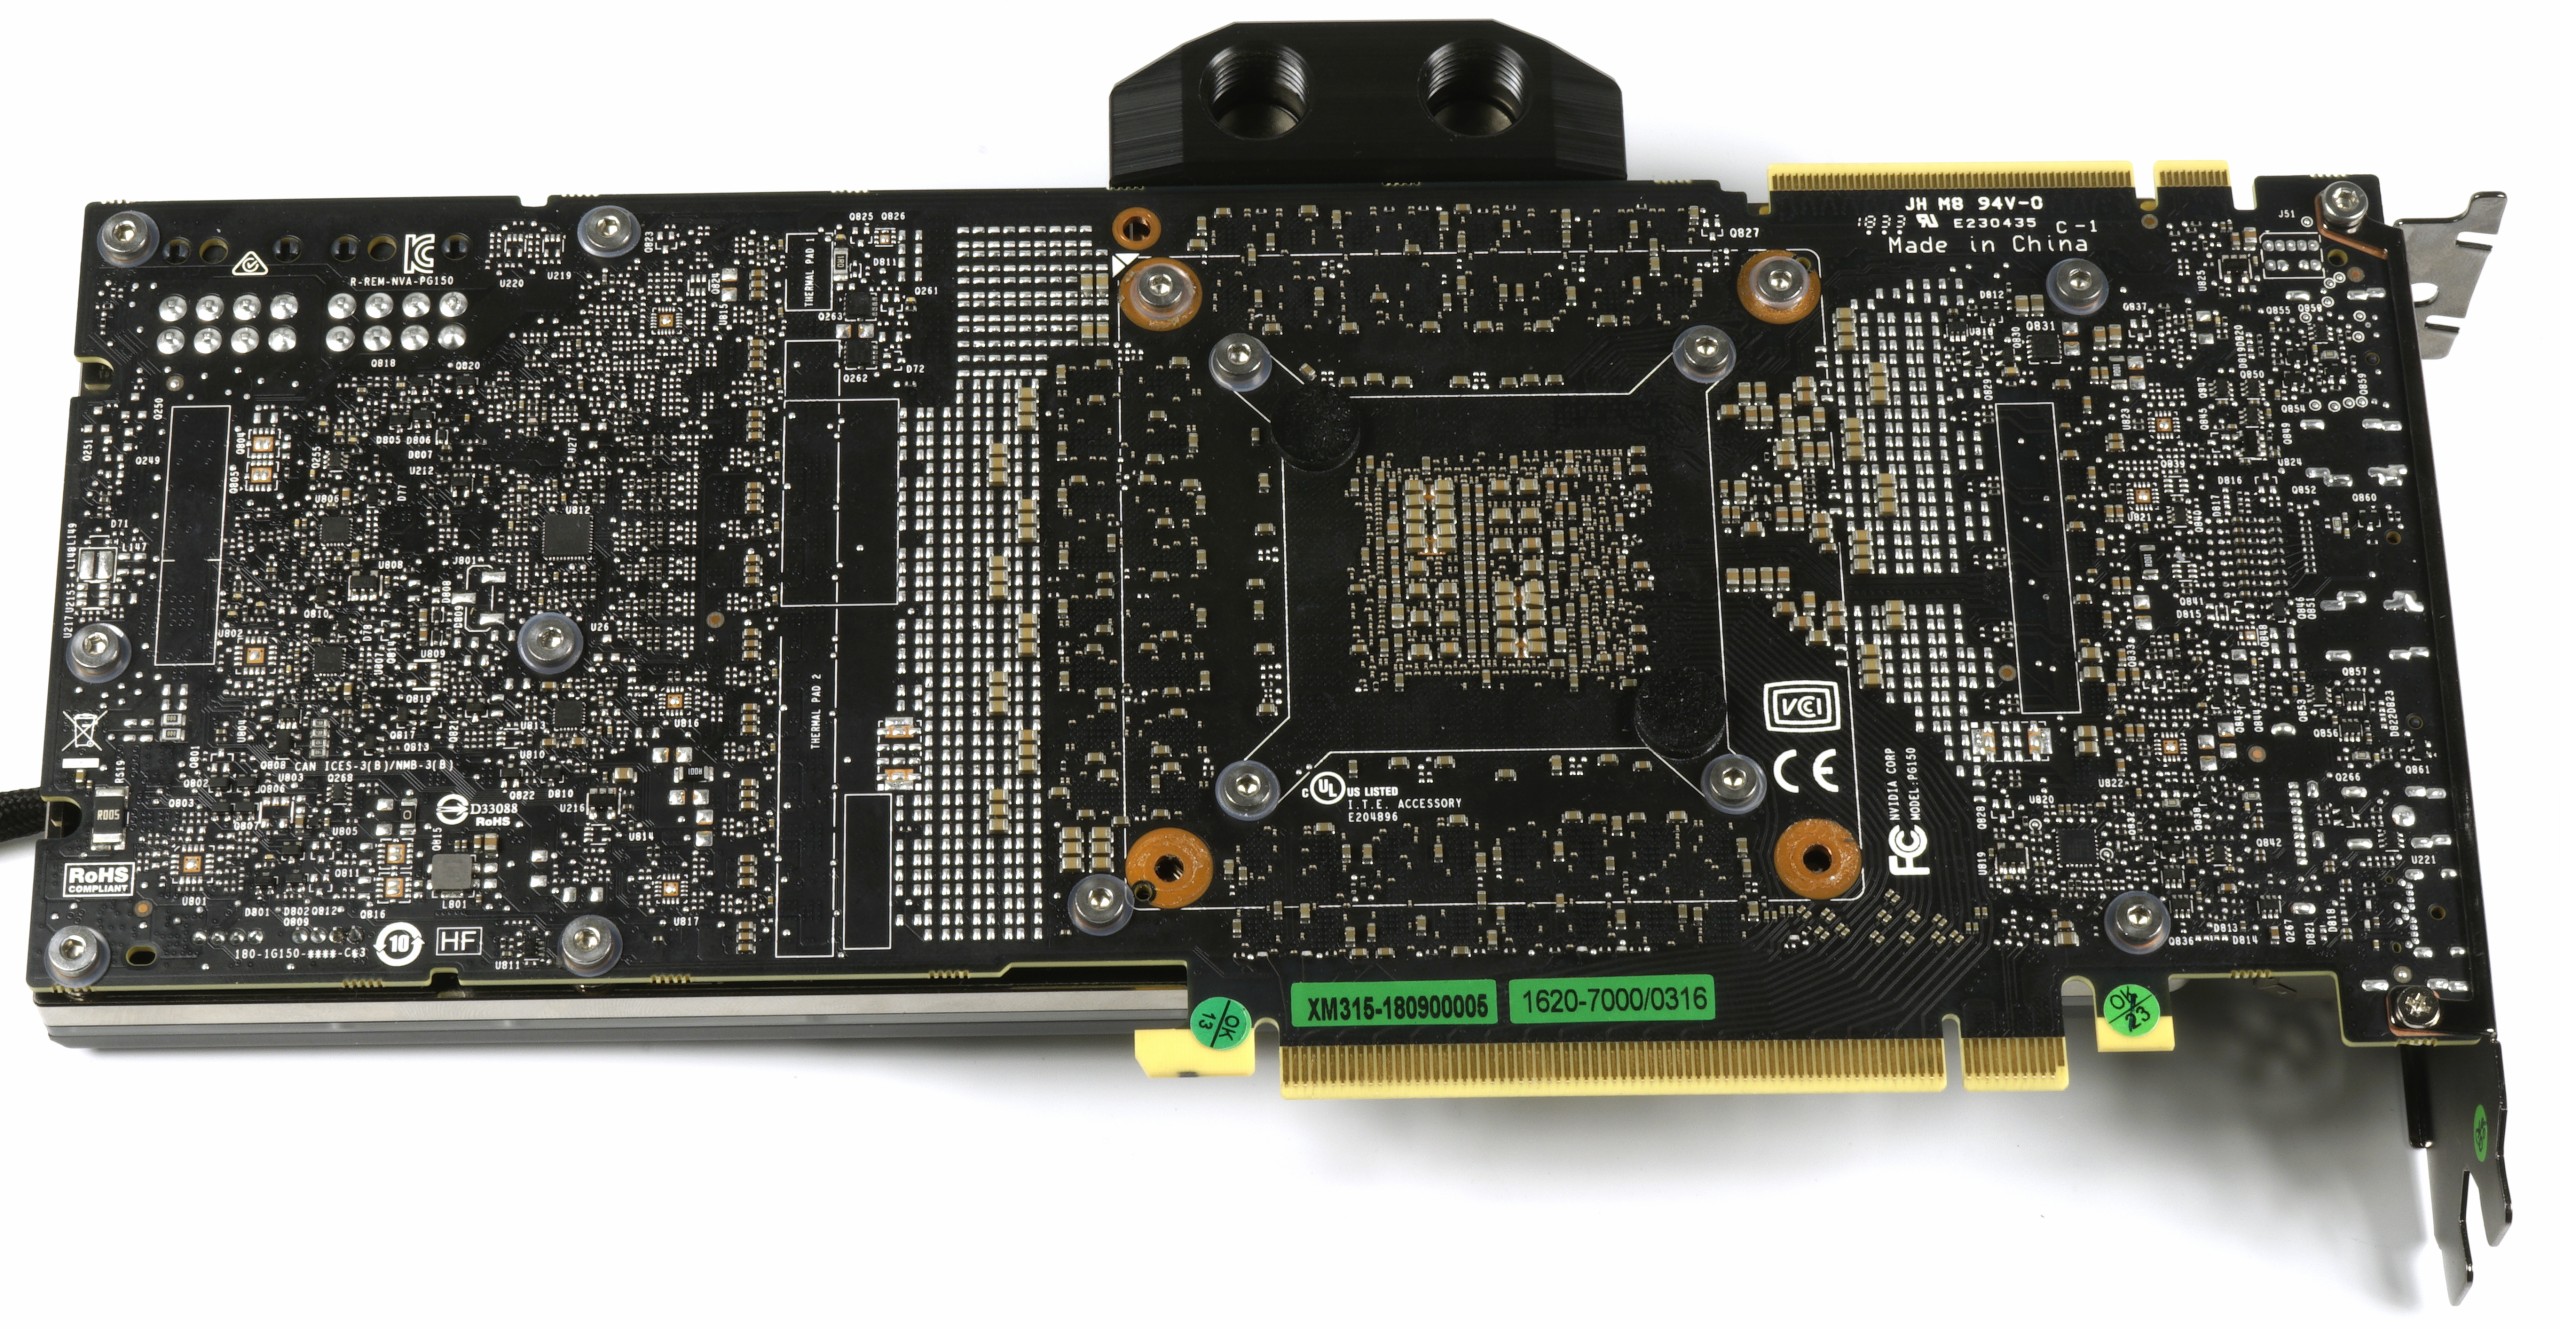
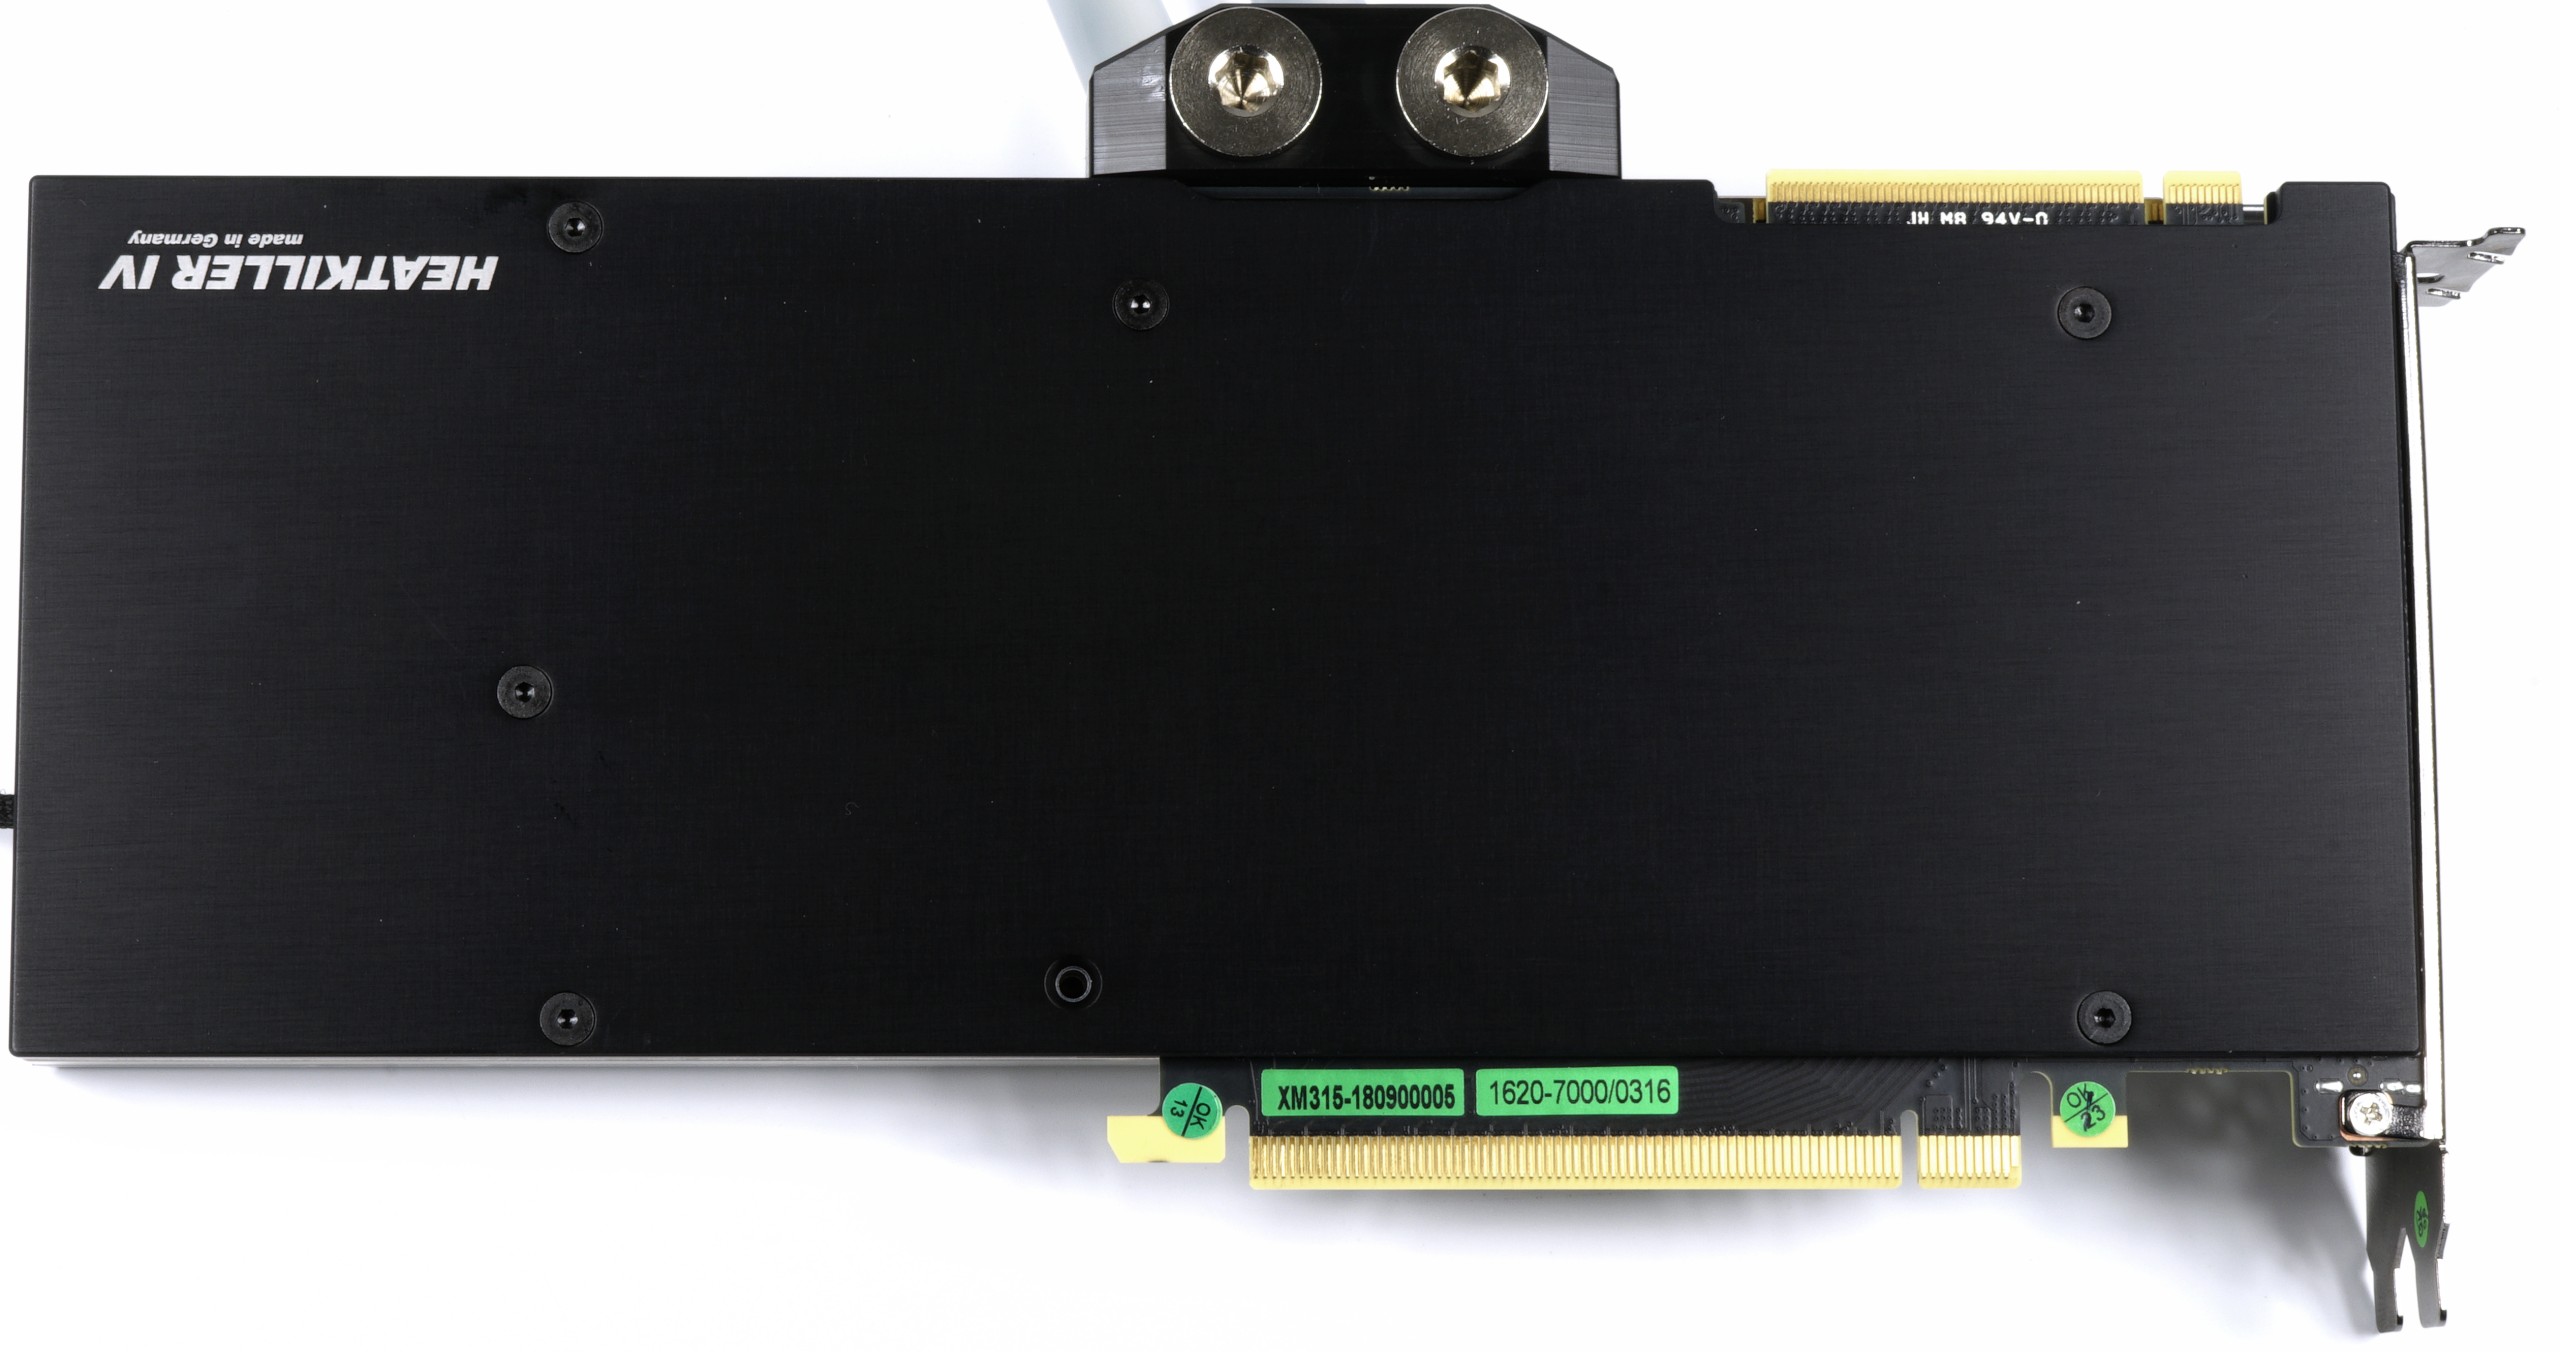
The block itself consists of the common, nickel-plated electrolyte copper. With its 262.5 mm length, 117.25 mm height and 18.5 mm depth as a gross dimension including connection terminal, the cooler is quite large and weighs at 1250g also not very little. What is positive lynotal are the plastic spacers used, which hold significantly tighter than the screwed-in thread holders in other coolers.
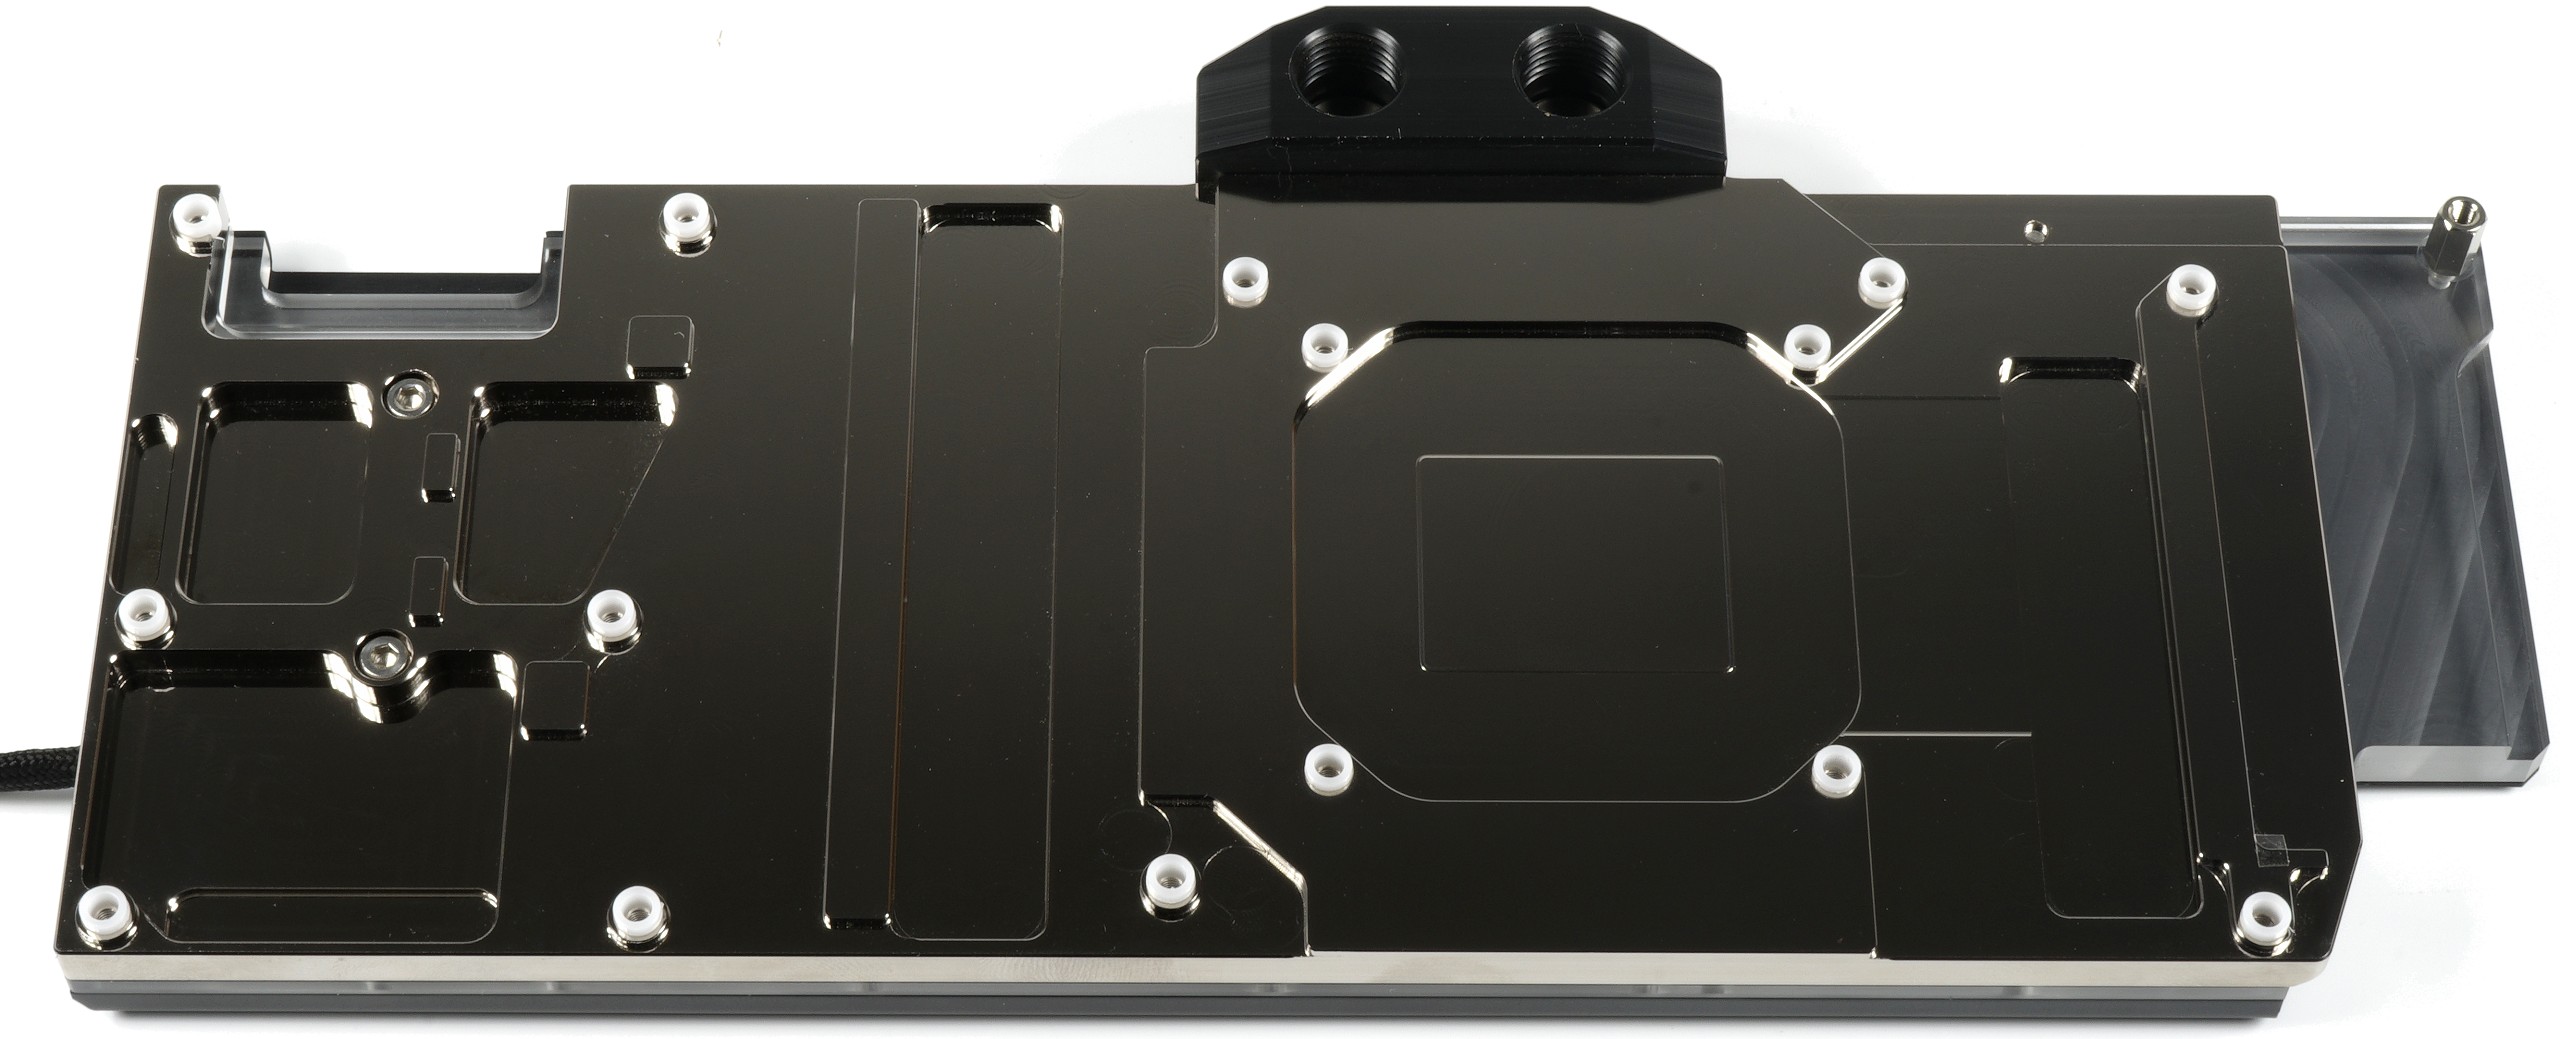
With the Heatkiller IV, Watercool uses the thicker 1 mm pads for the voltage converters, coils and capacitors from the voltage converter range, while the flat memory modules are sensibly cooled with the thinner 0.5 mm pads. The thinner a pad, the lower the thermal resistance and the cooler the storage remains as a result. Well thought along.
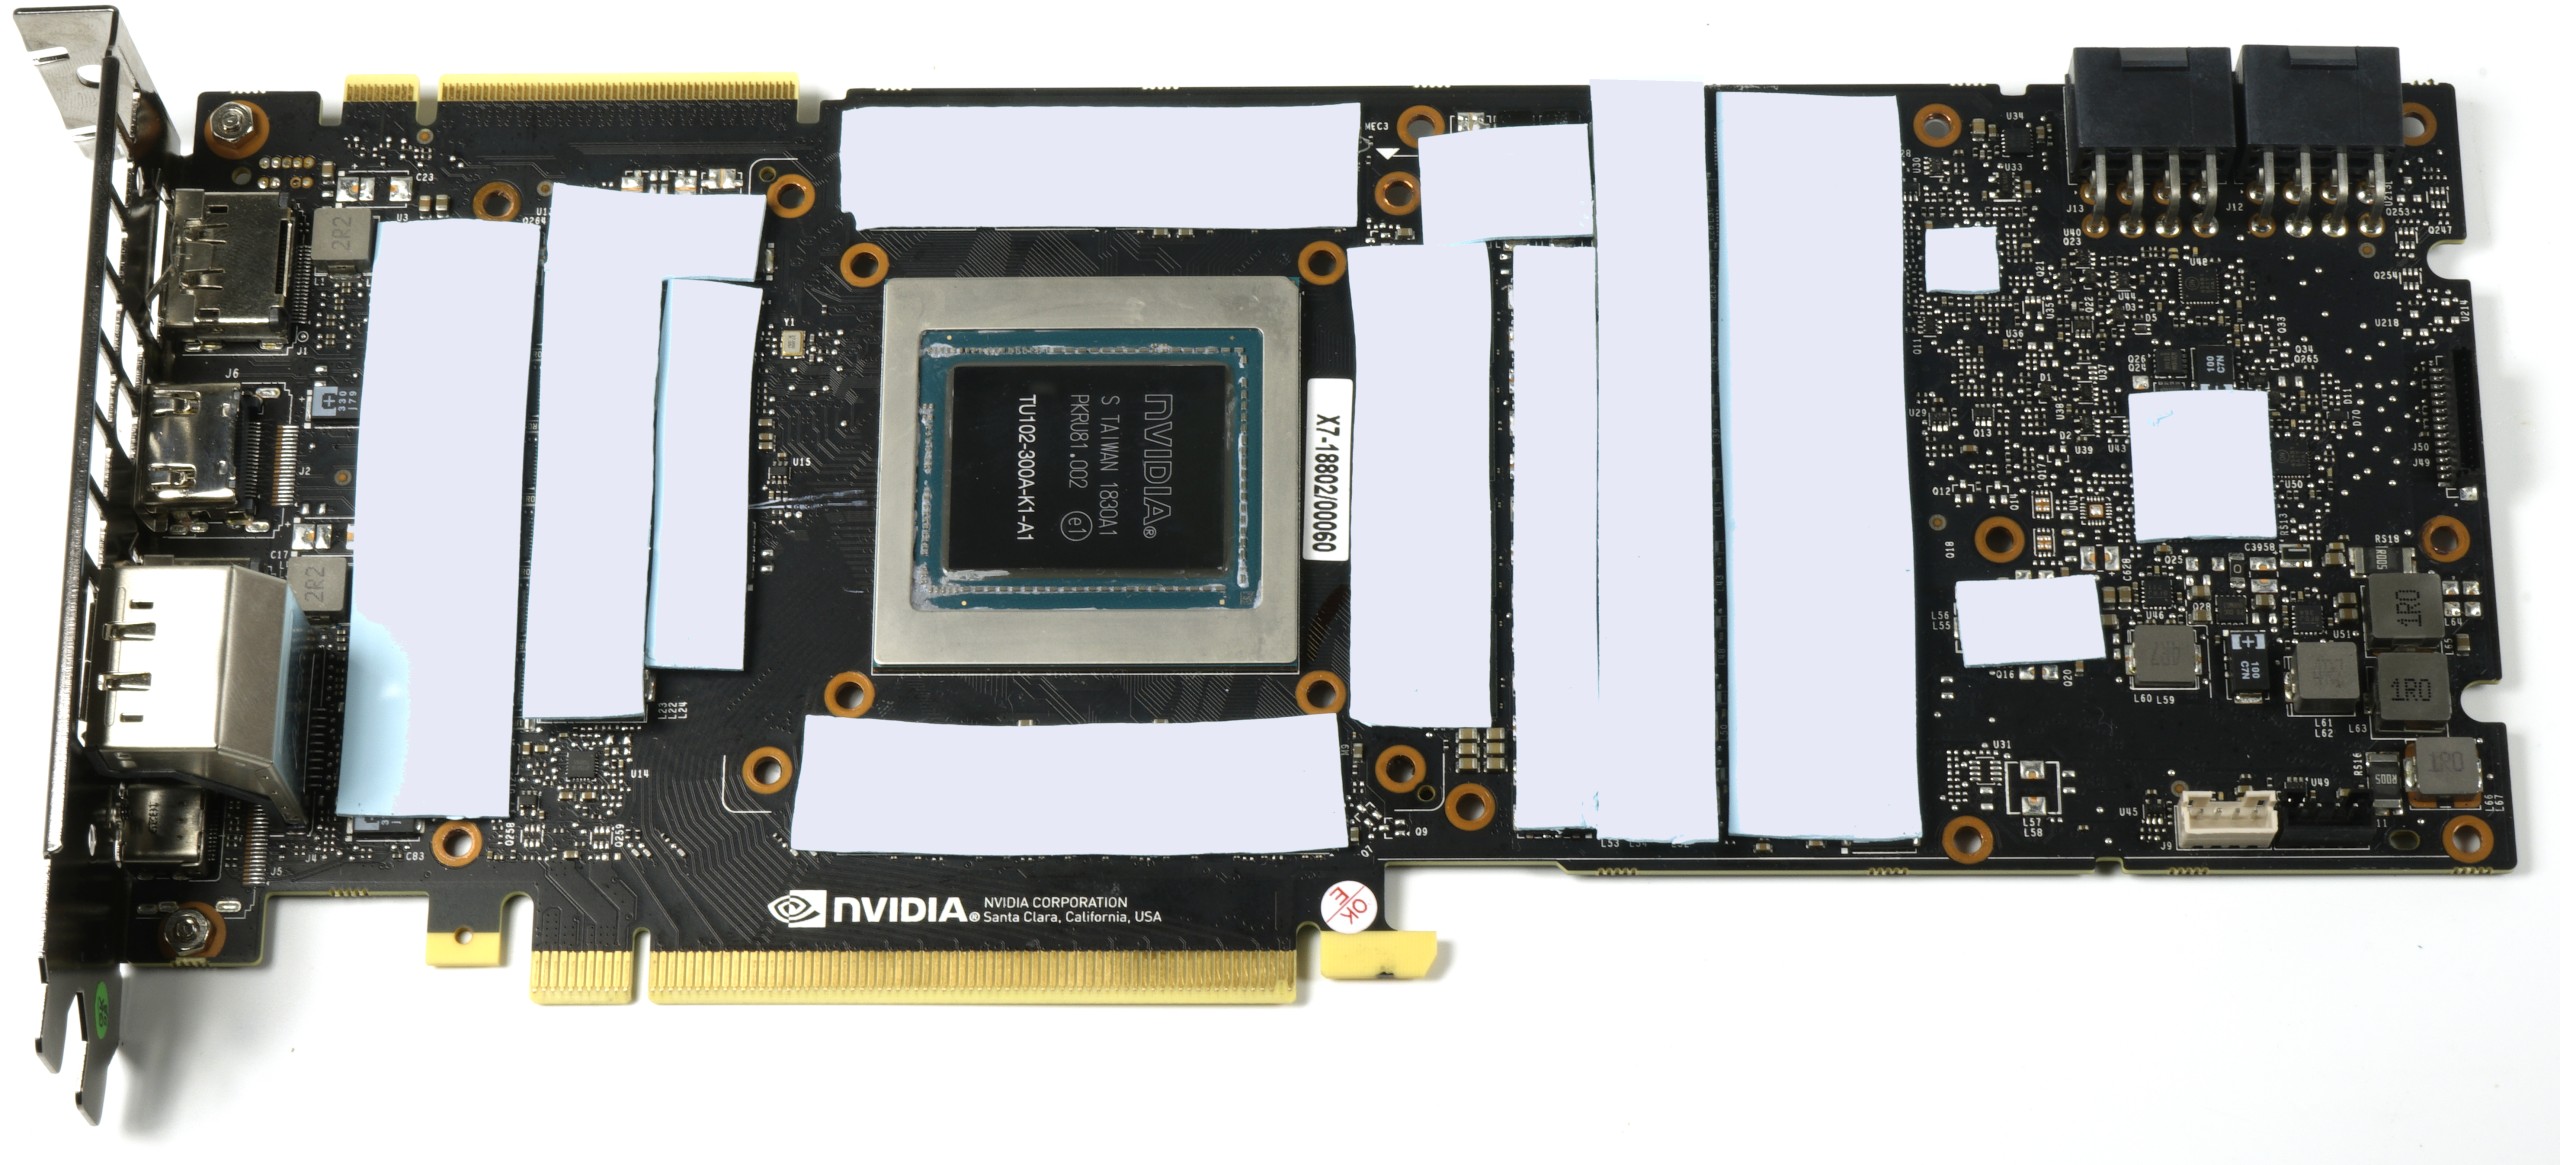
The pre-assembled and pre-cut pads are relatively soft and stick slightly better on the side with the pattern than on the smooth one. Therefore, you should put them on it as you can see it in the picture above. I didn't encounter any problems when assembanding and screwing. With reasonably good skills, you've done everything in less than 15 minutes. The connection to the terminal and the RGB output of the motherboard are also not a witchcraft
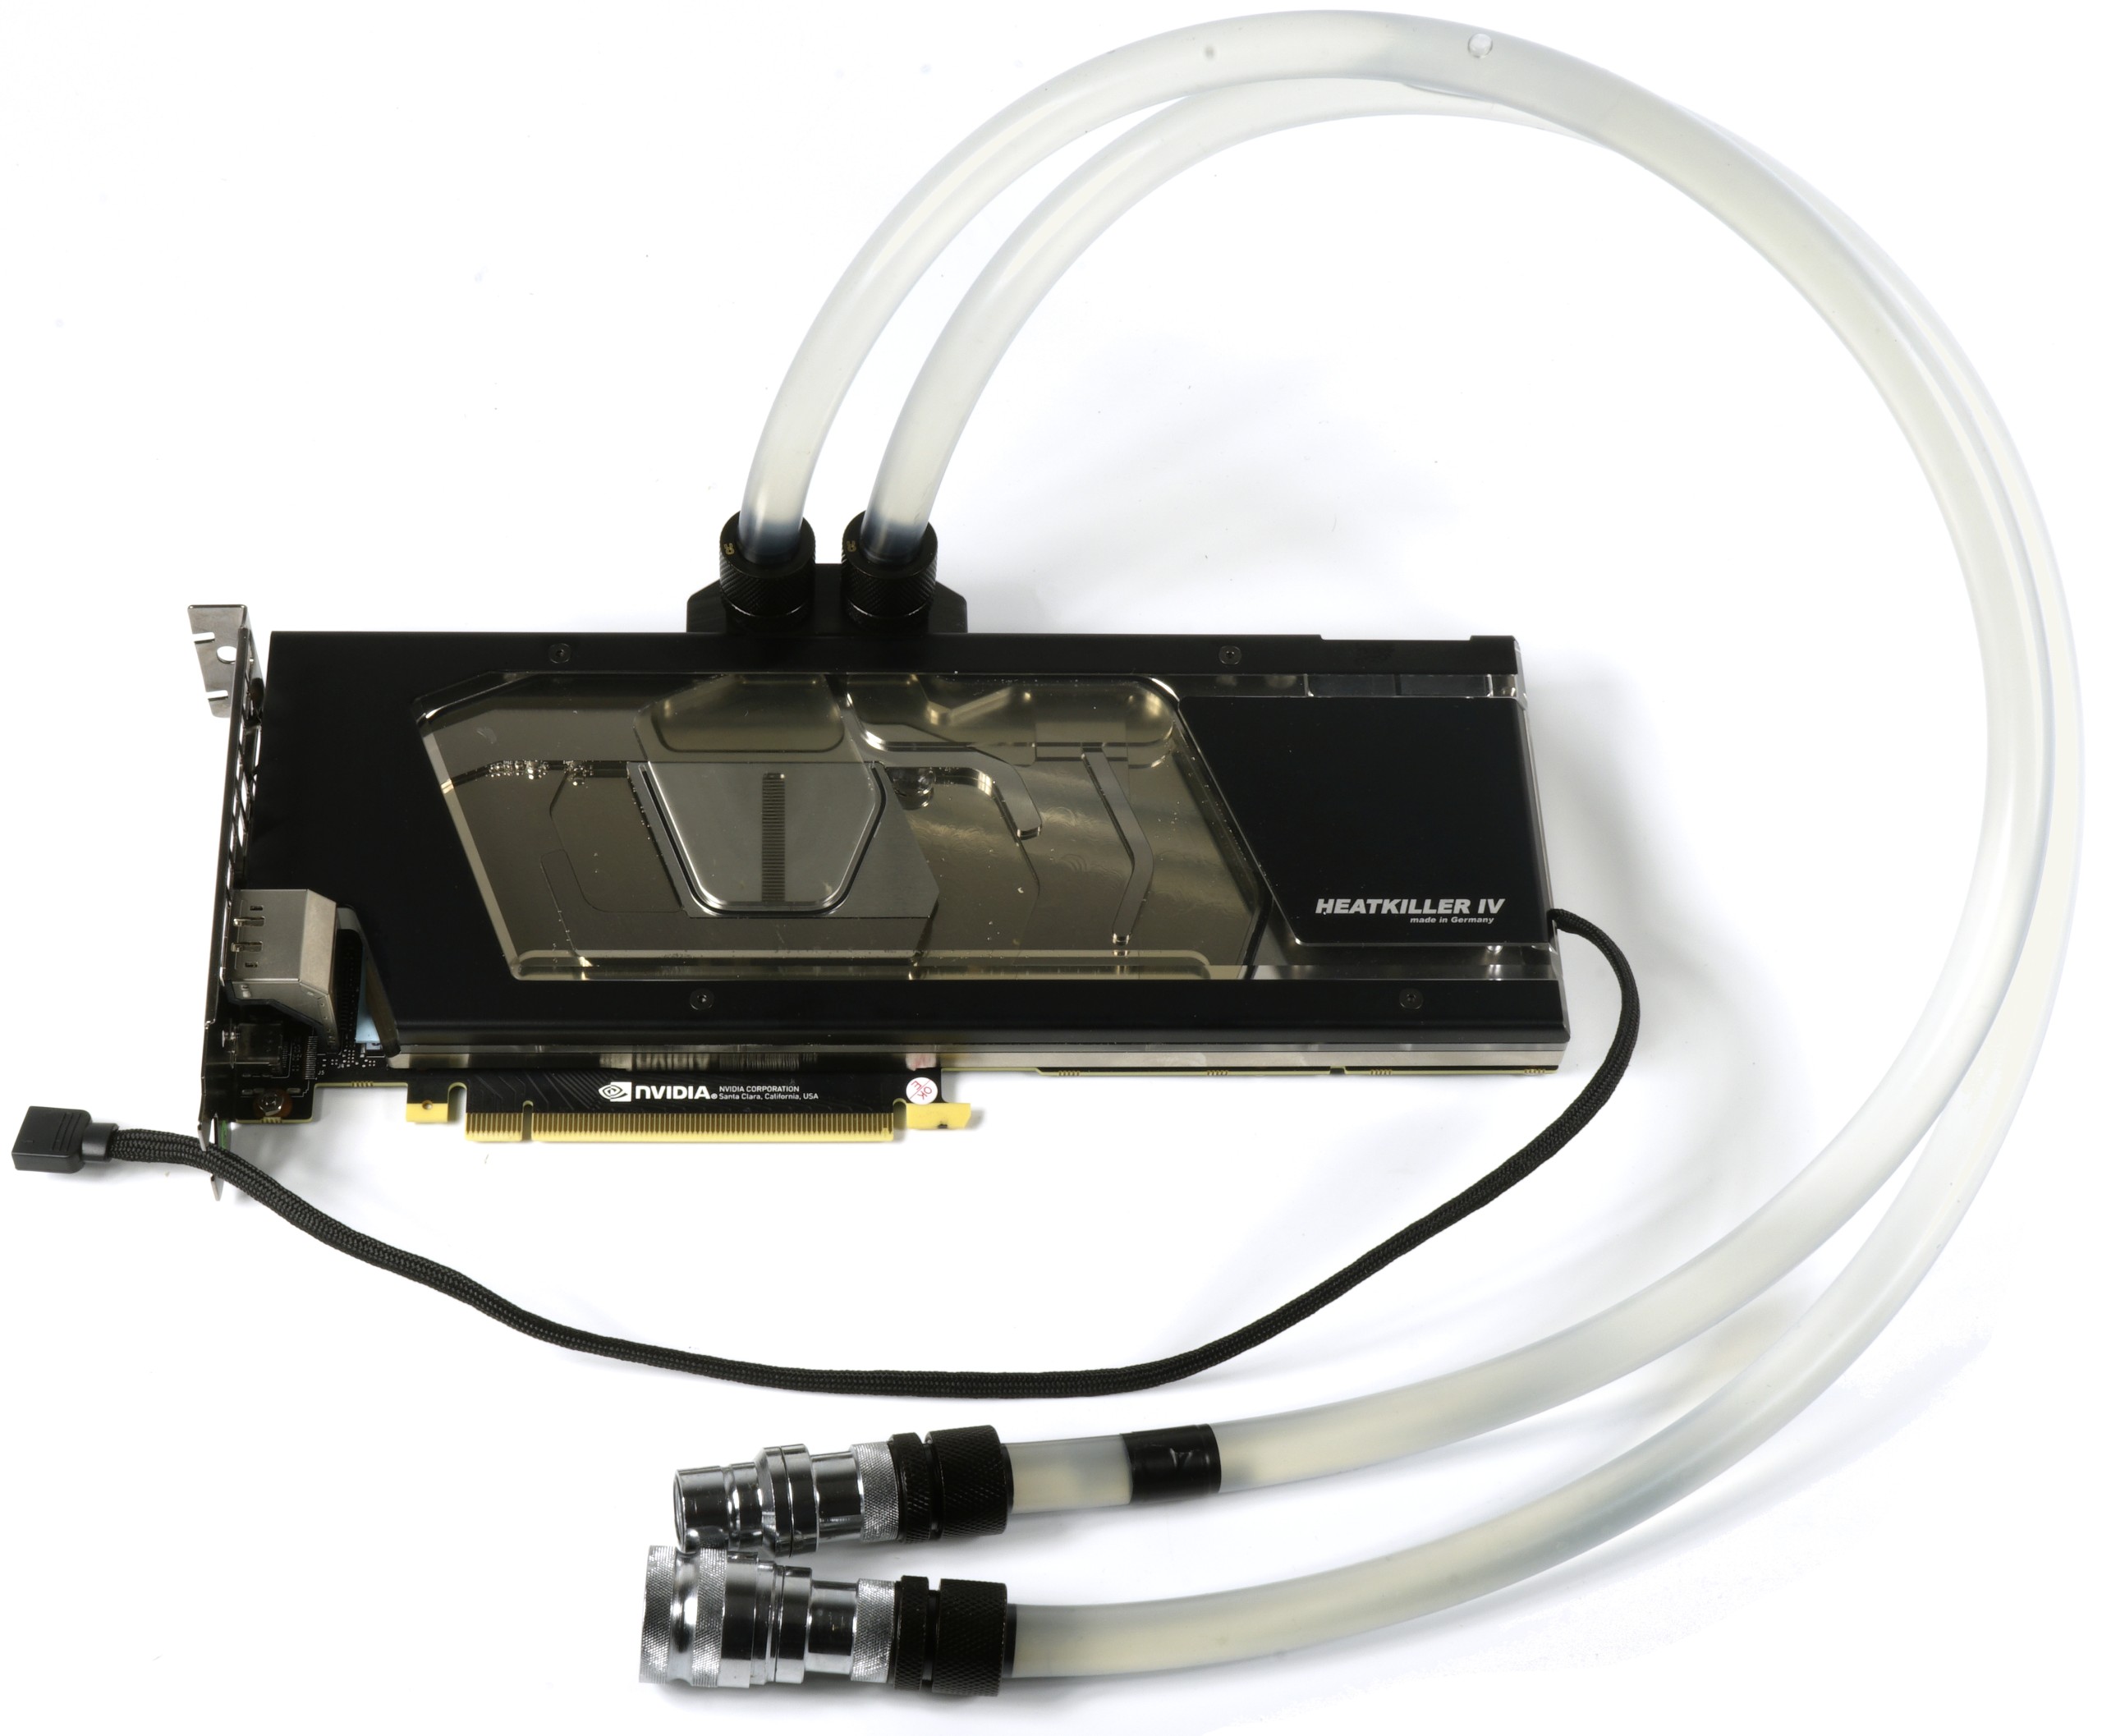
Finally, there is now another front. and rear view of the screwed-together cooler, as well as the view of the backplate as a picture gallery:
Technical data and manual
Before I put this conversion into operation on the next page and measure it, quickly see everything tabularly for all readers at a glance:
Technical data:
Material: Electrolyte copper nickel-plated, stainless steel, POM, PLEXIGLAS® GS
Dimensions: (LxWxH): 262.5 x 117.25 x 18.5 mm (including terminal)
Weight: 1250g
Connection: 4x G 1/4 inch (DIN ISO 228-1)
Pressure tested: 2 bar
Compatible with: NVIDIA RTX 2080 Ti (reference design)
Delivery:
1x HEATKILLER® IV for RTX 2080 Ti – ACRYL Ni
1x HEATKILLER® LED Strip – RGB
1x Mounting material
MA_HK_IV_VGA_2080_A5
Test system and measurement methods
I have already described the test system and the methodology in the basic article "How we test graphics cards, as of February 2017" (English: "How We Test Graphics Cards") in detail and therefore, for the sake of simplicity, now only refers to these detailed Description. So if you want to read everything again, you are welcome to do so.
If you are interested, the summary in table form quickly provides a brief overview:
| Test systems and measuring rooms | |
|---|---|
| Hardware: |
Intel Core i7-6900K -4.5GHz MSI X99S XPower Gaming Titanium G.Skill TridentZ DDR4 3600 1x 1 TByte Toshiba OCZ RD400 (M.2, System SSD) 2x 960 GByte Toshiba OCZ TR150 (Storage, Images) Be Quiet Dark Power Pro 11, 850-watt power supply |
| Cooling: |
Alphacool Ice Block XPX 5x Be Quiet! Silent Wings 3 PWM (Closed Case Simulation) Thermal Grizzly Kryonaut (for cooler change) |
| Housing: |
Lian Li PC-T70 with expansion kit and modifications |
| Monitor: | Eizo EV3237-BK |
| Power consumption: |
non-contact DC measurement on the PCIe slot (Riser-Card) non-contact DC measurement on the external PCIe power supply Direct voltage measurement on the respective feeders and on the power supply 2x Rohde & Schwarz HMO 3054, 500 MHz multi-channel oscillograph with memory function 4x Rohde & Schwarz HZO50, current togor adapter (1 mA to 30 A, 100 KHz, DC) 4x Rohde & Schwarz HZ355, touch divider (10:1, 500 MHz) 1x Rohde & Schwarz HMC 8012, digital multimeter with storage function |
| Thermography: |
Optris PI640, infrared camera PI Connect evaluation software with profiles |
| Acoustics: |
NTI Audio M2211 (with calibration file) Steinberg UR12 (with phantom power for the microphones) Creative X7, Smaart v.7 own low-reflection measuring room, 3.5 x 1.8 x 2.2 m (LxTxH) Axial measurements, perpendicular to the center of the sound source(s), measuring distance 50 cm Noise in dBA (Slow) as RTA measurement Frequency spectrum as a graph |
| Operating system | Windows 10 Pro (1809, all updates) |


Kommentieren