


First visual impression
Alphacool:
The first thing I noticed on the Alphaccol cooling block was that some screws showed visible signs of wear from being assembled. This manifests itself in the form of slightly round “hexagon socket” screw heads – but this is only a purely optical defect, the same applies to the underside of the cooler, here some burrs have not been removed to 100%, so that my lint-poor cloth was always stuck and frayed when degreasing.
In the terminal block of the acetal version were also still small chips from drilling the thread, but these could be removed without problems with tweezers. For this purpose, a backplate is included, which is even thermally connected to the plate via heat conduction pads (3 mm thickness), and 2 sealing plugs of the patented variant are also included, so that there is no protrusion. The backplate is cleanly processed and has no defects.
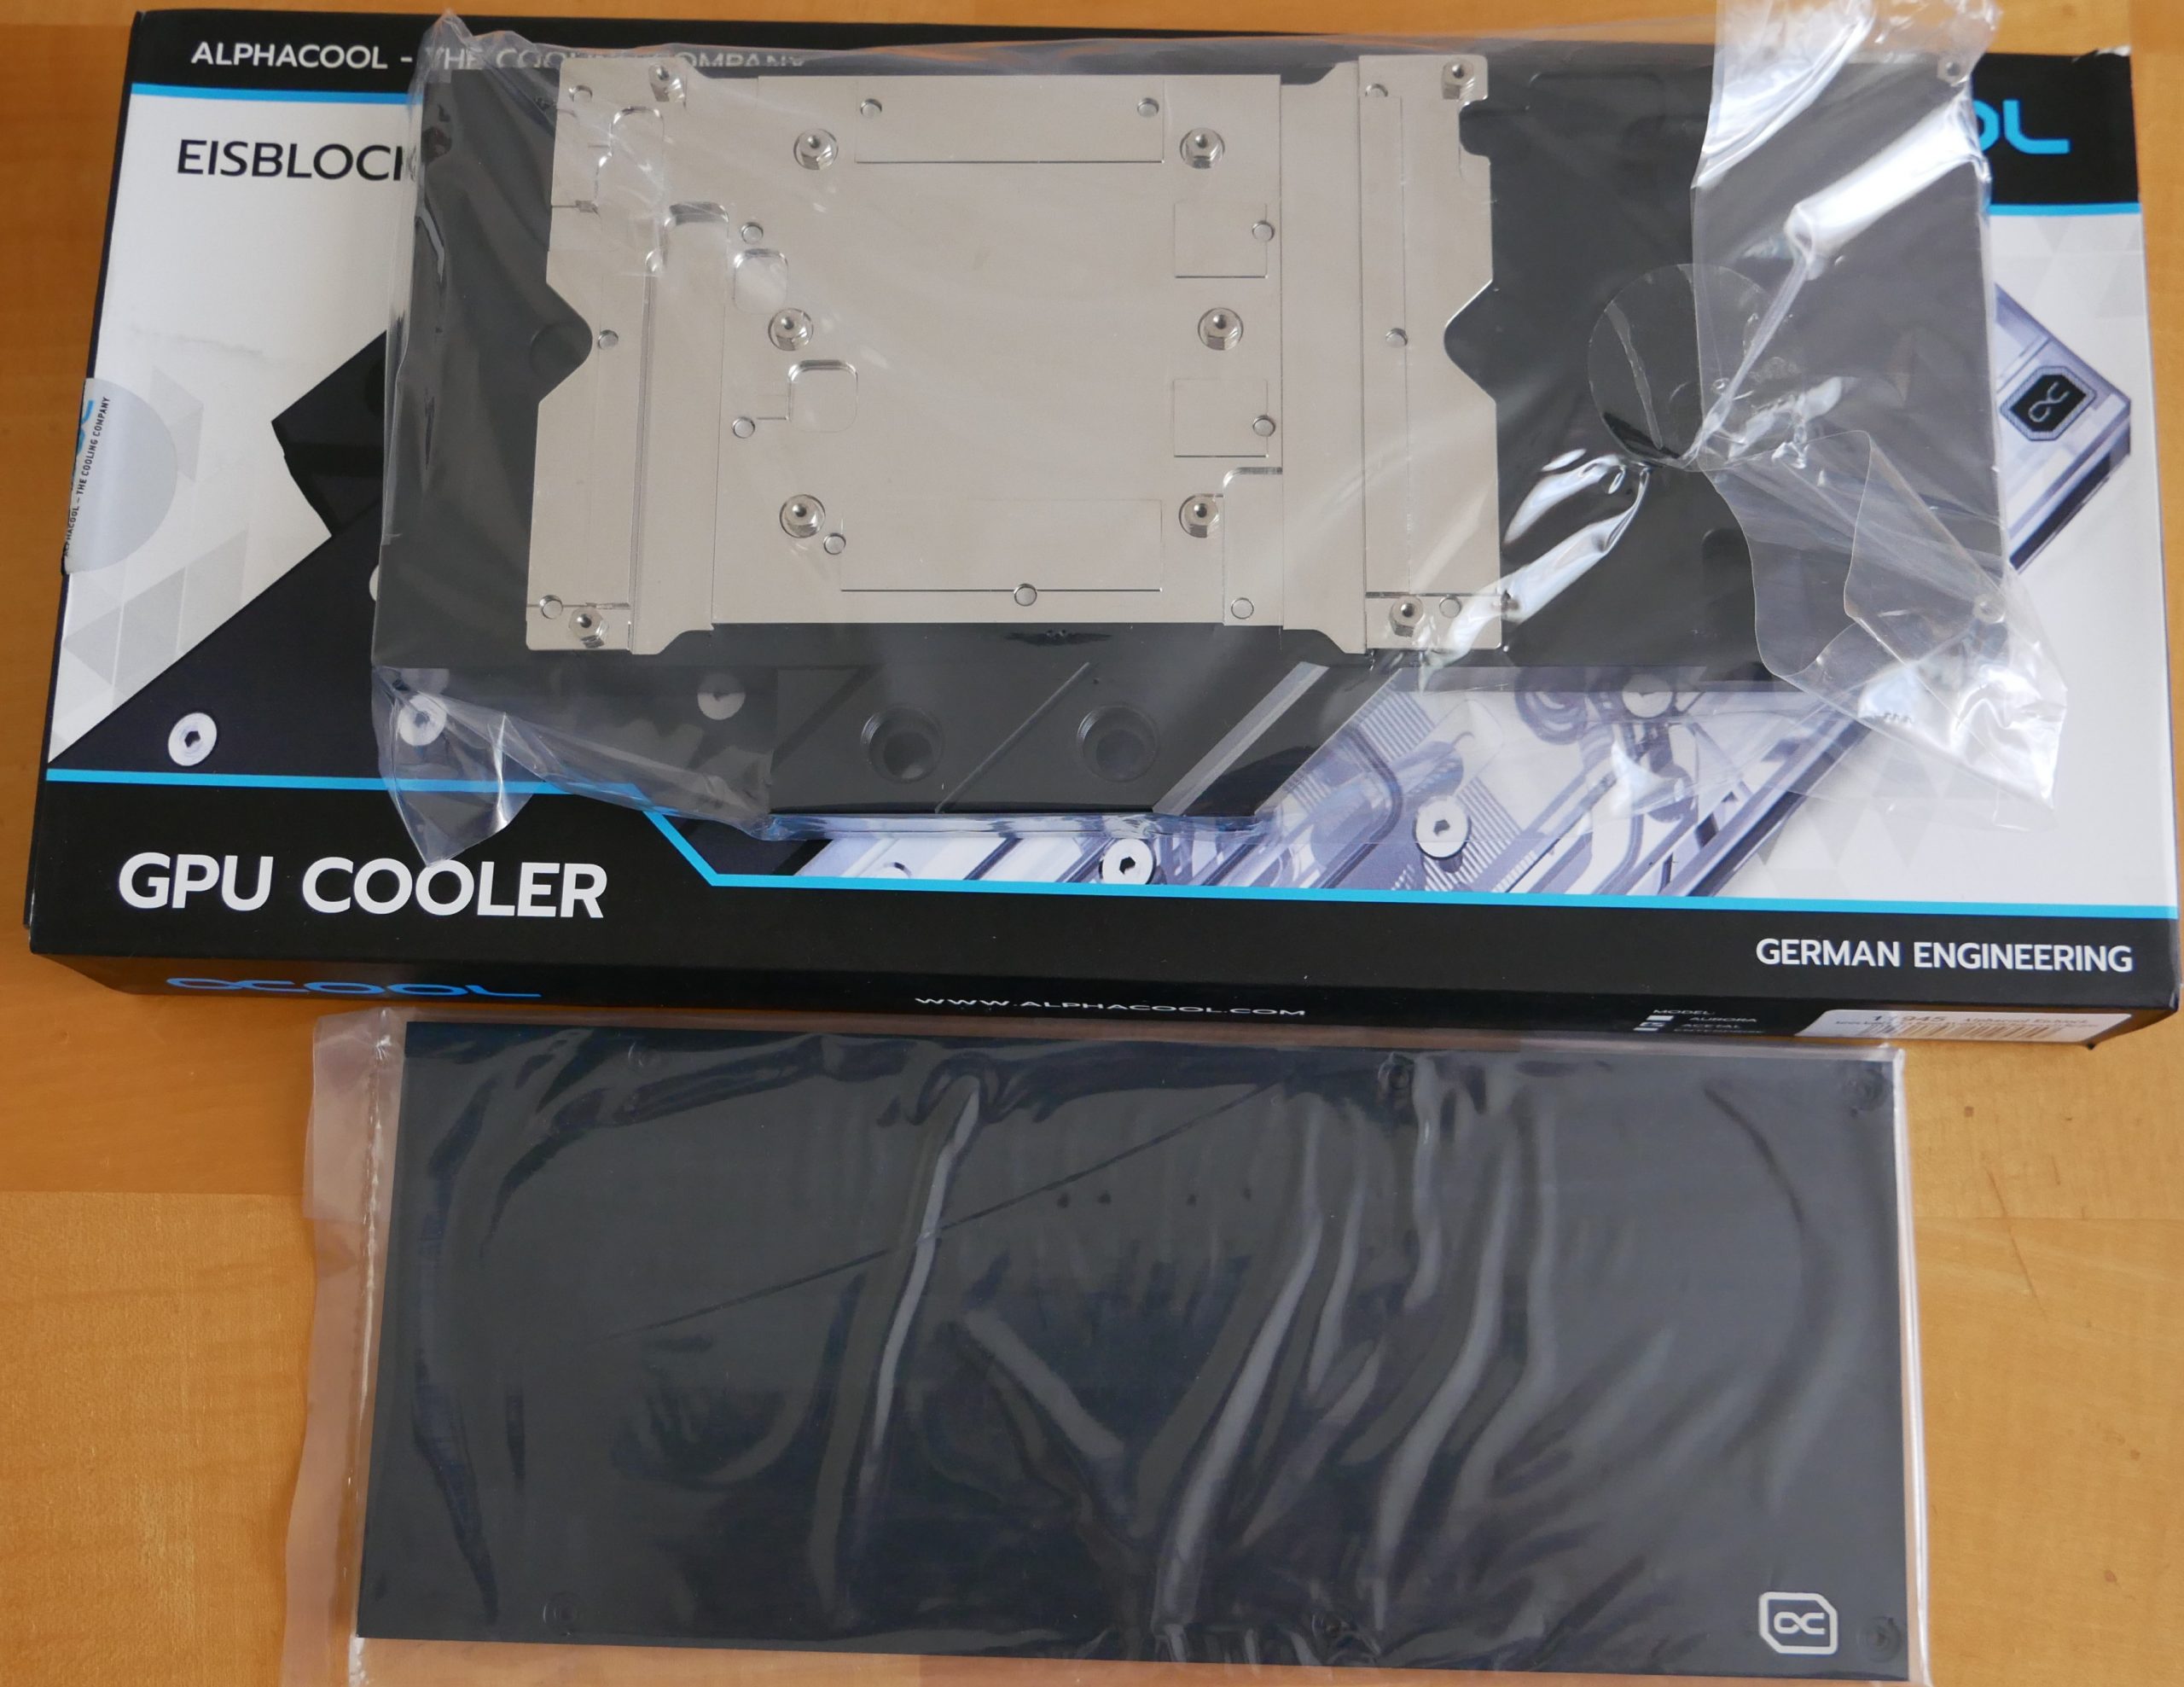
As mentioned in IgorsLab’s review, 6 (+1 extra) spring screws are included for the direct GPU area, as well as the required number of small washers – plus 2 screws + nuts for the bezel and the required number for the backplate. Regarding the screws for the fascia, I would just like to mention that they seem to have been added later, as these screws have no mention in the actual instructions, and there is one too many for the reference design (one position has a thread already in the fascia on the back, so the original screw can still be used).
The assembly went off without a hitch here, even if the pictures of the instructions are a bit blurry – you can still tell where which pad should be positioned. Another positive point is that the pads are already pre-cut, so you don’t have to do anything yourself – even if there are no numbers printed on the protective foils, the assignment is still easy – the pads for the cooling block and the backplate are also packed in separate bags.
There is no RGB lighting on the acetal version, so there are no additional cables or connectors. In testing, quiet voltage converter noise occurs at higher 3-digit fps and clock rates of >2500 MHz on the GPU.
Aquacomputer:
I bought this block right at release, so I was one of a few who still received an “awkward” variant where a screw rests on the graphics card output and would have prevented flat positioning. After a short contact with the support of aquacomputer I received a return label and the cooler was changed to the current revision (countersunk screw in place) – the processing time here was not even a day, so that the cooler was sent back on the day of receipt already – a big praise here to the support.
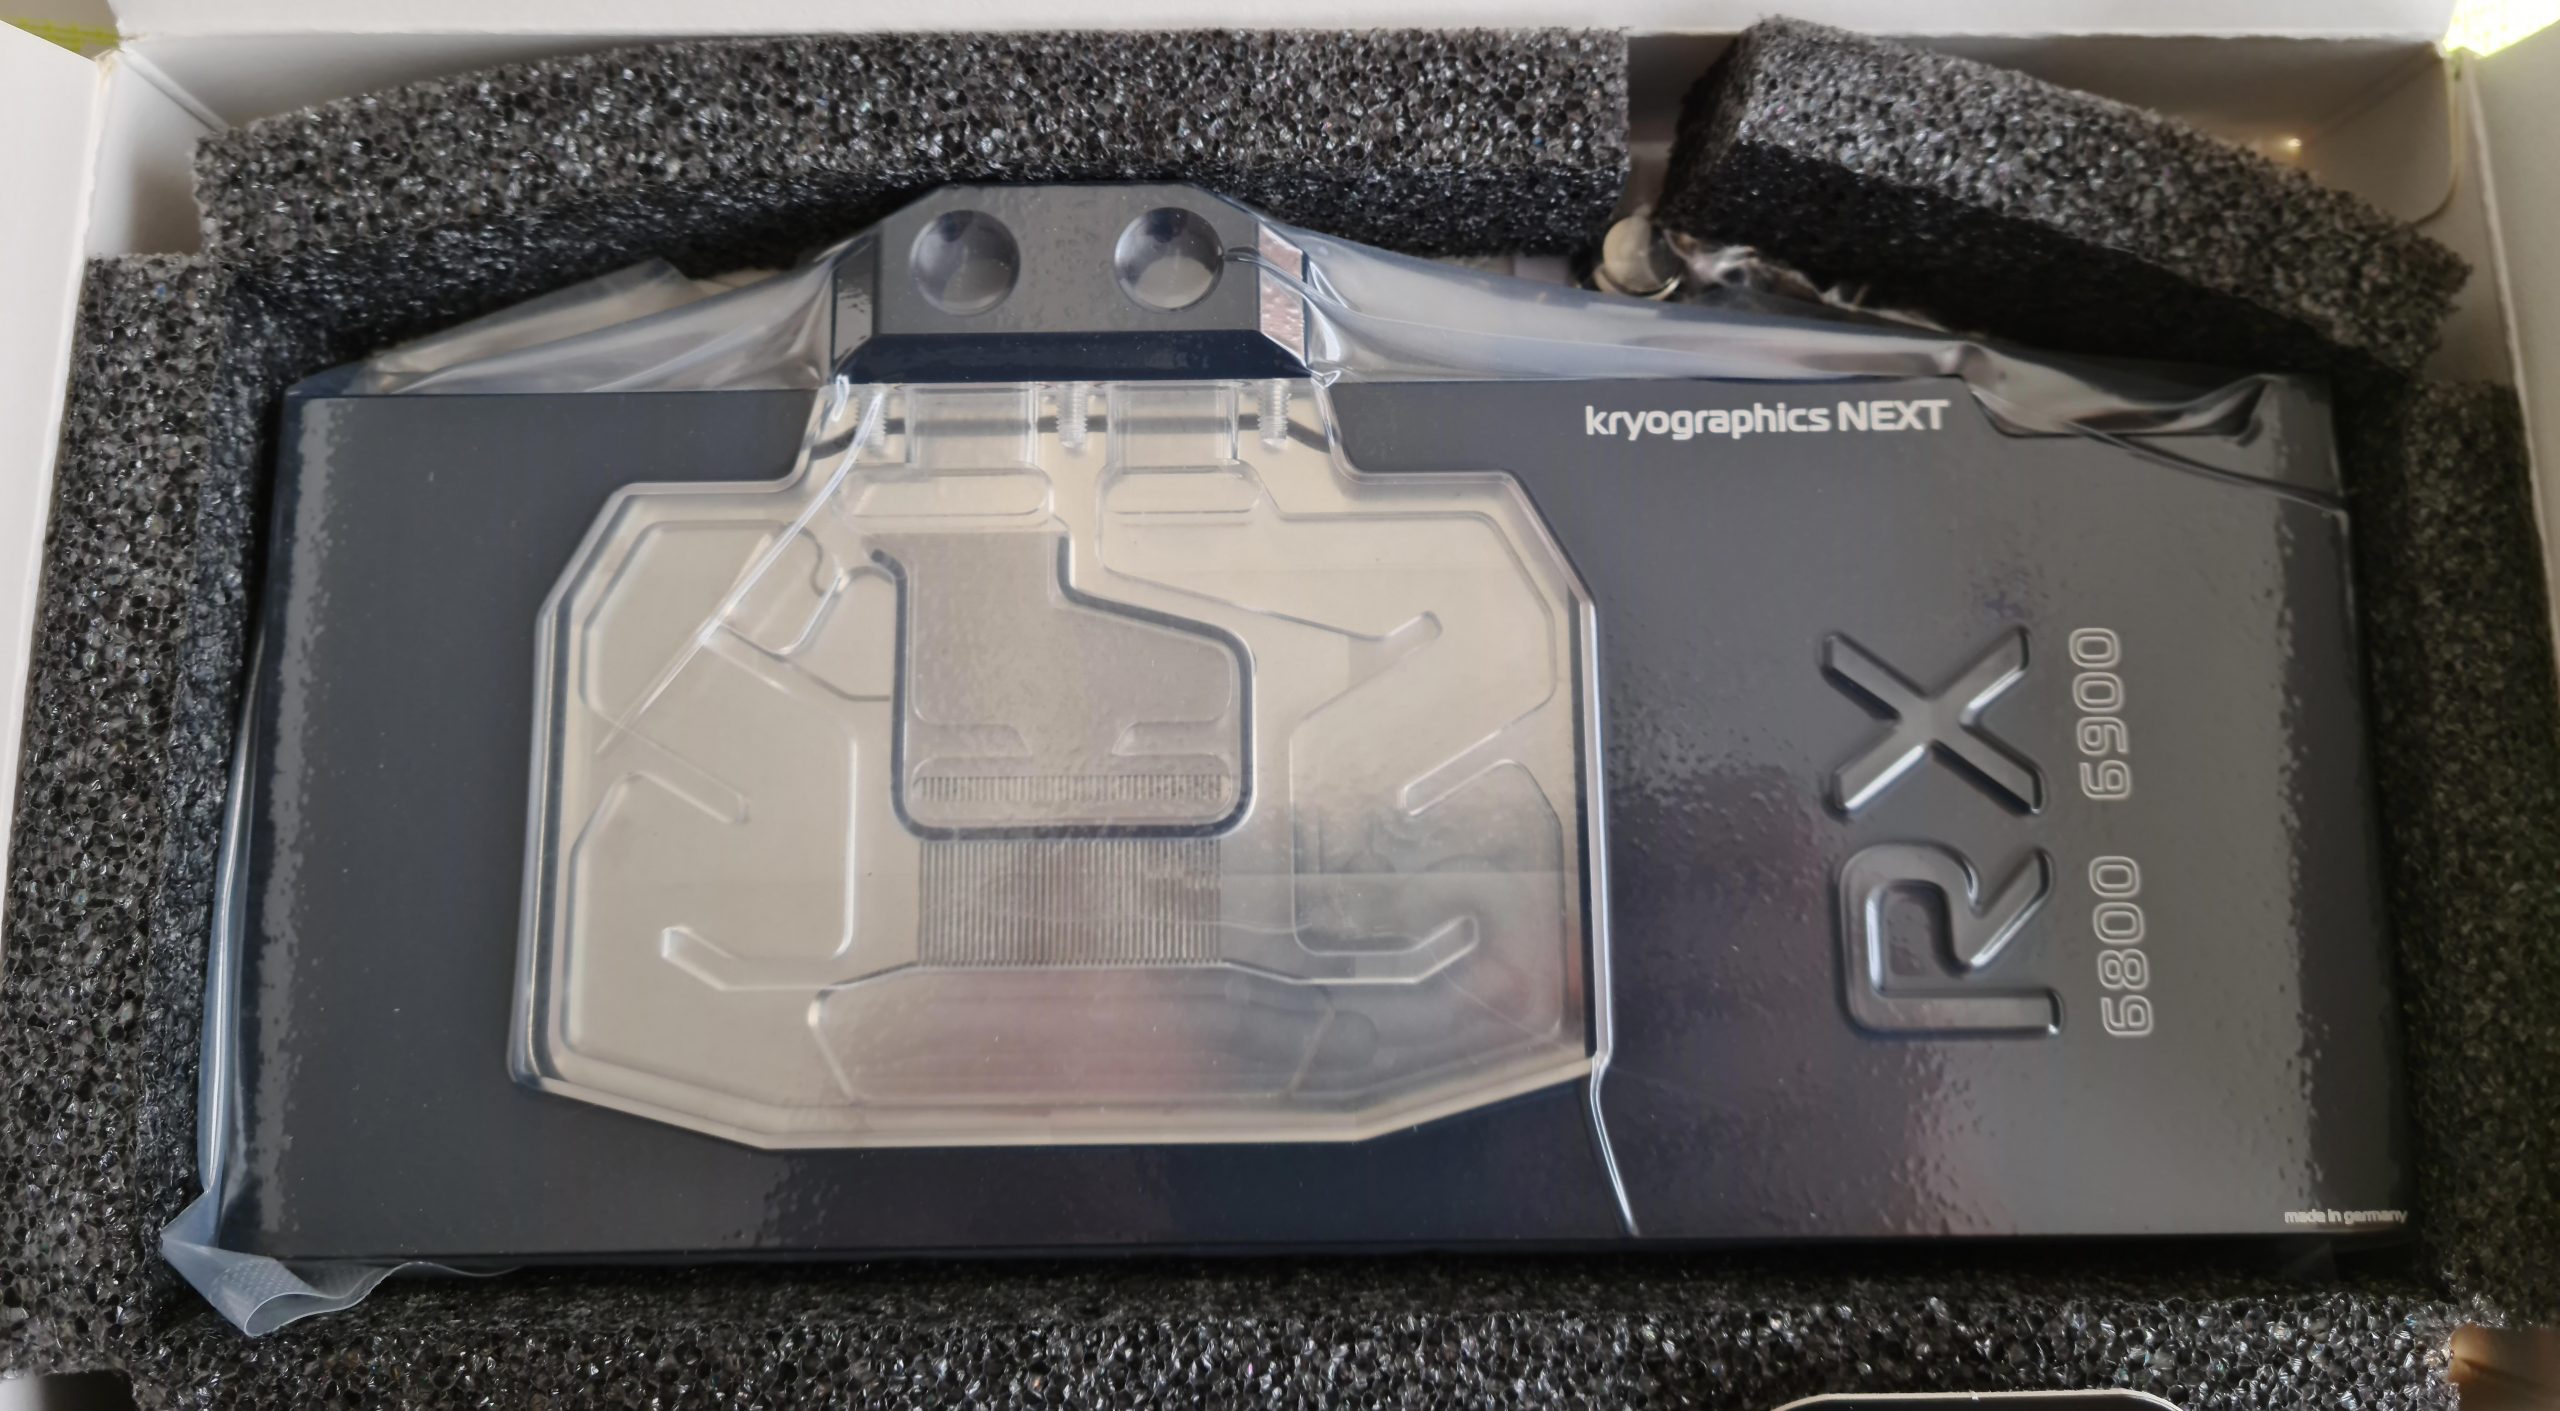
The cooler is cleanly finished, there are no visible chips in the connector terminal and the cooling block is shipped vacuum sealed. The cooler is fixed with 22 screws, but there is no backplate included, this must be purchased separately – there are the passive (as with Alphacool) or an active variant (with heatpipe and connector terminal) available.
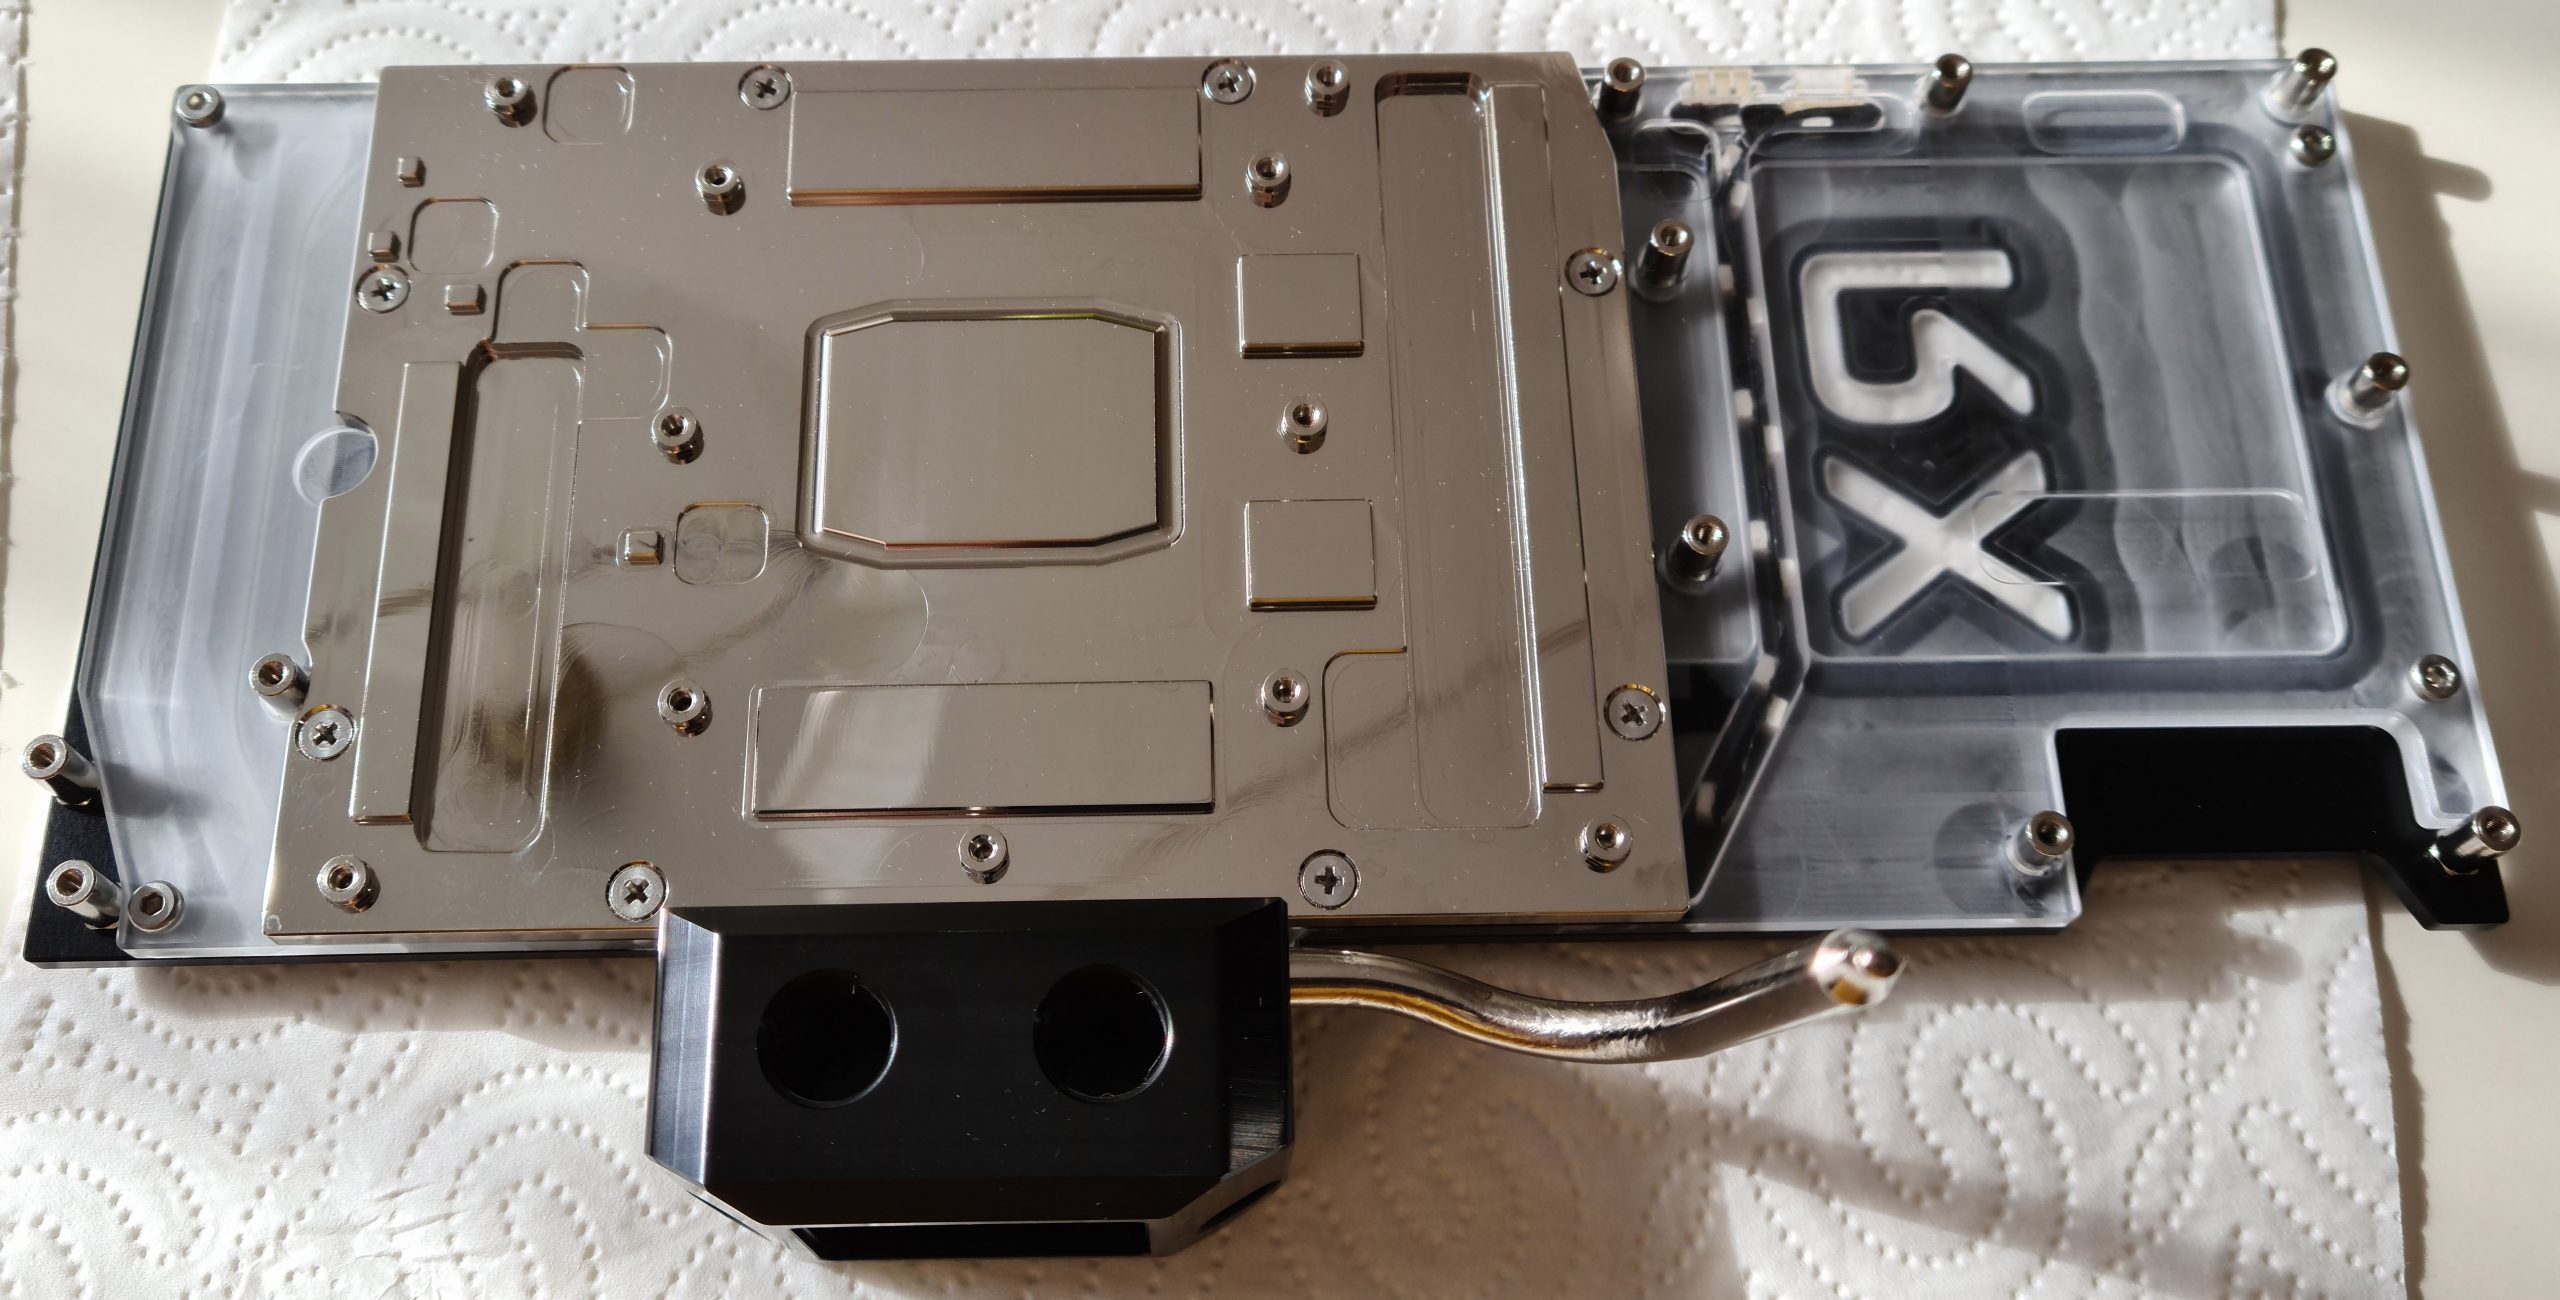
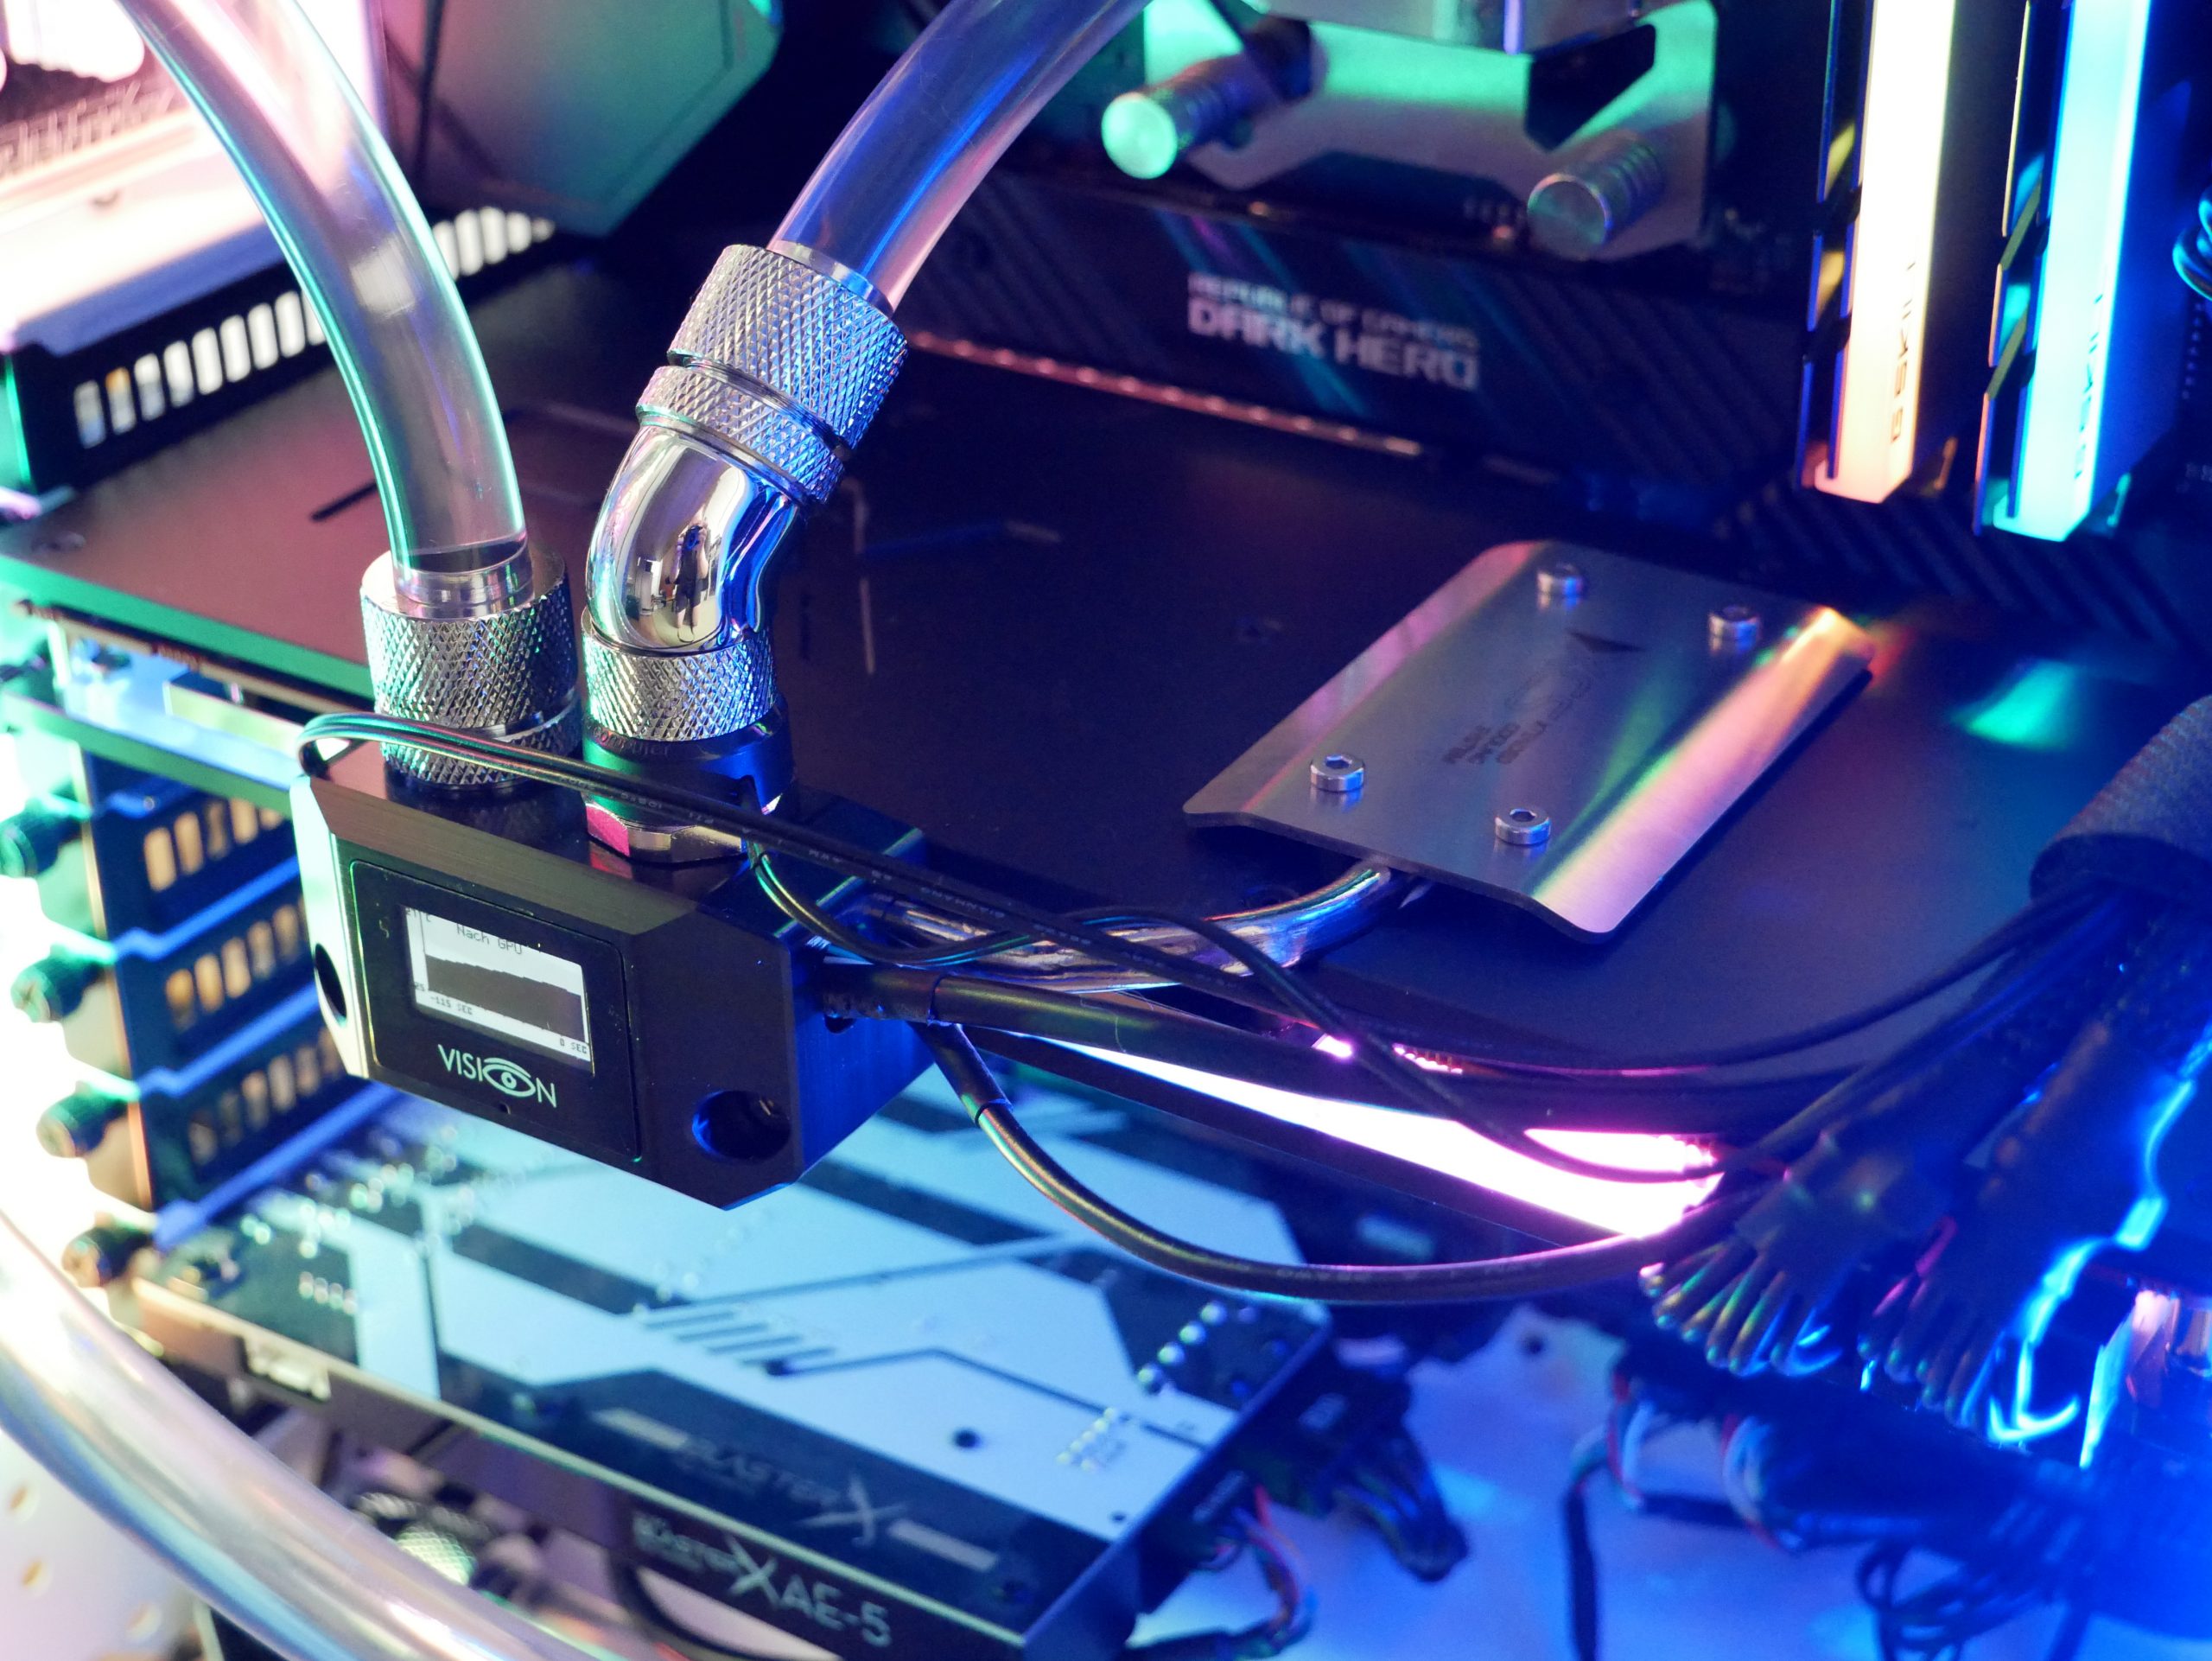
As further accessories to the cooling block, a RGBpx connection cable 50 cm and RGBpx adapter are included, so that the LED lighting can be controlled via the motherboard at a suitable connection. As you can see on the picture, this RGBpx connector is located very unfavorably, so that the cable has direct contact with the cooling block of the chipset – also, the cable is thickly sheathed, so that it is relatively difficult to bend for laying – a corresponding repositioning of the RGBpx connectors towards the power socket of the GPU would be recommended here, also it would be very positive if you had an assignment in the manual to the connectors – there are 2 of the sort here, one is the input and the other is the output.
It is unfortunately not mentioned here in the instructions in any way, which of them is the right one, this can only be found out by trial and error – this should be done in advance, because after installation (as long as it is not vertical) you can no longer get to this connection. It seems that the connector which goes further towards the power socket of the graphics card is the corresponding input (you should still try this out additionally).
In my case I chose the active variant, because I find it very appealing and I expect the highest possible cooling performance when overclocking from it. I also bought the VISION RGBpx connection terminal for cryographics with active backplate to be able to display some additional data.
The assembly went without problems, whereby it is to be noted that the board is set under relatively much tension, by the multiplicity of the screws, this can be seen well, if one fixed the screws around the GPU, so that here the front and rear end of the board is lifted, which is lowered again by the remaining 16 screws. I could not see this phenomenon as much with the Alphacool cooler block. Whether this is one of the reasons for the problematic noise cullise, I can’t really judge – but it could be one of the reasons.


20 Antworten
Kommentar
Lade neue Kommentare
Mitglied
Veteran
Mitglied
Neuling
Veteran
Veteran
Mitglied
Neuling
Mitglied
Urgestein
Veteran
Mitglied
Urgestein
Mitglied
Mitglied
Urgestein
Urgestein
Mitglied
Alle Kommentare lesen unter igor´sLAB Community →