Case Reviews

Raijintek Silenos MS PRO White Review – White, cheap and surprisingly high potential

Disclaimer: The following article is machine translated from the original German, and has not been edited or checked for errors. Thank you for understanding!

White Christmas at Igor’s Lab! We test the mesh version of Raijintek’s Silenos case, which promises good airflow with quite compact dimensions and two 200 mm intake fans. Large fans are quieter than small fans. This almost universal statement is being accepted by more and more manufacturers and the selection of cases with support for large fans is growing steadily. Unfortunately, many manufacturers try to capitalize on this fact and opt for unusual fan sizes, for which it is often difficult to find replacements.

The series fans, which are produced rather cheaply for reasons of cost optimisation, are often relatively loud and are therefore frequently replaced. Raijintek is once again quite open in this respect and installs two 200mm fans in the Silenos MS – a common size. Why the selection is still somewhat limited in the end, however, I’ll show further down the line.
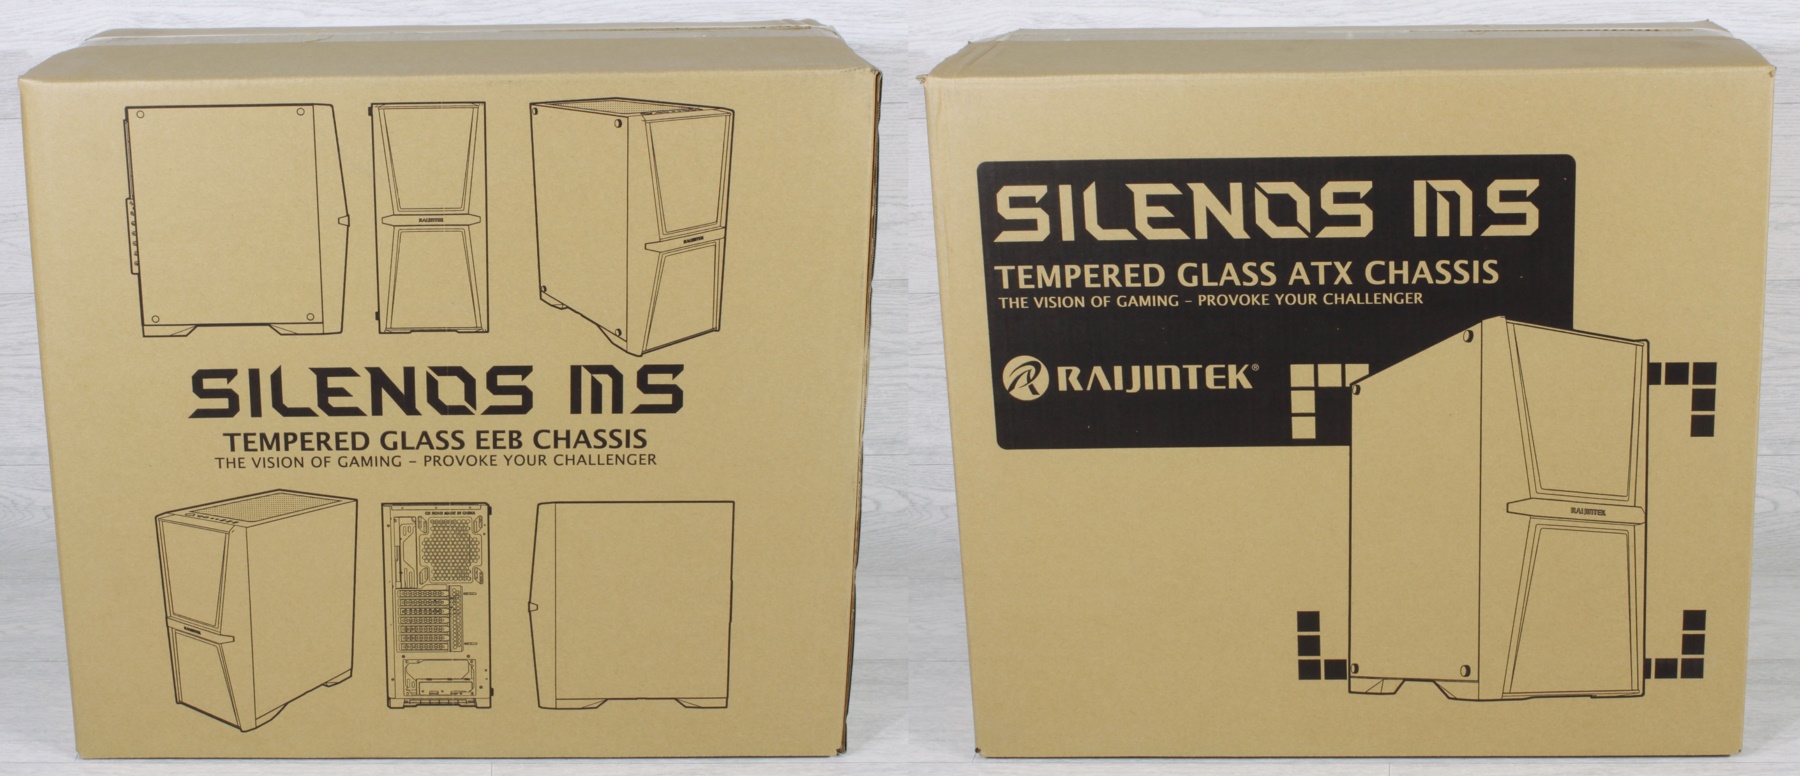
 

Unboxing

The packaging is made of plain cardboard with print, which I personally welcome.

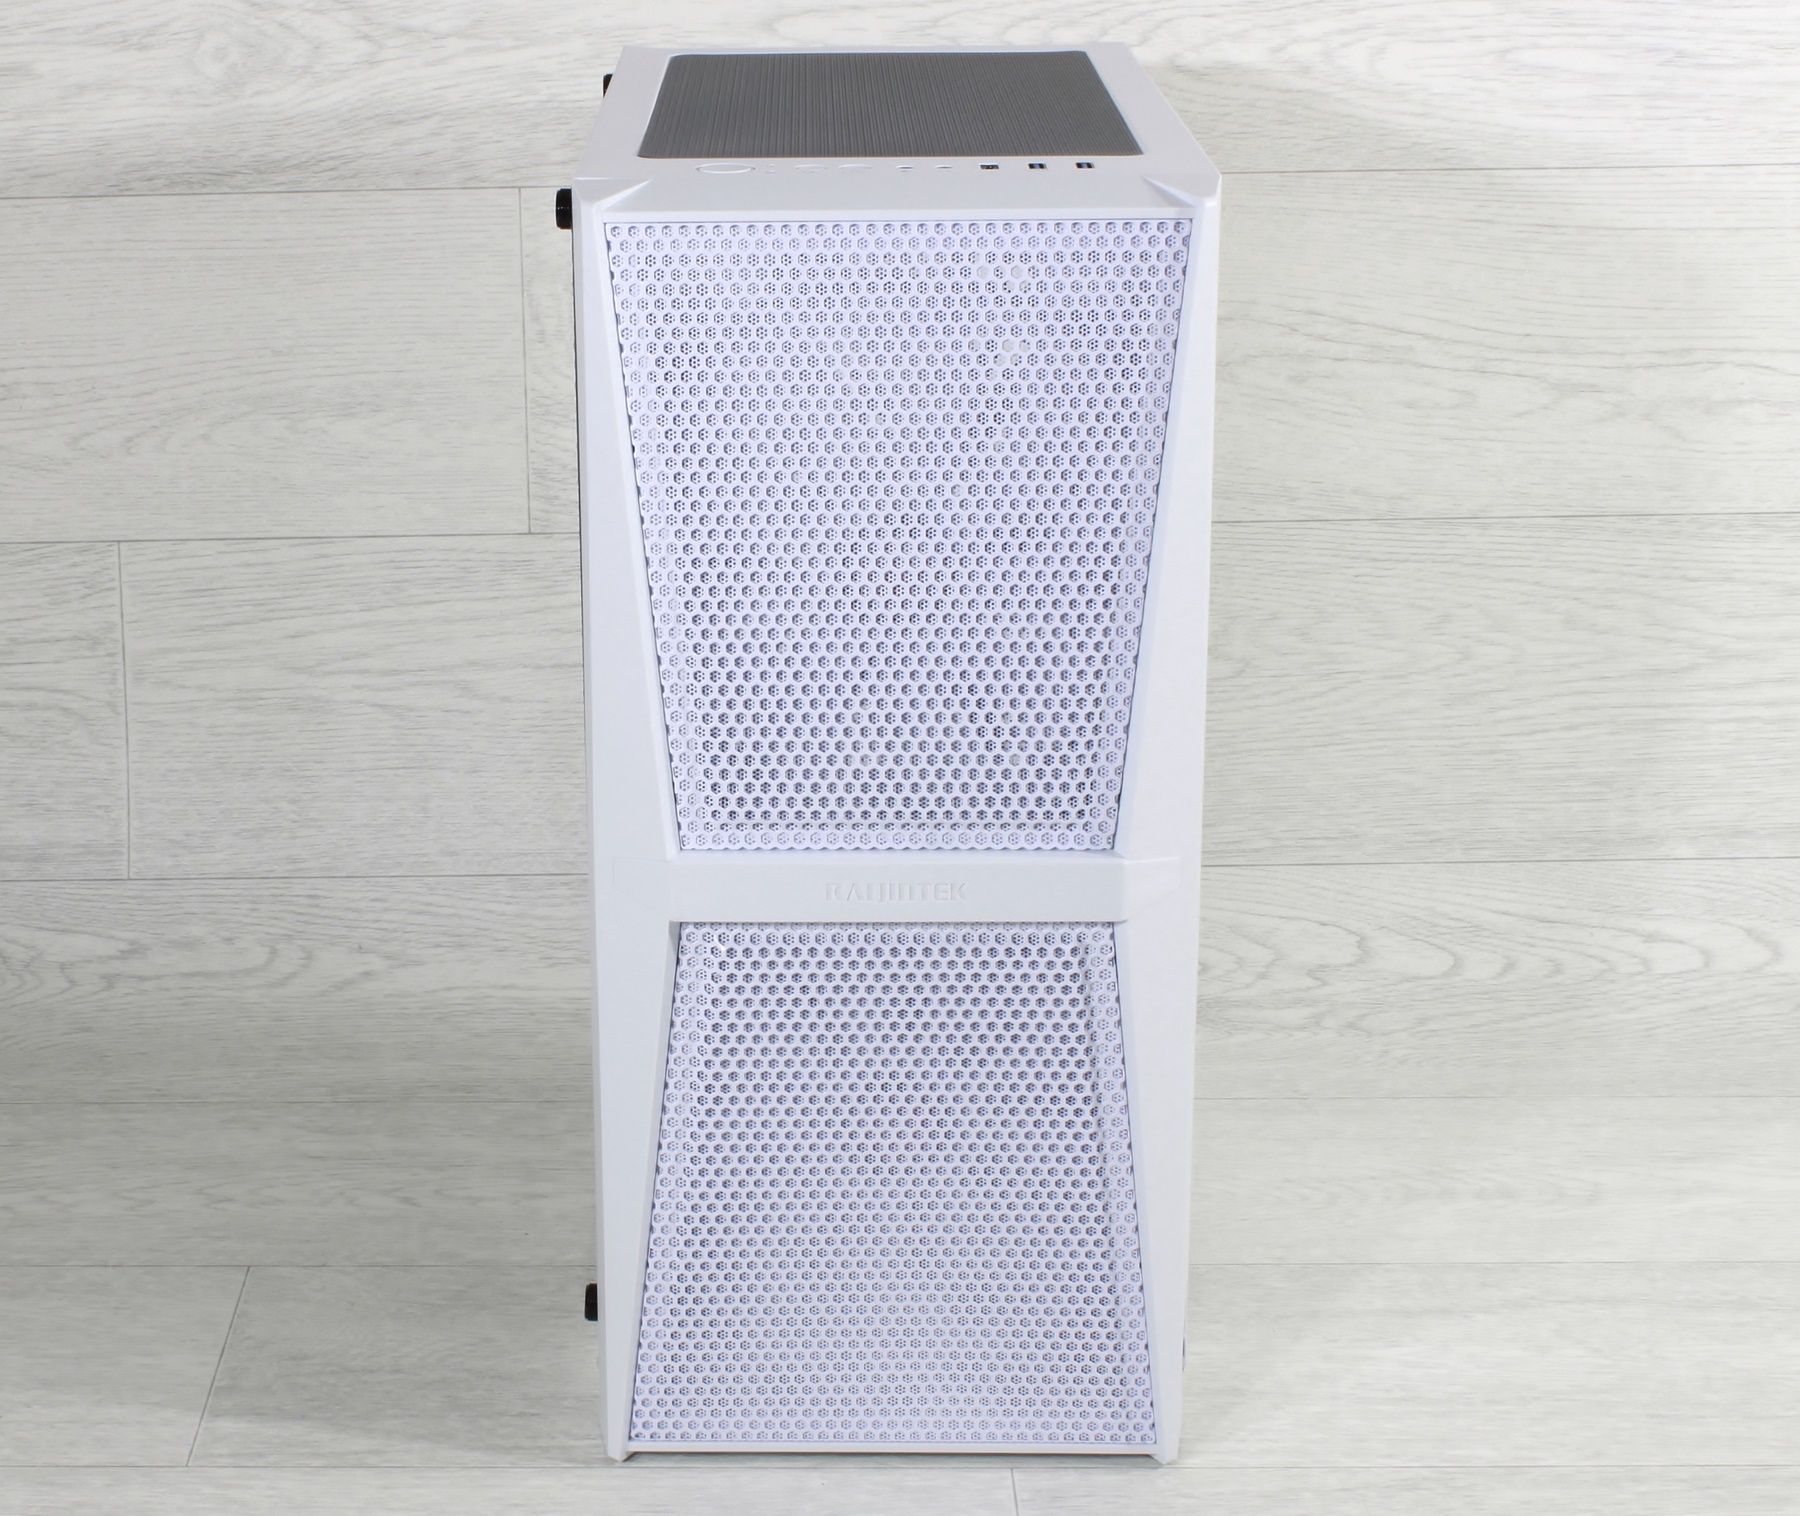
Freed from the foil and the usual styrofoam buffers, the case looks very compact.

The plain front is made almost entirely of mesh, which looks quite appealing with its hexagonal openings.

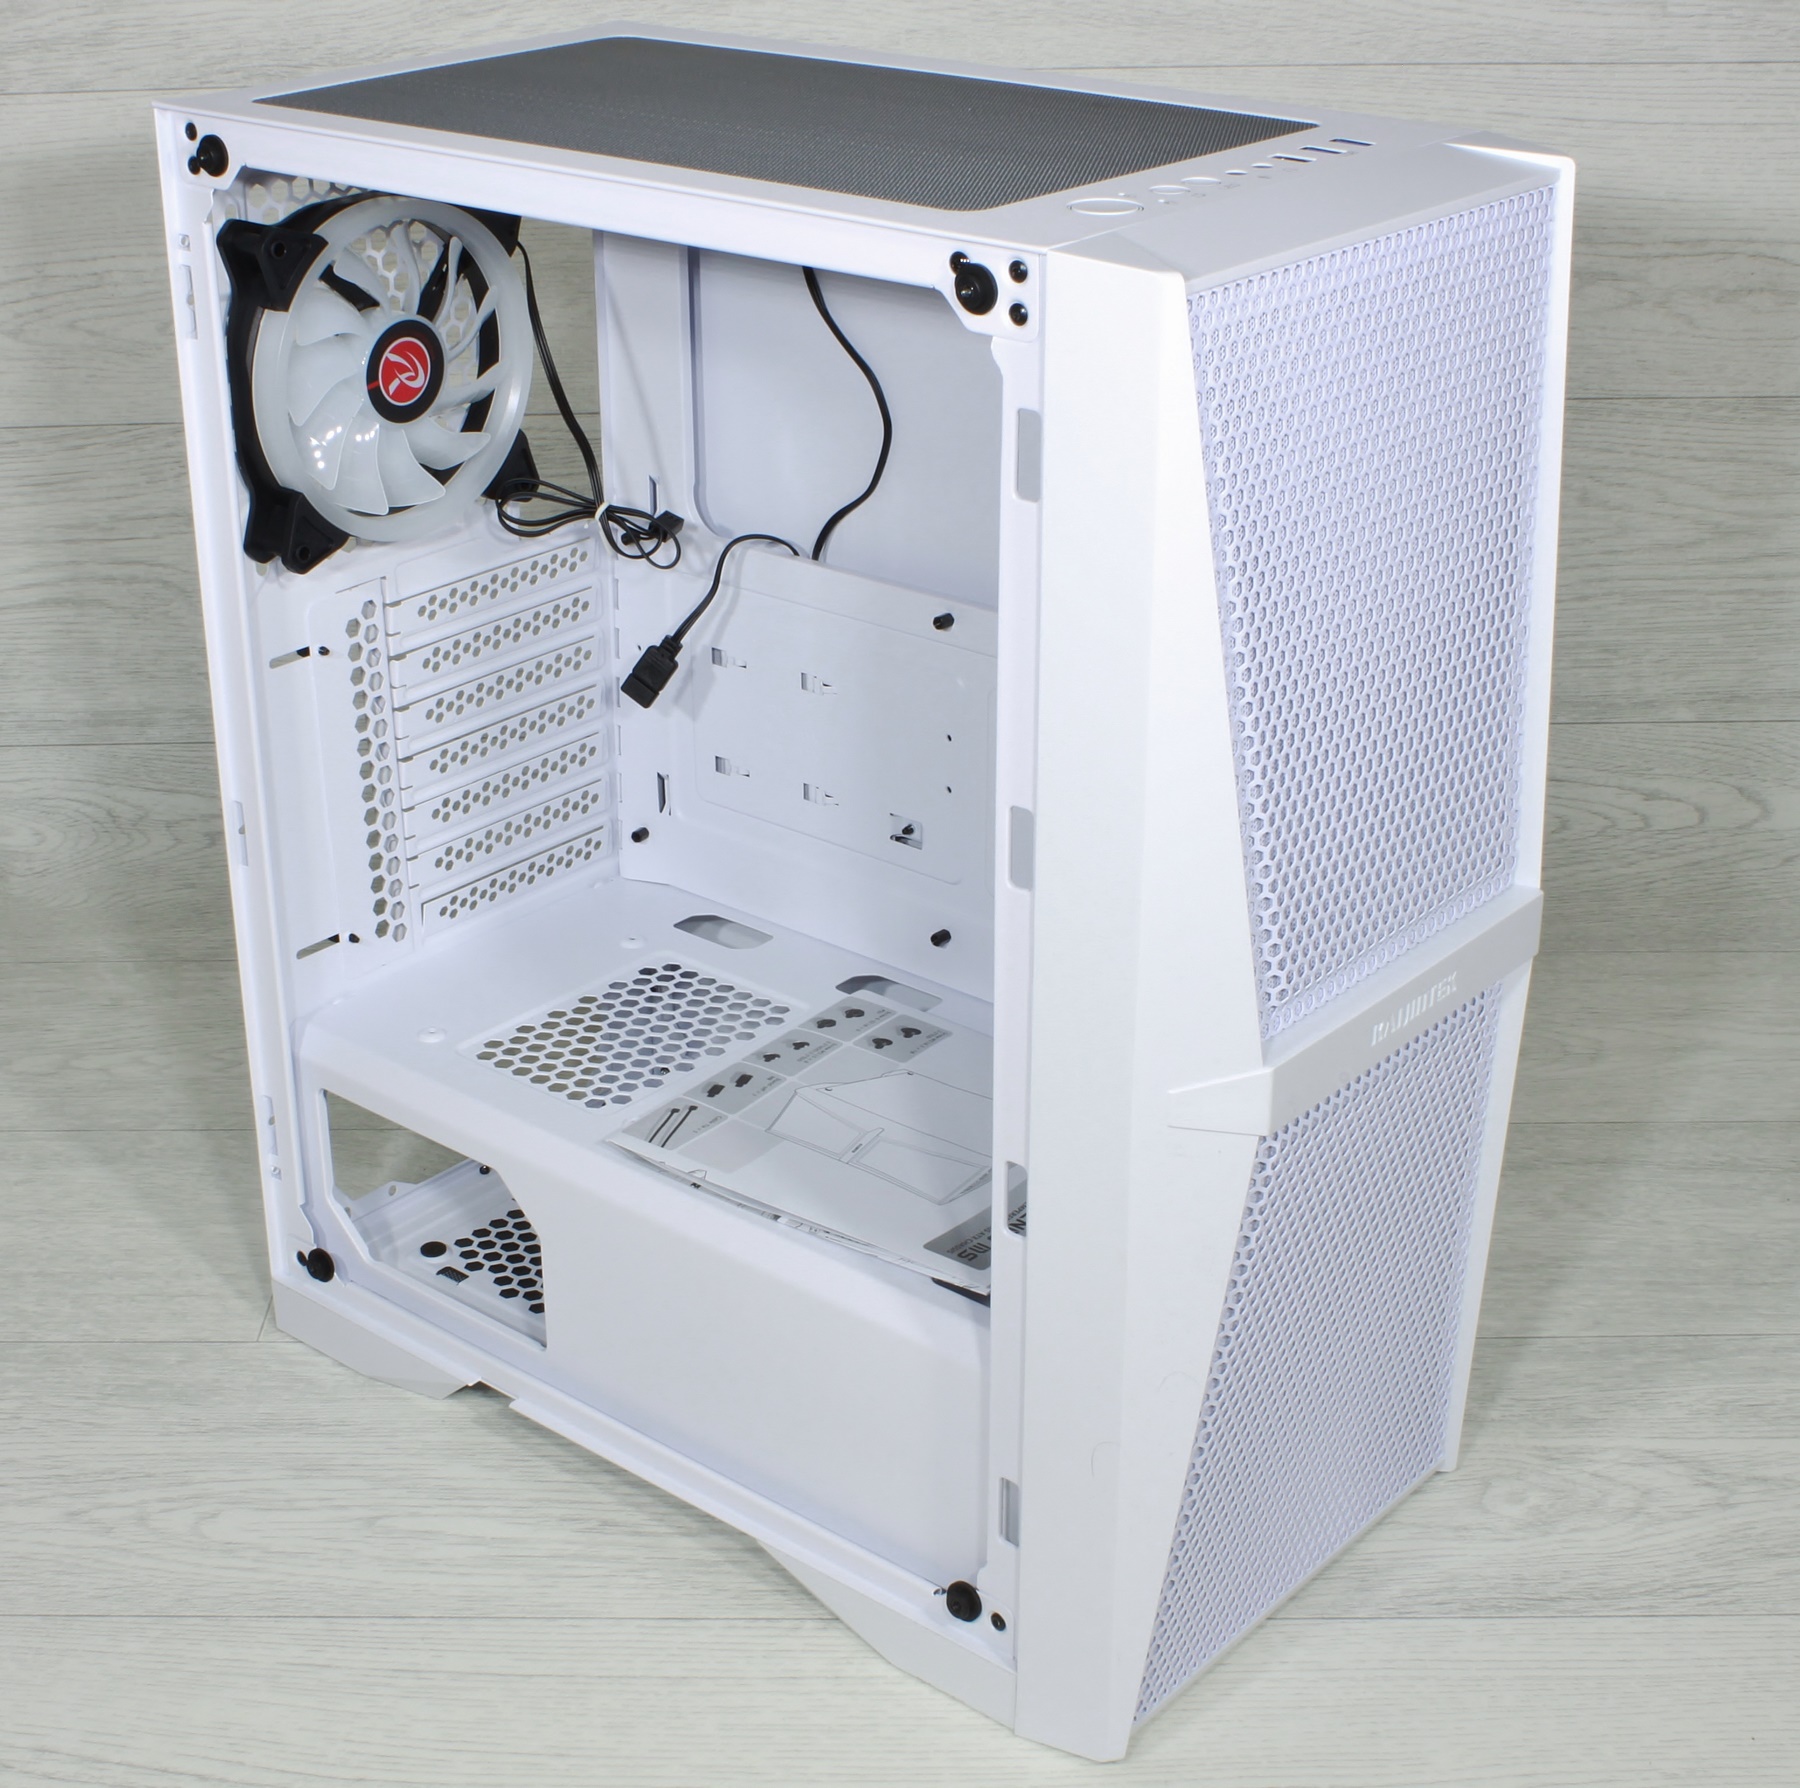
The inside is coated white throughout and the coating also makes a good and even impression.

The case looks simple, but by no means cheap.

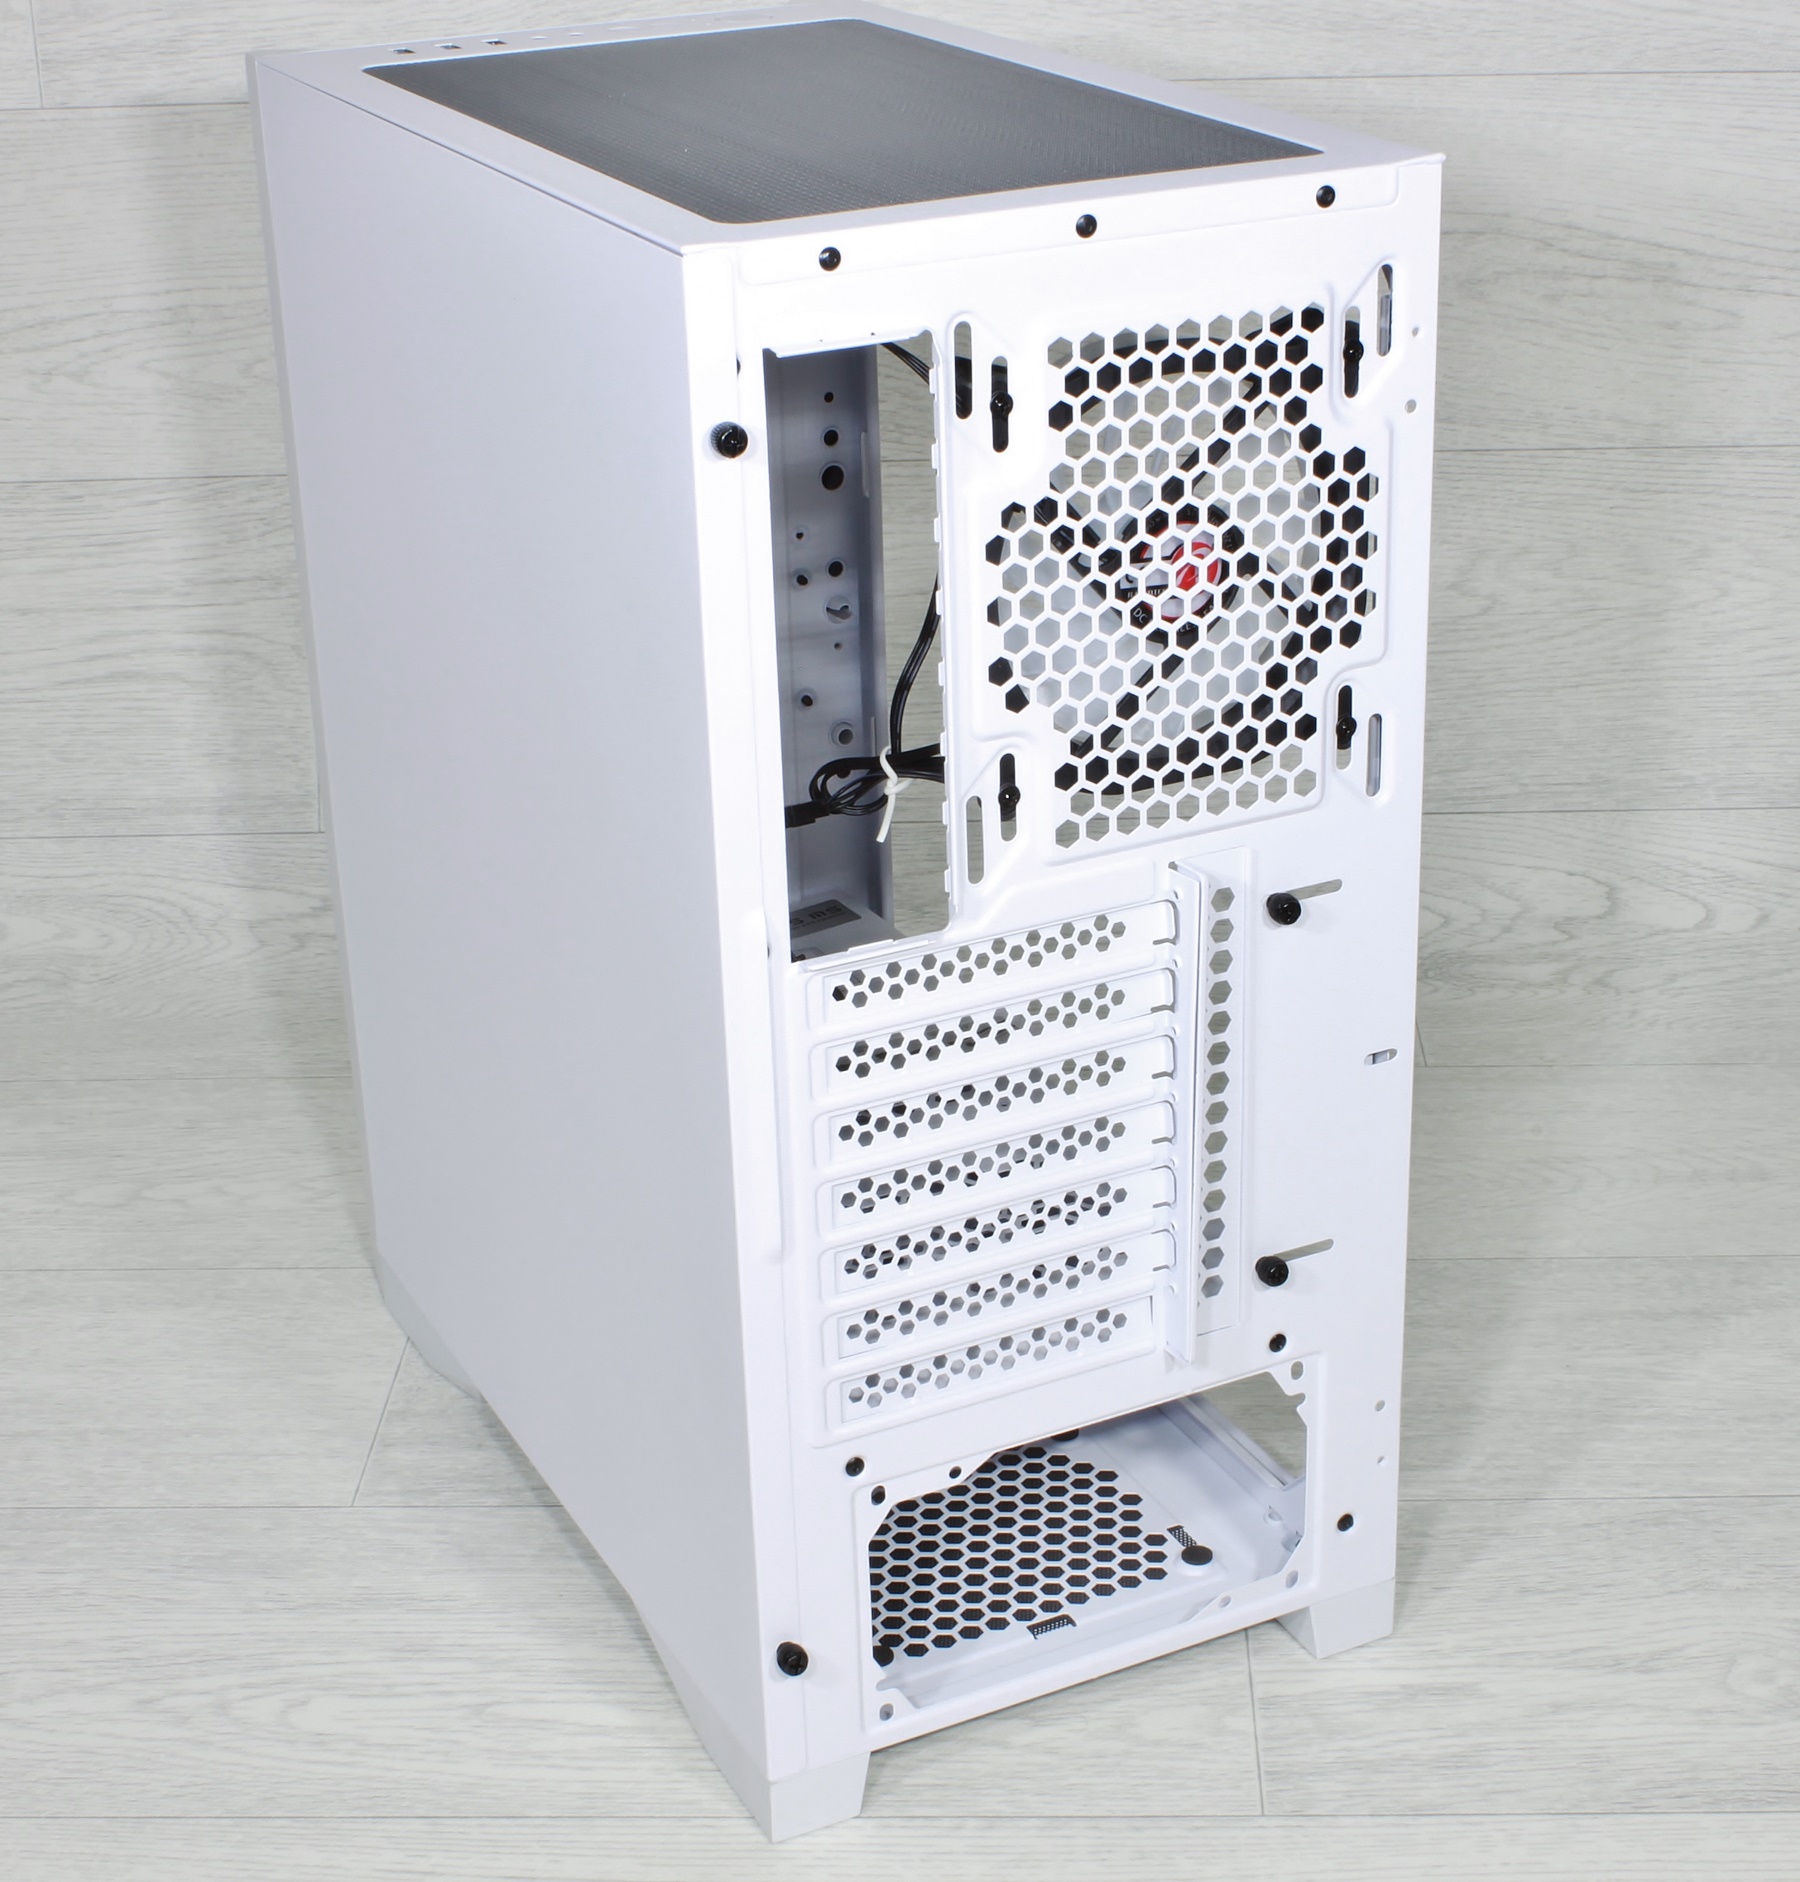
On the back side there is the standard layout, the right side part is made of steel plate.

Let’s get to the details.

The front panel IO is well equipped with 2 x USB 3.0, 1 x USB Type-C and HD Audio. In addition to the two usual buttons, there is also an LED button that can be used to control the included RGB controller.

A magnetic dust filter sits on top of the lid.

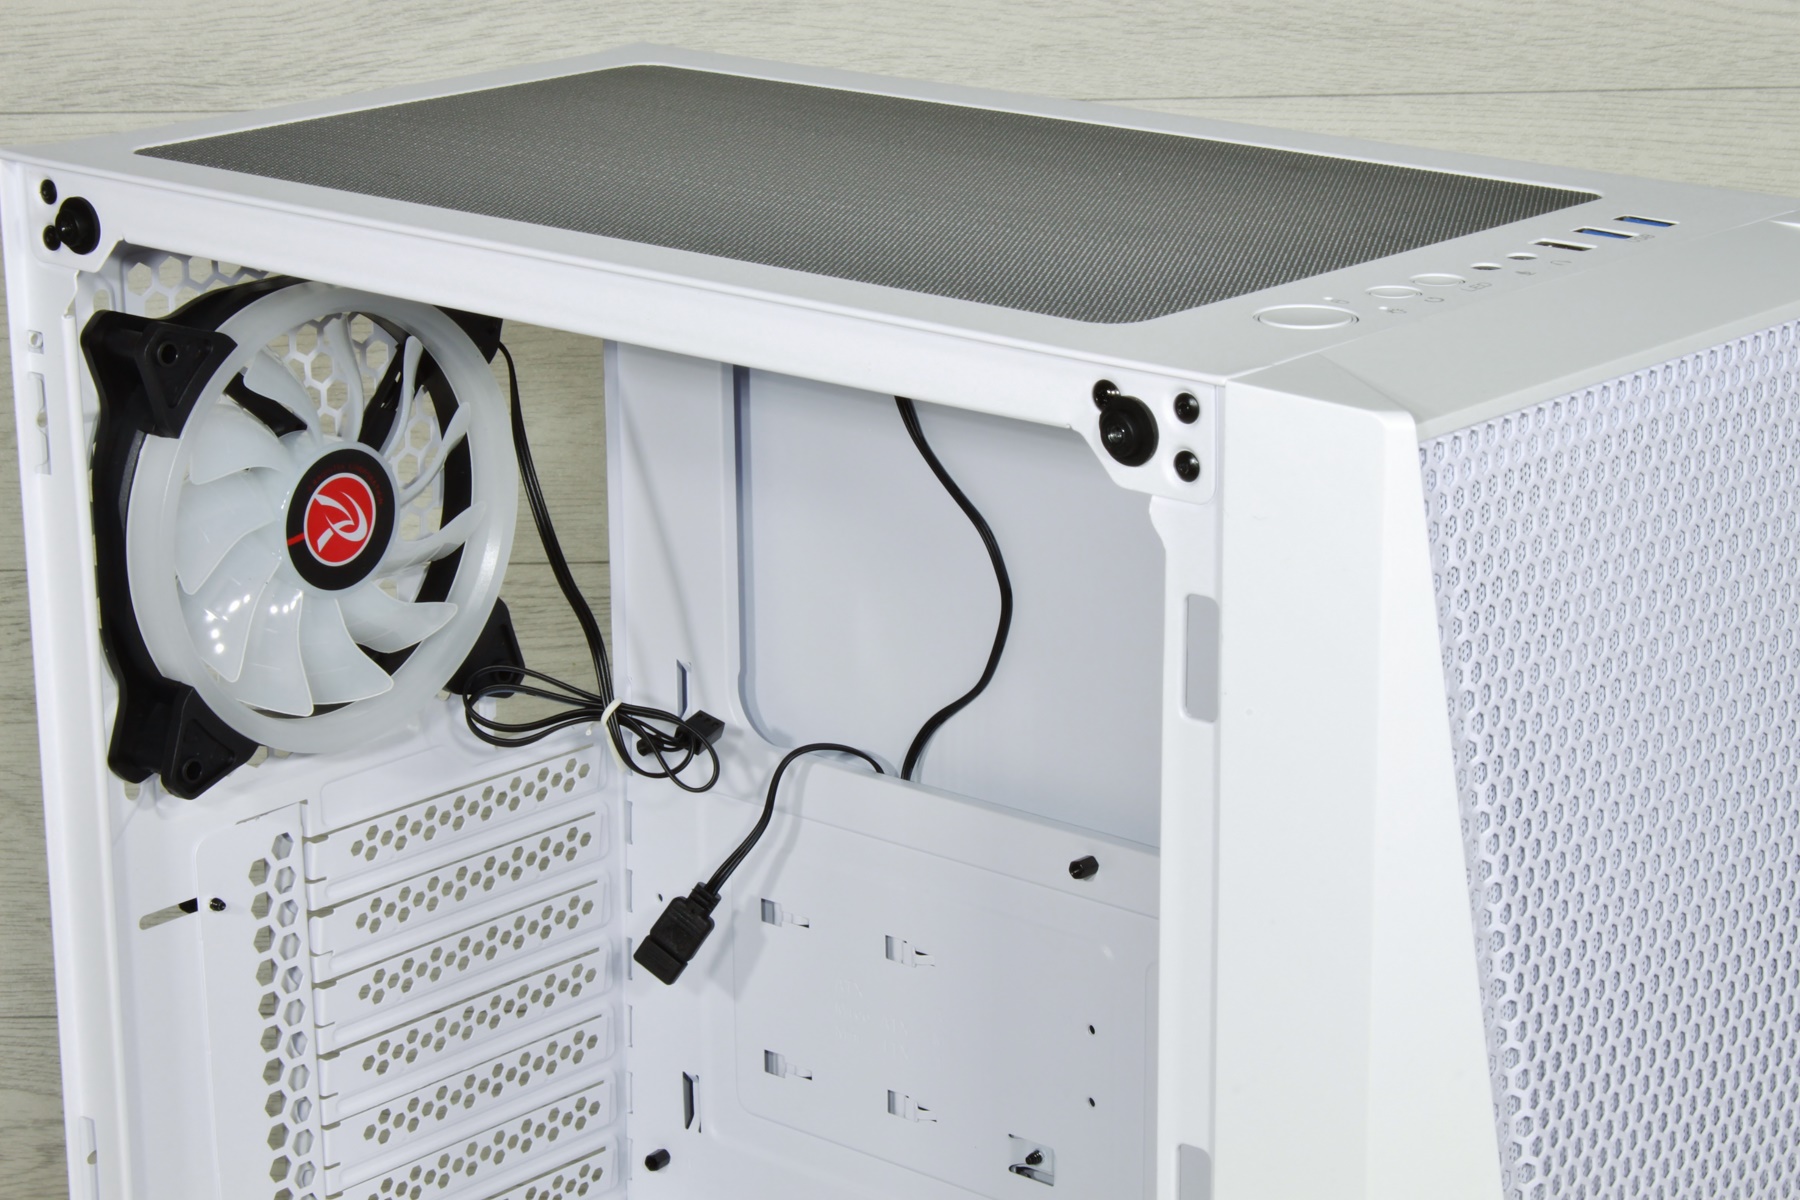
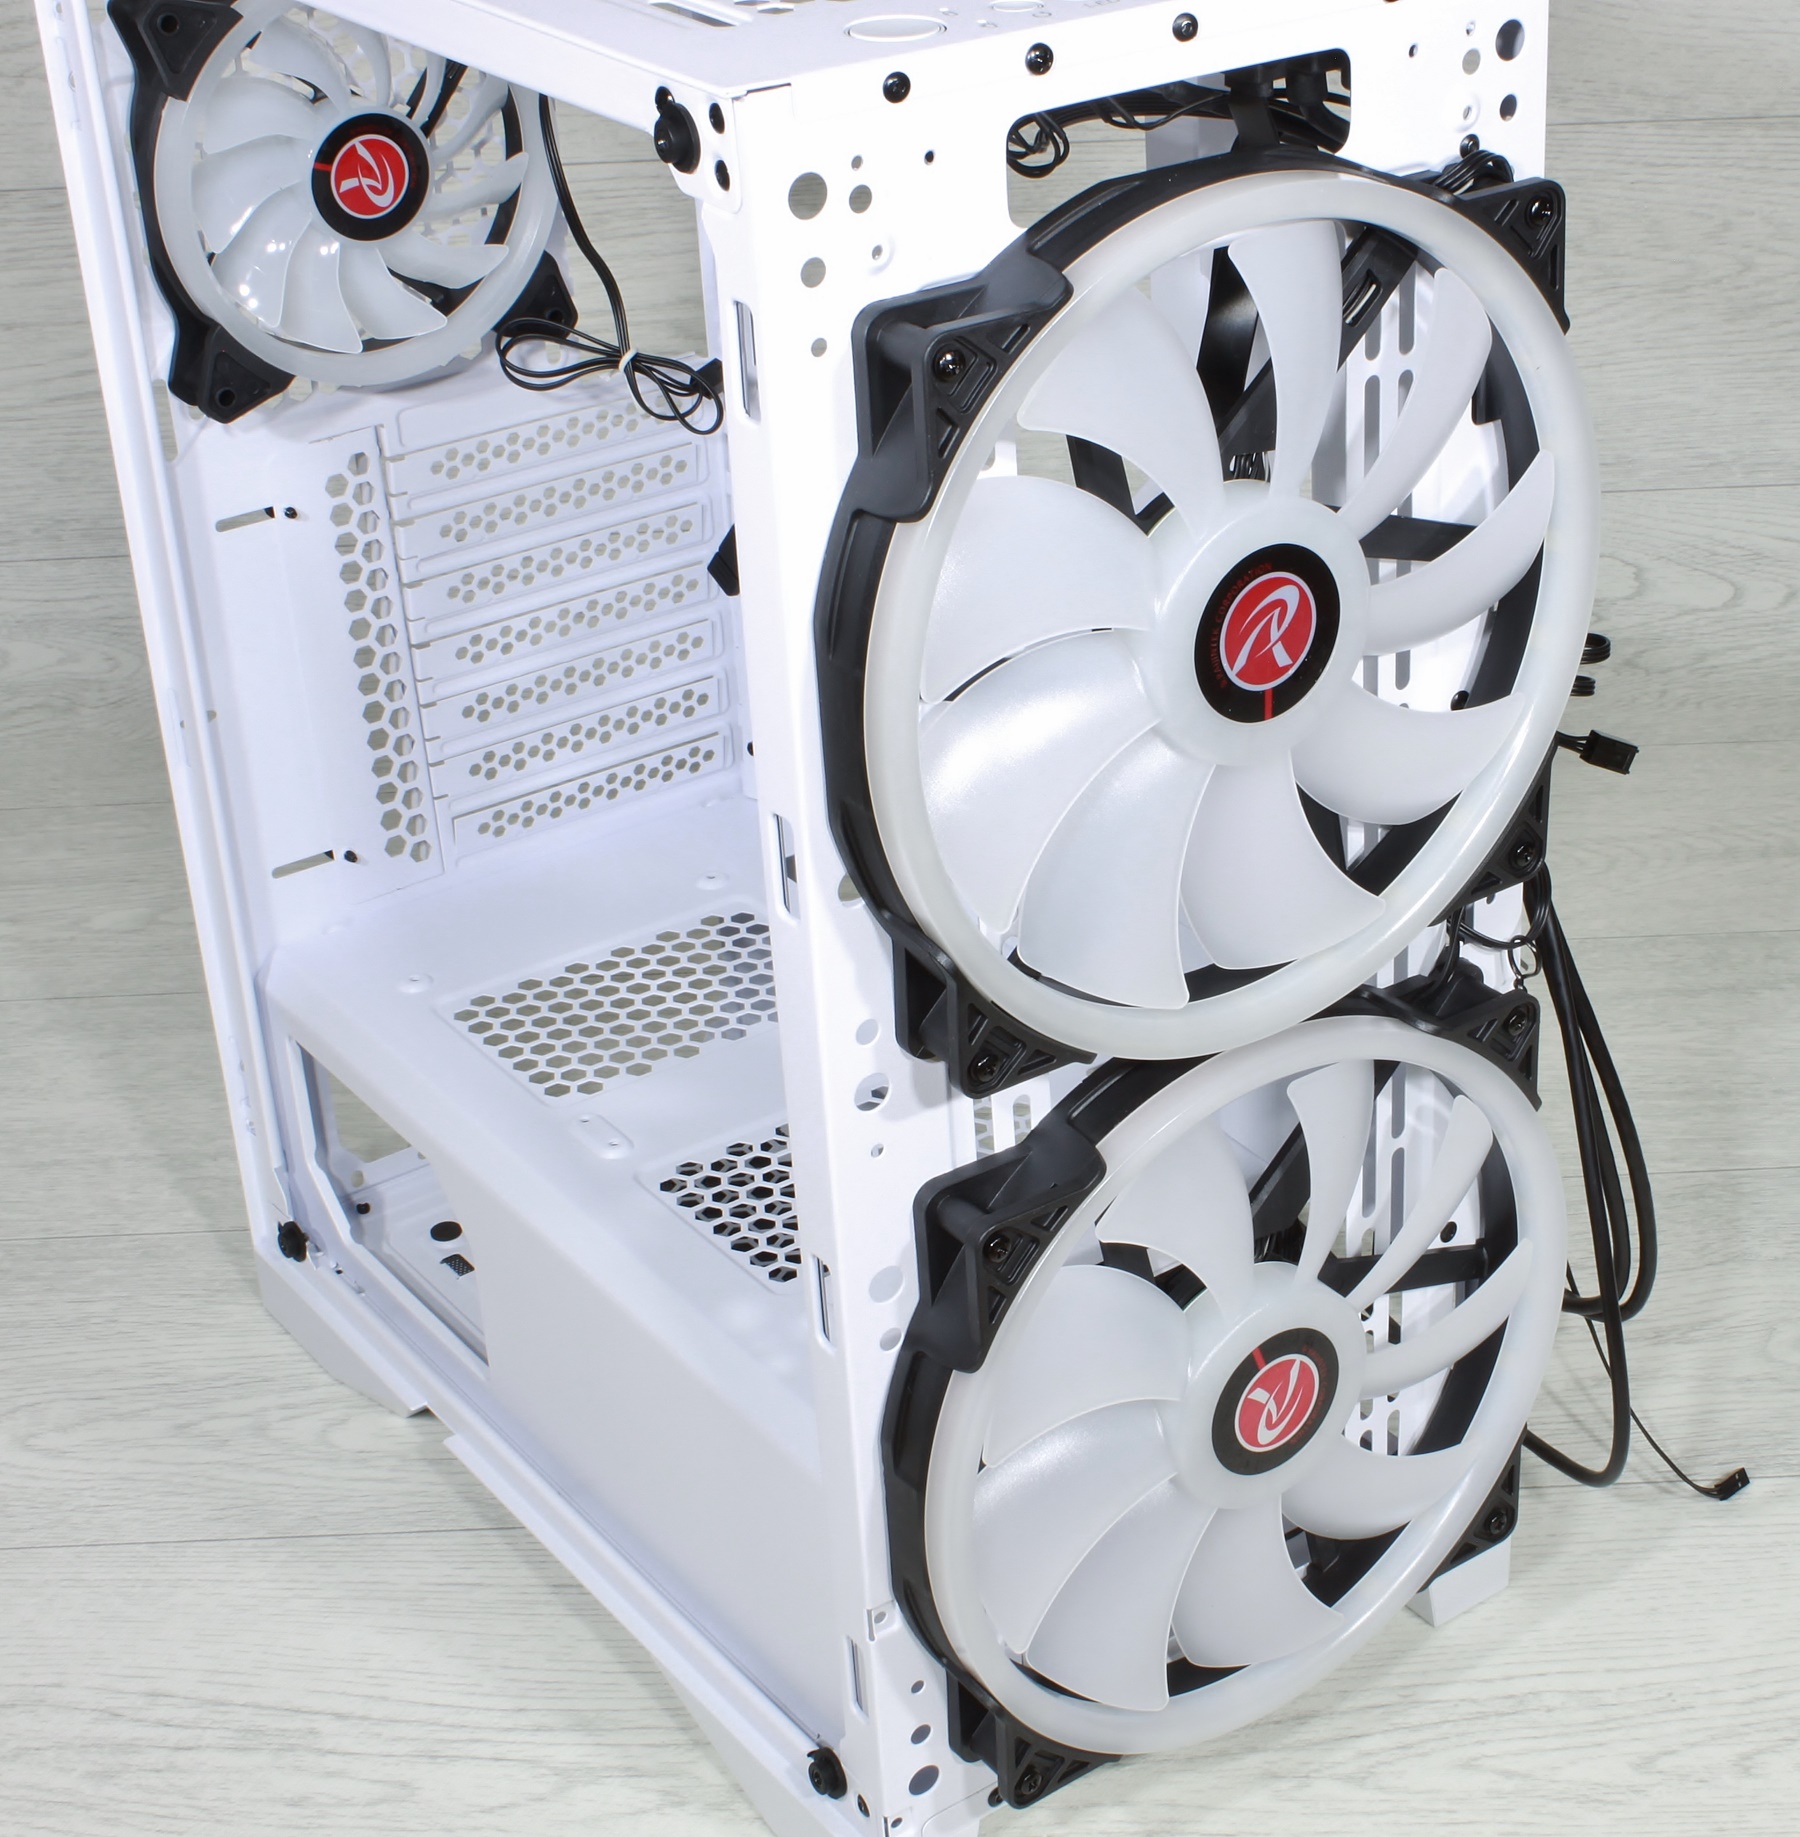
Below that the fan holders for 2 x 120 or 2 x 140mm fans or even radiators in the corresponding size.

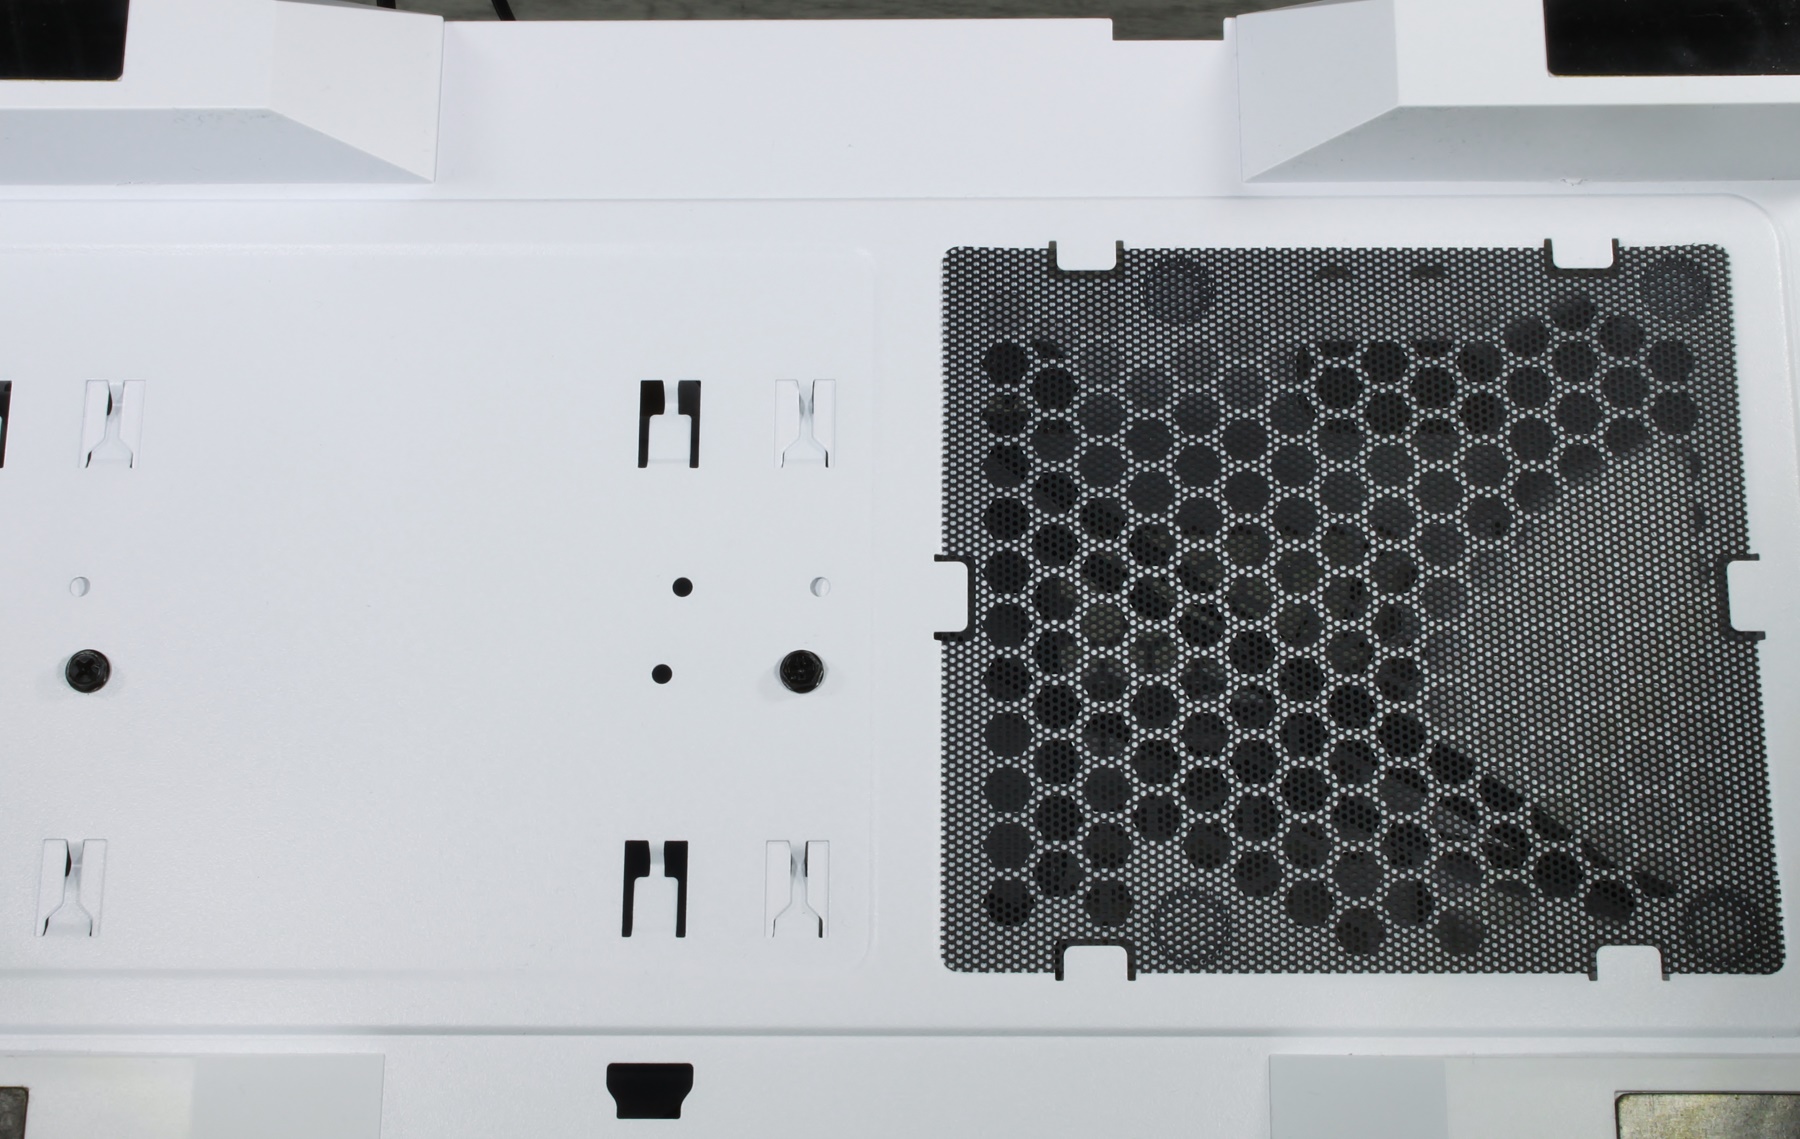
There is also a removable dust filter for the power supply unit

The glass panel is completely embedded in the side without overhang. Through a small recess at the bottom you can pull out the disc.

On the back is the already mentioned RGB controller. A total of six 5V ARGB devices can be controlled – either via the button, or via the mainboard, if it has a 5V RGB connector.

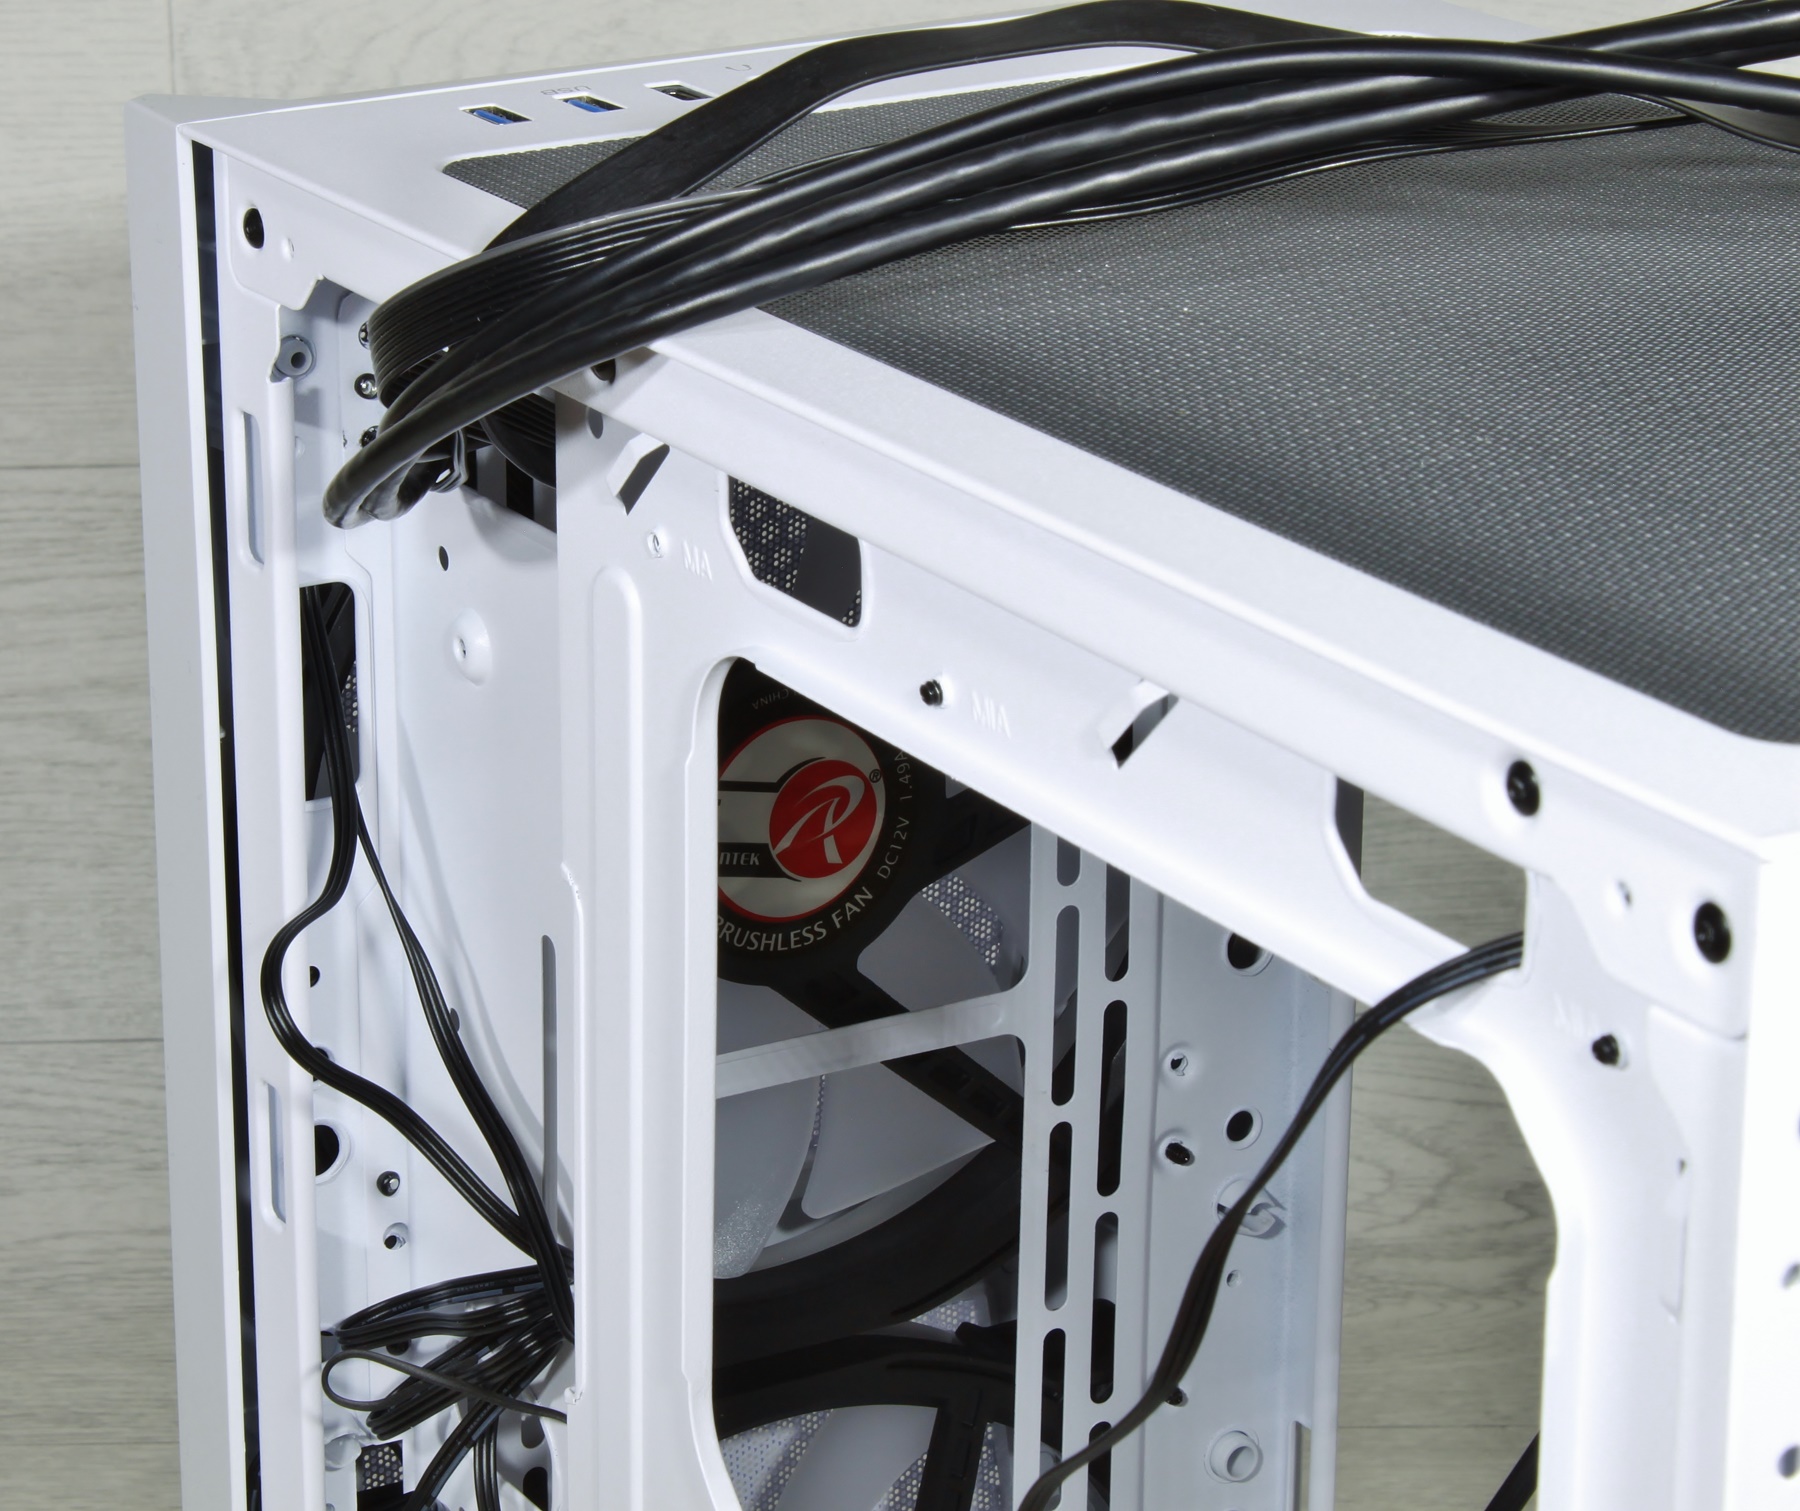
For convenient cable management, there is an unexpectedly spacious slot on the rear panel

The power supply unit is located in the base. If you want to install a real breaker of a power supply (over 18cm), you have to remove the harddisk bay.

Under the front panel slumber the two huge 200mm rotors.

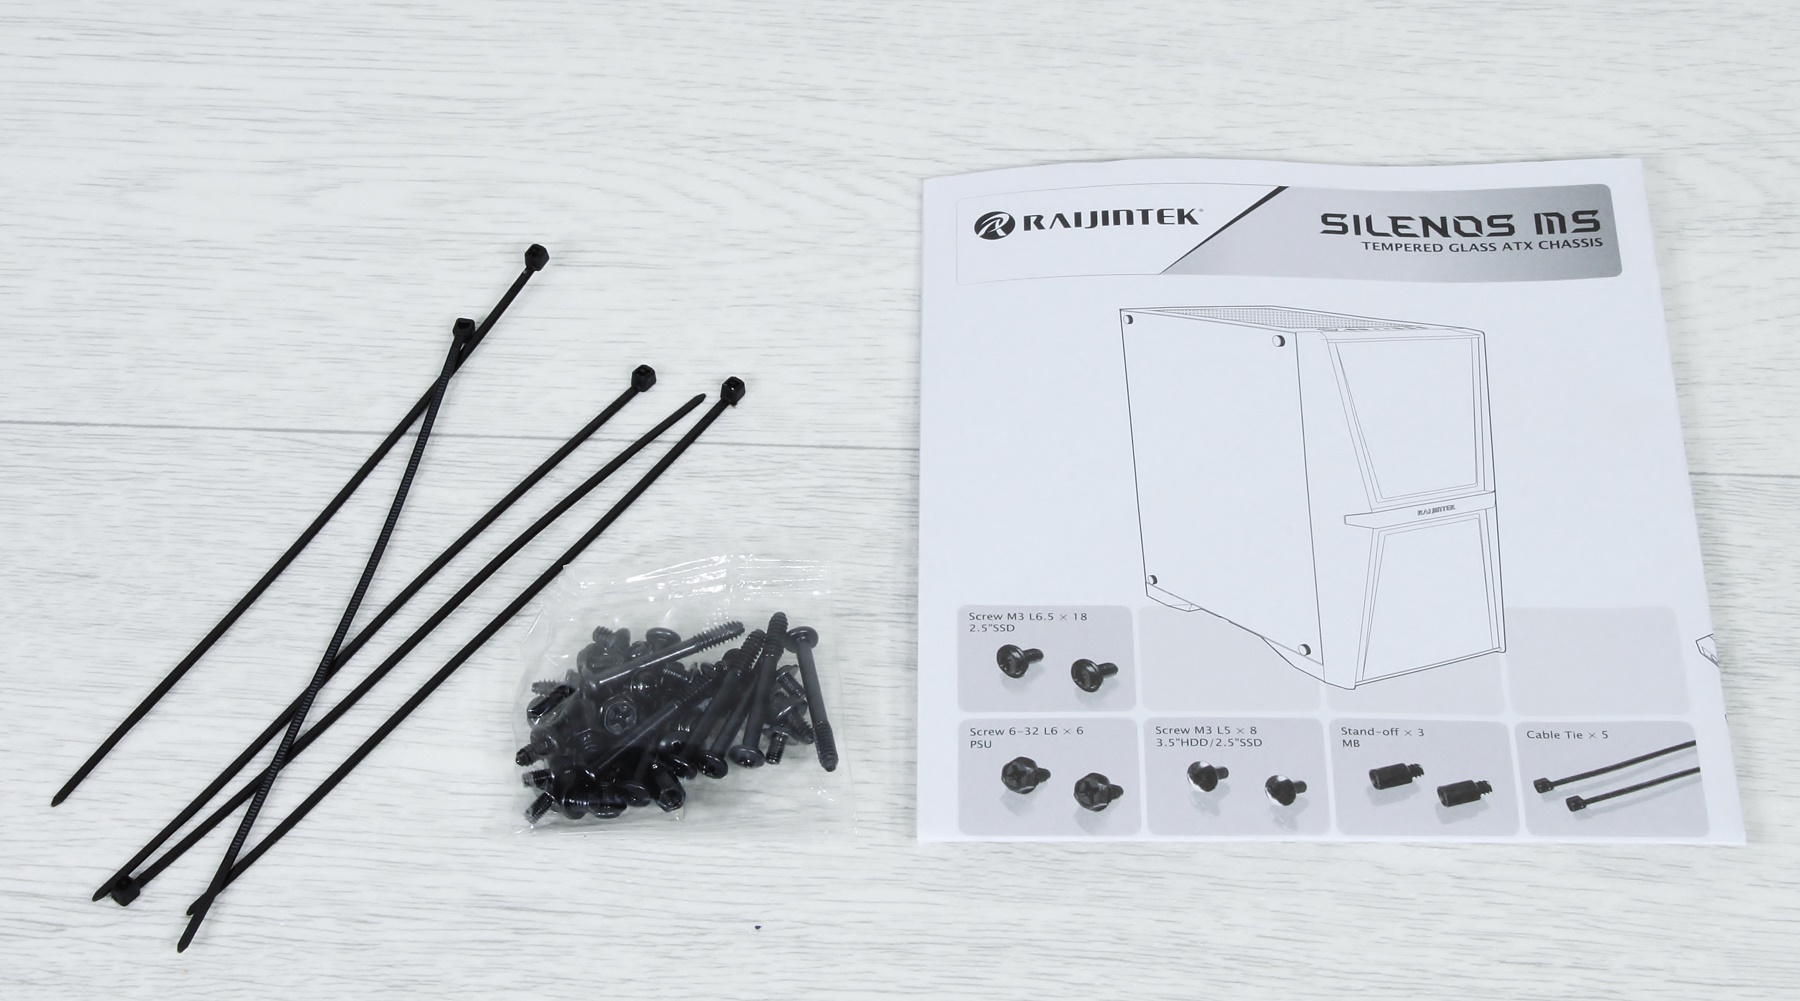
Accessories include installation instructions, a bag of screws and a few cable ties.


Kommentar

Lade neue Kommentare

RX480

Urgestein

1,859 Kommentare 853 Likes

Eigentlich ein schönes Gehäuse, aber wozu immer die Tunnel über dem NT+ Festplattenkäfig?
Kann man Den abnehmen und den Festplattenkäfig raus? (mit 2TB-M2 reicht eigentlich für Storage ne externe Lösung oder ne 2.SataSSD)

... damits etwas besseren Airflow unterhalb der Graka gibt

Das mit dem Festplattenkäfig ist eigentlich ein genauso alter Zopf wie mehrere PCiE-Steckplätze auf dem Mobo, ... ohne Diese könnte
man viel freier was Gescheites designen.
Ein Mobo mit 1-2 Steckplatz(en) weniger könnte um den Platz nach Unten rutschen und man könnte endlich mal Oben größere Radis einbauen.
Oft gehen nur 240er statt 280er wegen der VRM´s.

Antwort 3 Likes

Alexander Brose

Moderator

818 Kommentare 572 Likes

Moin!

Jau, den Festplattenkäfig kann man herausnehmen. Wäre ja sonst auch echt friemelig mit der Montage der Platten :D
Die Abdeckung über PSU und Platten dient wohl größtenteils der Optik - ich finde das auch sehr gut zum Verstecken der PSU Kabel.

Grüße!

Antwort 1 Like

RX480

Urgestein

1,859 Kommentare 853 Likes

ne 2-teilige Abdeckung wäre nice to have

... damit man nur das NT verstecken muss und den Teil über nicht benutztem Käfig weglassen kann
weil
Damit ordentlich Luft von Unten nach oben zur Graka kommt, brauchts sonst nen zusätzlichen Lüfter. (bei mir)
und
Wenn man Vorne nen Radi mit P+P einbauen will wirds erst recht zu enge. Und da hätte ich dem Systembuilder vorher sagen müssen,
das die SATA-SSD auf die Rückseite vom Gehäuse soll, wenn ichs denn gewollt hätte.(habe ich leider erst gesehen, als mein Office-PC da war)

Antwort Gefällt mir

Casi030

Urgestein

11,923 Kommentare 2,337 Likes

Die 200er Lüfter sind ja ne feine Sache,bringen nur nix wenn ich 1/3 davon verdecke.

Antwort Gefällt mir

garfield36

Urgestein

1,271 Kommentare 331 Likes

Nach meiner Meinung gibt es viel zu wenige Gehäuse die den Kamineffekt konsequent ausnutzen. Beim O11 Dynamic wäre das ja gut gelöst, da stört mich nur der Staubfilter unter dem Netzteil. Wenn man wie ich den Rechner im Schreibtischfach stehen hat, ist ein Filter den man vorne rausziehen kann sehr von Vorteil.
Am schlechtesten finde ich die Lösung, den Filter nach hinten abzuziehen.

Antwort Gefällt mir

Casi030

Urgestein

11,923 Kommentare 2,337 Likes

Kleine Info,der Staubfilter hat ein Magnetrand.

View image at the forums


View image at the forums

Und das Netzteil sitzt auf der Rückseite vom Mainboard.

View image at the forums

Antwort Gefällt mir

Danke für die Spende


Du fandest, der Beitrag war interessant und möchtest uns unterstützen? Klasse!

Hier erfährst Du, wie: Hier spenden.

Hier kannst Du per PayPal spenden.

About the author

Alexander Brose

Werbung

Werbung